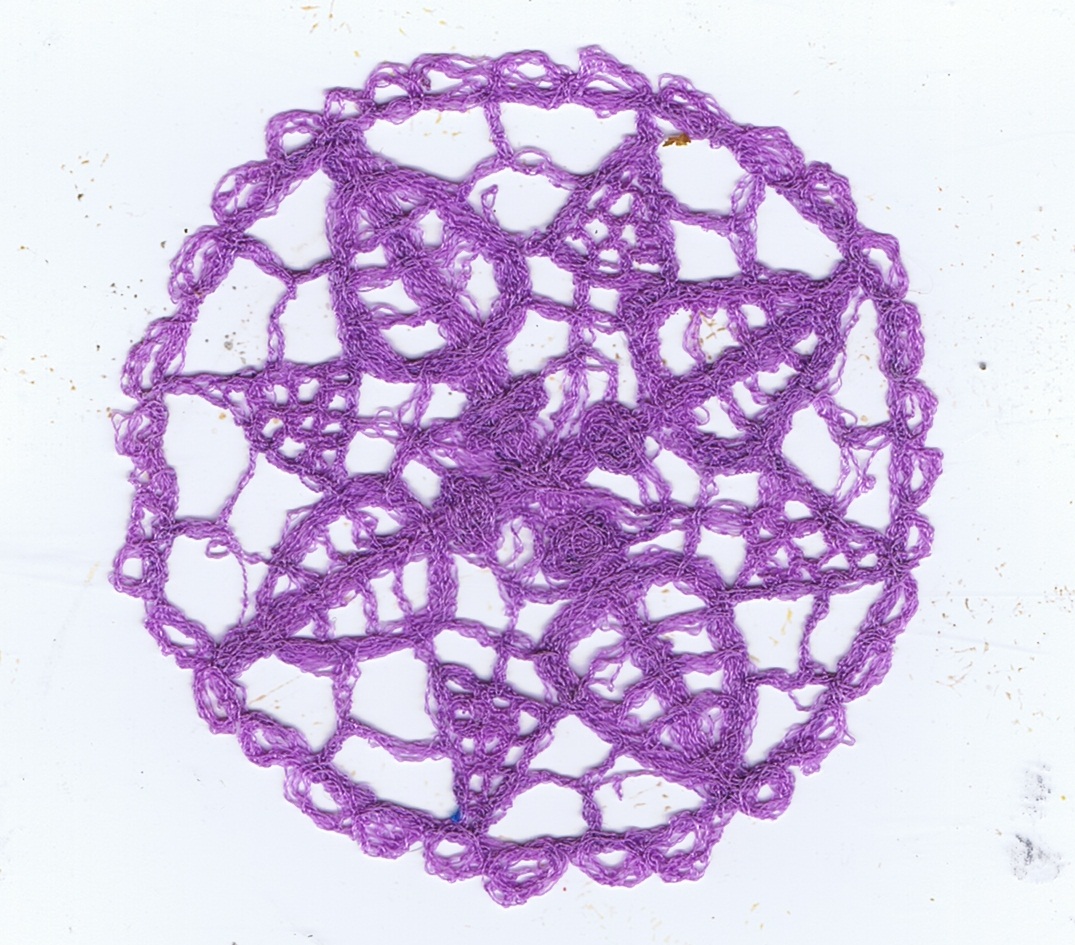
"Once upon a time there was a Little House way out in the country.
She
was a pretty Little House and she was strong and well built."
So begins
Virginia Lee Burton's classic
The Little House, winner of the prestigious Caldecott Medal in 1943.
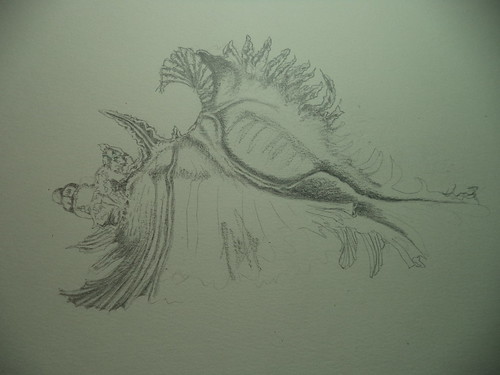
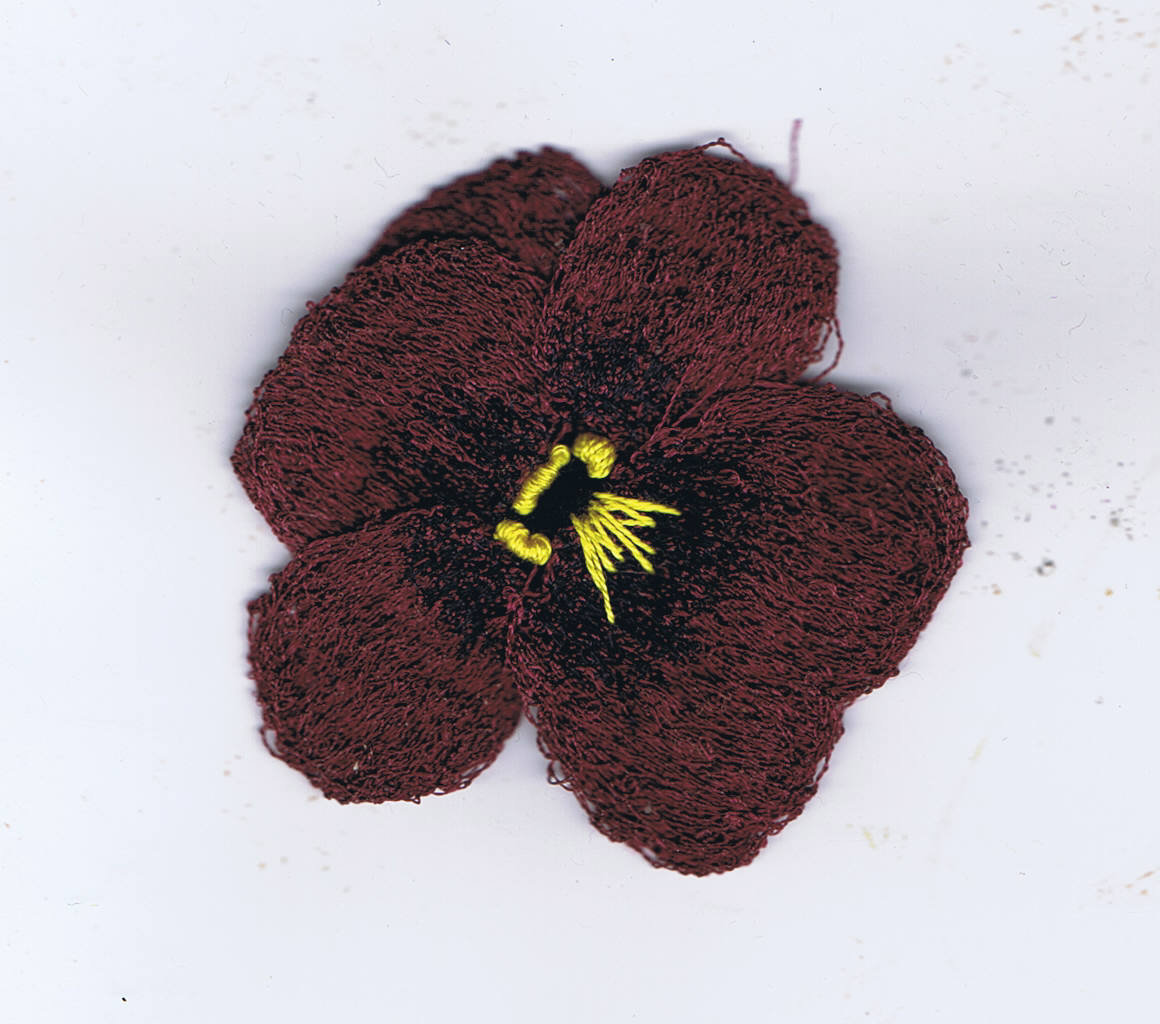
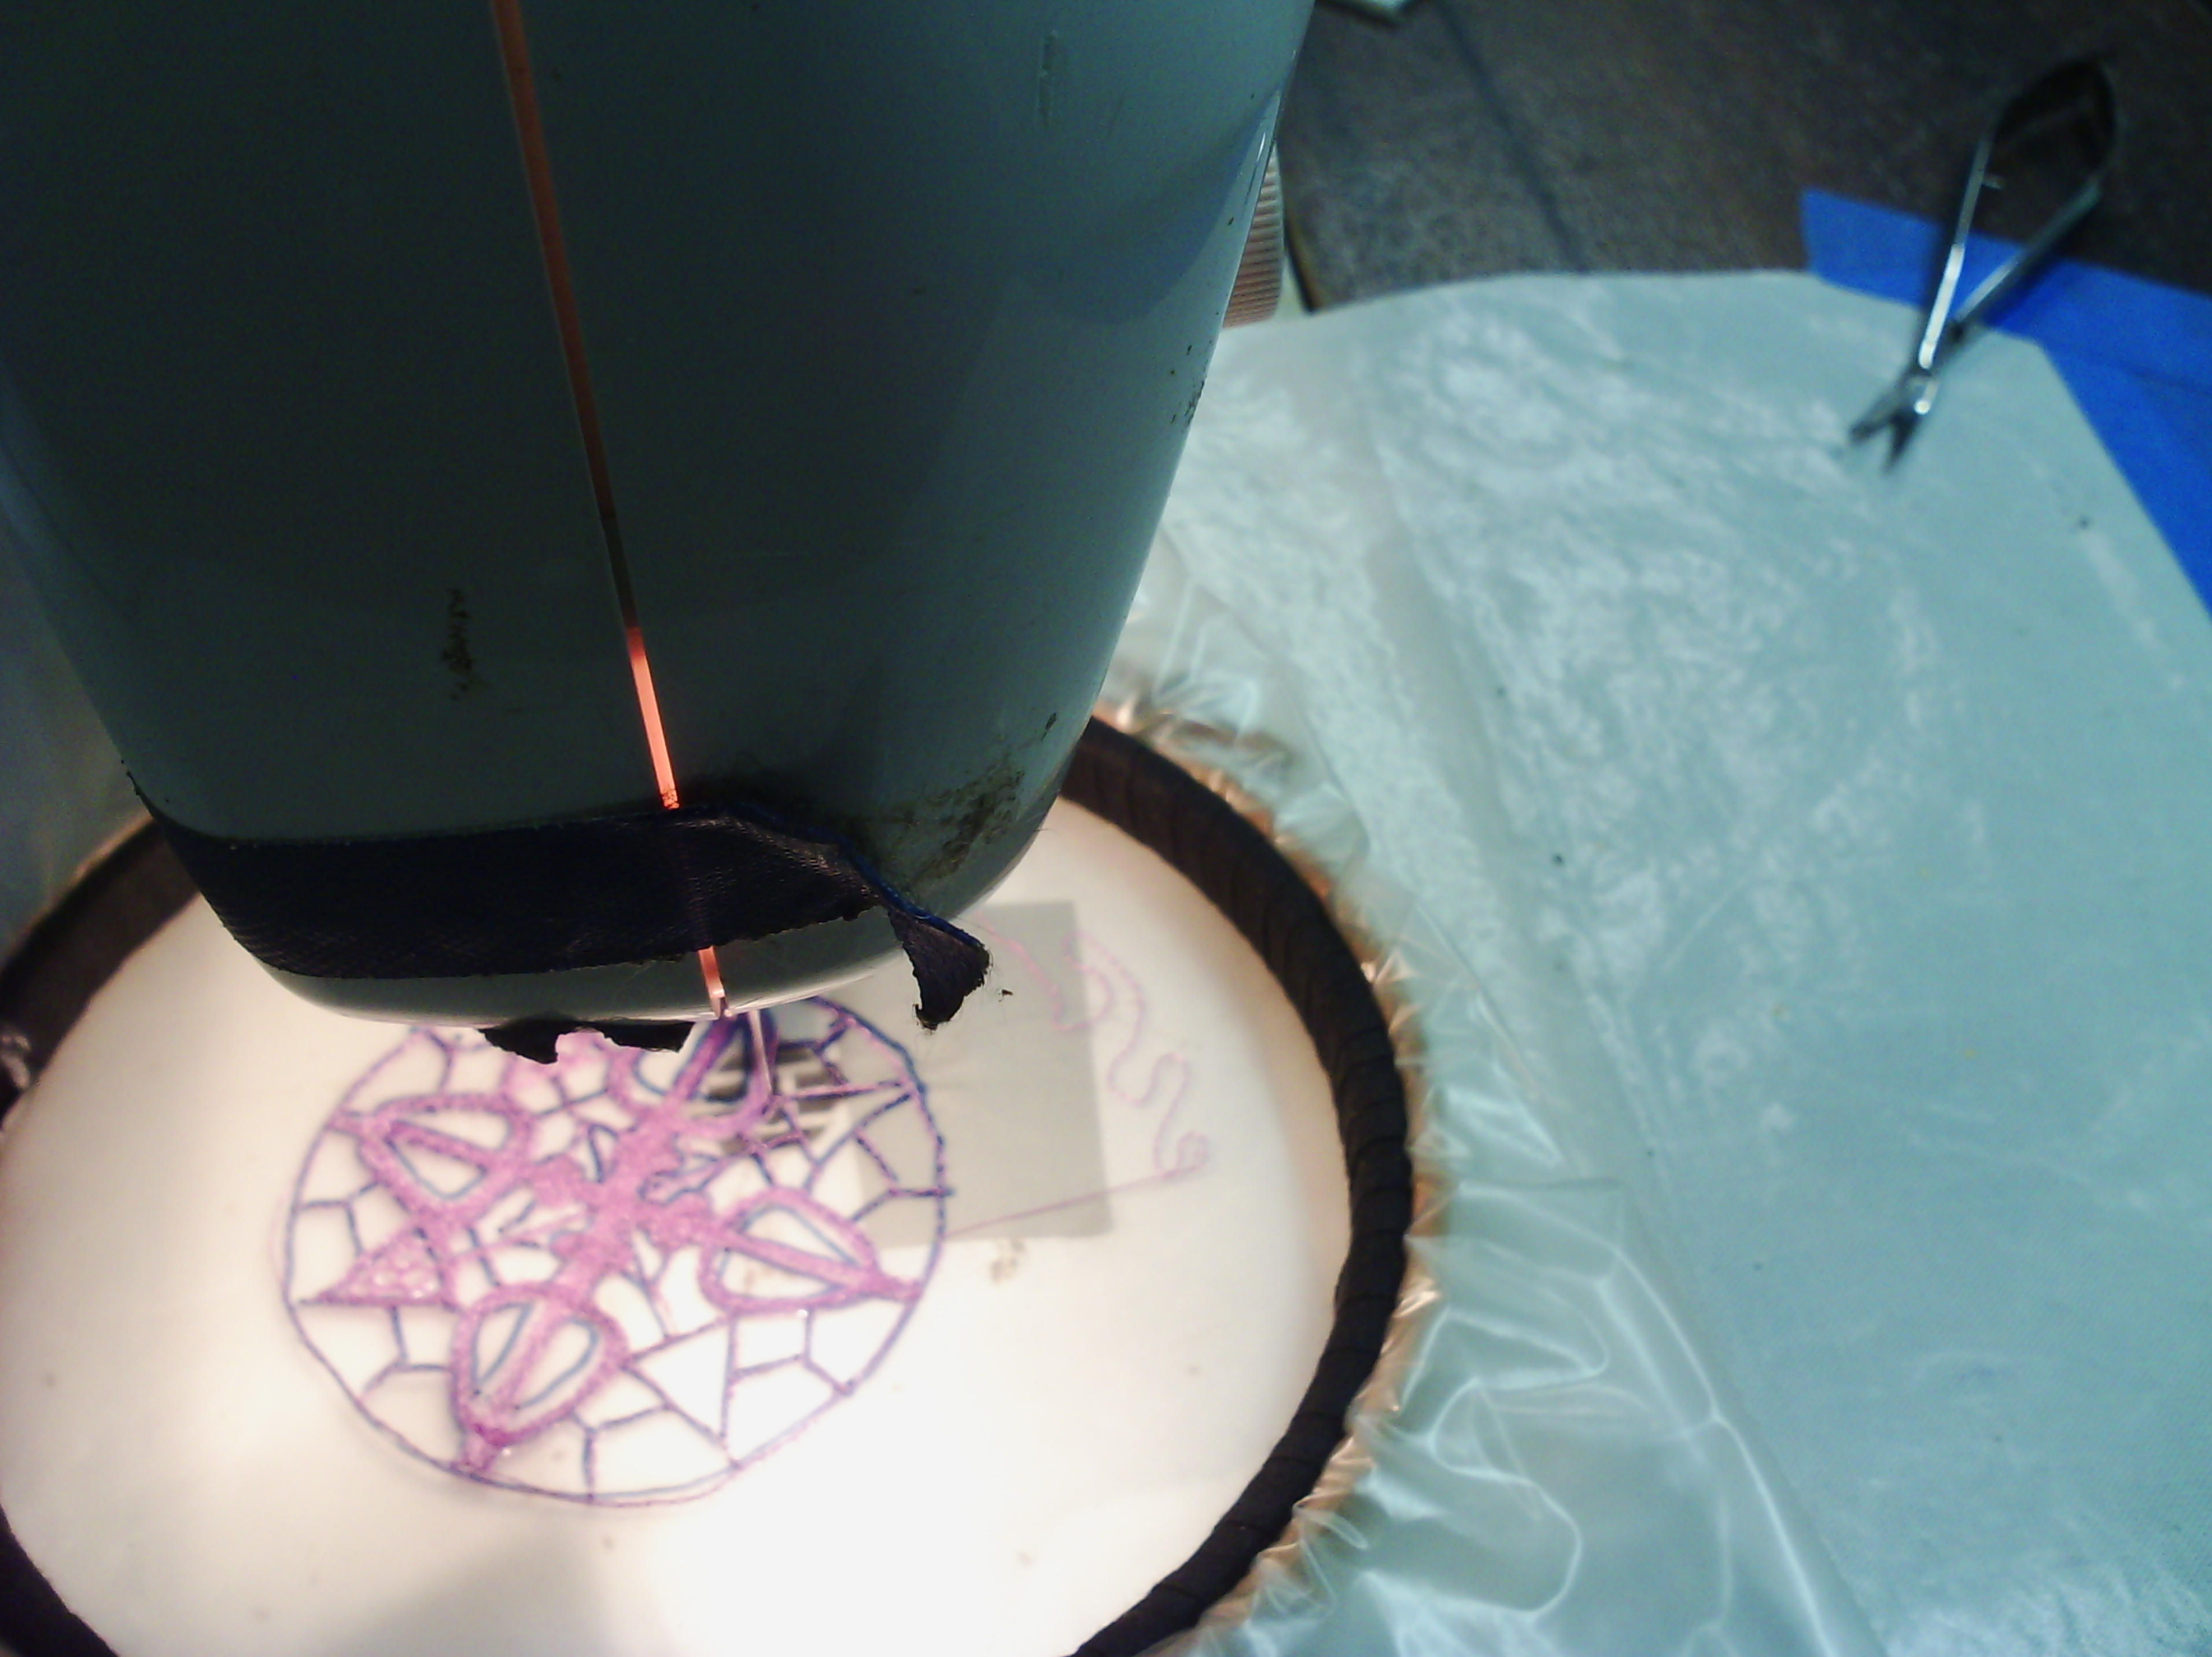
This ATC was stitched with wool on water soluble stabiliser and then needlefelted, this was from an article by
Jan beaney and Jean Littlejohn, the stitching queens in " fabric from cloth" Quilting arts 48 and also
here.
I used my prompt cards for this one and they were
Use heavy stitching
Add a charm
I had recently read the article in QA and decided this was a great way to use heavy stitching. I selected a little charm of a house, which inspired the design ( but forgot to add it in the photo.
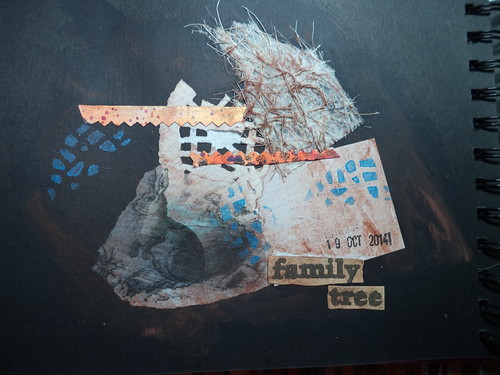
Here it is with the charm added with a brad.
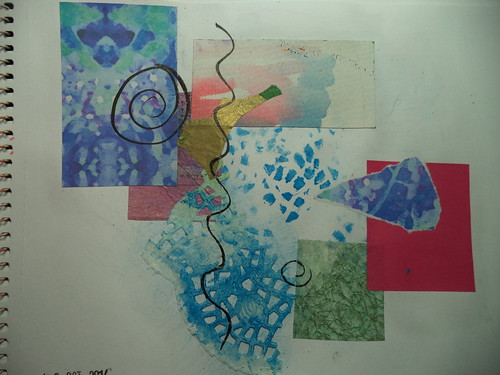
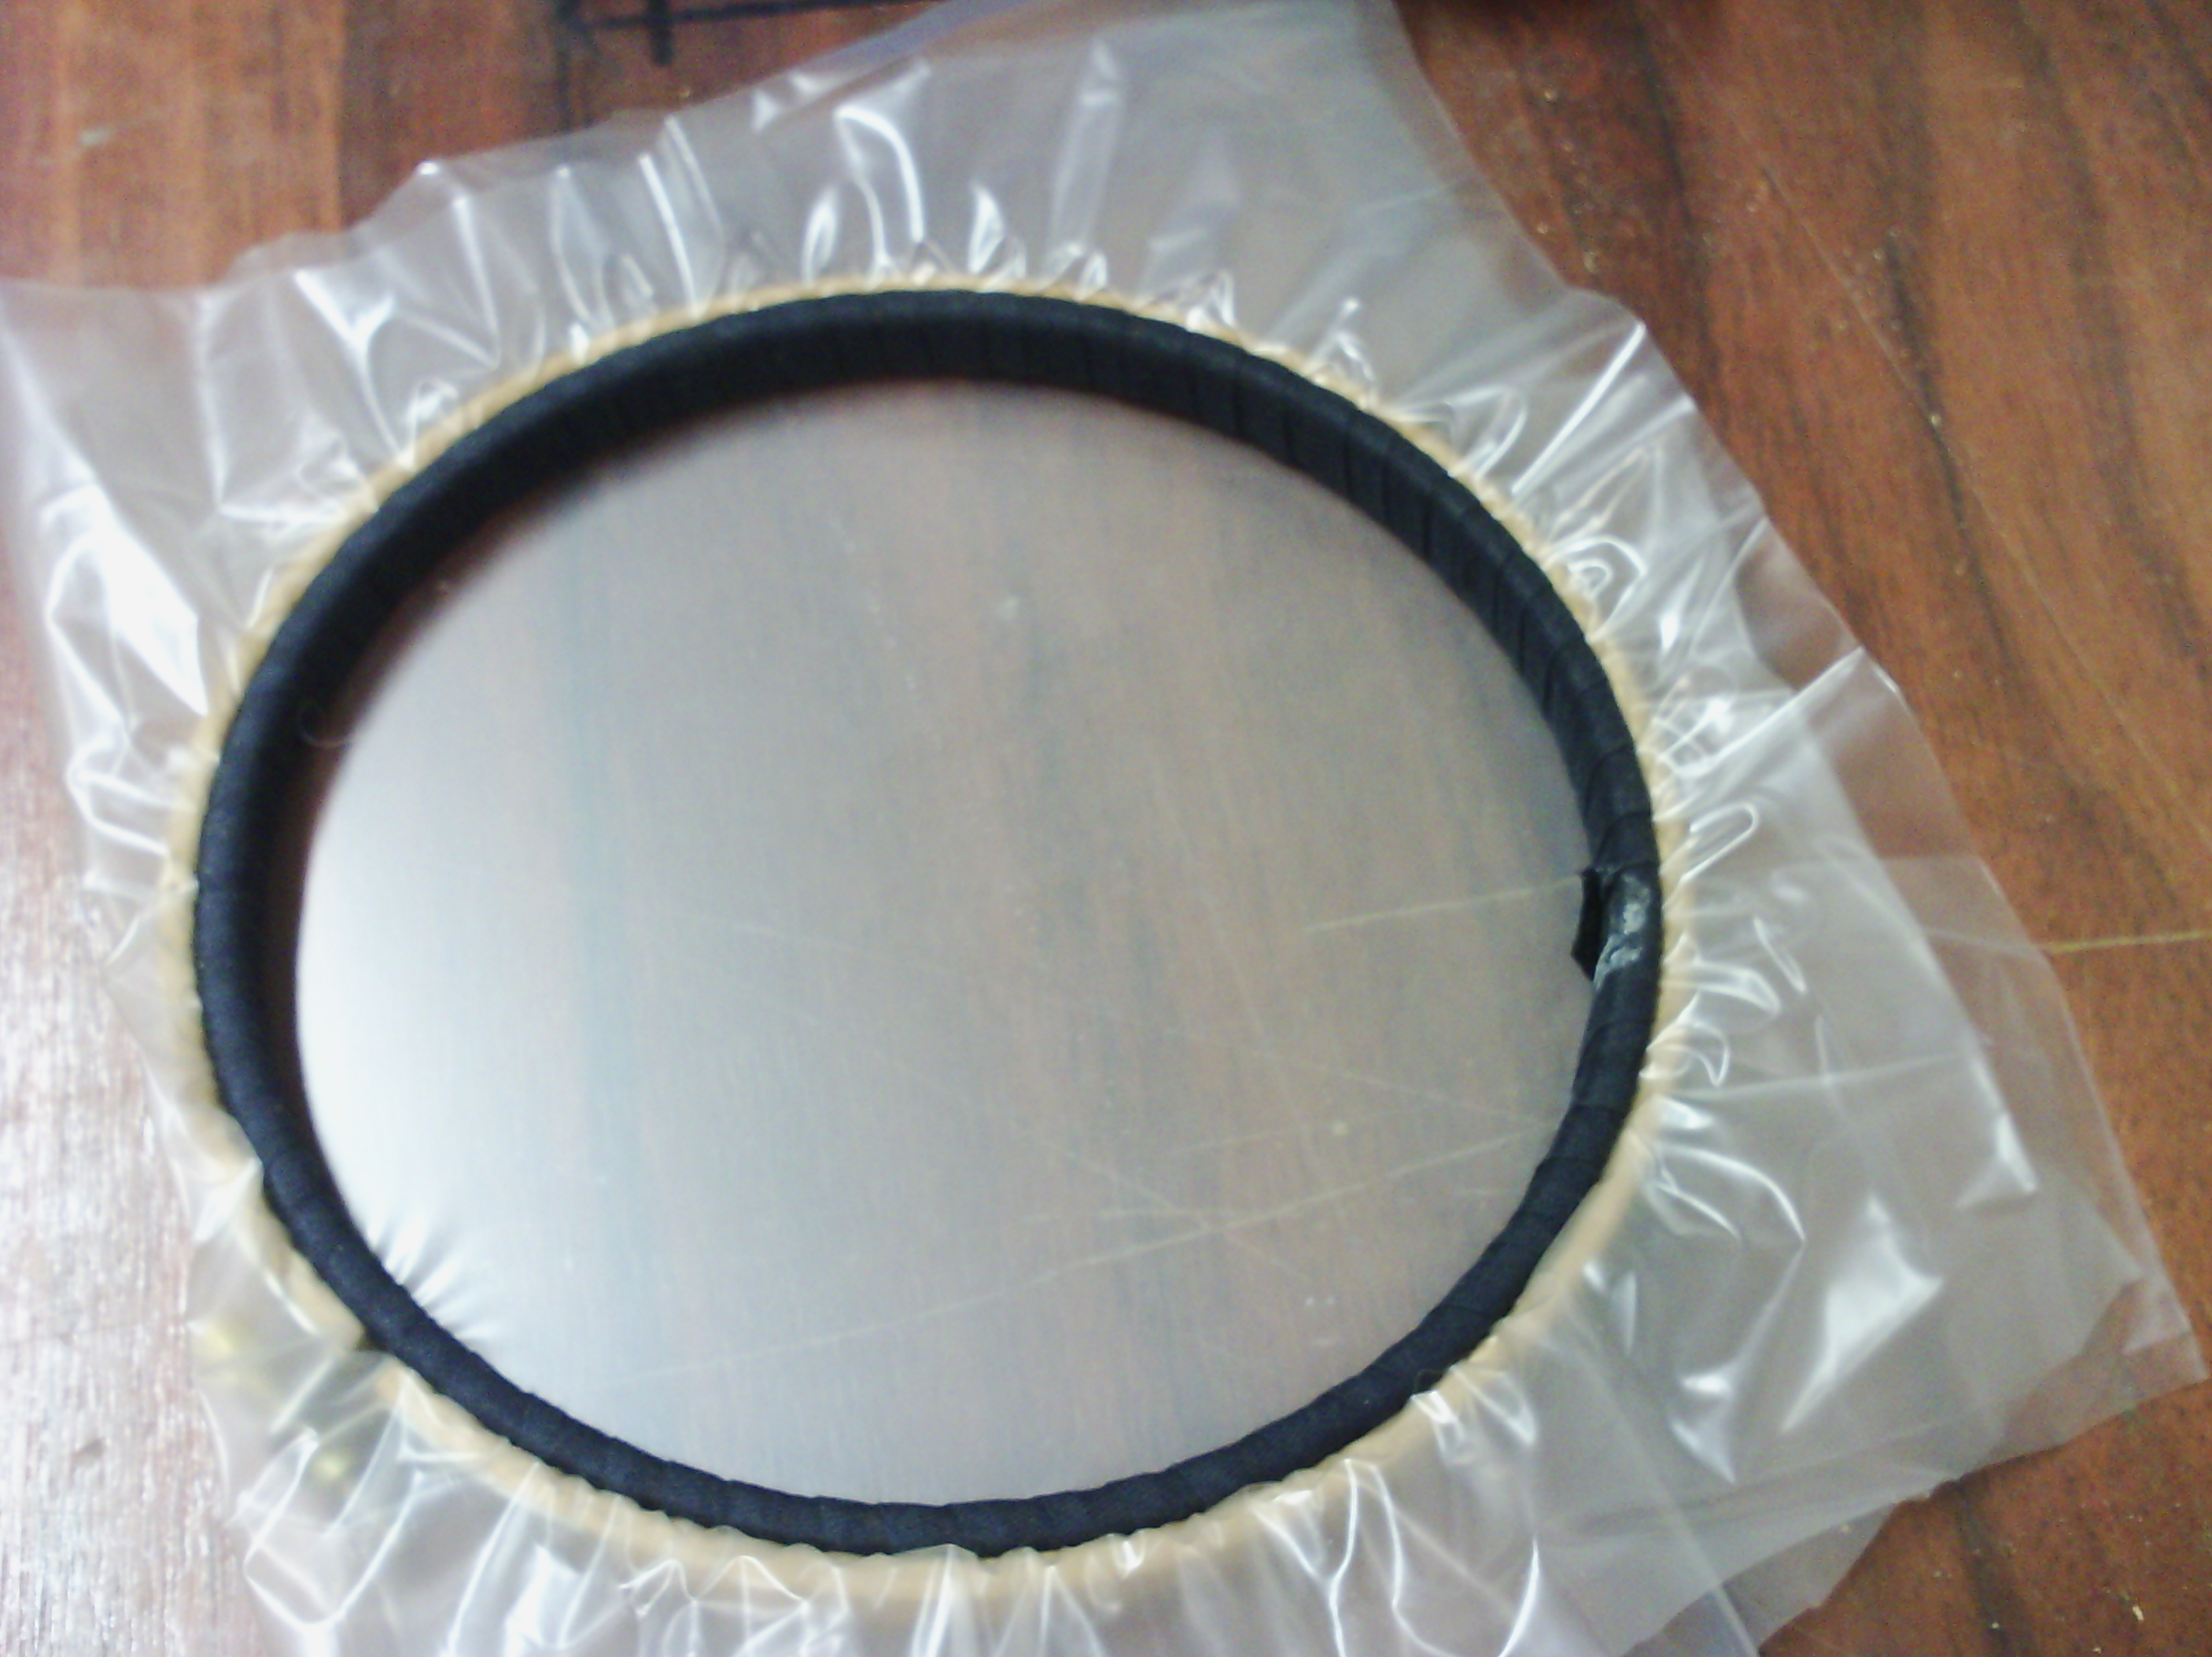
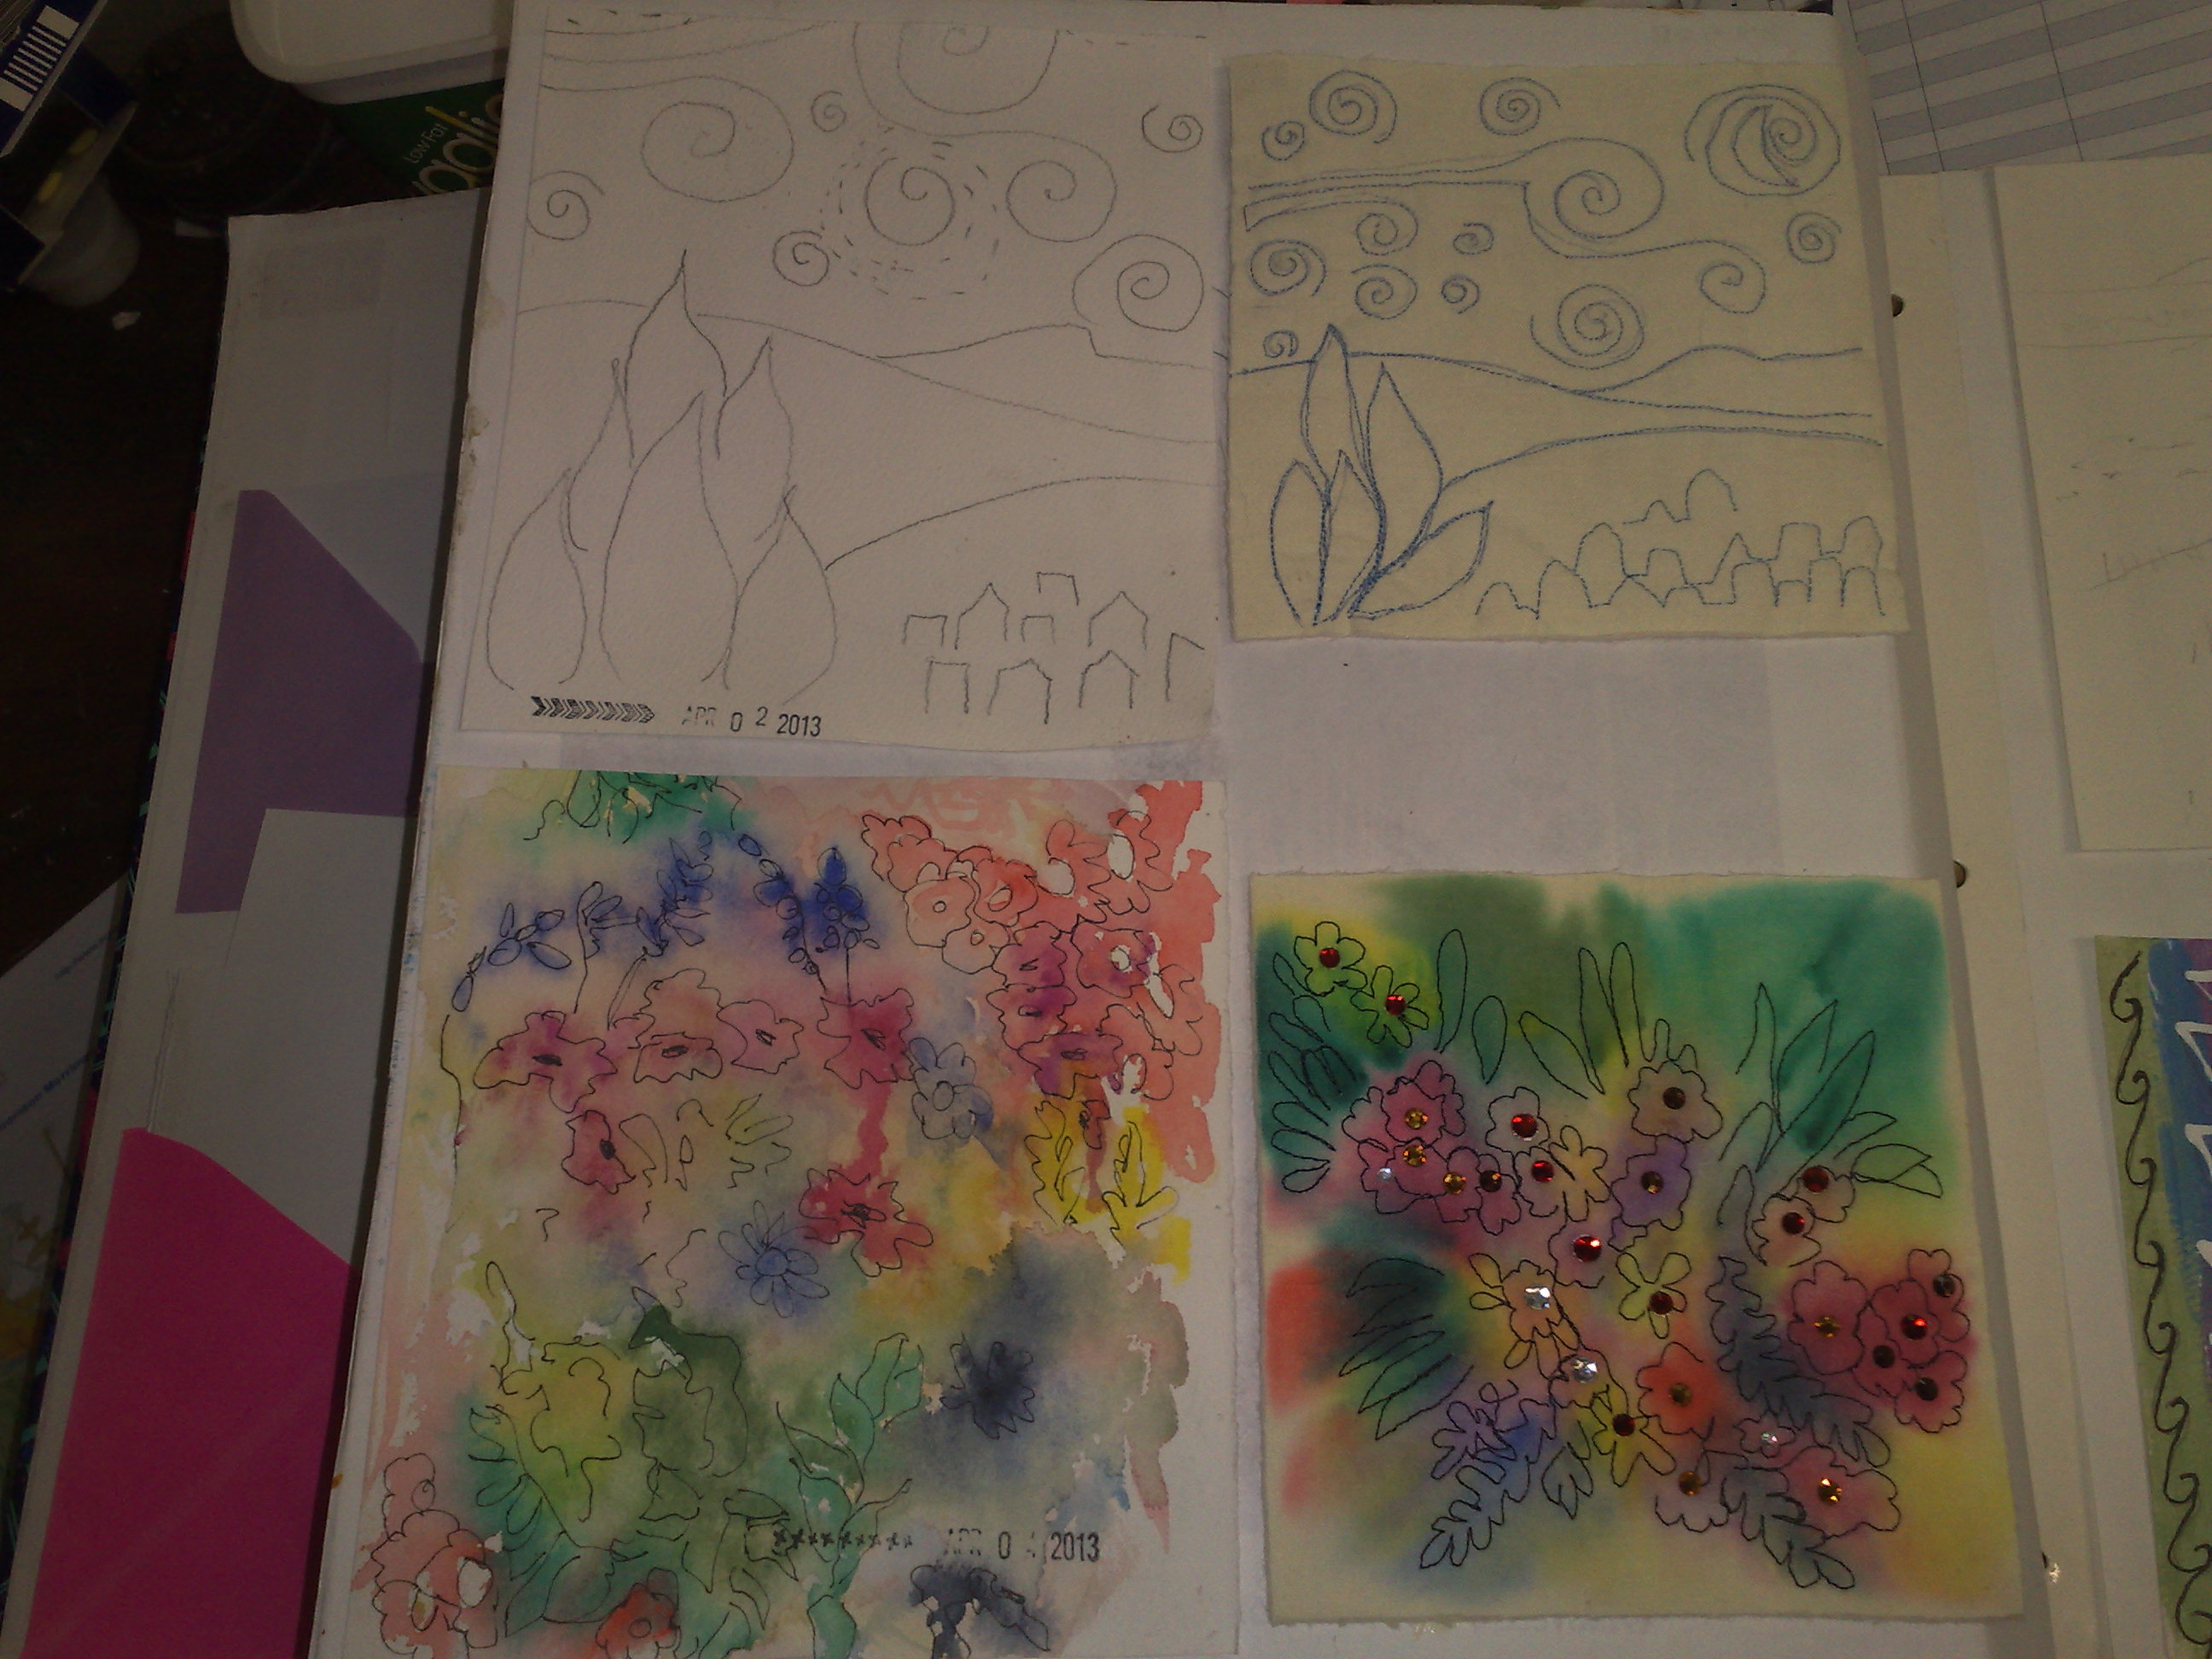
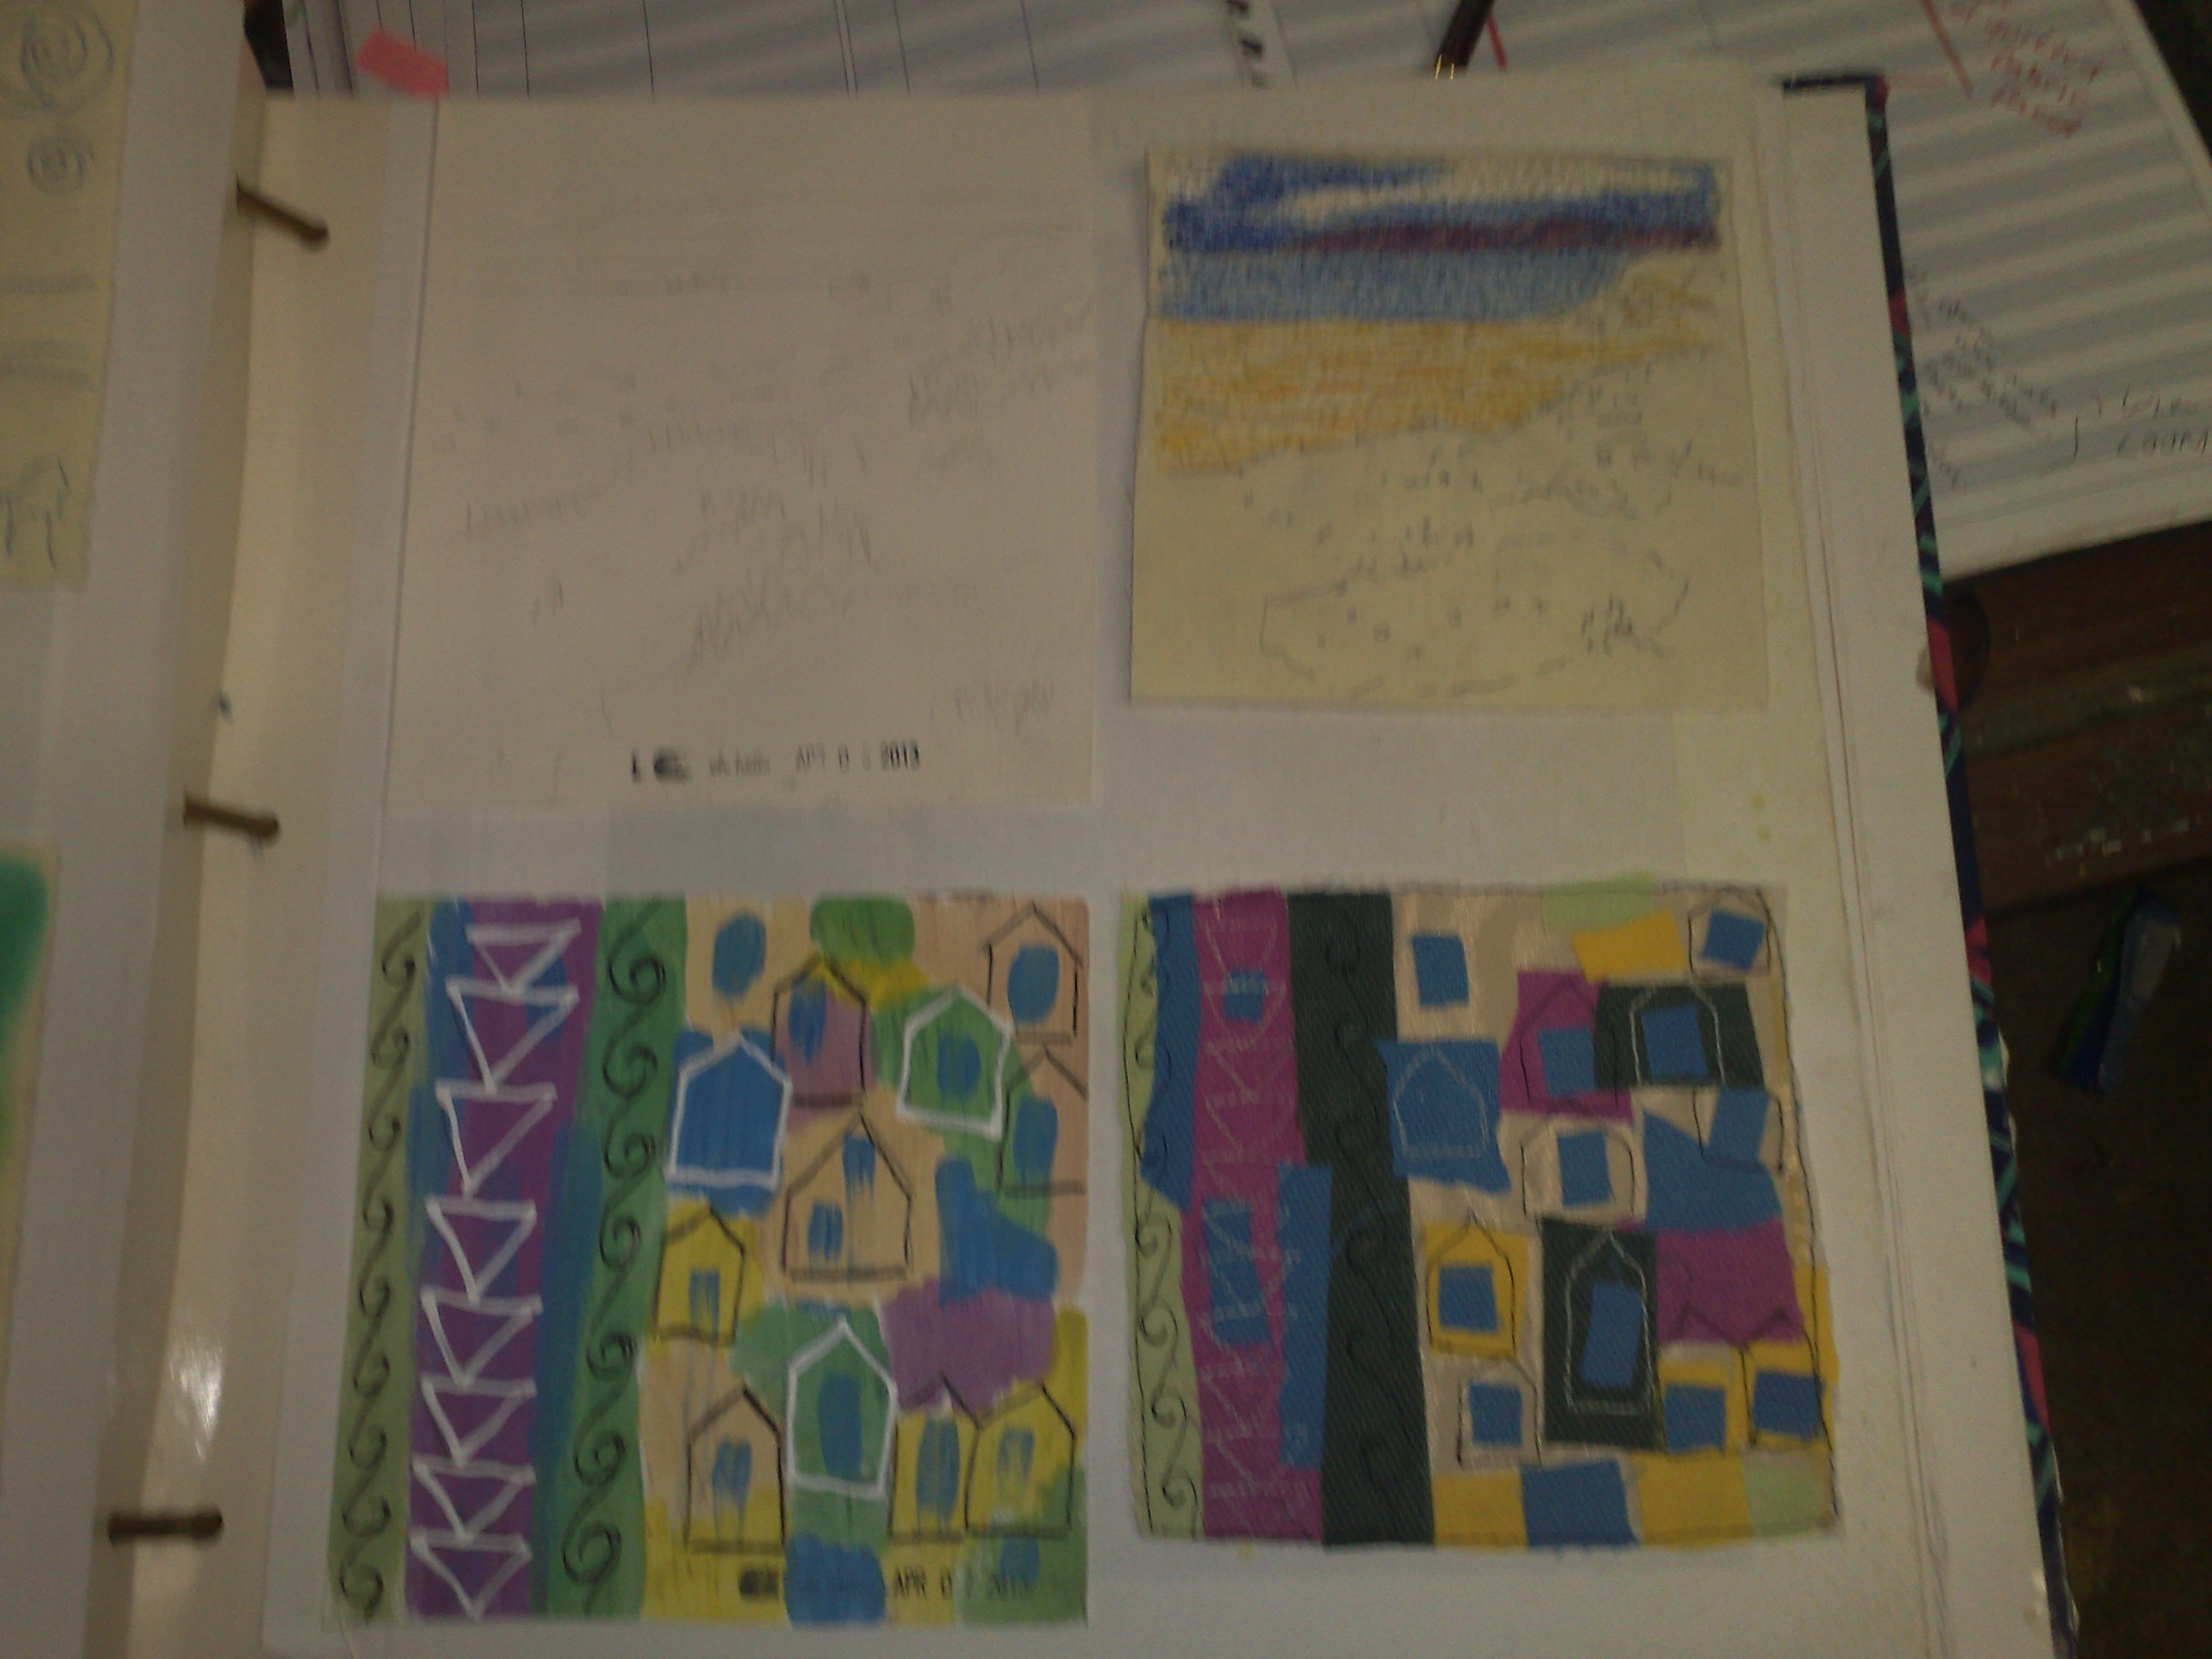
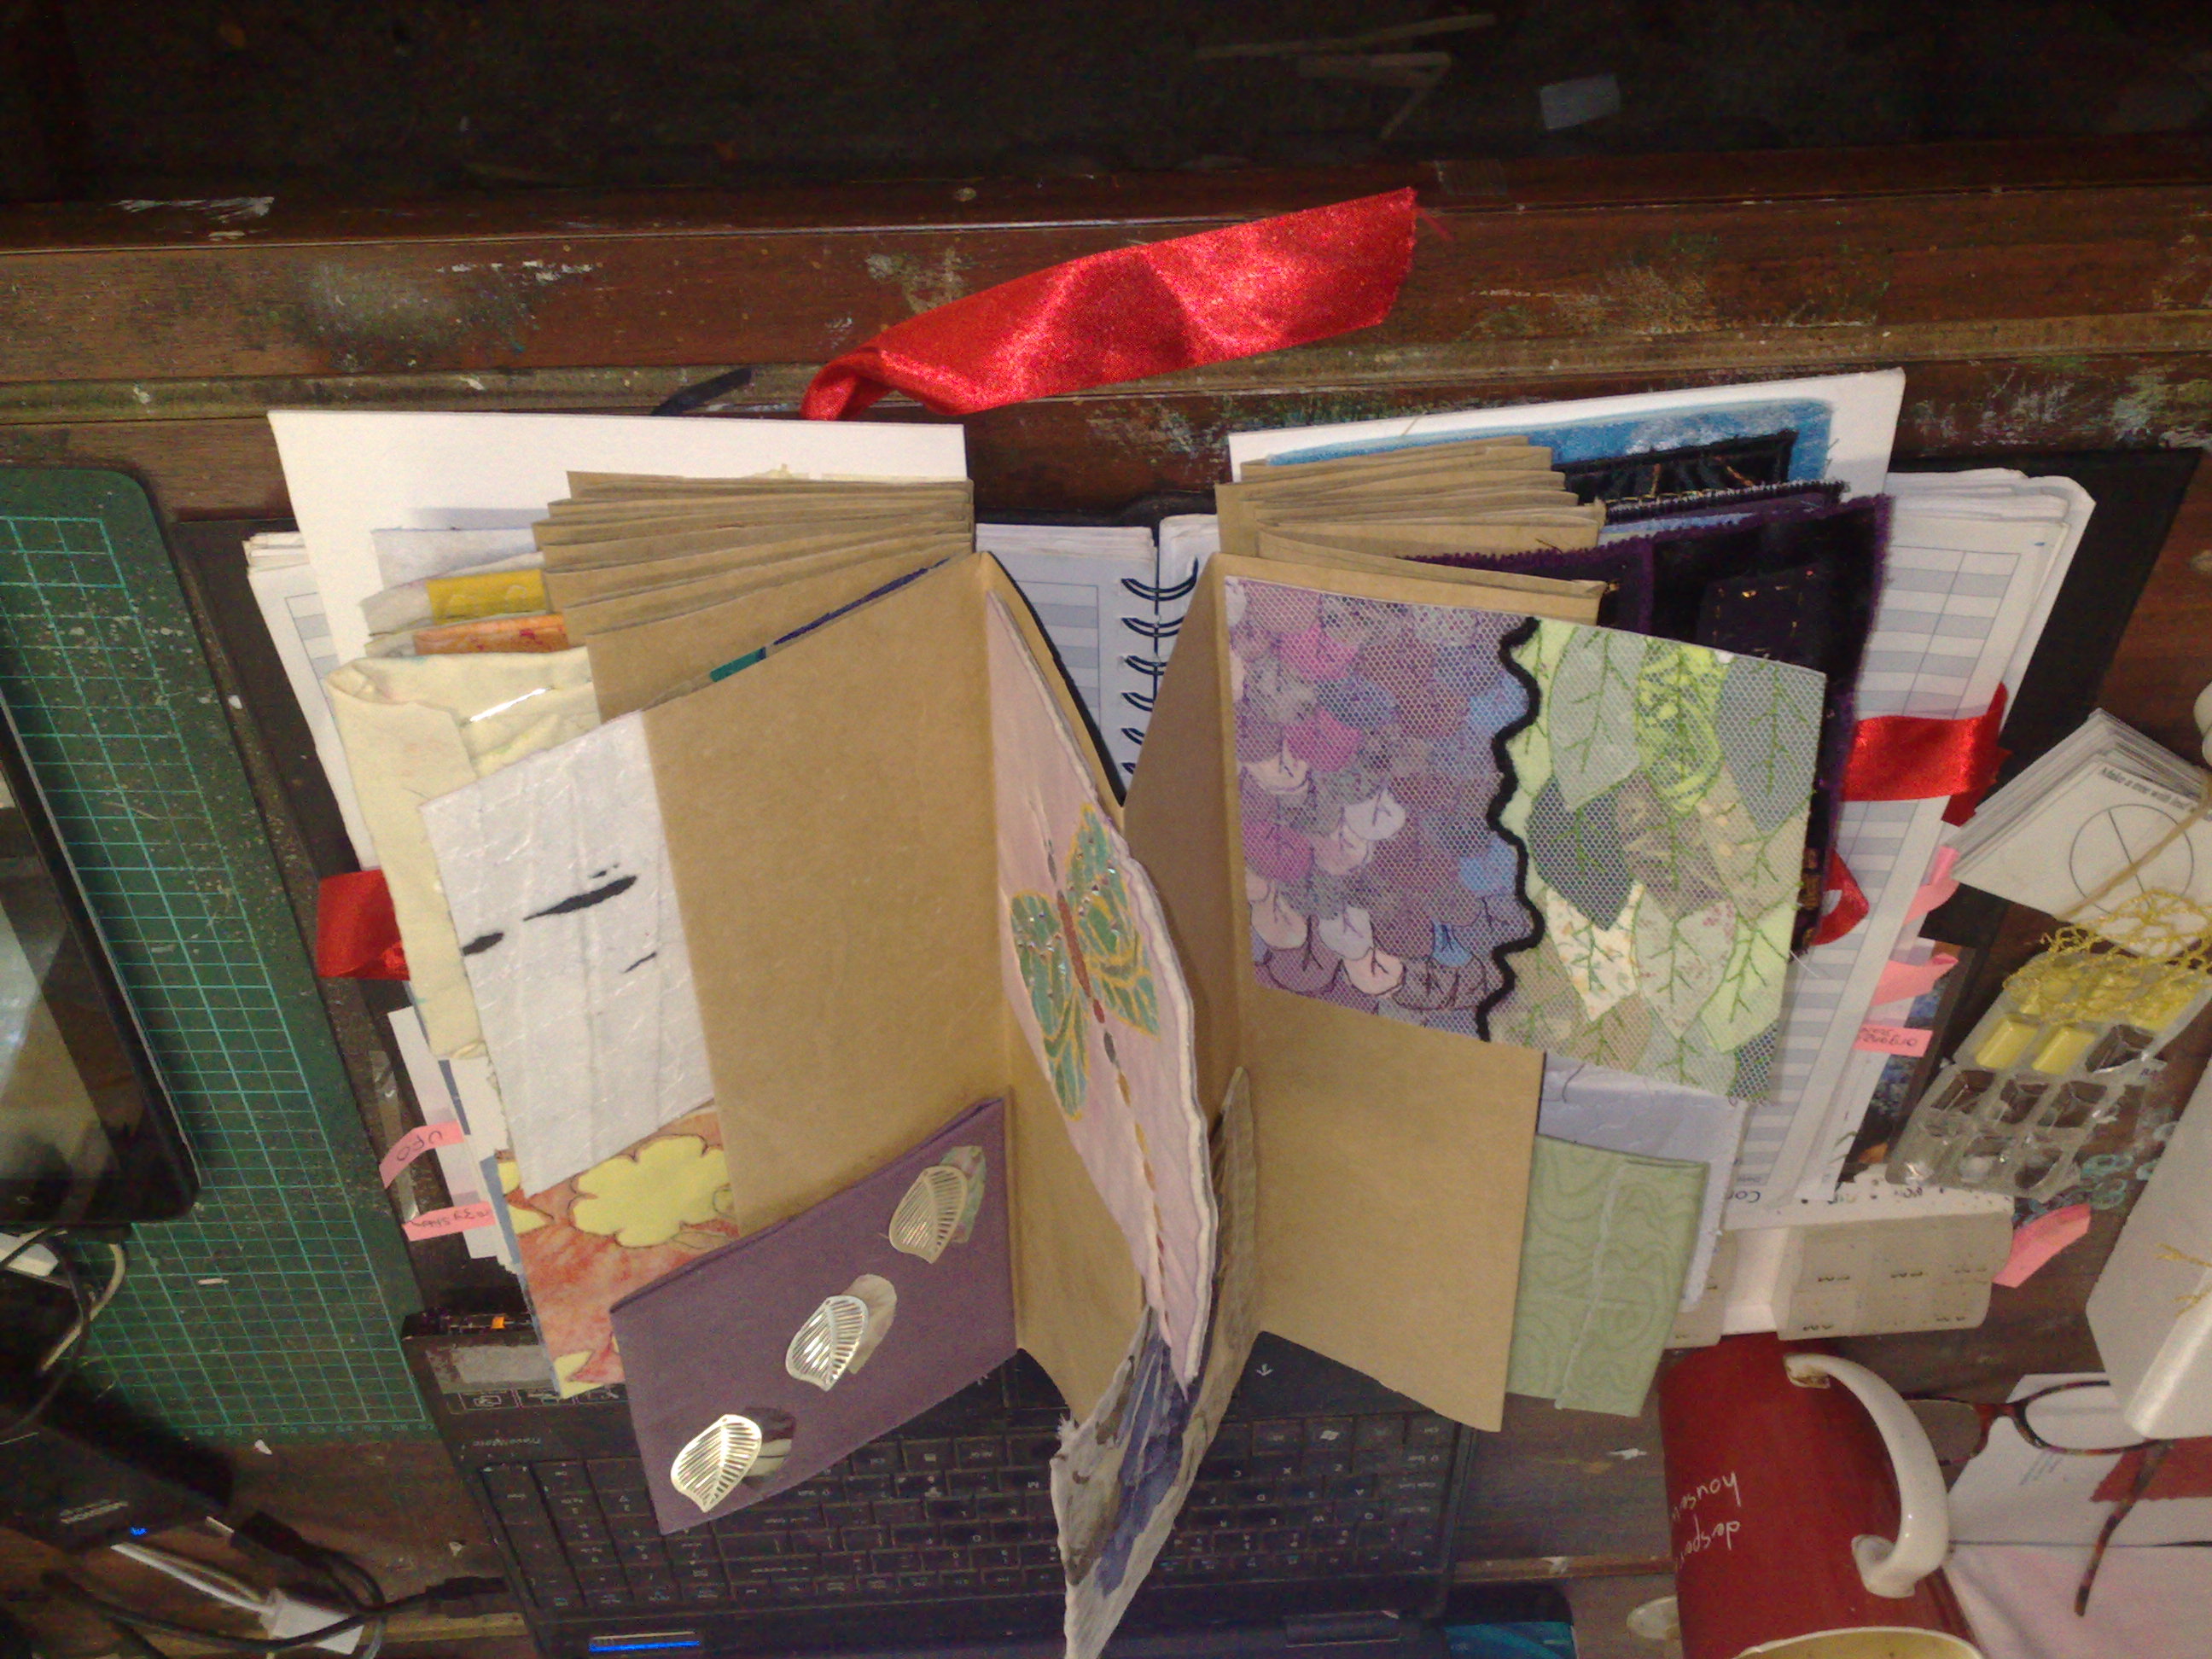
Remember this digital projection of a piece I started using
prompts?
Well I have done a little bit of work on it after a lot of thinking. My work often takes a lot of that before I find what I want to do with it.
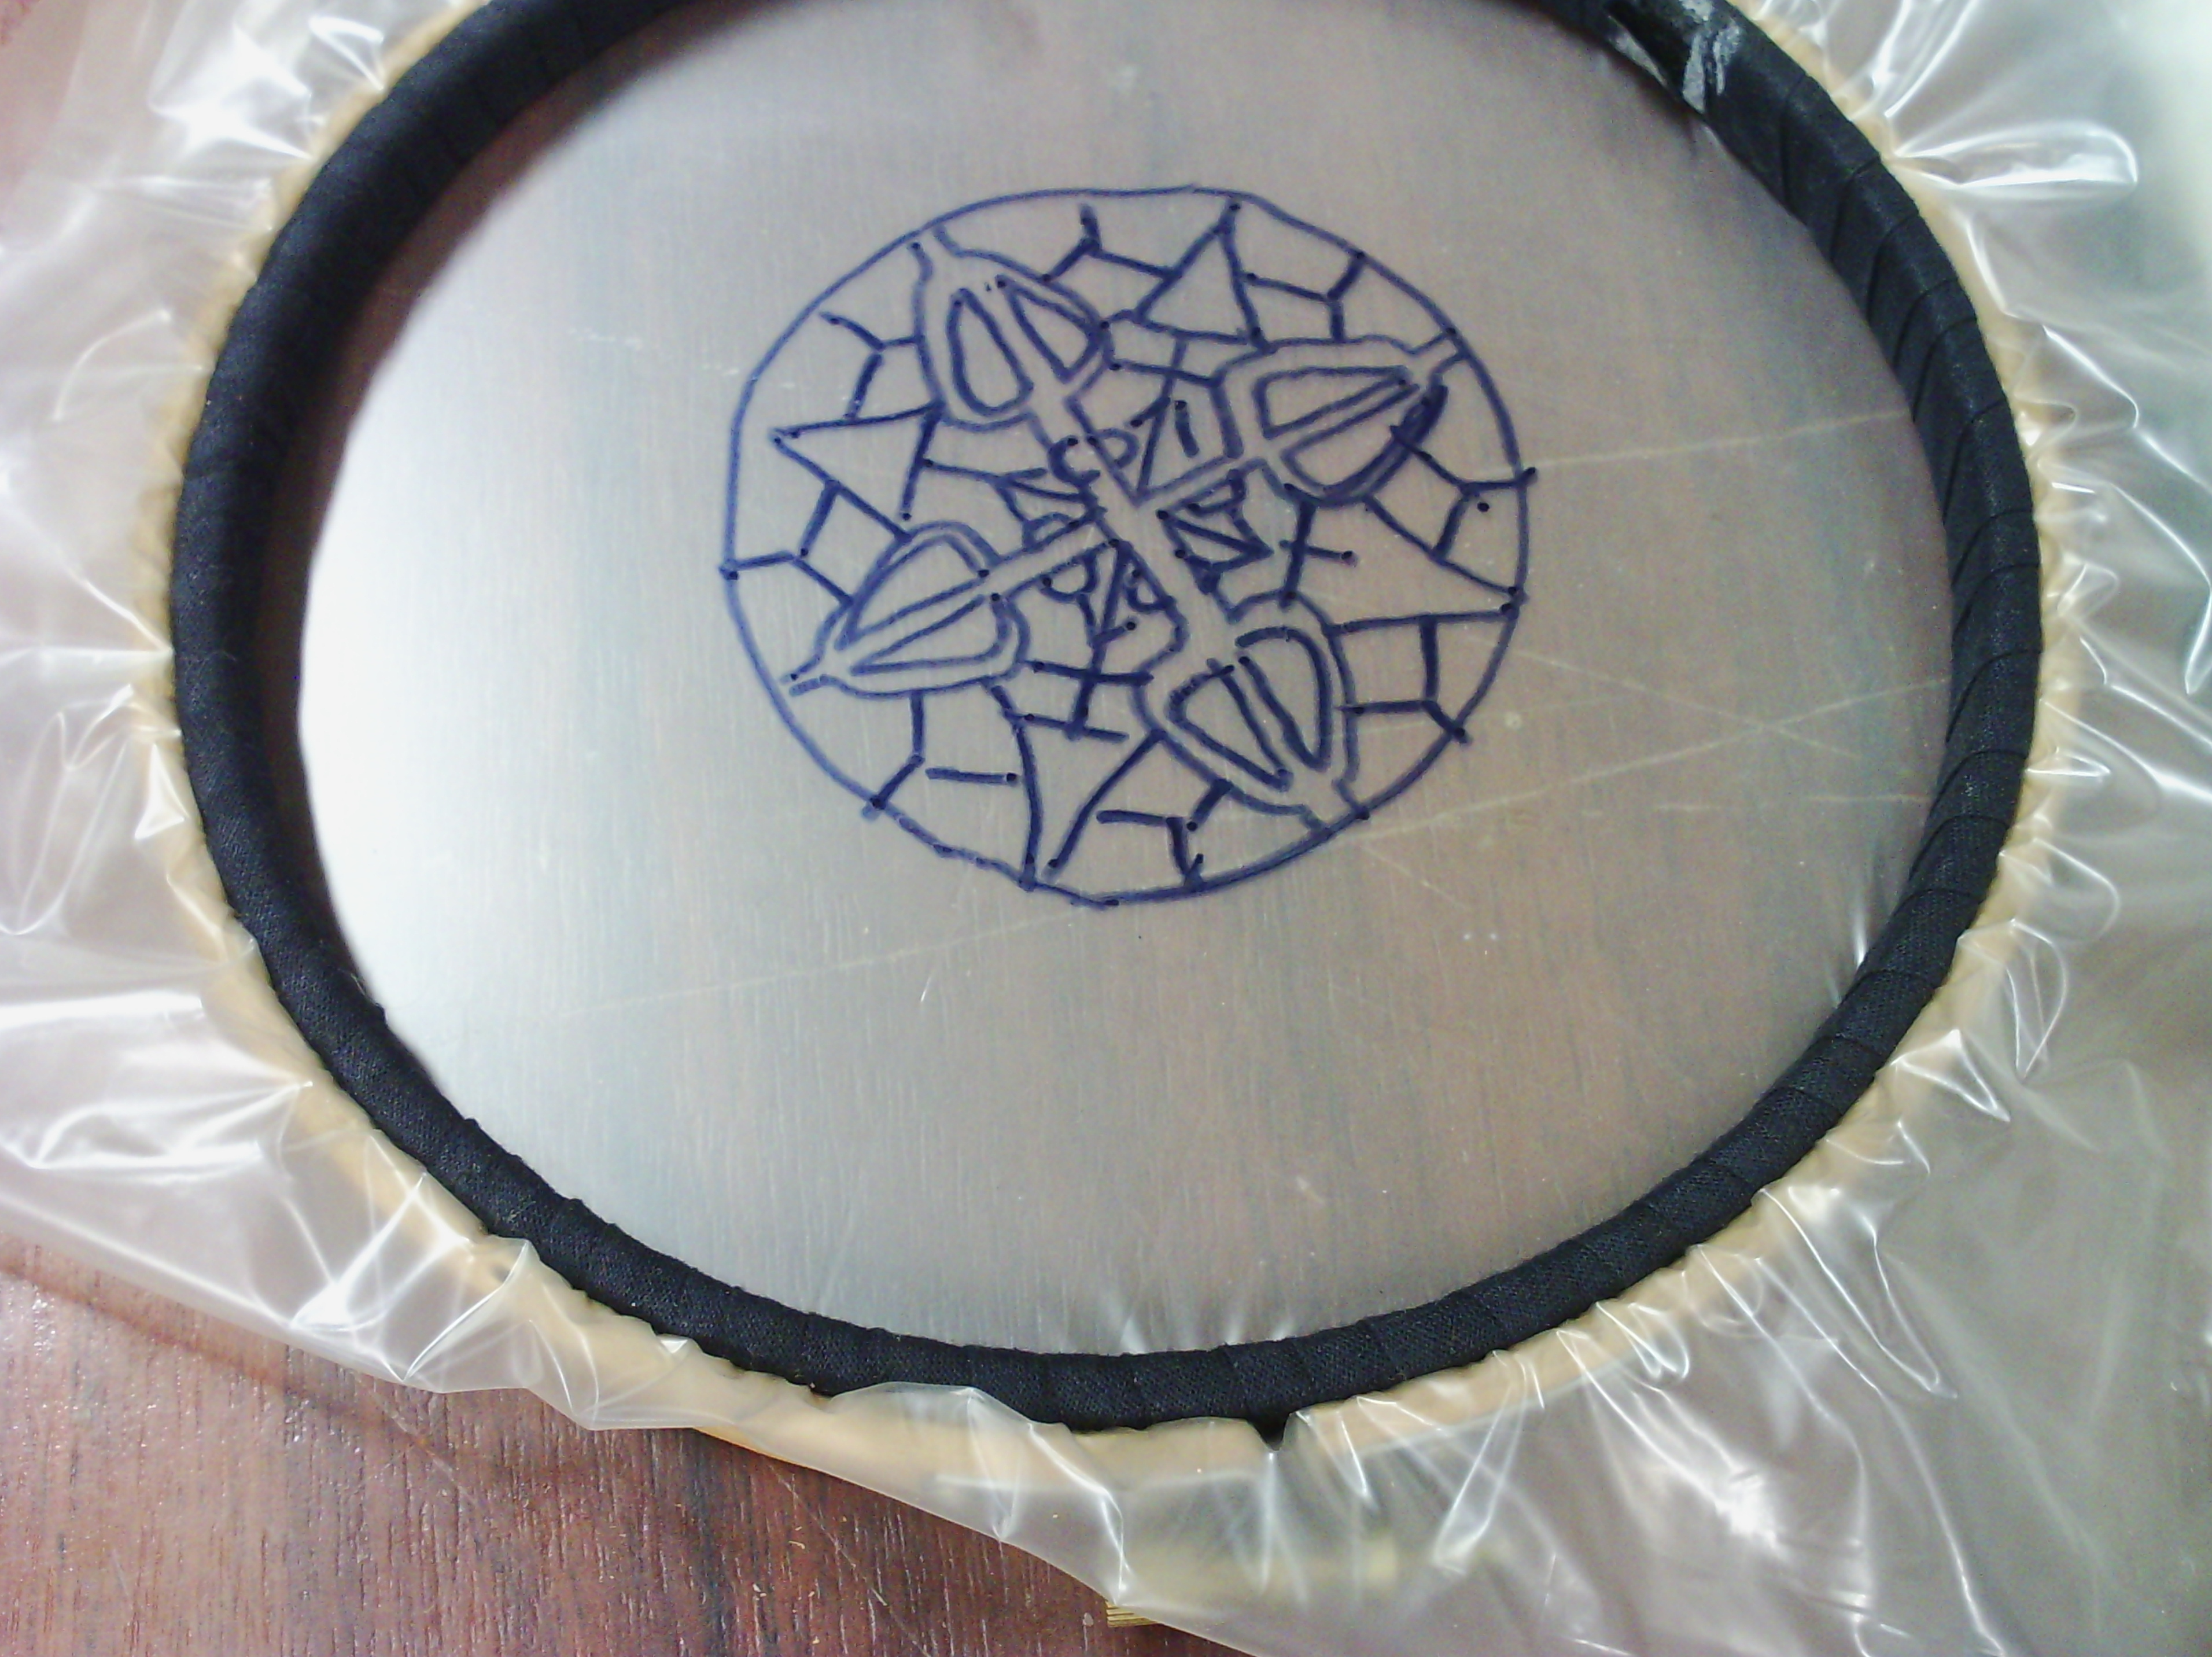
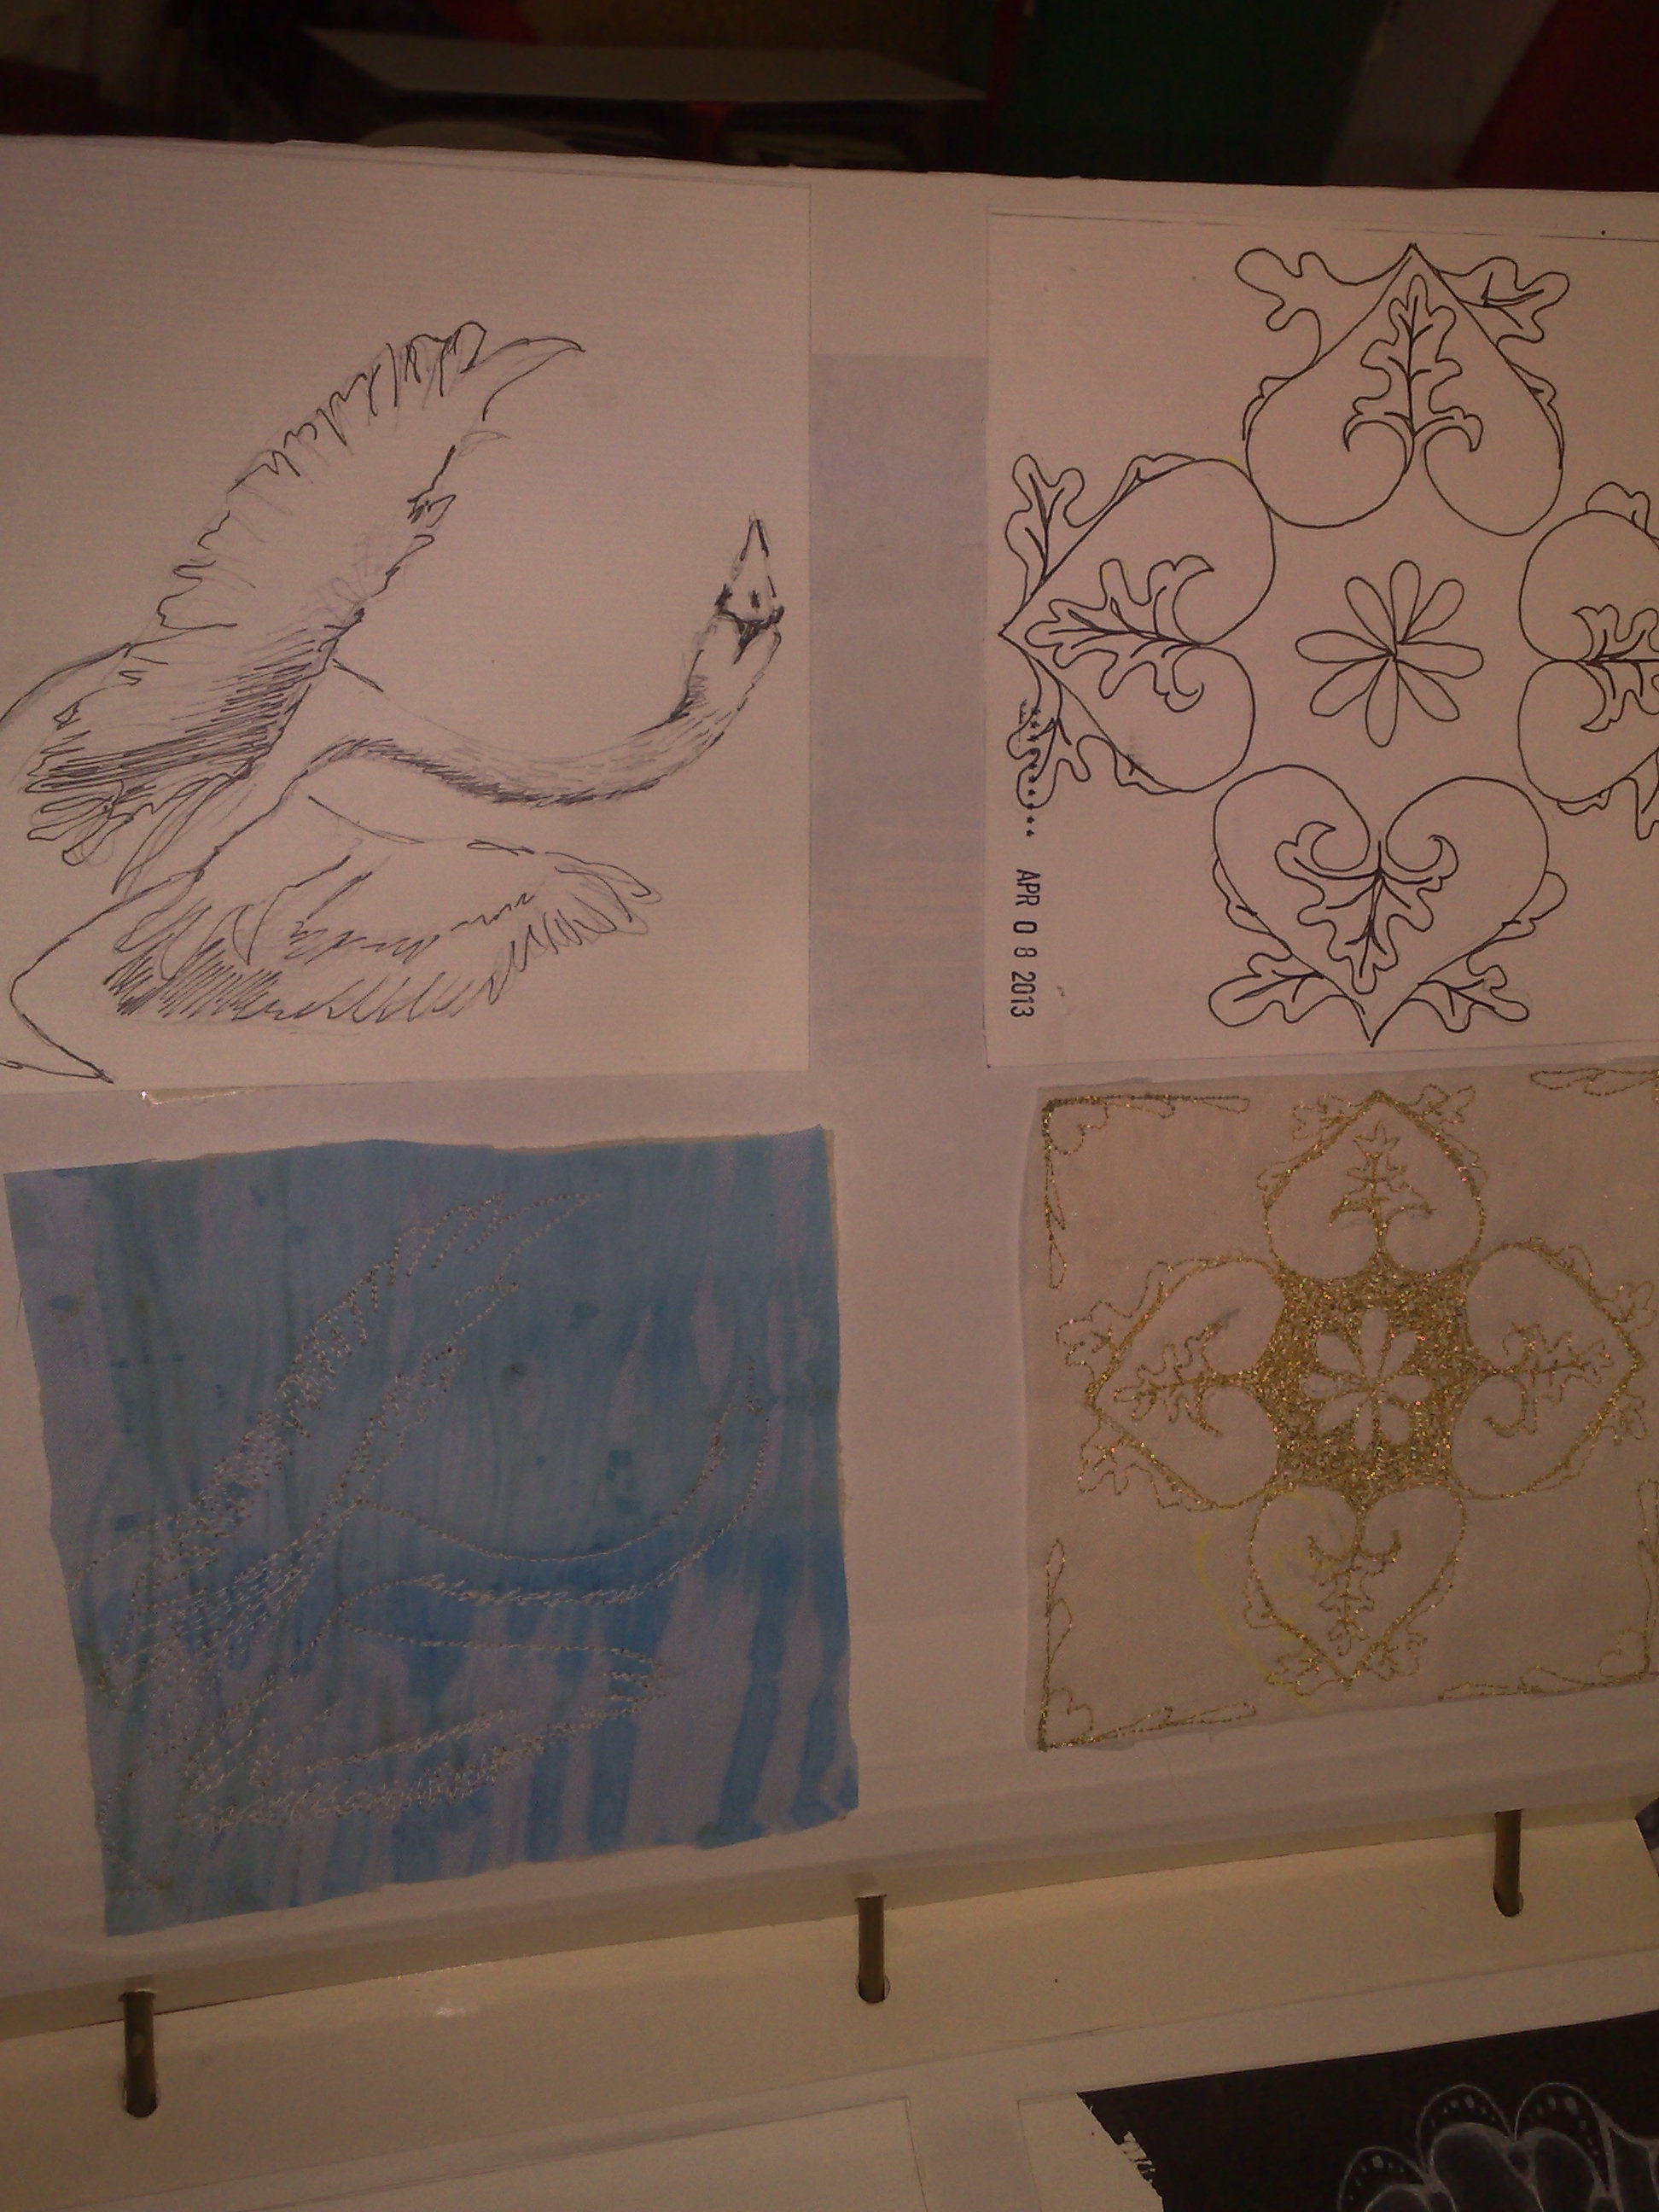
Here is where I am at the moment. I was inspired by
Melanie Testa "
Inspired to quilt" and using sheers, to add a sheer layer and as I was about to stitch it, I thought of using some black sheer and reverse applique to outline the butterfly. I like the effect, however I couldn't solder the edges of the black because I already had a sheer beneath it, so I have a few problems with the black sheer fraying as a result. I have stabilised it, but it looks terrible close up, so I am bow going to do double sided blanket stitch around it to make it look better, I will do some free motion embroidery over the sheer, then I will create sheer flower silhouettes with the soldering iron and sew them down.
Let life inspire you.