Another week and this week I feel I have done a bit more and been more productive, Even with some saddening family news this week. I am glad I have been keeping busy, because I think it does help when life happens - having things to do. Stops you reveling in your own sadness.
But anyhow, Let's look at what I have gotten done this week.
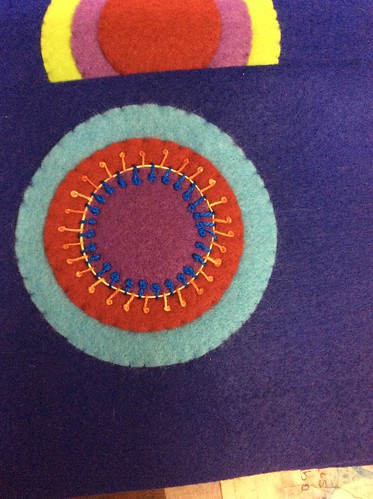
This is my first bit of embroidery on my Sue Spargo sampler with craftsy. It has taken me a while to get started, but hopefully I will get some done on Tuesdays at Quilt group which begins again this week.
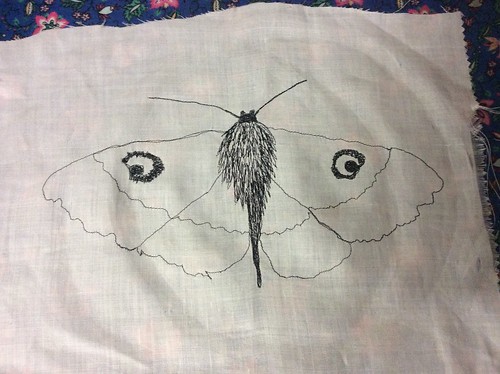
This is a Thread painted moth I finished during the week. Not sure what I am going to do with it yet, perhaps it will become a fabric page.
I finished unpicking this piece of printing on chiffon, which had some free motion I didn't like
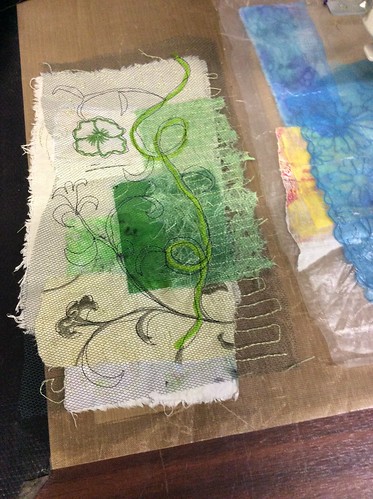
Another of the fabric and paper collages I am making for Fabric books.
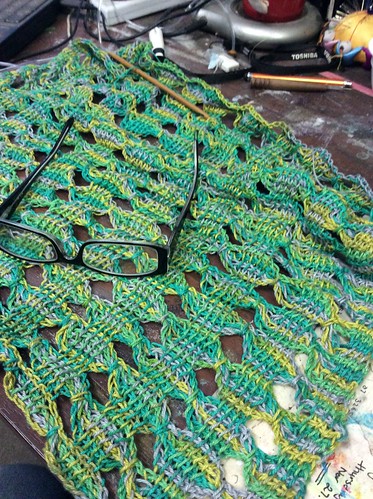
Getting along with my crochet!
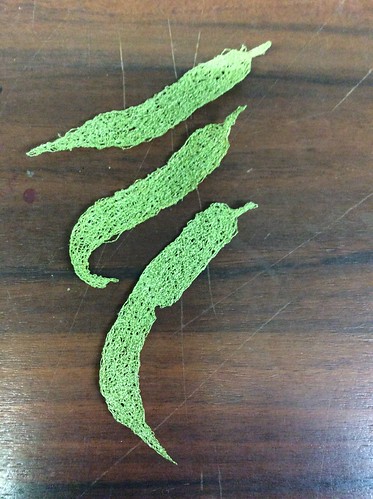
Some thread lace leaves.
A teeny tiny embellishment - again for fabric pages.
A page in my doodle book I am working on. The red leaves are a deli paper page that has been cut - over the top of the green and purple page.
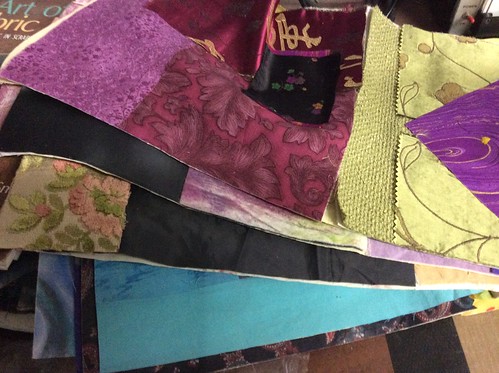
If you have known me for a while, you might recognise this pile of fabric pages ready to embellish. I have used my collage background challenges from last year.
And here is one of the pages, with a free motion sketch which has been painted. Quite happy with this page, but still needs a little more work.
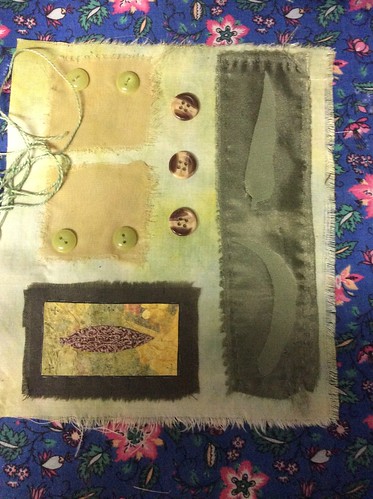
Another fabric page in process.
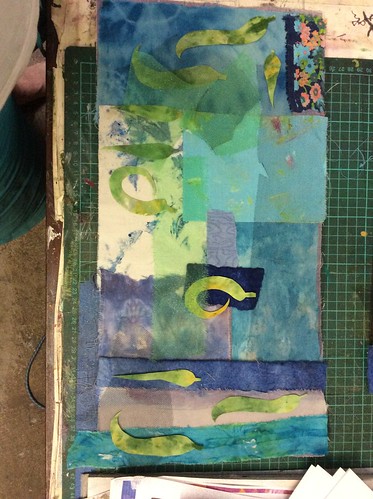
And finally another fabric page, a two page spread ready to free motion stitch. It might seem that I am a bit obsessed with fabric books at present and I probably am. I have been interested for a few years and never yet completed one! So this year is the year.
My pinterest page has lots of inspiration if you want to look, but the main artists who are inspiring me are Frances Pickering, Ro Bruhn, Jill Taylor, and Annette Bolton and of course Cas Holmes. As usual quite a few UK artist in that group!
In fact, my rather elegant cup of tea here is after a hard day at the sewing machine!
I was working with transparent chiffons to make a vignette landscape (vignette, just means not edged or fading out at the edges)
It was an idea I thought of yesterday whilst driving down the mountain.
This is what I got done today. I am quite pleased with it, although I went overboard with the stitching in a few places. If you click on it it should enlarge. The flowers are called Wahlenbergia or Australian Bluebell and I thought they suited the landscape.
This is noly a sample for a larger piece, but I learned something - don't use white felt! No matter how clean your hands are, it tends to get grubby. I think next time I will try canvas, because it can be wiped clean and mounted on stretcher bars.
Anyway, that was my day.
Still working on my Tangled Textiles challenge piece. Today I did some thread sketching.
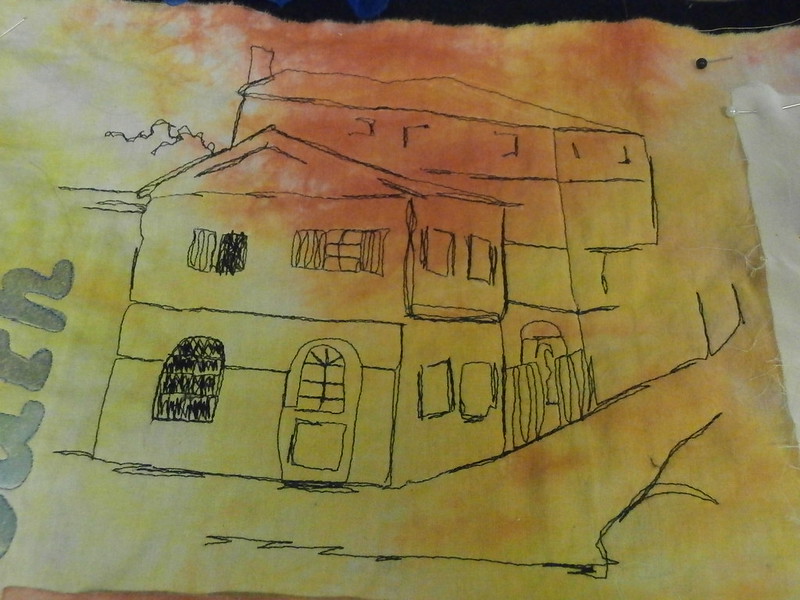
This is my thread sketch of the yellow house, where Vincent lived in Arles. My intention had been to add colour, but I think I prefer it just as a sketch.
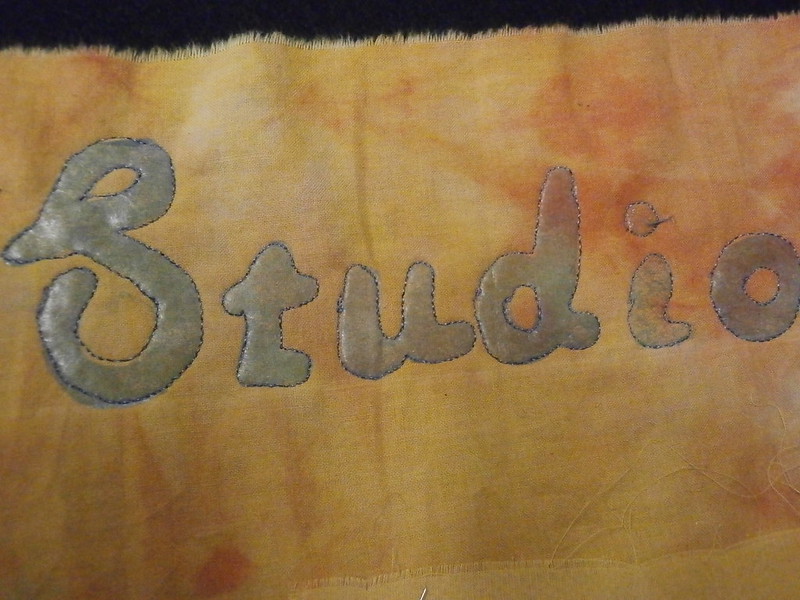
I also outlined the painted fusible title
It looks a bit better like this, I think.
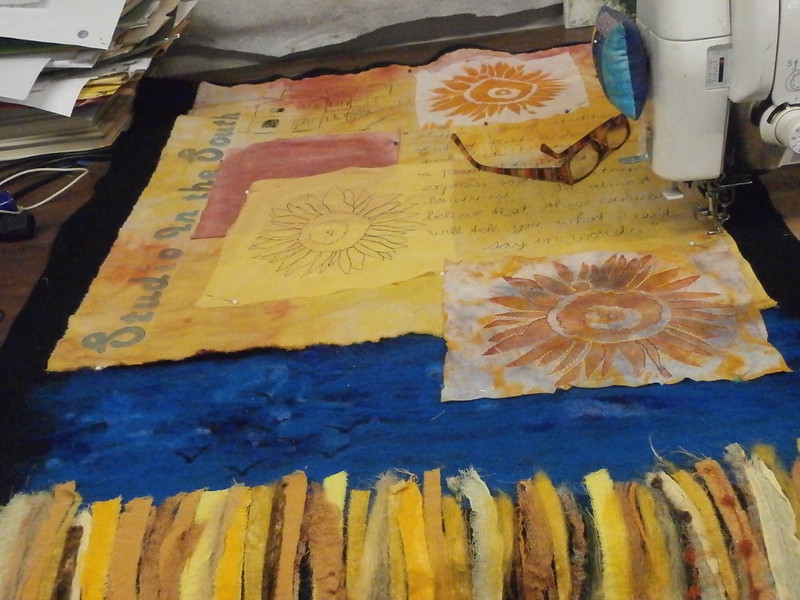
I also did some work on the needlefelting and began the quilting, but you can see that tomorrow (I hope!)
Here's a picture of how it is going
I am liking how it is going and am going to enjoy having it on my wall.
first. I have a little brooch to show you which I put together this week.
It was inspired by a recent video on Just hands on TV. i did not use the method shown in the video although my beading is very similar.
I used a milk bottle lid for the top and a cardboard circle for the bottom and covered them both with velvet, by cutting circles and gathering them to the back. The back circle has a fabric circle on both the front and back and a brooch finding sewn on. then I basically beaded around each. I also put a sequin and bead on the top.
I quite like the result and think it will make a lovely gift. Now, just as I am writing I am thinking that perhaps I should make some leaf shaped ones!
On a more subdued note, a few days ago was the fifth anniversary of the worst fires in Australia's history, which ravaged my home town, and I have started a piece of work informed by it.
I was inspired, by a couple of blogs, to do some free motion thread painting, which I have not done much of lately.
Firstly, I happened to glance at Monika Kinner-Whalen's blog and it reminded me of thread painting. then I was looking at Olga Norris' blog and saw some amazing work by an inspiring artist called Audrey Walker.
All this made my fingers itch to do some thread work and when I looked through my reference photos, I found this rather blurry photo I took a month or so after the fires.
I wasn't concerned about the blurry nature of it because I intended to simplify it anyway.
And here is where I am at with this.
If I was painting with a brush, I would call this the blocking in or underpainting stage. All I have done is stitch in the basic areas, very lightly, allowing for more stitch in detail to go over the top.
I am enjoying doing this and I will definitely be posting more as I go further on.
I have been busy doing a lot of reading. At the moment, I am reading 'Creative Composition and design' by Pat Dews. It's just my sort of art, based on texture backgrounds.
So, I haven't had much to blog about for a few days, but today I did another thread sketched piece based on an embroidery design.
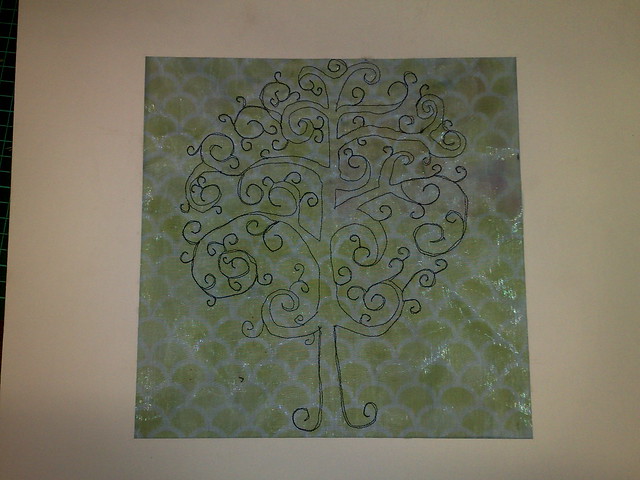
This is the design, from the sew beautiful blog. Again, it is really for hand embroidery, but, hey a design is a design.
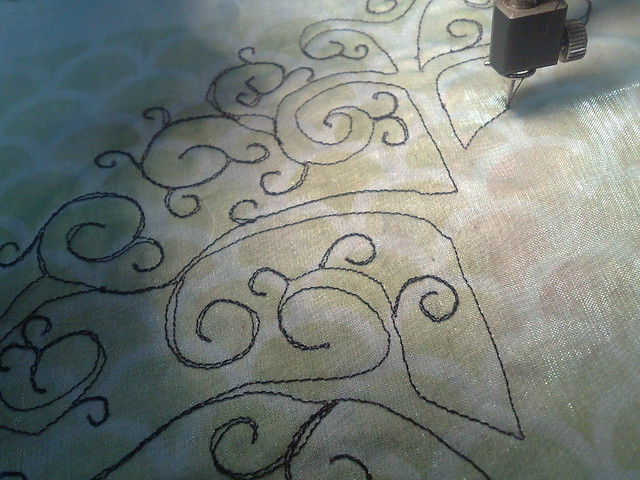
here I am, busy sewing it with black thread on organza layered over one of my airbrushed fabrics.
and a close up of my wonky stitching!
Here it is done with a black and a white mat board. Not sure which I like, but there are a few places I want to add swirls to even it up and I think it needs a few beads to cover up my oopses and perhaps a bit of fabric paint on the trunk?. I wonder what it would look like using bobbin drawing, mmm, I wonder if I can fit enough thread in the bobbin to do the whole thing, or perhaps do it in two halves just to be safe.
Anyhow, I know I will use this pattern, or something similar again.
OK, I might be back at work, but not quite blogging. Time to get back into it.
I have had a few very busy weeks, organising classes for this term at the community house. Not really finished, yet, but getting there.
My studio is organised and lots of things are getting done bit by bit.
Yesterday at quilt group, I was given a lovely gift!
some yummy rayon embroidery threads. Very shiny and perfect for the magpie in me.
Of course I just had to have a go with them, so here is a little thread painted leaf on felt. Yum.
I am also still making butterflies on chiffon and organza. This one used a multicoloured thread, and still needs a little more before I finish stitching.
A small postcard sized thread painting on watersoluble.
The beginning of a needlefelted landscape.
A skeleton leaf I have been working on for EVER!
A set of 12 in collage blocks that are on their way to becomming a quilt.
A large black sandwich which I quilting very randomly in green to make a new vest for my hubby.
My quilt sample from beyond basic machine quilting on craftsy. I have used satin for my fabric and added some reverse applique with painted sheers.
For this fortnight's video (I hope to get it done weekly, be we will see), I am showing a step through of my last challenge piece for Tangled textiles, the topic being 'beginnings' (which I chose).
This did not actually start as a TT piece, it was actually my first video collage, but it became something else as I went along. Serendipity.
Here is the video for those of you who are impatient, lol.
I started with the colours blue and orange in mind.
Some blue yarns, silk and wool rovings in blue on my foundation, which was a piece of furnishing fabric.
Some blue fabrics, including satin, organza, face wipes, nappy liners, fabric paper, textured knit, sinnamay.
some orange yarns and rovings.
Some orange fabrics, same types as the blue.
Then I arranged them to my liking. I sewed them all down with a bit of free motion.
I left this to percolate for a few days and decided it was saying 'beach' to me, so I went through my sketchbooks to find something.
I found a sketch of the beach on the peninsula, where I grew up.
I traced it onto tracing paper, then freemotioned the main lines onto organza.
I layered the organza with another piece of organza over it onto the collage and started thread painting.
I started with a bit of gold on the beach.
Then some dark brown on the rocks on the point.
Then some light orange over the tops of the ridge.
Next I added some blue stitching in the water.
Then I filled in the ridge and the beach with lighter and darker colours.
I decided a few more light highlights were needed especially on the bushes.
I decided that that was enough thread painting and began adding hand work.
Some seed stitch and running stitch. I decided I like the loose ends, so I knotted them on the top.
A few grassy bits in the foreground. With beads, seed stitch, running stitch and french knots.
A few seed beads on the water to create wave crests,
And voila! My piece was finished after the addition of some blue ribbon for the binding.
Hope you enjoyed this. Now on to some 'blue' for our next challenge.