I have not blogged for several weeks, although I have been working on my current projects and a couple of new ones. I have just been a bit camera shy - or perhaps lazy in taking pictures. I am suffereing from a rotten dose of hay fever and sinus, due to our normal pre Christmas weather - that is two days hot, two days freezing and so on, but instead of having a whinge, I thought I might just post some of the journal pages I have been doing for The Chrismas Chronicles - a journaling workshop at Rhomany's realm. Which I have been partaking in.
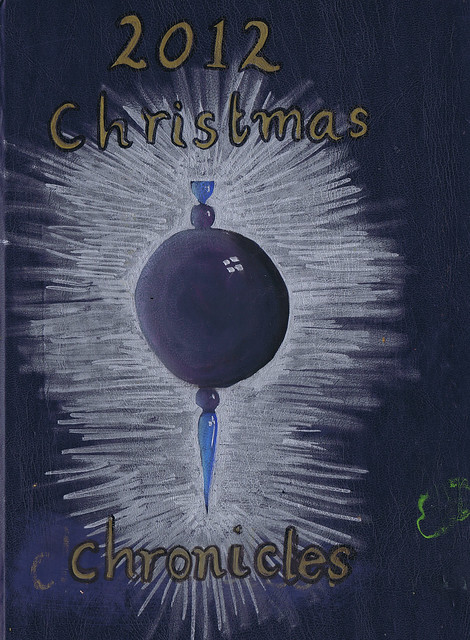
Here is my cover, on which I learned NOT to use hairspray on water soluble oil pastels, lol.
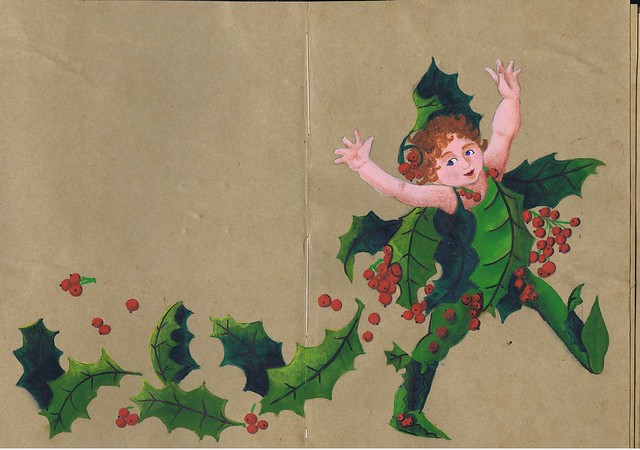
The theme for this unfinished page - which I scanned and used for my christmas cards, was HOLLY.
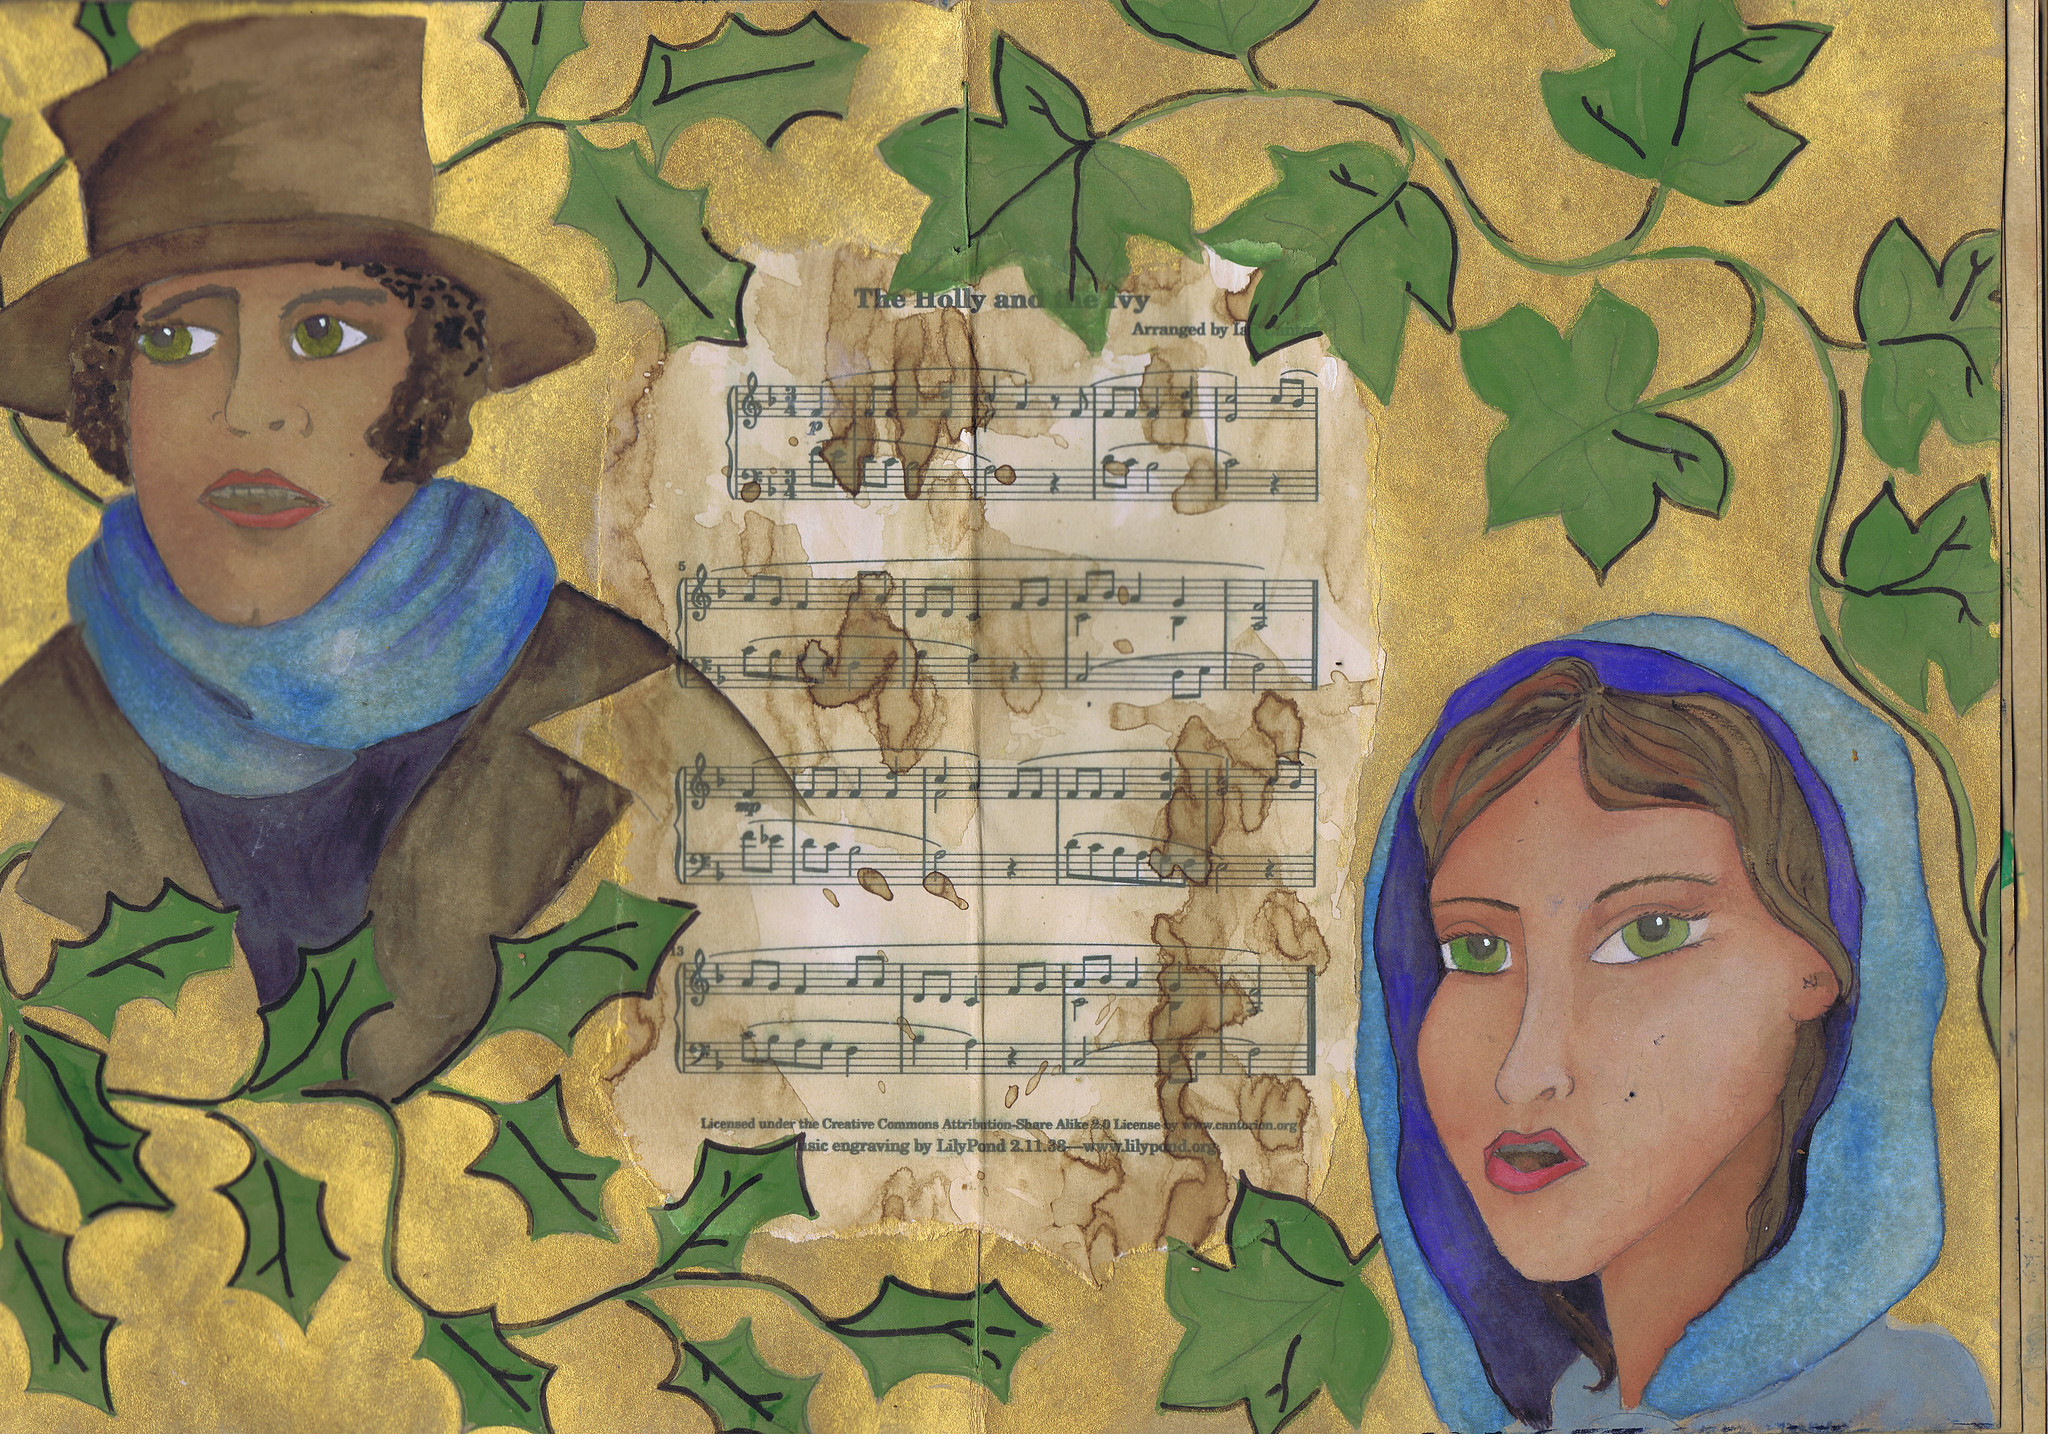
The theme for this page was IVY and I extended it a bit to be "the holly and the ivy"
The theme for this page was STAR.
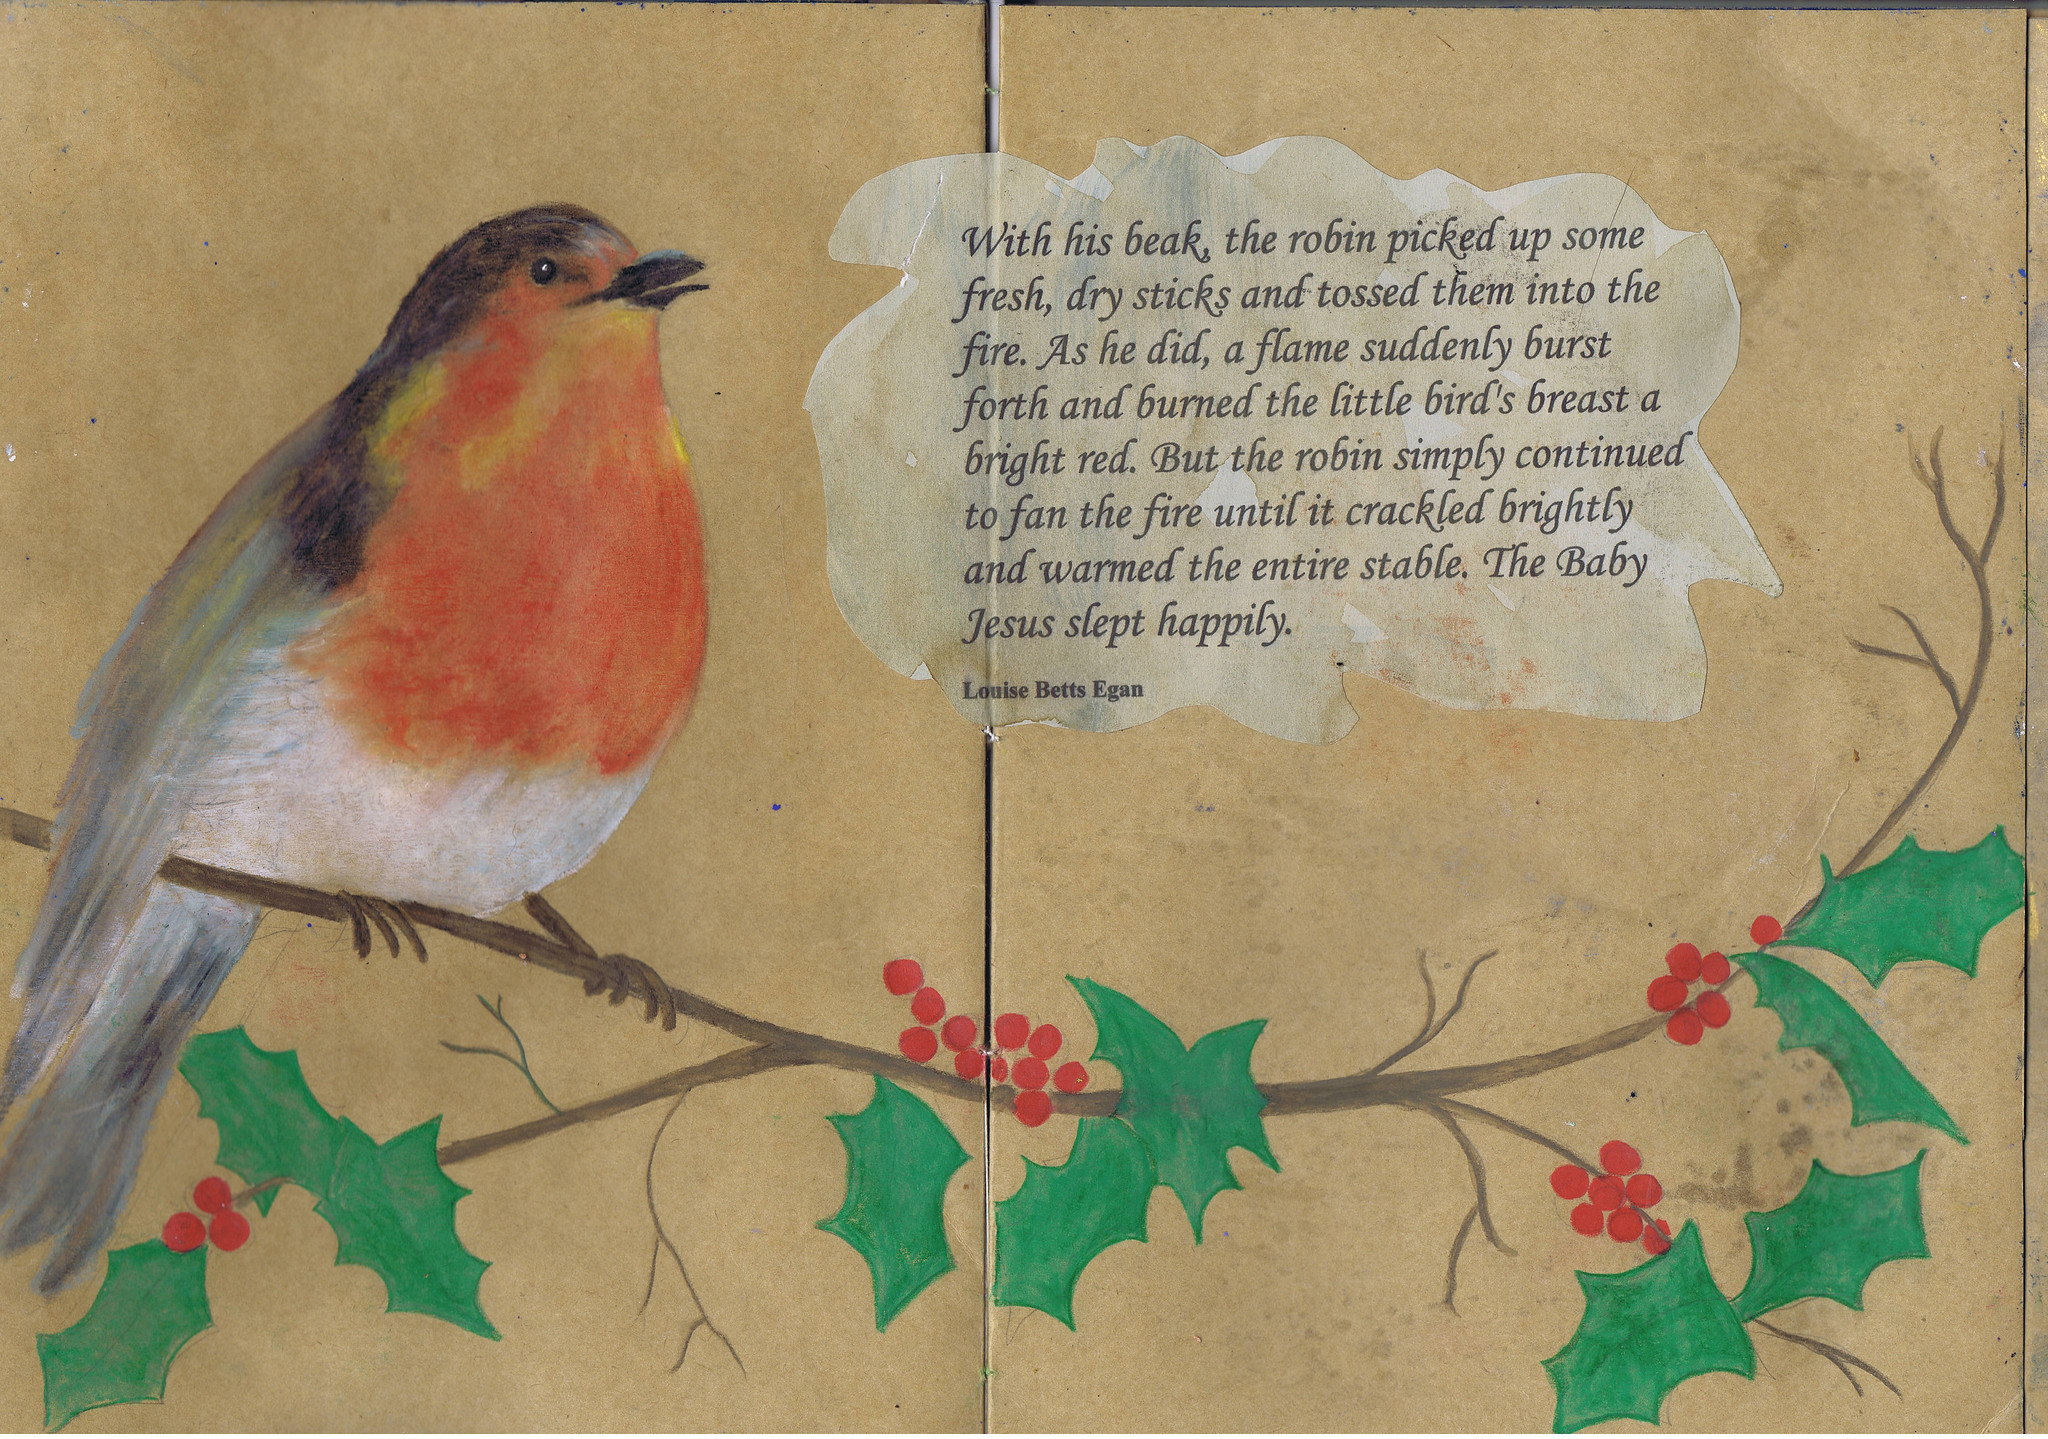
The theme for this page was ROBIN, but the page is not quite finished.
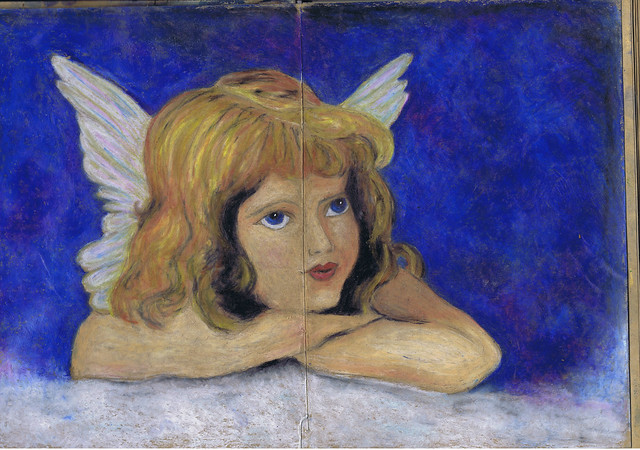
Obviously, the theme for this page was ANGEL.
And this page was about FAITH.
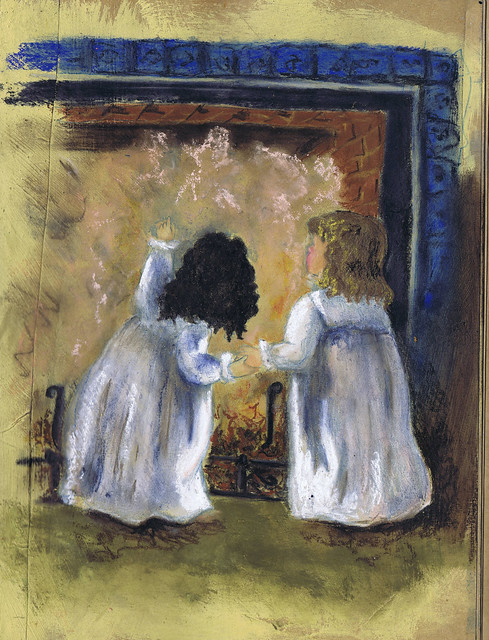
I am sort of using a vintage Christmassy sort of theme, and using lots of postcards from The graphics fairy as my inspirations.
Hope you all have a lovely christmas, religious or not, and I will take a break and be back about the 14th January.
Living in the bush has it's bad points, snakes, fires and power outs. This week we had no internet.
So, I had a little break in Blog communications.
I will be back next week as usual, hopefully (telecommunications being intact that is)
But here is a little eye candy for you.
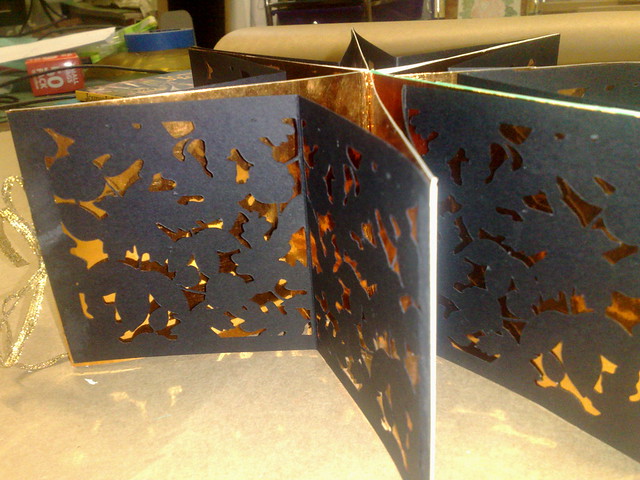
This is a star book I made during the week. I won't give you a tutorial, since there are plenty on youtube - just type in 'Chinese star book' and you find plenty.
I think you can see why it's called a star book. Mine only had two layers. I intended to put three, but the third layer really took away from the design as it was.
You can see here that the first layer was a metallic bronze card. The second layer was black card which I cut into a lacy pattern with my silhouette cameo.
Here's a close up of the black lacy layer.
And here's the book when closed. I was very pleased with it and intend to make more for the gallery with different silhouettes.
I have been very busy lately, getting ready for the first day of our community gallery, which went extremely well, and also with a few family duties, but now on to the next step in my November TAMMS you can post about what you have done with it here.
We have done several things so far; A foundation Surface design Fabric manipulation Embellishments Design
So this is where we were up to last time.
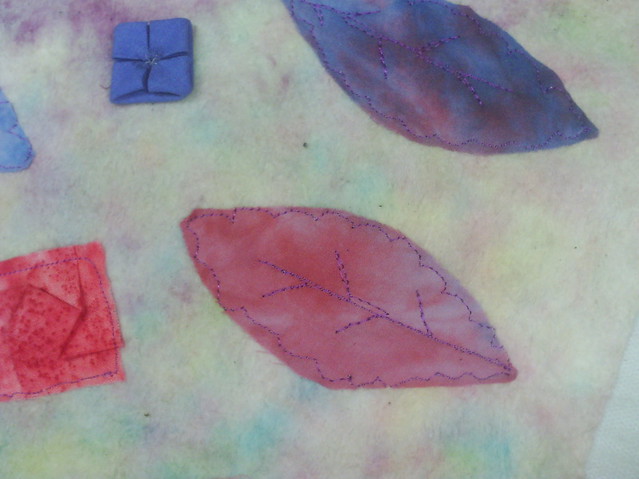
We had arranged the pieces in a design to our liking. I have placed a piece of non-woven interfacing underneath, to keep it stable for the stitching.
In this post, I stitched everything down with free motion and added a bit of decorative free motion stitching.
First I stitched all the elements down. I used straight lines for the folded squares and scalloped lines and veining for the leaves.
Here are a couple of close ups of the stitching. It used a magenta rayon thread, a solid colour, however it looks quite different on the different coloured fabrics. I just secured the hydrangea square with a couple of stitches in the centre.
Next I did some swirly stitiching on the painted batting background.
And a close up of the swirls, which were in a green rayon thread.
And that's all there is! I find this step in my work to be the quickest. I am really liking where this piece is going, it looks a bit like a tapestry with all the stitching and I am looking forward to doing some hand stitching next. What do you think would be the right stitching to set off the design?
And Mounting? I am at this stage thinking of turning it into a large book cover, but we will see.
For this fortnight's video (I hope to get it done weekly, be we will see), I am showing a step through of my last challenge piece for Tangled textiles, the topic being 'beginnings' (which I chose).
This did not actually start as a TT piece, it was actually my first video collage, but it became something else as I went along. Serendipity.
Here is the video for those of you who are impatient, lol.
I started with the colours blue and orange in mind.
Some blue yarns, silk and wool rovings in blue on my foundation, which was a piece of furnishing fabric.
Some blue fabrics, including satin, organza, face wipes, nappy liners, fabric paper, textured knit, sinnamay.
some orange yarns and rovings.
Some orange fabrics, same types as the blue.
Then I arranged them to my liking. I sewed them all down with a bit of free motion.
I left this to percolate for a few days and decided it was saying 'beach' to me, so I went through my sketchbooks to find something.
I found a sketch of the beach on the peninsula, where I grew up.
I traced it onto tracing paper, then freemotioned the main lines onto organza.
I layered the organza with another piece of organza over it onto the collage and started thread painting.
I started with a bit of gold on the beach.
Then some dark brown on the rocks on the point.
Then some light orange over the tops of the ridge.
Next I added some blue stitching in the water.
Then I filled in the ridge and the beach with lighter and darker colours.
I decided a few more light highlights were needed especially on the bushes.
I decided that that was enough thread painting and began adding hand work.
Some seed stitch and running stitch. I decided I like the loose ends, so I knotted them on the top.
A few grassy bits in the foreground. With beads, seed stitch, running stitch and french knots.
A few seed beads on the water to create wave crests,
And voila! My piece was finished after the addition of some blue ribbon for the binding.
Hope you enjoyed this. Now on to some 'blue' for our next challenge.
Aha, now we have done some totally unrelated techniques, comes the hard part. Using those bits and pieces to create a textile and mixed media piece.
Here are the bits and pieces we have.
I find that I can think and think, and draw sometimes, but that the design doesn't come together until I start fiddling. That was the case here.
"inspiration exists, but it has to find you working" Picasso
This is one of my favourite quotations and is very true here.
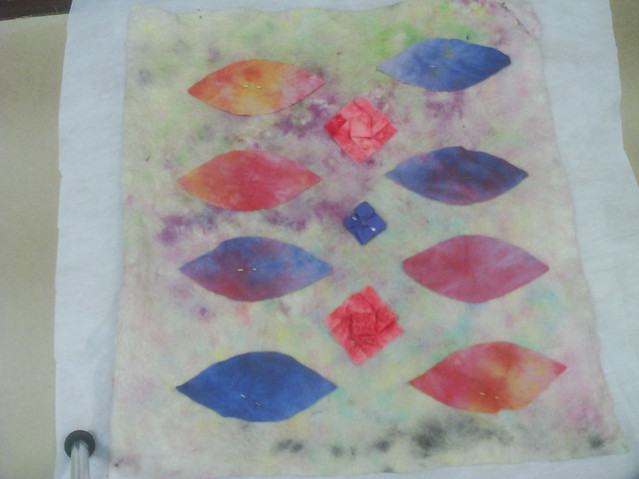
Whilst tidying up my workspace, I came across a picture I had seen of different coloured leaves, and that got me started.
So I started with my painted batting.
I cut out some leaf shapes from my hand dyed fabric.
I played with arranging the leaves. I started with one row of five, but couldn't think of a way to add the folded fabrics, then I hit on two rows. I have placed the leaves in gradations going in opposite directions. It was the negative space - that is the diamonds this arrangement forms that made the design.
I added some of the paper beads.
and the folded elements, and I was pretty happy with the design after a few tweaks.
This design uses negative space, repetition, symmetry and colour to achieve its form.
Now on to the stitching - hand first? or machine, we will see.
Hope you like my ideas for this month's design for my TAMMS project. I'd love to see what sort of things you all come up with here.