Tuesday, July 30, 2013

Journal quilt

I have made another journal quilt.  I find these little pieces an easy way to do a little experimenting.  I am slowly putting all of the information from all of them in an interactive database and this shows me which techniques I have not done yet.  Although I have many of these pieces (and I have even been asked if they are for sale!), there are still lots of techniques I have not put into them and of course, I am always expanding and adding ideas to try as well.
Here is my latest one.
I picked the techniques I wanted to use before I started, but of course I always change my mind. I had intended to use batting as the foundation and cotton for the first layer, but I found this piece of very dark brown, almost black satin and used that instead.
I got a couple of pieces of interfacing (don't ask what type as I get these from the recyclers and there are no labels.  They are synthetic, I know that much)  one was more like a lutradur and one was smoother.  I sprayed them with fabric paint and let them dry.
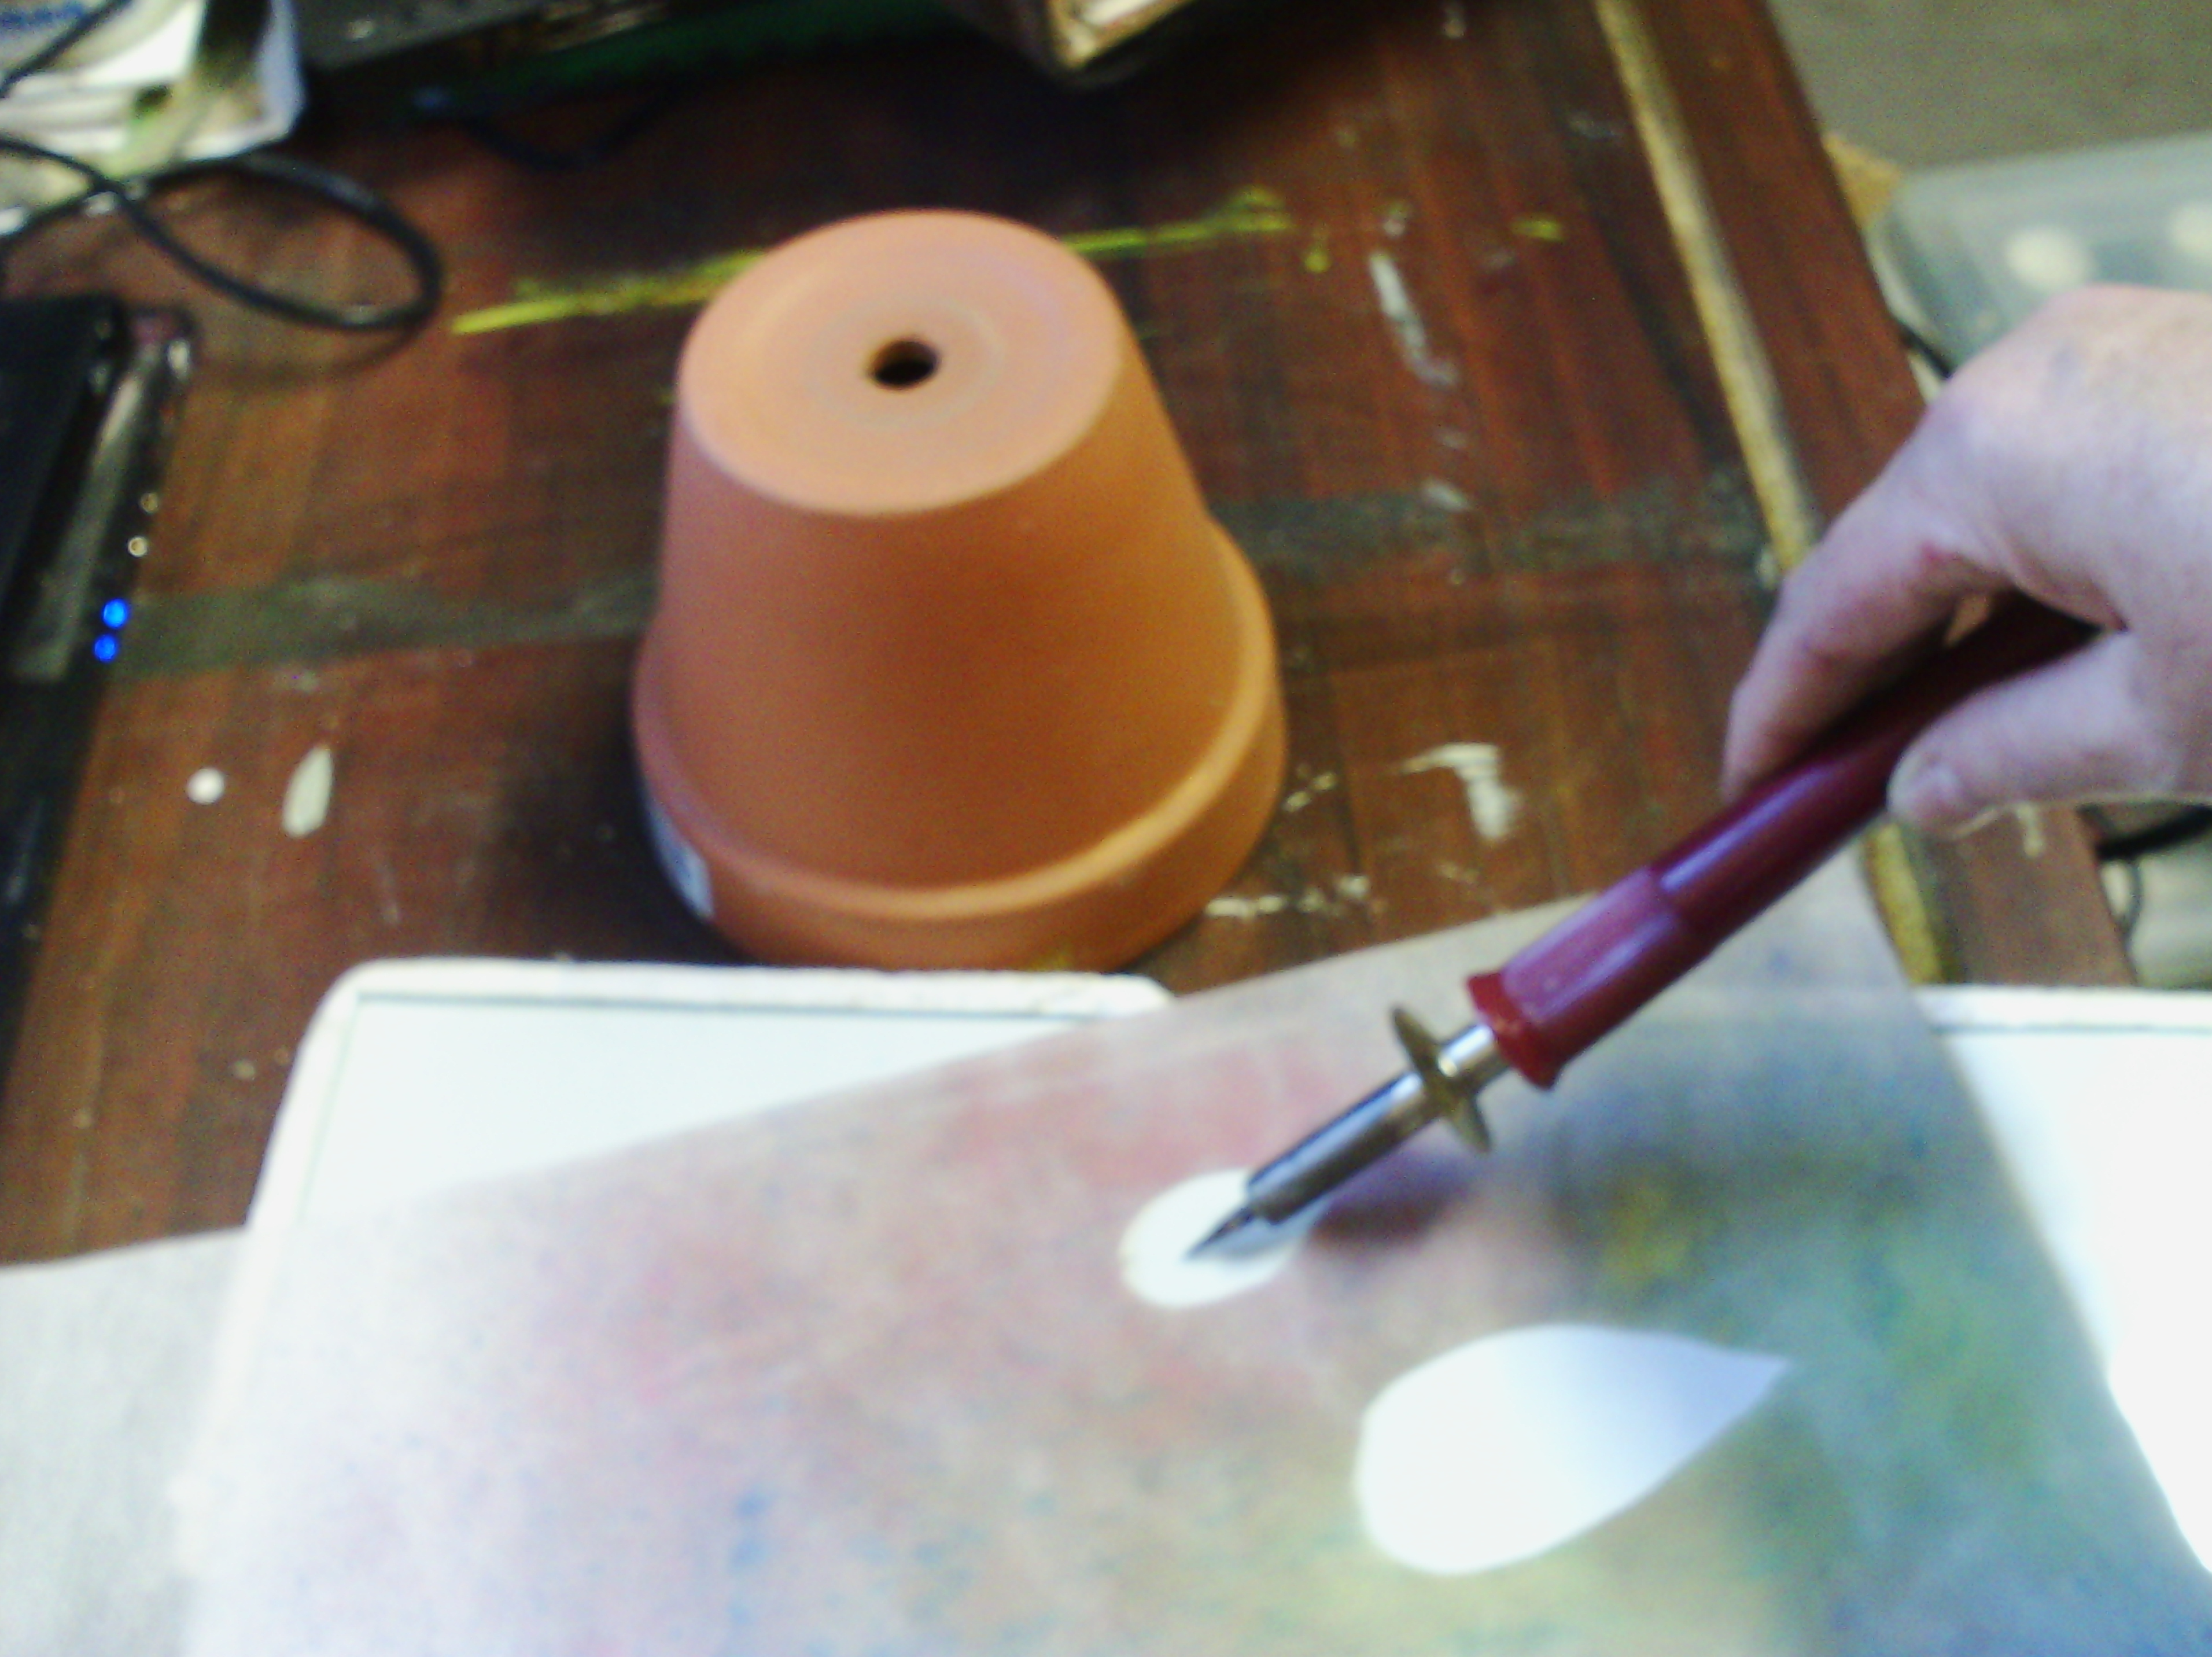
Then I cut a few leaf shapes out with my heat tool.  They cut very cleanly this way.  I could of course have used scissors since the fabrics wouldn't fray, but hey I wanted to be different.
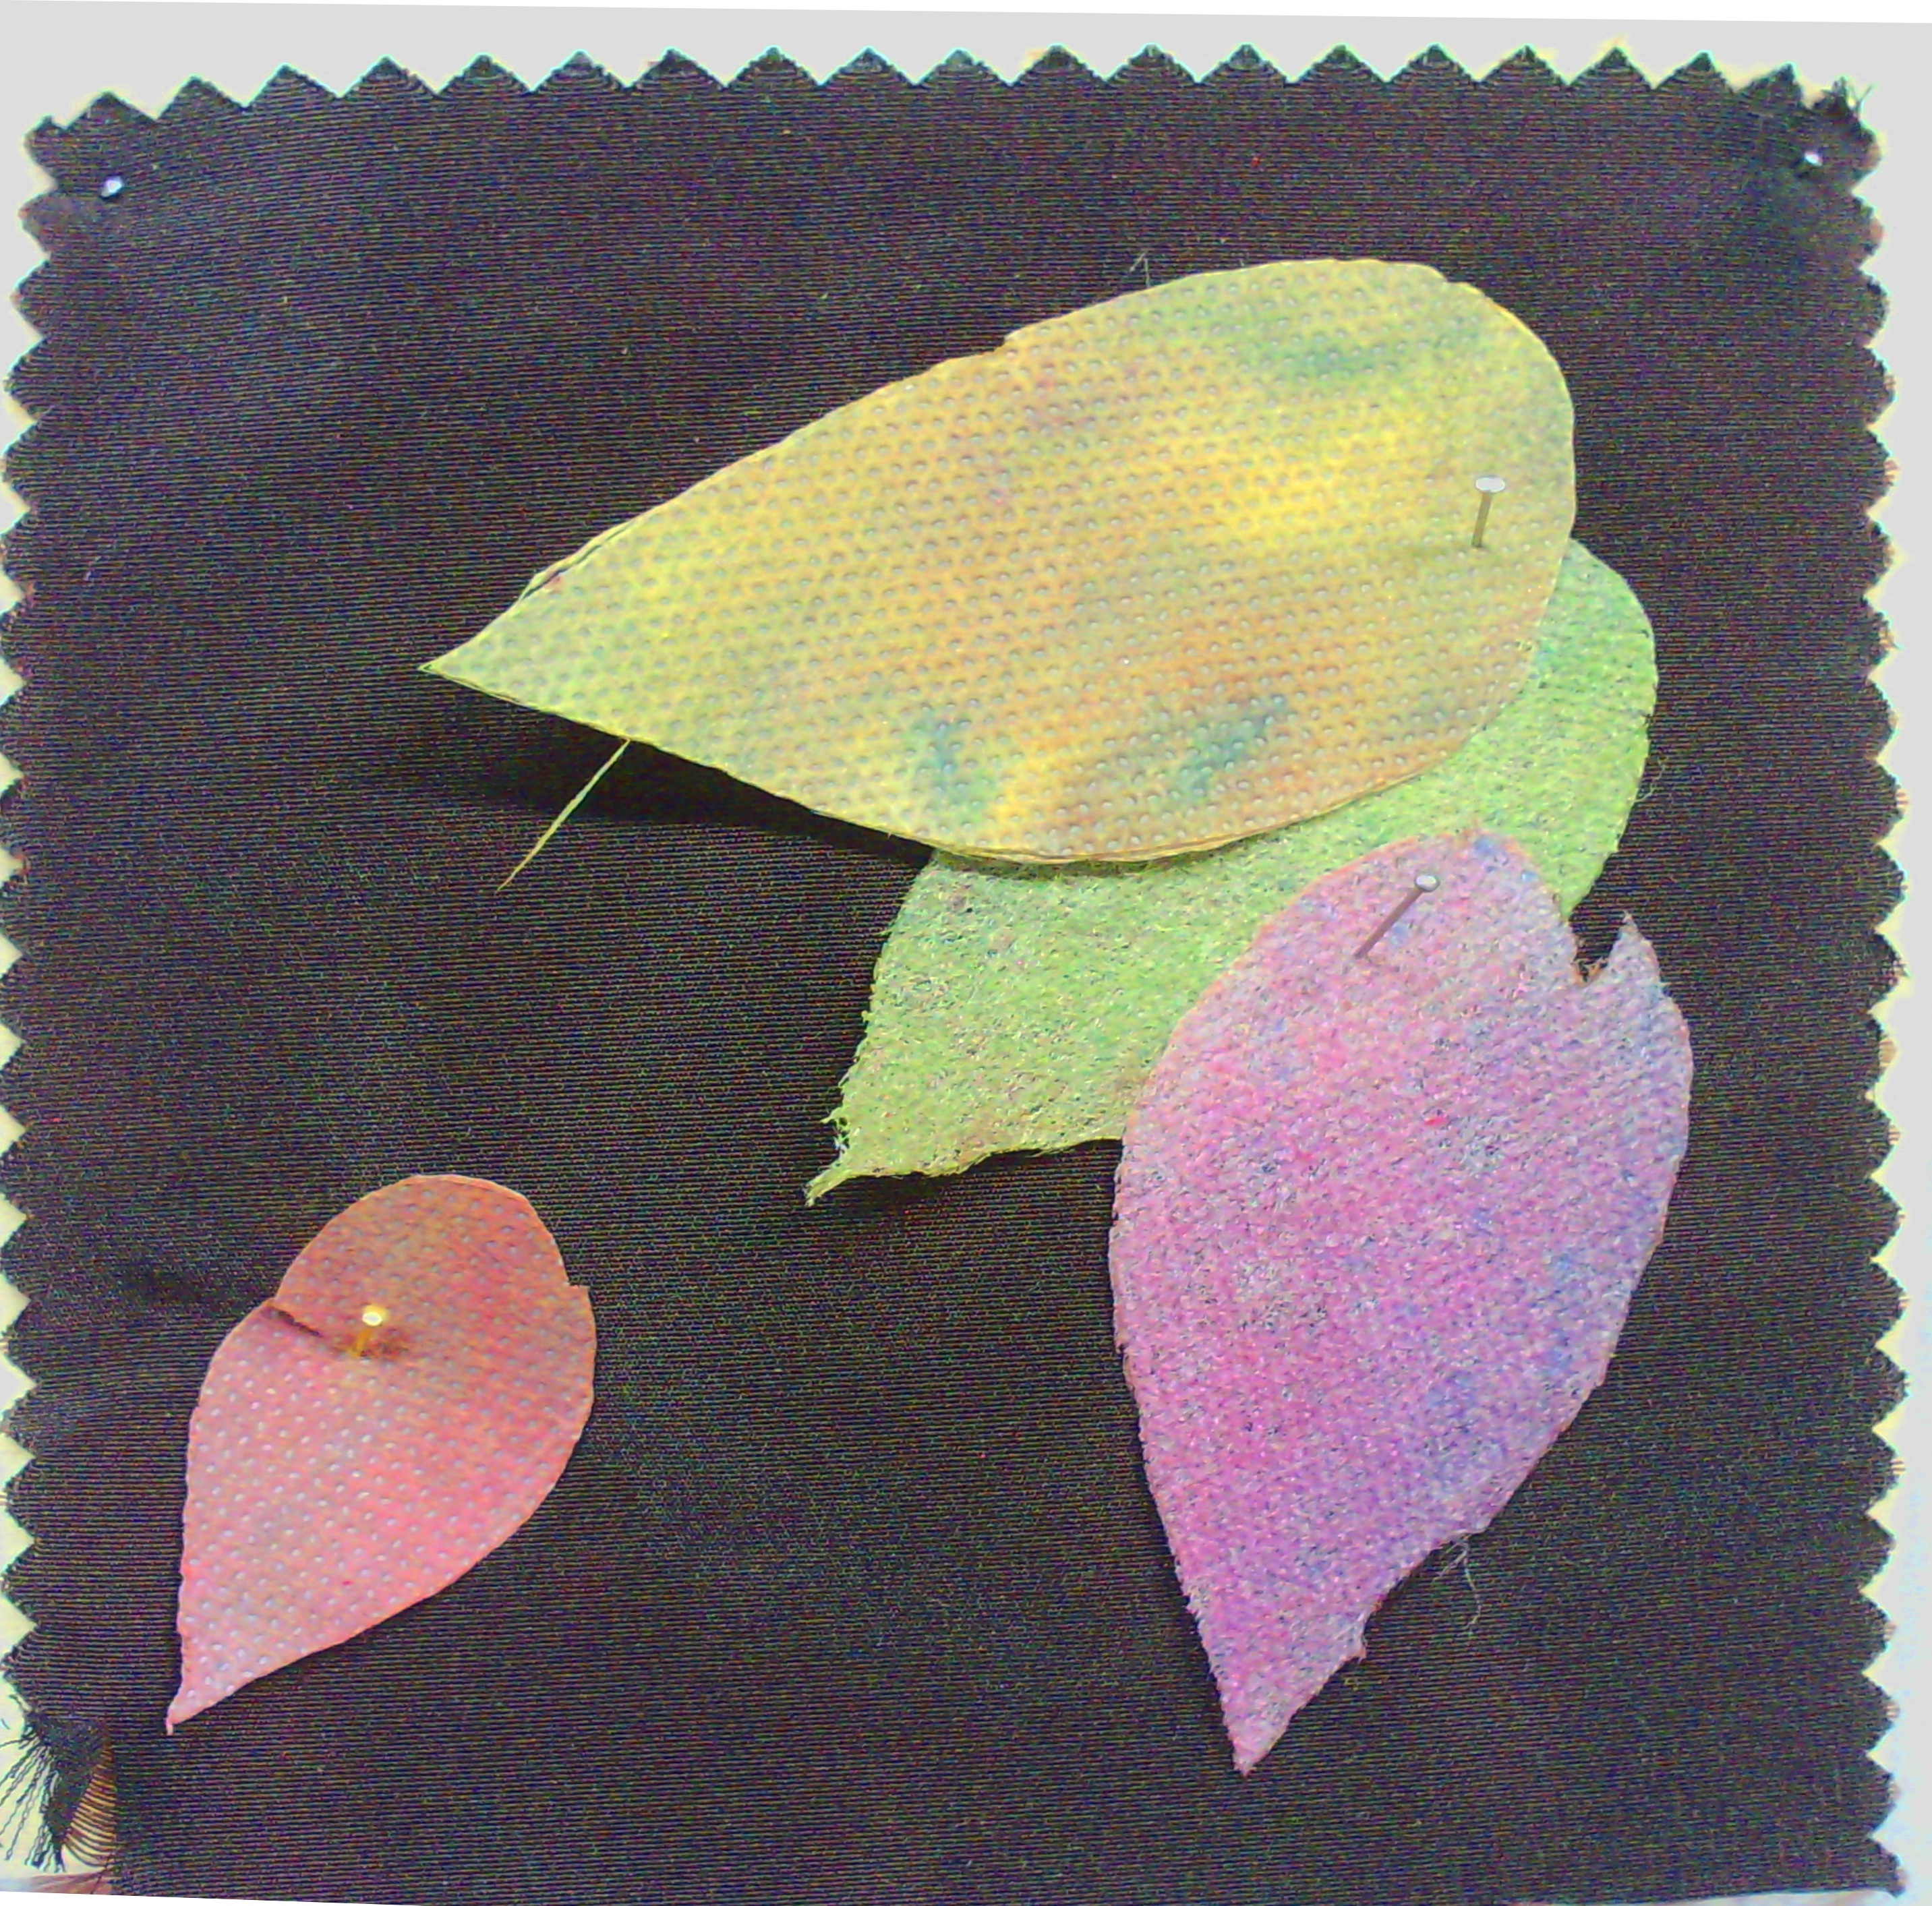
I arranged my leaves on the background.  I decided to put the purple one in the centre at the top instead.  I made it up as I went along, because this was not the design I had originally intended.  What I had originally intended was to cut out a wavy shape with little curly bits.
I started by attaching the two warm coloured leaves with free motion.  I did the top one first and went all the way around the outside, but when I had put the veins in the small one, I decided I liked it being dimensional with the edges unattached.
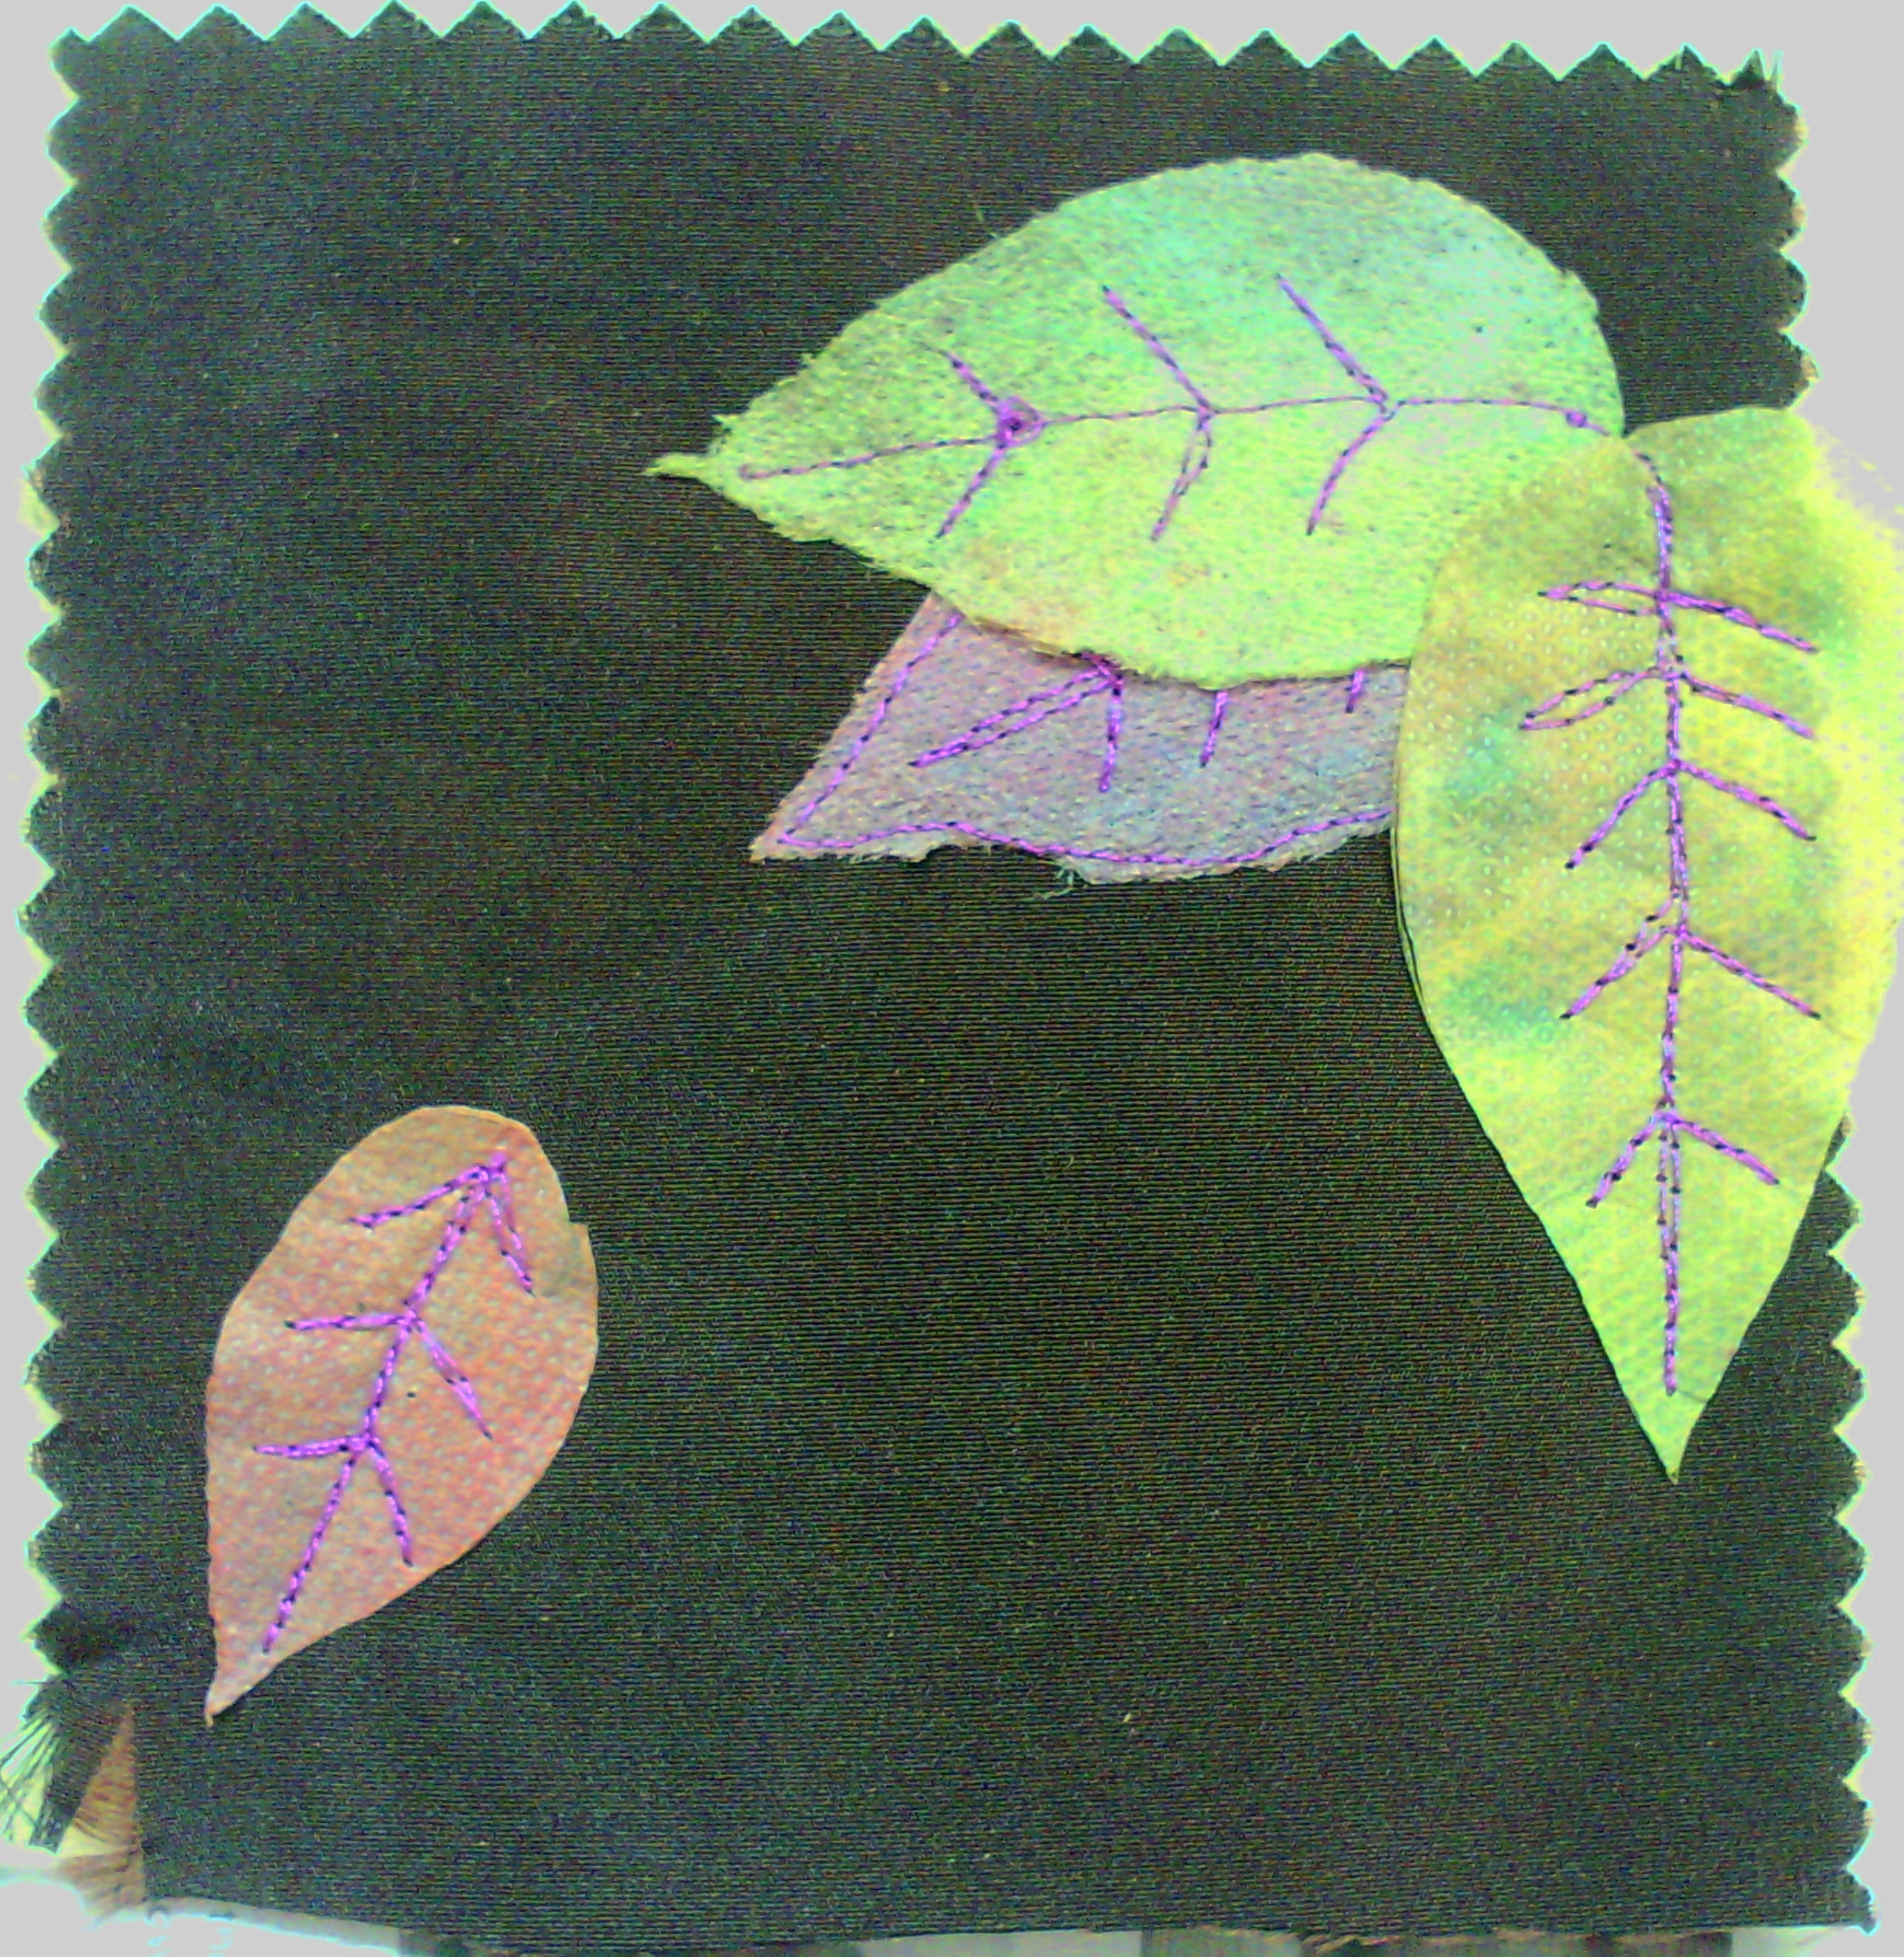
Then I added the two green leaves over the first one.  I decided I liked the one that went over the edge of the piece.  I did think about chopping it off, but decided it was nice the way it was.
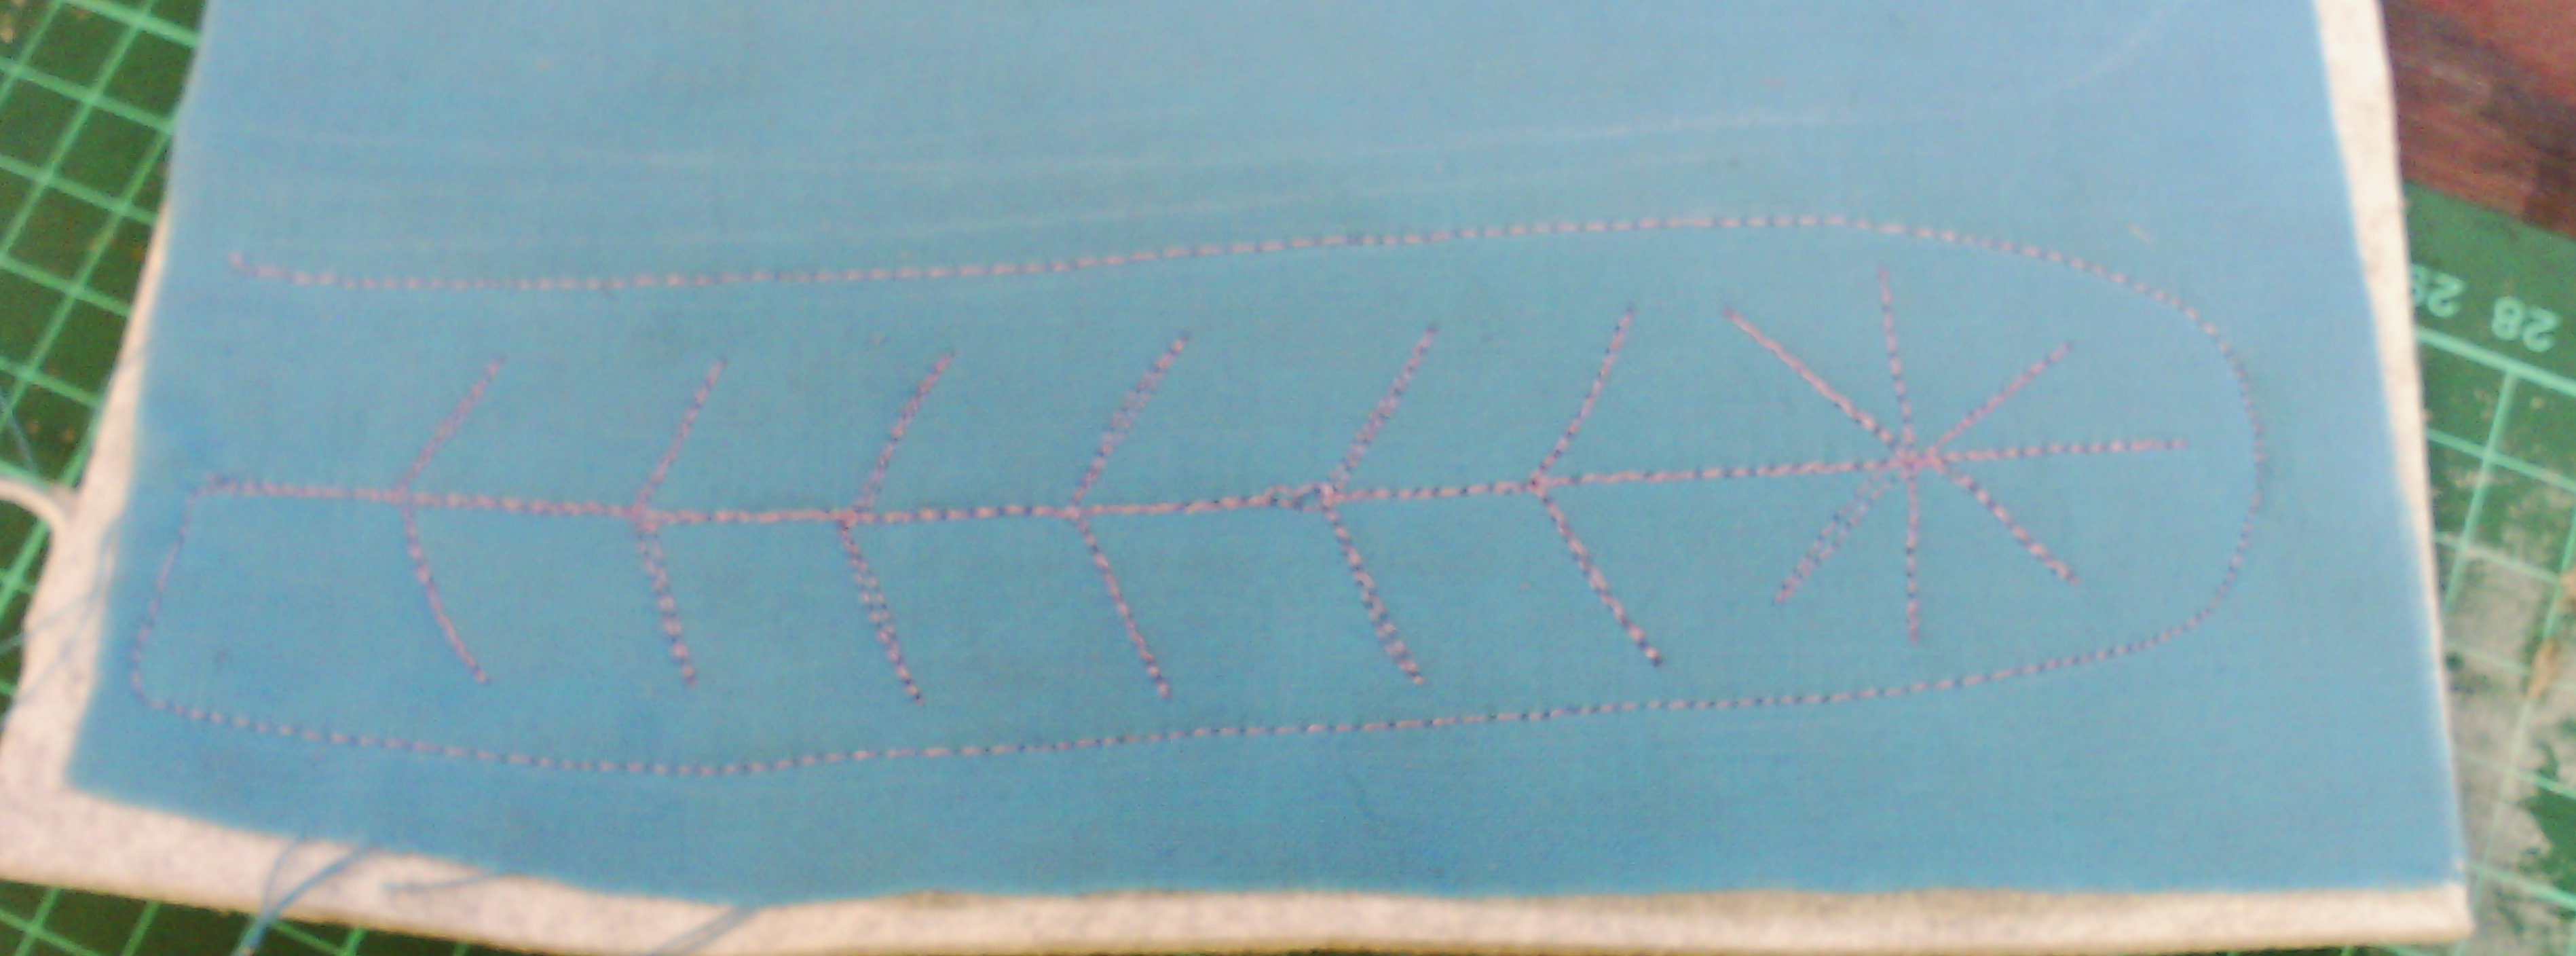
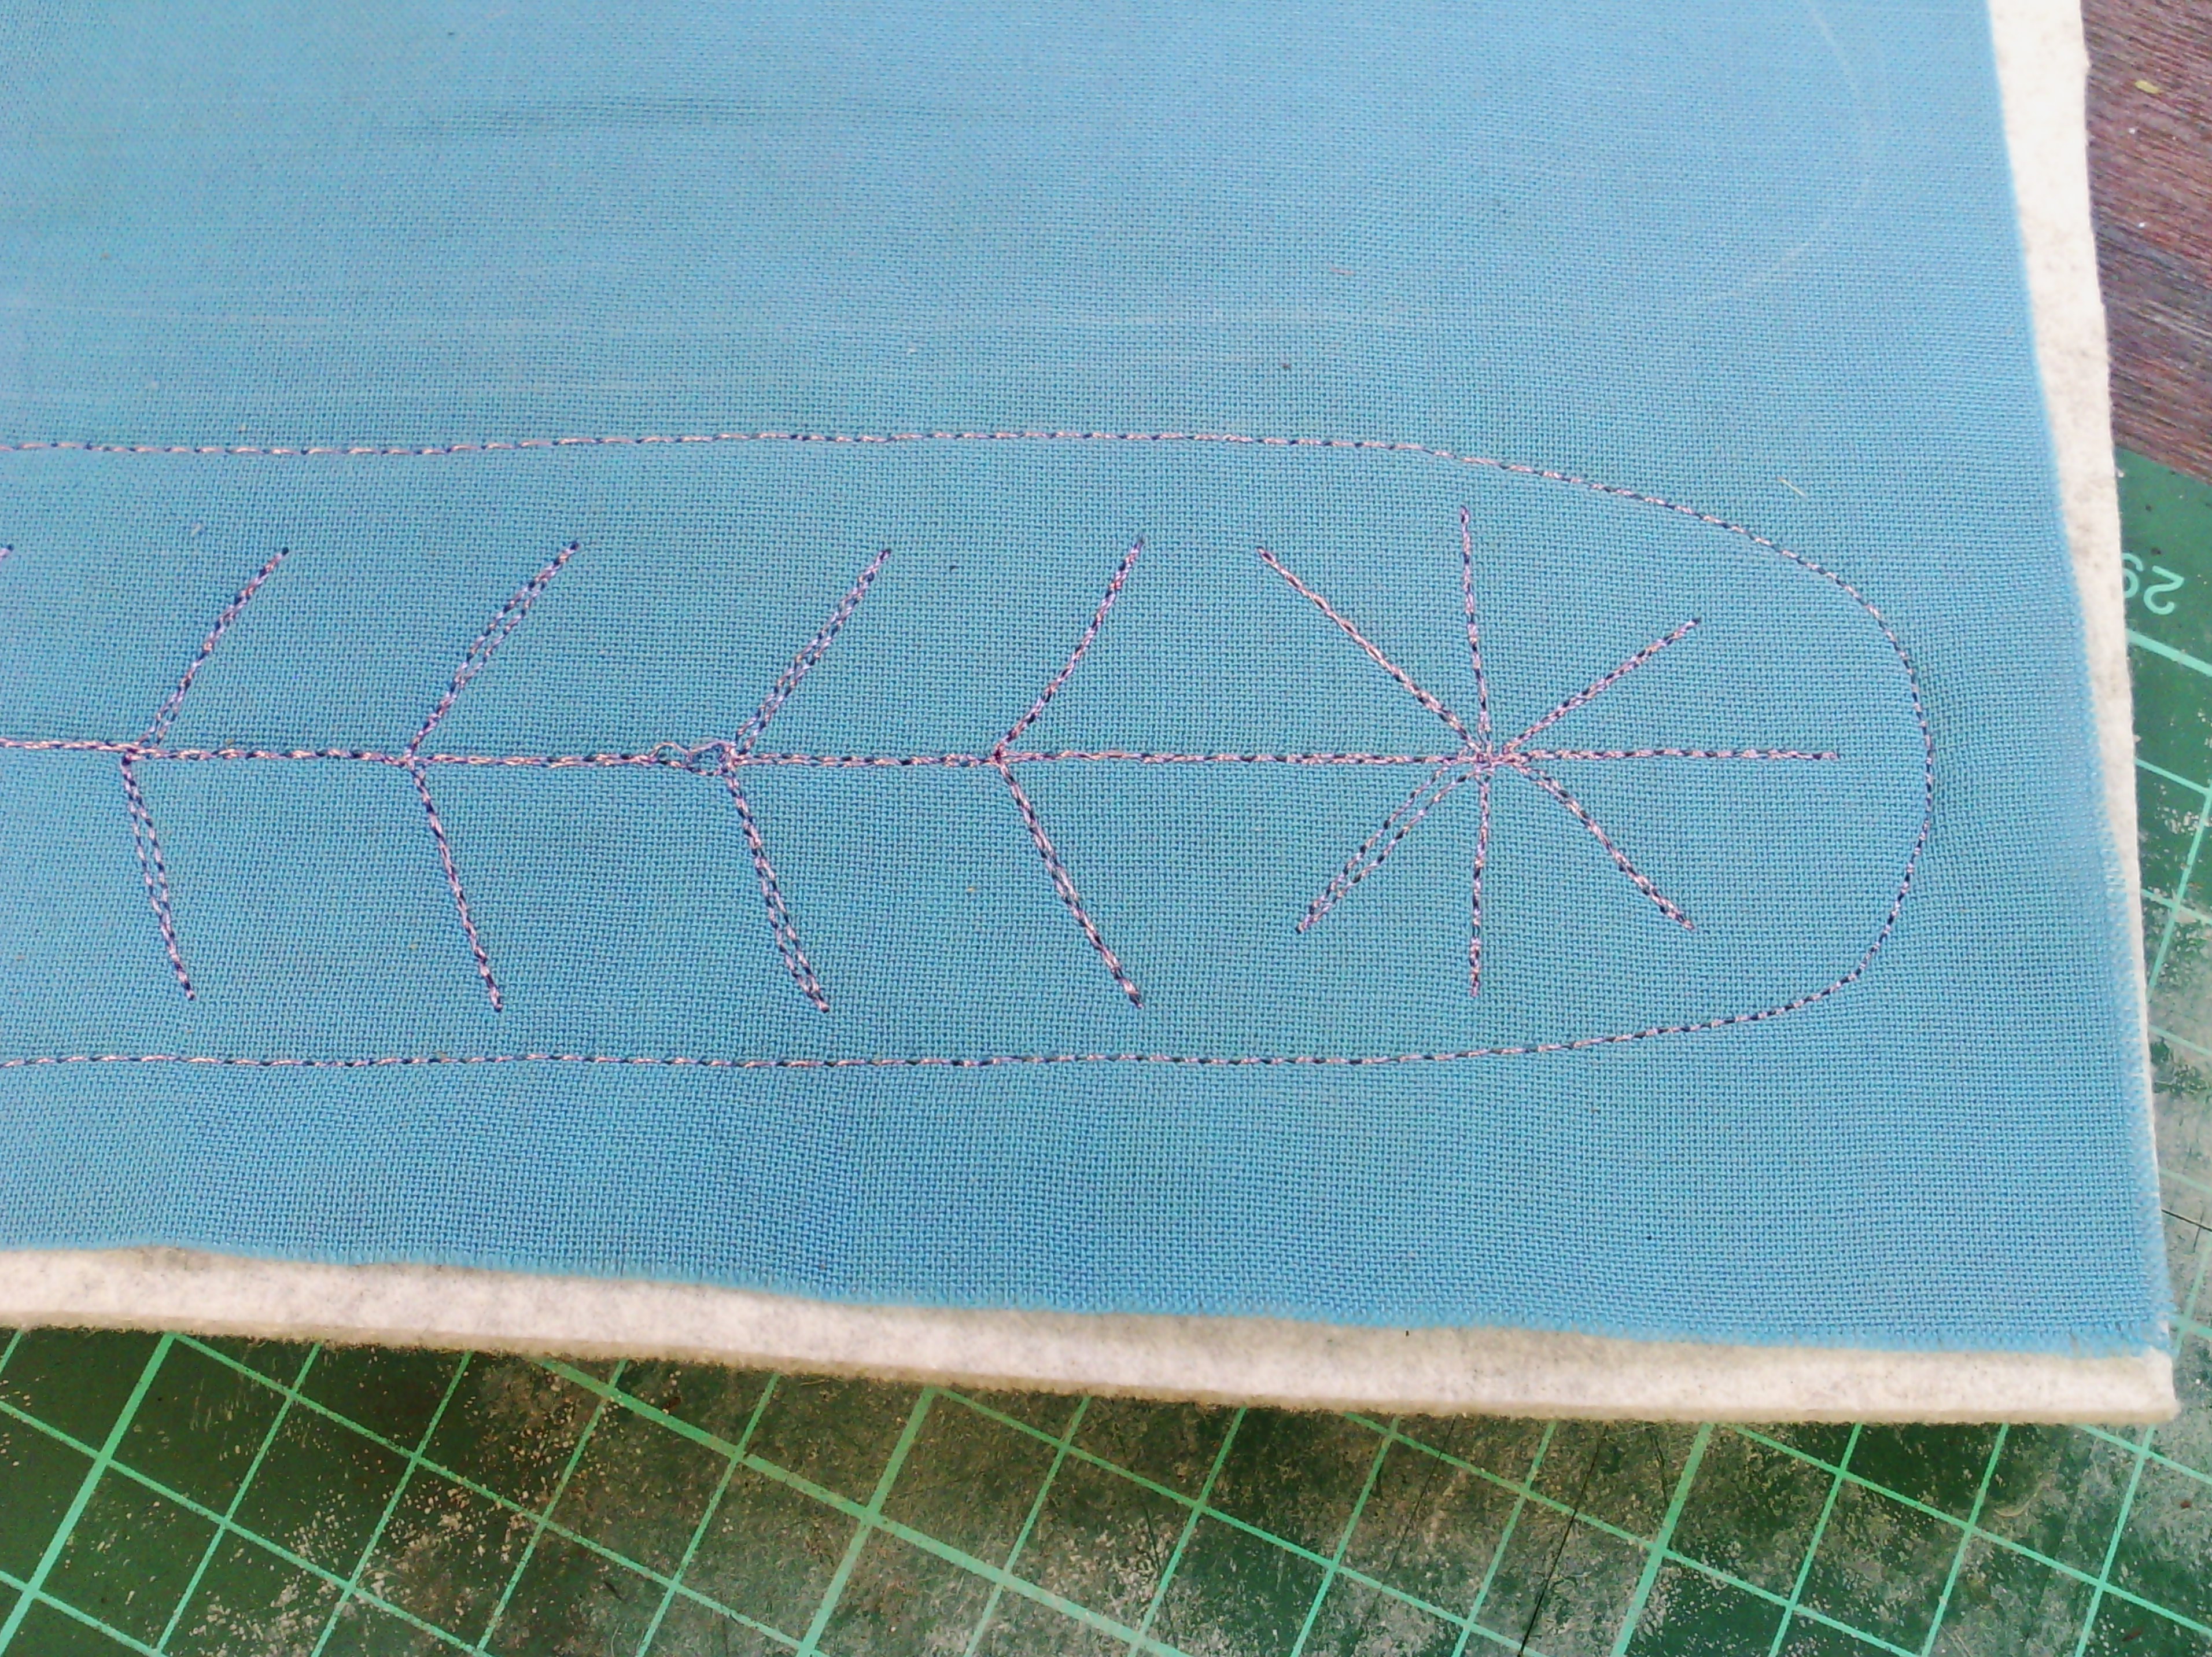
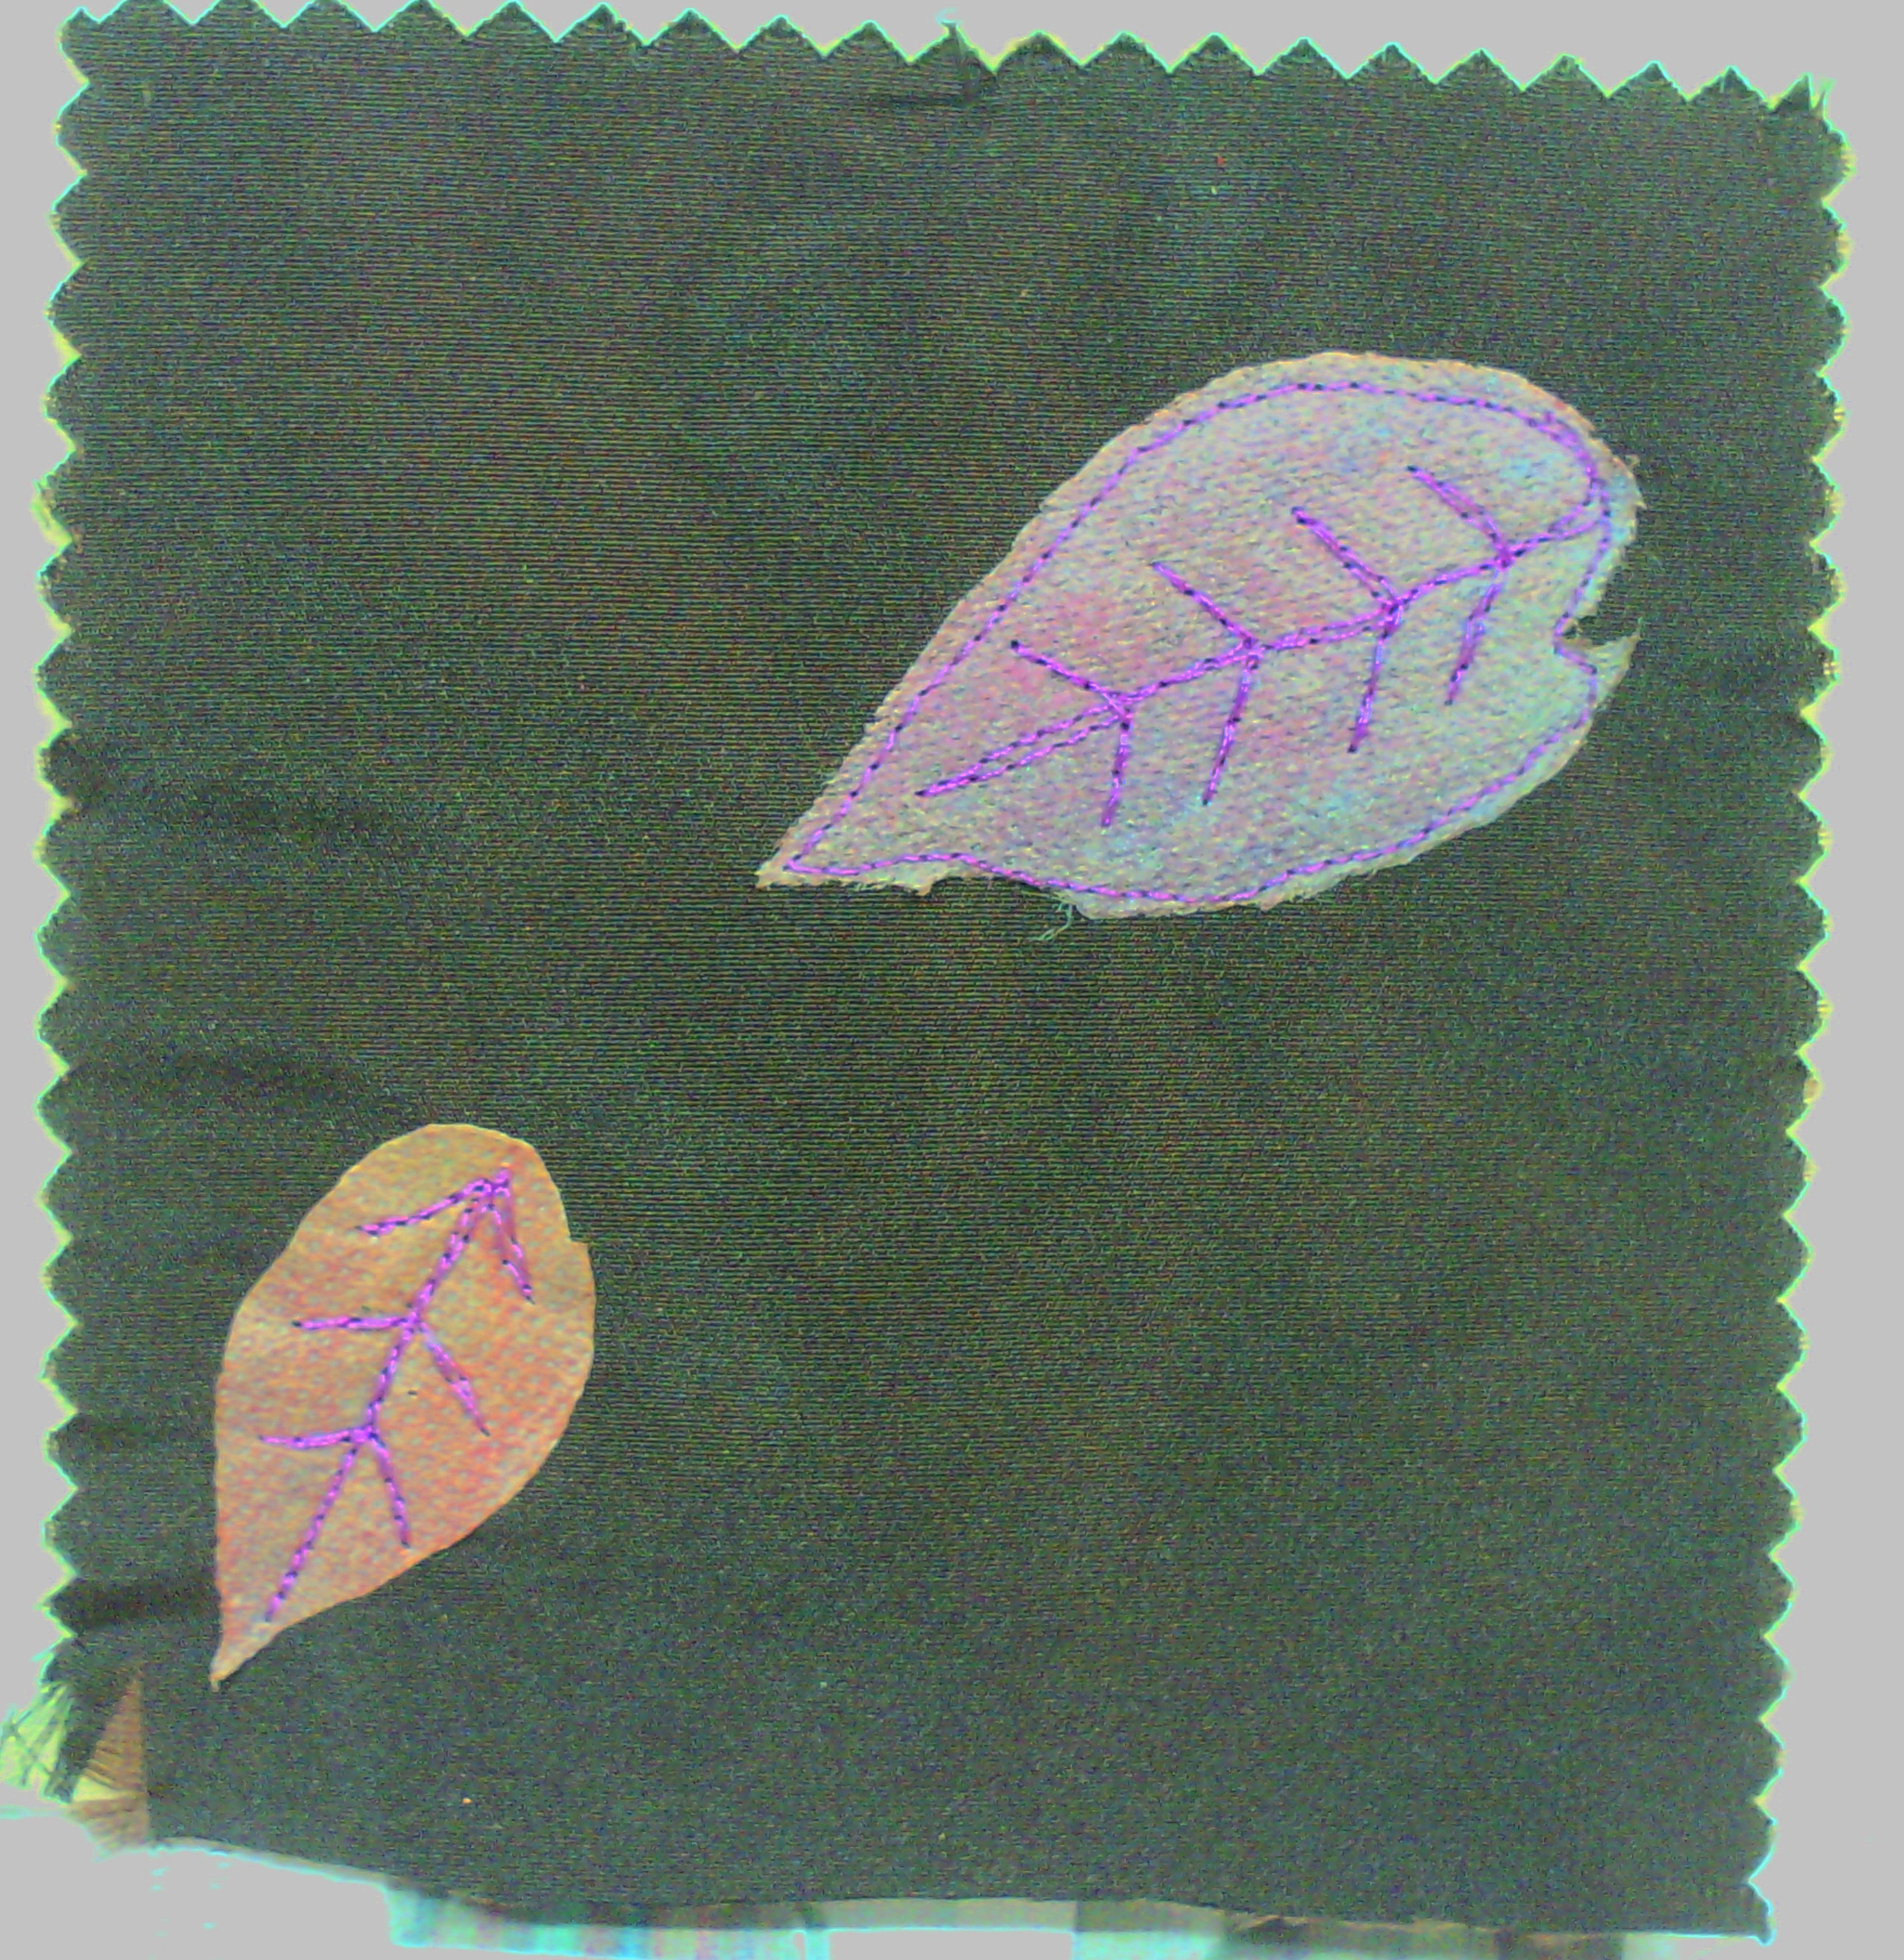
I had a little think about the composition and read through my initial notes.  I had wanted to use shape and motion as my design elements.  I had the shape, but not the motion, so I went back and did a little more thread sketching.

Now, It had motion!  It also was close to my favourite split complementary colour scheme, which I had not really planned, but it just goes to show doesn't it?

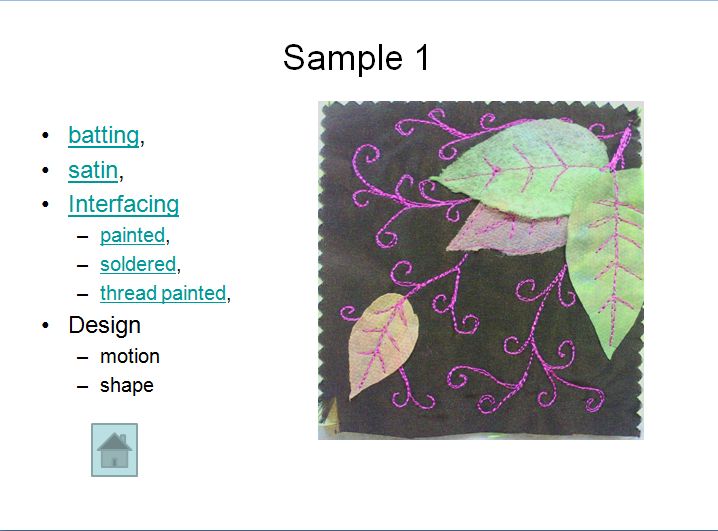
And this is how it looks in my database, with links back to the information for each part.
Of course, I still need to do the edges.  i have some black organza ribbon to bind it.  That's a TV watching job!

Create every day.


Saturday, July 27, 2013

A week's worth

Not much to show today except almost a week's worth of my free motion feather tops. I don't know what I chose this shape to fill with doodles, but as you see I have lots of them.  As I do each one, I also think of more to add to the pages, so..
here are nos 4, 5 and 6
and 7, 8 and 9.  As you can  see at the bottom, I have added some eyelets to bind them together with rings.
I am using industrial felt offcuts for my backing and have found that it is extremely hard to stitch through, but I will persist with it since they are nice and firm for the sample book.  And of course I am using up scraps of fabric as well.  I think this sample book is something I should have done ages ago and will come in very handy when quilting and thread drawing.
I have also decided that these little feather tops might make a very nice border design on this quilt-
Which is a lot further along now. I will be starting on the borders soon as I am just finishing the background fill which is very tiny!

Don't forget to create every day!

Monday, July 22, 2013

FEATHERS AND A FINISH

Well, I have been making my feathers, it's an easy quick way to get myself going.
Here are the last two days.
and a couple of closer pictures.
I have also finished a small piece for a friend.
It is a sunprint I did a fair while ago, here.  I have beaded all the area between the bird and leaves.  It took a fair amount of time.  There are about 30 beads per square inch!  I have not bound it, but just fastened the edges as she wishes to frame it.  But at least now it is finished!

So that's where I am up to at the moment.

Let's create every day!

Saturday, July 20, 2013

On the mend

I have finally finished my sketchbook cover.
I am quite happy with the way it turned out.  I trimmed it to size and glued the edges so the stitching was secure, then thought about how to attach it to the sketchbook.
I could have glued it down, since it is made specifically for this book, but I decided it was best not to do this in case the book needs rebinding at some time.
I decided to add some sticky velcro to the front and back, which would grab the felt backing.  This worked really well and held the cover on very firmly.
I have not decided yet whether anything will go on the cover under the cutout, or if I will paint the cover.
Above are a few close ups of the stitching.

I have been thinking a lot about blogging and have come to the conclusion that it keeps me on track.  It has been a month since my last post and I have hardly done any textile work.  Whilst a break can be a good thing, I am finding it very hard to get back into the swing of things.  In the past I have always had a little project to keep me going, like ATCs and journal quilts and so I have decided what it is that I need to do every day at present and decided that it is quilting and free motion embroidery..
I have quite a few little sketchpads, filled with free motion doodles and a couple of months ago I came across one where I had doodled hundreds of little feather shapes with different fillings.  I set up a pile of felt and fabric sandwiches to make samples with.  And it sat on my table for quite a while.
So now I have set myself the task of doing one of these feathers a day.  It only takes five minutes and makes me go into the studio and sew.  Of course I can't always blog every day, but my task is to makes sure I do one of these every day and blog at least three times a week.
So here is my first one.  It is a sort of dandelion inside the feather.  I must admit, this one took actually less than a minute!

and here is a bit closer to see the stitches.

So, let's see if I can stick to my project and create every day again.