Showing posts with label samples. Show all posts

Friday, June 3, 2016

Back again

I have not blogged for nearly a year, and  I have found that I was not as productive, partly because I was not blogging, but also because the Tangled Textiles Group finished.  I tried lots of challenges and workshops, but found that it was impossible for me to stick to anything, especially if it was an every day commitment because there are periods where I am not at home. for the next few weeks, I will try and go through some of the things I am doing.

My last posts here were about journal quilts and I have attempted to keep doing these with the help of Kate Bridger, who is hosting a Made on Monday five inch square challenge on her site.  I have been absent for a month or so, but am hoping to join in again.  Participants also post their work on the textile arts facebook  page.

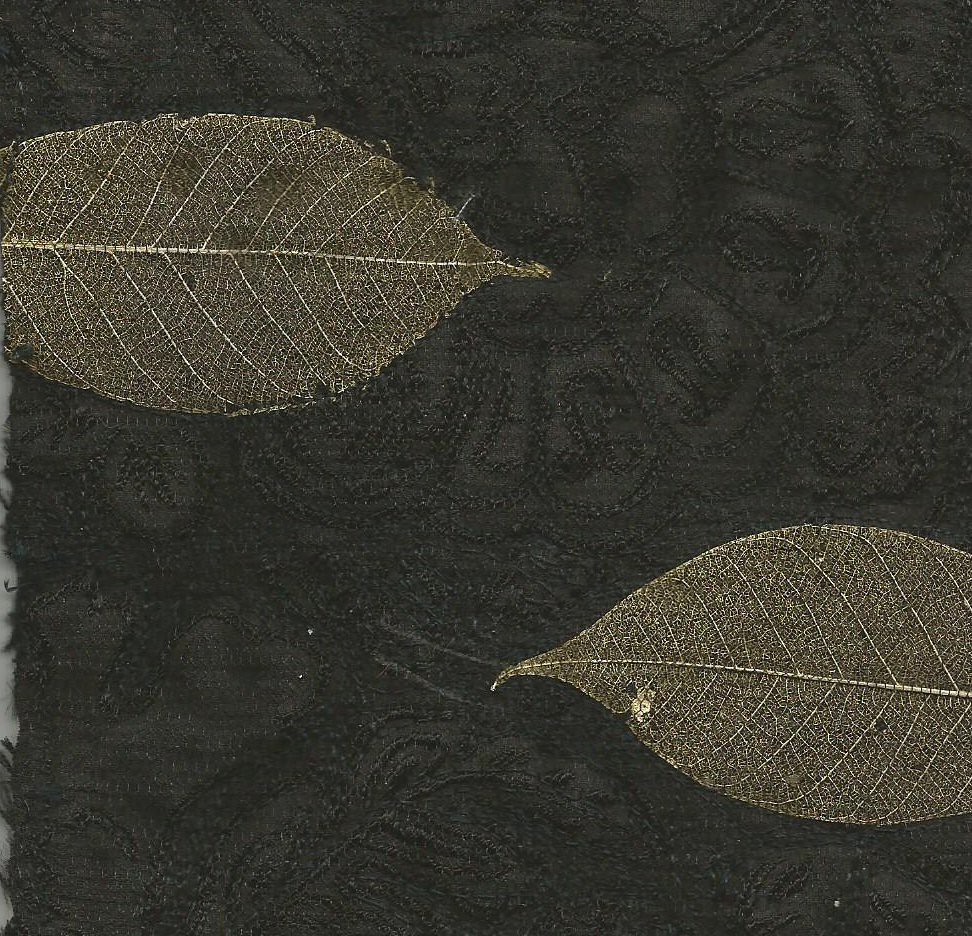
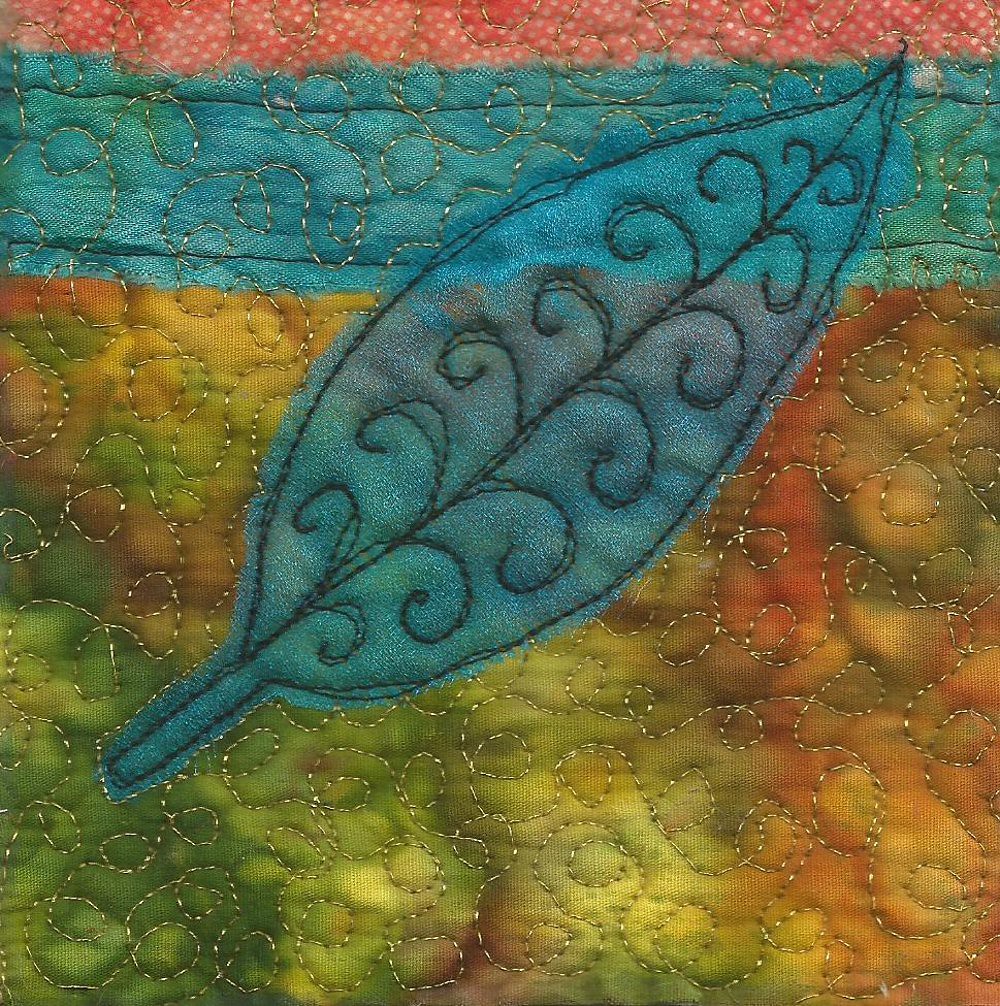
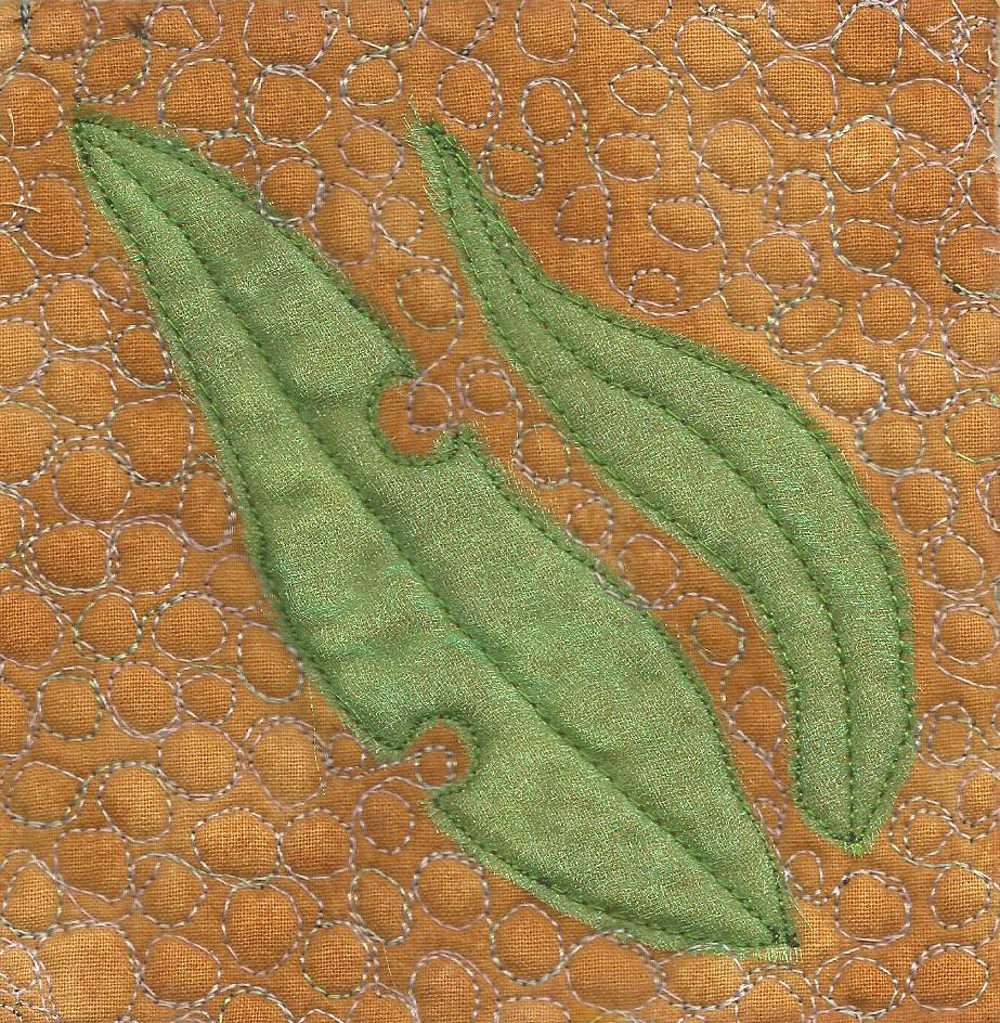
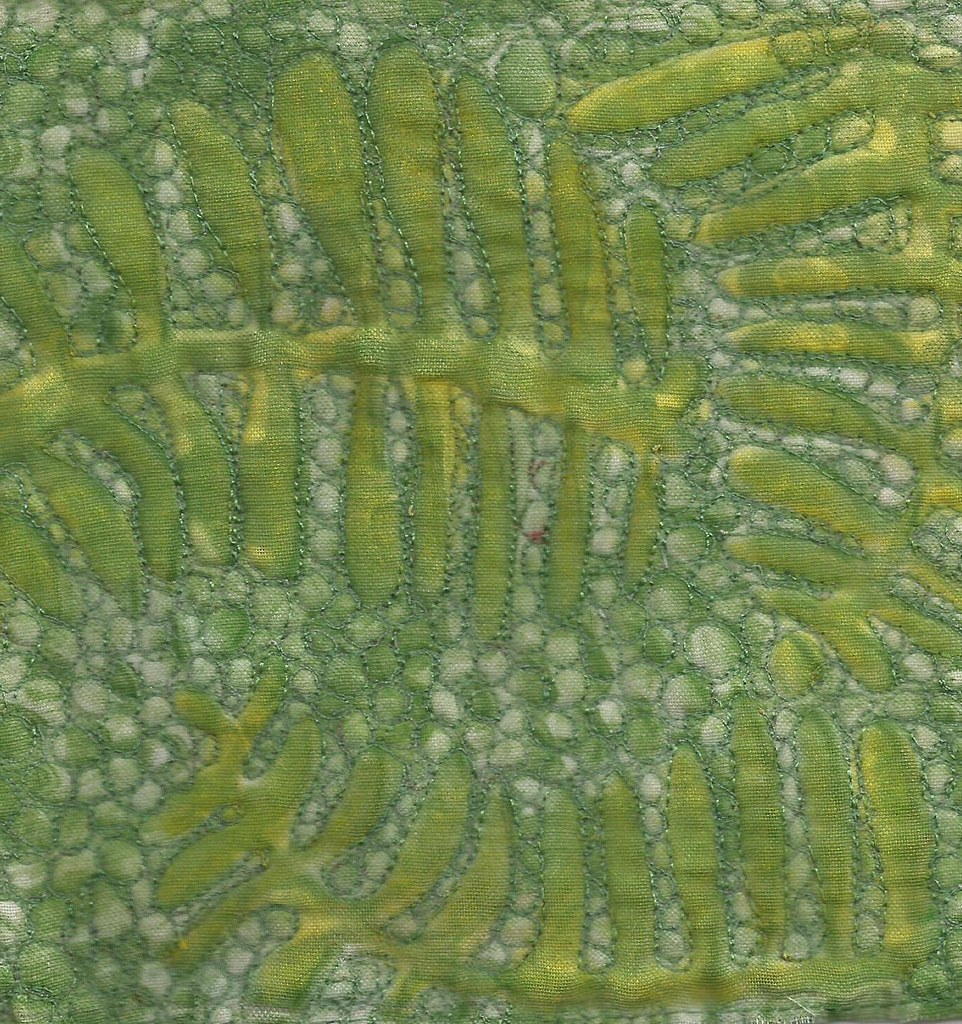
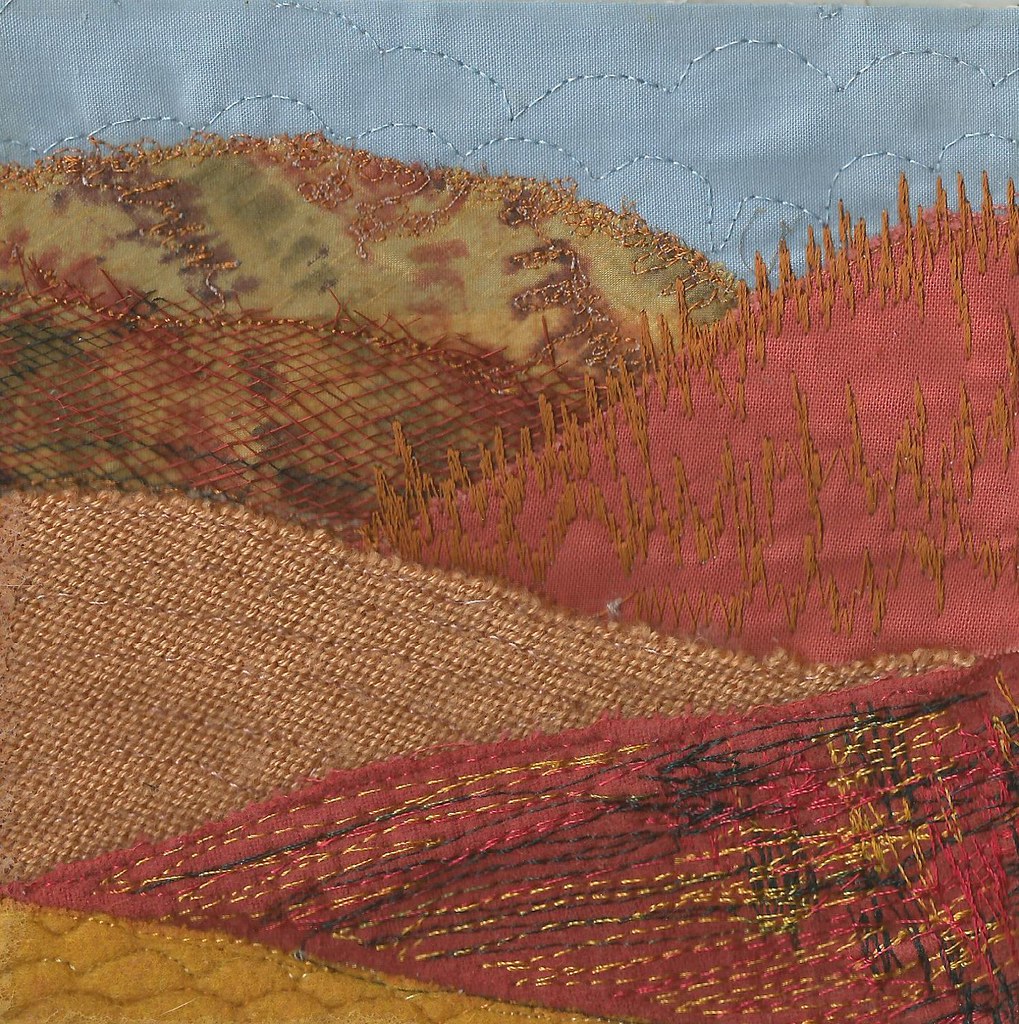
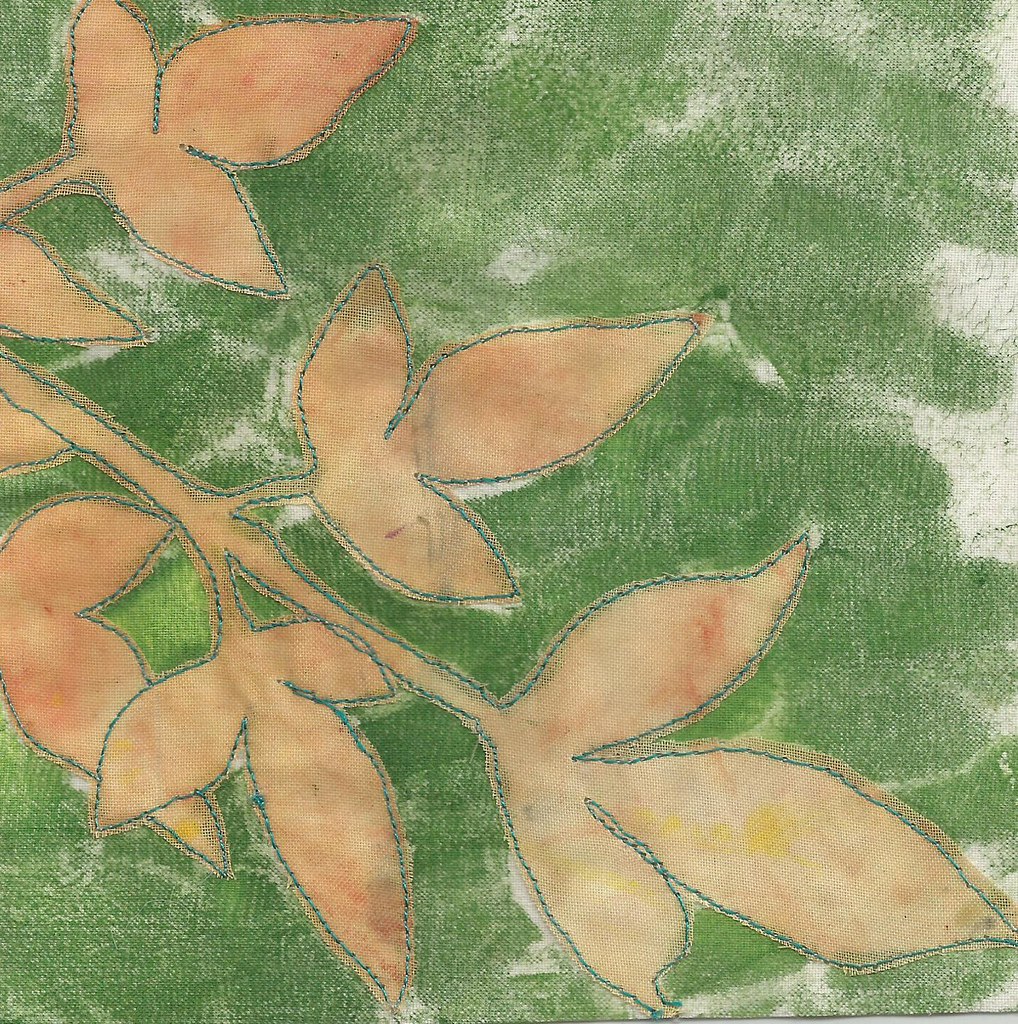
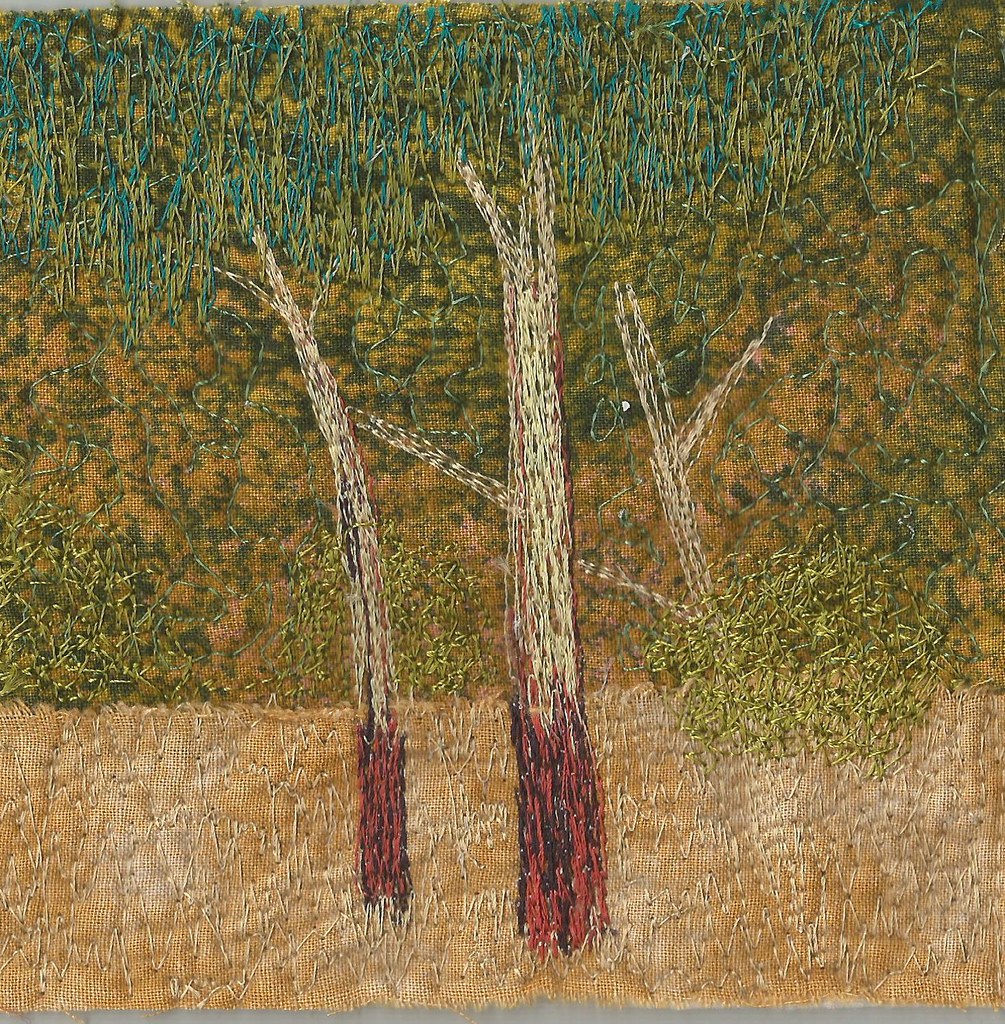
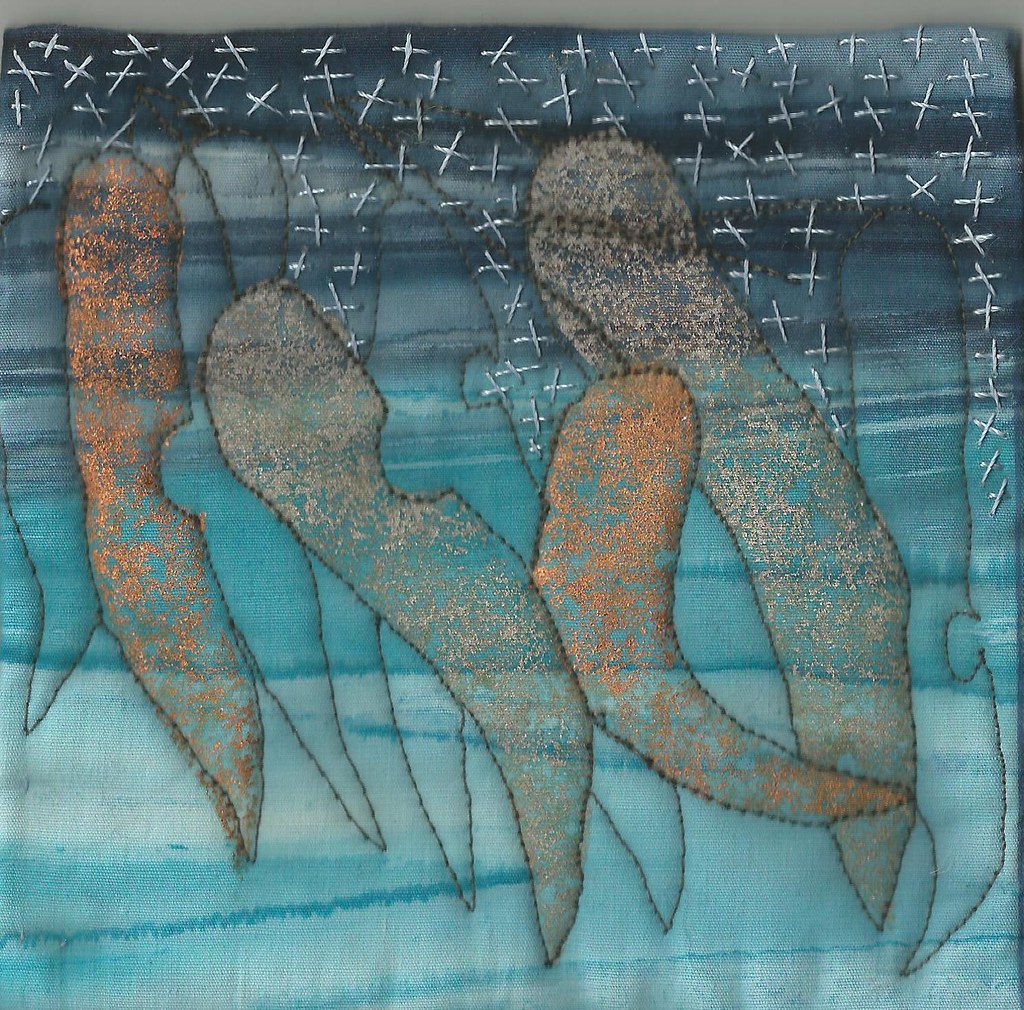
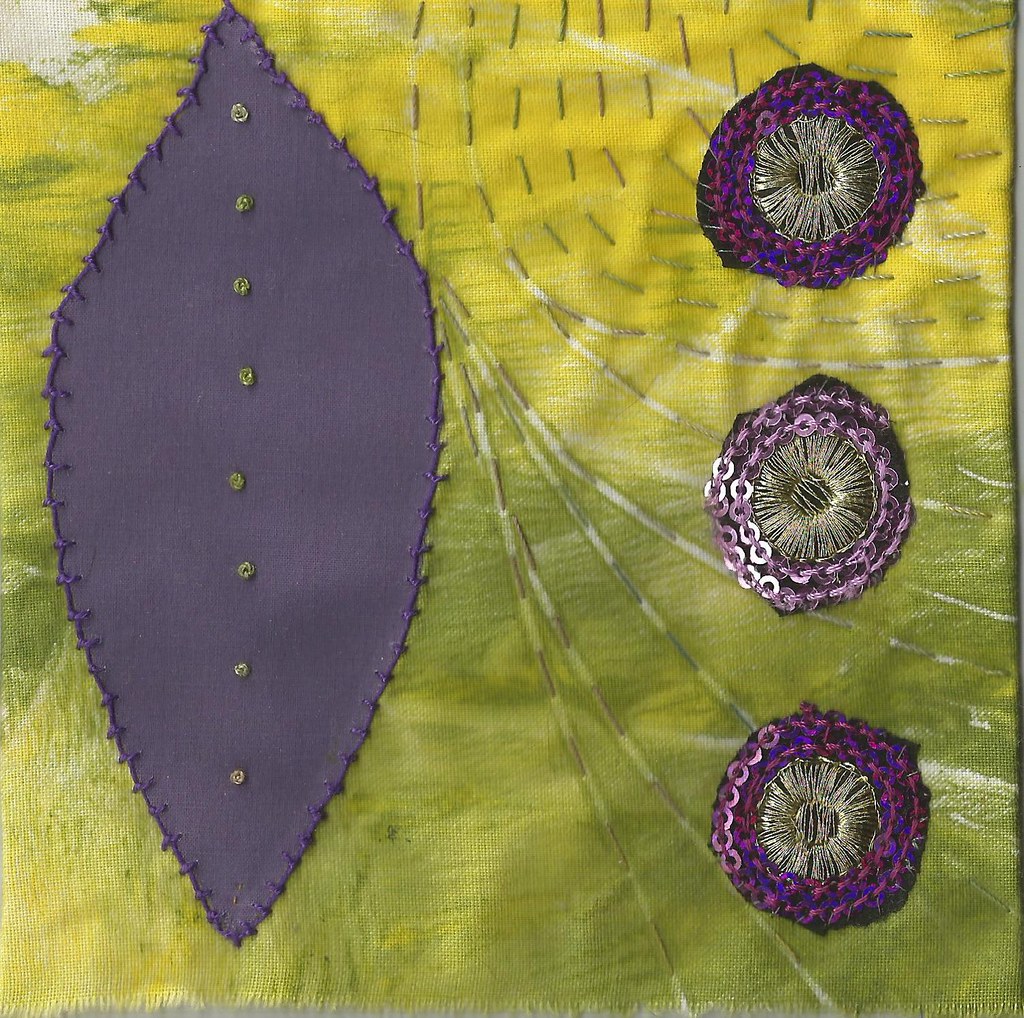
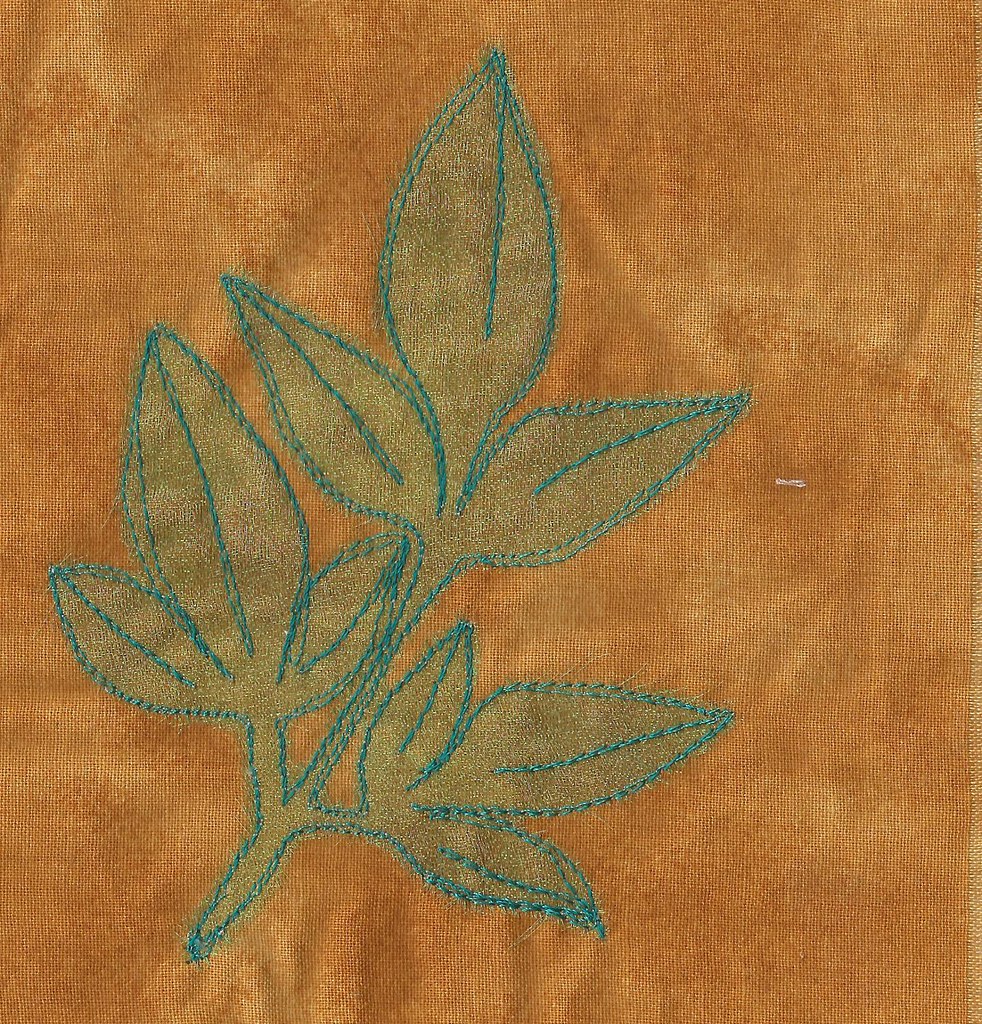
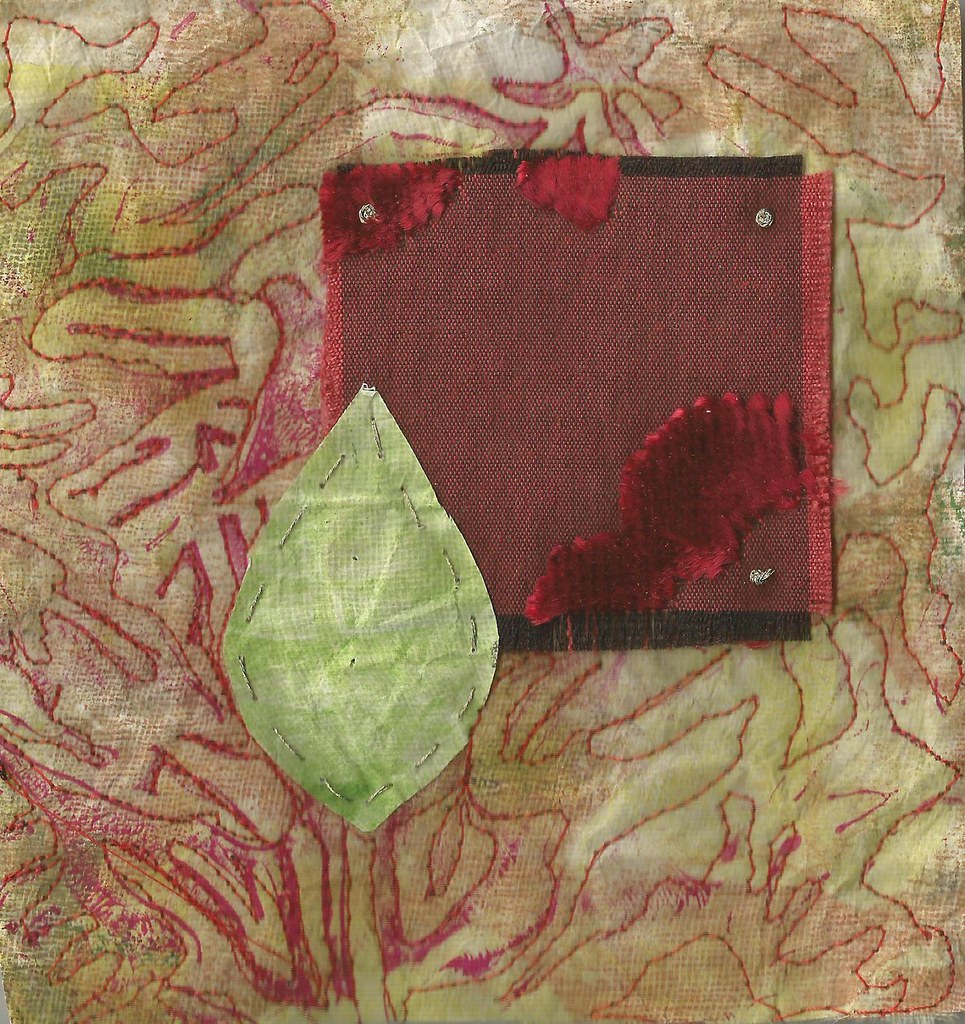
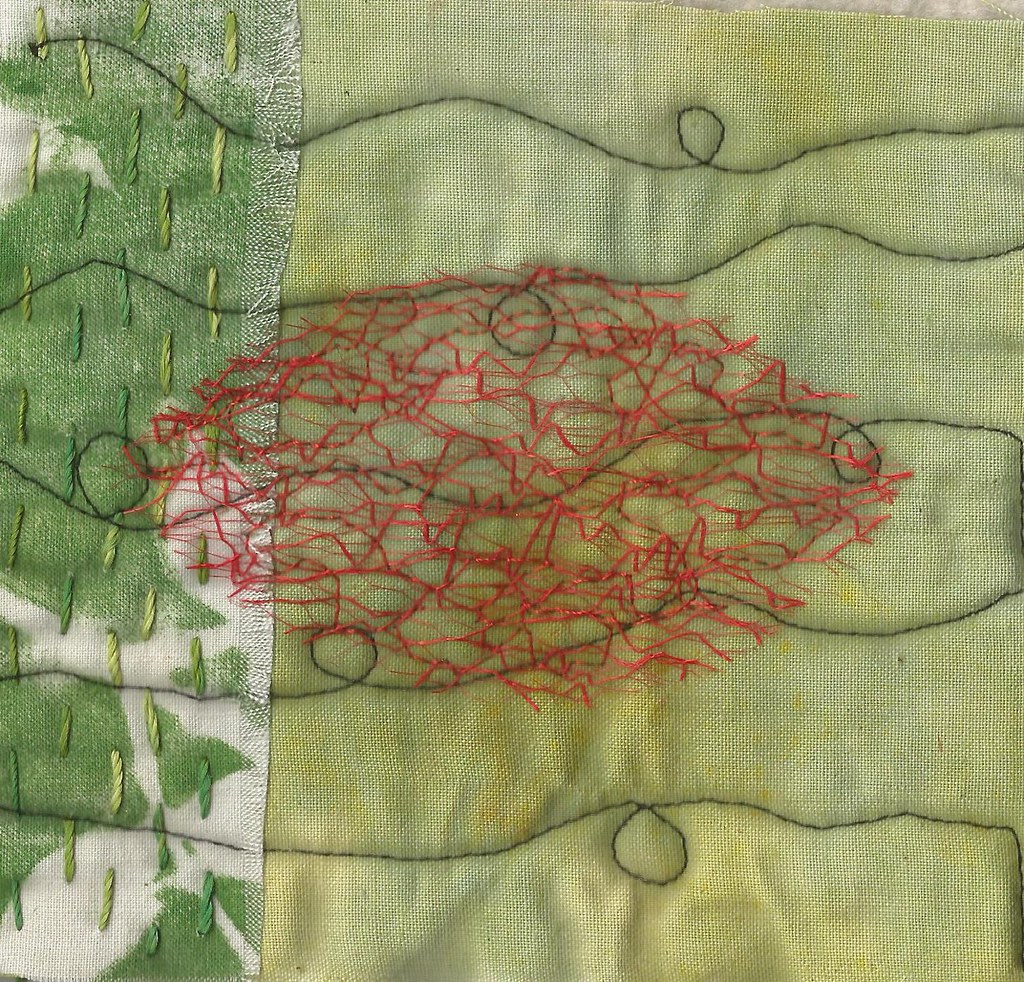
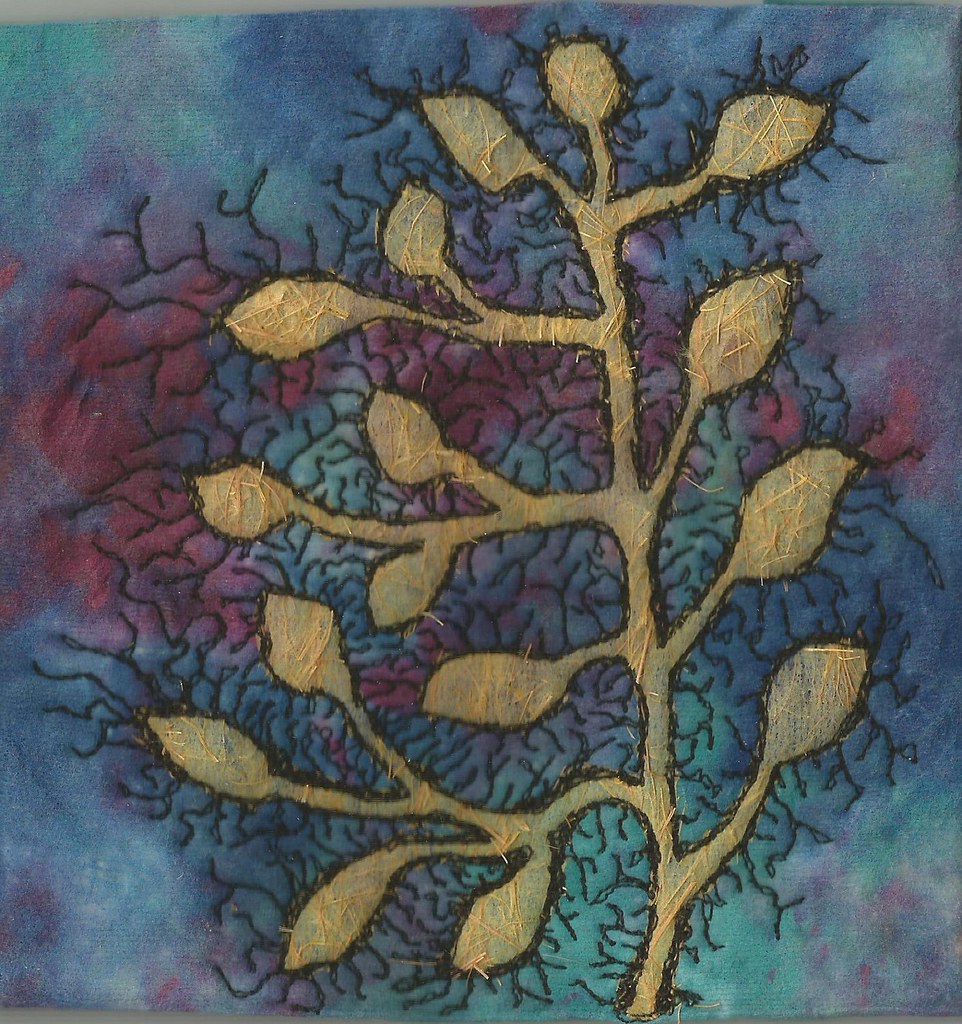
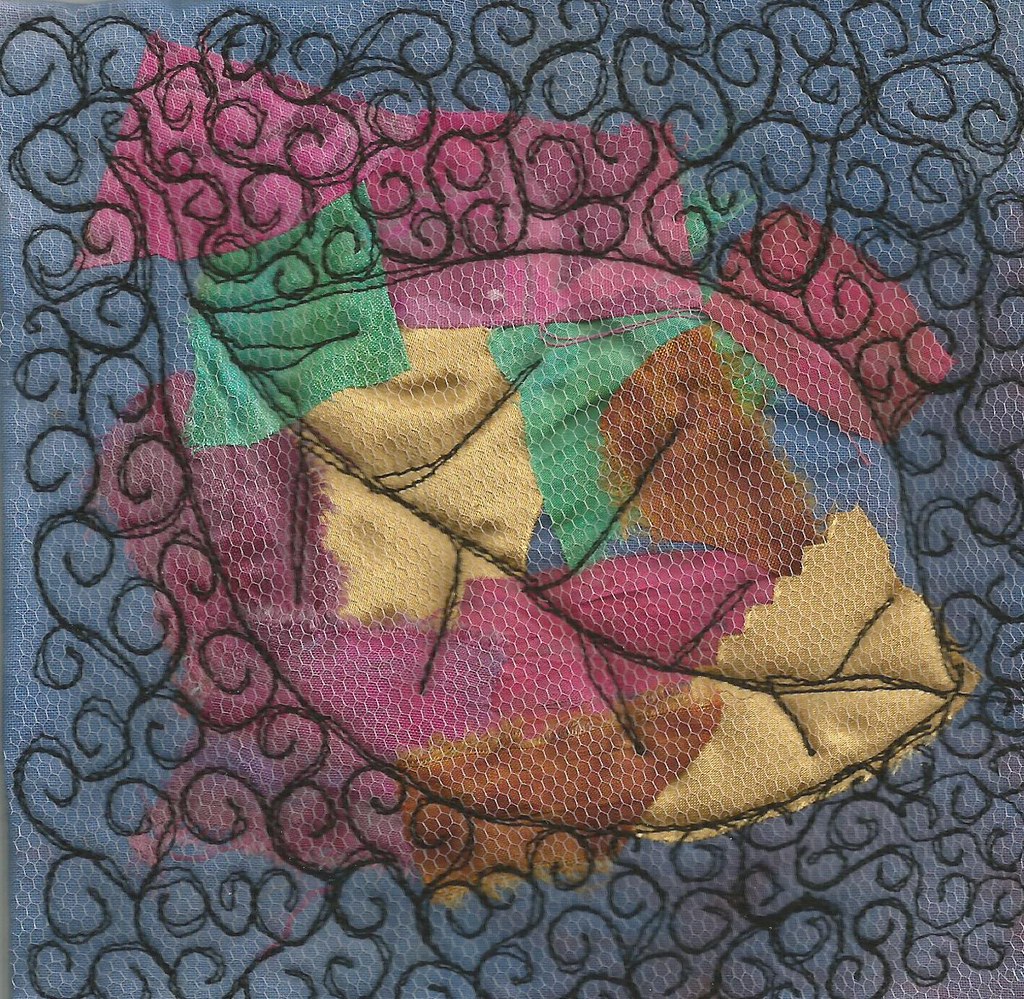
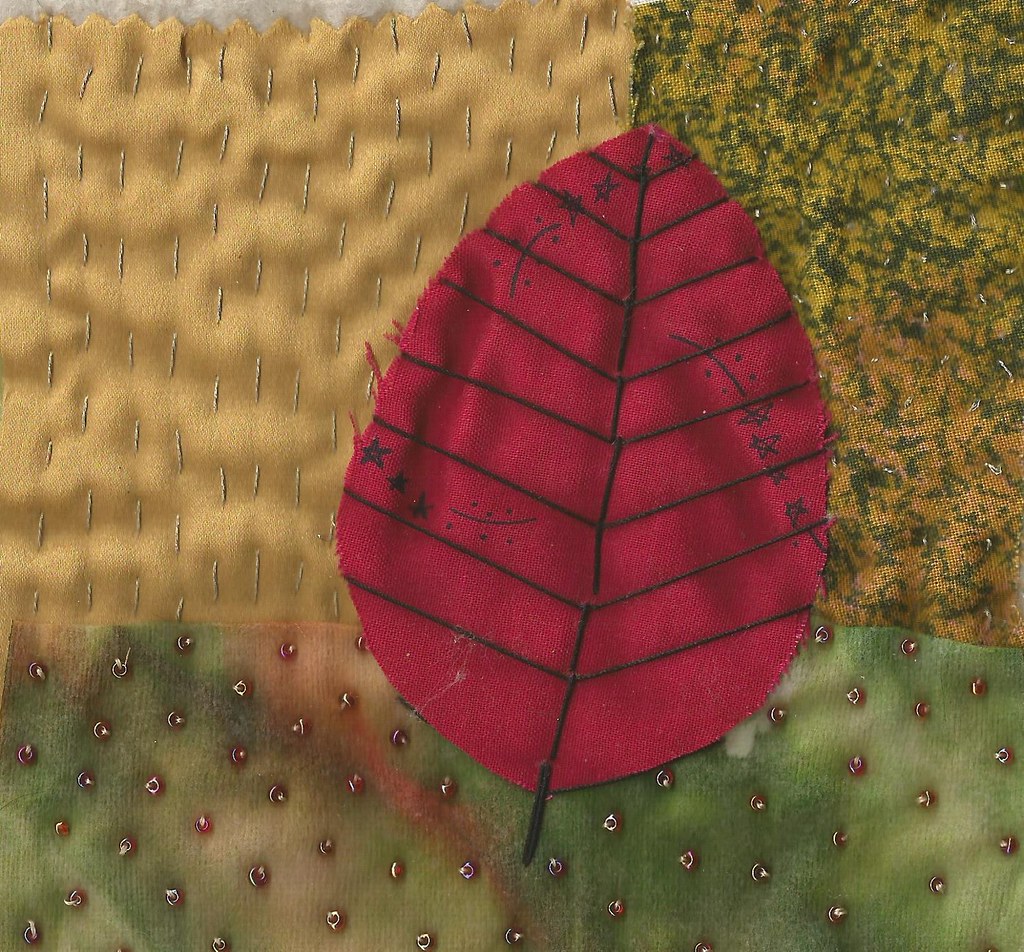
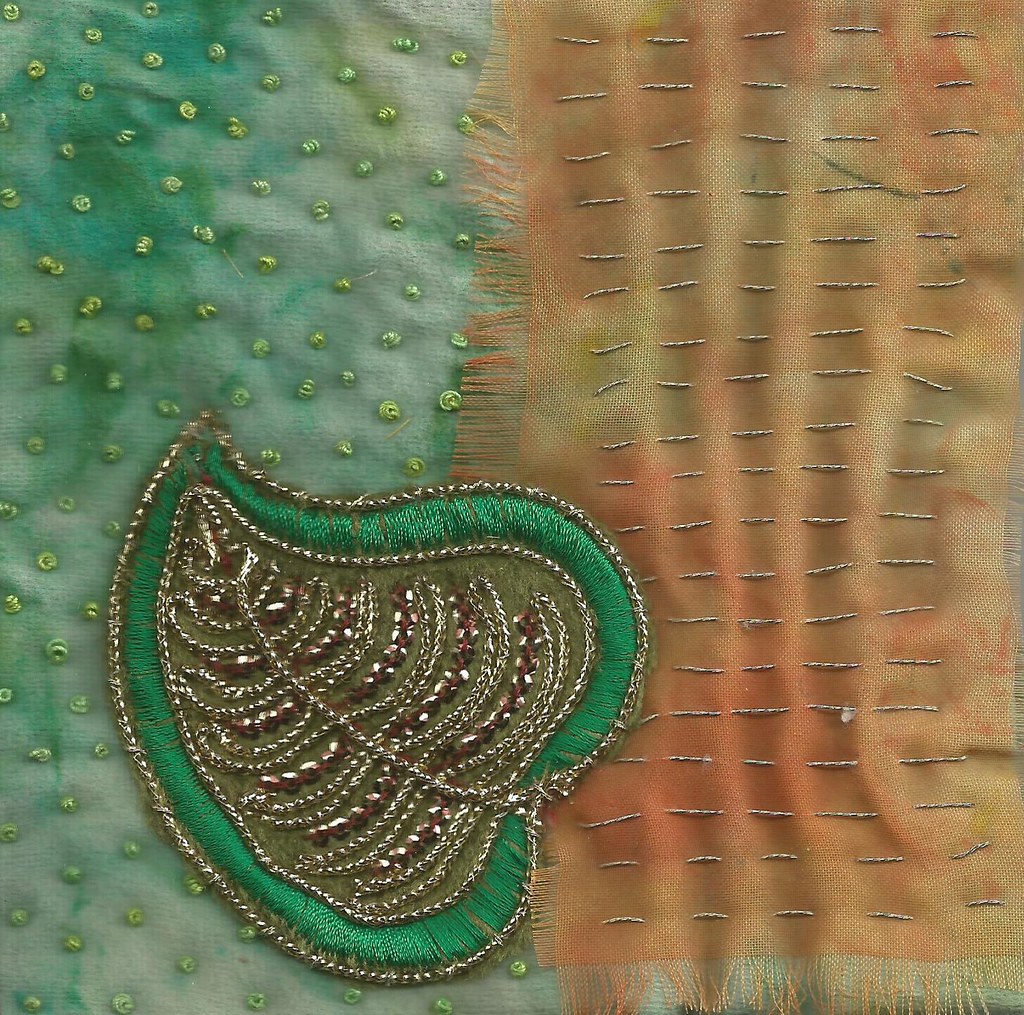
Here are my first seventeen contributions
no 1 no 2 no 3 no 4 no 5 no 6 no 7 no 9 no 10 no 11 no 12 no 13 no 14 no 15 no 16 no 17
They are all on my favourite theme of leaves and use a variety of techniques including free motion embroidery, hand embroidery and thread painting and a wide variety of fabrics including hand printed fabric.

Hope you enjoy these and I will be back with more as I do them

Saturday, August 17, 2013

a few bits

I have been working on several fronts, but not my tangled textiles piece, the deadline for which is beginning to loom.
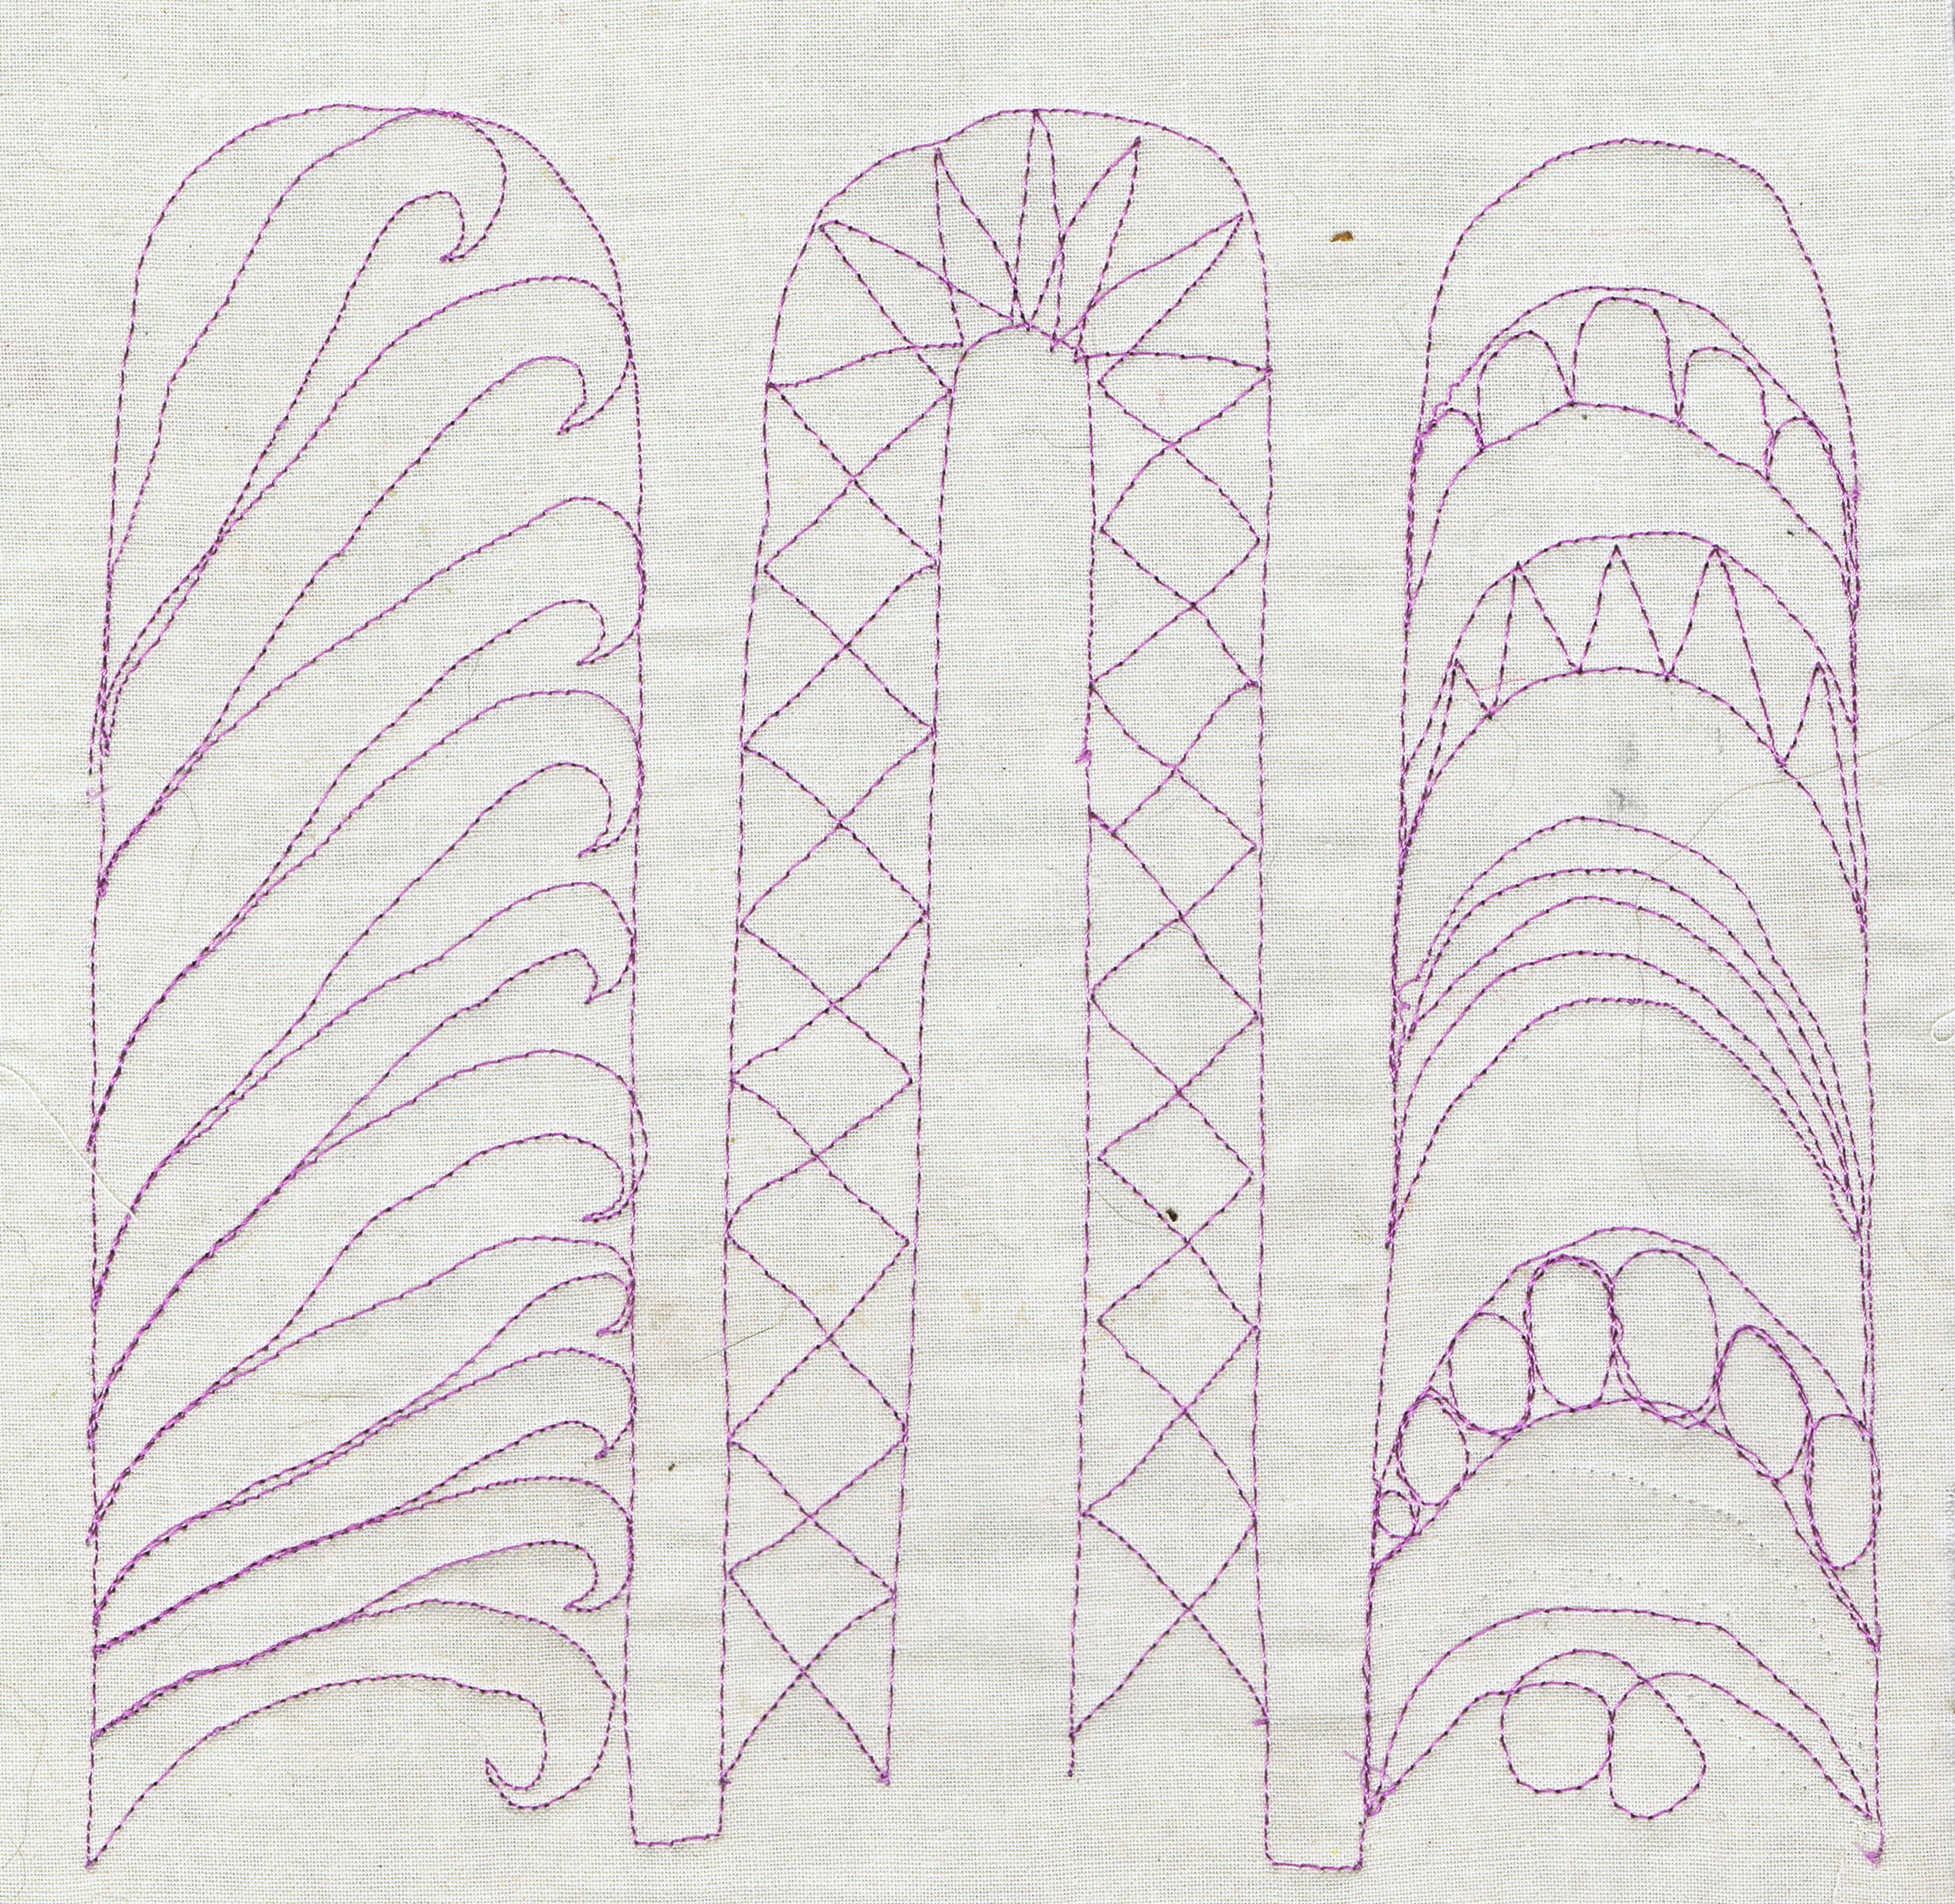
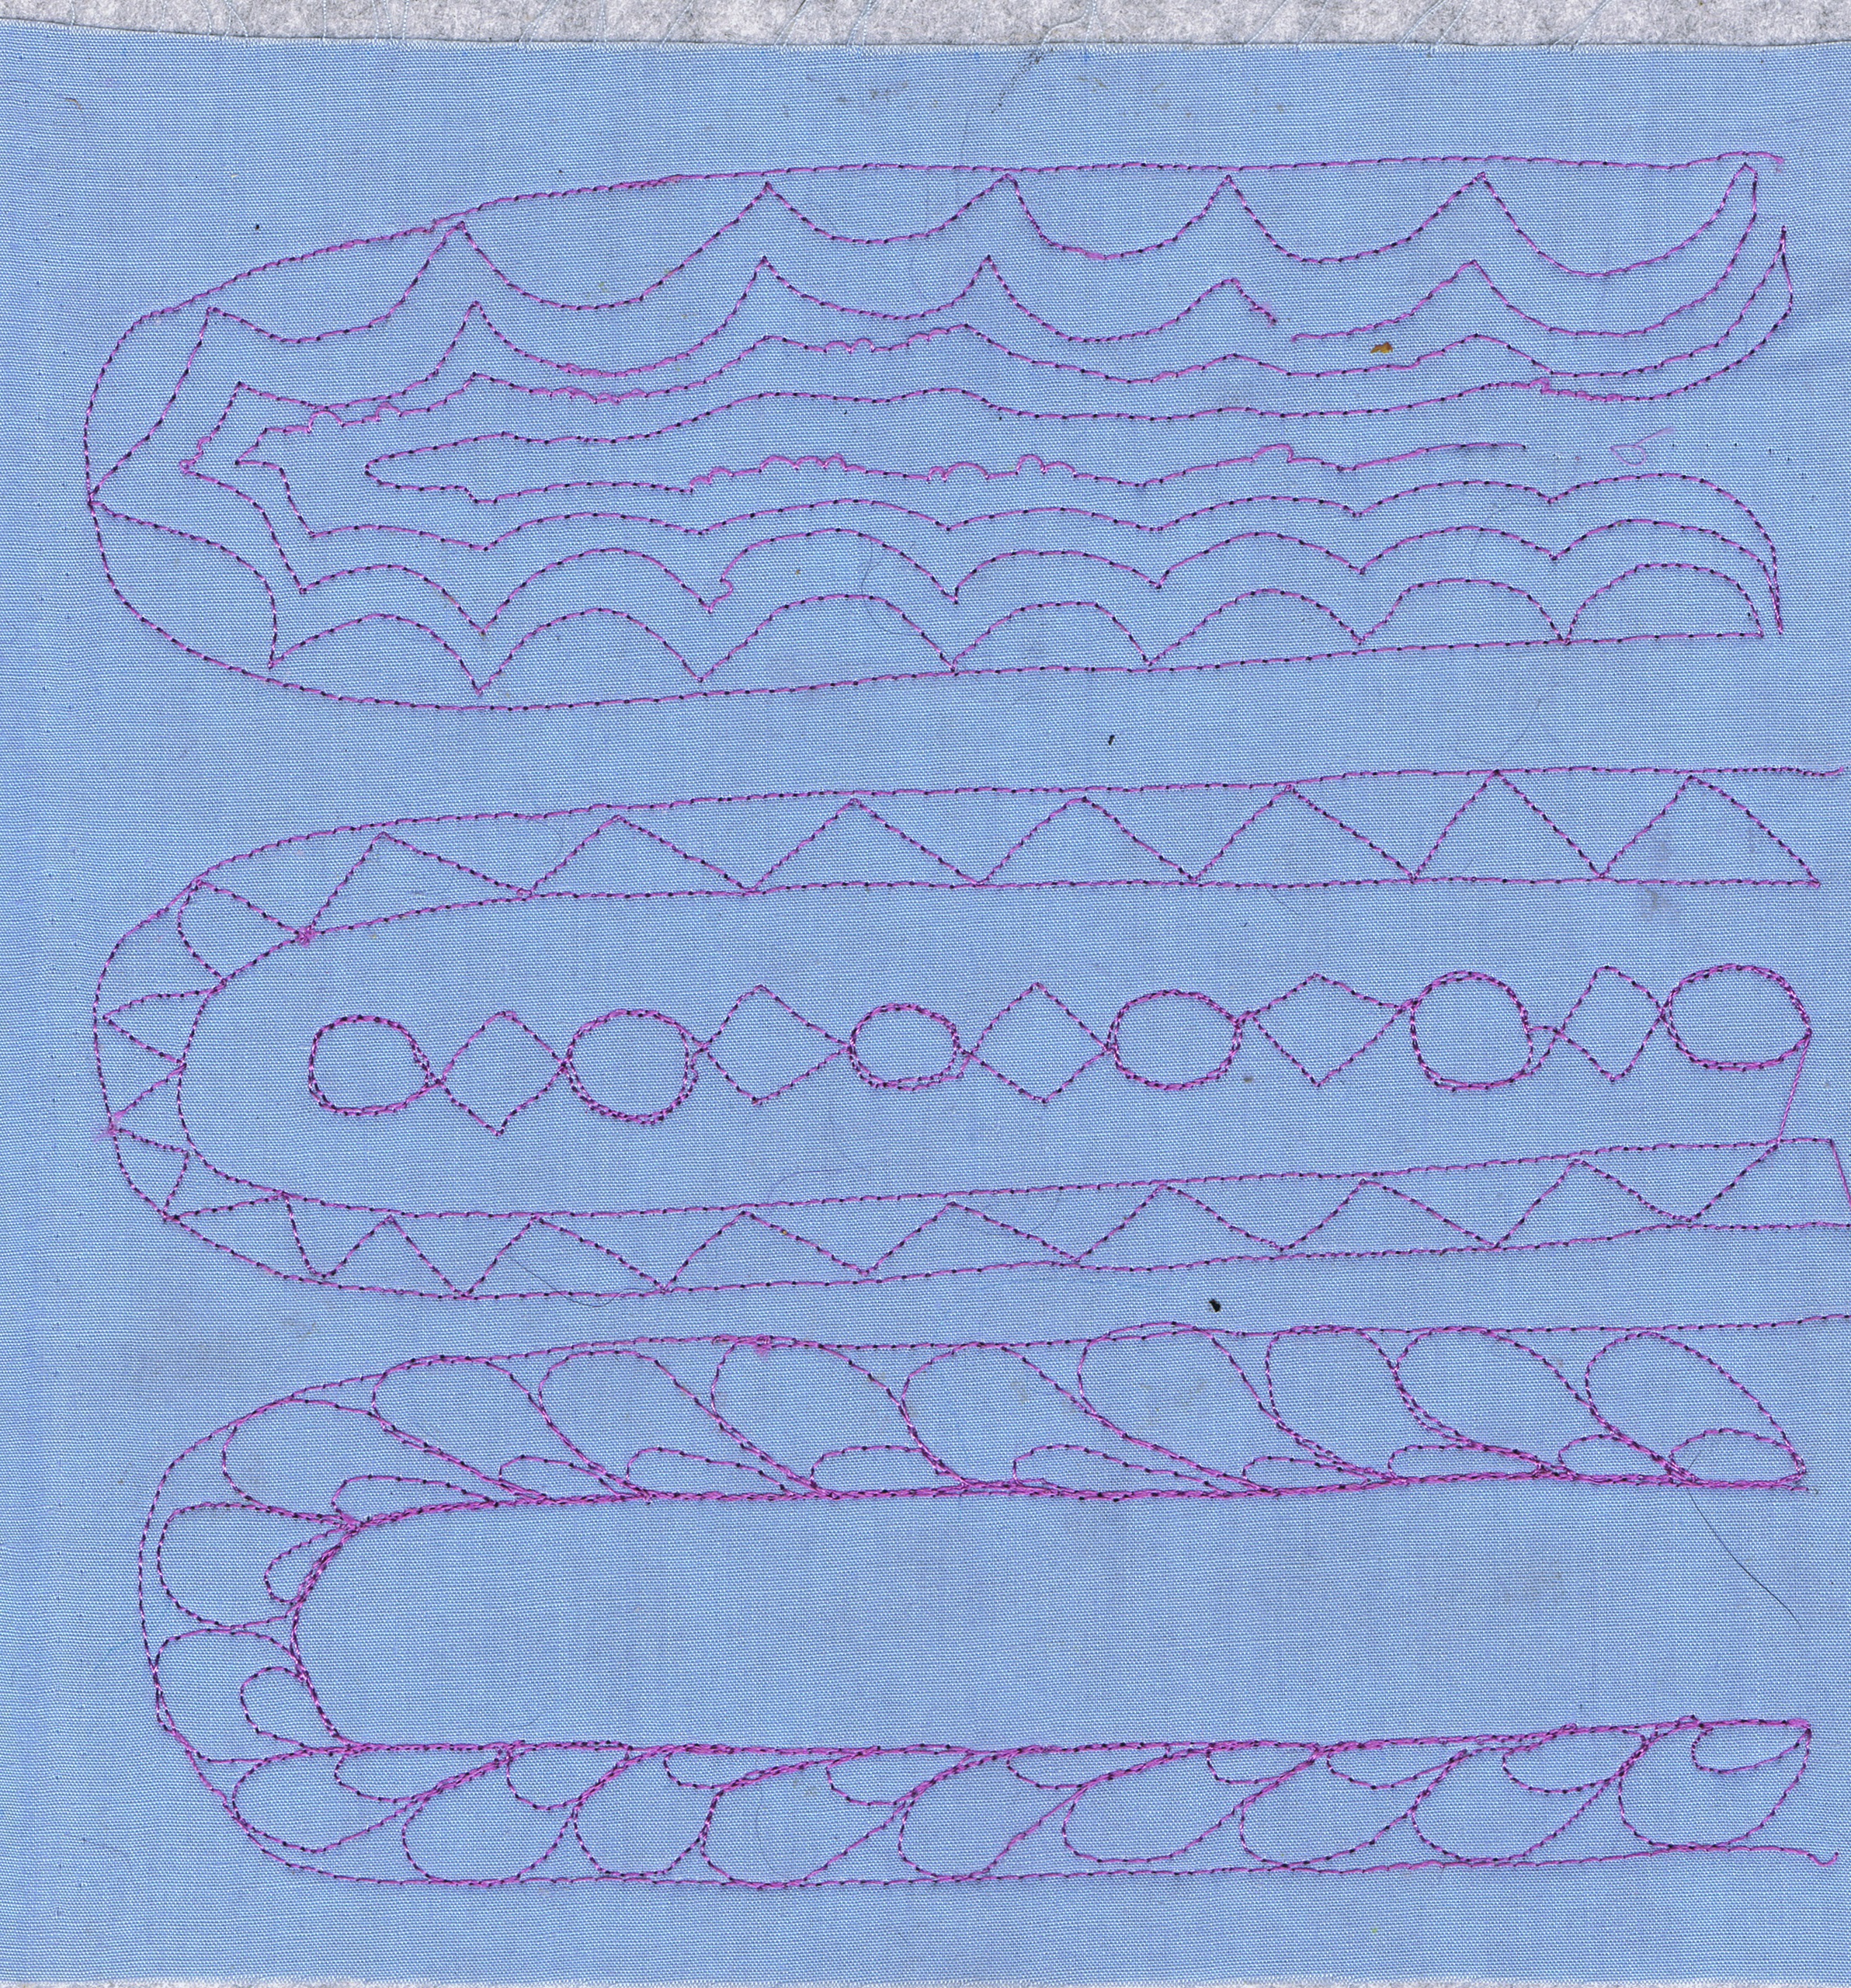
I have been continuing my free motion samples.
Here is a week's worth of patterns.
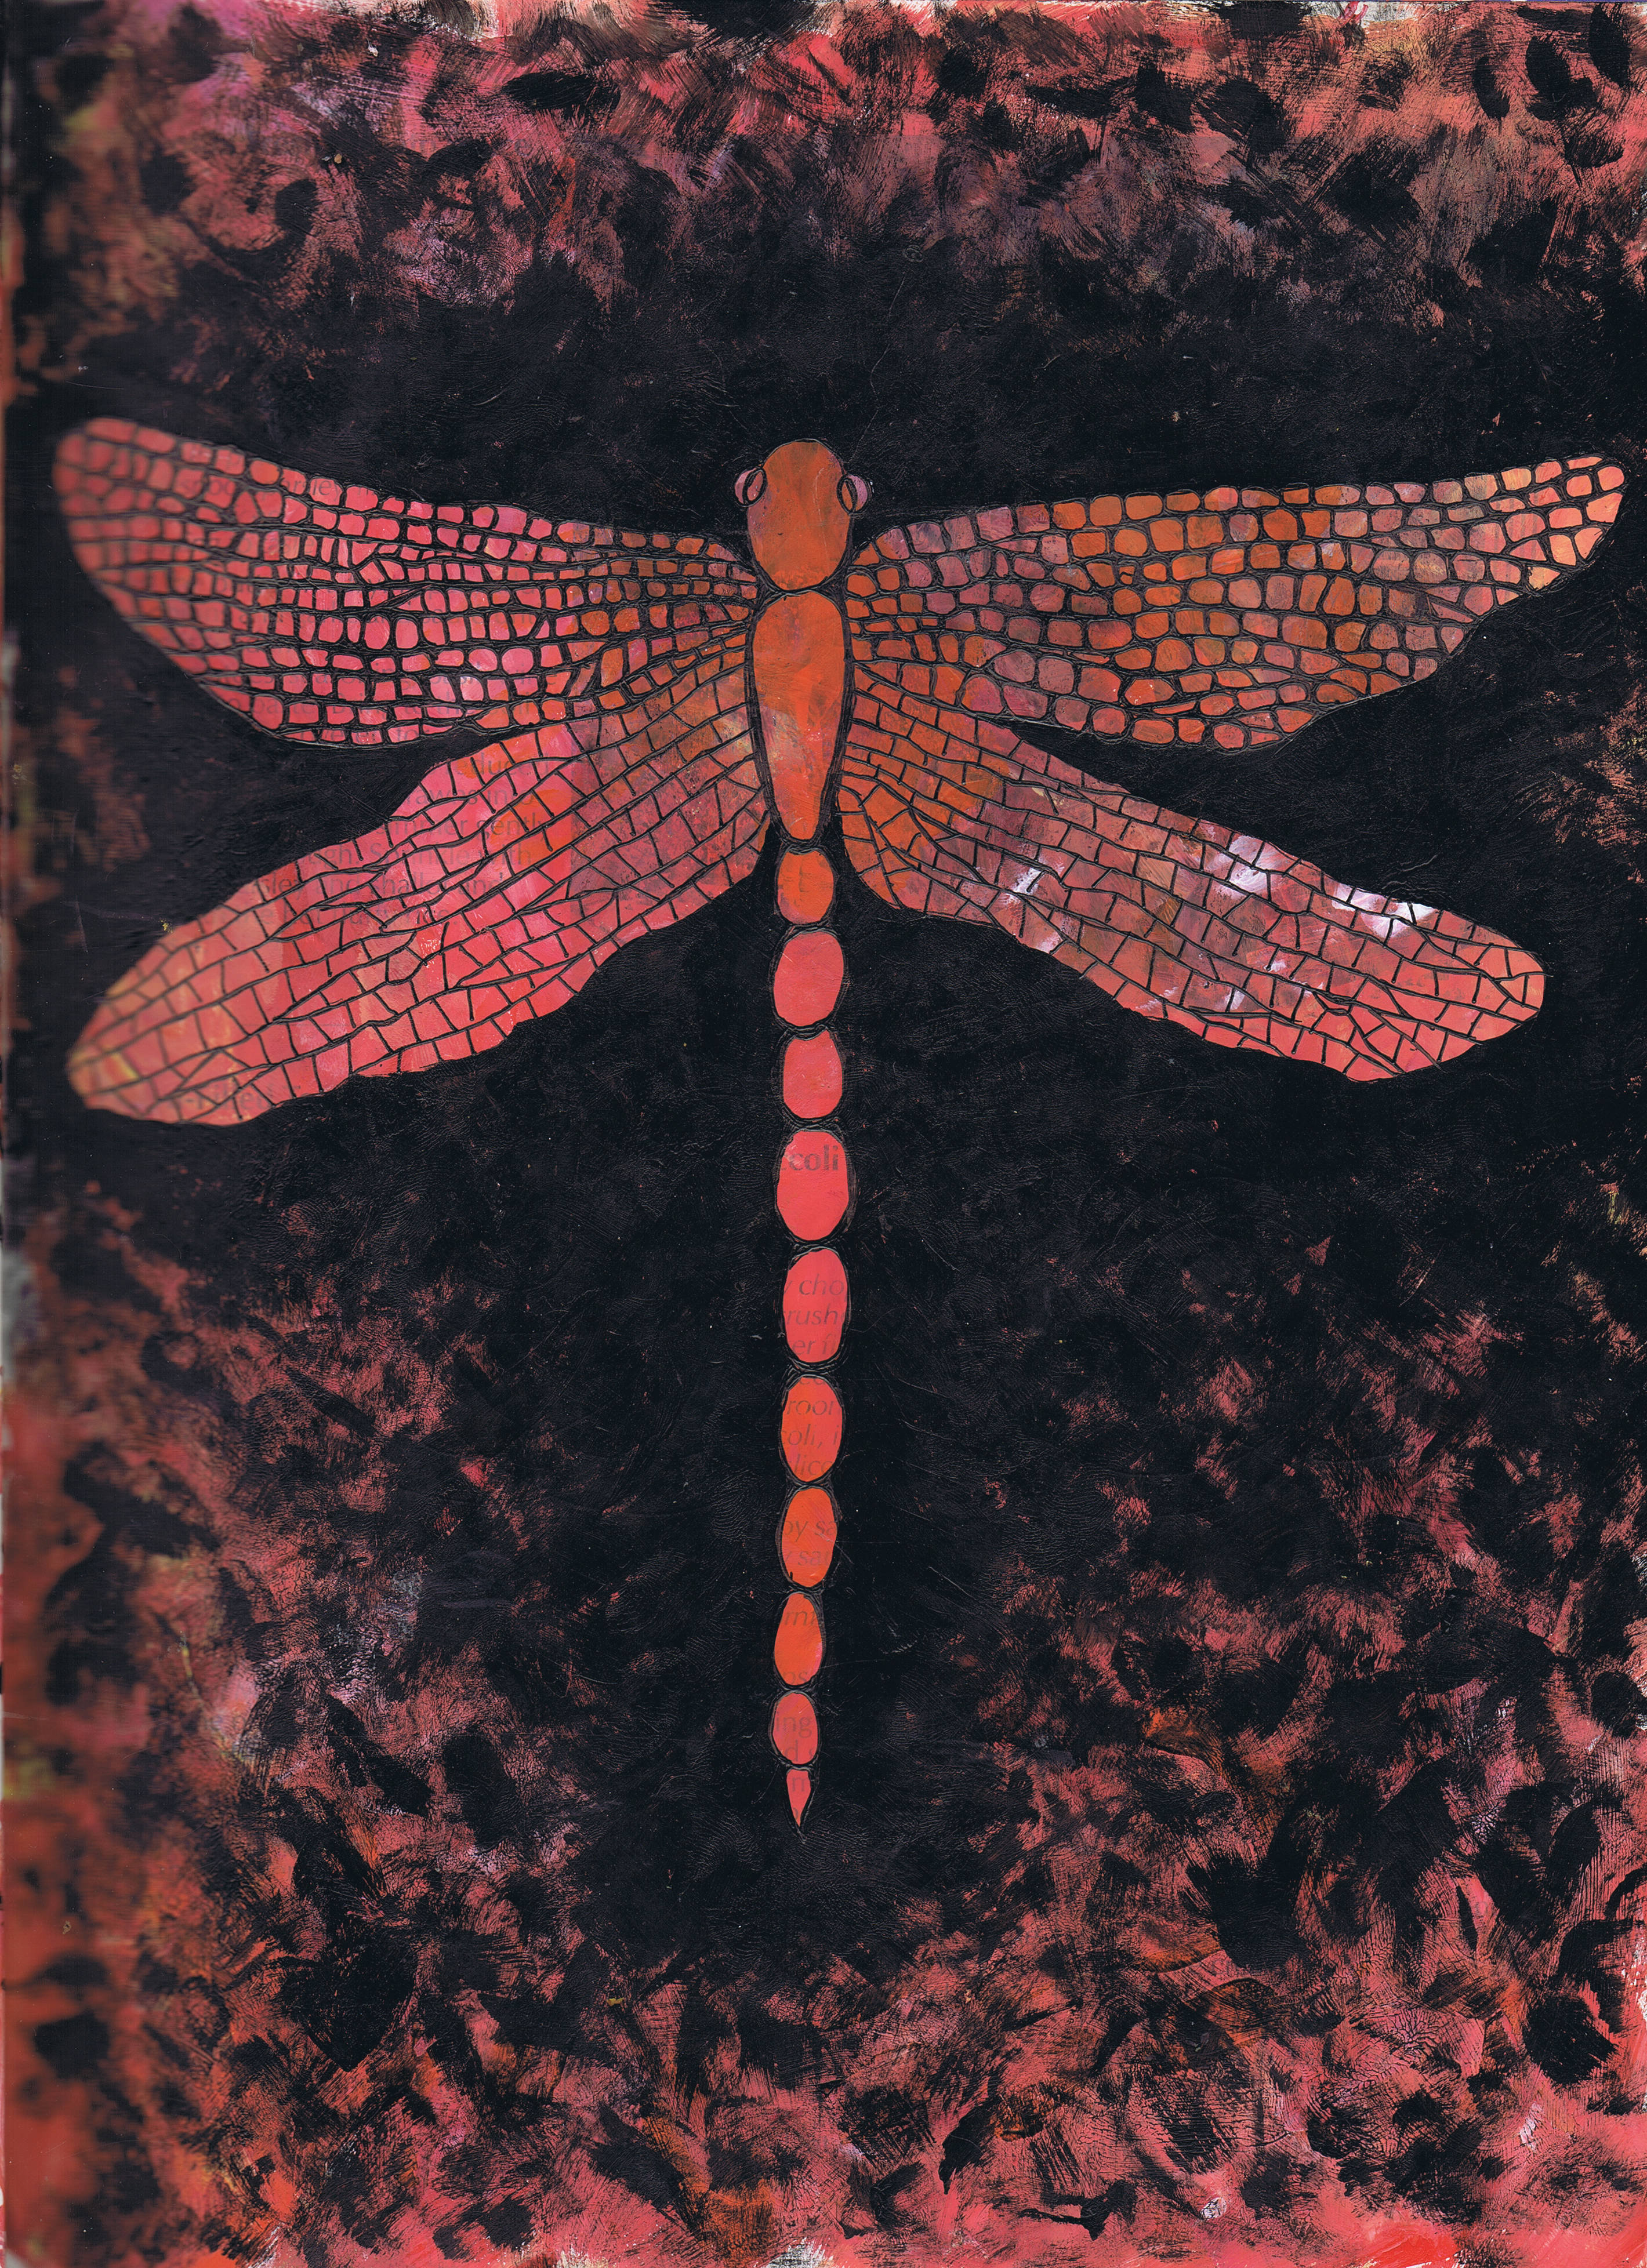
I have been working on my Creative sketchbooks course, which I won't share here, but have also done a little art journaling, as well.
This was a dragonfly I drew on a very red page I didn't know what to do with.  I like this page a lot.
This was a very cathartic page to do.  The tree was done using a mask.  I sprayed over the mask, then  printed with it instead of painting around it. I stencilled the butterfly with some lumiere paint.  I am not happy with it's colour, and think I might change it to a green.
Another reworked failed page, This page had several incarnations and I now have this tree on it.  It doesn't have very good contrast, but I think it might make a great fibre piece using bias applique.
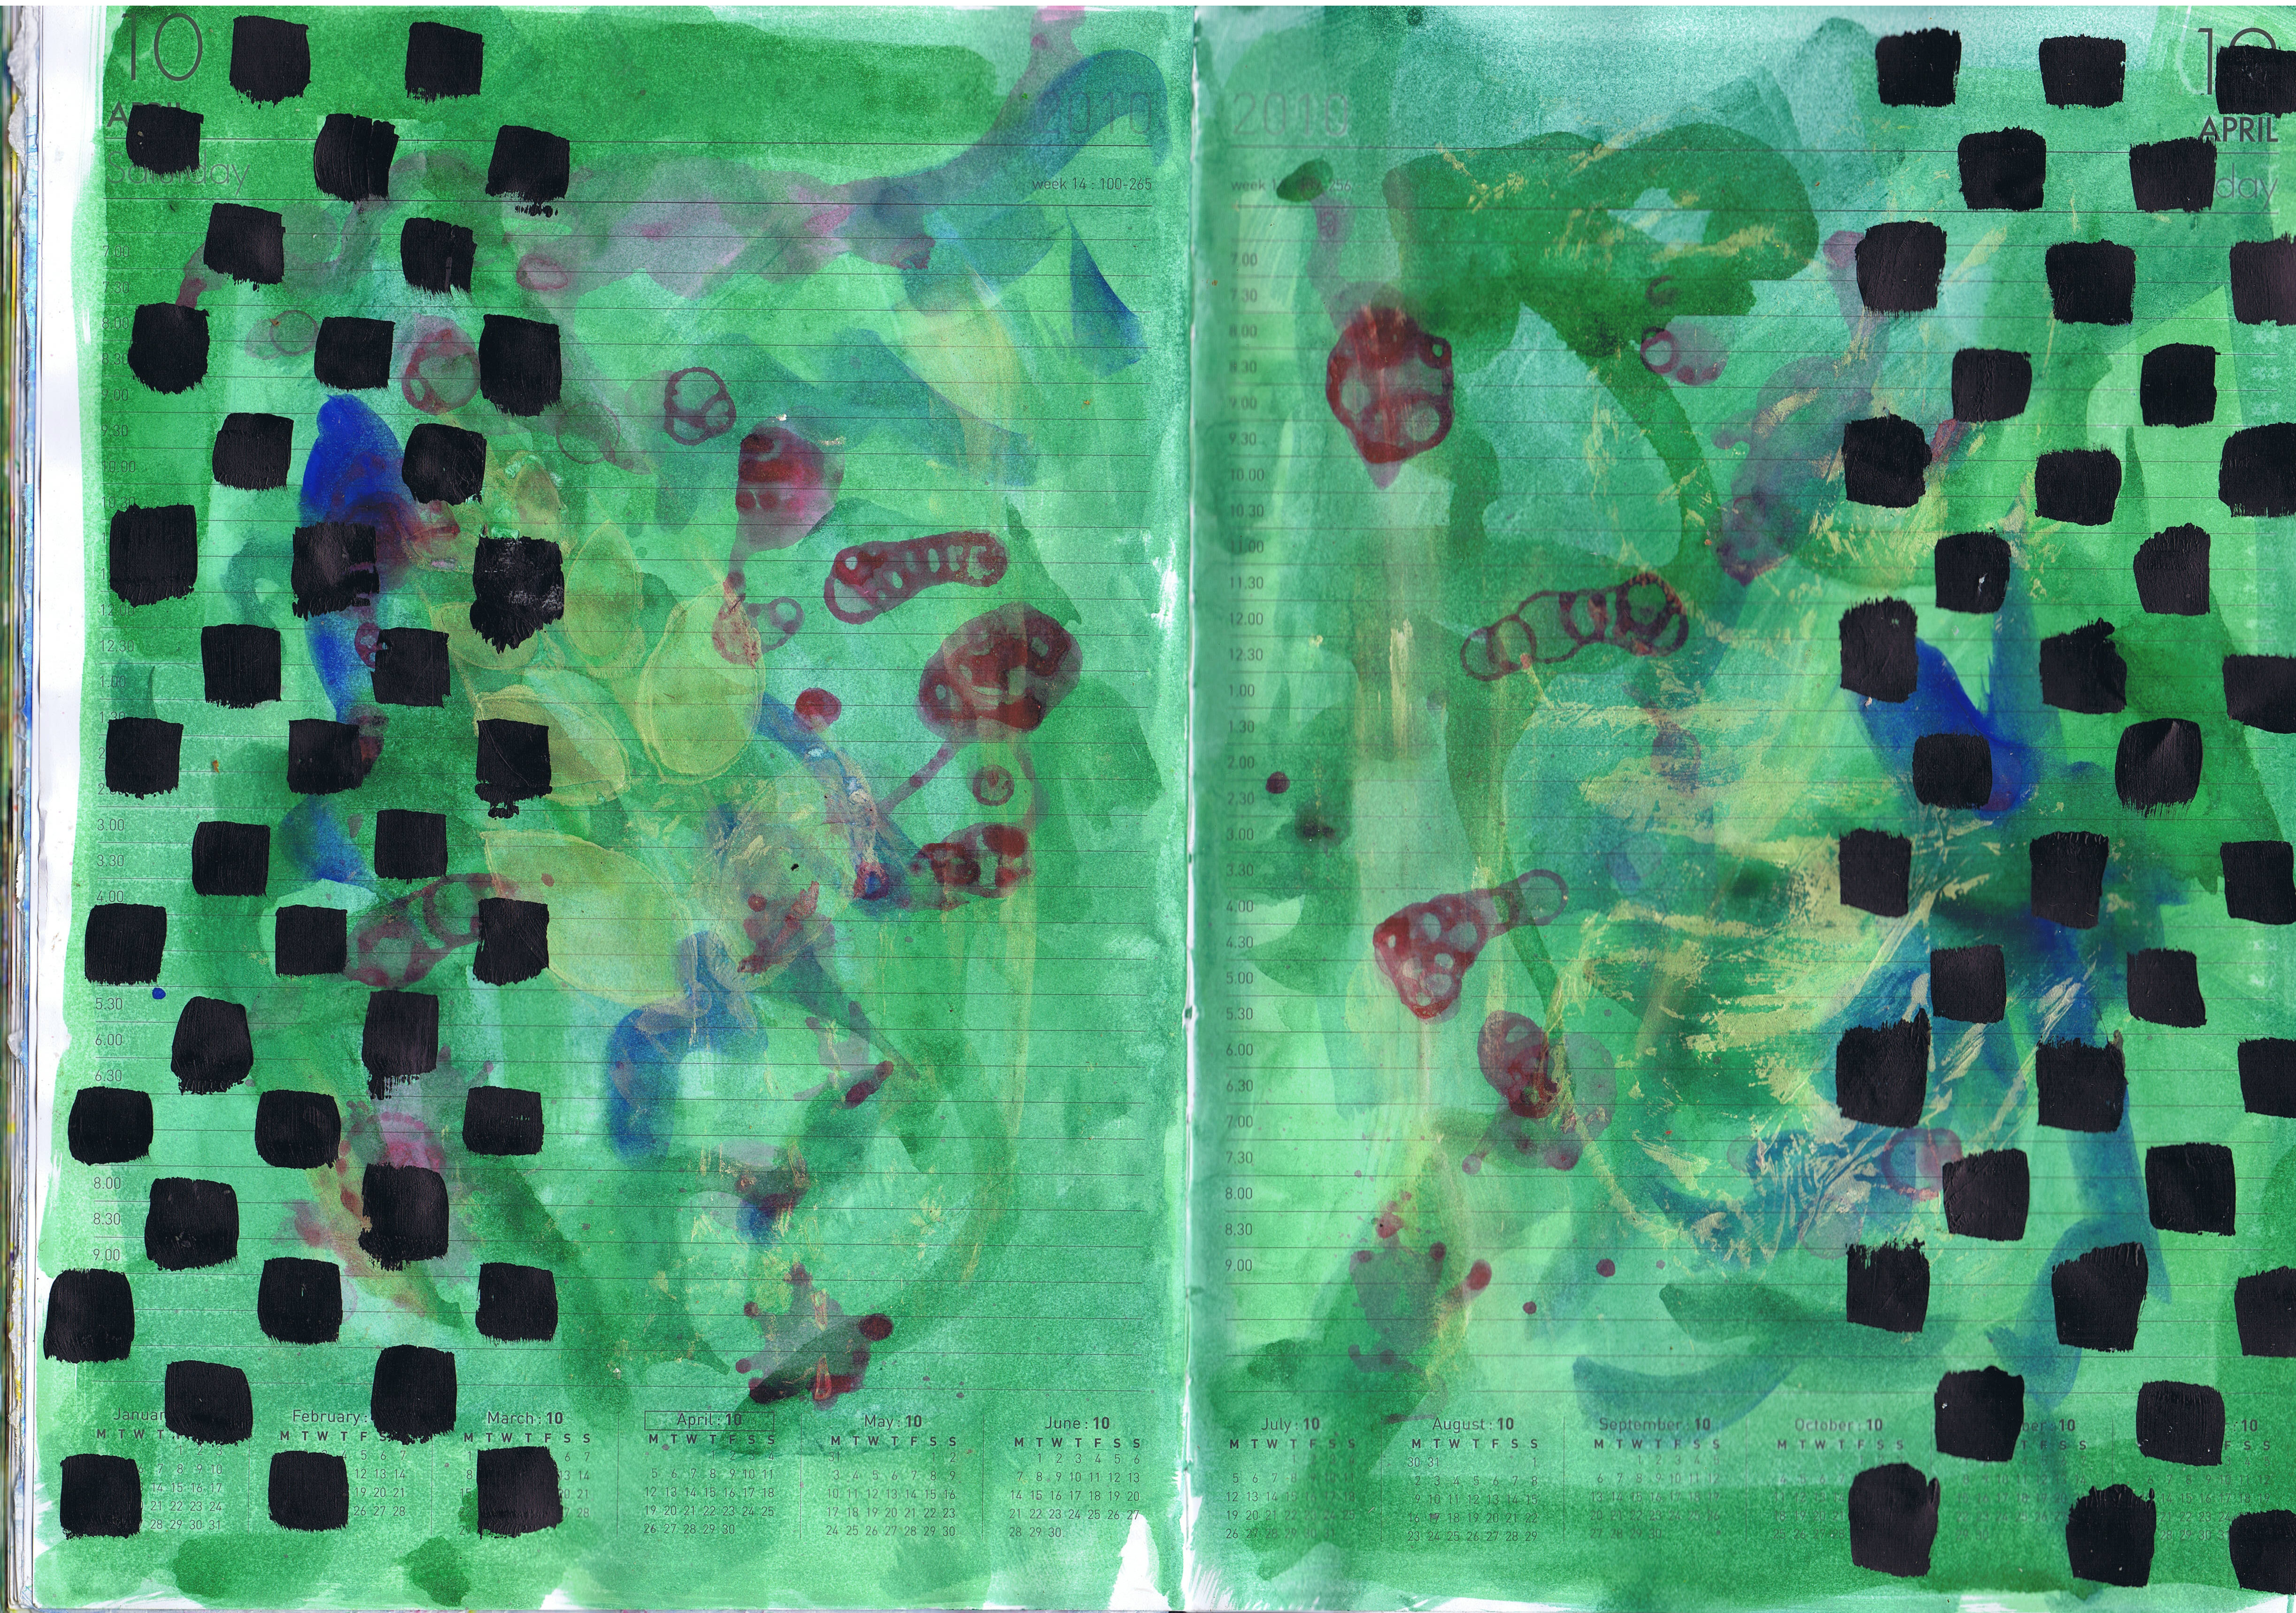
This is just a background, but I was playing with borders and just used a flat brush to make the squares in this grid.  I liked that.

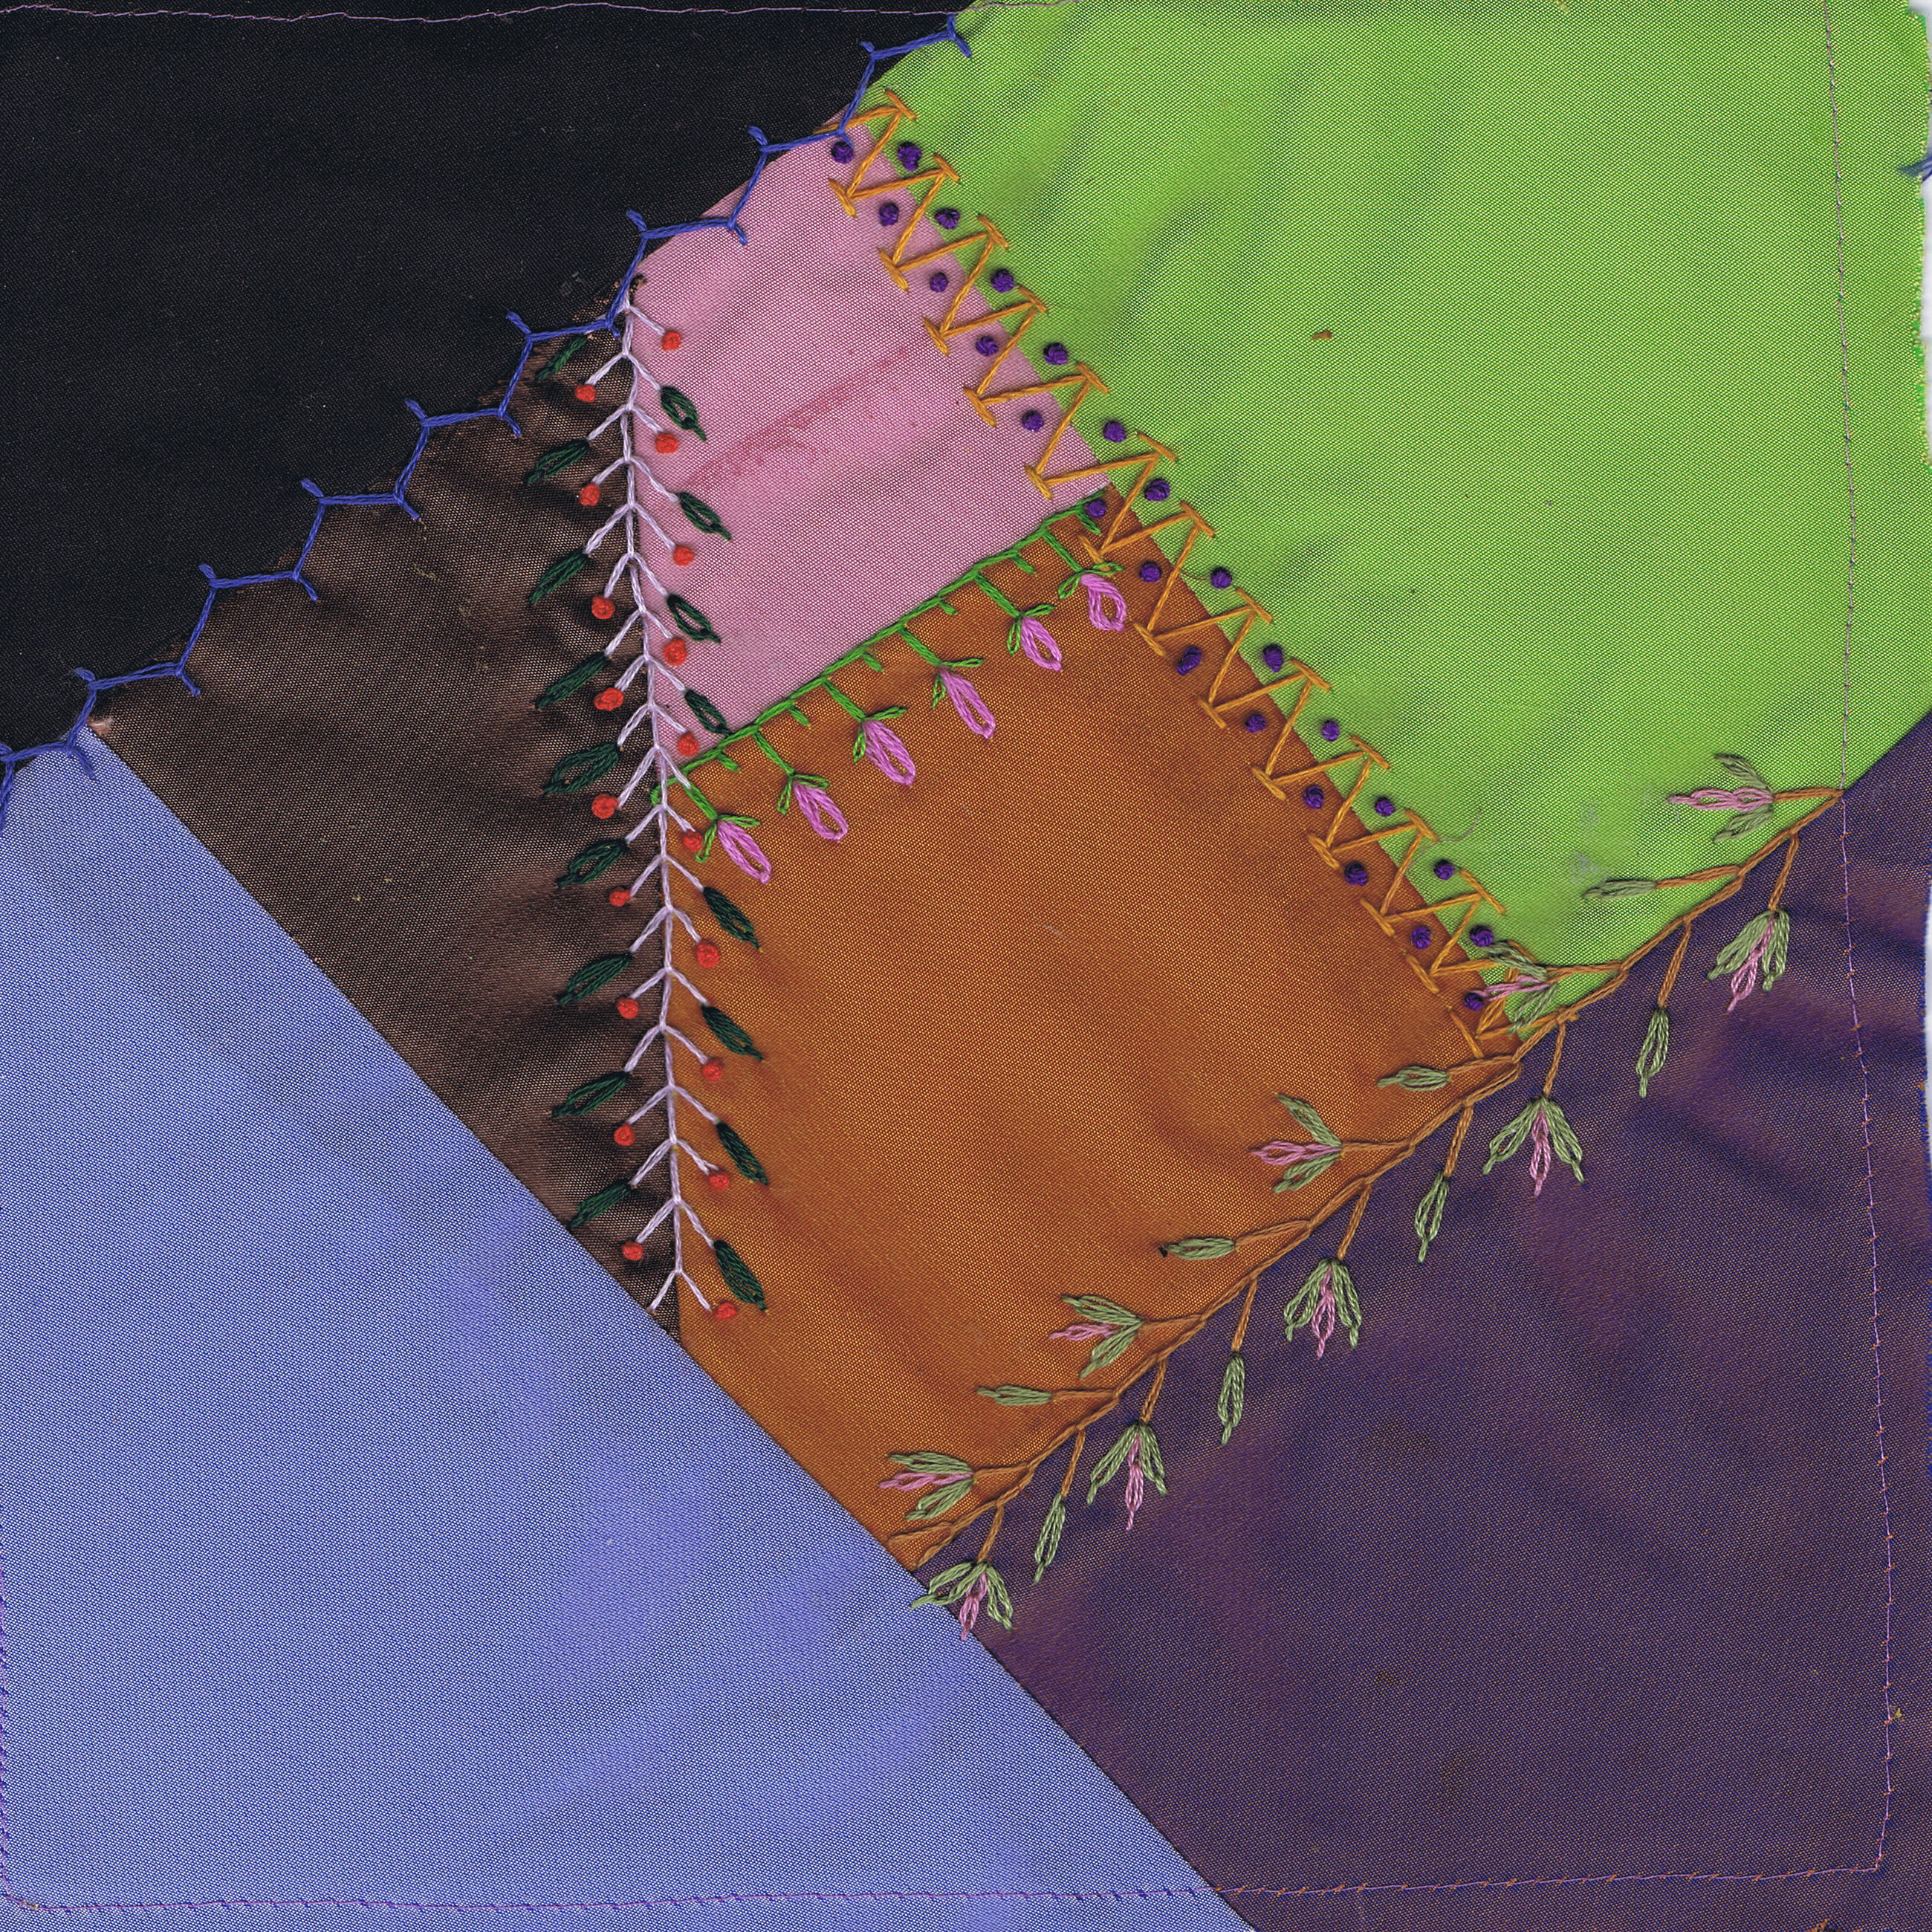
And on the crazy quilt front, I have done a little
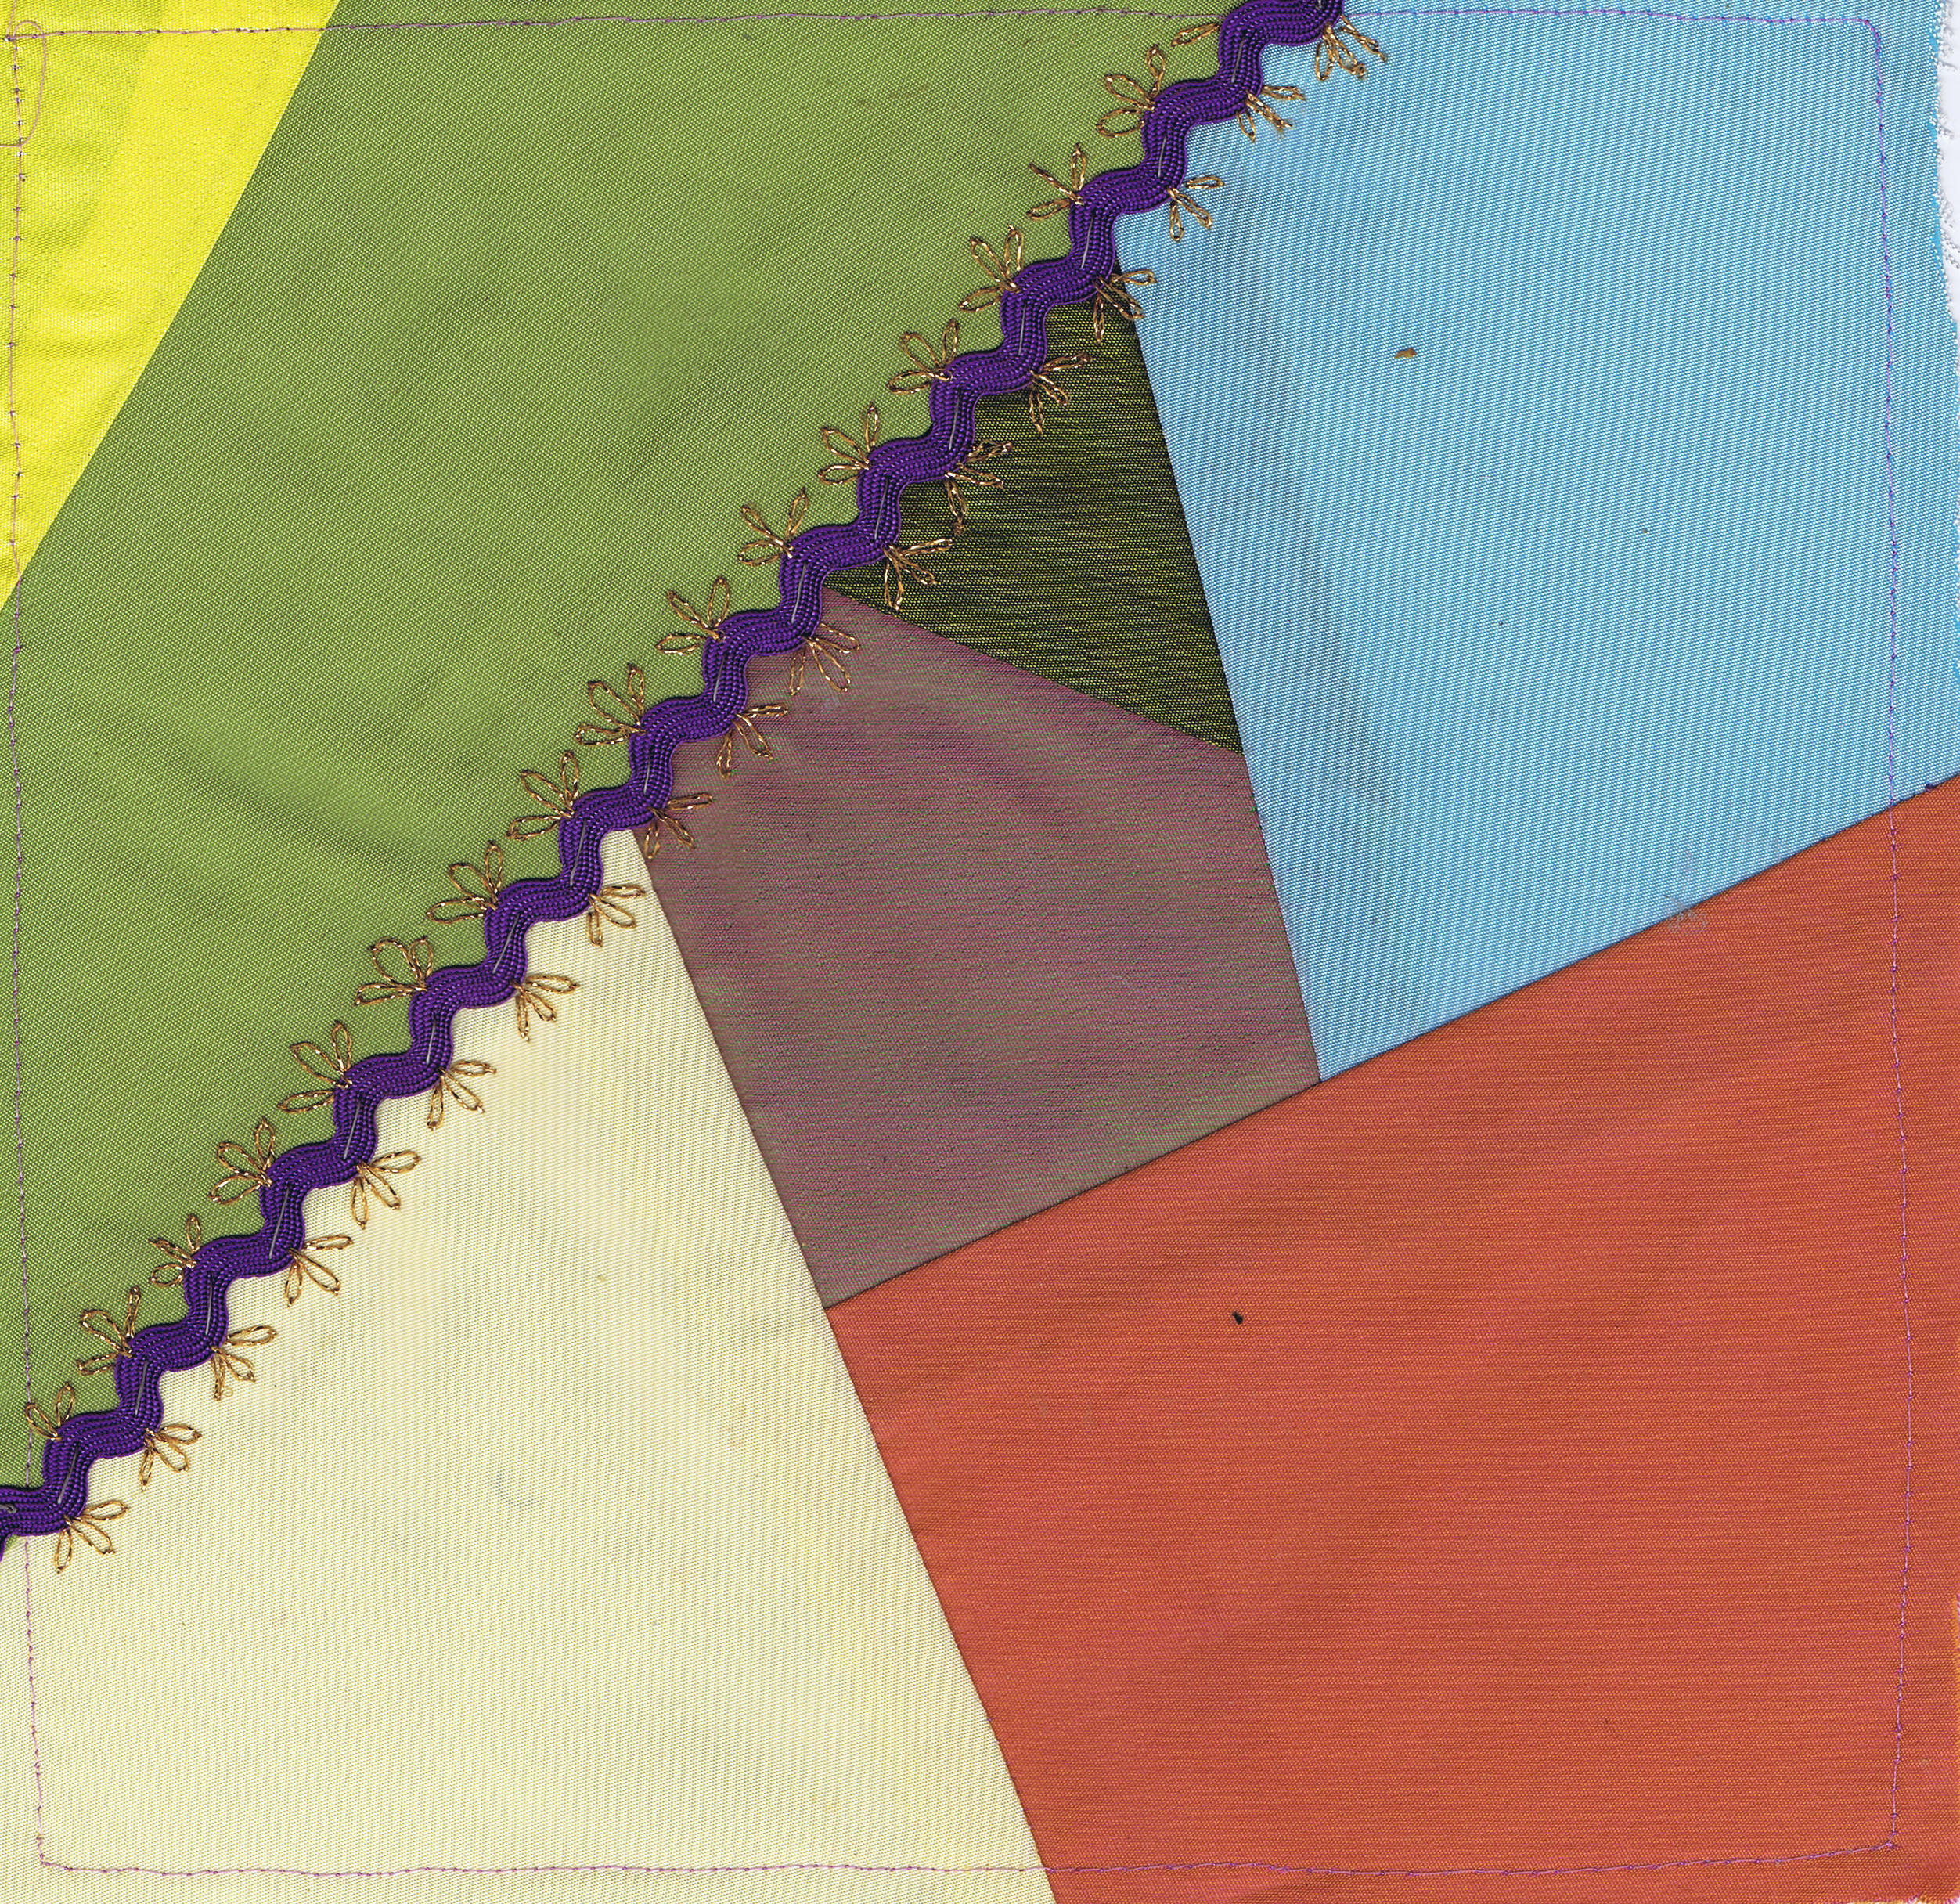
This is my first block with some satin samples.  I have actually done the last two seams on this one, now.  At present I have four blocks, but I may expand to nine, we'll see.
This second block also has a bit more since I took the photo.
I have also been practicing making flowers.
Here are a few pansies.  The top one is organza, the middle one  is satin ribbon and the bottom one is velvet ribbon.  The top red bit is just a gathered poppy, but has no black centre as yet.  The two red objects at the bottom are a rolled rose and bud, but they were not smiling at the camera like the pansies!
So, as you can see, I have been working away.

Remember to create every day

Saturday, July 27, 2013

A week's worth

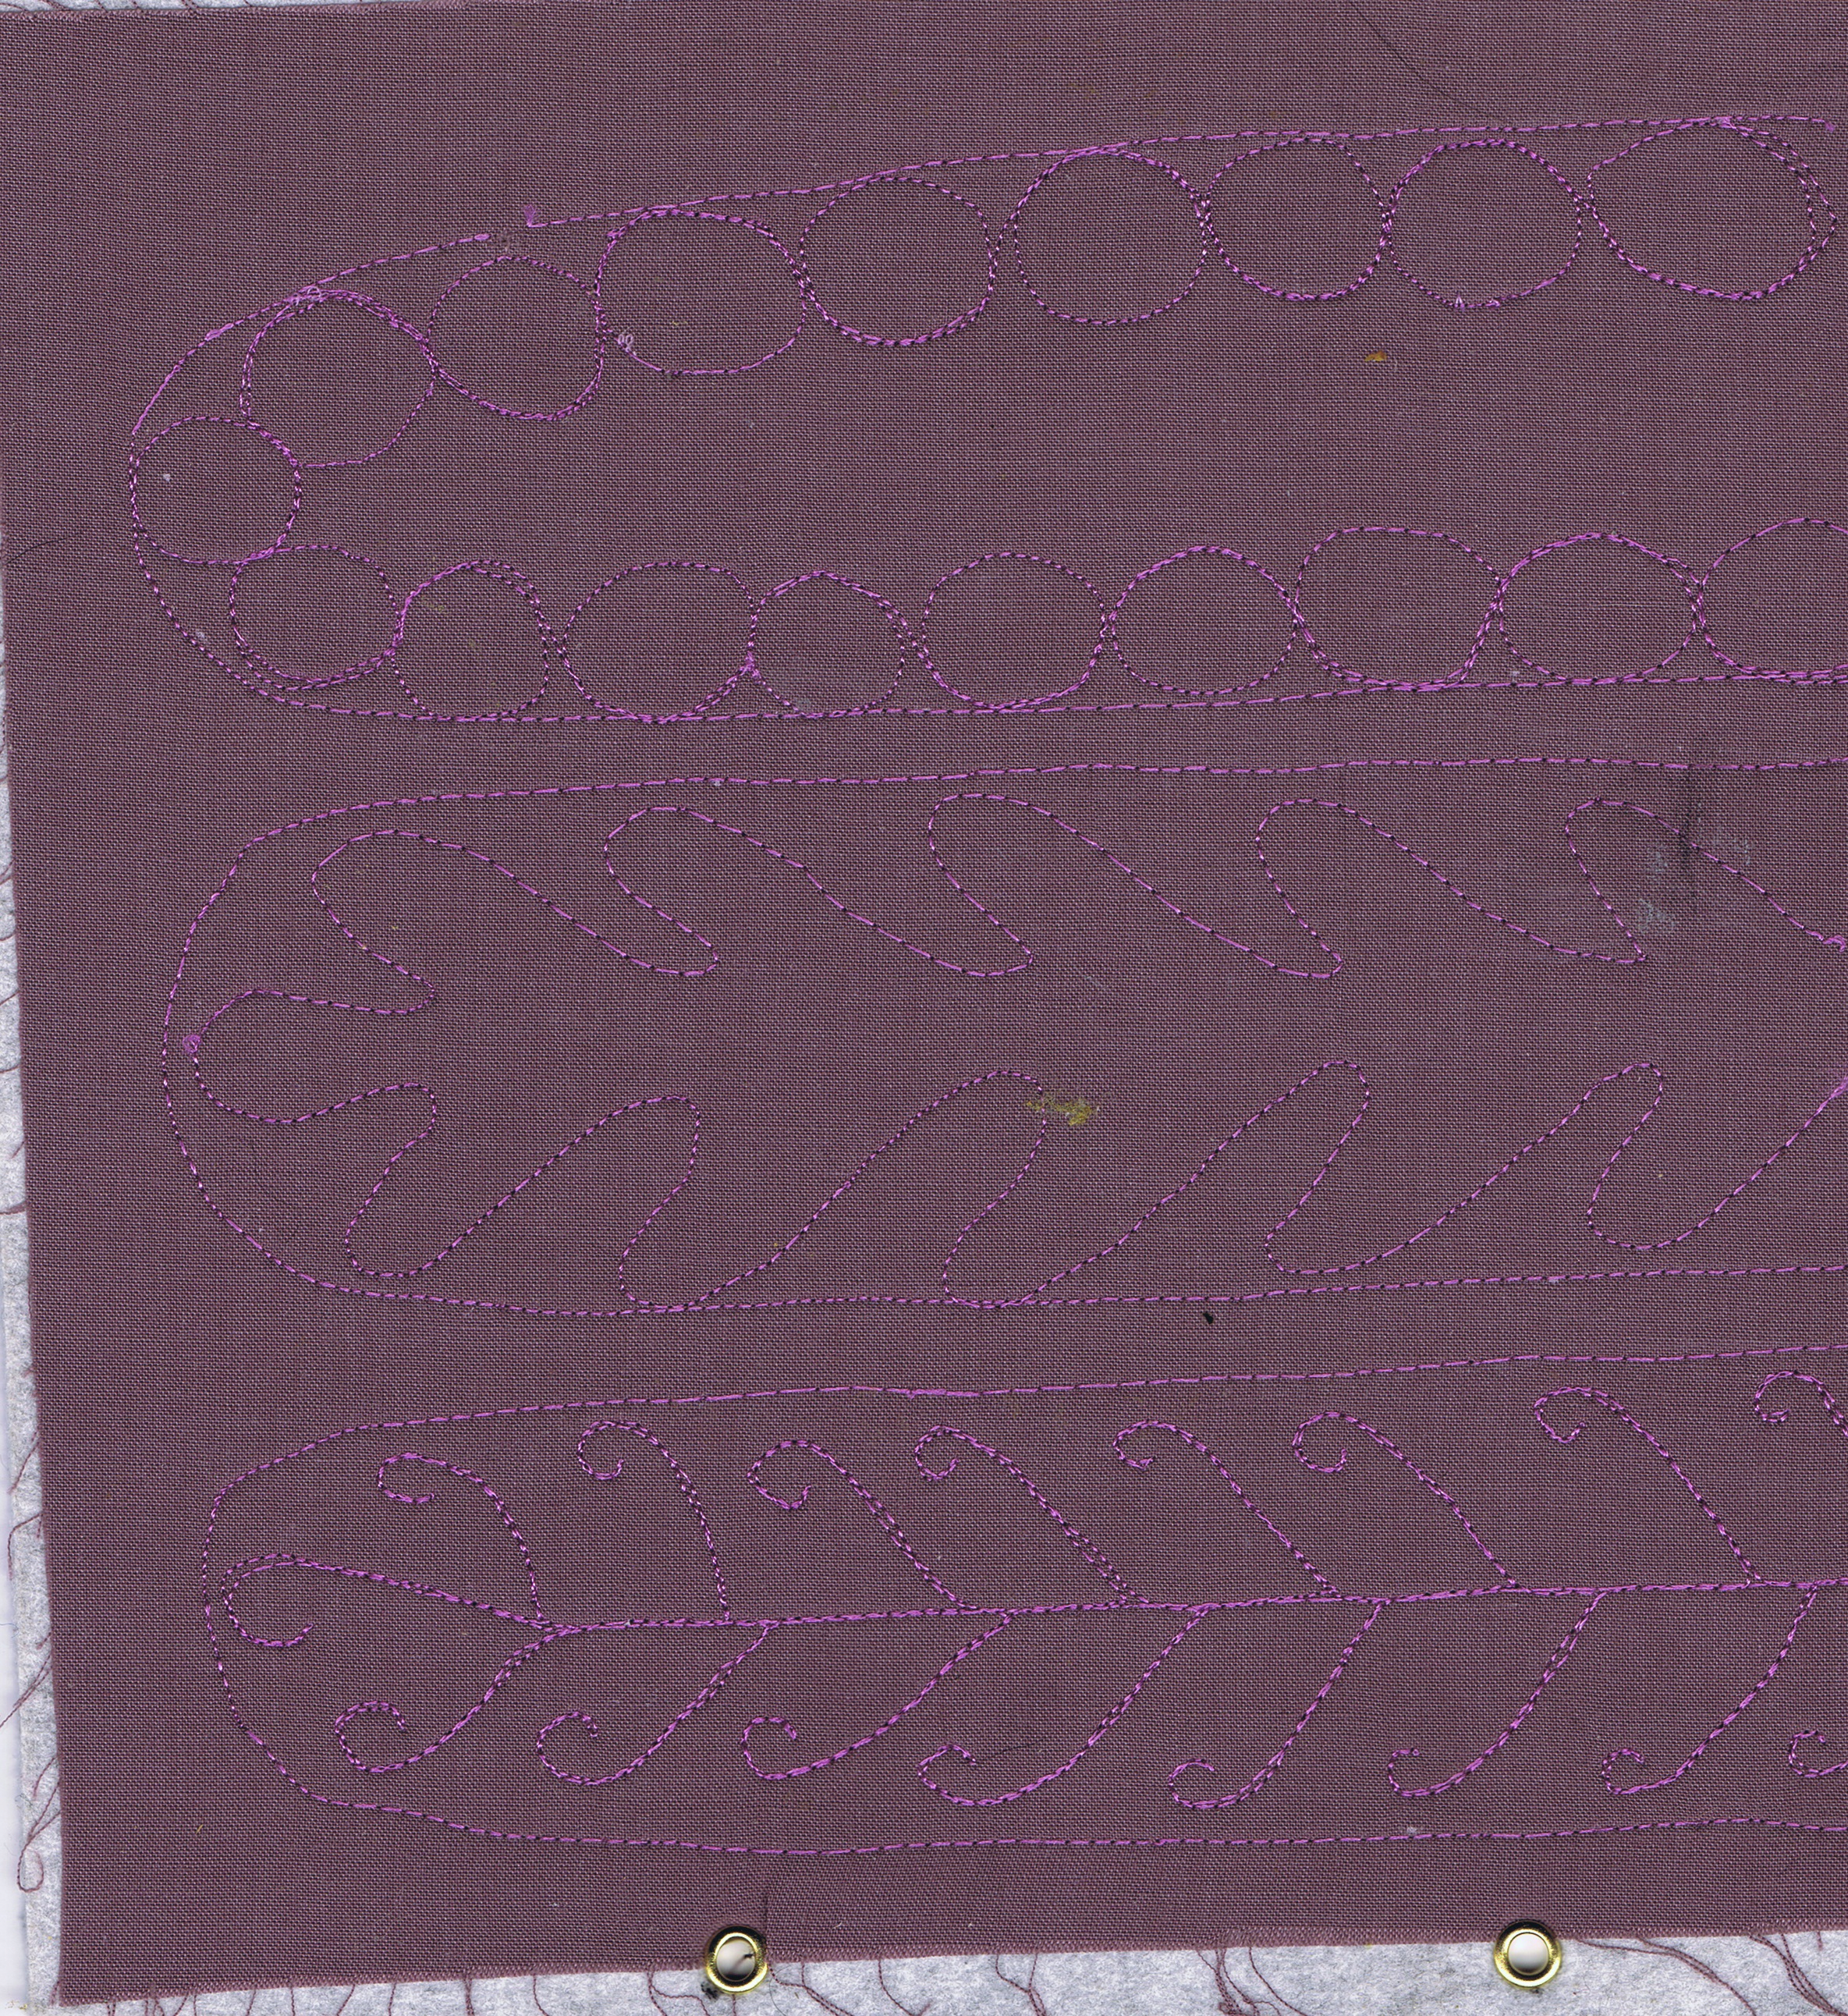
Not much to show today except almost a week's worth of my free motion feather tops. I don't know what I chose this shape to fill with doodles, but as you see I have lots of them.  As I do each one, I also think of more to add to the pages, so..
here are nos 4, 5 and 6
and 7, 8 and 9.  As you can  see at the bottom, I have added some eyelets to bind them together with rings.
I am using industrial felt offcuts for my backing and have found that it is extremely hard to stitch through, but I will persist with it since they are nice and firm for the sample book.  And of course I am using up scraps of fabric as well.  I think this sample book is something I should have done ages ago and will come in very handy when quilting and thread drawing.
I have also decided that these little feather tops might make a very nice border design on this quilt-
Which is a lot further along now. I will be starting on the borders soon as I am just finishing the background fill which is very tiny!

Don't forget to create every day!

Monday, December 19, 2011

quilting to a timeline

Above are the last week or so of quilting practice.  As you can see, I need all the paractice I can get.
I got a bit bored with these samples and decided to make it a little more interesting.
I decided to tke some simple sketches out of my sketchbook and do a related quilting sample.  Above left, I have a dragonfly sketch and some veins as a quilting pattern. and on the right a stylised pomegranate and some pebbling.  I have also included a word in script on each sample, too.
Above is the dragonfly sample finished.  I used a lilac rayon on top and a white bobbinfil on the bottom.  Although with thread painting I tend to want the bobbin to pop up at times, in quilting, I want it the other way, I would rather the top thread peeked through to the back a teeny tiny bit. 
Below are two pictures of the back.  You can see a little bit of spotting on the back. If I felt it was a problem, or it was for a show, I would loosen the bobbin a tiny bit, as the top is already quite tight.
Here is today's sample, the pomegranate.
Still a bit wonky, but reasonable. 

The thing which is surprising me, is that the handwriting is actually the easiest part of the quilting.  I remember watching some Linda Taylor videos where she always said that drawing your designs many times is the best practice and this has shown me how true this is.  Handwriting is something that I have been doing for a long time.  Other motifs are not as familiar to me and so are not as easy to quilt.  Laura Kemshall on design matters has also talked about being familiar with your subject especially through using a sketchbook.

Now why is this important to me right now?
Well, I am working on a piece that has lots of quilted text on it - Actually forty lines!
Can't tell you any more about that one right now.

But -
I have finished all the blocks for my recycled mixed media piece and will hopefully post them tomorrow.

Saturday, December 17, 2011

Painted papers

At present, I am posting a lot of mixed media, however I do have a number of textile pieces in process. 
I will be posting these as they are finished in the next few weeks
Deadlines are looming, and of course, that is when the work gets done, lol.
Today I am posting about some painting on paper I did recently.  The papers will be used in collage and mixed media work.
As you can see from the overviews above, I did quite a few samples as well as trying out a couple of techniques at the same time.
The first thing I wanted to play with was paste paper.  I had recently read about this at a gorgeous bookbinding blog here.  If you are not at all interested in paper, you will be after looking at her galleries.
Paste paper is like what we called fingerpainting at Kindergarten, just a bit more of a grown-upversion. Whilst not really paste papers, the two above were printed with paste paint, using a lace doily (a mass produced machine one) The first is the positive and the second is the negative.  I loved this effect.
These second two are using paste paint on newspaper.  In the first one, I used a barbecue rubber brush to create a pattern, in the second, my fingers, but you can see that even with dark paint the coverage is really not good enough for newspaper.
This sample used green paste paint with glitter on brown paper.  The swirls were created with the rubber brush.
This paste sample was swished with the brush.  This was on a coated paper and you can see in the top right that the coating decided to come off.  not a good paper to use.
This one is the same, using a brush to create texture, but on a more interesting paper which knows how to behave.  This was on an opened out white paper bag, (with a shiny side, like you buy lollies/candy in at the shop)  The result was almost translucent when dry and I really liked it.
The same white paper and paste, using the rubber brush to make this lovely texture.  My favourite.
This time more colours, some metallic and a small brush to make swirls.  This one is great, too.
This one is what is called a pulled paper - You know when you used to make inkblots or butterflies by folding the paper paint side in then opening it again.  The texture is really interesting and I will be doing maore of this type.

The other things I wanted to play with were newspaper and adding stuff to painted papers.
Here are three painted newspapers.  The two things I learned were that the paint needs to be dark and thick and more than one layer works best.  I don't want to obscure all the print, but I want it to be difficult to read.
I also decided that it would be worht trying a light coat of gesso before painting to wash out the text a bit, then I could have more muted colours.
These three were all paint on paper, but with different additions sprinkled on.  The one on the left was baking soda - in the middle rock salt and right was sugar.  They all create a different texture. ( I do not think the baking soda changed the colour, but being a biochemist I am aware this is possible, so as i can't remember if the paint was the same in all three, I will just have to do it again)

The final two samples are just using different papers.
This one is on white butcher's paper, the type they wrap your meat in.  I used the shiny side and found it took prints really well.
This last sample was an accident, but I was interested in what happened.  I used freezer paper under my papers to protect the work surface and this is a piece which inadvertently got painted.  I thought the paint would come off, but it doesn't, so it's worth keeping my protecting sheets for another project.

All in all, this was a very productive day, and I got a lot  sheets of lovely paper to use in my books and mixed media out of it.  The sample tags I have shown here are just little bits cut off the edges of thode sheets, and would you believe it?  I have also used the scraps from cutting out the tags on some collaged book covers!
We don't waste much around here!