At present, I am posting a lot of mixed media, however I do have a number of textile pieces in process.
I will be posting these as they are finished in the next few weeks
Deadlines are looming, and of course, that is when the work gets done, lol.
Today I am posting about some painting on paper I did recently. The papers will be used in collage and mixed media work.
As you can see from the overviews above, I did quite a few samples as well as trying out a couple of techniques at the same time.
The first thing I wanted to play with was paste paper. I had recently read about this at a gorgeous bookbinding blog
here. If you are not at all interested in paper, you will be after looking at her galleries.
Paste paper is like what we called fingerpainting at Kindergarten, just a bit more of a grown-upversion. Whilst not really paste papers, the two above were printed with paste paint, using a lace doily (a mass produced machine one) The first is the positive and the second is the negative. I loved this effect.
These second two are using paste paint on newspaper. In the first one, I used a barbecue rubber brush to create a pattern, in the second, my fingers, but you can see that even with dark paint the coverage is really not good enough for newspaper.
This sample used green paste paint with glitter on brown paper. The swirls were created with the rubber brush.
This paste sample was swished with the brush. This was on a coated paper and you can see in the top right that the coating decided to come off. not a good paper to use.
This one is the same, using a brush to create texture, but on a more interesting paper which knows how to behave. This was on an opened out white paper bag, (with a shiny side, like you buy lollies/candy in at the shop) The result was almost translucent when dry and I really liked it.
The same white paper and paste, using the rubber brush to make this lovely texture. My favourite.
This time more colours, some metallic and a small brush to make swirls. This one is great, too.
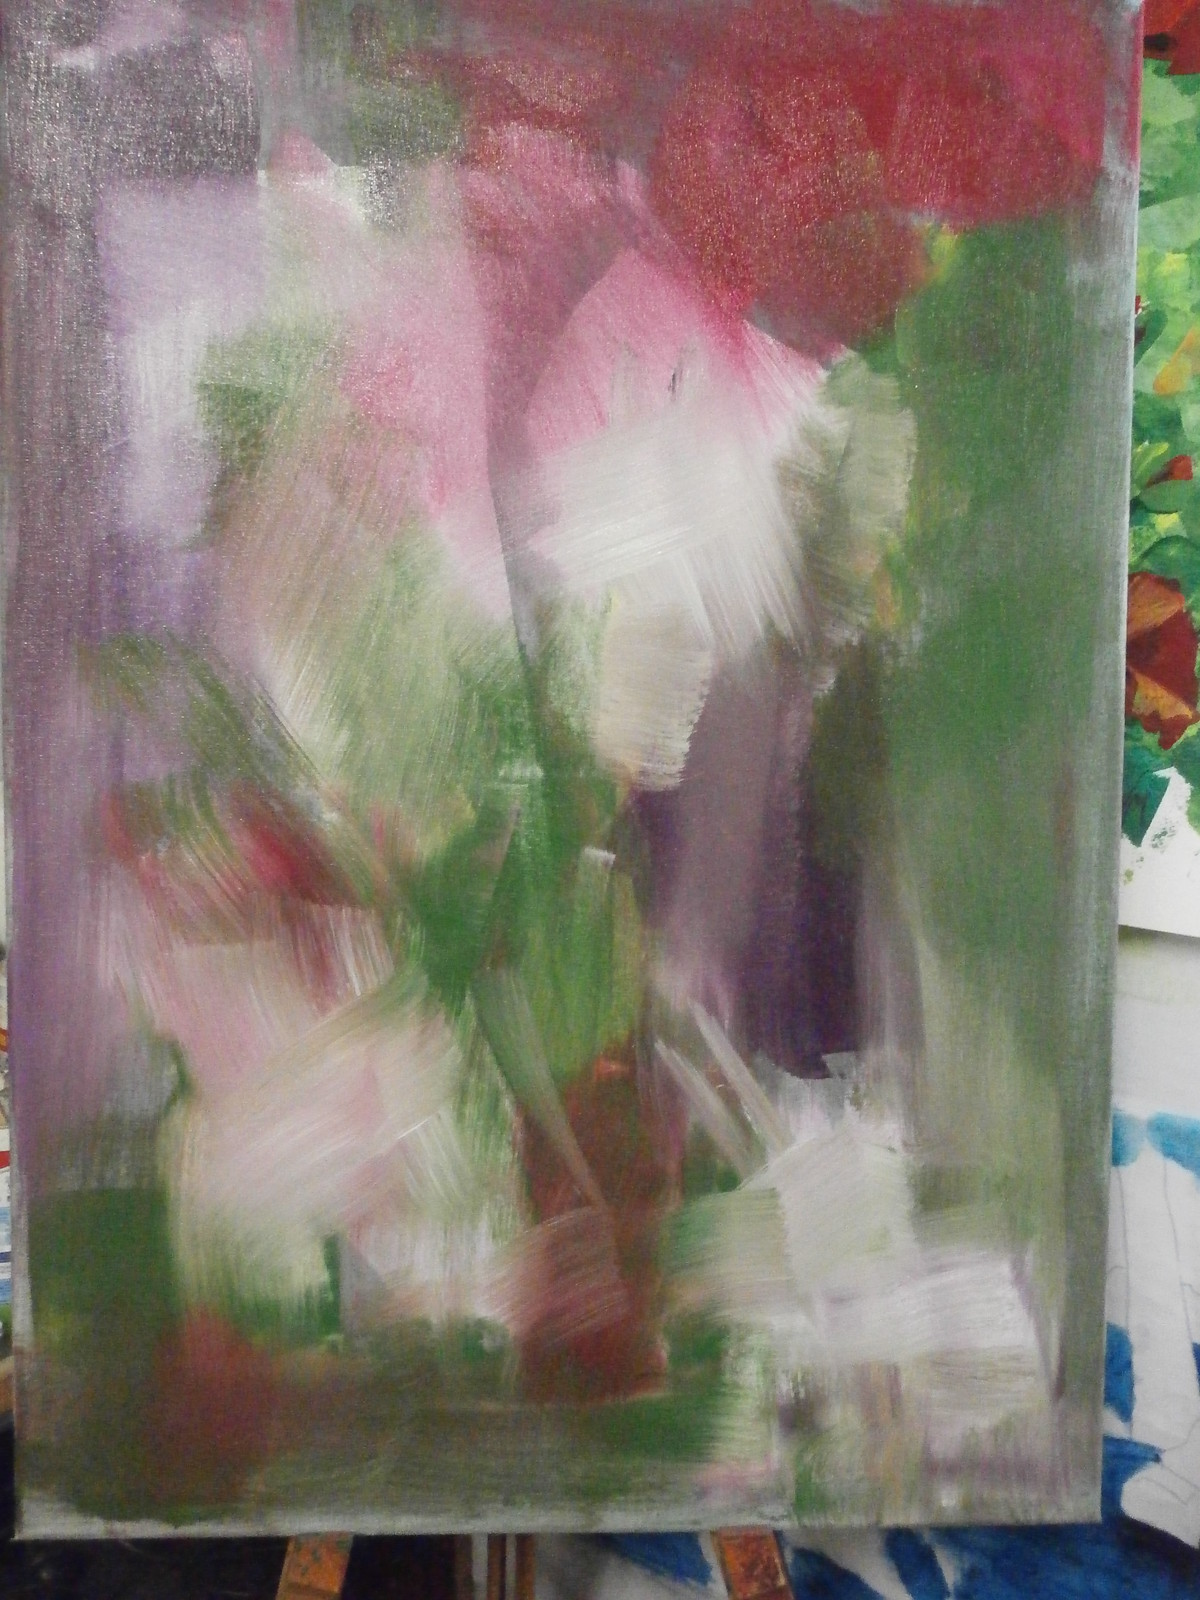
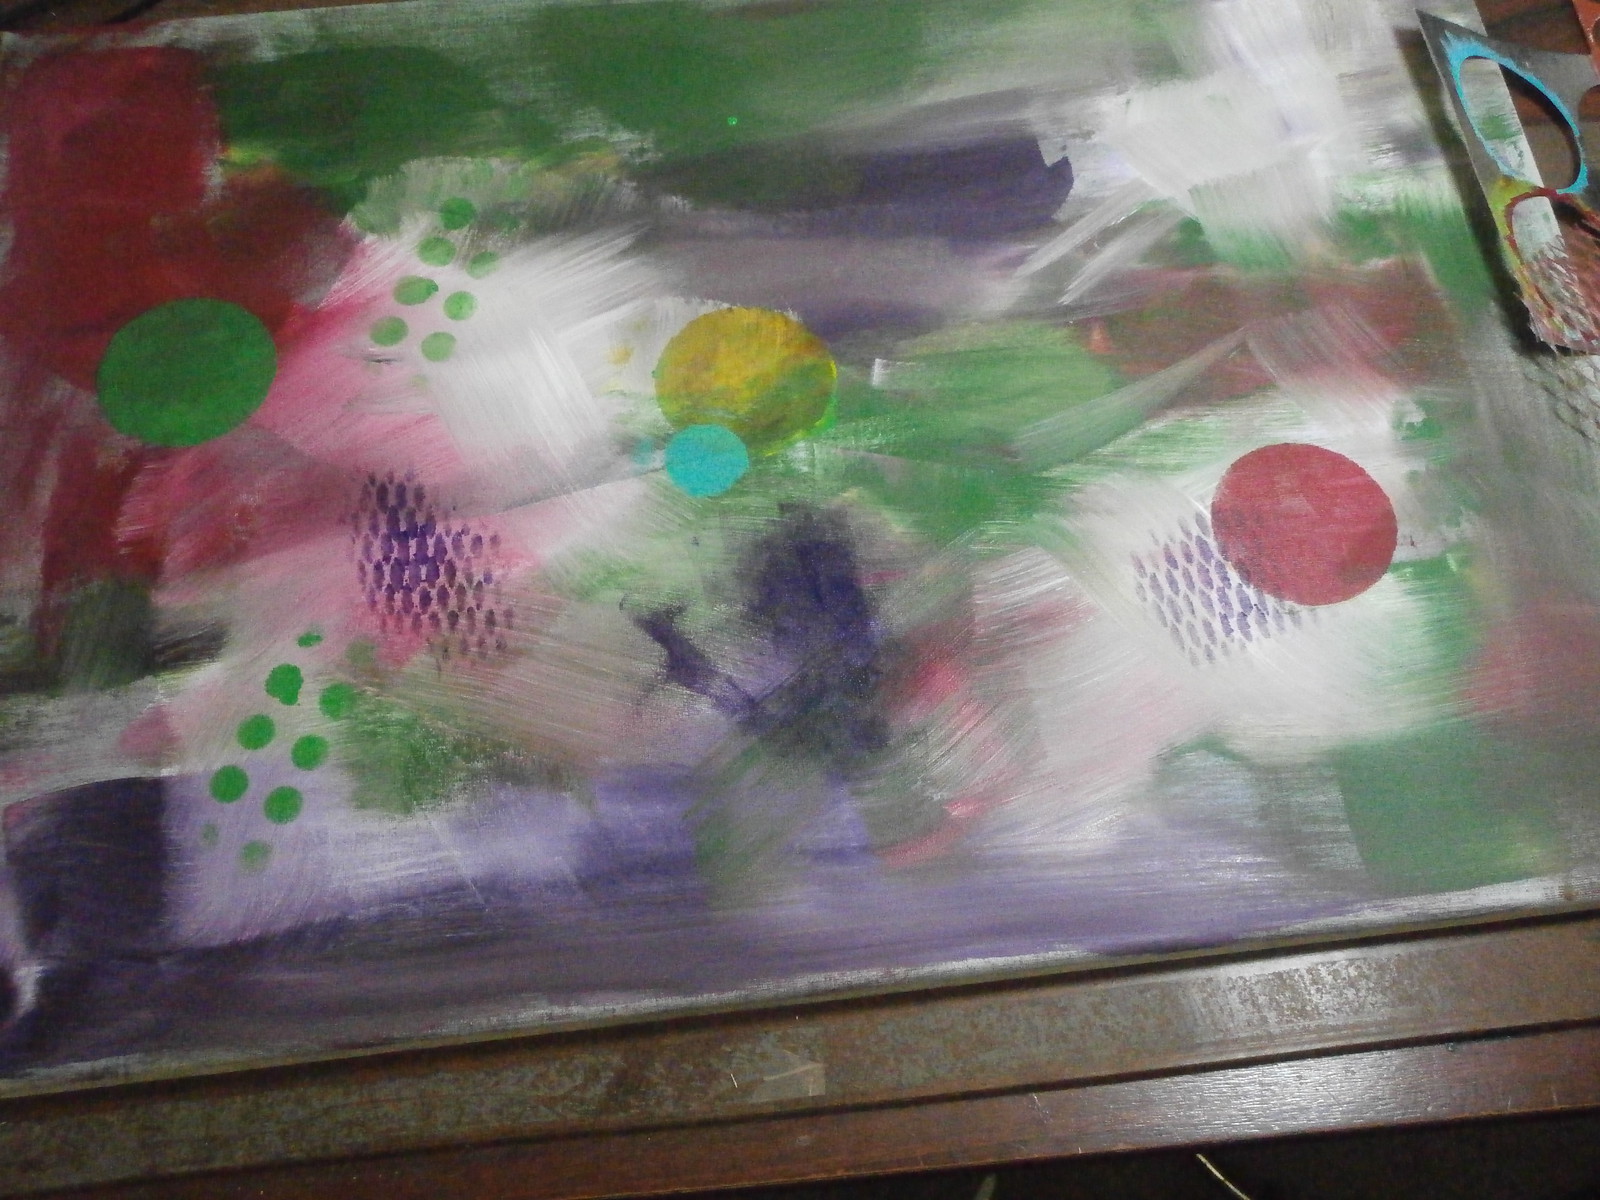
This one is what is called a pulled paper - You know when you used to make inkblots or butterflies by folding the paper paint side in then opening it again. The texture is really interesting and I will be doing maore of this type.
The other things I wanted to play with were newspaper and adding stuff to painted papers.
Here are three painted newspapers. The two things I learned were that the paint needs to be dark and thick and more than one layer works best. I don't want to obscure all the print, but I want it to be difficult to read.
I also decided that it would be worht trying a light coat of gesso before painting to wash out the text a bit, then I could have more muted colours.
These three were all paint on paper, but with different additions sprinkled on. The one on the left was baking soda - in the middle rock salt and right was sugar. They all create a different texture. ( I do not think the baking soda changed the colour, but being a biochemist I am aware this is possible, so as i can't remember if the paint was the same in all three, I will just have to do it again)
The final two samples are just using different papers.
This one is on white butcher's paper, the type they wrap your meat in. I used the shiny side and found it took prints really well.
This last sample was an accident, but I was interested in what happened. I used freezer paper under my papers to protect the work surface and this is a piece which inadvertently got painted. I thought the paint would come off, but it doesn't, so it's worth keeping my protecting sheets for another project.
All in all, this was a very productive day, and I got a lot sheets of lovely paper to use in my books and mixed media out of it. The sample tags I have shown here are just little bits cut off the edges of thode sheets, and would you believe it? I have also used the scraps from cutting out the tags on some collaged book covers!
We don't waste much around here!