Sorry about yesterday, folks, the hubby came home from town with a nasty cough and headache, so I didn't get onto the net, but today has been a great day for creating!
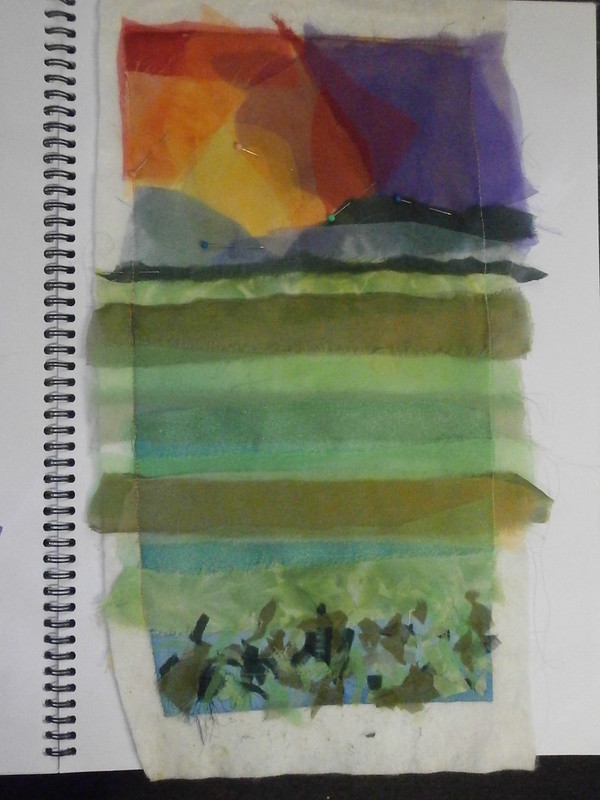
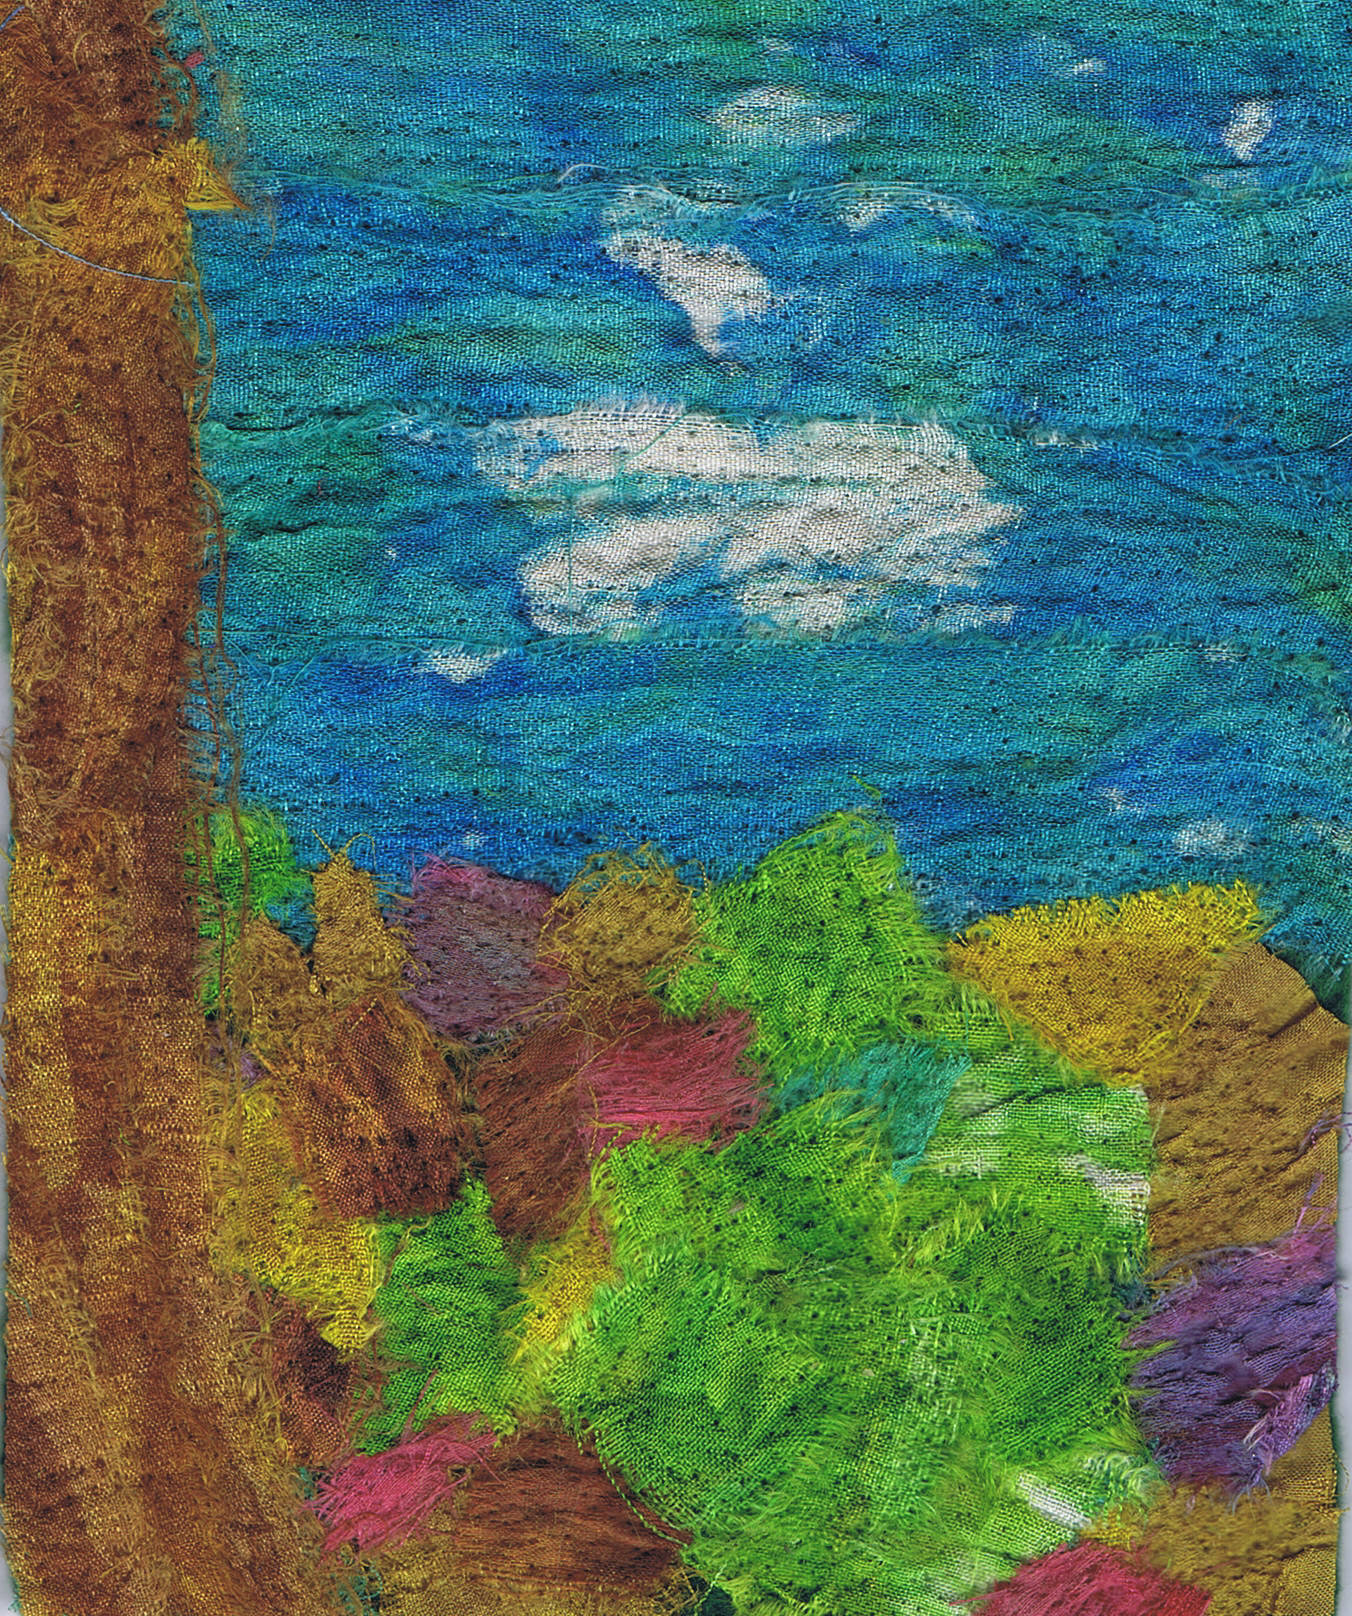
I have been wanting to have a go at screen printing for a while and I decided today was just the day. I need some fabric for the bark on my snow gums in the
landscape I am working on.
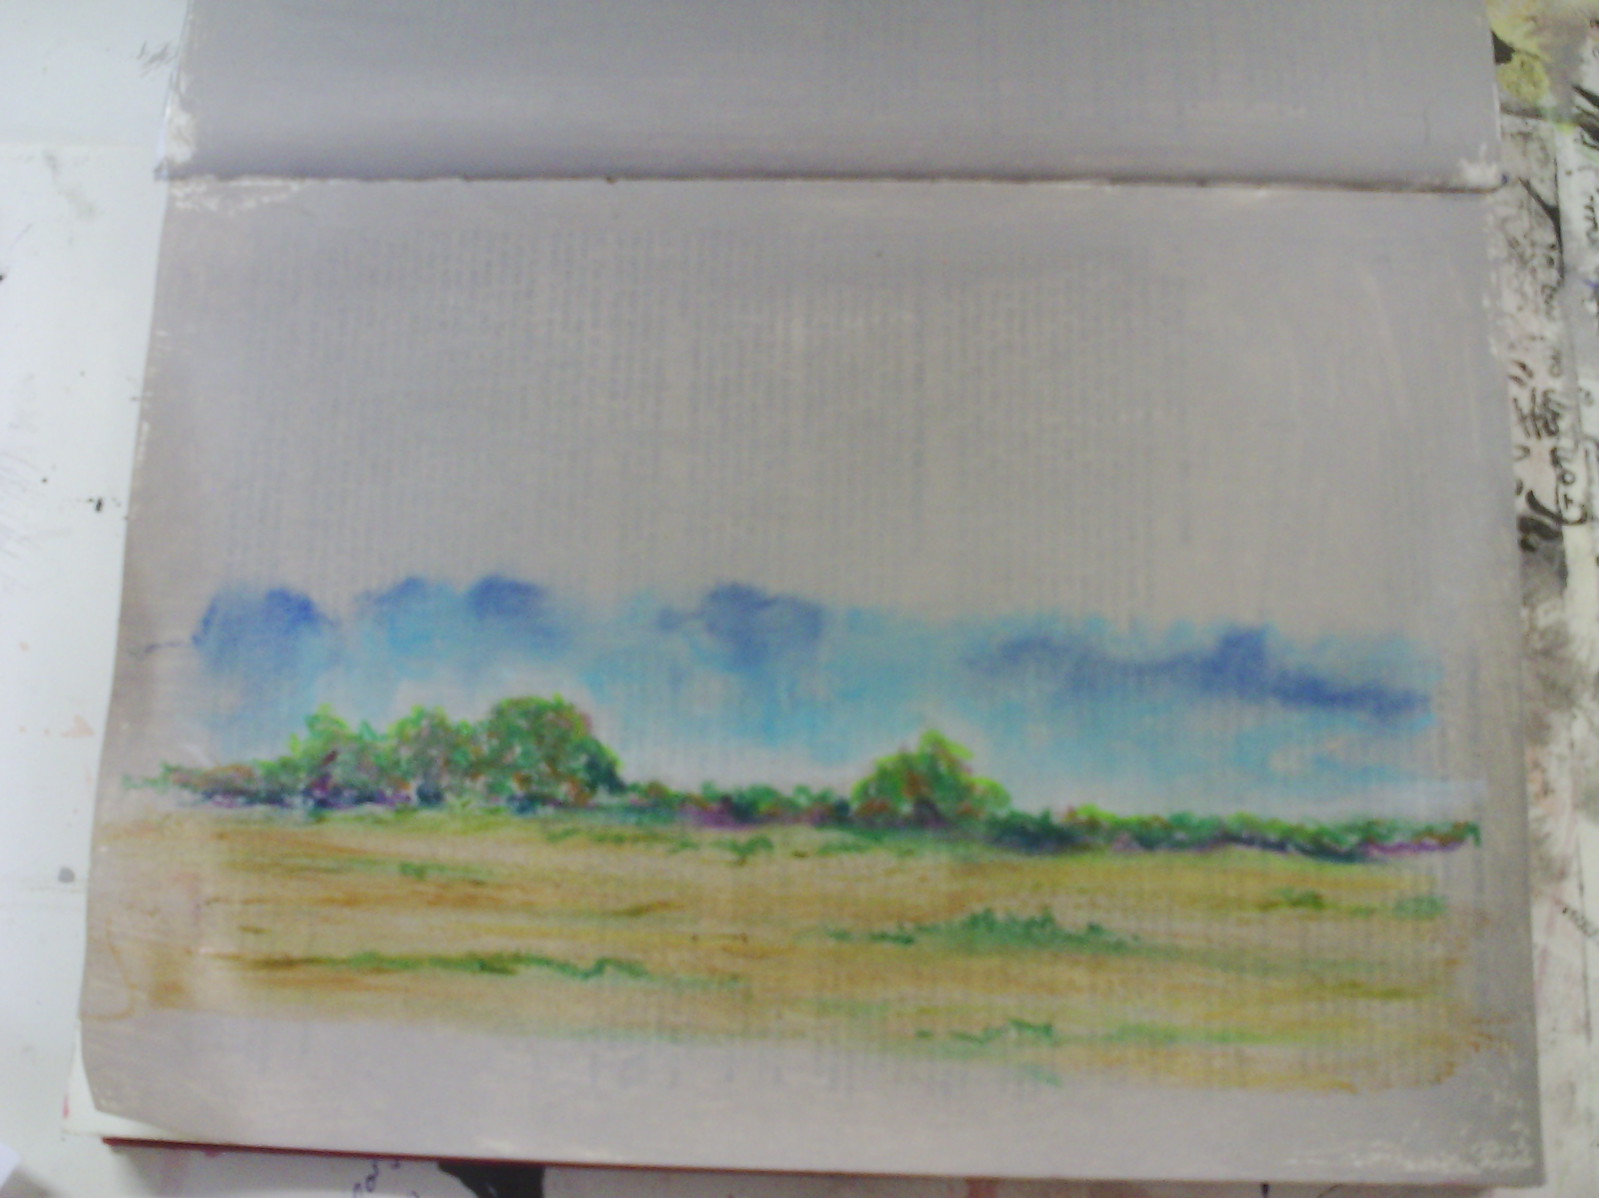
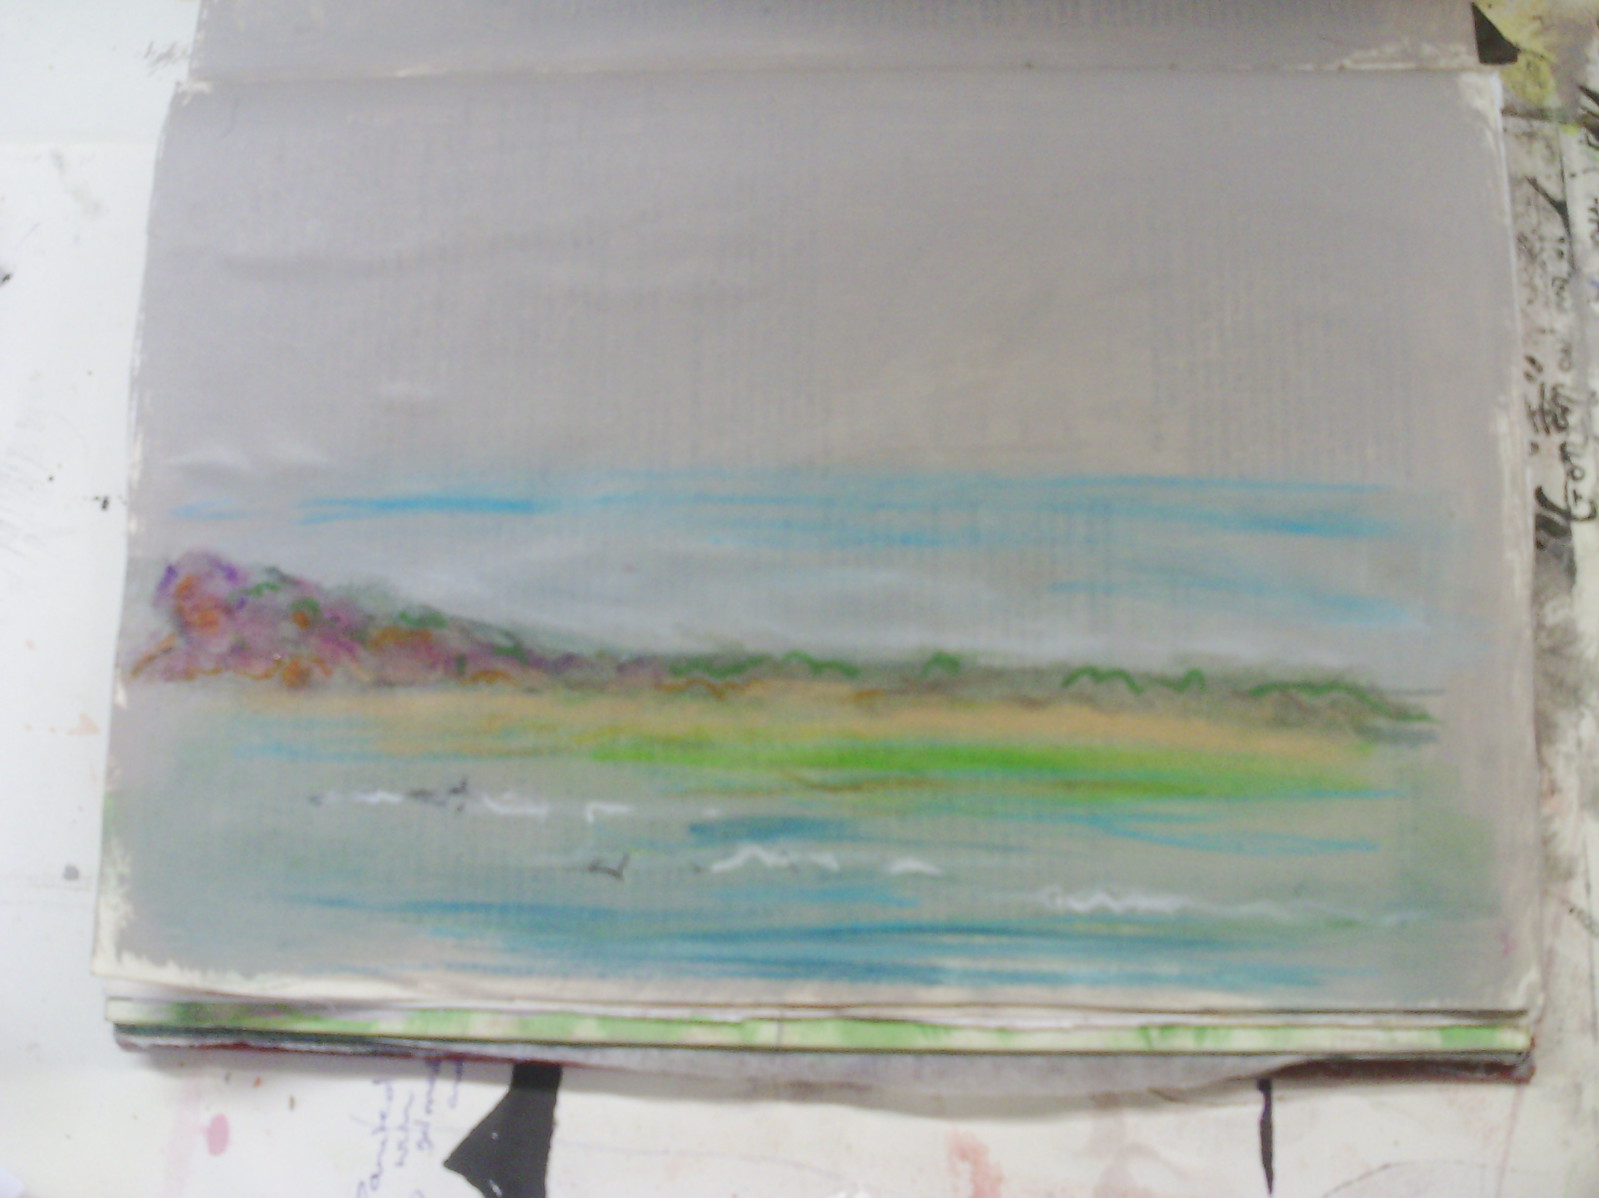
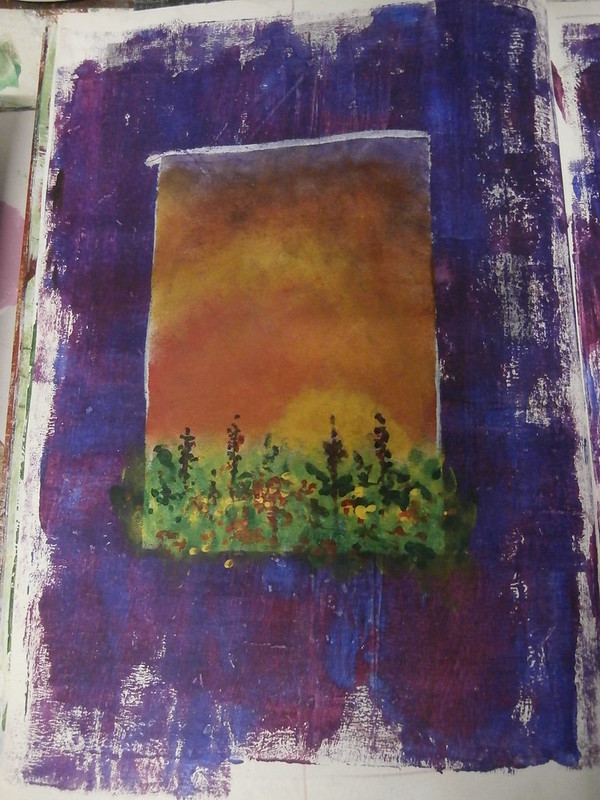
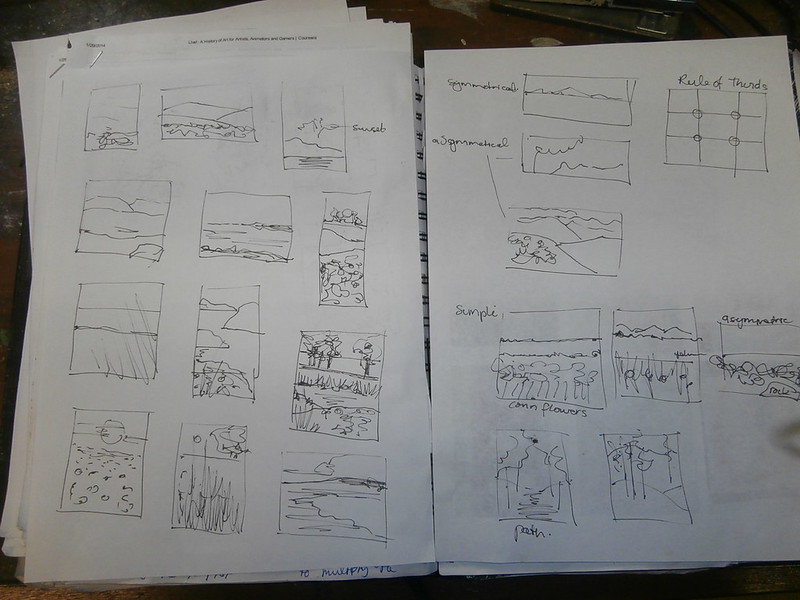
Remember this sketch? At present I am working on the leafy layer, but will be needing some tree bark soon.
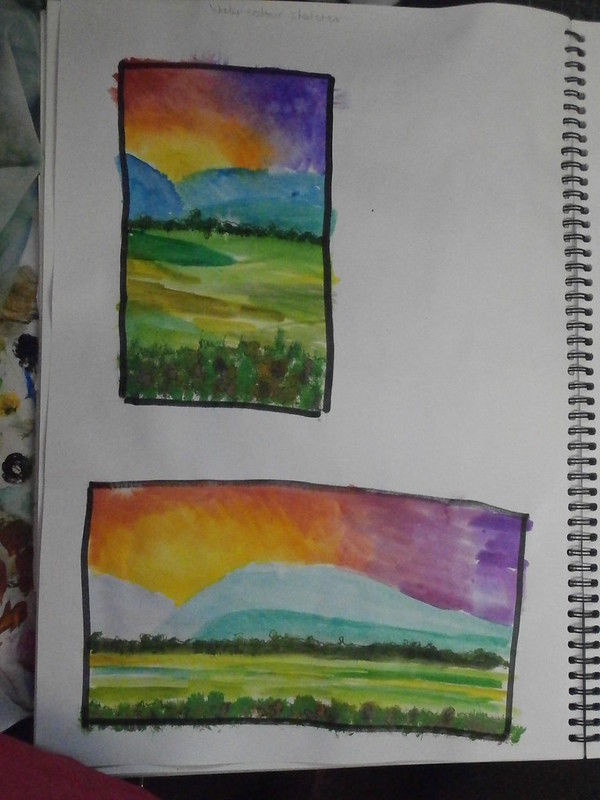
Here's my stylised sketch of some snow gum bark. It's very bright, isn't it? But for anyone out there who has never seen a snow gum,
here,
here and
here are a few links that will show you that my sketch is actually a little subdued.
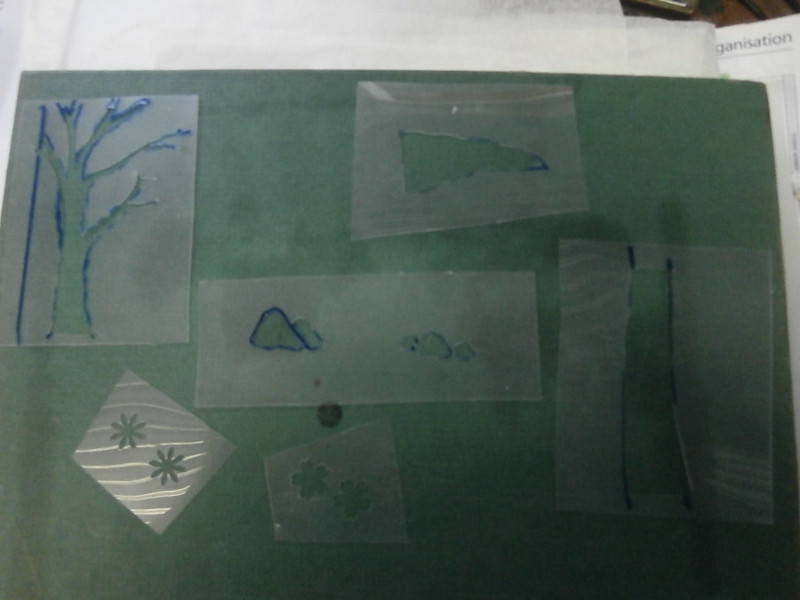
I am not using a store bought screen, just a piece of organza stretched on a frame, then covered around the edges with duct tape. It worked really well for me. Kerr Grabowski, in
Adventures in surface design, said it works ok for most things.
Here are my home made bits and pieces on my table wich has been lined with some old fabric..
The printing boards are made from polystyrene sheets cut from a box, with batting and fabric added on top.
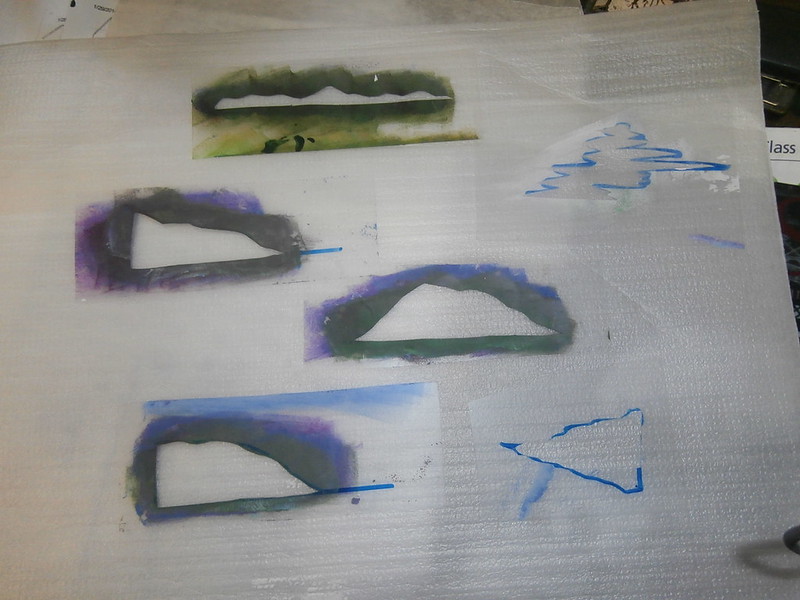
I started out by laying a paper stencil down, and pulling some yellow and brown down it.
The result was interesting, but not quite what I wanted, but I could see some interesting streaks where the colours went together. (You will notice I am just using some scrap floral fabric), so I got rid of the stencil and went with lots of colours.
I think my textile paint really needed to be thinned a bit, as I had trouble getting it on as you can see.
But this was the result and I was really pleased with the textures created by the different colours streaking.
I made two of these (actually four, because the fabric was two screens long) and here are the final results
I was really quite pleased with these, and went on to make two more slightly different ones
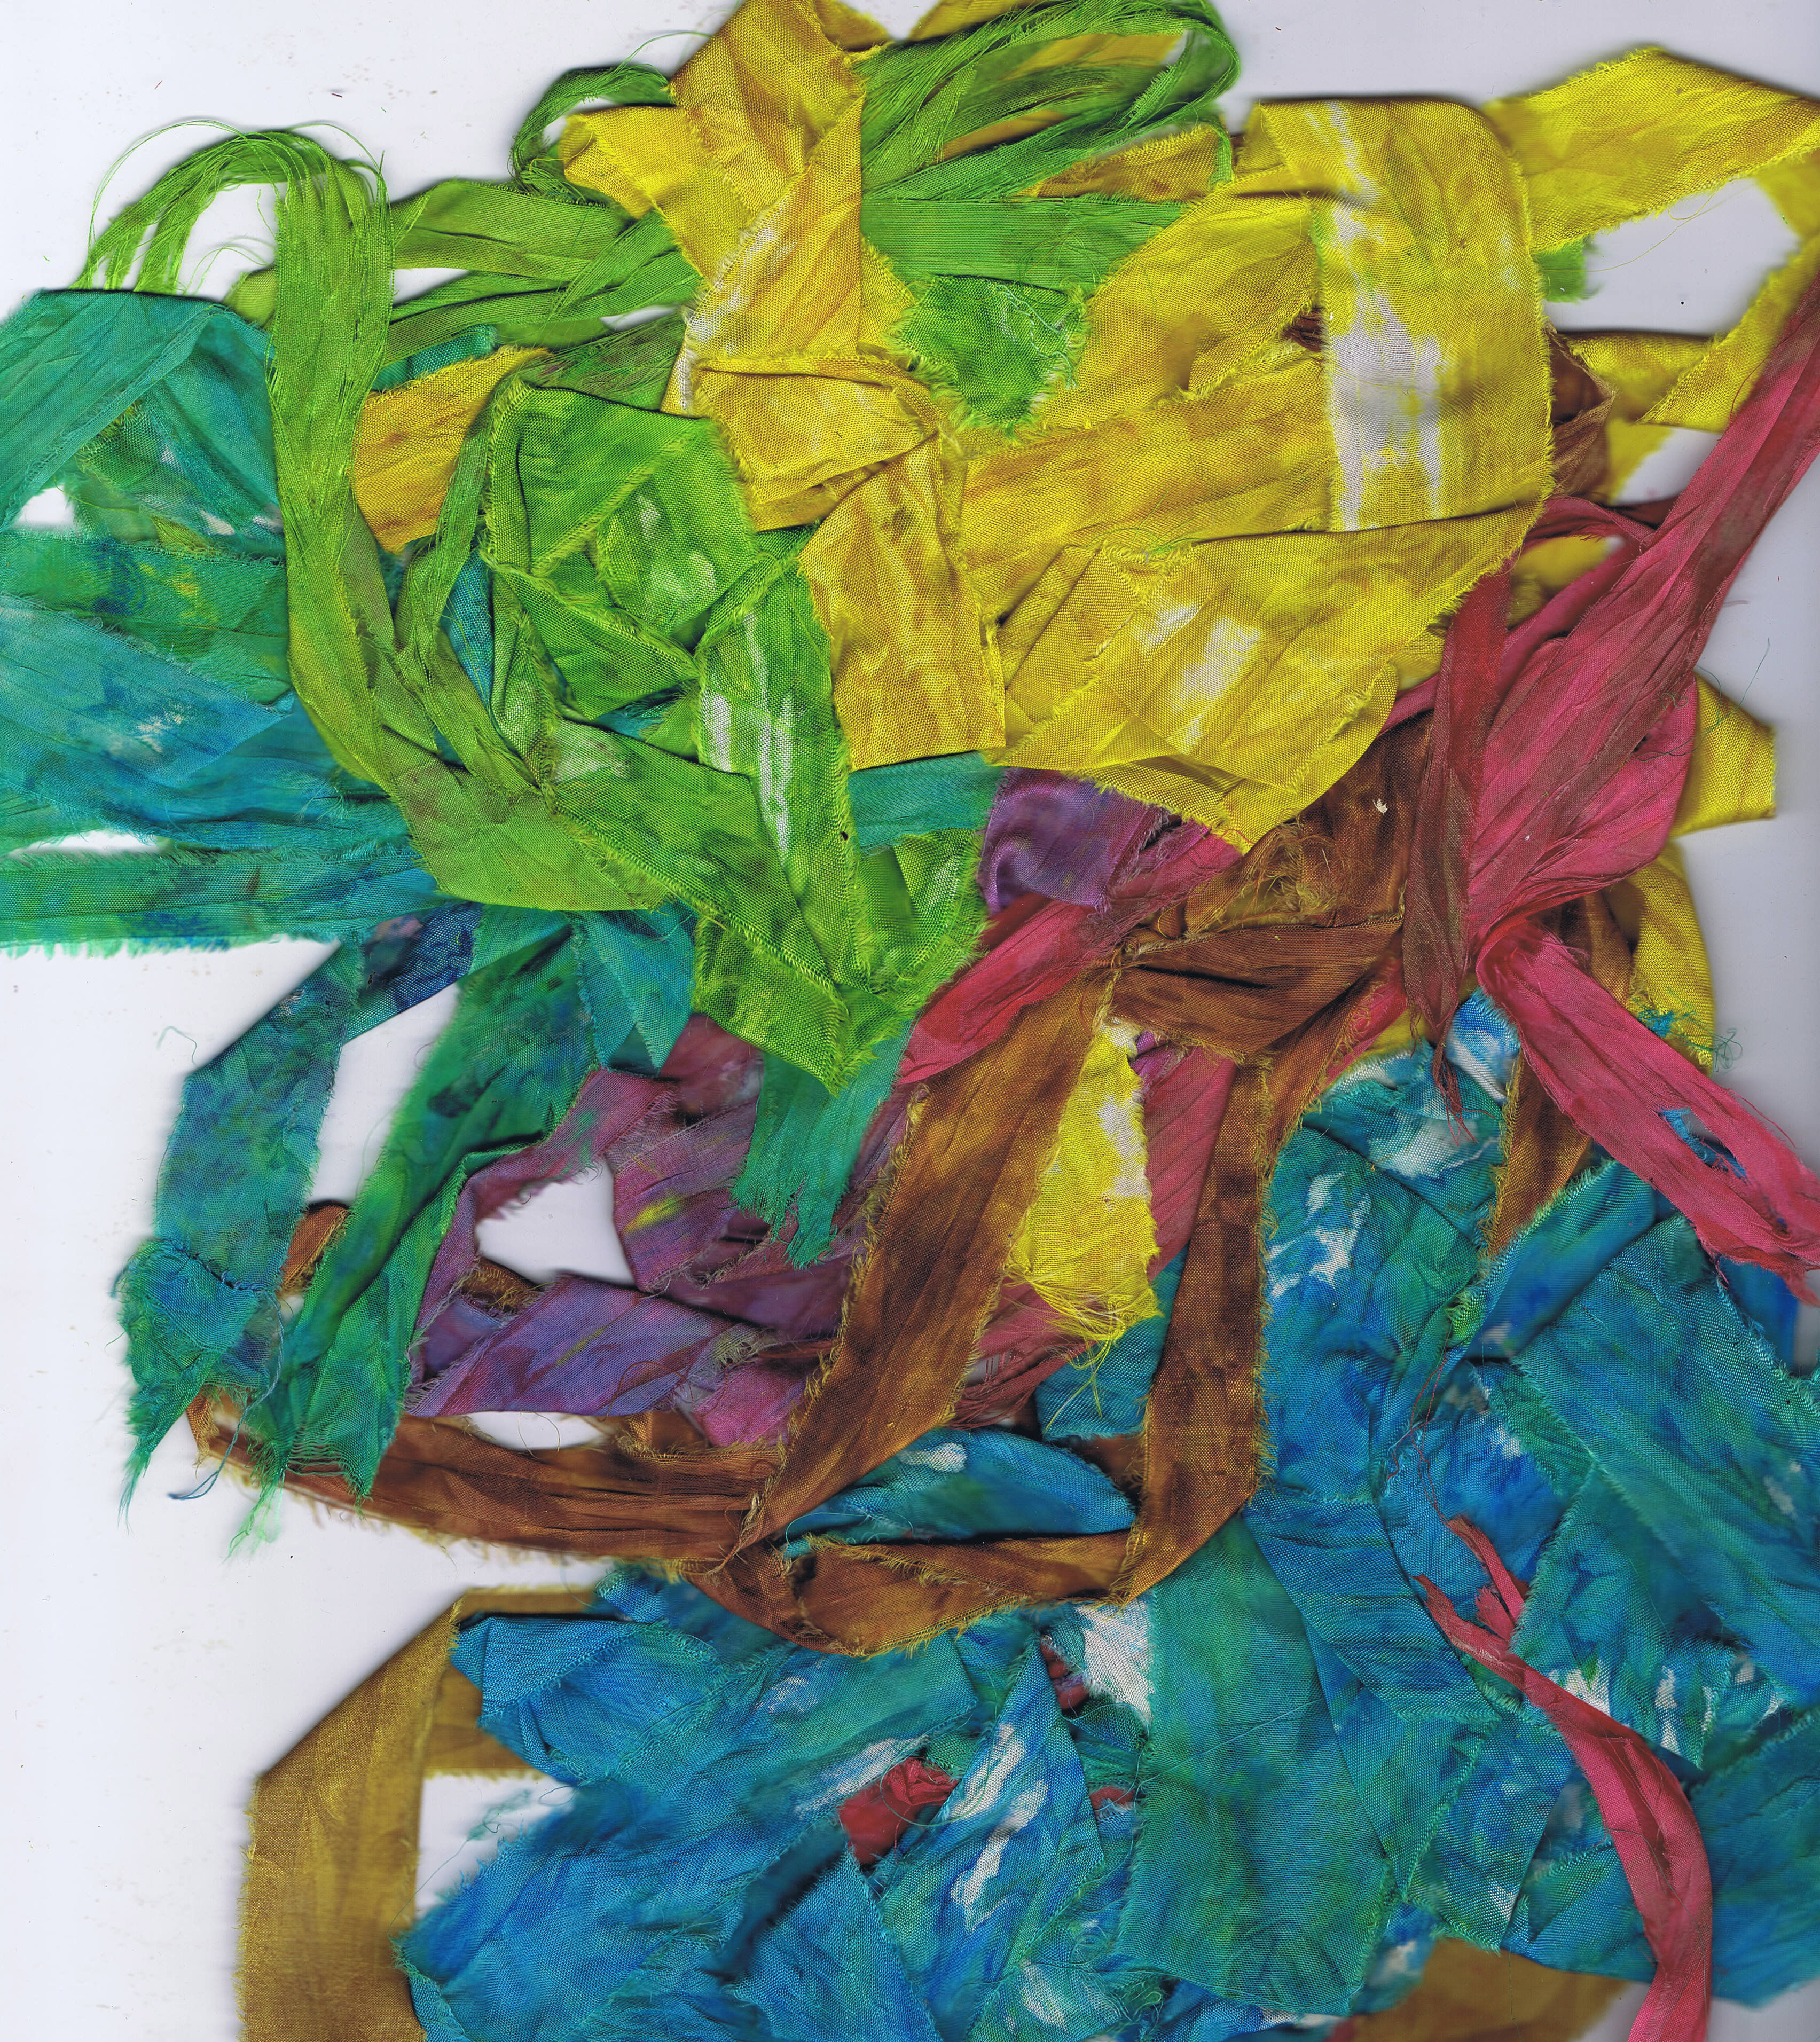
This one had a colour range that is totally over the top, but I loved it and the streaky texture.
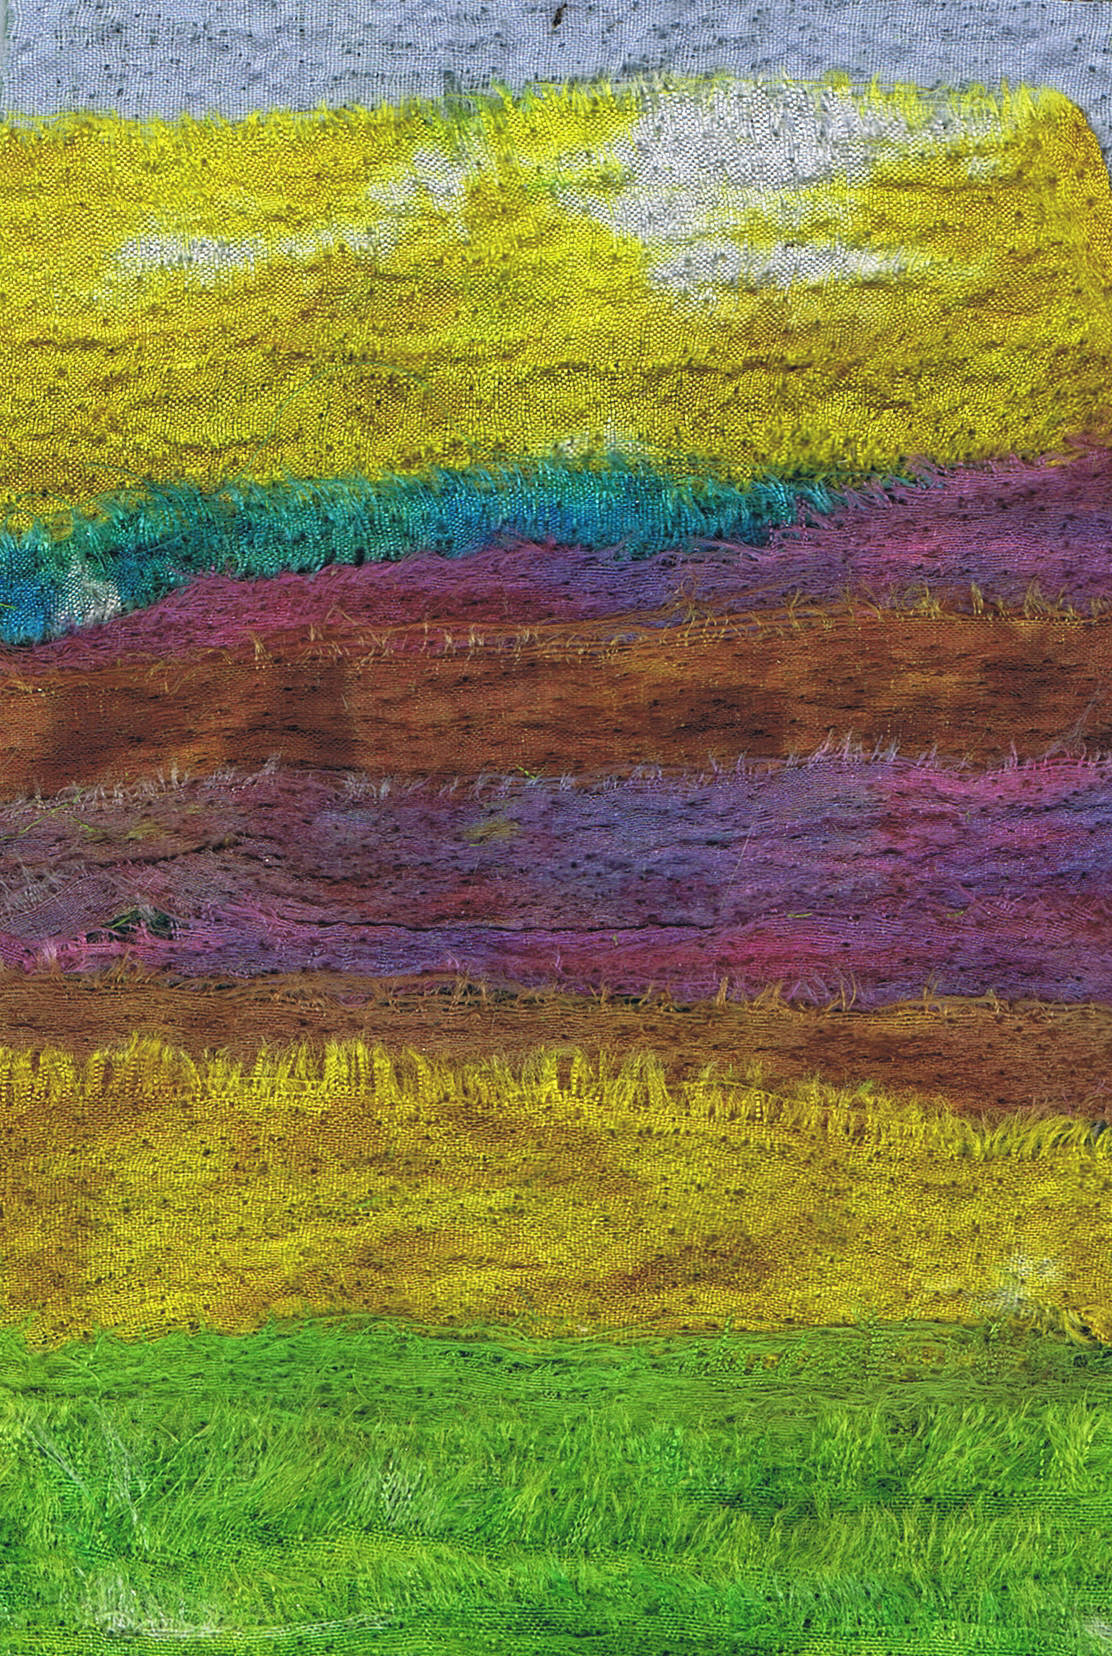
This one was more in keeping with my colour range for my tree, but a little toned down for the less bright parts of the tree.
The next thing I wanted to try was using pastels.
On this piece of fabric, I screened with the leftover paint from my waste (just because I liked the browny colour of it) and then put a texture plate underneath the fabric (simply made by drawing lines with hot glue on cardboard)
The lines that came up are from drawing a square pastel over the texture plate. I can see with a bit more fiddling, this technique might be useful for making lines. Next time, I will try it with string glued to the card to get more consistent lines.
The next thing I tried was drawing with the pastels on the screen. Above is a screen with lines drawn in pastel, It transferred well, when I squeegeed some extender across it, but I couldn't help but get my fingers dirty. As the fabric was wet, I just hoed in and added more pastel by hand.
After this I dispensed with the screen and did some playing around with pastels.
Here are two long skinny bits of fabric ironed onto freezer paper and then drawn on with pastels.
Then I just painted over them with diluted textile medium and a great big brush. Now that the fabric was wet, it fell off the freezer paper and needed to be pinned, but I found that the pastel really went on well, so I added some more.
This reminded me of when we were at kindergarten and we used those hard faber-castel chalks on wet cartridge paper, so...
I just wet some newspaper and had a go...and I really liked it. When the paper is wet, the pastel goes on quite thick and some colours are a little opaque (black and white), whilst others (bright red) are a little transparent.
The newspaper was very thin and fragile, but I liked the semi transparent texture. I think I might have to try this out with my next batch of fabric paper.
So all in all, It was a very productive day. I do find, that when I play around like this I am more likely to find things I like and will use again. Serendipity.
There's a lot more experimenting I need to do with the screen, but also with the wet fabric and dry media. I wonder if......