Showing posts with label needlefelting. Show all posts

Saturday, December 3, 2016

Getting my art on

I have had an extremely difficult year with family issues and am finally starting to get my mojo back. It has taken me a long time to find my space again and I am still working on it, but recently, I have started to get some work accomplished! I have been doing some free motion work on my new little bernina, which I got from Bernina Australia at caroline sharkey's wonderful workshop in August at Uluru (Ayers Rock) It was a wonderful time and I did a workshop with Sue De Vanny, which was excellent
Above is the piece of work I completed at the workshop.
Since I came home and also since the problems have sorted themselves, I have been doing a lot of free machine practice and free machine doodling.

These are two of my current practice pieces.  One is just a grid of squares but the other is in a double wedding ring type layout.
As I said, I am also doing a lot of doodling.
These are two panels that will be part of a new sewing machine travelling case for my new Bernina, since one of my machines was damaged badly on a plane trip early this year!  I am in love with this multicolour wonderfil thread!
This one, finished now, was a mandala I doodle stitched then coloured with fabric markers.  I also have one other doodle panel on the go, but haven't photographed it yet.
So what else?
Above left is a needlefelted panel I whipped up one day (lol), which is waiting for some stitching, and the other is a very large crochet blanket I have been working on called sophie's universe.  I am only half way, perhaps I'll finish by next summer?

Of course if you know me, you know that textiles are only half my crafty self.  I will post soon with some of my art, journaling and mixed media play.

Happy Creating!


Thursday, March 13, 2014

A bit of needlefelting

You might remember a while ago I made a start on my Tangled Textiles piece,  which is about Vincent van Gogh, here and here.
.
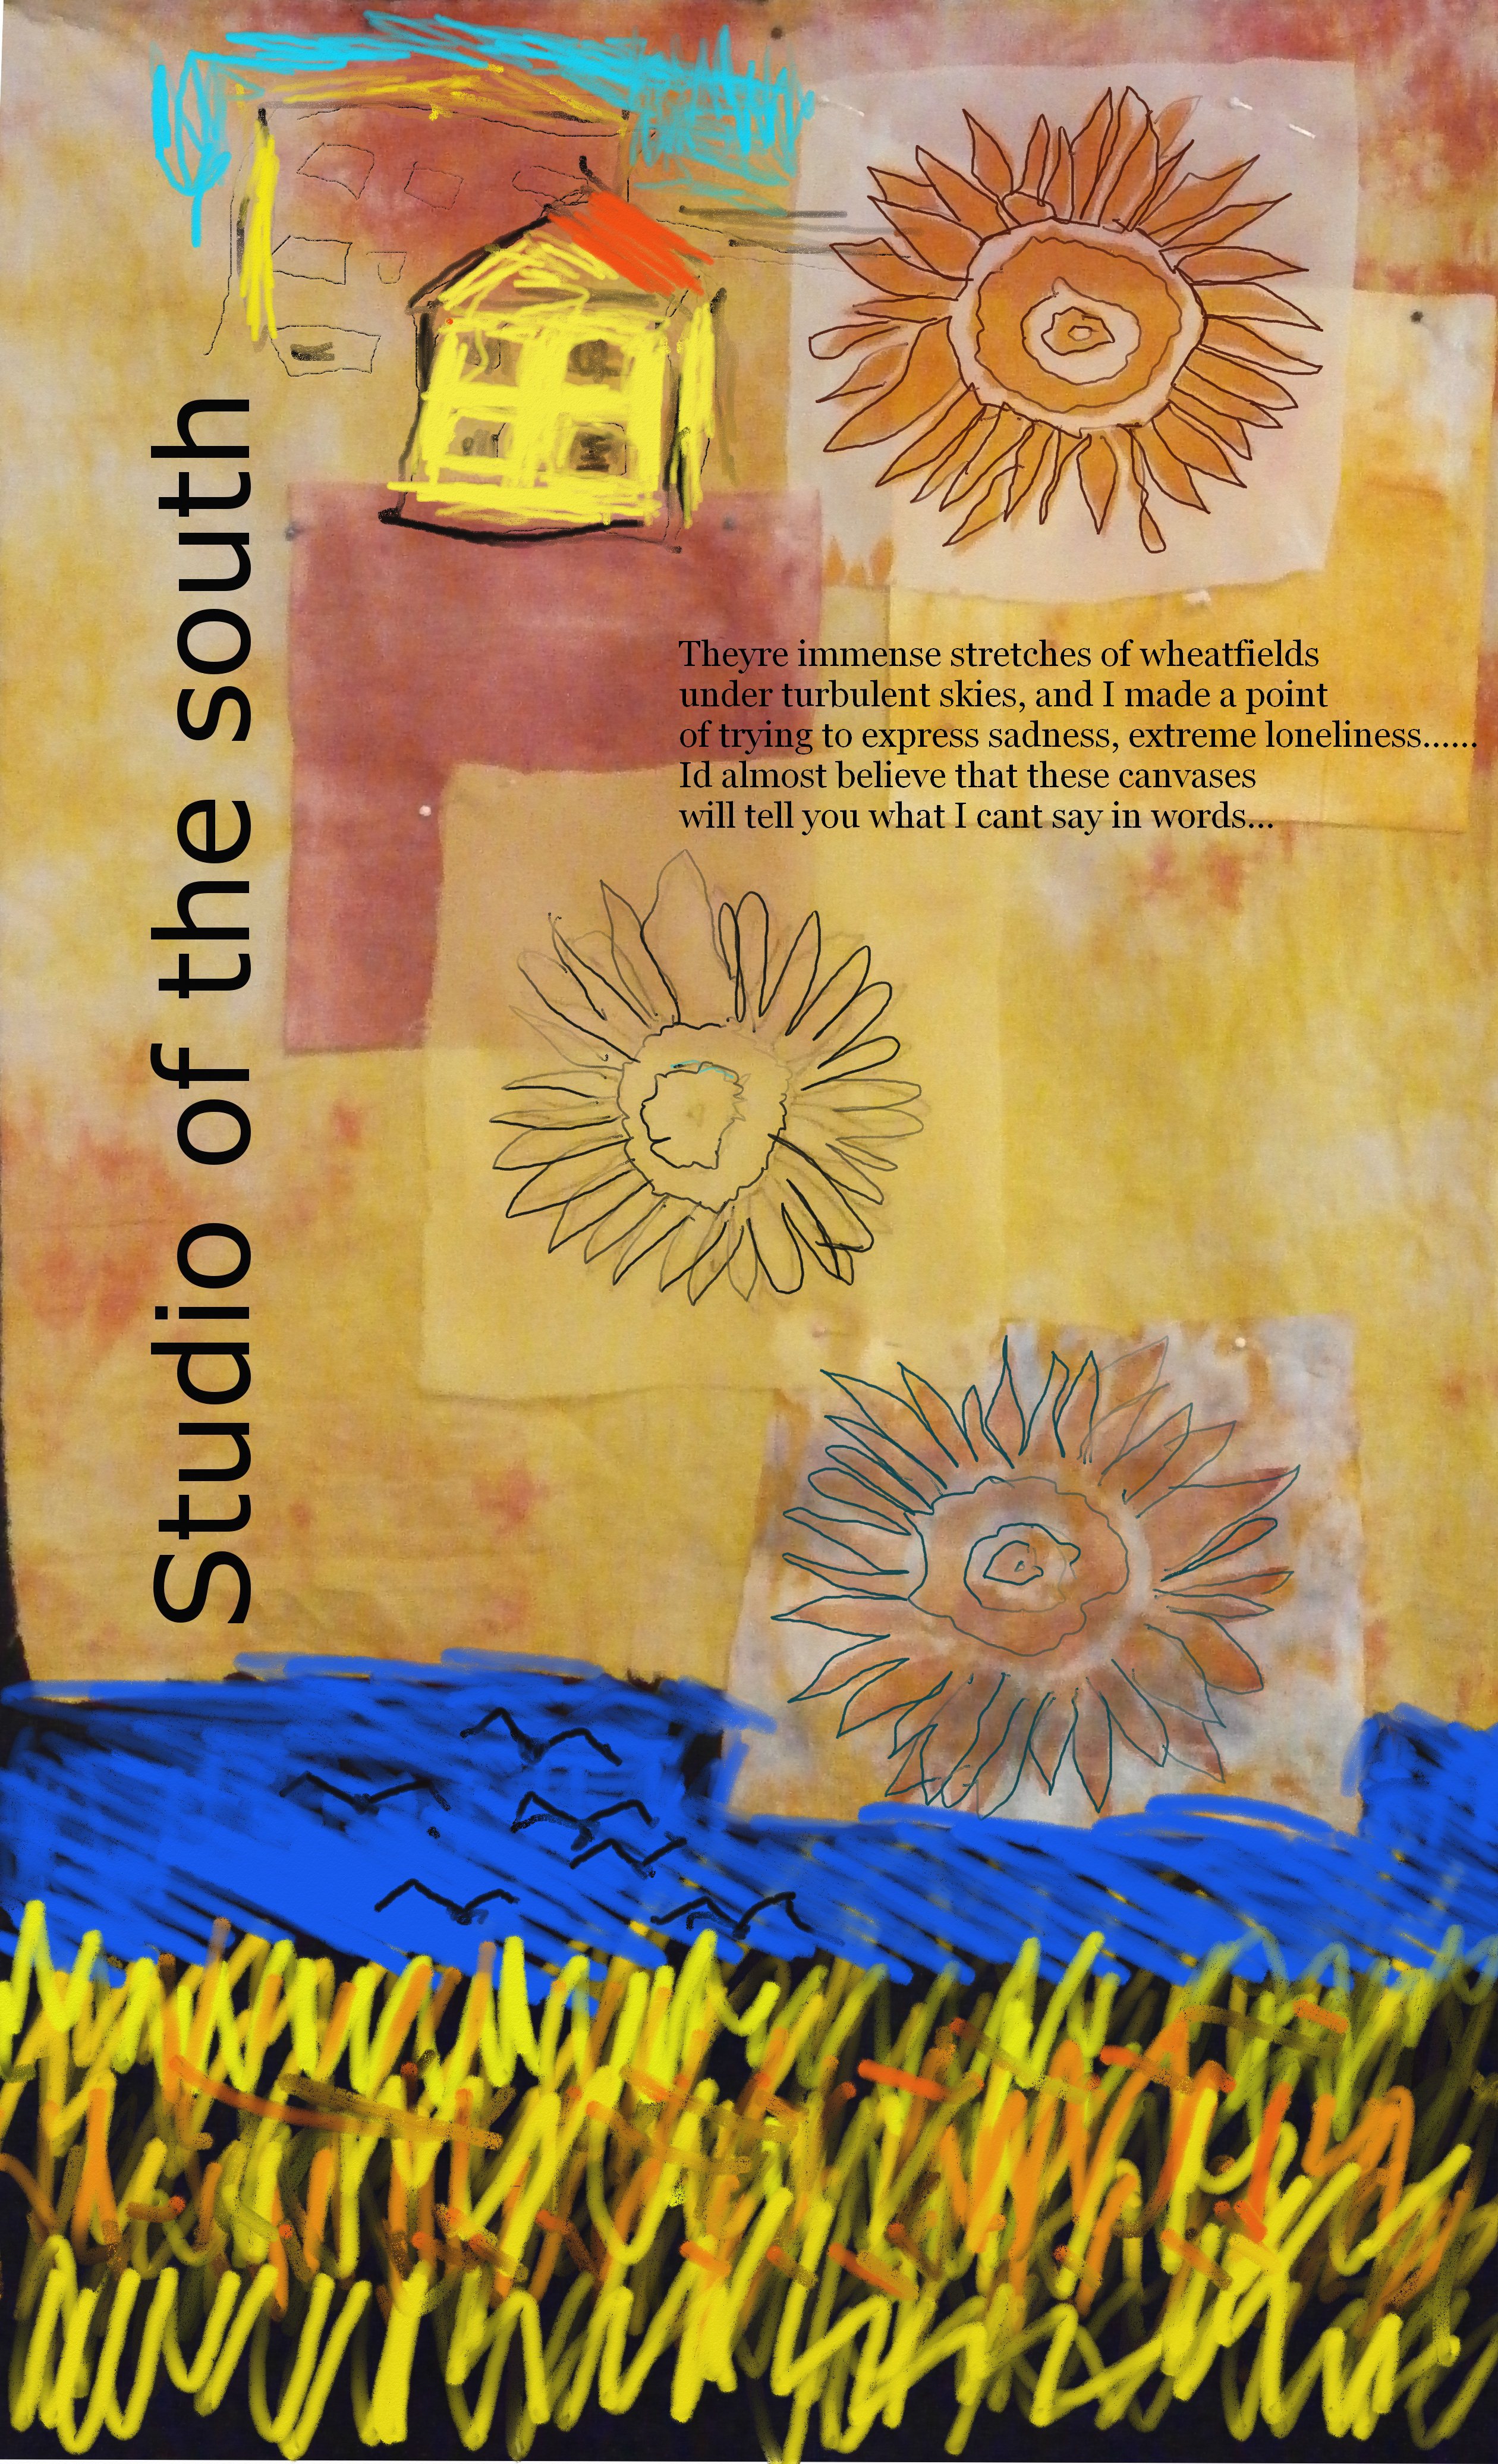
This was my digital mock up of  what I intend  At the top I intend a thread sketch of the yellow house where Vincent lived in Arles.  At the bottom I want to needlefelt an impression of one of his last paintings (wheat field with crows) and under the top sunflower  I want to transfer and embroider a section from one of his letters.  
Here is where I am at today
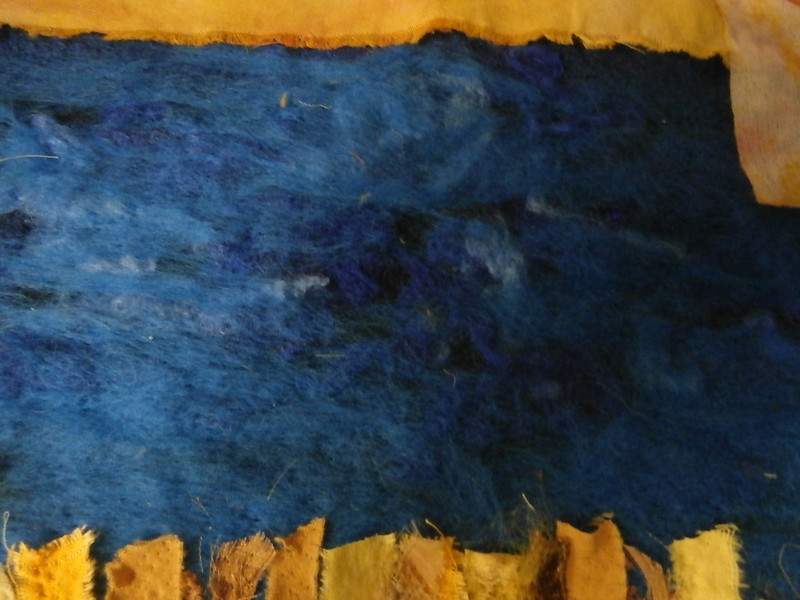
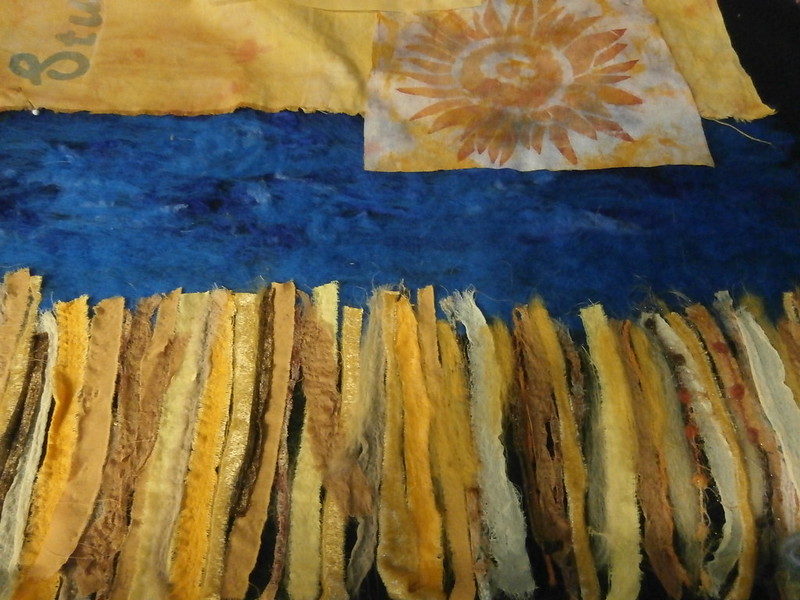
Here is my needlefelted sky and wheat field.  the sky is finished other than thread painting the crows in, but the wheat field needs more layers,  and more needlefelting then thread painting to finish.
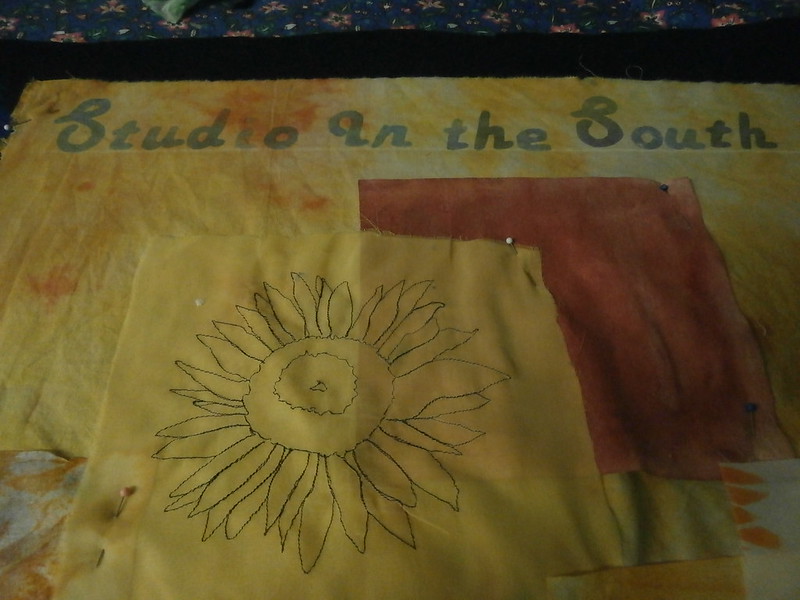
To make the 'Studio of the south banner,  I traced the text on the back of some painted fusible web and cut it out.
Then I fused it to the side of my  work as in the mock up.  As you can see, I still have a lot of work to go with stitching!  But I am liking how it is looking!


Happy Creating!

Thursday, January 9, 2014

A bit of needlefelting

I have had a bit of a play around with some sari silk thread which I had lying around
I dyed some bits and pieces with ink.
here a some of the bits.  It is very lustrous and shiny and yummy
I did one of my collage a day foundations with it.
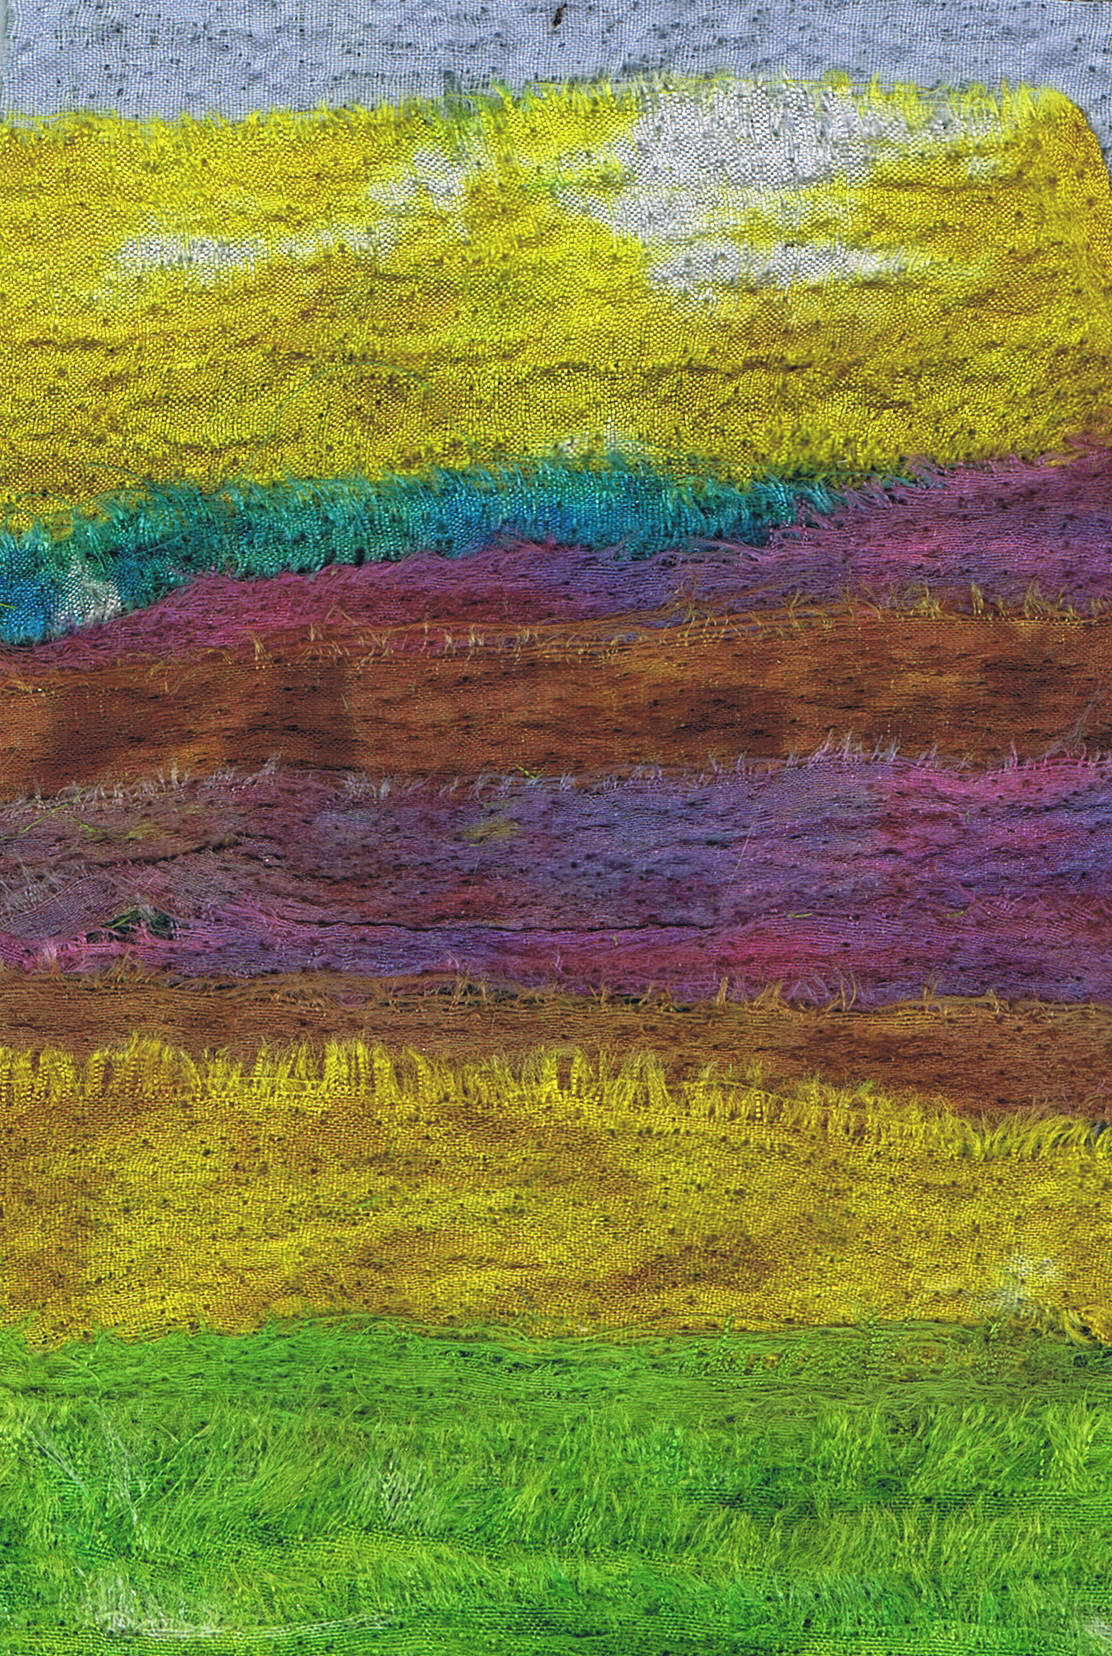
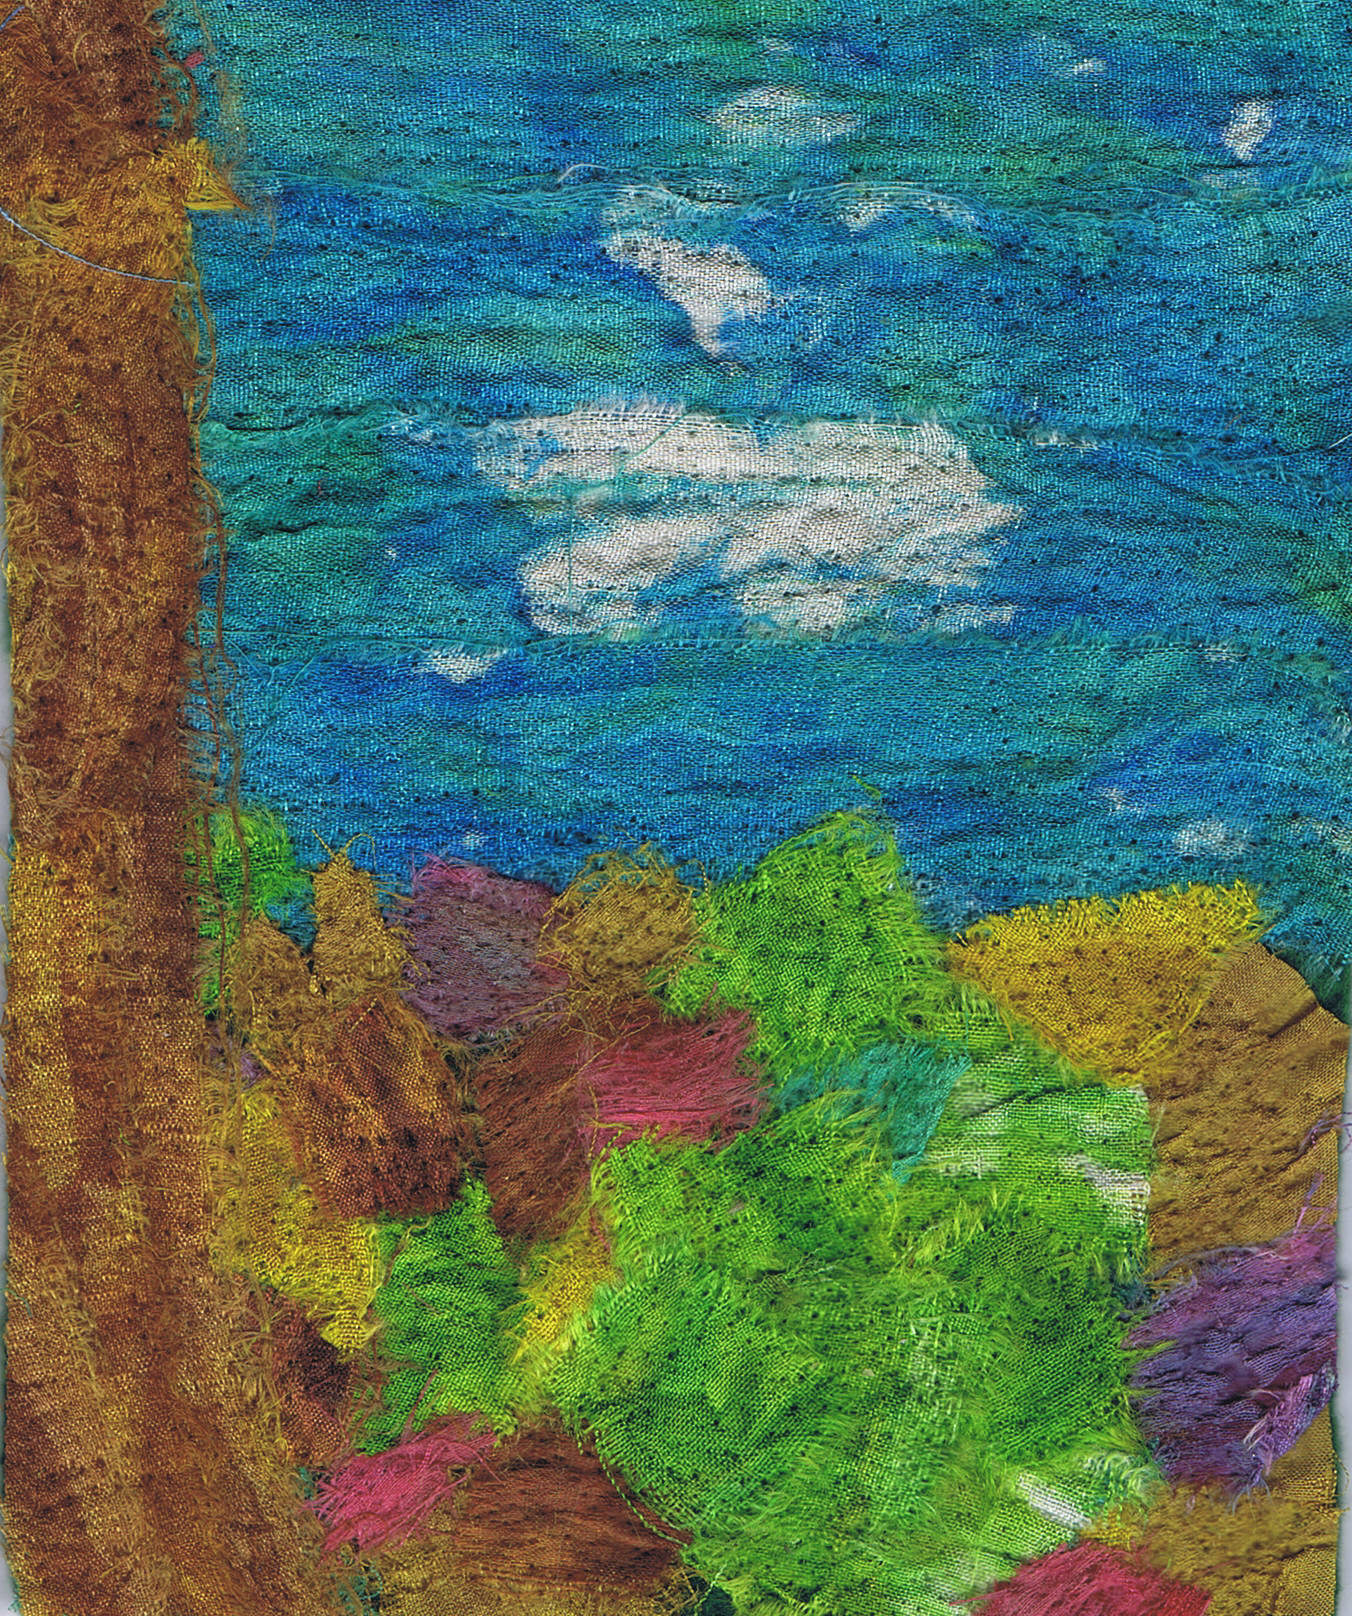
You can see it would be wonderful for landscapes, so I made a few little ones.
This one is a very simple one, but what I love is the white bits at the top that look a bit like clouds and the way I have frayed the bits at the bottom and they look like grass.
In this one I have again used the little white patches as clouds and all the leafy bits at the bottom are just my offcuts from the others.
This one is my favourite and I know I will be stitching on it very soon.  I even used some little threads of the sari silk, to make a few reeds.

Happy creating!

Sunday, December 29, 2013

Green and copper

If you follow my blog, you will remember the copper and paper collage with  a sprig of leaves a few days ago, and how I liked the little woven detail at the base of the plant.
I have used this to make some little embellishments for one of my needlefelted pieces that was waiting for inspiration.
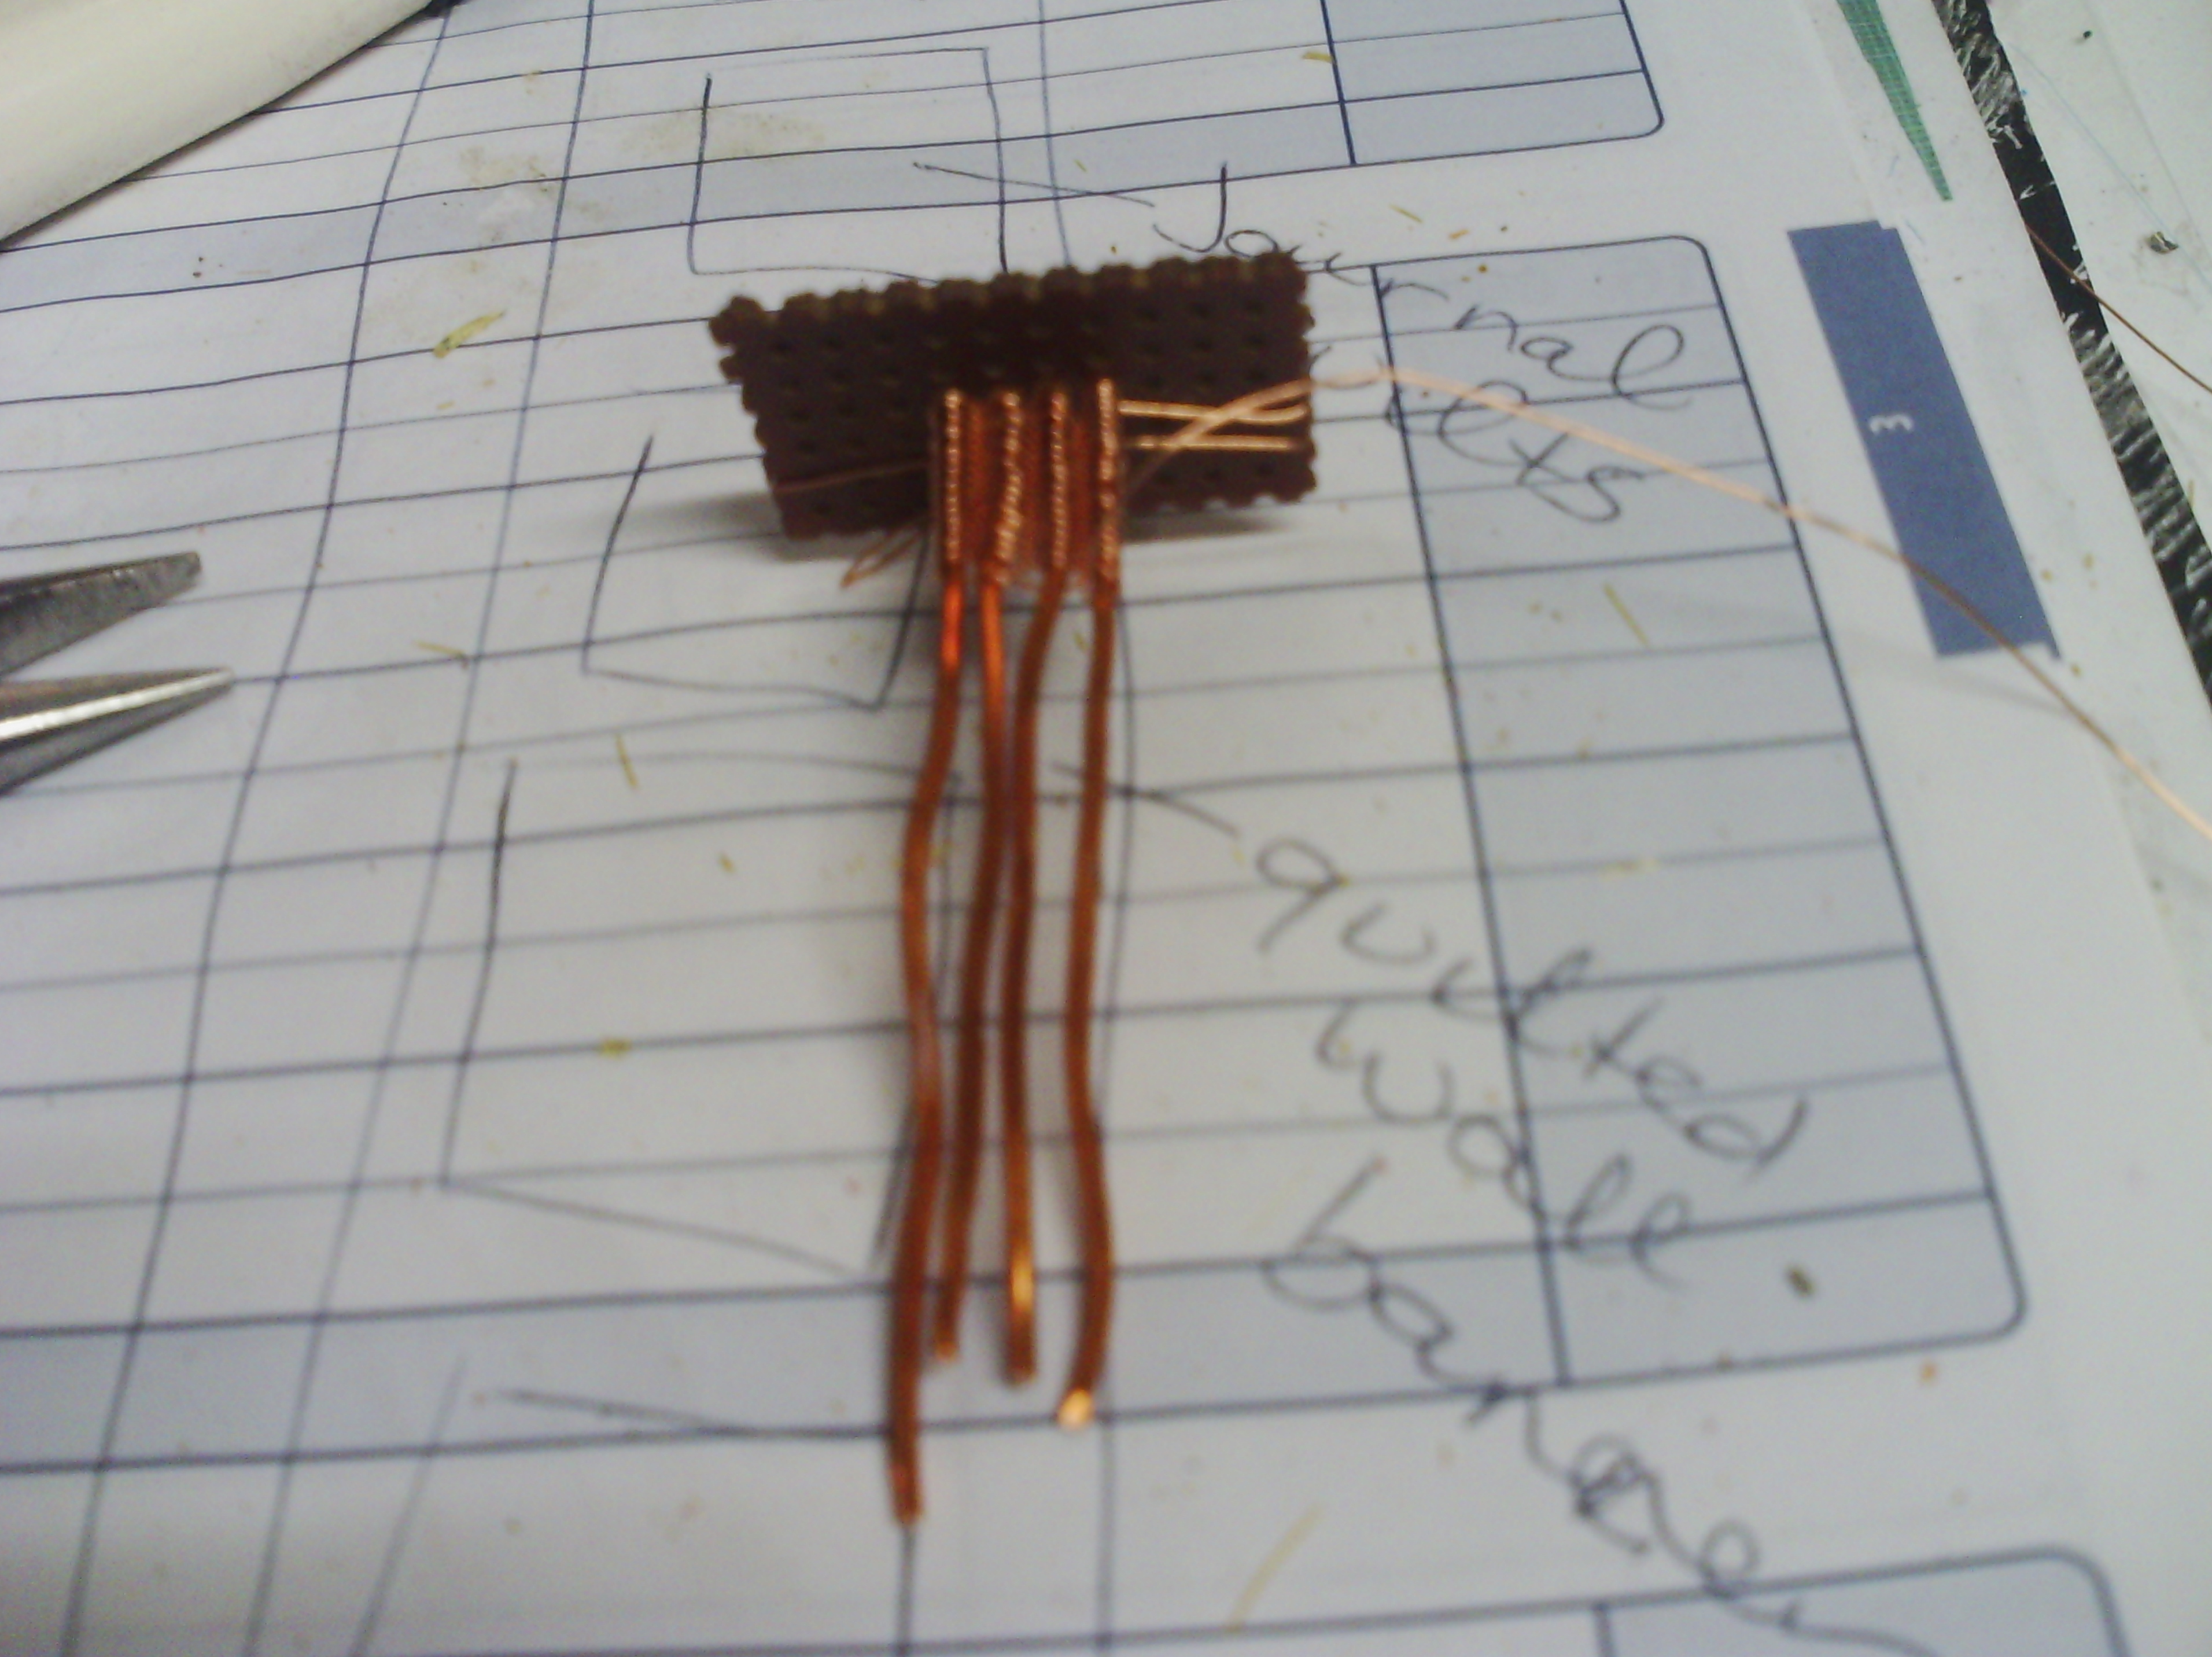
You can see here I have used a piece of a computer as a jig, to hold the four thick pieces of wire whilst I am weaving them with some fine wire.  You could probably use some plastic canvas in the same way.
Here is one of the finished little embellishments placed on the needlefelted piece.
And here is the finished piece with the little embellishments stitched on.  I am afraid it is slightly too long for the scanner, so the bottom is cut off I really need to think about this when making small pieces.  Also it is a bit crooked, but that is just me placing it on the scanner.
I am quite pleased with how this one is turning out.
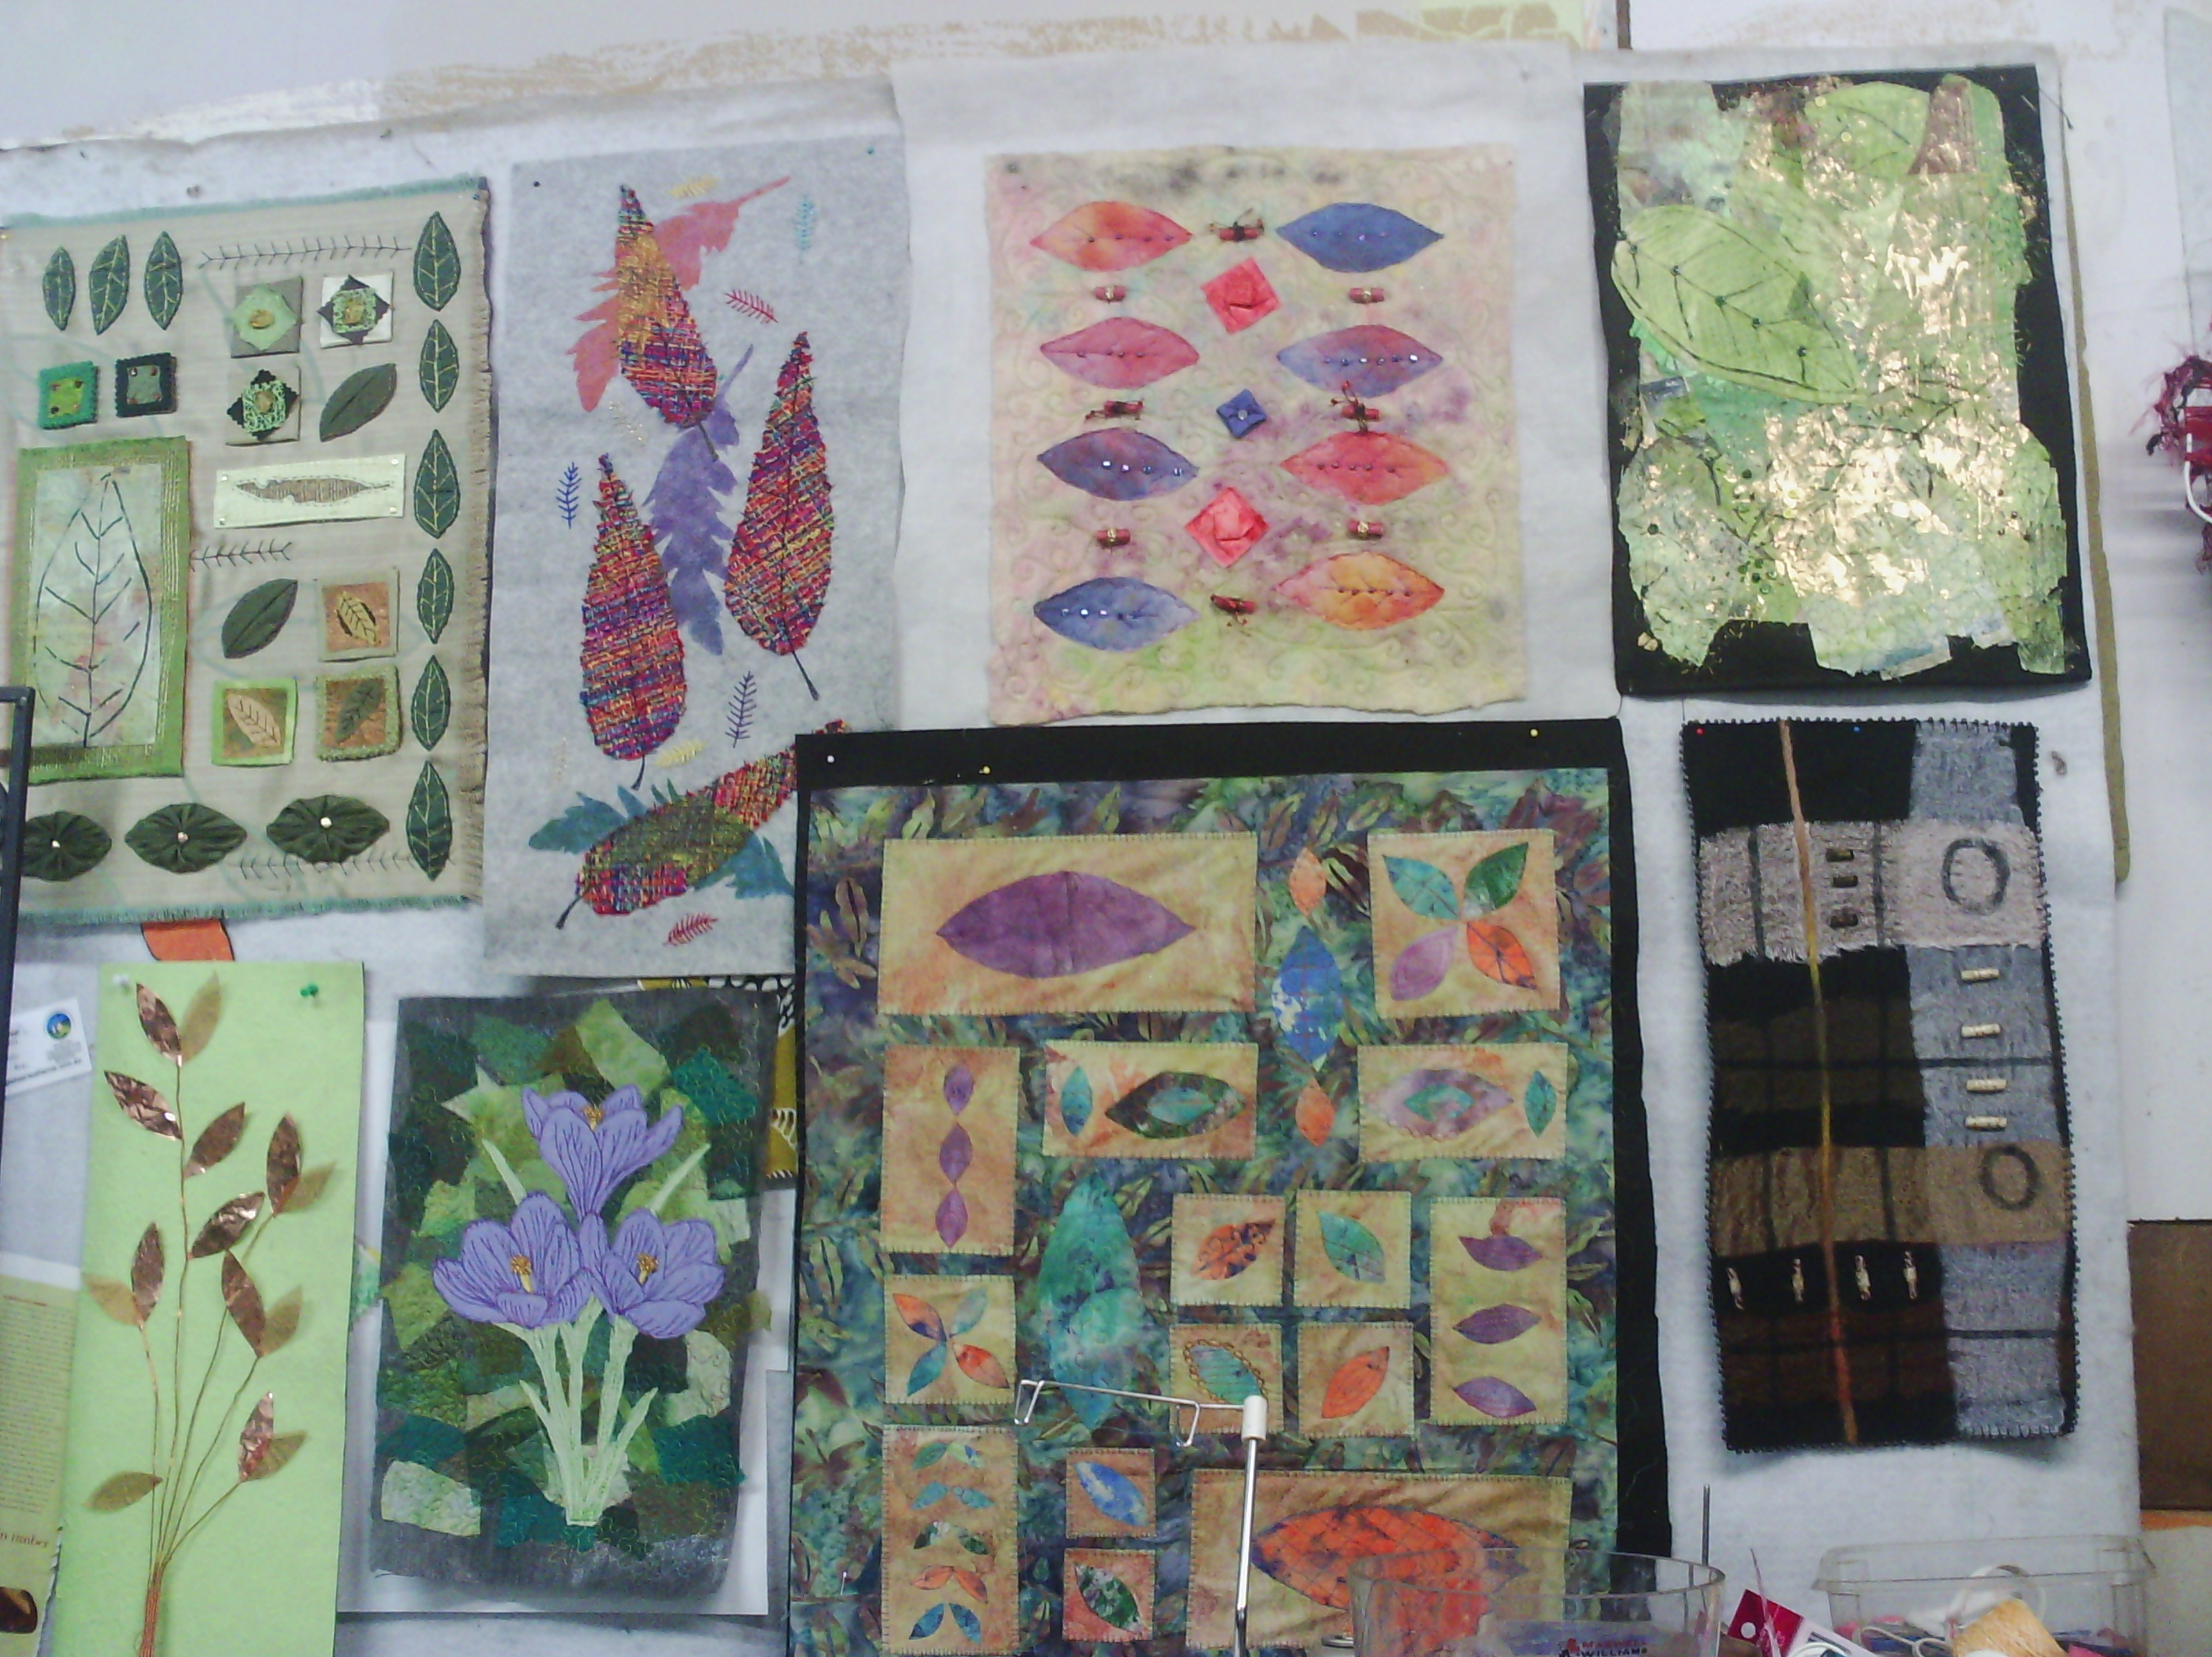
I have really done a fair bit of work during December and I thought you might like a look at my design wall at present.
These two pictures overlap, so as usual I couldn't fit it all in.  I like walking out into my studio each day and looking at what I have achieved.  It is extremely satisfying.

Happy creating!

Friday, December 27, 2013

Collages 16 to 20

Here are a few more collages.  I am amassing a collection, now and know I will always be able to find some inspiration by looking through them.

This one has two hand dyes, a cotton and two pieces of felt.  The central green square is washi paper.
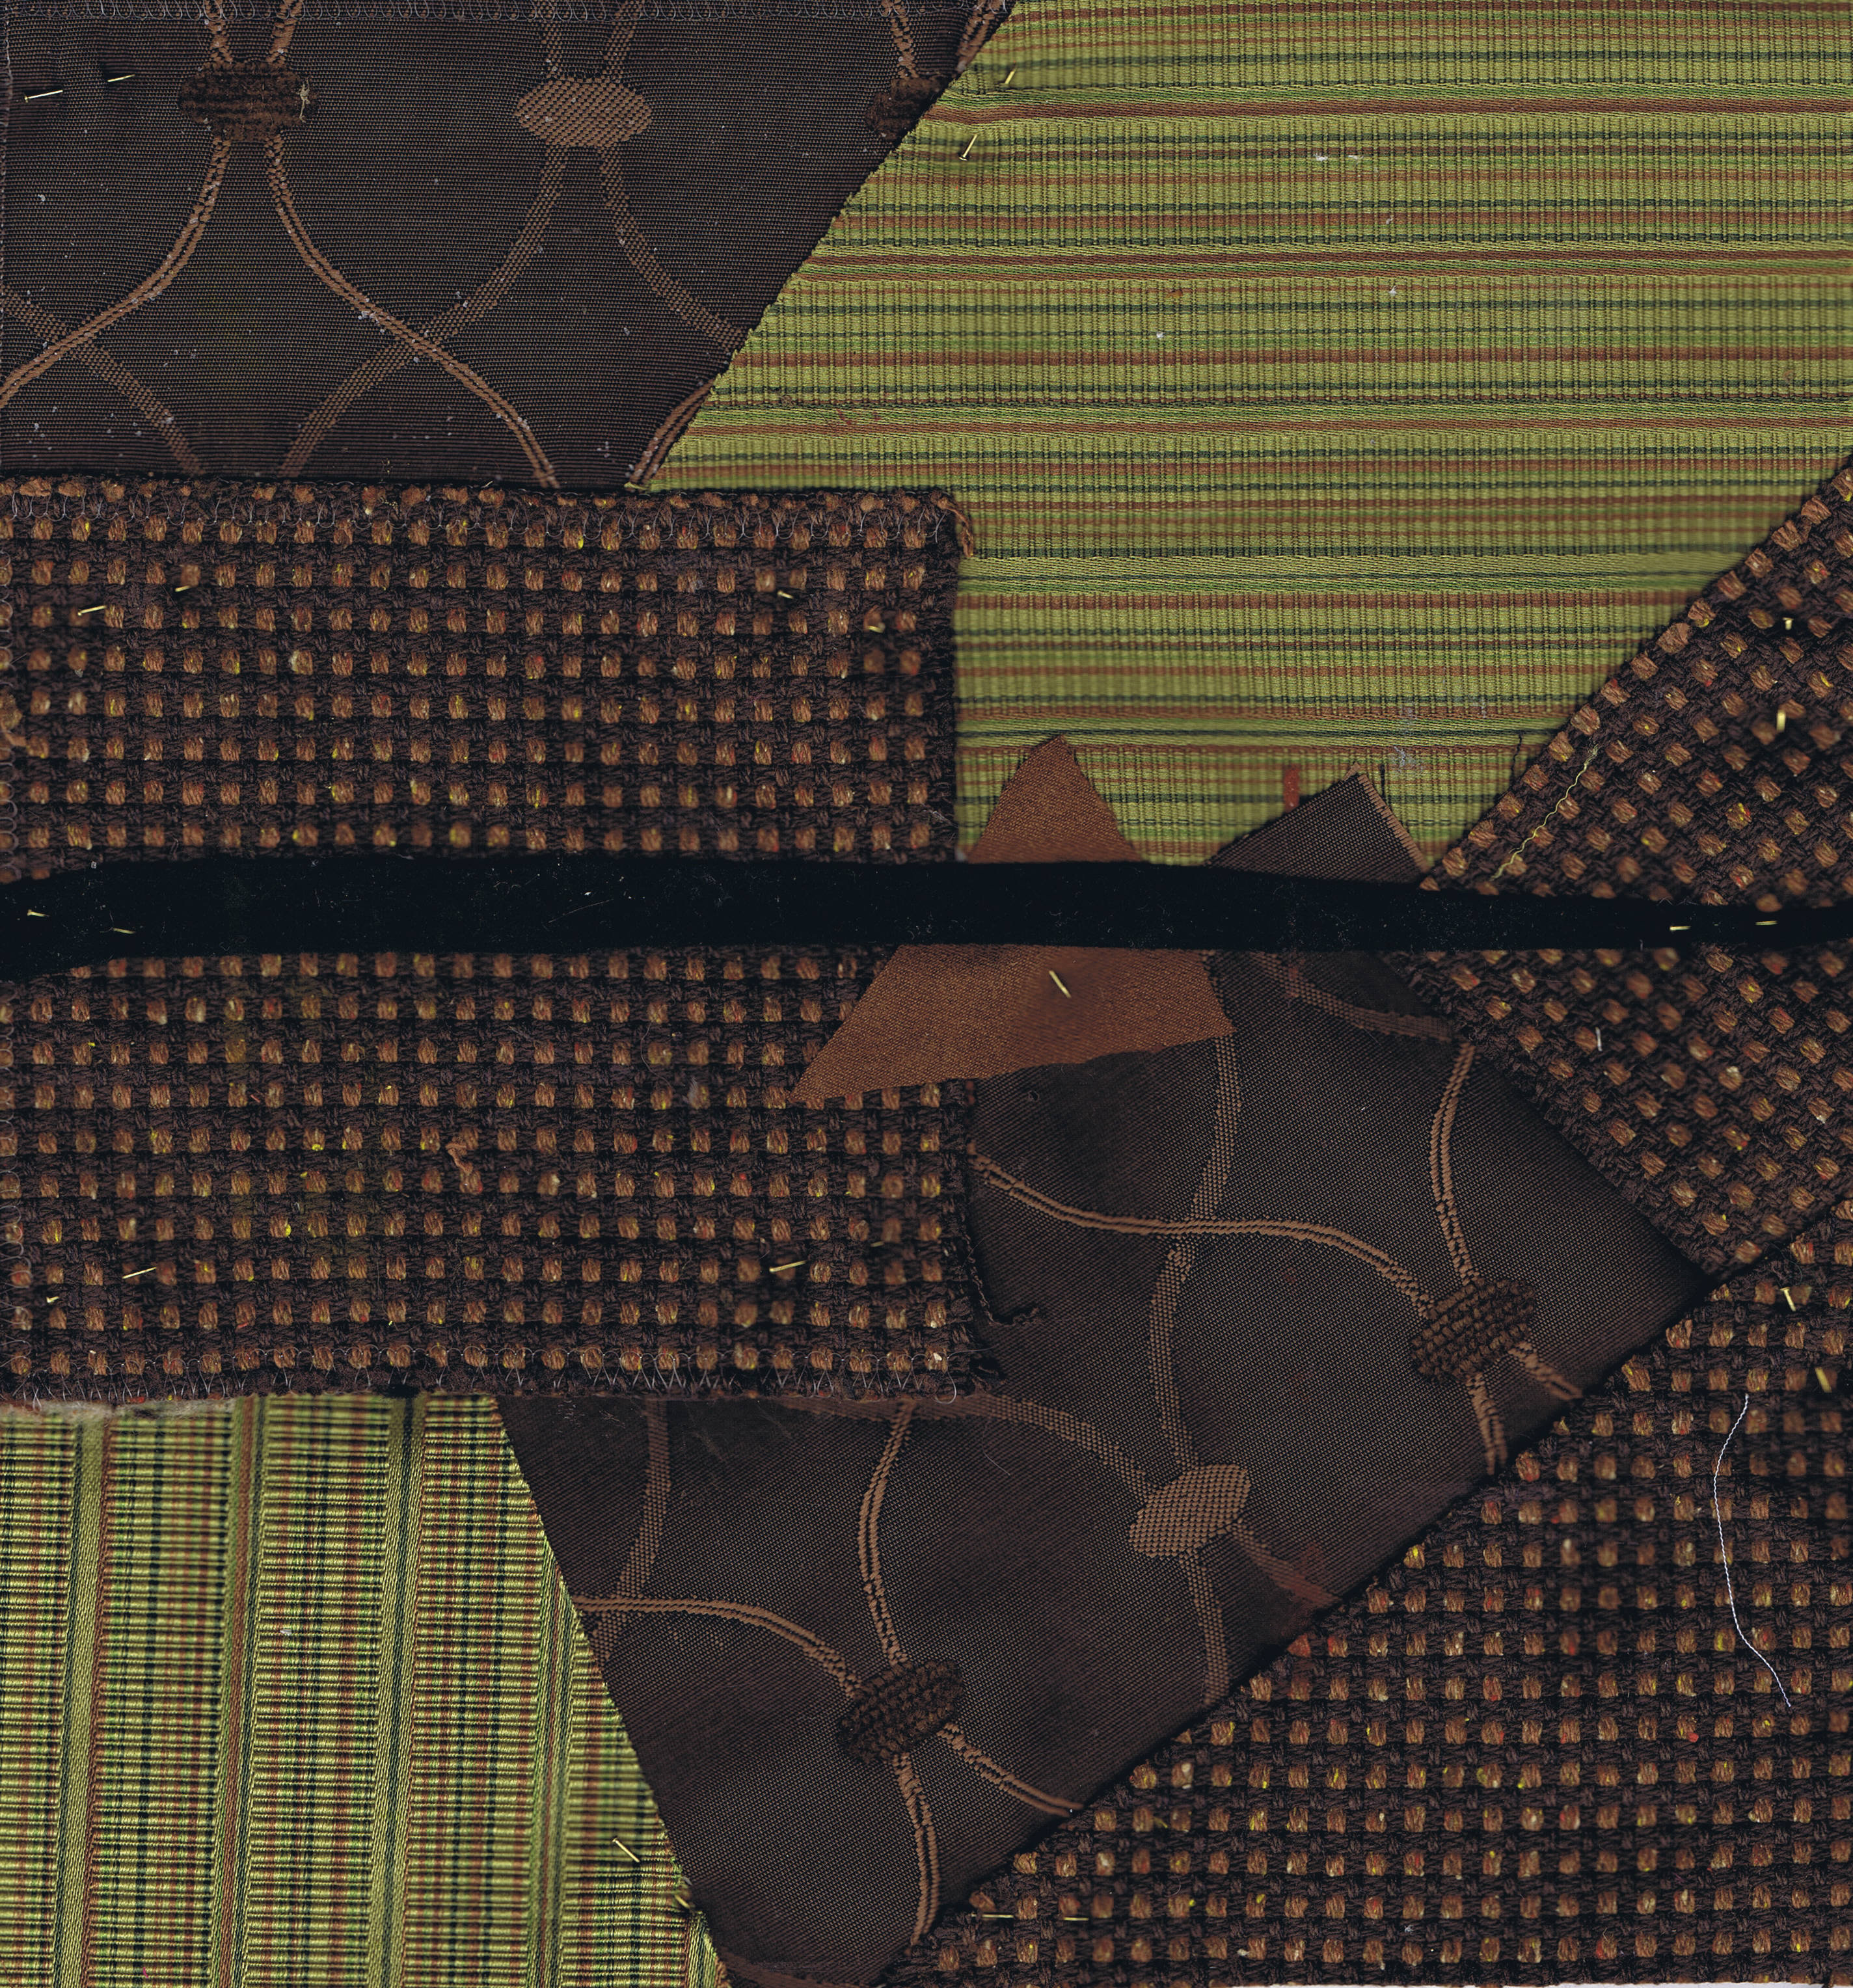
This one is all furnishing fabrics and a piece of felt across, again.  I like these thin lines.
This is a furnishing fabric, but it is turned to the back side, showing these chenille threads that are woven into the front.  The leaf shapes are cut from ultra suede, and I think they echo the pattern in the background nicely.
This is a needle felted mess.  but i am sure I will play with it later.  I just felted lots of scraps of fibres down, with no thought of a theme, then added the leaves and flowers on the left from my sample box.
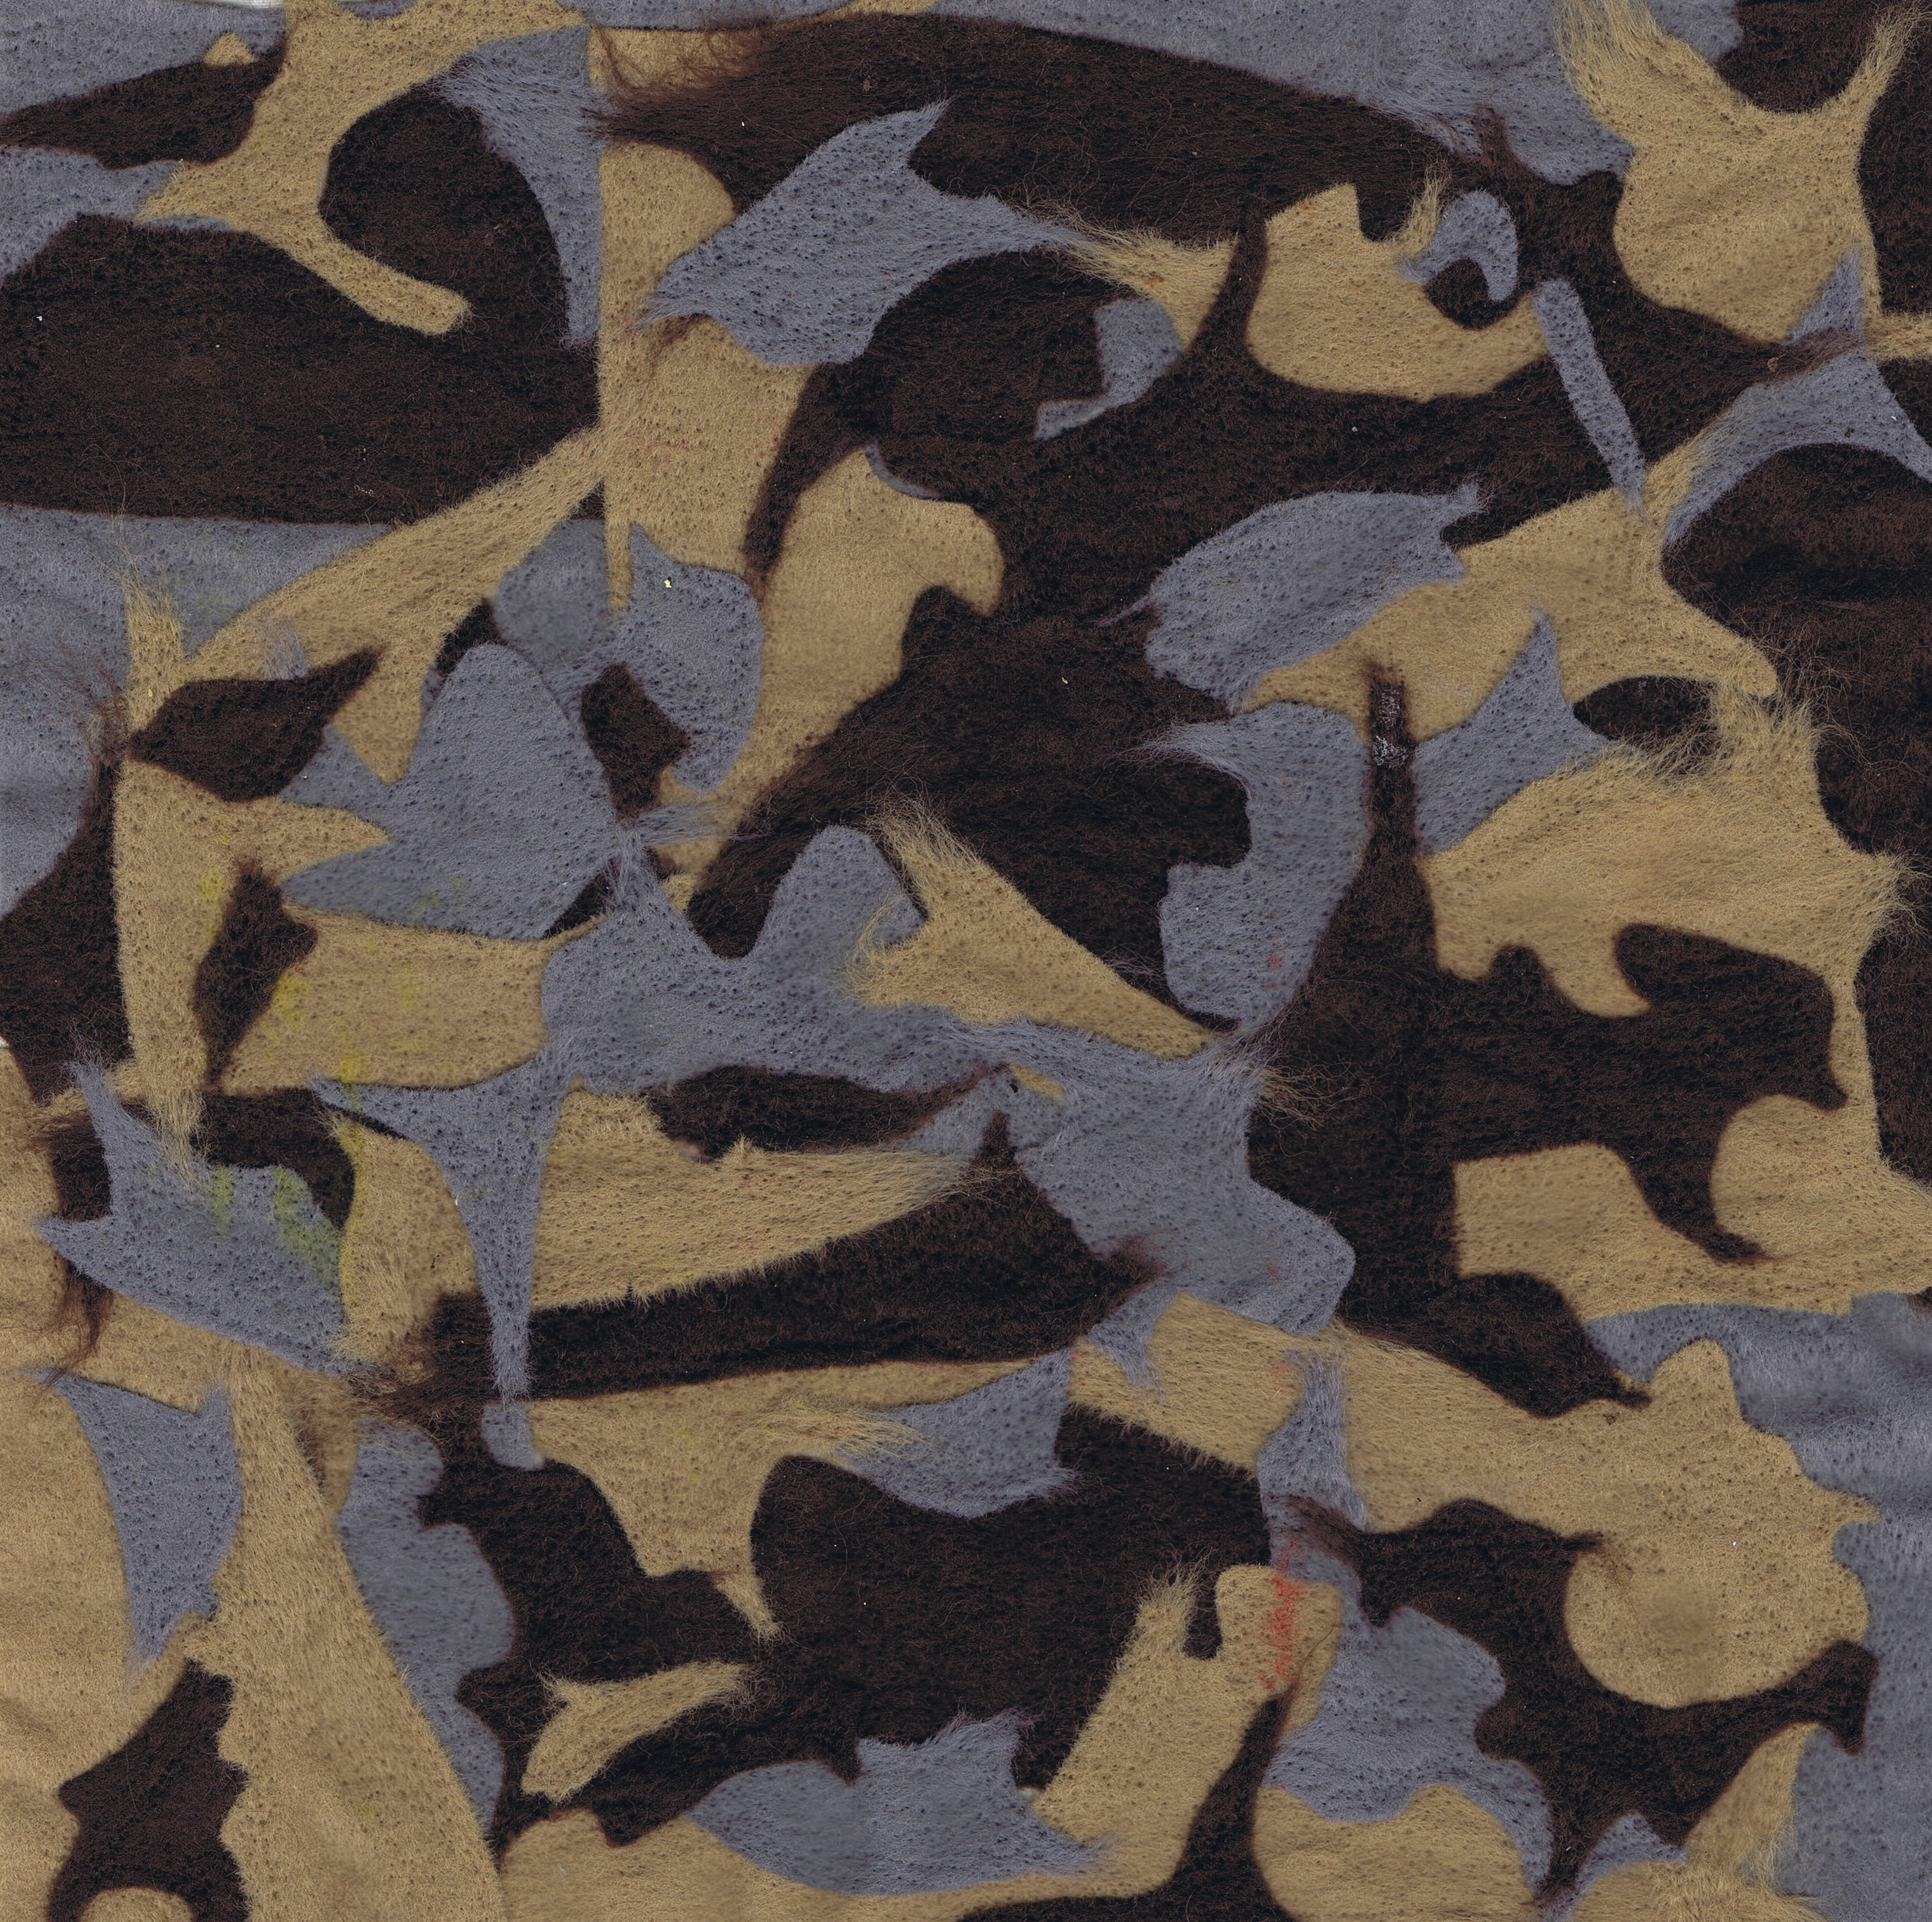
Another needlefelted foundation.  This one is made from offcuts of felt that I was given a while ago.  My husband said it looked like cow hides, but I can see lots of birds flying around.

Happy creating!

Monday, December 23, 2013

A flock of locals

Because I am who I am, I decided this morning that I needed to make something to give to family on Christmas day.  We no longer give gifts, but something little and hand made can easily be given.
I decided to make some needlefelted birds and have made three, but my little fingers are a bit sore from being poked, so I'll make three more tomorrow.
Here are my little birdies, which are all based on birds I can see in my garden.

The one at top left is a Thornbill, the top right is a flame robin and the bottom one is a blue wren.  They do not have eyes yet and I think the robin needs a little adjustment, but they are cute.
Here they are standing up. I still think the robin looks a bit like a duck, but oh well.


Happy Creating!

Friday, December 20, 2013

Felt and a few beads

I did say that I had a new piece finished/almost finished.

This piece was needlefelted a little while ago with black felt, organza and silks.  The black lines are needlefelted from the back and the beads are handmade fabric and paper beads.  I have also beaded the entire border (But it was a few millimetres too short for the scanner)  I love all the frayed edges, but not sure whether it still needs a bit of stitch.  hmmmm.  I'll just have to think on it a bit more.

Happy creating!

Friday, November 29, 2013

Fabric Fix

Day 29 of AEDM!
It has been a while since I posted any textile work.  I have been working, but not anything finished to show.
So today I had my fifteen minute fix.  It was one of those pieces that came together quickly, perhaps a bit more than fifteen minutes, but not much.
I do find that this often happens when I have nothing in mind; the ideas seem to come quickly when I throw away the rules.

And here is what I have put together.  Not finished yet, but perhaps you can help me with that!
I decided to look at some textile videos (I always have videos running in my studio) and the first which came up was Pokey Bolton's Needlefelting video.  So I got out the embellisher.
I thought a tiny bit about what to do and feathers came into my mind (all those journal pages with feathers came to me) and I had a few ideas in mind, but when I went down to the machine, I saw a scrap of felt.  My original idea was to use yarns to make the feathers (and I still might do that), but on the shelf nearby was some gorgeous silk weave that a friend had given me (saying " You'll think of something to do with it")
Perfect!
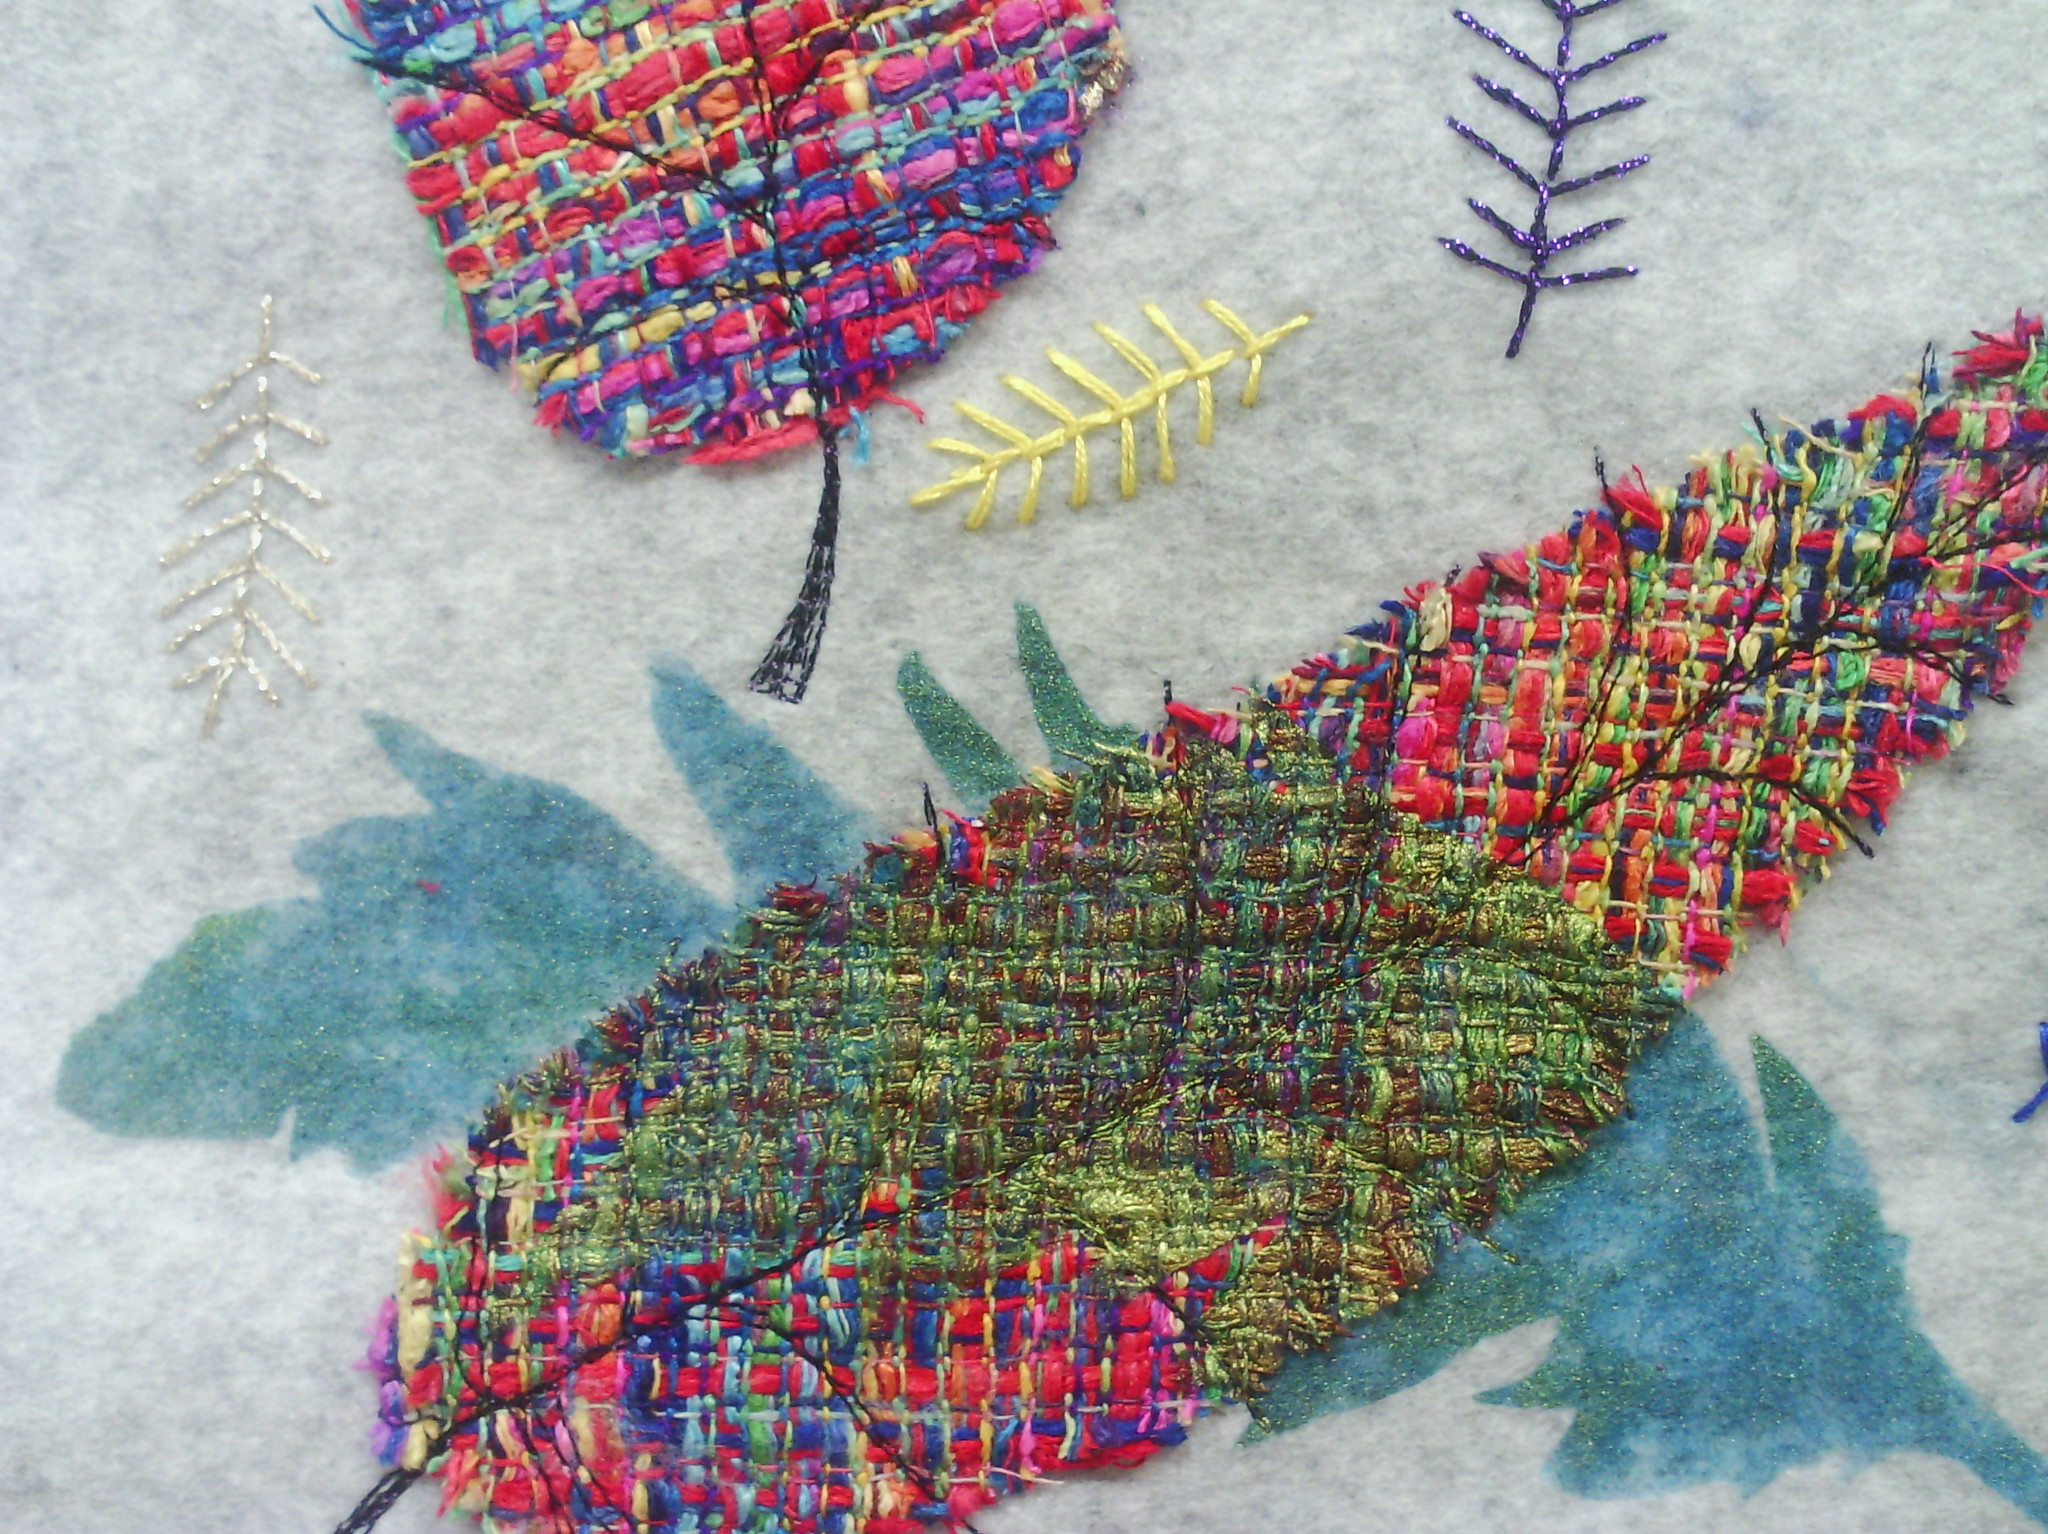
So I cut some feather shapes out and just needlefelted them down with the embellisher.
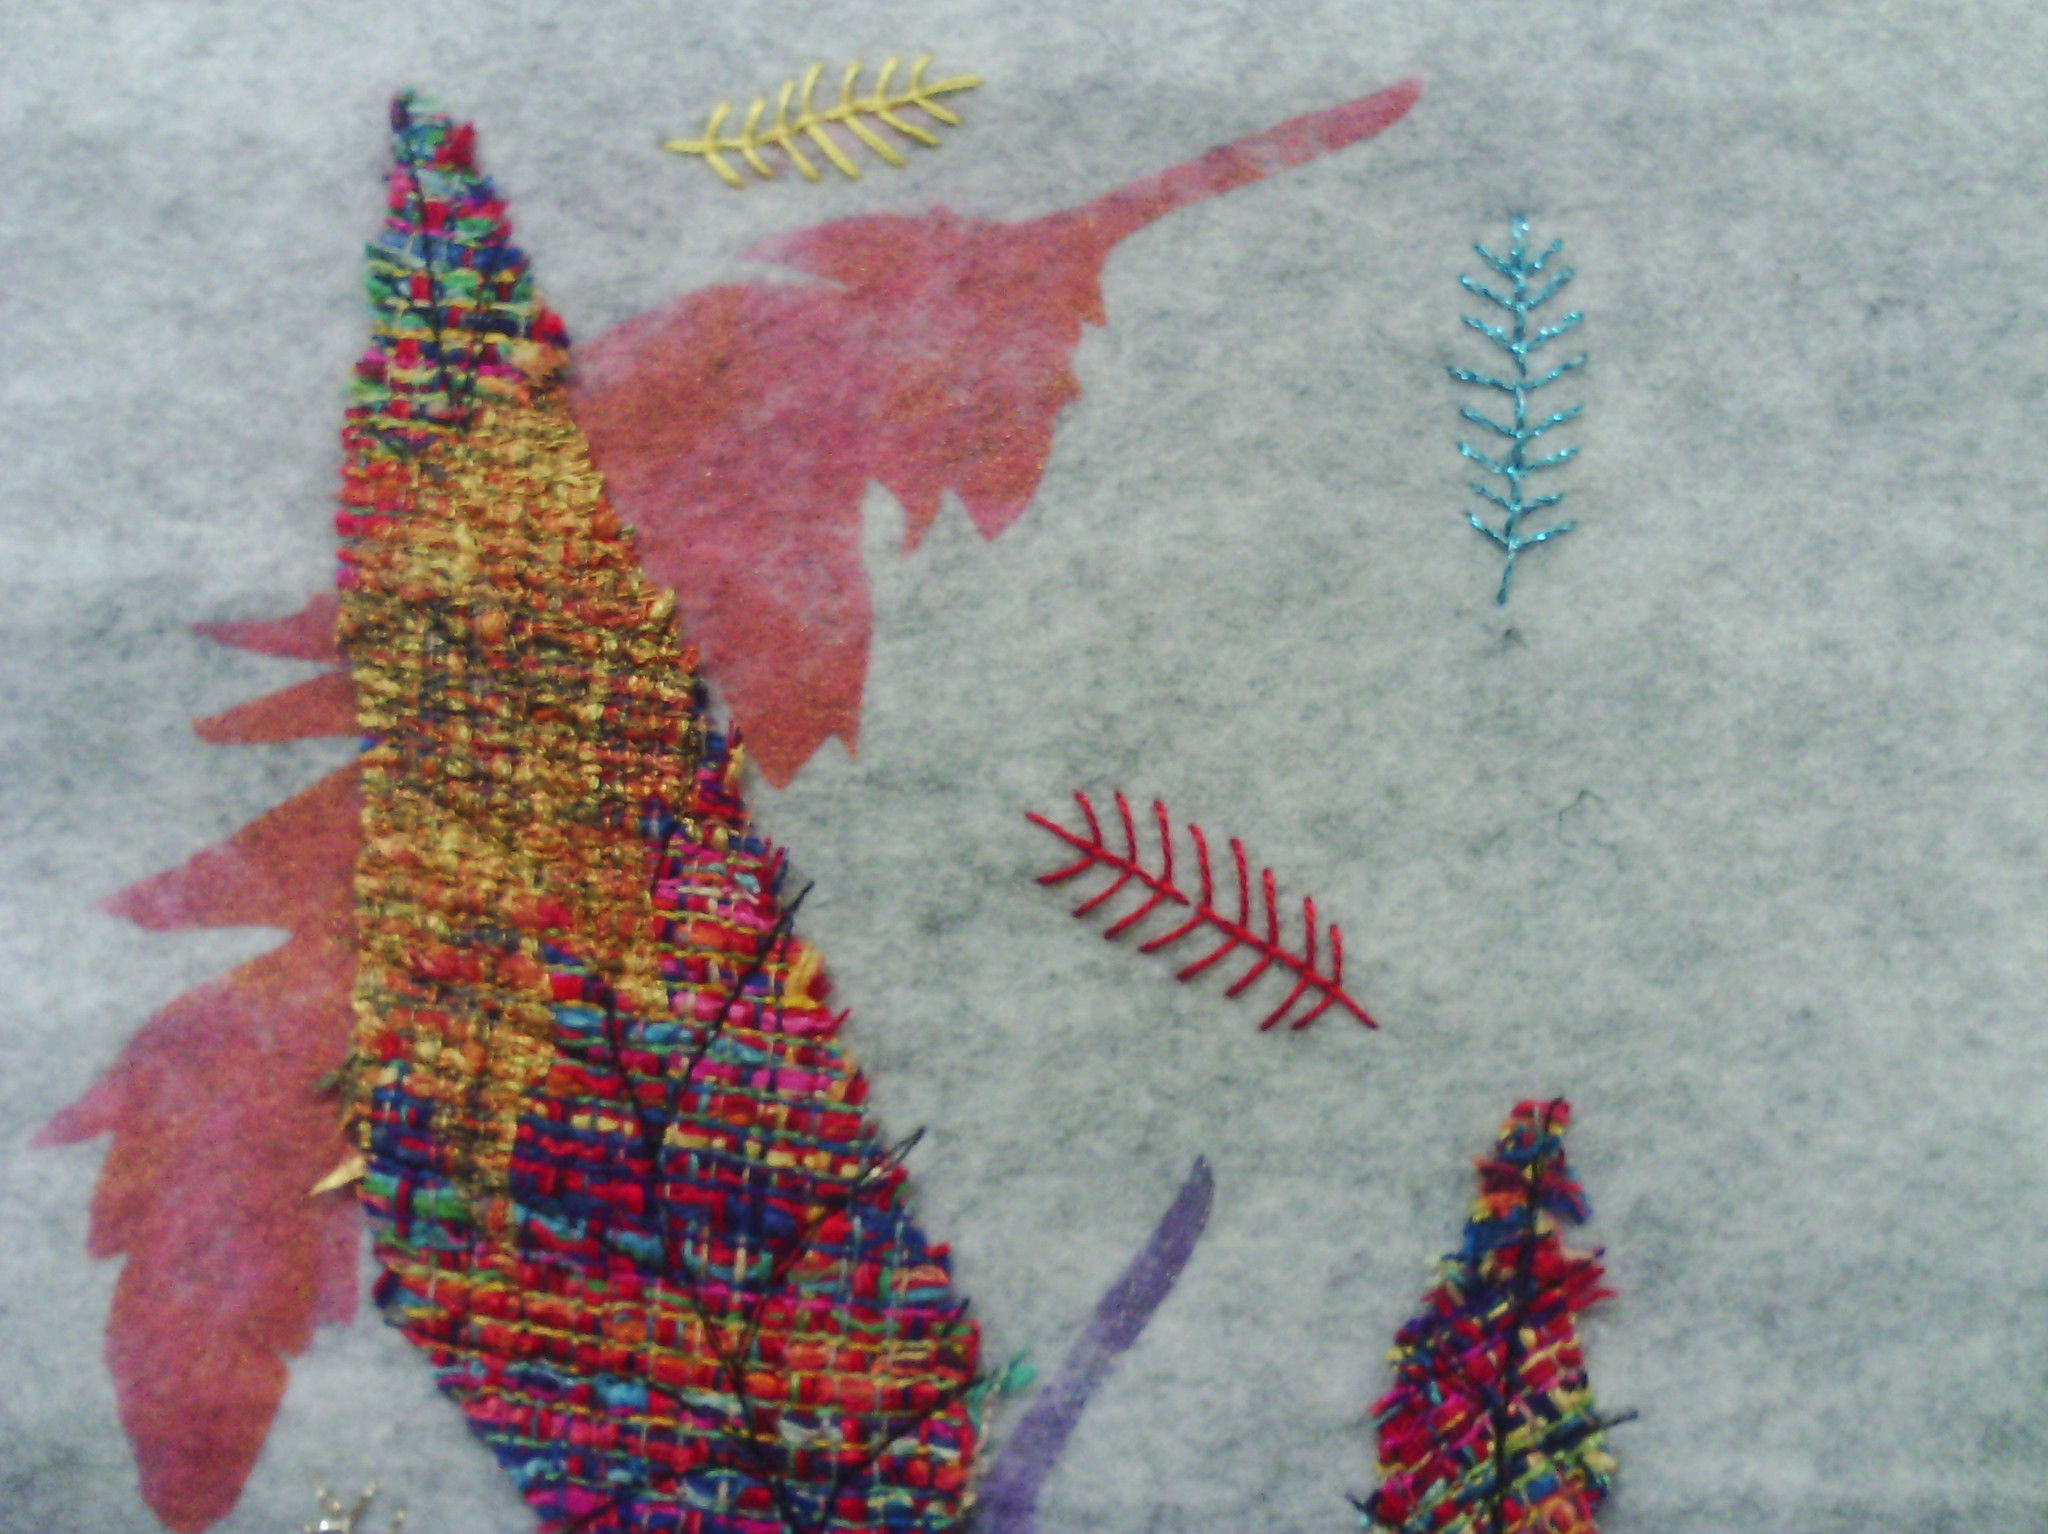
You can see the gorgeous woven texture of the silk in this picture.  I paid a lot of attention to the edges when I was needlefelting, which made them fray nicely.
When I had done that, I threaded up with Black thread and free motioned over them to make the stems and some side branches.
At this stage, I knew I needed more, and indended to do some sheer raw edge applique, but all my sheers were all still in the car from teaching a class and since it is 42 steps down and 42 steps back, I was too lazy to go and get it.
Opportunity!  I saw a feather stencil sitting on my journaling table and thought, let's add some stencilling.  The lumiere paints were just there so I used them, intending to add a bit of bling.
You can see in the photo above that a strange thing happened.  In the felt, the paint took on the base colour (this was rose gold) and the silk took on more of the metallic part of the paint.
WOW!  I loved that, so I tried a few more colours.
This was the blue gold and it did the same thing.  I also used violet gold, but I didn't overlap it much, so I  didn't take a photo.
I still felt it needed more and got some beads out, but as I sat down to start, I saw some candlelight thread I bought on a recent trip.  YUM!  so I embroidered some feathers - using feather stitch of course!  I also added a few feathers in the colours in the silk fabric - yellow, red and blue.
And that is where I am at.
I am not sure where to go next - whether to add more stitching and what method for binding.  I am leaning towards beading the edge and adding some seed stitch, but you are welcome to leave suggestions.
And that was my fabric fix.

Happy creating!

Saturday, July 20, 2013

On the mend

I have finally finished my sketchbook cover.
I am quite happy with the way it turned out.  I trimmed it to size and glued the edges so the stitching was secure, then thought about how to attach it to the sketchbook.
I could have glued it down, since it is made specifically for this book, but I decided it was best not to do this in case the book needs rebinding at some time.
I decided to add some sticky velcro to the front and back, which would grab the felt backing.  This worked really well and held the cover on very firmly.
I have not decided yet whether anything will go on the cover under the cutout, or if I will paint the cover.
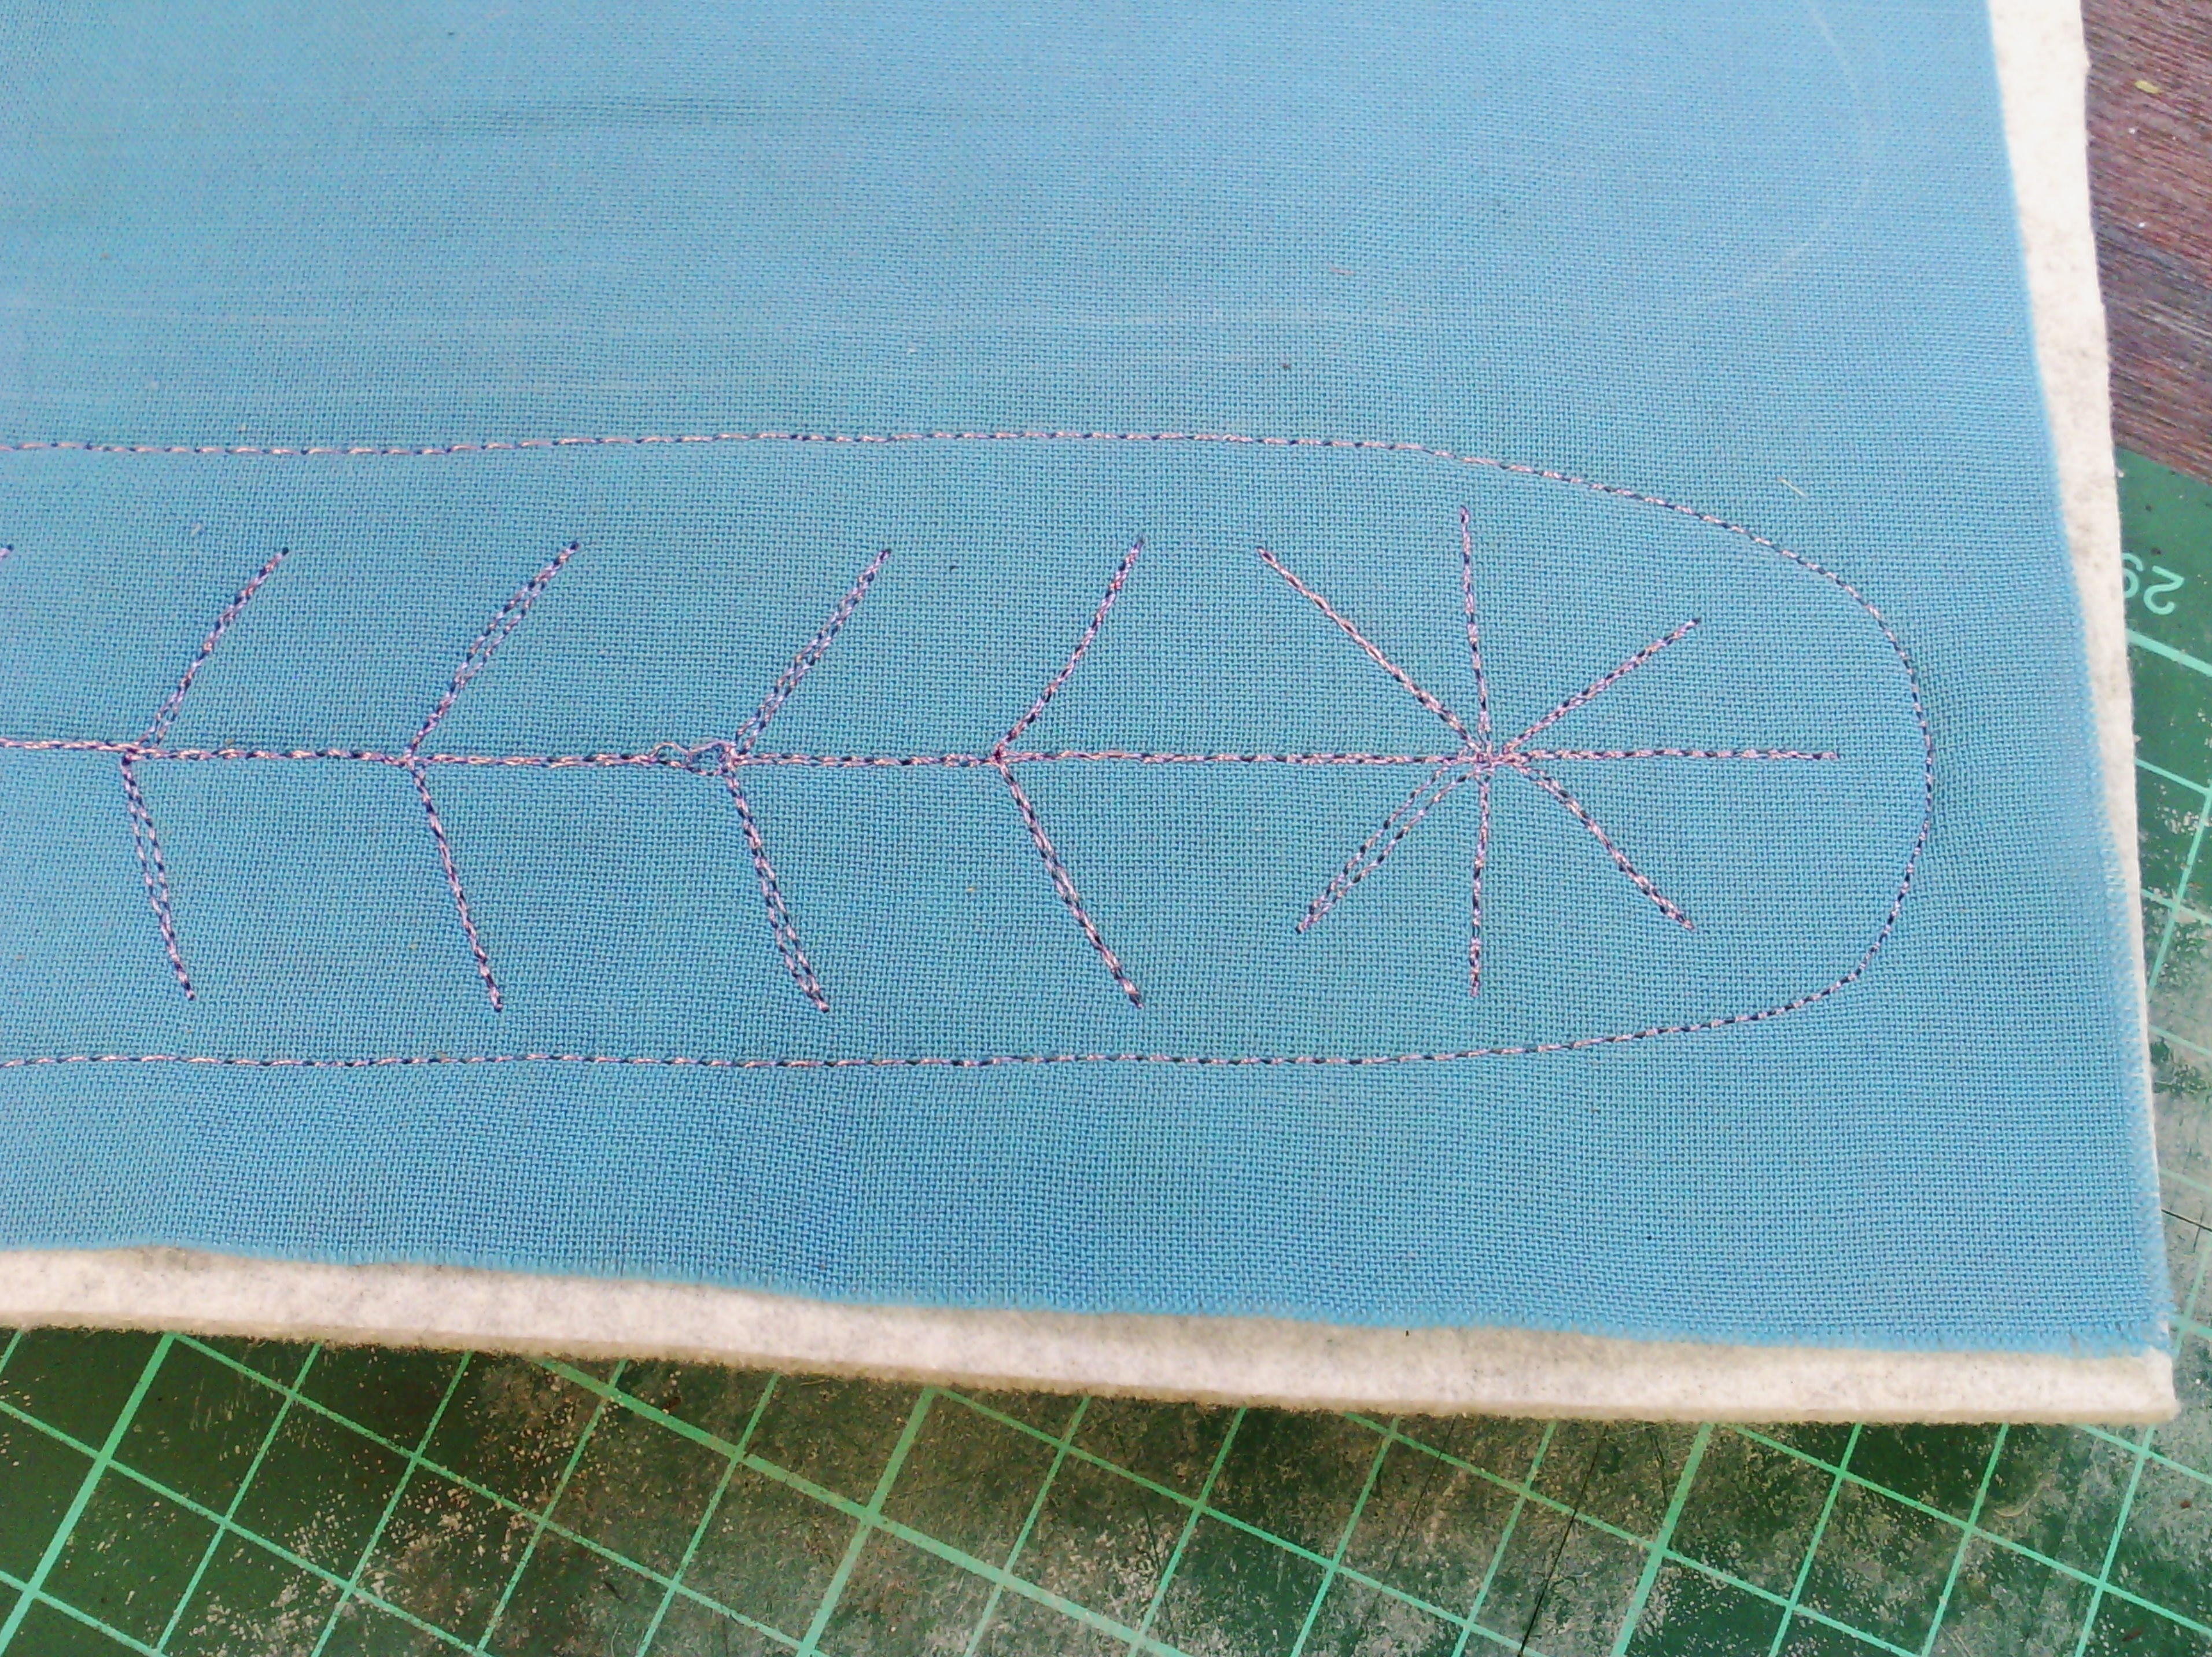
Above are a few close ups of the stitching.

I have been thinking a lot about blogging and have come to the conclusion that it keeps me on track.  It has been a month since my last post and I have hardly done any textile work.  Whilst a break can be a good thing, I am finding it very hard to get back into the swing of things.  In the past I have always had a little project to keep me going, like ATCs and journal quilts and so I have decided what it is that I need to do every day at present and decided that it is quilting and free motion embroidery..
I have quite a few little sketchpads, filled with free motion doodles and a couple of months ago I came across one where I had doodled hundreds of little feather shapes with different fillings.  I set up a pile of felt and fabric sandwiches to make samples with.  And it sat on my table for quite a while.
So now I have set myself the task of doing one of these feathers a day.  It only takes five minutes and makes me go into the studio and sew.  Of course I can't always blog every day, but my task is to makes sure I do one of these every day and blog at least three times a week.
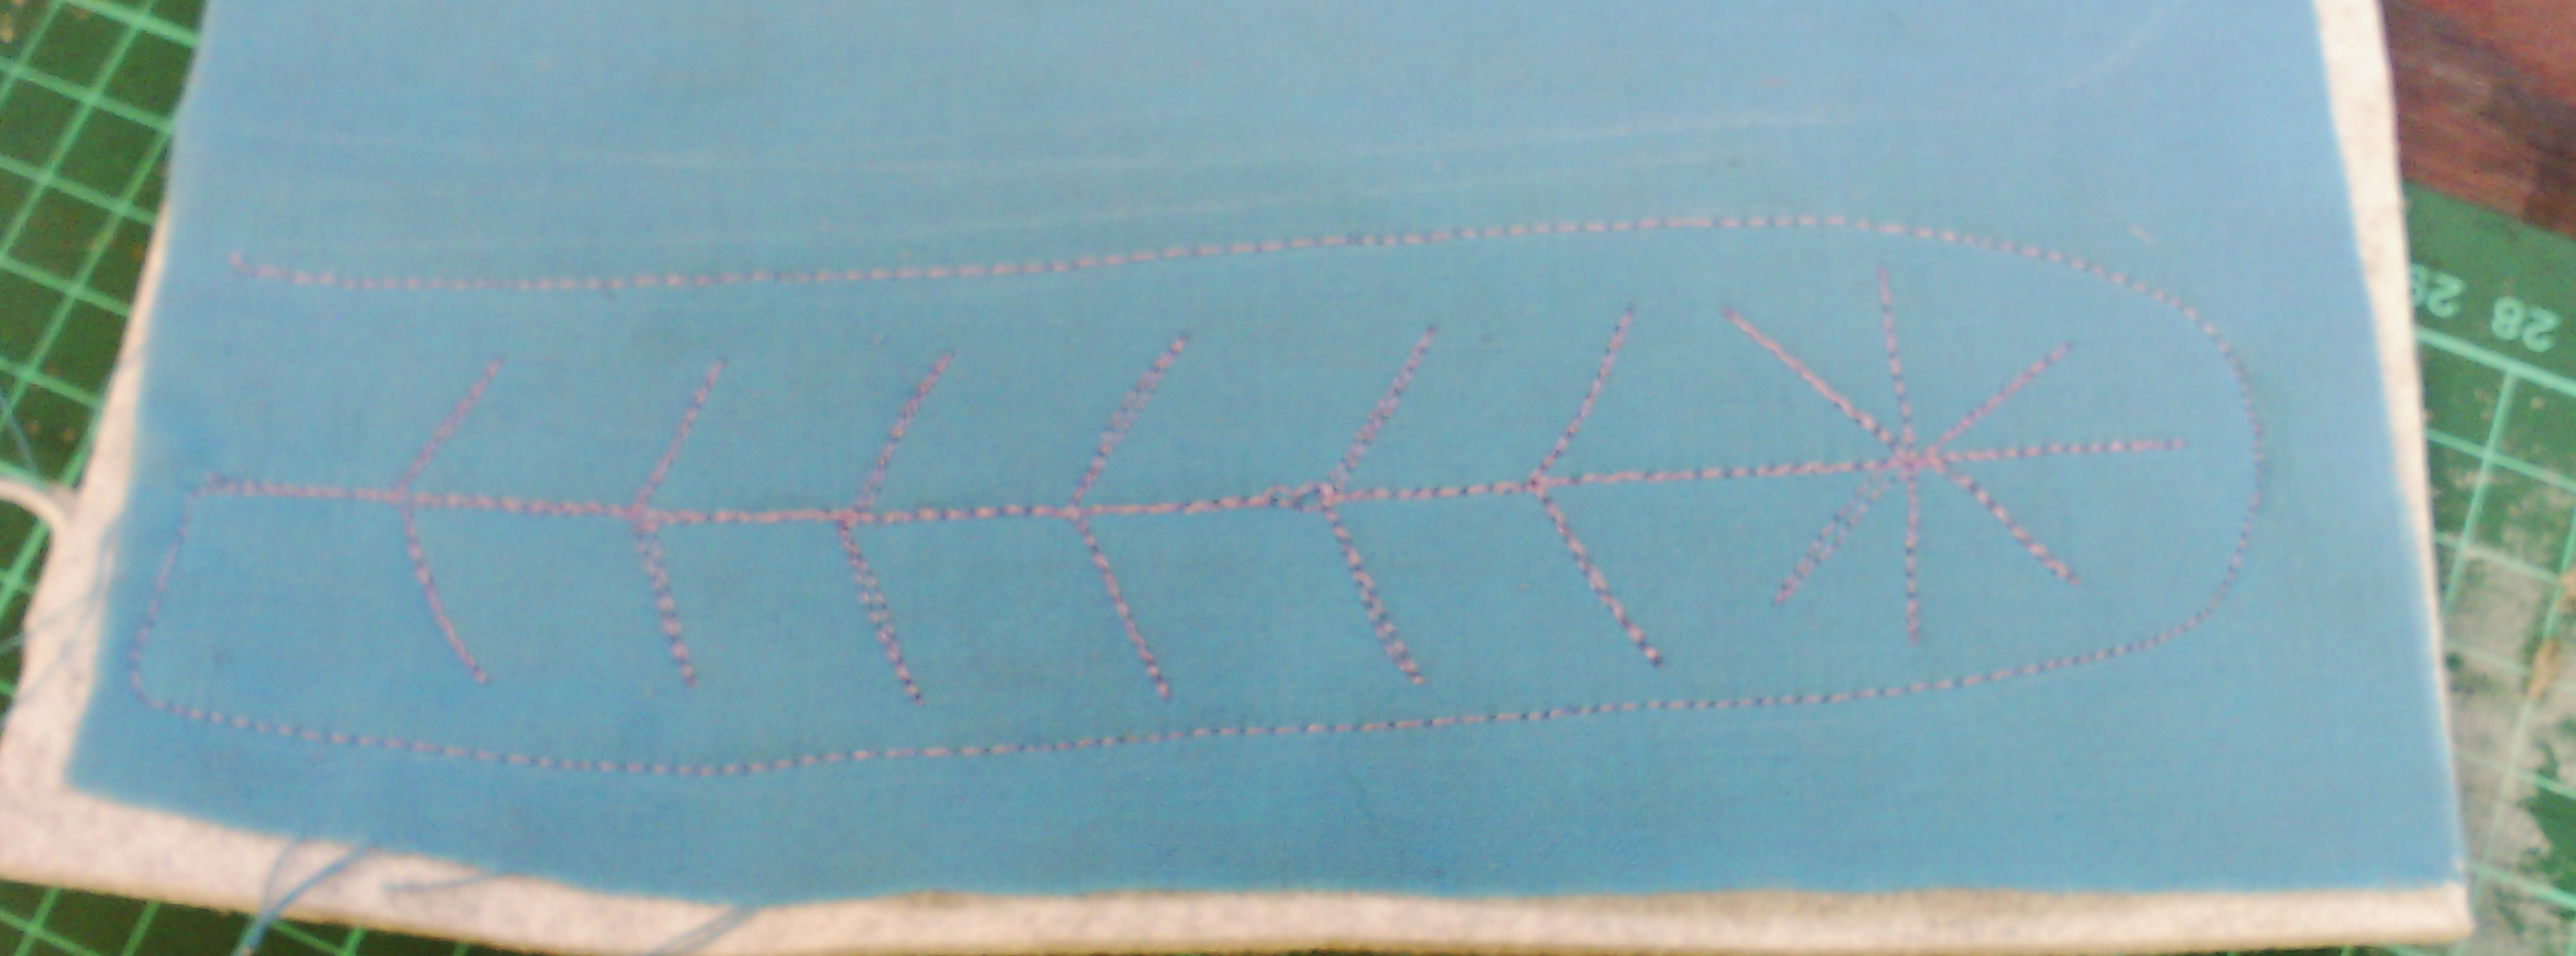
So here is my first one.  It is a sort of dandelion inside the feather.  I must admit, this one took actually less than a minute!
and here is a bit closer to see the stitches.

So, let's see if I can stick to my project and create every day again.

Sunday, June 23, 2013

of books and broken ankles

There are two reasons I have not blogged for a while.  The first is that I am spending far too much time on my creative sketchbooks course and the second is that I currently have a broken ankle. Until late last week, it was impossible to do any sewing and quite easy to sit and draw for my course.
My ankle is now in an huge boot, which will keep it stable until I have surgery to re attach some ligaments.  It's like an enormous cast, but it can come off.
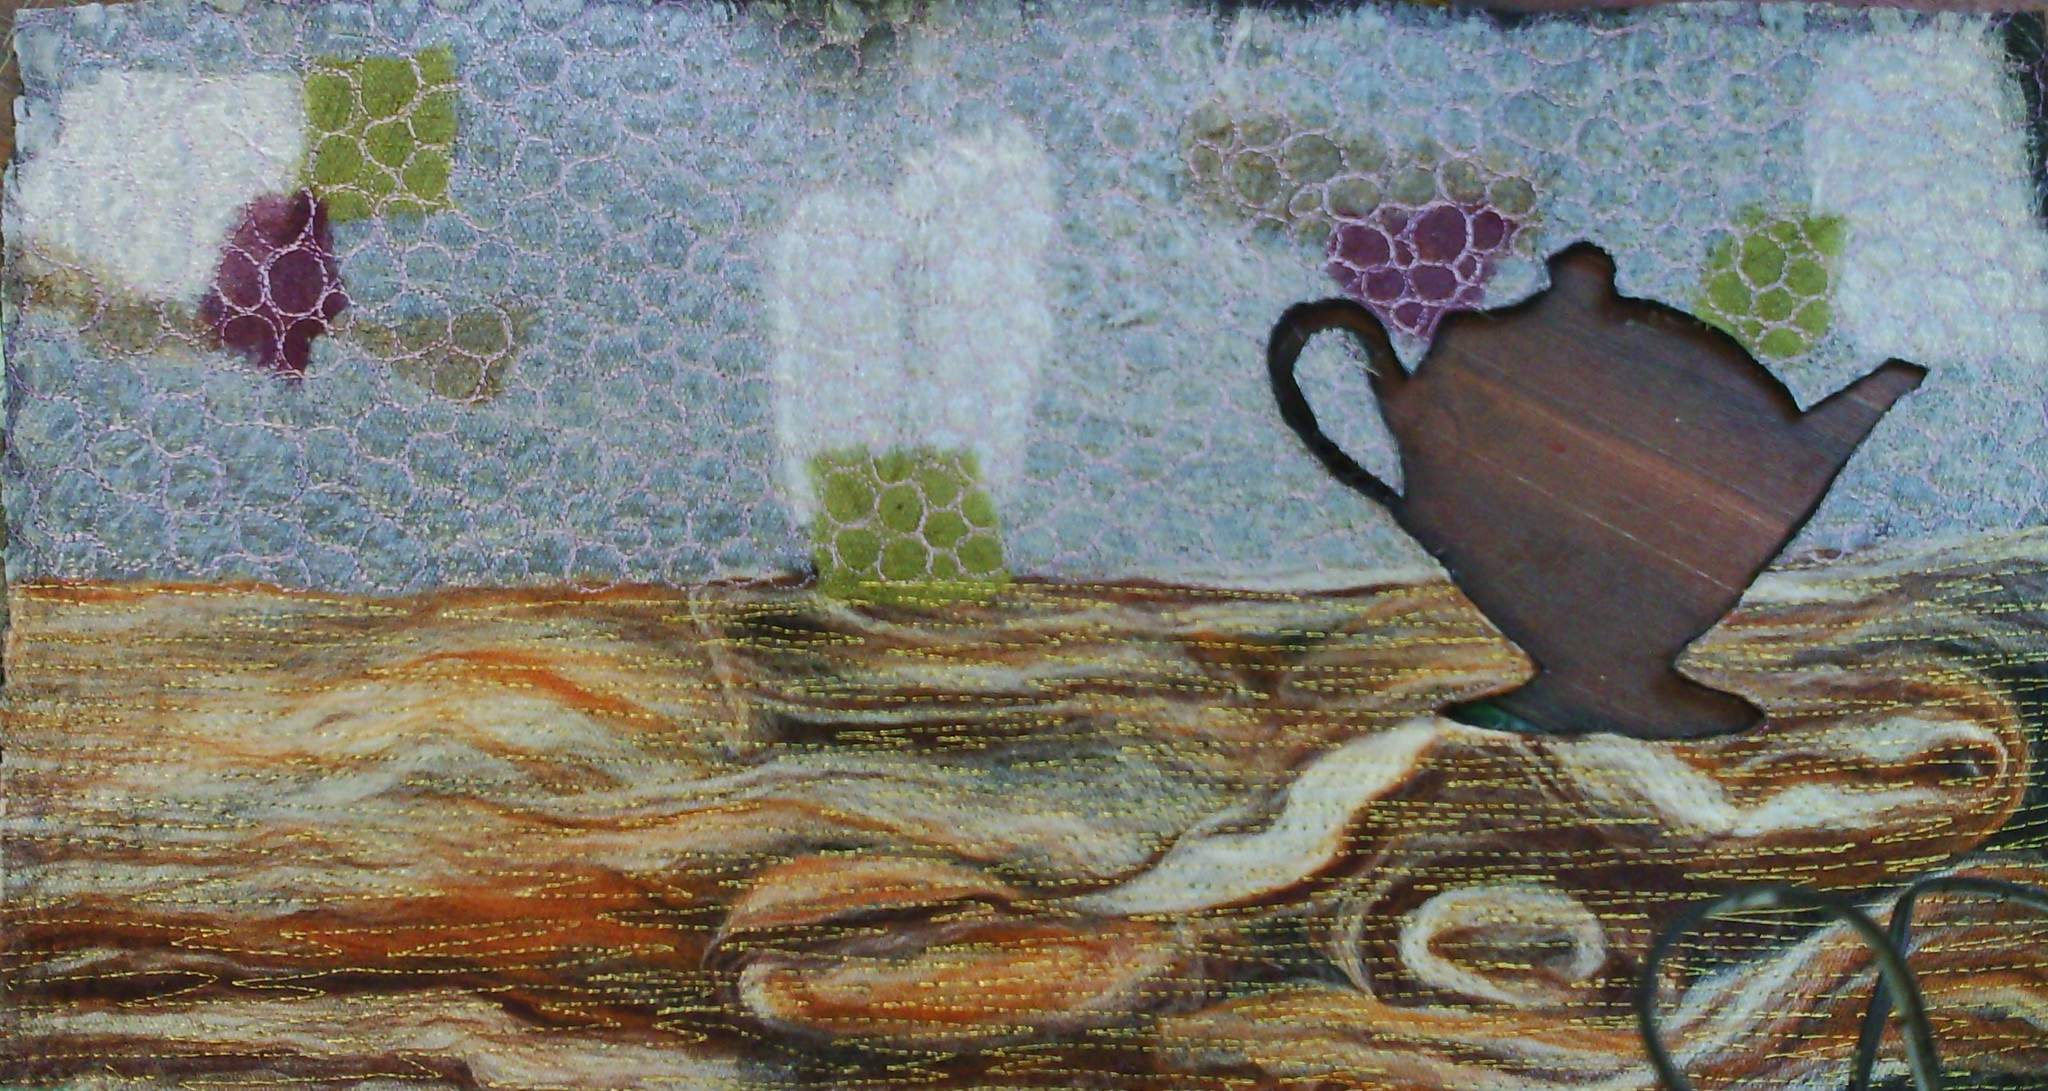
Enough of that.  Today I decided my sketchbook needed a cover so I started needlefelting a wrap around cover for it.
I warn you my pictures are awful as I am getting used to the new camera after my old one died a few blogs ago.
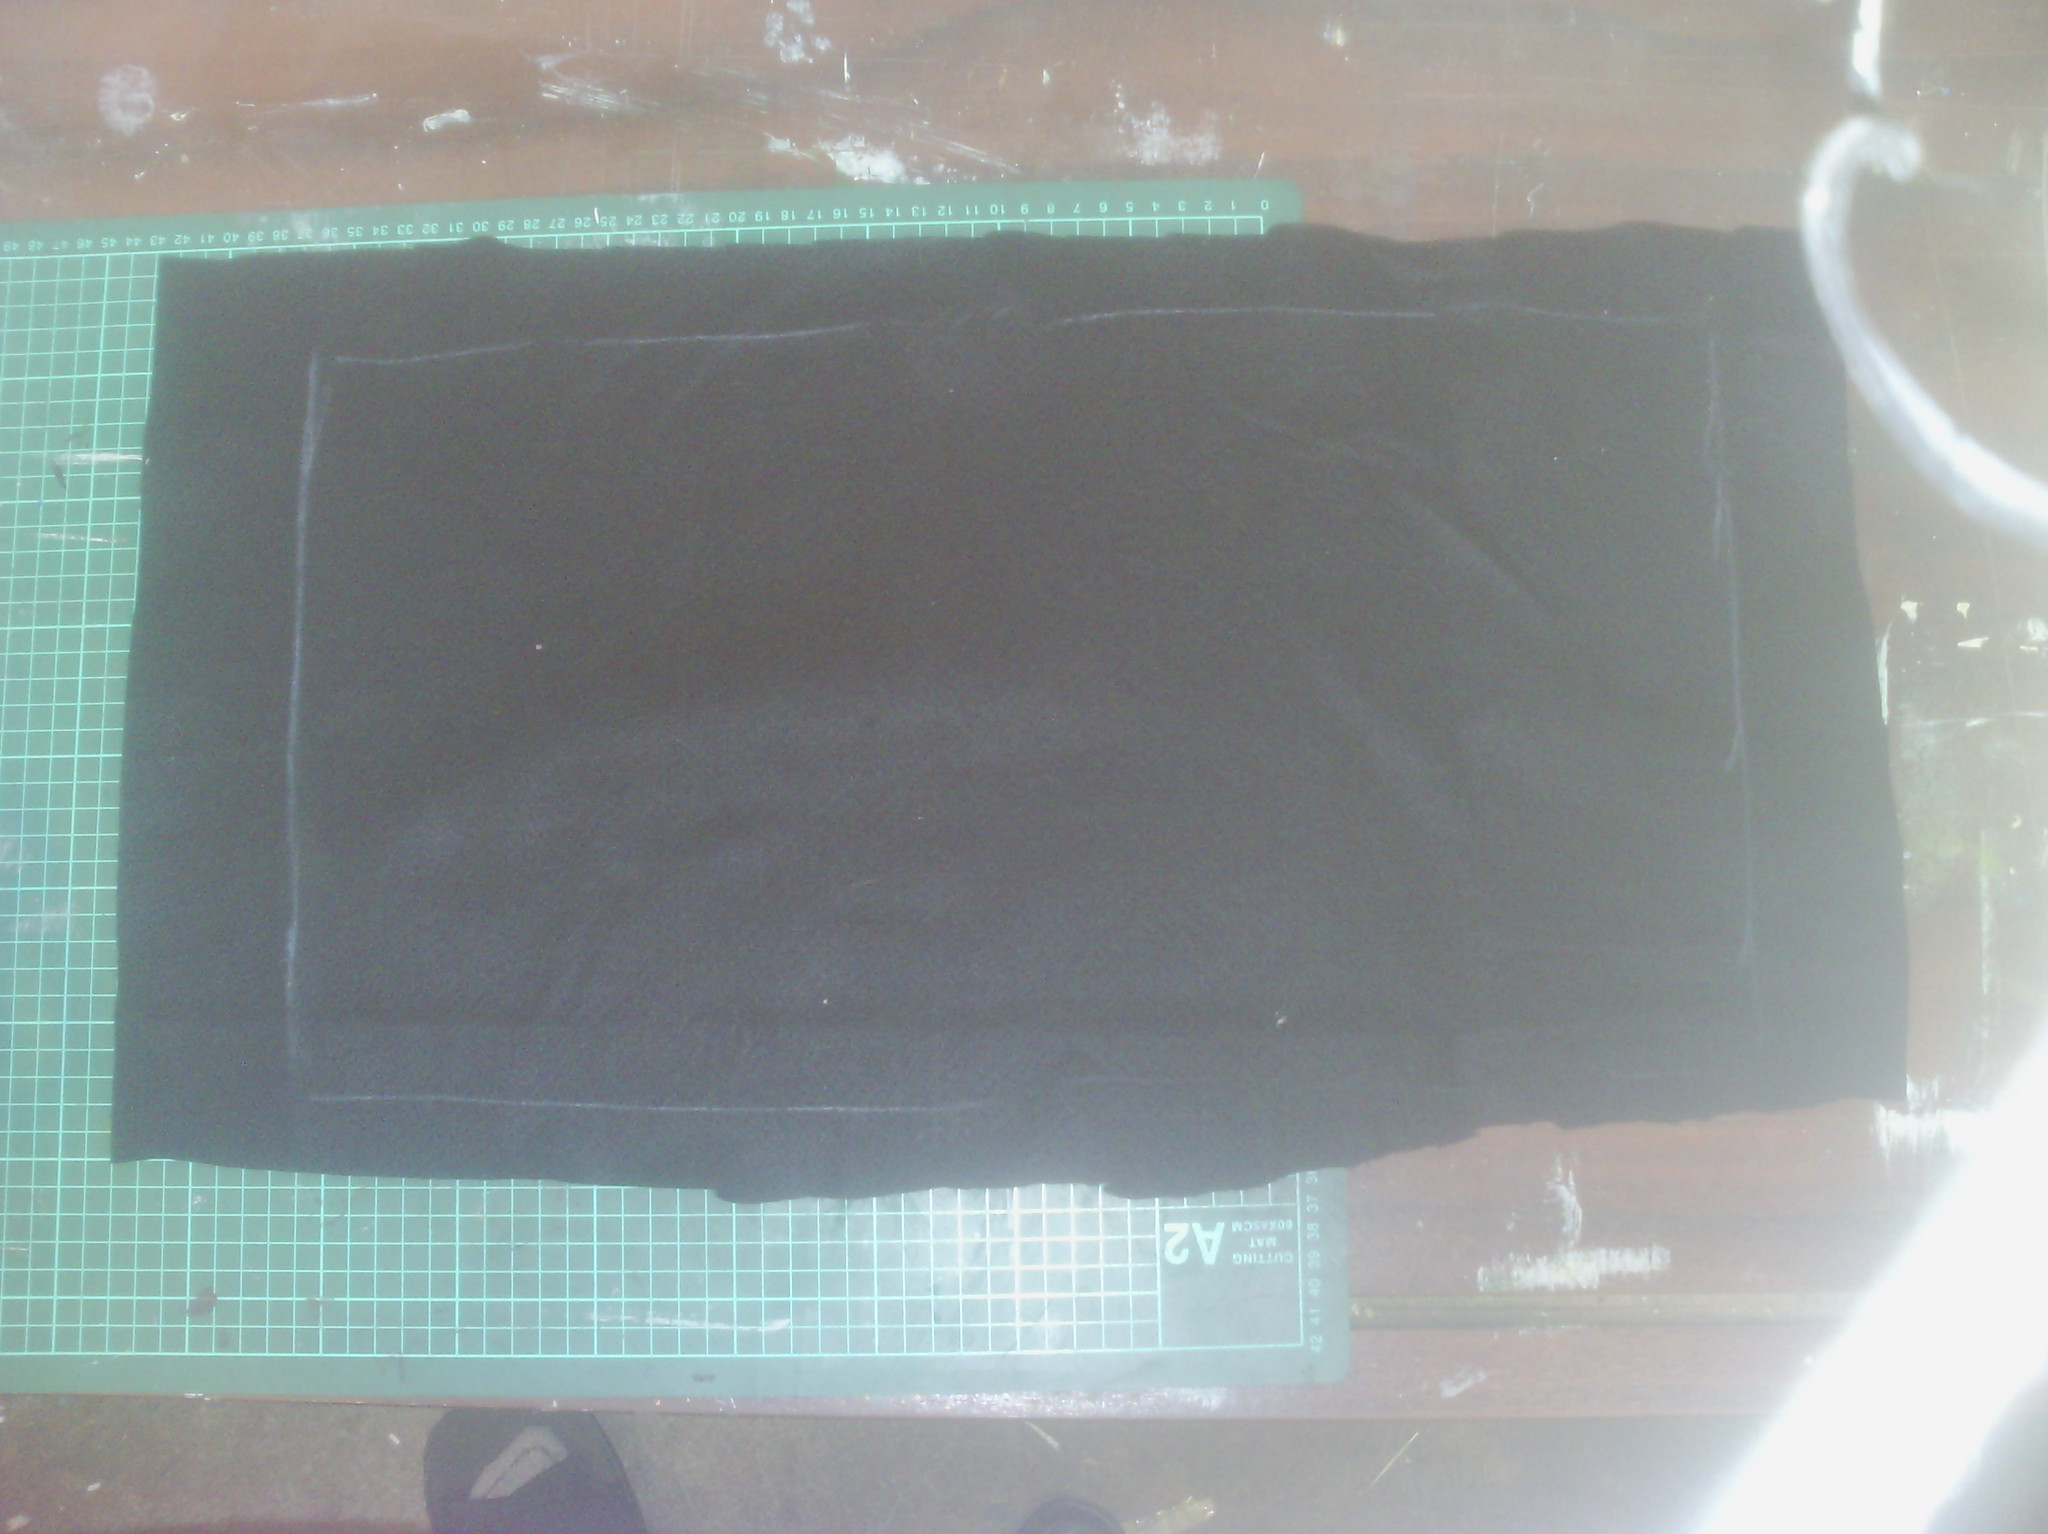
First, I wrapped some black felt around my book and marked the edges with chalk.  The felt will shrink quite a bit and that is why I have cut it extra large.
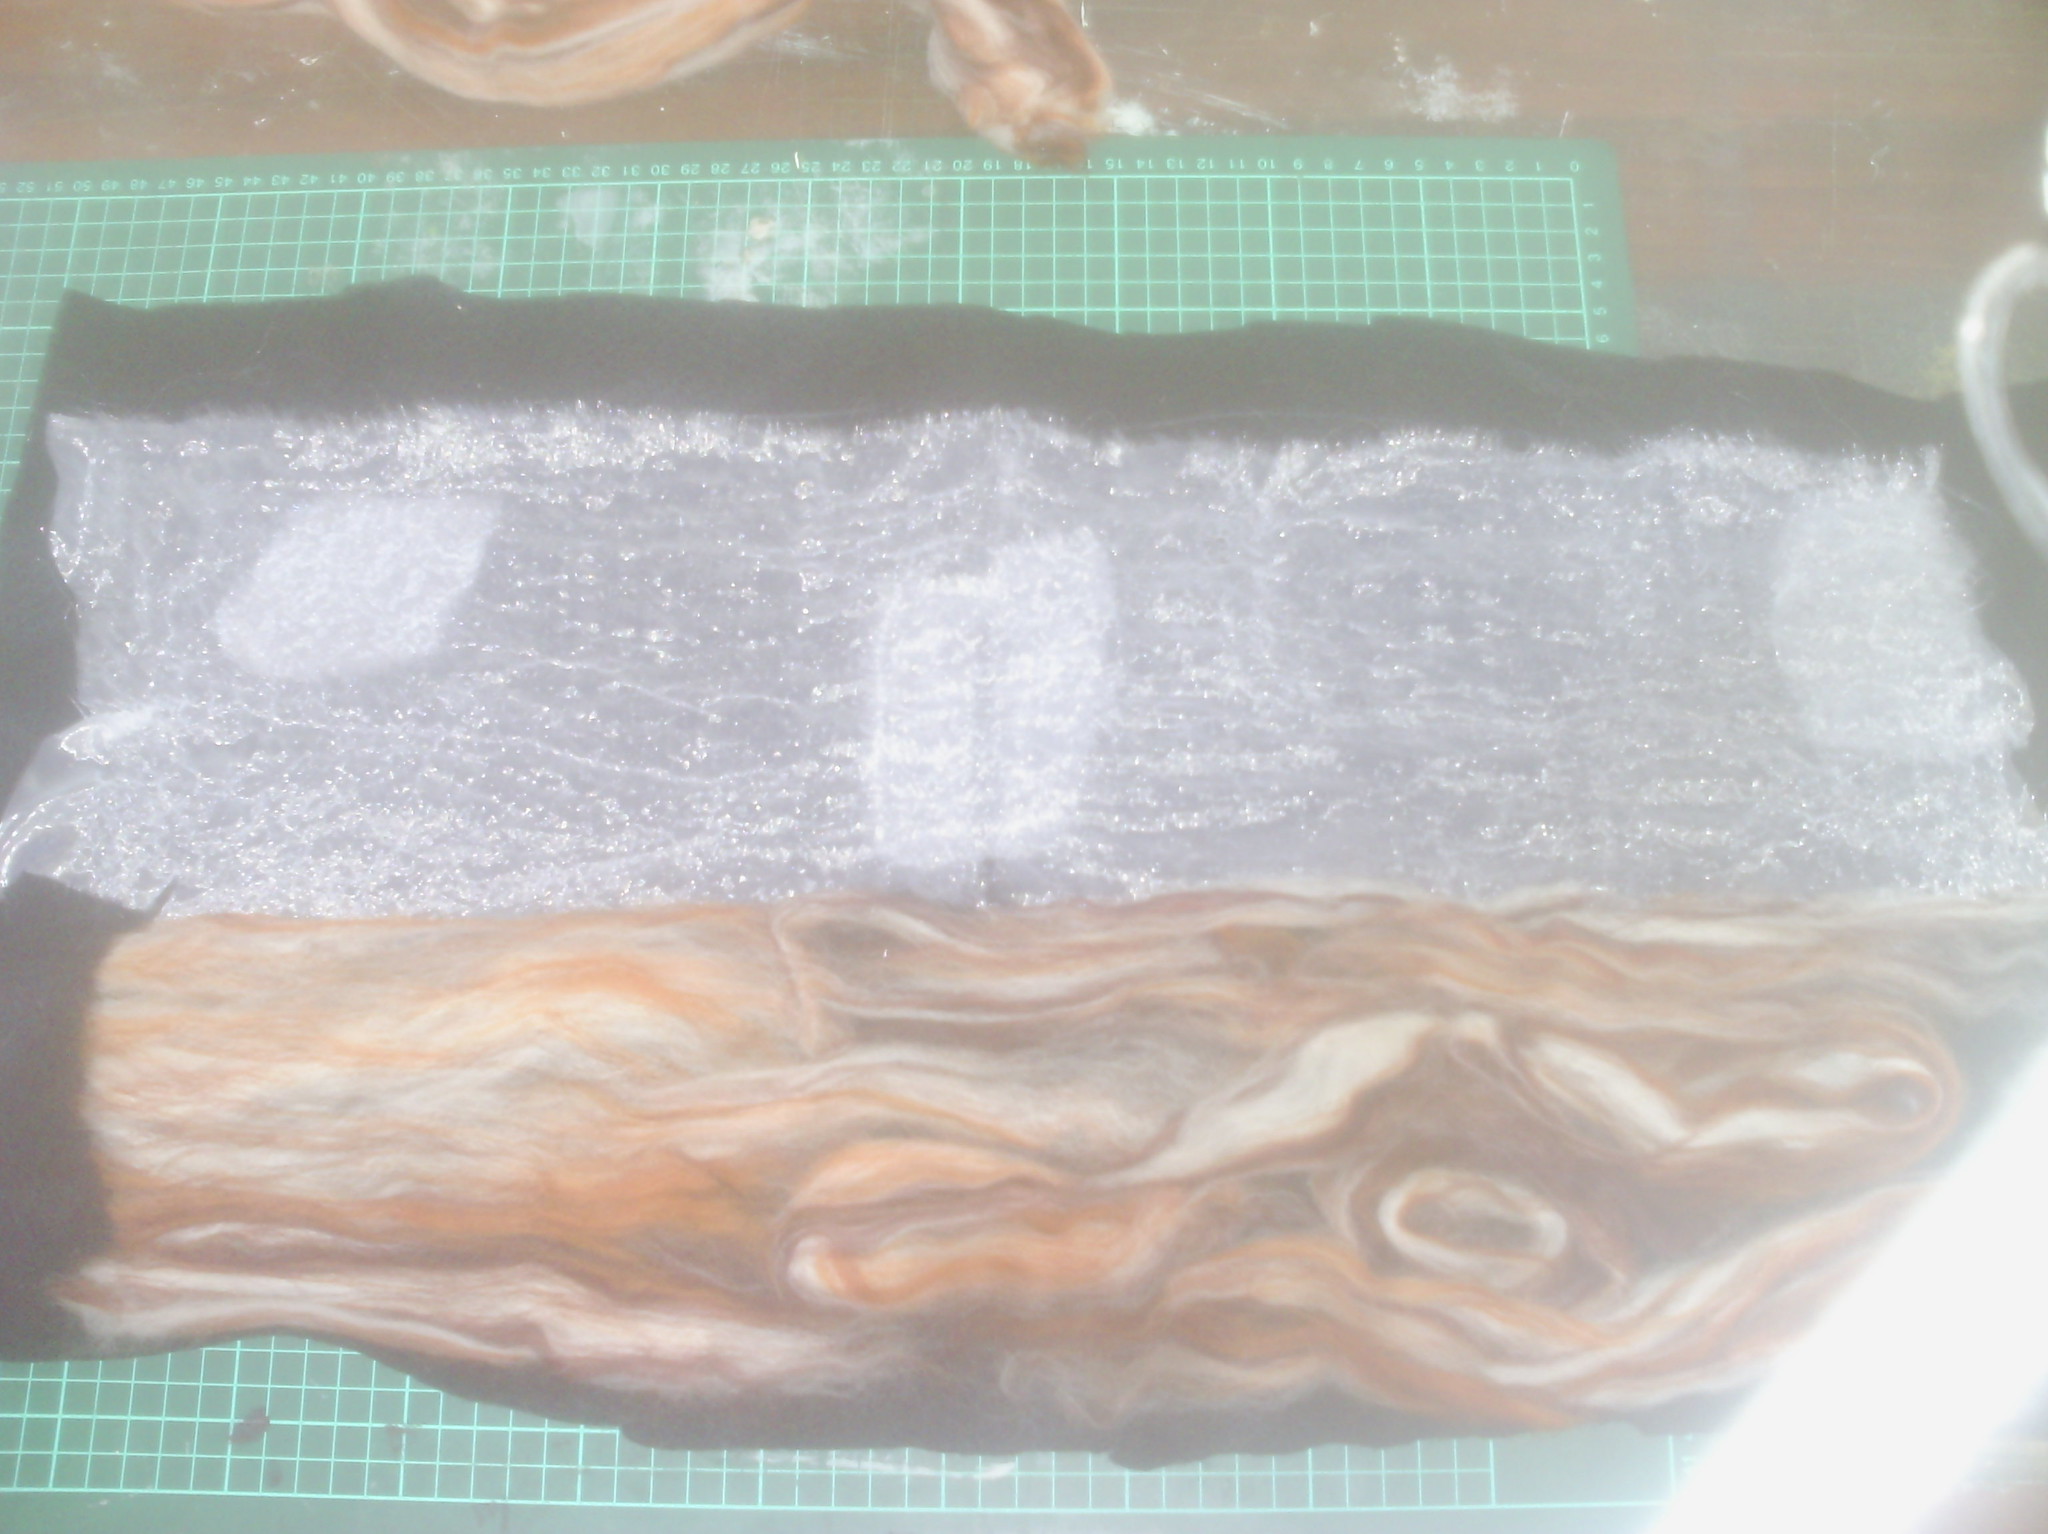
I missed a few steps before this photo, but I laid out some white organza for my background and some rovings in browns to look like wood for my table top.  In this photo, I have needlefelted the organza down. and added a few extra bits.  I love the texture of needlefelted organza.
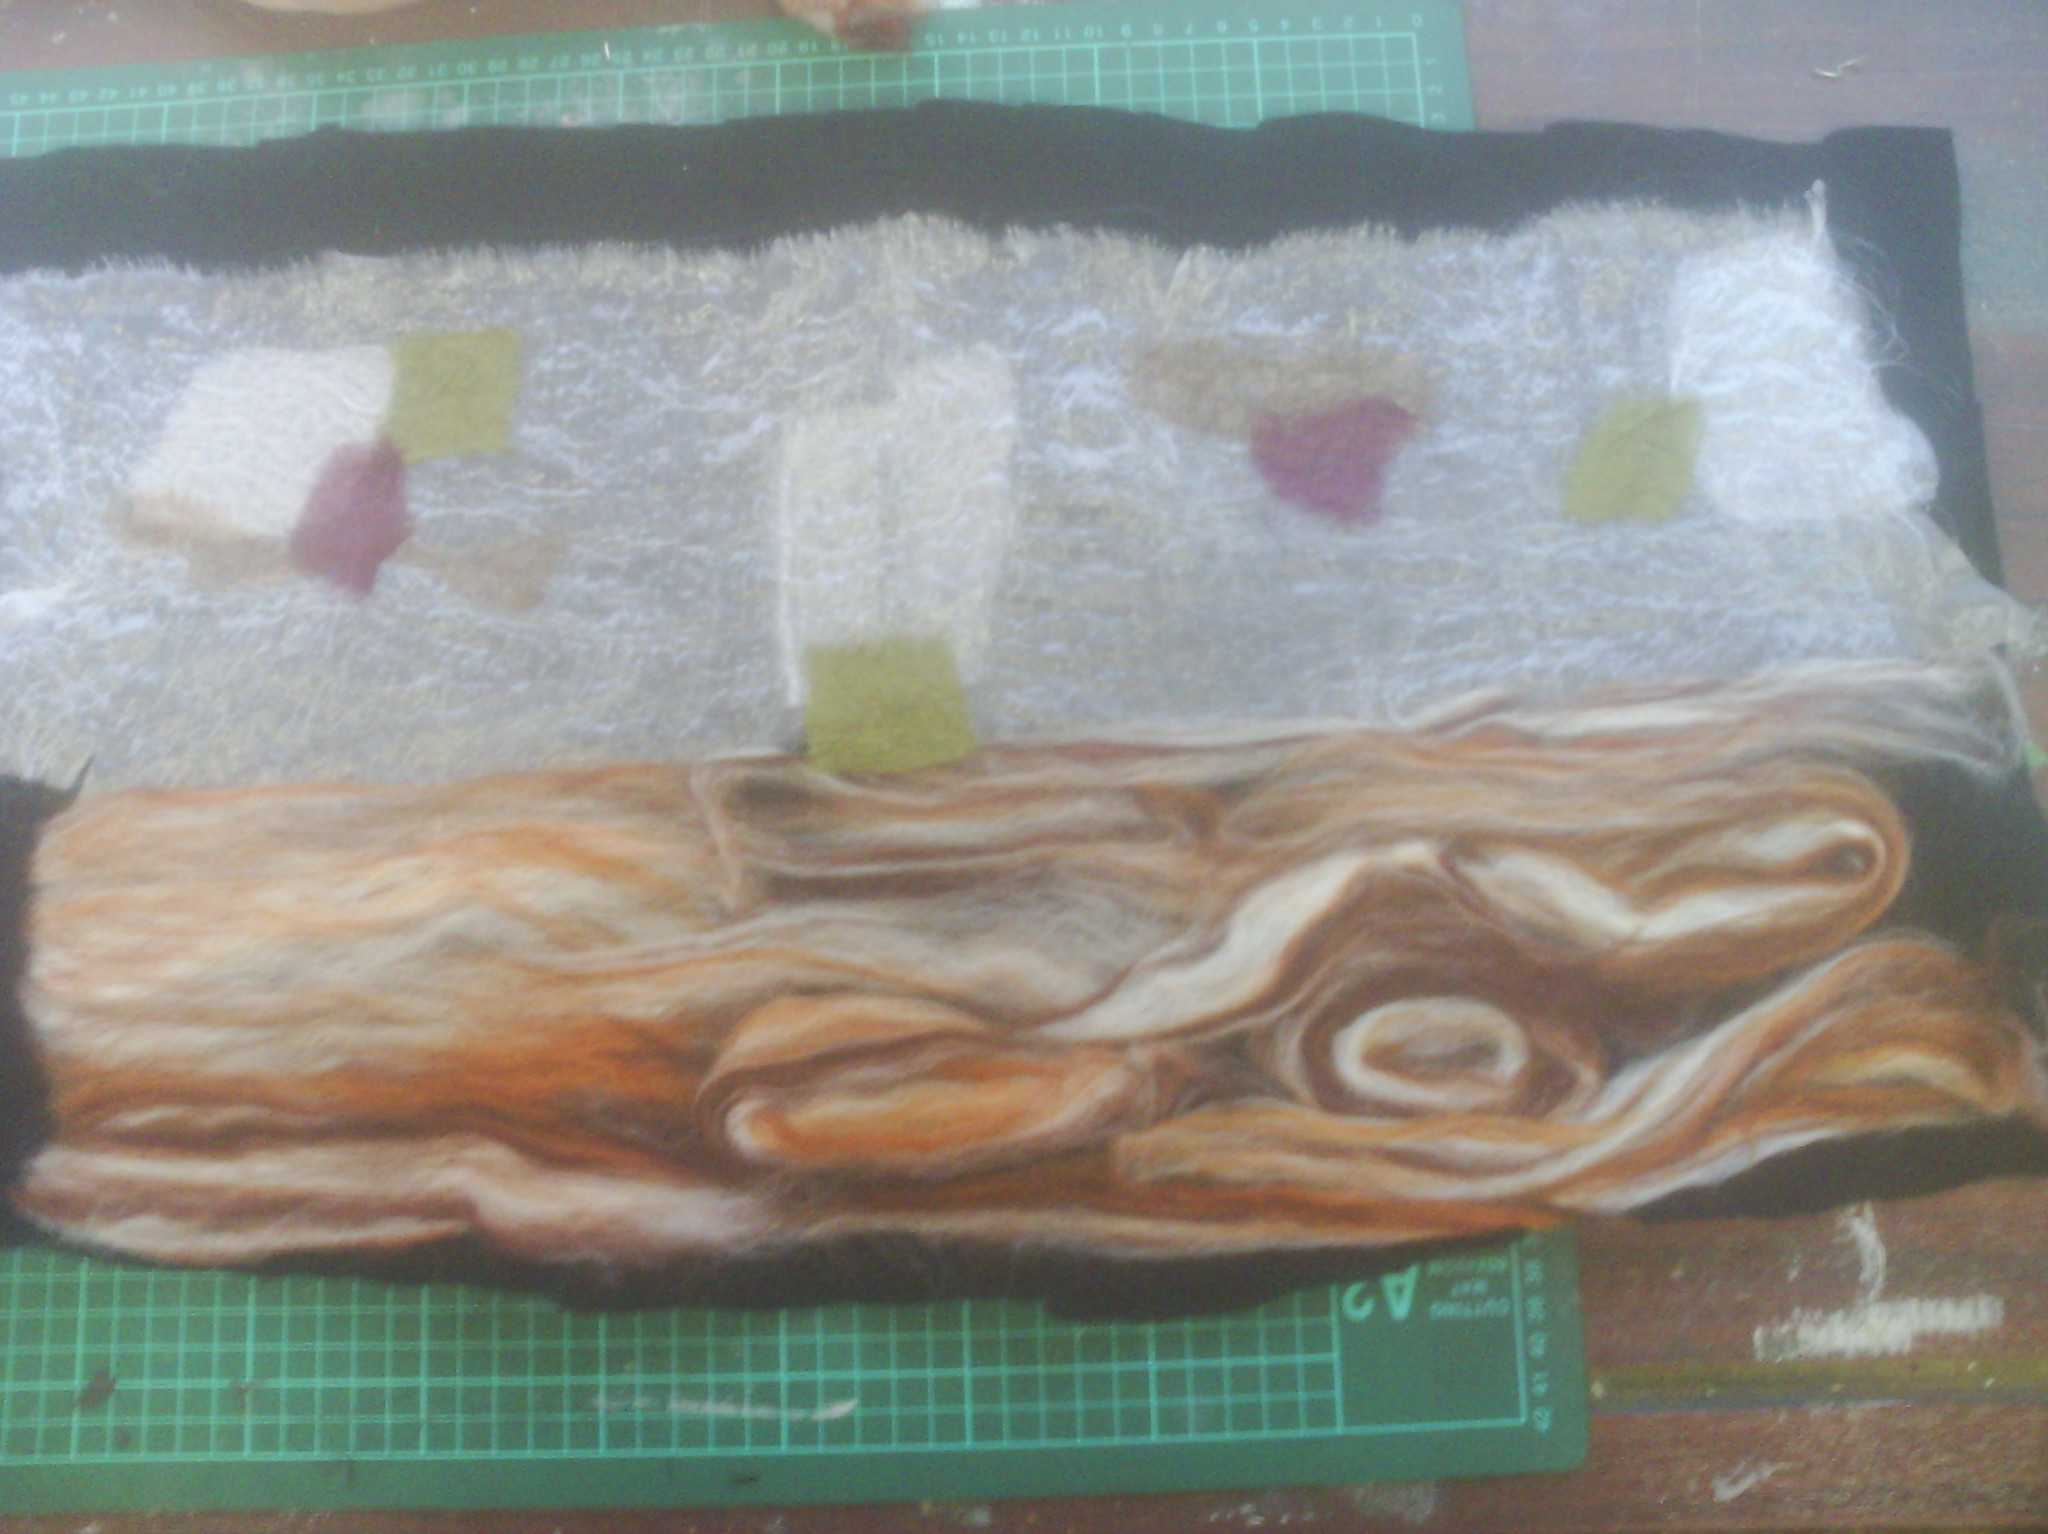
I thought the background could do with a bit more colour, so I put a few scraps of other coloured organza and chiffon down.
And felted them into the background.
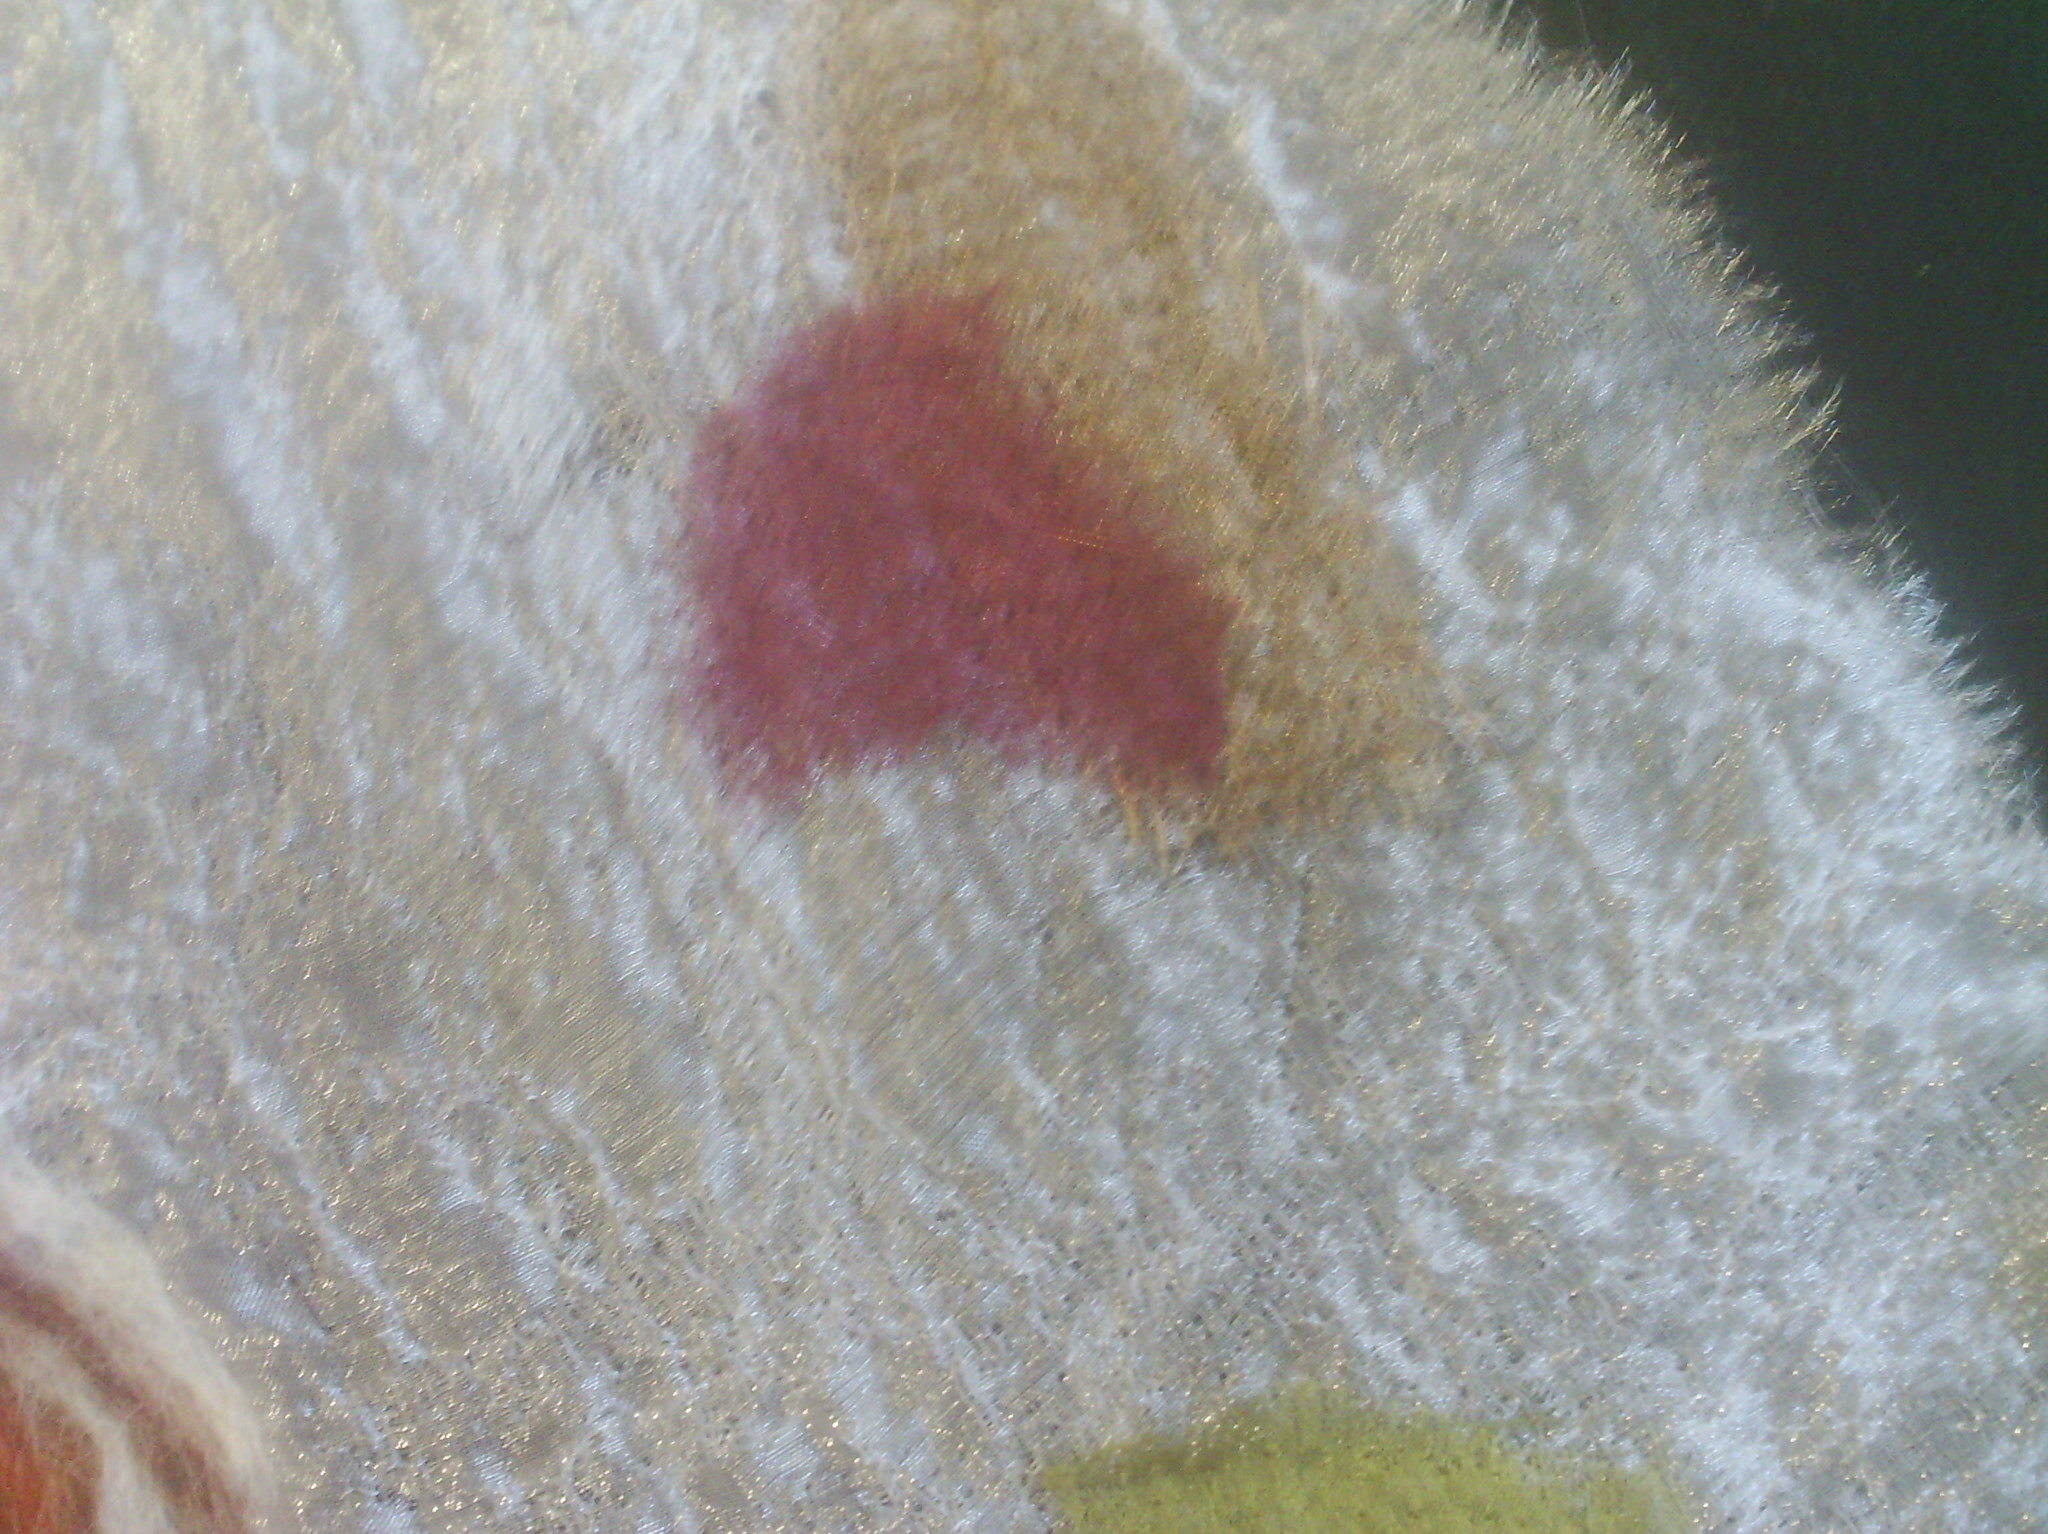
Here's a closeup of the texture after needlefelting.
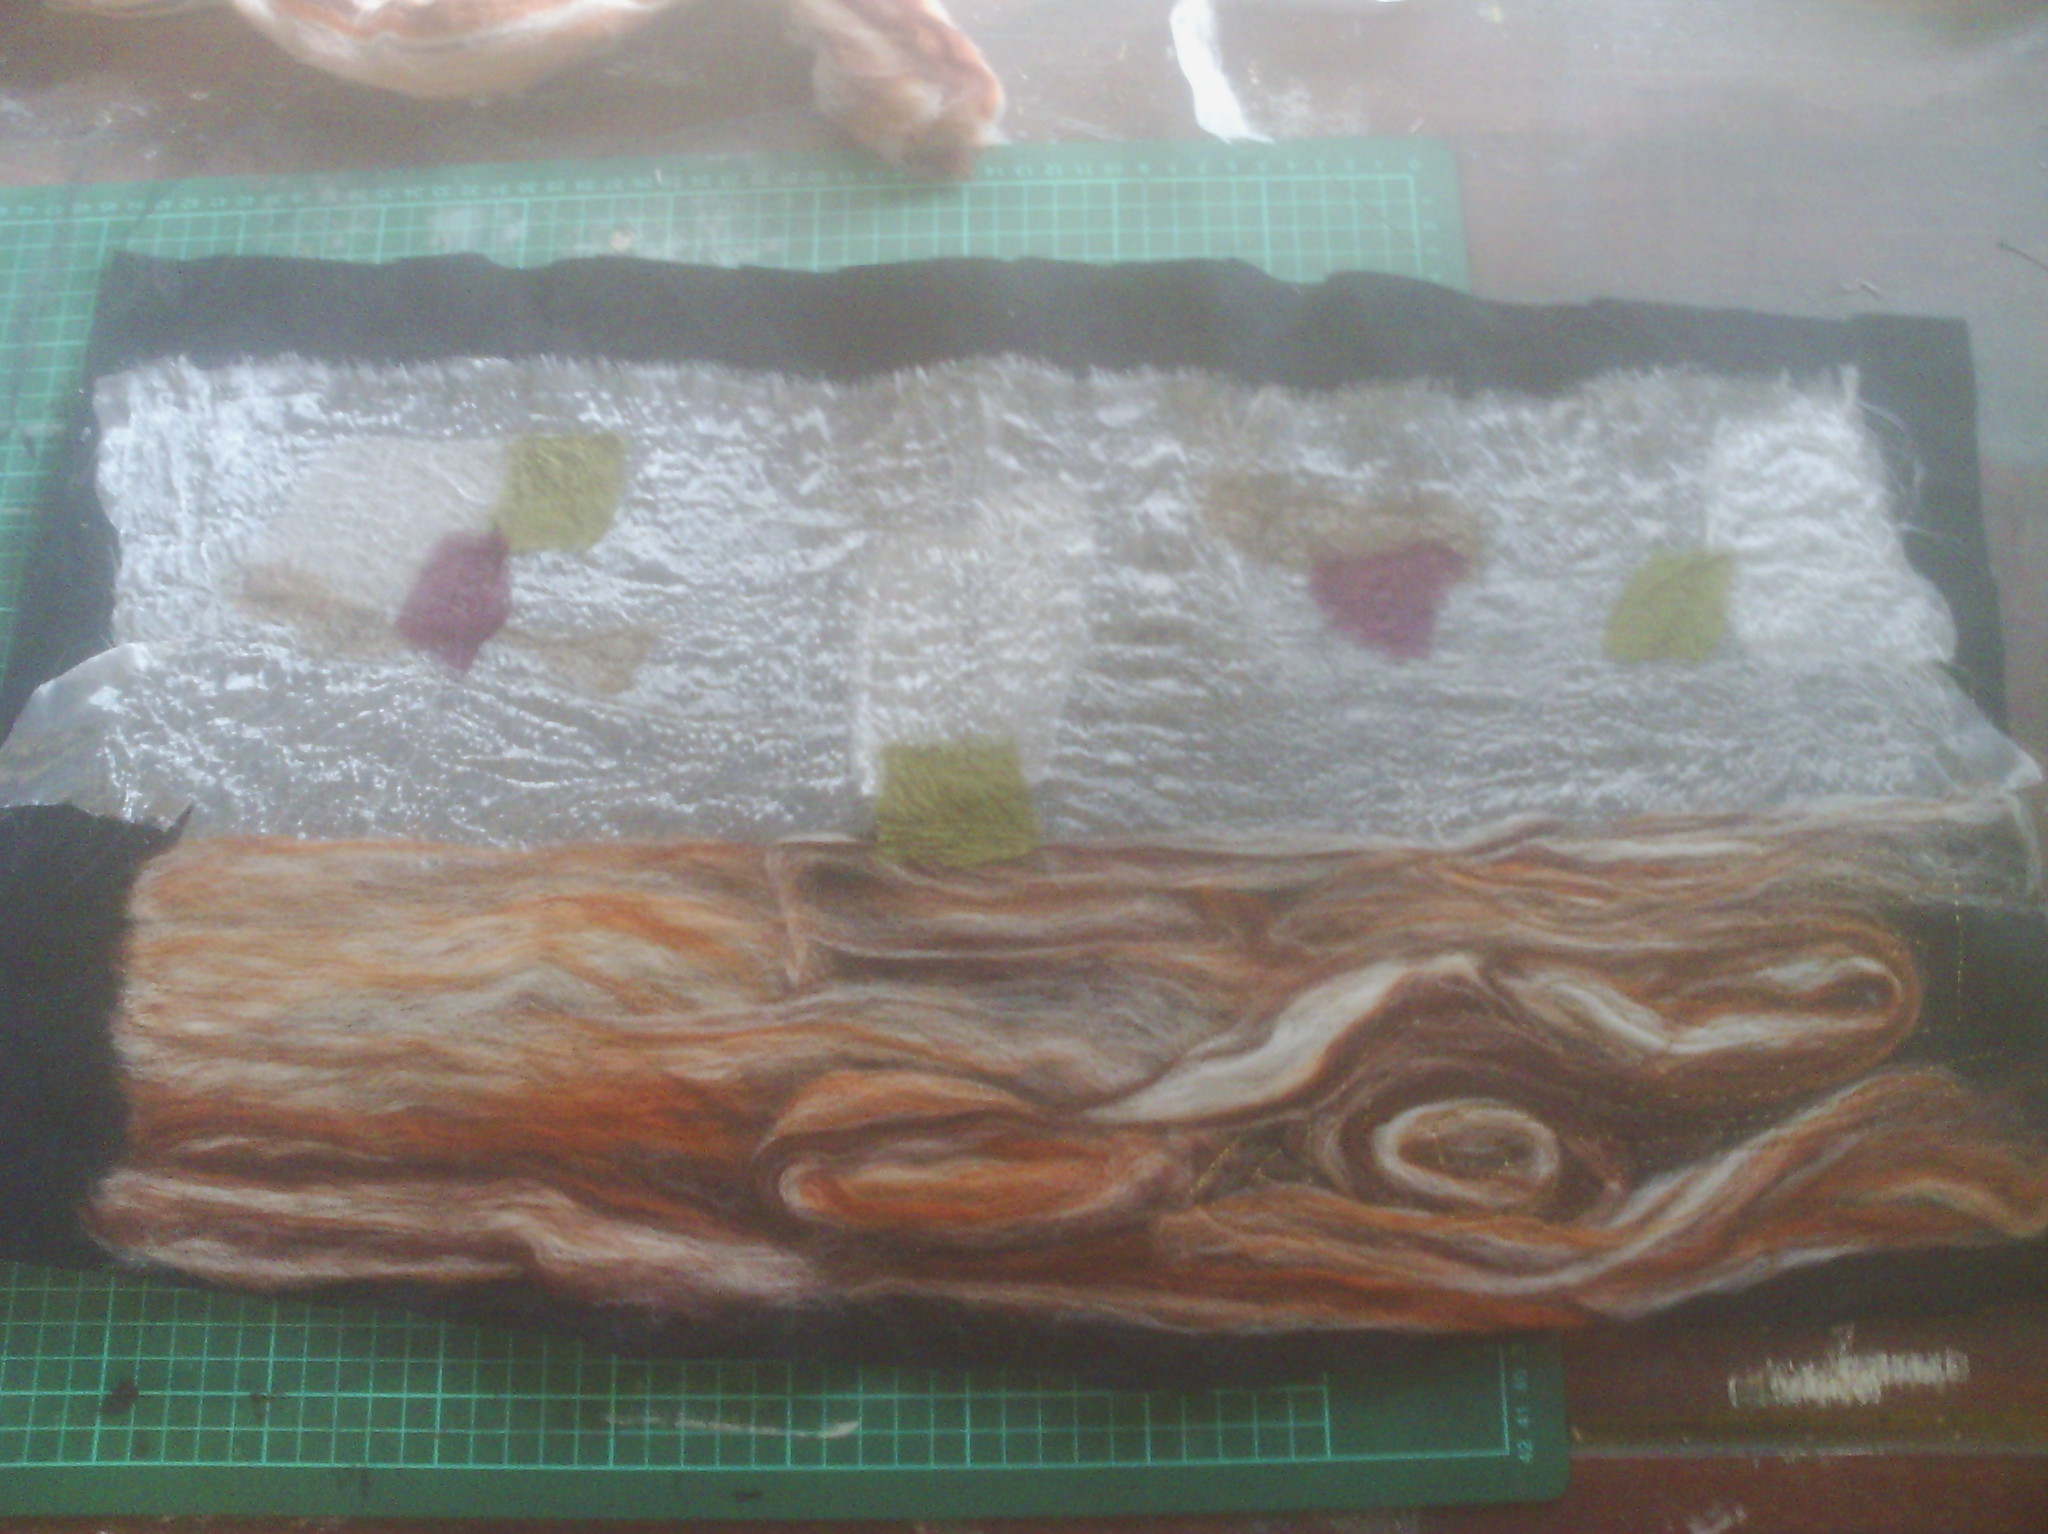
And here it is after I have needlefelted all the rovings in place.
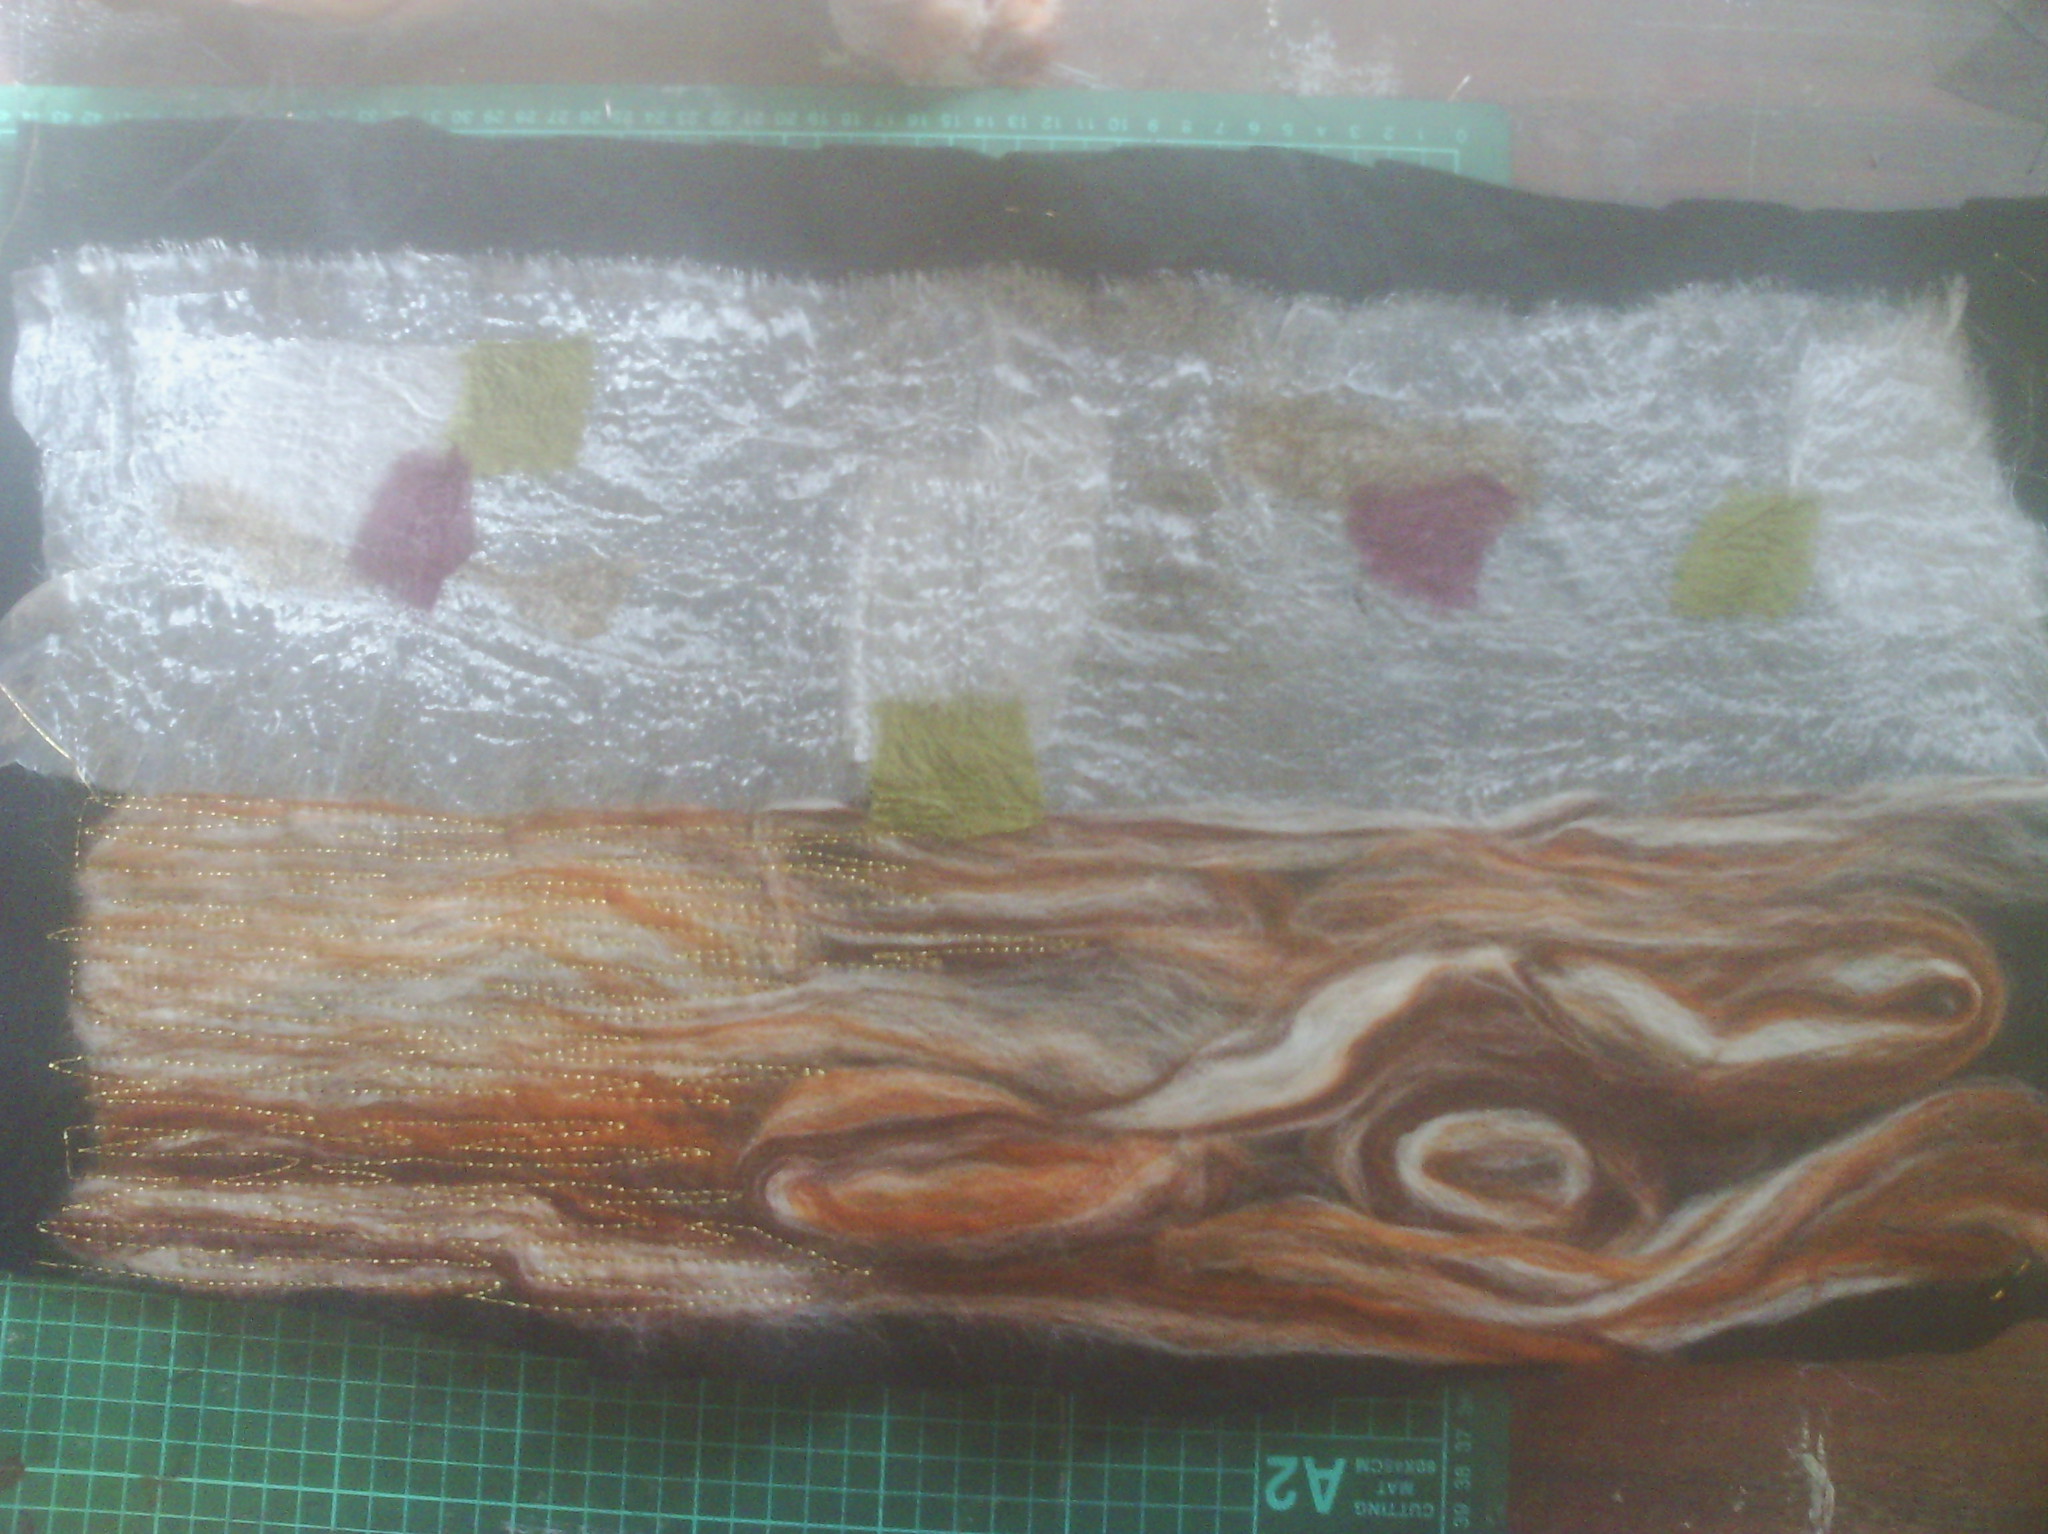
I started free motion stitching at the bottom right with a gold thread, but I wasn't happy with it.  It didn't show well and I felt the colour of the rovings was just too raw, so I unpicked it all.
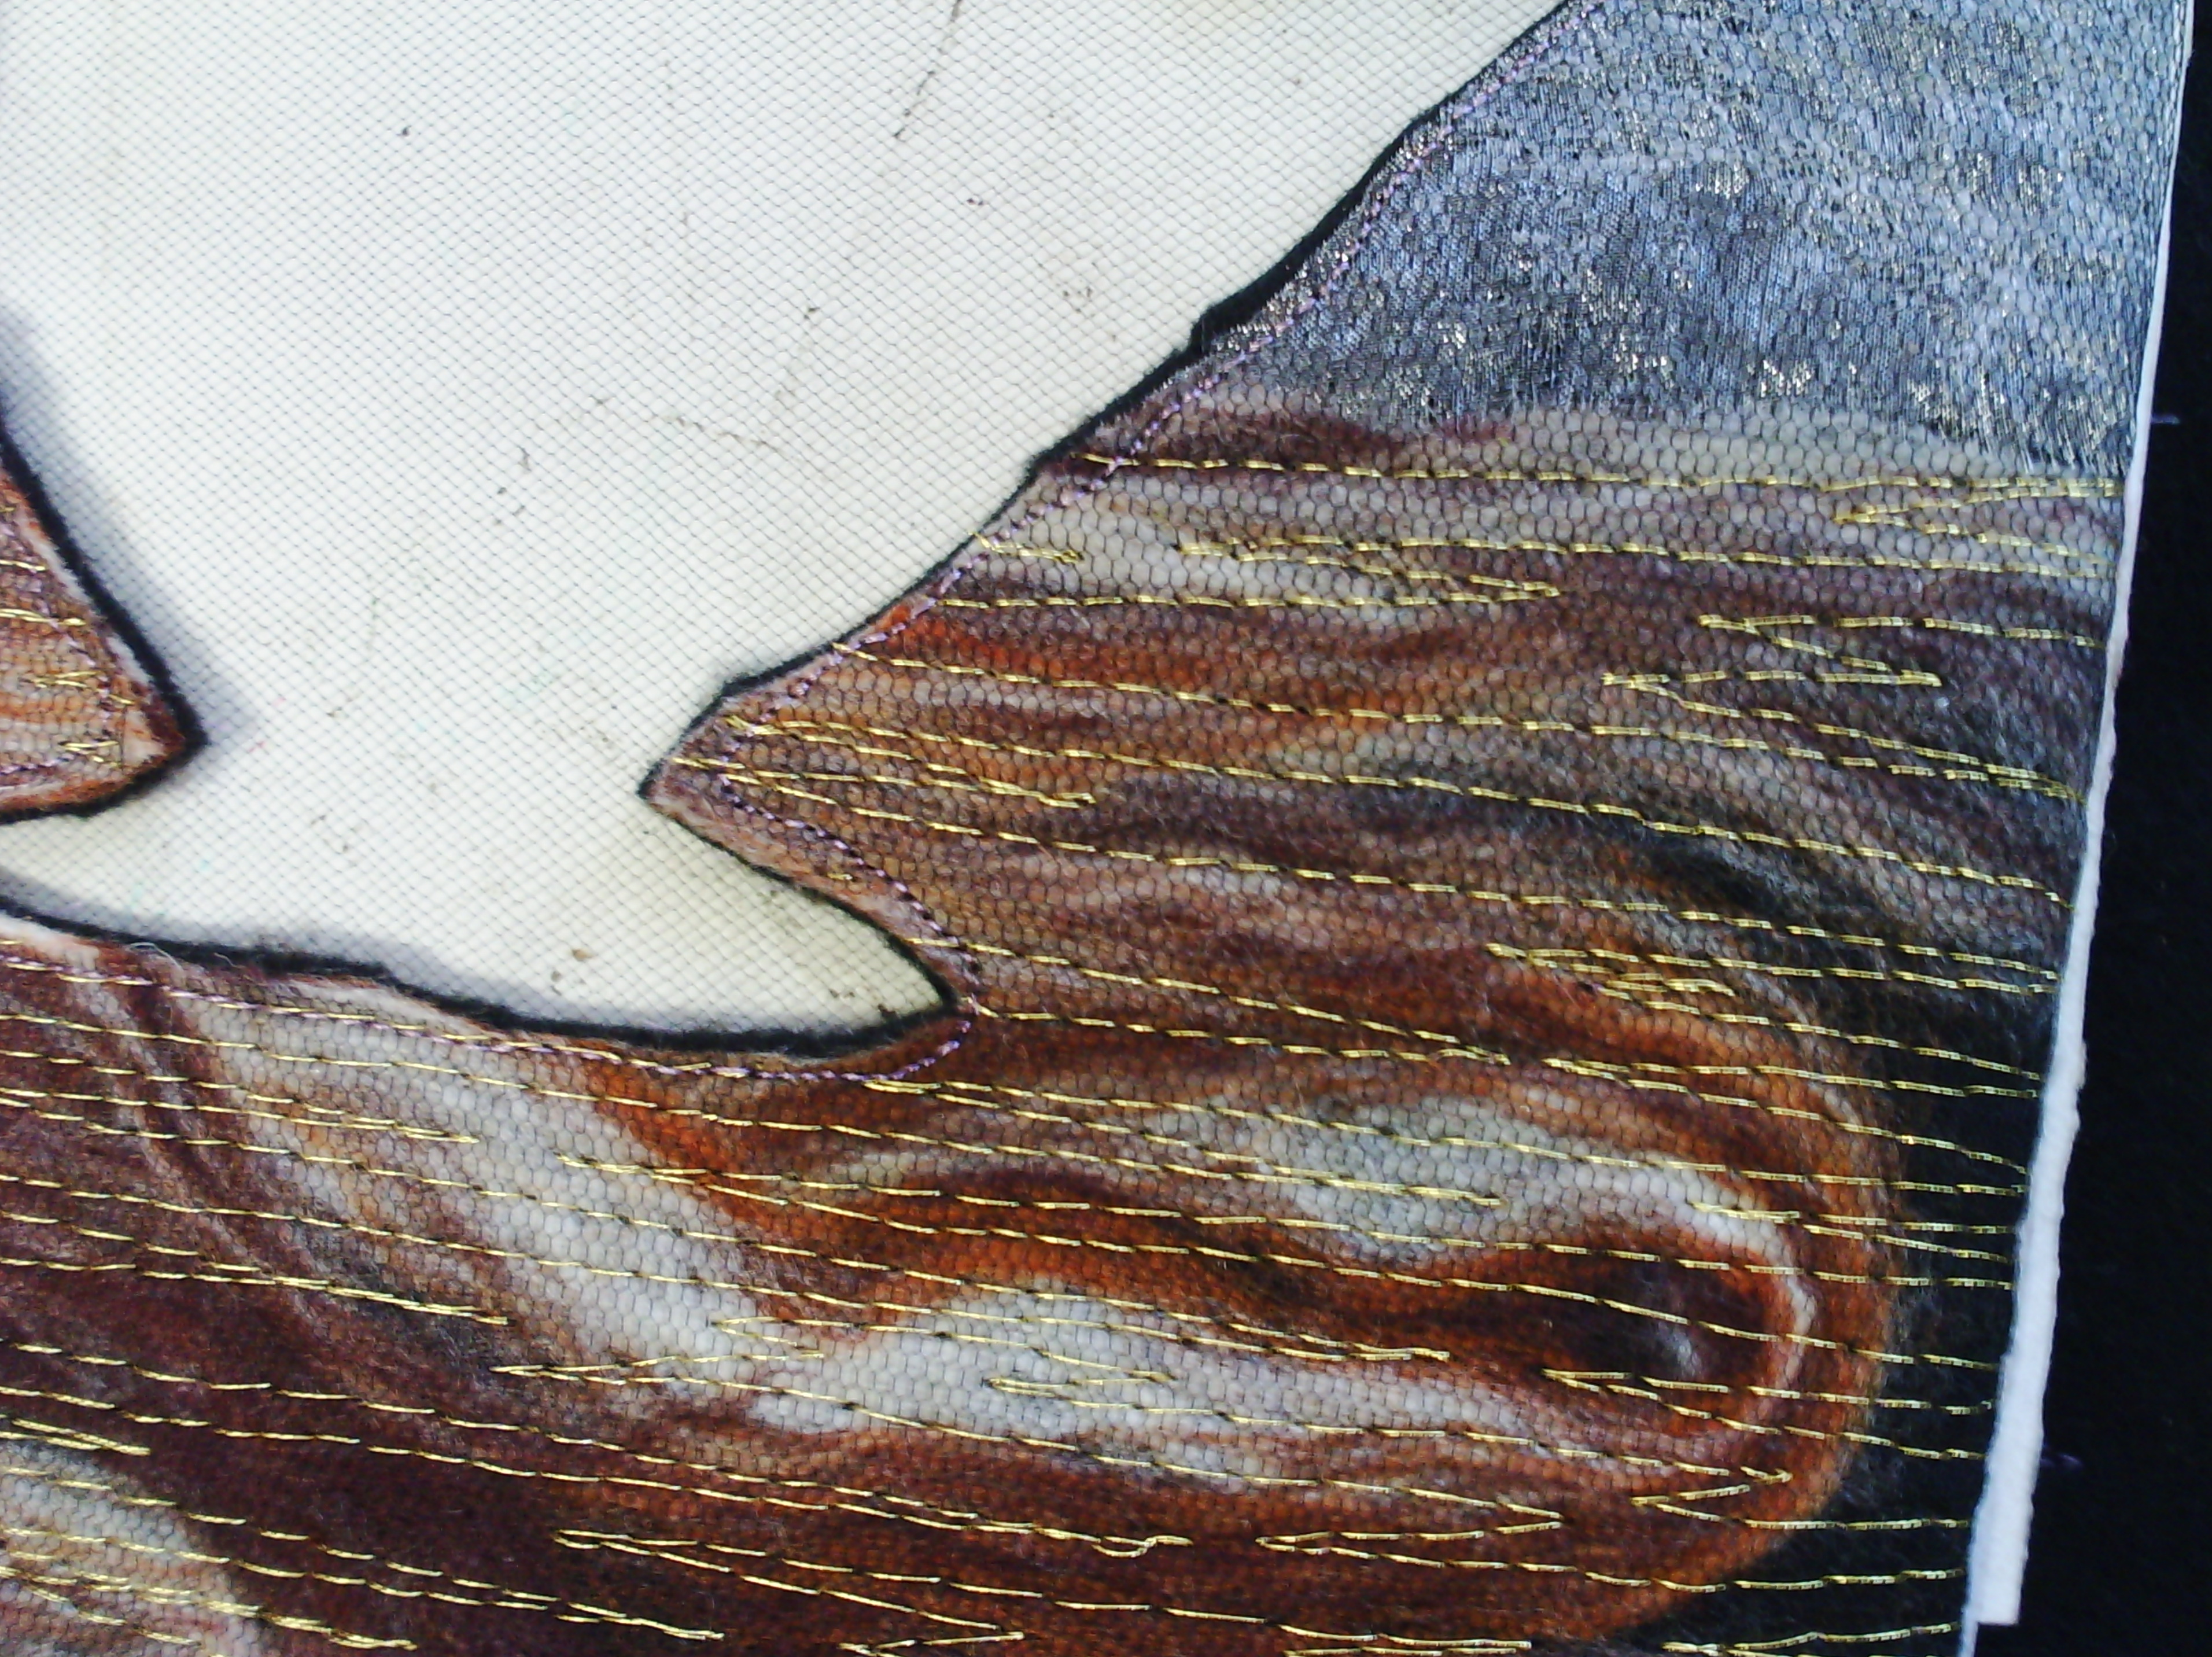
Then I added some black bridal tulle over the top and started stitching again.
And here's where I got to with my stitching, on the bottom left.
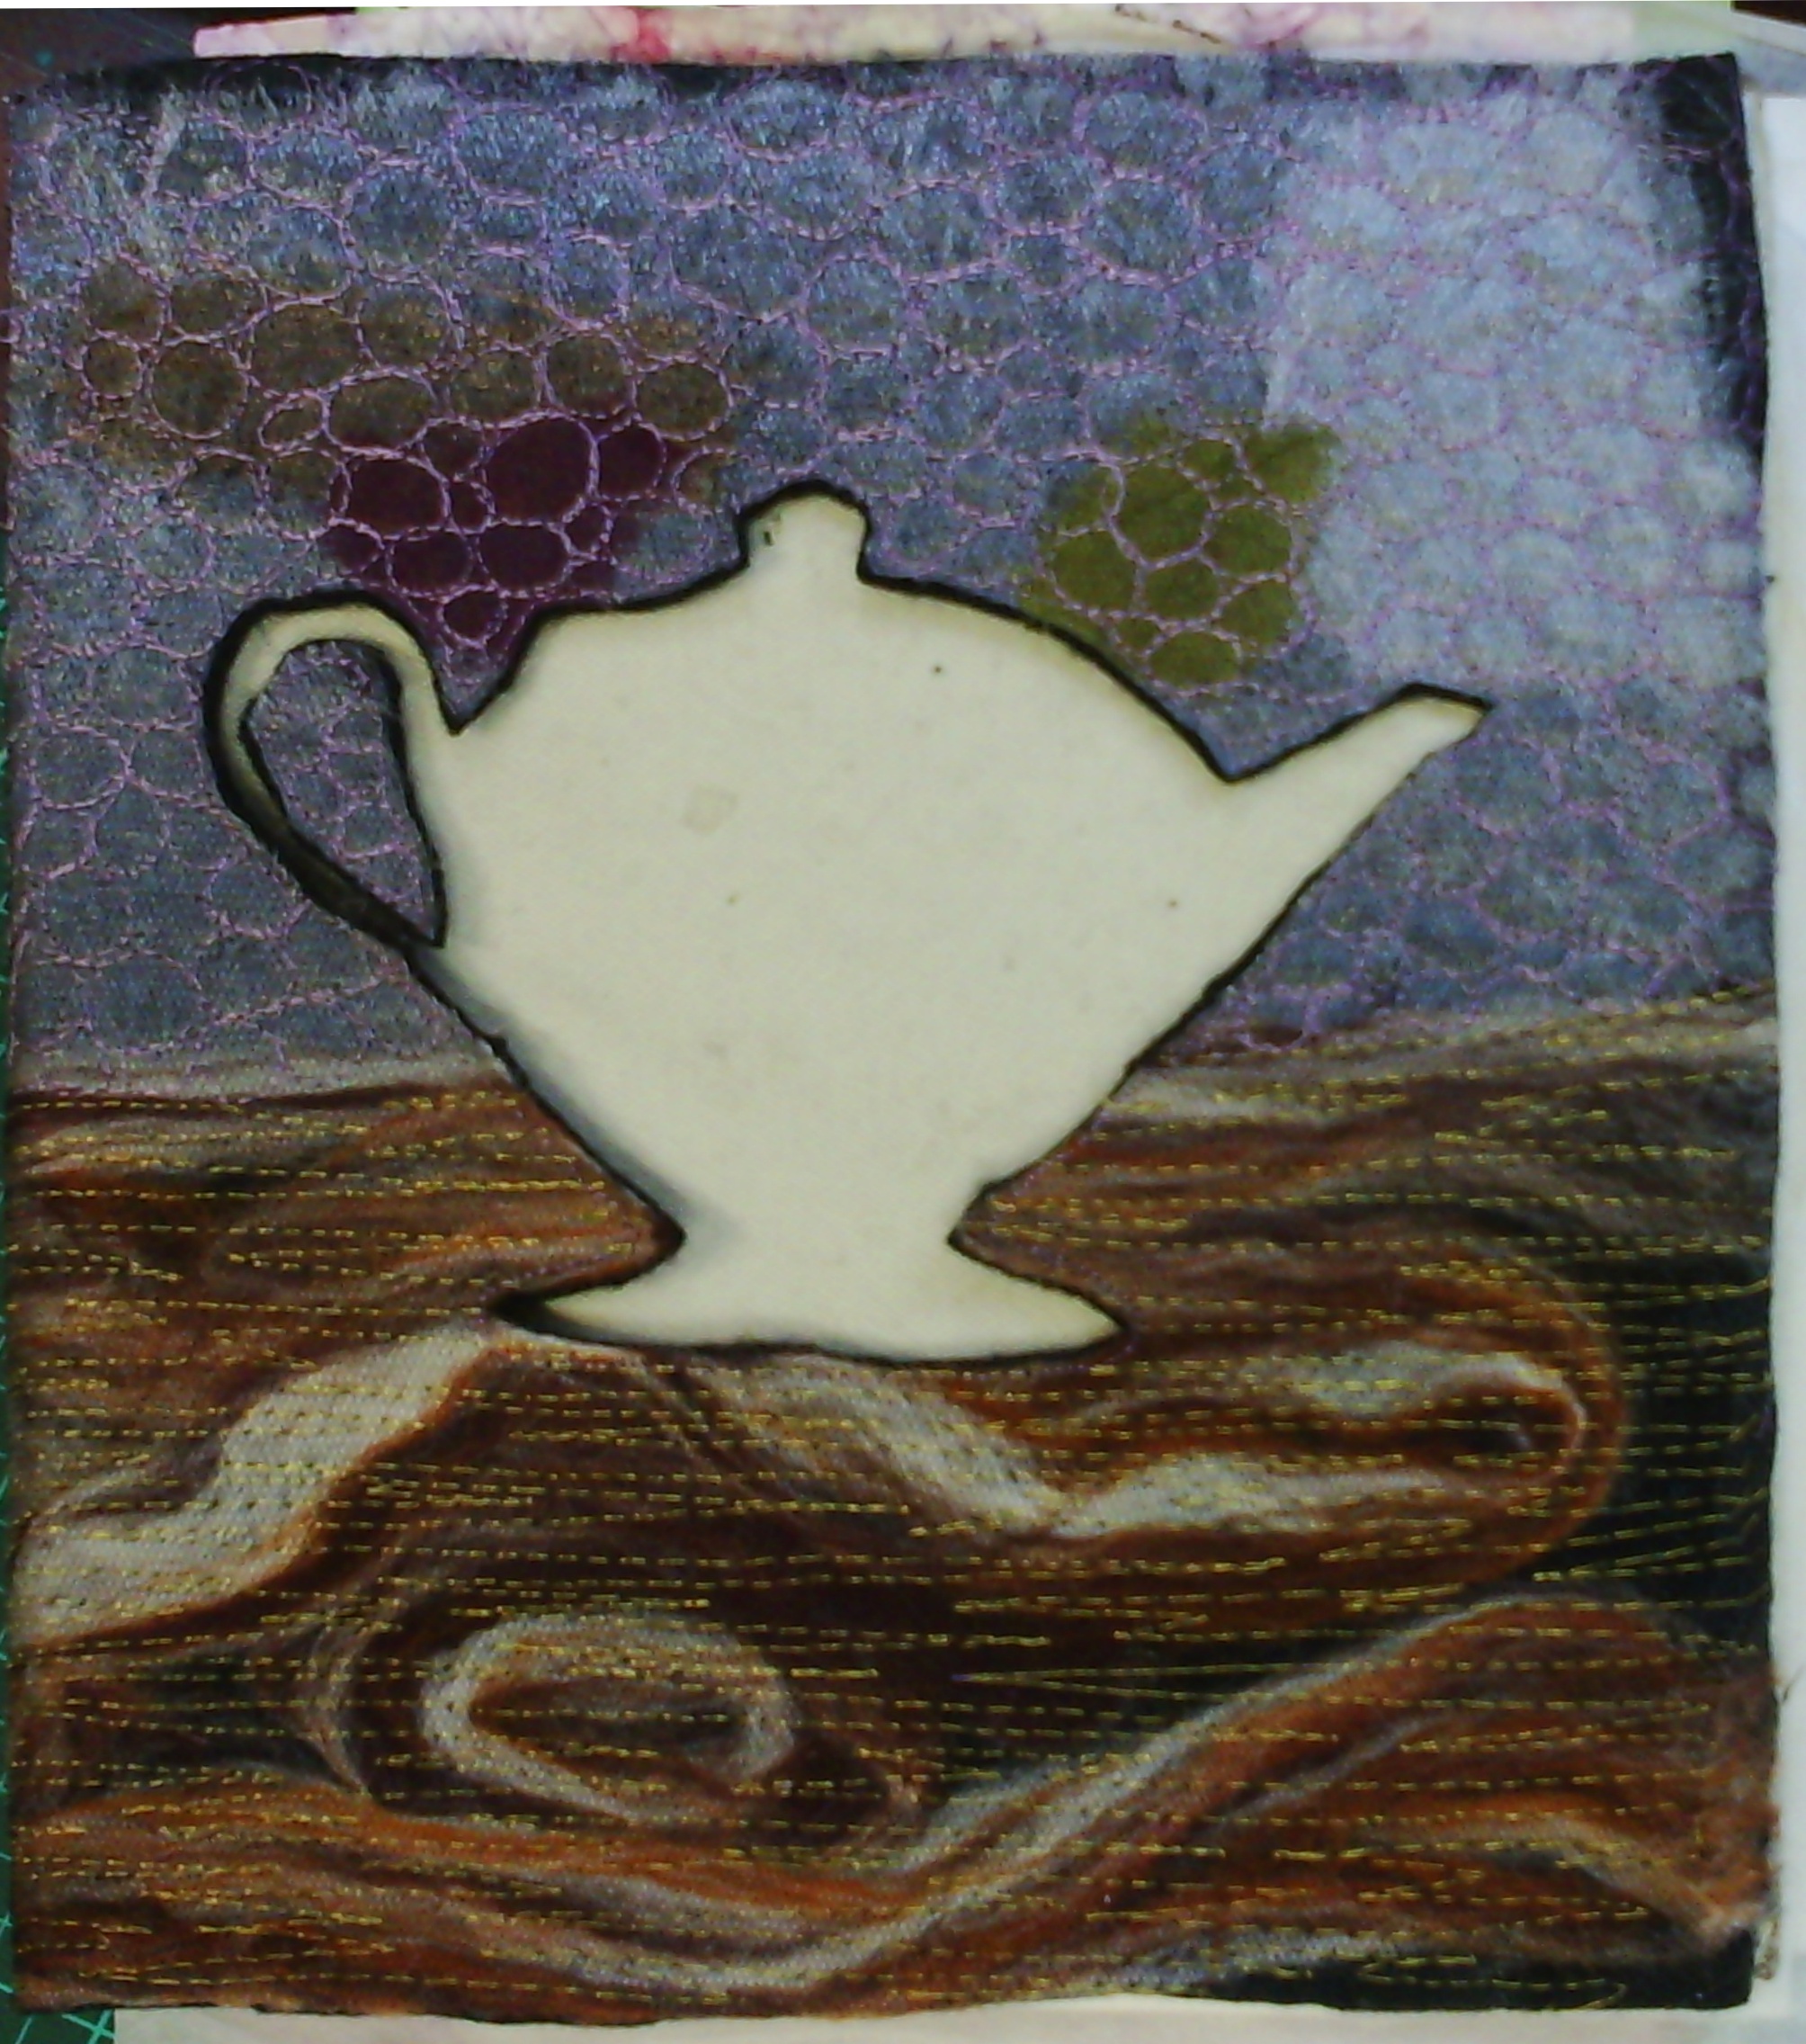
and a close up of the stitching.  I am quite happy with how it is going and will work on it again tomorrow, but I still have a ways to go before I get to the design I have in my head.

Make time for art!