Here are a few more collages. I am amassing a collection, now and know I will always be able to find some inspiration by looking through them.
This one has two hand dyes, a cotton and two pieces of felt. The central green square is washi paper.
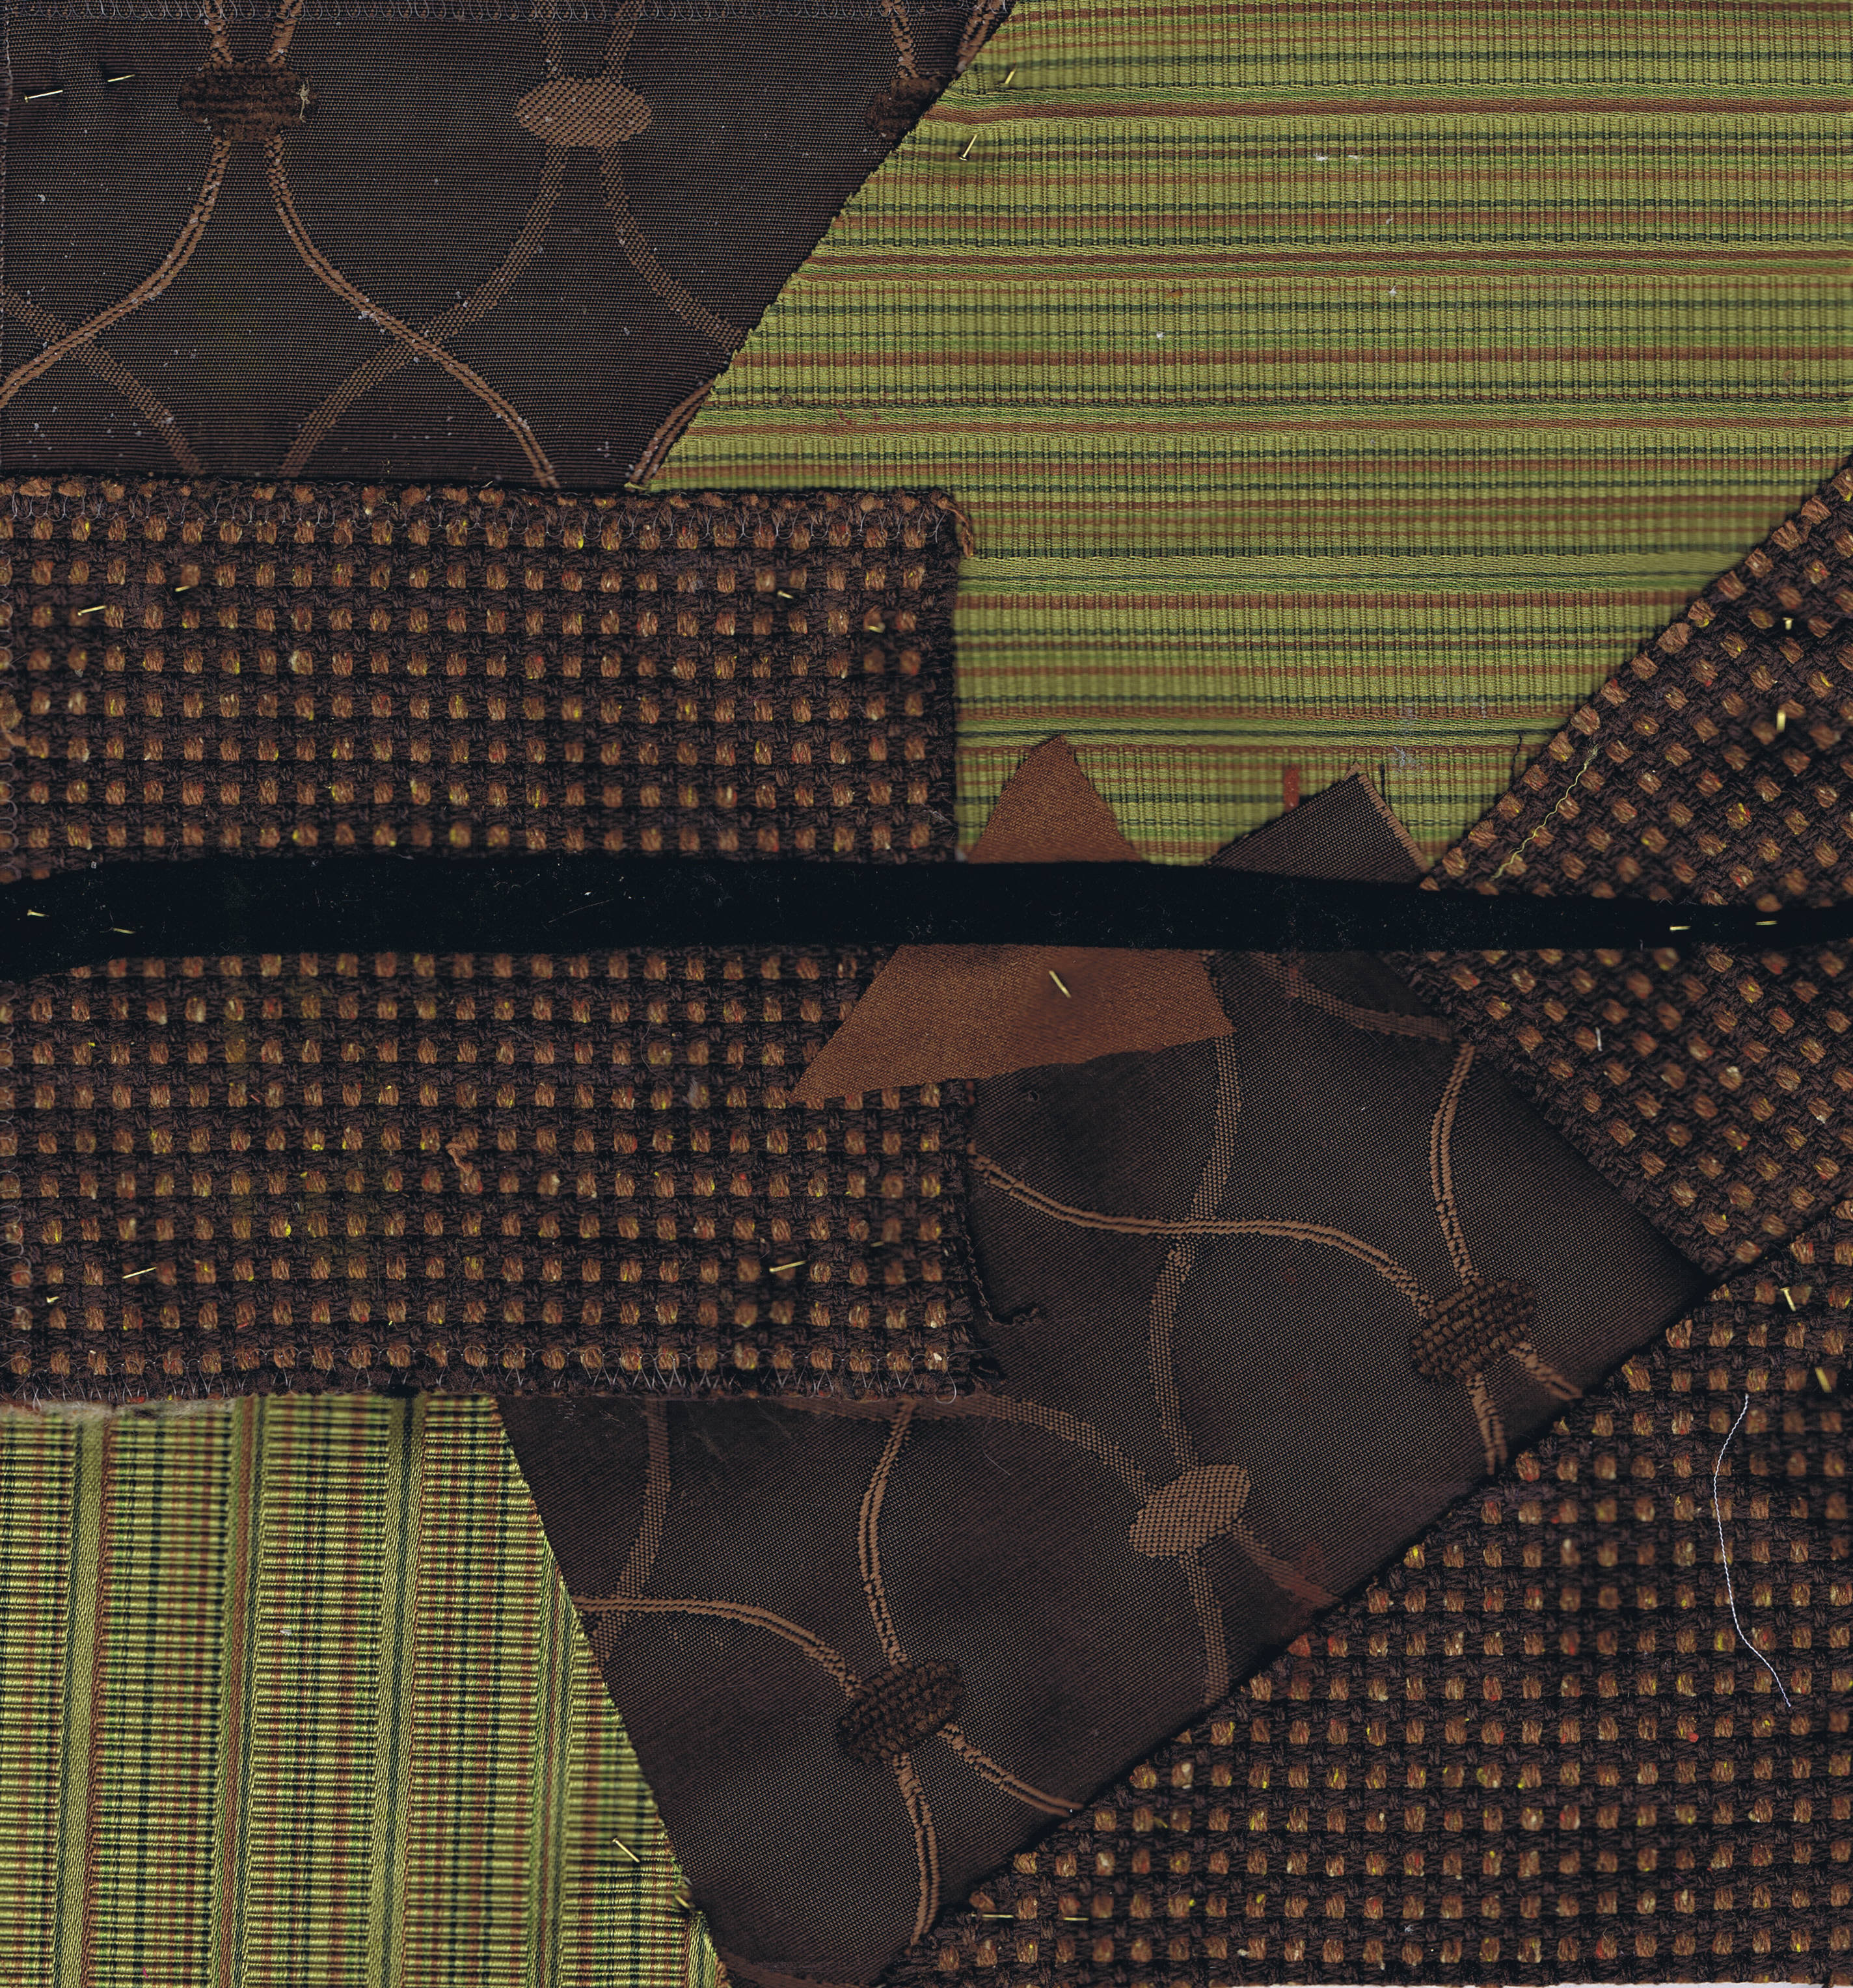
This one is all furnishing fabrics and a piece of felt across, again. I like these thin lines.
This is a furnishing fabric, but it is turned to the back side, showing these chenille threads that are woven into the front. The leaf shapes are cut from ultra suede, and I think they echo the pattern in the background nicely.
This is a needle felted mess. but i am sure I will play with it later. I just felted lots of scraps of fibres down, with no thought of a theme, then added the leaves and flowers on the left from my sample box.
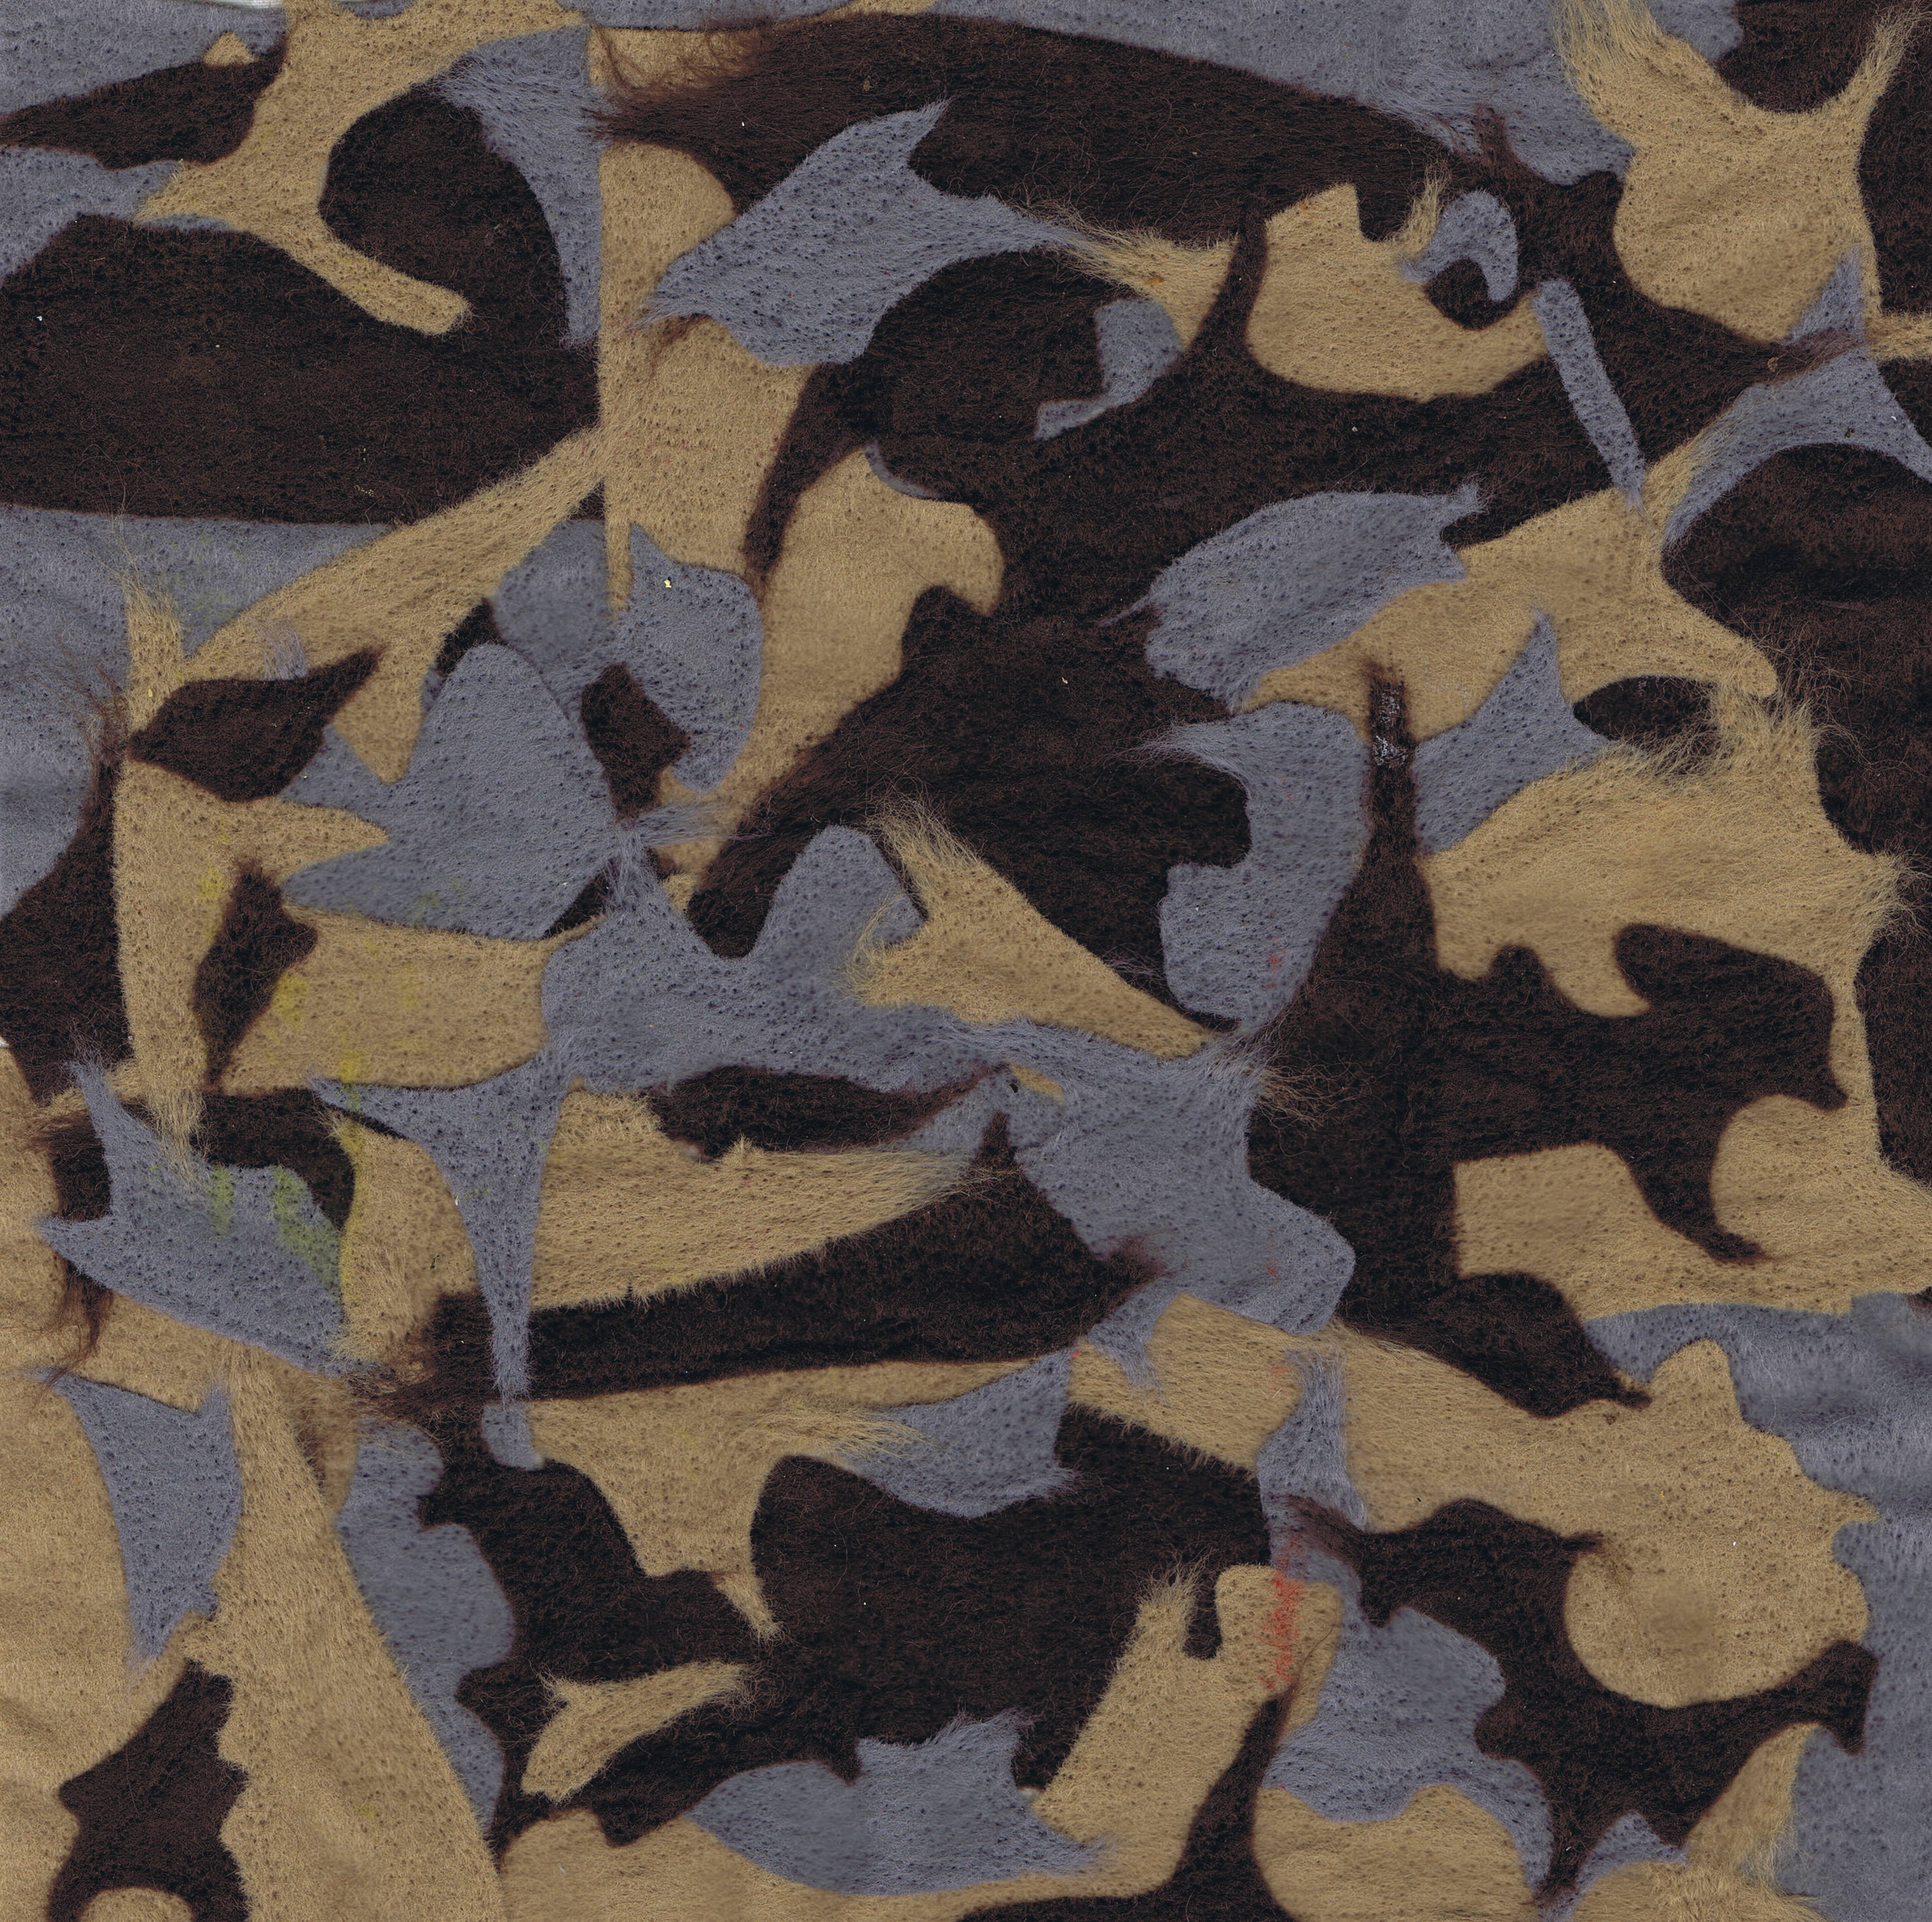
Another needlefelted foundation. This one is made from offcuts of felt that I was given a while ago. My husband said it looked like cow hides, but I can see lots of birds flying around.
Happy creating!
Showing posts with label hand dyed fabric. Show all posts
Friday, December 27, 2013
Wednesday, November 30, 2011
WIP - Iris
Last week, I posted about an iris applique quilt I had started working on. All I had done was dye the fabric and choose the picture. I am a bit further along with this now.
This is the unfinished pastel painting I am going to use. It is about 30 inches square.
As you can see in this photo, It is covered in acetate, which is what I use for pastel WIPs so they can be stacked and not get smudged. I traced the main lines of the picture onto the acetate with a marker.
Then used the acetate as a master to trace a pattern on wide format paper.
This is my background fabric, which I have darkened a little at the top with pastel and textile medium.
I traced off each part of the iris separately and cut out the centre so I could audition and fussy cut the fabric.
Using these reverse templates, it was easy to find just the right area on the fabric.
It's very hard to see in this picture, but I traced along the inside of the templates with an iron off pen.
And then rough cut out the pieces.
I free cut some leaves and stems.
I cut my pieces out more carefully and glued them down with a glue stick (I find when I am thread painting, that a glue stick allows me to add more thread than I could if I used fusible web).
And that is where I am at! Next stop thread painting.
This is the unfinished pastel painting I am going to use. It is about 30 inches square.
As you can see in this photo, It is covered in acetate, which is what I use for pastel WIPs so they can be stacked and not get smudged. I traced the main lines of the picture onto the acetate with a marker.
Then used the acetate as a master to trace a pattern on wide format paper.
This is my background fabric, which I have darkened a little at the top with pastel and textile medium.
I traced off each part of the iris separately and cut out the centre so I could audition and fussy cut the fabric.
Using these reverse templates, it was easy to find just the right area on the fabric.
It's very hard to see in this picture, but I traced along the inside of the templates with an iron off pen.
And then rough cut out the pieces.
I free cut some leaves and stems.
I cut my pieces out more carefully and glued them down with a glue stick (I find when I am thread painting, that a glue stick allows me to add more thread than I could if I used fusible web).
And that is where I am at! Next stop thread painting.
Subscribe to:
Posts (Atom)