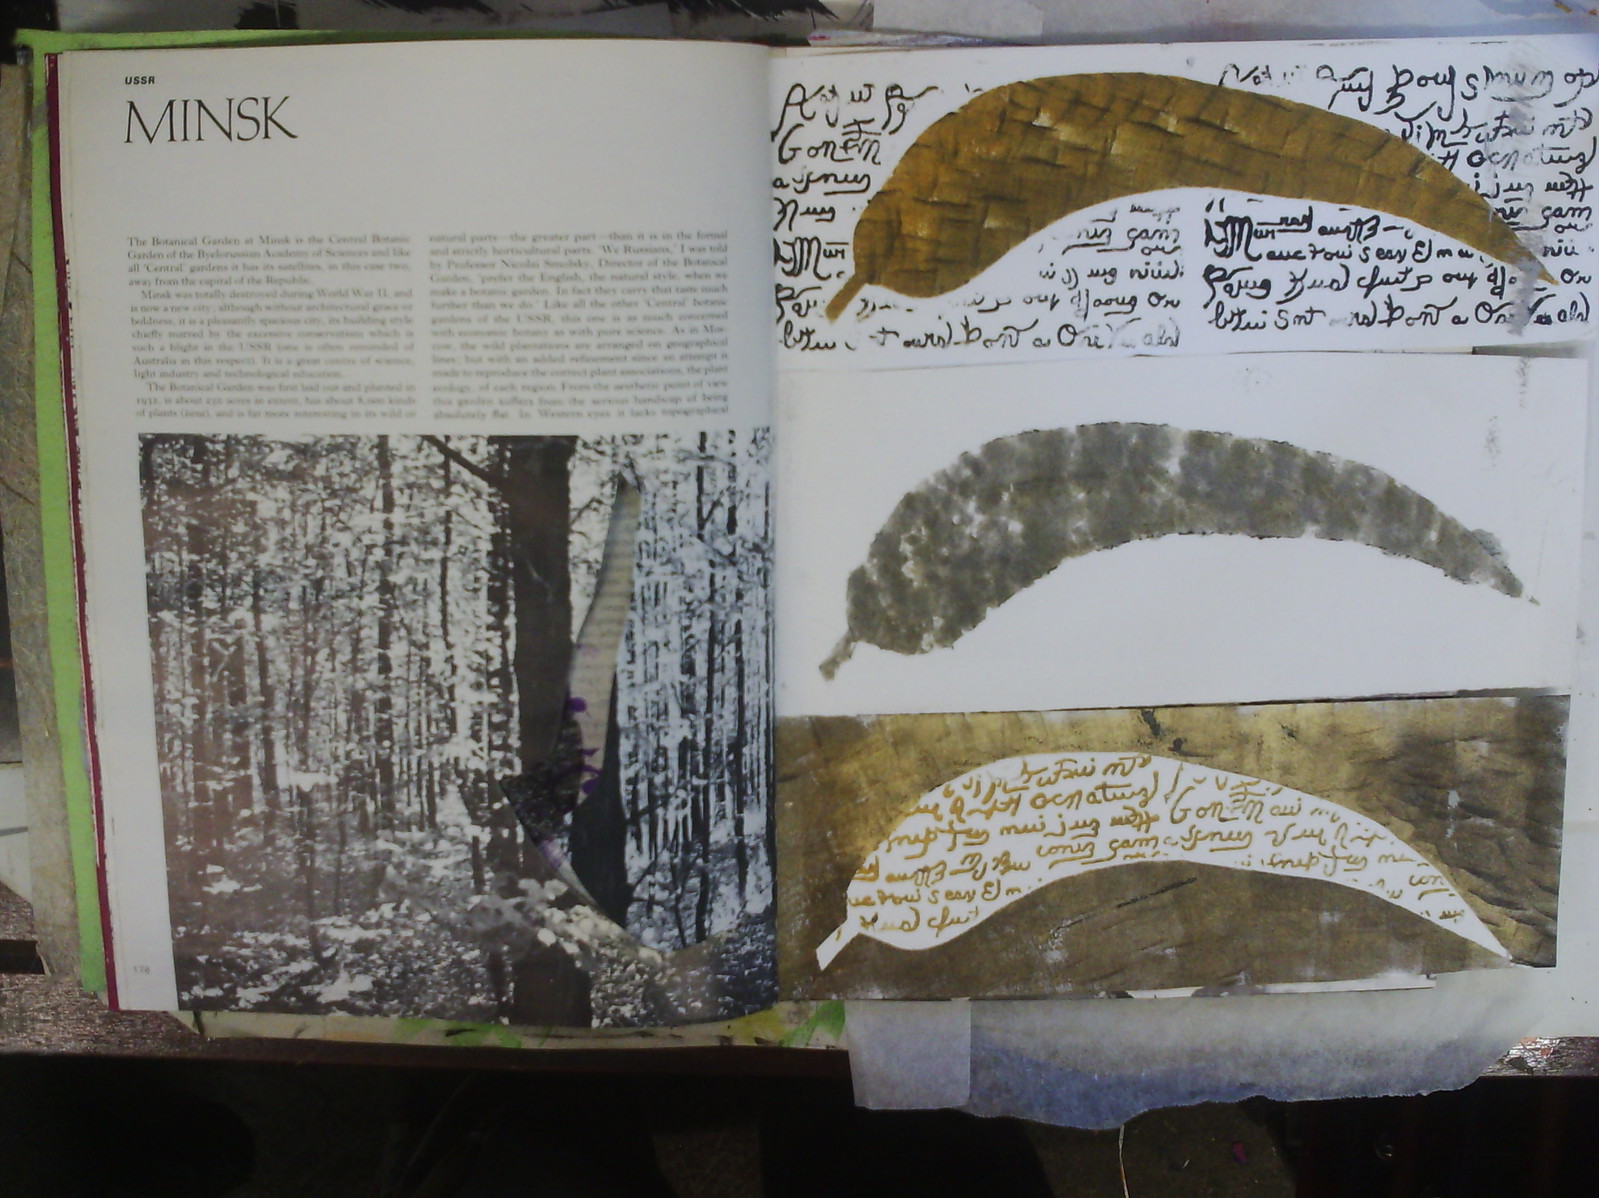
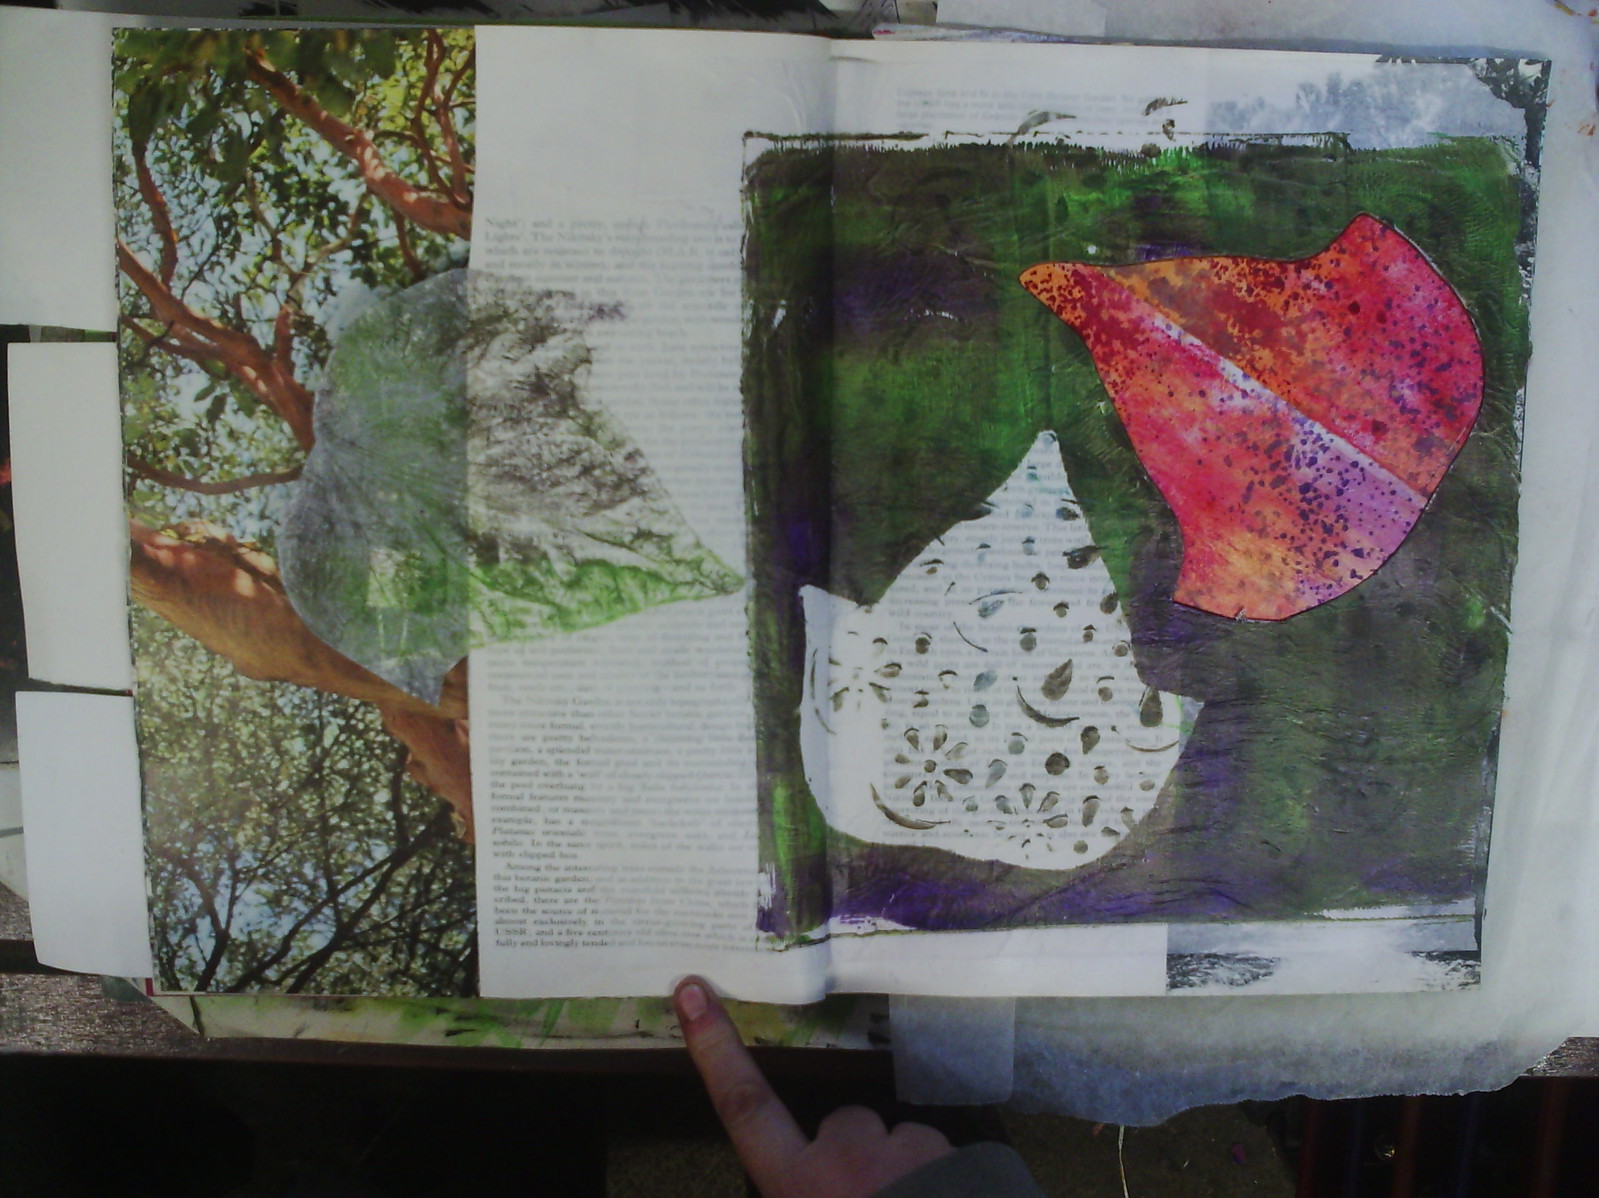
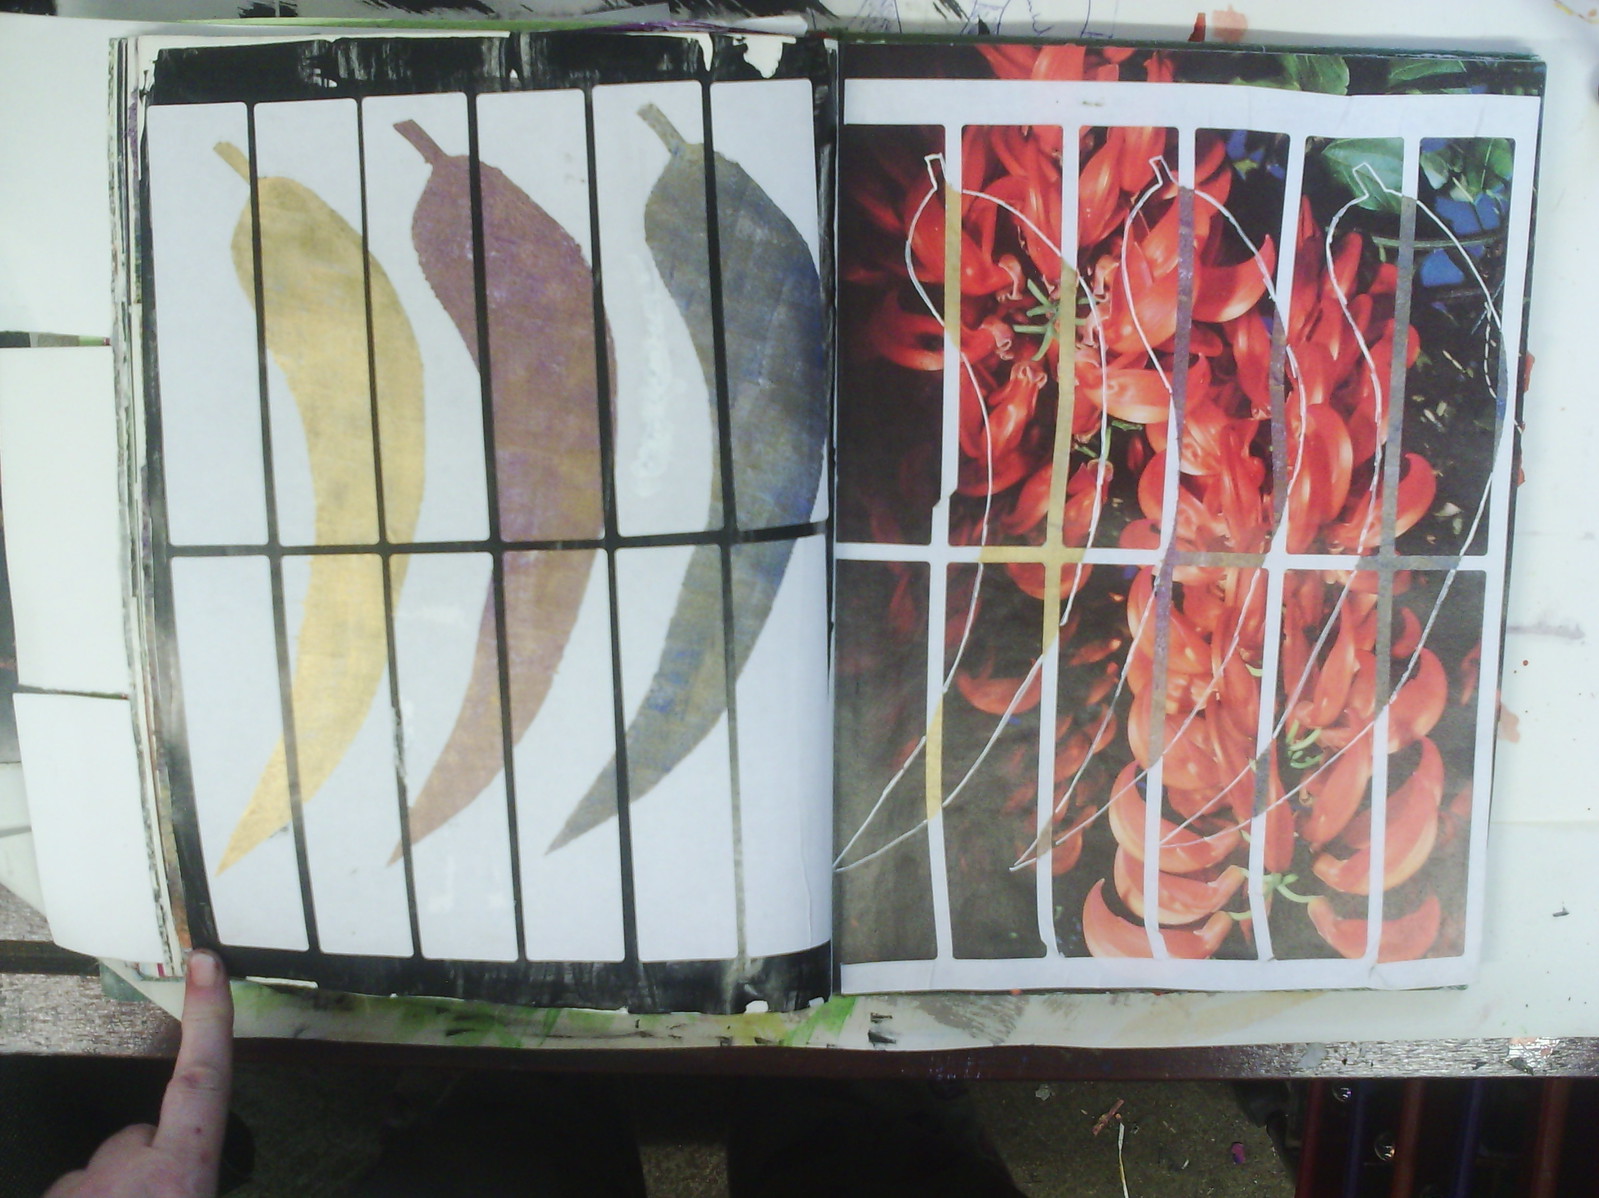
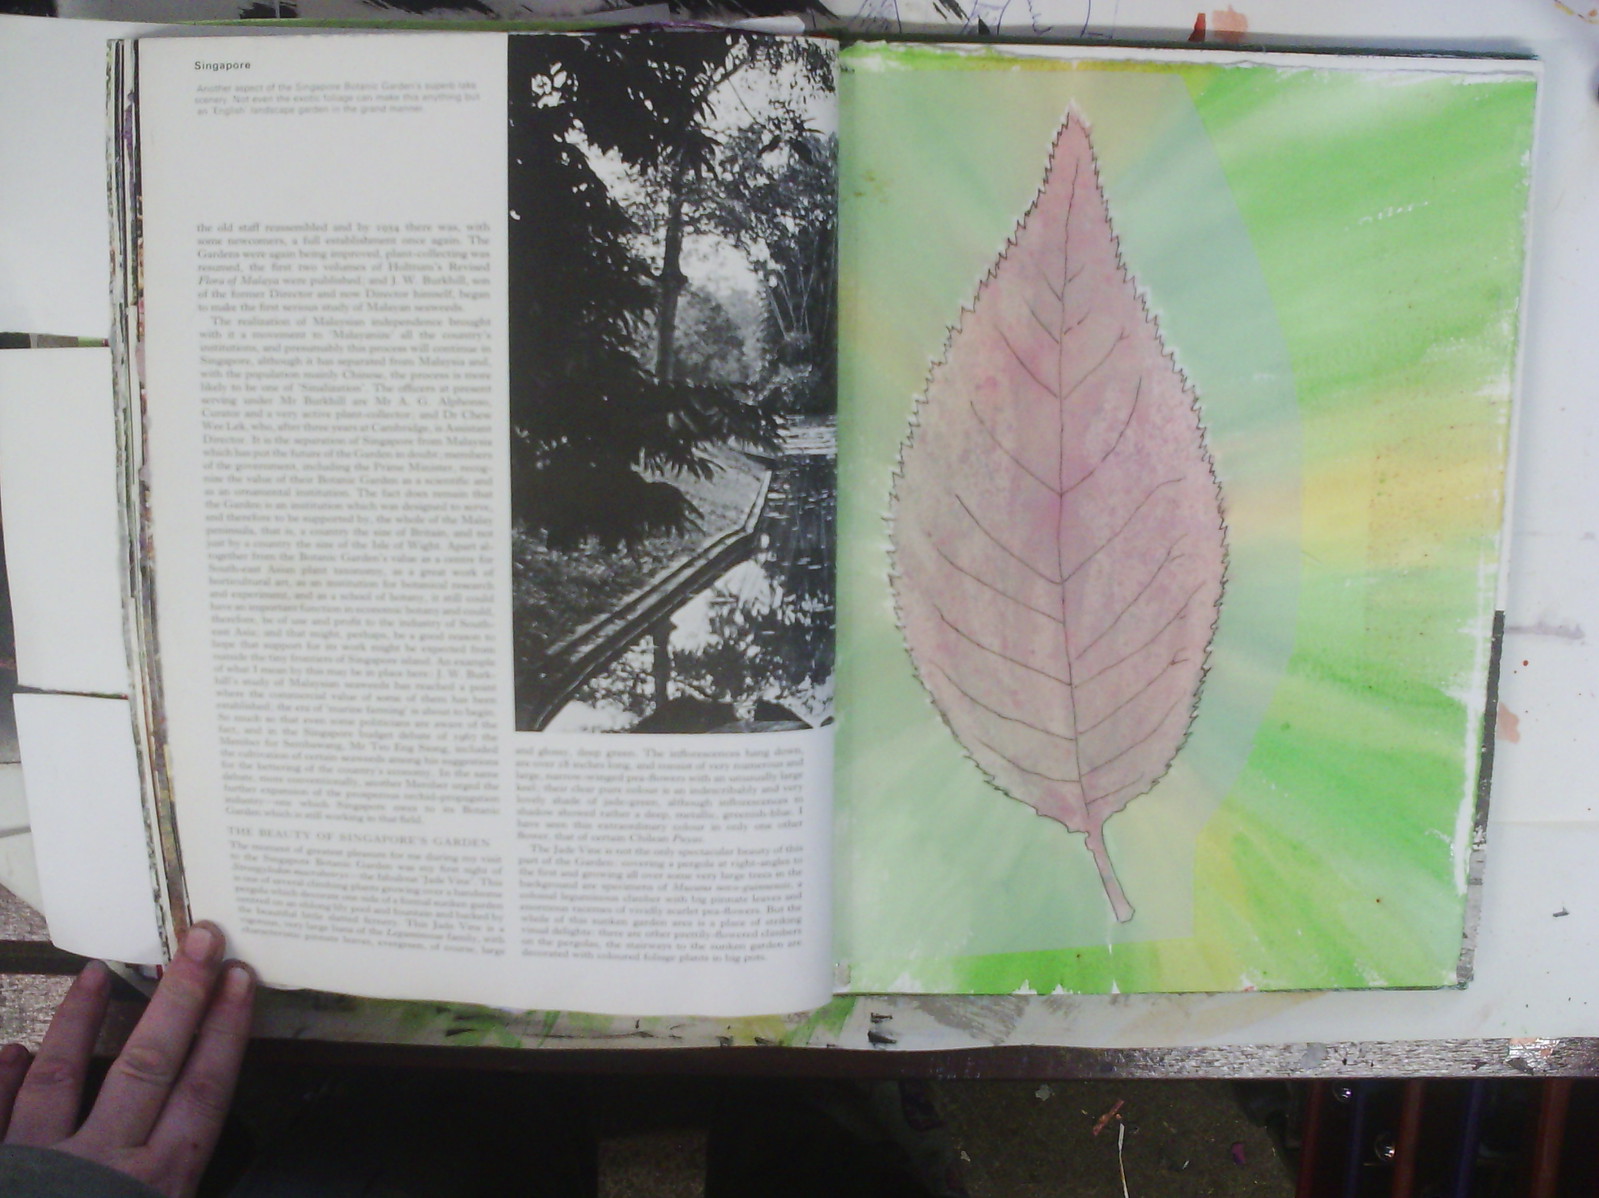
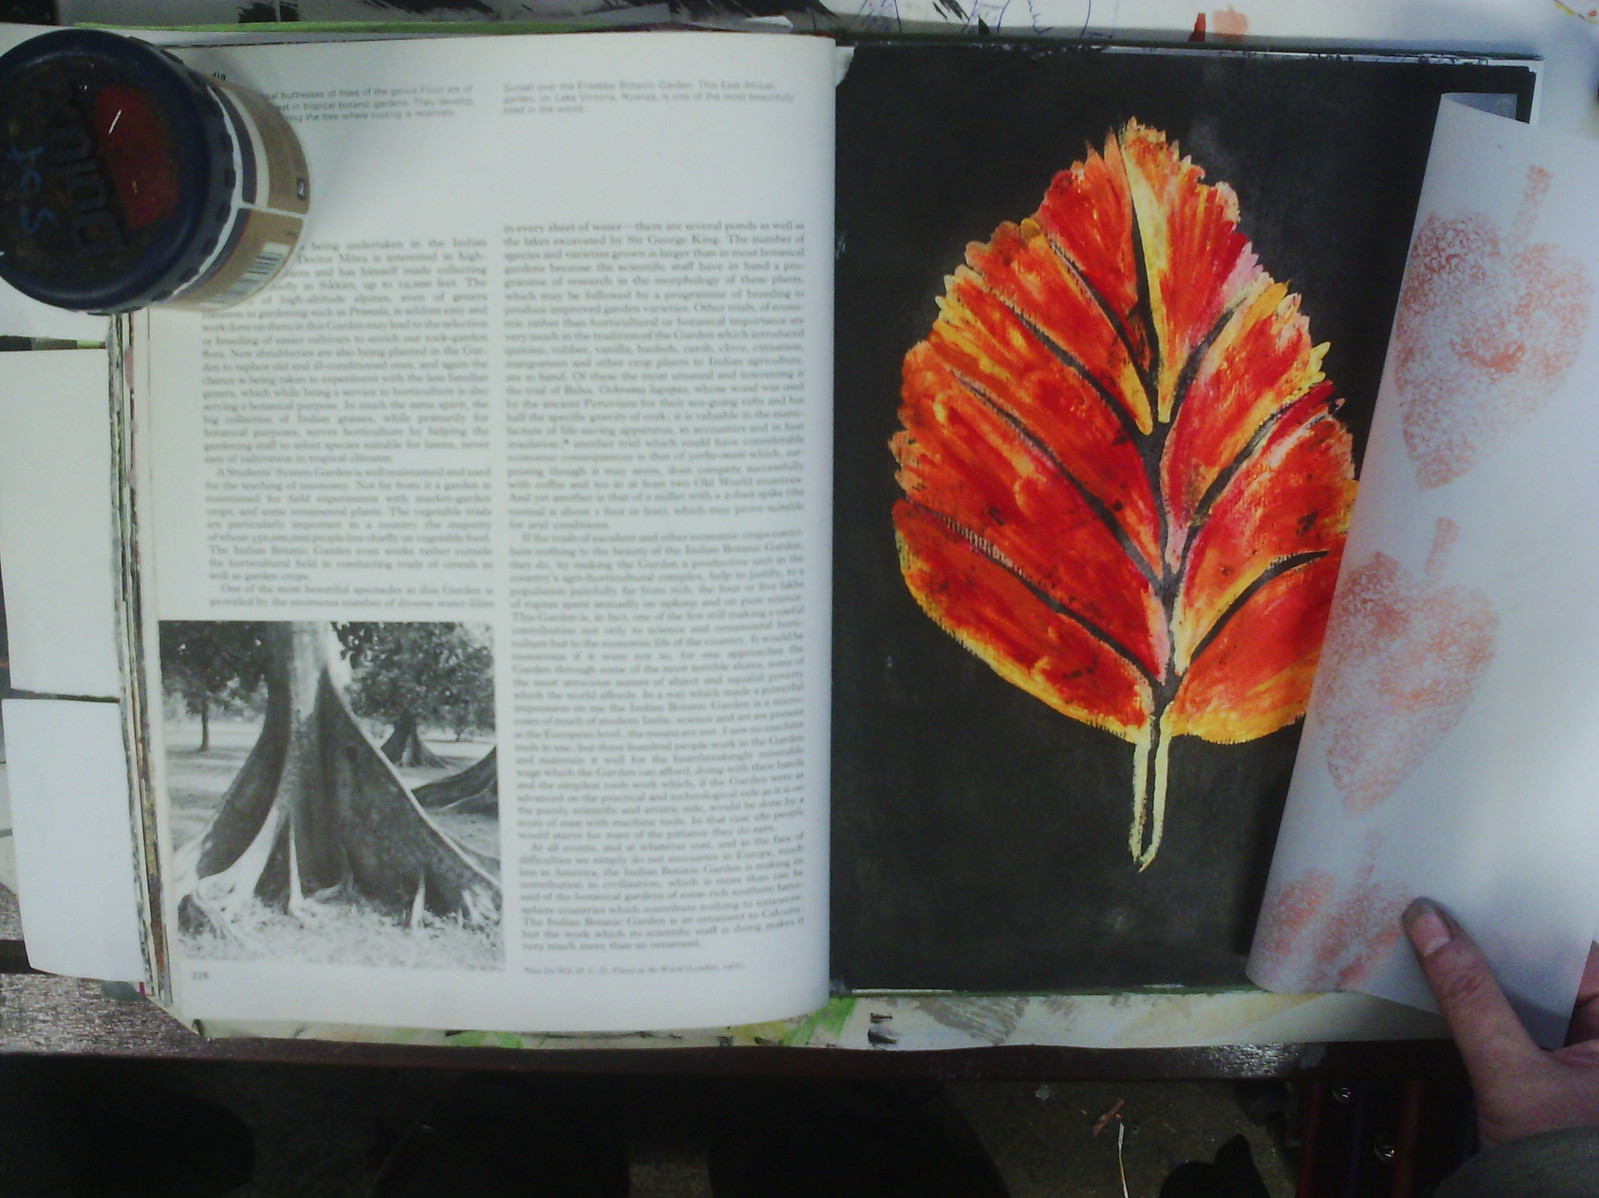
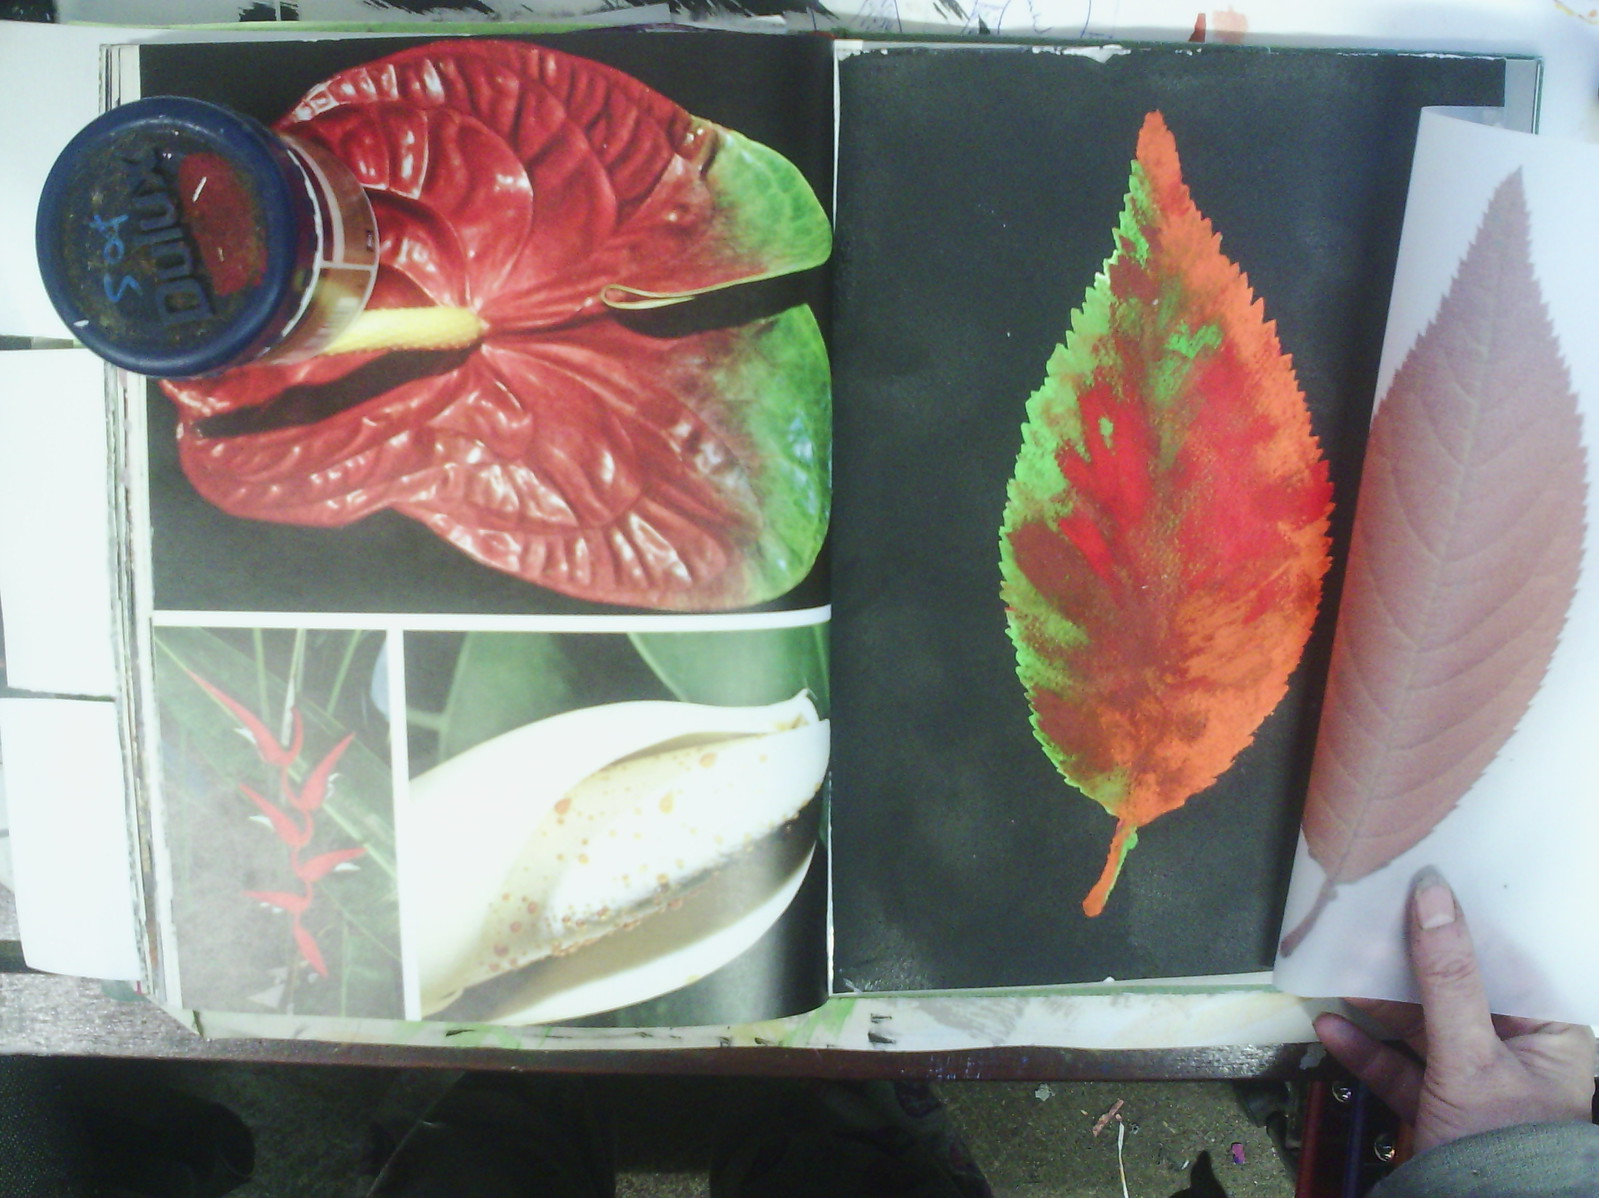
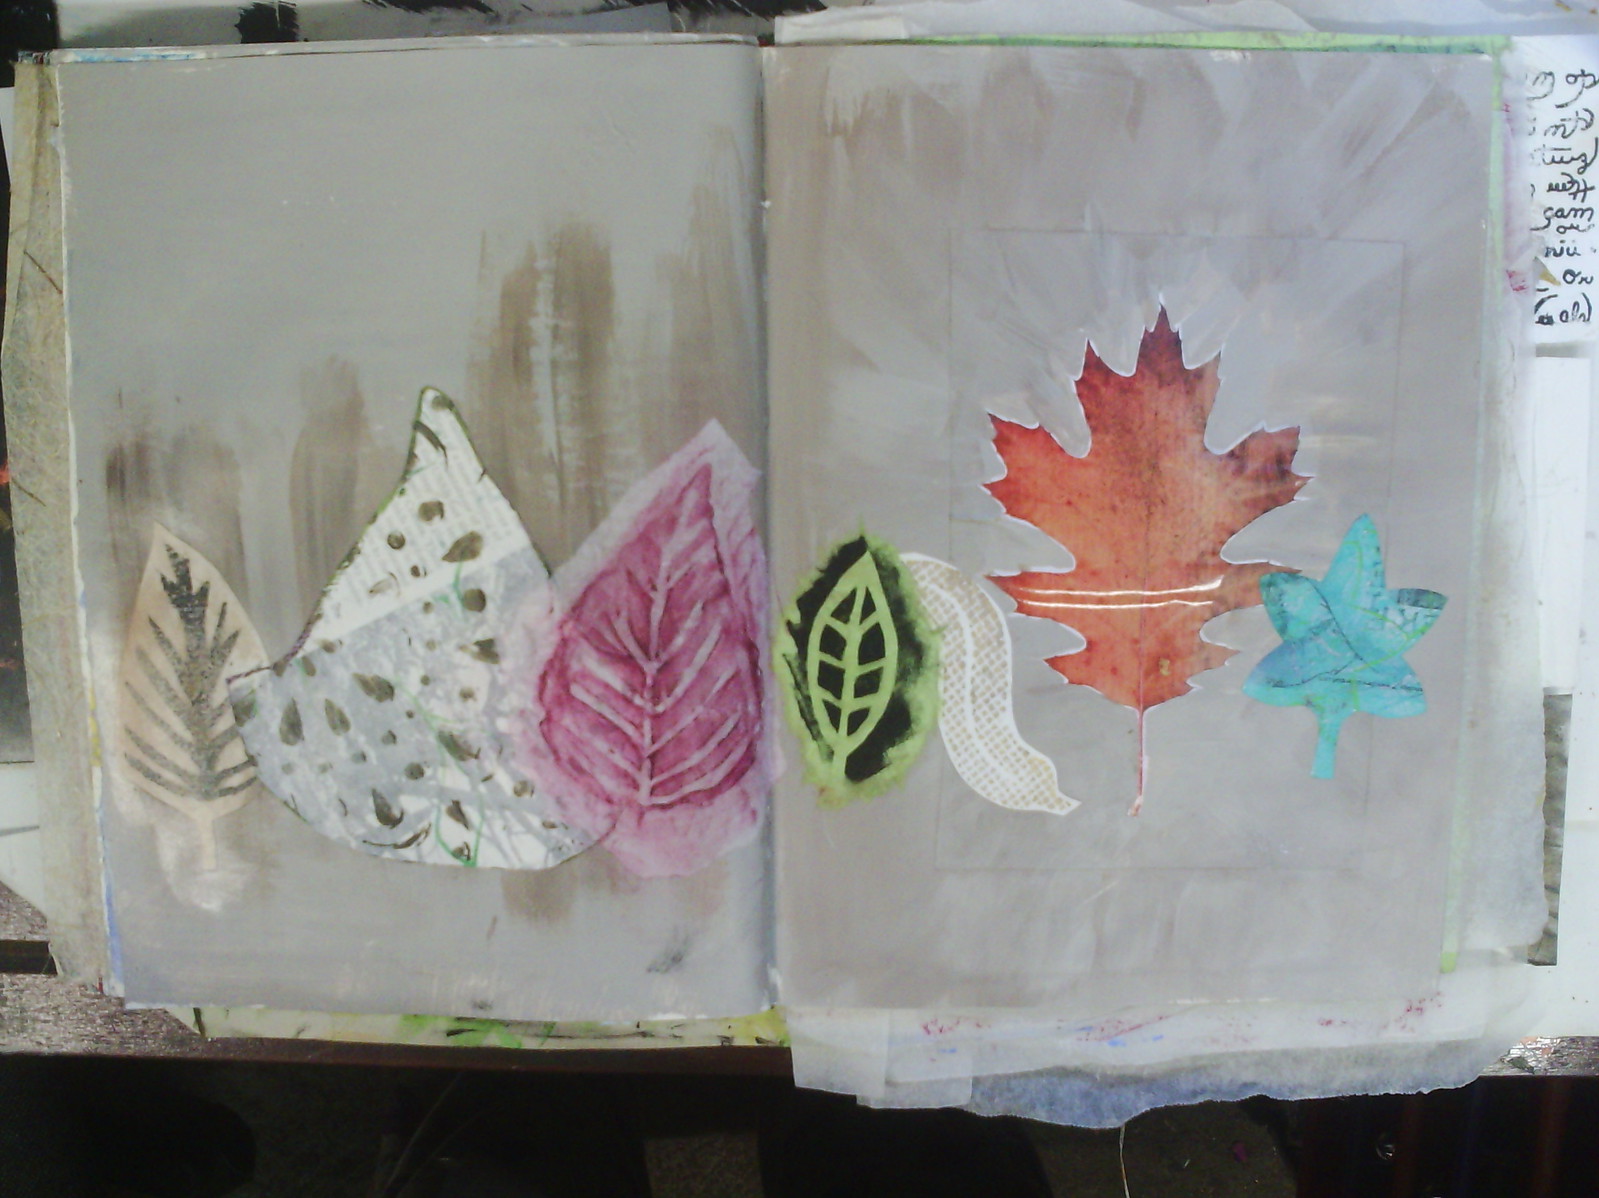
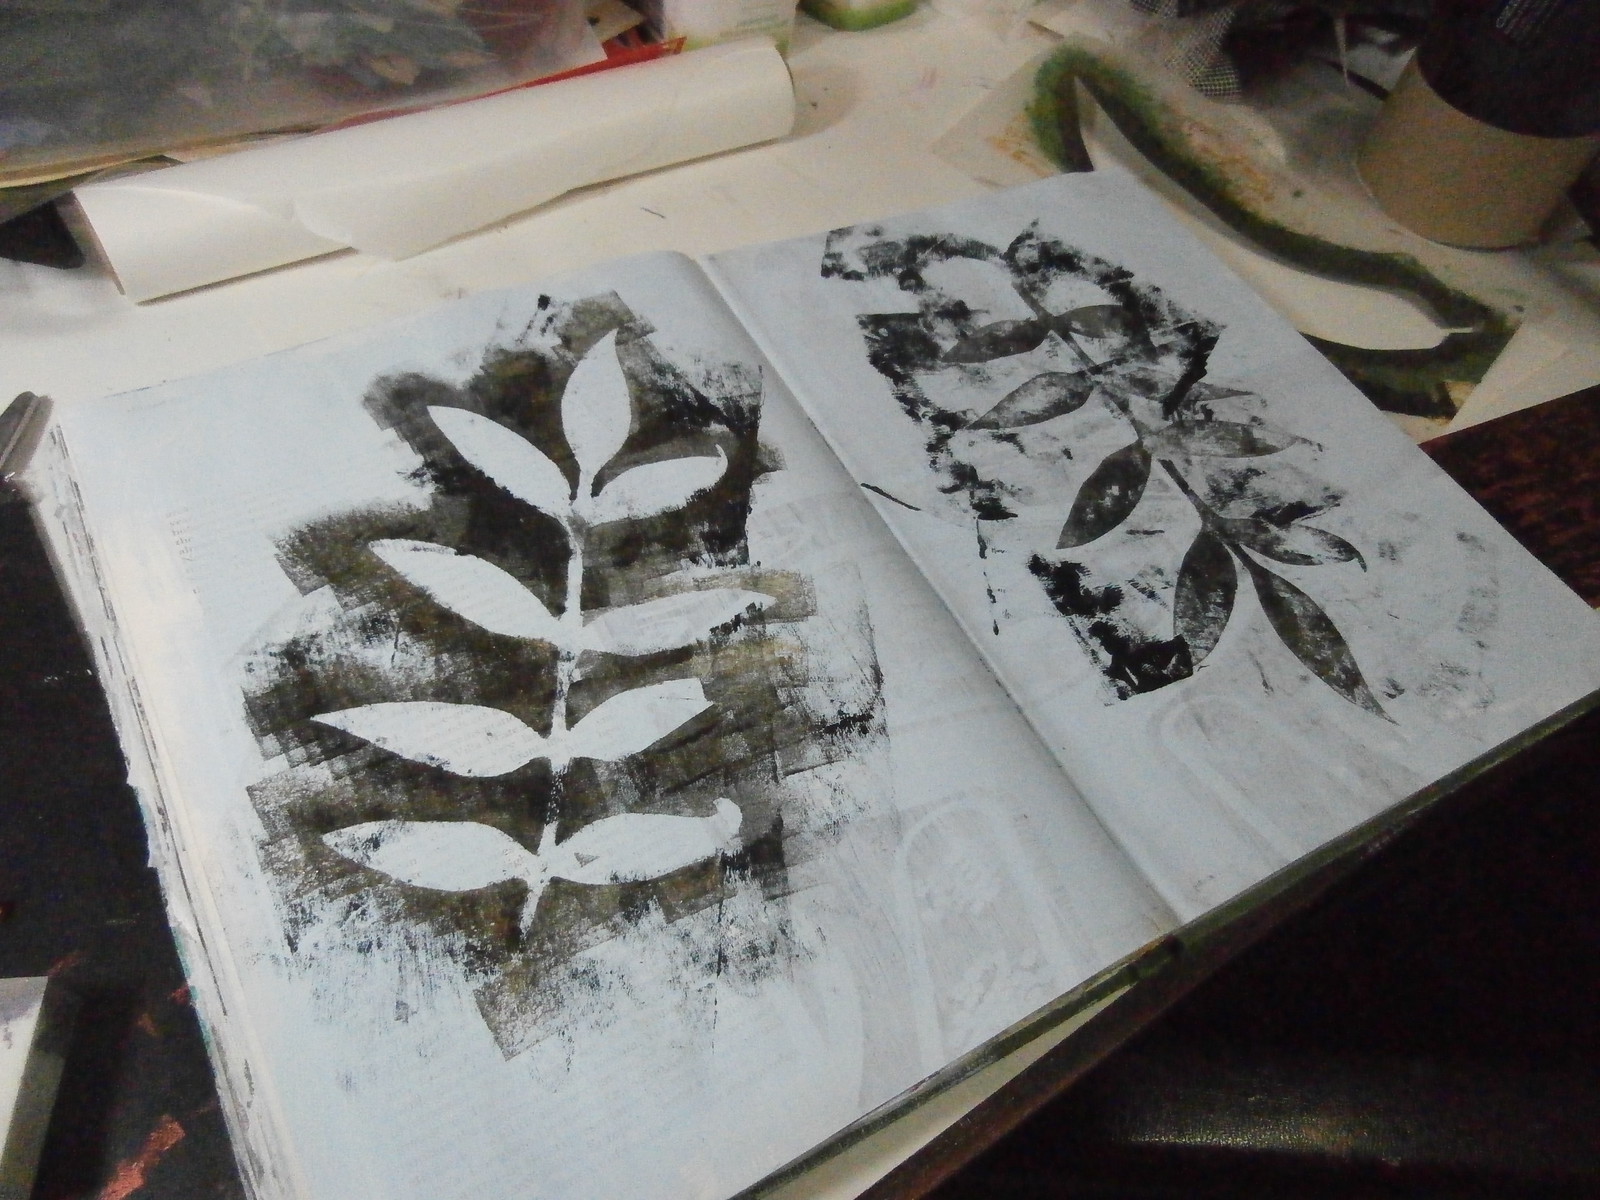
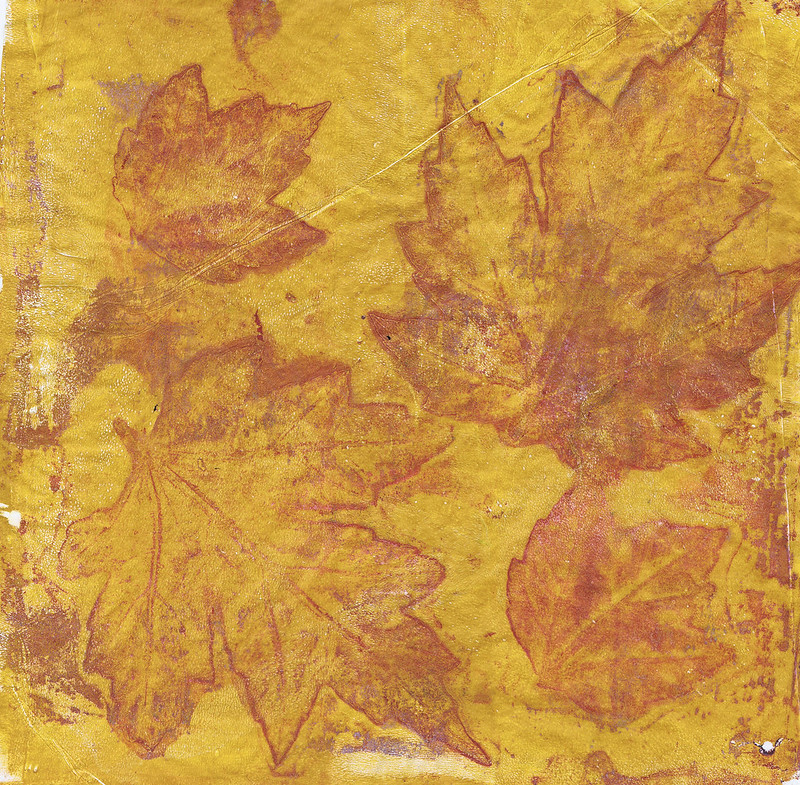
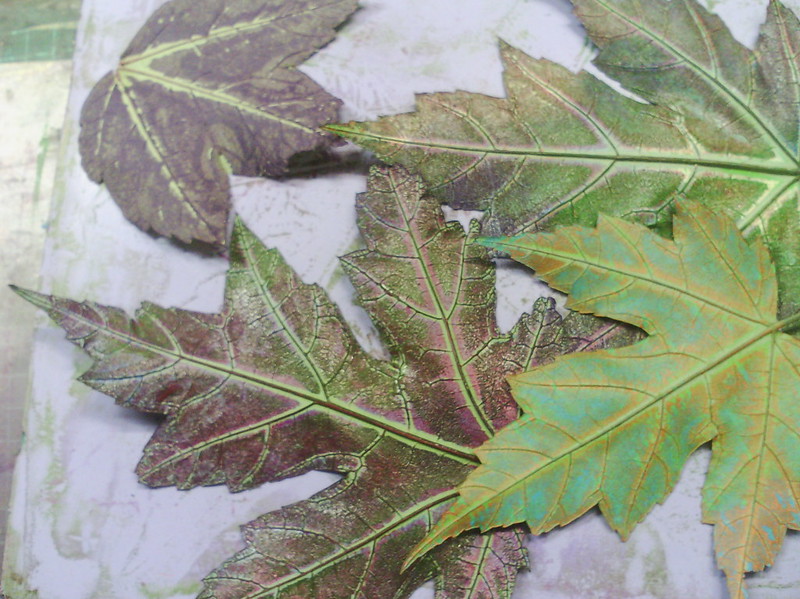
I did say that I would show you some of the pages in my Leaf sketchbook. I certainly can't show them all as the book is pretty large and nearly full, but most pages will be added to so far from finished.
Here are a few pages in progress, relevant to yesterday's post.
The page on the right above is from a while ago, and the one on the left is a new one. It is in glossy paper as you can see by the reflection (sorry). It is a technique that I learnt from Laura Kemshall, but I have modified it. I first put down a lot of grey lead pencil, covering the page, then I burnish the lead (this is why it is glossy paper) Then I use erasers and blending sticks to move and remove the graphite. I actually used an elecric eraser for some of the really white areas. I love the way the burnished graphite blends.
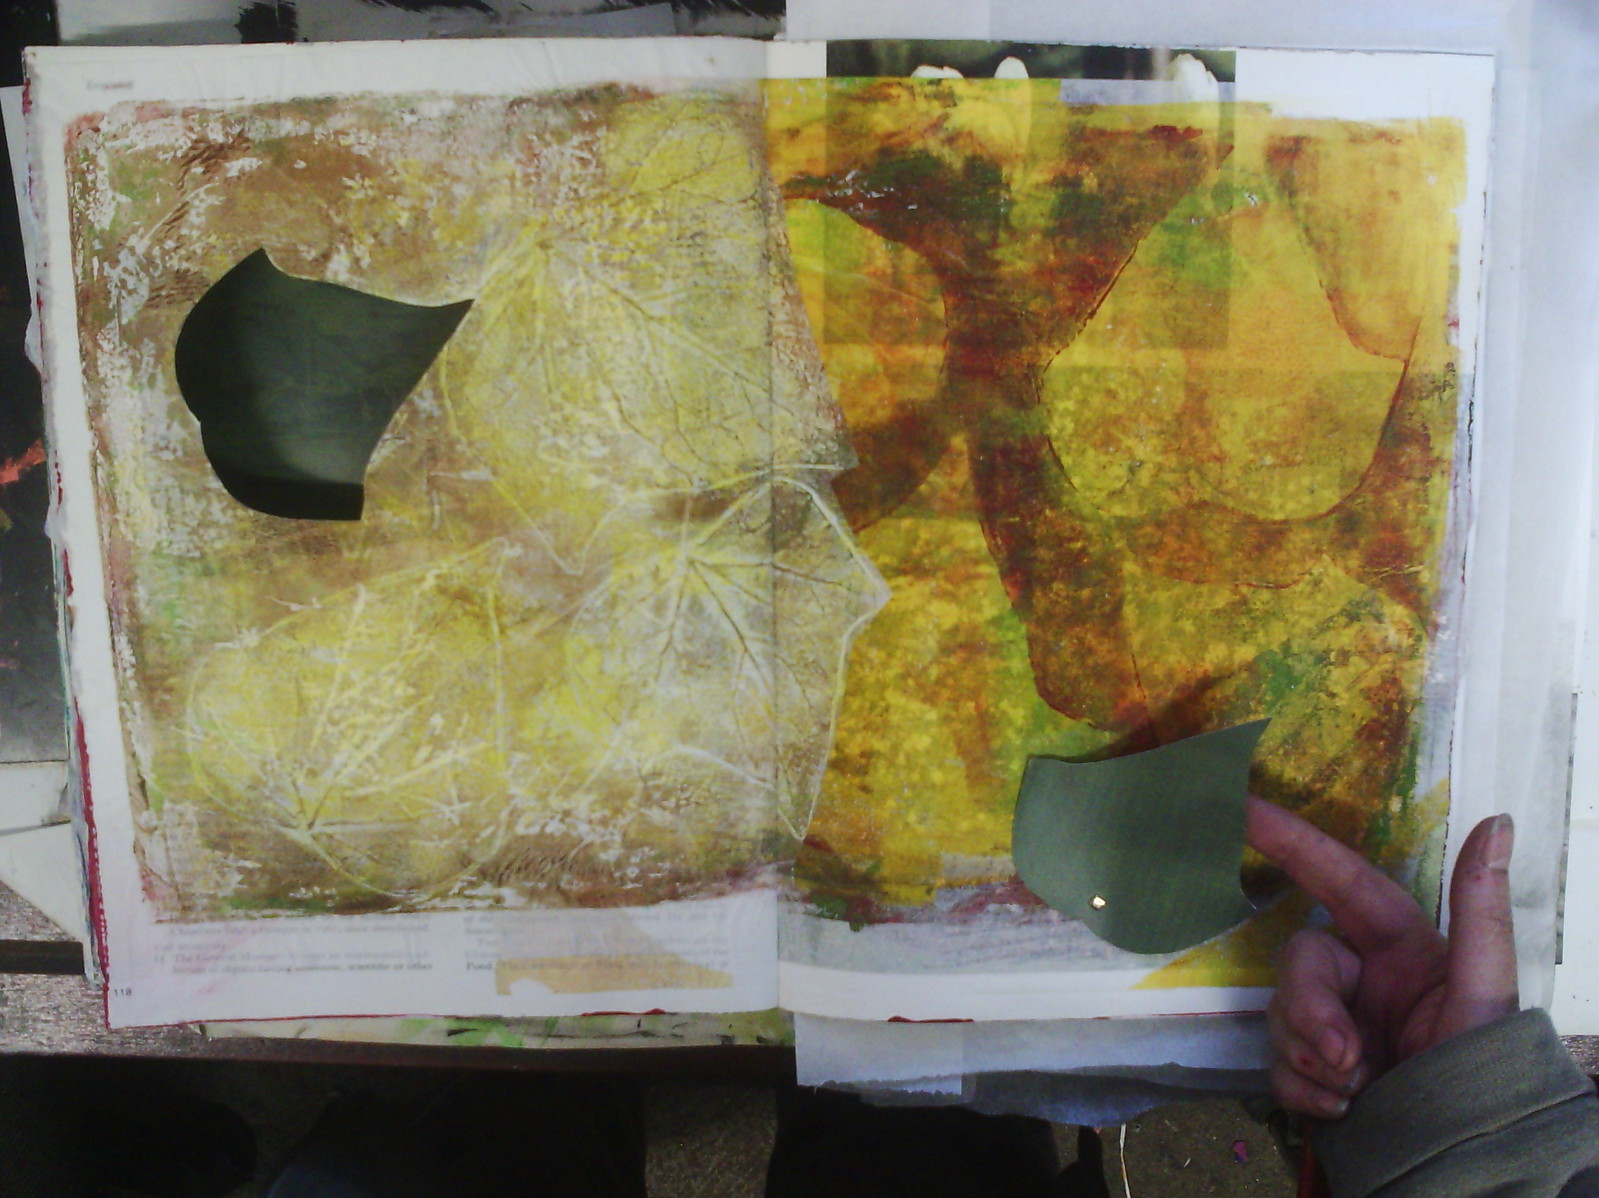
This is also an older page, with layered monoprints, but I showed it because I like the little leaf that I cut out of the left hand page and attached to the right hand page with a brad.
The page on the left is a new page, in fact one I did this morning! I cut out some leaves from my huge stash of collage paper and collaged them down on a roughly painted page, then added some shadows and highlights with oil pastel. The page on the right is cut out from a monoprint on the other side, so you can see through to the blank page beyond.
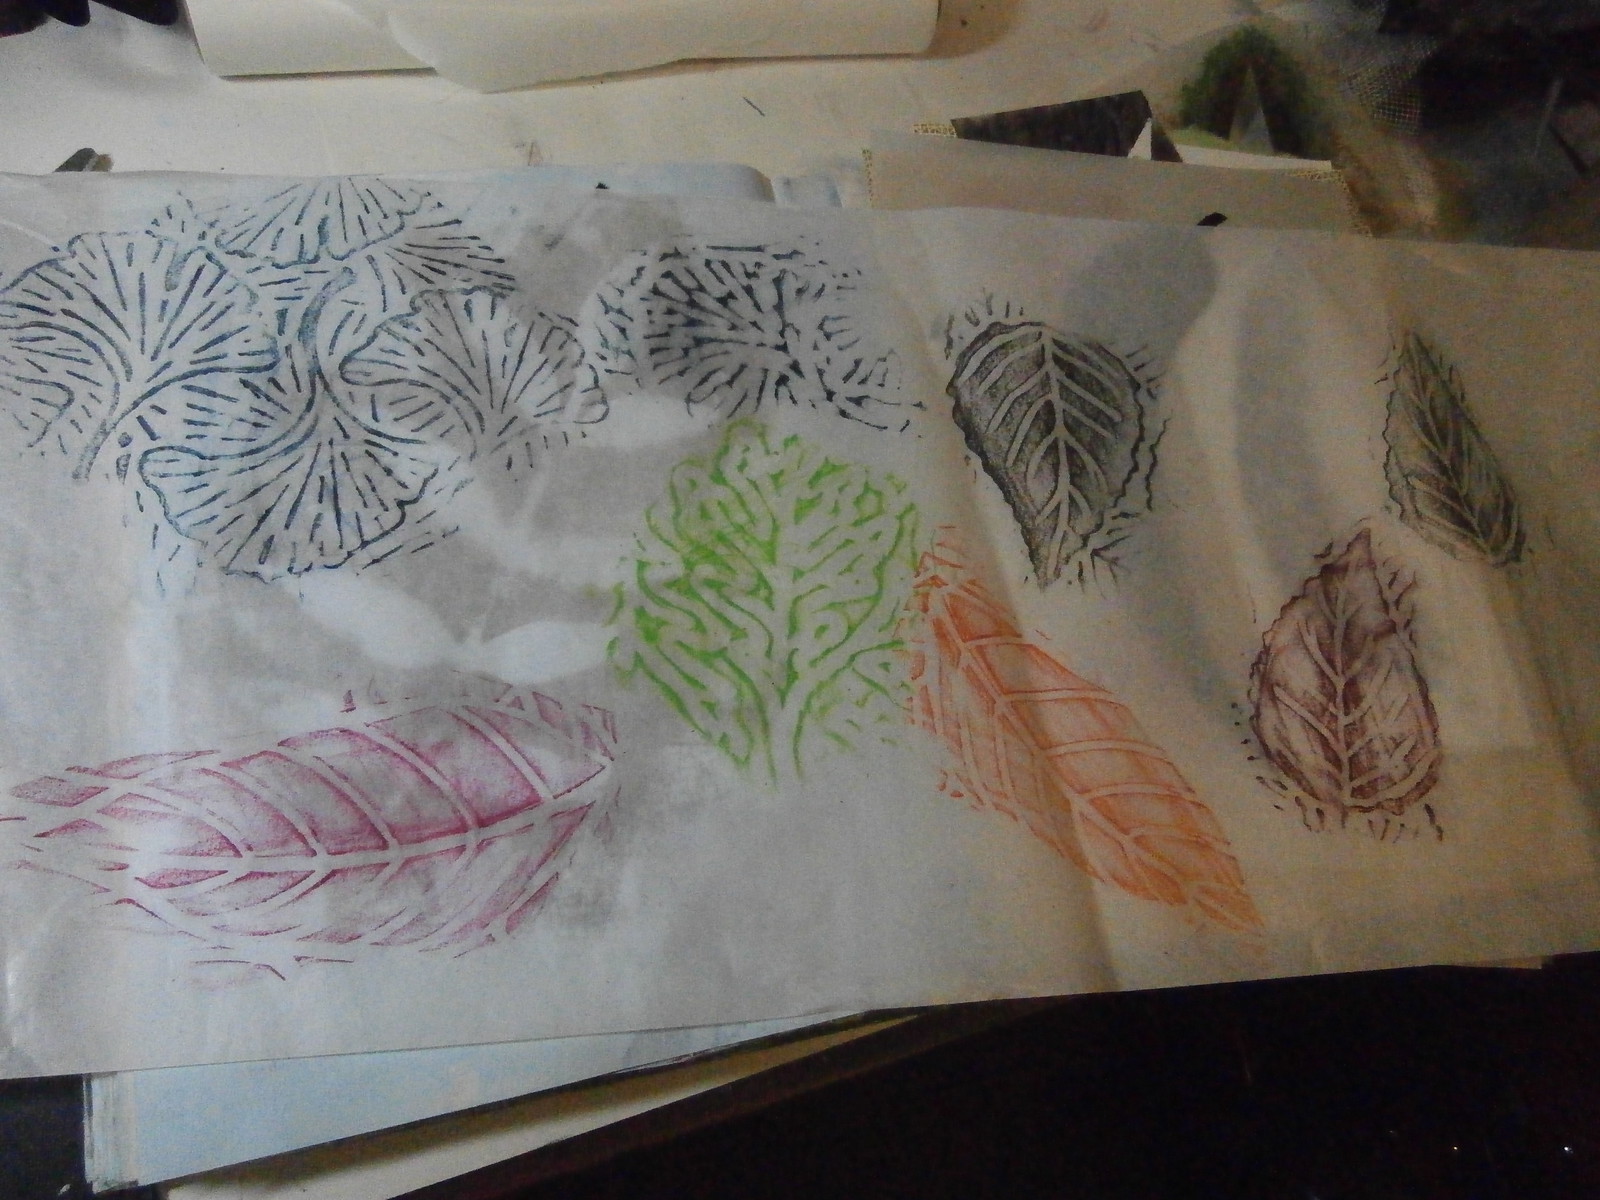
This page has three of the prints on scrap paper I did yesterday added.
This is another older page where I have cut away the page on the left and cut out a leaf on the right, showing the pink on the page below.
On this page, you can see I have used the stickers from the sheet I printed leaves on, and on the right,
I have actually even used the frames left over when I took the stickers off the page.
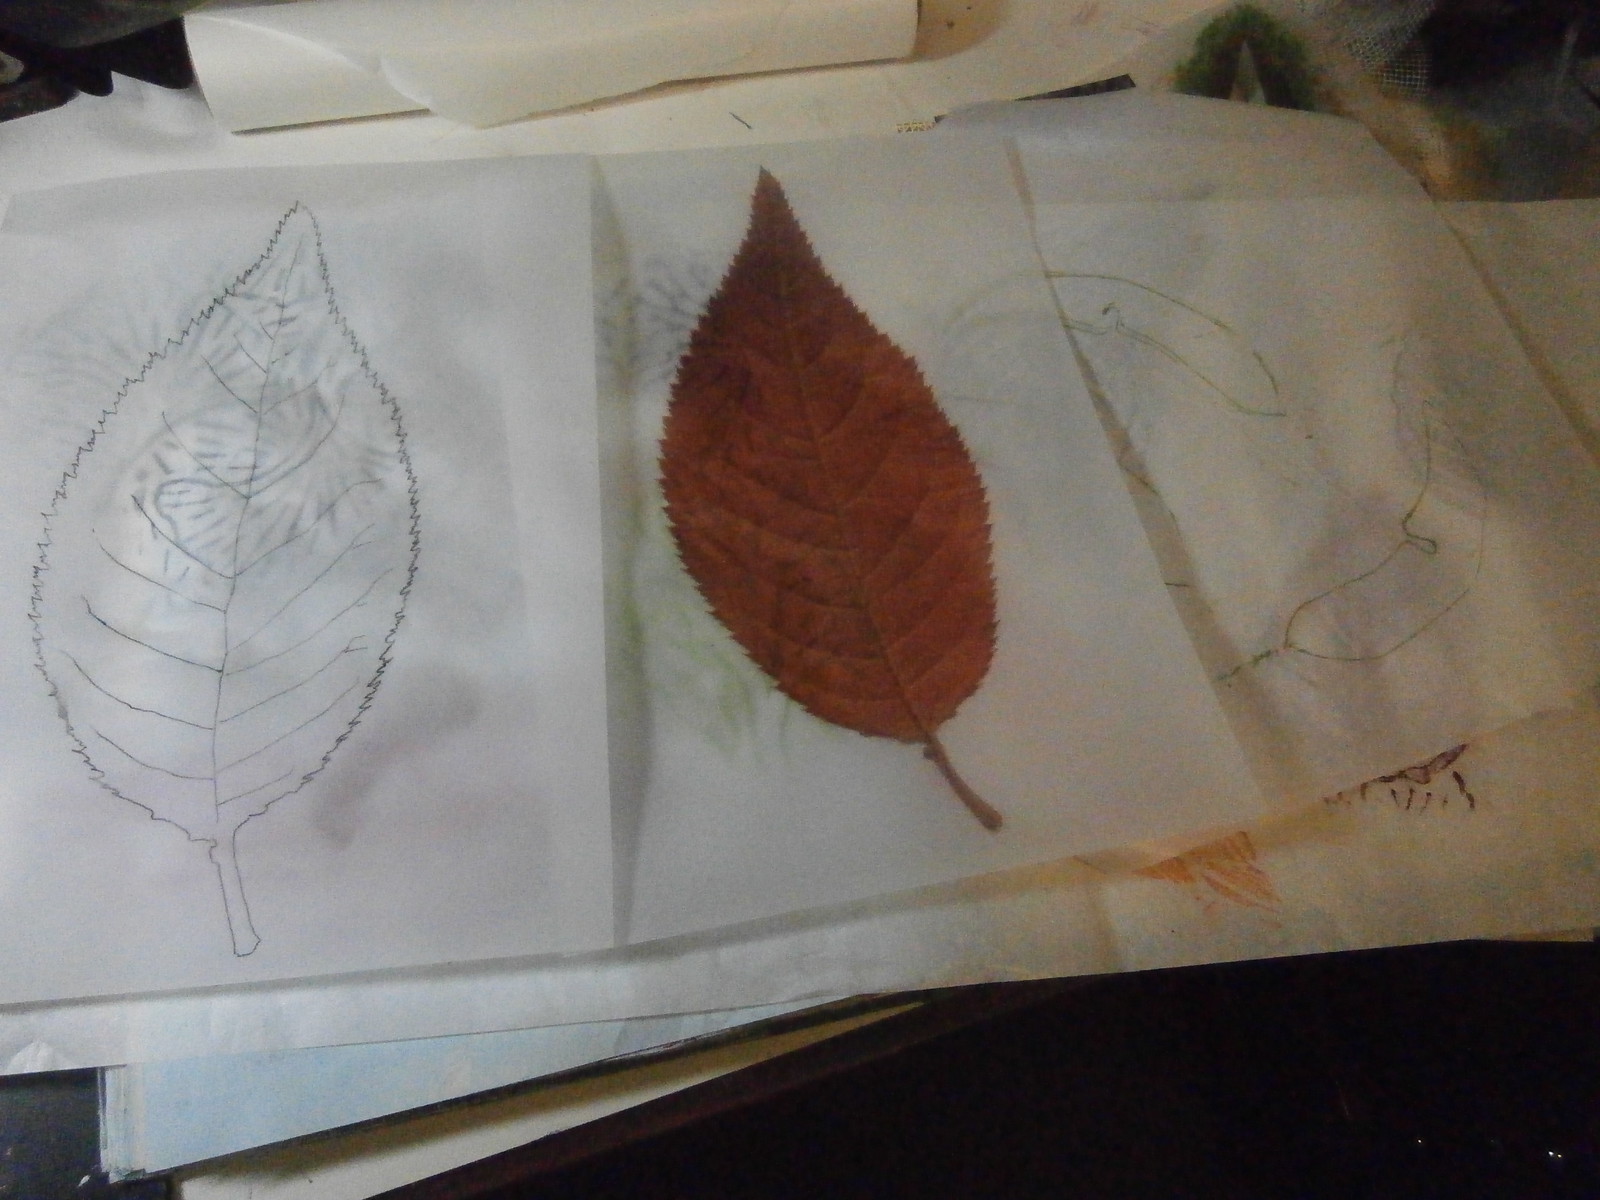
On this page, I have layered the leaf traced on tracing paper, over a painted leaf I did using the stencil ofit I made.
On this page I have layered a print on tracing paper over one of the gouache leaves.
I have done the same thing here, layering an inkjet print on tracing paper over a gouache leaf.
This last one is far from finished, but is just a collage made from some of the prints, some leaves cut out of other pages, and a photo that I have painted into the page.
I hope you enjoyed this little look at a work in process.
Happy Creating!
Showing posts with label leaves. Show all posts
Saturday, June 7, 2014
Friday, June 6, 2014
A new leaf sketchbook
I have been working in a new LEAF sketchbook over the last few months. I filled my last one on leaves a while ago. I am a bit of a leaf fanatic. I will put a leaf on anything.
Anyhow, over the last week I have been working on stamping, stencilling and painting leaves for that book. I thought you might like to see some of the bits and pieces I put together.
In the picture above are some of the bits and pieces I have collected to do with leaves. A large number of stencils and stamps, and lots of different papers. Although I generally use altered books for my sketchbooks, sometimes I add other pages when the need or the desire arises.
This page in the book used a mask I made from a sprig of leaves. On the left, I rolled over the mask with black and gold paint, and on the right, I placed the mask, paint side down and rollered over it to get a positive.
The tree gum leaves are stencilled onto a sticker sheet, so when I put them on the page, they will form a mosaic. The small gum leaves are stamped through plasterer's mesh and the gingko and ferny leaf are stamps
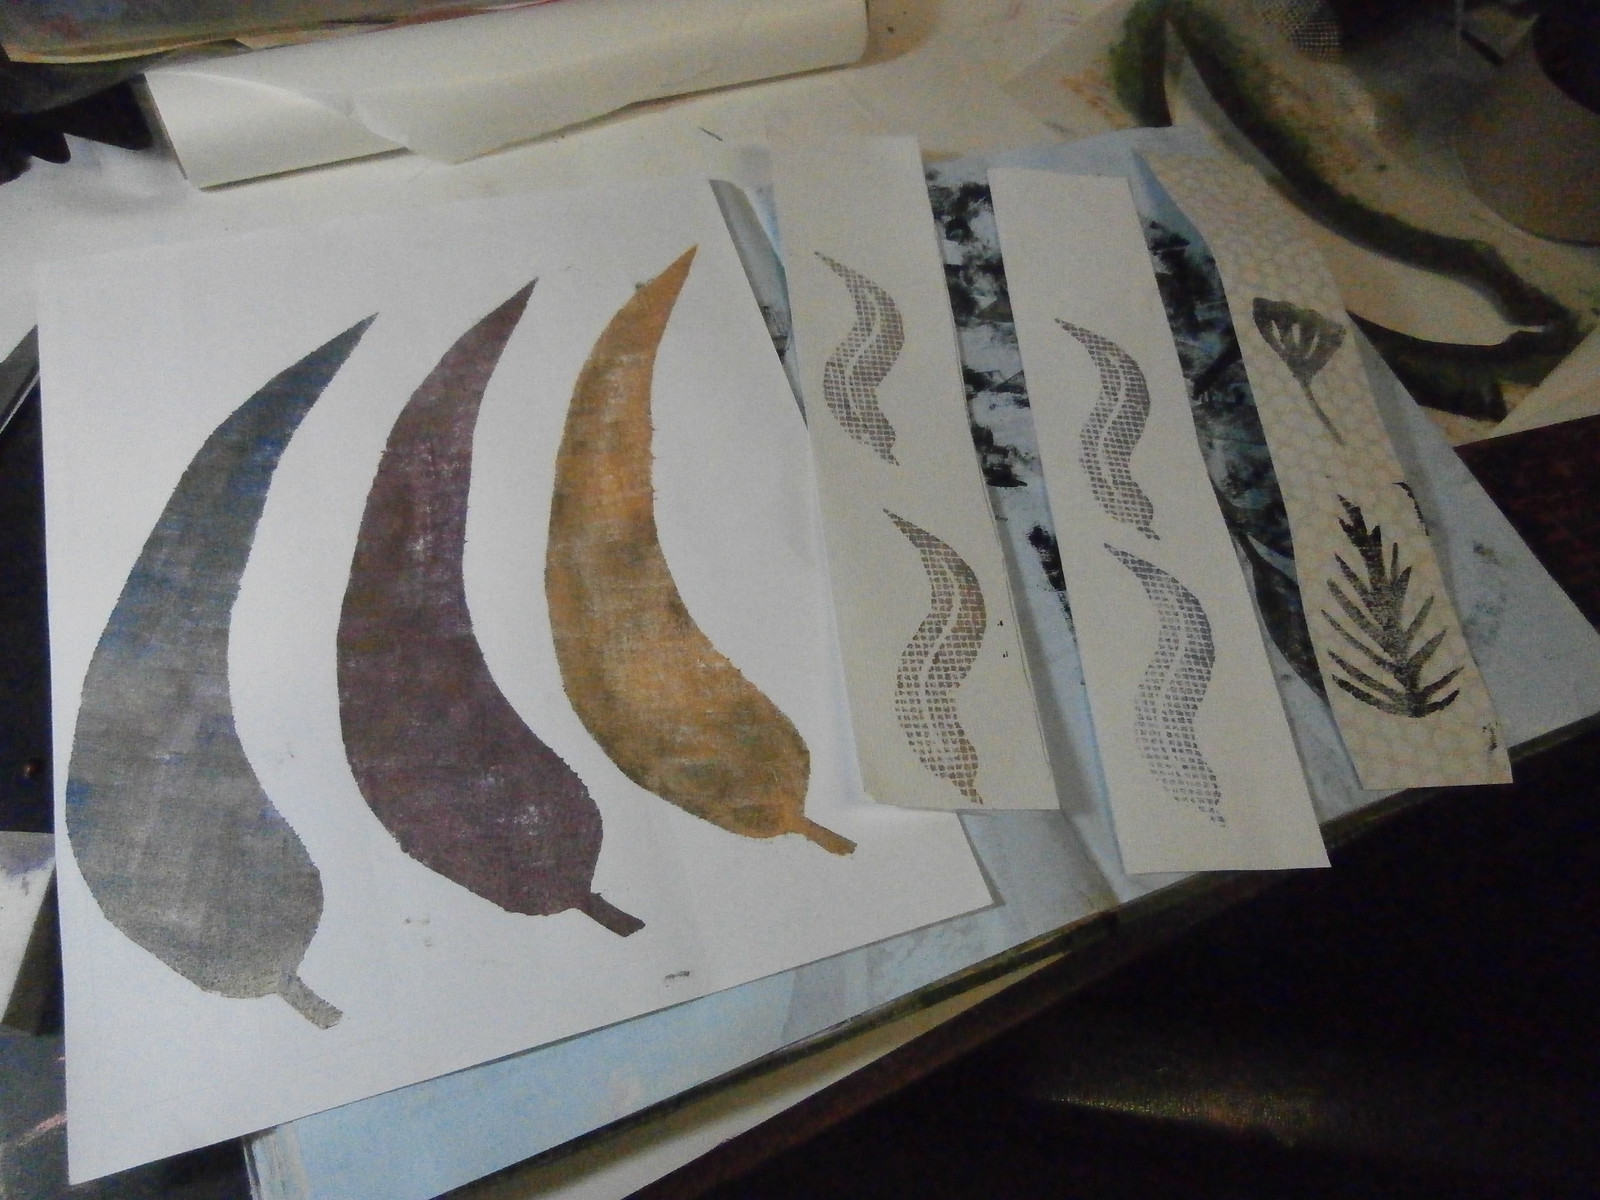
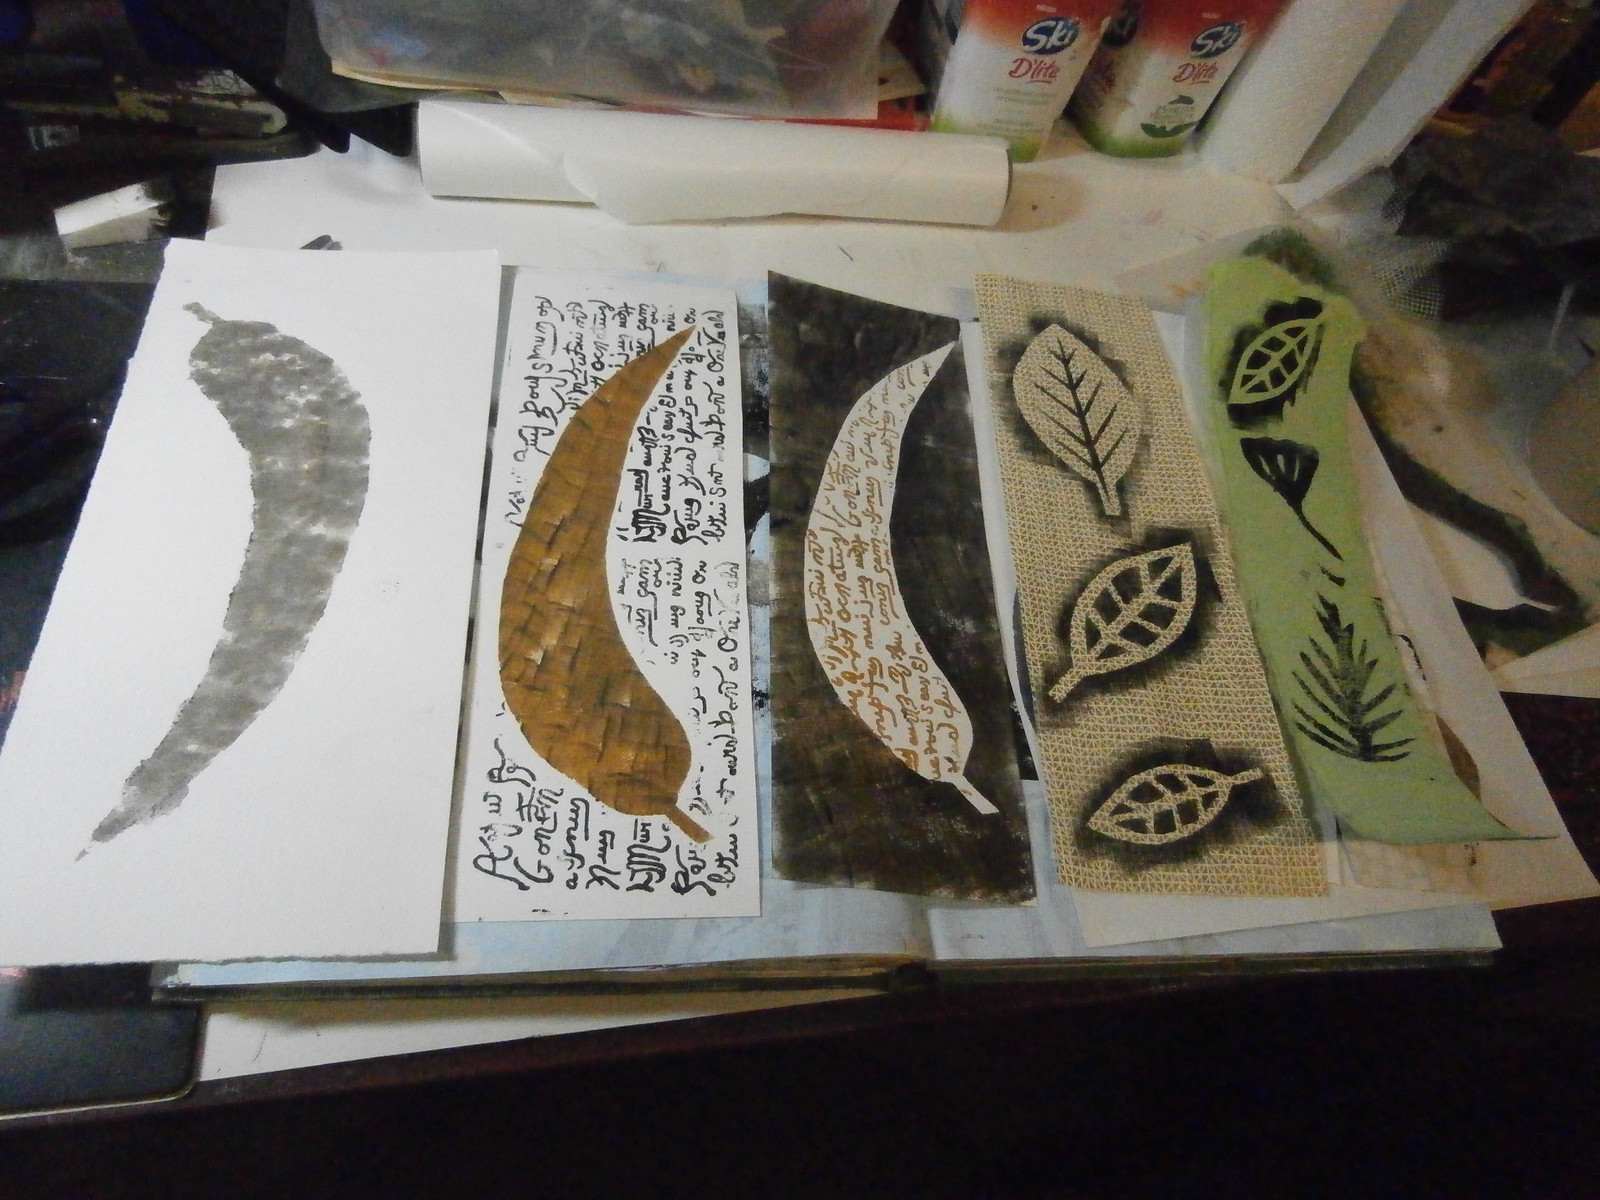
The large gum leaf on the left was stencilled by patting with a dirty baby wipe! The next two large gum leaves used the mask and the stencil together. The writing is stamped and the colour is sponged. The three pale leaves are masks done with black on wallpaper and the last three leaves are stamps on handmade paper.
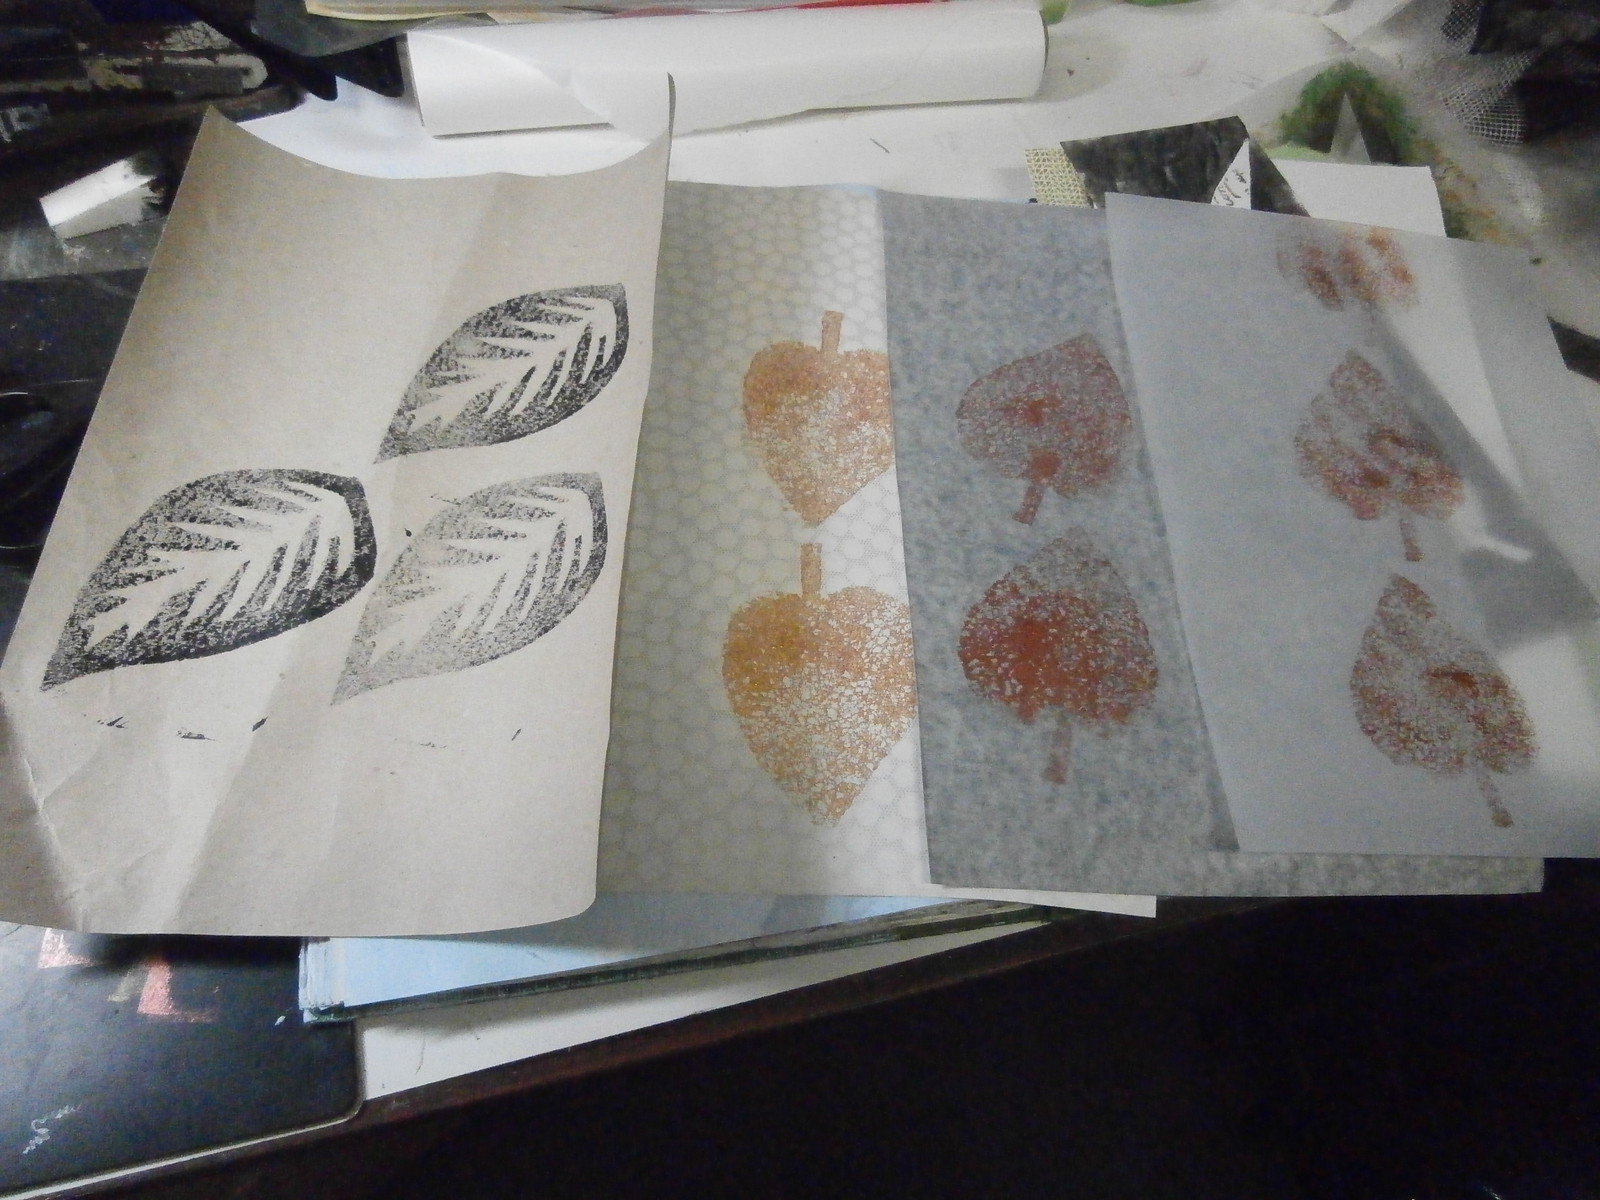
The three leaves on the left are the positive of the last stamp on the bottom right in the previous photo. I made them at the same time. These are on brown paper. The three pages of gold leaves were stamped with foam shapes on wallpaper, Grey flecked paper and tracing paper.
Anyhow, over the last week I have been working on stamping, stencilling and painting leaves for that book. I thought you might like to see some of the bits and pieces I put together.
In the picture above are some of the bits and pieces I have collected to do with leaves. A large number of stencils and stamps, and lots of different papers. Although I generally use altered books for my sketchbooks, sometimes I add other pages when the need or the desire arises.
This page in the book used a mask I made from a sprig of leaves. On the left, I rolled over the mask with black and gold paint, and on the right, I placed the mask, paint side down and rollered over it to get a positive.
The tree gum leaves are stencilled onto a sticker sheet, so when I put them on the page, they will form a mosaic. The small gum leaves are stamped through plasterer's mesh and the gingko and ferny leaf are stamps
The large gum leaf on the left was stencilled by patting with a dirty baby wipe! The next two large gum leaves used the mask and the stencil together. The writing is stamped and the colour is sponged. The three pale leaves are masks done with black on wallpaper and the last three leaves are stamps on handmade paper.
The three leaves on the left are the positive of the last stamp on the bottom right in the previous photo. I made them at the same time. These are on brown paper. The three pages of gold leaves were stamped with foam shapes on wallpaper, Grey flecked paper and tracing paper.
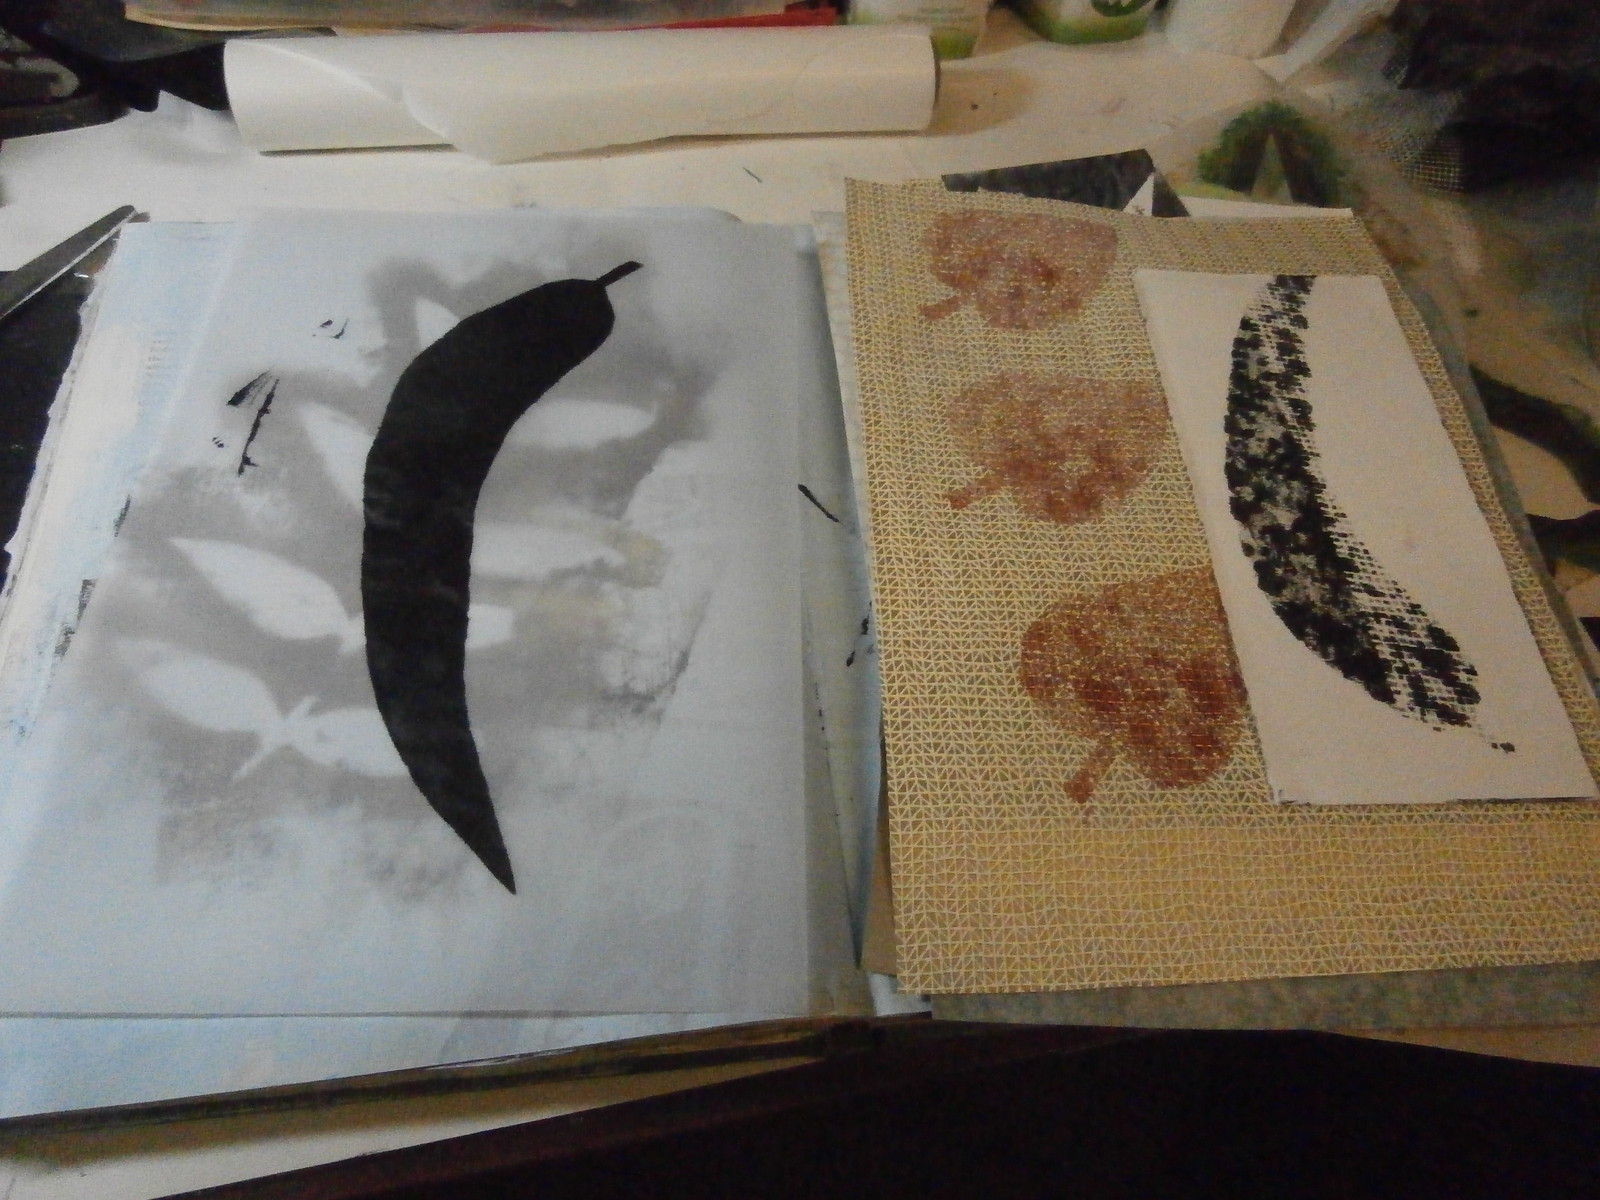
The large black gum leaf on the left is stencilled on tracing paper. I love how it shows some of the page underneath. The gold leaves are the same sponge from the previous photo, but on a textured wallpaper. The last partial leaf was sponged over a piece of plasterer's mesh placed partially under it.
These are all rubbings from commercial rubbing plates. The two black ones at the right are done with oil pastel. The rest are with inktense blocks. Oil pastel is a resist, whilst the inktense is like watercolour pencils and I can work into them both in different ways.
These two leaves are from a photo. The left one is a tracing on tracing paper, whilst the right one is a printout from my computer on the same tracing paper. If you look very carefully, on the far right are some rubbings from a gumleaf bent from wire on deli paper.
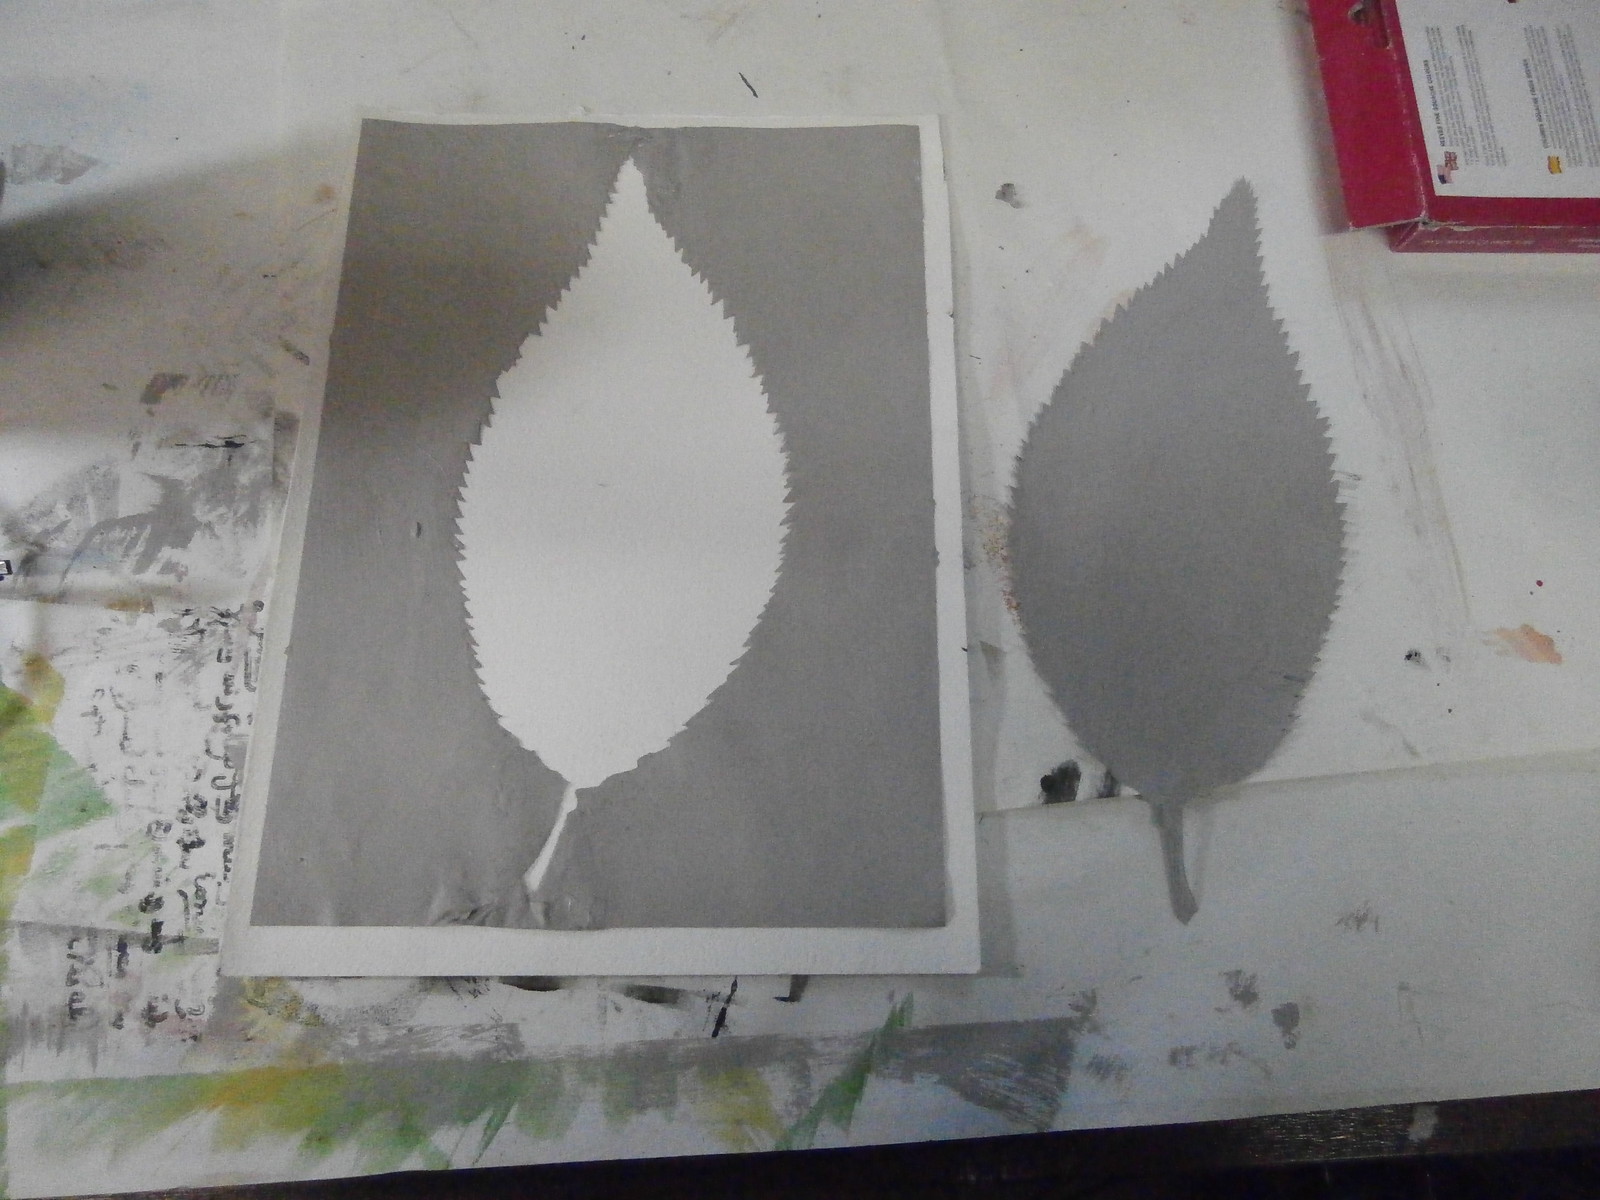
This is a leaf stencil and mask that I made from an inkjet printout of the leaf in the picture above. I cut it with a scalpel to get all the details of the edge. I used it, then thought, I want to keep using it. I wonder what would happen if I painted it with acrylic house paint? Would it make it re-useable? And it did. I painted both sides, drying each in turn and then repainted it and reinforced the top and bottom where there is not much space. so now I have a stencil and mask set to use over and over again!
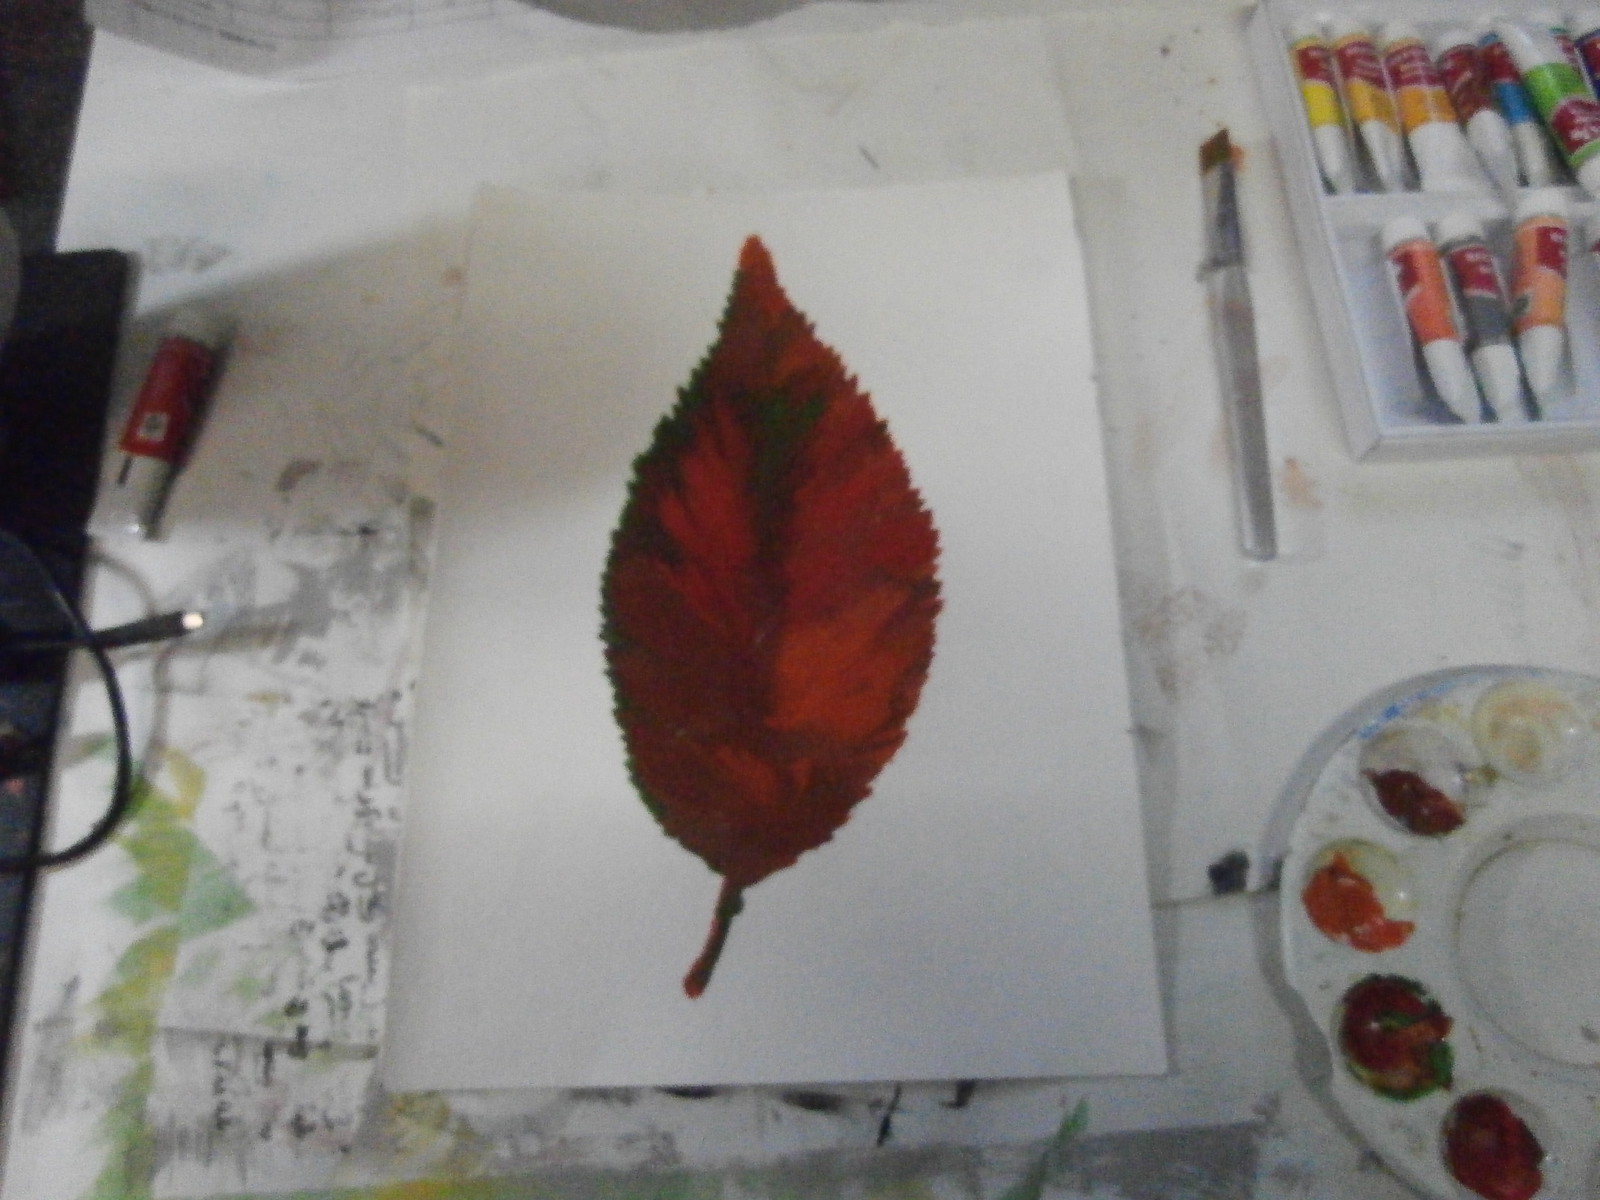
Here is a leaf I painted using the stencil onto HEAVY watercolour paper. I used gouache, which is sort of like watercolour as it can re dissolve, but also like acrylic in being thick and opaque.
I let it dry thoroughly, then painted over the whole thing with black sumi drawing ink. And I mean covered!
Then I let the ink dry totally.
When the ink was dry, I took the paper and WASHED it under the tap. Miraculously, the ink washed off where the gouache was but not where there was clean paper.
I had been dying to try this out since I saw it on Design Matters TV and also in a Margaret Peot video. As you can see above, I liked it so much, I did it again!
I have done a bit more than this and have put many pages together, but that will have to wait for another post!
Happy Creating!
Labels:
fiber art,
fibre art,
gouache,
leaves,
mixed media,
resists,
sketchbook,
stamps,
stencil,
textile art
Friday, April 25, 2014
A new addition to the studio
When I was away at the quilt convention, I made a rather large purchase, which my hubby and I finally picked up yesterday. It has necessitated quite a few changes to the arrangement of my room and also a few frustrating hair pulls as I put it to use.
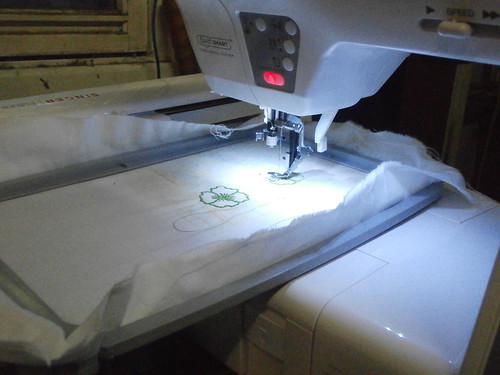
OMG! It's an embroidery machine! I have wanted one of these for many years and this year, I decided that it was time, now, because the prices were getting ridiculous! I managed to get a great price on this one at the show.
As I said, I have wanted one for ages, but not to make lots of stuff with commercial designs. I wanted to be able to digitize my own work and sew it out and to make lace-of course.
The last day and a half, after getting it home, I have been on a steep learning curve and have finally got it doing commercial designs correctly. I have made just about every mistake I could make and finally feel comfortable with it.
This was the first design I did, which was a tutorial that took me through all the steps, but it was just one colour and very simple, so although it was a useful exercise, I wanted something more complicated!
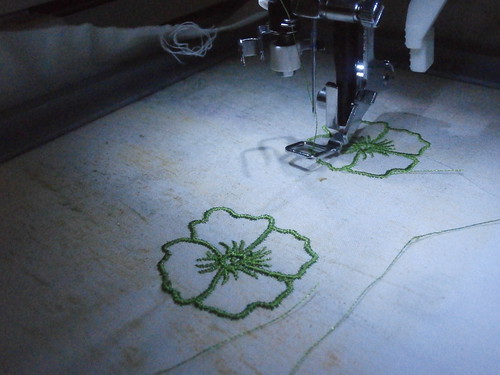
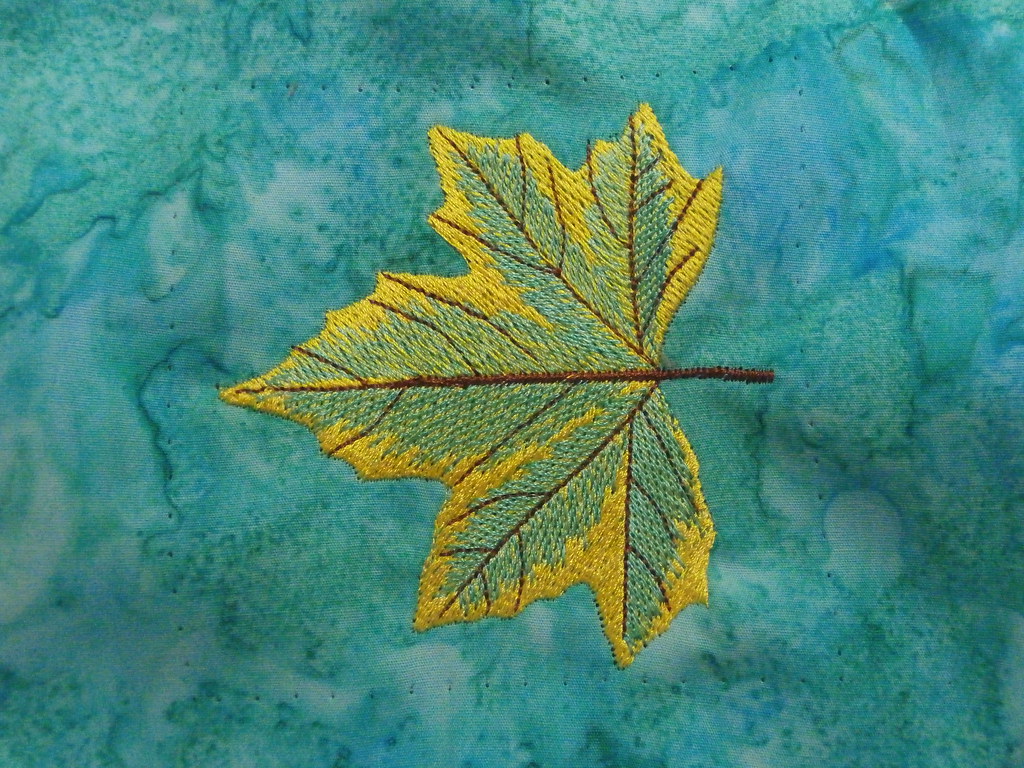
So, of course, I chose a leaf. This was my first attempt. I can't remember what the problem was, but the computer told me to stop and then I couldn't get it started at the same place!
This was my next attempt, getting a little further along, but after it threw up another error, I got it started, but at the wrong place!
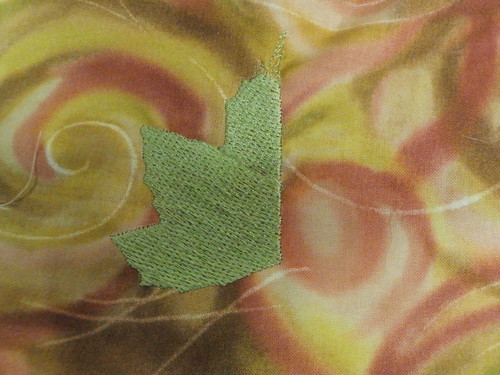
Aha! third time lucky! I finally worked out all the little problems! This one still had a little tension problem at the start, but it was passable.
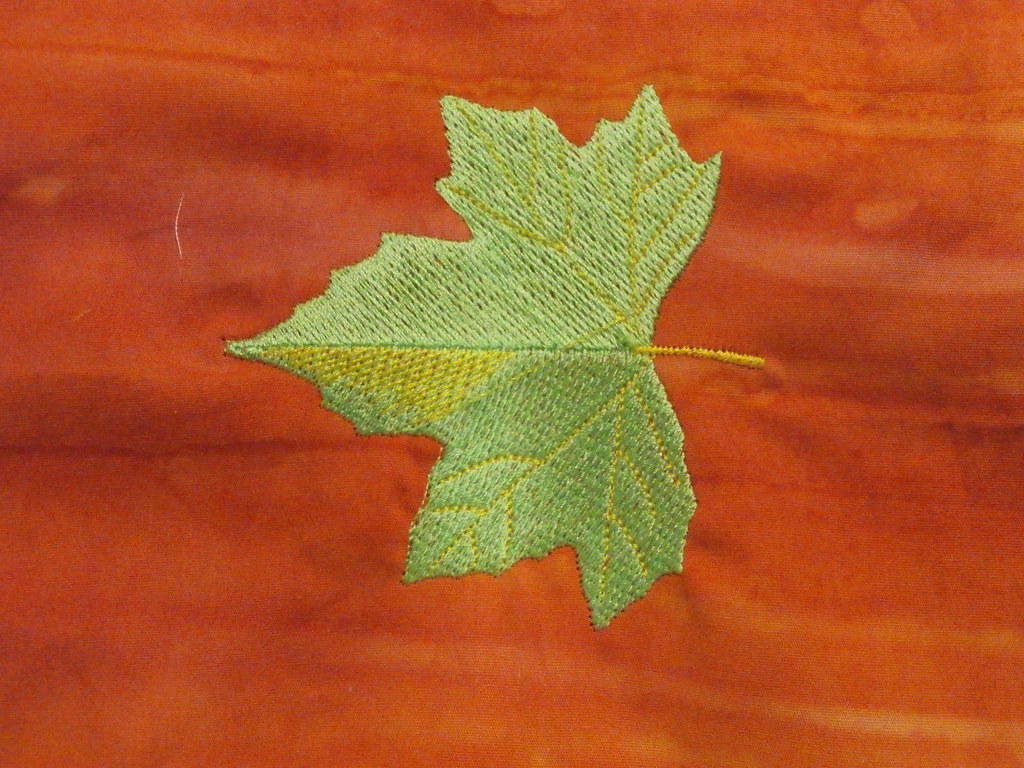
I now have three of these worked on different fabrics with different colours. I have had these blocks lying around for a while and I thought this would be a great way to practice, and end up with a quilt as well!
So my new toy is up and running. Now I have to tackle an even steeper learning curve of digitzing my own drawings and getting them to stitch out the way I want. The great thing about this is that I can be doing two things at once. As I am right now - blogging whilst the machine sews away next to me!
Happy Creating!
OMG! It's an embroidery machine! I have wanted one of these for many years and this year, I decided that it was time, now, because the prices were getting ridiculous! I managed to get a great price on this one at the show.
As I said, I have wanted one for ages, but not to make lots of stuff with commercial designs. I wanted to be able to digitize my own work and sew it out and to make lace-of course.
The last day and a half, after getting it home, I have been on a steep learning curve and have finally got it doing commercial designs correctly. I have made just about every mistake I could make and finally feel comfortable with it.
This was my next attempt, getting a little further along, but after it threw up another error, I got it started, but at the wrong place!
Aha! third time lucky! I finally worked out all the little problems! This one still had a little tension problem at the start, but it was passable.
I now have three of these worked on different fabrics with different colours. I have had these blocks lying around for a while and I thought this would be a great way to practice, and end up with a quilt as well!
So my new toy is up and running. Now I have to tackle an even steeper learning curve of digitzing my own drawings and getting them to stitch out the way I want. The great thing about this is that I can be doing two things at once. As I am right now - blogging whilst the machine sews away next to me!
Happy Creating!
Wednesday, April 23, 2014
Print mania
during the last week or so since coming home from the quilt convention, I have been doing a lot of printing. Mostly I use my silicone plate, which is like a gelatin plate, but permanent, which my hubby made for me and usually, I am printing....leaves. any one who knows me knows I am obsessed with leaves!
Mostly I do two or three layers.
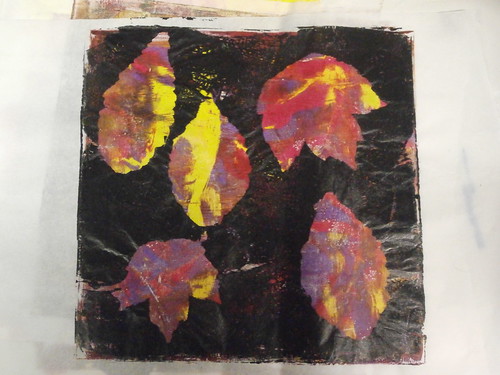
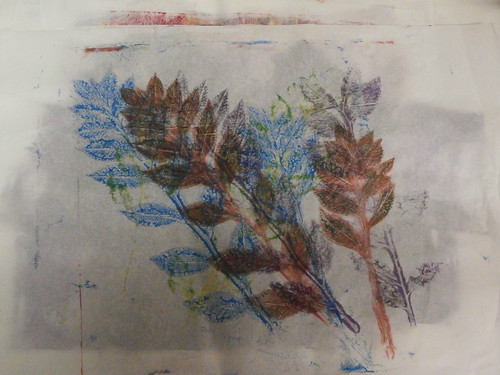
The one above has two layers. The coloured layer is lots of paint on the plate lifted off onto the paper. The black layer is what happens when you lay black paint down the the leaves on to of that, then lift a print. You can find more detailed instructions for my method here.
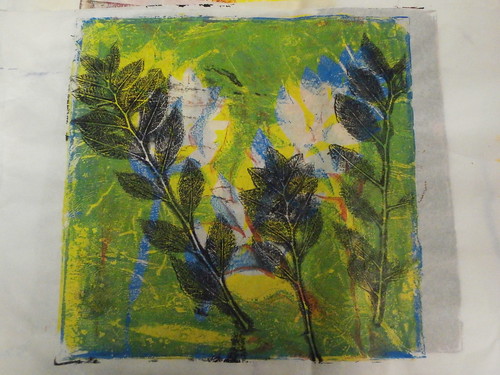
These prints are OK, but I really love what happens when you take the leaves off after this print-
the paint under the leaves prints out with the veins of the leaves defined. I really love this!
These are just a few of the many, many prints I have done over the last week. Or should I say 'mania'? When I am feeling a little out of sorts, it is so gratifying to do some mindless printing! Of course, then I need to find somewhere to put them all! I think I need to make some more fabric ones and put them together for a wall hanging!
Hope you enjoyed the eye candy.
Happy Creating!
Mostly I do two or three layers.
The one above has two layers. The coloured layer is lots of paint on the plate lifted off onto the paper. The black layer is what happens when you lay black paint down the the leaves on to of that, then lift a print. You can find more detailed instructions for my method here.
These prints are OK, but I really love what happens when you take the leaves off after this print-
the paint under the leaves prints out with the veins of the leaves defined. I really love this!
These are just a few of the many, many prints I have done over the last week. Or should I say 'mania'? When I am feeling a little out of sorts, it is so gratifying to do some mindless printing! Of course, then I need to find somewhere to put them all! I think I need to make some more fabric ones and put them together for a wall hanging!
Hope you enjoyed the eye candy.
Happy Creating!
Friday, February 21, 2014
And this is how it is done
I did promise a tutorial for how I printed the Leaves from yesterday
and here it is
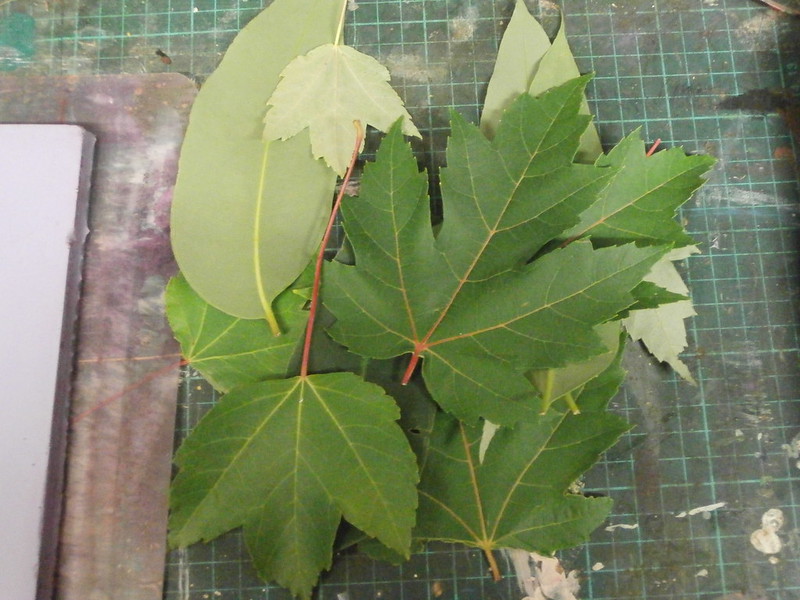
Of course you start with some leaves. I like to pick ones which have lots of veins.
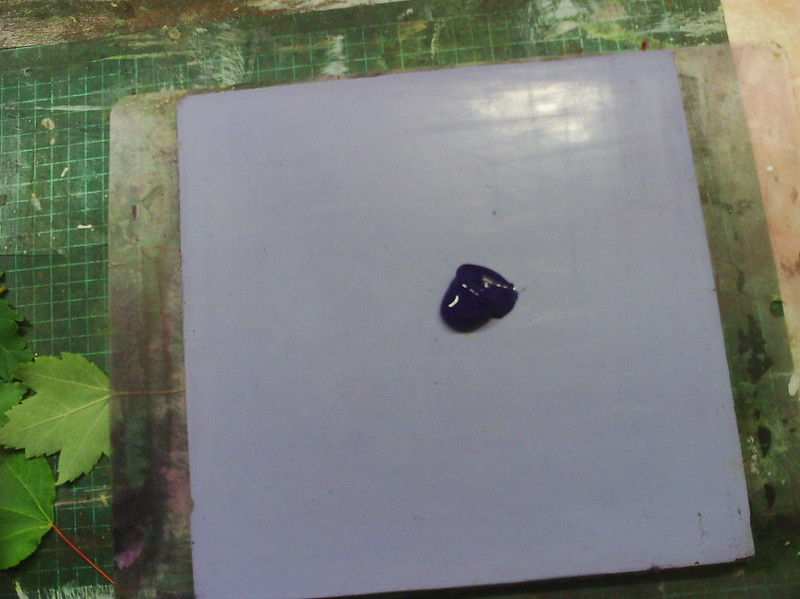
You need a plate to print from. Most people use a gelli plate, but this is a plate made from silicon rubber that my husband made for me. He made it from the stuff he uses to make molds for his railways.
I have tried this technique with a plate made from actual gelatin, but to get good prints you need to press hard and I find the leaf veins dig into the gelatin.
The roller is a hard rubber one, which, again, my hubby made for me from an old inkjet printer roller. He is a very ingenious bloke! But you can get these rollers from art suppliers. You can use a decorators dense foam roller from the hardware, it works well, but soaks up a lot of paint, so not only is there waste, it is hard to change colours, which I like to do a lot.
So we add paint. You can do this step on a palette and then apply to the plate, but I am extremely lazy!
Roller out the paint so it is even. I can see already that I have added too much paint. Obviously if you roller onto a palette first, then this is not likely to happen.
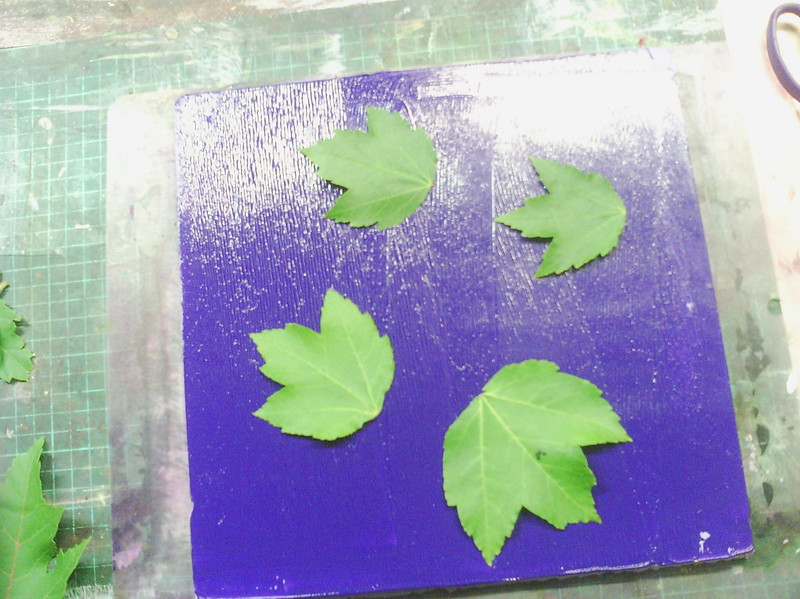
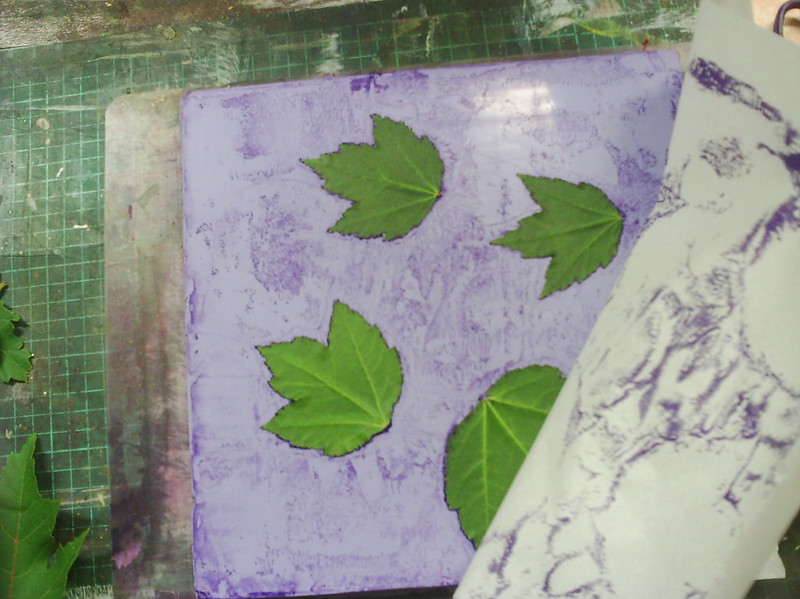
When you have an even layer of paint, add the leaves. just place them down lightly, if you press them, you will get fingerprints, later.
I place the leaves bottom, or vein side down, in order to get a better print later.
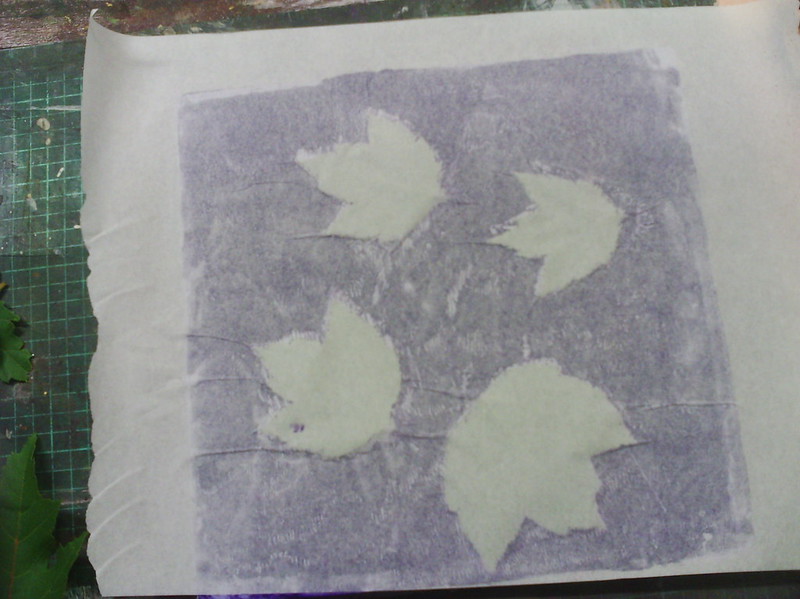
The next step is to place your paper (or fabric) down and to rub over the surface without moving it. I like to use my hands, so I can feel the edges of the leaves and make sure I get a crisp outline. You can use a clean roller, but I find that the paper can sometimes move and blur the print.
This is the type of print we get at this stage, a negative print. One thing to take into account is the thickness of the paper. The thinner the paper, the crisper the print will be. This, although it is thin, is quite stiff. Also, because I used too much paint it is a bit blobby and there is till paint around the leaves.
What we are trying to do here is remove all the paint from around the leaves.
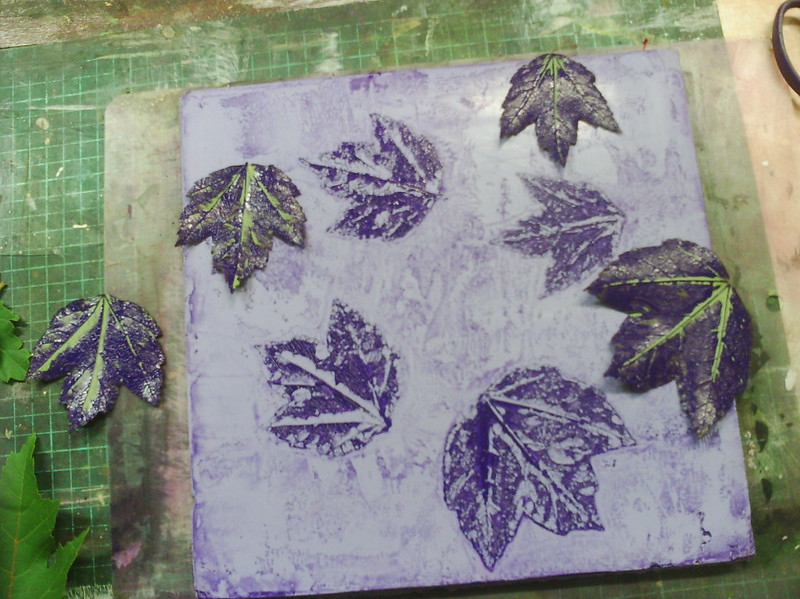
Because there was so much paint left over, I printed again. This is greaseproof paper, very similar to deli paper, which I often use as it is very thin, so prints very crisply, but also is easy to collage. On the right, you can see there is not much paint left on the plate. What is left is dry and will not move, but hopefully the paint under the leaves is still wet. This is the part of the printing where we get the lovely prints, so I hope so.
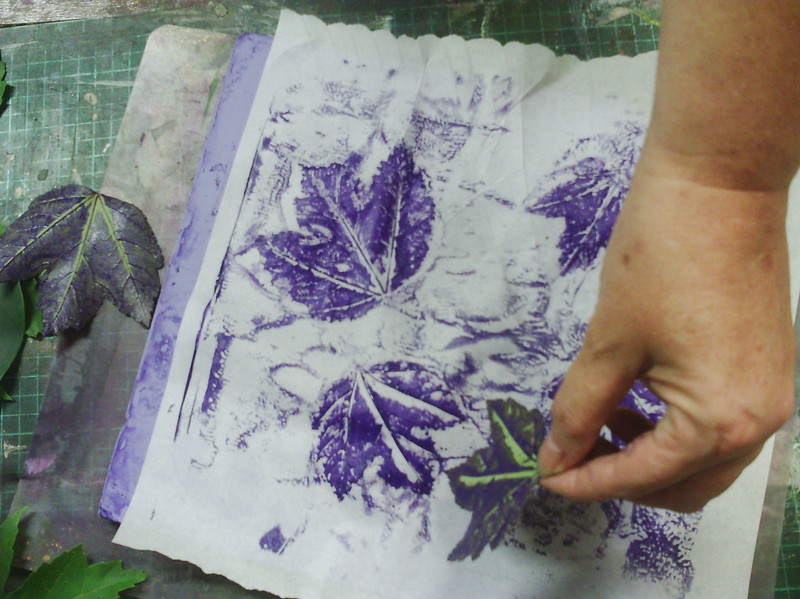
On the left above, I removed the leaves carefully, then on the right printed the paint that was left under the leaves.
Because I had too much paint, the leaf prints are not as delicate as some of the ones I showed yesterday, but at least there is good contrast and you can see what happens.
If you are really quick, you can also print the paint off the leaves themselves.
This brings me to the most important part of this process. Speed.
Because we are looking to get the leaf print at the end, we need to do everything very quickly, because the acrylic paint is drying all the time.
If, by chance you get to the end and those beautiful leaf prints have dried on the plate, there is a way that you can (sometimes) get the prints off.
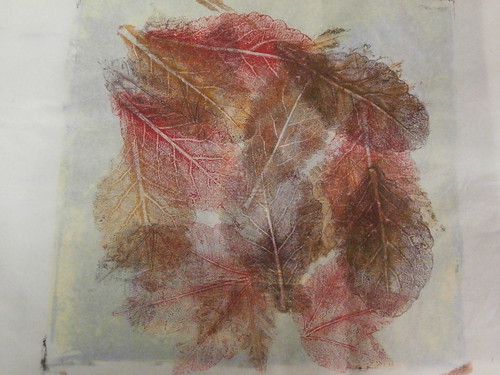
The red/burgundy leaves above were ones that actually had dried on the plate. What I did was to roller over some yellow ochre paint VERY CAREFULLY so as not to disturb the image. Let it sit for a few moments. You may even see the leaf prints melting into the rollered paint, then print, and here, you need to press quite firmly. I must say that this does not always work and requires a bit of practice, but it is possible. One thing to remember is to make sure the two colours contast well!
And when you are finished, I love how all the layers of paint on the leaves looks. I have lots of these, which I have kept and allowed to dry. I am currently looking for a nice big glass bowl to put them in.
Hope you enjoyed this tutorial. I am sure there are other ways to do this, but this is my favourite way.
Oh, and by the way. I do not clean my plate between prints. This allows me to get effects like this above, where the new paint and leftover paint have merged together to give a more interesting leaf.
Happy Creating!
and here it is
Of course you start with some leaves. I like to pick ones which have lots of veins.
You need a plate to print from. Most people use a gelli plate, but this is a plate made from silicon rubber that my husband made for me. He made it from the stuff he uses to make molds for his railways.
I have tried this technique with a plate made from actual gelatin, but to get good prints you need to press hard and I find the leaf veins dig into the gelatin.
The roller is a hard rubber one, which, again, my hubby made for me from an old inkjet printer roller. He is a very ingenious bloke! But you can get these rollers from art suppliers. You can use a decorators dense foam roller from the hardware, it works well, but soaks up a lot of paint, so not only is there waste, it is hard to change colours, which I like to do a lot.
So we add paint. You can do this step on a palette and then apply to the plate, but I am extremely lazy!
Roller out the paint so it is even. I can see already that I have added too much paint. Obviously if you roller onto a palette first, then this is not likely to happen.
When you have an even layer of paint, add the leaves. just place them down lightly, if you press them, you will get fingerprints, later.
I place the leaves bottom, or vein side down, in order to get a better print later.
The next step is to place your paper (or fabric) down and to rub over the surface without moving it. I like to use my hands, so I can feel the edges of the leaves and make sure I get a crisp outline. You can use a clean roller, but I find that the paper can sometimes move and blur the print.
This is the type of print we get at this stage, a negative print. One thing to take into account is the thickness of the paper. The thinner the paper, the crisper the print will be. This, although it is thin, is quite stiff. Also, because I used too much paint it is a bit blobby and there is till paint around the leaves.
What we are trying to do here is remove all the paint from around the leaves.
Because there was so much paint left over, I printed again. This is greaseproof paper, very similar to deli paper, which I often use as it is very thin, so prints very crisply, but also is easy to collage. On the right, you can see there is not much paint left on the plate. What is left is dry and will not move, but hopefully the paint under the leaves is still wet. This is the part of the printing where we get the lovely prints, so I hope so.
On the left above, I removed the leaves carefully, then on the right printed the paint that was left under the leaves.
Because I had too much paint, the leaf prints are not as delicate as some of the ones I showed yesterday, but at least there is good contrast and you can see what happens.
If you are really quick, you can also print the paint off the leaves themselves.
This brings me to the most important part of this process. Speed.
Because we are looking to get the leaf print at the end, we need to do everything very quickly, because the acrylic paint is drying all the time.
If, by chance you get to the end and those beautiful leaf prints have dried on the plate, there is a way that you can (sometimes) get the prints off.
The red/burgundy leaves above were ones that actually had dried on the plate. What I did was to roller over some yellow ochre paint VERY CAREFULLY so as not to disturb the image. Let it sit for a few moments. You may even see the leaf prints melting into the rollered paint, then print, and here, you need to press quite firmly. I must say that this does not always work and requires a bit of practice, but it is possible. One thing to remember is to make sure the two colours contast well!
And when you are finished, I love how all the layers of paint on the leaves looks. I have lots of these, which I have kept and allowed to dry. I am currently looking for a nice big glass bowl to put them in.
Hope you enjoyed this tutorial. I am sure there are other ways to do this, but this is my favourite way.
Oh, and by the way. I do not clean my plate between prints. This allows me to get effects like this above, where the new paint and leftover paint have merged together to give a more interesting leaf.
Happy Creating!
Subscribe to:
Posts (Atom)