Showing posts with label stamps. Show all posts

Friday, June 6, 2014

A new leaf sketchbook

I have been working in a new LEAF sketchbook over the last few months.  I filled my last one on leaves a while ago.  I am a bit of a leaf fanatic.  I will put a leaf on anything.
Anyhow, over the last week I have been working on stamping, stencilling and painting leaves for that book. I thought you might like to see some of the bits and pieces I put together.
In the picture above are some of the bits and pieces I have collected to do with leaves.  A large number of stencils and stamps, and lots of different papers.  Although I generally use altered books for my sketchbooks, sometimes I add other pages when the need or the desire arises.
This page in the book used a mask I made from a sprig of leaves.  On the left, I rolled over the mask with black and gold paint, and on the right, I placed the mask, paint side down and rollered over it to get a positive.
The tree gum leaves are stencilled onto a sticker sheet, so when I put them on the page, they will form a mosaic.  The small gum leaves are stamped through plasterer's mesh and the gingko and ferny leaf are stamps
The large gum leaf on the left was stencilled by patting with a dirty baby wipe!  The next two large gum leaves used the mask and the stencil together.  The writing is stamped and the colour is sponged.  The three pale leaves are masks done with black on wallpaper and the last three leaves are stamps on handmade paper.
The three leaves on the left are the positive of the last stamp on the bottom right in the previous photo.  I made them at the same time.  These are on brown paper.  The three pages of gold leaves were stamped with foam shapes on wallpaper, Grey flecked paper and tracing paper.
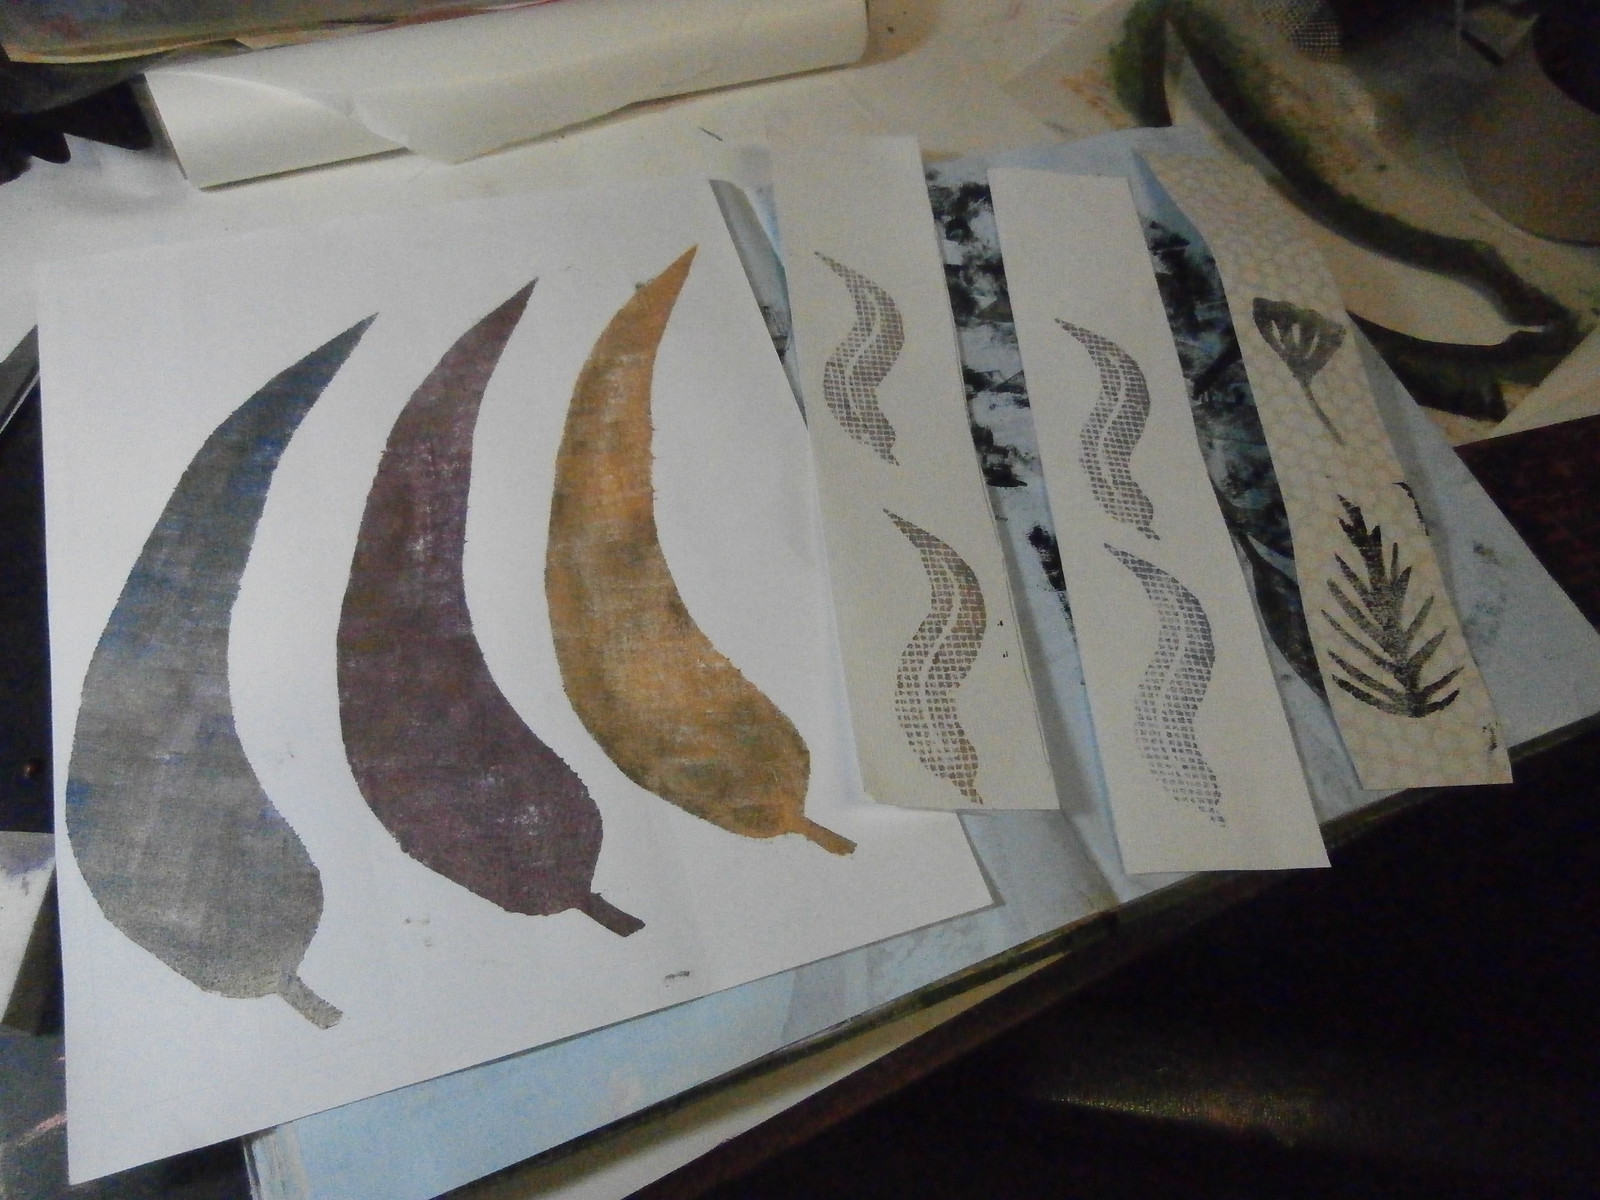
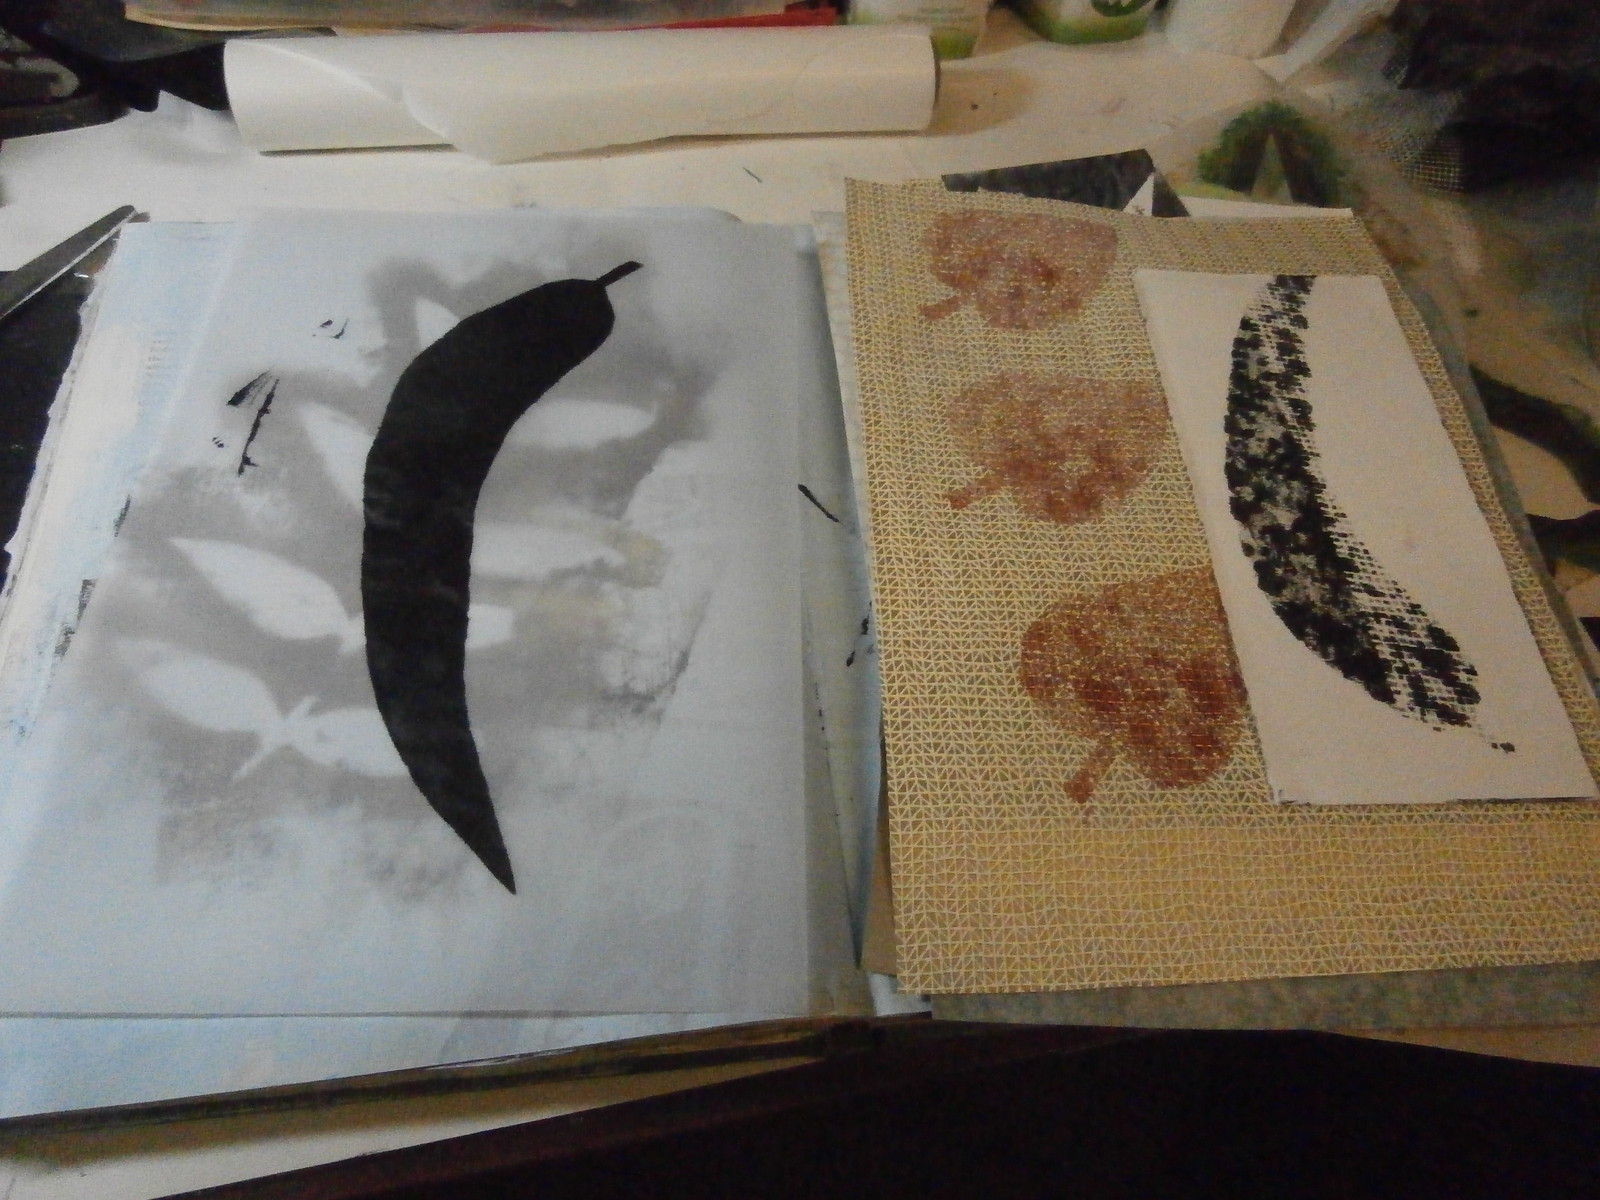
The large black gum leaf on the left is stencilled on tracing paper.  I love how it shows some of the page underneath.  The gold leaves are the same sponge from the previous photo, but on a textured wallpaper.  The last partial leaf was sponged over a piece of plasterer's mesh placed partially under it.
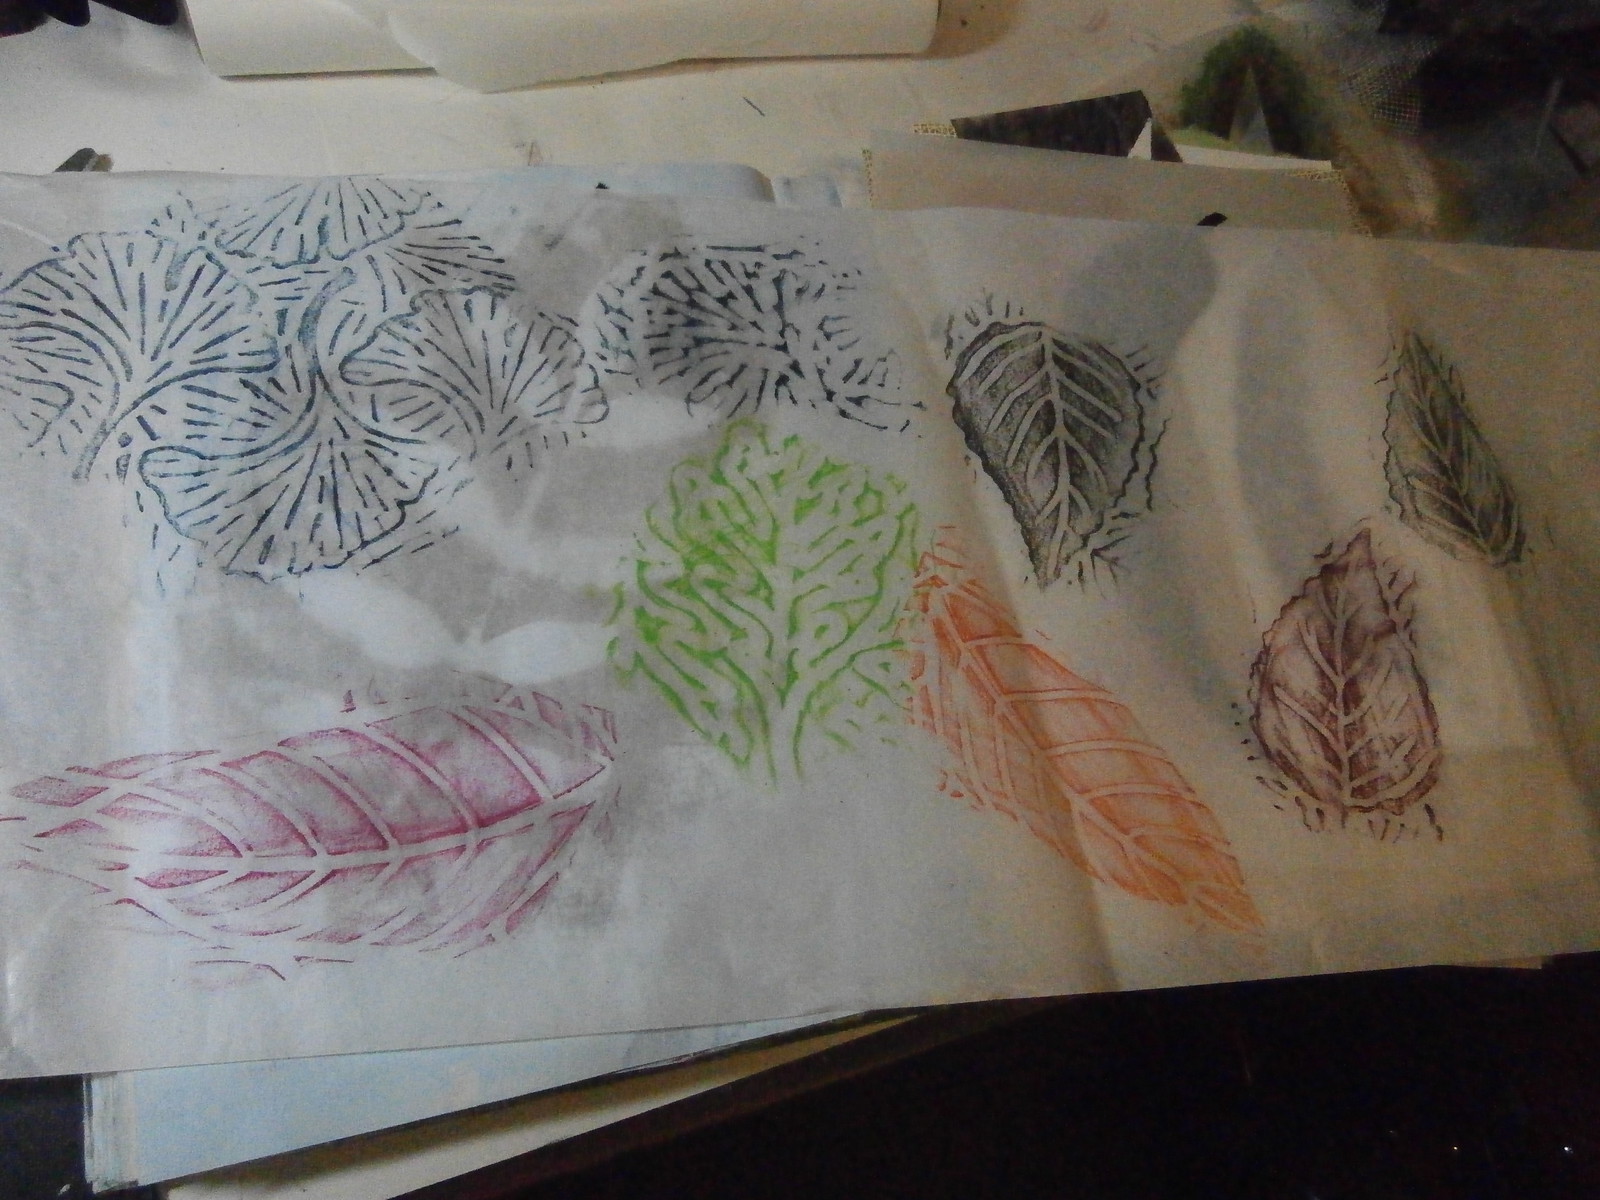
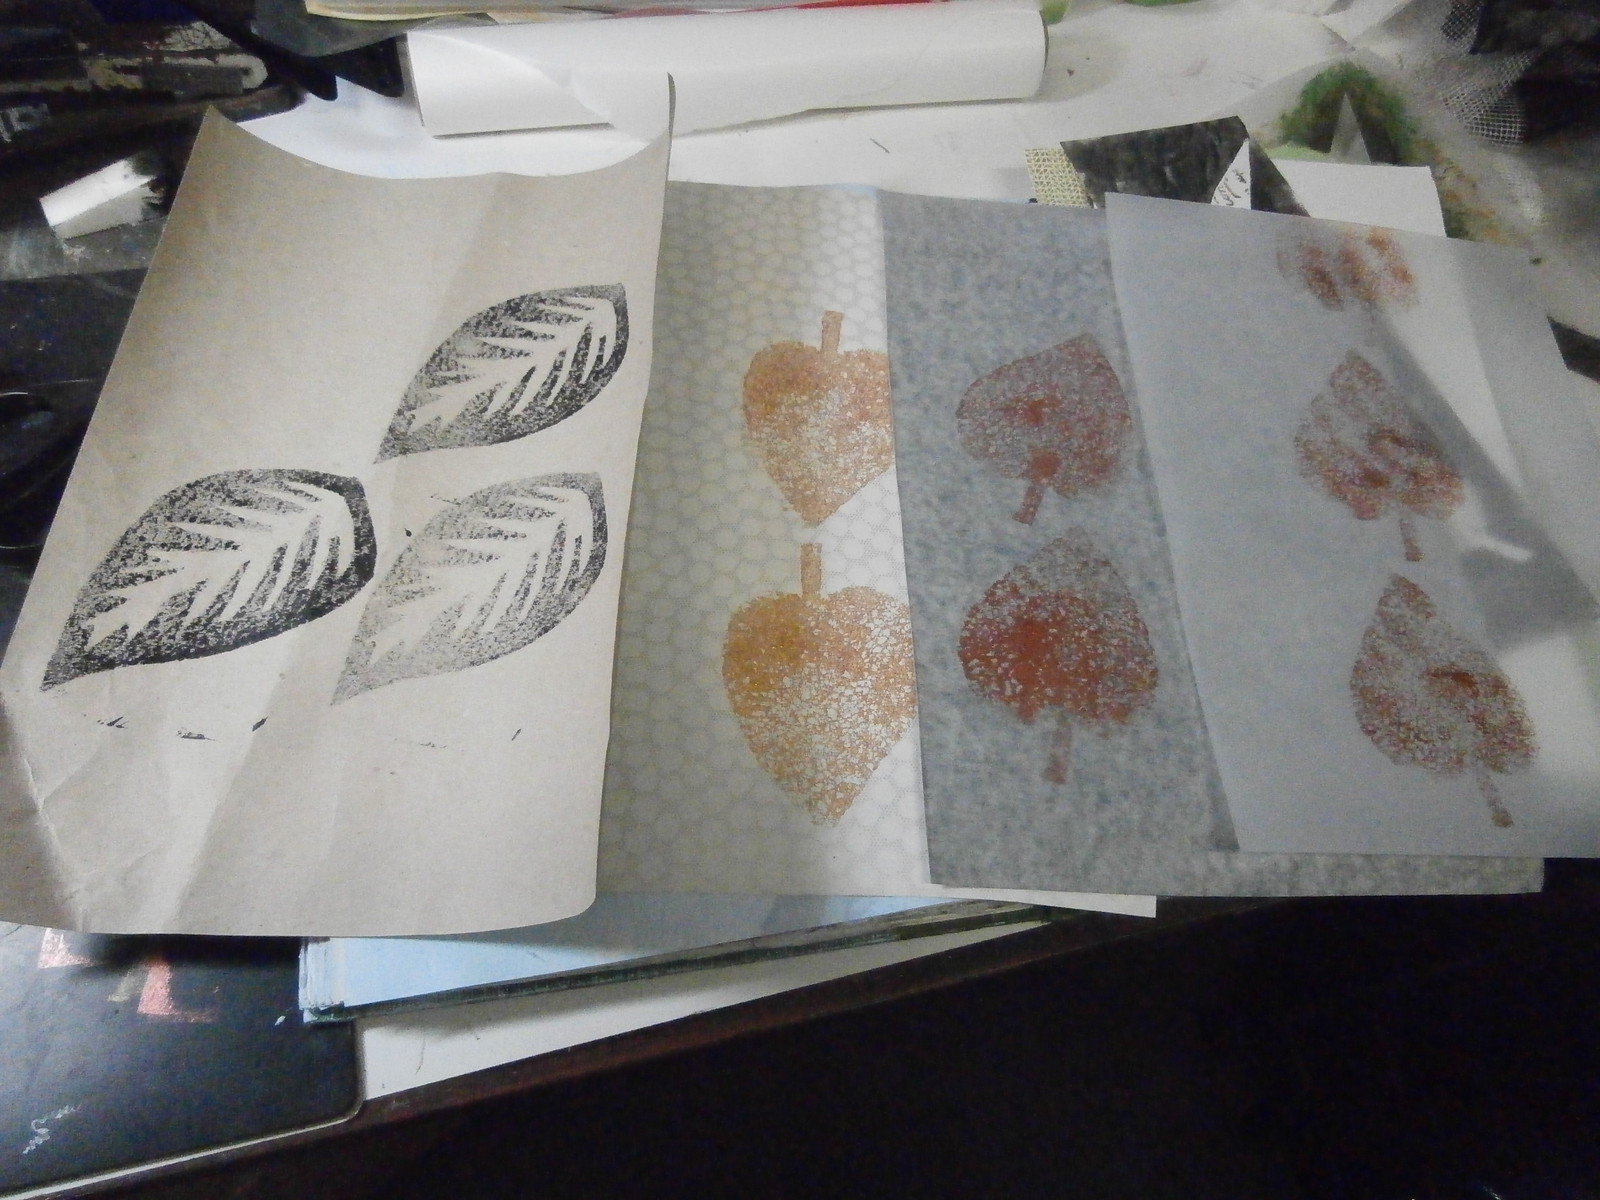
These are all rubbings from commercial rubbing plates.  The two black ones at the right are done with oil pastel.  The rest are with inktense blocks.  Oil pastel is a resist, whilst the inktense is like watercolour pencils and I can work into them both in different ways.
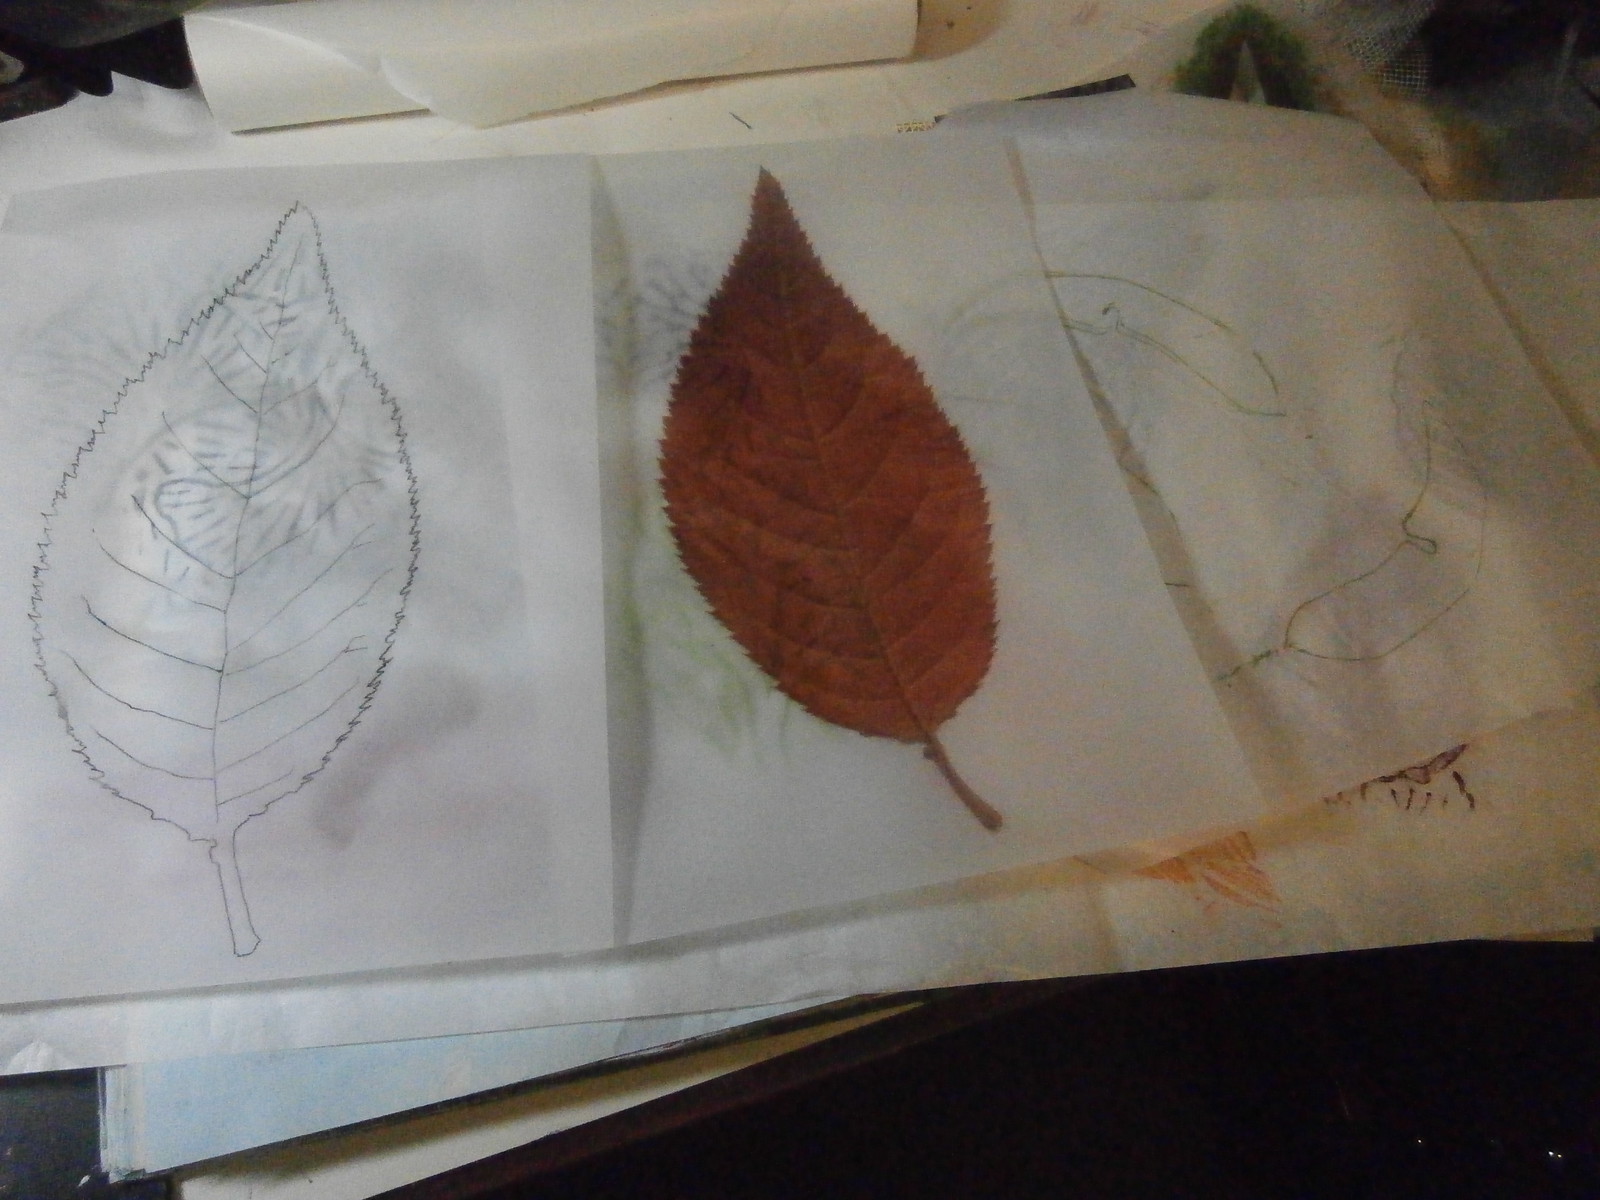
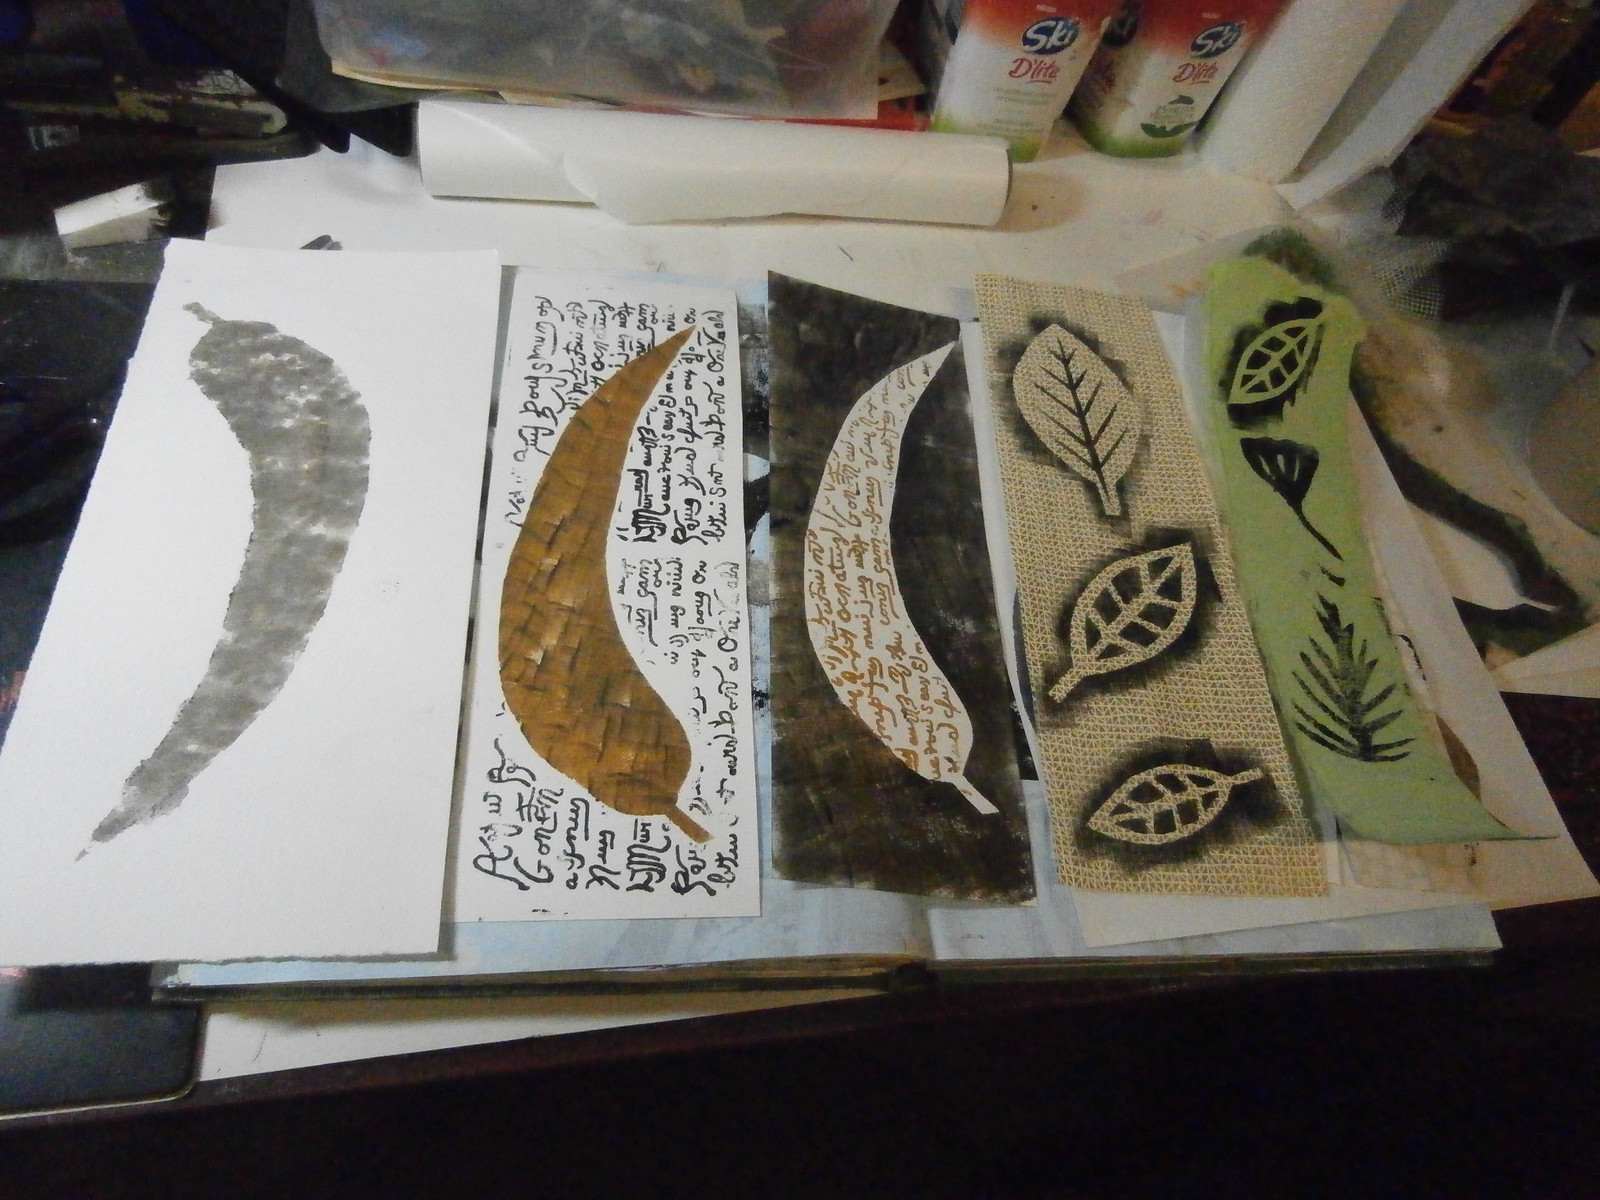
These two leaves are from a photo.  The left one is a tracing on tracing paper, whilst the right one is a printout from my computer on the same tracing paper.  If you look very carefully, on the far right are some rubbings from a gumleaf bent from wire on deli paper.
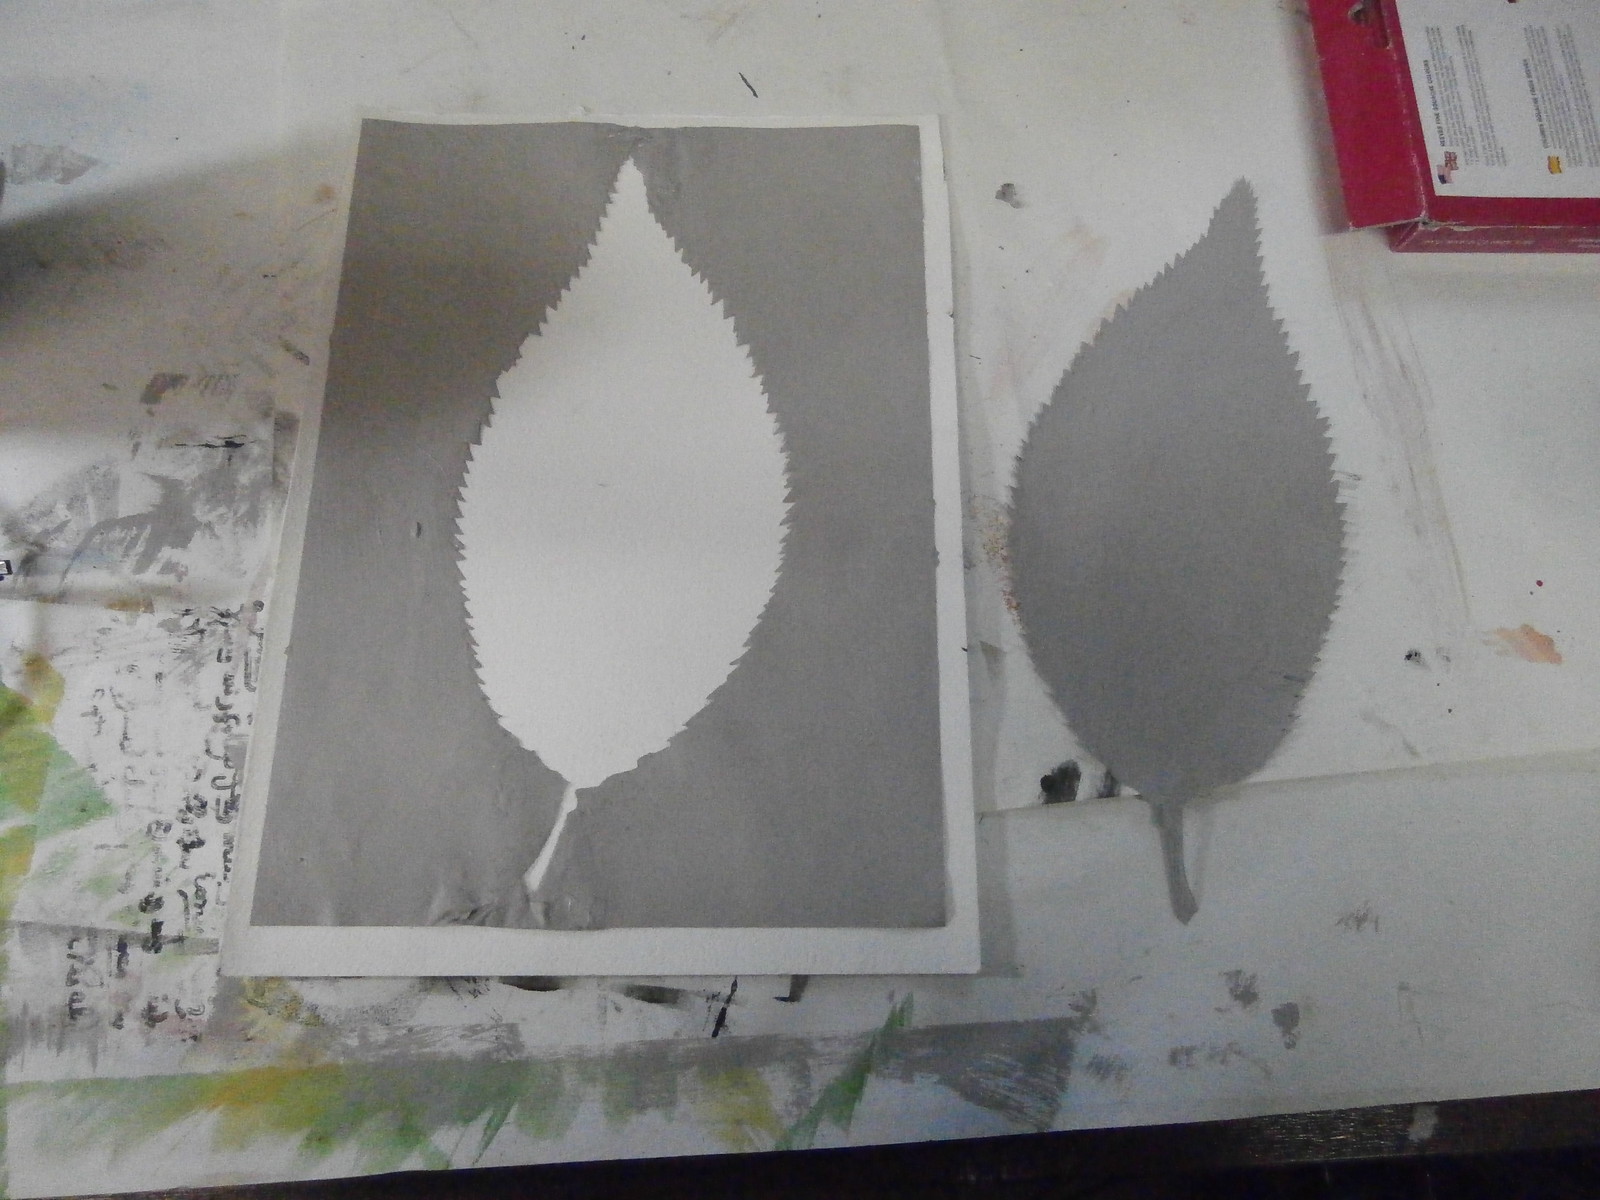
This is a leaf stencil and mask that I made from an inkjet printout of the leaf in the picture above.  I cut it with a scalpel to get all the details of the edge.  I used it, then thought, I want to keep using it. I wonder what would happen if I painted it with acrylic house paint?  Would it make it re-useable?  And it did.  I painted both sides, drying each in turn and then repainted it and reinforced the top and bottom where there is not much space.  so now I have a stencil and mask set to use over and over again!
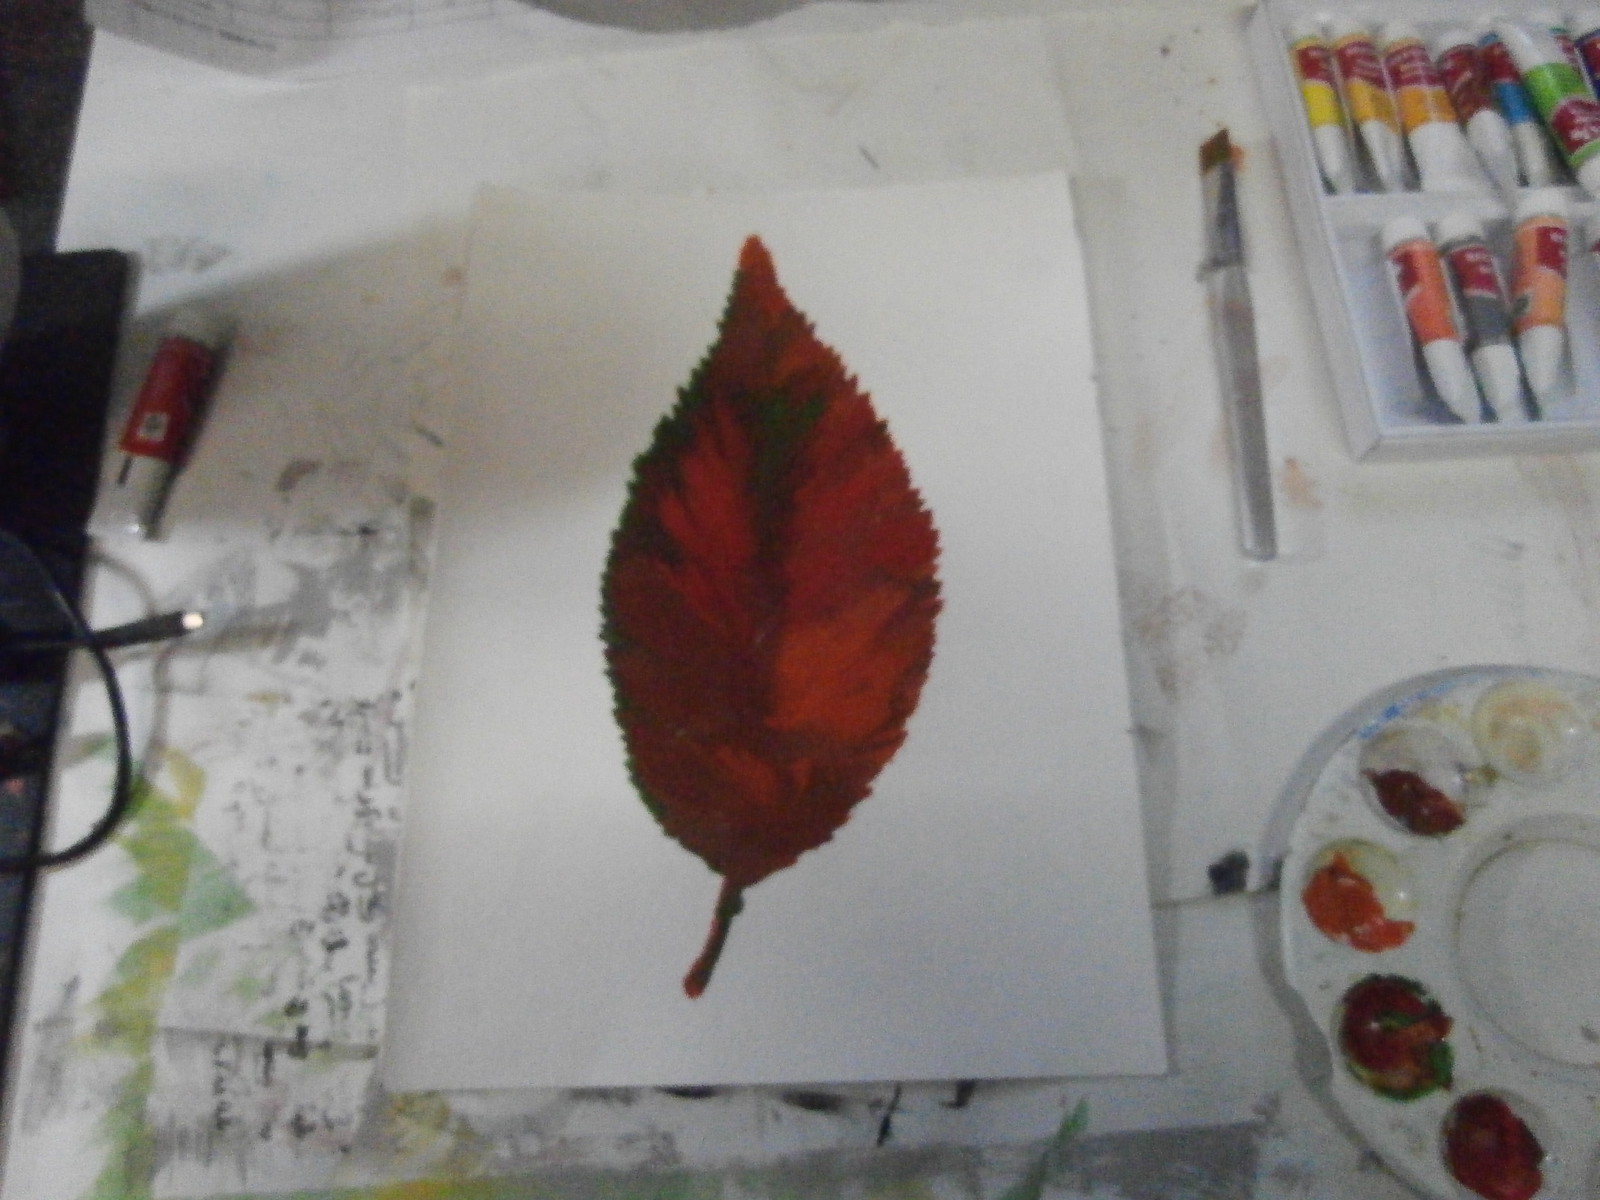
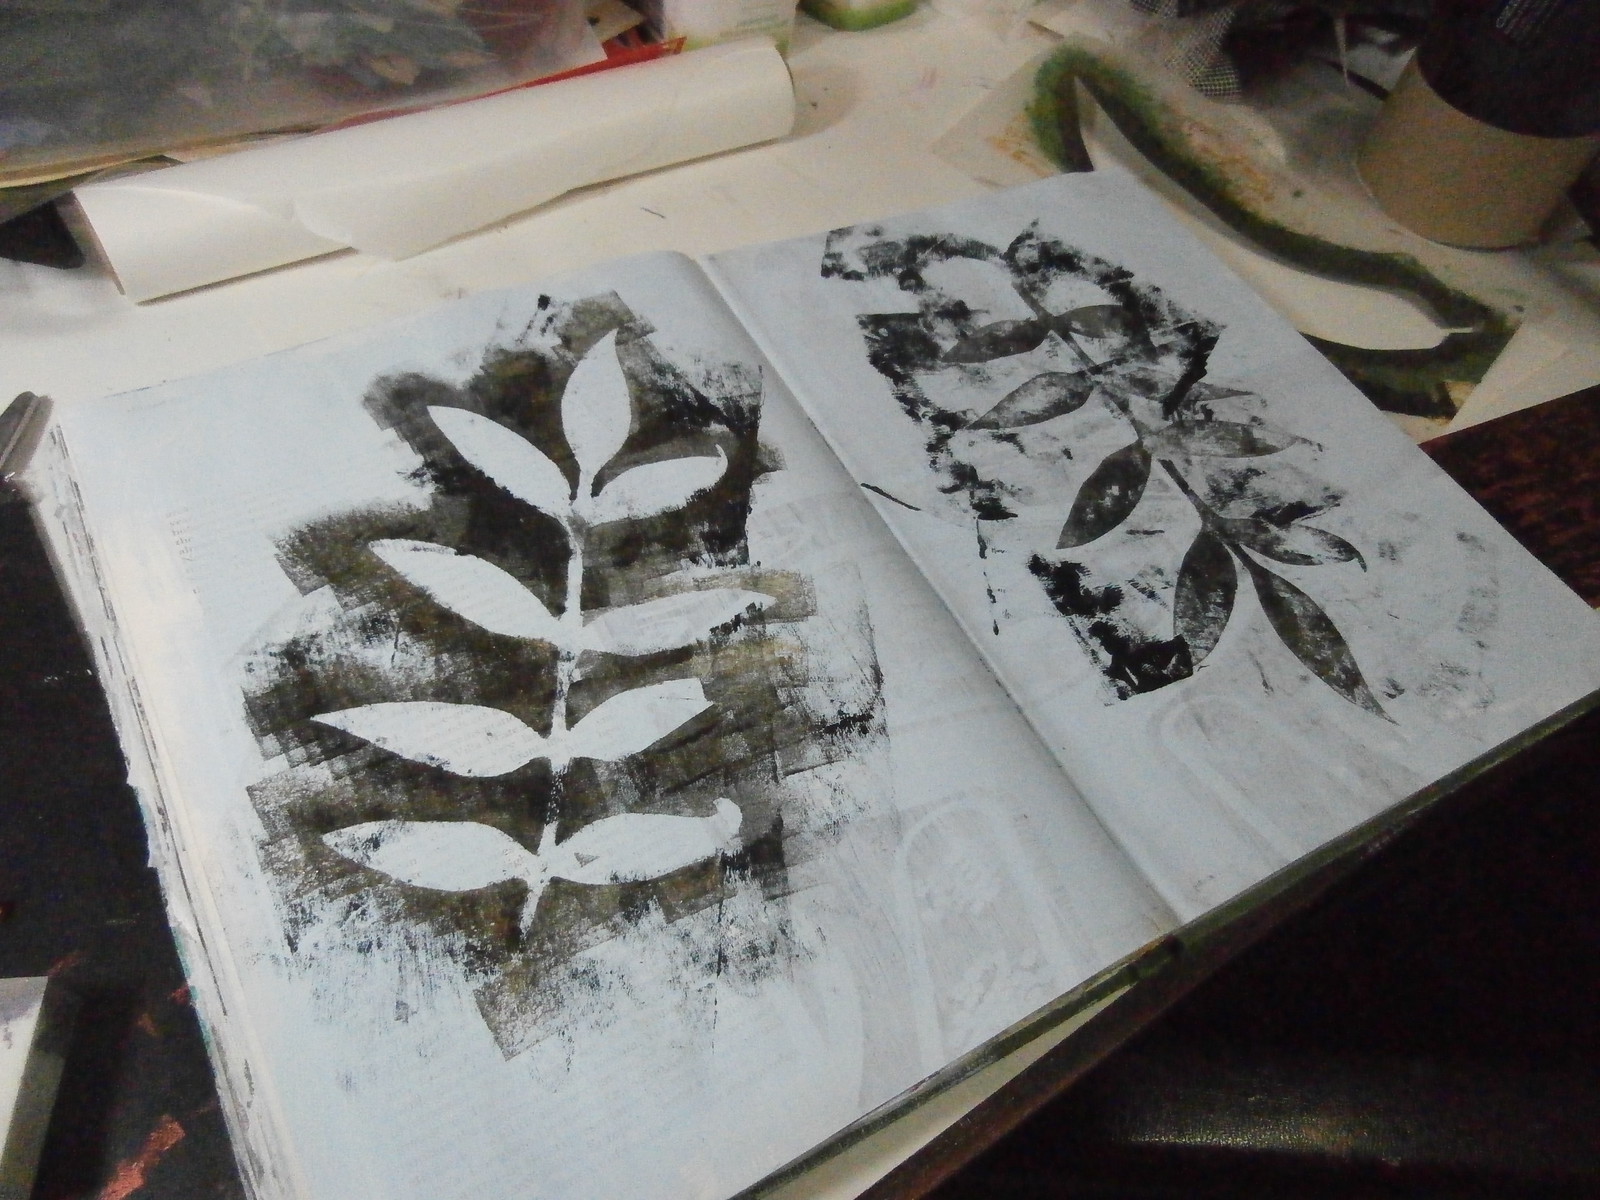
Here is a leaf I painted using the stencil onto HEAVY watercolour paper.  I used gouache, which is sort of like watercolour as it can re dissolve, but also like acrylic in being thick and opaque.
I let it dry thoroughly, then painted over the whole thing with black sumi drawing ink.  And I mean covered!
Then I let the ink dry totally.
When the ink was dry, I took the paper and WASHED it under the tap.  Miraculously, the ink washed off where the gouache was but not where there was clean paper.
I had been dying to try this out since I saw it on Design Matters TV and also in a Margaret Peot video.  As you can see above, I liked it so much, I did it again!
I have done a bit more than this and have put many pages together, but that will have to wait for another post!


Happy Creating!

Saturday, December 14, 2013

How to be creative without producing anything

I have been very creative today, but it did not yield results.....yet.
I was inspired to do some digital collage by a post here.
But long long ago, when I was using photoshop elements, it seemed easy.  My new laptop only has Gimp.  I know I can do what I want, but the how is another thing.  It did not happen today, but I will keep trying (or I will go and get photoshop elements again)
so What have I got to show? Not much - two started journal pages.

CCI14122013_00000
This page is a rubbing over wire (which I learnt from design matters tv), using water soluble crayons. needs more work, of course.

CCI14122013_00001
This page is using a couple of things i created today.  On the left is a stencil I created from one of my drawings and on the right is a stamp I created using fun foam after watching the new Art journaling Live recording from Interweave.  It is not a new technique, i have seen it before, but the video was very inspiring.  It was the tracey Bautista part of the video.
I really like both the stamp and the stencil, but of course i need to play with them a bit more.

Happy creating!

Friday, December 6, 2013

A little book 2

This morning, I finished the little book I started yesterday.

PIC_0143
i decided to stamp some leaves on the front of the pockets.

PIC_0145
Here are the six pages stamped.

PIC_0146
Next, I needed to put the holes in the pockets for binding.  I cut a piece of card the same length as the height of the pages
PIC_0147
I used this cardboard jig to punch oles in each card with my japanese screw punch.

PIC_0148
Here is the first one done

PIC_0149
and here all of them are done.

PIC_0150
Next, I chose some eyelets to add.  I used the black ones at bottom second to left.

PIC_0151
here is the first one done.

PIC_0152
And here are the front and back of the eyelets.

PIC_0153
Next I wanted to make the tags to go in the pockets.  Above I have traced my tags onto a laminating sleeve.

PIC_0155 PIC_0156
Here I have placed some pressed leaves in the traced shapes.

PIC_0157
Now, whilst my laminator is heating up and laminating the leaves, I am playing with some bits and bobs to add to the binding.  I have some leaf charms and ribbon and perle thread.

PIC_0158
I have added the charms to the perle thread and cut them all to a size for adding to the binding.

PIC_0159
As you can see here I have chosen to use hinged rings to bind my little book.  I chose these because I wanted the pages to turn easily.  If I had simply used the ribbon, the pages would catch and I want it to open easily.

PIC_0160
Here are my dangly things added.

PIC_0161
And this is what it looks like so far.

PIC_0162
Next I cut out my laminated leaf tags

PIC_0163
I put eyelets in the tags, added some ribbon or thread and ran a gold leaf pen around the edges.

PIC_0165
And here is the final book, which I am quite happy with.  I hope you can see how each little transparent leaf has it's own little pocket in the book.  Oh, and I also added the gold leaf pen to the edges of the pockets.

Happy creating!

Wednesday, September 12, 2012

more fusing fun

Now that I am back on the mend again, I have been doing some more work with my silhouette, which I am getting pretty proficient at I must say.
Yesterday at quilting group (where I was NOT quilting, but crochetting - as you do), I was leafing through a magazine and saw some pansies.  I thought they might make a pretty table runner for our stall, so I sketched up a few of them, then put them into my silhouette (Digital cutter) and cut out lots.
I made three different ones, just for variety.  I had lots of scraps left over....
And I am sure I will find a use for all of these, lol.
I started a little journal quilt from the tiniest scraps.
I will probably just do some hand embroidery over these strips, but they were so colourful, I just had to do it.
Here is how the little flowers go together.  I put some little yellow bead in the centre just to see how it looked.  These are just laid out, not fused yet, because I can't decide what background to use.
What do you think?  I do like the top left, but perhaps it is a little low contrast, perhaps the bottom right?
I have also been working in my journals, mostly just putting background layers down to add to later.
This one is just a bit of paint on gesso, then had glad wrap (Saran) scrunched over whilst still wet.  It makes a nice texture.
This one is just a few greens dry brushed on (a great way to ruin your brushes, too)
This one is just a bit of left over paint brushed on.
And this one was just playing with a few colours in squares.  The copper is a metallic paint.
These samples are from a while ago, I was playing with different textures and coloured gesso.  I used forks, sticks and laying pages together and peeling off on the first one, stencilling, stamping and tape in the second one.  A comb and a pencil on the third one.

And these two are on fabric, with some stitching.
These are fabric paper samples, with sprayed, dripped and blotted inks.

 these are playing with watercolour on wet paper
These are playing with all types of circles collected around the house.
As you can see, I recycle everything.  Some of the samples are on old flashcards from my teaching days, lol

And just for interest, here is another butterfly
This one was a rubbing over a stencil with soft chalk pastels.
I wonder, is a butterfly a new beginning?

I saw this quote in the quote of the day at the top of my blog (wednesday, it changes each day), and had to make a new digi inspiration!