Showing posts with label books. Show all posts

Sunday, January 11, 2015

Journals everywhere

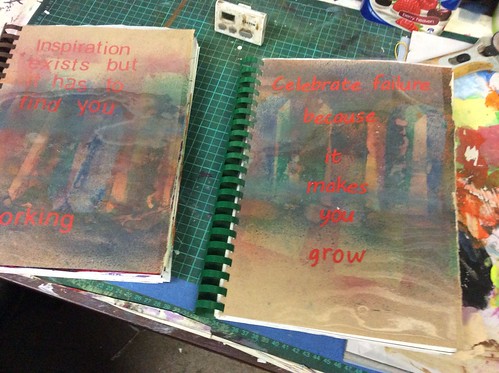
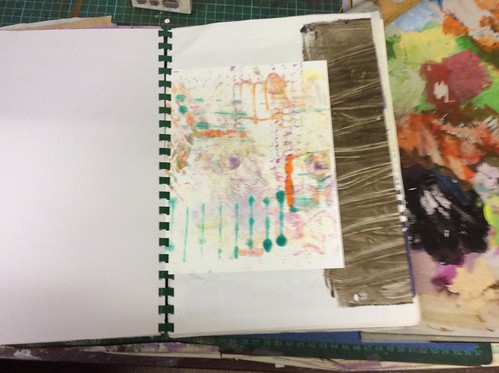
Yesterday, I spent some time, gong through my huge stash of gelli prints and put together two new journals.
As you can see I am really short on journals!  Hmmm.  Well, I still went ahead and made two more.
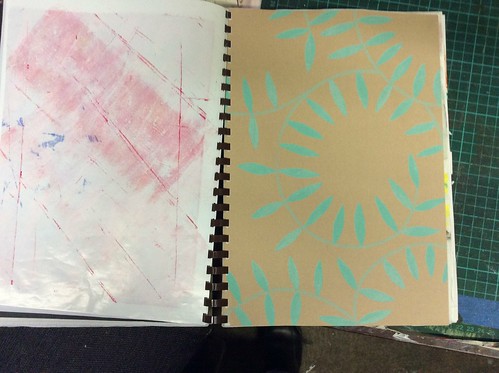
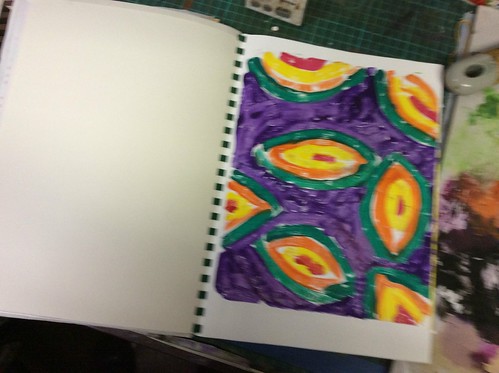
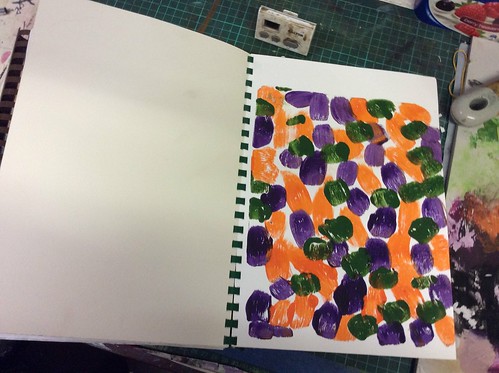
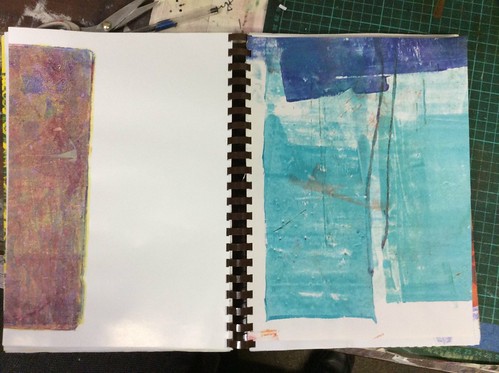
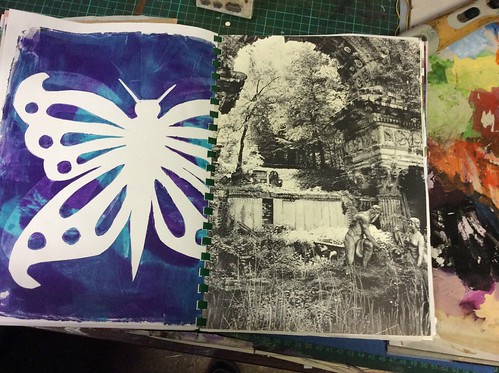
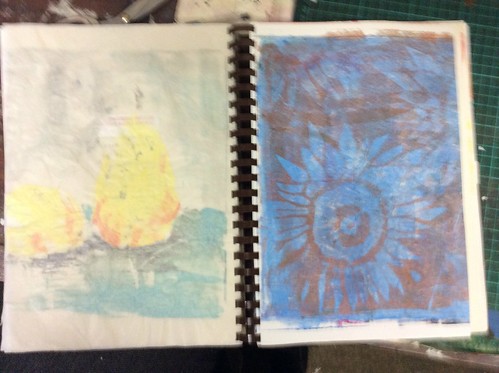
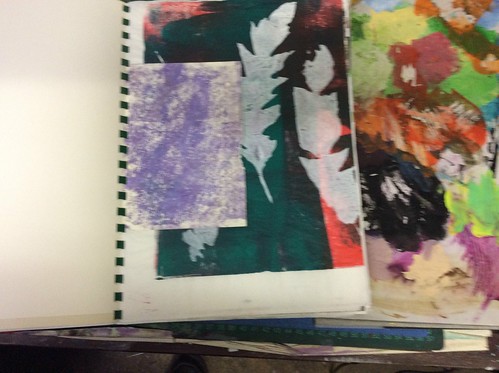
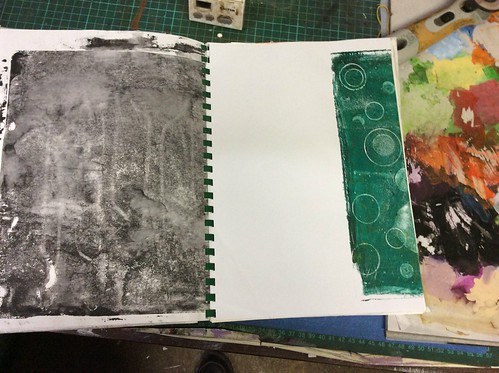
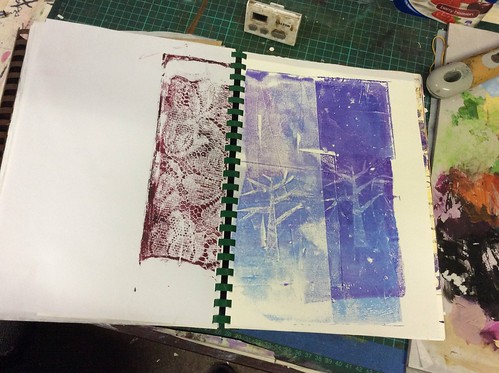
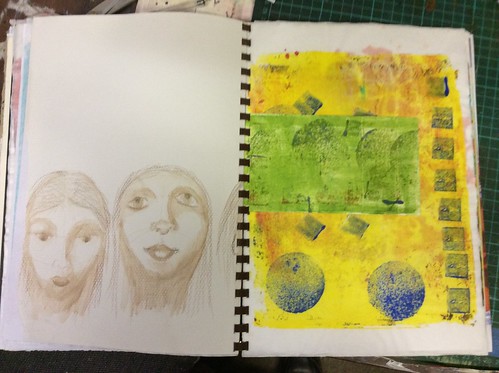
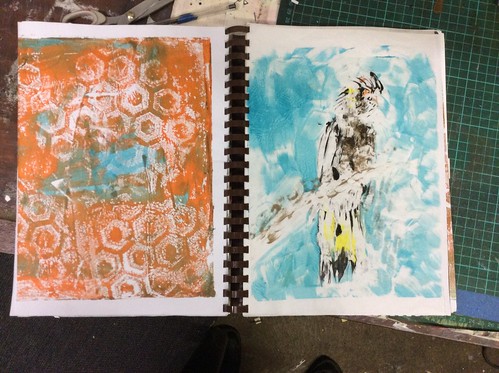
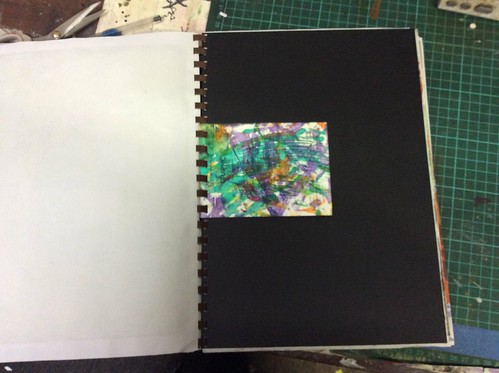
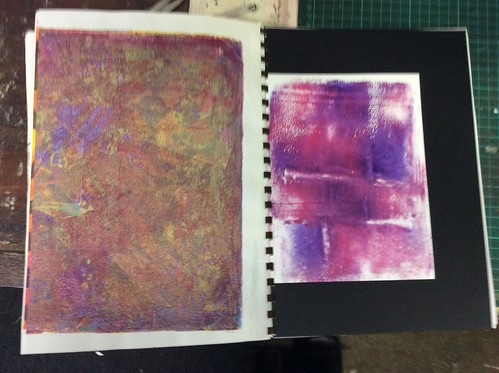
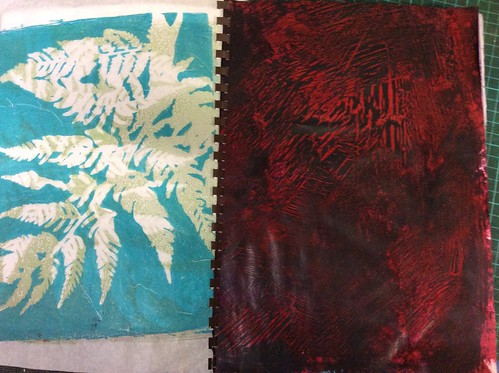
I call these "Serendipity" journals, because they have a mix of blank and coloured/printed pages, so it is just fate what you get to work on.  I find I tend to create things I never thought of or planned with these journals.  Here are a few spreads.
As you can see, I have a variety of pages, including deli paper, cartridge paper, watercolour paper, card and even some black card as well as a wide variety of prints and failed prints, all bound together using my old comb binder.  I am quite pleased with these.

Here are a couple of recent art journal pages

This one started with a scrap of watercolour paper with some test painting on it and a tree cut from a page taken out of an altered book.  The branches were cut of in the cutting, but I put them back in with drawing.  The autumn leaf drifts began as bits of gelli prints which I scribbled all over with oil pastel then melted with the heat gun and moved around with a baby wipe.  It turned out very atmospheric!
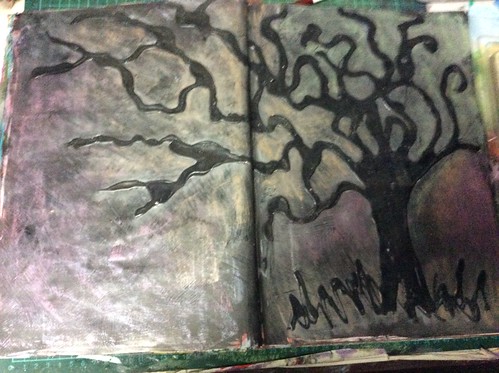
This page has sat around for nearly a week.  I had "drawn" the tree and grass, with some elmer's glue on a coloured background and intended, when the glue was dry, to wash over black ink and wipe it off from the glue to create a coloured tree on a black background.  But alas, the ink dried too quickly and I couldn't get it off.
today, whilst I was playing with the oil pastels, I thought I could rub over the tree and get the pastel on the glue, but again, that did not work, as the pastel also got onto the background as well in places.  As I was rubbing the background to try uselessly to remove the pastel, it simply created more of a misty background - AND  the cloth rubbed the pastel off the glue!  So I eventually, after many plays, got the opposite effect of what I originally intended, but I really like it and especially love the shiny, black dimensional tree.


Happy Creating!

Friday, December 6, 2013

A little book 2

This morning, I finished the little book I started yesterday.

PIC_0143
i decided to stamp some leaves on the front of the pockets.

PIC_0145
Here are the six pages stamped.

PIC_0146
Next, I needed to put the holes in the pockets for binding.  I cut a piece of card the same length as the height of the pages
PIC_0147
I used this cardboard jig to punch oles in each card with my japanese screw punch.

PIC_0148
Here is the first one done

PIC_0149
and here all of them are done.

PIC_0150
Next, I chose some eyelets to add.  I used the black ones at bottom second to left.

PIC_0151
here is the first one done.

PIC_0152
And here are the front and back of the eyelets.

PIC_0153
Next I wanted to make the tags to go in the pockets.  Above I have traced my tags onto a laminating sleeve.

PIC_0155 PIC_0156
Here I have placed some pressed leaves in the traced shapes.

PIC_0157
Now, whilst my laminator is heating up and laminating the leaves, I am playing with some bits and bobs to add to the binding.  I have some leaf charms and ribbon and perle thread.

PIC_0158
I have added the charms to the perle thread and cut them all to a size for adding to the binding.

PIC_0159
As you can see here I have chosen to use hinged rings to bind my little book.  I chose these because I wanted the pages to turn easily.  If I had simply used the ribbon, the pages would catch and I want it to open easily.

PIC_0160
Here are my dangly things added.

PIC_0161
And this is what it looks like so far.

PIC_0162
Next I cut out my laminated leaf tags

PIC_0163
I put eyelets in the tags, added some ribbon or thread and ran a gold leaf pen around the edges.

PIC_0165
And here is the final book, which I am quite happy with.  I hope you can see how each little transparent leaf has it's own little pocket in the book.  Oh, and I also added the gold leaf pen to the edges of the pockets.

Happy creating!

Thursday, December 5, 2013

Little booklets

This evening I have been playing with some recycled cardboard stuff.
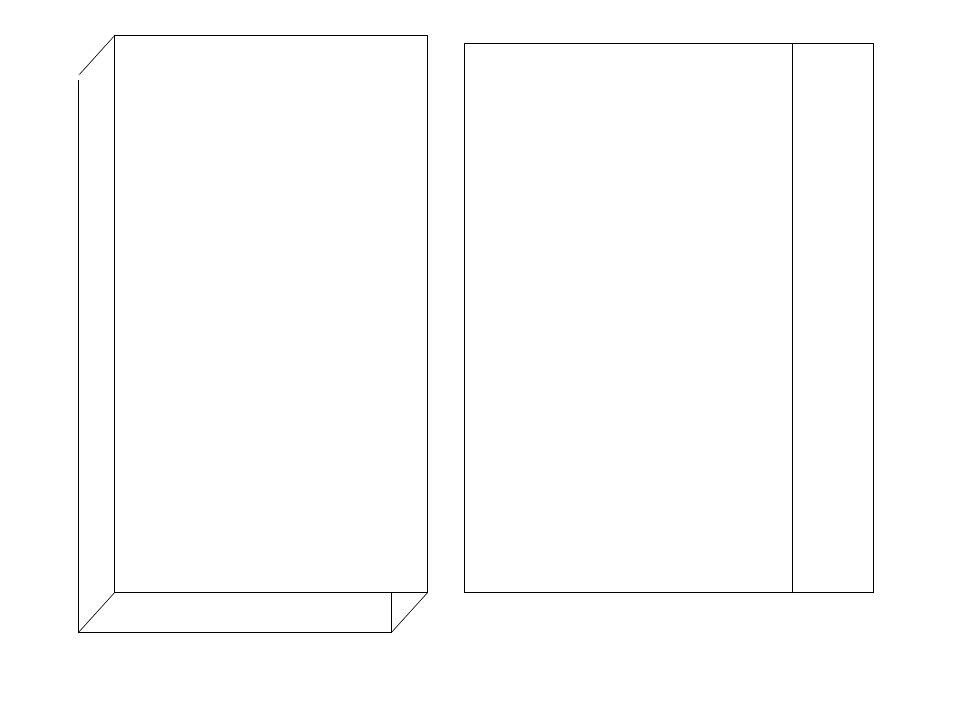
I collect all the boxes from scripts and other packaging.  I love my medication boxes, because they are small and I end up with sets of boxes that can form books
the diagram above shows how I remove the ends of the boxes and flatten them to form a sleeve that I can put things in.

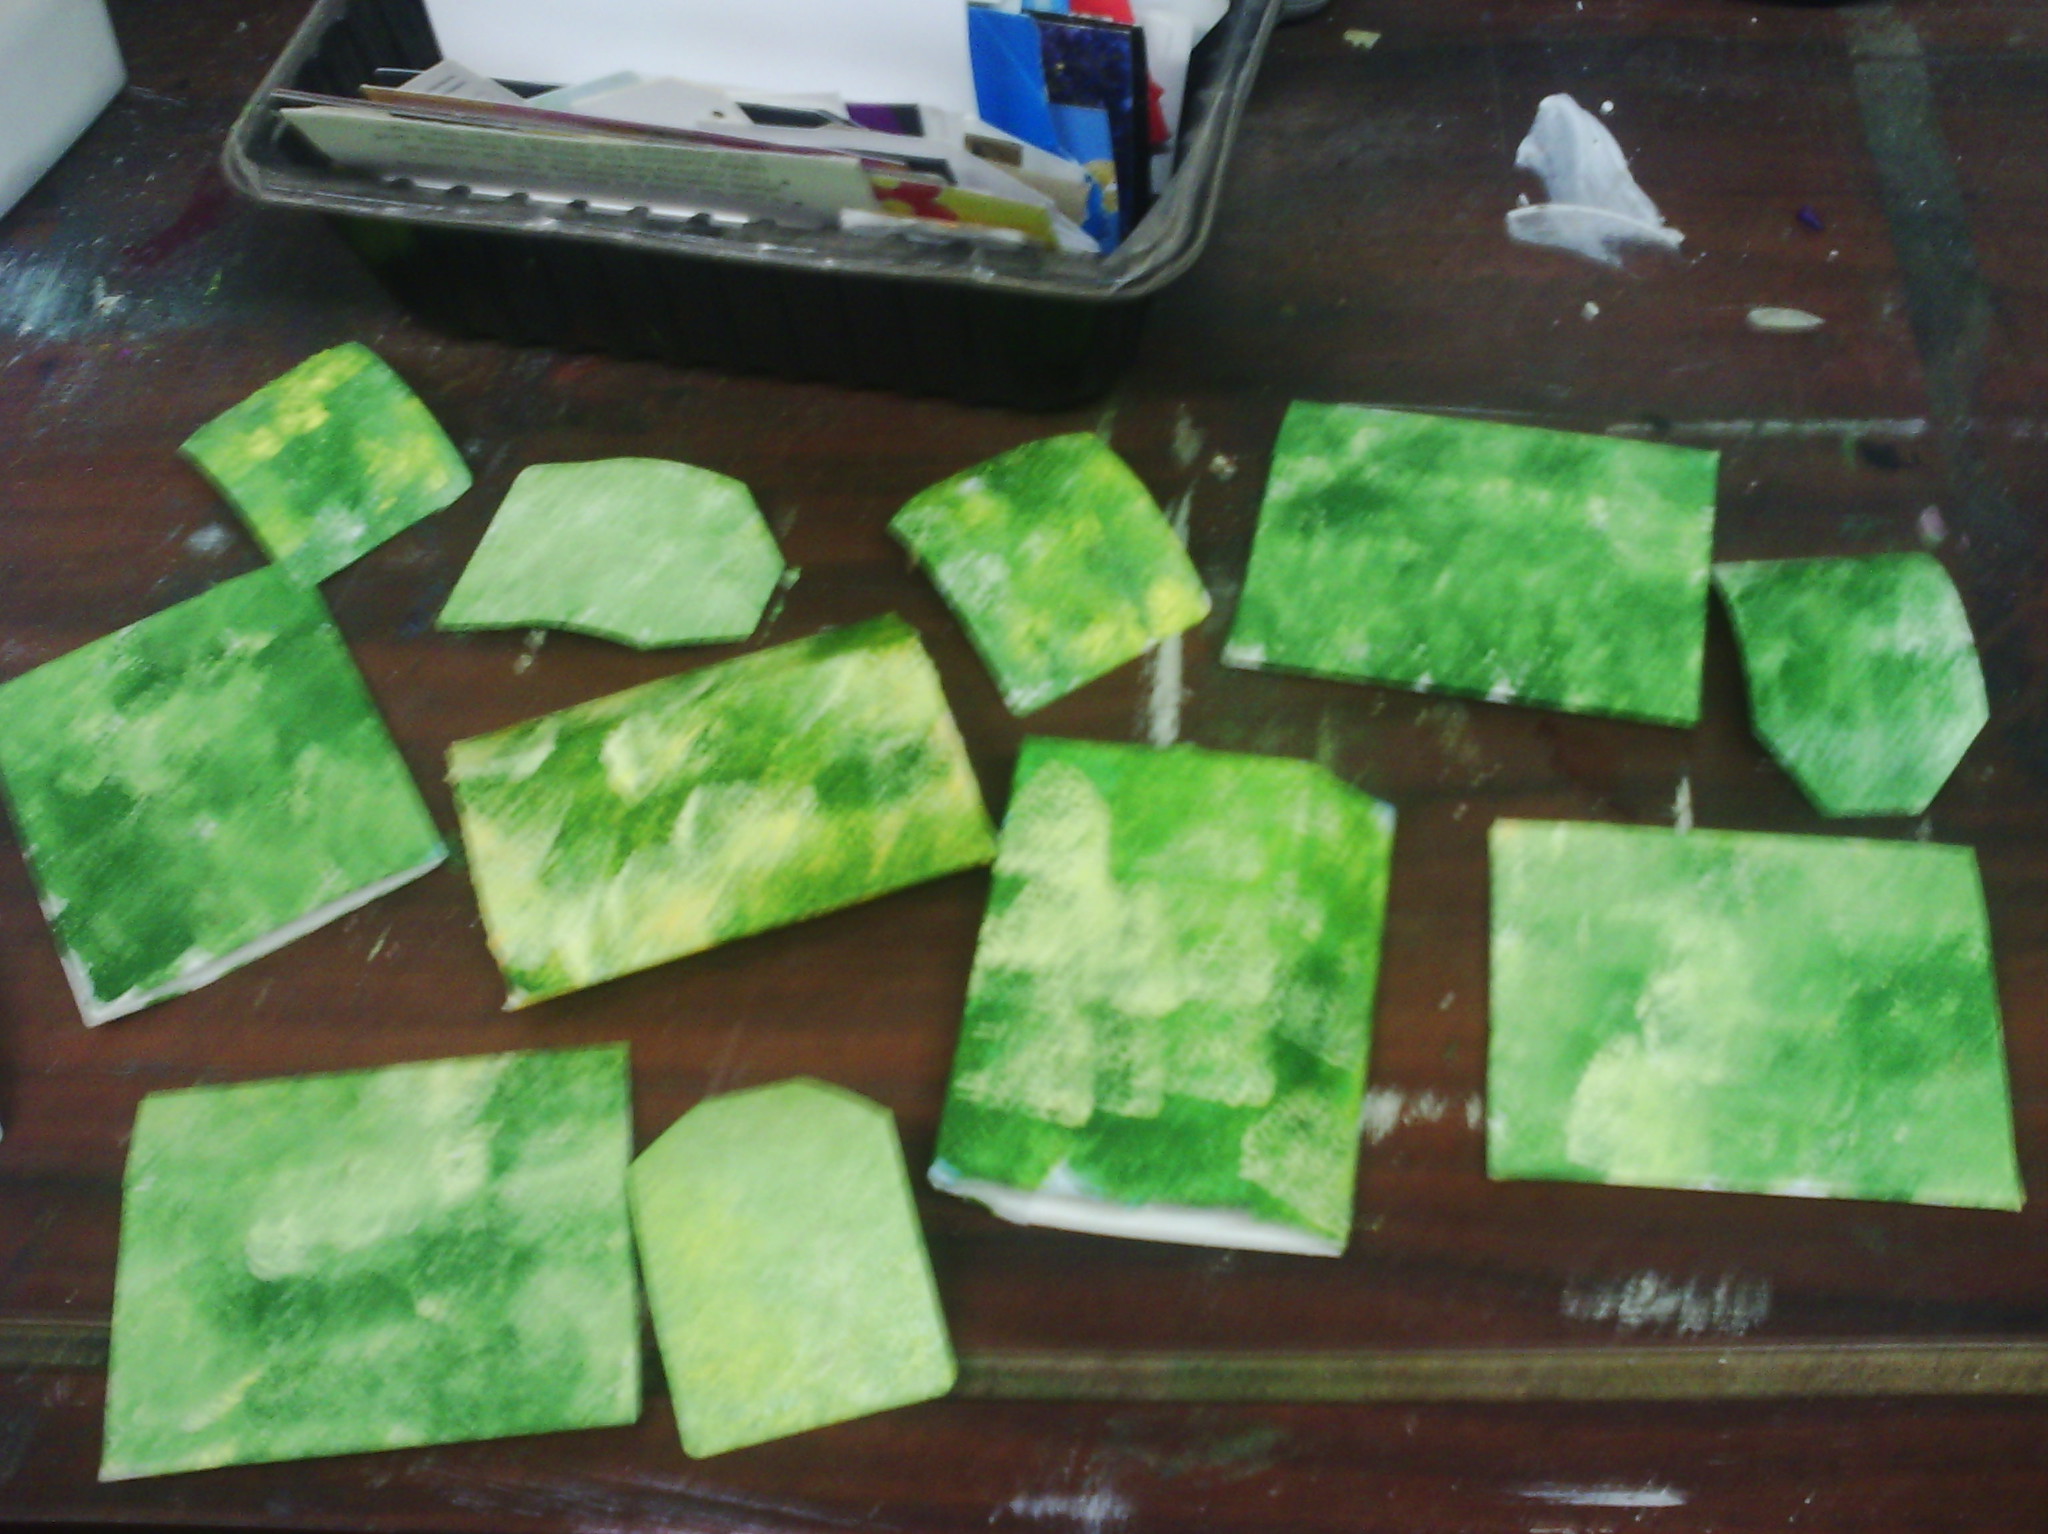
Here is my palette with acrylic paint and a sponge which I used to cover the sleeves.
Above in this blurry photo (sorry), you can see some  of the box sleeves and some tags which I cut from other card pieces.  I must say that the surface of the packaging is usually a bit glossy, so I sand the surfaces and wipe them clean a little before applying the paint.
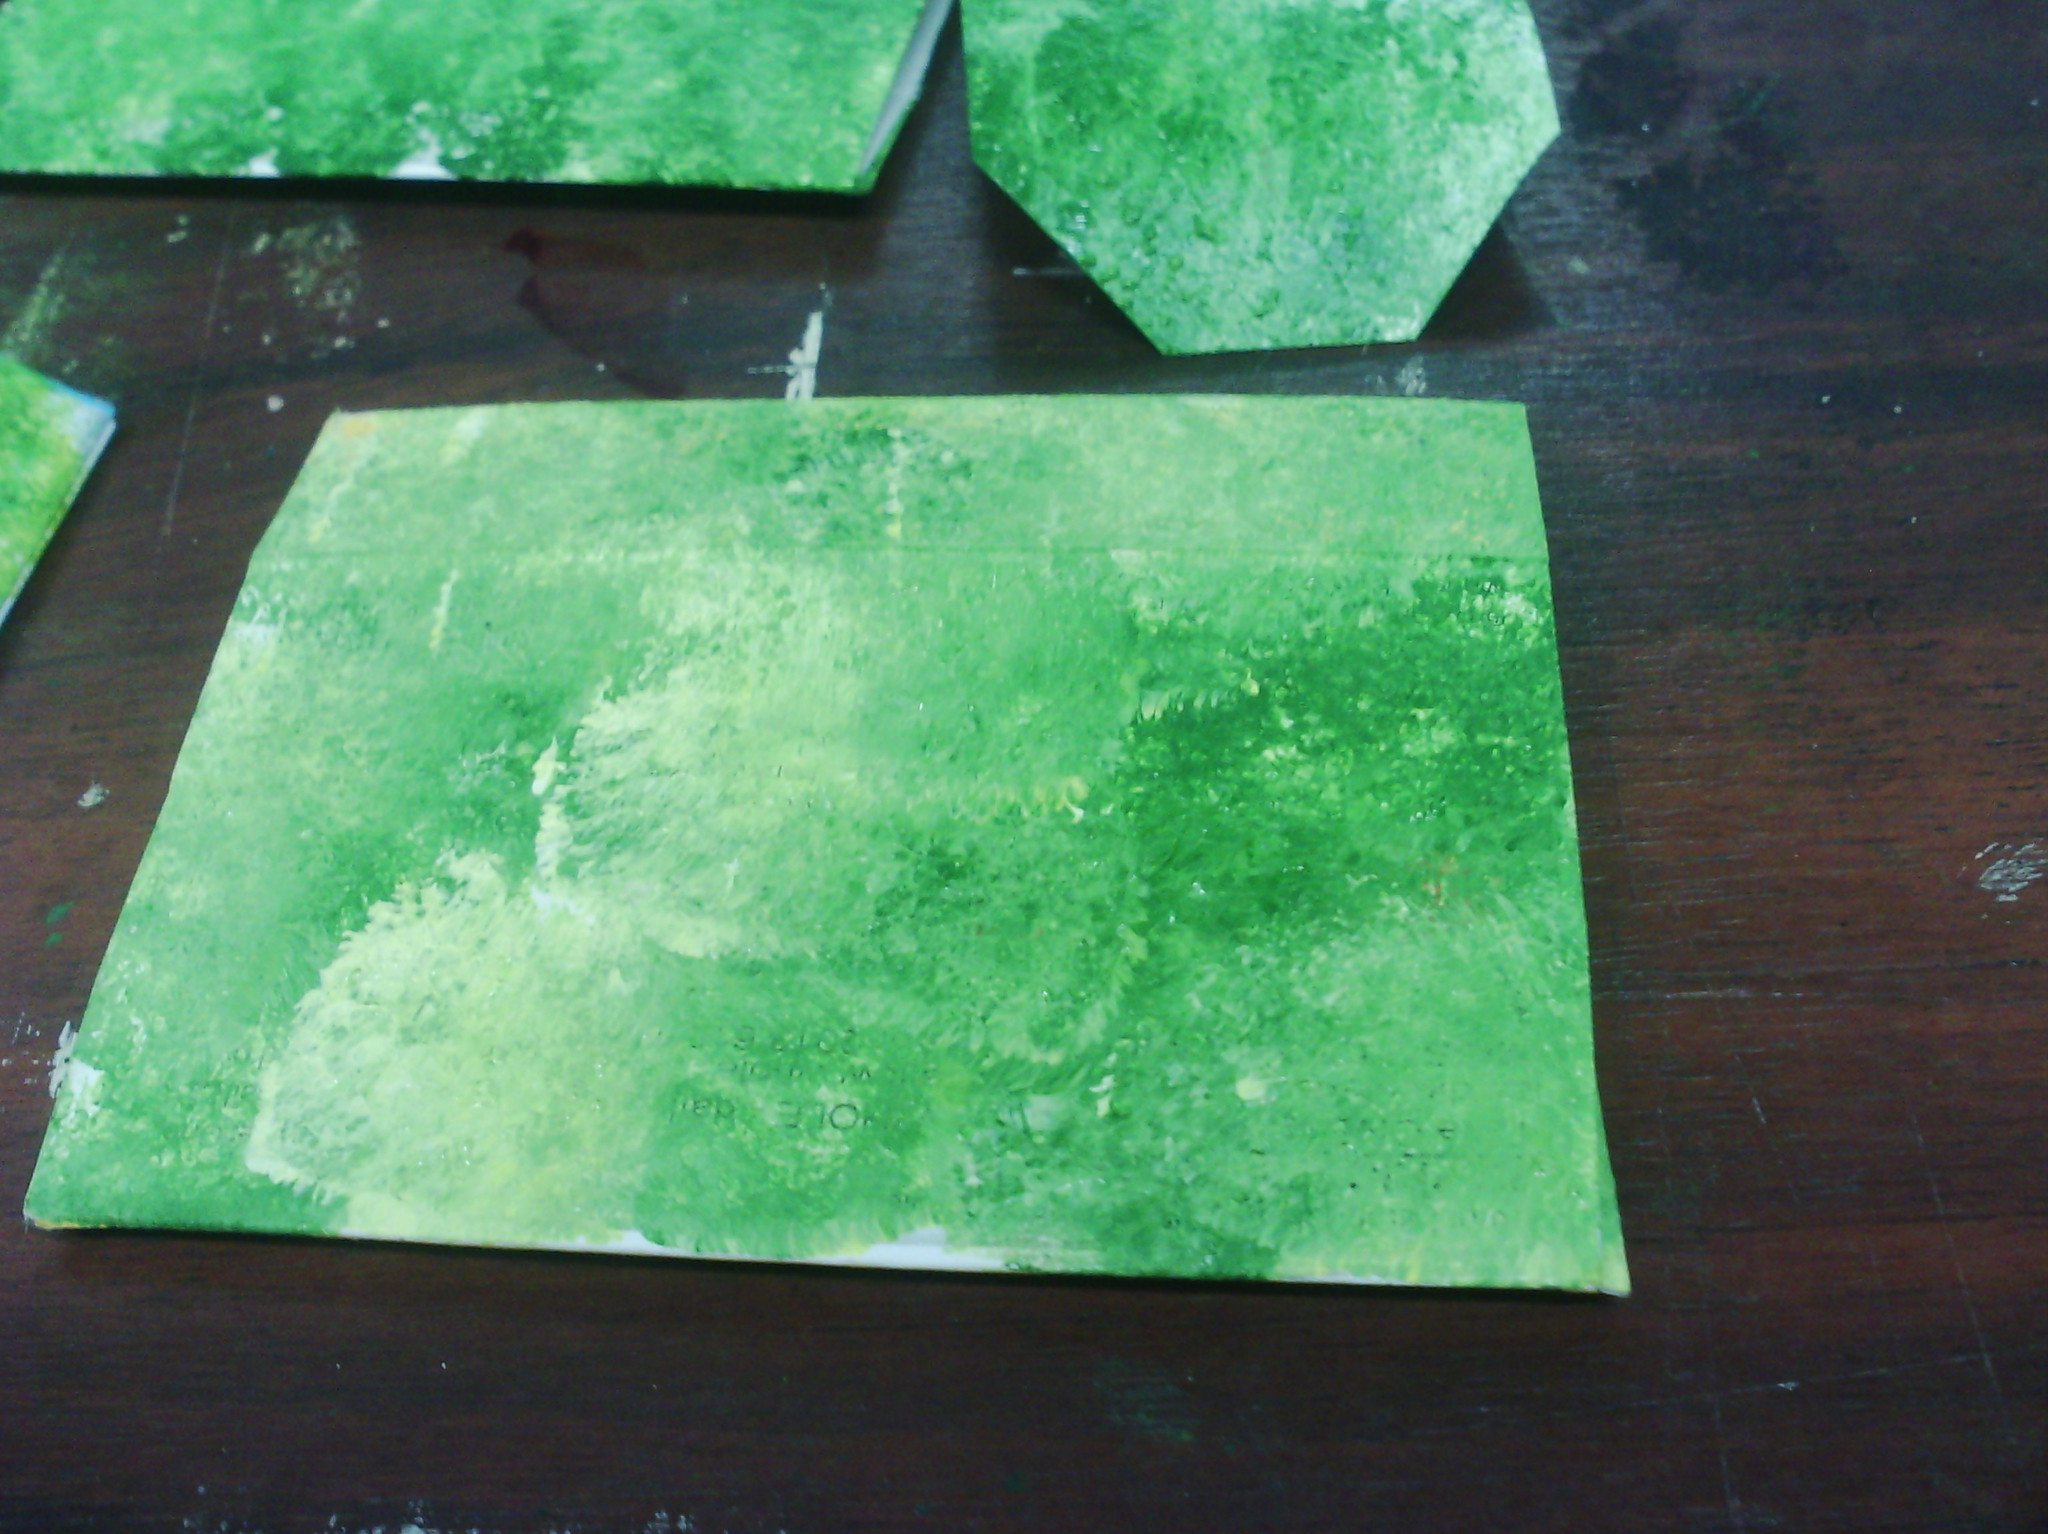
Above, you can see some of the texture I got on these surfaces with the sponge.
I will work more with these, so you will have to check back to see how little books evolve from these bits of painted card.

Happy creating!

Saturday, April 27, 2013

Fabric book

I have been going to make a fabric book for a while, and yesterday I finally started, with the intention of putting all my leaf samples in it.
I started with a book cover.  I get these from the recycle depot, who collects from a book binding establishment.
I covered it with this handmade paper (it is very thick and simply made using large bubble wrap).
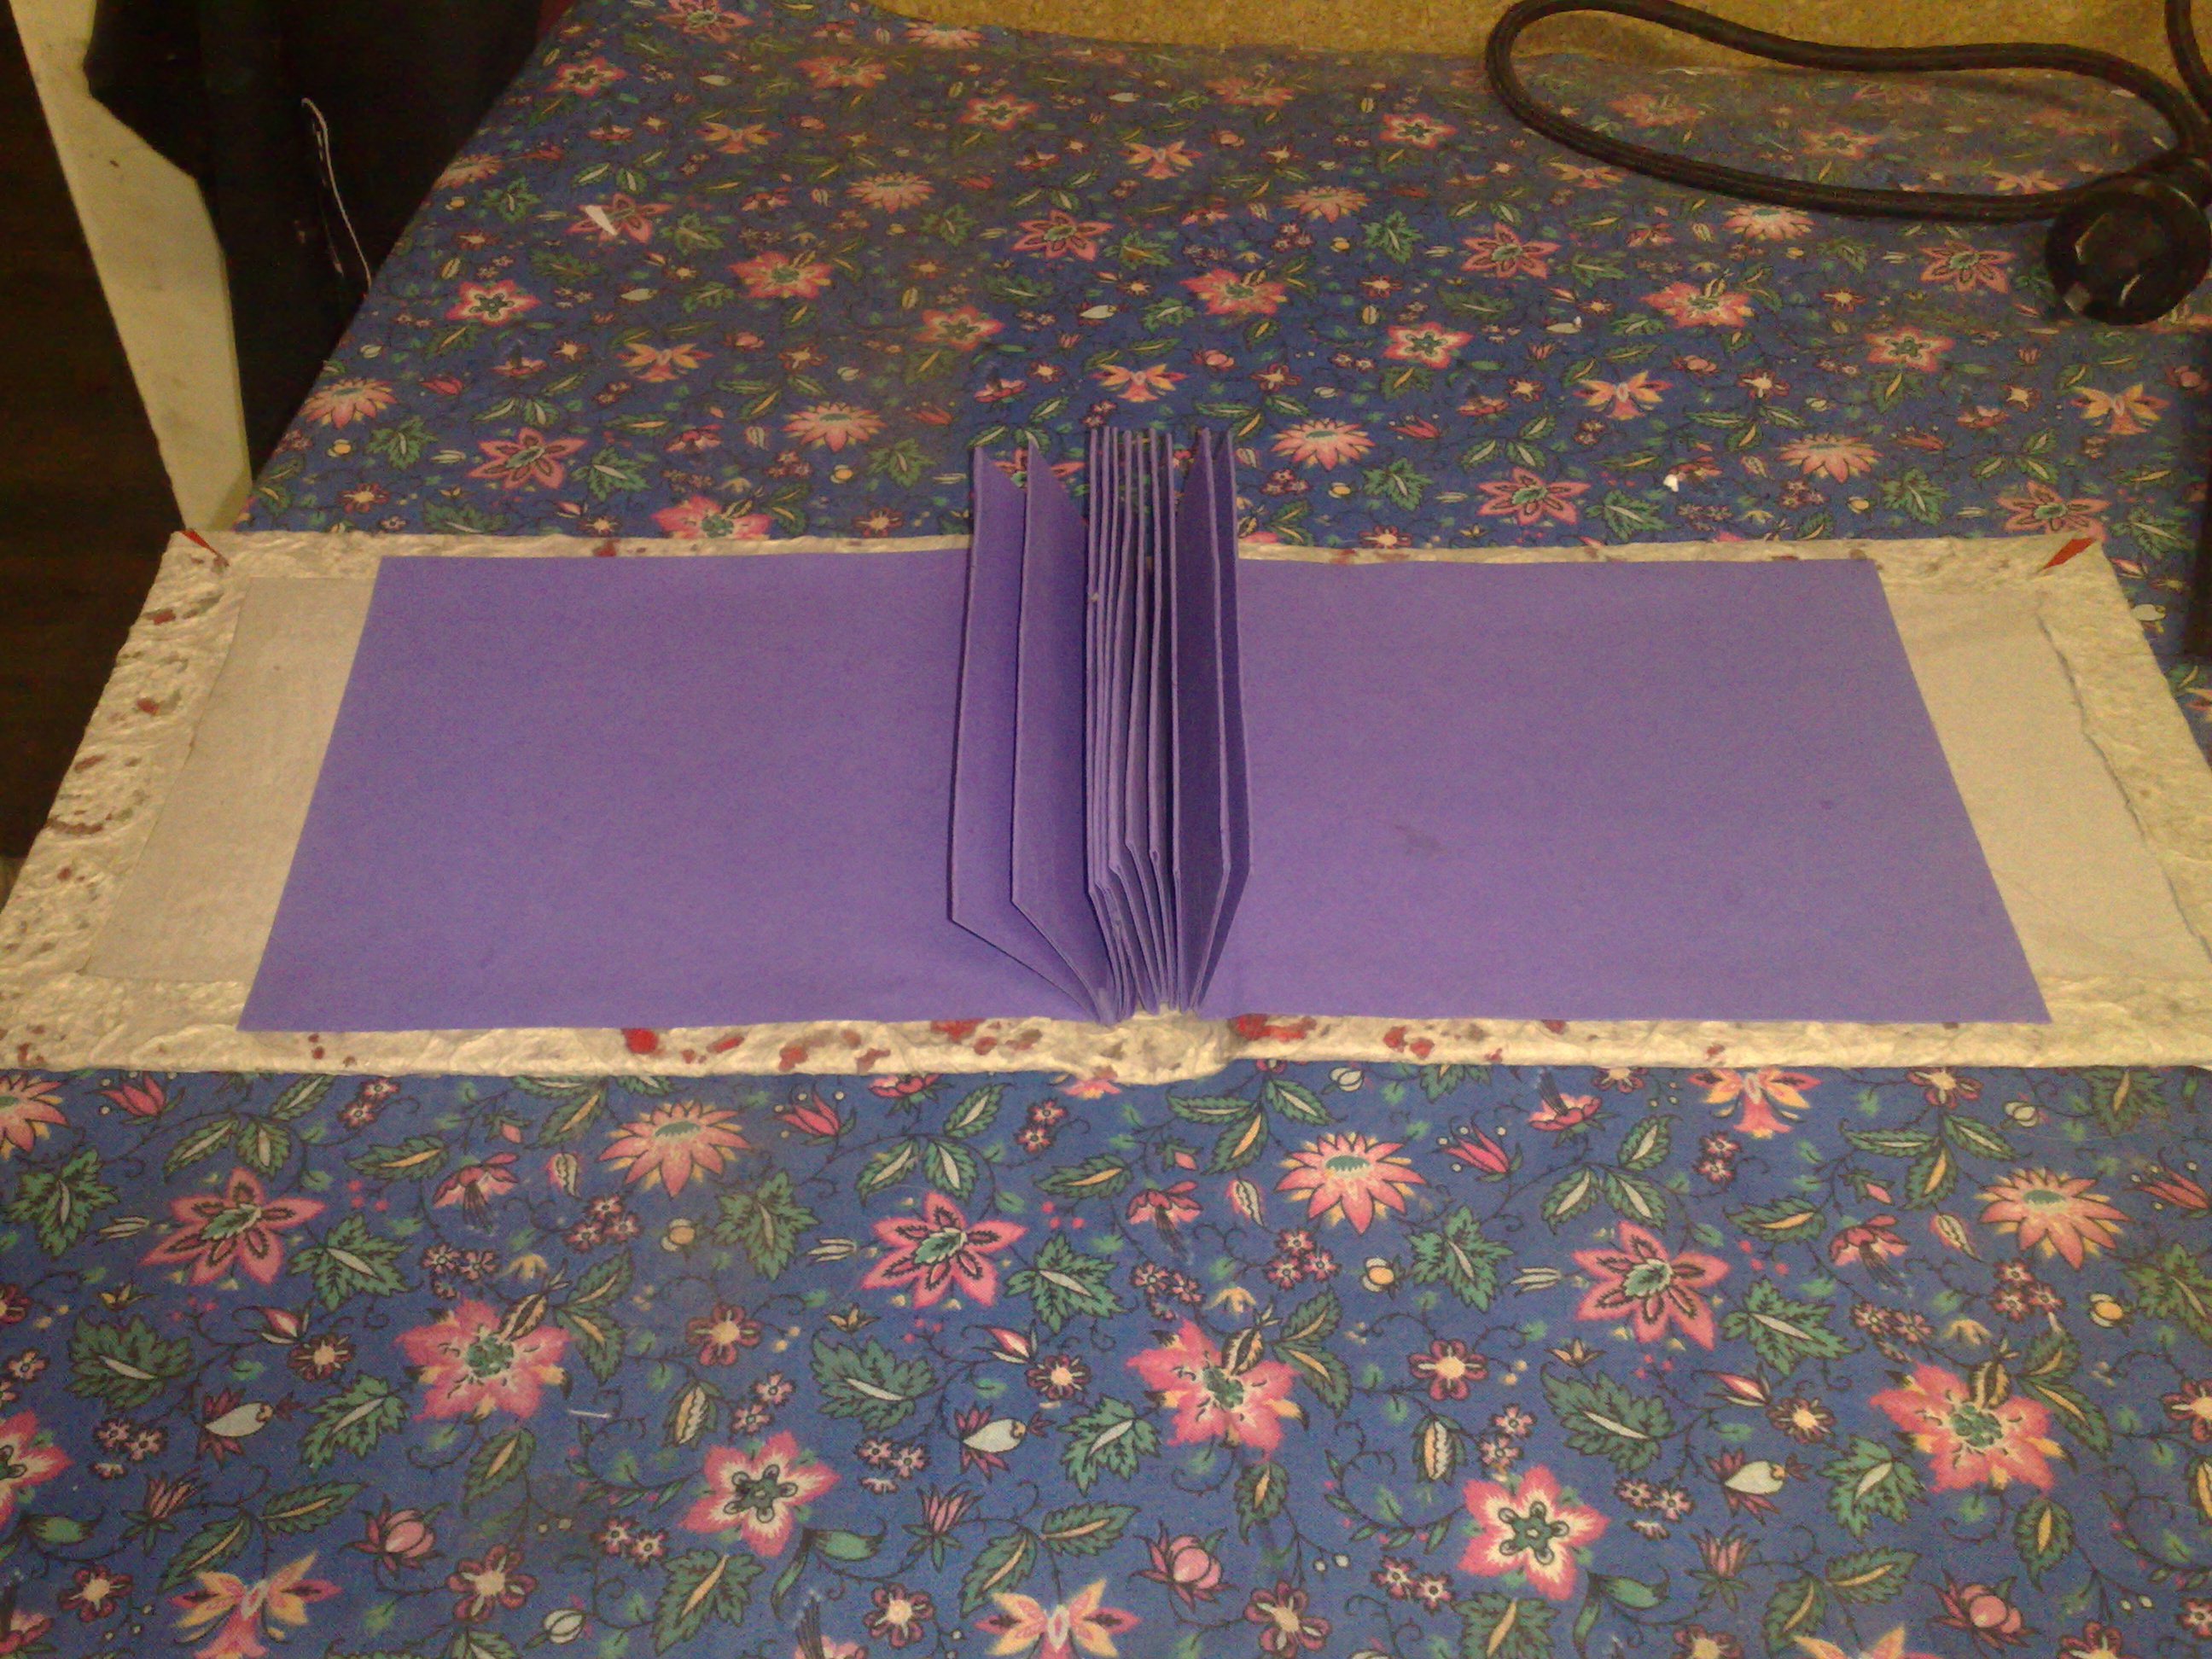
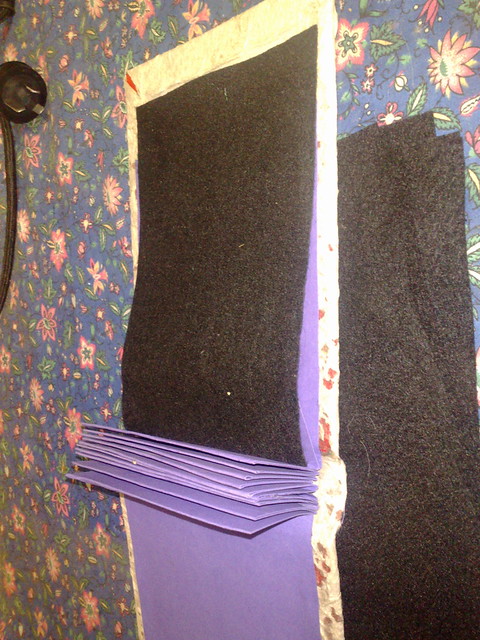
You can see here I put an accordion fold with the flaps glued together into the spine to hold my pages.
I wil construct the pages separately and add them one at a time, sandwiching the two sides over some felt.
The felt will sit on top of each flap of the accordion like this.
And the book will be finished, but as yet I haven't done any pages. Let's see if I can finish it in the next few weeks.

Create every day!