Showing posts with label FME lace. Show all posts

Saturday, January 18, 2014

Escaping the weather

I have been hiding for a few days, trying to keep cool, but  today the weather is a bit cooler.
Something I love to do is free motion embroidery, and I love making things out of just thread.  A bit like stumpwork, but with the sewing machine.  Most of these little things will end up on my crazy quilt,  but they are so lovely, I keep making them.
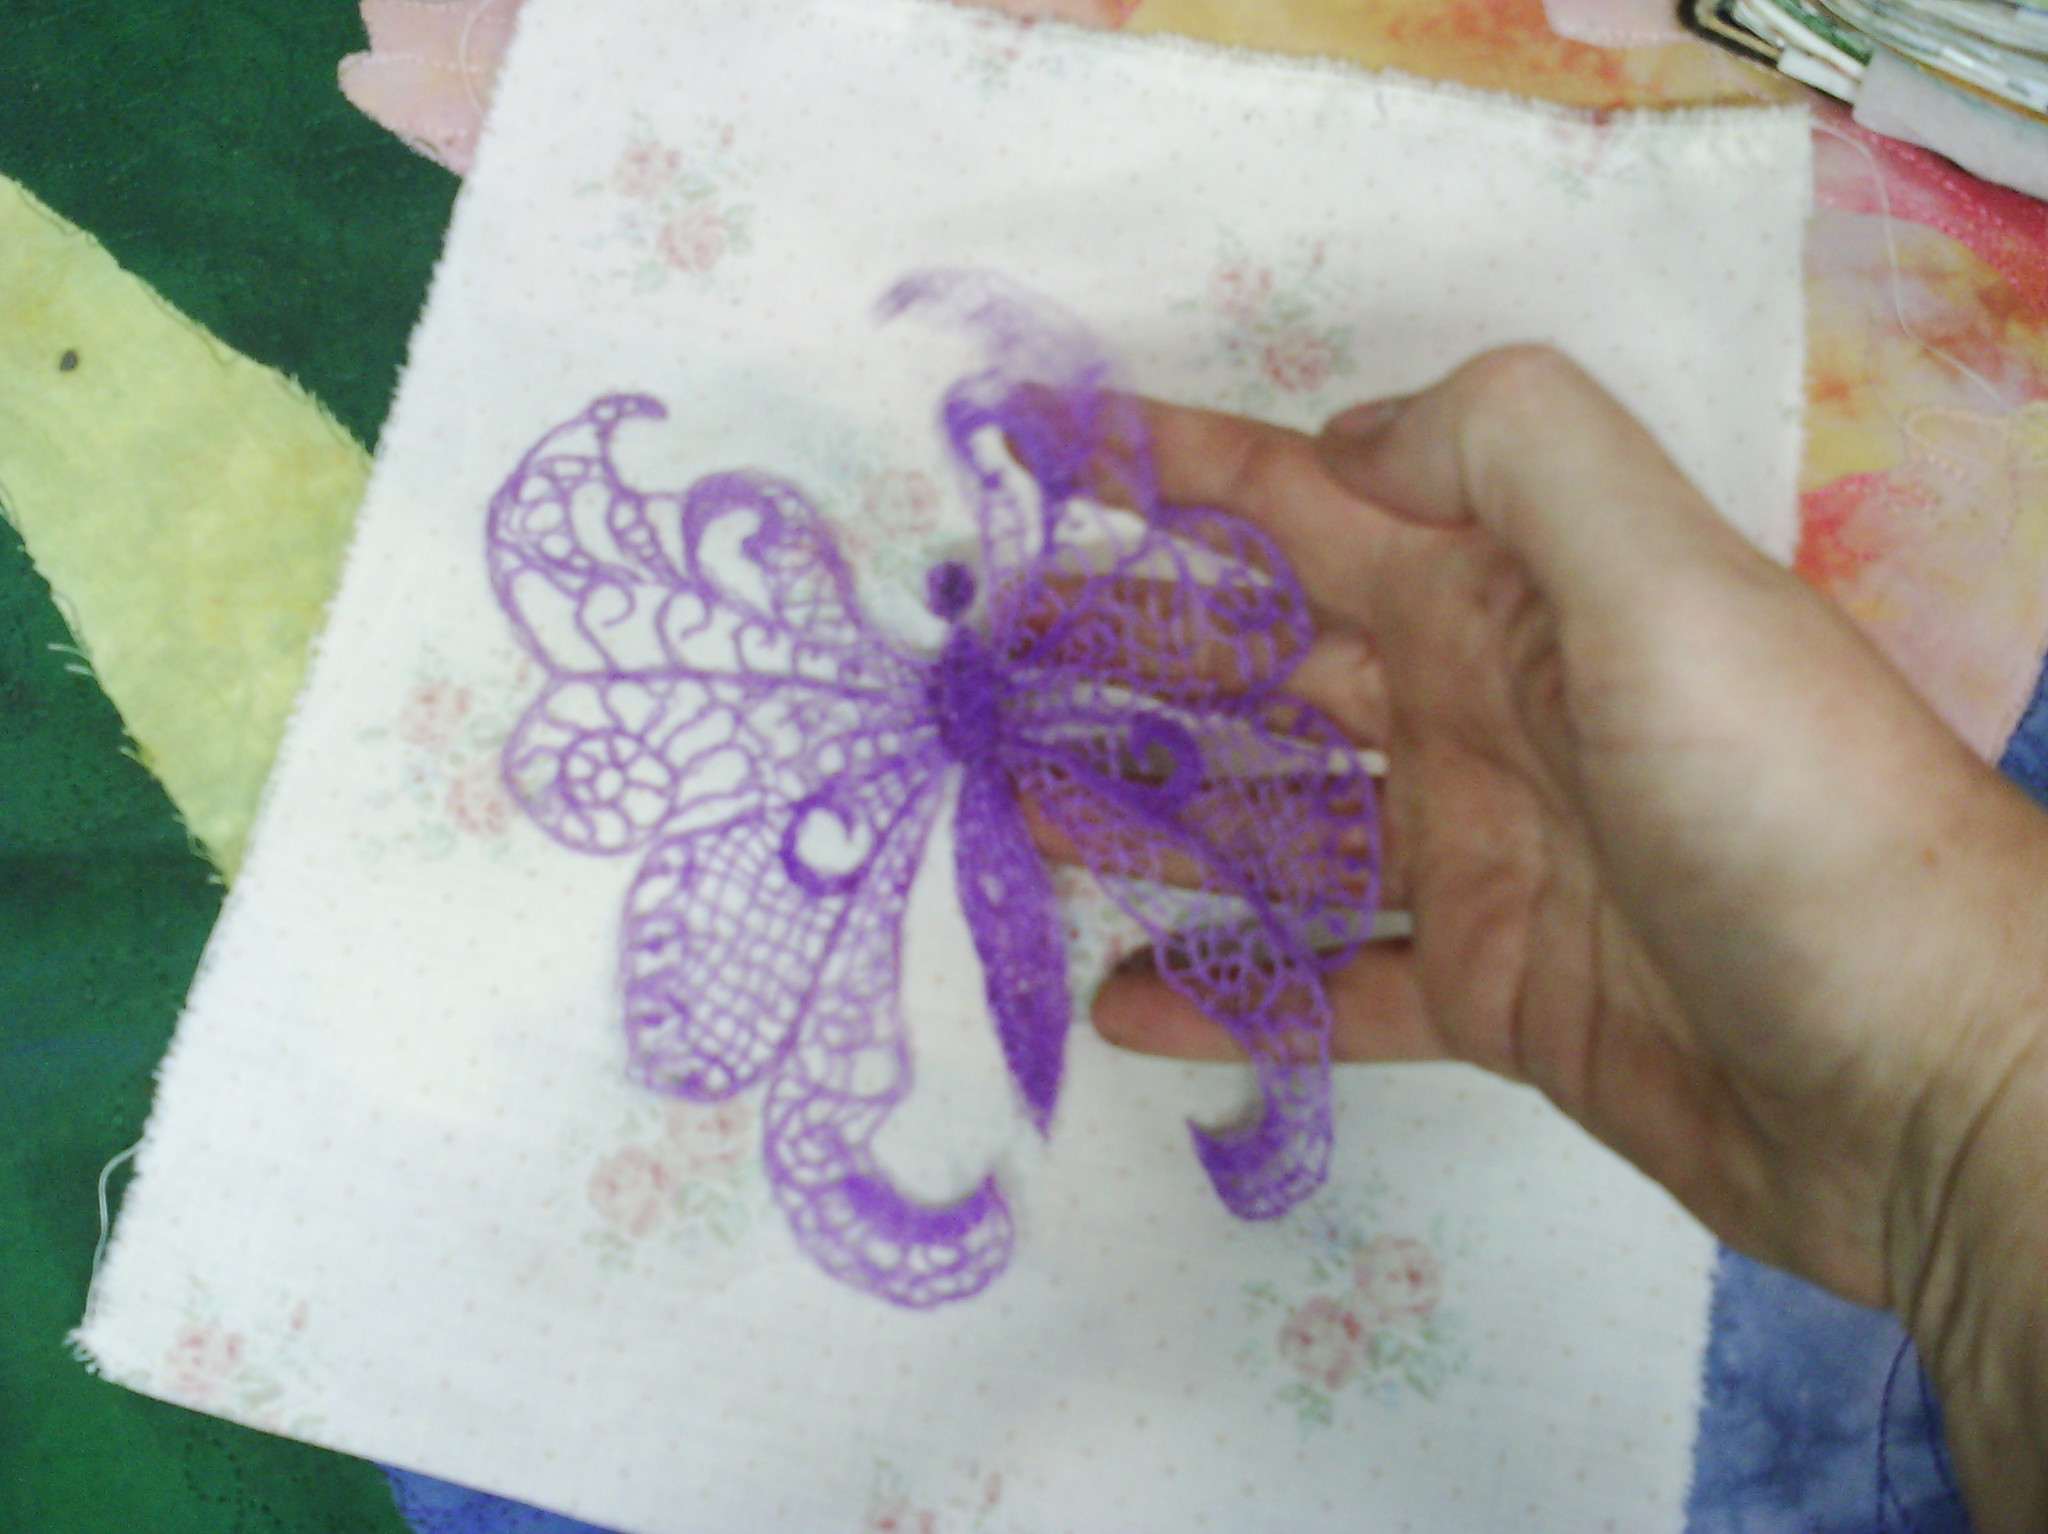
This little butterfly is about 2 inches square.  Basically, I just scribbled to create this one.  But it is done with some gorgeous new metallic threads I got recently - a bit of a test run.
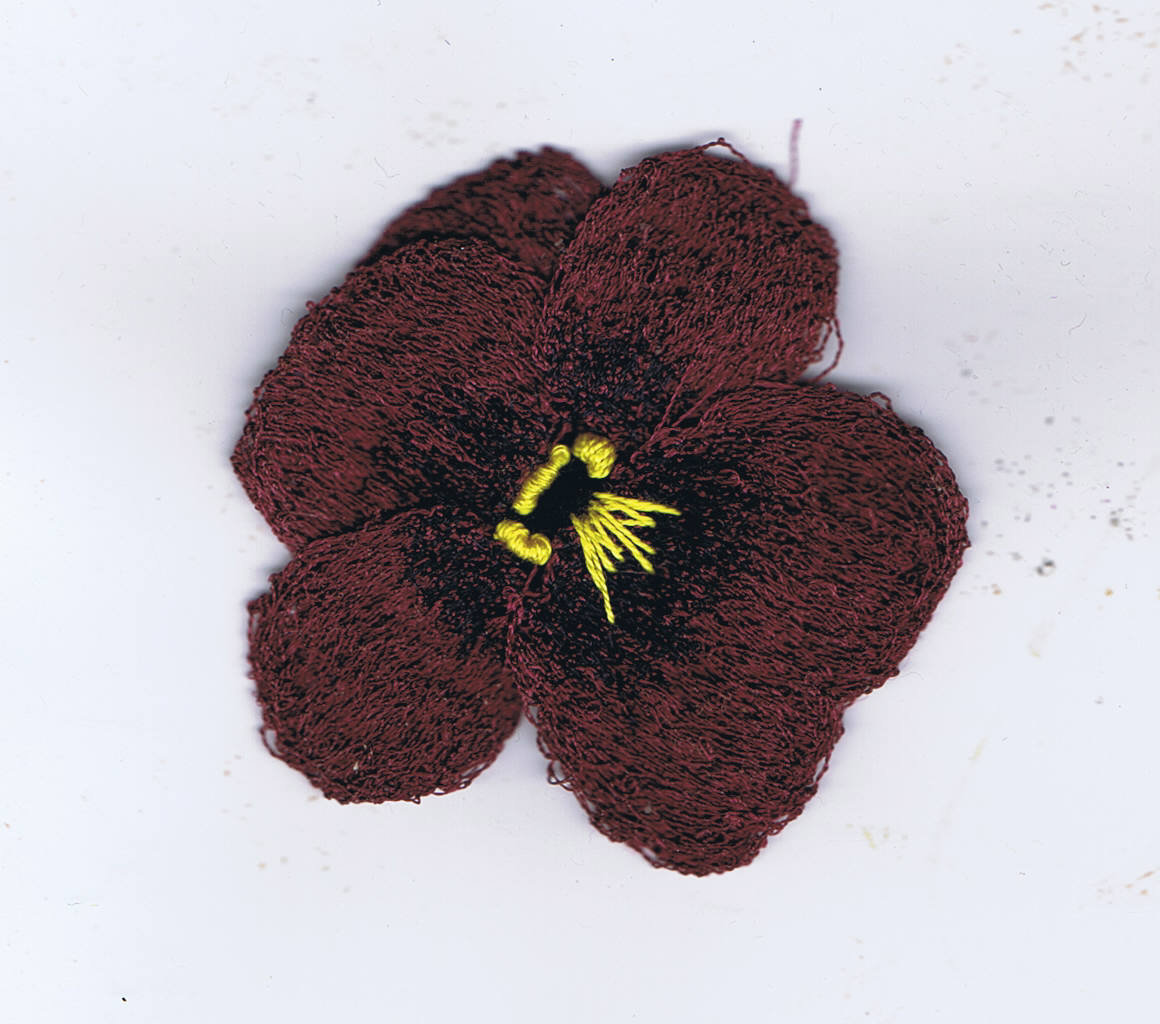
This pansy is about the same size, perhaps a little smaller.  With this one, I made all the petals separately the sewed them together and added the yellow by hand.  This one has already been pinned into place on one of my crazy quilt blocks.

If you have followed me for a while you will know that I have a crazy quilt in process, but I put it aside so I could participate in CQJP2014, so I will have my January block finished soon.

Happy Creating!

Saturday, December 28, 2013

A lace sample

Last night, I had a quick go at making a piece of lace on organza.


I was a design I had been playing with in my sketchbook, but I think I need a bit more practice and perhaps a paper pattern to keep it a bit tidier.  As you can see I kept making the flowers bigger.  I worked in a hoop and simply drew with the machine.  when it was finished, I simply cut it out.  I looks a bit flat and opaque here, but in reality it is very transparent and filmy.  Another idea to use on my crazy quilt in the new year.

Happy creating!

Sunday, December 15, 2013

Free motion grid

I started this free motion motif a week or so ago and haven't got around to finishing it until now.

PIC_0167

I put some organza and satin  bits on a piece of bond n stitch (This is a water soluble stabiliser I got from the Thread studio) This stabiliser actually allows you to iron the pieces on like a fusible.

PIC_0168

I free motion embroidered a grid and some circles

PIC_0169

I also added a second grid and circles
PIC_0170

this is the back (as you can see my tension was a bit loose)

CCI15122013_00001

And here it is after being washed out of the stabiliser and dried.  This was a lesson on checking tension and going slowly, but I still like it and it will probably go into something.

Happy creating!


Wednesday, December 11, 2013

A miss and a hit

Yesterday was one of those awful days and I was so exhausted I forgot to blog, so today I have two things to show.

CCI11122013_00000
Another painted face .This one has hair painted in bronze which really shines.

CCI09122013_00005
And another leaf stitched on water soluble stabiliser.  This one is based on the leaf I drew in my sketchbook on sunday.

CCI09122013_00006
And here it is after the water soluble stabiliser is dissoved and it had dried.  Another great motif for my crazy quilt!

Happy creating!

Tuesday, November 19, 2013

Butterfly magic

A few weeks ago  I made a tiny little doily, by using free machine embroidery on water soluble stabiliser, here.
This week I have been working on a larger piece that is a butterfly and I have finally finished it.

This is it in the hoop, before I dissolved the solvy. You can see I just outlined the wings and didn't add any details with marker before I stitched it - you can also see that I changed my mind about the lines as I went along as well (The lilac is my stitching, the brown are my guide lines)
Here it is after I had rinsed away the plastic stabiliser and dried it.  i put my hand in to show how lacy it is and how big it is.
and here's a close up to show the wings more clearly.  You can see my stitching isn't perfect, but if you know me, you know that is not an issue.  I like my work to look hand made.
i am looking forward to putting this on my crazy quilt in the new year!  I may dye it or paint it, depending on where it goes.

Happy creating

Monday, November 4, 2013

A little bit of lace

So, day four for Art every day November.  
I felt like a bit of lace.  something I read last night prompted me to get out the water soluble stabiliser today, but of course I can't remember what.
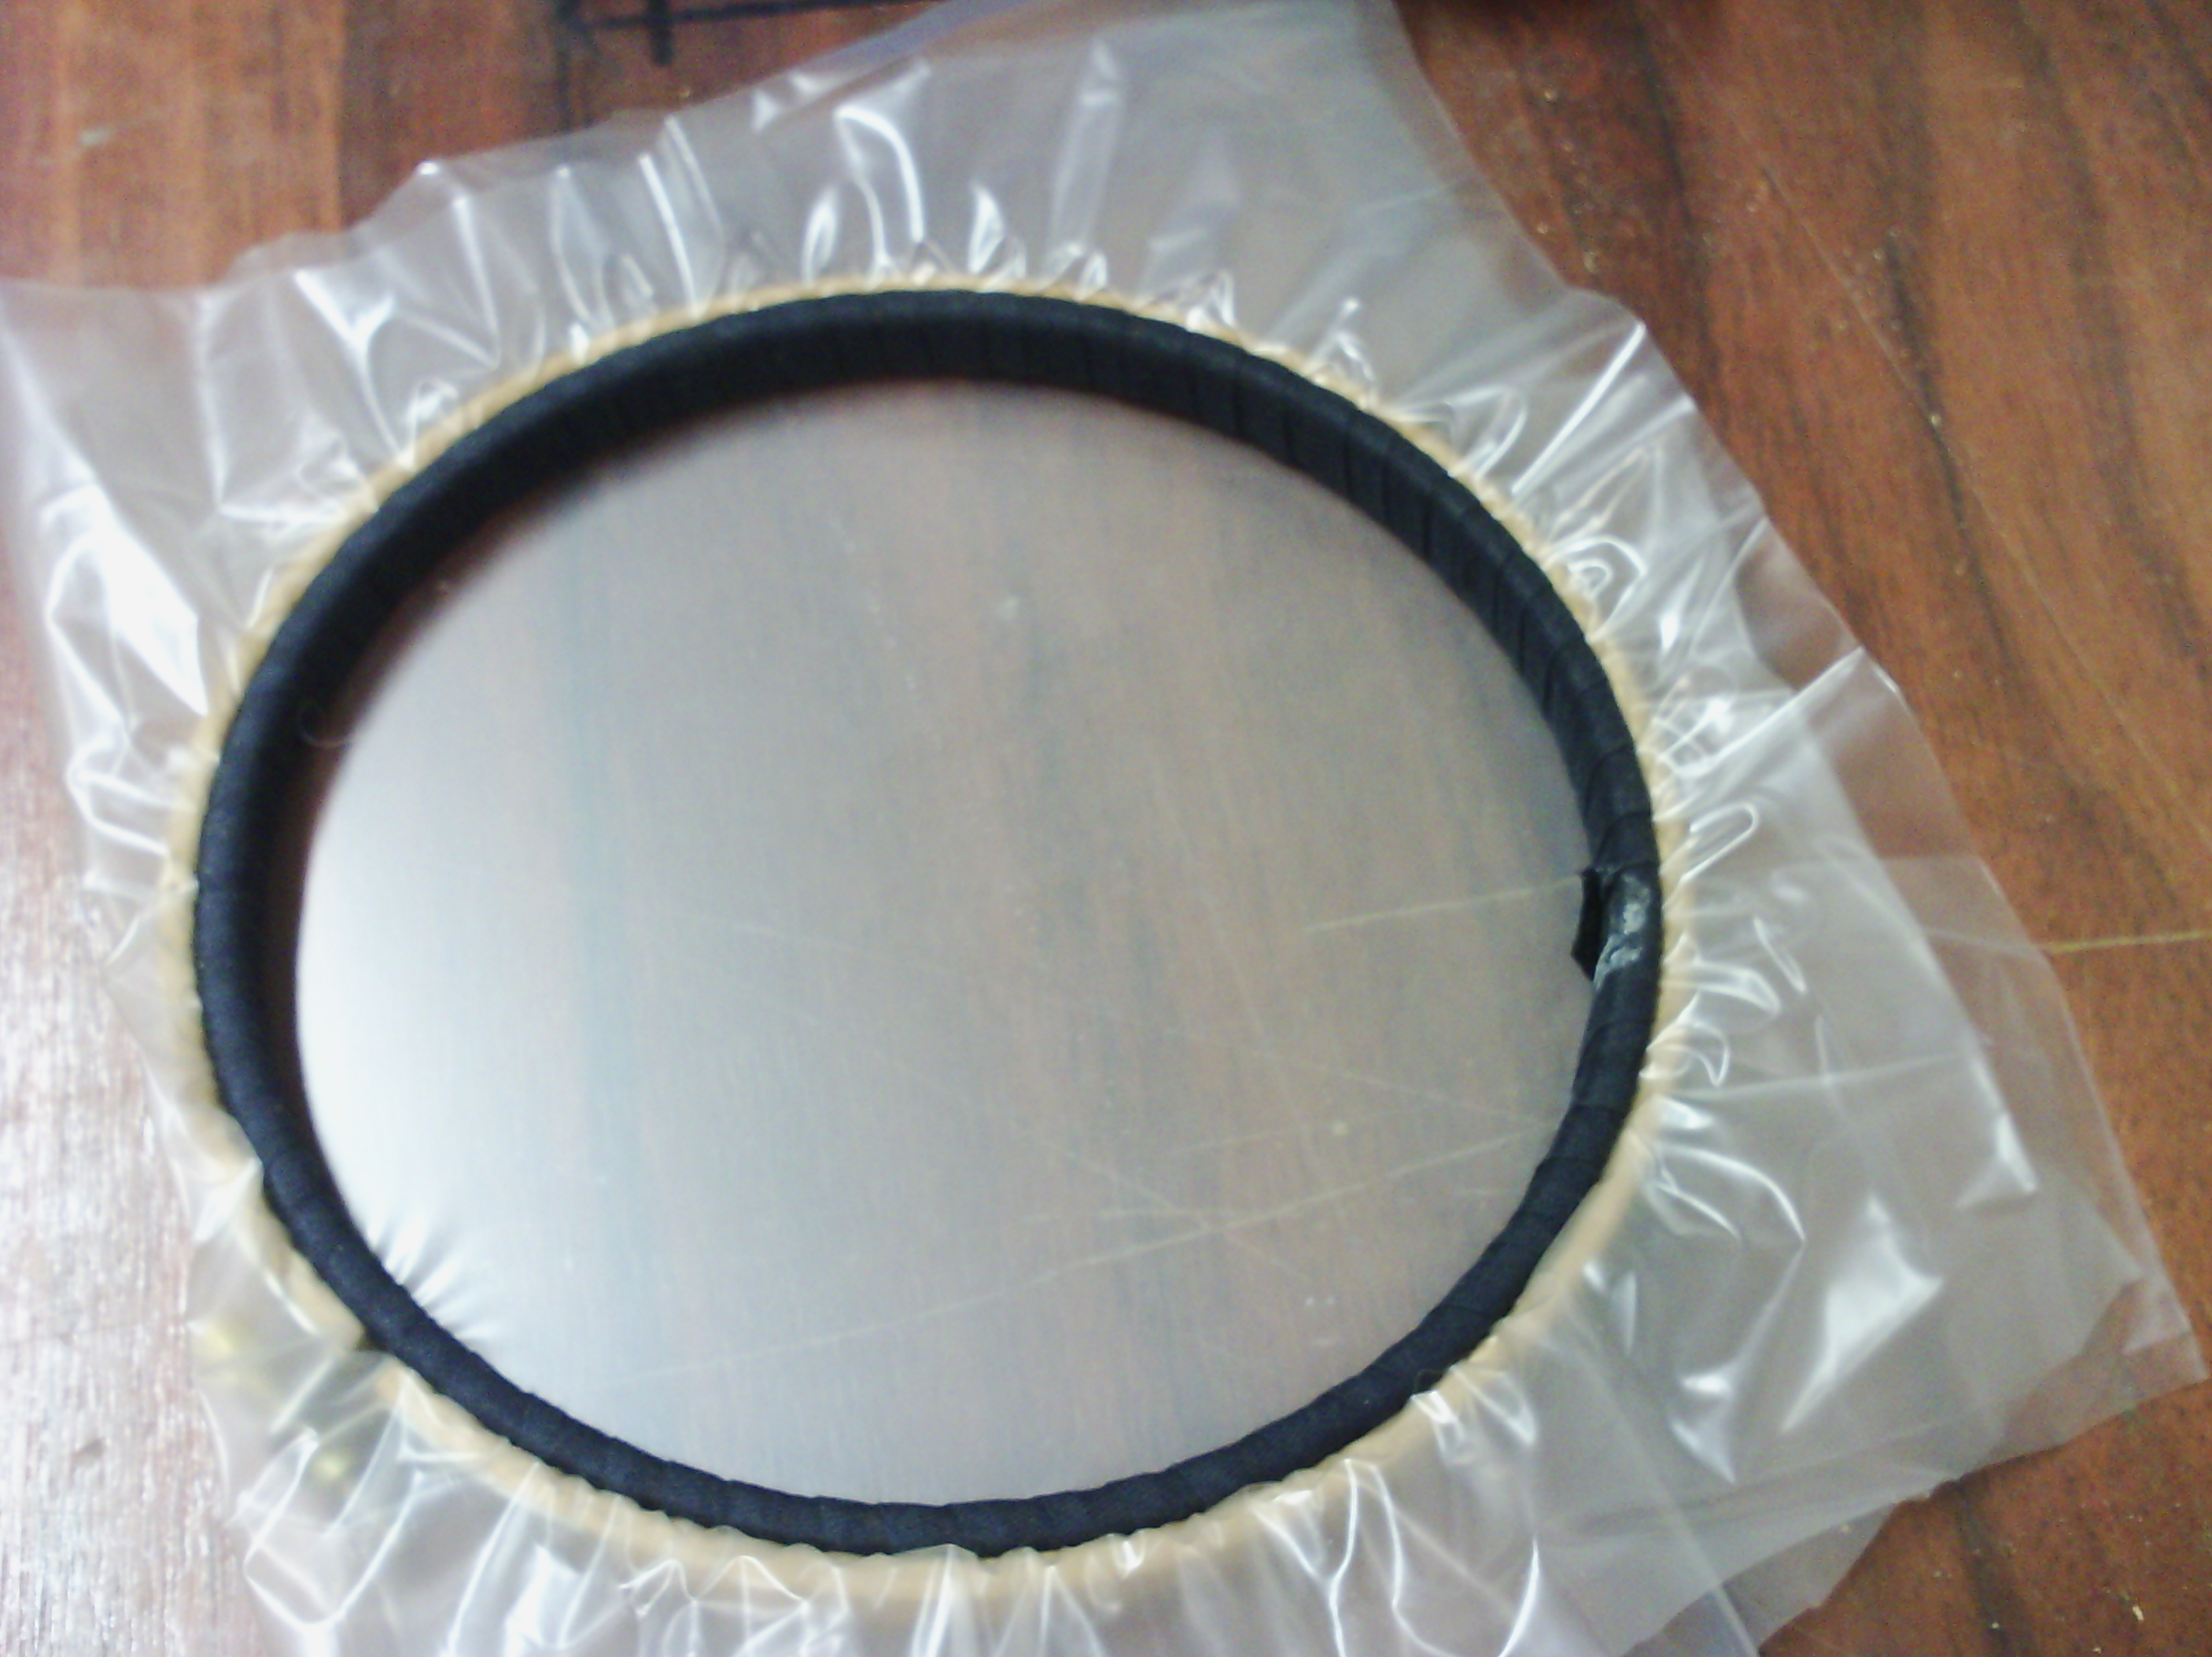
I put two layers of light solvy in a small six inch hoop (upside down for free machine work)
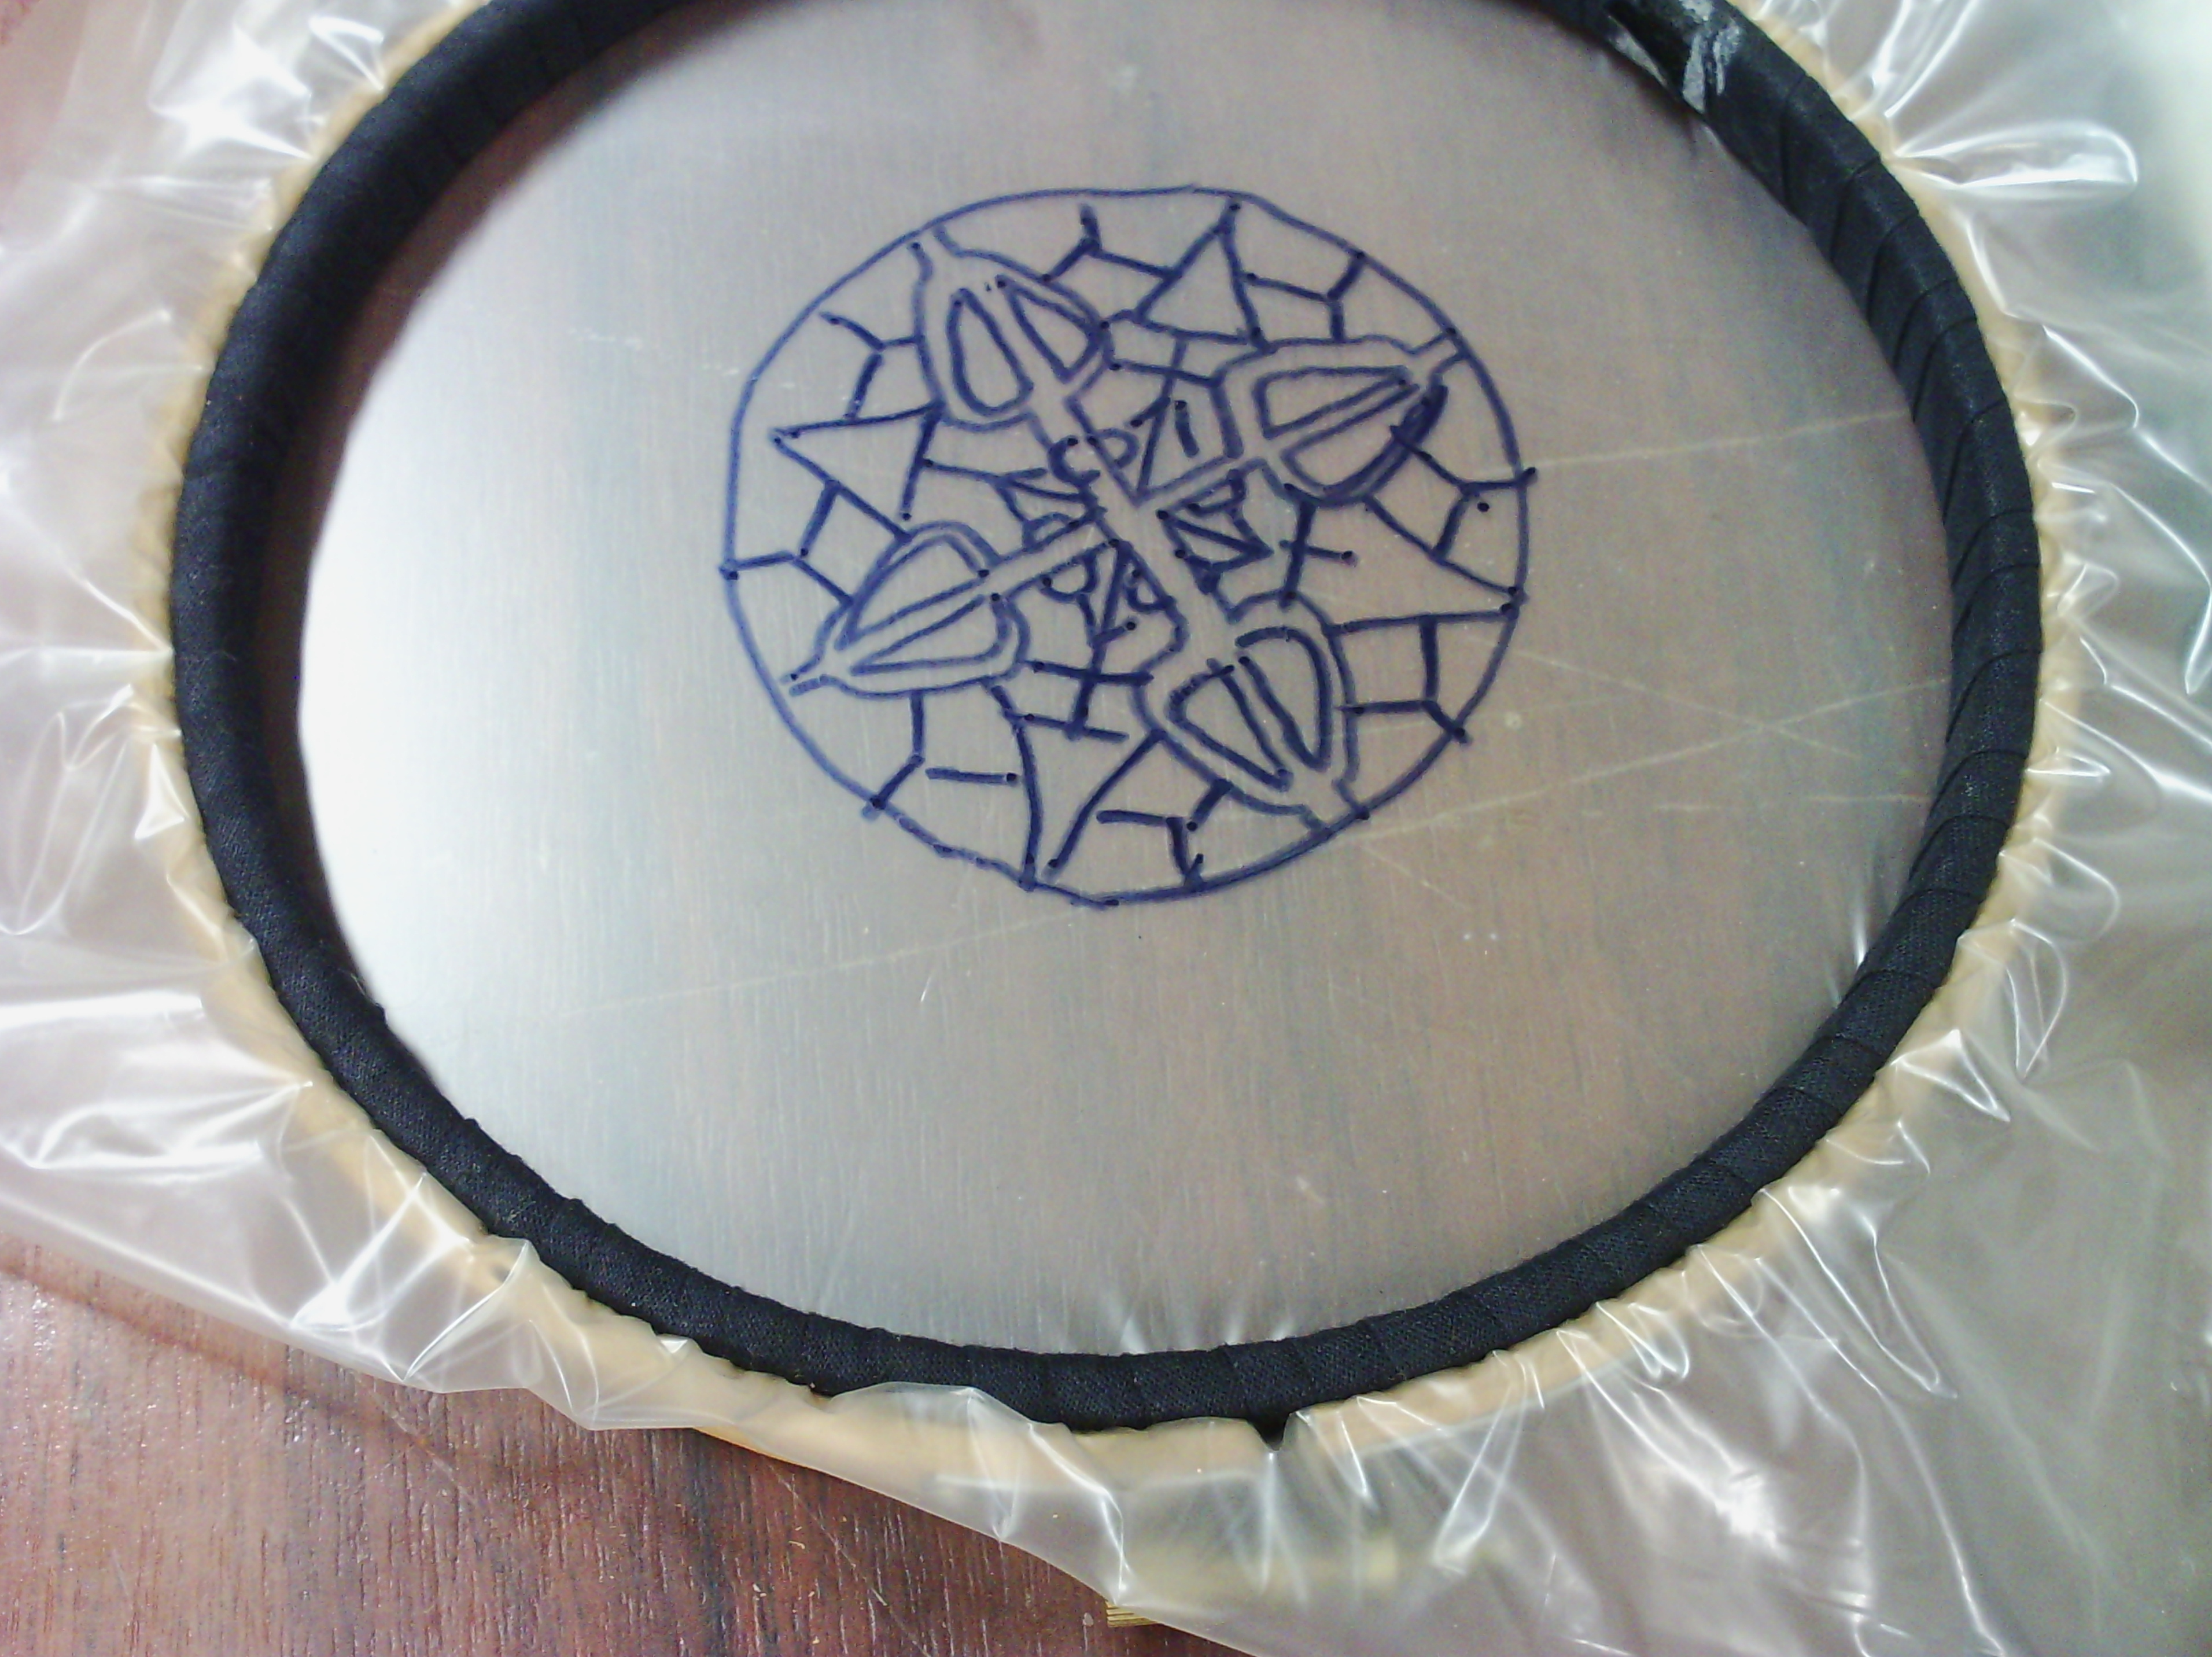
Then I traced a design from a vintage DMC needlelace pattern book with a permanent marker.
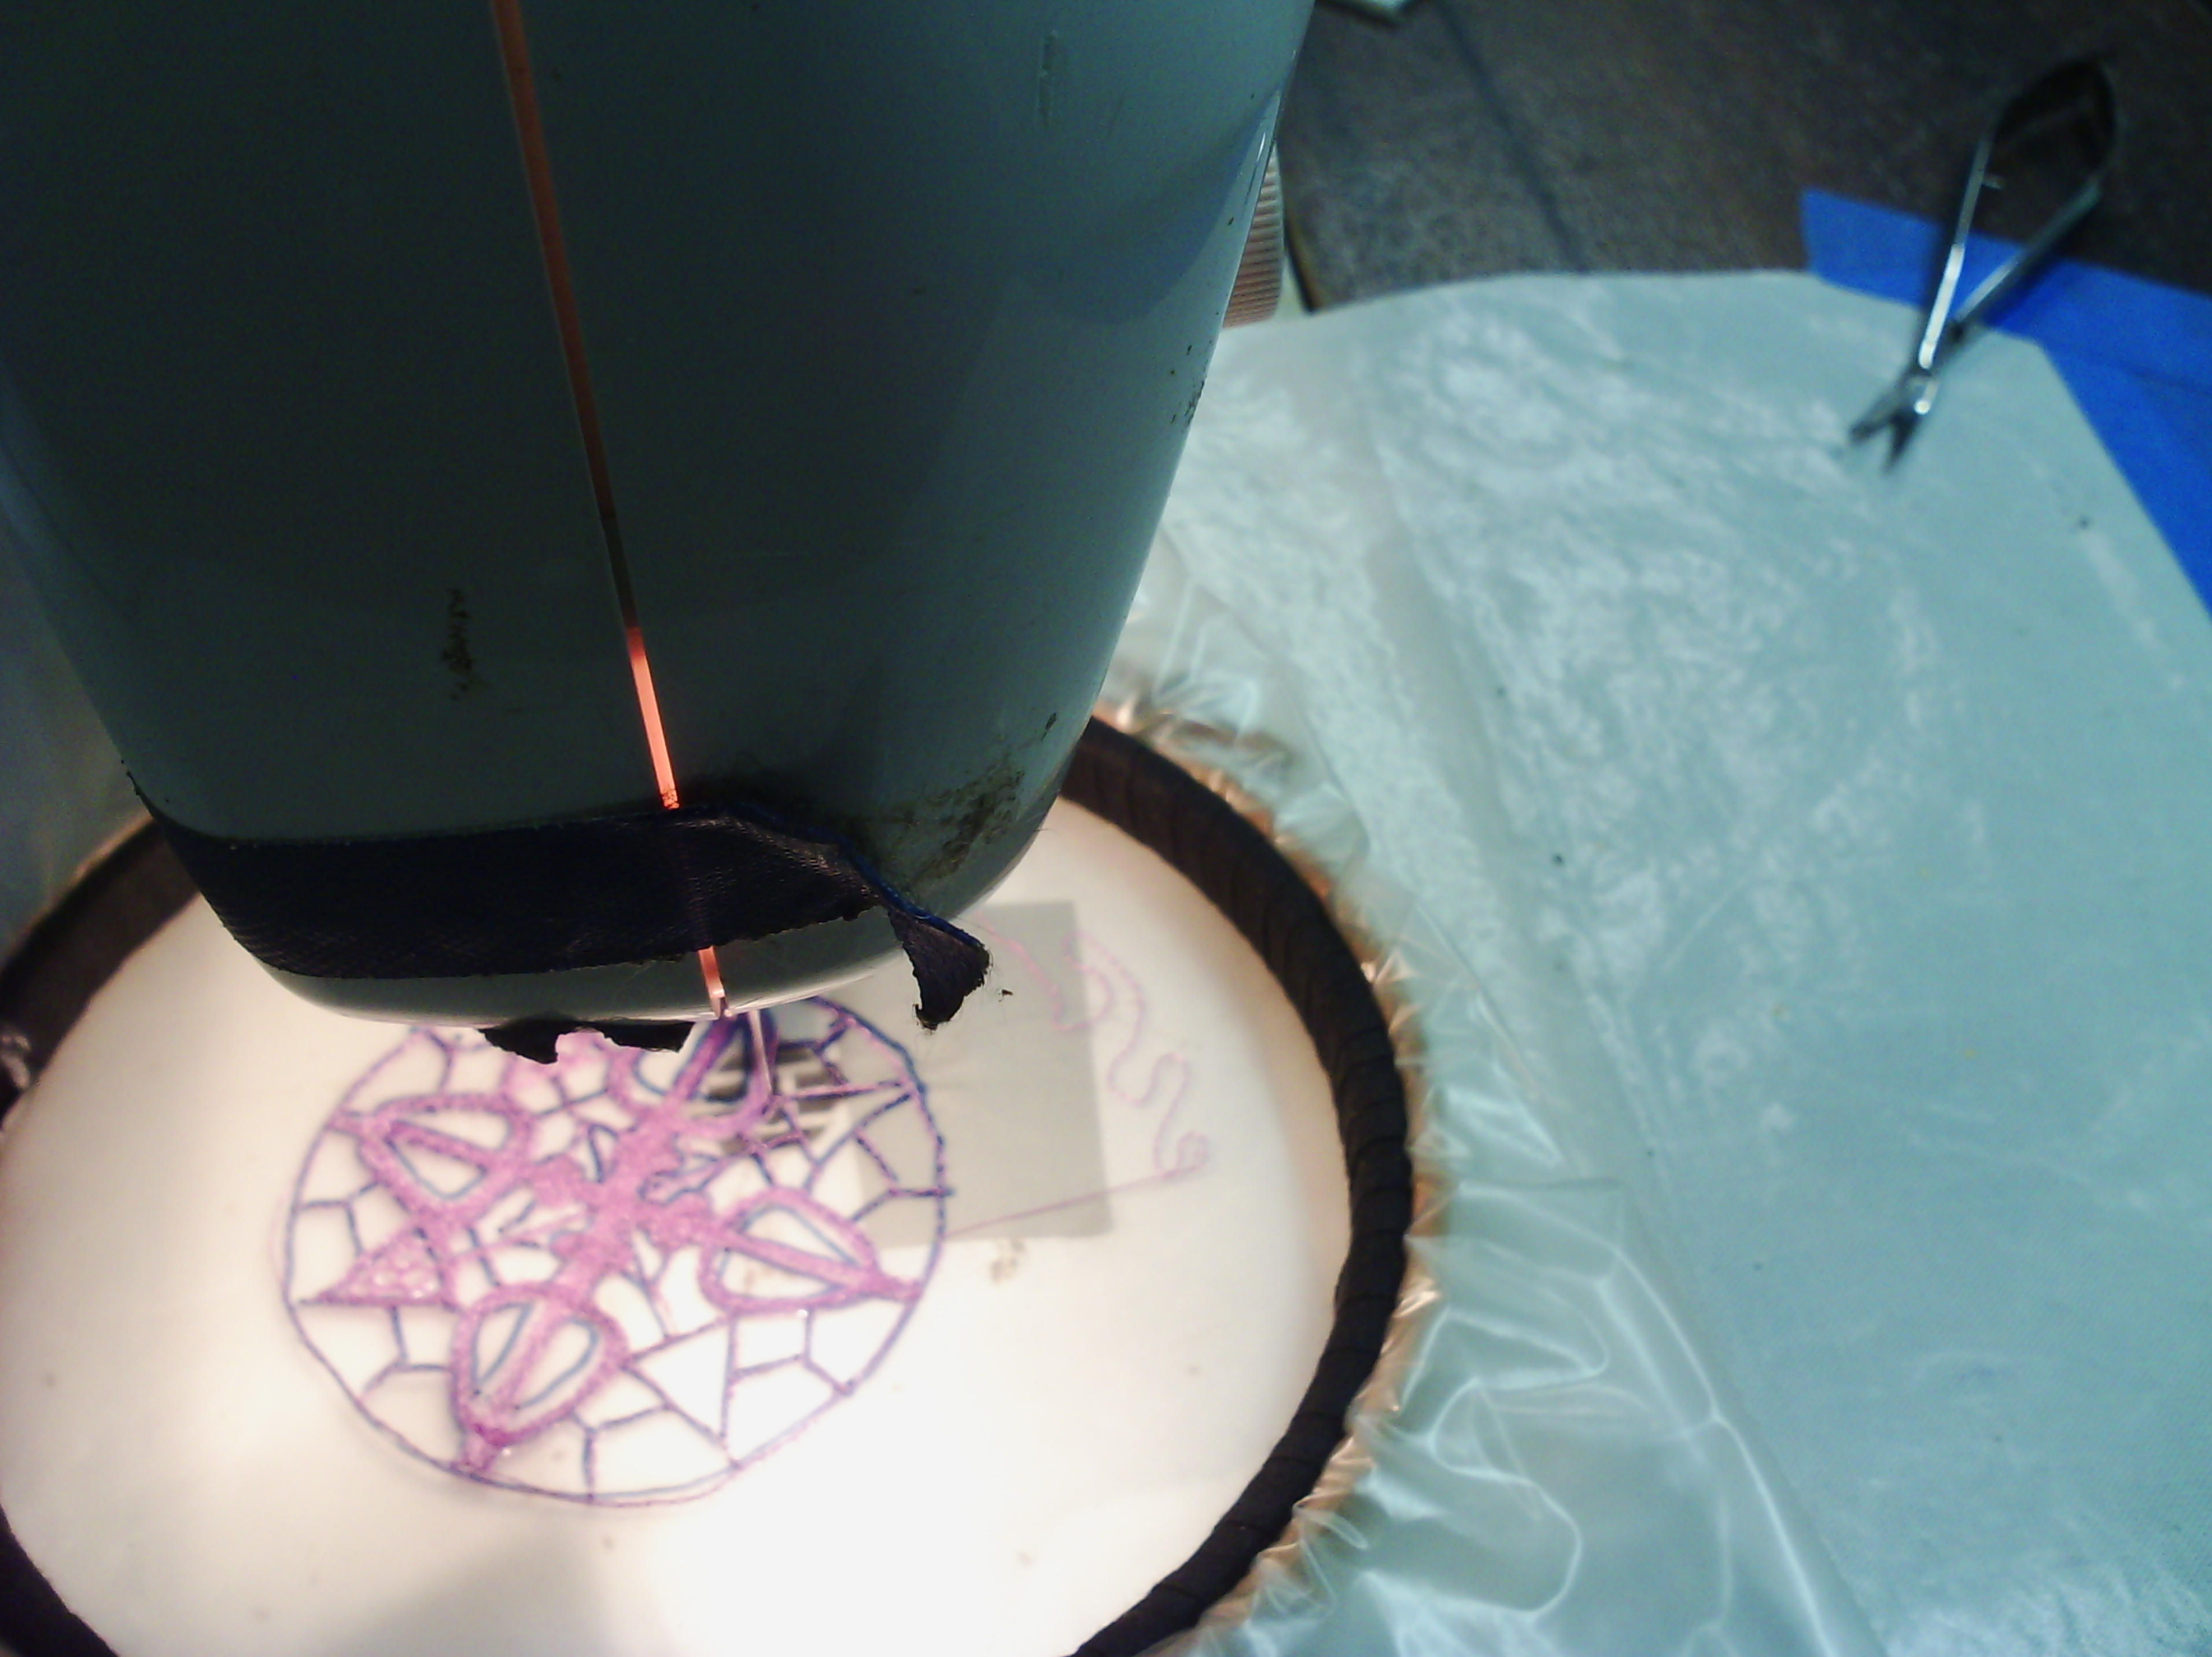
Then I put it under my thread painting machine and started stitching. As you can see, my machine has been through a few woes and had to have a band aid, which is nearly falling off.  It also has no feed dogs or foot (I removed both)  This is the way I thread paint, but of course I do not recommend it to anyone else as there is a slight danger you might skewer yourself with the needle.
And here it is with the stitching done.  As you can see I did not always follow the lines and I added the edging myself because I felt the edge needed a bit more.
The next step is to cut it out of the hoop and wash it in running water to remove the solvy and dry it.
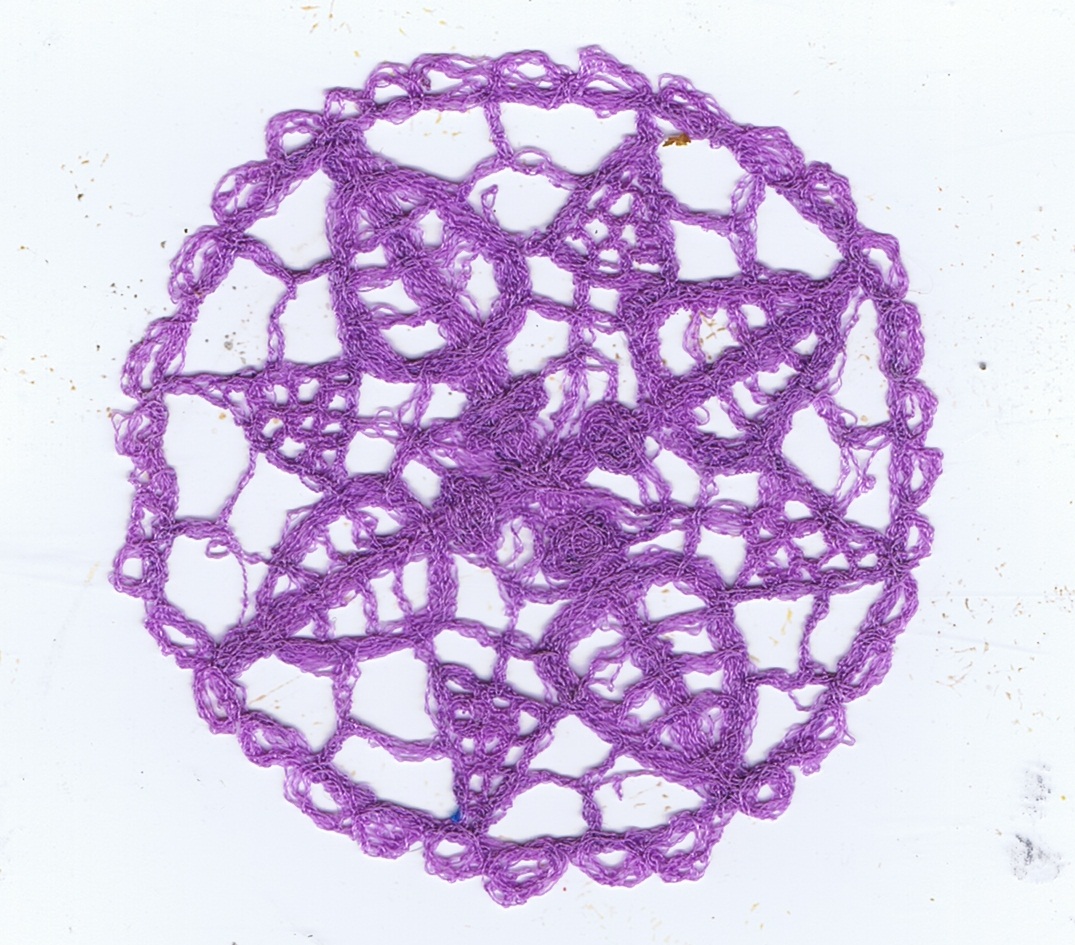
Here it is after washing and drying.  I love the imperfect, old look of this type of lace.  If I wanted perfect, I suppose I'd buy it.  But this will be perfect for my crazy quilt, which is on hold until next year, when CQJP starts again as I have joined it so that I will get my quilt finished.

This challenge is certainly helping me to work every day!

Saturday, November 19, 2011

Leafy Lace

On Saturdays, I will endeavour to post something to do with stitching, whether hand or machine.
Today i am posting about another WIP which is a piece of thread lace.
It is quite a large piece of lace.  The leaf measures about  11 or 12 inches from the tip to the end of the stem.
I started by laying out some heavy water soluble stabiliser and placing knitting ribbon on that in the shape I wanted
I hate using the plasticky stabiliser as it sticks and does not feed nicely.  I solve this problem by laying some more light water soluble stabiliser of the non woven type top and bottom.
In the picture above, I have also stitched the main ribbon lines down.
Do any of you out there have this problem?

or even this one?


Then you know why this post has taken me over an hour to write.  Hopefully tomorrow, Tammy will find another place to fall asleep, lol.

be creative every day!

Wednesday, March 23, 2011

Skeleton Leaves

I decided to do something for myself today.  It is Autumn here, and the leaves in the towns are turning.  A week or so ago, I found a skeletonised gum leaf, and the other day another, deciduous leaf.
 This is the gum leaf, unfortunately, I can't find the other leaf.
So I thought, well, let's try and make one with free motion lace  - so I did.
 I used two layers of water soluble stabiliser.  This is a Floriani one.
 I drew the leaf and veins on the stabiliser, but you can trace.  If you type in leaf in google and select images then line art from the side bar, you will probably find lots to suit you, like these.
 However, there is a problem with these.  The veins do not reach the edges.  You will have to extend the lines so that they reach the edges, otherwise, your leaf will fall apart.  Lines of stitching need to cross to hold the lace together.

 Here, I have used straight stitch to go around all the lines, retracing my route when neccesary, especially in the central part, to build up the stitches.
 I also went around the whole leaf margin and the stem with a very thin zig zag when all the inner lines were done to make a stable edge.
 When I was finished, I roughly cut out the leaves,

And pinned them to some foam, then rinsed off the stabiliser under running water.  I blot them with kitchen paper to remove a lot of water.  It is best to allow them to dry before removing the pins, and you can test them for remaining stabiliser as they dry.  They will be sticky.  Run the under the tap again if they are.
 Here are the two finished leaves.  And below, framed.
  I am pleased with the results, but would use a much thinner and lighter thread next time.


The creation of something new is not accomplished by the intellect but by the play instinct acting from inner necessity. The creative mind plays with the objects it loves.
Carl Jung (1875 - 1961)

Wednesday, March 9, 2011

waterfall 2

Well, i have done a little on my waterfall since last week.  At the moment I am busily preparing to go away for a few days.  I have had to put my planned blogs back a bit, I will still be blogging, only they will be some blogs I prepared earlier, then back to normal on Saturday.
I have couched the falling water in place, although I will add a little more, including some angelina to the waterfall and the foam.  The white of the foam is too stark, and needs to be added to.  The ripples in the pool turned out well.
Even though I see things that I feel need altering, I will not do it until I can see the whole piece together.  The dark cliff and the ferns and other lace that need to go on will alter the movement and the focus, so it is best to wait.
Welcome to my new followers, you brave things, keep tuning in as I have a few things ready to post whilst I'm away.

Thursday, March 3, 2011

Thread painted tree

So it's thread painting Thursday and today I made a small freestanding applique for the waterfall piece.  It is the tiny tree that you can just see at the top of my design from yesterday.
To make this tree, I put some water soluble stabilizer very tightly in a hoop and started thread painting with straight stitch and a variegated brown thread.
Here, you can see just the basic outline of the trunk.  I made the shape up as i went along, but you can draw first if you would rather.  I find it easier not to have a line, so little mistakes and wobbles simply become part of the piece.
Next, I filled in the trunk, making sure I went back and forth over and over so the stitches interlocked.
And here is the finished trunk.
Next I  filled in the leaves.  Most thread artists tend to use a tiny granite stitch for this, however I like to use up and down strokes, simply because that is what Eucalyptus trees are like.  If I was drawing a deciduous tree, I might do it differently.
I loaded two values of khaki green, lighter in the bobbin and tightened the top tension so the lighter thread would show at the tips.  This is called colour spotting (see Encyclopedia of machine embroidery, or Beginner's Guide to Machine embroidered Landscapes)
This was taken at 10x using my digital microscope.  You can see the tiny bits of  lighter thread comming to the top.
here is the tree, with the foliage done.


These three pictures show the final steps.
While the work is still in the hoop, I pin it to a piece of poly styrene


Next. I release the hoop and trim of most od the stabiliser


Finally, I hold the piece under running water until the stabilizer has washed away
 The work the needs to dry
If you are impatient like me and If your poly styrene is very thick, you can push the pins right down and  use an ironing cloth over your work, lightly ironing until it is dry.  This will still take a fair amount of time, because you need to make sure the polystyrene doesn't get too hot and melt.
Your small piece can be used as an applique, or in another fibre work.
Hopefully in a week or so you'll see this one in the final waterfall piece
Tomorrow we will look at another fibre art technique in Friday Focus