I have just finished this in time for the end of the month.
I have sent it to the Crazy Quilt journal project 2014 blog and it will go up there soon, I expect. I have enjoyed finishing this block and have used a few different things I like. The butterfly is actually a felt scrapbooking element and the tiny doily is one I tatted. I have actually cheated in one area and used free motion. I wonder if anyone can spot it?
I love embroidery, but I get bored with large areas of the same thing, so this project is great for that, and for satisfying my need for embellishments of all types. I can pick it up and just do half an hour here and there and it slowly builds up to something really complex.
Now on to February's block......
Happy creating!
Friday, January 31, 2014
Thursday, January 30, 2014
A day off
Today I was having trouble with my muse, so I just dropped the routine and did some painting.
A couple of days ago Cloth paper scissors and Create Mixed media hosted a webinar with Mary Beth Shaw. It was, of course, on using stencils as she is the stencil girl.
I was really inspired by the sketchbook she used in the webinar and felt like playing around with her techniques. (The webinar is available here.)
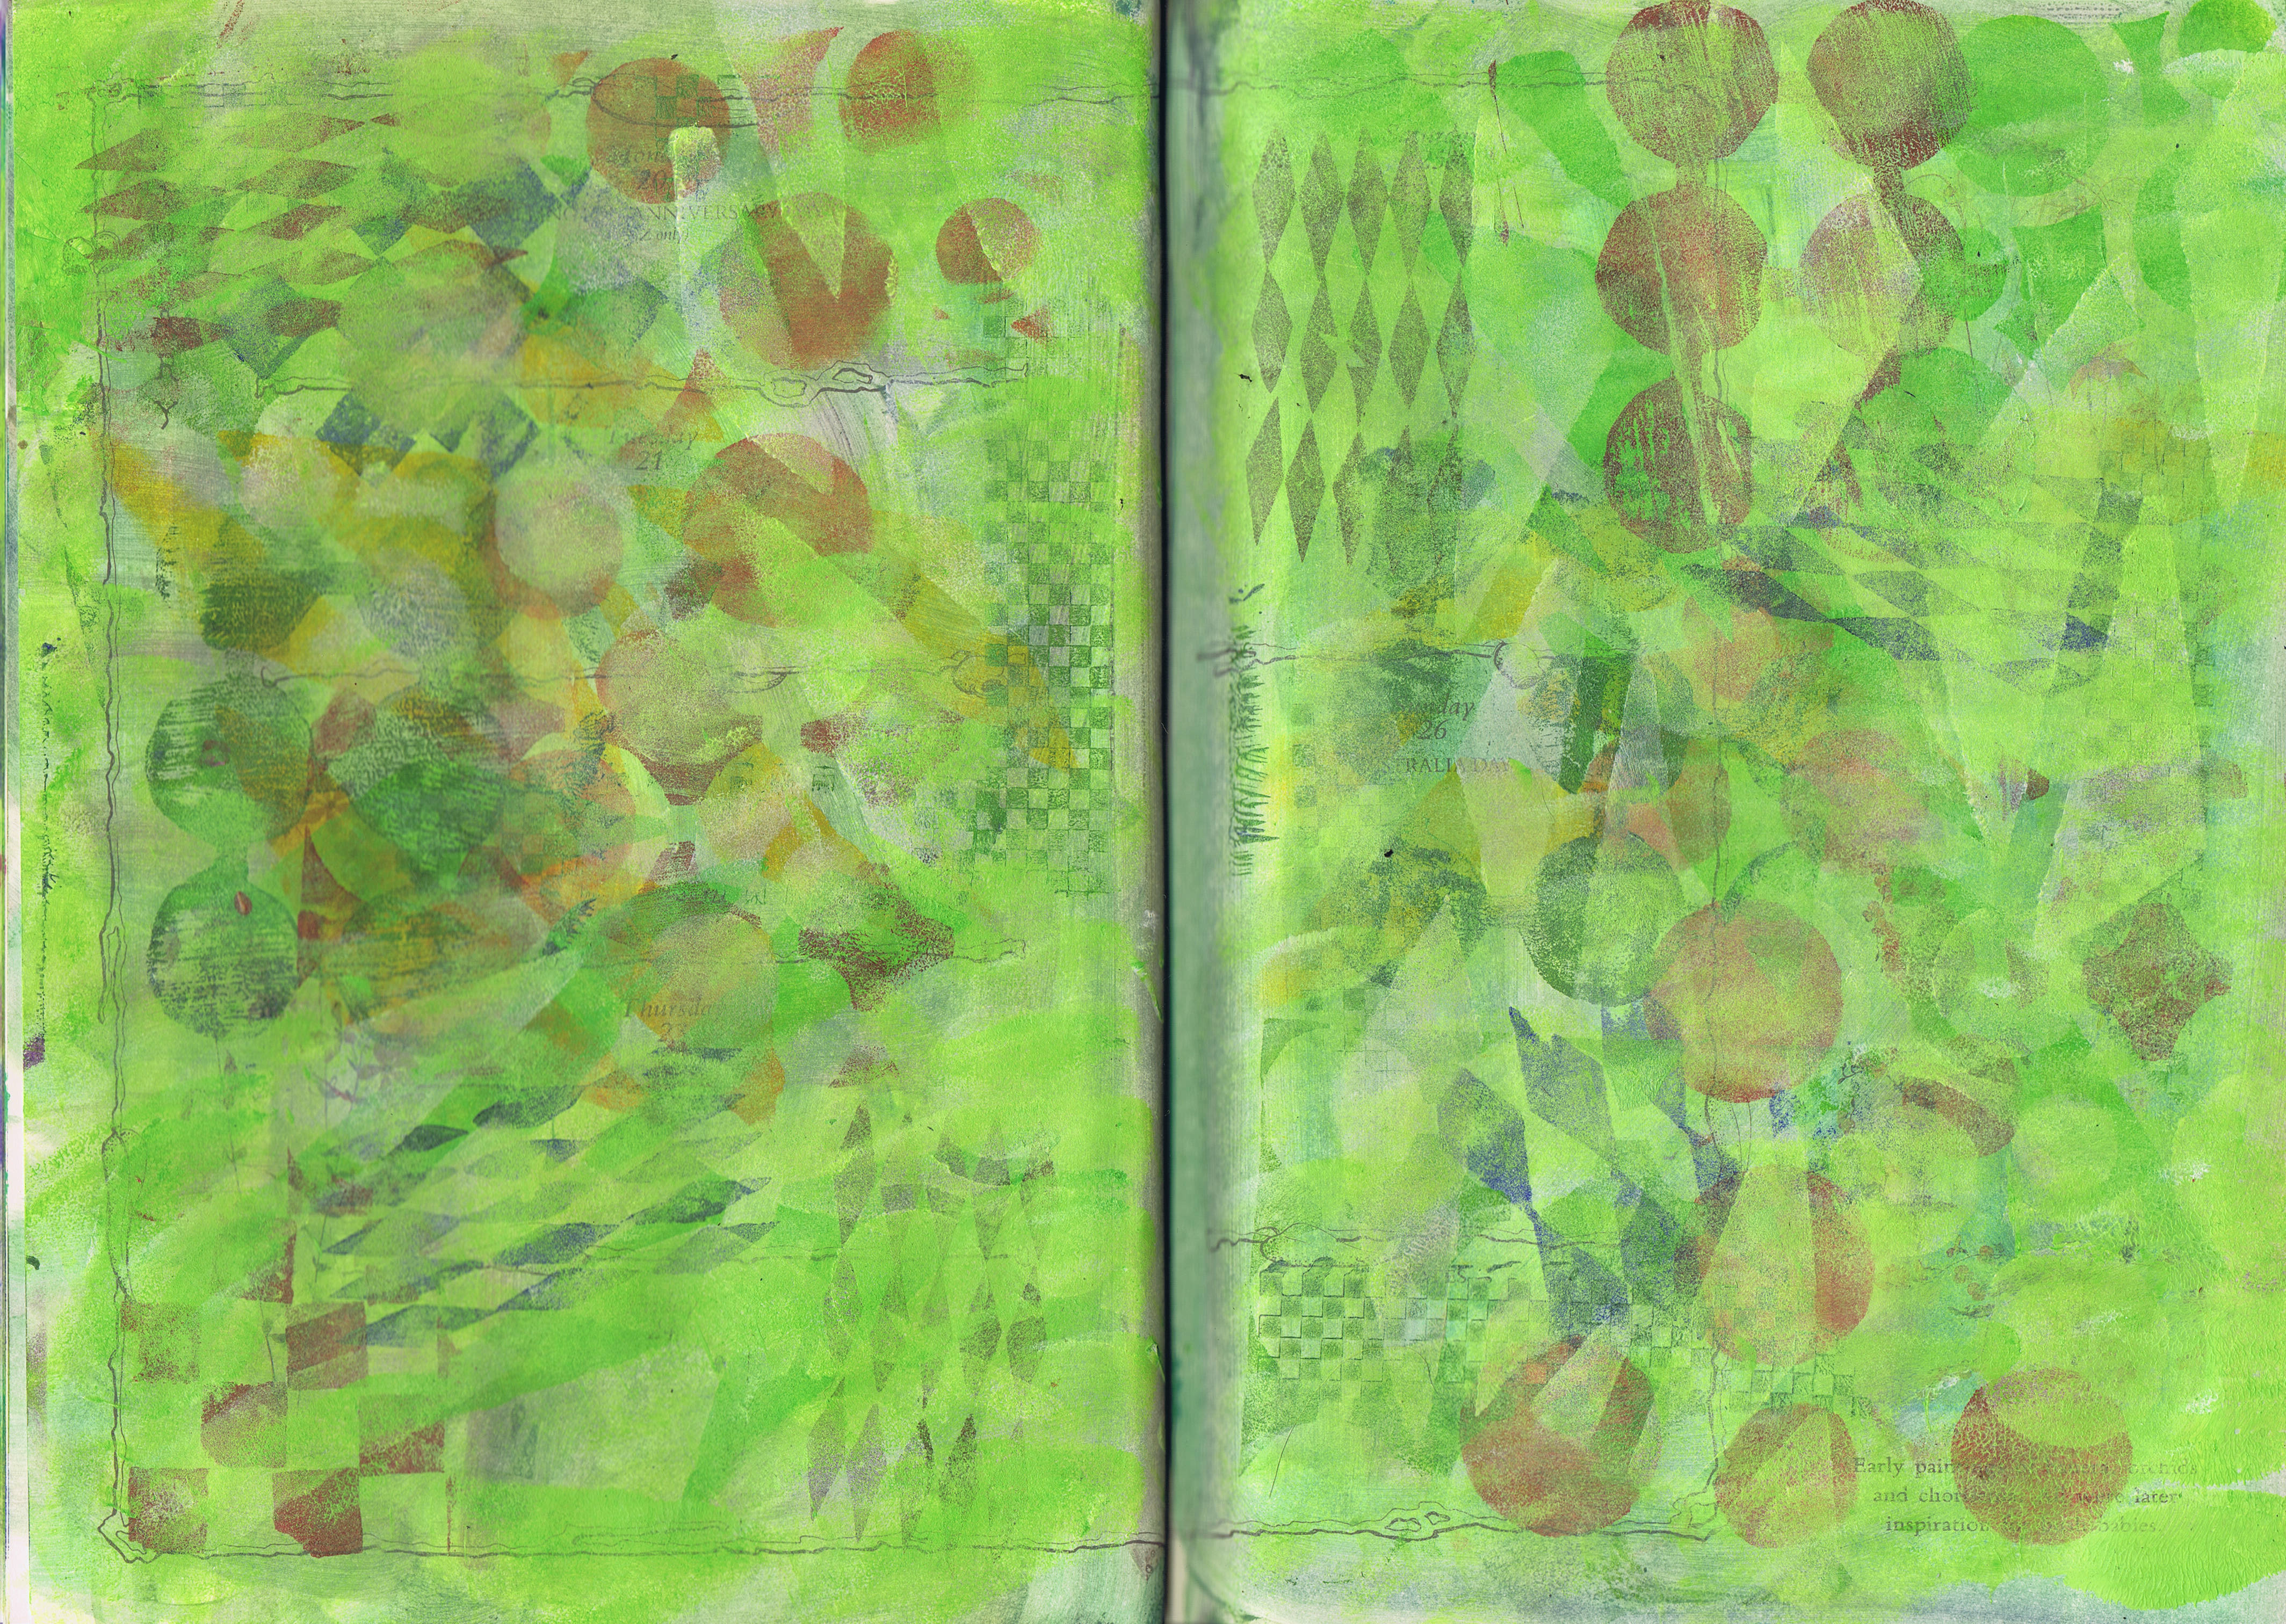
So here are a few pages, which are really backgrounds, but I like them so much I think I will just fill the book with them.
Obviously this one is a favourite, with all the leaves.
This one is a bit more geometric.
Another favourite, with lace sort of designs and purple of course.
Another purple one, but with lots of different stencils on it.
I did enjoy doing this, at least until it got too hot in my studio and the paint started to dry on my fingers and the make up sponges before I could get it on the page. Stencilling is best kept pretty dry, but not that dry.
Happy creating!
Wednesday, January 29, 2014
What's growing?
A new art quilt is growing.
It is at the stage where i have a lot of free motion to do, so I thought I'd show you what I have done so far.
This quilt is based on a page in my leaf sketchbook.
These are three gelatin monoprints that I have collaged together. One is a negative and two are positive. I used a bit of artistic licence and moved them around a bit.
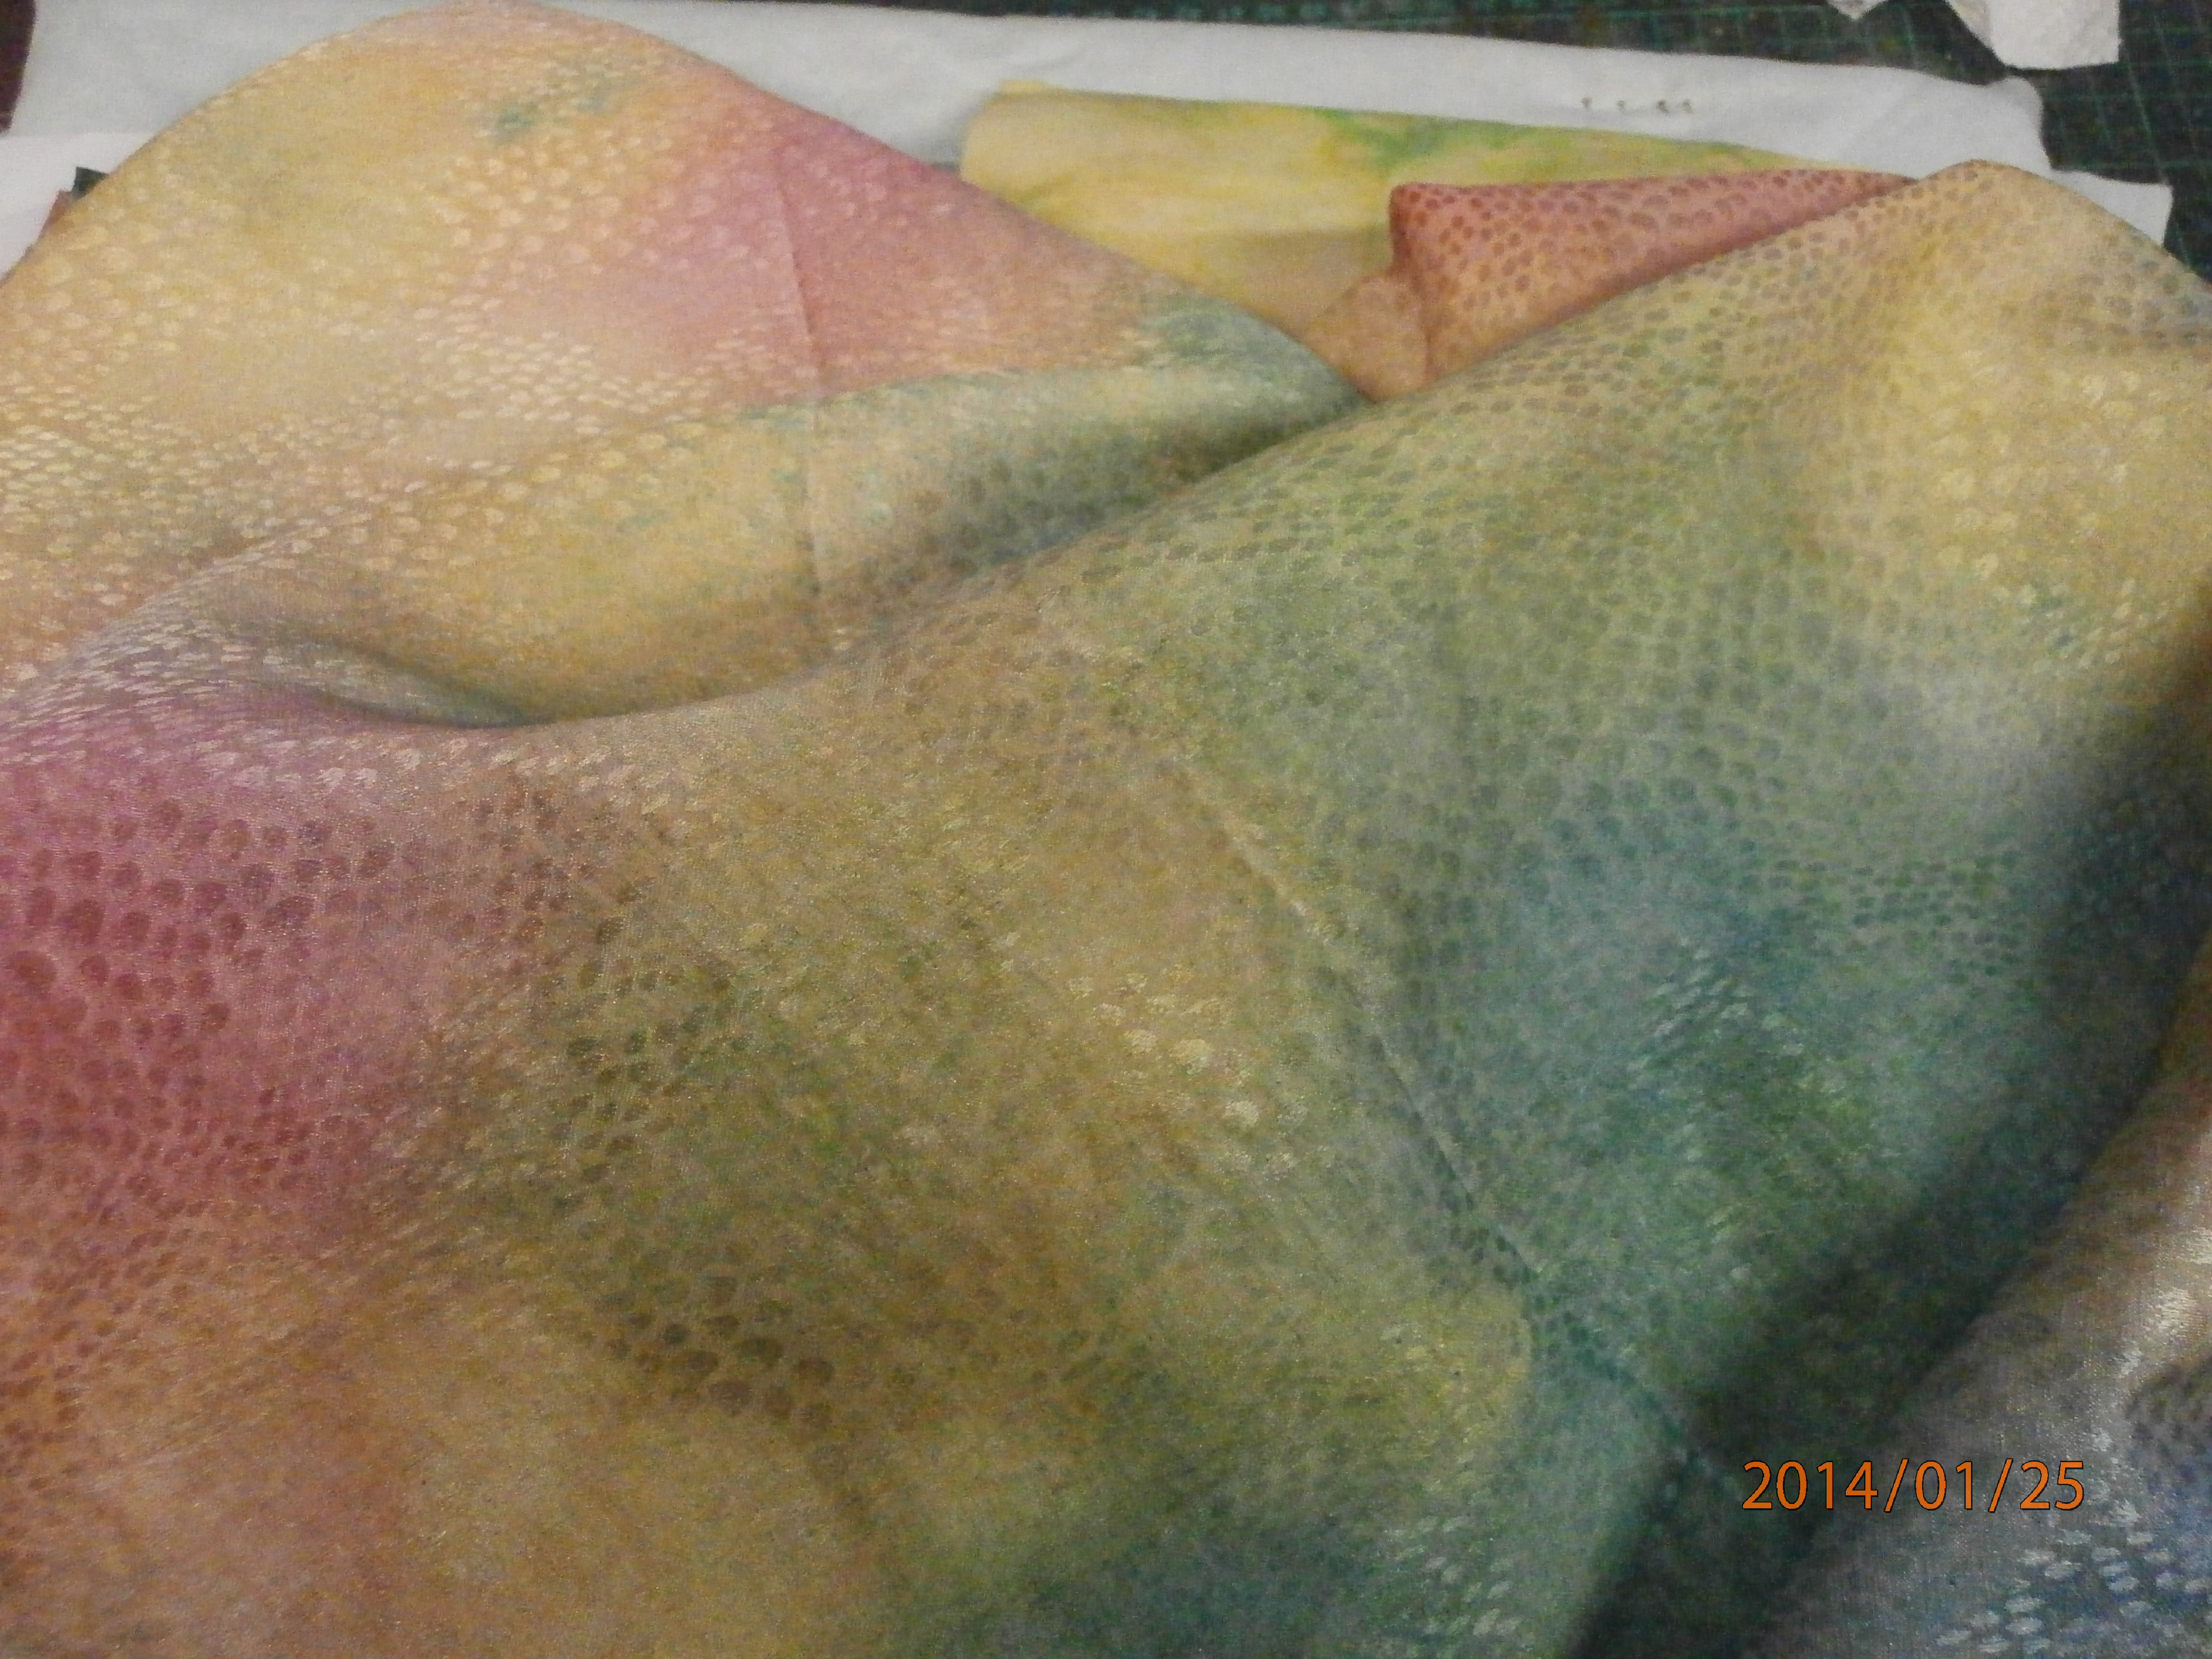
My background was the textured satin I sprayed the other day.
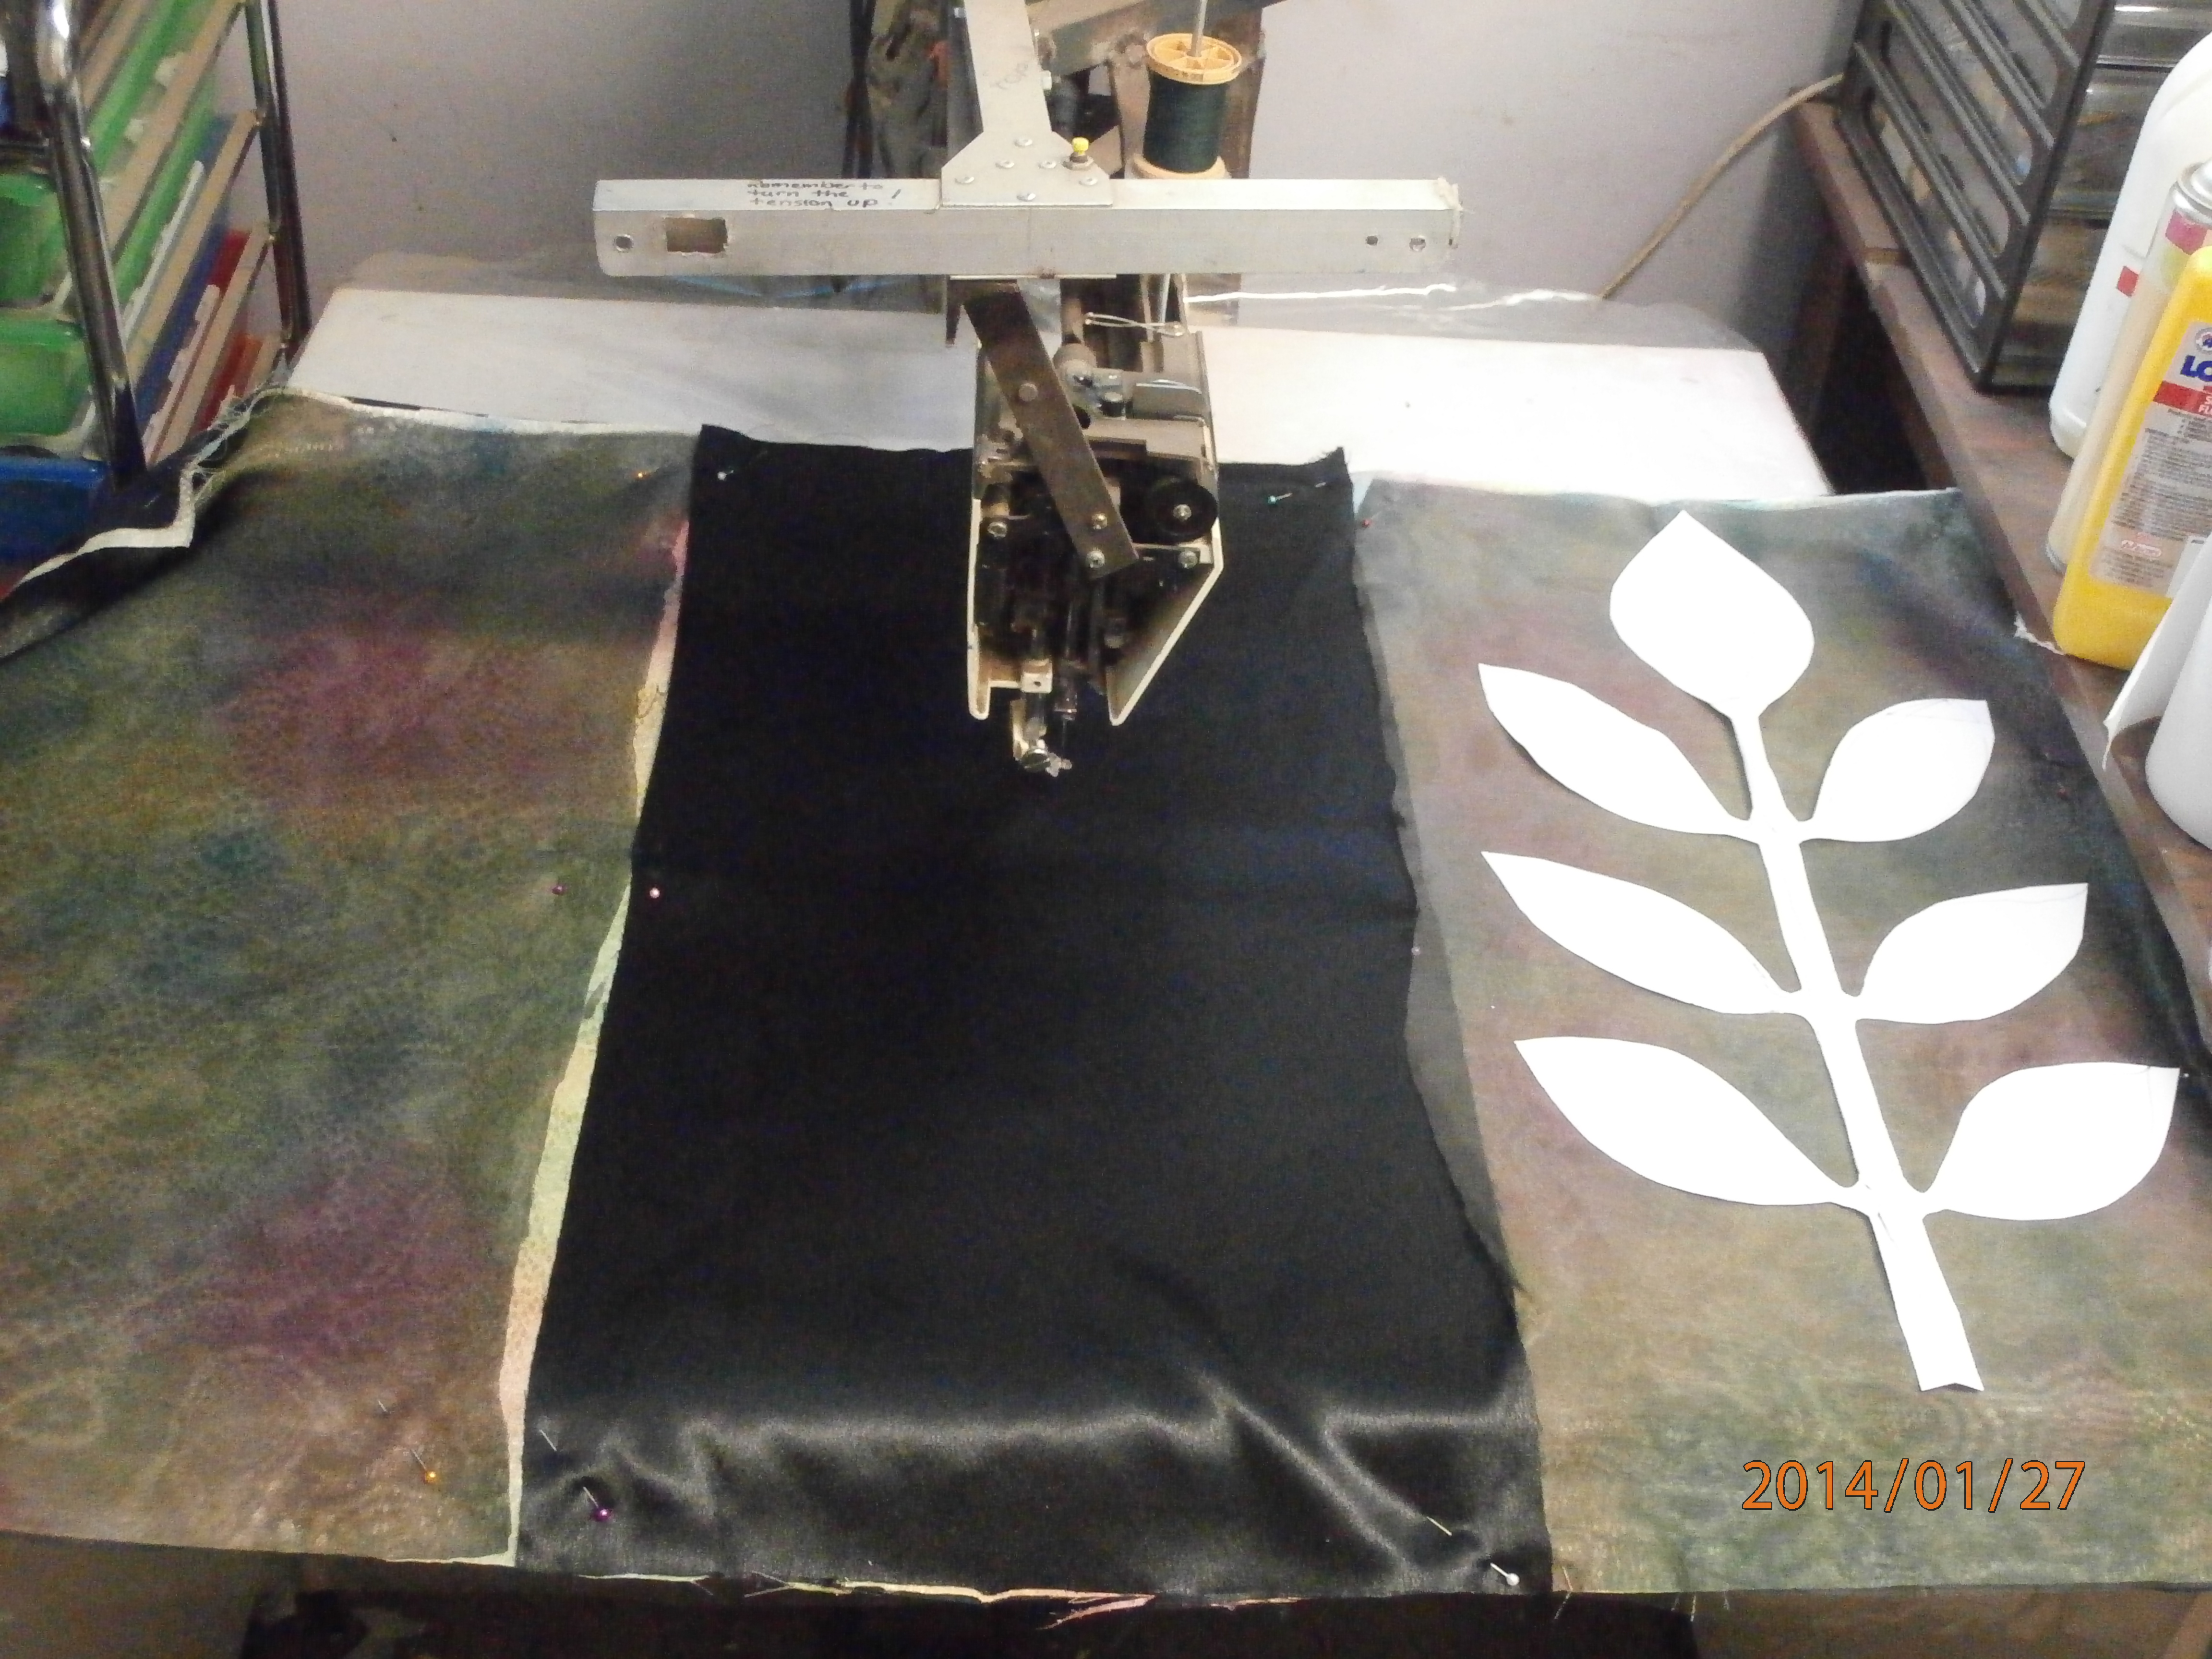
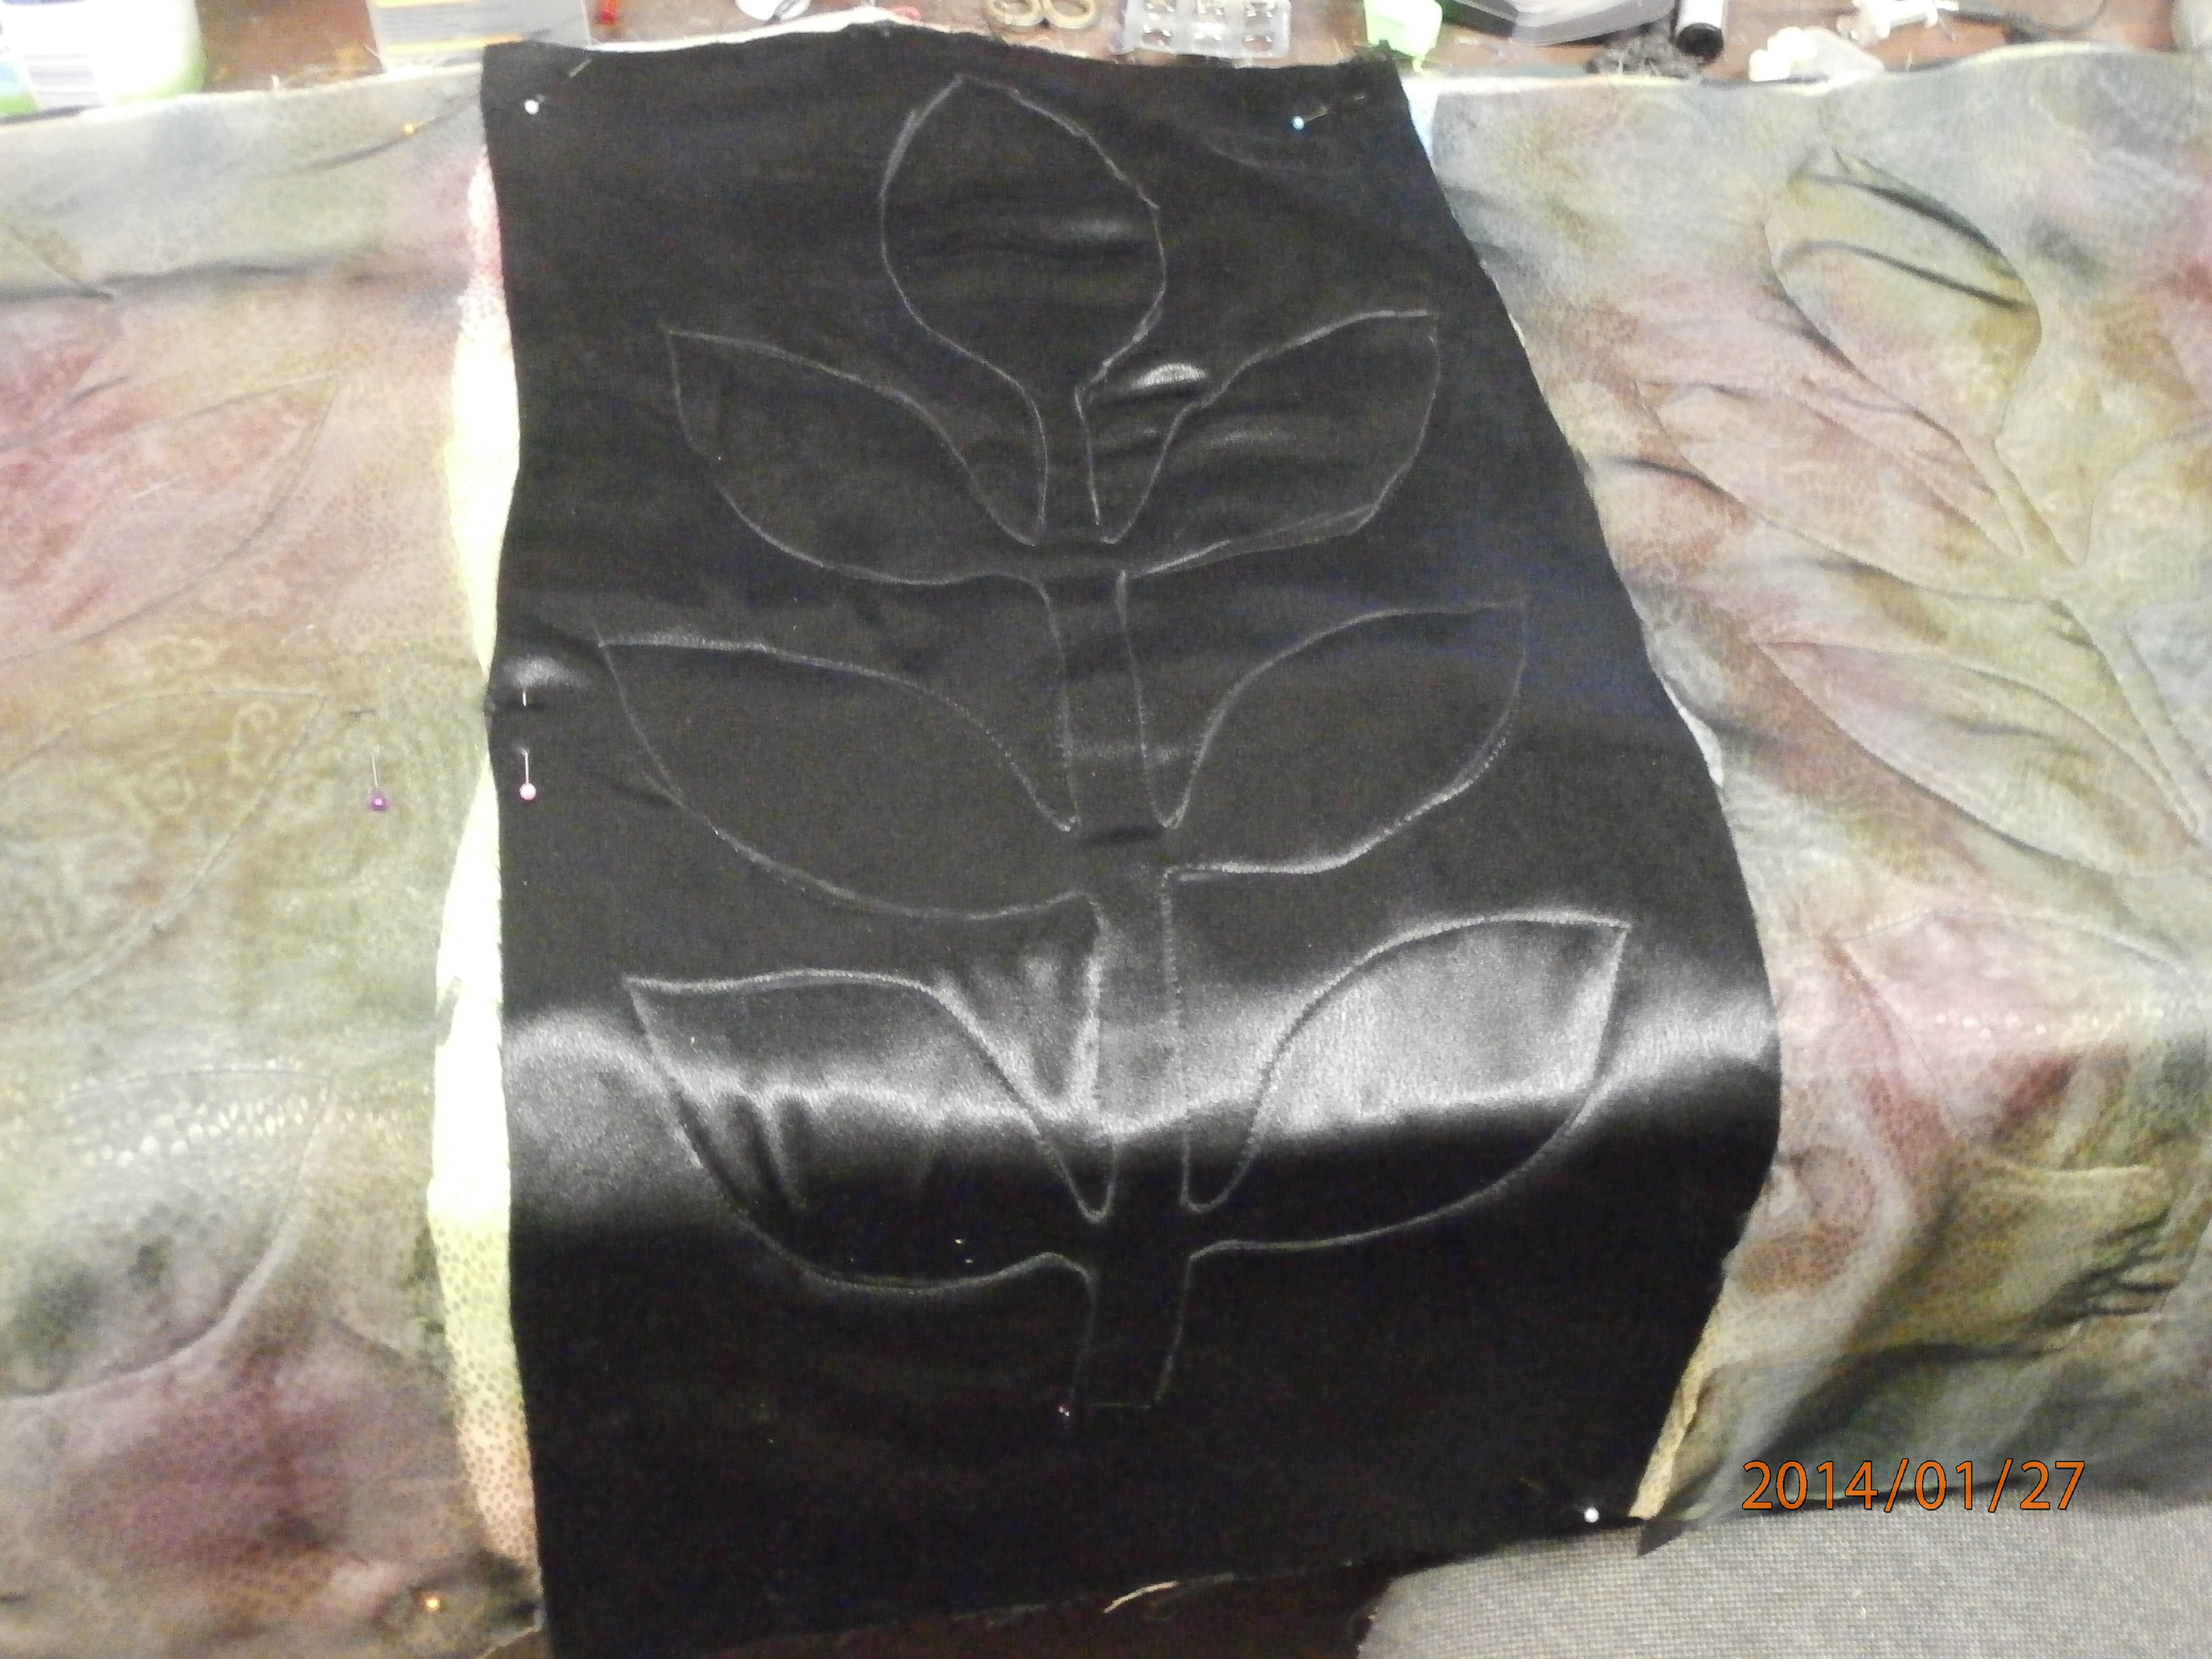
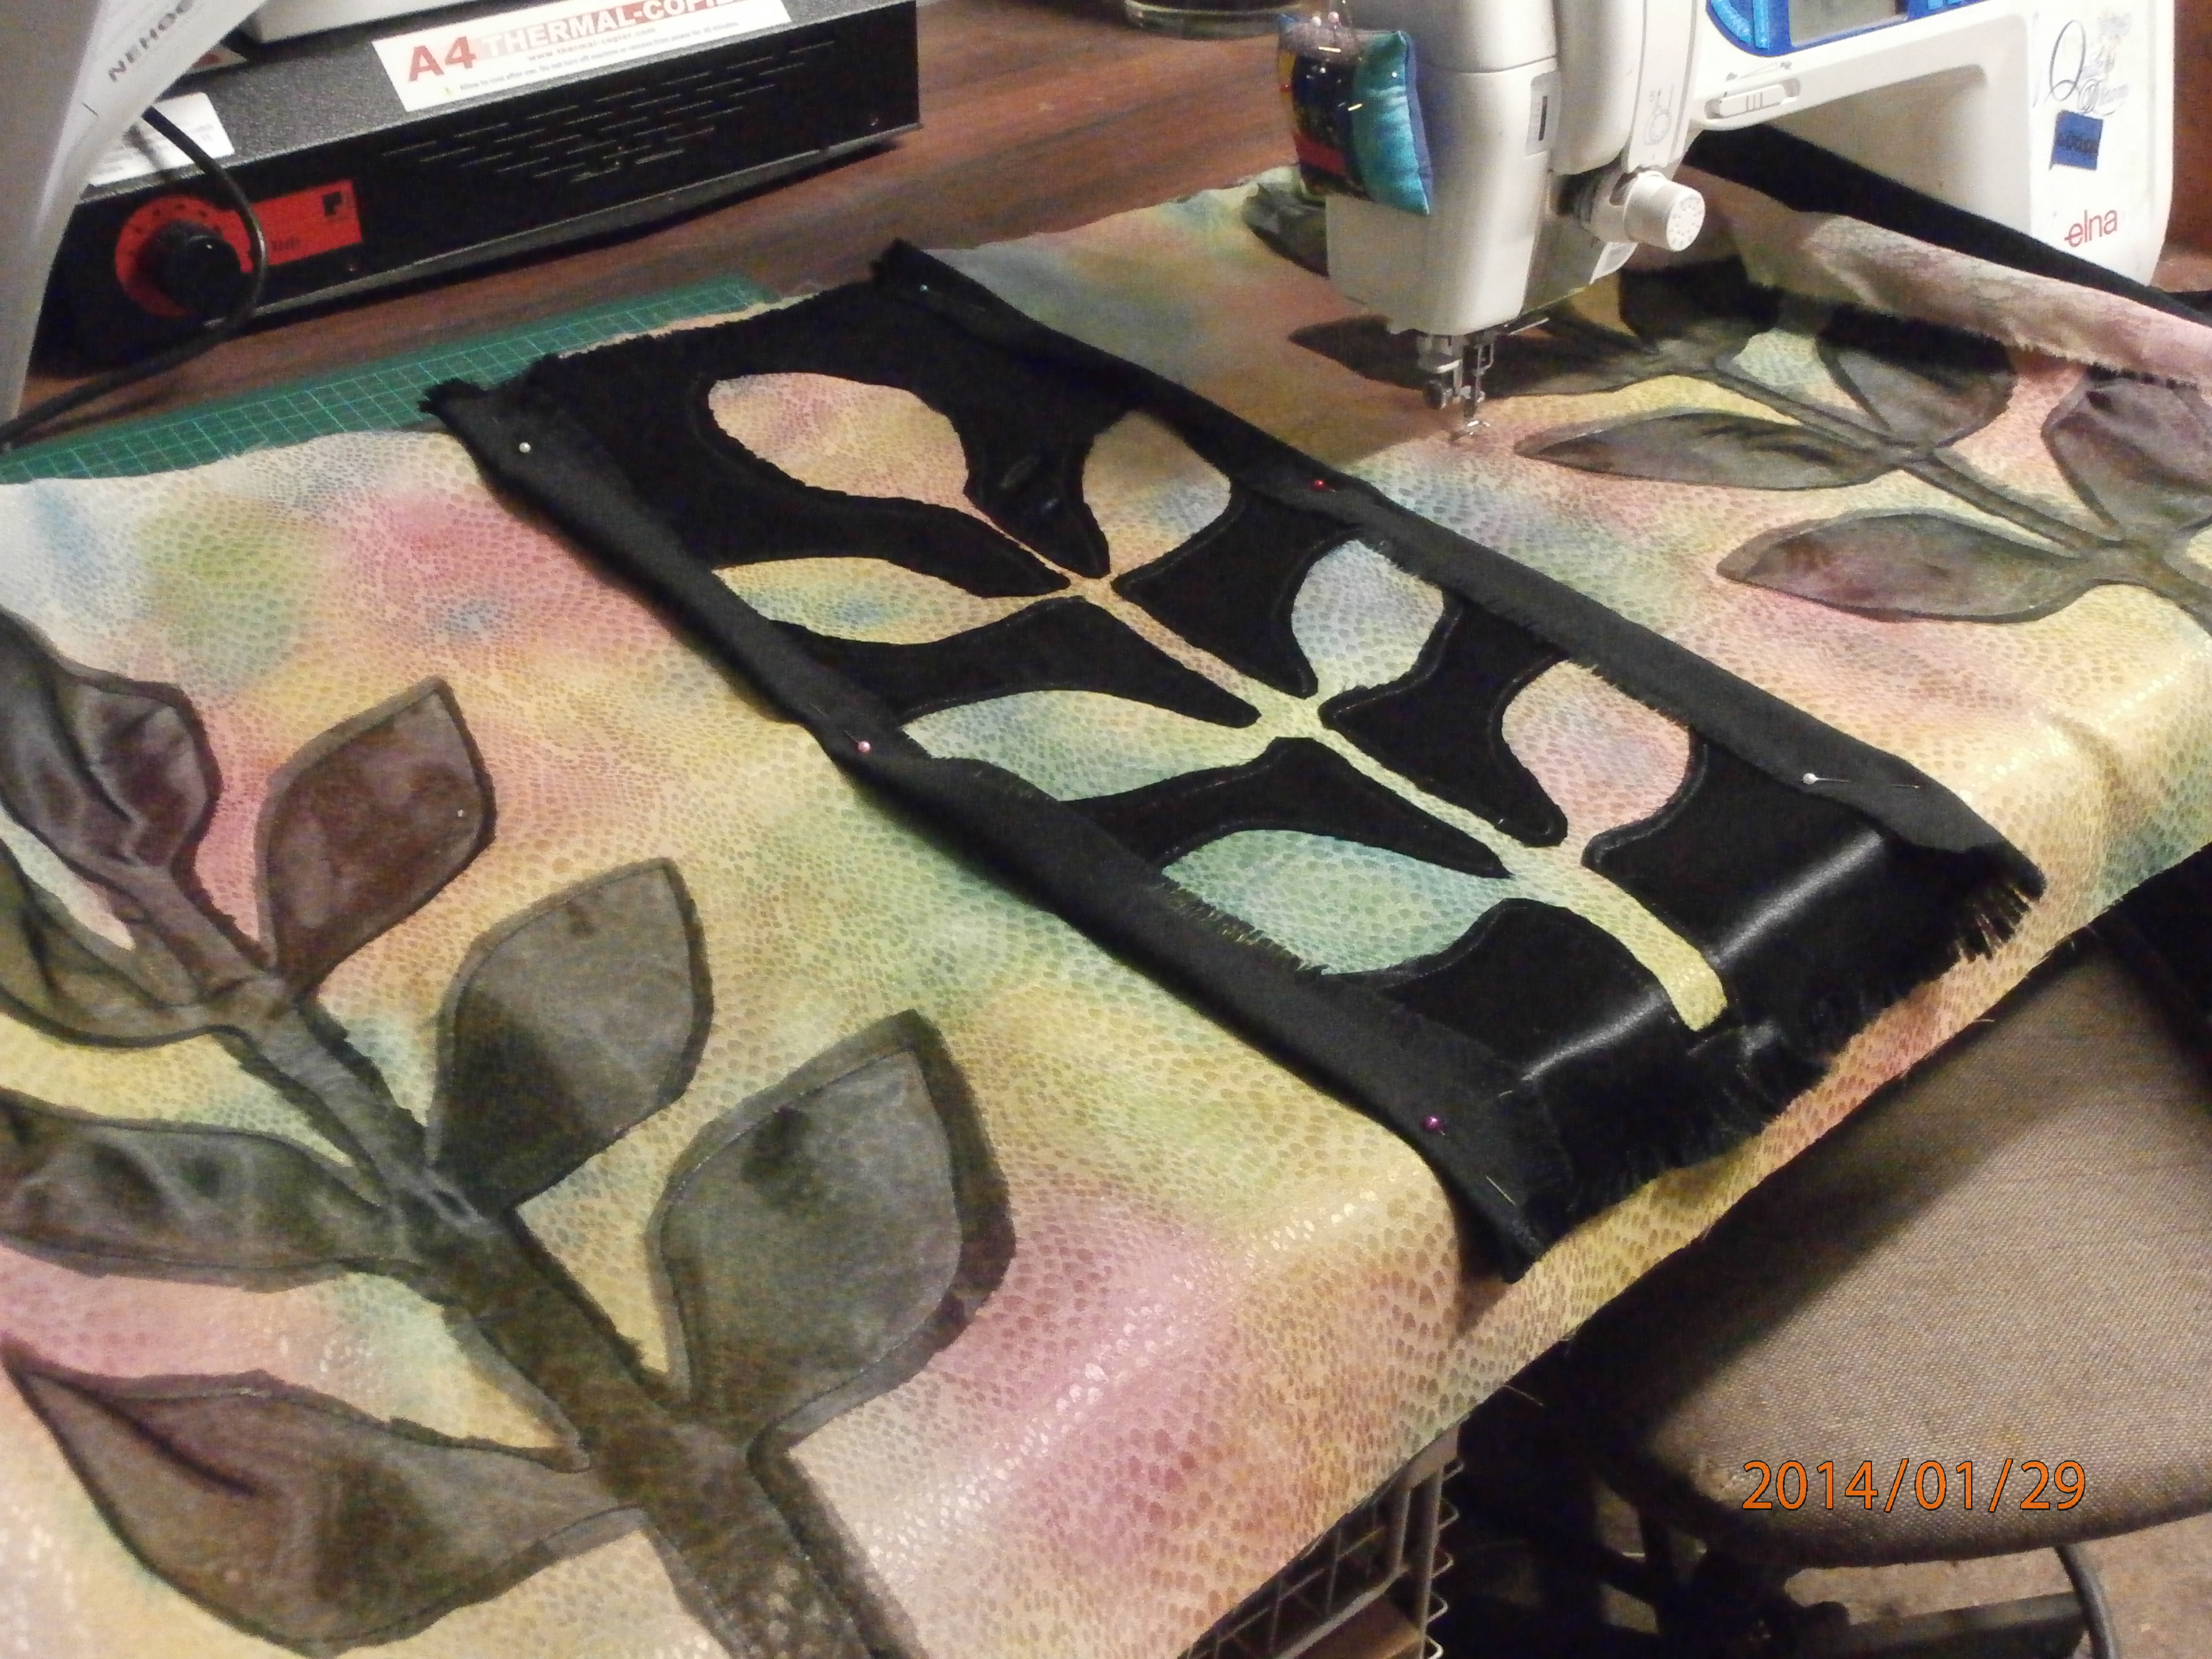
I layered it up with felt and added some black satin in the centre and black organza on the sides to create three sections. I traced around the paper stencil I made for it and stitched around it three times.
Then I rough cut out around the organza stitching and inside the satin stitching.
the next step was to run along the stitching lines with some fabric glue.
With a small piece, I have found that this is not really necessary, but with a large piece like this (40inx30in), I have found hat sometimes the slippery satin and organza can come out of the stitching when I trim right back. I have been thinking about testing out fusible thread to see if it works any better. It would certainly be quicker!
And here is the whole piece ready for a lot of free motion work!
Happy creating!
Tuesday, January 28, 2014
Tea pots and stuff
Here is my contribution for T for tuesday. Nothing very exciting like a glorious restaurant like Elizabeth's.
I have showed this teapot before, but not this page. It is a teapot my grandmother gave me and the painting is of the tea plant in flower. I have also added some collage leaves.
I am working on a couple of projects, which I hope to show you soon, but of course we are having another very hot week after a little break which was glorious, but is now over.
Happy Creating!
Monday, January 27, 2014
tablet tangles
i recently bought a graphics tablet to use for drawing.
I can't say I'm very adept at it yet, but I am practicing and trying to build up my stash of drawings to use. Both in thermofaxes and in my textile art. as stitching patterns.
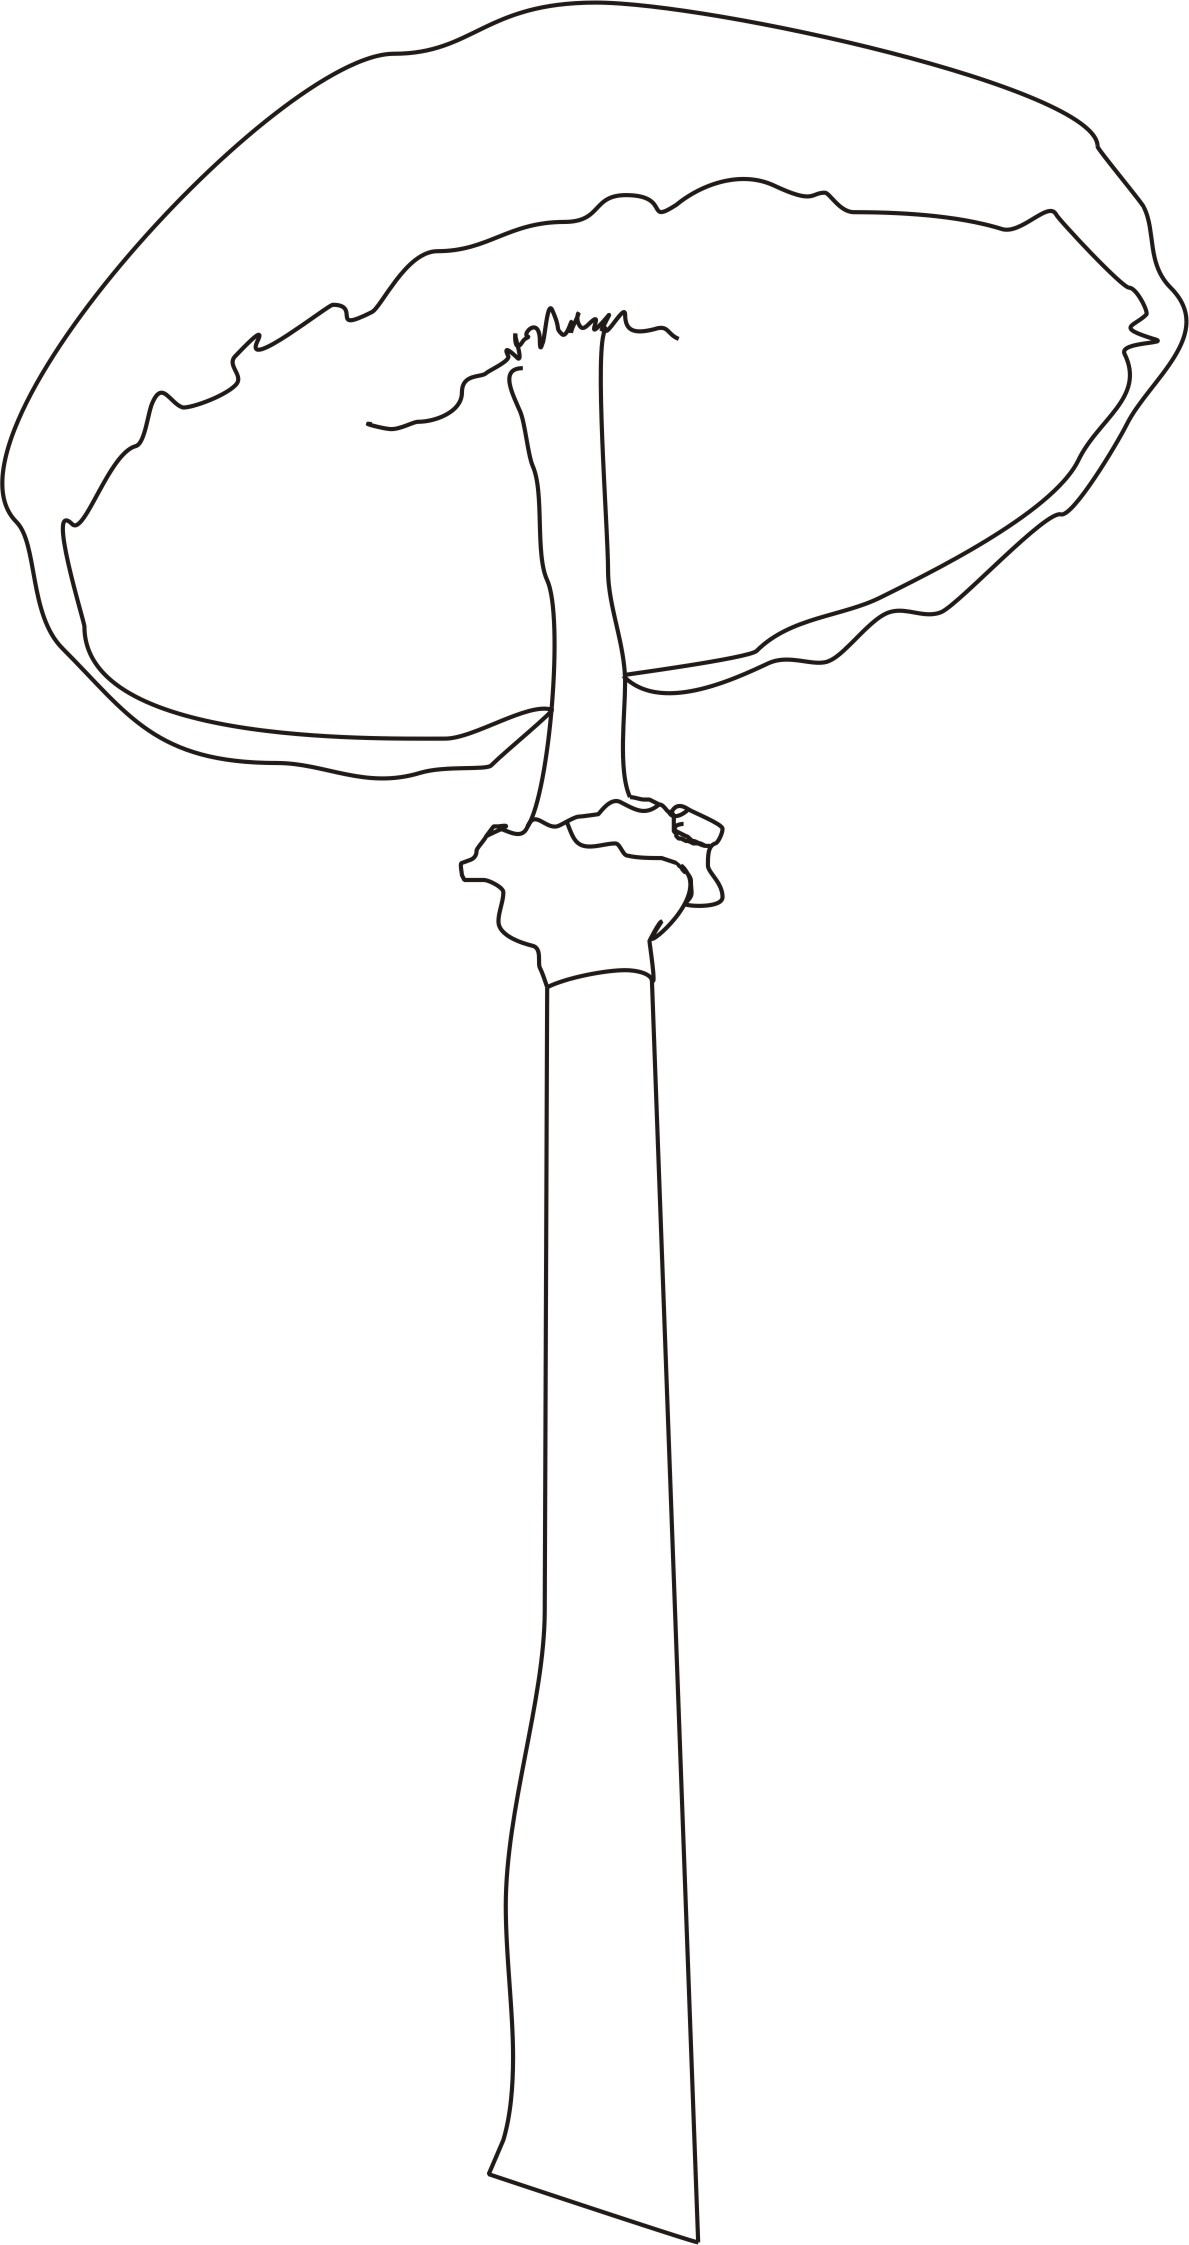
Here is a little toadstool I drew last night.
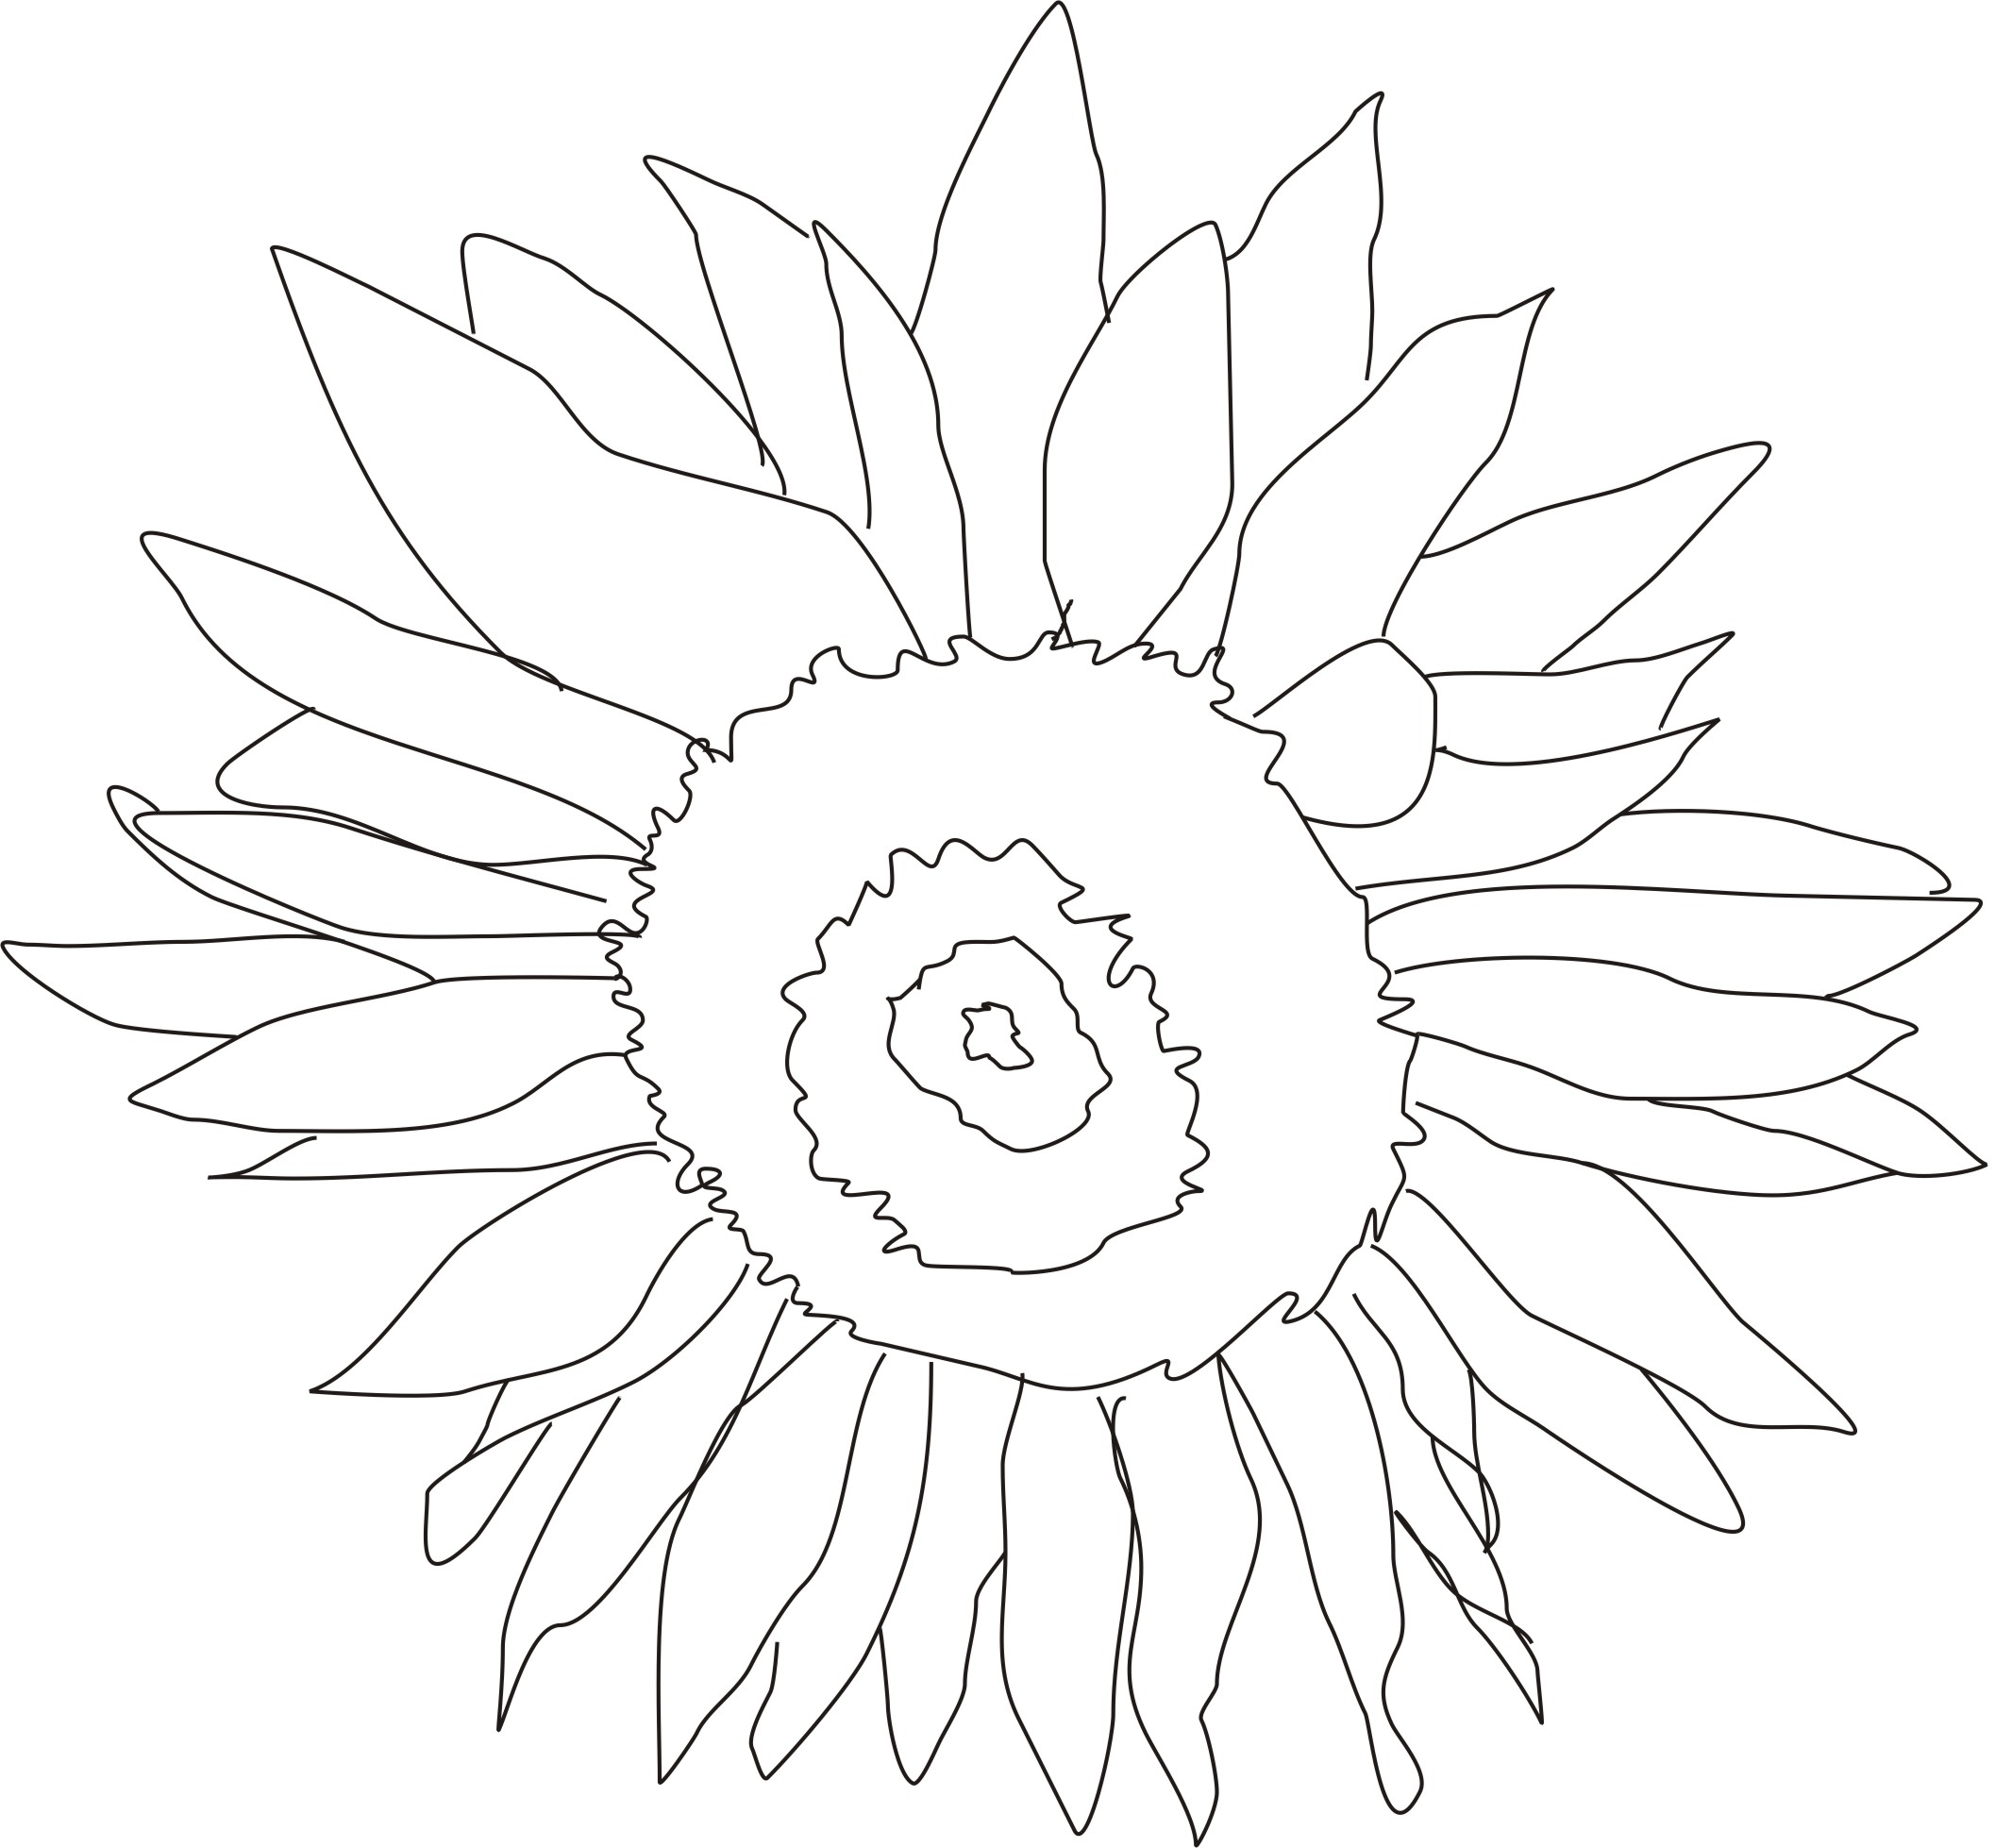
And a sunflower.
And before you praise me for my drawing skills, These were traced from photos I took, but any of you who do textile work can probably see how these would be great for applique of free motion stitching.
I still have to get the hang of lots of other techniques on the tablet, but I am getting there.
One thing that is important to me in my art, is to create sketchbooks, which can then inspire textile work. these are now an extension of that sketchbook and will be incorporated into pages for sure.
Happy creating!
Sunday, January 26, 2014
Using up the baby wipes.
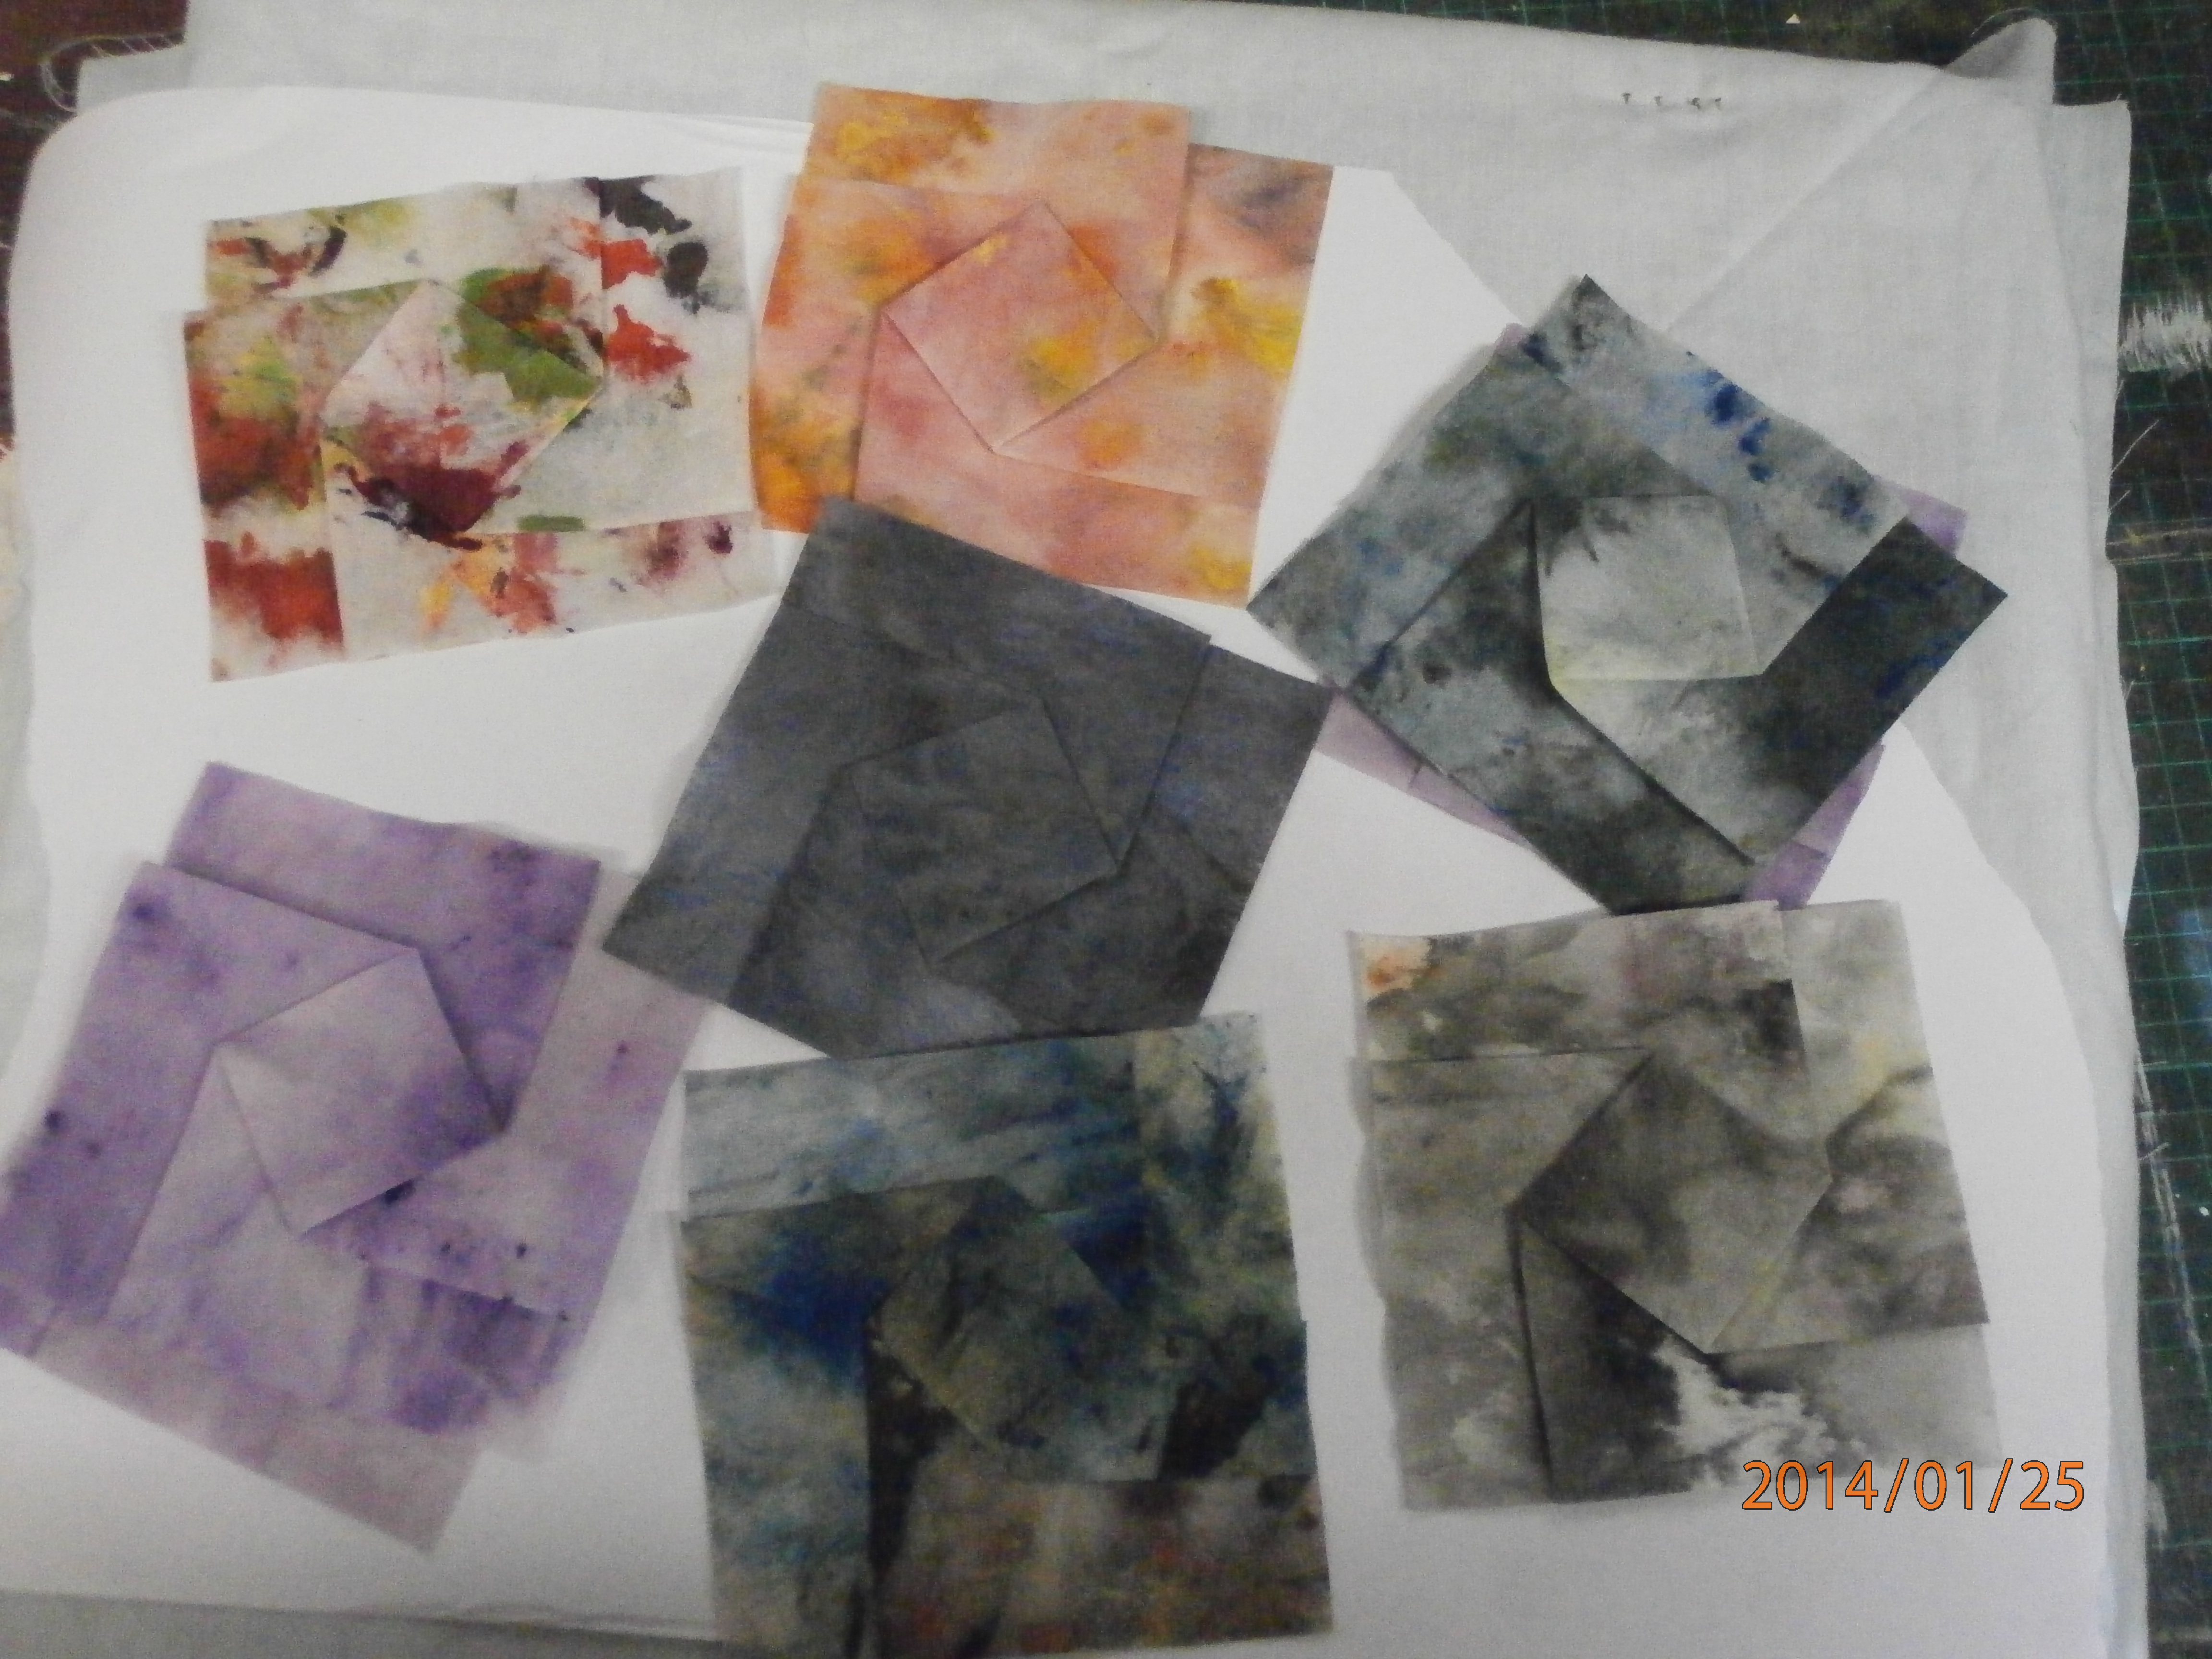
I tend to use a lot of baby wipes in my painting. They end up being covered with beautiful colours and I find it impossible to throw them out. When i was folding fabric the other day, i thought perhaps I could fold them.
Here is a selection of wipes I used to fold blocks. I soaked them in some strong starch, then squeezed them out and laid them between paper towels to dry, then ironed them.
Here is a selection of folded blocks.
And a close up of one of the folded units. I have shown how to fold these here.
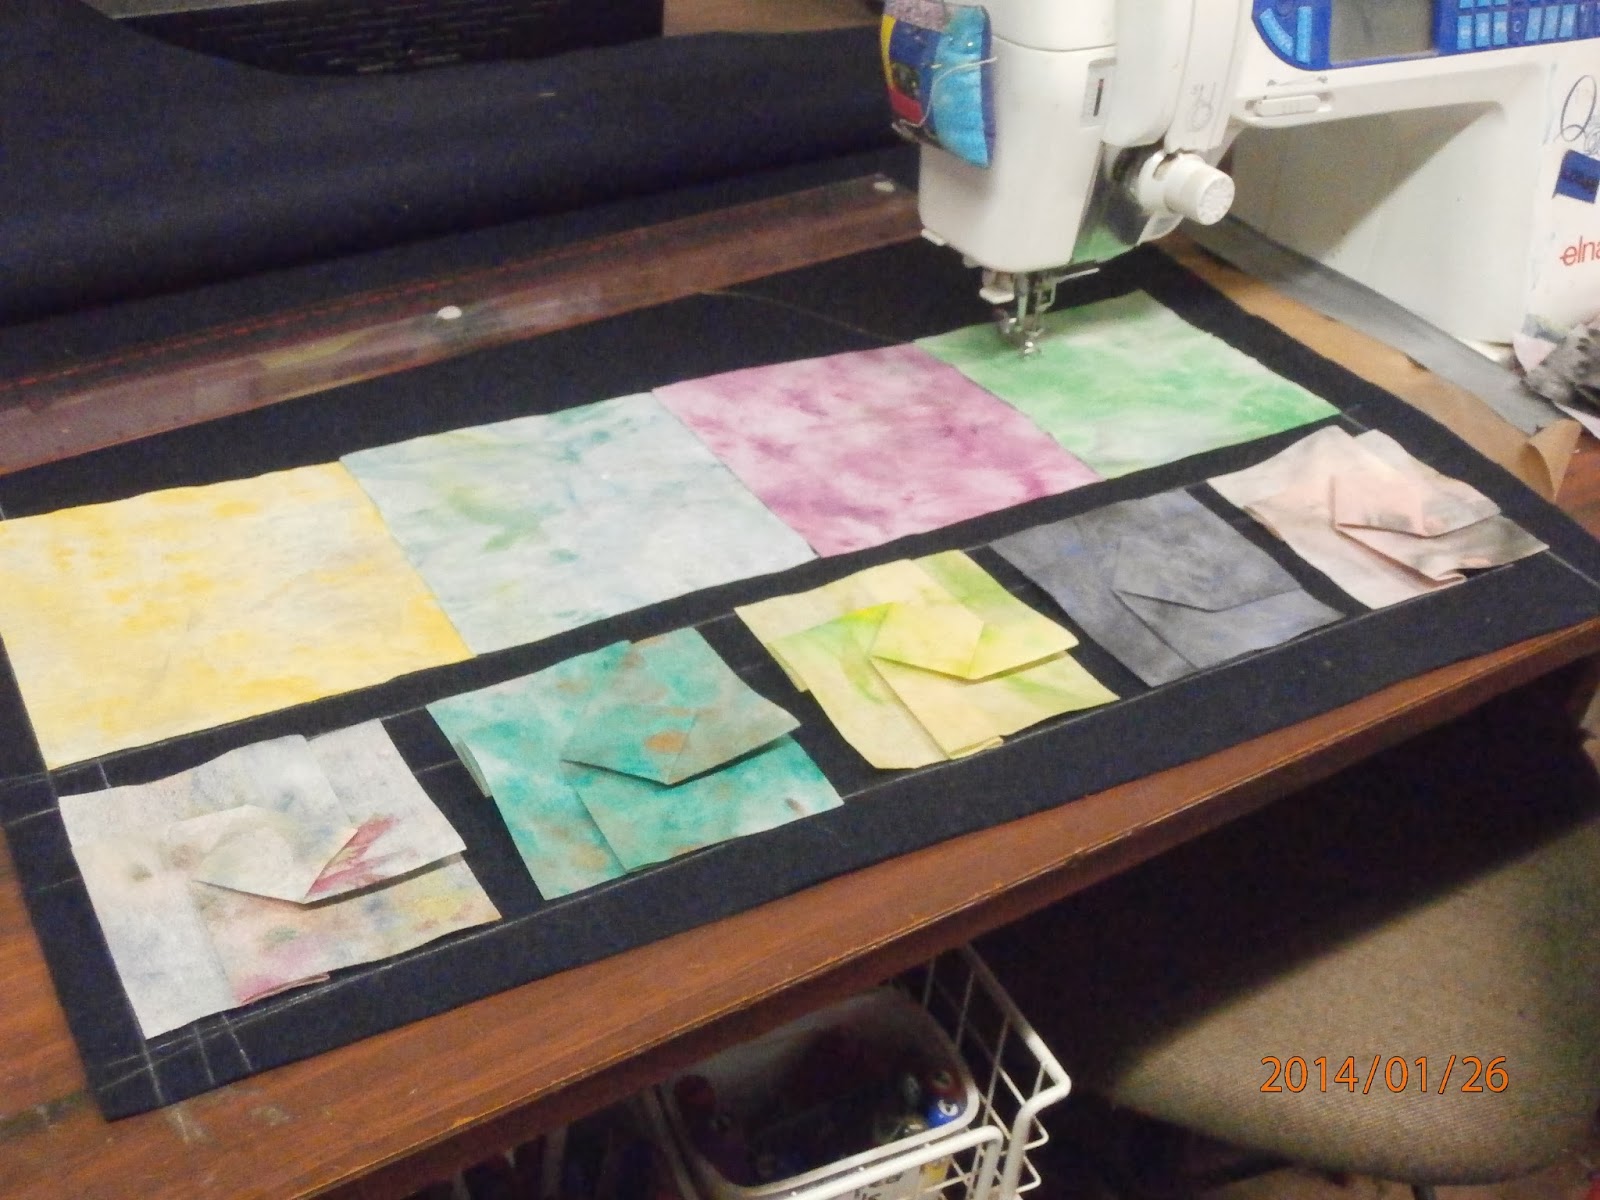
Of course after I had folded lots, probably about thirtyish, I needed to decide what I wanted to do with them.
In the beginning, i just put them together in a traditional manner.
My net idea was to space them in rows and to intersperse the rows with plain, unfolded pieces, which would give me more scope for free motion embroidery. These are sitting on a piece of blue felt marked with chalk, but I think I need a background fabric which contrasts with the matt surface of the blocks, so I am thinking of a black satin, as I intend to do the stitching in gold. I had also thought of having a japanese print with them to accent the origami theme. I do have a gorgeous Mount fuji type print that might work (if I can find it)
Anyway, that's where I am at!
Happy creating!
Saturday, January 25, 2014
A bit of everything
I have been quite busy with a few projects.
I have painted a large piece of textured satin for an art quilt I have been thinking about for a while.
I have spent a lot of time plying with my new graphics tablet, but I can't say I have created any masterpieces, yet. I am still learning to use a pen instead of a mouse!
I have been doing some thermofax printing on fabric, which I will show more of in another post.
And I have been playing with more fabric folding, which I will also show more of in another post.
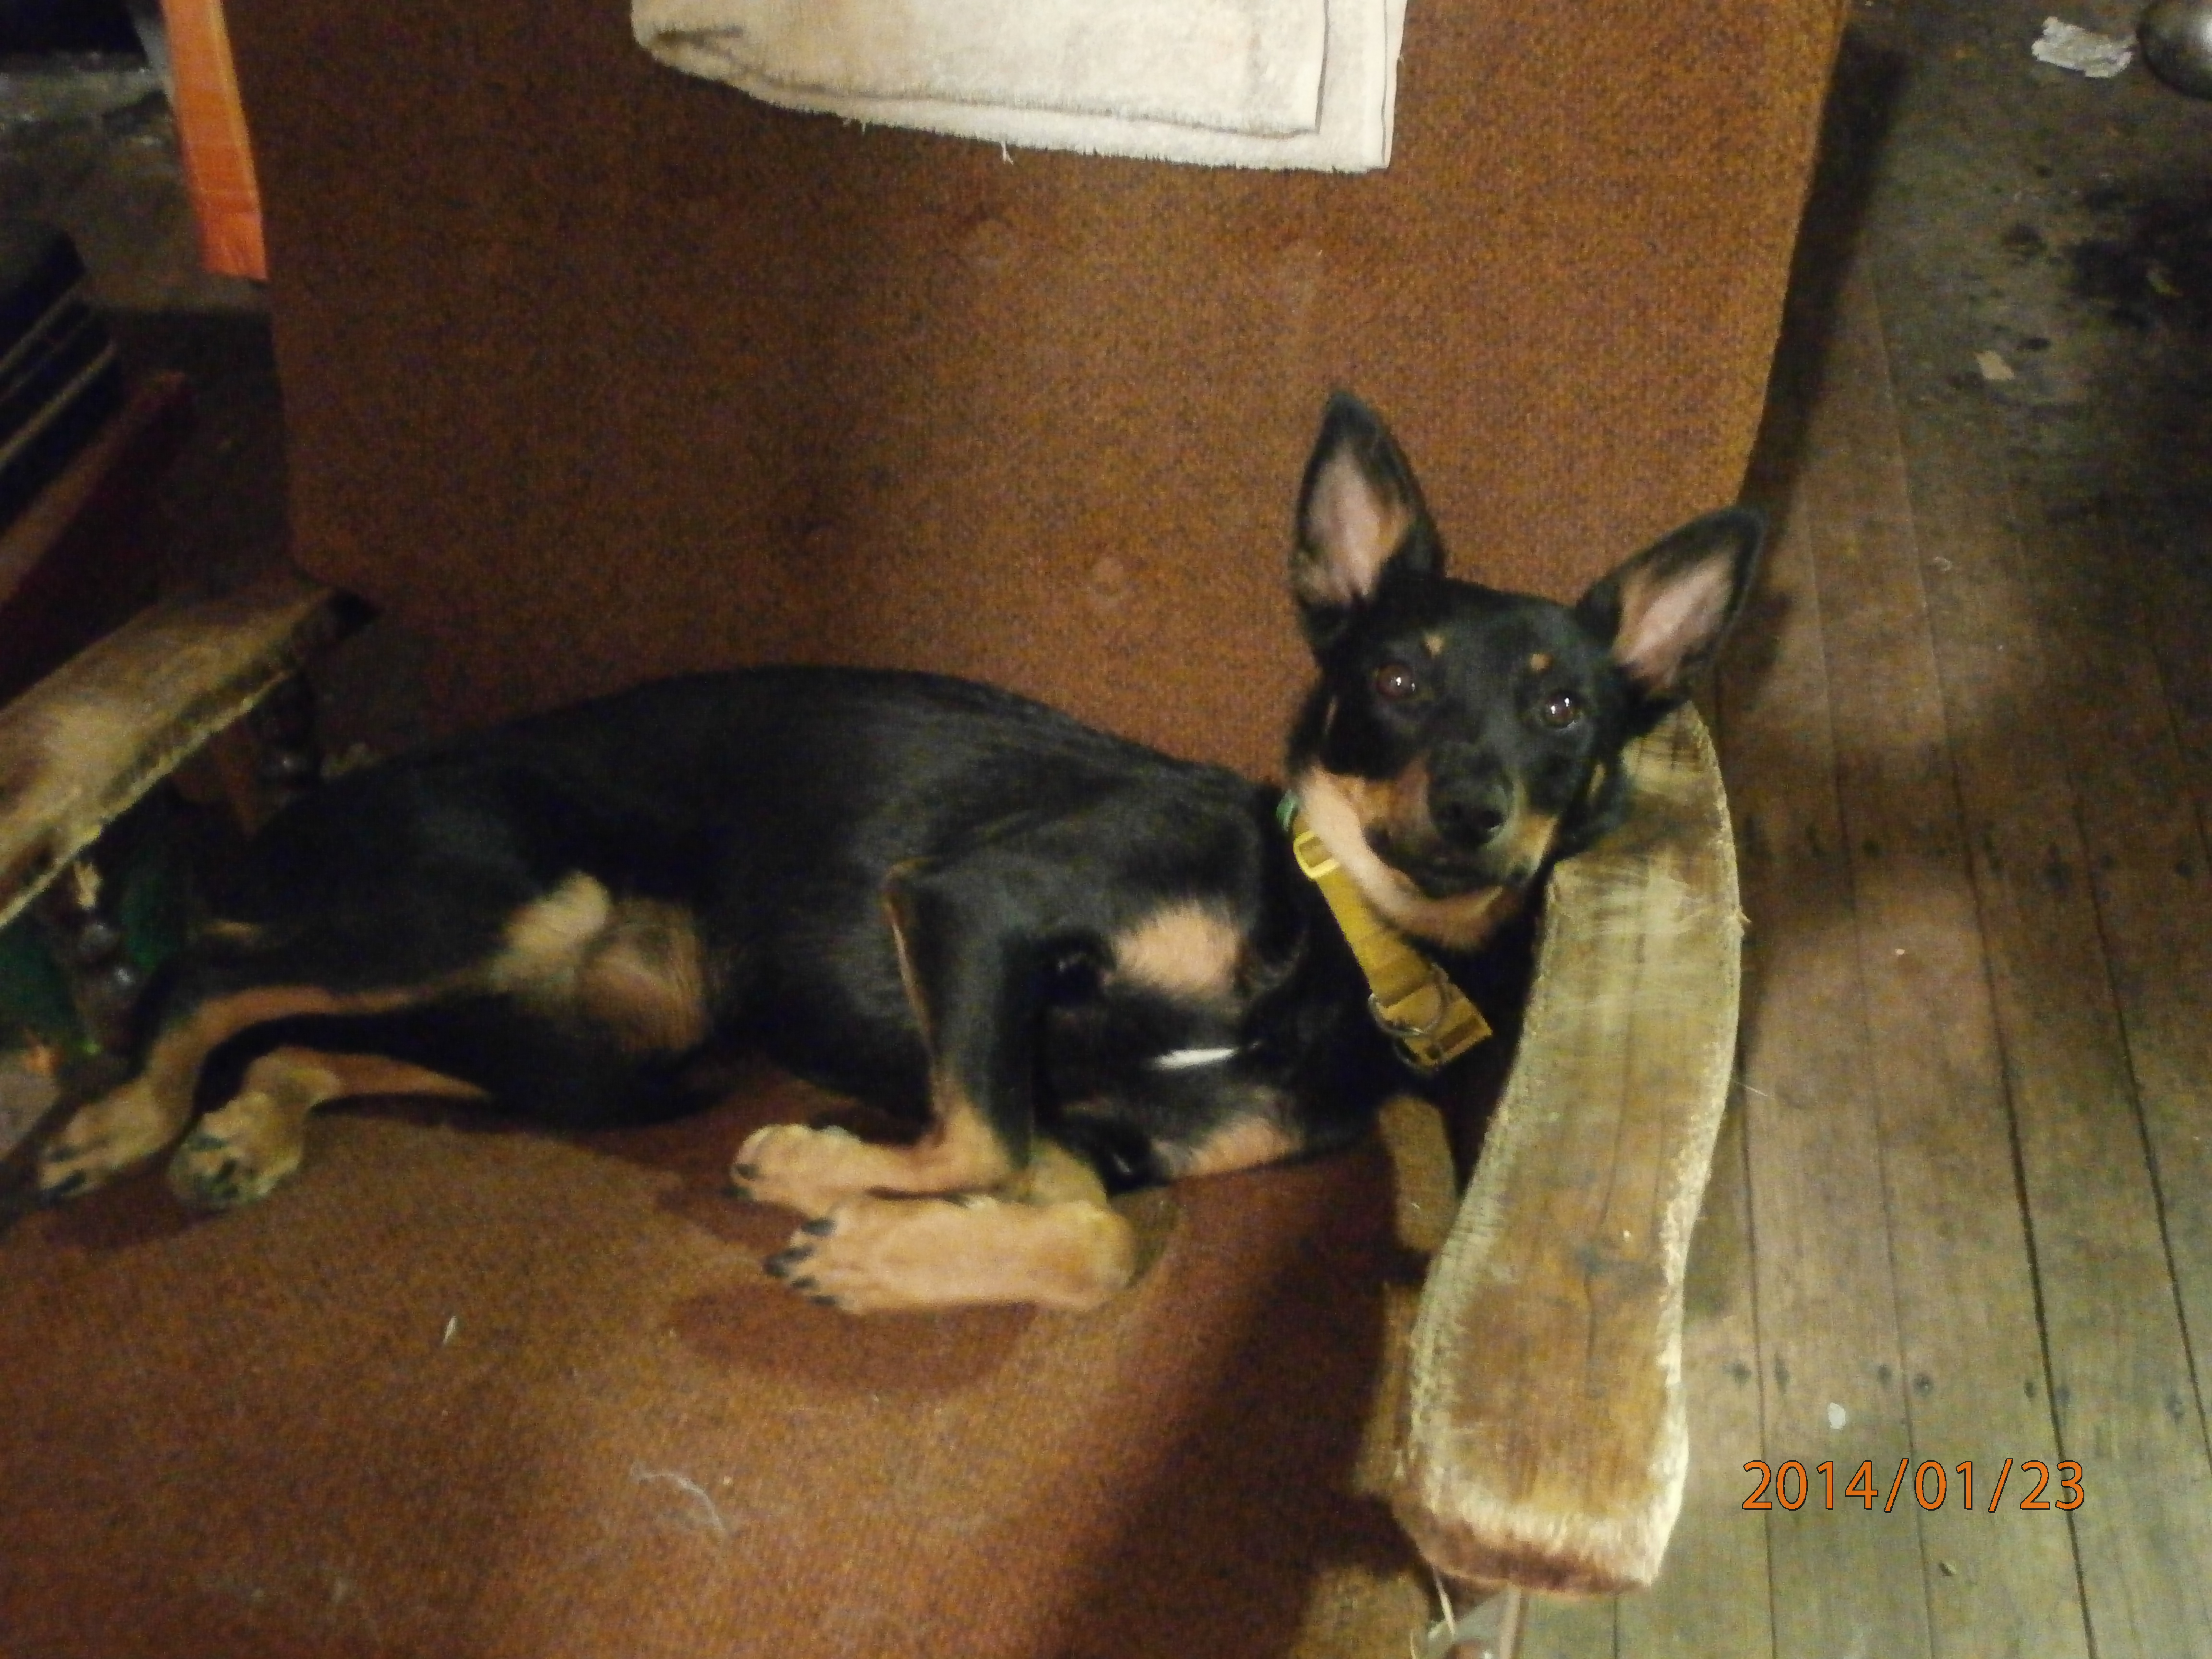
An of course I have been at the beck and call of little ruby, who is the king of the castle!
OOps, I mean Queen, don't I?
Of course, I have also been continuing my collage a day project. I am almost up to 50 collages and the collection is really growing. You can click on the link on the title bar to see a slide show.
Happy creating!
Thursday, January 23, 2014
Fabric folding
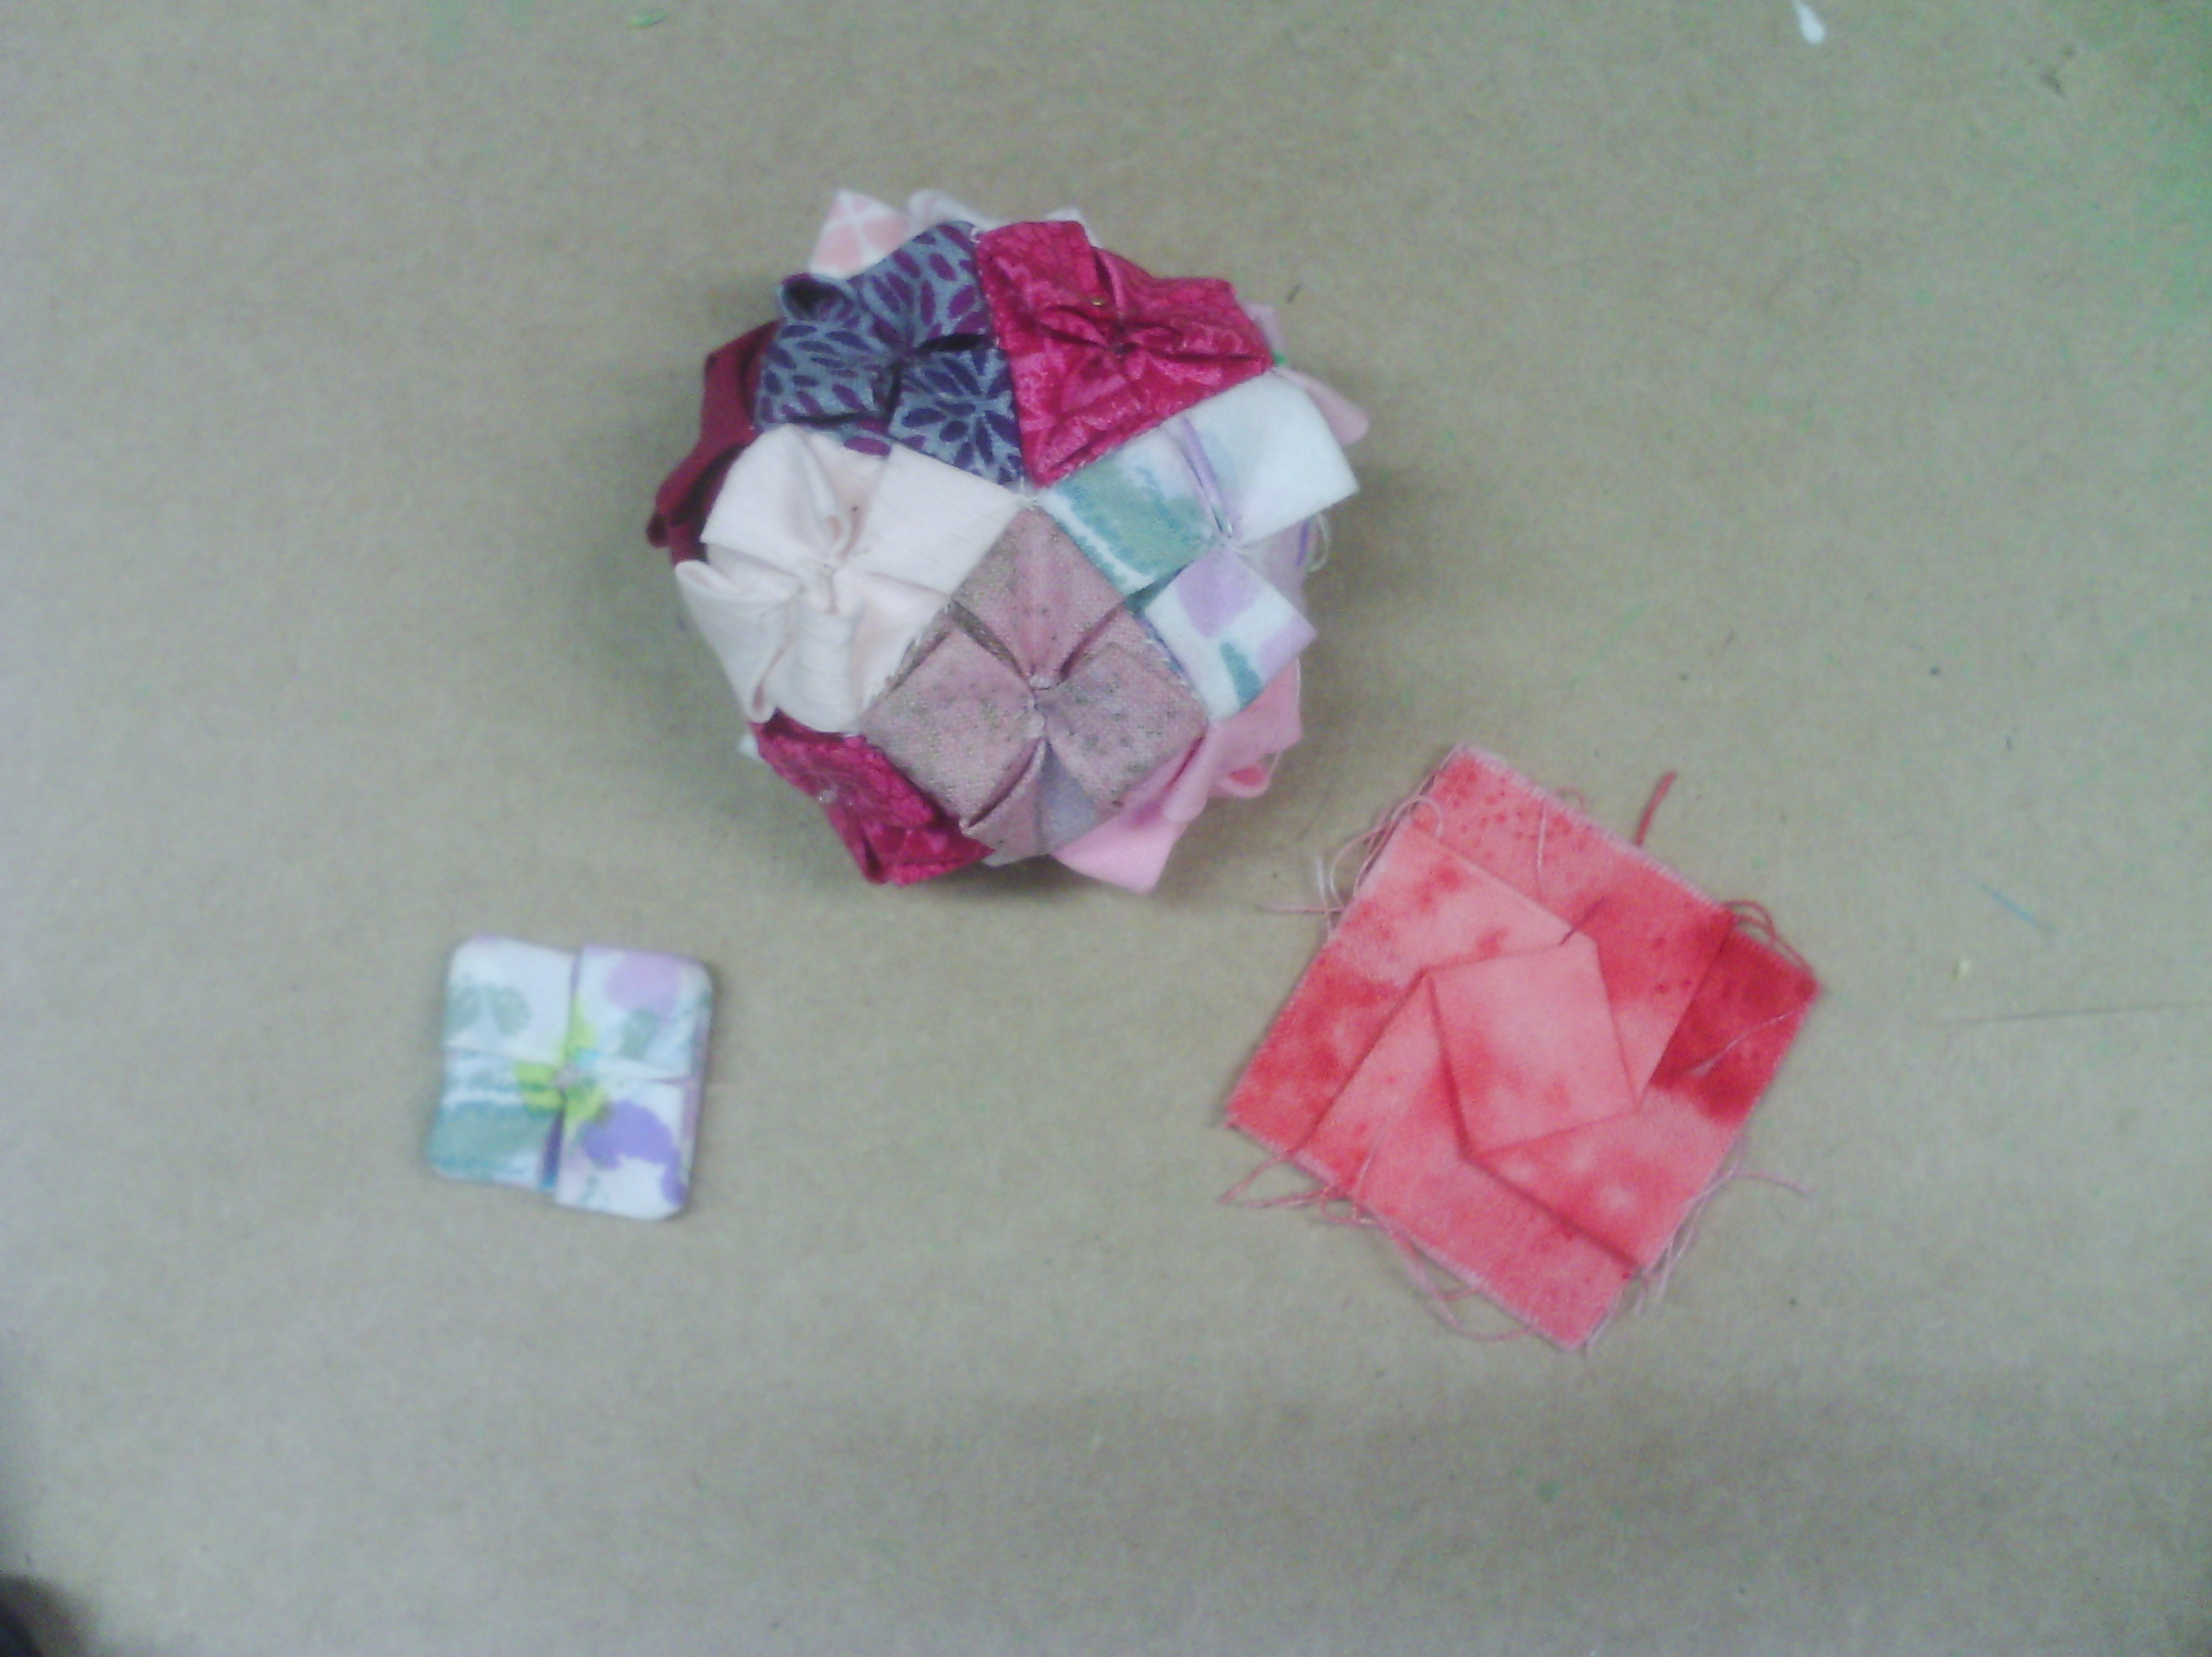
Last year, I posted about some little fabric folding projects I was doing here. I made a little pincushion from tiny folded units
I love this little pincushion, I think it looks like a hydrangea flower and is very textural.
Today, I have been doing a little more of this, but putting the units together in a flat manner.
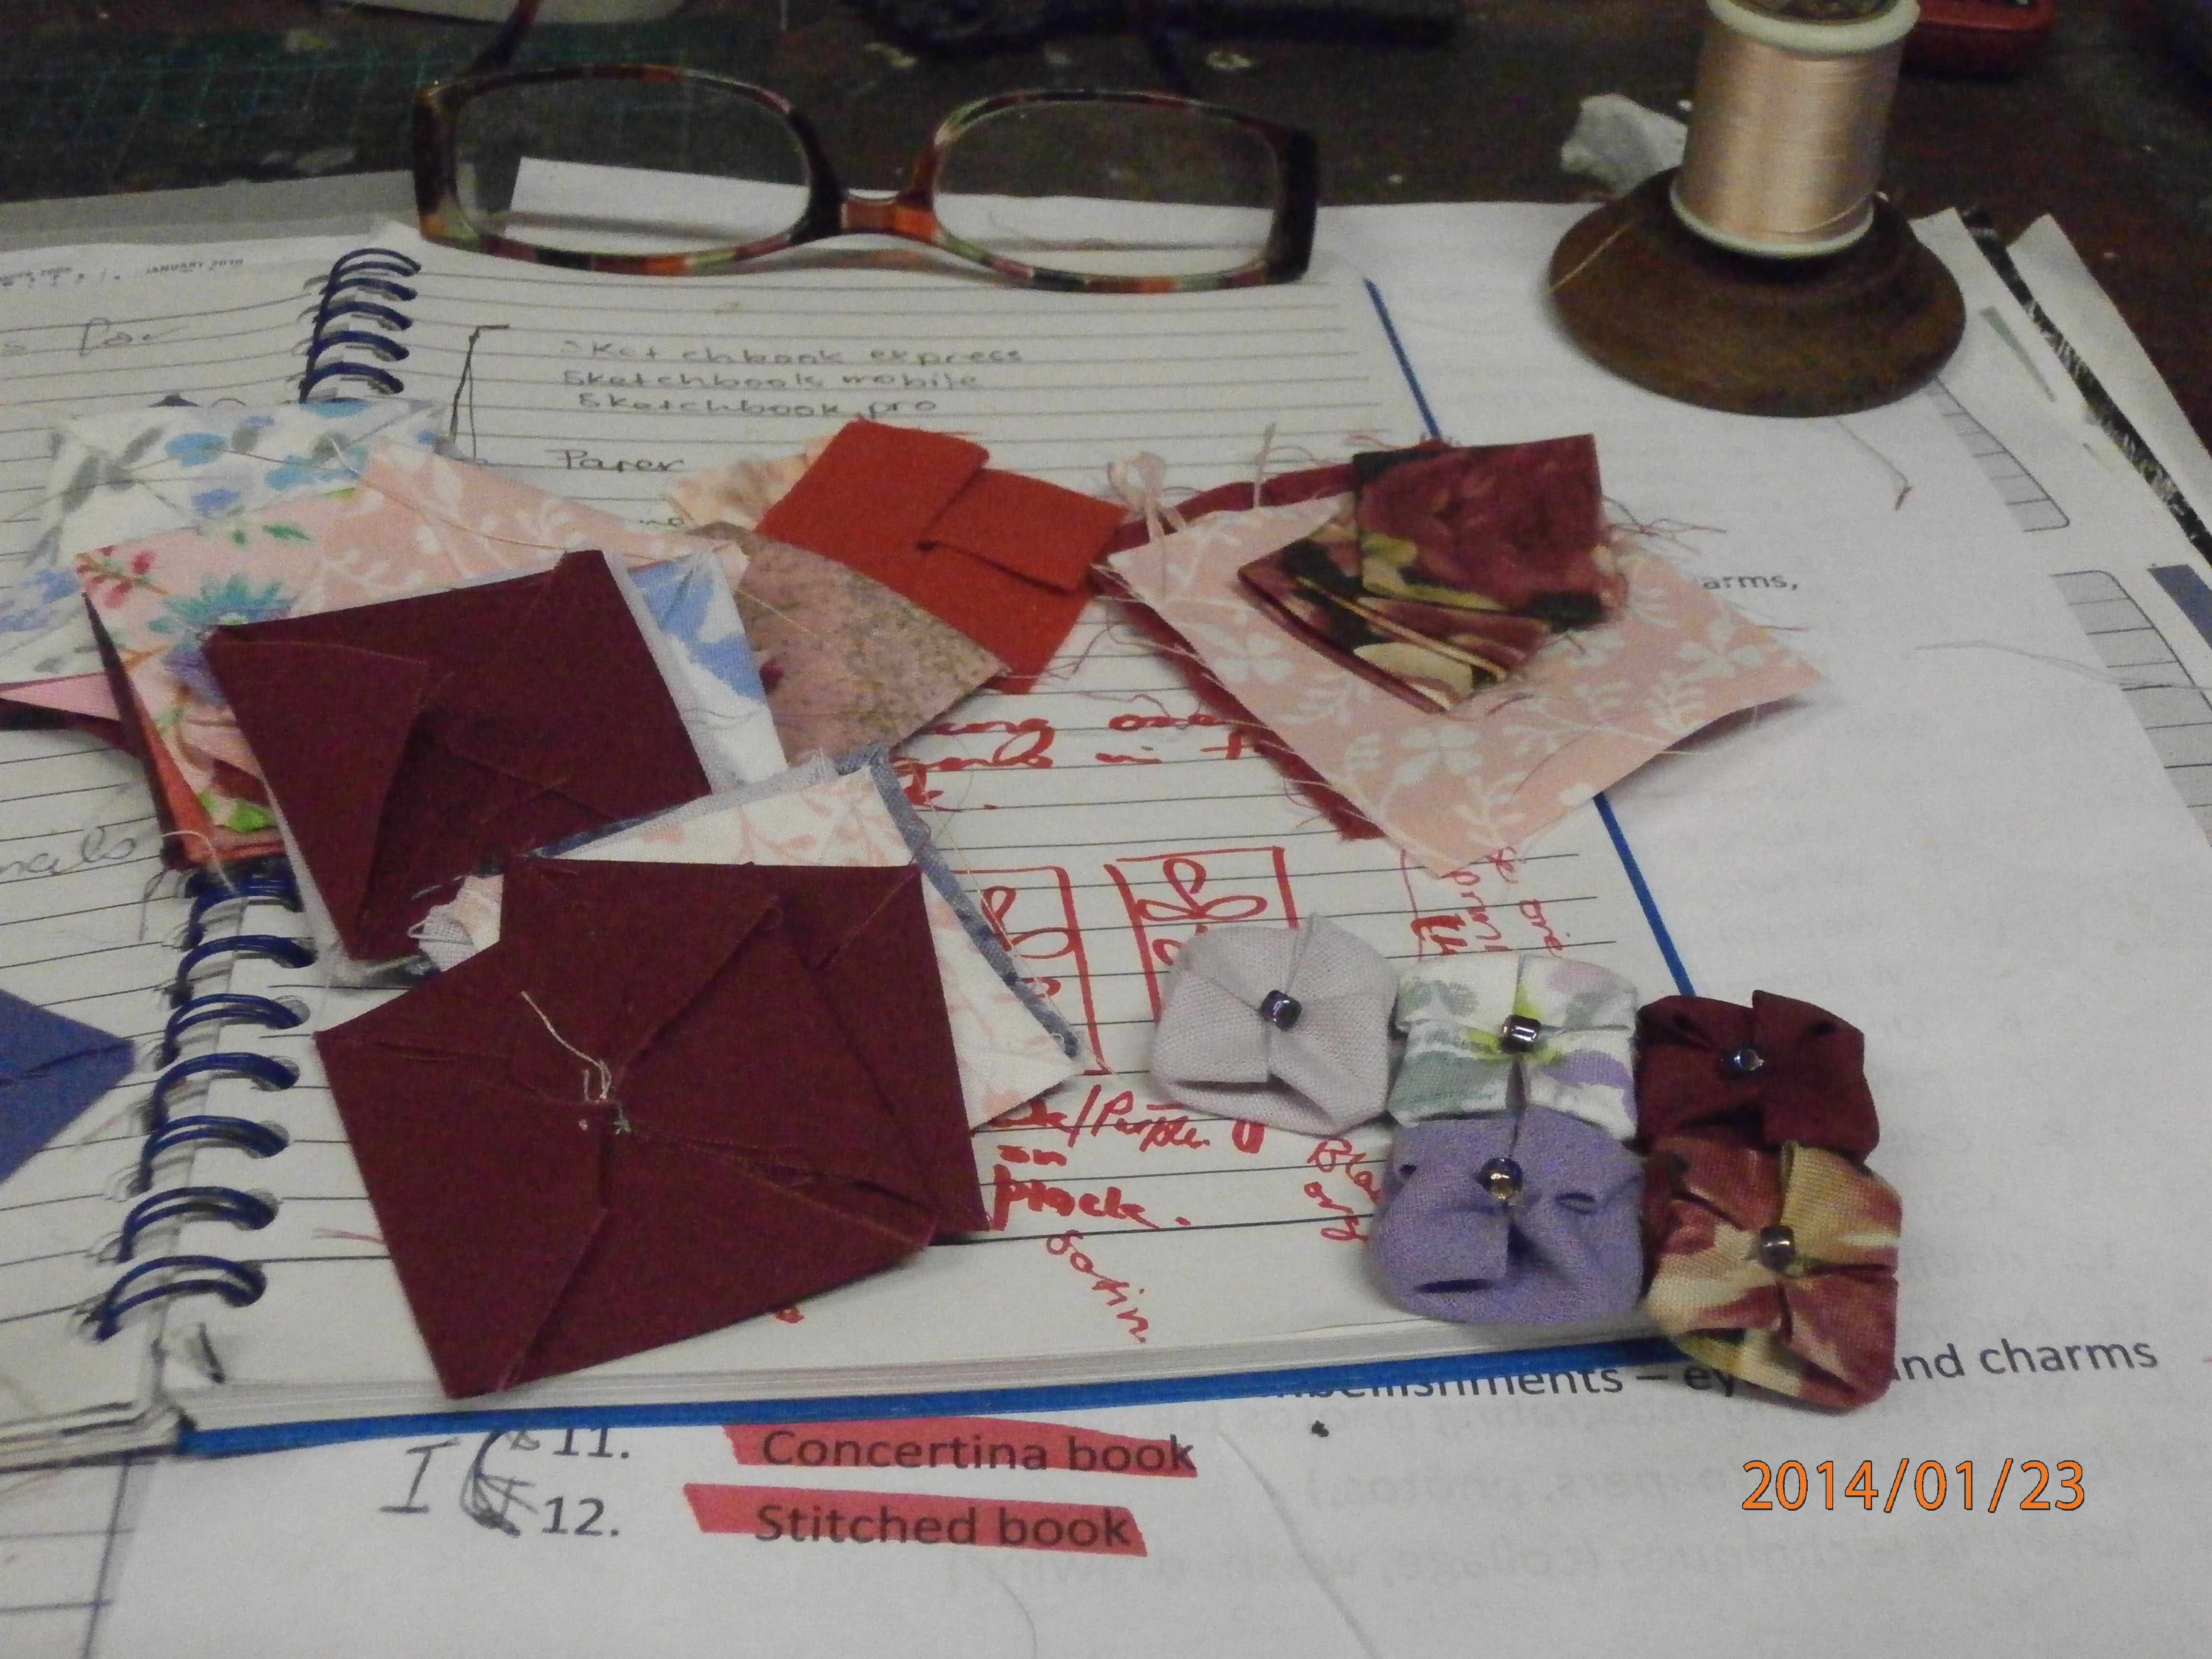
Above you can see all my units in process. I won't repost the steps as they are shown here
Here is a close up of the units being put together. I have covered the sewing in the centre of the squares with a bead and hand stitched them together. My idea for this is to make a table runner with these making hydrangeas in it.
Another project that is very similar that I have been working on is a folded hexagon table runner, which will go onto our fundraising stall for the quilting group.
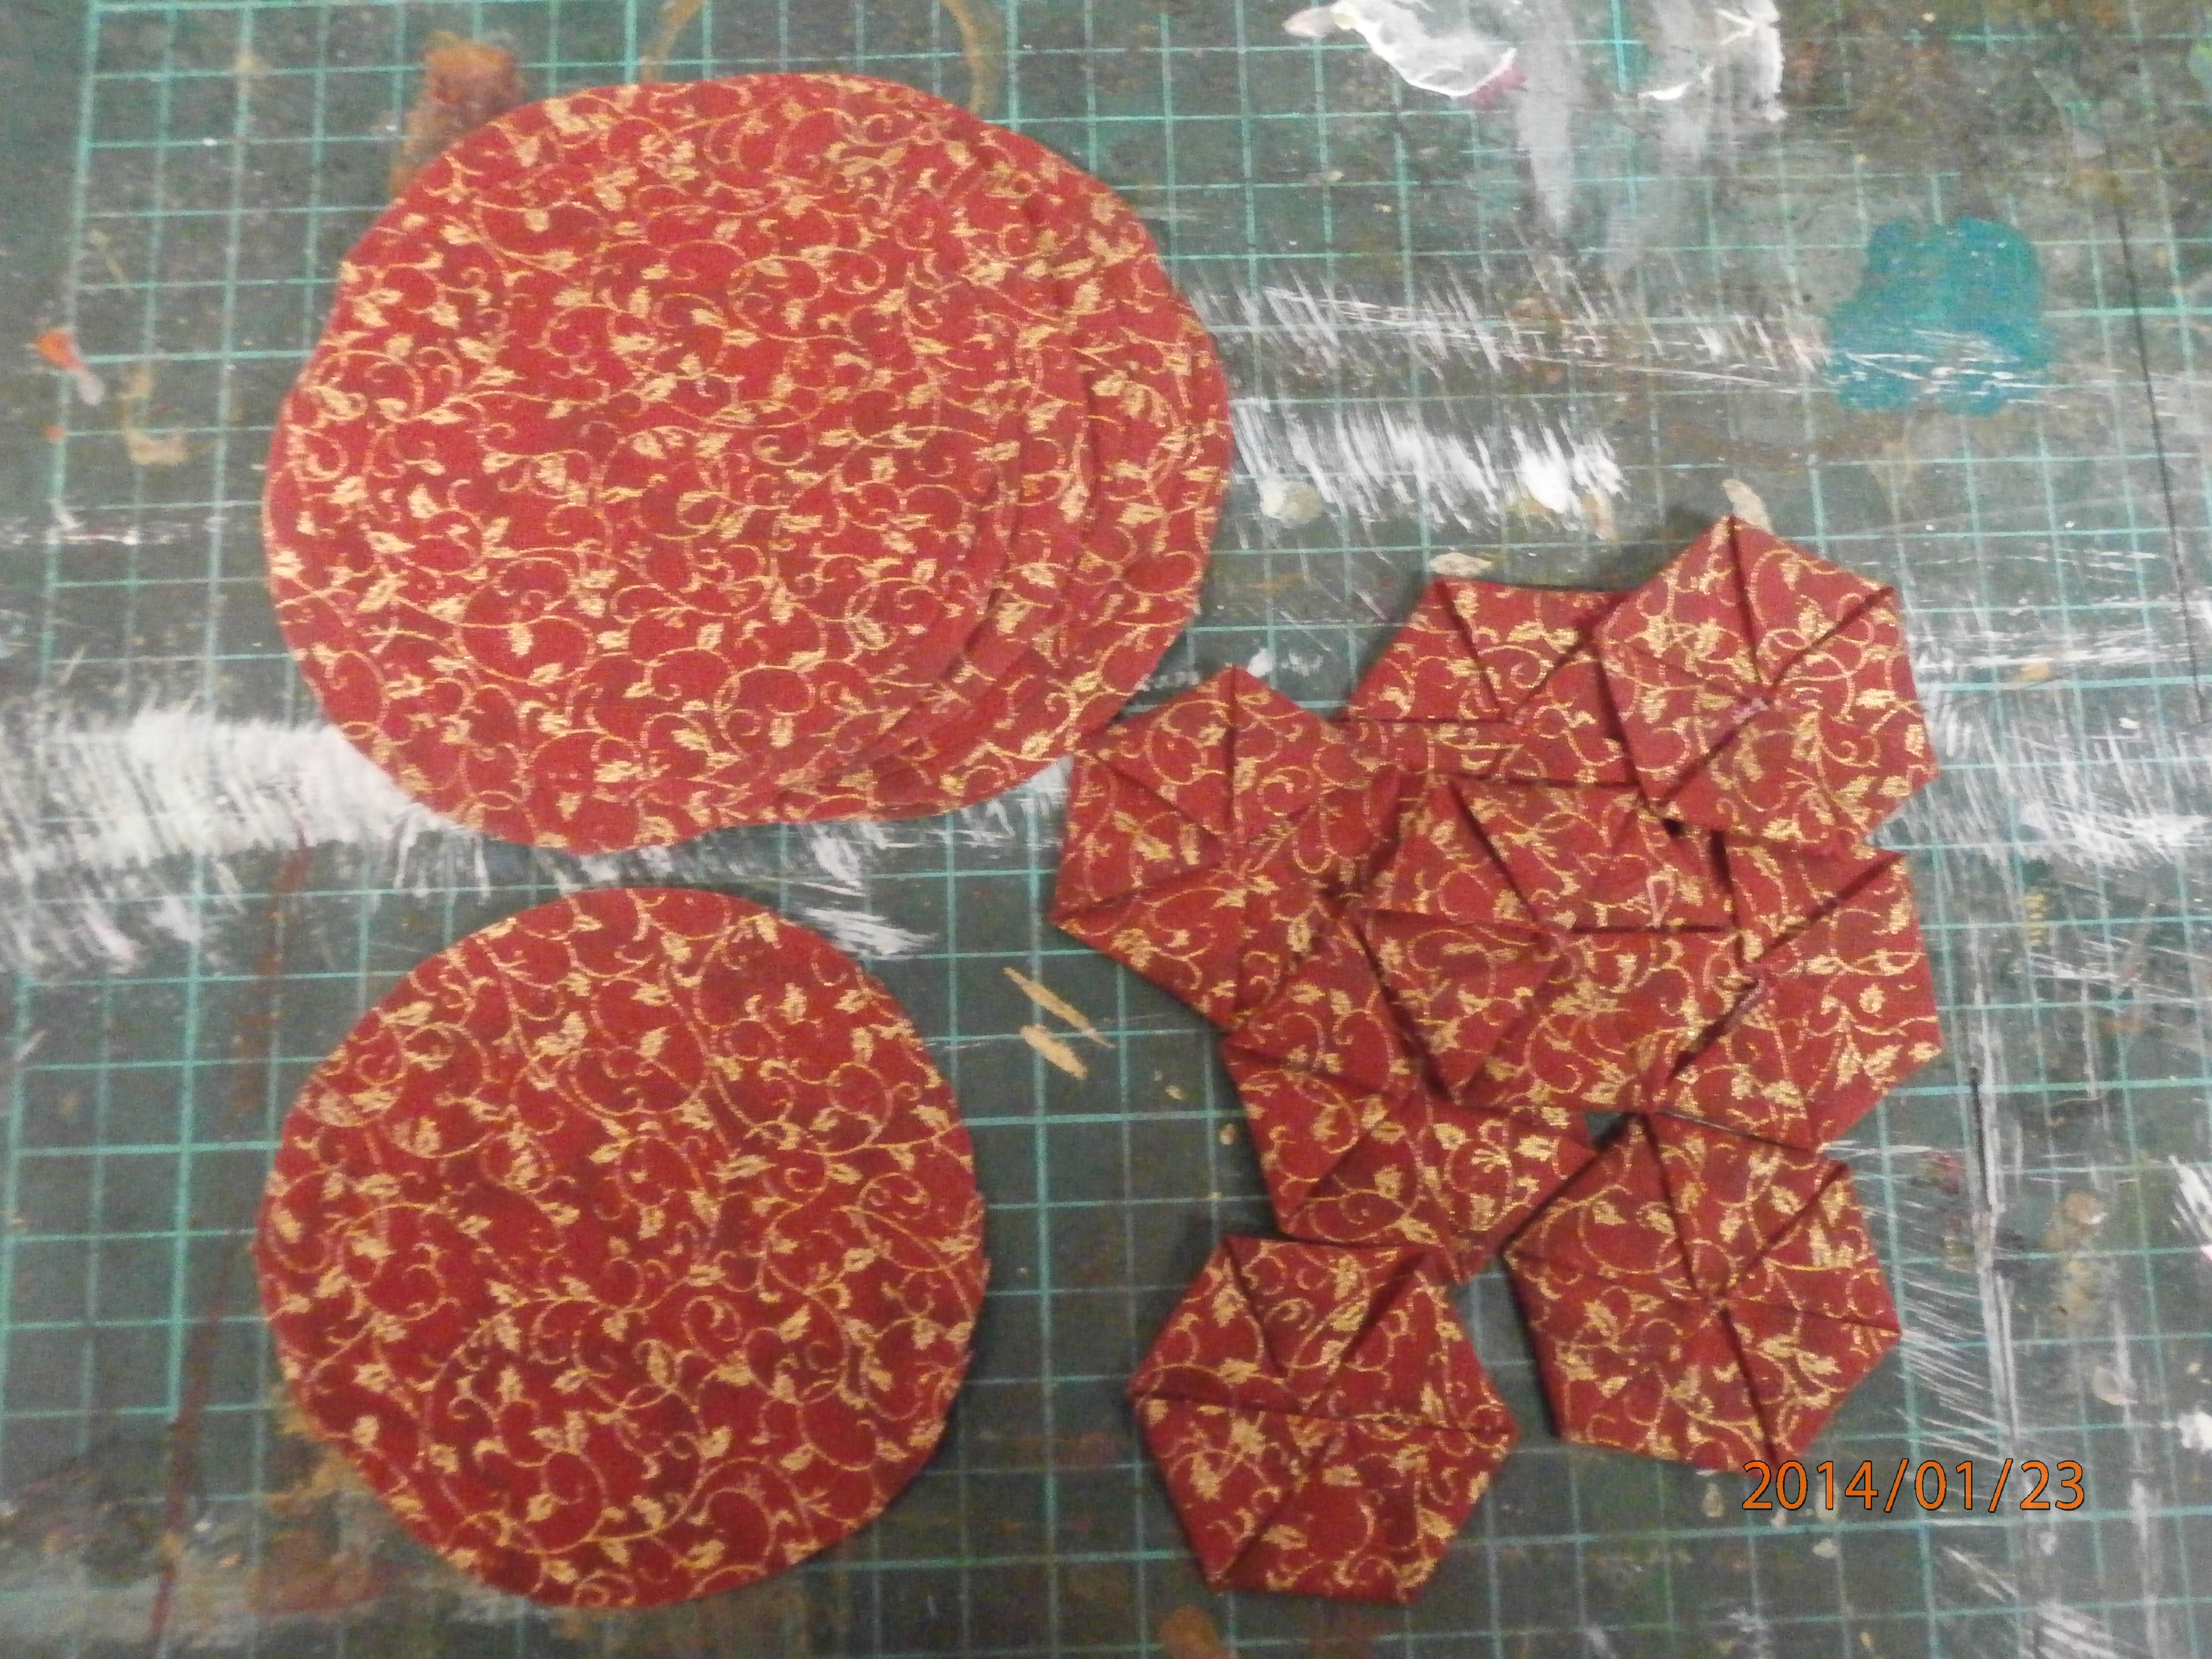
Here are some folded hexagon in a gorgeous gilded red fabric I was given for christmas. (And elizabeth, you can see I really meant it when I said my workspace was messy!) As you can see these hexagons are created from circles and are two sided. The back in this picture (which you can't see) is simply plain, like a normal hexagon, whilst the front which you see is folded and has lovely texture.
I love this technique, as there is none of the tedious papers and basting. Circles are much easier to cut and the folding is really easy.
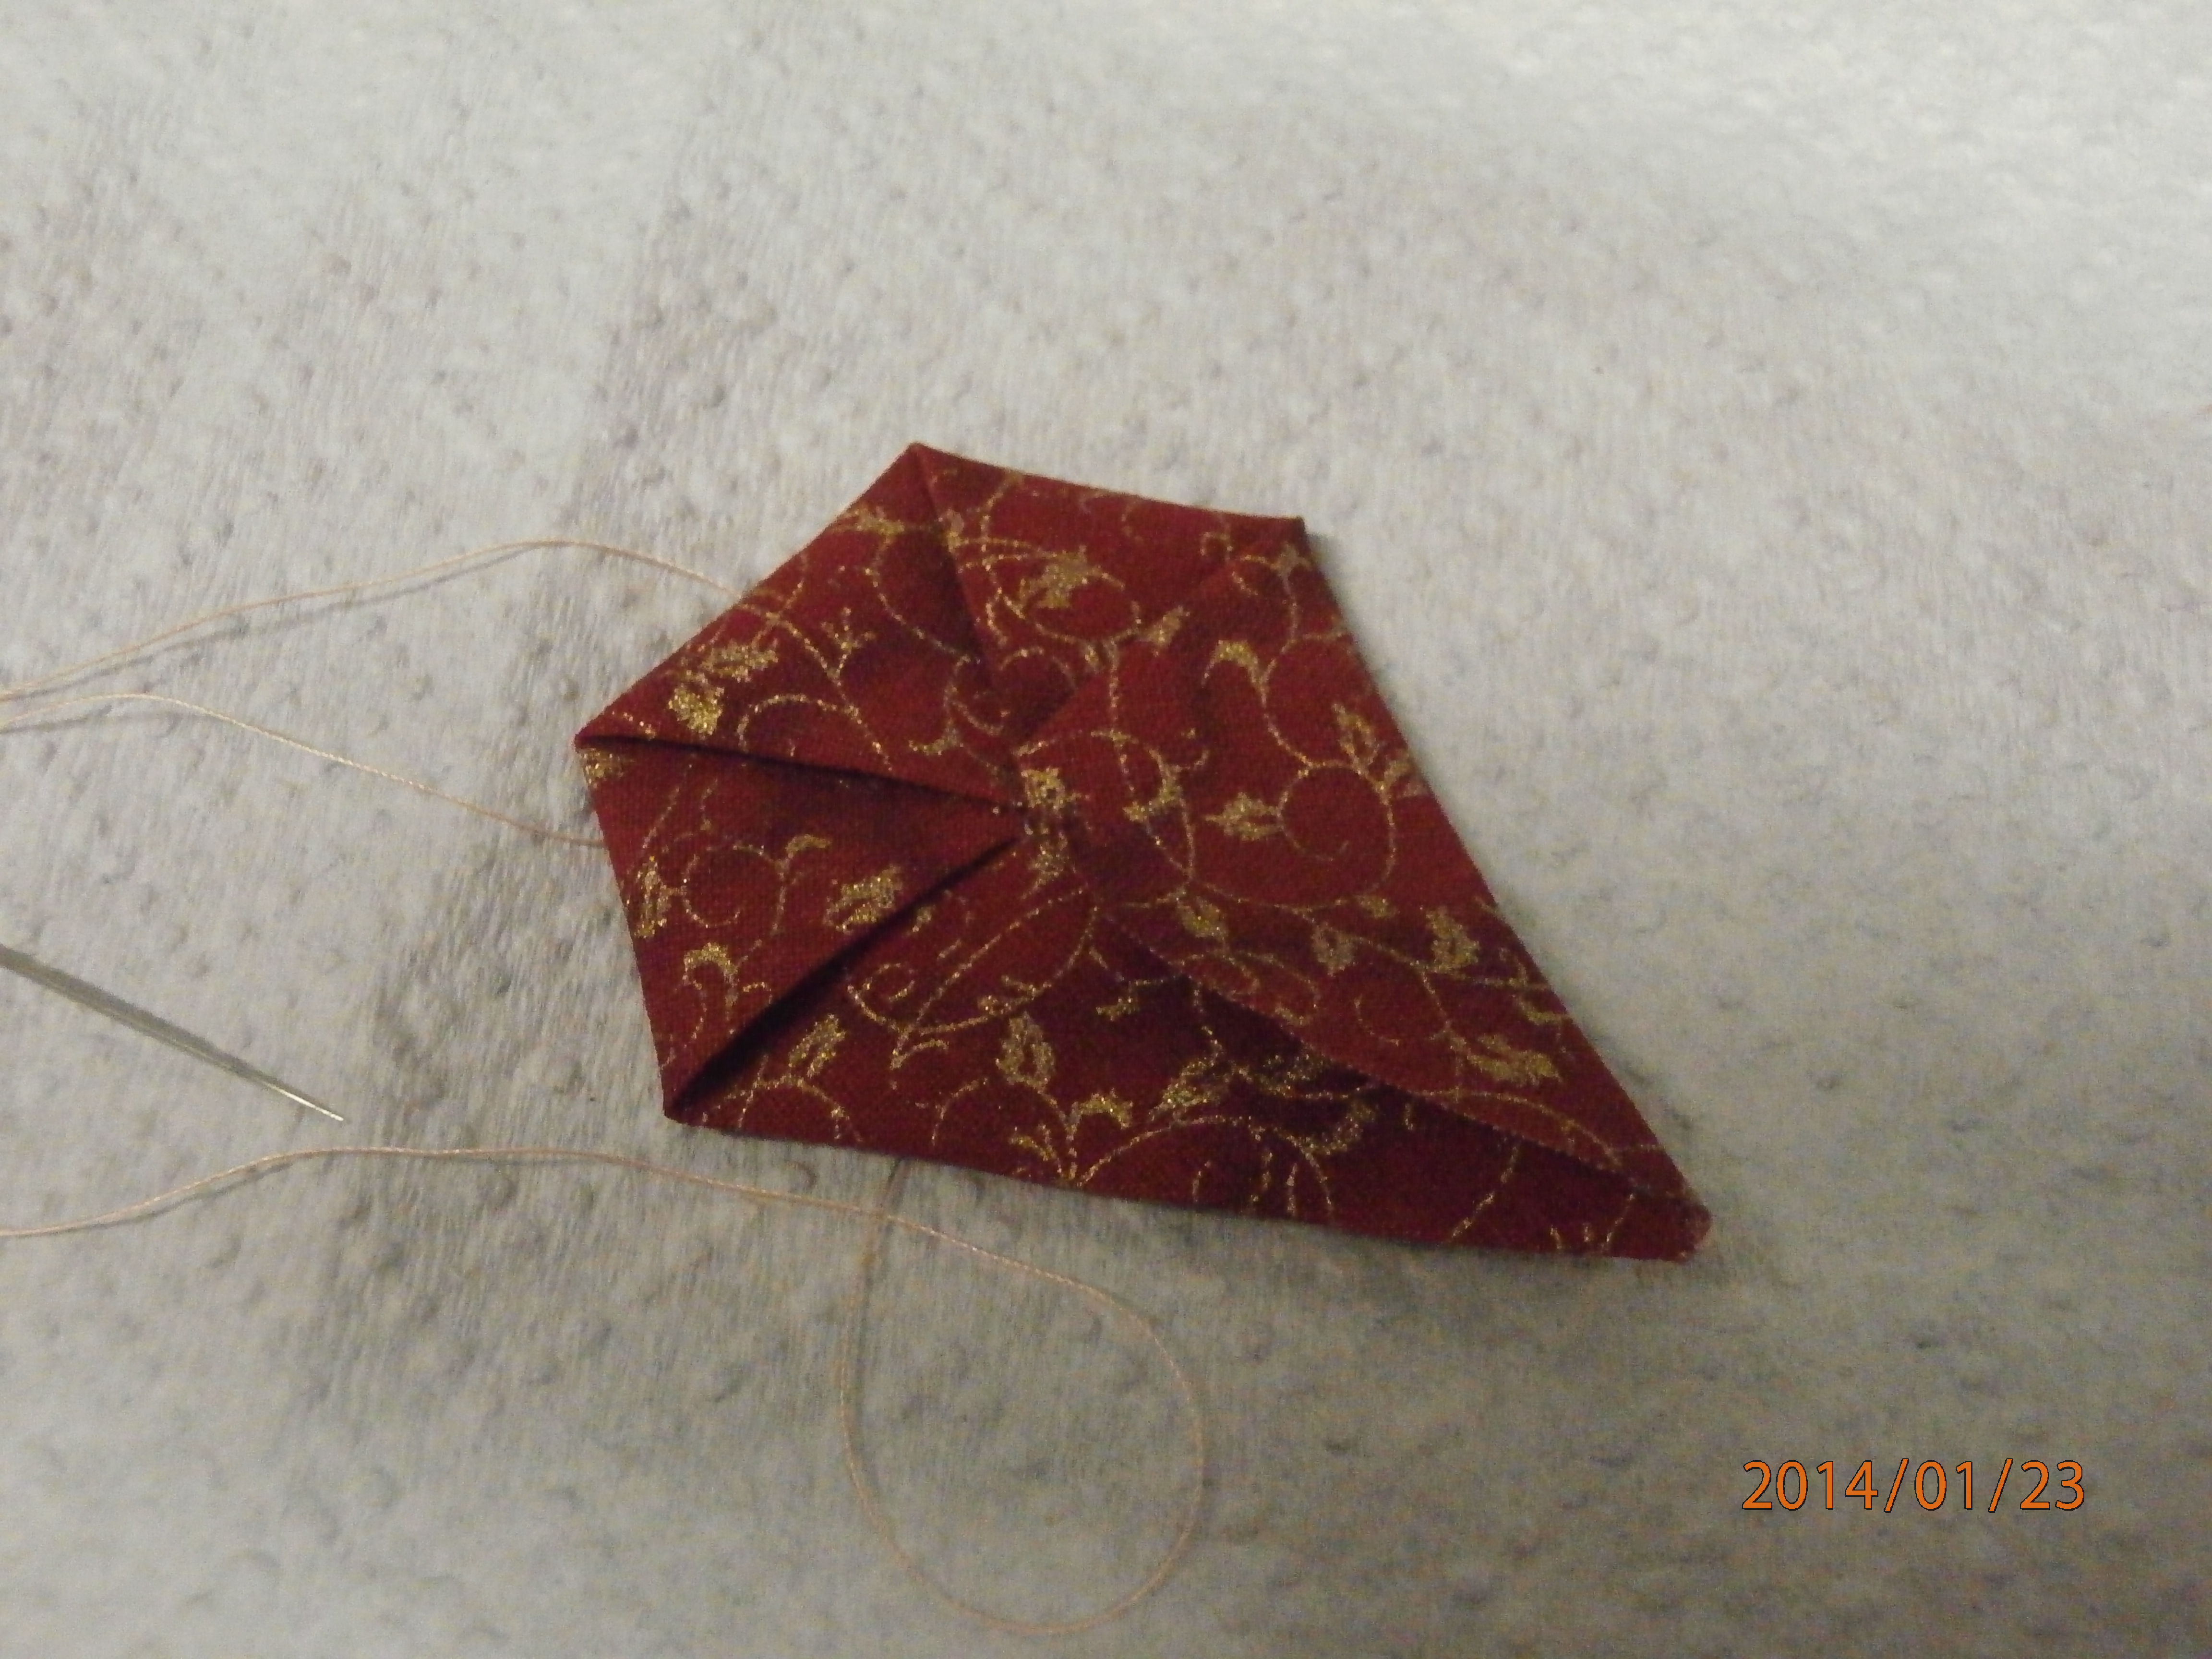
On the left is a finished hexagon. On the right I have folded a circle into quarters to find the centre. this is where I start my thread.
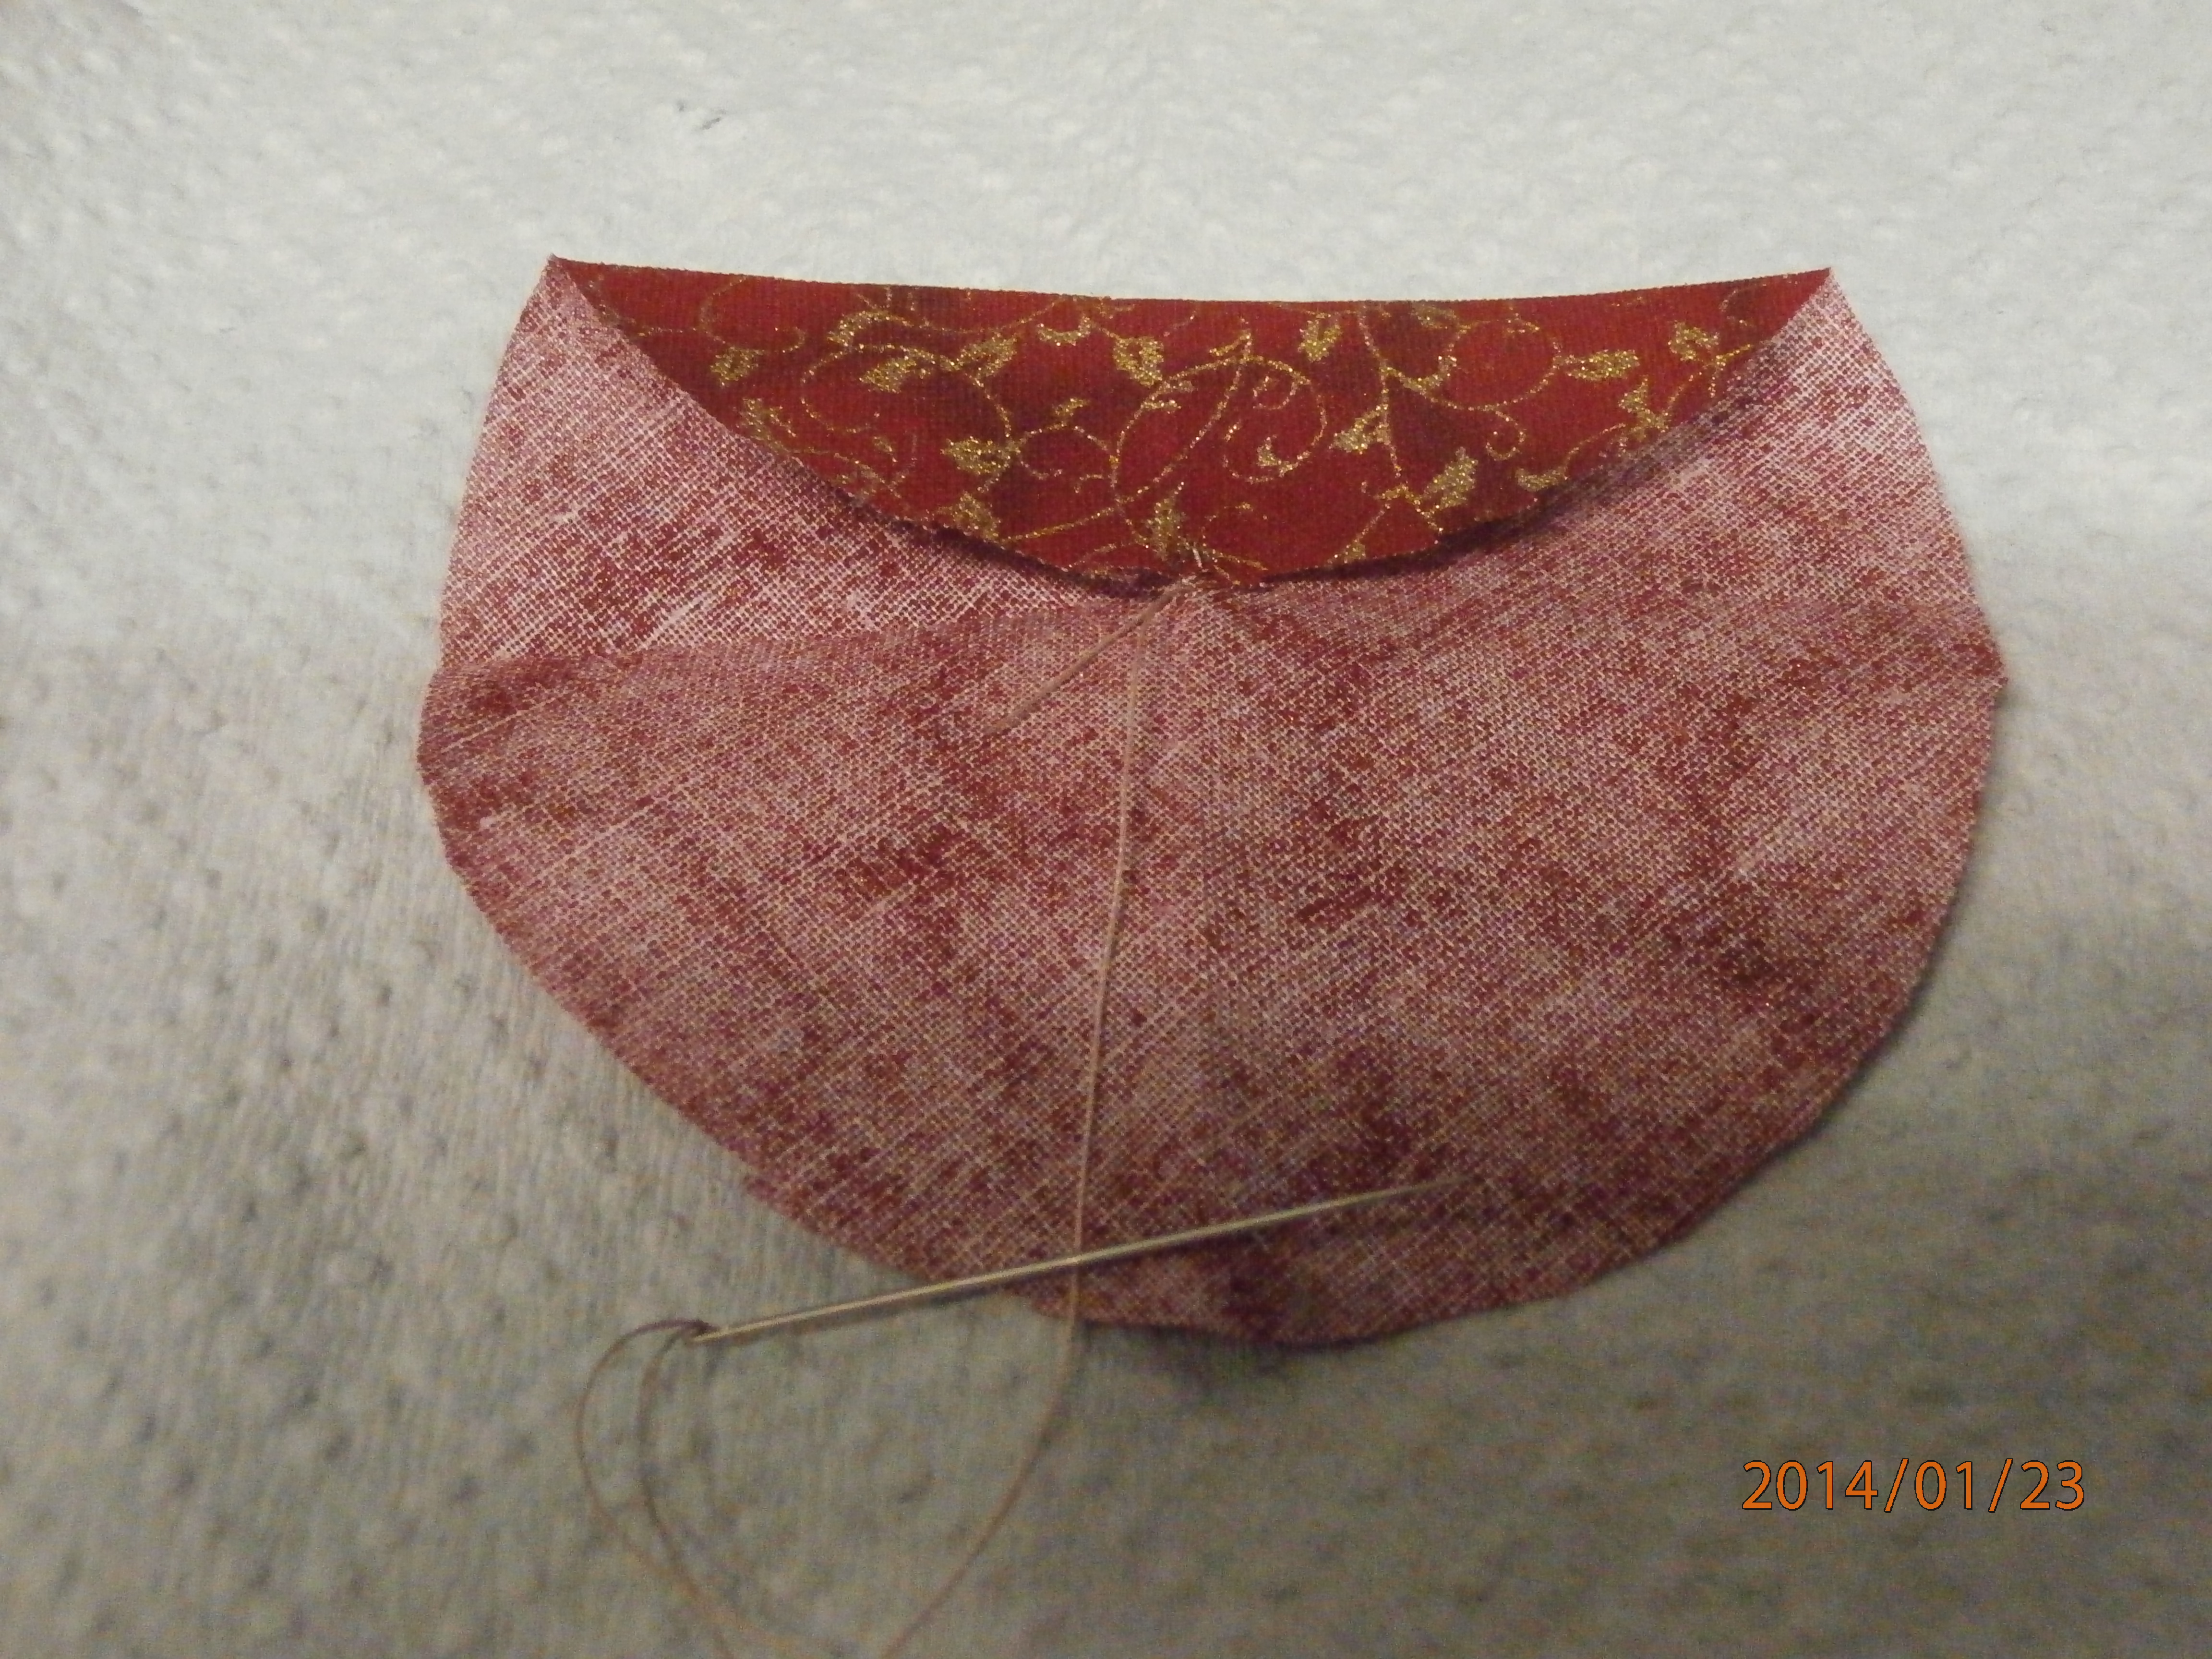
Once you have attached your thread in the centre, you don't need to be concerned about the folds you made. The first step is to bring on side to the centre, attach with a stich and finger fold. There are two folds, or ears created at each end of the fold. I will be working clockwise, but it doesn't matter, so long as you keep going the same direction.
Here I have taken the right hand fold or ear to the centre and attached it with a stitch. This has created a new fold or ear on the right.
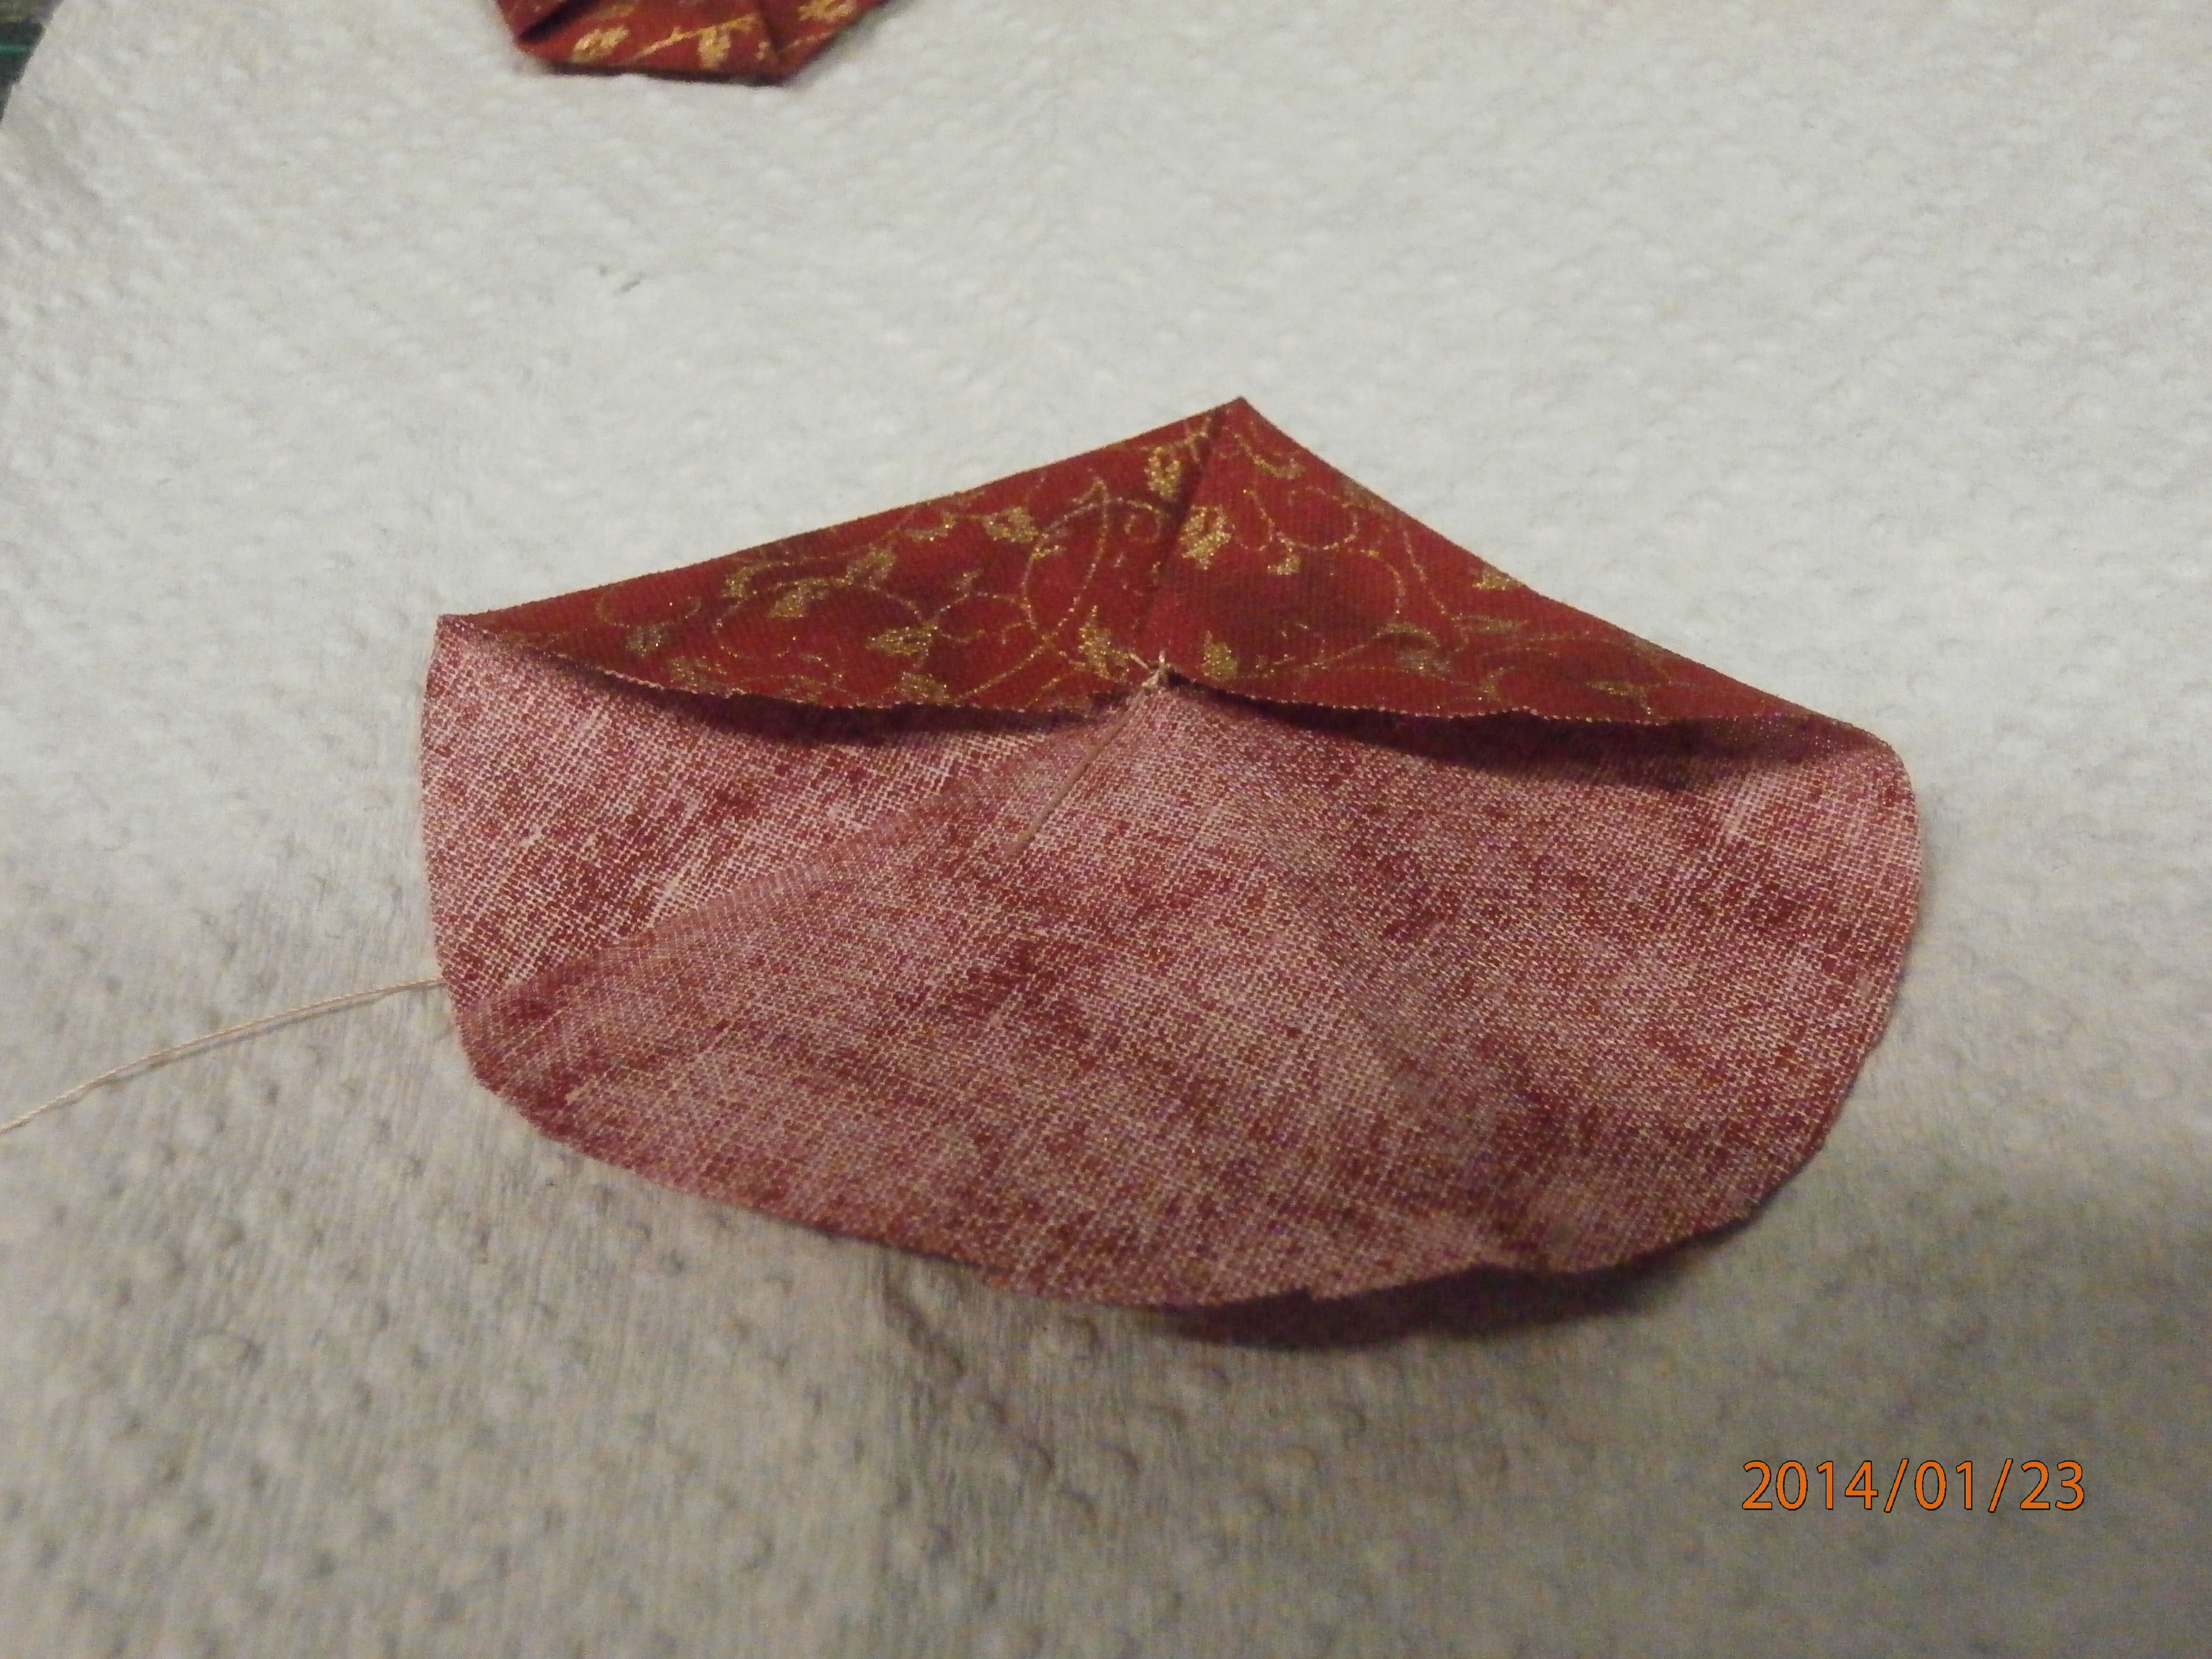
As you can see I have taken the new fold to the centre and attached it, creating a new ear to the right.
Here I have taken the next ear to the centre as before. The important thing here is that the two sides left are parallel. If they aren't parallel or close to it, then you haven't been stitching into the exact centre and might need to do some adjusting.
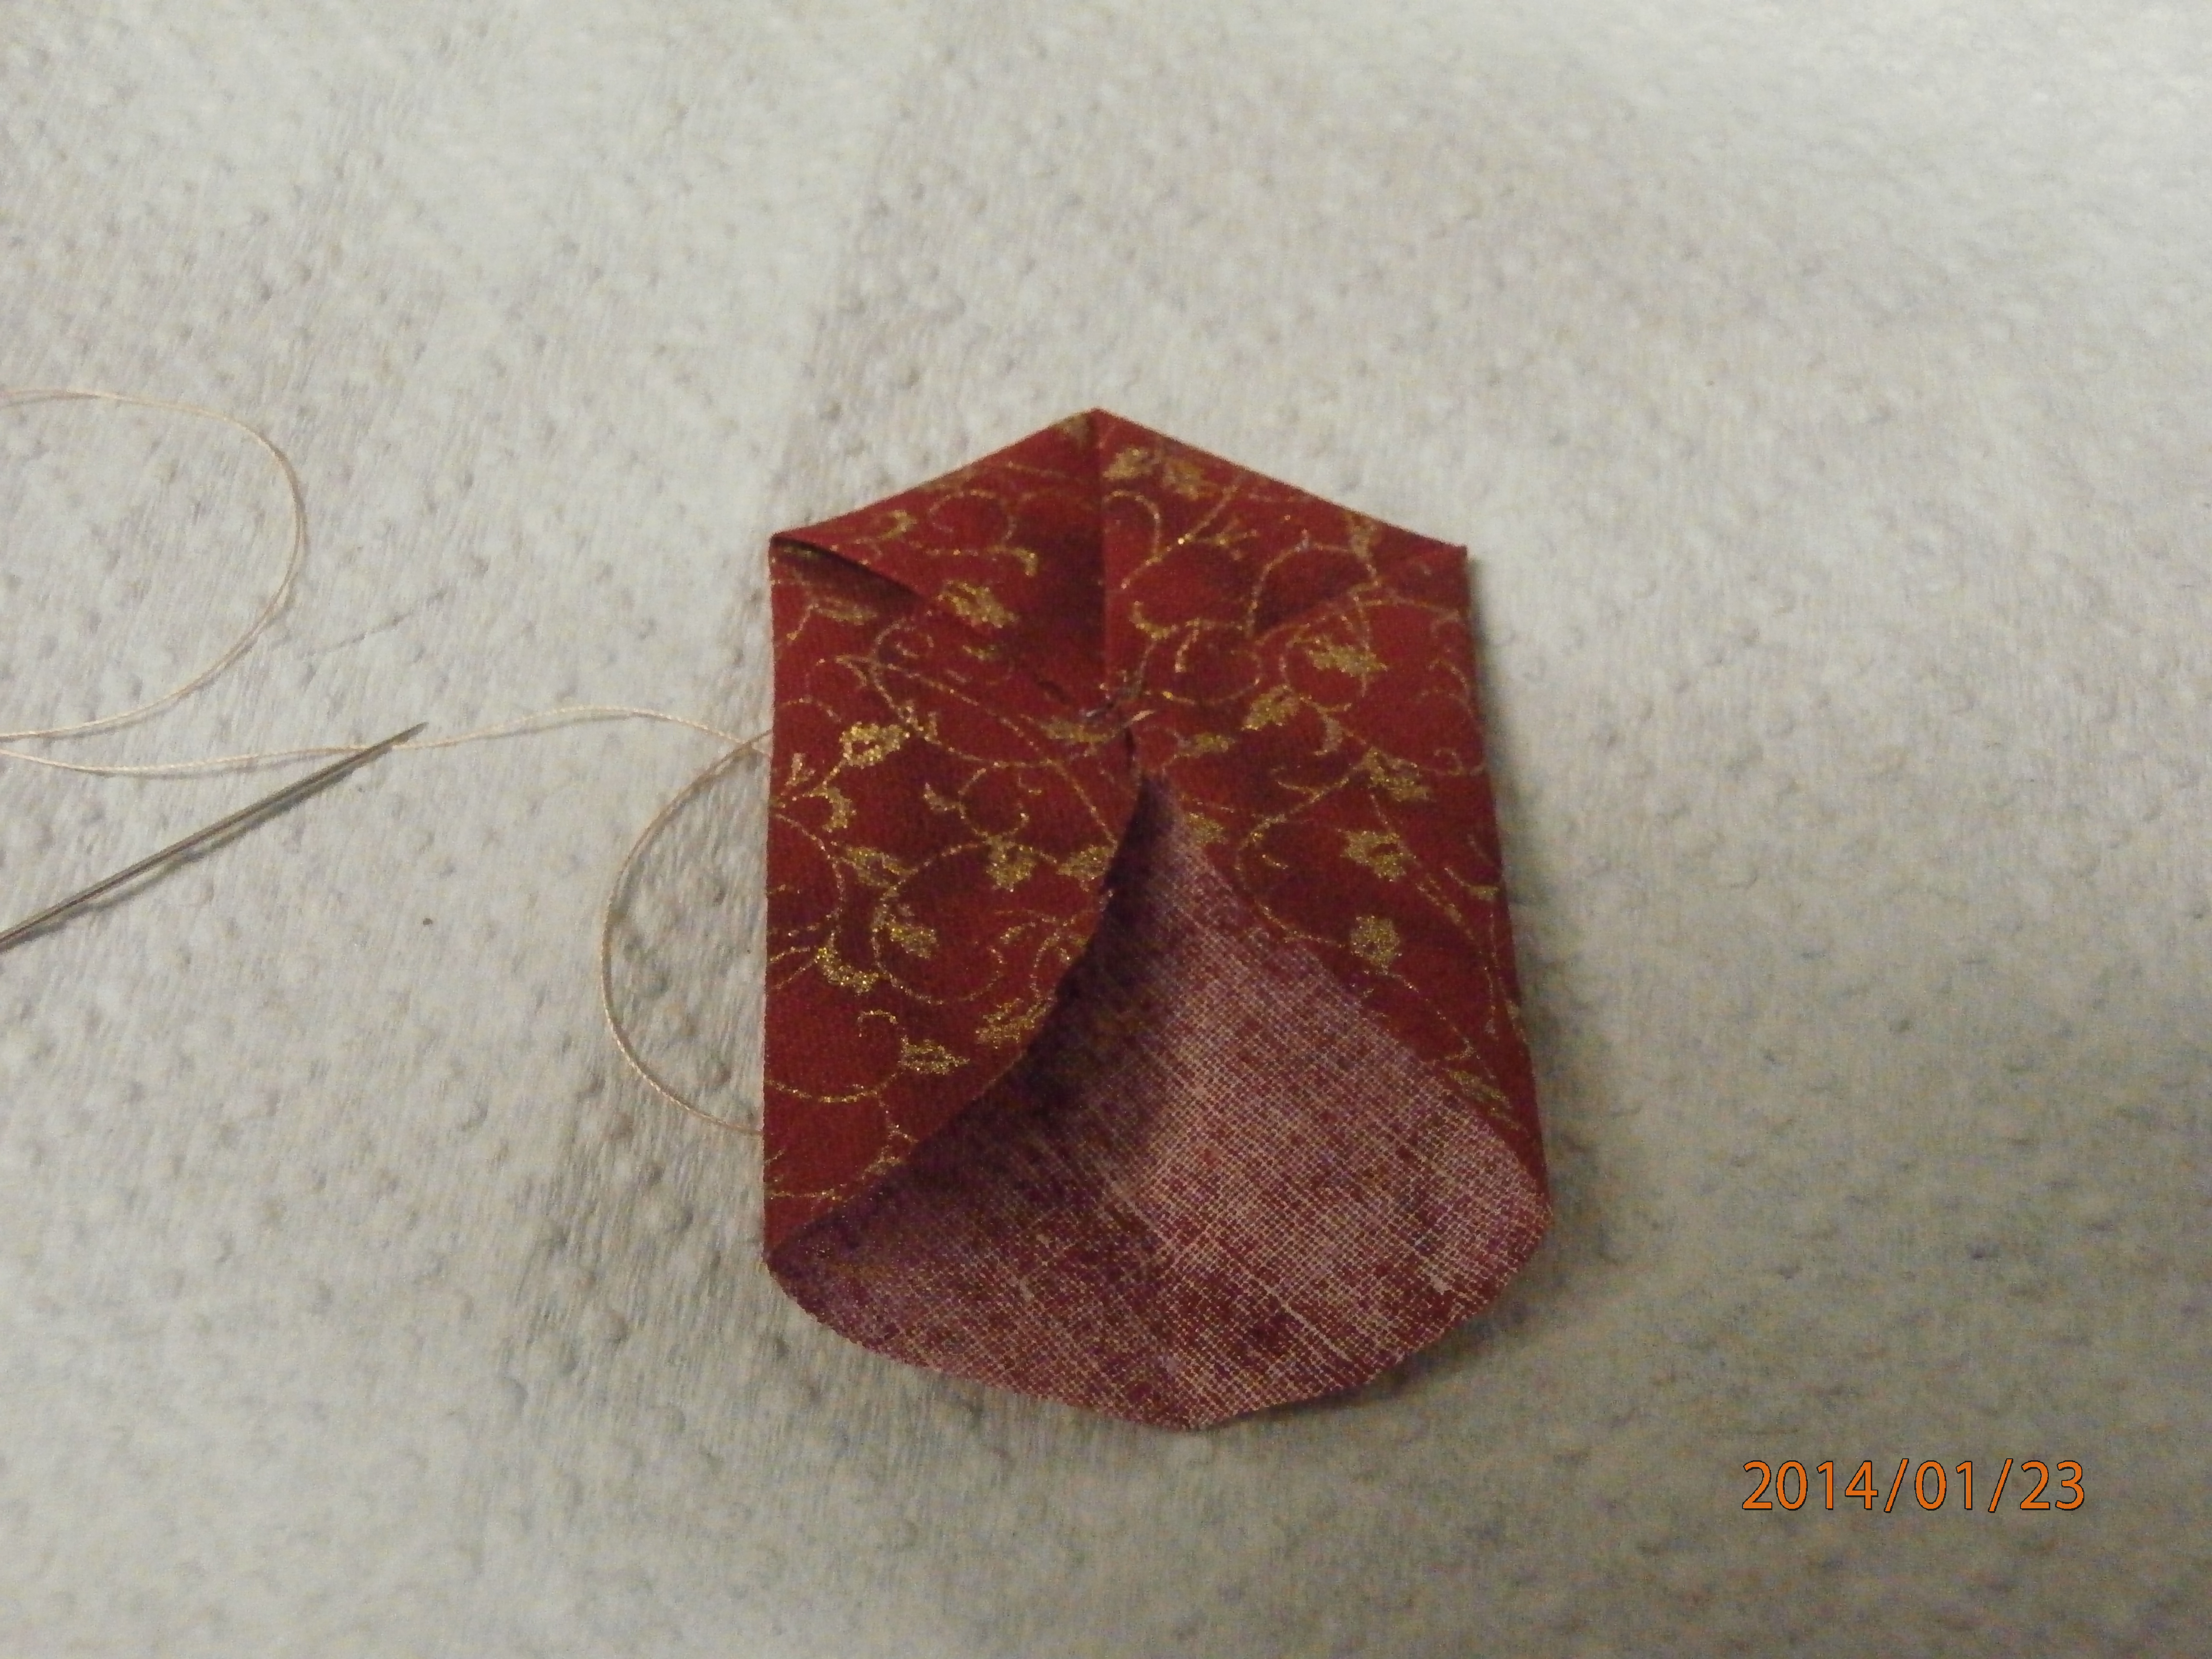
With the second to last fold you will get this shape. What you are aiming for is a good point on this last ear.
And when you bring this last point to the centre you will have a two sided hexagon! I have used different methods to hide my stitching on the folded side. If you are putting them upside down, with the normal hexagon side, you don't really need to, so long as you used matching thread, but I like the folded part to be on top, so I have used sequins, beads, or french knots or even a button to hide the stitching. Of course it is an opportunity for bling, and don't we all love that?
Happy creating!
Wednesday, January 22, 2014
Thermofax at last!
A few months ago I purchased a thermal imaging machine. I have only just found the time to play with it and can see it will become a mainstay in my work.
For those of you who don't know what a thermofax is, it is basically a machine that applies heat to a specially prepared screen and burns am image into it. The screens thus made, can be used to create prints by pushing paint through onto a surface such as paper, but also fabric.
I have only played with paper for this post, but I will be using the technique with fabric for sure.
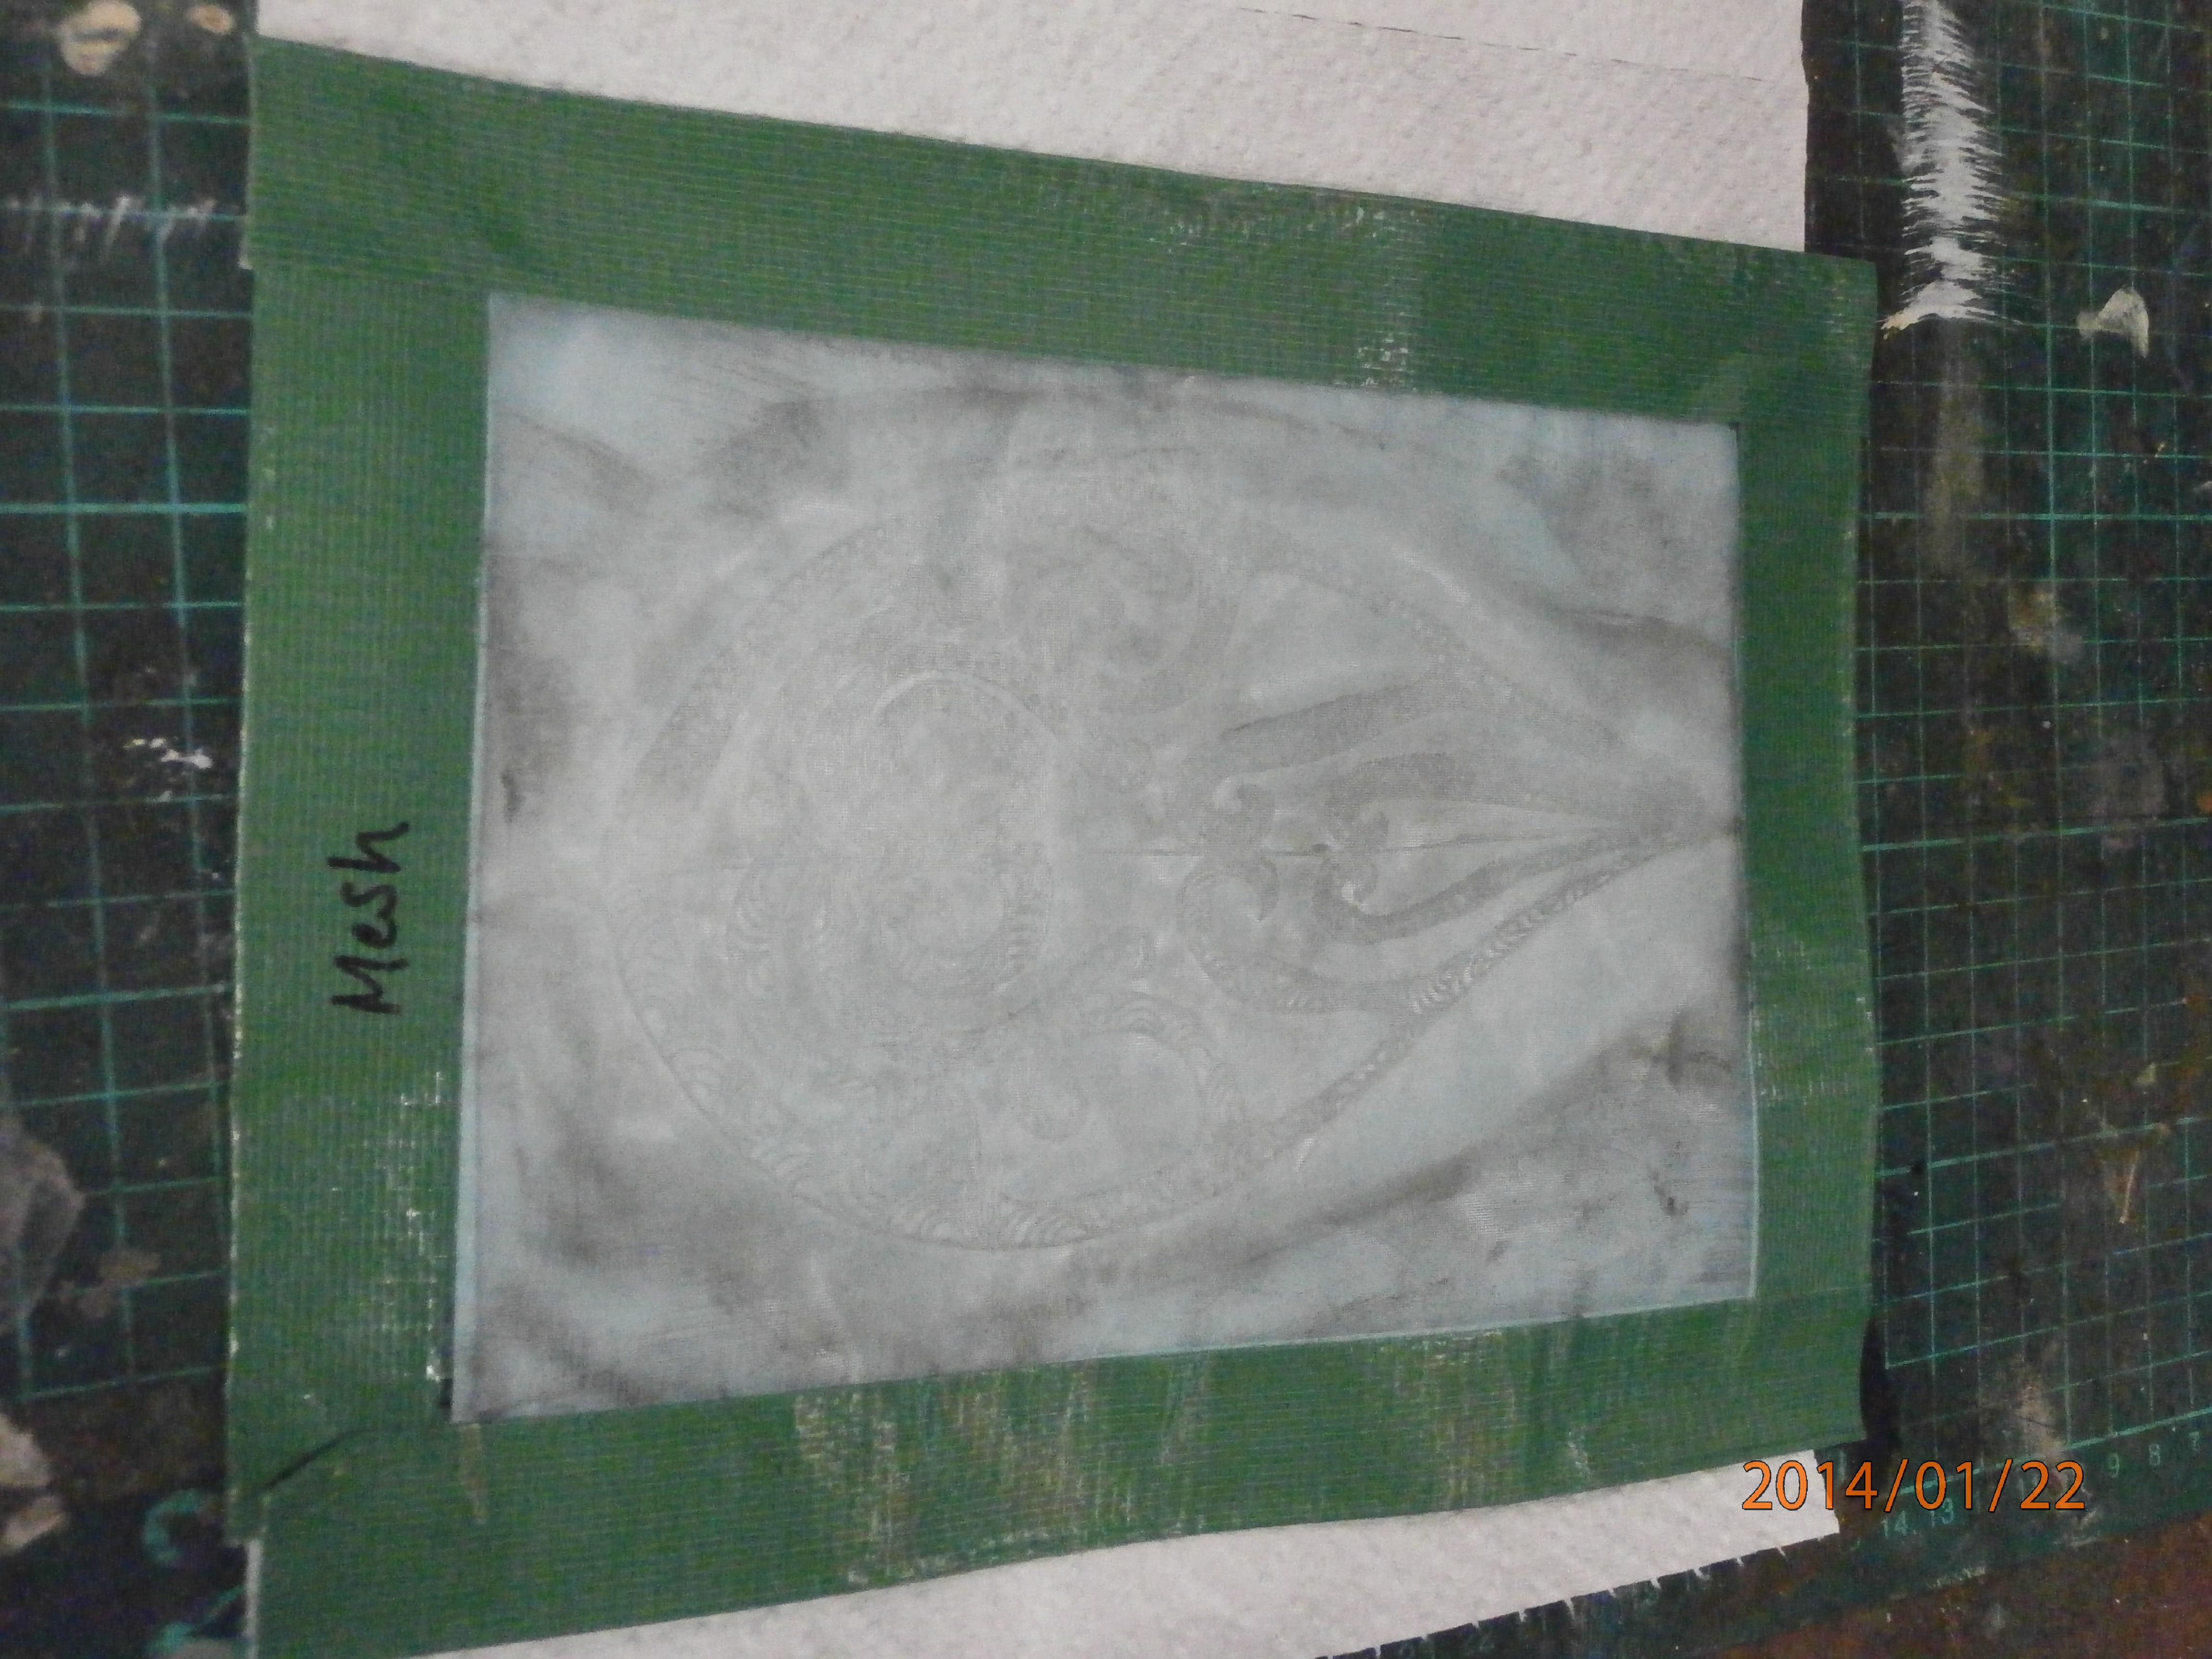
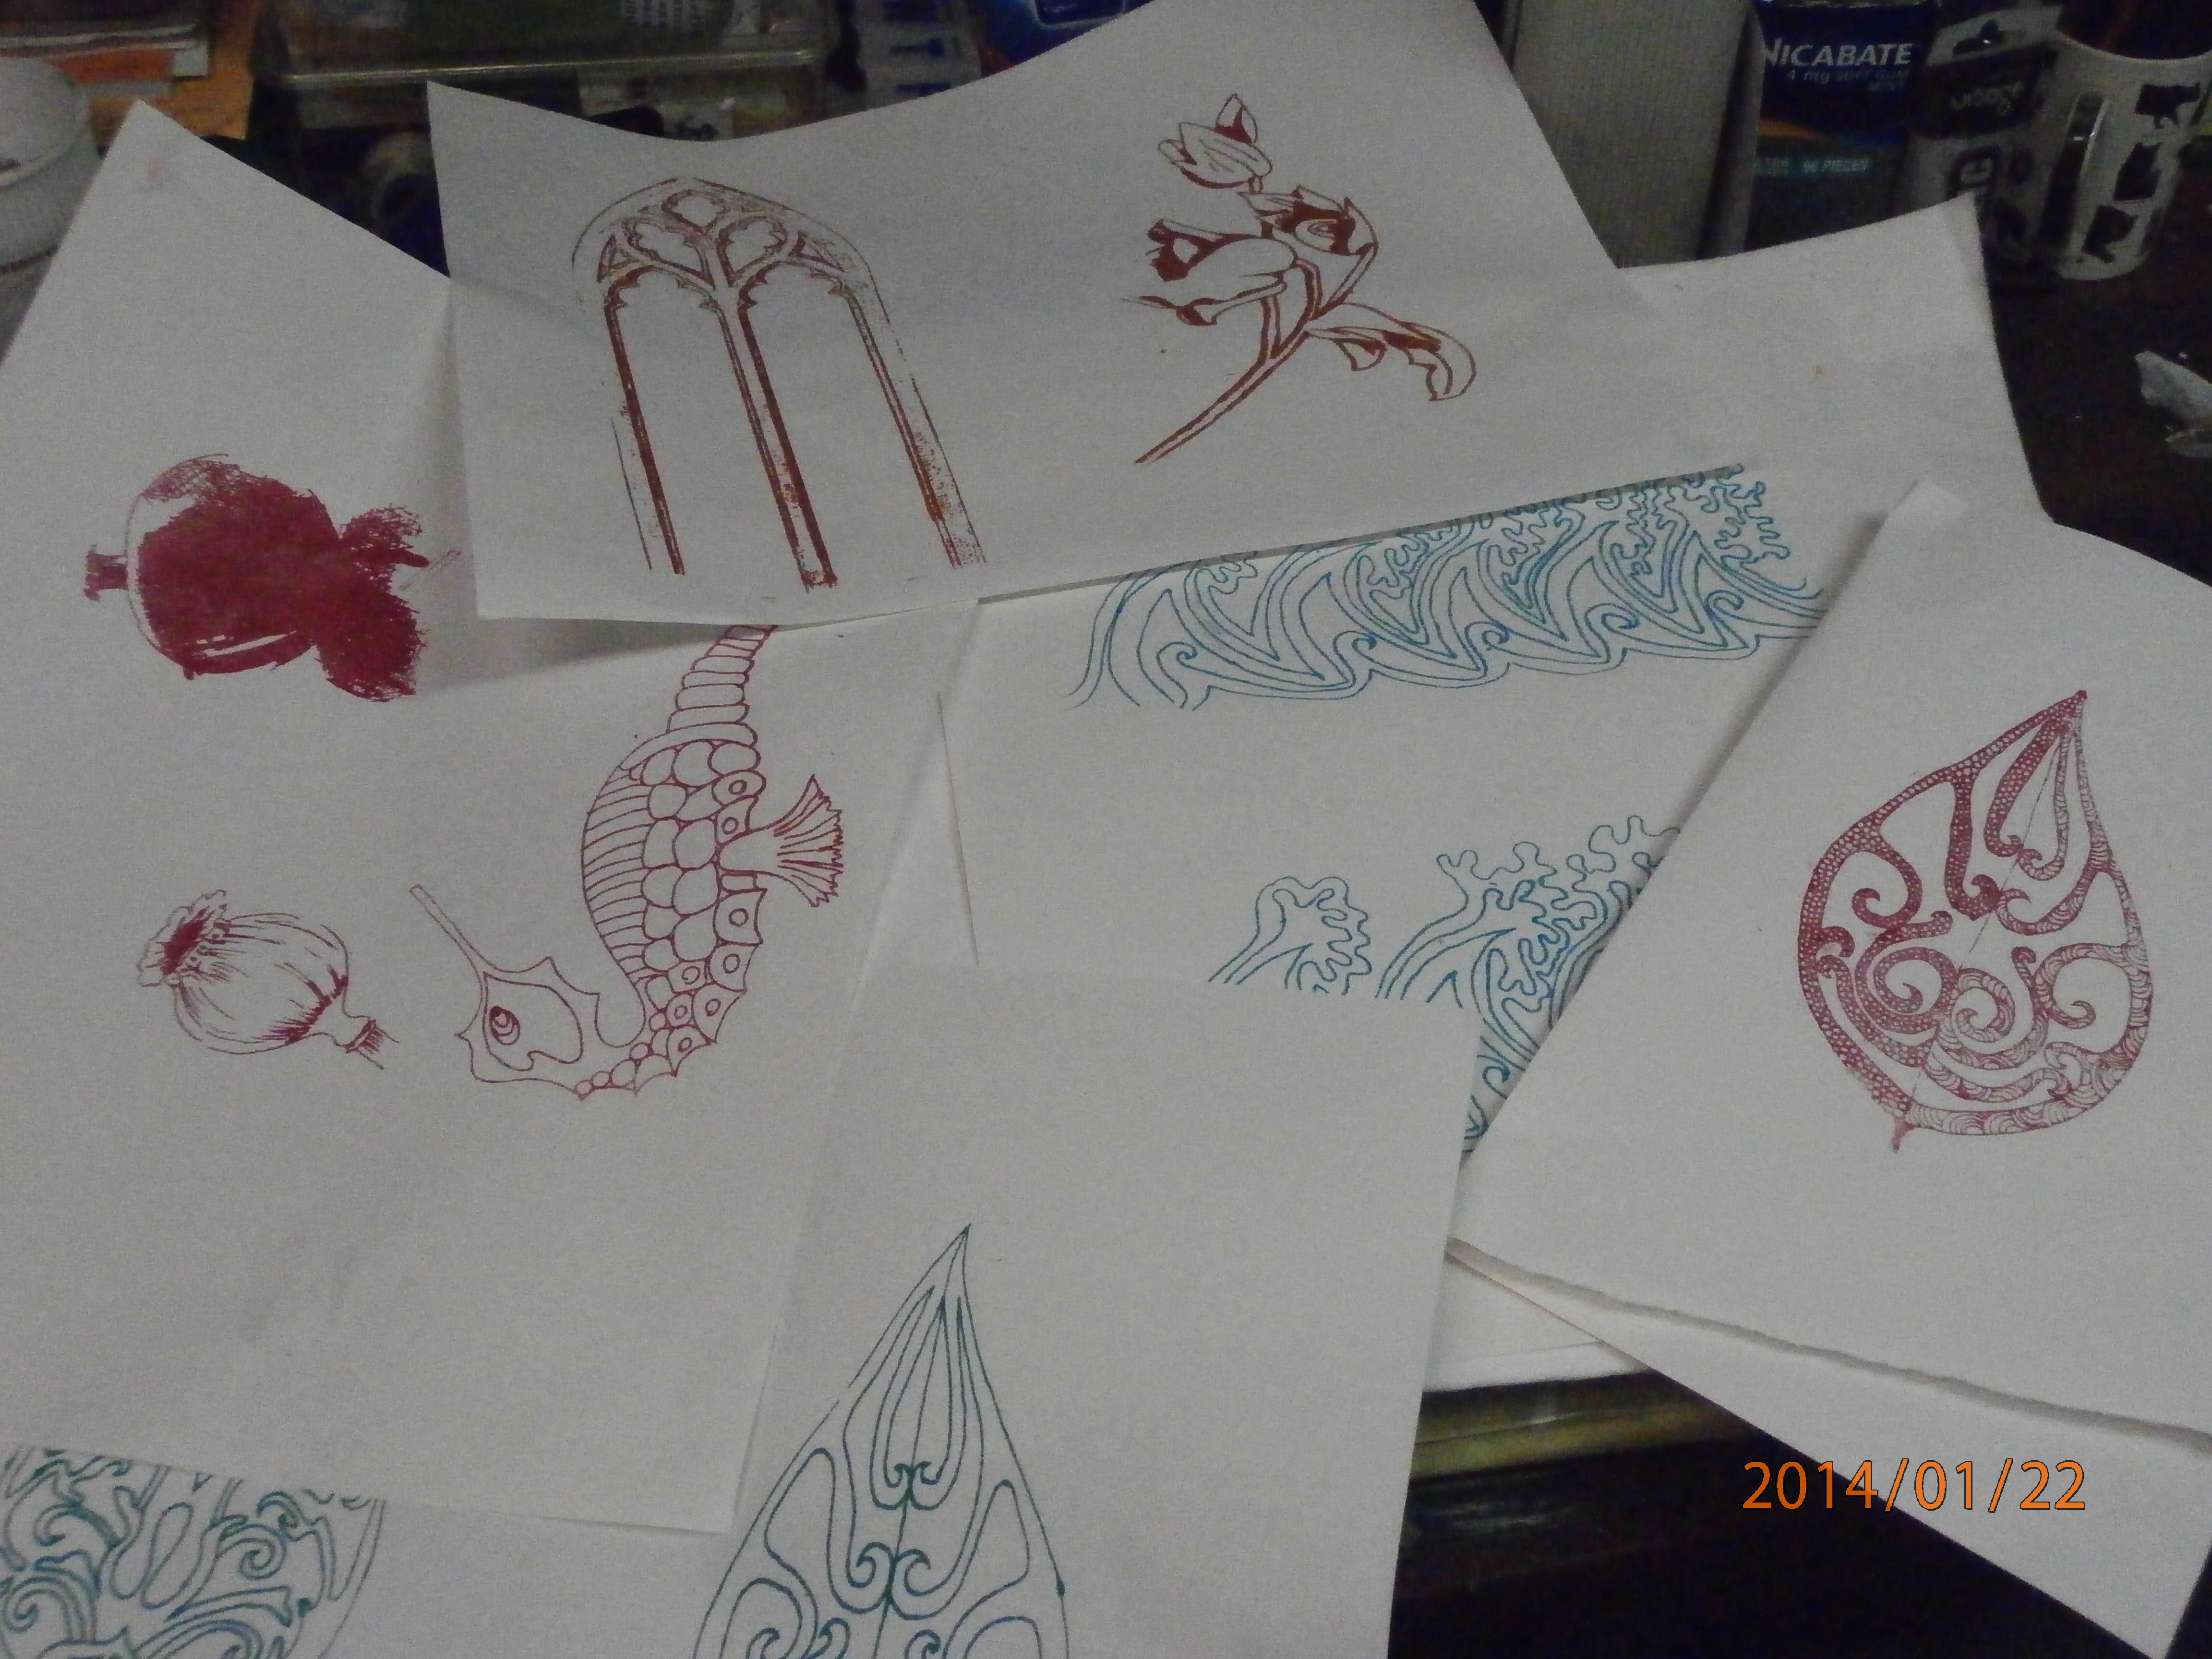
This was the first screen I made (correction: the second, because the first one didn't work as I put the screen into the machine upside down!) It is of a leaf design from my sketchbook. Of course, you can't see the design as the screen is so thin and transparent.
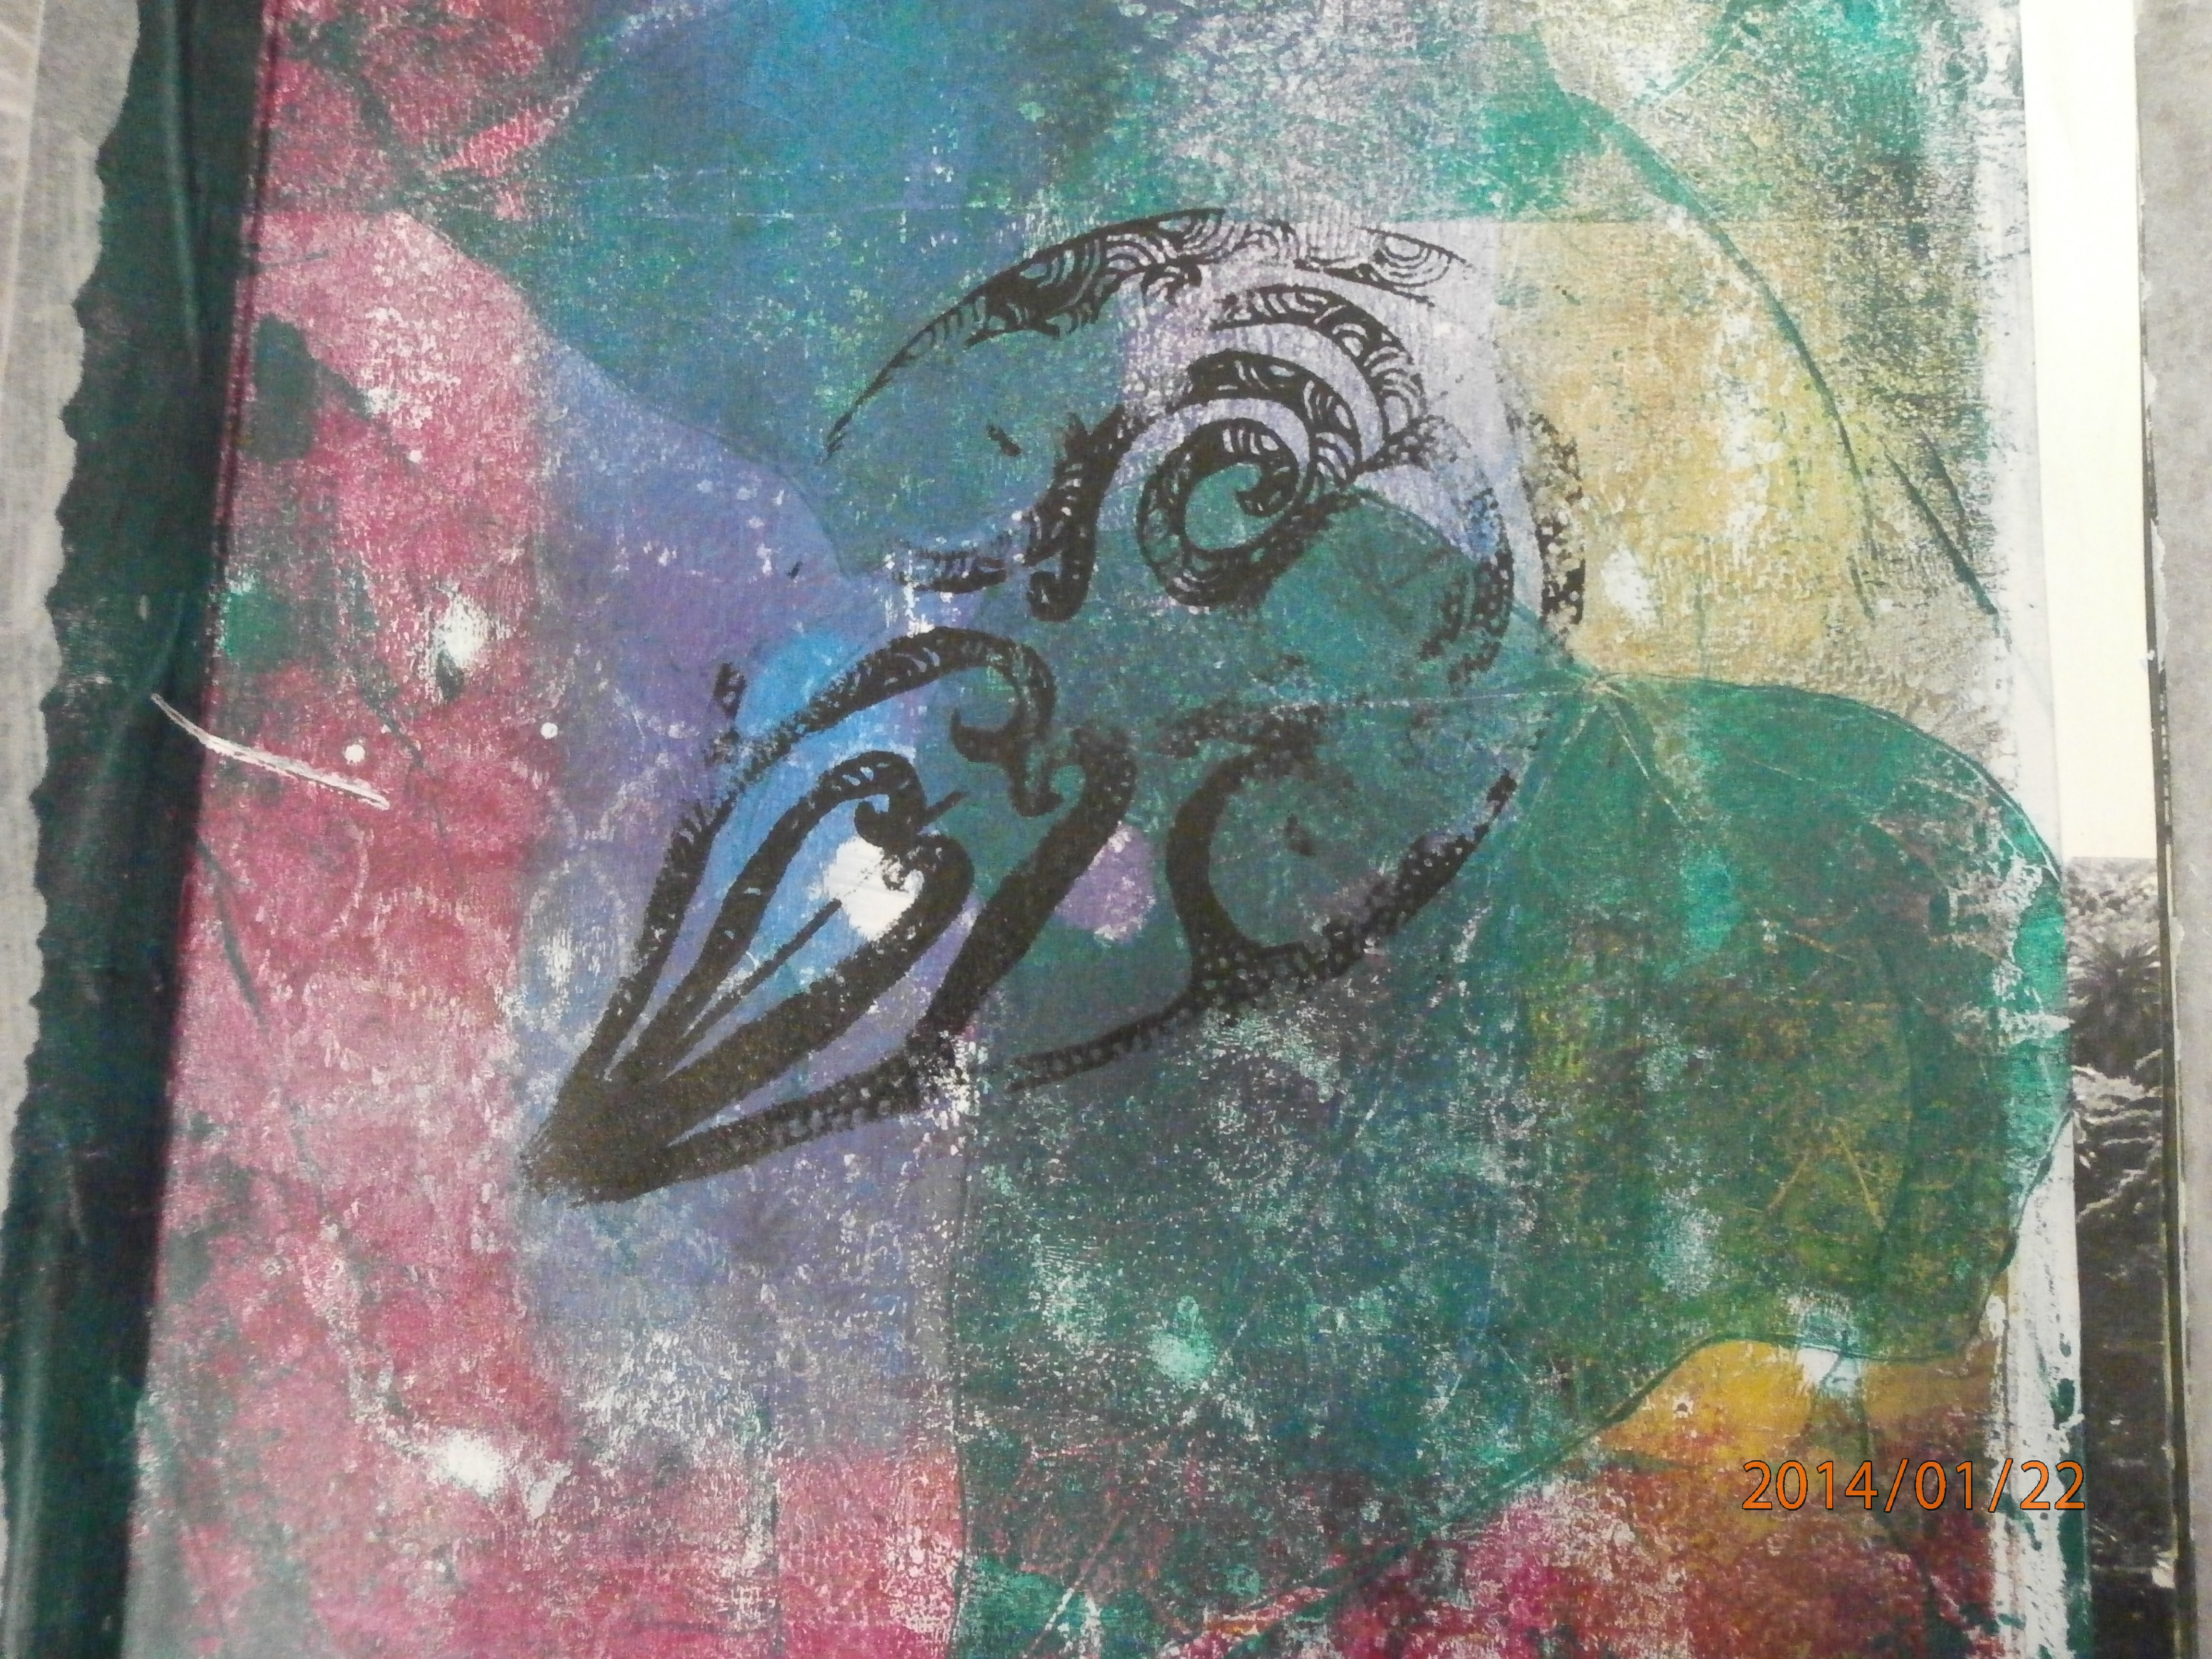
This is my first print from this screen. As you can see, I had a few problems. I was too tentative to start with and too heavy handed at the end, near the tip of the leaf. Ah well, perhaps it is a leaf on an ancient building!
As you can see in this second one, I did get the hang of it.
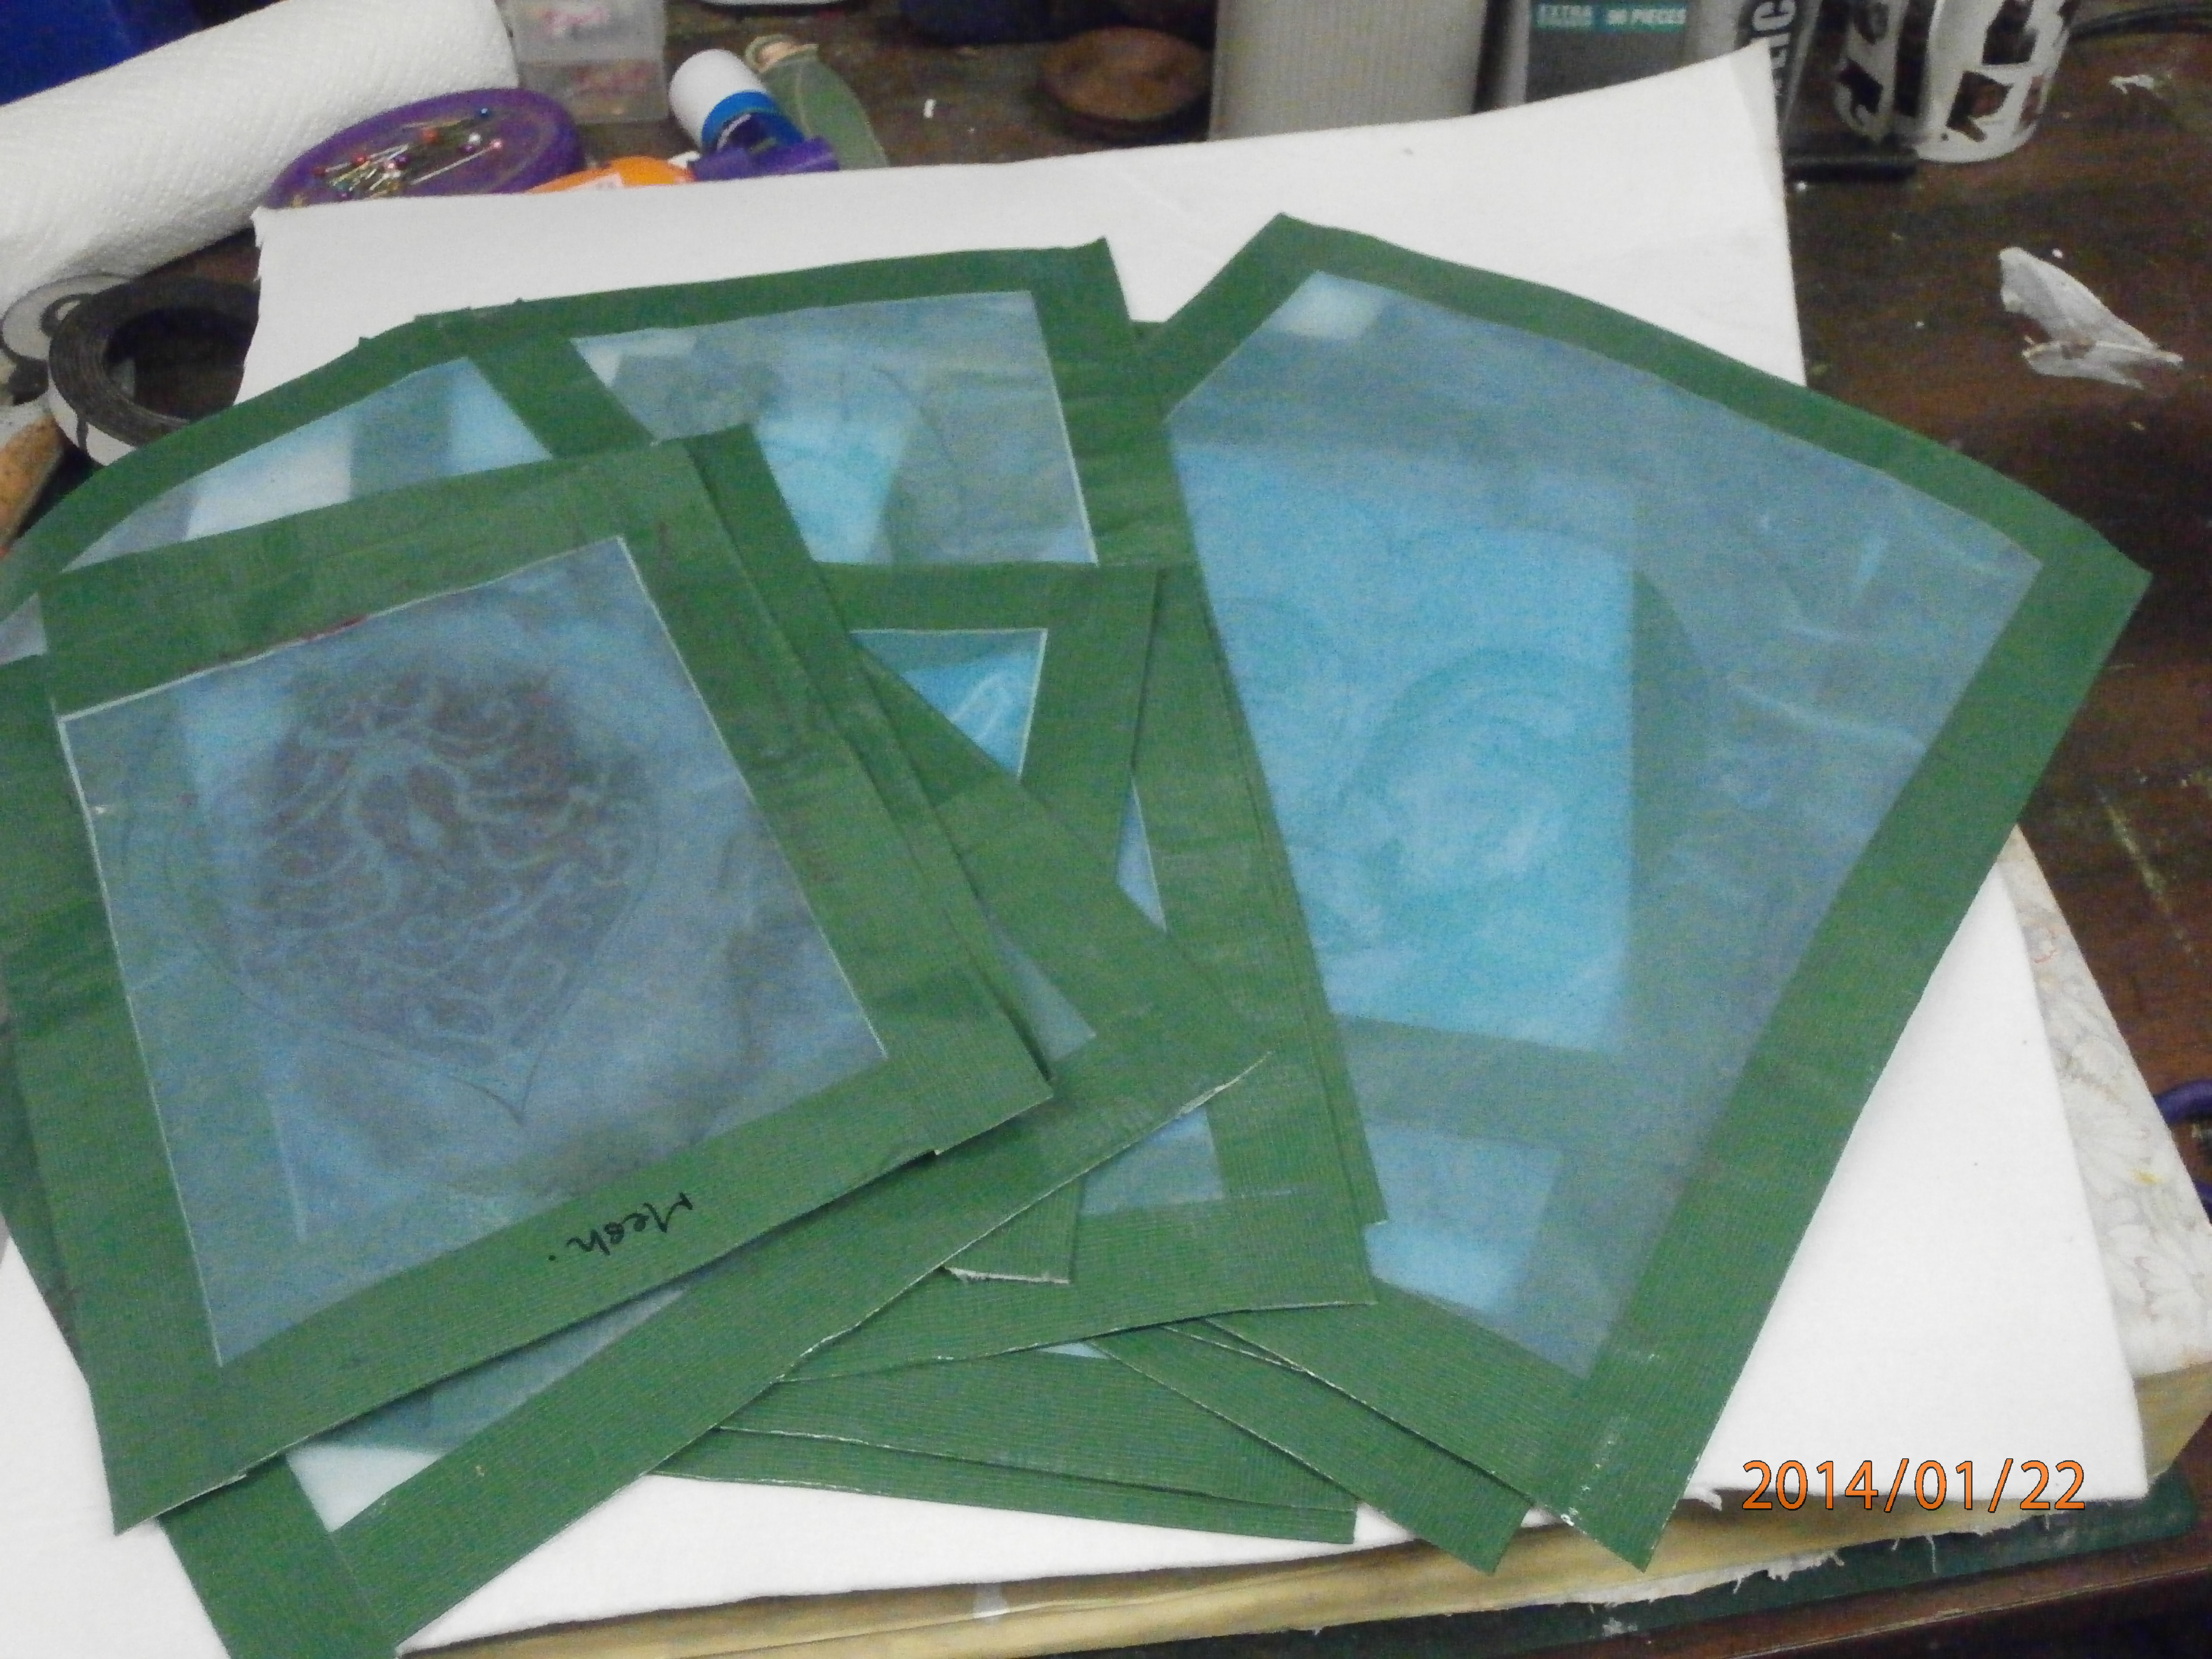
I made just a few more screens...
And tested them out...
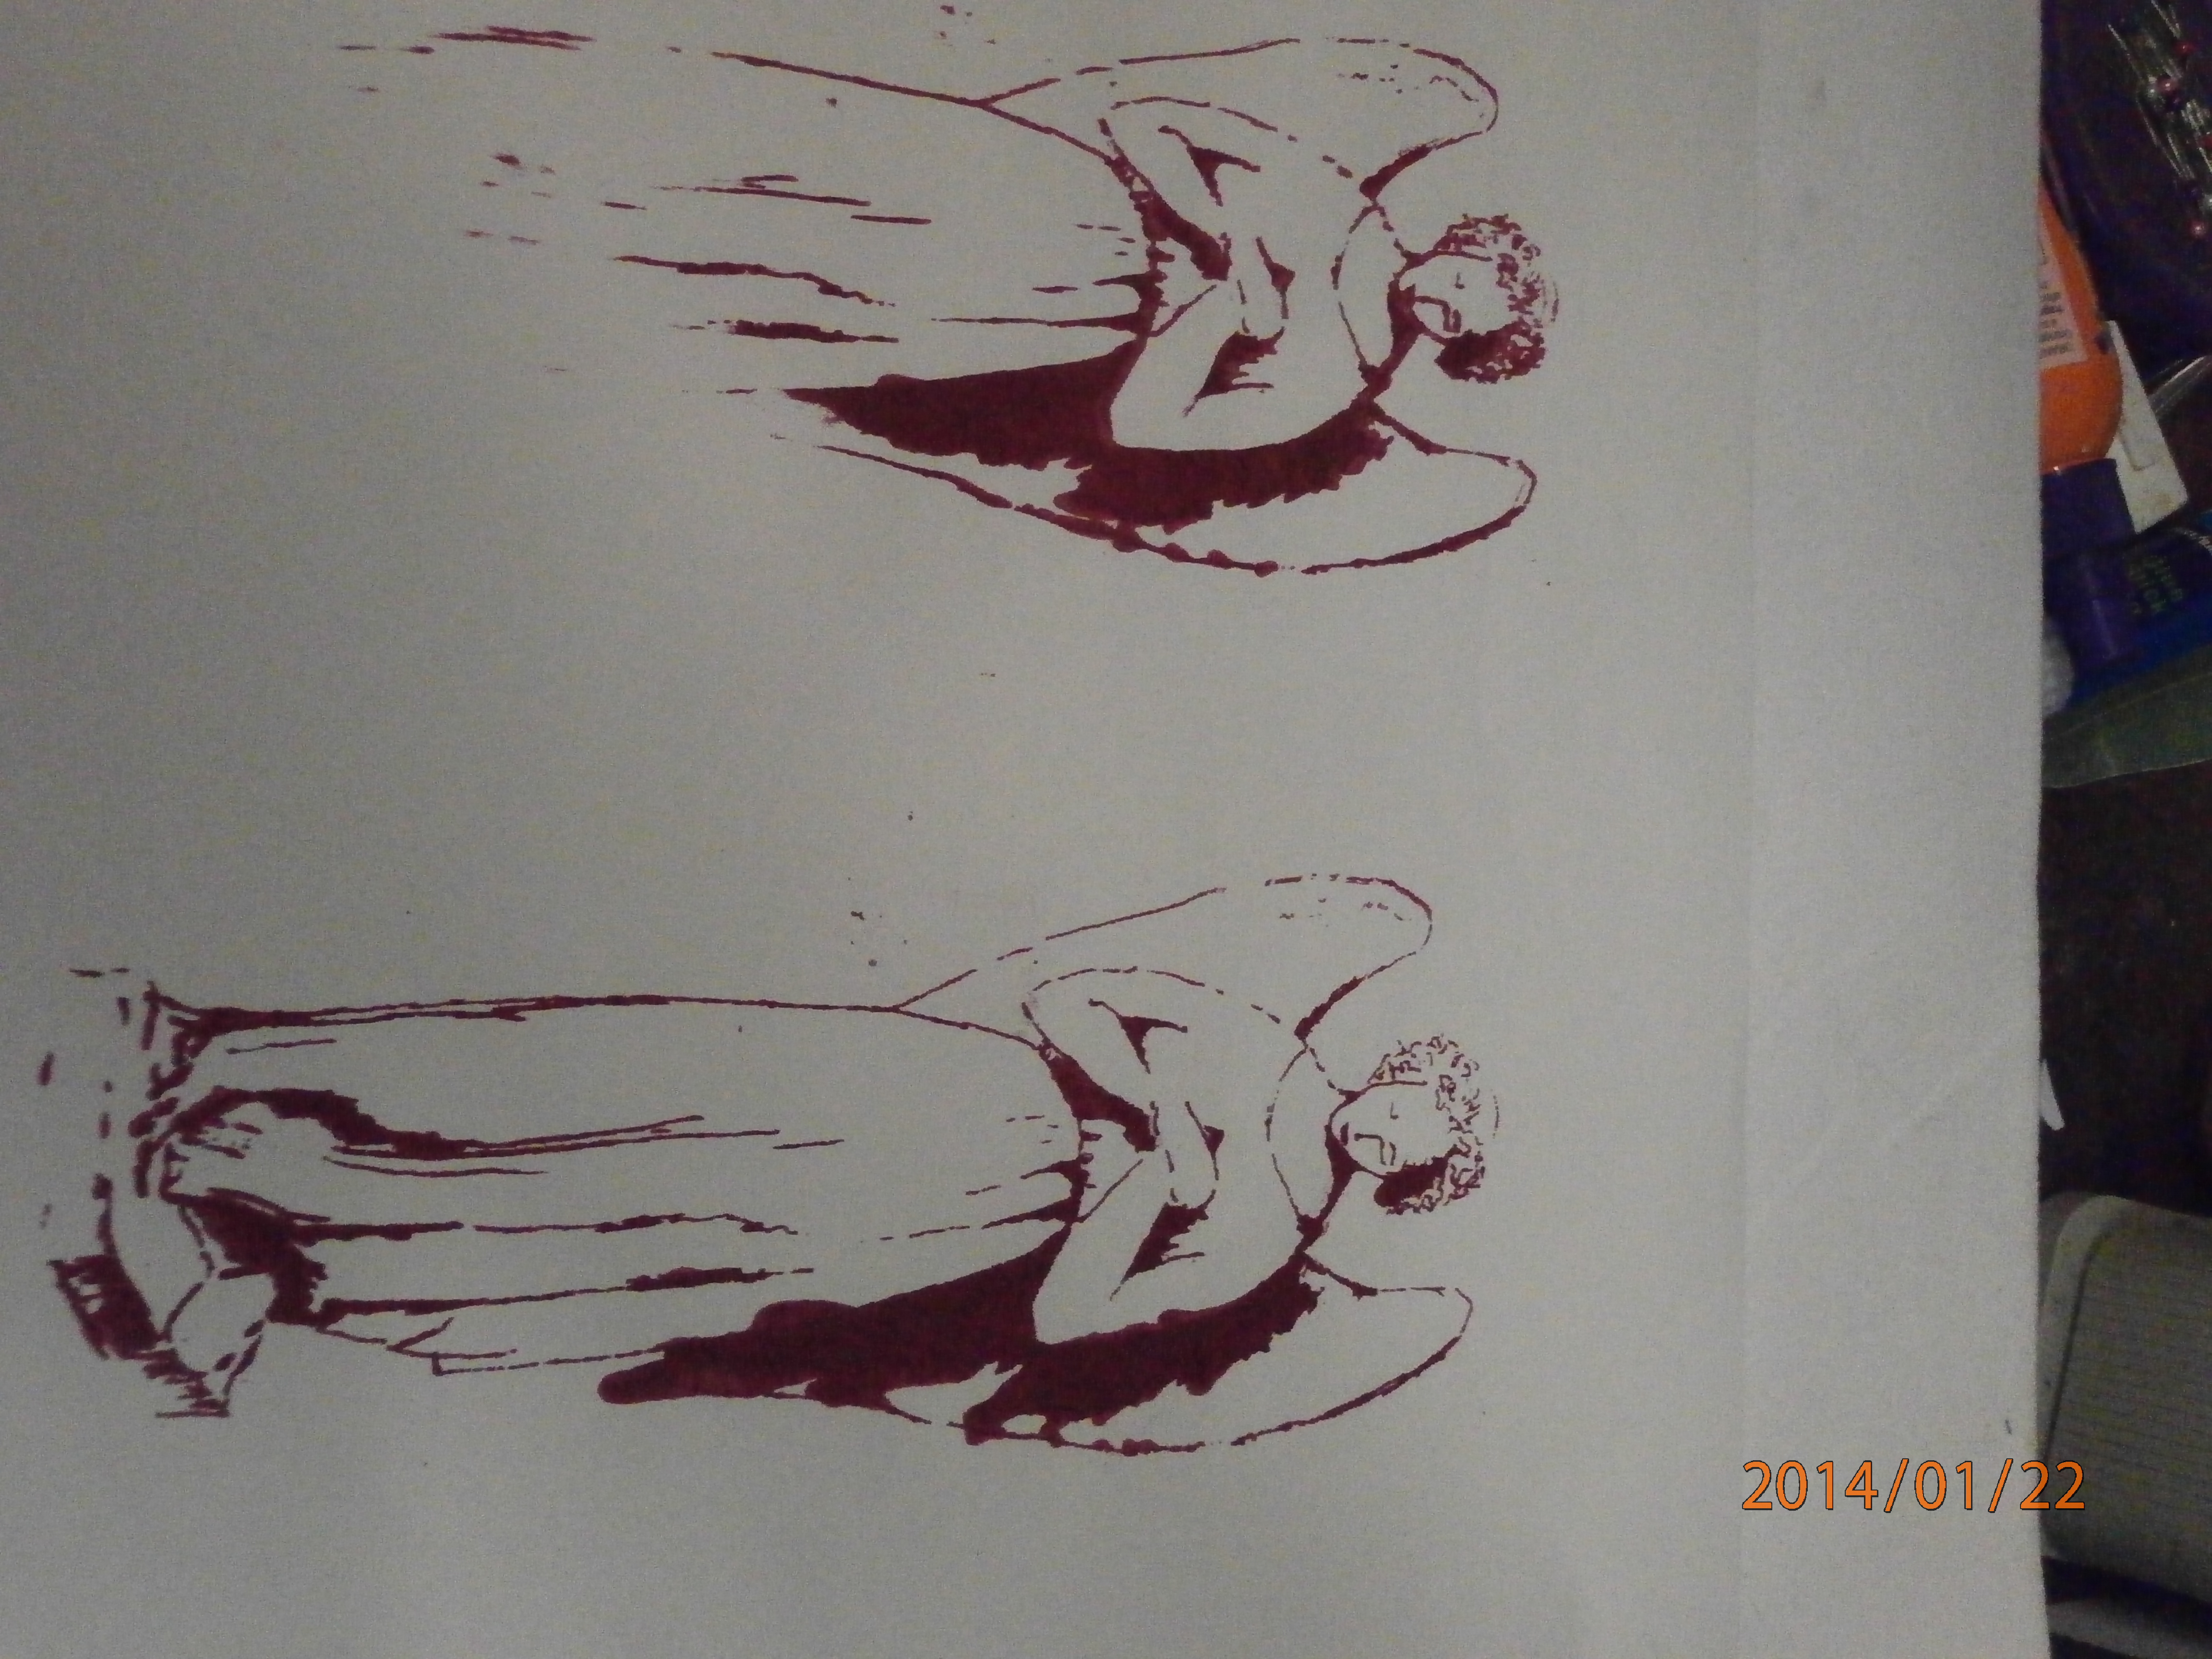
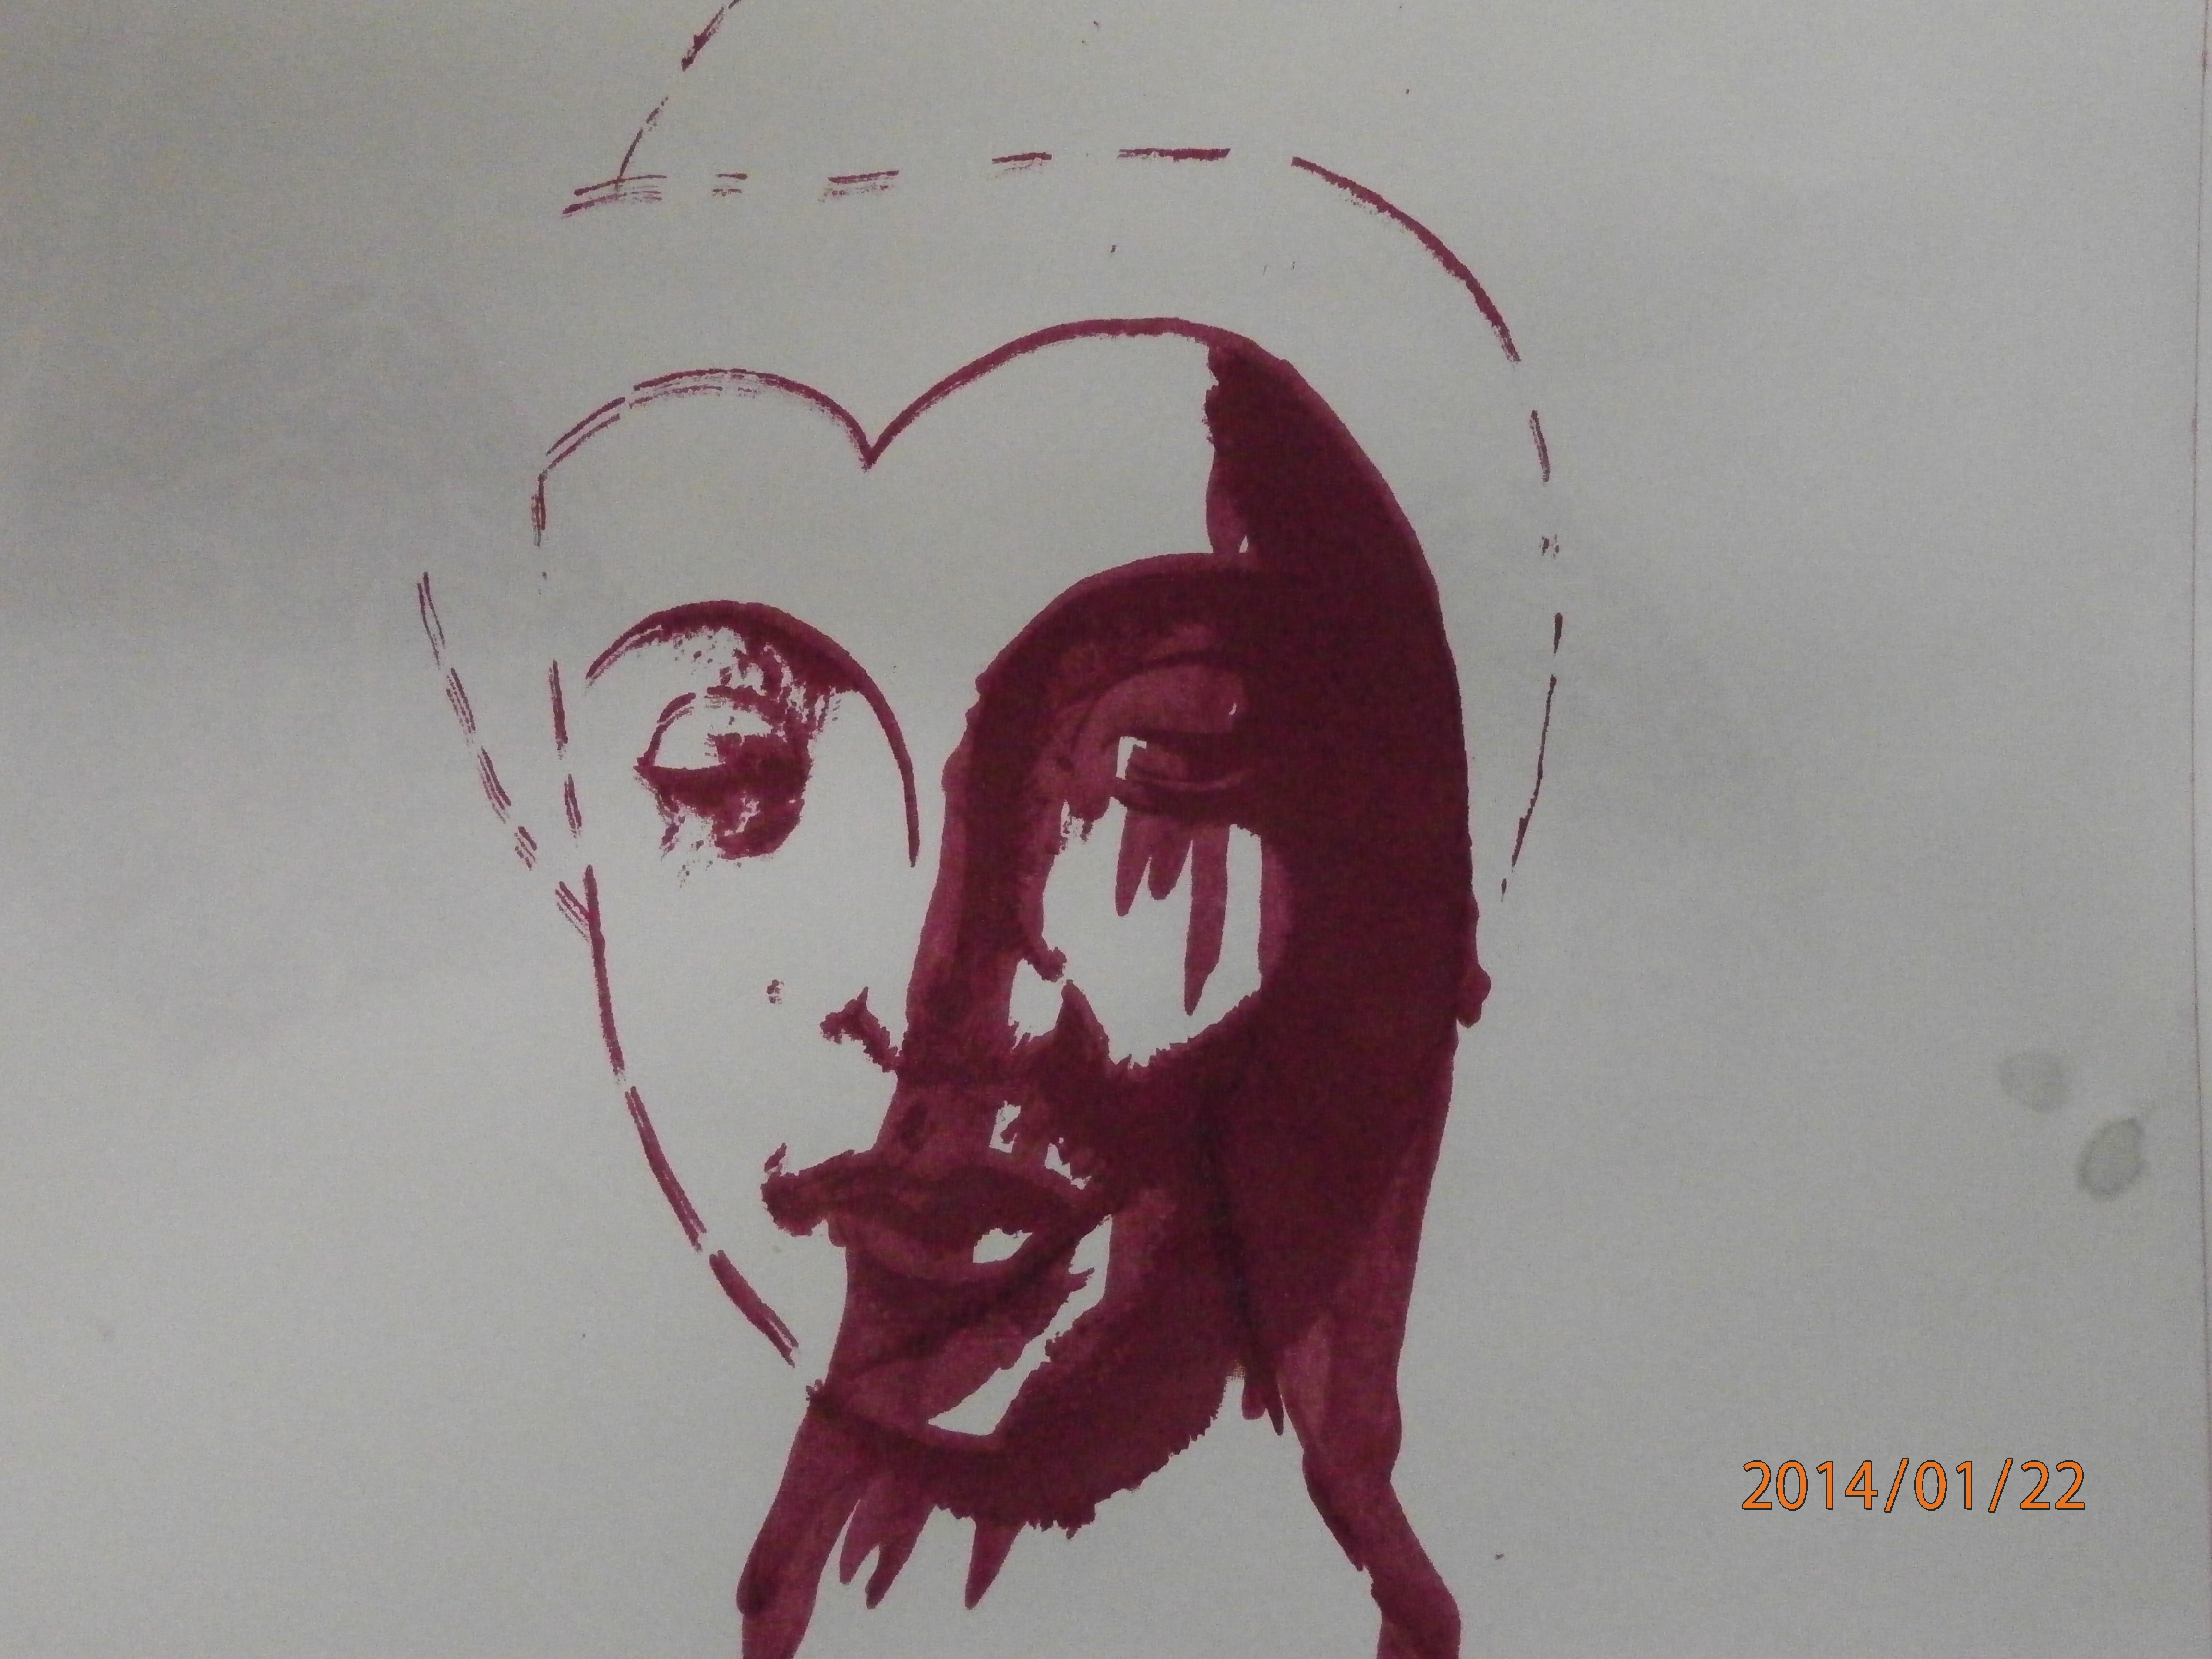
but of course some of them had their problems. The top one here (sorry about the angle) shows what happens when you don't have enough paint on your squeegee. I ran out of paint before the bottom of the angel and the bottom print shows what can happen when you push too hard over dark areas, The wing shadow has oozed!
This print shows what happens when you have a very large screen. It was impossible to keep it flat with one hand while you squeegee the paint with the other, so the paint got under the screen. I think I have a solution for this one, though.
I think this is a great way to re use my own artwork in my sketchbooks and in my textile work and I think I am going to enjoy perfecting it.
Happy creating!
Tuesday, January 21, 2014
Digital drawing
I have been doing a lot of reading and watching art history lately as preparation for the next tangled textiles challenge. One thing which has bothered me is where art is going. What is the "New" art of this 21st century? Post modernism seems to be a mish mash of everything as artists find their ways again after the upheavals of the last two centuries.
One new thing is digital art. There are many new artists who use technology to make their art. and I have resisted this because I felt that it took the hand of the artist away and made everything too perfect, but I have found a few people on the net, who use digital art which I like.
One is Myriam Kozik, who uses patterns to create designs, and more recently, Terry Grant of twelve by twelve fame, who has just started using digital sketching.
So I had a go. This will be my post for T for tuesday and I will also post it as a comment on Terry's Blog, to participate in her exploration as well.
I am only using a very basic fee sketch program on my android, but later in the week I will be getting a graphics tablet,which I am looking forward to.
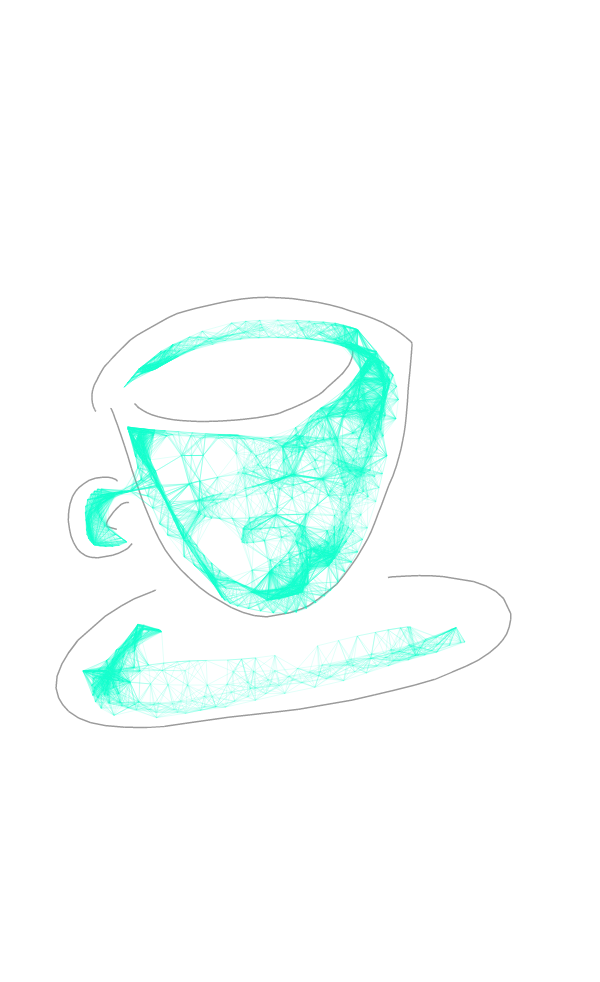
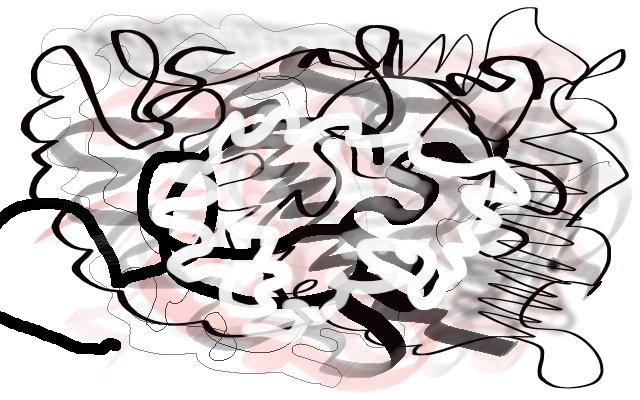
Here is my first sketch
A bit too much white space, it really needs cropping and is as simple as you can get.
And here is my second sketch. I had fun with this one and played with the different brushes. I can see the potential of this type of drawing and can see the benefits, like not having to worry about wasting paper, which I think can set you free.
Hope you liked my little adventure!
Happy creating!
Sunday, January 19, 2014
A day of painting.
All the art videos I watched during the hot spell, got me wanting to do a bit of painting, so today I had a day off from my usual routine to paint.
Here is where I am at.
This is a 3x2 foot, quite large canvas, so the eucalyptus flowers are a bit bigger than real life, probably about 12x. It is acrylic, so it will need varnishing to get rid of the dullness when acrylic dries. It still needs a bit of work, but I am pleased with it so far and really enjoyed putting the paint on thick, sometimes with a palette knife, sometimes a large flat brush.
Happy Creating!
Subscribe to:
Comments (Atom)












.JPG)
