Monday, May 27, 2013

a quick one

Just a short one to establish that I am still here, lol.
Things have been very hectic here, though not on the stitching scene.
I have been running around, teaching and have also started a course with Linda and Laura Kemshall, which I have been wanting for so long.
So, I have done almost no stitching this week, which is a bit strange for me.
Just to give you some eye candy, here are some bit and pieces I had in the Gallery last week.
A few bracelets I made a few months ago.
Needlefelted cuffs.  One with stitching, one with no stitching at all!
Some brooches.  The three found ones are neddlefelted, the two butterflies are organza with free motion.
Two small needlefelted landscapes with free motion and beaded dragonflies.
I obviously had a lot more than this, but these are the new pieces that I have not shown before.
Enjoy

Be creative every day!

Monday, May 20, 2013

At the gallery in Flowerdale

Yesterday was my monthly gallery day.  Every month on the third sunday, I open a little gallery in a building next to our market.  When I first started, It was just my hubby's and  my work on show, but slowly and surely, I am starting to get other people to put their work in.  It's pretty labour intensive, since it all needs to be set up and dismantled on the day, and the other artists showing their work need to pick it up the same day, but generally it goes reasonably well.
I thought I might show a few photos of what it all looks like.
This is mostly my husband's work although there is one of my collages in the background of the left picture.
This is a little table of bits and pieces made by the quilting and craft group.
This is the Arts group table, with a display for the next workshop, which is bookbinding - next week.
This is my table, although the doilies at the front were made by another craft group member.
And this is a double sided stand, made for textile work (please ignore the little pile in the back  Everything is transported in tubs and they and the cloths have to go somewhere, lol). I have another (they were made by my DH) which is designed for paintings.  They both fold up and fit in the car.
So that is my little gallery, hope you liked this little peek.

happy creating!

Thursday, May 16, 2013

Mixed media flowers

I have been a bit sniffly for a few days, so no posts, but I have done a little.
I got the idea for these little floral pieces from a video by Margaret Applin. What I have done is totally not what she did, because I don't have any thermofax screens, so I worked out a way to do something similar using my own methods.
What I have done is to paint gesso onto a piece of fabric.  When it was dry, I free motion embroidered a dover design (not my own, alas) onto the gessoed fabric.
I painted the flowers using water soluble pencils and a water brush.  It was a very quick job.
Next I will do a little hand embroidery and beading before matting them up properly.
Here are a couple of close ups of my stitched outlines after painting.
Neither the stitching, nor the painting is perfect, but that is the effect I  wanted.  They are a bit like pen and ink sketches which is what I was hoping for.

And that's all she wrote, today.  Happy creating!

Sunday, May 12, 2013

Scarf workshop

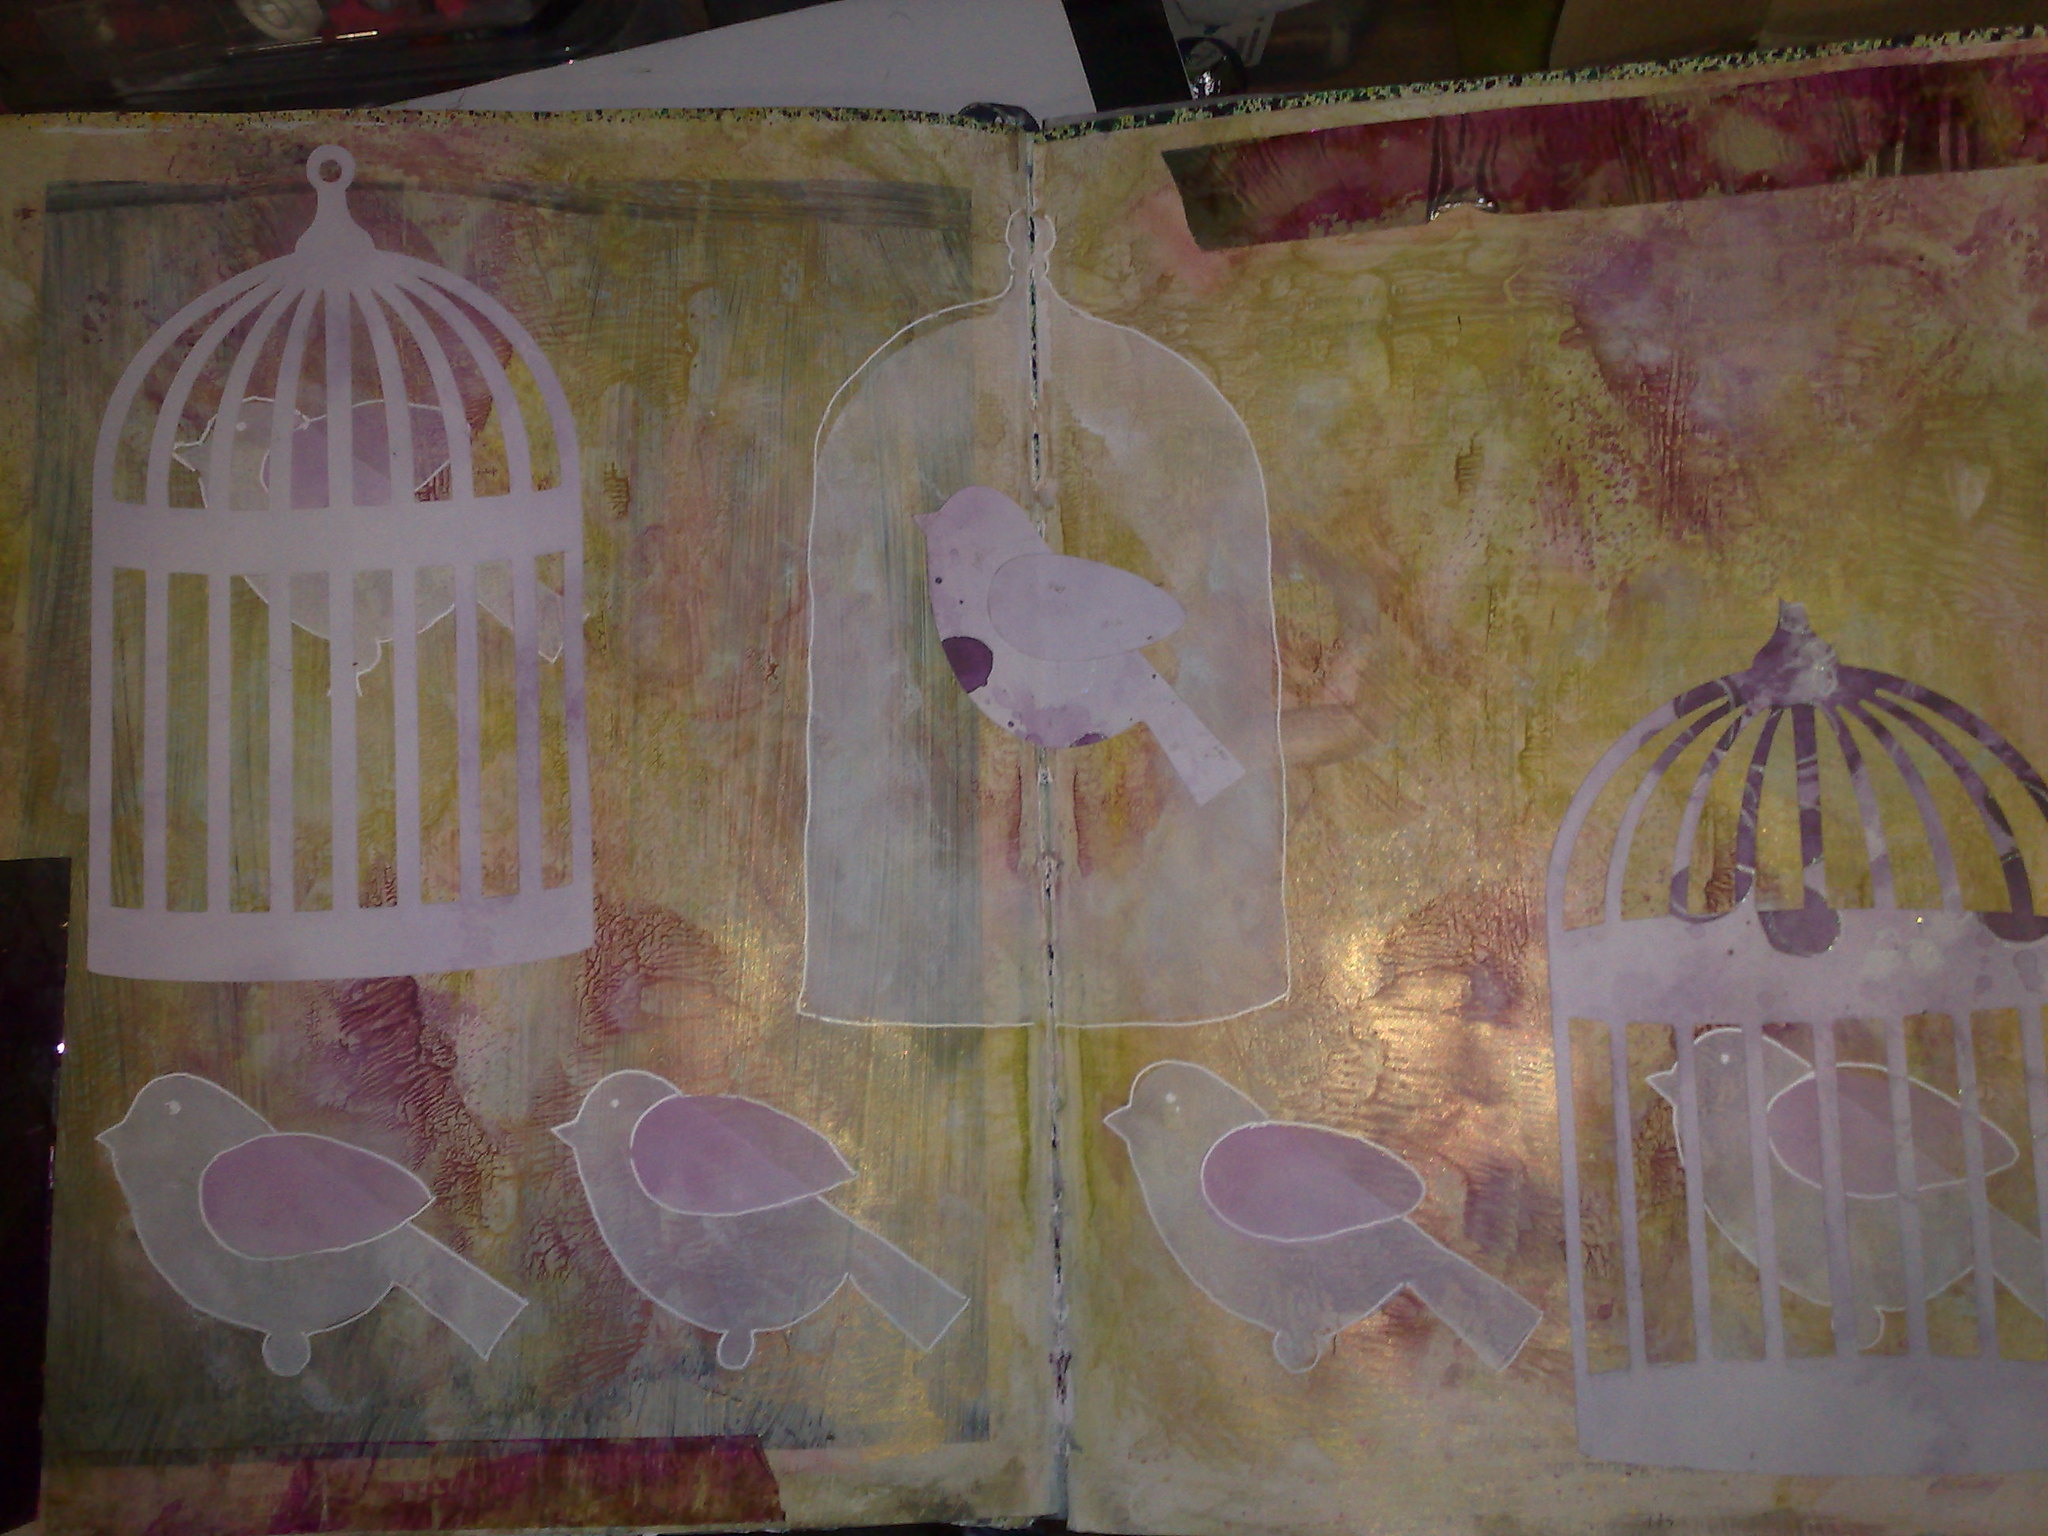
Yesterday I taught a painted scarf workshop at the community house.  Unfortunately for me, I had a few technical issues in the beginning, but we got on well and made lots.  We used fabric paint diluted in spray bottles to spray around masks and also stamped with the sprayed masks.  The fabric was a variety of chiffons, organzas and voiles, very transparent fabrics, which makes the pictures a little difficult to see, but the colour is glorious in reality.
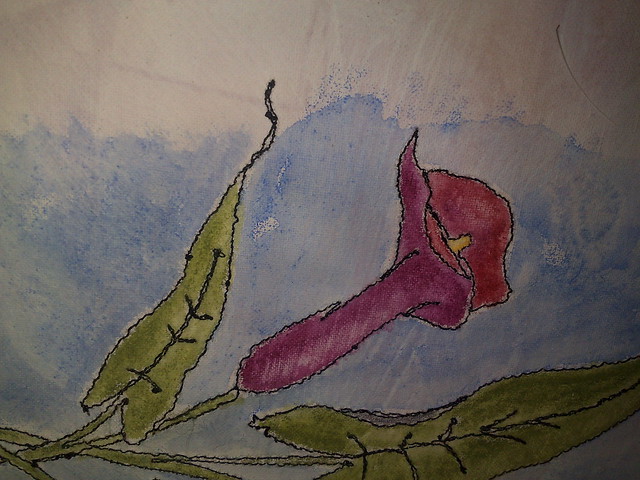
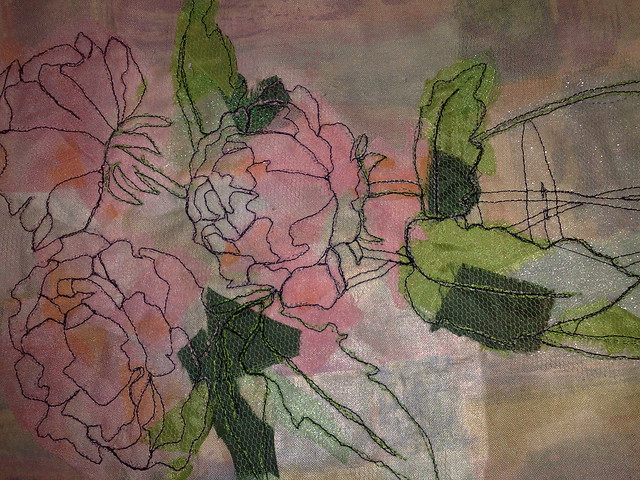
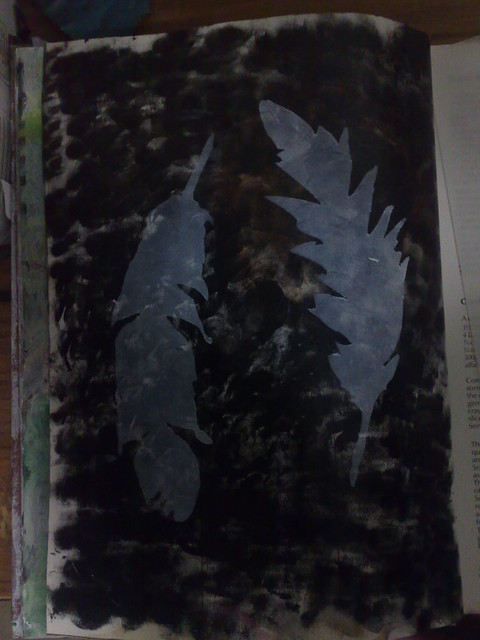
Here are two I made during the class.  The top one uses feathers (cut from card and coated with resin) and the bottom one uses leaves from the gorgeous autumn maples just out in the courtyard.
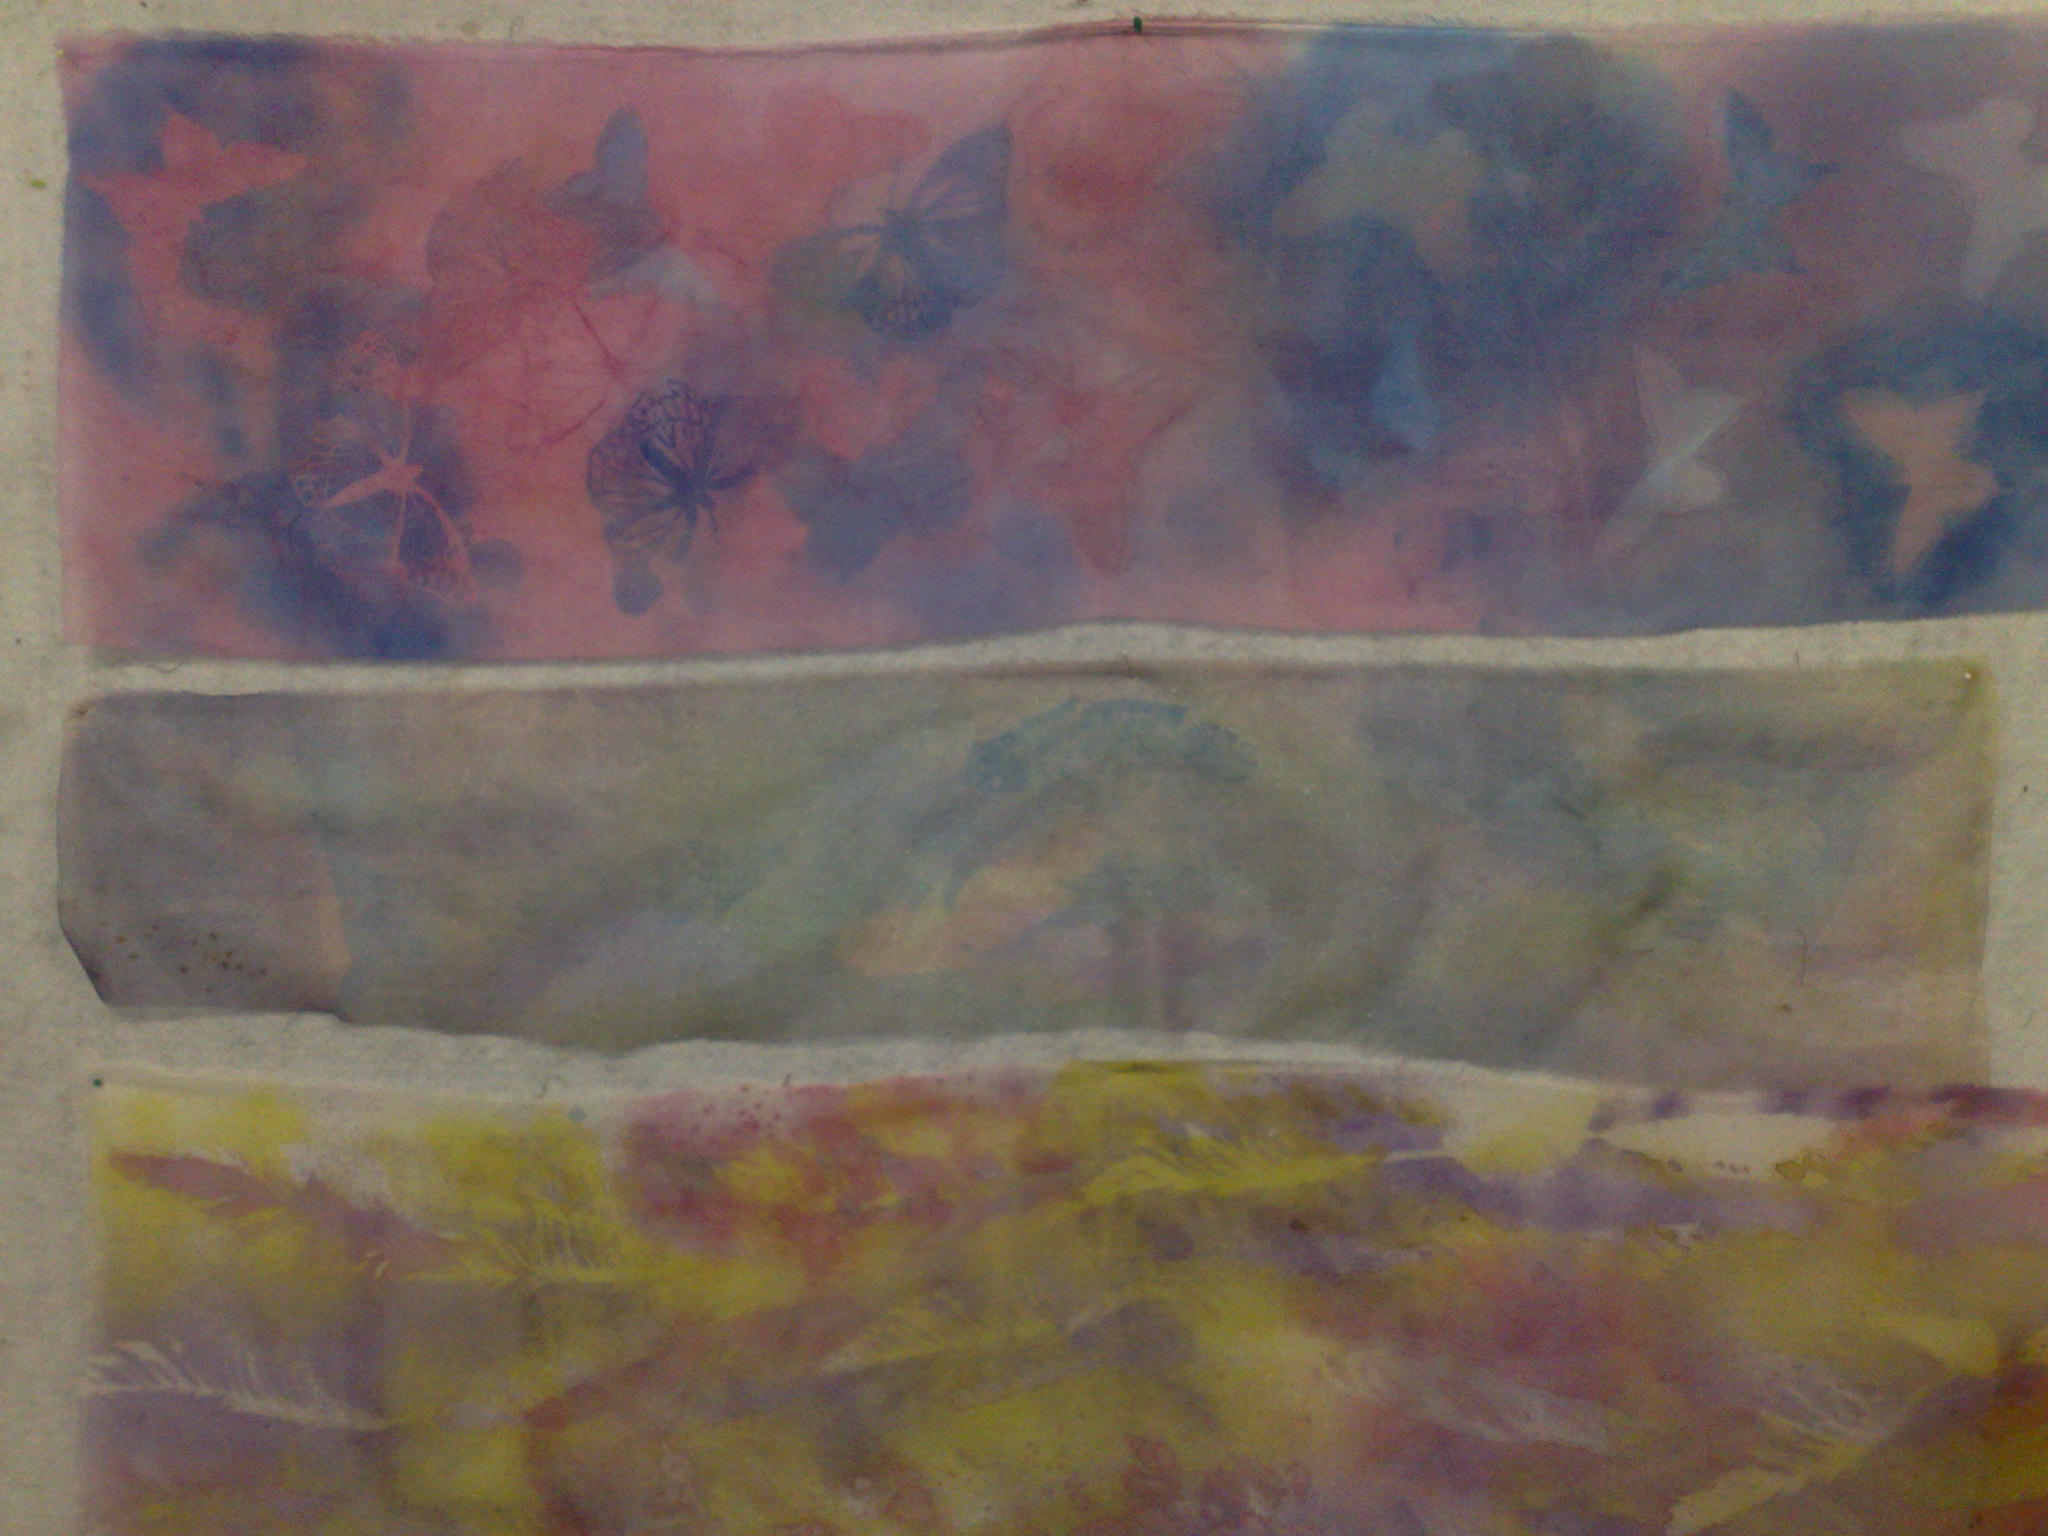
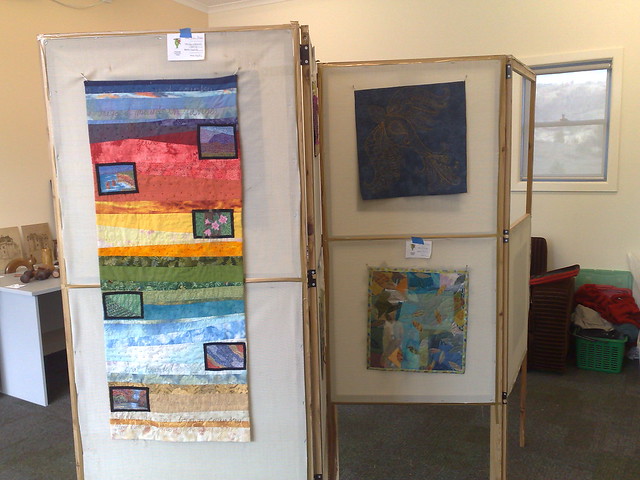
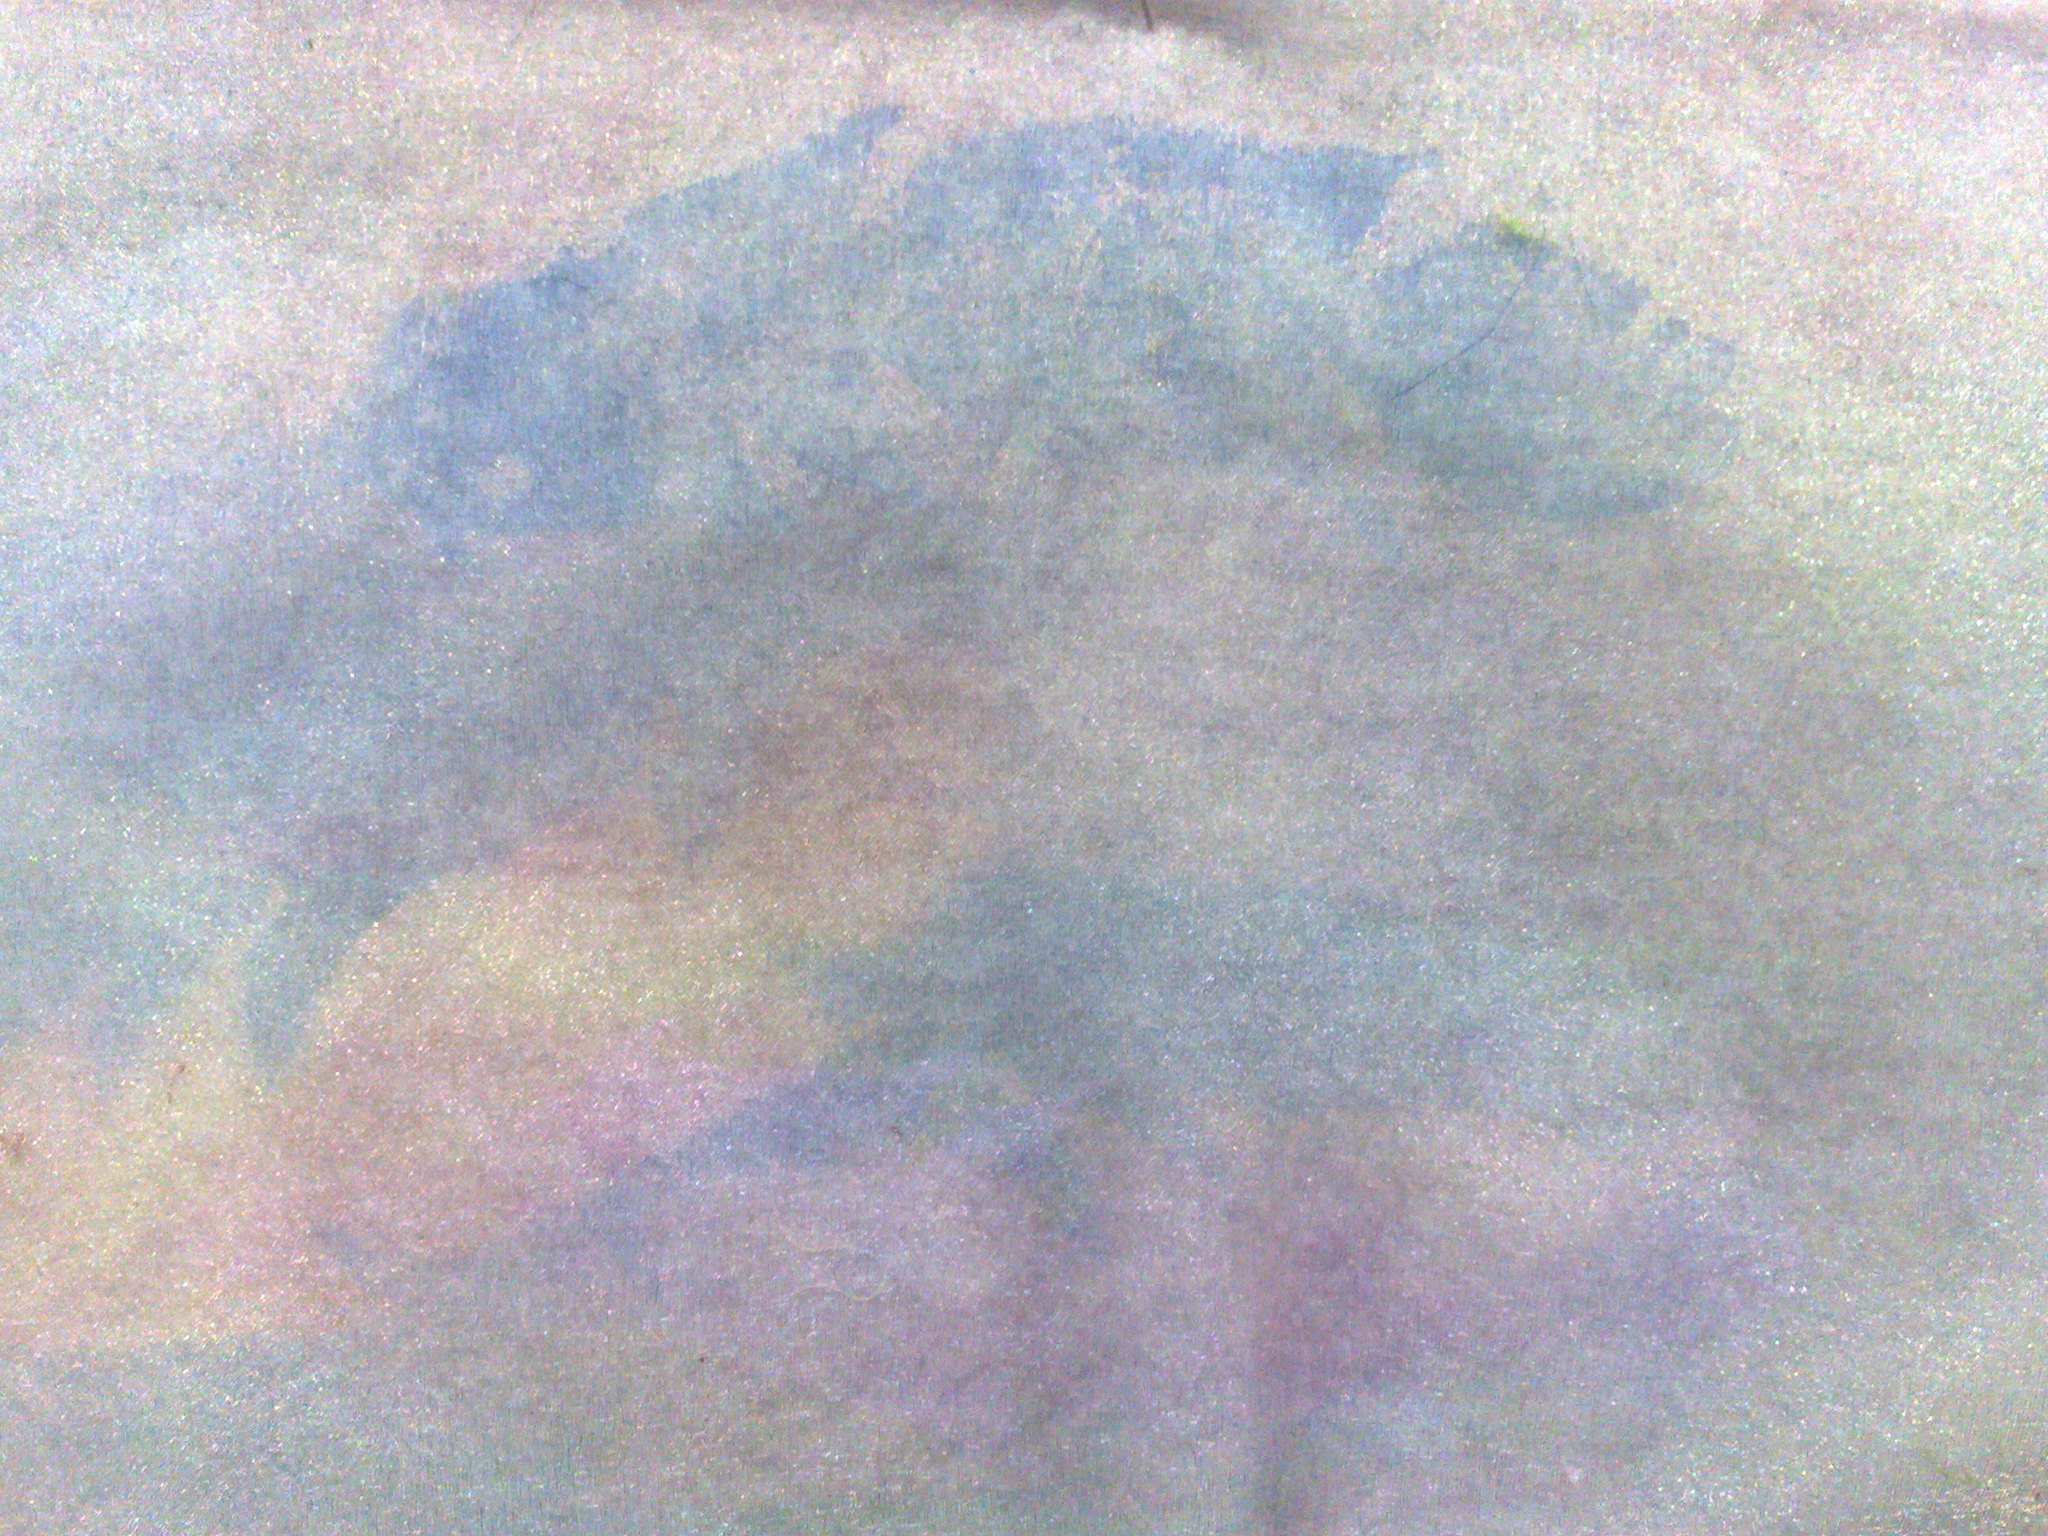
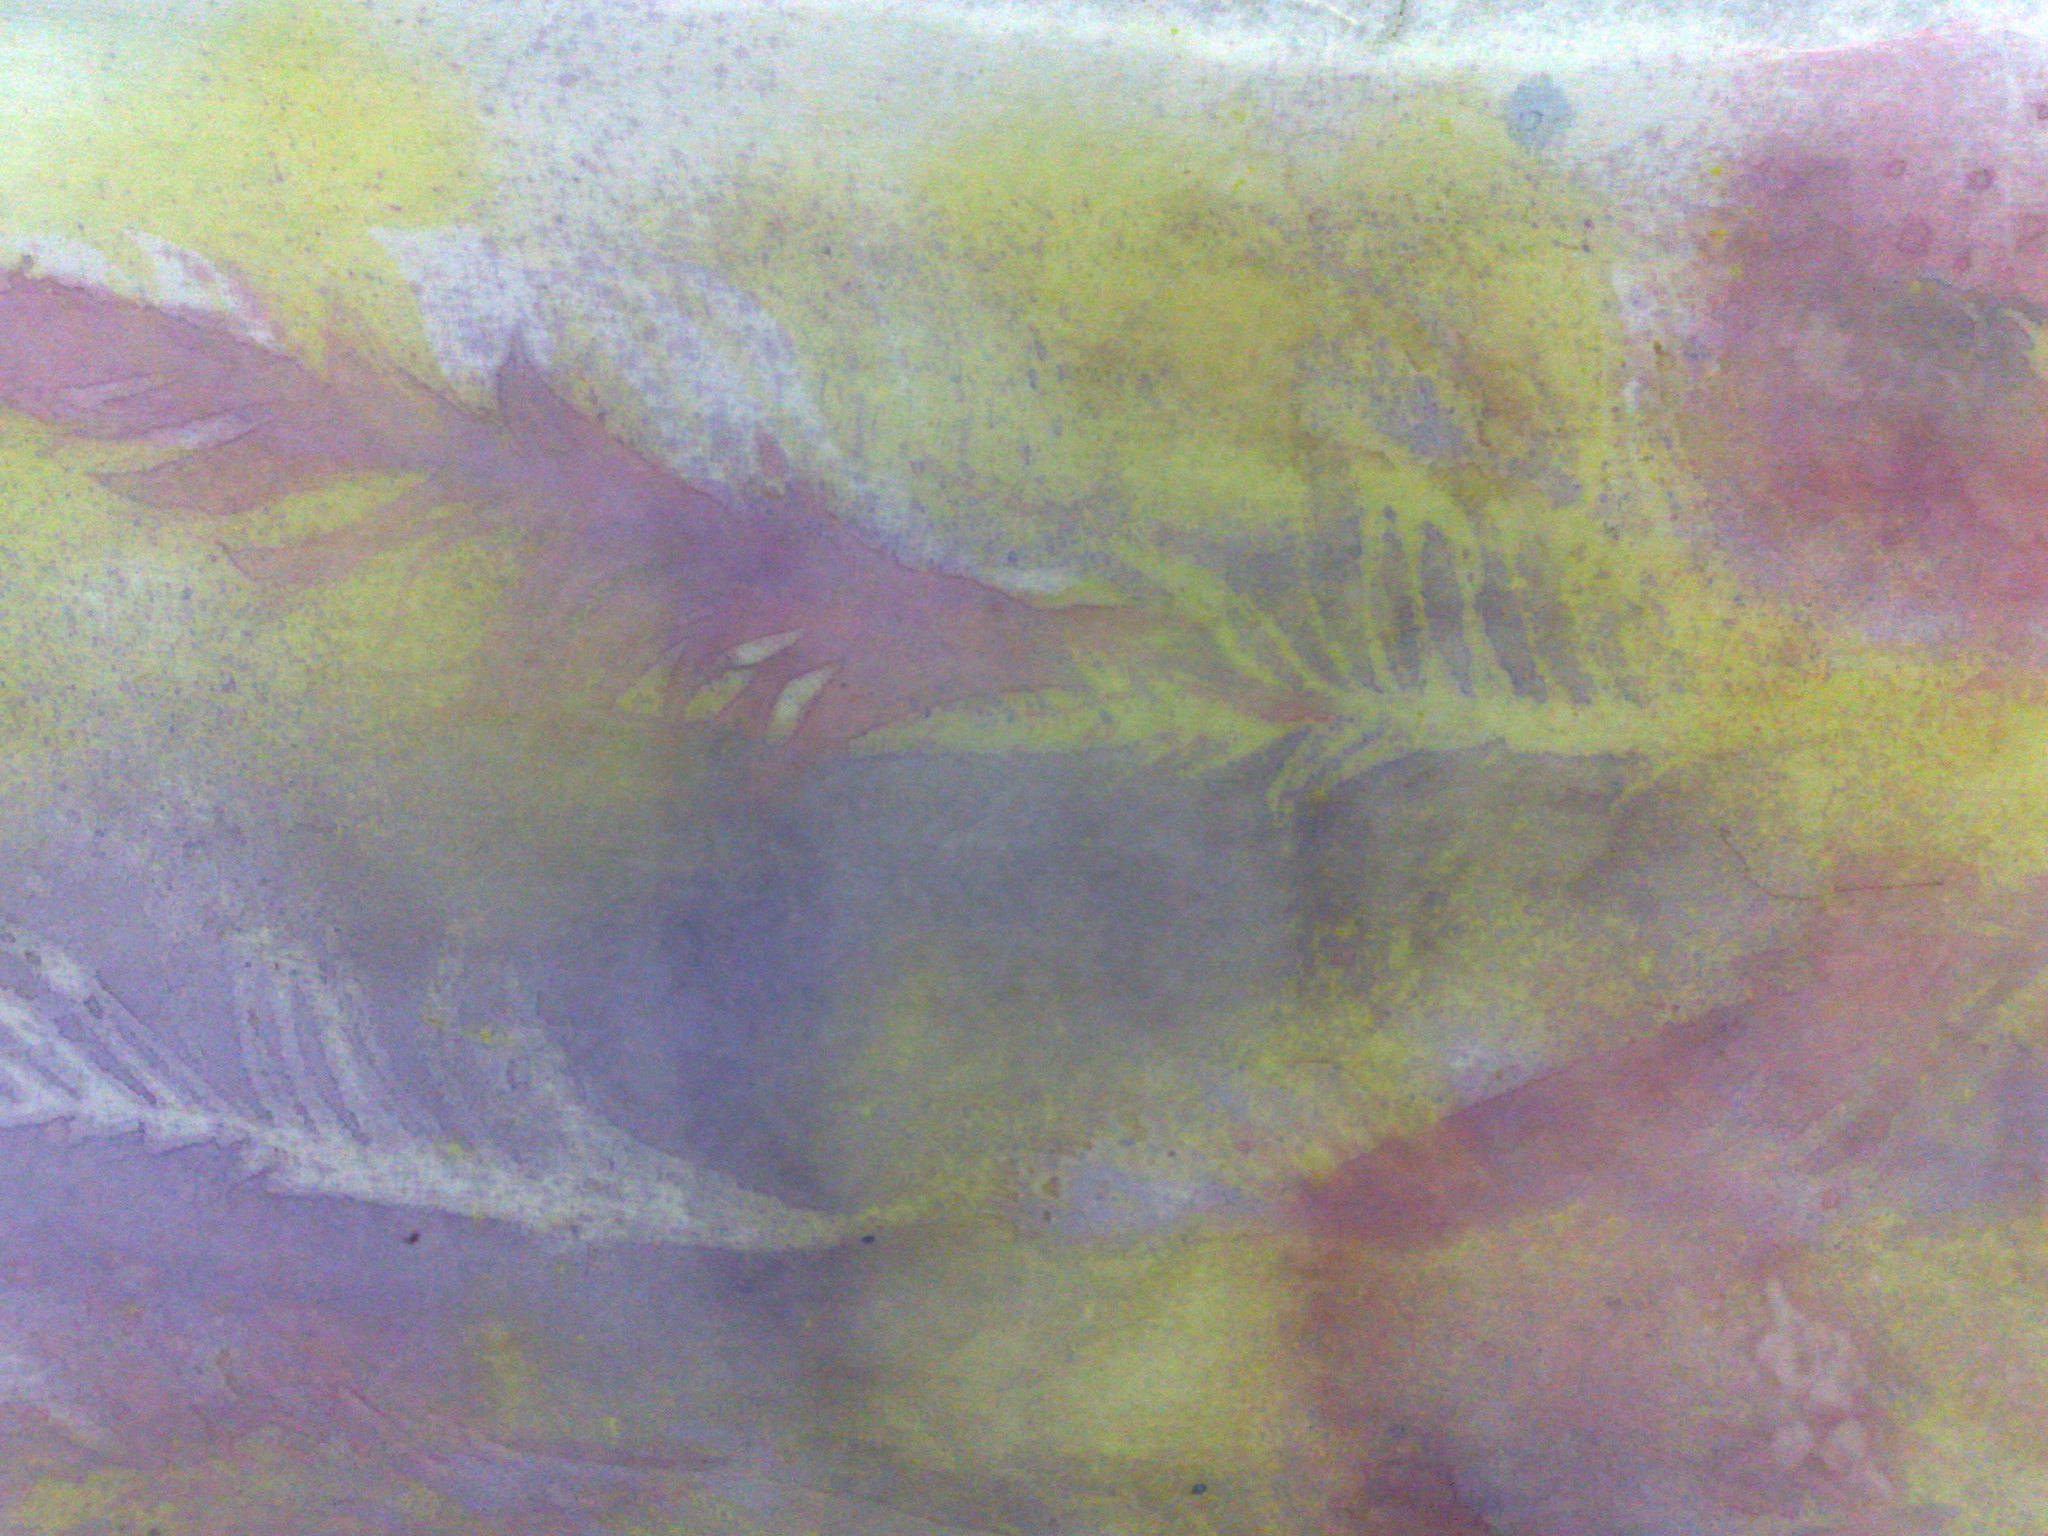
The top one here is a student's work, using acetate butterfly masks, she got lots of depth, but we discussed why she didn't like it and came to the conclusion that the first yellow layer is very important, although you can't see it until the end, as it modifies all the colours and gives more depth.  The middle one is a piece of organza, and although it is colourful, and looks very pearlescent in the sunlight, it did not hold the stamps and masks well due to the open weave and thinness of the fabric.  The bottom one was mt class sample, which I did with an airbrush, a real feather and diluted acrylics.  It is much more vibrant, due to the paint, but the hand of the fabric is altered, so it's a choice to make.  Also the fabric used is also an important thing.  It doesn't matter whether it is cotton, silk, or synthetic, but the density of the weave makes a big difference.
Here's a close up of the butterflies on the top/student's scarf.  On the left is a mask, where the butterfly is the background colour with blue around it and on the right is a stamp of the same mask.  It was simply turned over and stamped using the paint which was on the top.  I love the delicacy of this mask.
Here's a close up of the middle/organza piece.  As you can see, the edges are not clear.  They actually are clear, but because most of the paint goes through the fabric, the contrast is not high enough.  You would get a better effect with a slightly thicker paint, however the nozzle of the spray would clog, and the hand of the fabric would alter.
Here i8s a close up of the bottom/sample piece.  as you can see, it has great colour and the definition of the edges with masking and stamping is great, but the hand of the fabric is a little stiff.
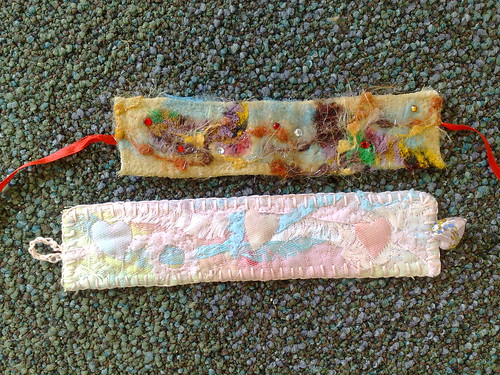
These are a couple of the cloths we used to blot the masks dry.  Gorgeous, aren't they?
And now the piece de resistance!
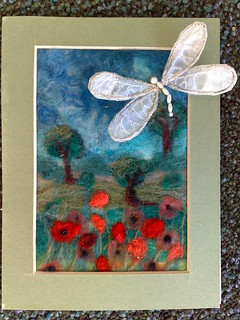
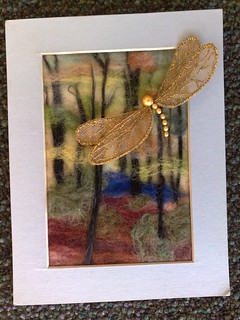
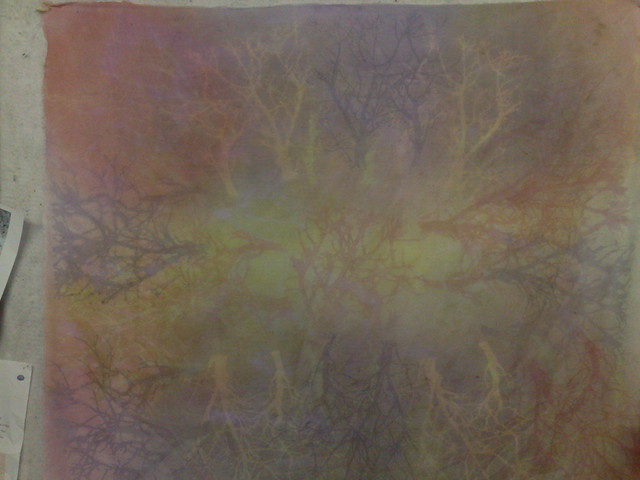
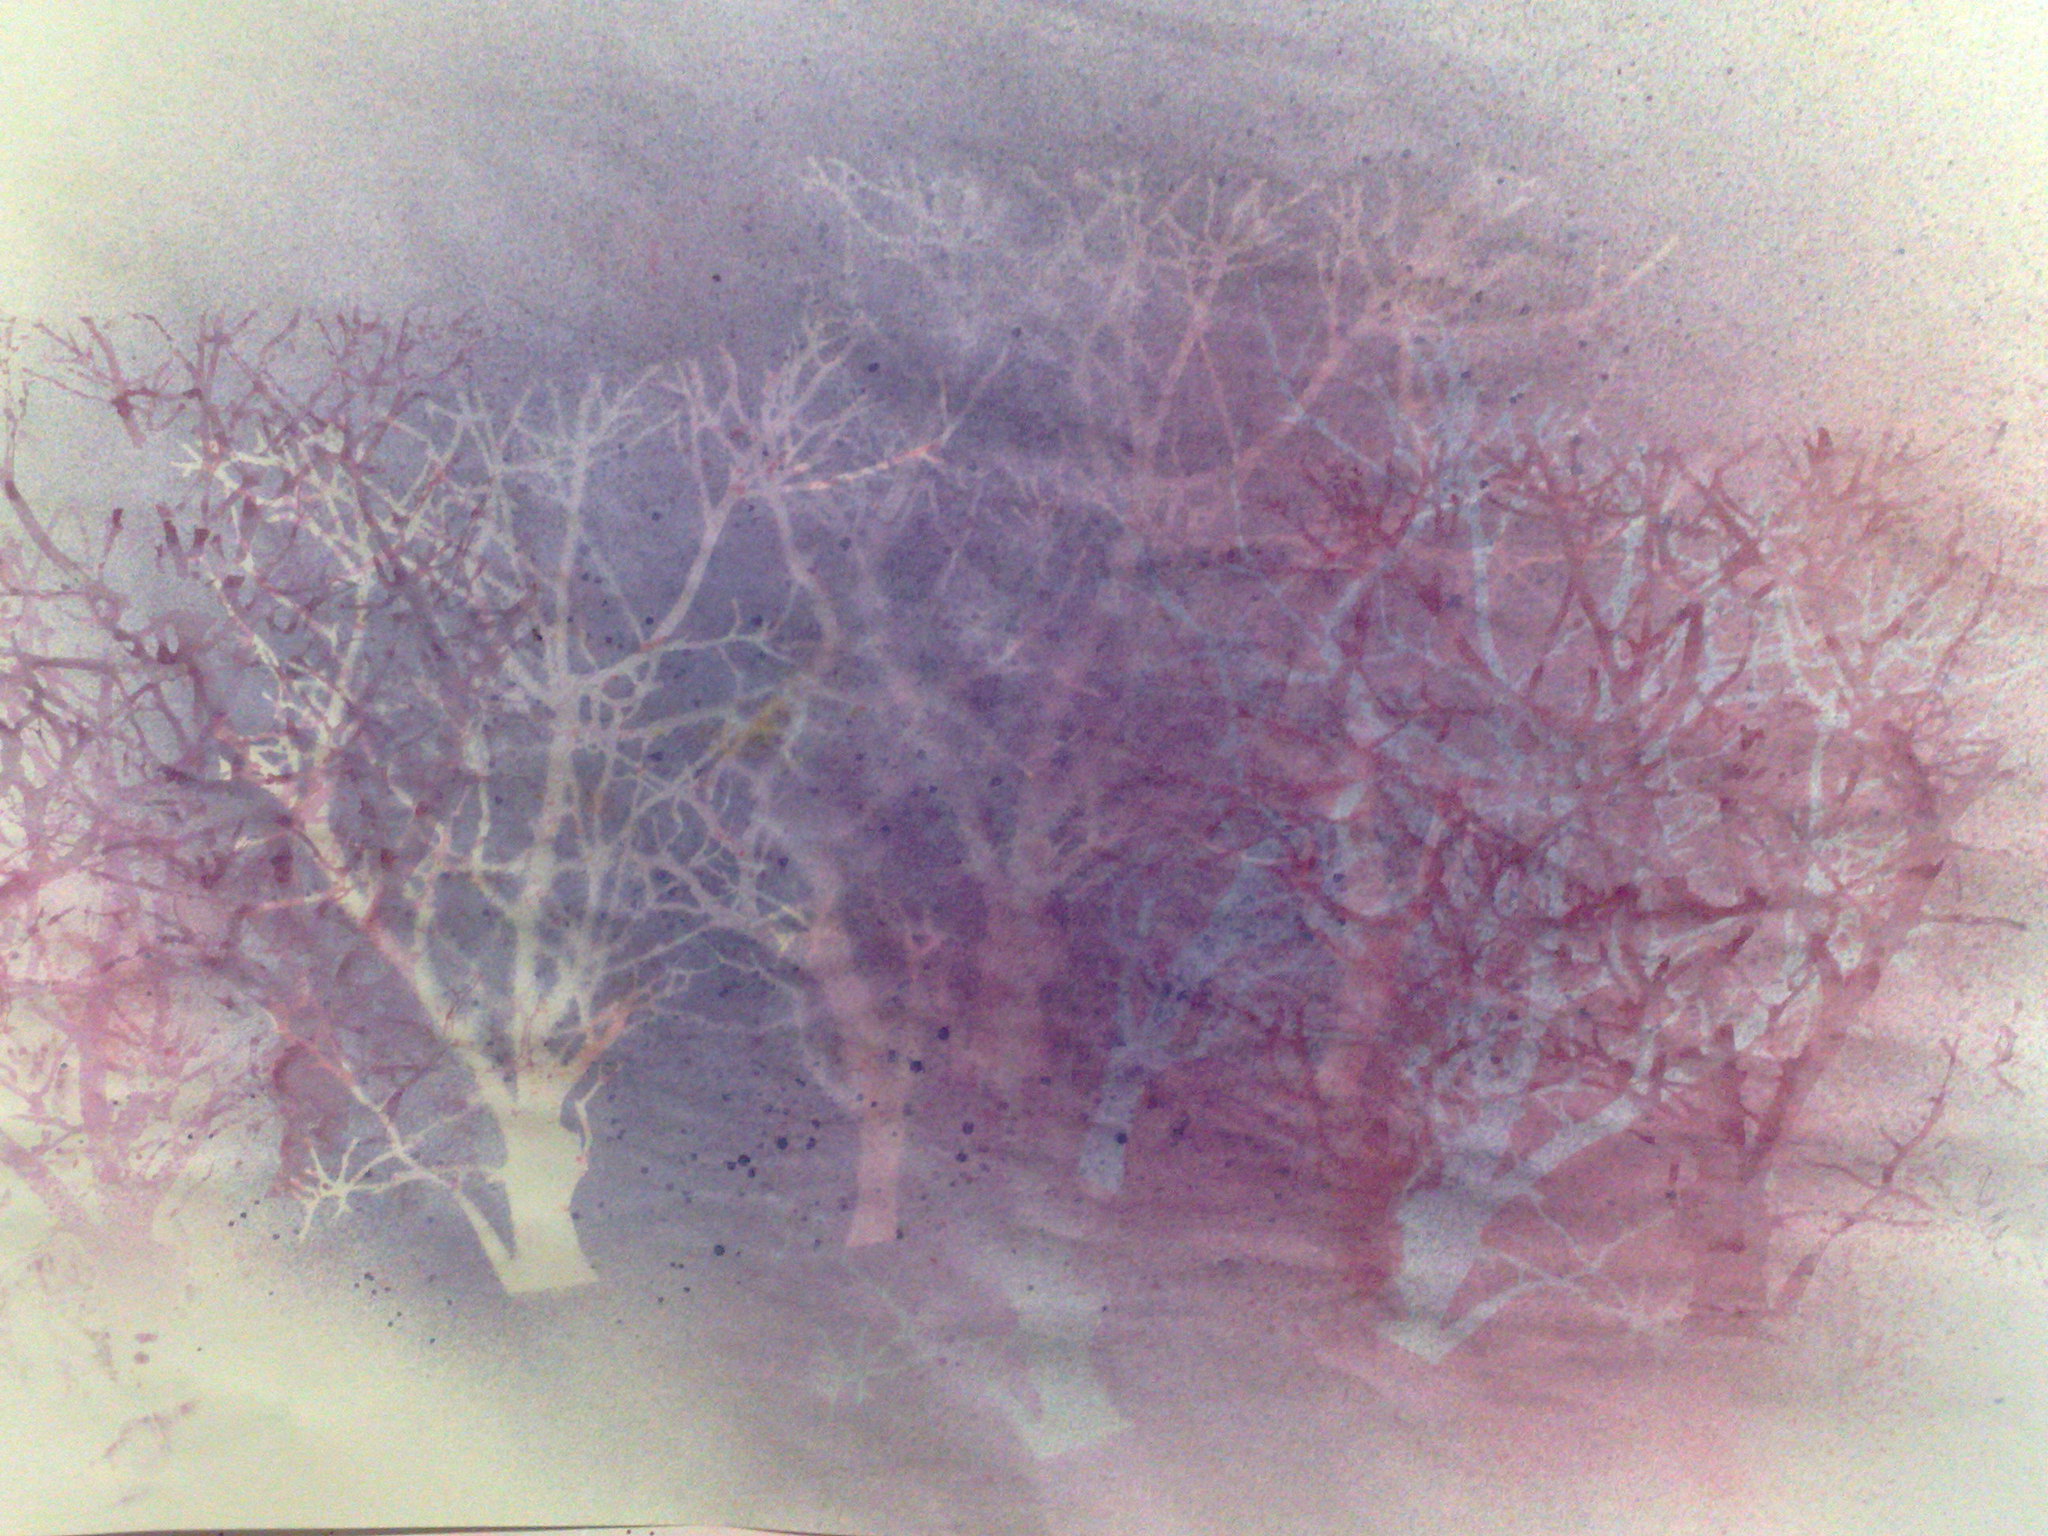
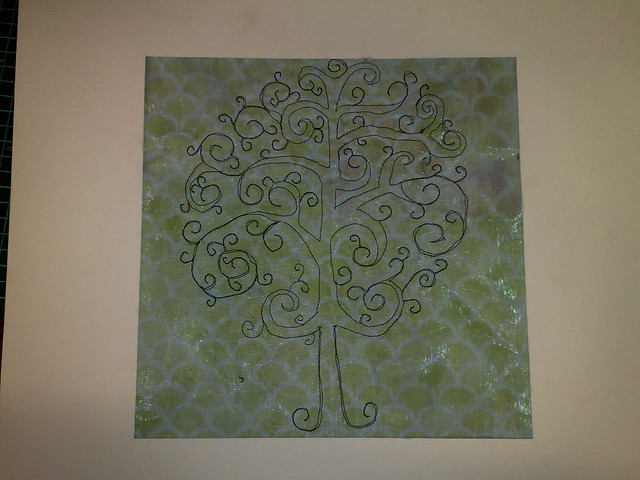
This is a large piece that I did at the end of the class using a tree mask (from crafter's workshop).  The colours look a bit muted here, but it is the most glorious colours in the sun.
This one is without the flash.
A couple of photos showing the layering and the use of masks and stamping.  This scarf/shawl is very appealing to me and I think it will end up on the wall somewhere (if I can ever find the space!).
And lastly-
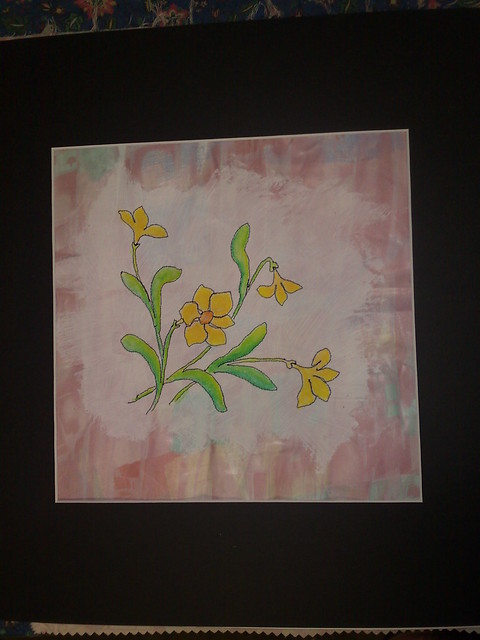
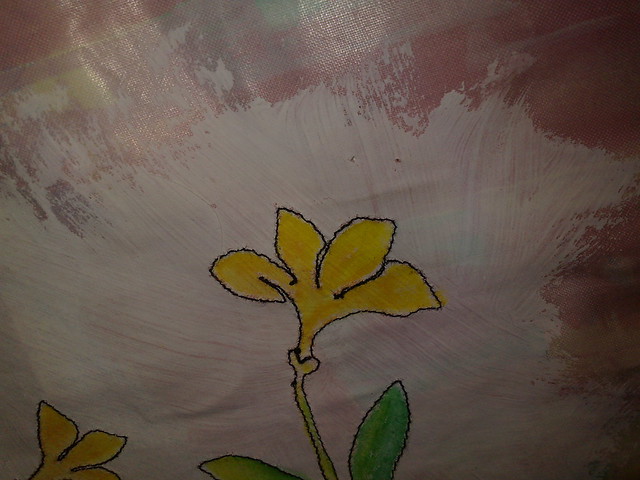
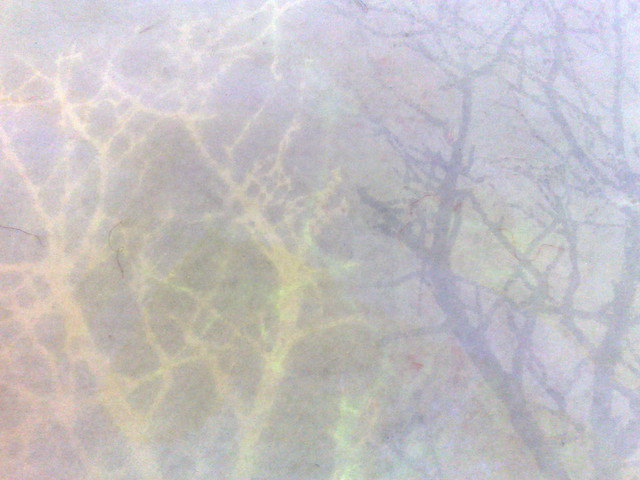
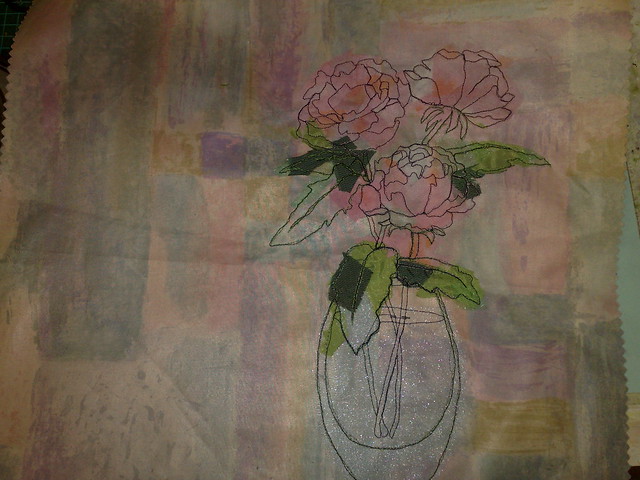
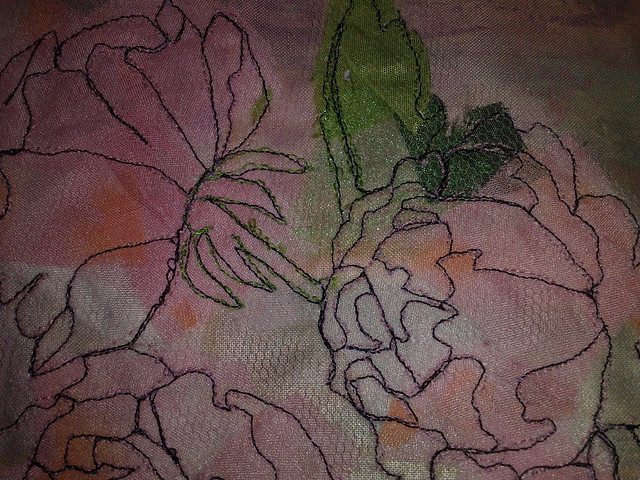
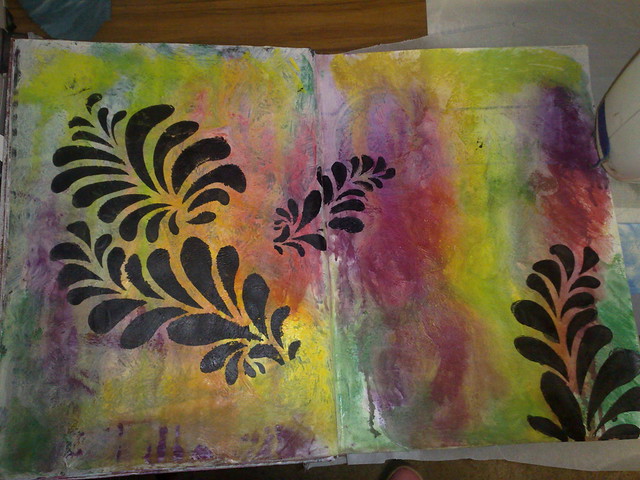
.This gorgeous piece of paper started as my blotting sheet whilst I was making the large piece, but towards the end, I wanted to work on it.  It will certainly be framed! (or I might redo it on some thicker paper, or fabric, or canvas)
You know me, I always love the rubbish at the end of a project and can't throw it out!

Happy creating!


Friday, May 10, 2013

Still thread Sketching

I have been busy doing a lot of reading.  At the moment, I am reading 'Creative Composition and design' by Pat Dews.  It's just my sort of art, based on texture backgrounds.
So, I haven't had much to blog about for a few days, but today I did another thread sketched piece based on   an embroidery design.
This is the design, from the sew beautiful blog.  Again, it is really for hand embroidery, but, hey a design is a design.
here I am, busy sewing it with black thread on organza layered over one of my airbrushed fabrics.
and a close up of my wonky stitching!
Here it is done with a black and a white mat board.  Not sure which I like, but there are a few places I want to add swirls to even it up and I think it needs a few beads to cover up my oopses and perhaps a bit of fabric paint on the trunk?.  I wonder what it would look like using bobbin drawing, mmm, I wonder if I can fit enough thread in the bobbin to do the whole thing, or perhaps do it in two halves just to be safe.
Anyhow, I know I will use this pattern, or something similar again.

create every day


Monday, May 6, 2013

A little bit of free motion

Today, I found an embroidery pattern on pinterest that I liked.
I decided to do a collage using it.  I have to remember to get back into step by steps, but here is how it turned out.
I used a piece of pastel furnishing fabric that seemed to  speak to me.  I added some scraps of chiffon and organza approximately where I thought the flowers, leaves and vase were.  I actually just placed the photocopy over the top and stitched through it.  This is really easy with simple line drawings  but it was a bit difficult to pick out all the paper with this one.  An hour or two later, I decided that the pink and green thread I had used was too pale and unable to be seen and that I needed tulle to hold all the bits down since the stitching was not dense, so I went over all of it with black.
Here are a few close ups.
It really did not take too long and I think it turned out ok.  I will do it again, though, perhaps use water soluble stabiliser or sew through the paper from the back.

I also did a few bits and pieces in my journals
Feathers again, needs a bit more work with black and white gel pens.
My stencils smudged a bit on this one but it's still pretty, needs a bit more.  I tend to work on my pages in several stages.  These are just the first stages.  I usually leave these until I get some inspiration to develop them further.
This one is cute, but needs a lot more defining.  The background is one I did months ago and is almost the last page in that journal - wow!

Tomorrow is my 'away from home 'till late day, so I will be back in a day or two.  Thanks to all of you for looking, it does help me to keep going and make art every day.

make art every day!

Sunday, May 5, 2013

bobbin drawing

Today I did a little bobbin drawing on one of my small landscape collages.
This collage has been sitting on my table for a while.  It has a little free motion on it, but I was sitting thinking about putting grass on and thinking it would be more textural to handstitch, when I thought about bobbin drawing.  Mostly, I don't do bobbin drawing because I hate winding the bobbins, but as I was winding some bobbinfil, I thought about a hand dyed green thread which I had wound on a spool and thought that I could use the bobbin winder with it.  So I did.
Here is the wound bobbin in the bobbin case (I actually took this picture after I had finished, so the bobbin is a little empty).
You will need to adjust the tension in the bobbin case by  loosening the screw.  Turning it left or clockwise will loosen it.  I had to go several turns, since I had previously had bobbin fil in the bobbin.
You need to loosen it so that if you hold it by the thread and jerk it, it will fall a little way, but not all the way to the tabletop.
Obviously, when you are bobbin drawing, you are free machining from the back, so you need a reference to tell you where to stitch.
I used the bottom of the work as a reference, so that the 'grass' would be at the bottom.  I just used a green rayon thread in the top.
I pulled the bobbin thread to the top (back) of the work at the start and the finish.  It is much easier to tidy it up that way.
And here's a close up of the finished 'grass'.  It is very thick and textural and I think it looks better than handstitching!

create every day!