Showing posts with label fabric paint. Show all posts

Friday, May 23, 2014

Butterflies

I really enjoyed the painting I did on fabric recently, so I thought I'd do some more.  I saw some butterflies yesterday and thought, well let's do one then.
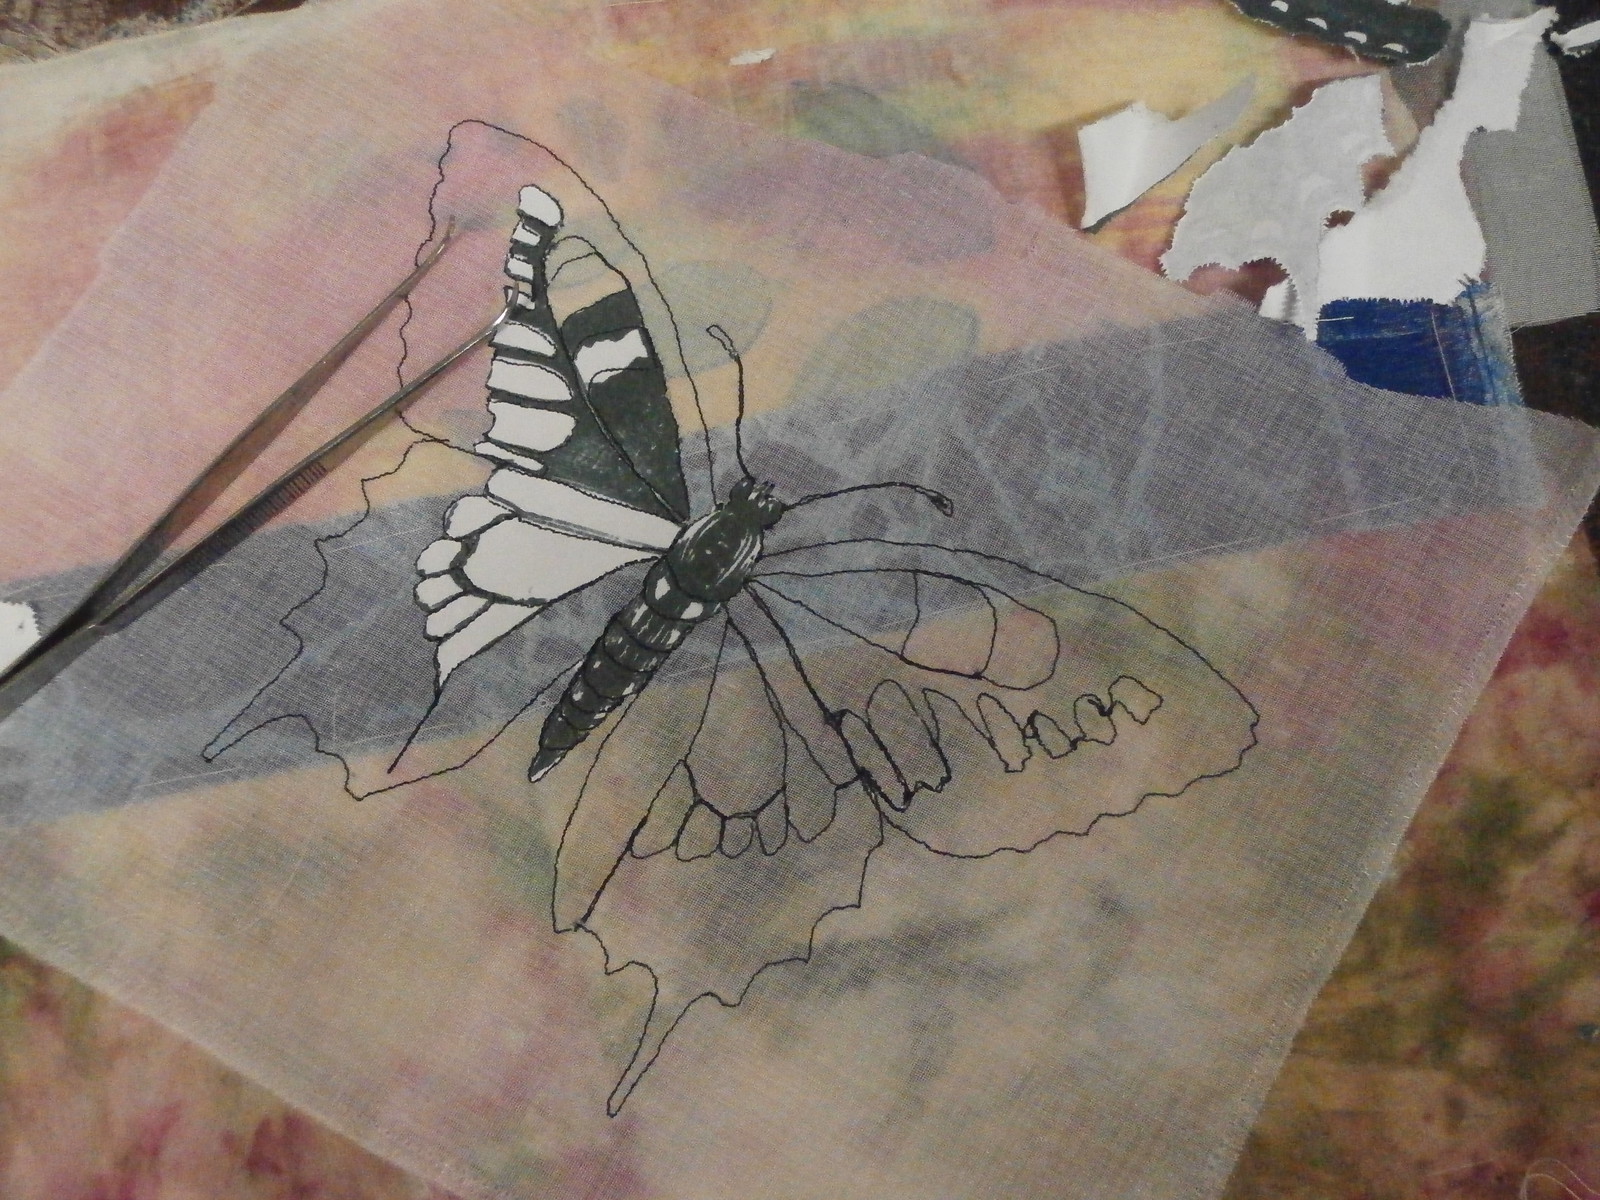
I used a photocopy of a dover picture to start me off and free motioned the outlines through the paper onto one of my collages.
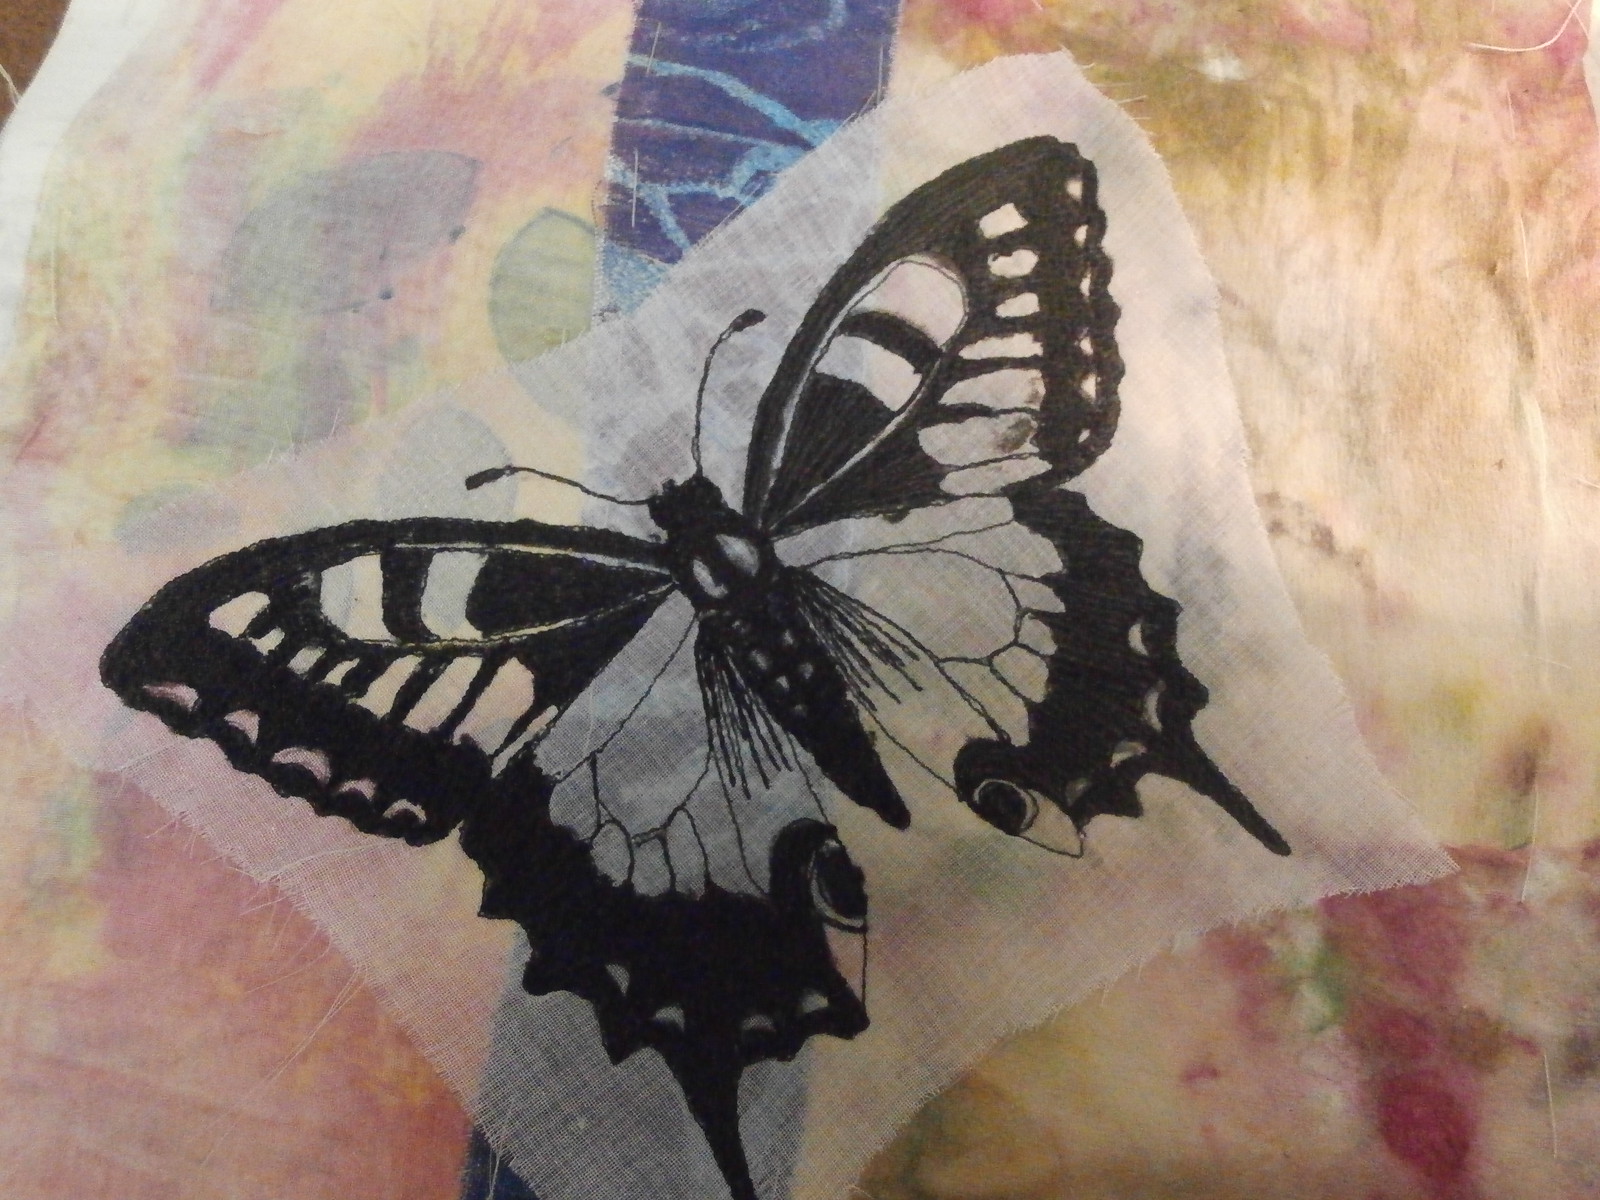
I didn't think to take photos until I was nearly finished picking the paper away.  This is a technique that I have shown before, but really, I just sew the main lines of a picture through a paper laid over the fabric, basically tracing with a sewing machine.  You can see above there are still bits of the photocopy on the left wing, and when the paper is picked out (which is quite easy so long as you only stitch the main lines) you only have your stitched lines.  Some of the picked out paper is at the top right.
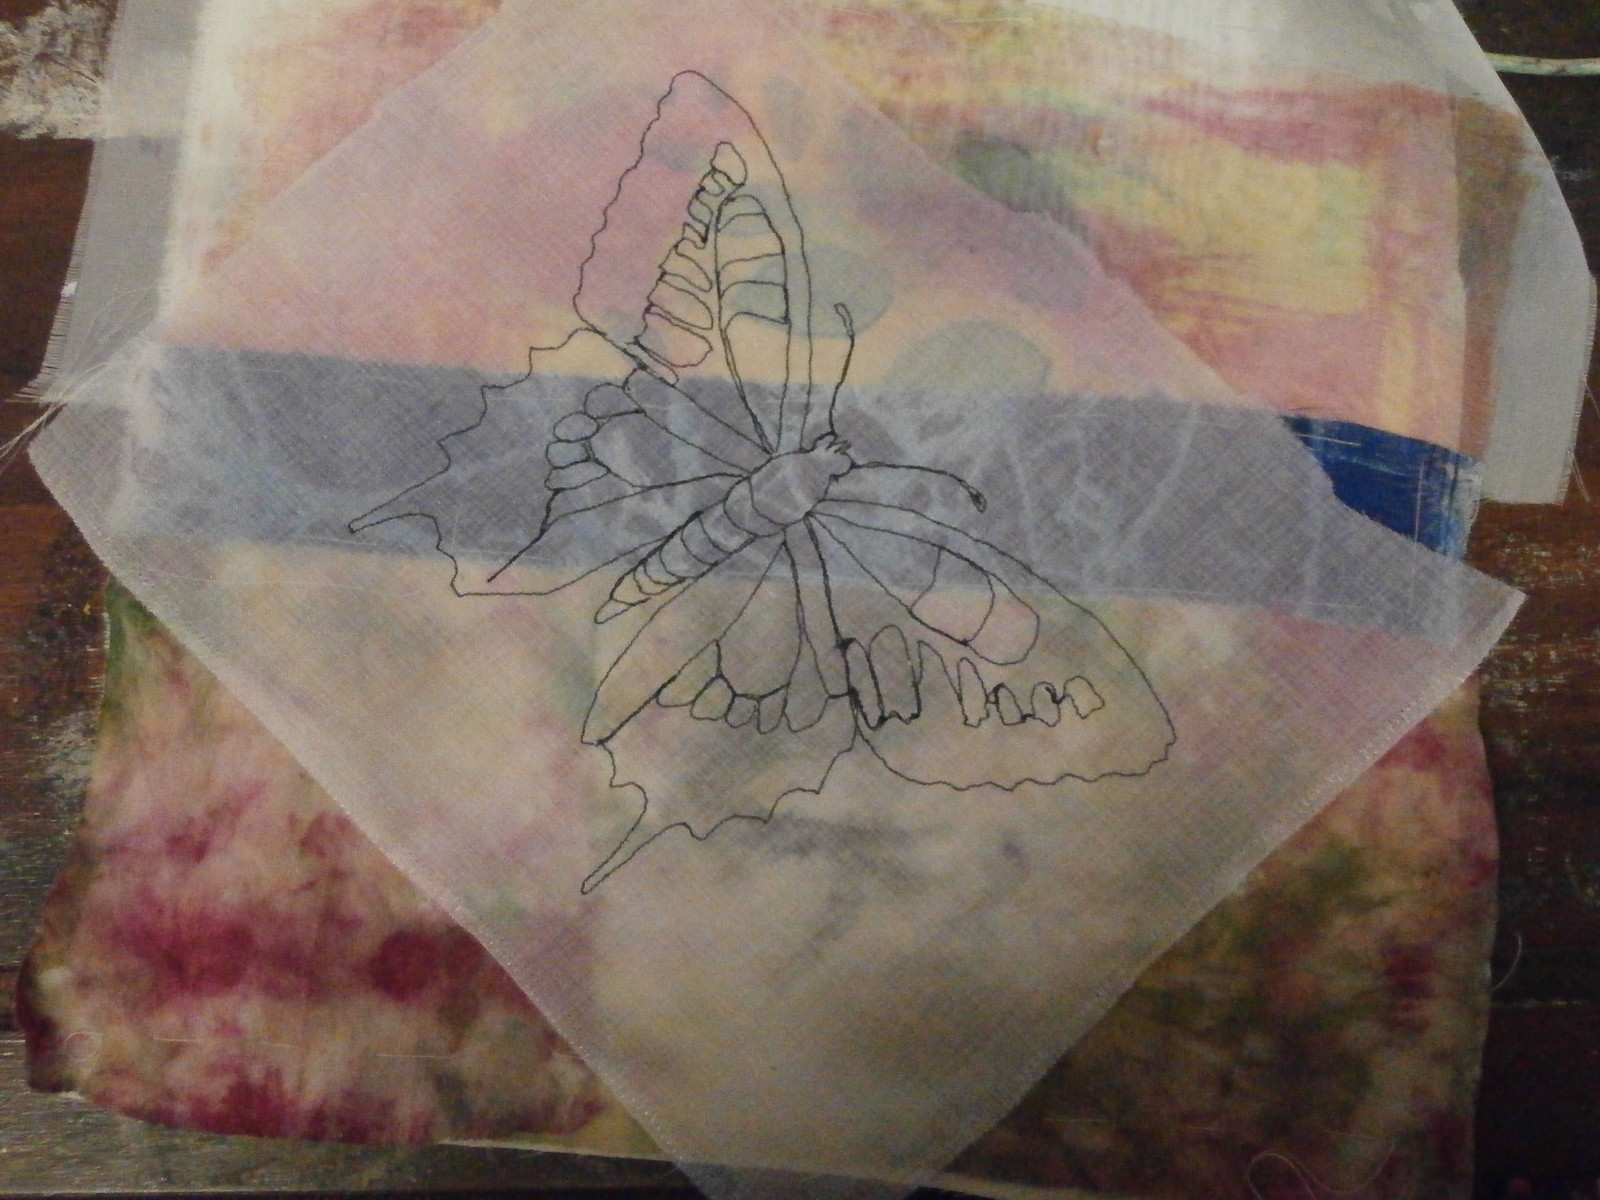
Here are just the lines of stitching left.  I used a piece of voile over the collage, so the surface of the butterfly would be even for painting.
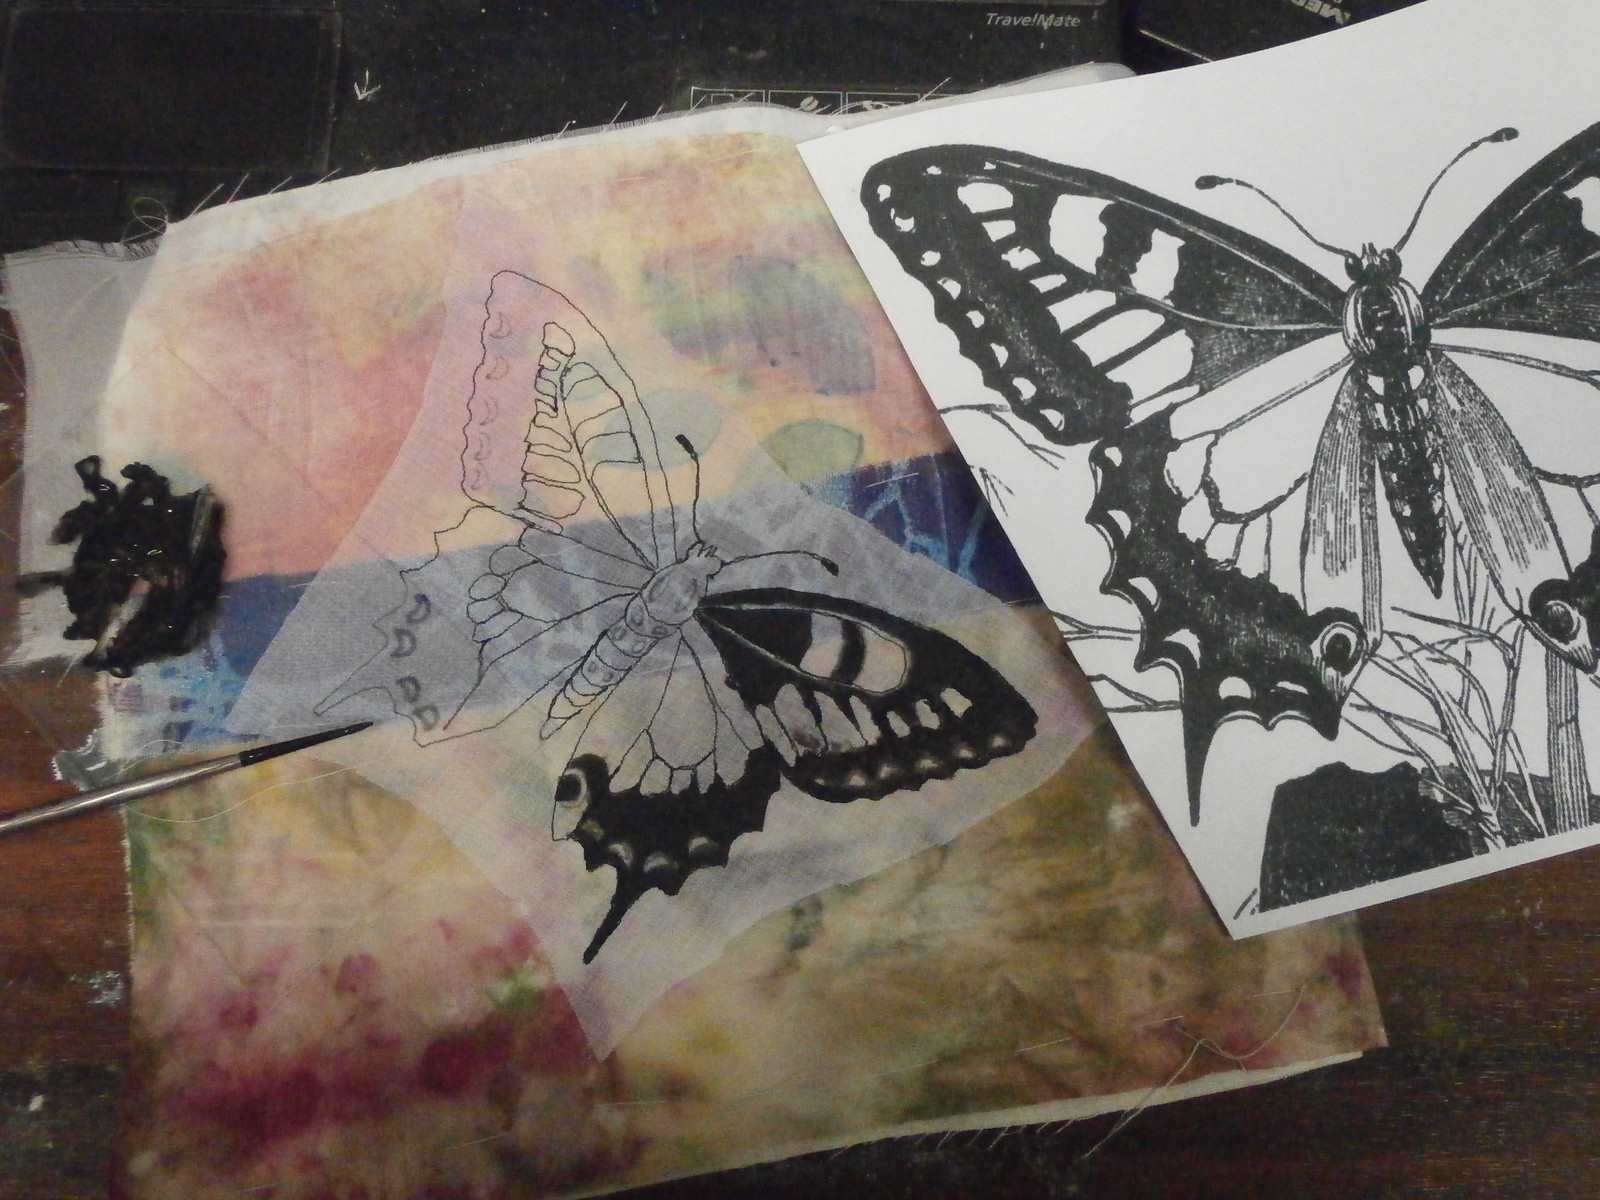
Here, you can see I am painting the black areas with acrylic paint.  Don't worry, the paint and brush are sitting on some clear perspex, not on my work!
I have finished all the black here and it is a bit messy, but all my mistakes will soon be covered up.
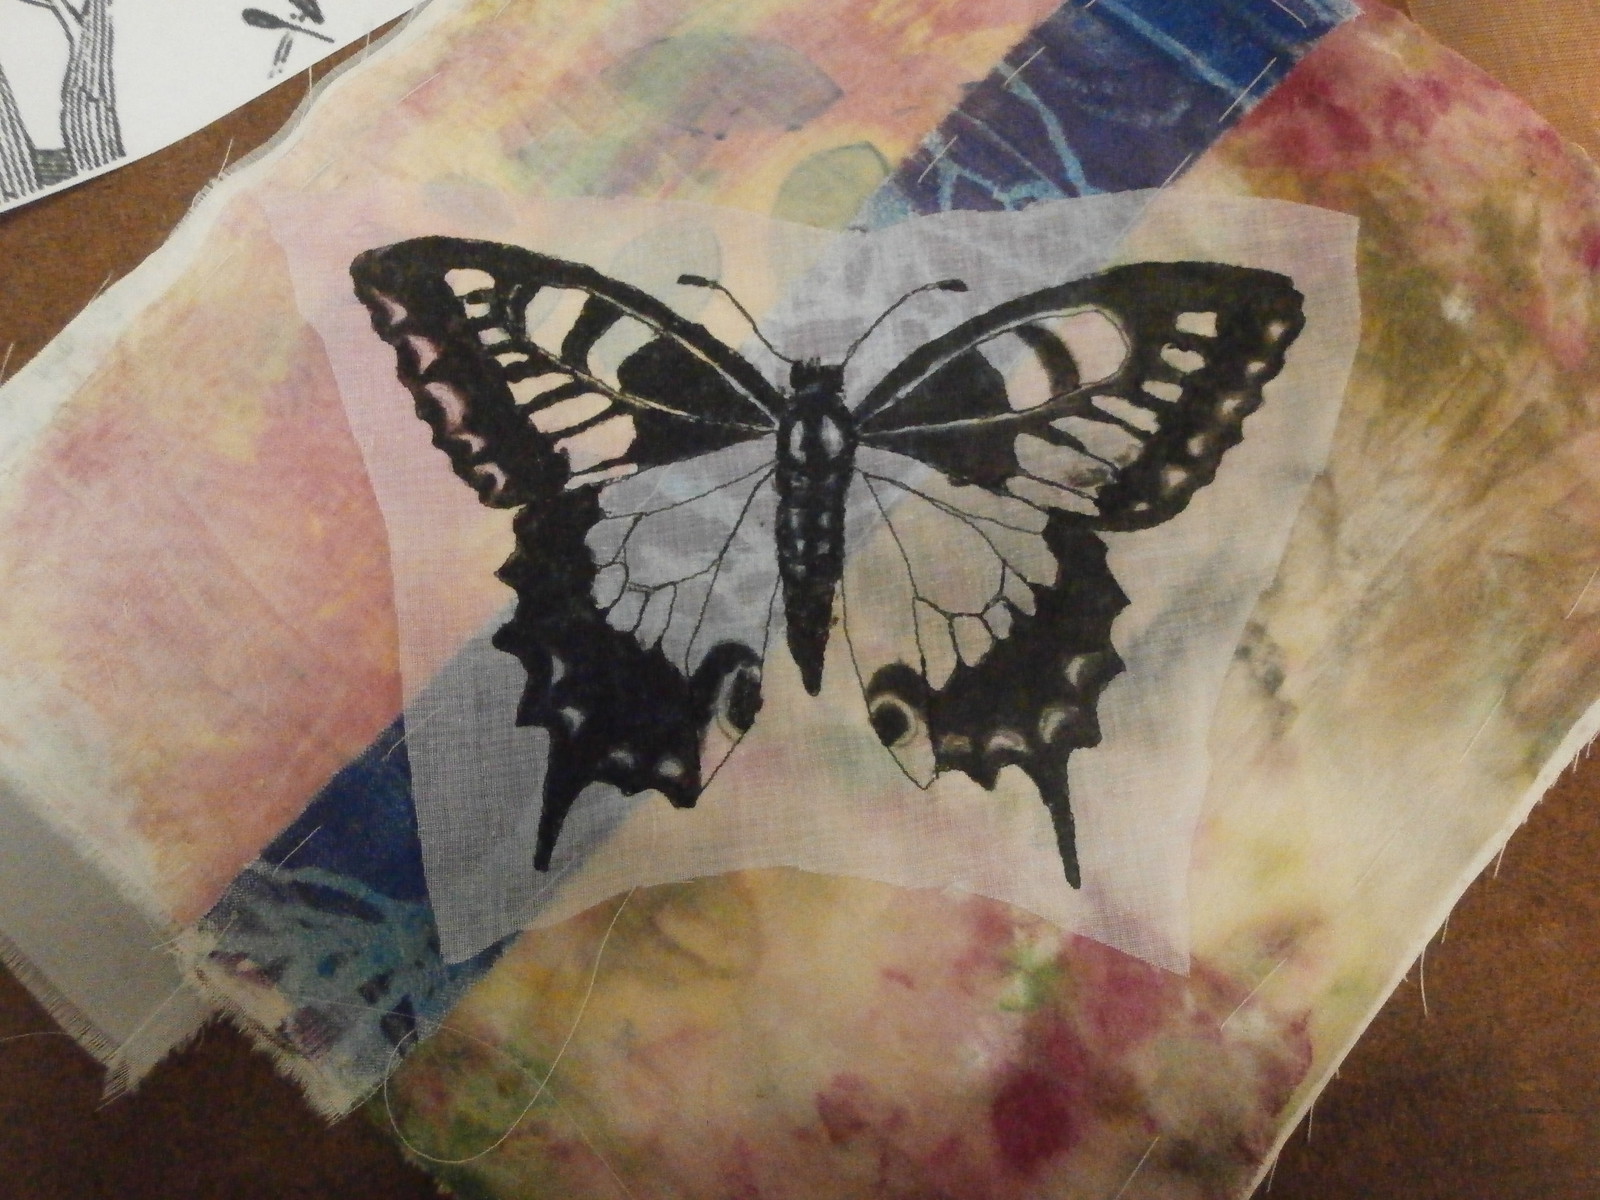
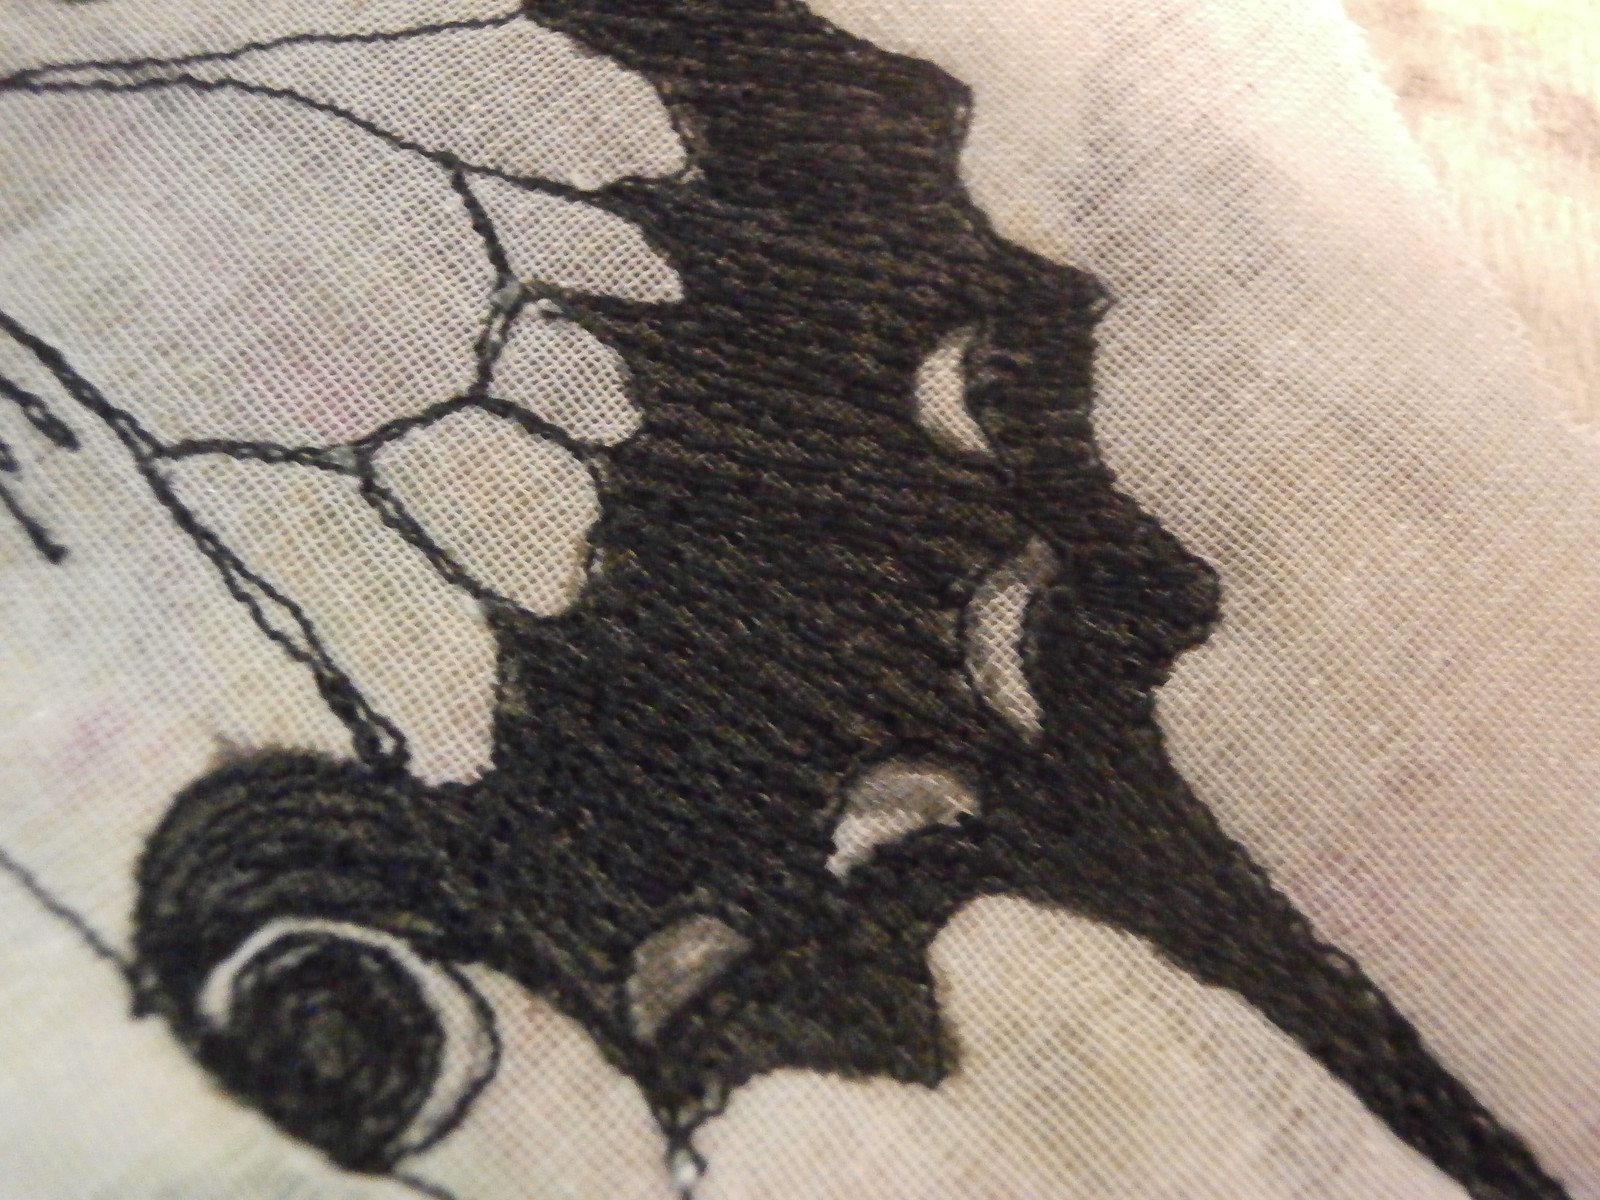
Here, I have taken it back to the sewing machine and covered the black with stitching.
I painted it black, so I didn't have to do so much stitching to cover it.
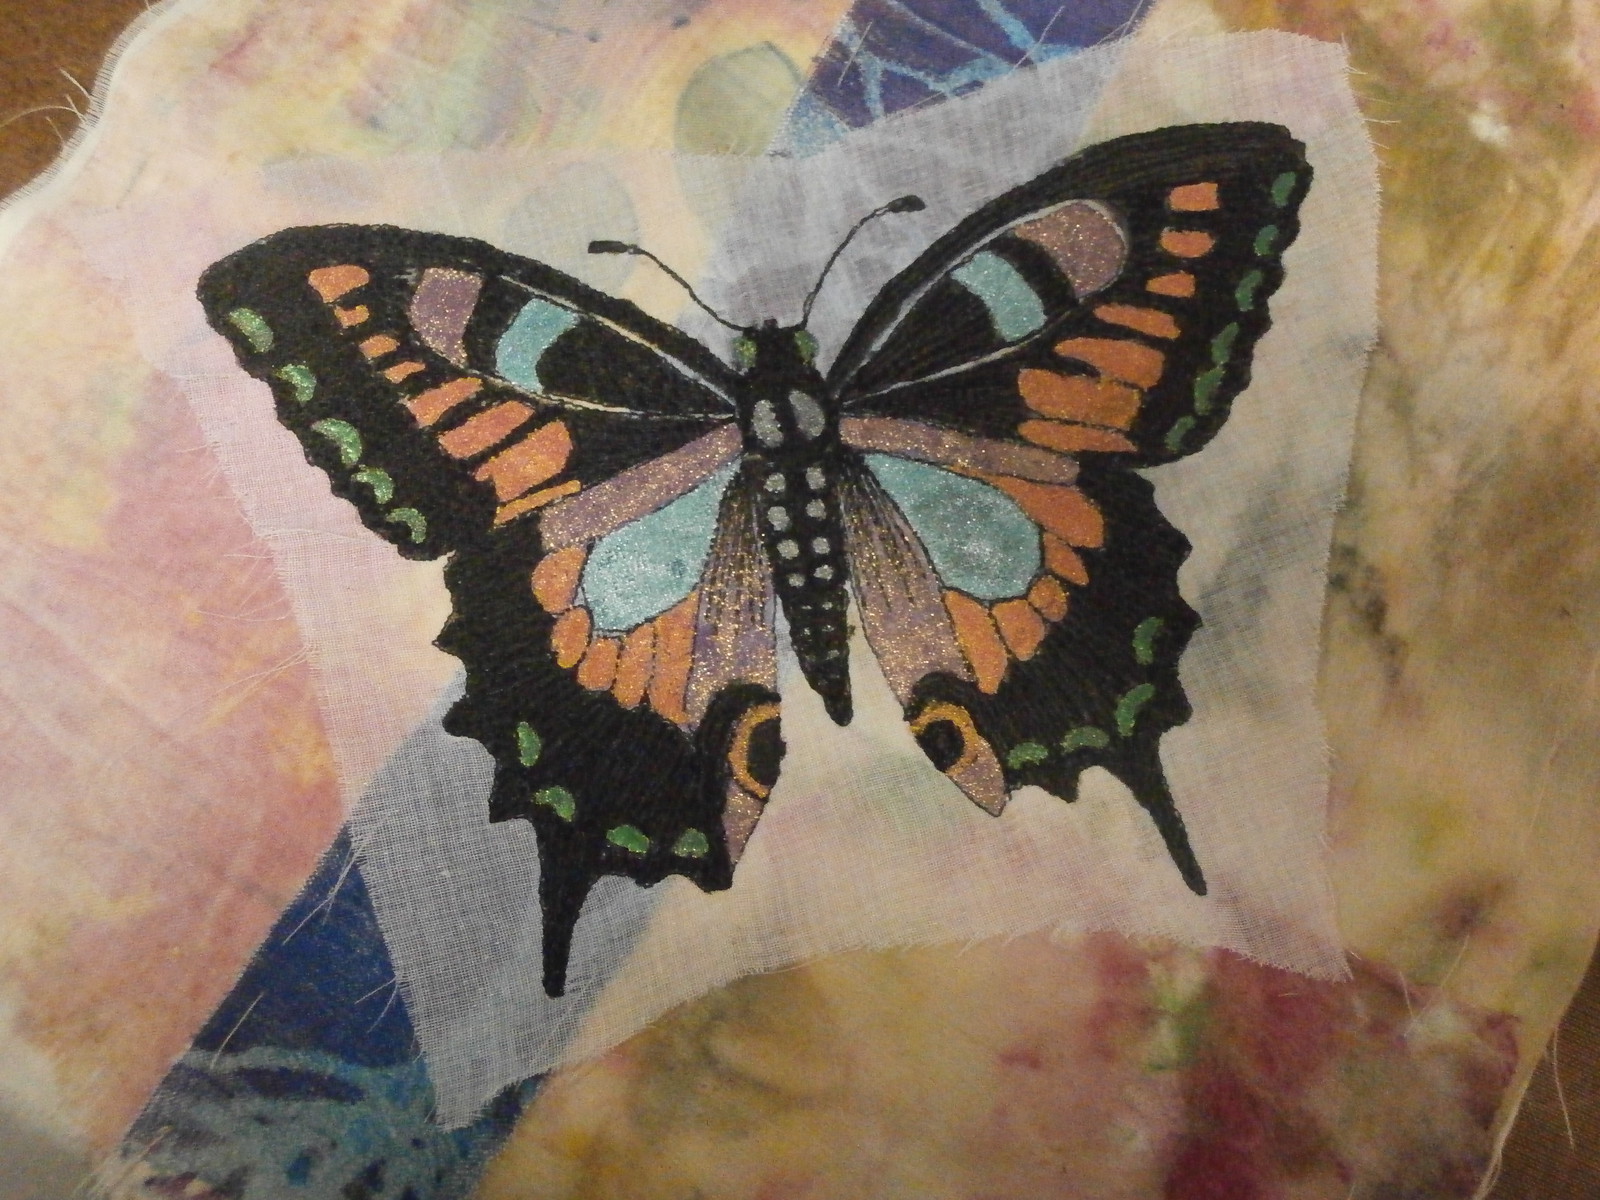
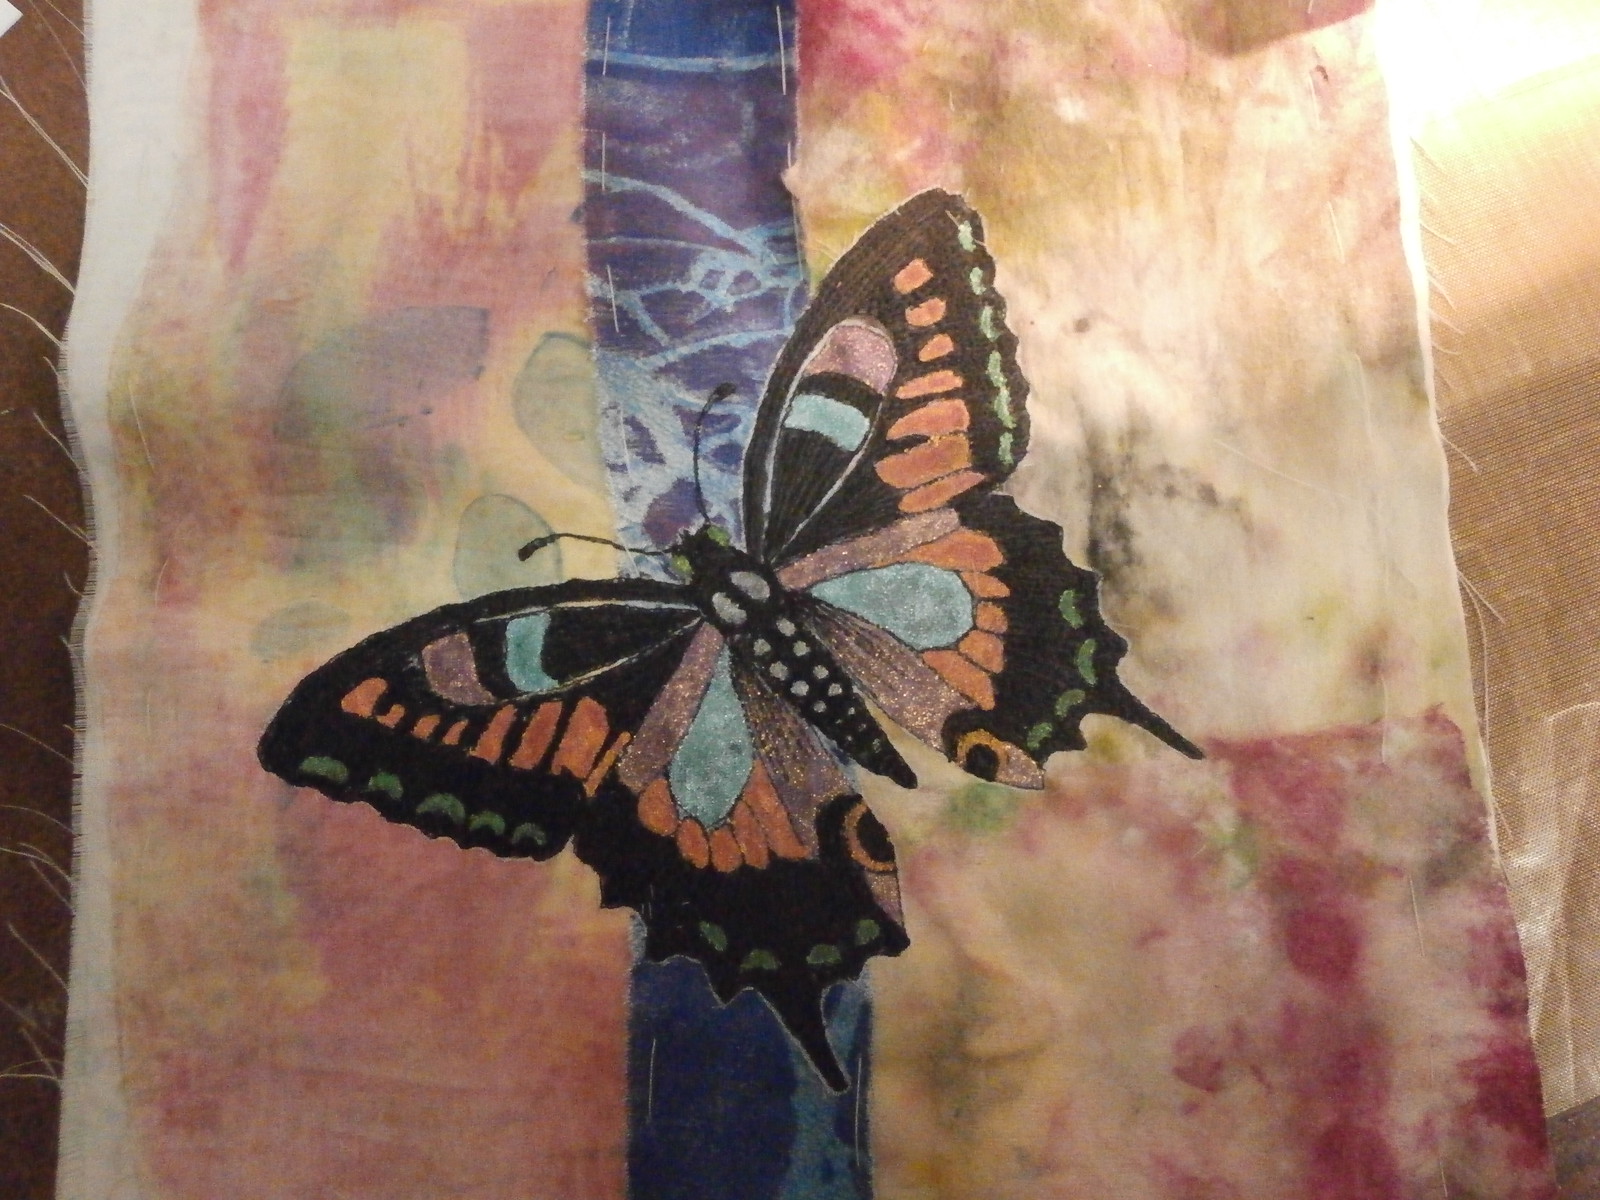
then I went and painted all the white patches (Which are actually white in real life) with some metallic paints.
Finally, I cut away the voile and I also went and added a bit more stitch, too, but I don't seem to have a picture and since it took me over an hour to upload these because the internet is playing up (as it always does when it rains), you will have to wait until I finish the hand stitching on the background for that.
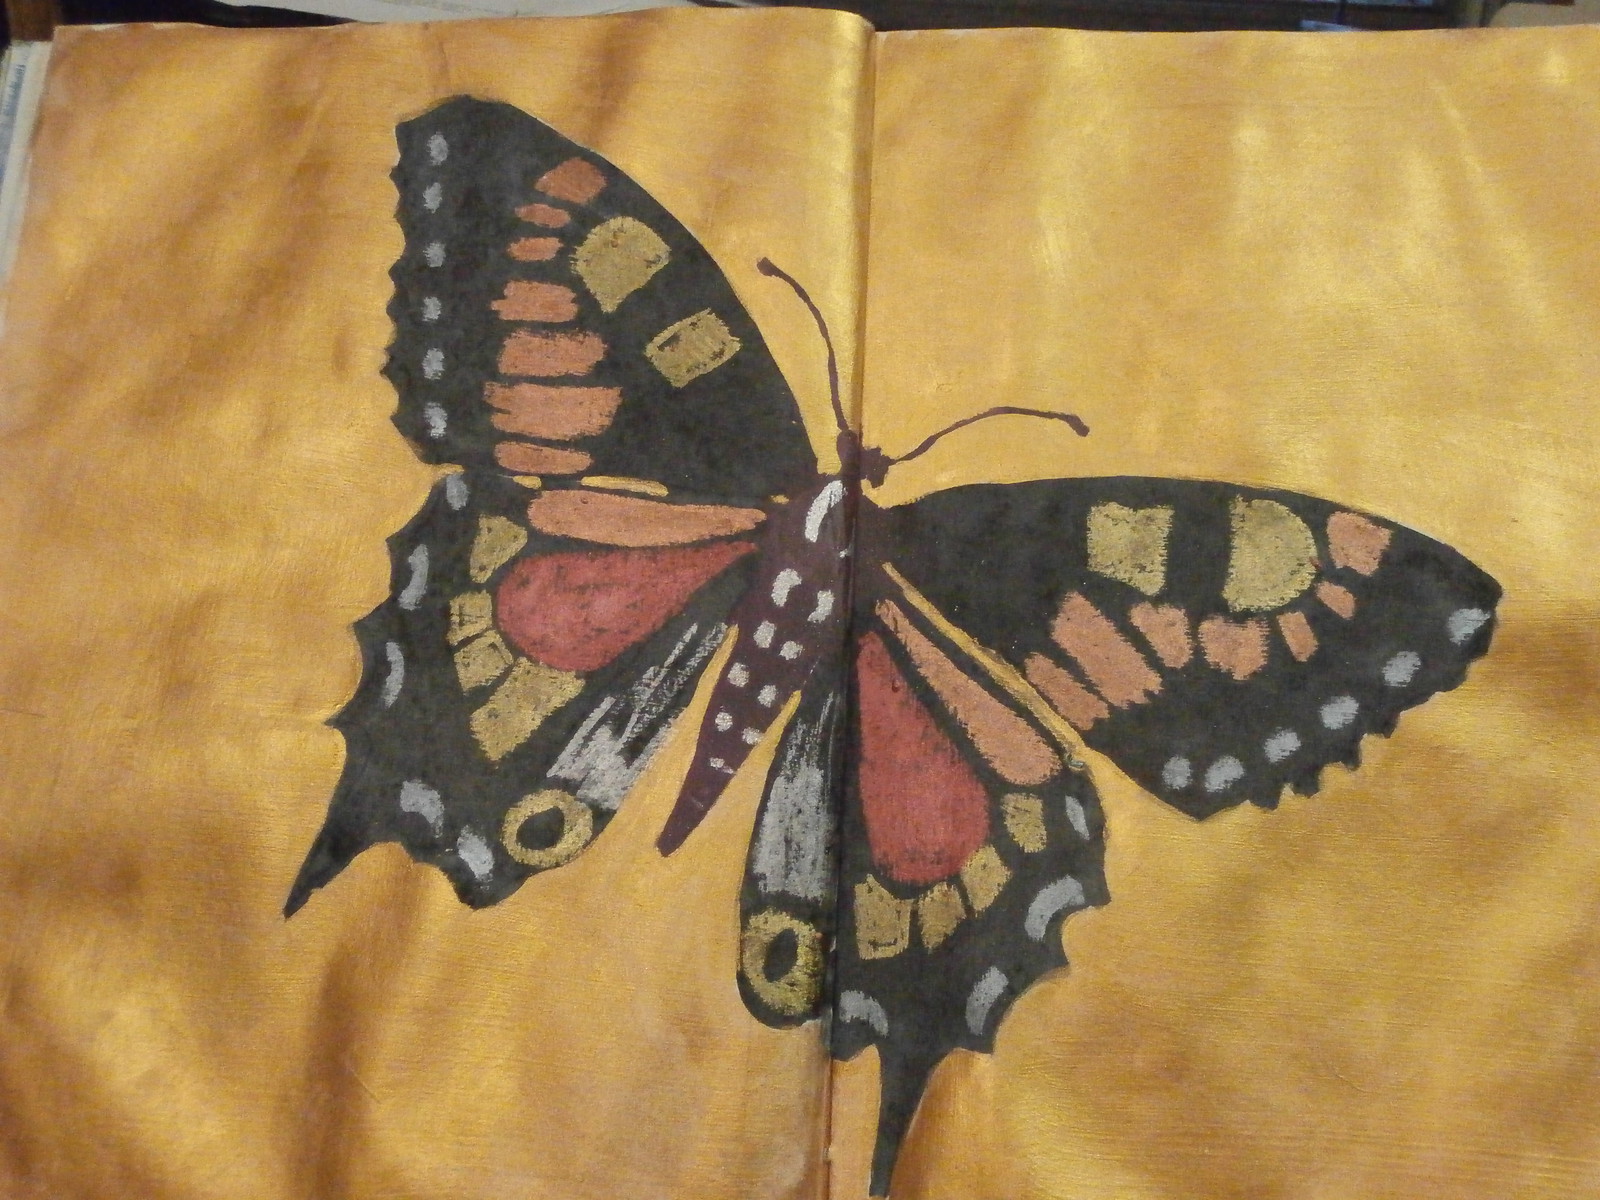
Serendipity also, that today's design matters TV video (need to subscribe to watch, but really worth it) was also on butterflies, so I also did one of these in my sketchbook!
Hope you enjoyed the butterflies!

Happy Creating!

Thursday, May 22, 2014

Some doodling

I found it very hard to get started this morning and one of the things I have done to solve this problem, is that earlier in the year, I made a number of fabric collages (about a hundred), so when I have no idea what to do, I can just grab one and play with it.
This morning I chose a monoprint on some curtain voile, which has been sitting in my pile for a while.
The monoprint was very simple, just green, with leaves drawn with a palette knife.  (And as per usual for me I had forgotten to photograph it before I started)
The first thing I did was use some green thread to scribble the zig zags inside the leaves.  Then I got some orange and drew loops in the background.  I felt that the zig zags did not show up well, so I painted them with a turquoise metallic lumiere paint.
It is a bit quirky, but I will make it up into something, a wallet or a couple of credit card cases, perhaps.  It is about 8 inches square.  Any ideas?


Happy Creating!

Sunday, May 12, 2013

Scarf workshop

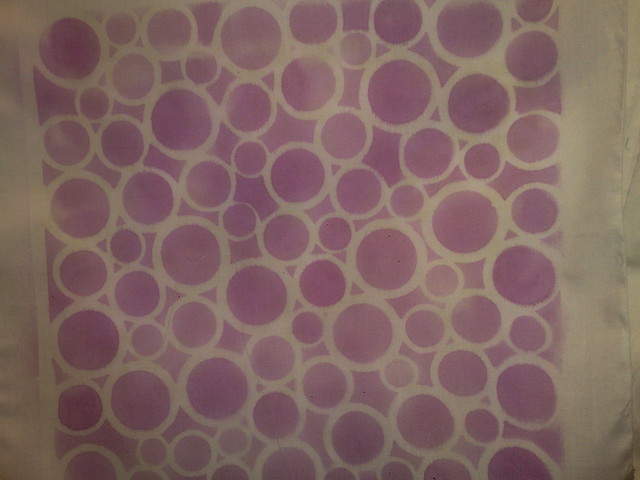
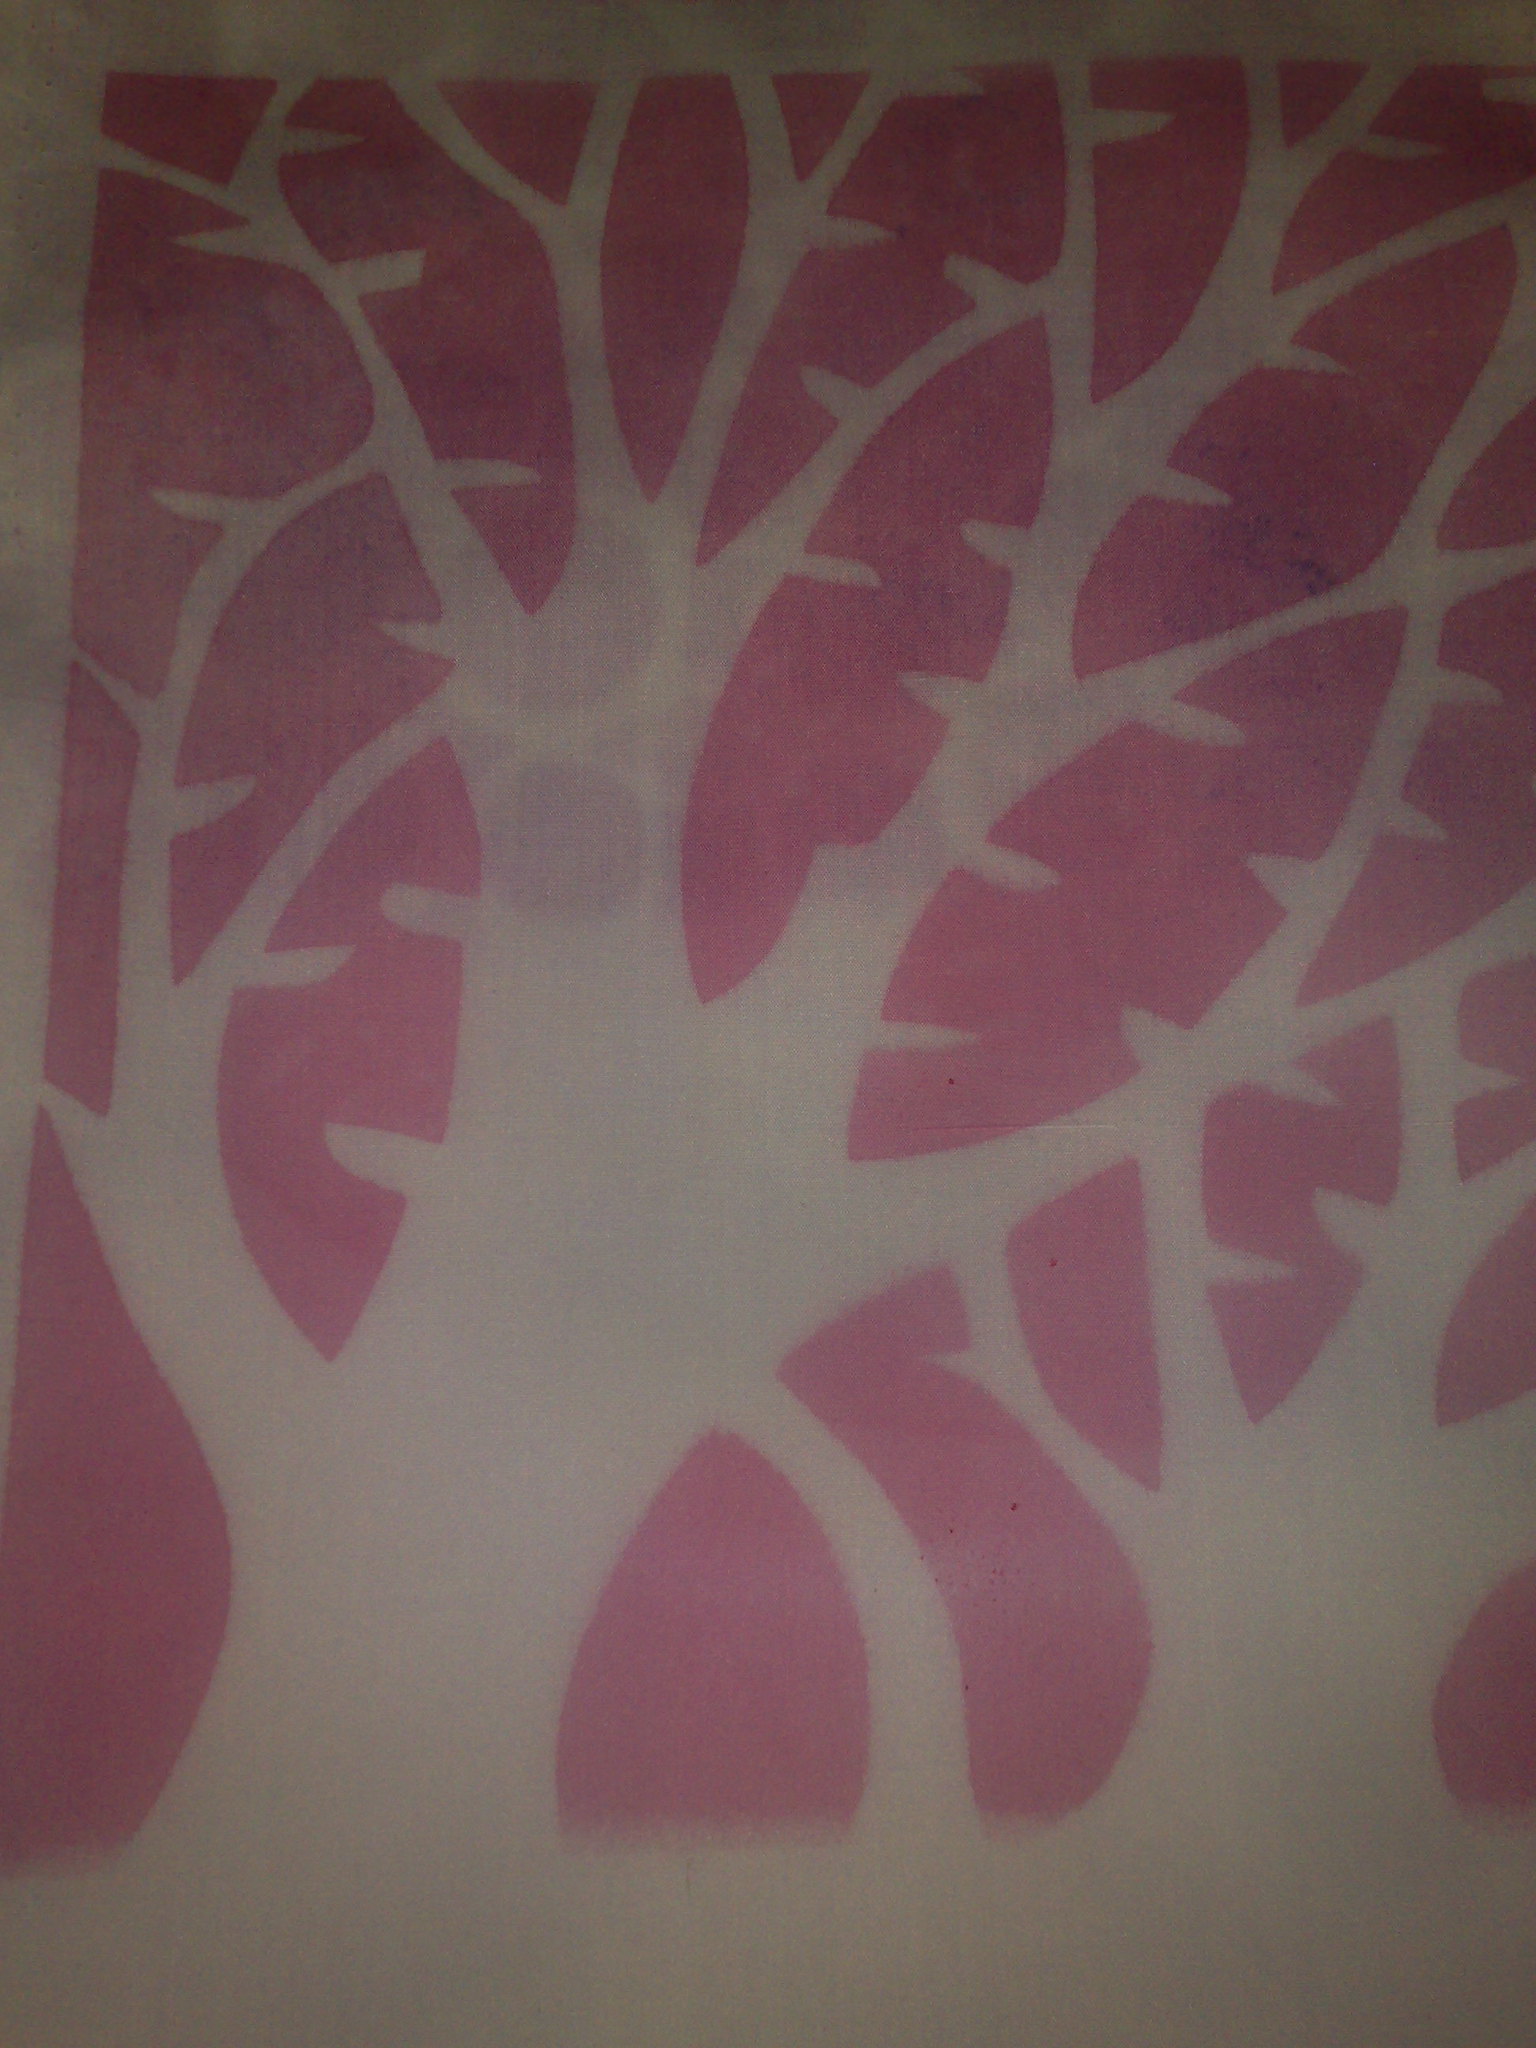
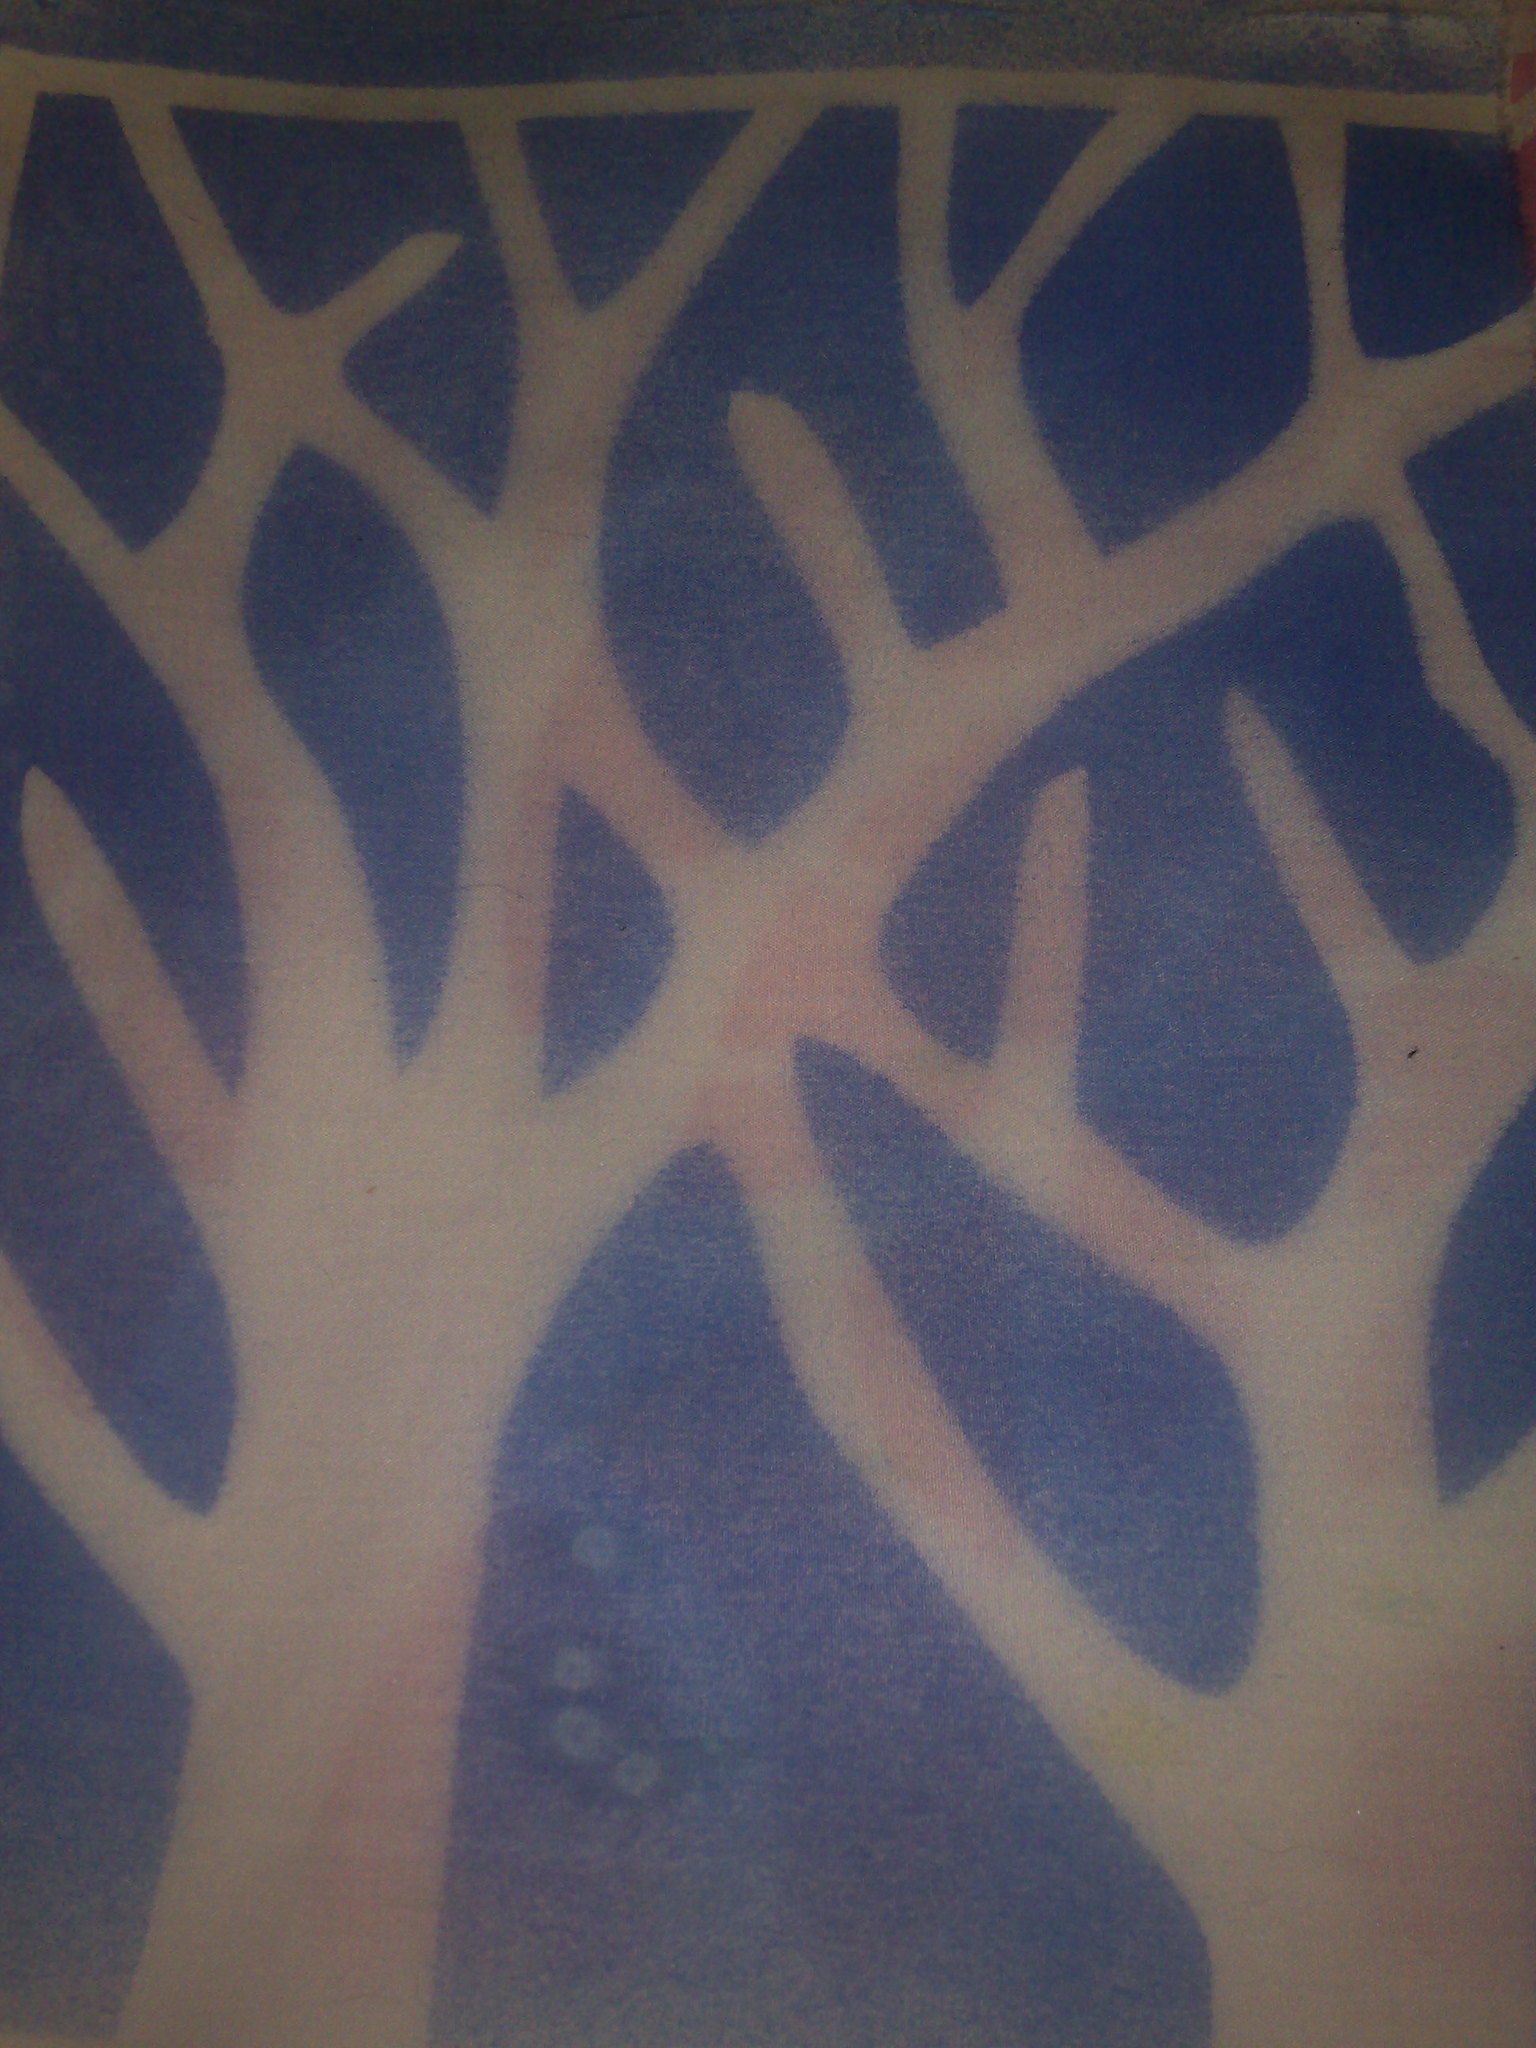
Yesterday I taught a painted scarf workshop at the community house.  Unfortunately for me, I had a few technical issues in the beginning, but we got on well and made lots.  We used fabric paint diluted in spray bottles to spray around masks and also stamped with the sprayed masks.  The fabric was a variety of chiffons, organzas and voiles, very transparent fabrics, which makes the pictures a little difficult to see, but the colour is glorious in reality.
Here are two I made during the class.  The top one uses feathers (cut from card and coated with resin) and the bottom one uses leaves from the gorgeous autumn maples just out in the courtyard.
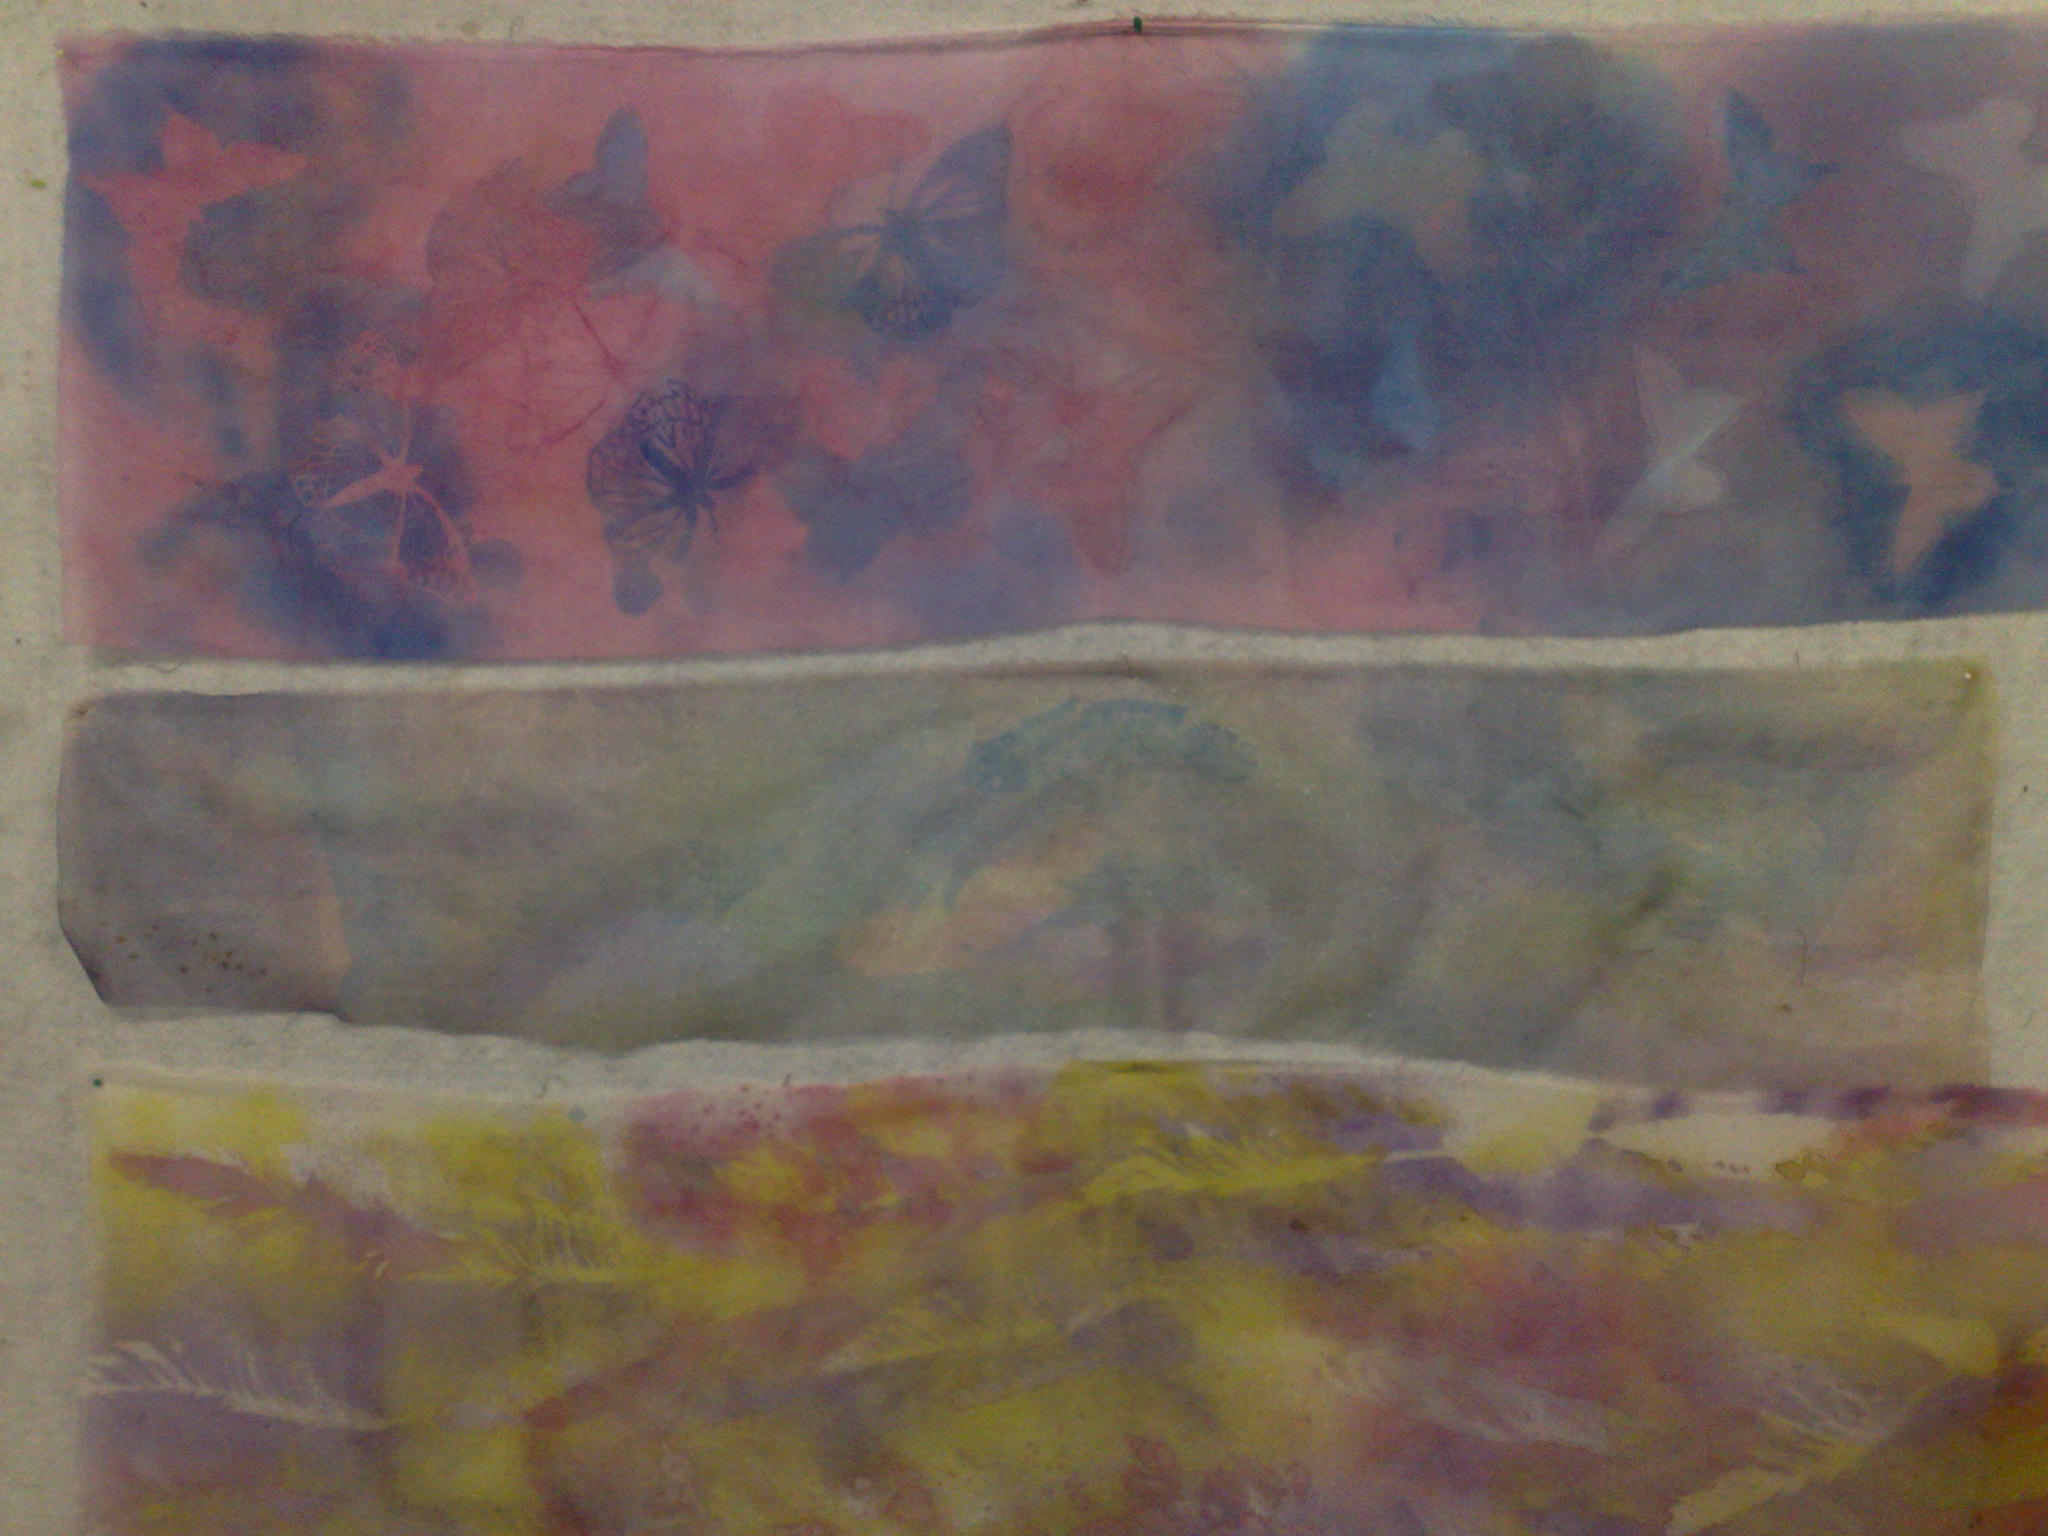
The top one here is a student's work, using acetate butterfly masks, she got lots of depth, but we discussed why she didn't like it and came to the conclusion that the first yellow layer is very important, although you can't see it until the end, as it modifies all the colours and gives more depth.  The middle one is a piece of organza, and although it is colourful, and looks very pearlescent in the sunlight, it did not hold the stamps and masks well due to the open weave and thinness of the fabric.  The bottom one was mt class sample, which I did with an airbrush, a real feather and diluted acrylics.  It is much more vibrant, due to the paint, but the hand of the fabric is altered, so it's a choice to make.  Also the fabric used is also an important thing.  It doesn't matter whether it is cotton, silk, or synthetic, but the density of the weave makes a big difference.
Here's a close up of the butterflies on the top/student's scarf.  On the left is a mask, where the butterfly is the background colour with blue around it and on the right is a stamp of the same mask.  It was simply turned over and stamped using the paint which was on the top.  I love the delicacy of this mask.
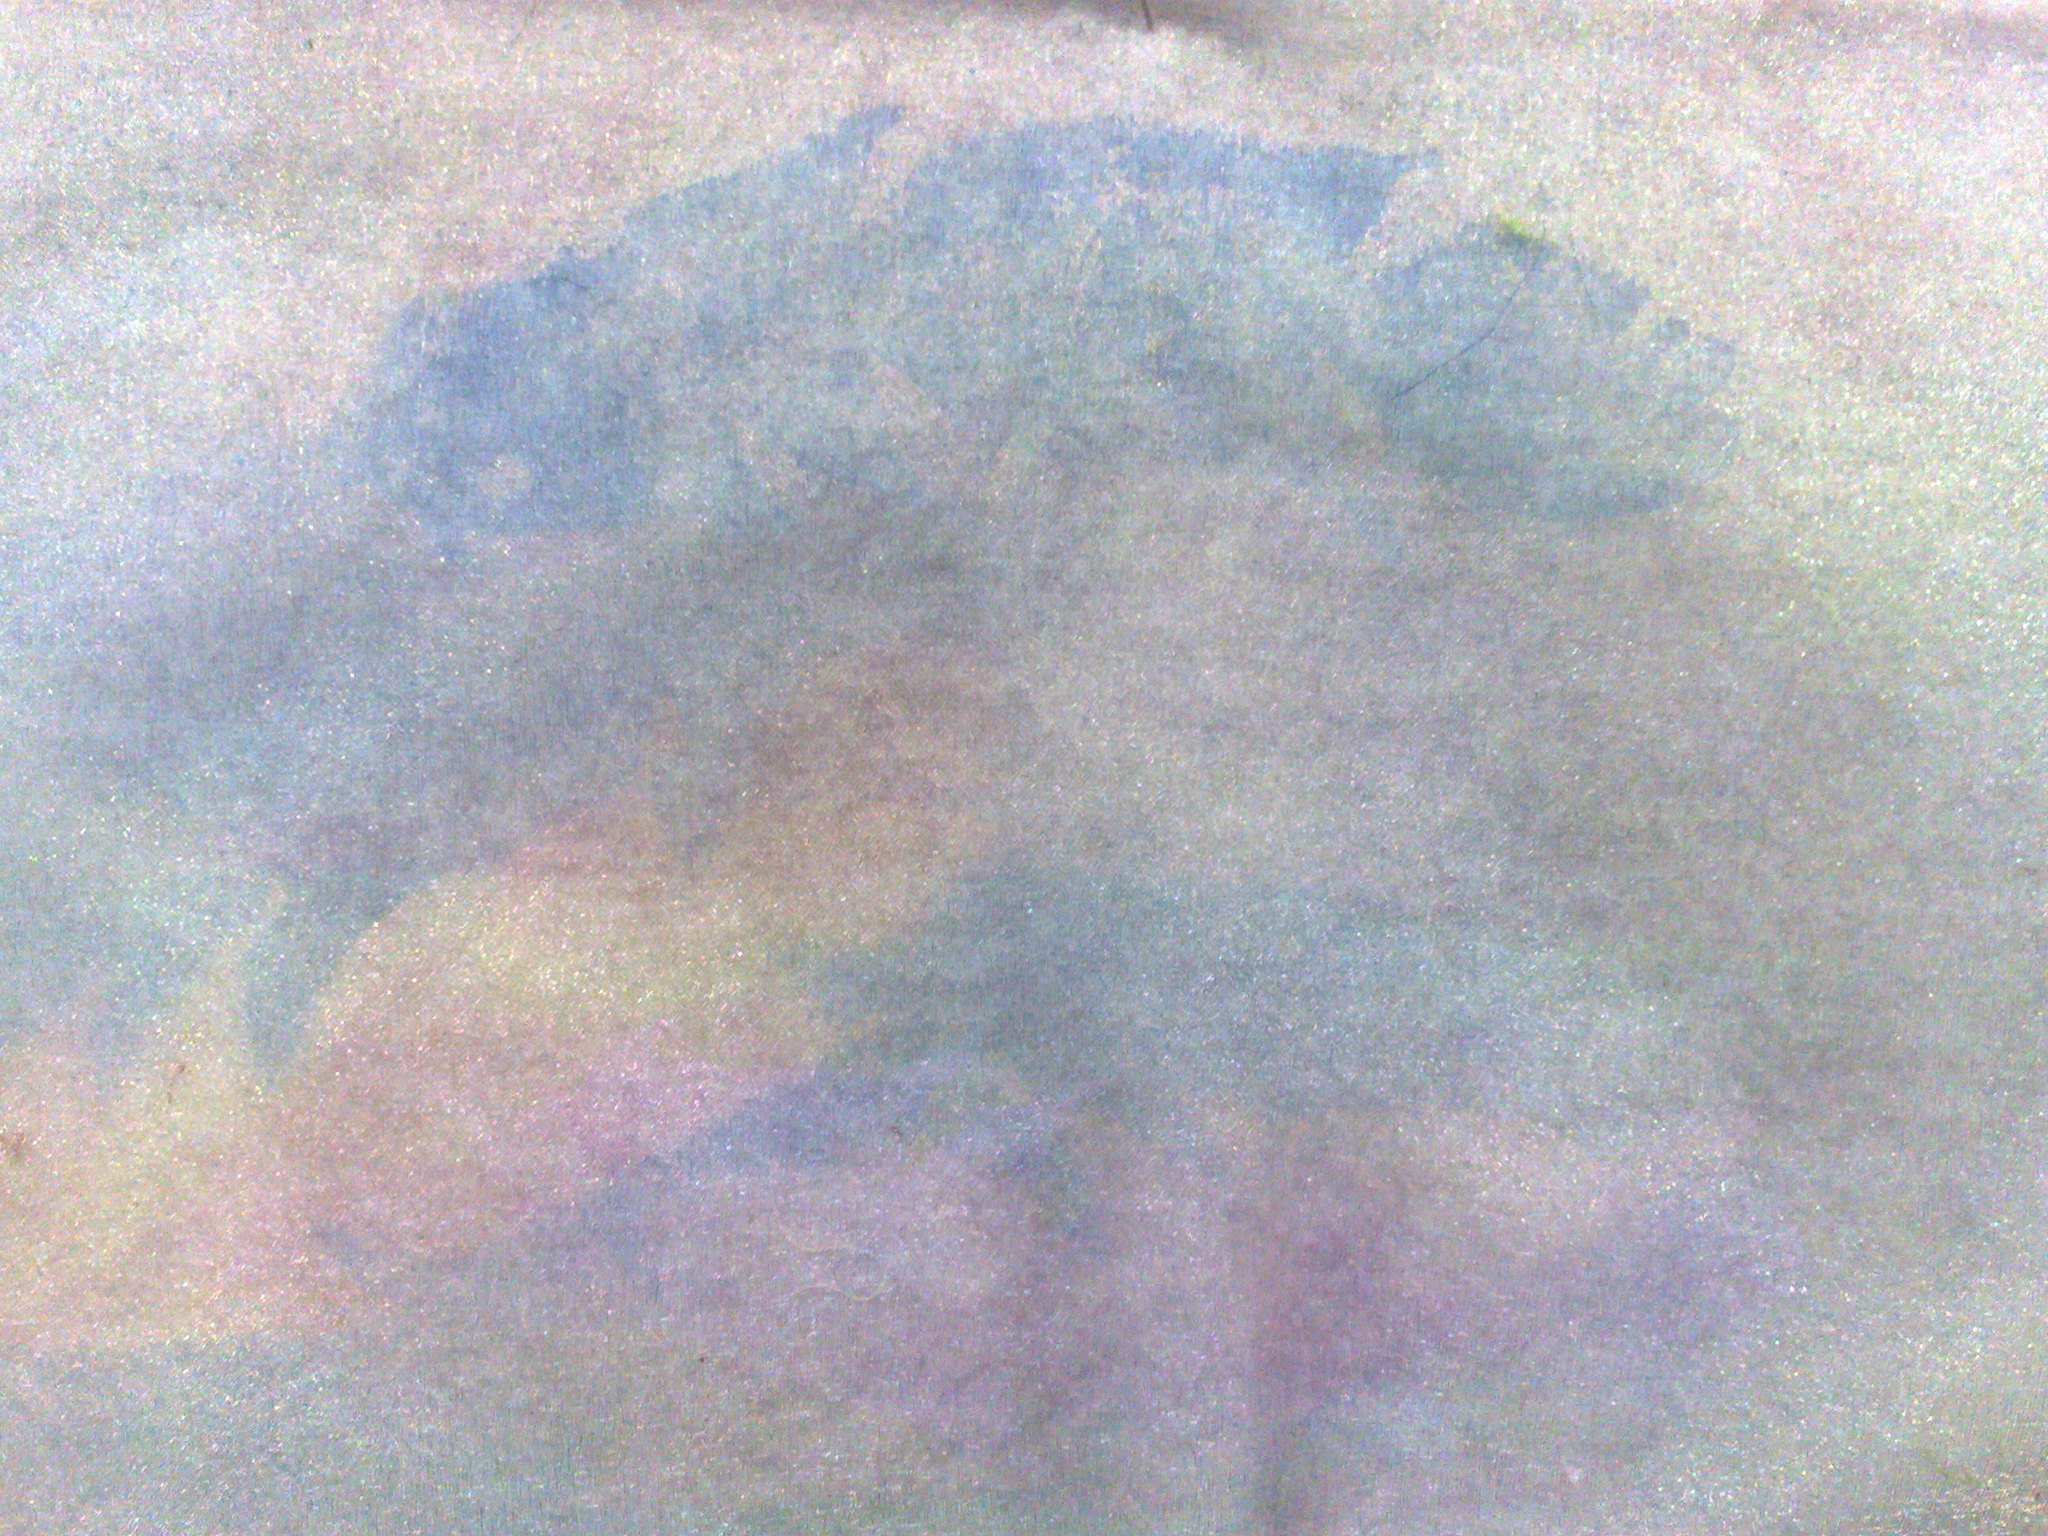
Here's a close up of the middle/organza piece.  As you can see, the edges are not clear.  They actually are clear, but because most of the paint goes through the fabric, the contrast is not high enough.  You would get a better effect with a slightly thicker paint, however the nozzle of the spray would clog, and the hand of the fabric would alter.
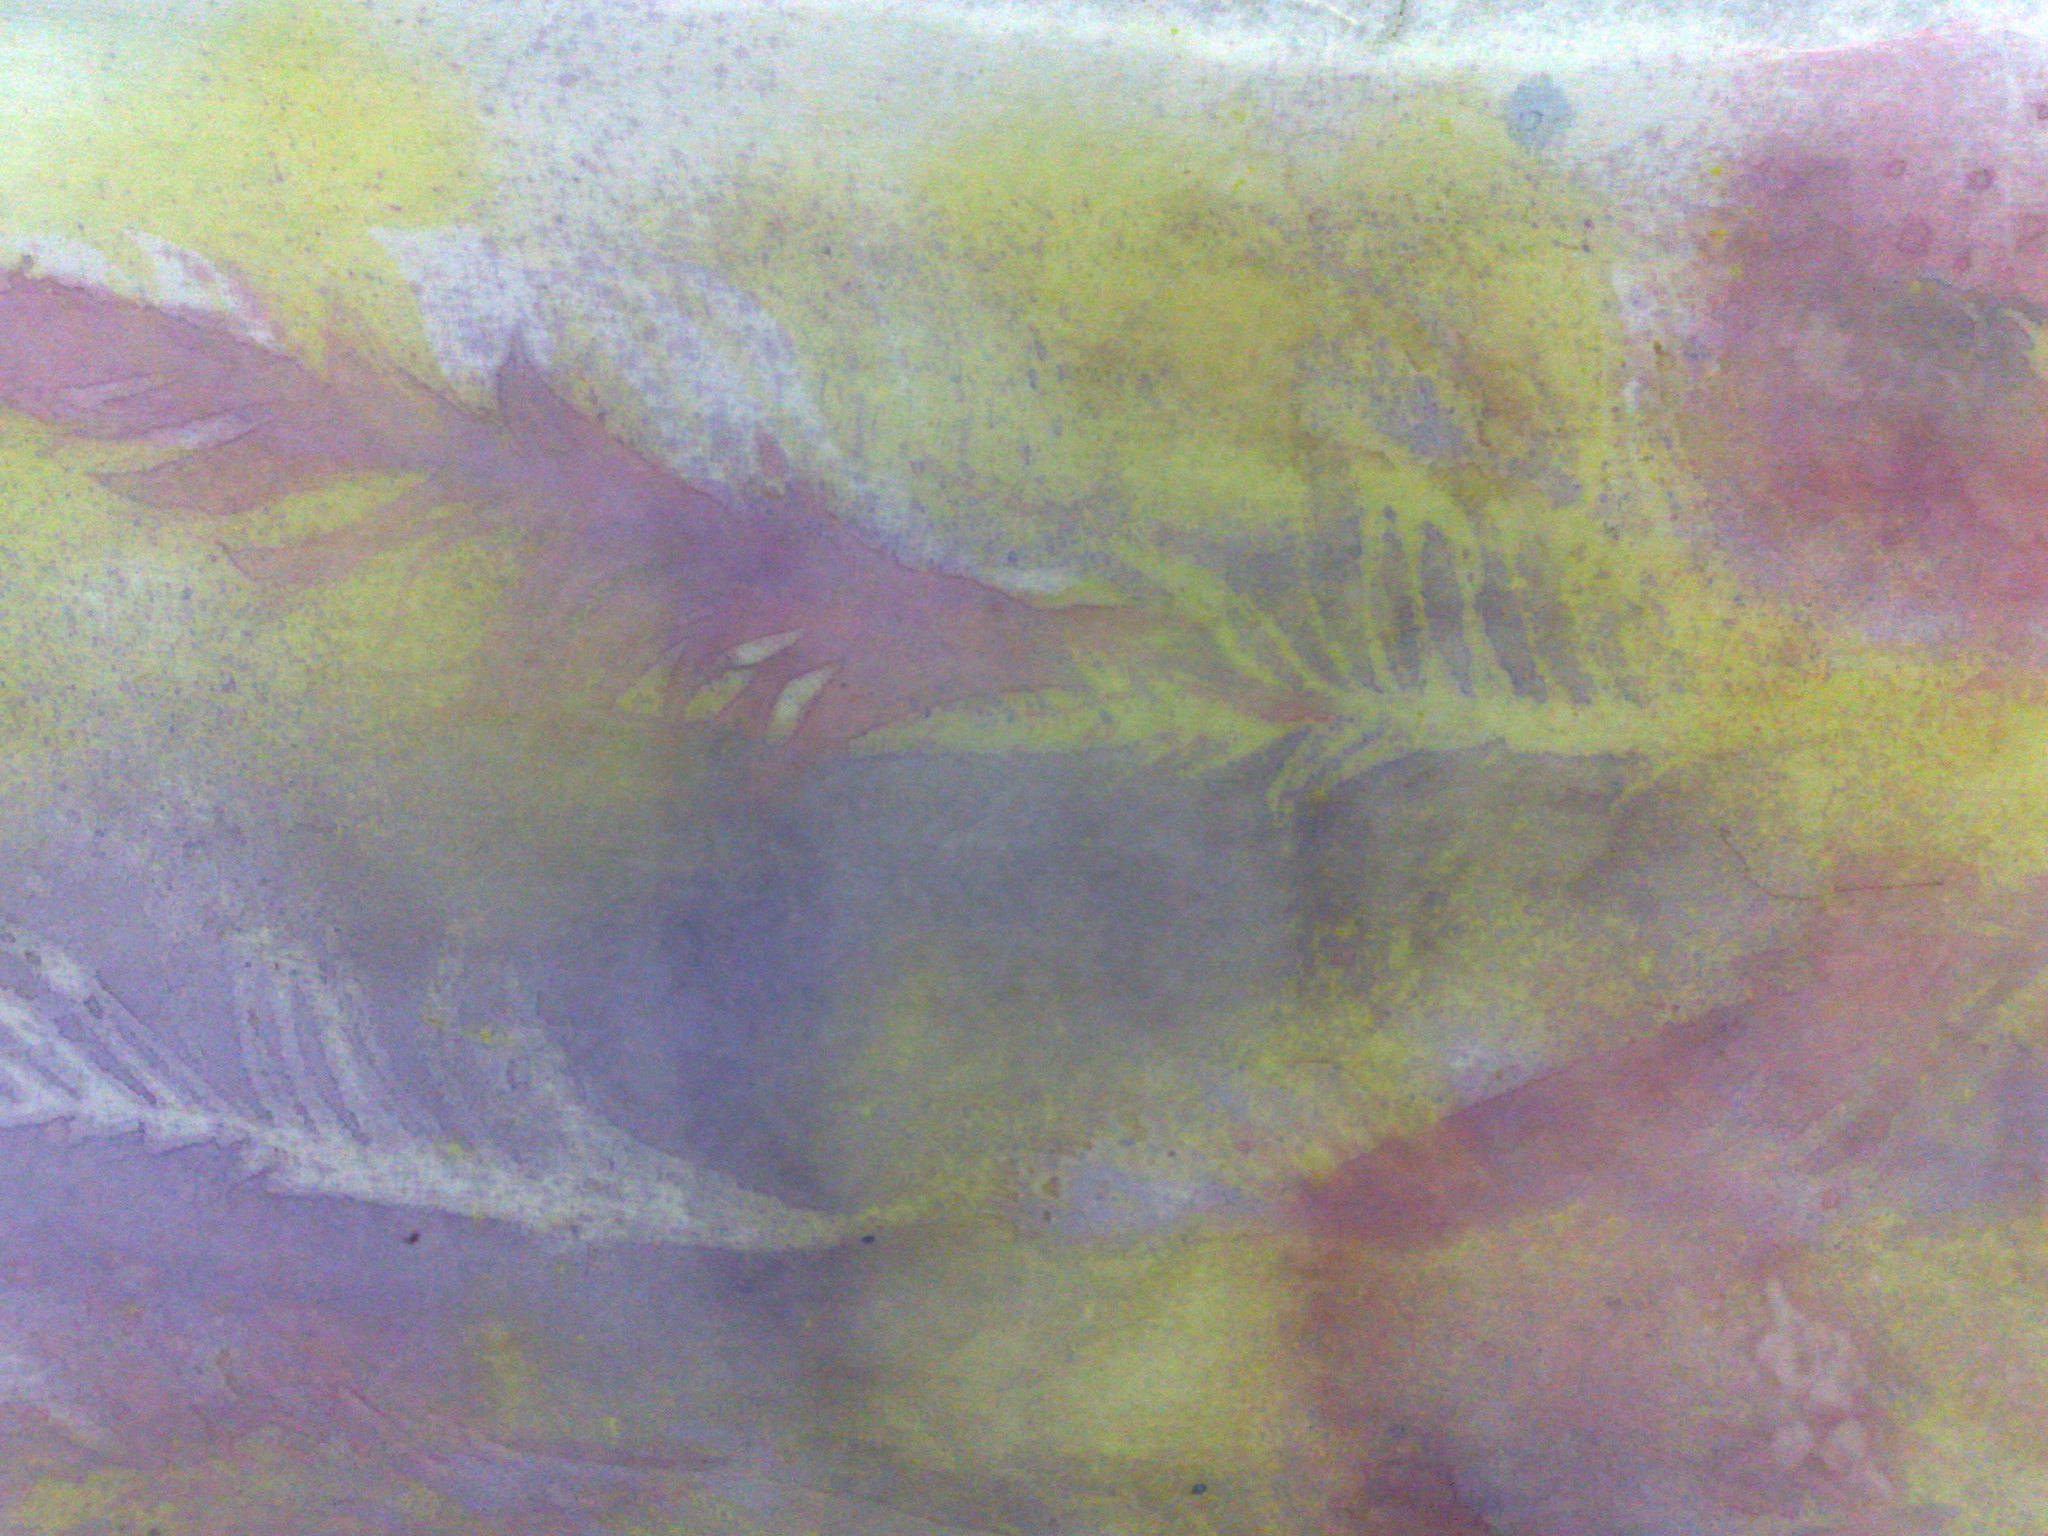
Here i8s a close up of the bottom/sample piece.  as you can see, it has great colour and the definition of the edges with masking and stamping is great, but the hand of the fabric is a little stiff.
These are a couple of the cloths we used to blot the masks dry.  Gorgeous, aren't they?
And now the piece de resistance!
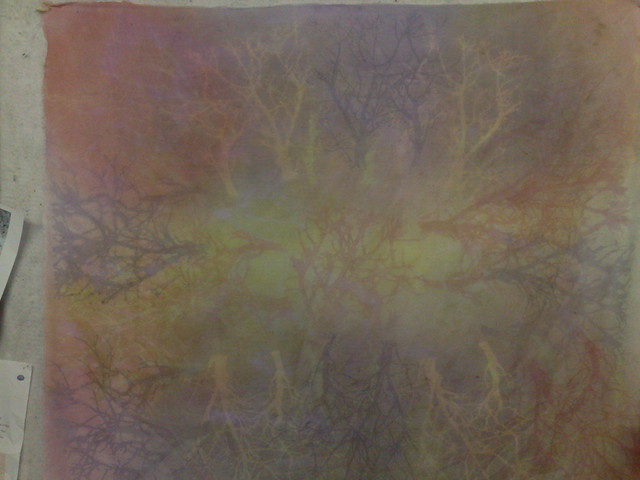
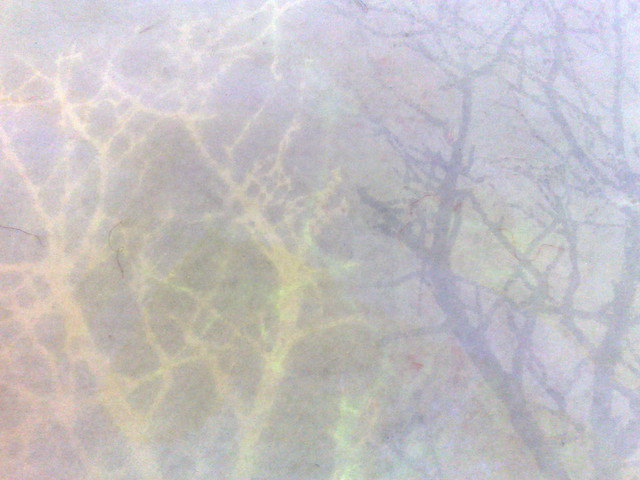
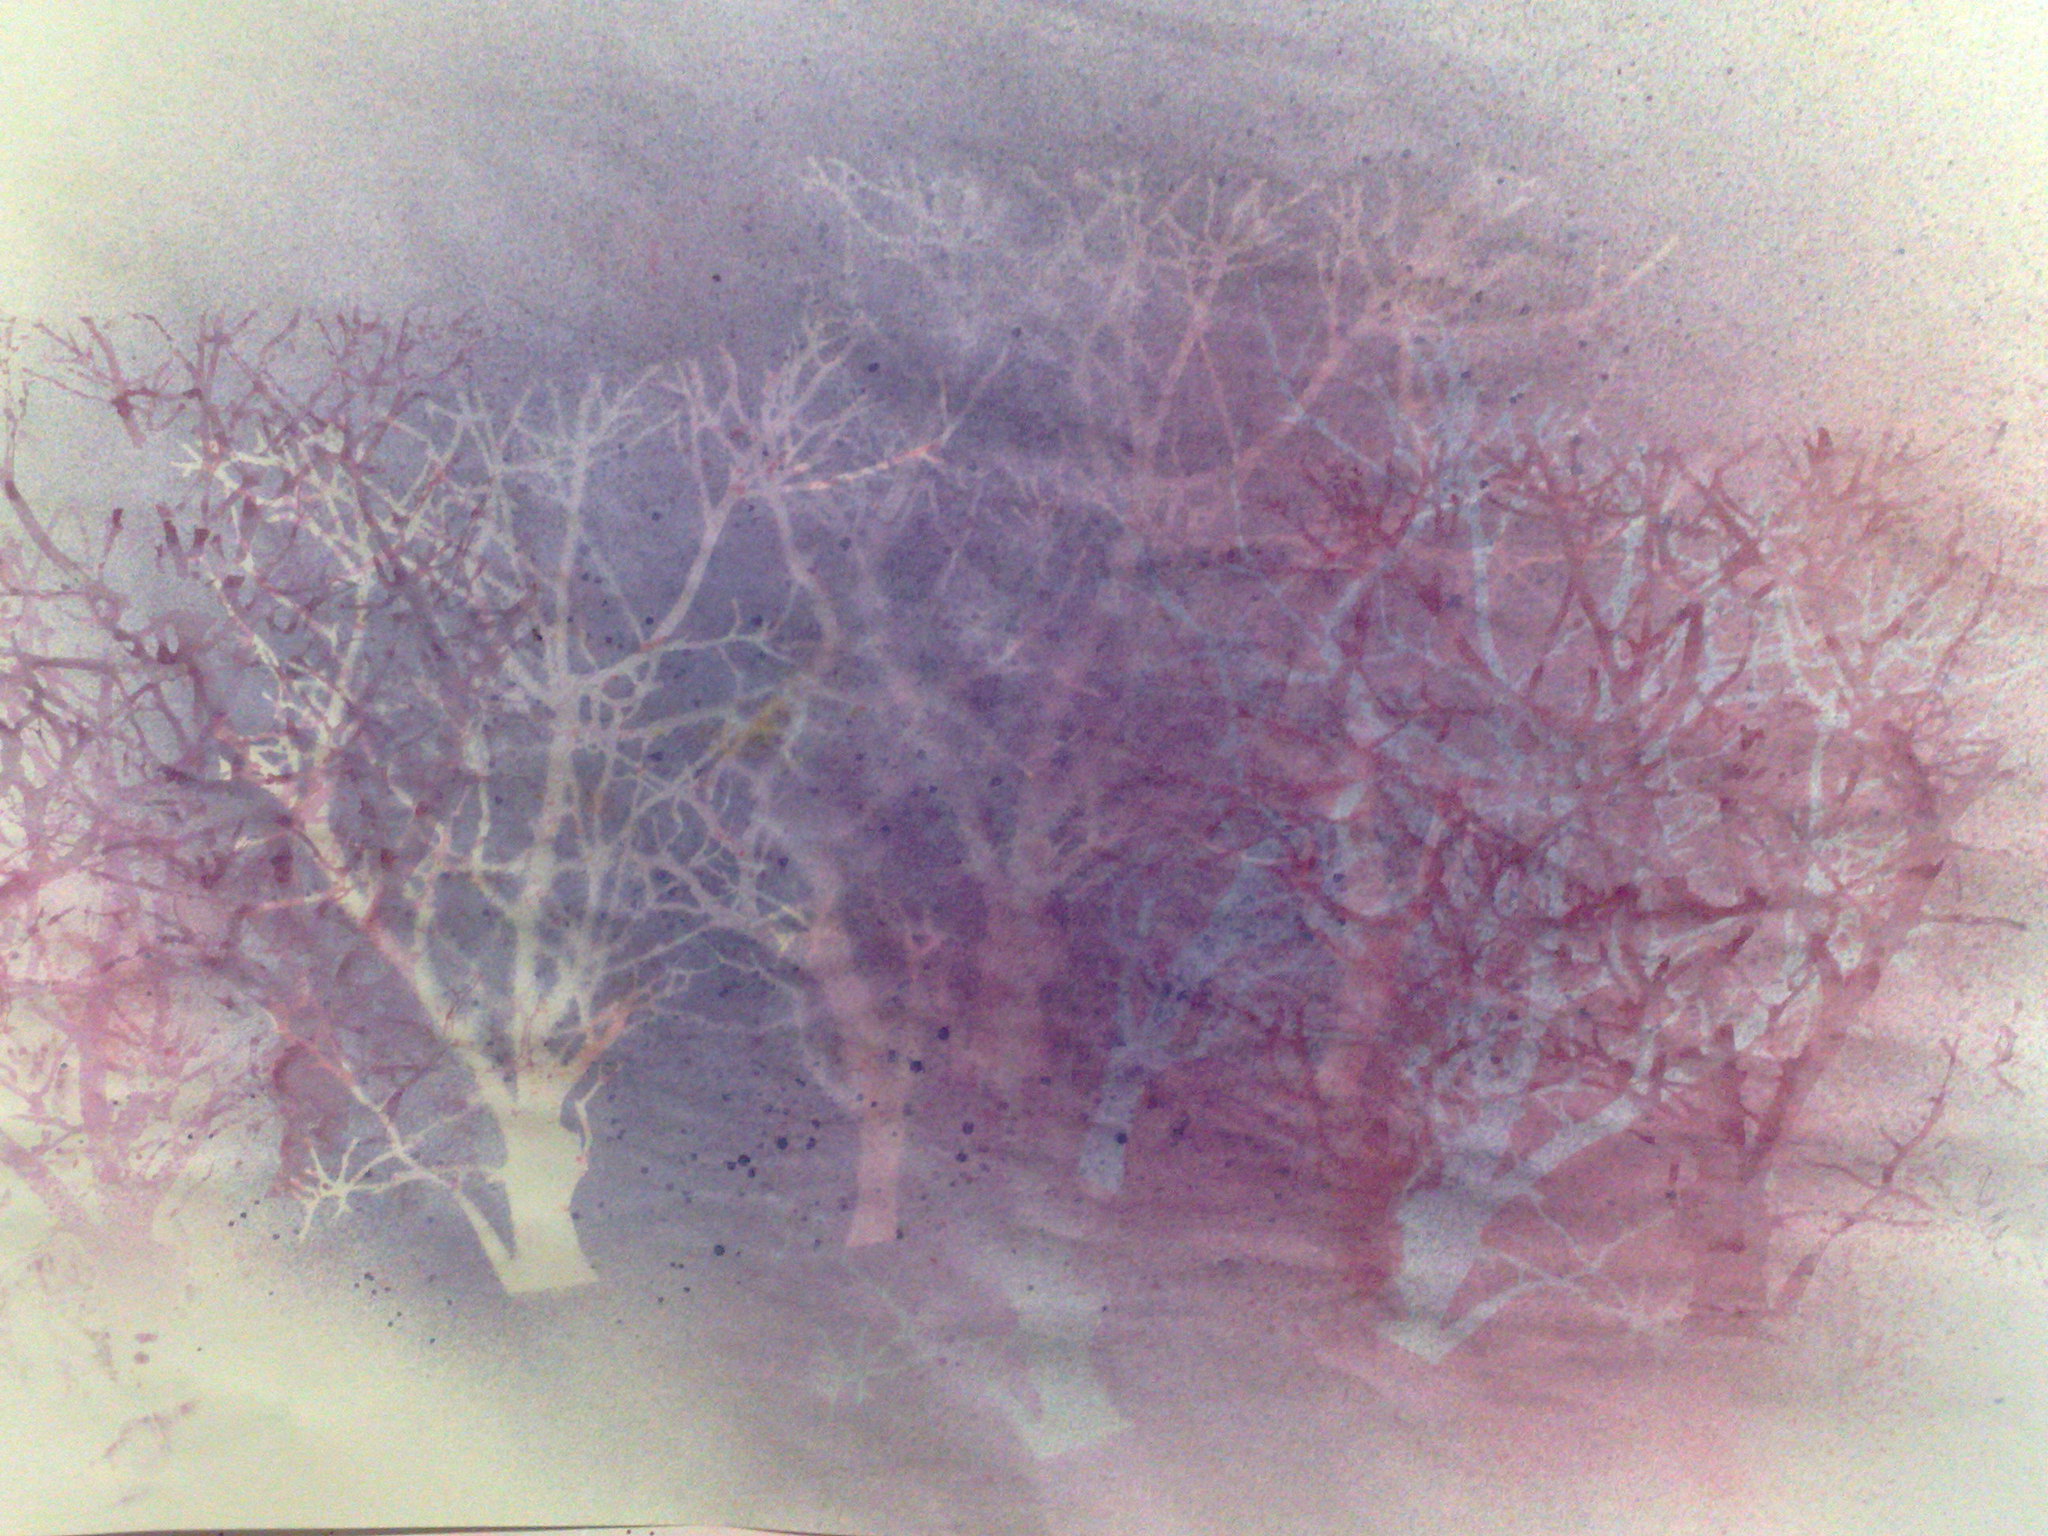
This is a large piece that I did at the end of the class using a tree mask (from crafter's workshop).  The colours look a bit muted here, but it is the most glorious colours in the sun.
This one is without the flash.
A couple of photos showing the layering and the use of masks and stamping.  This scarf/shawl is very appealing to me and I think it will end up on the wall somewhere (if I can ever find the space!).
And lastly-
.This gorgeous piece of paper started as my blotting sheet whilst I was making the large piece, but towards the end, I wanted to work on it.  It will certainly be framed! (or I might redo it on some thicker paper, or fabric, or canvas)
You know me, I always love the rubbish at the end of a project and can't throw it out!

Happy creating!

Friday, May 3, 2013

From paper to fabric

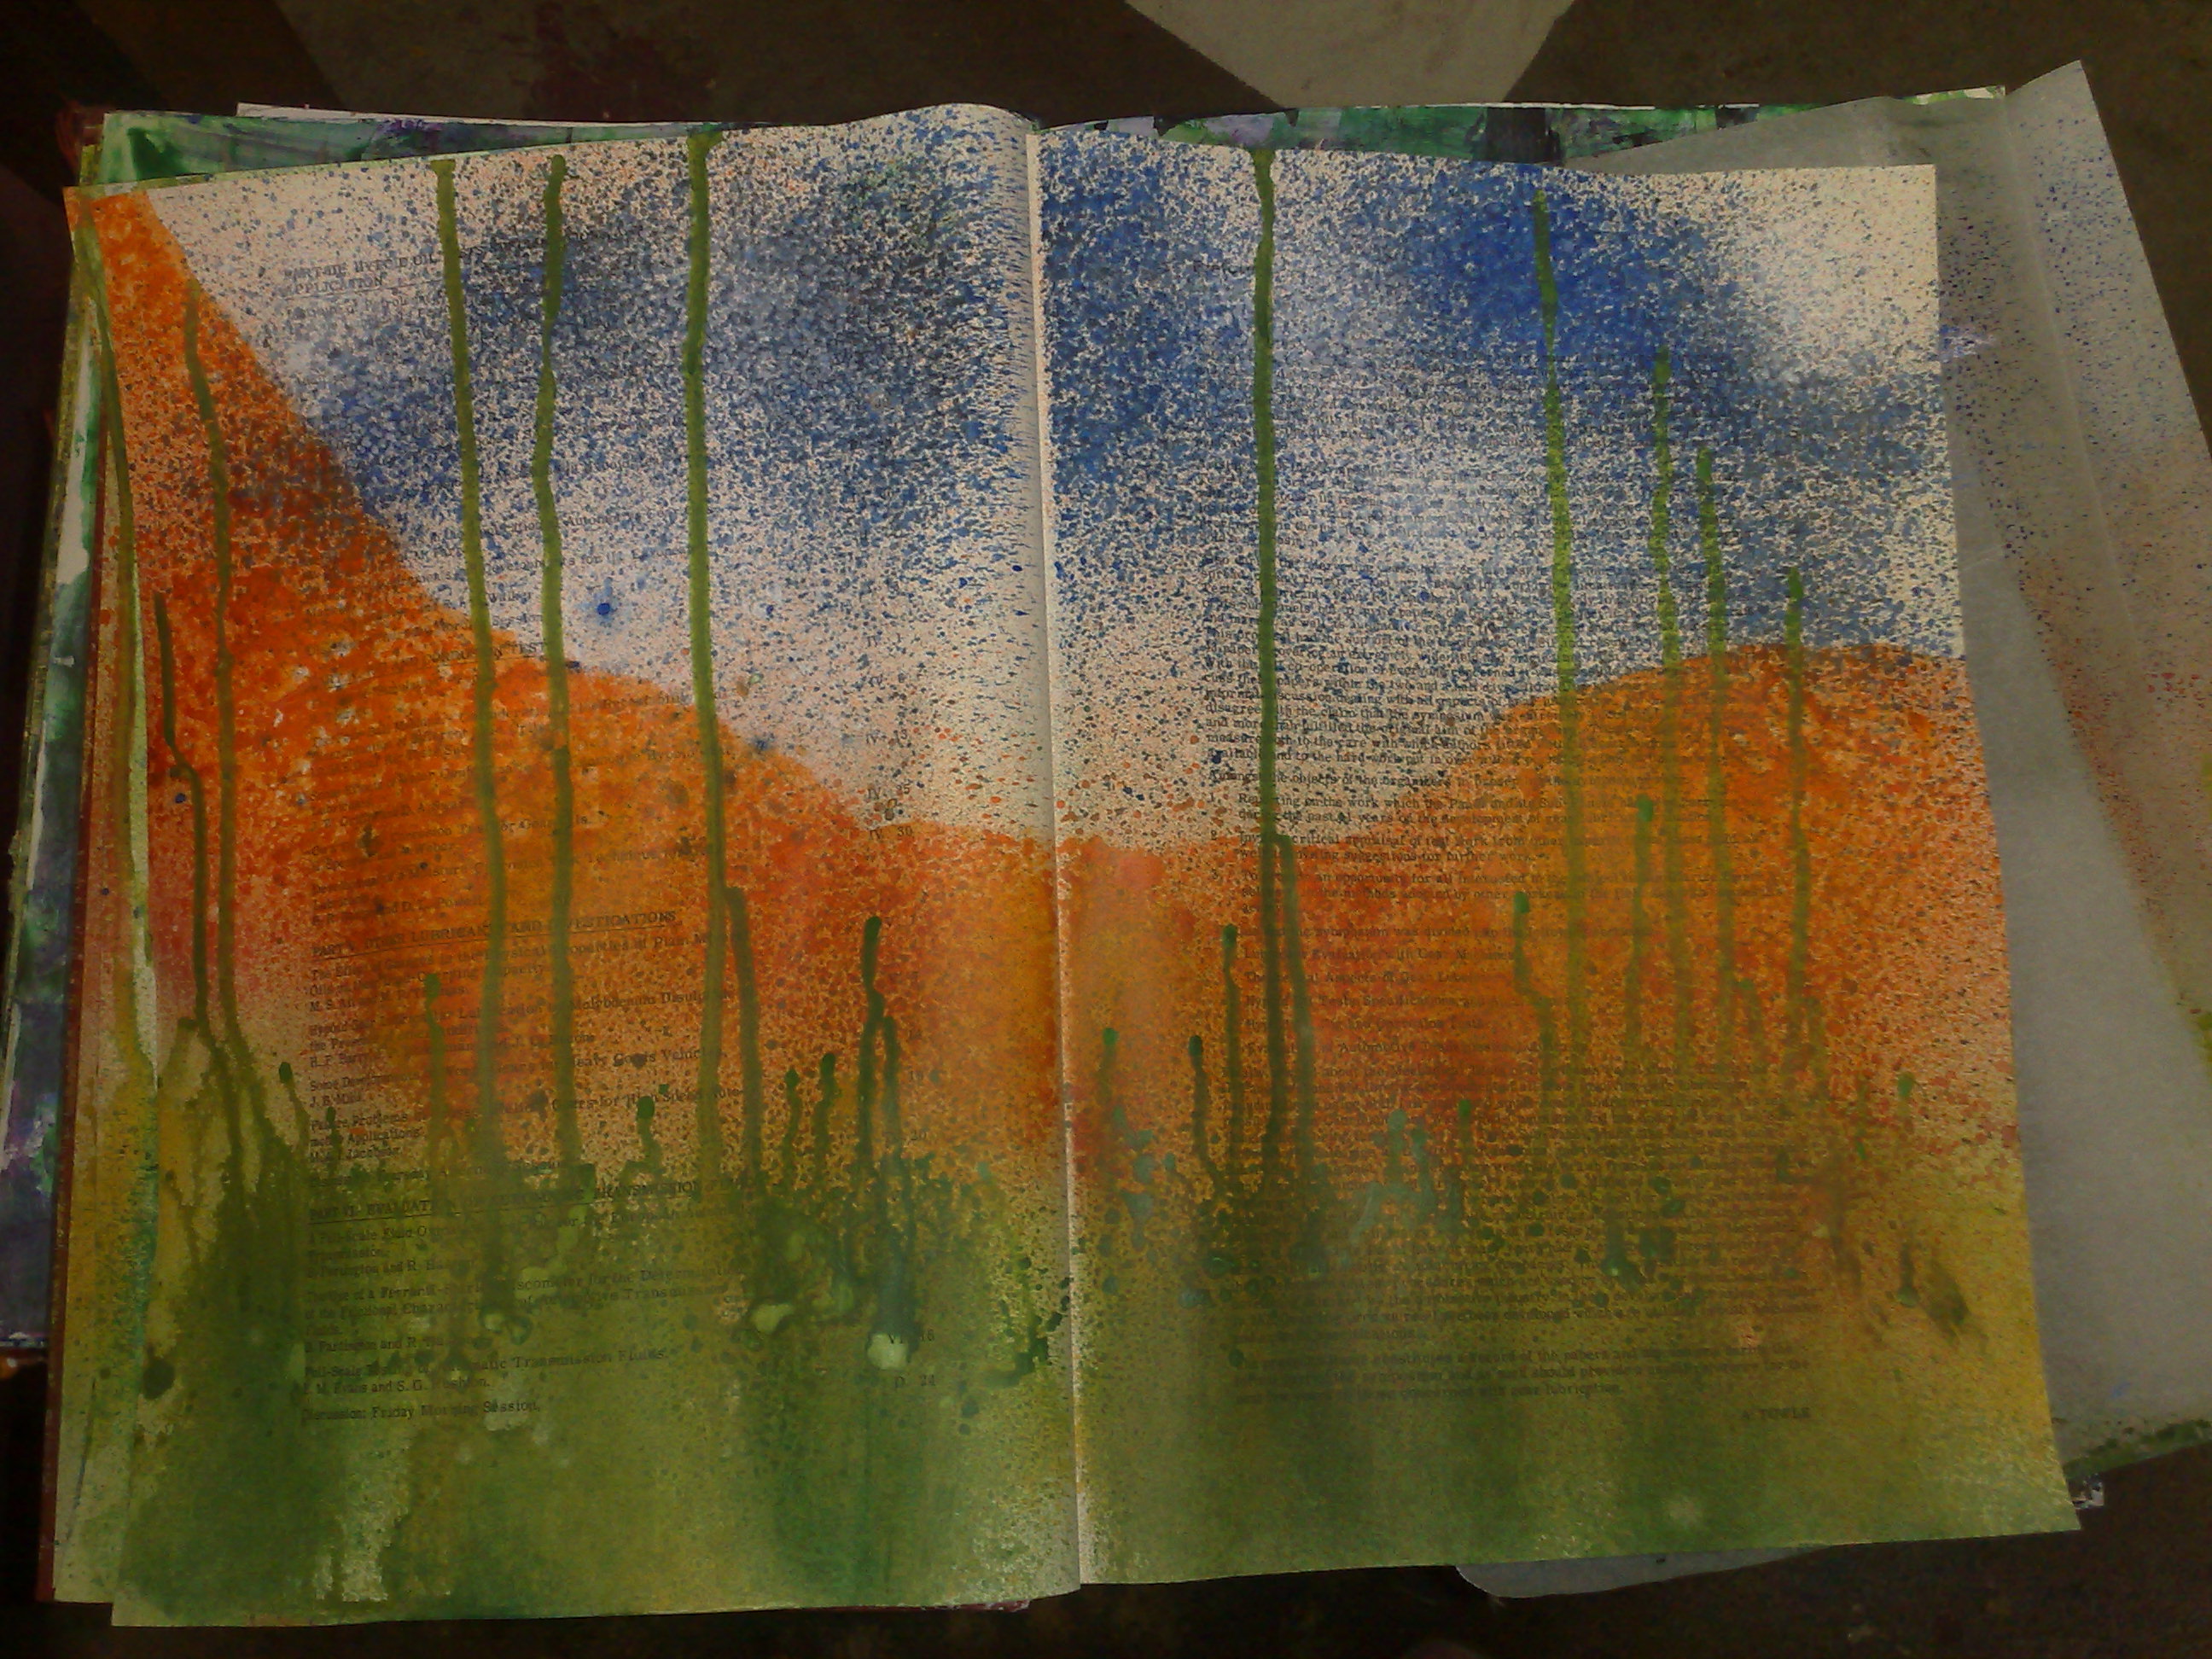
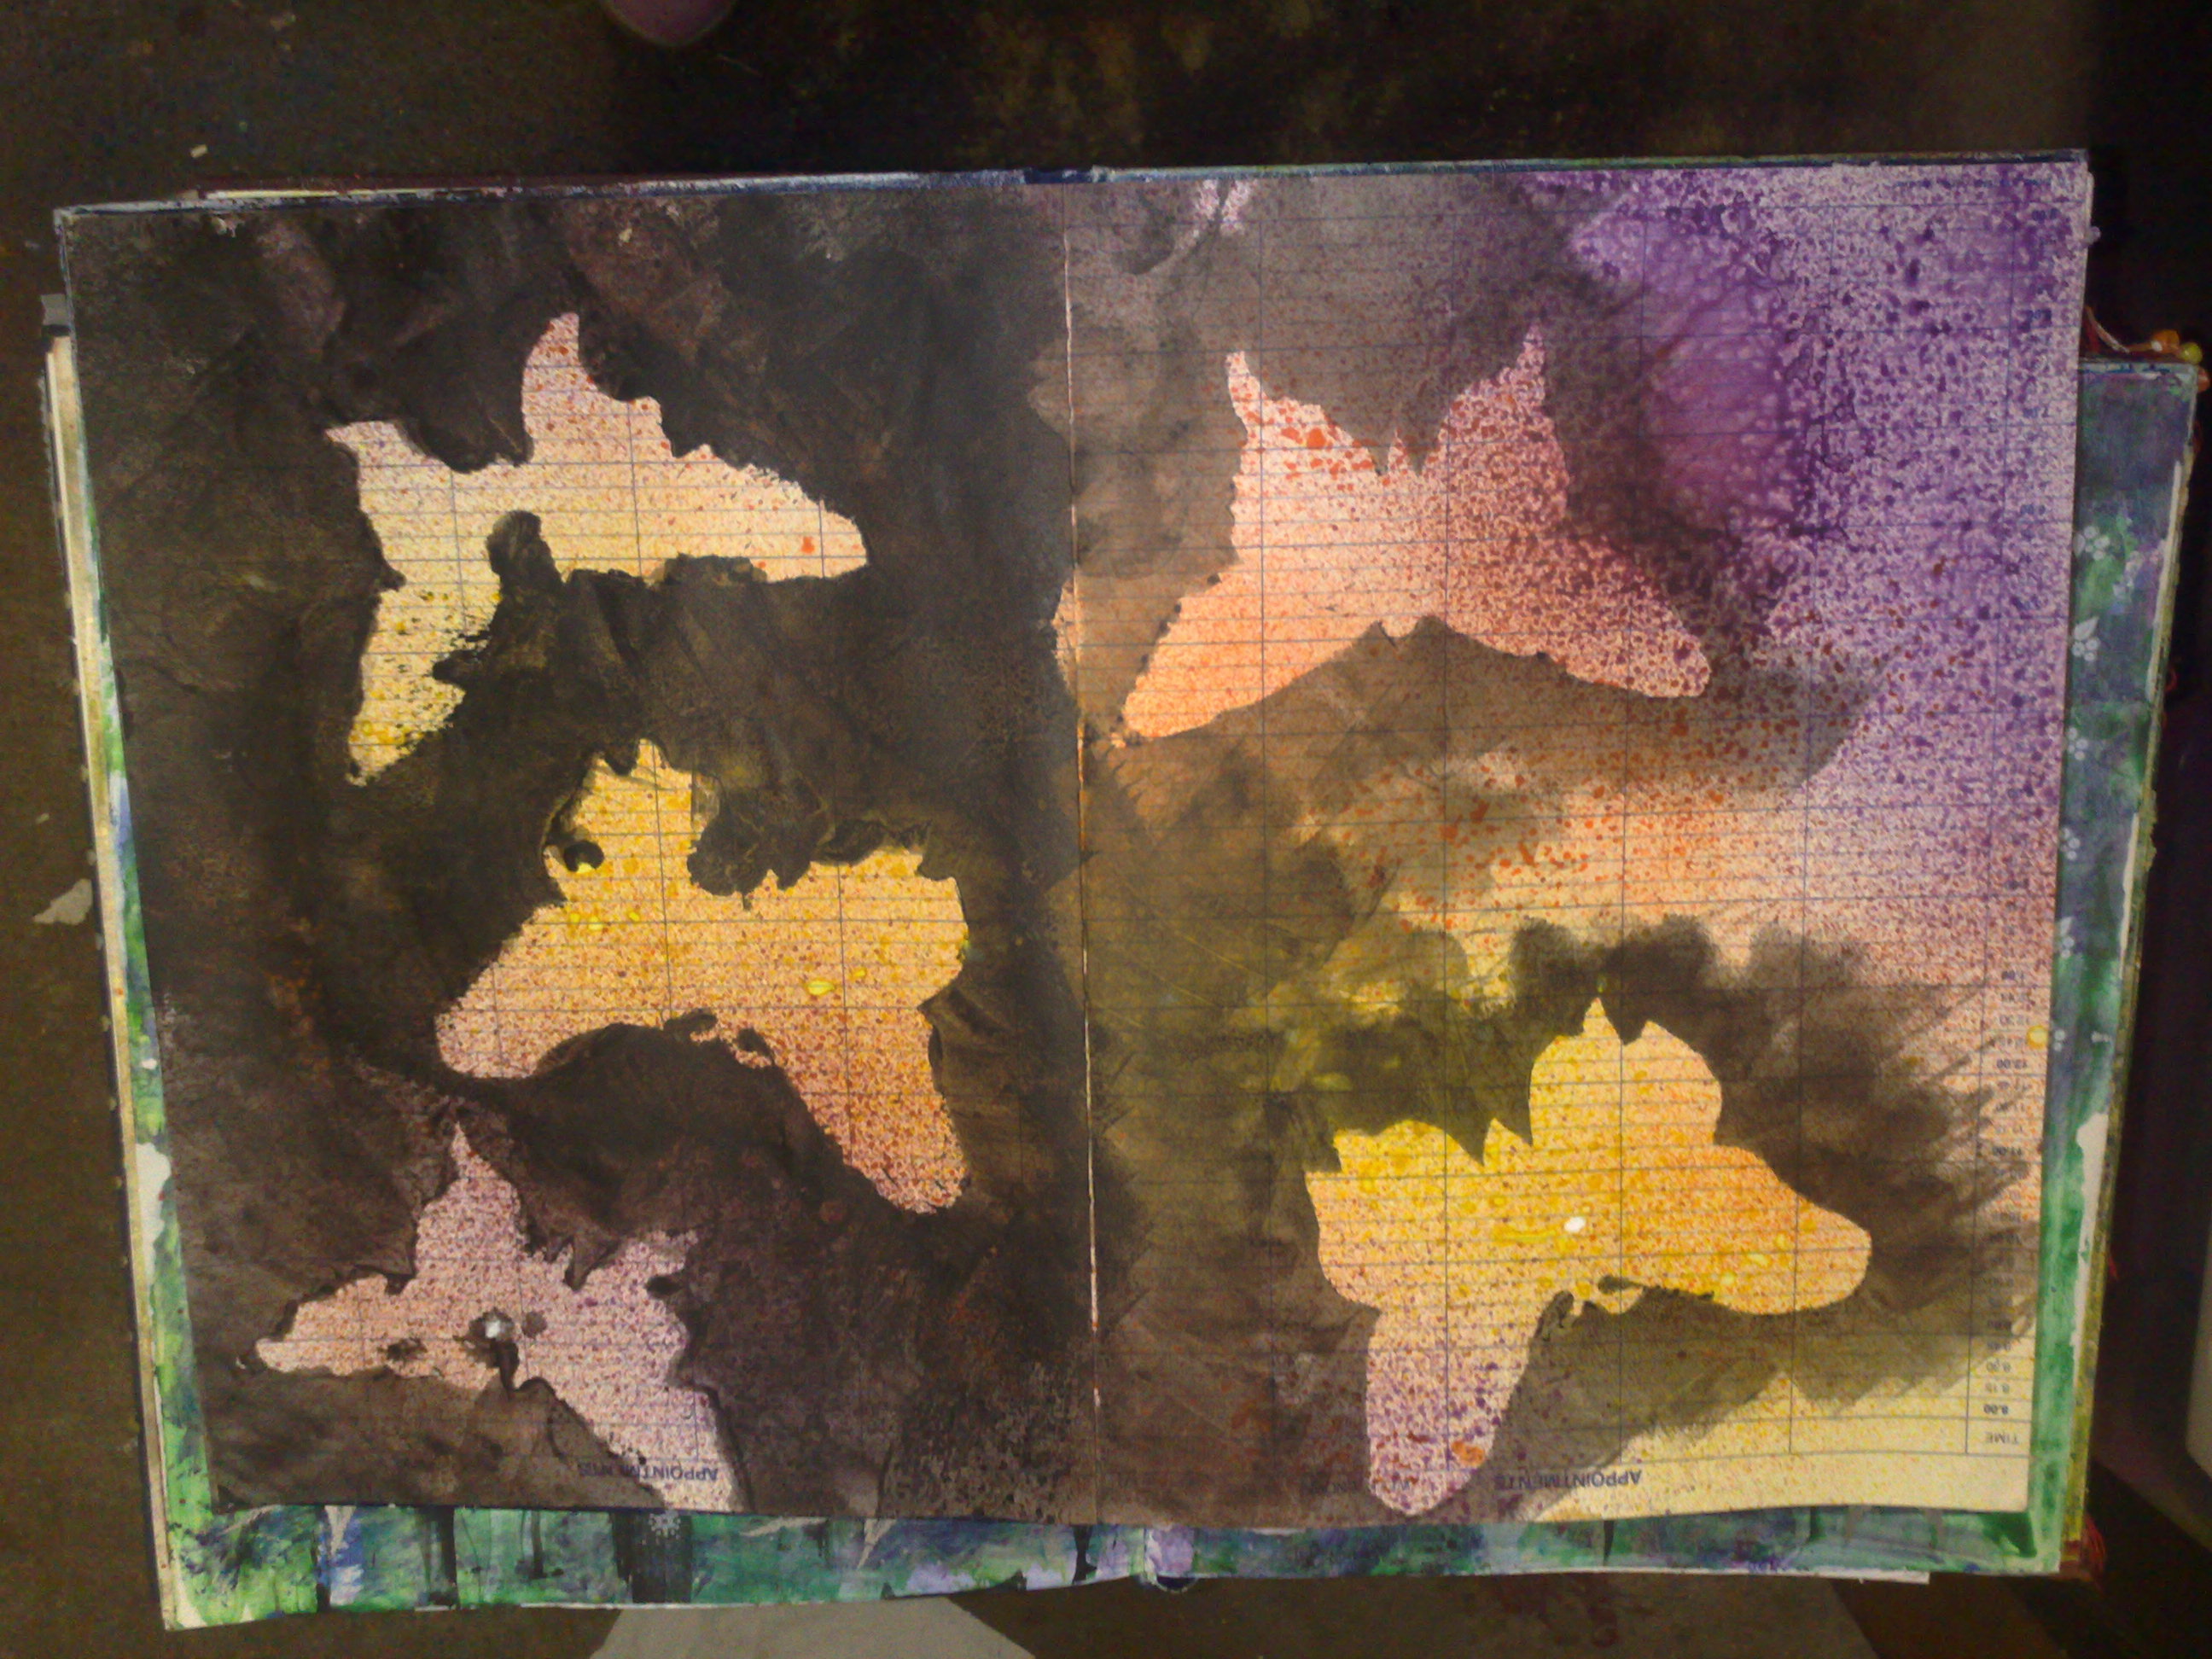
Last night, I was working in my journals.  Mostly I was using acrylics in spray bottles.
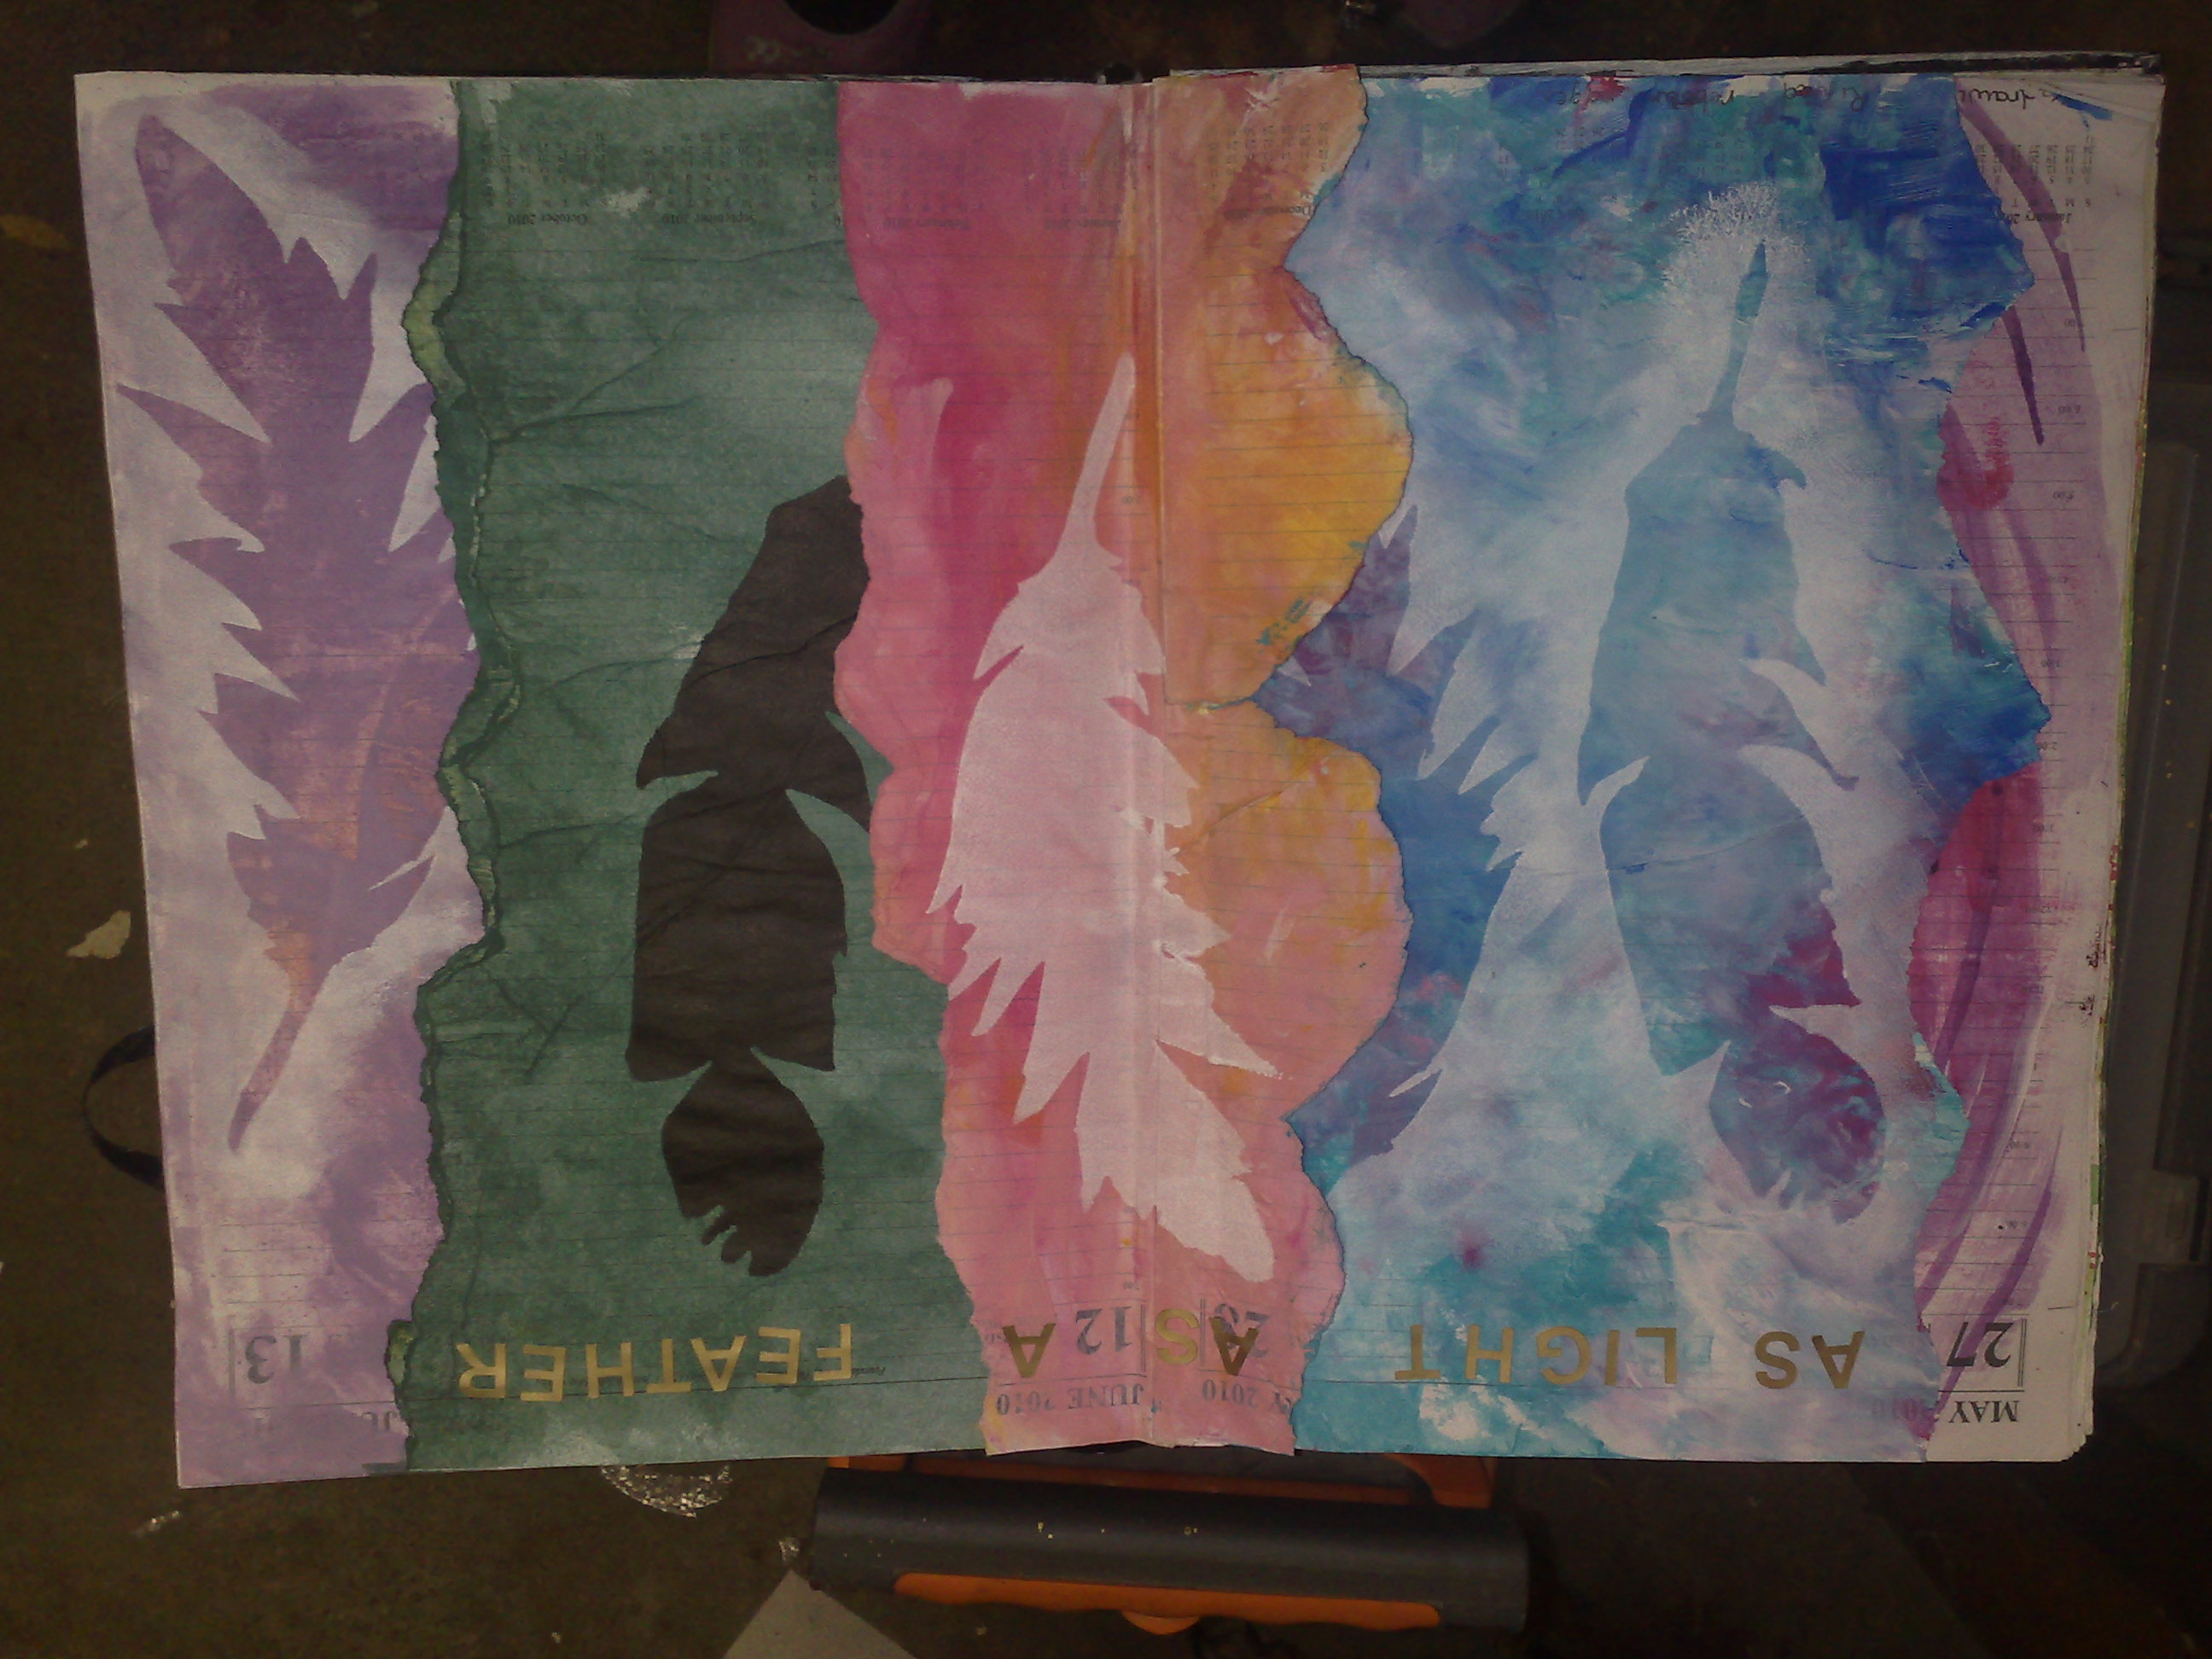
Some of these designs,I thought might make interesting quilts, especially the feather page(s) and the large butterfly (sorry, I did rotate these, but flickr seems to have ignored me)

And then, I thought, why don't I do some of this (stencilling) on fabric?
So today I did.
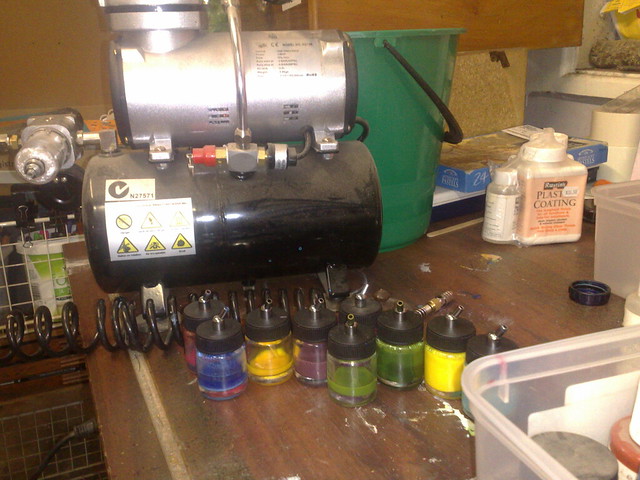
I got out the compressor and airgun
And started playing with stencils
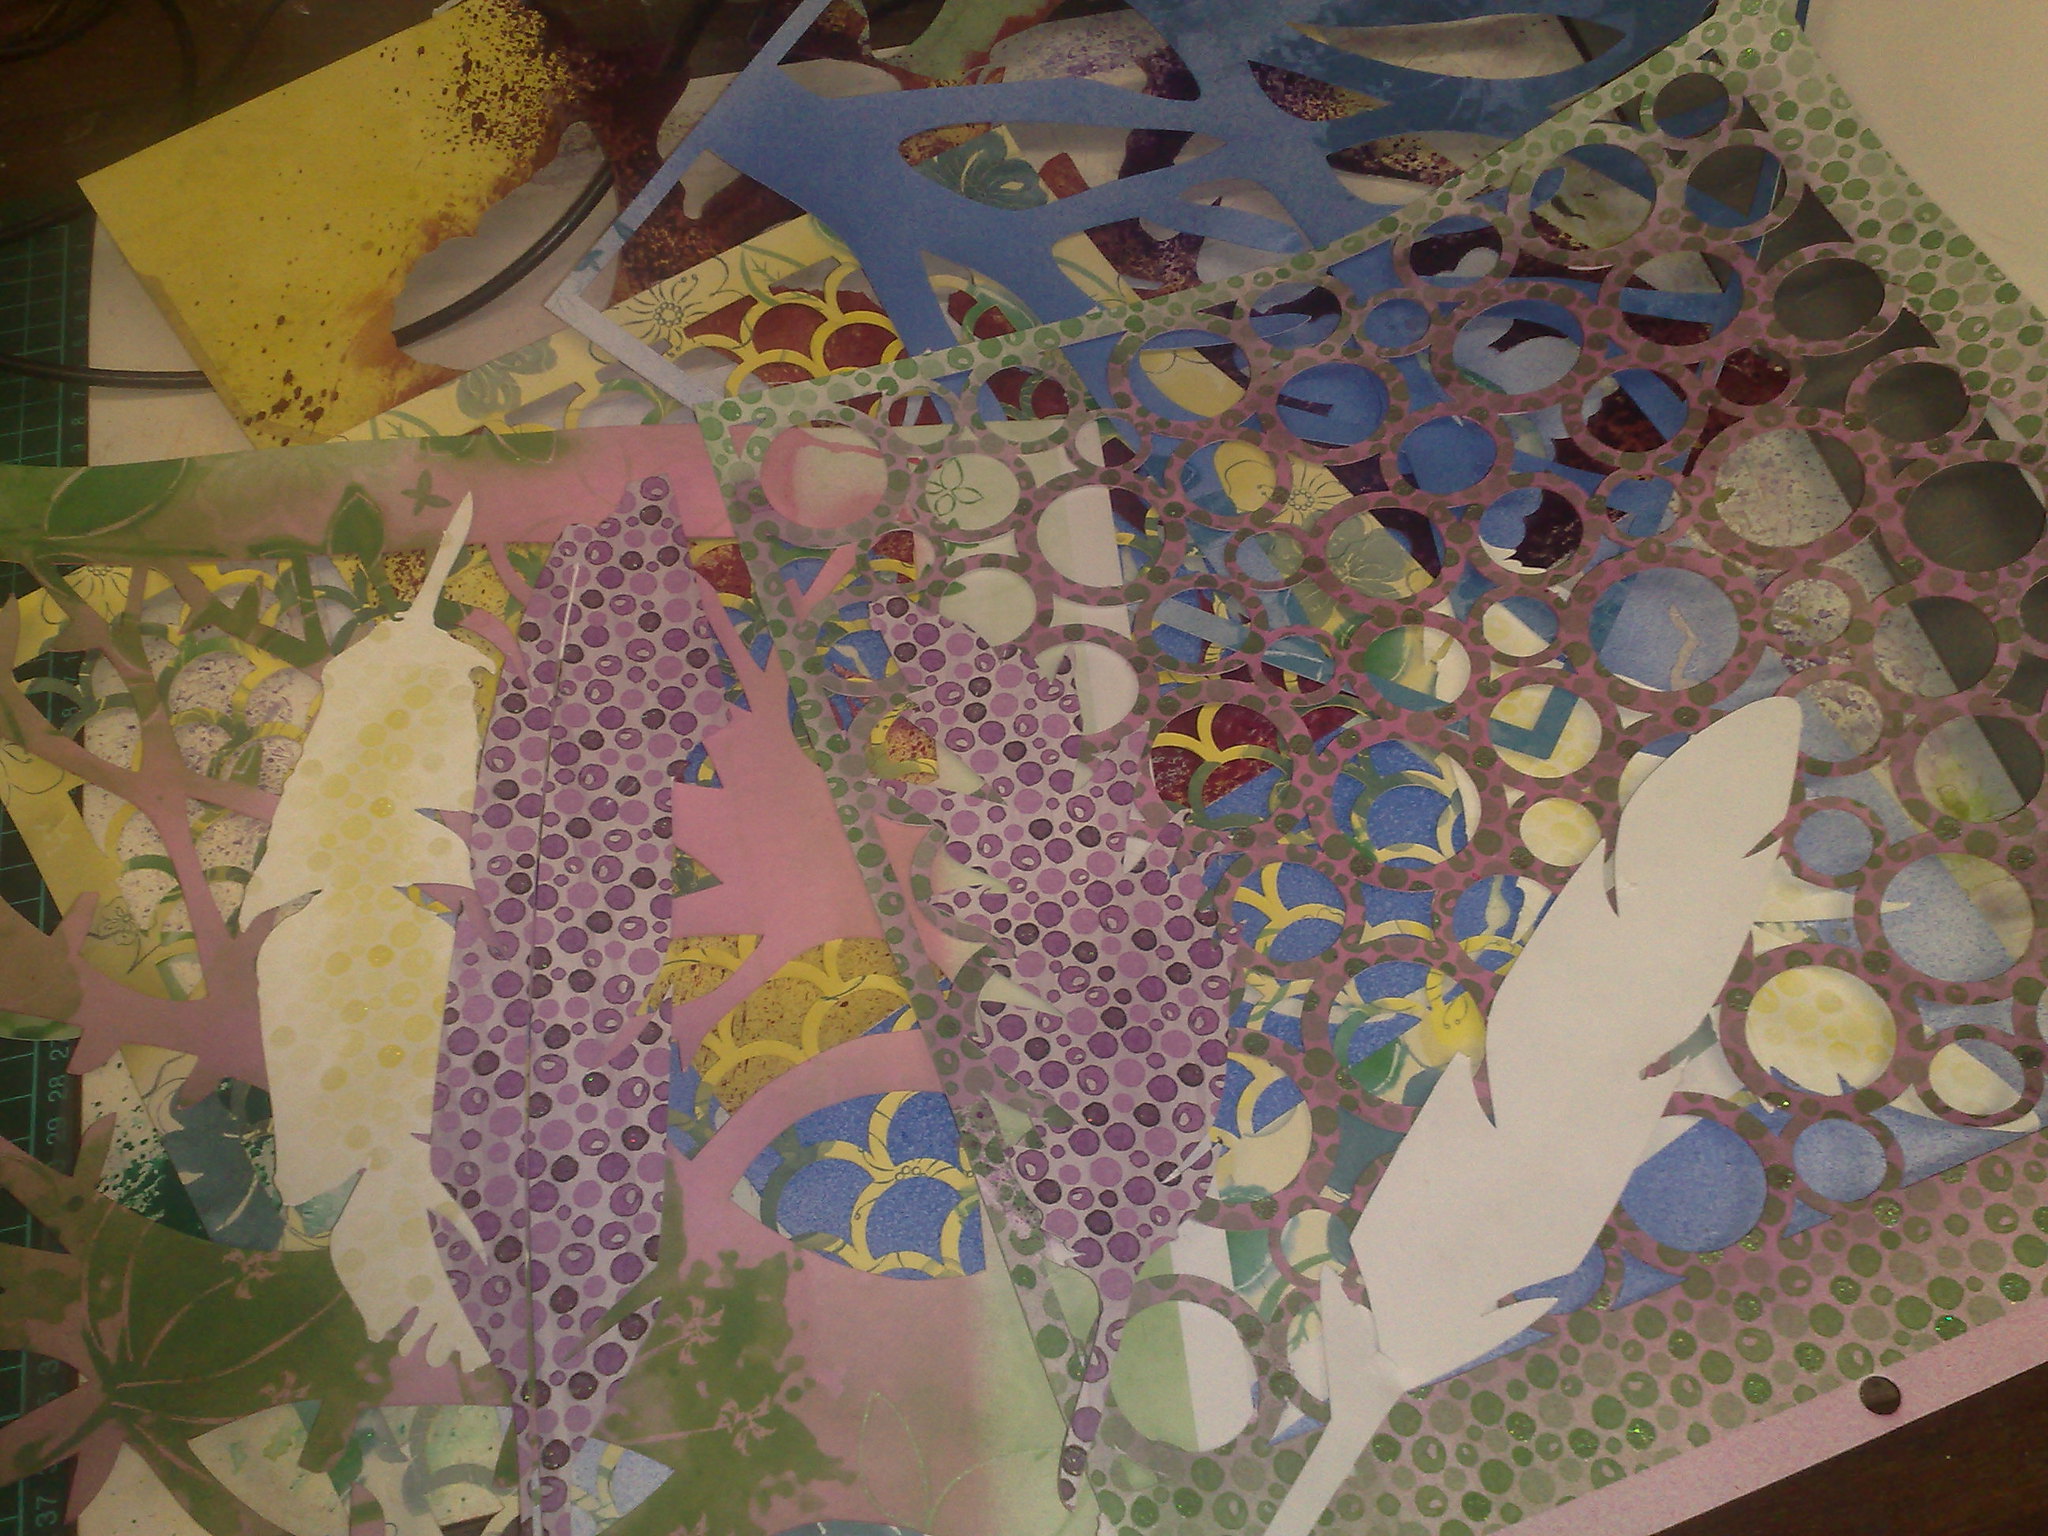
These are the ones I selected.
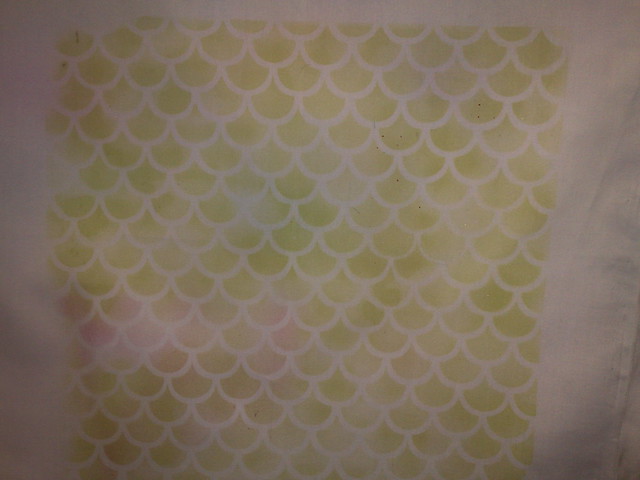
This piece of fabric used quite a few stencils layered.  I love the coffee stain rings stencil, it very cute.
Here are a few single layers.  As you can see I am a bit partial to trees.
and this one is the piece of fabric I used for testing out the airgun - yum.
And of course, the piece 'd' resistance.....
This piece I did with feather die cuts and I really like it.  I think it might have to go on my design wall!

And now the nuts and bolts.  Using an air gun is not difficult, however most people think it is.  Getting the right connections,or plumbing is the biggest problem, and I am not going into lessons here because every compressor and air gun have their own little quirks.
BUT you can do this technique using fabric paint in simple spray bottles.  There are two provisos.
First, you must spray very lightly if you are using spray bottles.  It is easy to saturate the fabric and then it will bleed
Second, spray bottles are temperamental, you need to test the misting each time you pick the bottle up, on a piece of scrap fabric to look at the lightness of the paint and the fineness of the spray.  If there are problems, or the paint has settled in the bottle DO NOT shake it with the nozzle screwed on the top.  I always take the spray off and then shake the bottle either with a normal lid or by holding my finger over the top.
I know, from lots of experience that the main problem with sprays is not the spray top itself, but the paint.  It needs to be a certain thickness (or thinness) to go through the nozzle.  Most of the time when my nozzle is spattering, I just dilute the paint a little and then it works.  If the nozzle really is blocked, then you will need to pull it apart and clean and dry it.  I have a special thin paint brush I use to do this.  Again, there are several different types of nozzles for spray bottles and I only really know mine, which are cheap bottles I got on ebay.
So there are a few pointers, but don't let it put you off, stenciling is great fun and it's very rewarding to create your own fabric.

.

Friday, September 21, 2012

Once you start, you can't stop

Today I went a little overboard with monoprinting on fabric.  It took me over an hour to upload all the photos, so this might be a little longer than usual.
I started with a transparency, which, being transparent is a little hard to see above.
A pile of muslin pieces, roughly cut to size, Some hand wipes that didn't have much colour already and Some scraps of batting.  I also used a few scraps of chiffon.
A few tools and aids, many of which I didn't use,  but I'm showing you for posterity, lol.  Brayers, scrapers, brushes, a credit card, lots of pieces of foam and caps for printing, bubble wrap and string and sequin waste, and just a few stencils and masks.
Most importantly, paint and a water spray bottle (both upside down, but you get the idea).  I was using fabric paints today, but as you will see later, a bit of acrylic comes in handy.
This is the brayer I use for spreading the paint.  A half size paint roller, which I slide a toilet roll over.  The toilet rolls become quite lovely, and I use them too, but more on that another day.
My first plate was a bit thick, but I got two prints for the price of one.
Steps 1 to four - First I sprayed my fabric briefly, then laid the monoprint on top (I find this way is easier than laying the flimsy fabric on top of the print).  I brayered with a clean brayer over the plate, then peeled the plate away.  Voila'
The one at the top is the first one, and the bottom is the ghost print.  They both had gorgeous wavy texture, though.
 Next I thought I'd try a layered print.  I started with the same blue background, then used a bottle top to print circles in magenta.  Next I used a little piece of textured rubber to stamp in yellow.

 The final print is on the left above.  I sprayed a little too much water on the fabric, and it bled a bit, but still made a nice print.  On the right, I printed the ghost print into one of my journals.
Next I tried a stencil print.  Row 1 my stencil and some diluted acrylic paint sprays, Row2.  Sprayed over the stencil then removed it.  Row 3 brayered the plate down onto the fabric and peeled the plate off.

And the final print (above).
 Above I mixed a few colours and printed on fabric (above), then tried a piece of batting (below).
The one on the above left is the one from this print, with a few other pieces of batting.  I am looking forward to stitching into these.
 For this print above, I sprayed acrylic on, then textured it with a corrugated foam brush, then laid on some bubble wrap rollered with white paint.  I did a few of these (Picture 4).

Here I used the textured roller again, then added some white with a silicone basting brush, then dragged a grouting tool over.  I printed on chiffon for this one.
I really loved this print on the chiffon.  I also wiped up some mess with a piece and it looked great, too.
 I got a ghost print on some cotton, too.
 The one above was my favourite technique. 1.  put some paint on. 2. Lay another transparency on top and rub to spread the paint.  3.  Peel off and get a beautiful texture on two plates (click to enlarge).  4.  the two prints from the mirror image plates.  The one on the left is without dampening the fabric.  The one on the right was with fabric sprayed with water.  They were both beautiful.

At this stage I got into the flow and forgot to take photos
This was a ghost print from one of the other prints I did.
On this print, I drew into the plate before printing.
At one stage while I was printing, hubby came in with the mail, which was my product of the month from the thread studio. This month was lutradur (Thanks Dale), so I took a few pieces and printed them.  The one on the right was just some paint on the plate, but the ones on the left were printed from a cedar canyon ginko texture plate (Not quite monoprinting, but you will see why in a minute)  These samples were transparent and yummy and I can't wait to get working on them.

Thse were my other (lol) favourites.  I pressed the above mentioned texture plate into the paint before printing. Below them are two close ups.  The texture plates still had paint on, so that is why I got the lutradur prints.
This one used a stencil of lace I cut with my silhouette.
This one used the corrugated foam roller again.
The one on the left used a piece of foam to overprint the green before printing.  The one on the right was just some paint and some drops of gold, but the transparency I used actually had an image on it and it transferred too!
And of course I ended up with some very colourful wipes!

And that was as far as I got, it was tea time when I finished and so I haven't had time to put together a journal quilt for this experiment.  It will have to wait for next time.


Until then, happy creating!