Showing posts with label stencil. Show all posts

Tuesday, January 6, 2015

A little bit of narcissim

I have been caught red handed!
Many of you.  In fact probably all of you have no Idea what I look like.  I avoid photographs and on facebook, you are only likely to see childhood pictures of me.  My theory has always been that I make beautiful things, I don't need to be beautiful.  And as far as I am aware, I am not.  Just a middle aged, overweight woman who mostly dresses in old clothes, except on special occasions!

Some of my friends over seas have suggested a face to face online (Cringe) and I suppose I will have to actually do it!

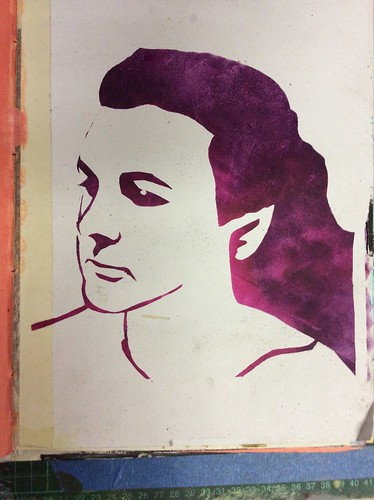
I have been doing creative jumpstart, from n*studio and Julie Balzer's class was to make a stencil.  From a photograph......Of yourself.
So I did.

Except for the pixie ears, I am told by my hubby that it looks like me.  But I know that it looks like me a few years ago.  In fact maybe even ten!  So that is where the narcissism comes in.  I am actually pleased with the picture, because of course, it flatters me!  My hubby is half blind anyway and can't see my face very well at all, lol.

Vincent van Gogh painted a huge number of self portraits and when I worked on painting with the masters last year, we were all encouraged to do so.  I hadn't got around to it.

Well now I have and although it is a bit nicer than I really am, it's a good start, don't you think?
Even if my ears look like pixie ones!


Happy Creating!

Tuesday, November 4, 2014

Fascinating Frida

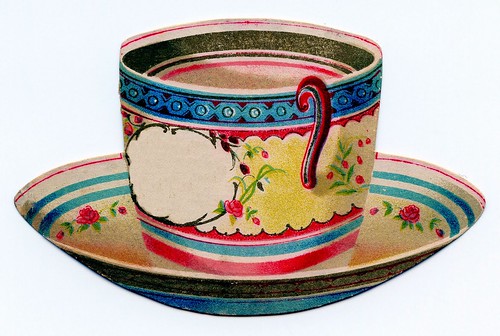
Today is T for tuesday over at Altered book lover.  I haven't been very consistent about joining in, so today I am including a vintage cup of tea from The graphics fairy.
Hope  you enjoy your cuppa!
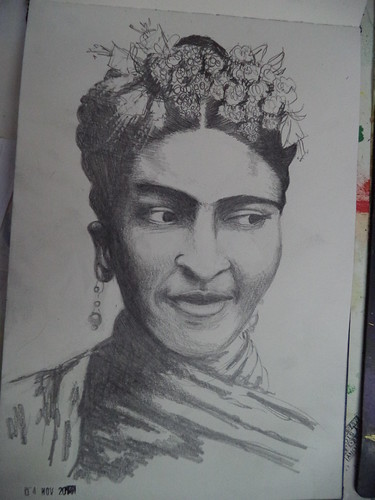
As some of you know, I have been doing Studying under the masters, hosted by Jeanne Oliver.  This week, we are studying Frida Kahlo with Jane Davenport.  Today I felt like doing a sketch of Frida, so this is my daily drawing and my Art Journal journey offering
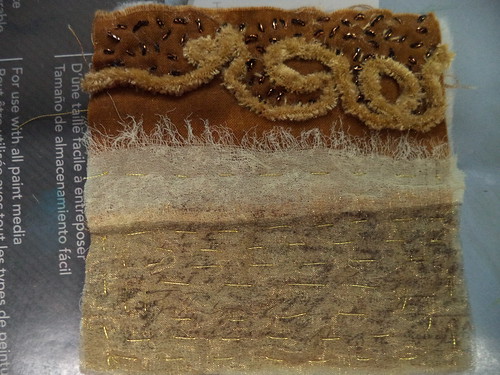
I am also participating in Art Every Day Month, with a daily stitched square.  Here is today's
Generally, all I do for these is grab a square, grab some scraps that go with it, spend a few minutes arranging, then stitch them down and add some embellishment.  I am really enjoying finishing these.  It is time to sit quietly and just stitch.
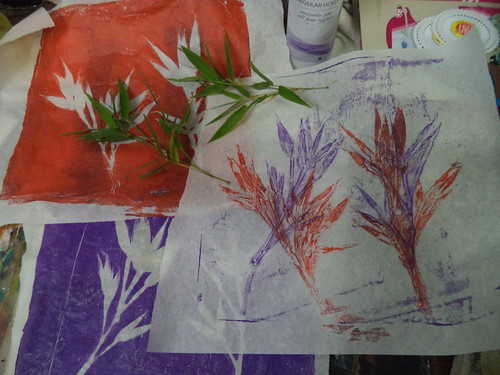
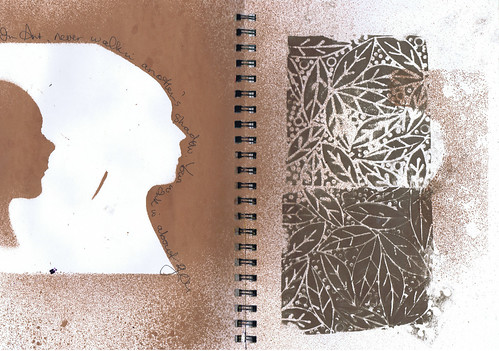
Now Art Journaling.  I felt like a change today and got out my gelli plate and did some gelli prints, using some bamboo sprigs I had picked.
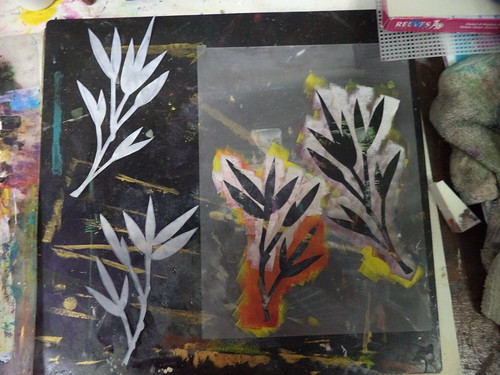
Then I used the prints, to create a stencil and some masks
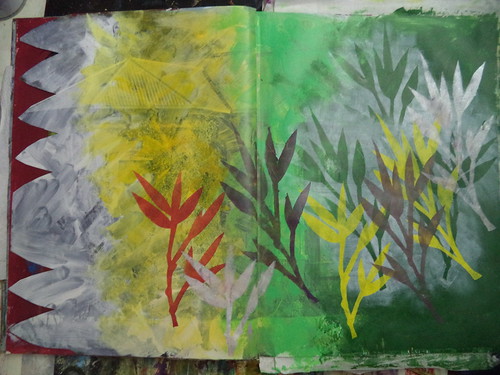
I considered these my warm ups for today, because then I used the stencils and masks to create the art journal page.
I don't consider this finished, but I am love with this as a beginning.

Happy Creating!


Friday, June 6, 2014

A new leaf sketchbook

I have been working in a new LEAF sketchbook over the last few months.  I filled my last one on leaves a while ago.  I am a bit of a leaf fanatic.  I will put a leaf on anything.
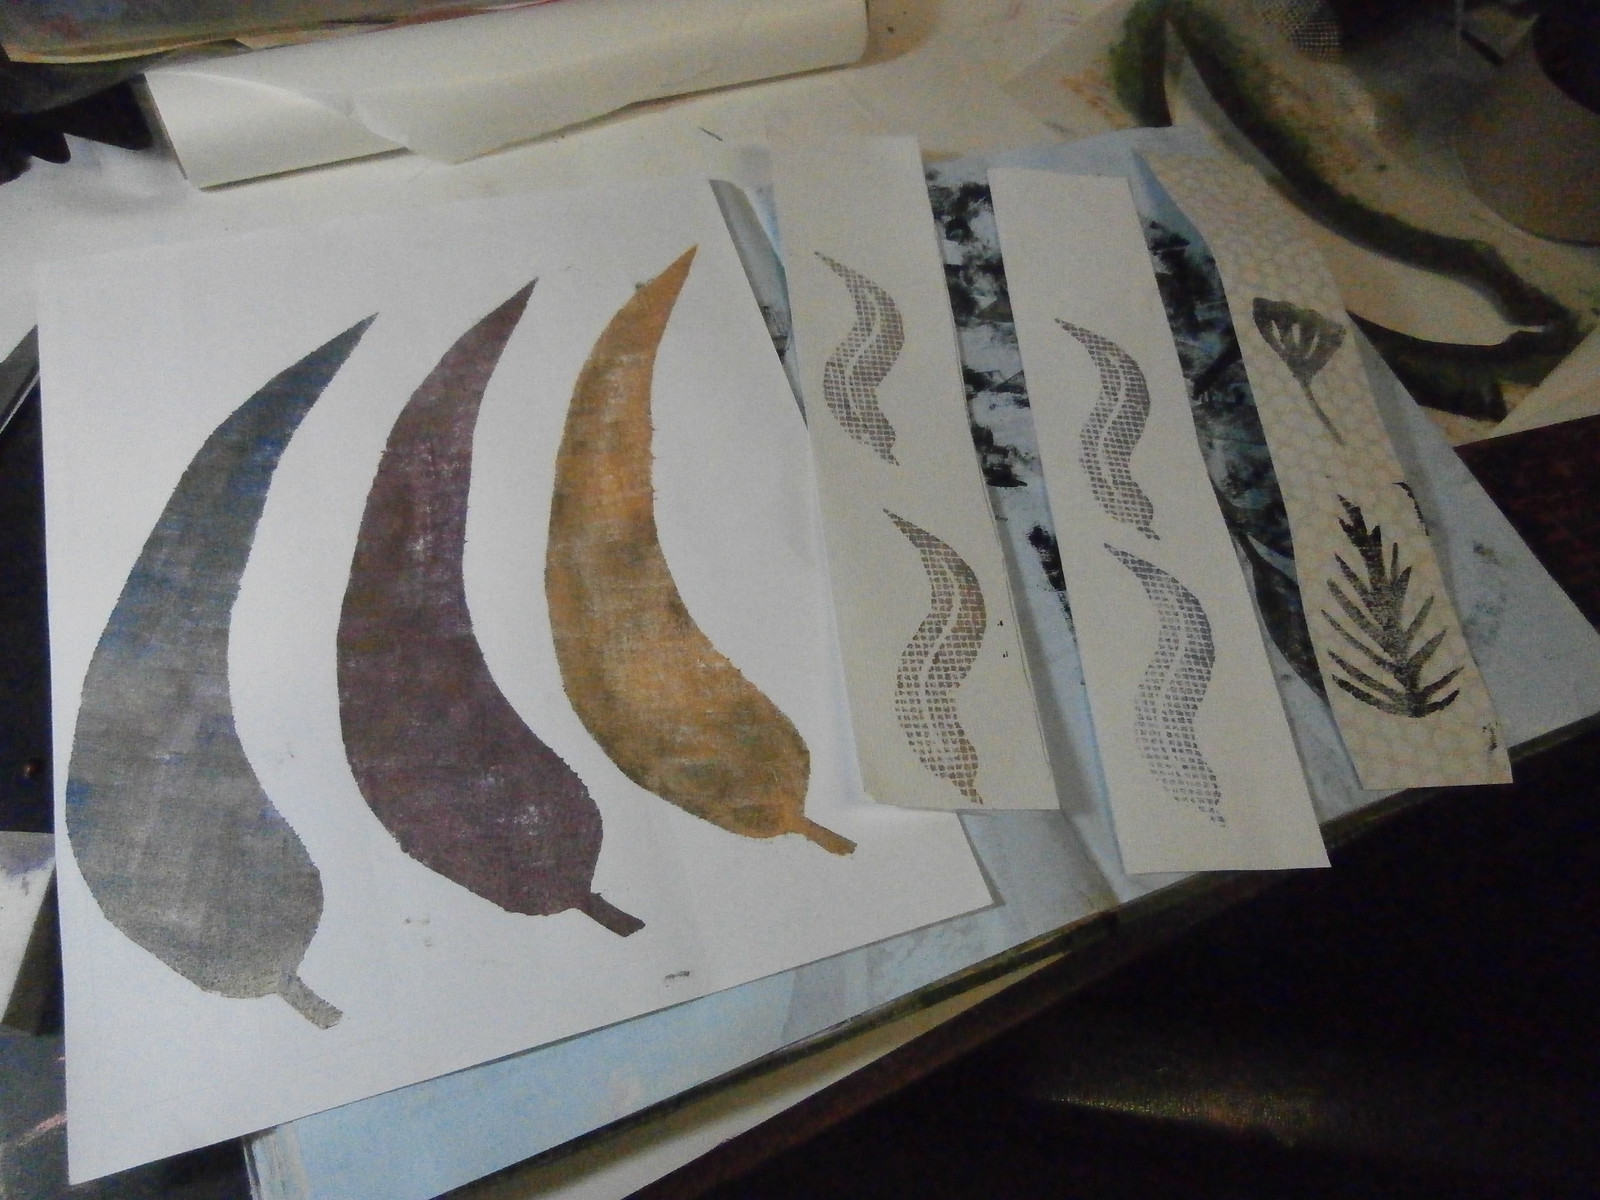
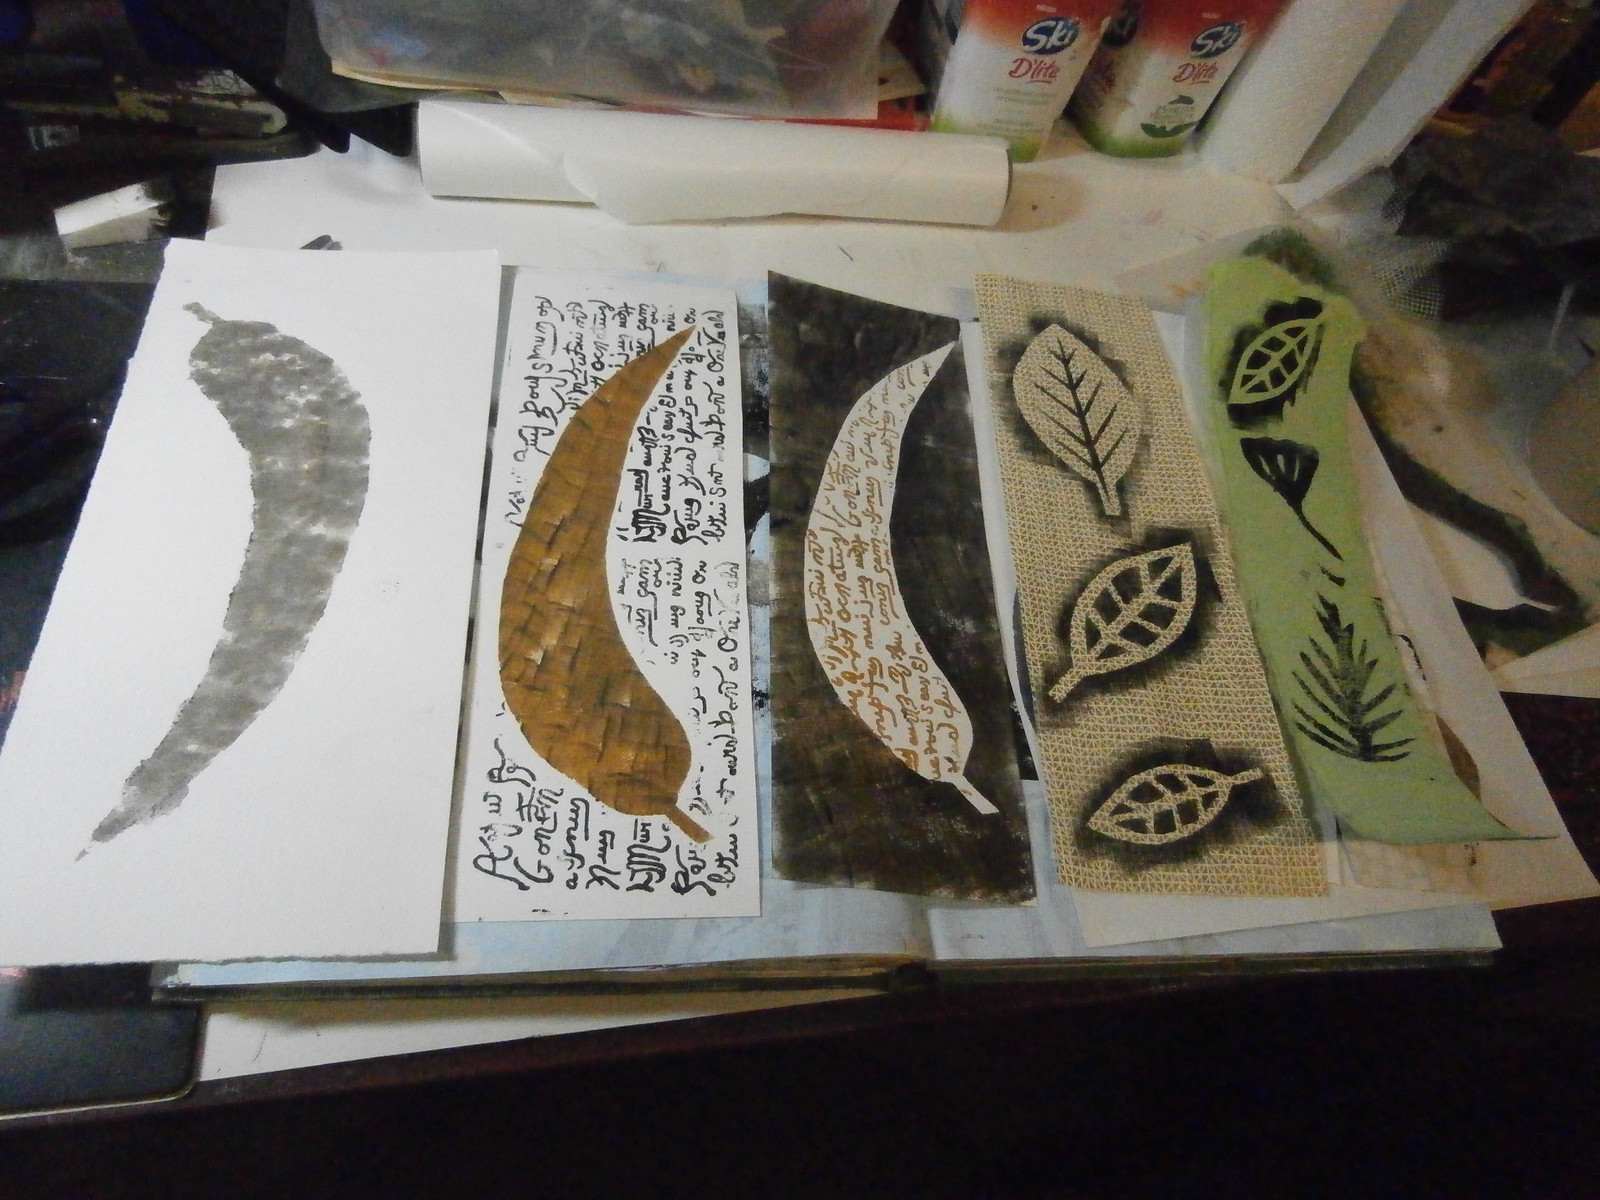
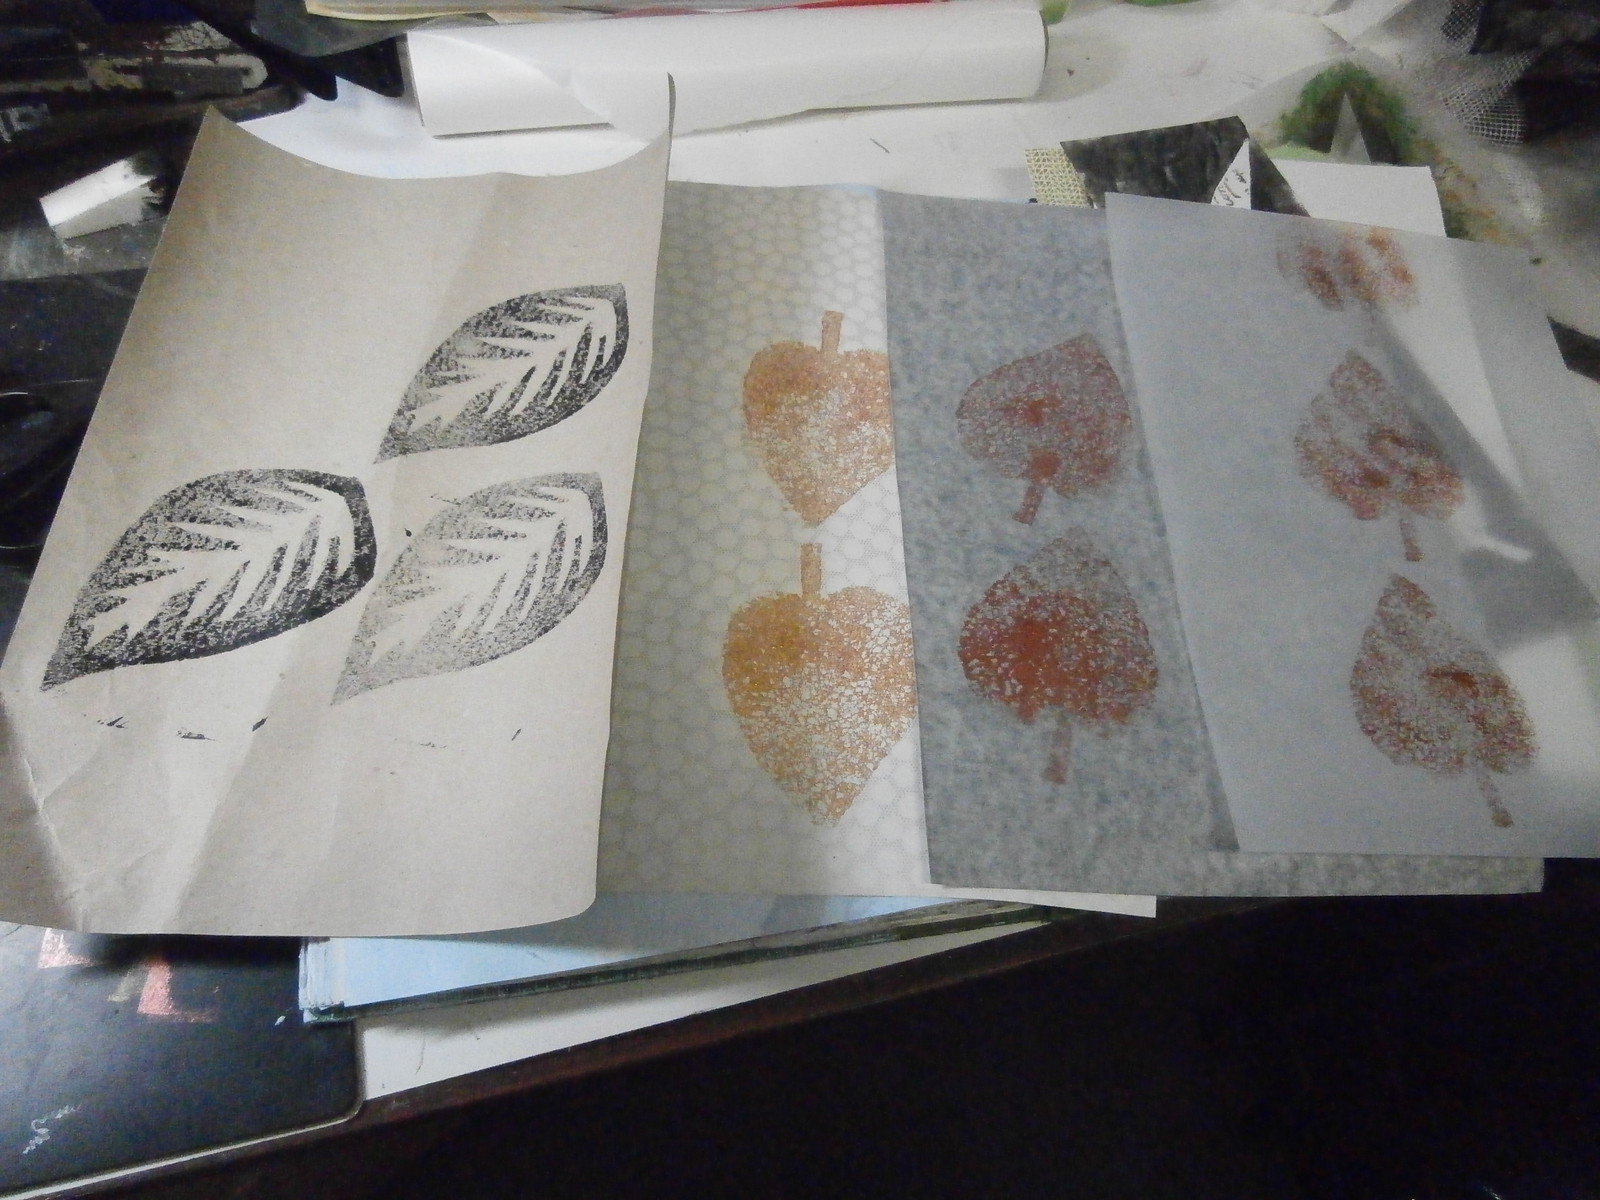
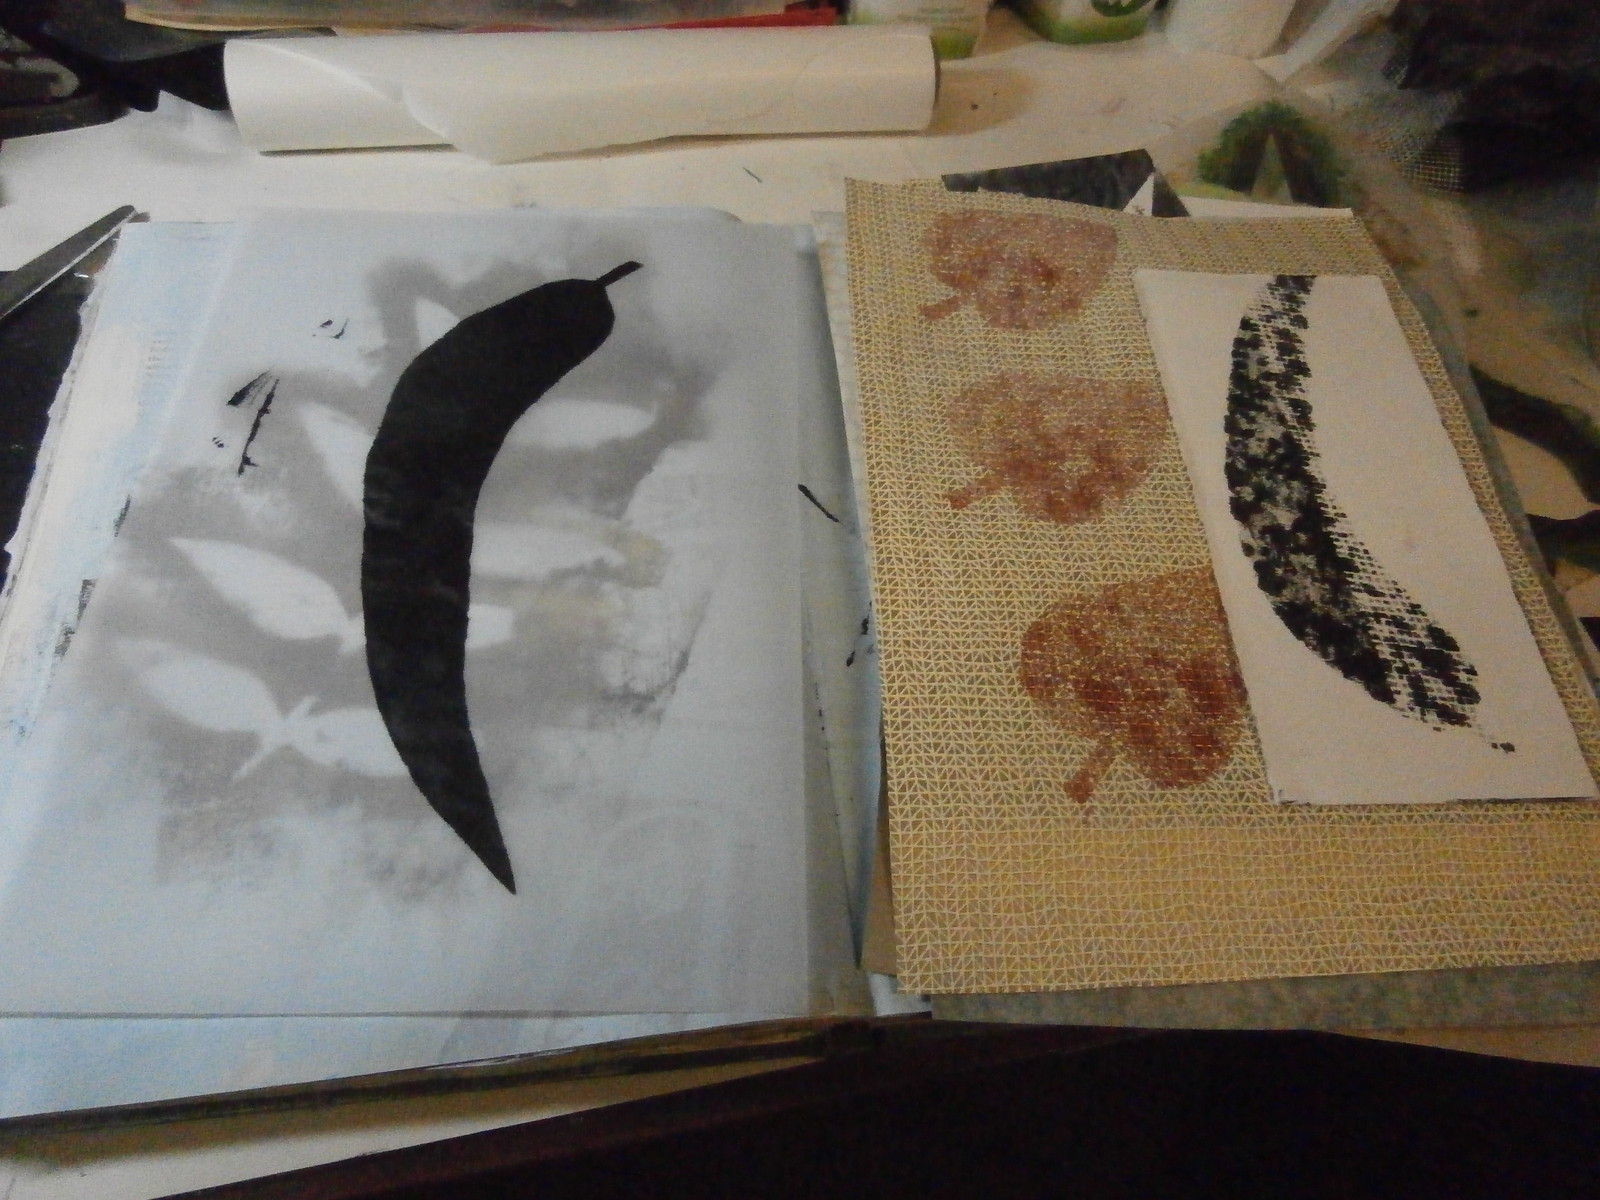
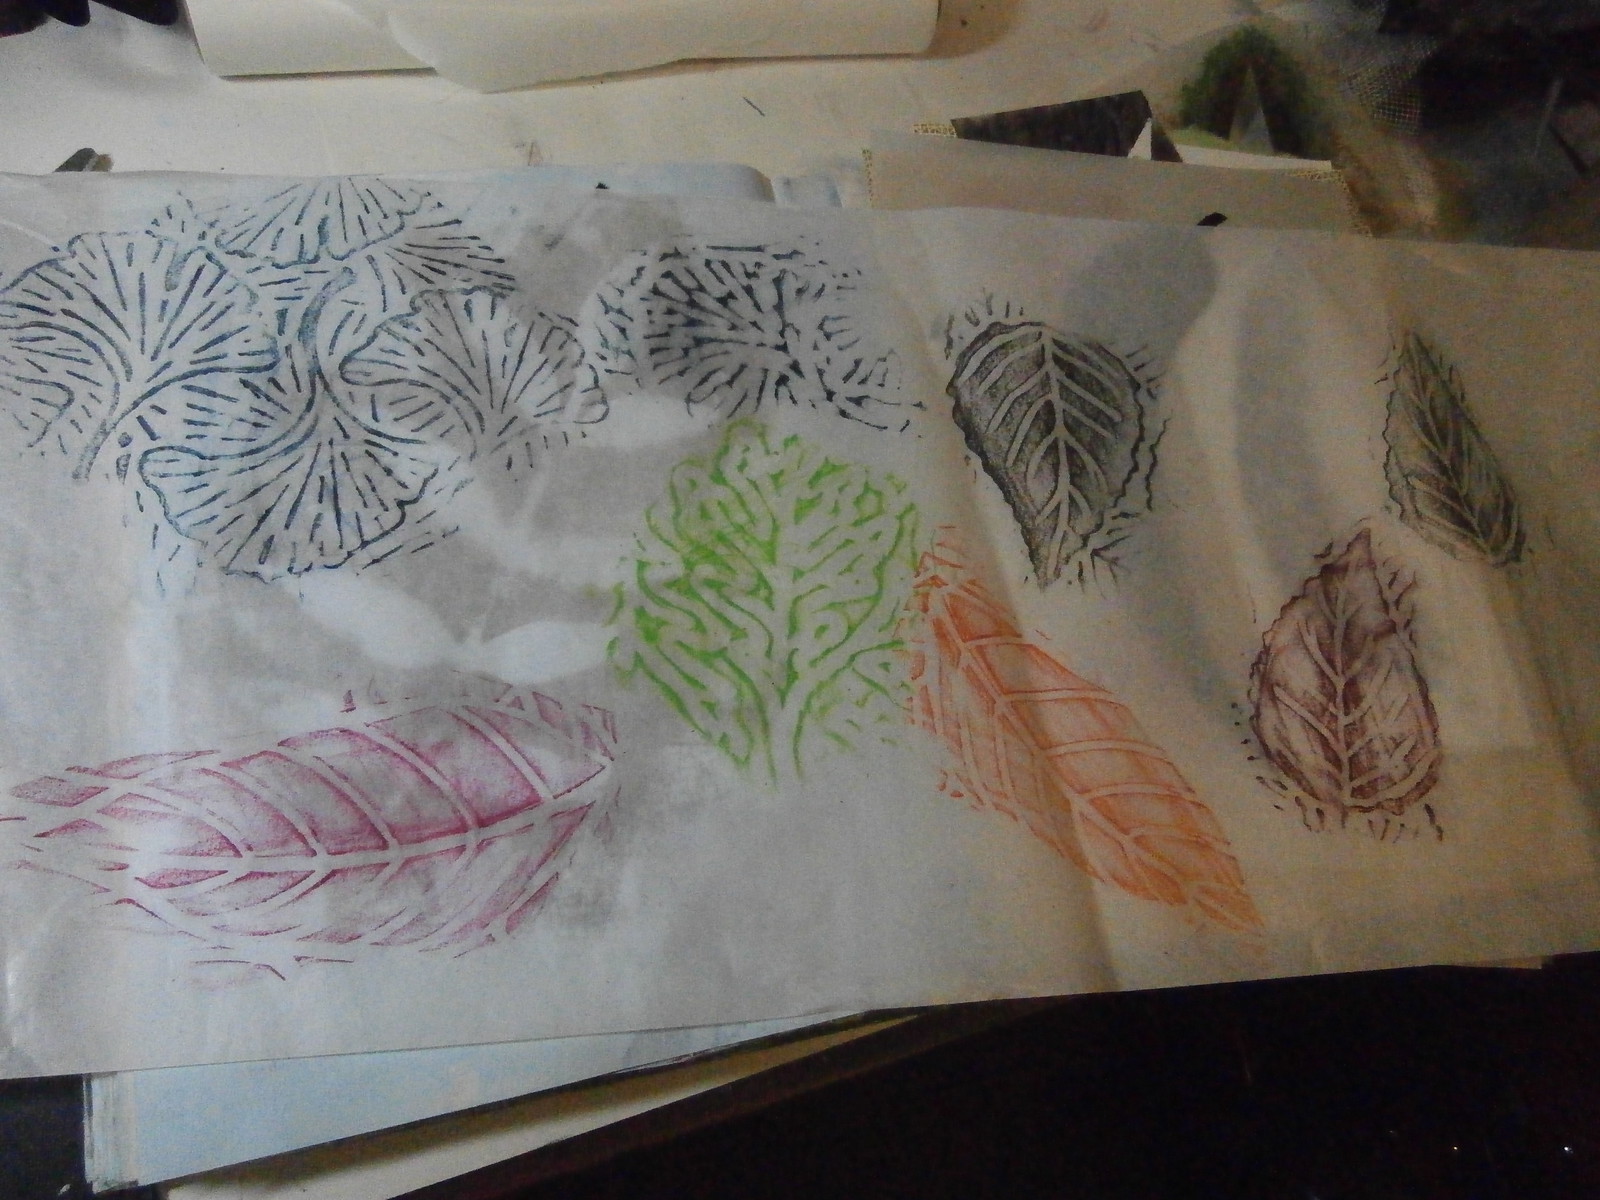
Anyhow, over the last week I have been working on stamping, stencilling and painting leaves for that book. I thought you might like to see some of the bits and pieces I put together.
In the picture above are some of the bits and pieces I have collected to do with leaves.  A large number of stencils and stamps, and lots of different papers.  Although I generally use altered books for my sketchbooks, sometimes I add other pages when the need or the desire arises.
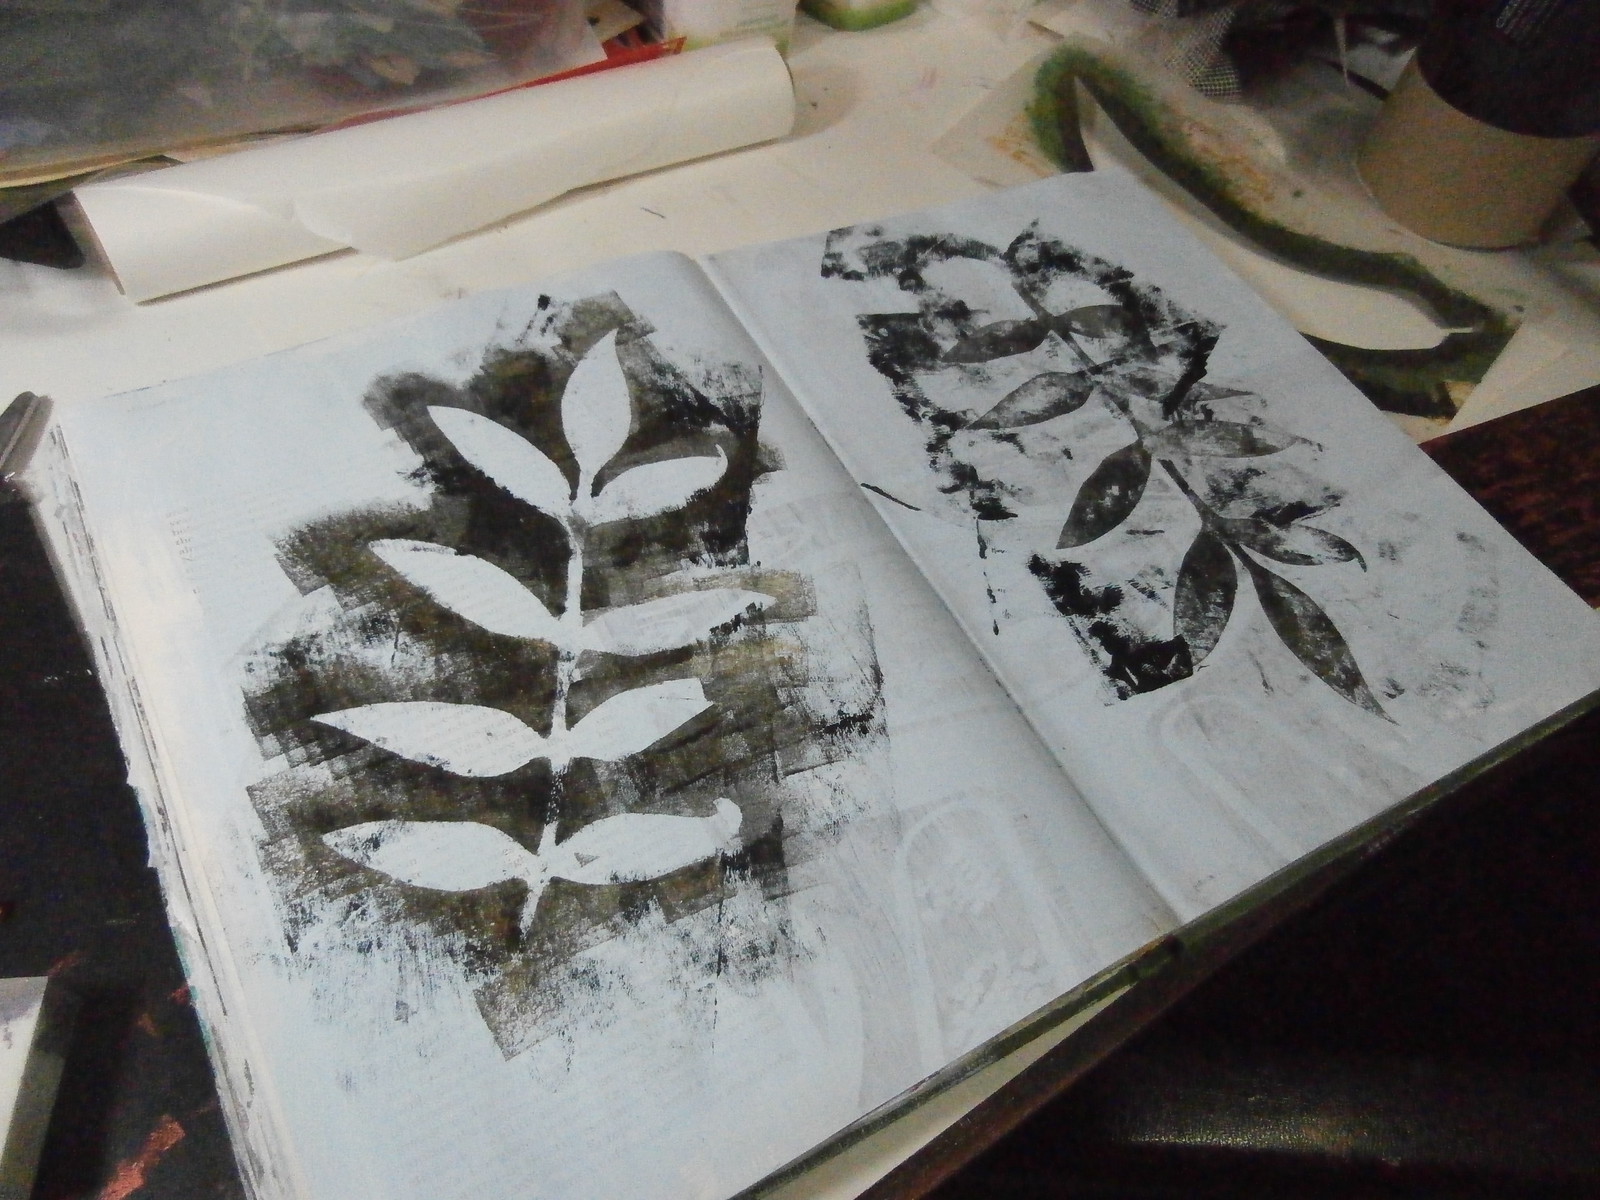
This page in the book used a mask I made from a sprig of leaves.  On the left, I rolled over the mask with black and gold paint, and on the right, I placed the mask, paint side down and rollered over it to get a positive.
The tree gum leaves are stencilled onto a sticker sheet, so when I put them on the page, they will form a mosaic.  The small gum leaves are stamped through plasterer's mesh and the gingko and ferny leaf are stamps
The large gum leaf on the left was stencilled by patting with a dirty baby wipe!  The next two large gum leaves used the mask and the stencil together.  The writing is stamped and the colour is sponged.  The three pale leaves are masks done with black on wallpaper and the last three leaves are stamps on handmade paper.
The three leaves on the left are the positive of the last stamp on the bottom right in the previous photo.  I made them at the same time.  These are on brown paper.  The three pages of gold leaves were stamped with foam shapes on wallpaper, Grey flecked paper and tracing paper.
The large black gum leaf on the left is stencilled on tracing paper.  I love how it shows some of the page underneath.  The gold leaves are the same sponge from the previous photo, but on a textured wallpaper.  The last partial leaf was sponged over a piece of plasterer's mesh placed partially under it.
These are all rubbings from commercial rubbing plates.  The two black ones at the right are done with oil pastel.  The rest are with inktense blocks.  Oil pastel is a resist, whilst the inktense is like watercolour pencils and I can work into them both in different ways.
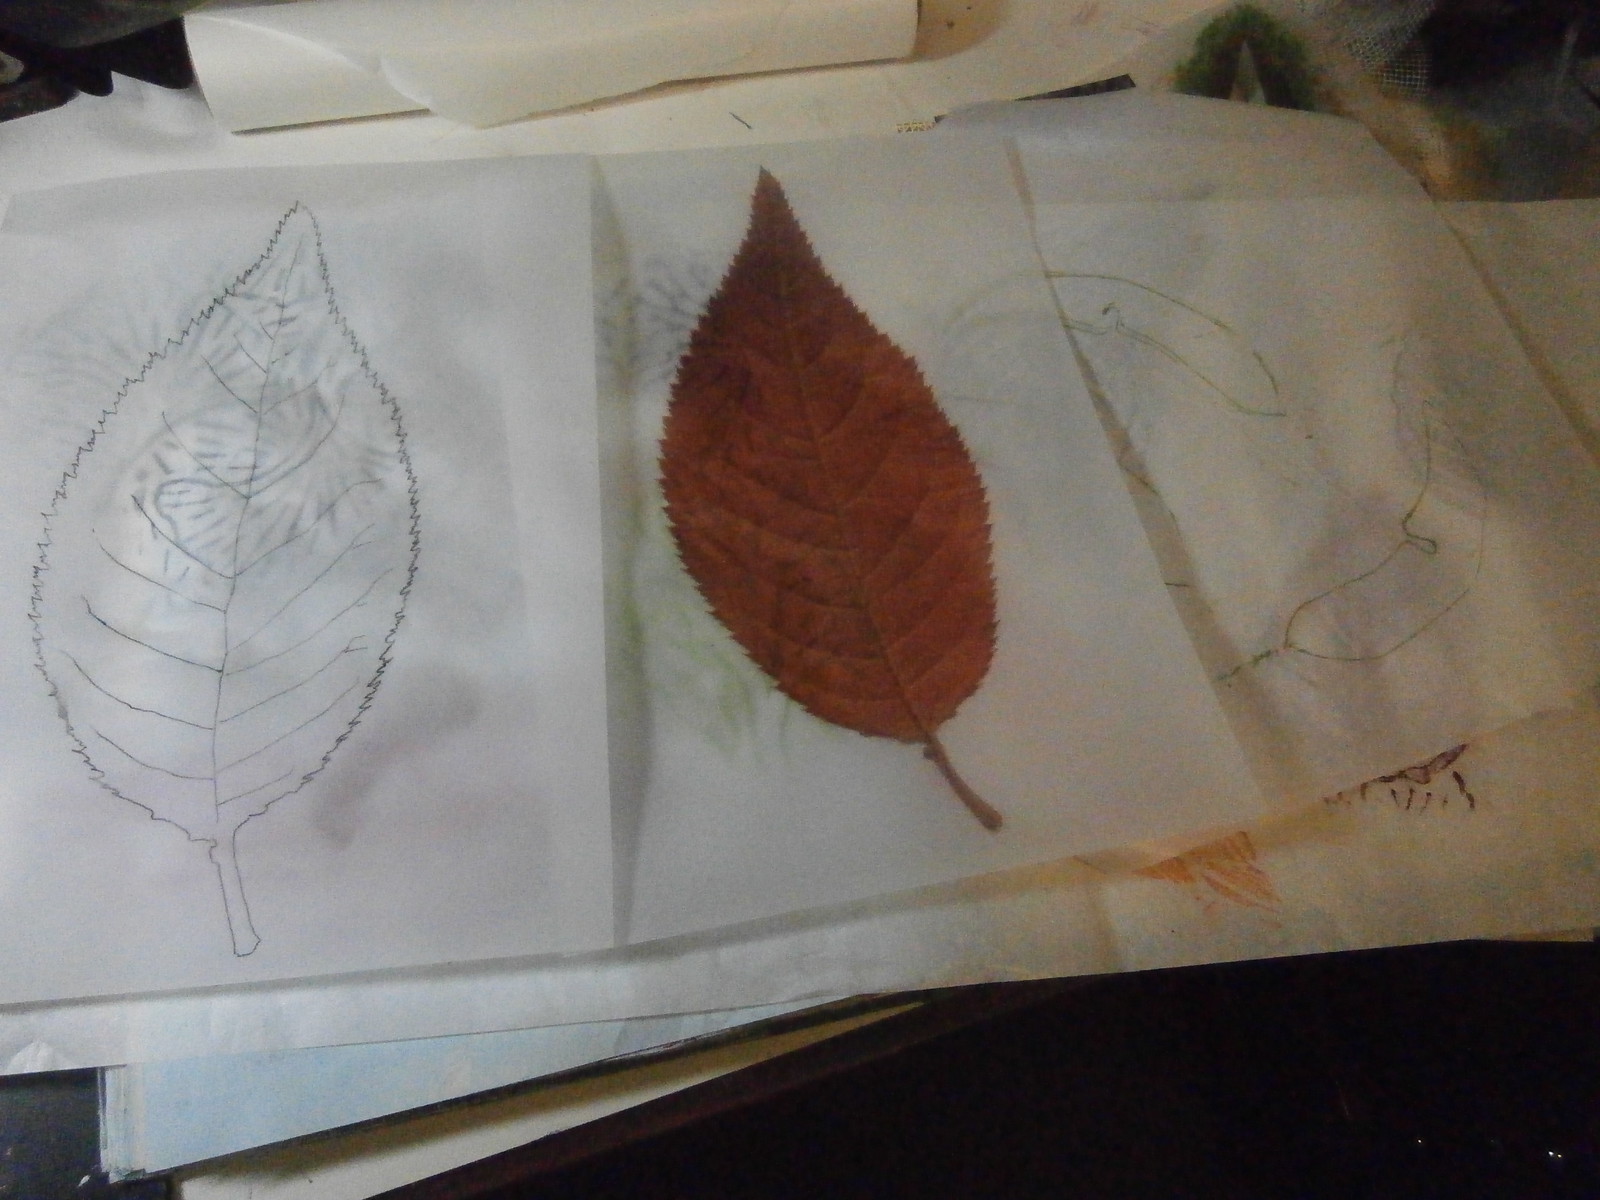
These two leaves are from a photo.  The left one is a tracing on tracing paper, whilst the right one is a printout from my computer on the same tracing paper.  If you look very carefully, on the far right are some rubbings from a gumleaf bent from wire on deli paper.
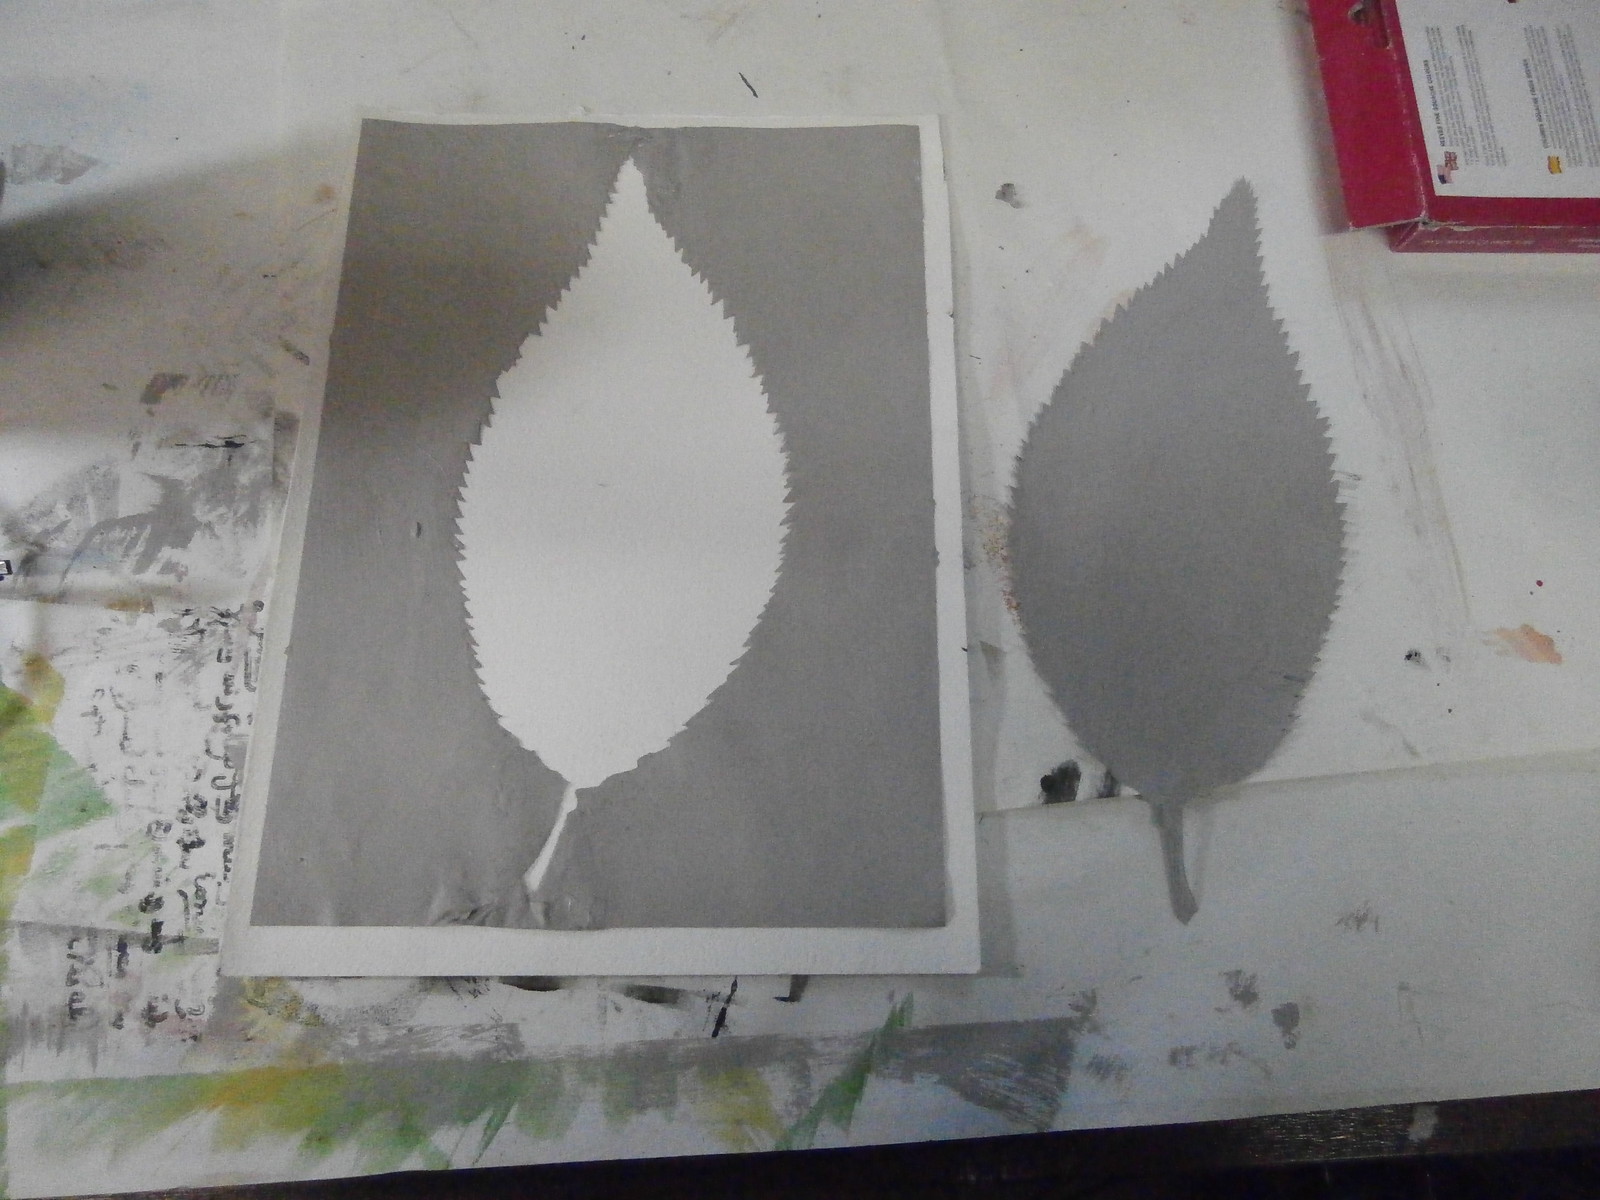
This is a leaf stencil and mask that I made from an inkjet printout of the leaf in the picture above.  I cut it with a scalpel to get all the details of the edge.  I used it, then thought, I want to keep using it. I wonder what would happen if I painted it with acrylic house paint?  Would it make it re-useable?  And it did.  I painted both sides, drying each in turn and then repainted it and reinforced the top and bottom where there is not much space.  so now I have a stencil and mask set to use over and over again!
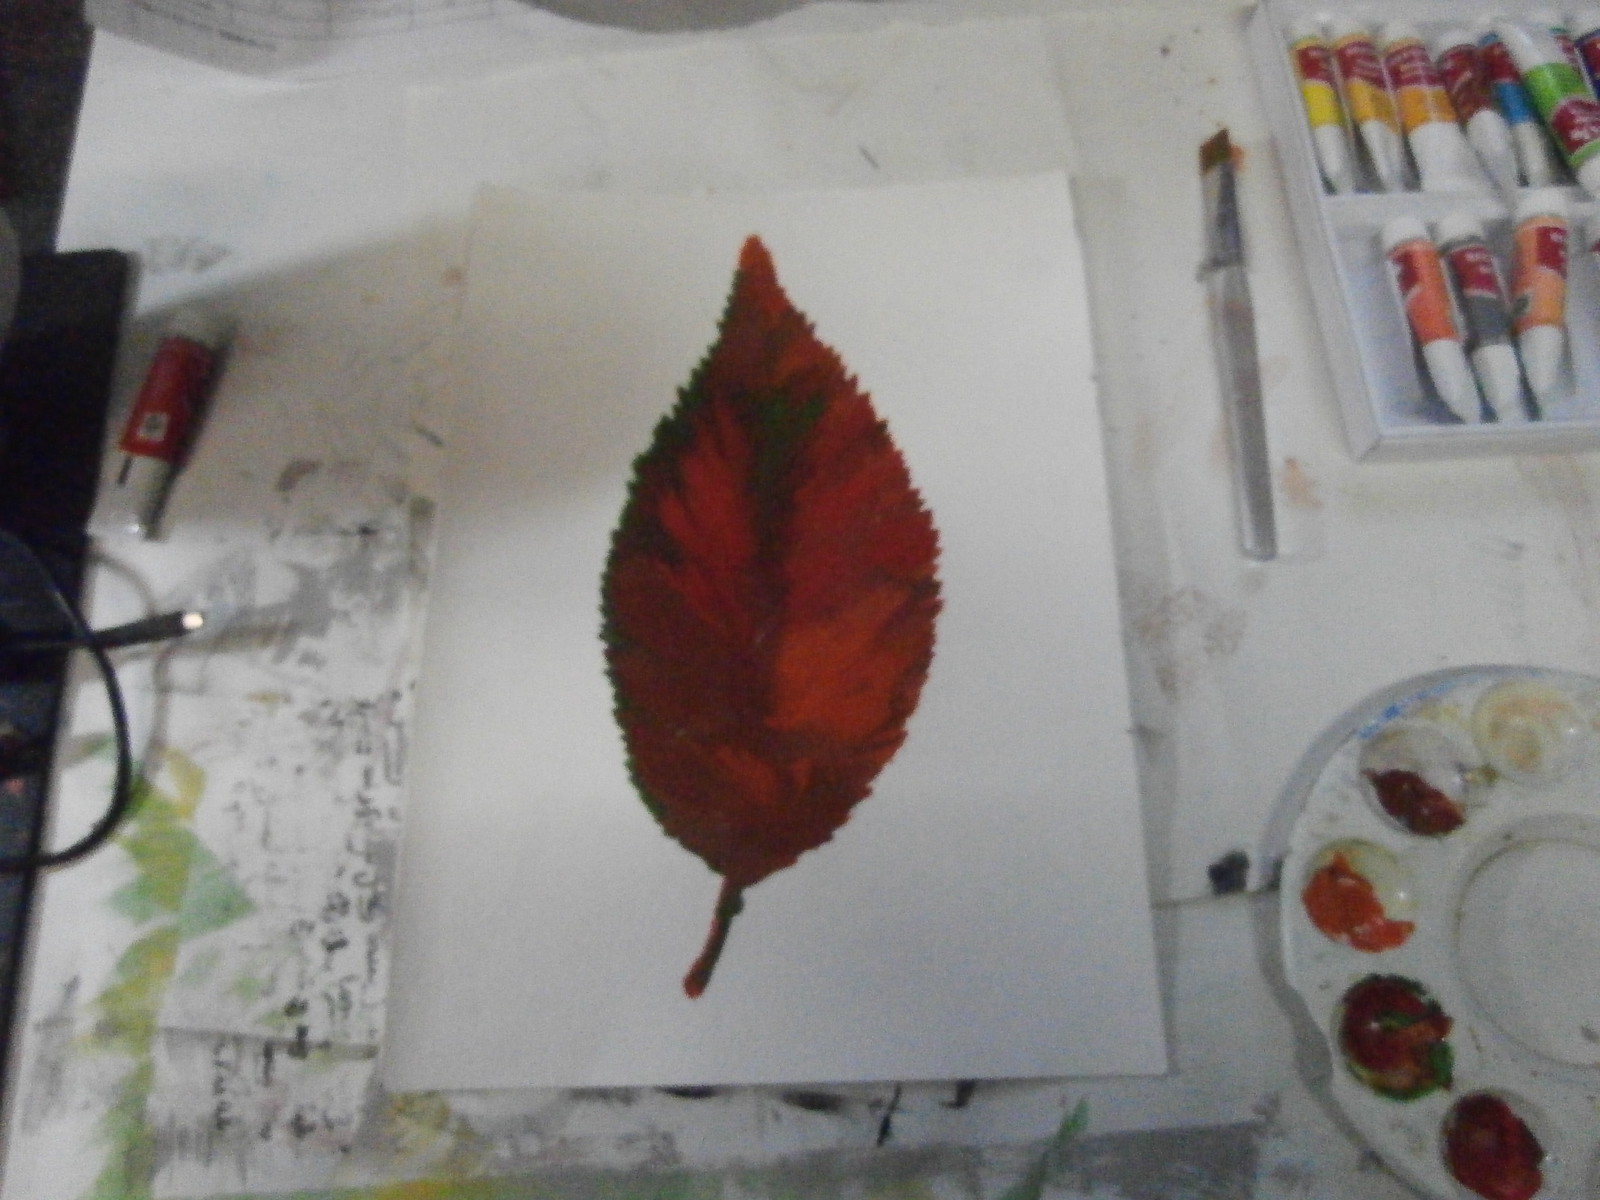
Here is a leaf I painted using the stencil onto HEAVY watercolour paper.  I used gouache, which is sort of like watercolour as it can re dissolve, but also like acrylic in being thick and opaque.
I let it dry thoroughly, then painted over the whole thing with black sumi drawing ink.  And I mean covered!
Then I let the ink dry totally.
When the ink was dry, I took the paper and WASHED it under the tap.  Miraculously, the ink washed off where the gouache was but not where there was clean paper.
I had been dying to try this out since I saw it on Design Matters TV and also in a Margaret Peot video.  As you can see above, I liked it so much, I did it again!
I have done a bit more than this and have put many pages together, but that will have to wait for another post!


Happy Creating!

Monday, March 10, 2014

Back again

After our little fright yesterday,  all is safe.  Luckily the weather yesterday was not as extreme as it is today.  It is very hot with a hot wind.  Autumn is still a few weeks away yet, I expect.  The CFA are still working, but it is all under control.  At this time of year, it takes weeks sometimes for fires actually to be extinguished properly,  but we are safe although watchful of course.  Thank you all for your thoughts.

Obviously I did not get around to doing digital drawing this week, but I will get back on the wagon next sunday

Anyway,  I told you I had been bogged down with homework, and my little break each day has been to watch Julie Fei fan Balzer's Webcasts,  which you can see recordings of here.
It was a great series and I loved it.  And as I was thinking about it this morning, I had one of those aha! moments.
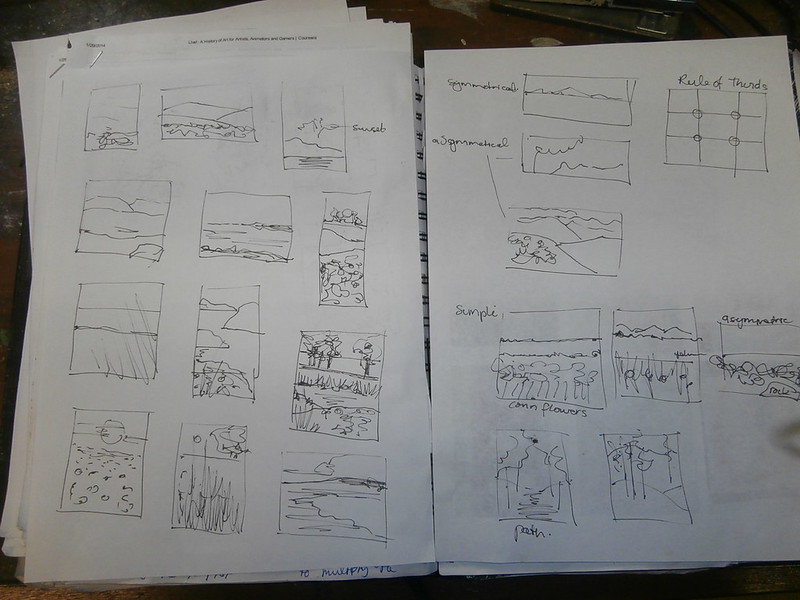
In one of the courses,  I had been thinking a lot about landscape and last night whilst I was watching fire watch warnings,  I sketched quite a number of landscape thumbnails.
Here are a few.  I did pages and pages.  I wanted to see what different compositions I could come up with.
Whilst I was watching Julie this morning,  it occurred to me that I could make some little stencils to make little prints of these.  So I did.
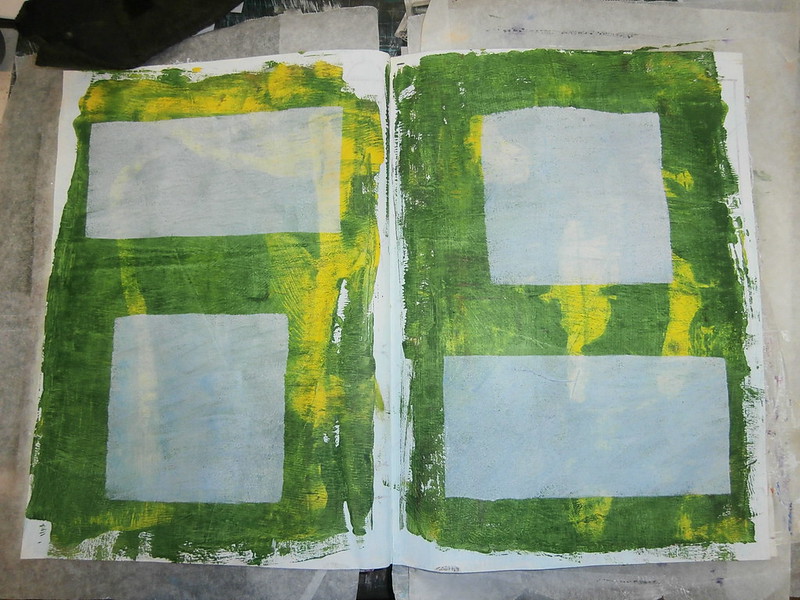
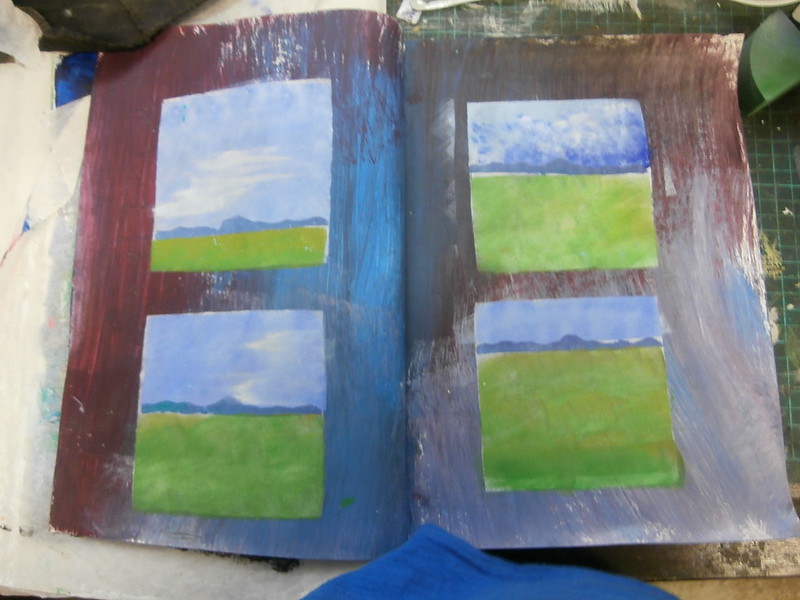
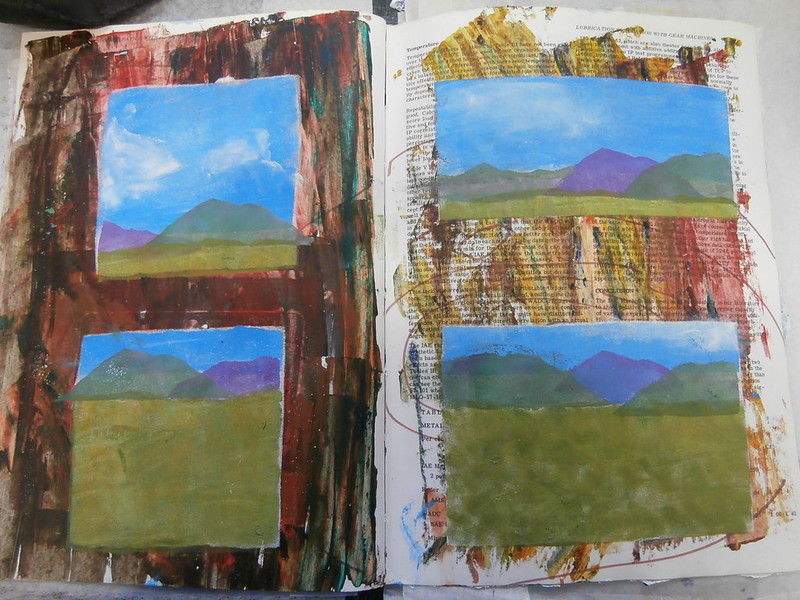
Here are some of the images I got.

At this stage I have only got basic landscapes, but later I will add trees and grass and flowers etc in the foreground, but I had to stop because the paint was drying before I could get it on the page.  Too hot!
Here are some more
At least they will be dry when I get back to them, no worries about that!
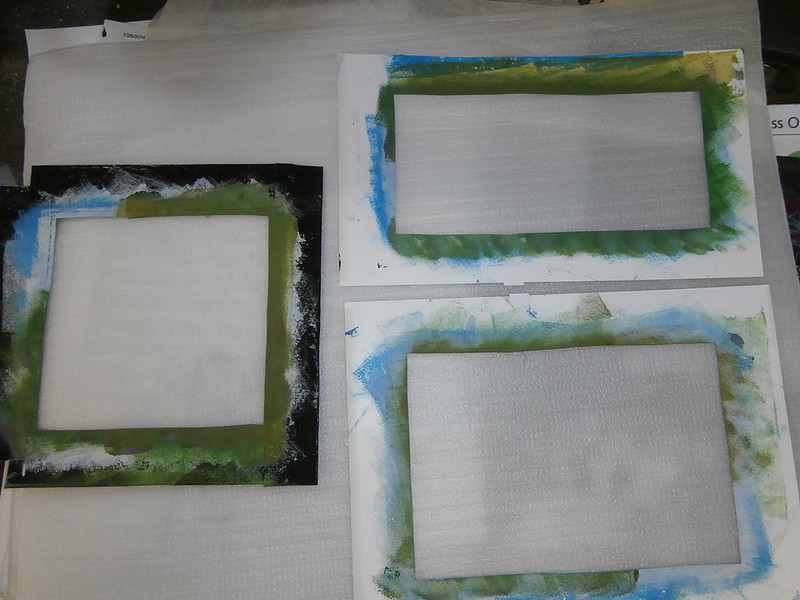
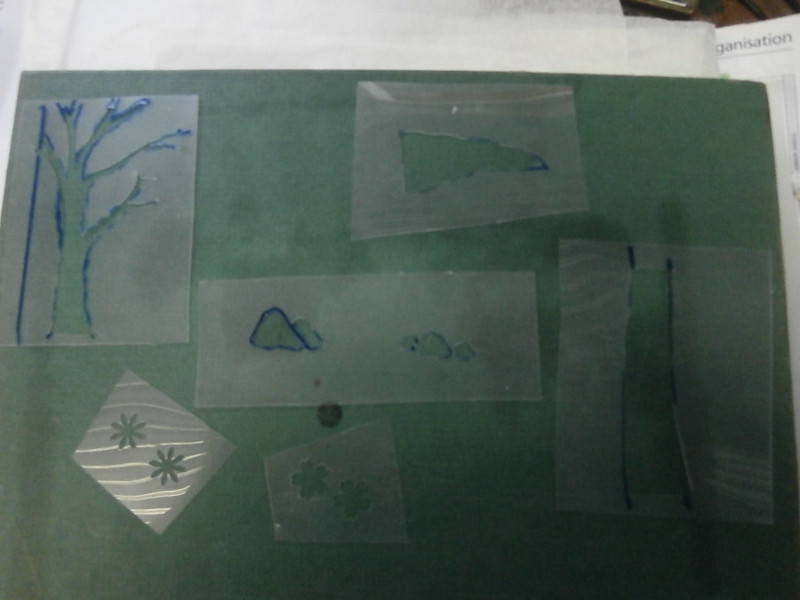
I did forget to take photos.  You know you get going and everything flies out the window,  but basically here are a few of the shapes of the stencils I created
These are the basic frame shapes I was interested in.  Well used now, as you can see.
Because I was using an altered book backgrounds already slapped on,  I started by stenciling the frame shapes in gesso
Then I   put in some sky with blue paint at different heights and levels  and when that was dry I used some of 
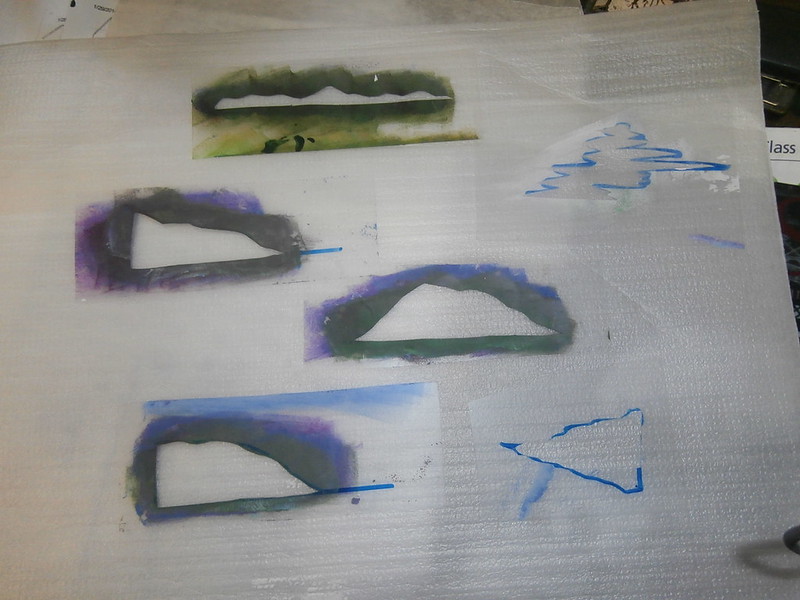
The stencils above to put in the horizon.  I did make a cloud stencil, but I didn't actually like it, so I put clouds in by hand with a bit of gesso.  Lastly,  I put in a green foreground.  
 I also made these - trees and rocks and a few little flowers I cut with a die cutter.  
This will be the next step, to add the foreground elements.  I didn't make grass shapes or bush shapes, because I think it will be easier to put them in with a brush.

I was quite pleased with this result and think it will be a useful tool in my course,  and also in the workshop I will be attending at the Quilt convention next month.
Although I have done landscapes in paint and fabric for many years,  I have never studied the compositions and elements as closely as this and these little stencils will help me create lots and lots of different ideas for new work,  and in a simple and pleasing way, because keeping it simple is the best way,  but you will have to agree,  these are much more interesting than the sketches and are more likely to inspire me!

Happy creating!

Friday, March 7, 2014

Almost forgot

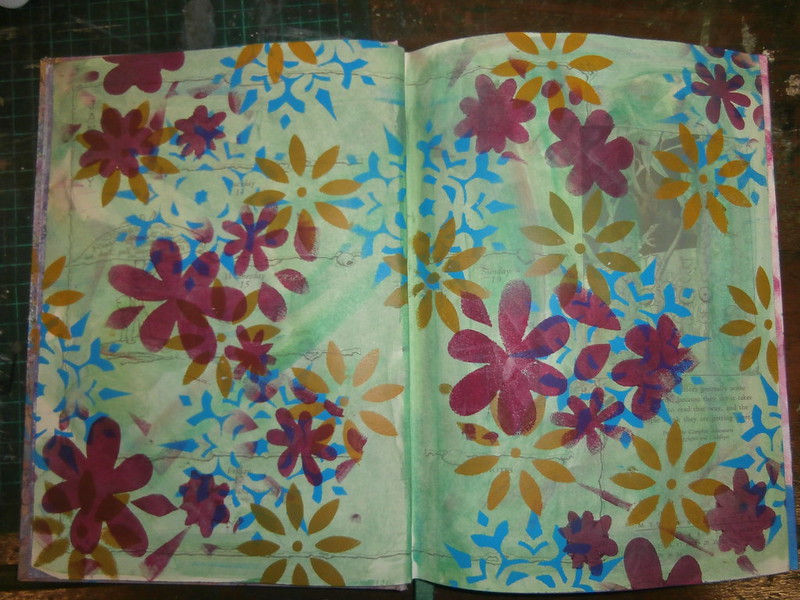
I watched Julie Fei fan Balzer's spreecast this afternoon and got so carried away I forgot totally about blogging, so today I will just share some backgrounds I did yesterday in my journal.
This one was done with a variety of flowers and a snowflake stencil
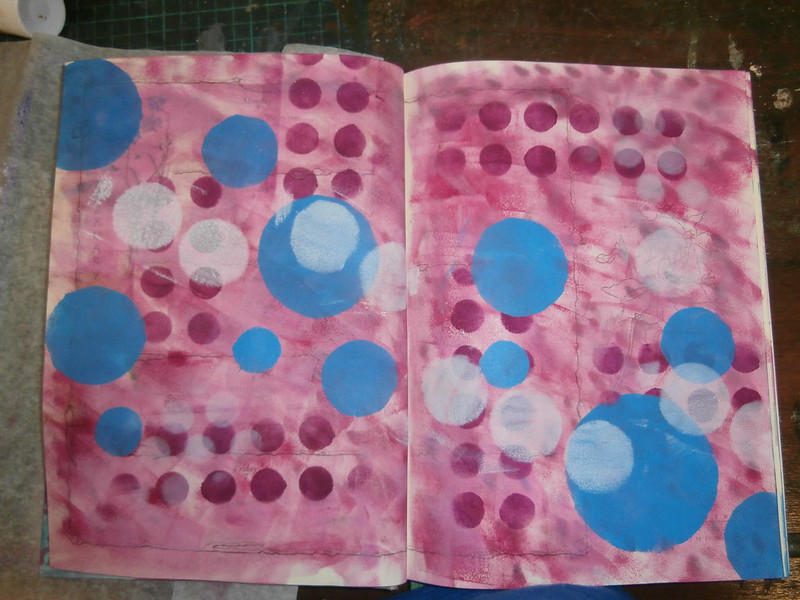
And this one used circle stencils that I have collected from a variety of places.  None of them actually stencils, of course, just stuff other people would throw away.

Julie is hosting a series of free spreecasts this week and you can find the archived ones and the timetable for upcoming ones here.
They are really well worth watching!

Happy creating!
Thursday, January 30, 2014

A day off

Today I was having trouble with my muse, so I just dropped the routine and did some painting.
A couple of days ago Cloth paper scissors and Create Mixed media hosted a webinar with Mary Beth Shaw.  It was, of course, on using stencils as she is the stencil girl.
I was really inspired by the sketchbook she used in the webinar and felt like playing around with her techniques.  (The webinar is available here.)
So here are a few pages, which are really backgrounds, but I like them so much I think I will just fill the book with them.
Obviously this one is a favourite, with all the leaves.
This one is a bit more geometric.
Another favourite, with lace sort of designs and purple of course.
Another purple one, but with lots of different stencils on it.
I did enjoy doing this, at least until it got too hot in my studio and the paint started to dry on my fingers and the make up sponges before I could get it on the page.  Stencilling is best kept pretty dry, but not that dry.

Happy creating!

Saturday, December 14, 2013

How to be creative without producing anything

I have been very creative today, but it did not yield results.....yet.
I was inspired to do some digital collage by a post here.
But long long ago, when I was using photoshop elements, it seemed easy.  My new laptop only has Gimp.  I know I can do what I want, but the how is another thing.  It did not happen today, but I will keep trying (or I will go and get photoshop elements again)
so What have I got to show? Not much - two started journal pages.

CCI14122013_00000
This page is a rubbing over wire (which I learnt from design matters tv), using water soluble crayons. needs more work, of course.

CCI14122013_00001
This page is using a couple of things i created today.  On the left is a stencil I created from one of my drawings and on the right is a stamp I created using fun foam after watching the new Art journaling Live recording from Interweave.  It is not a new technique, i have seen it before, but the video was very inspiring.  It was the tracey Bautista part of the video.
I really like both the stamp and the stencil, but of course i need to play with them a bit more.

Happy creating!
Friday, November 29, 2013

Fabric Fix

Day 29 of AEDM!
It has been a while since I posted any textile work.  I have been working, but not anything finished to show.
So today I had my fifteen minute fix.  It was one of those pieces that came together quickly, perhaps a bit more than fifteen minutes, but not much.
I do find that this often happens when I have nothing in mind; the ideas seem to come quickly when I throw away the rules.

And here is what I have put together.  Not finished yet, but perhaps you can help me with that!
I decided to look at some textile videos (I always have videos running in my studio) and the first which came up was Pokey Bolton's Needlefelting video.  So I got out the embellisher.
I thought a tiny bit about what to do and feathers came into my mind (all those journal pages with feathers came to me) and I had a few ideas in mind, but when I went down to the machine, I saw a scrap of felt.  My original idea was to use yarns to make the feathers (and I still might do that), but on the shelf nearby was some gorgeous silk weave that a friend had given me (saying " You'll think of something to do with it")
Perfect!
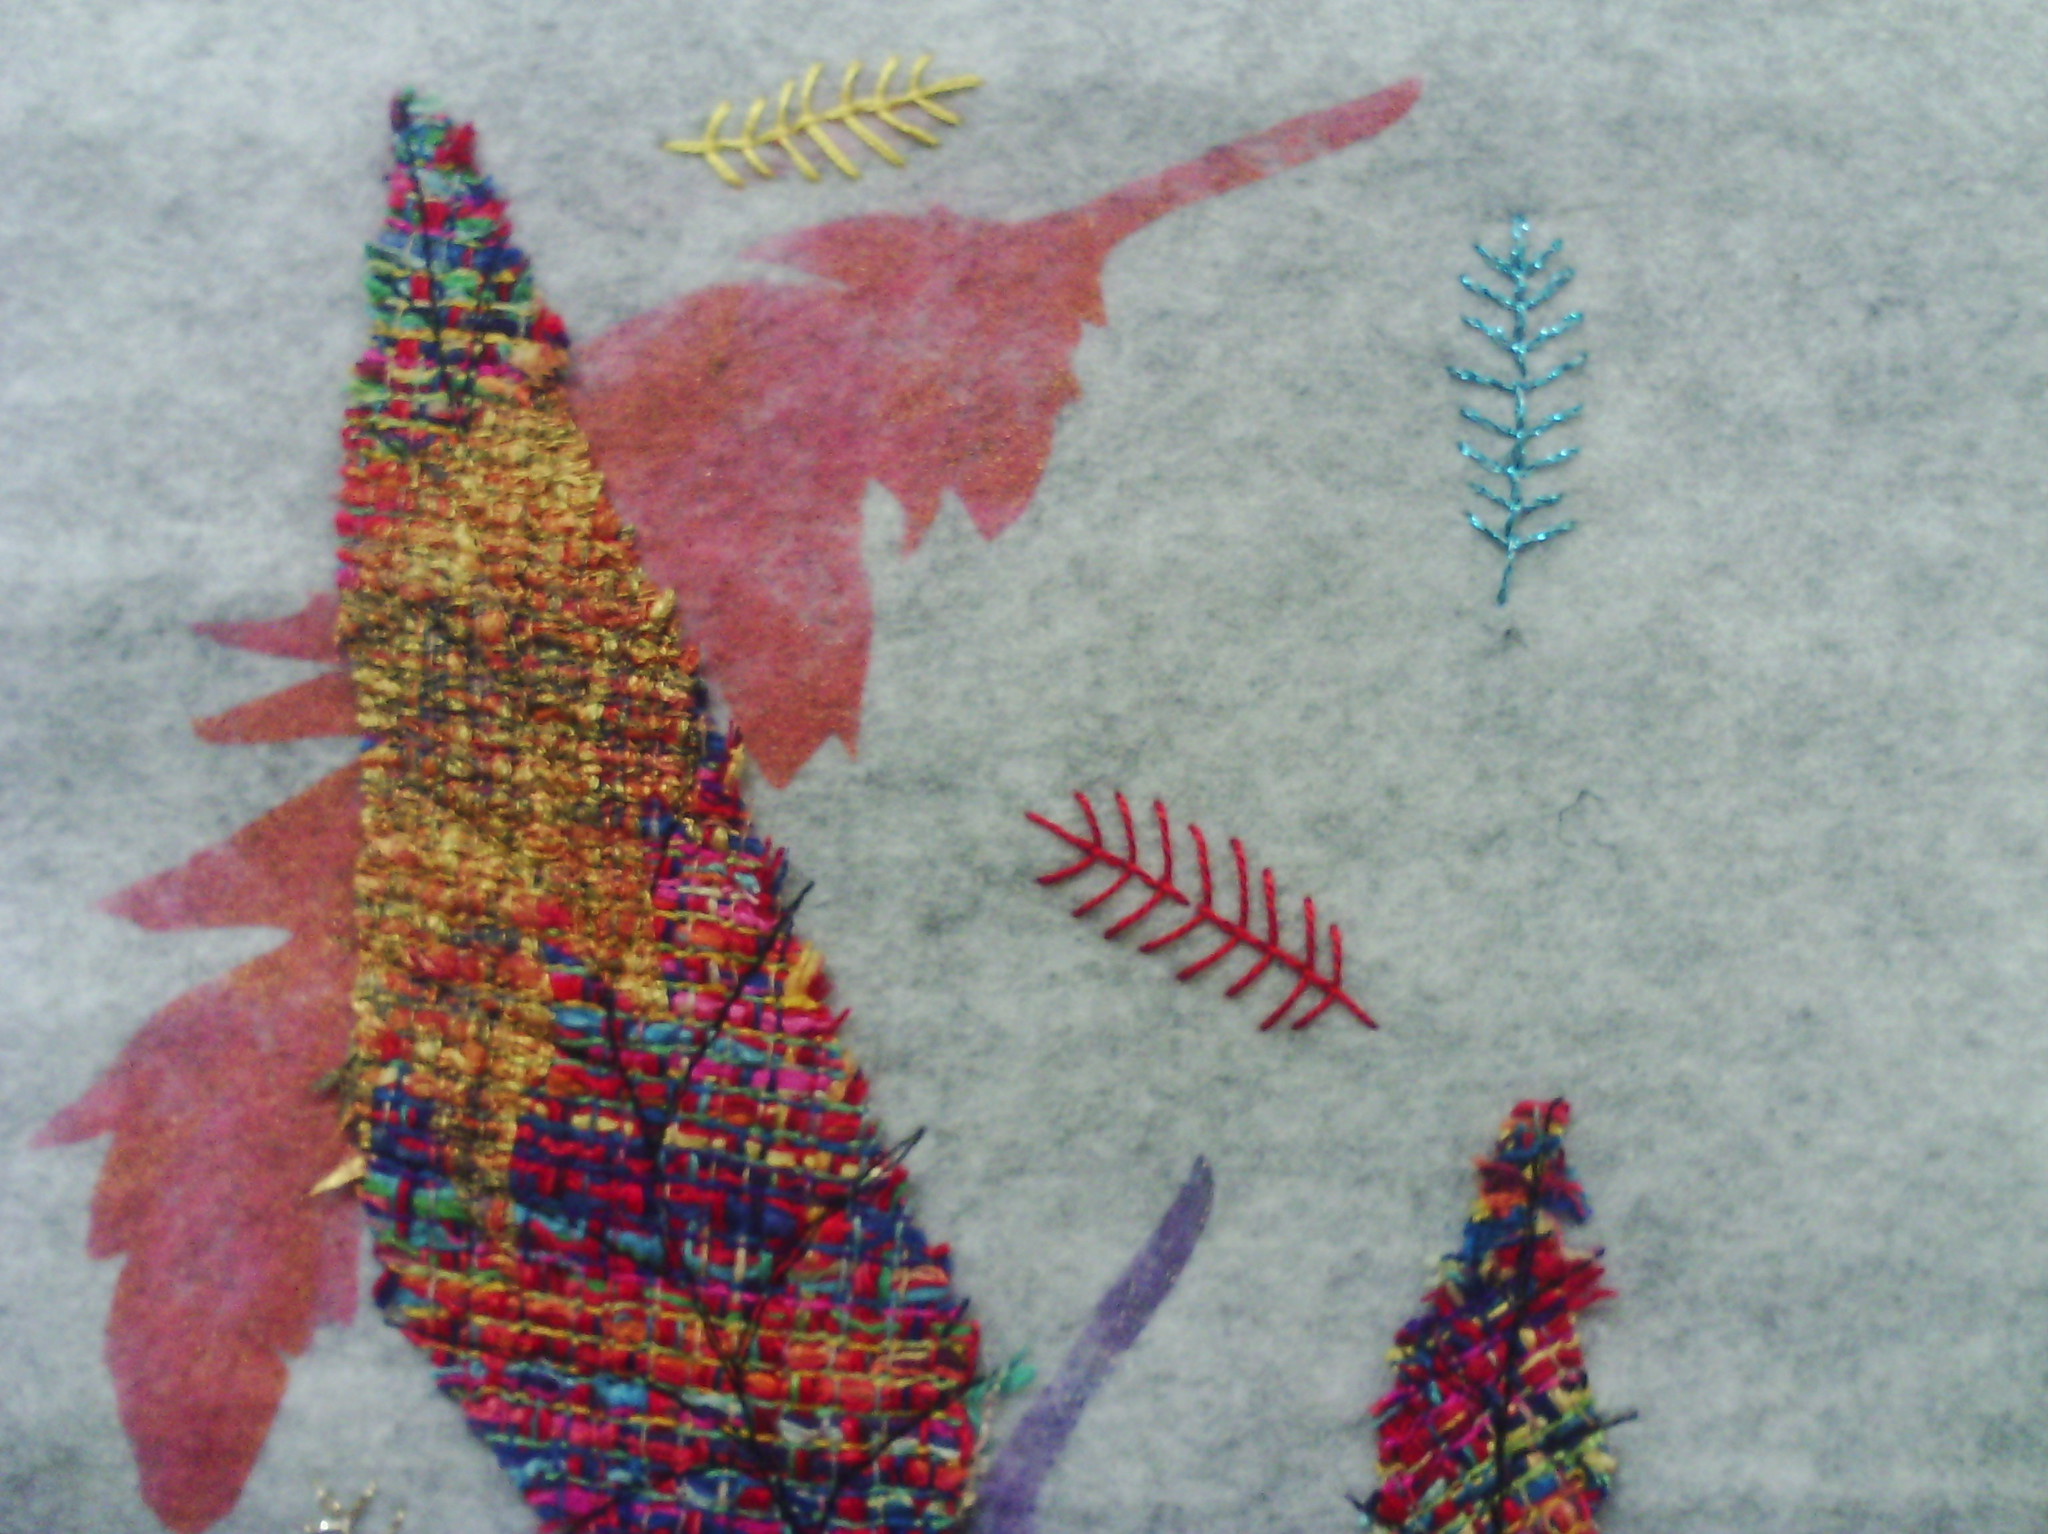
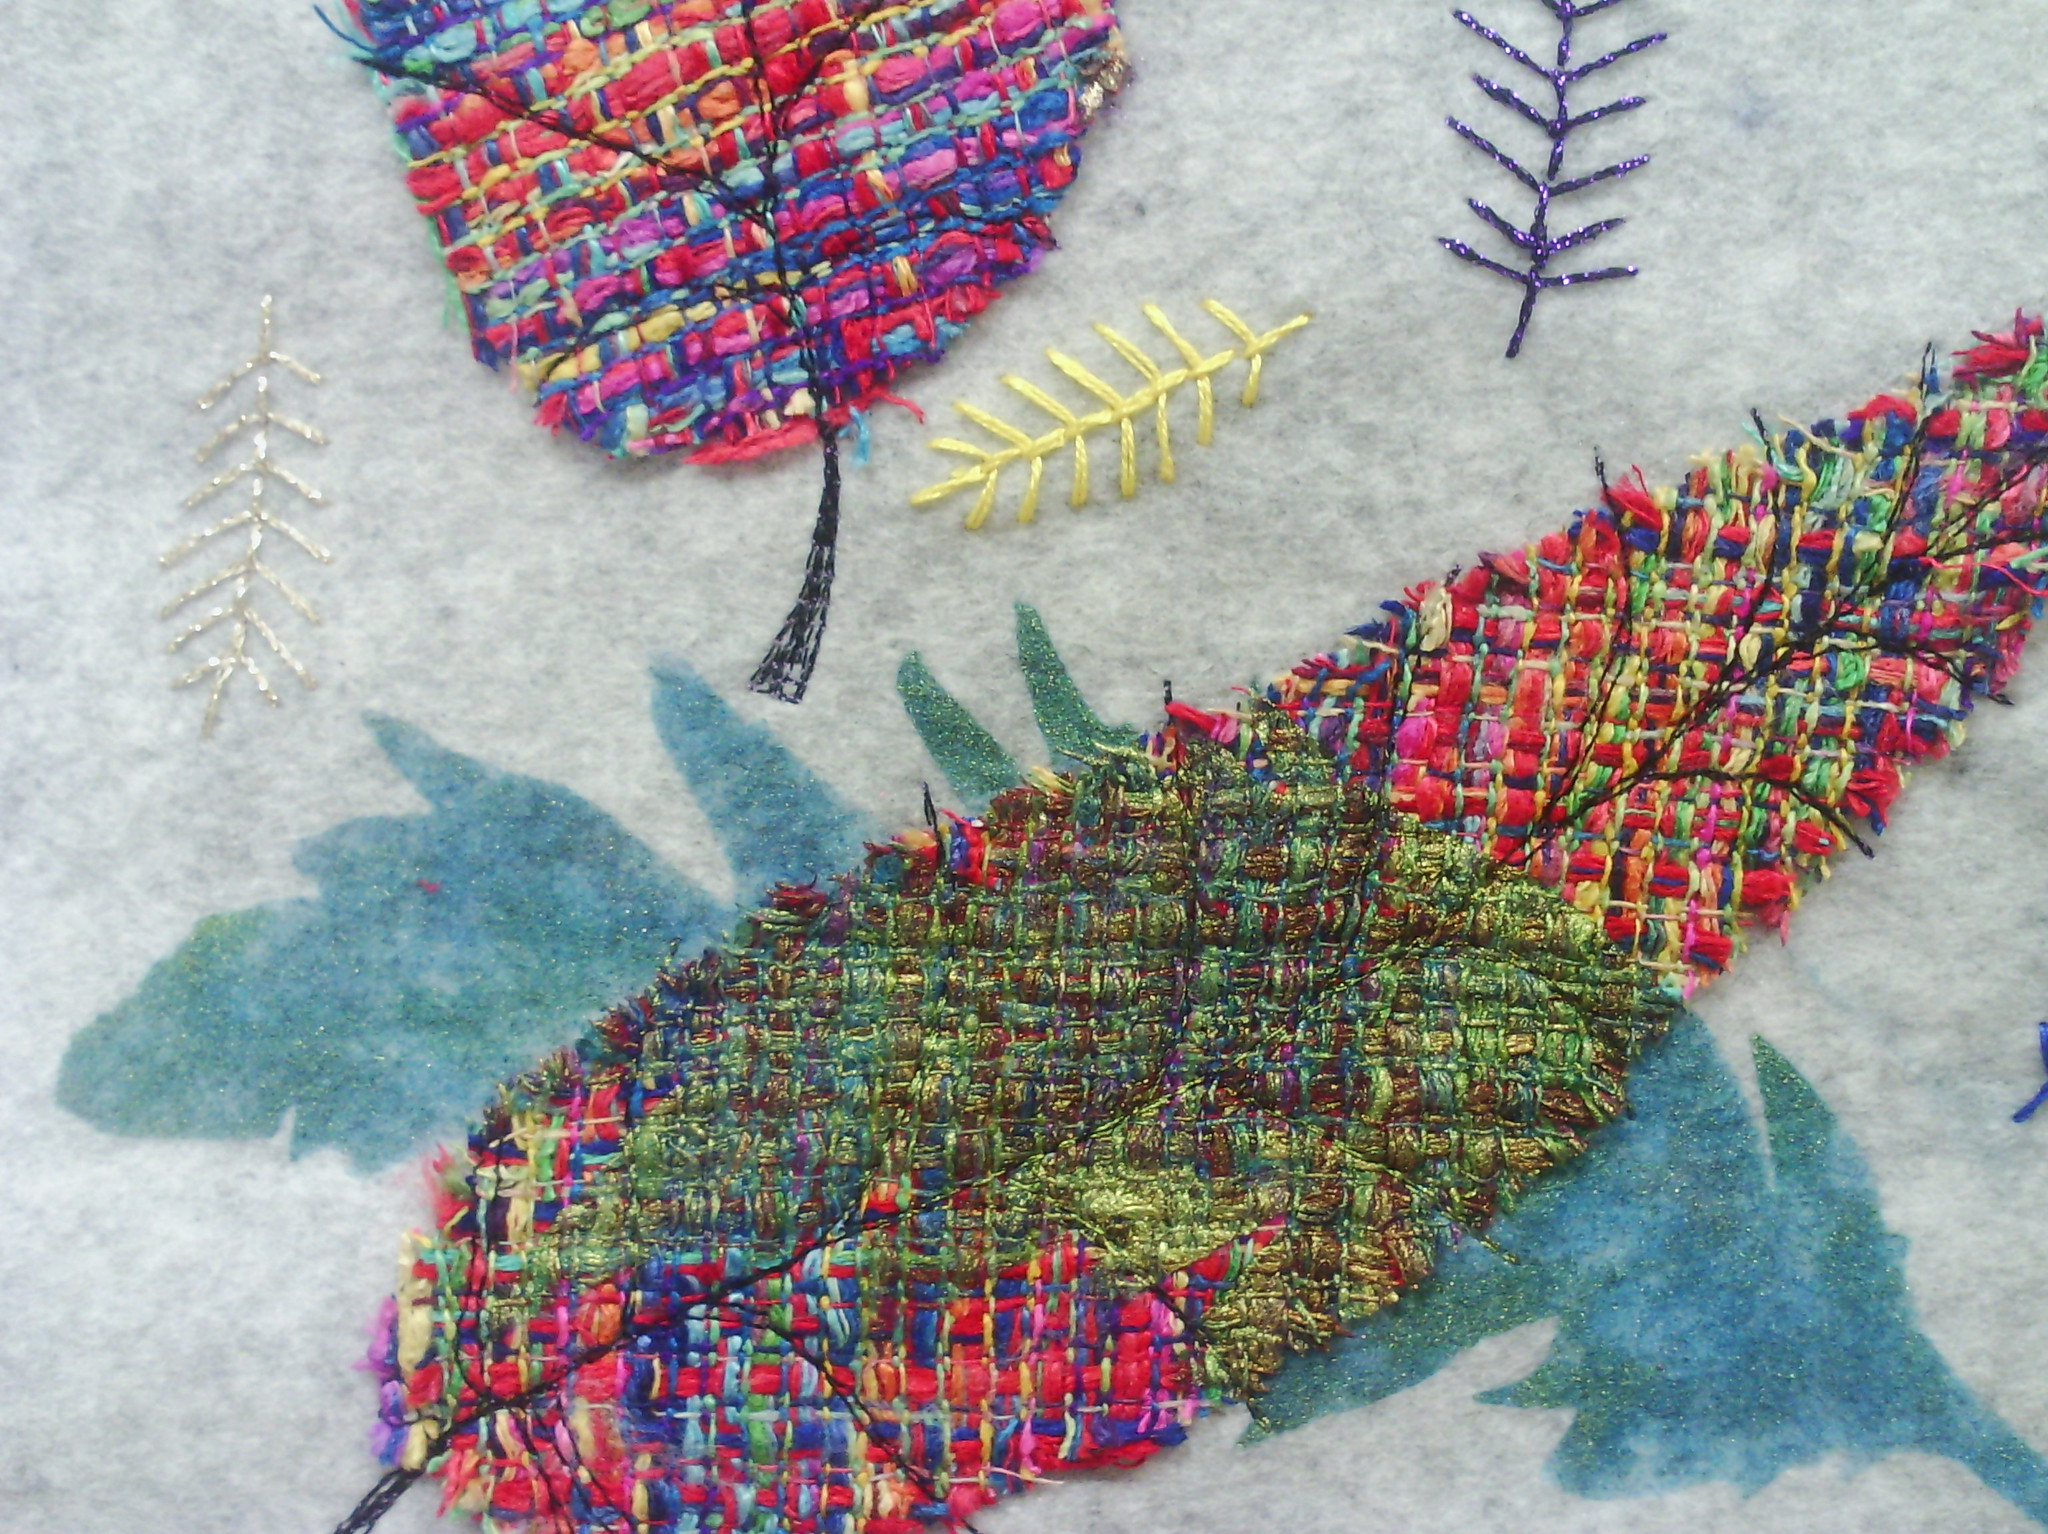
So I cut some feather shapes out and just needlefelted them down with the embellisher.
You can see the gorgeous woven texture of the silk in this picture.  I paid a lot of attention to the edges when I was needlefelting, which made them fray nicely.
When I had done that, I threaded up with Black thread and free motioned over them to make the stems and some side branches.
At this stage, I knew I needed more, and indended to do some sheer raw edge applique, but all my sheers were all still in the car from teaching a class and since it is 42 steps down and 42 steps back, I was too lazy to go and get it.
Opportunity!  I saw a feather stencil sitting on my journaling table and thought, let's add some stencilling.  The lumiere paints were just there so I used them, intending to add a bit of bling.
You can see in the photo above that a strange thing happened.  In the felt, the paint took on the base colour (this was rose gold) and the silk took on more of the metallic part of the paint.
WOW!  I loved that, so I tried a few more colours.
This was the blue gold and it did the same thing.  I also used violet gold, but I didn't overlap it much, so I  didn't take a photo.
I still felt it needed more and got some beads out, but as I sat down to start, I saw some candlelight thread I bought on a recent trip.  YUM!  so I embroidered some feathers - using feather stitch of course!  I also added a few feathers in the colours in the silk fabric - yellow, red and blue.
And that is where I am at.
I am not sure where to go next - whether to add more stitching and what method for binding.  I am leaning towards beading the edge and adding some seed stitch, but you are welcome to leave suggestions.
And that was my fabric fix.

Happy creating!

Wednesday, November 20, 2013

A few stencils, and voila!
Here is my piece for Art Every Day Month, Day 20!

It is a 9 inch canvas.  I put down some acrylic colours, using a scraper to get streaks of colour, then when it was dry, I added some feathers in molding paste through a stencil.  When they were dry, I added the blue ink spray through a stencil, then after that was dry, I paintedthe feathers with some different lumiere paint. After that was dry (again) I added some black around the edges of the feathers with a black ink marker.  Since the ink was watersoluble, I went back with a damp brush and feathered the black out to create shadows.
It depends on the angle you look at it as to whether you see the sheen of the metallic paints.
I was pretty pleased with it.  Hope you like it.

Happy creating

Thursday, October 3, 2013

More monoprinting - feathers

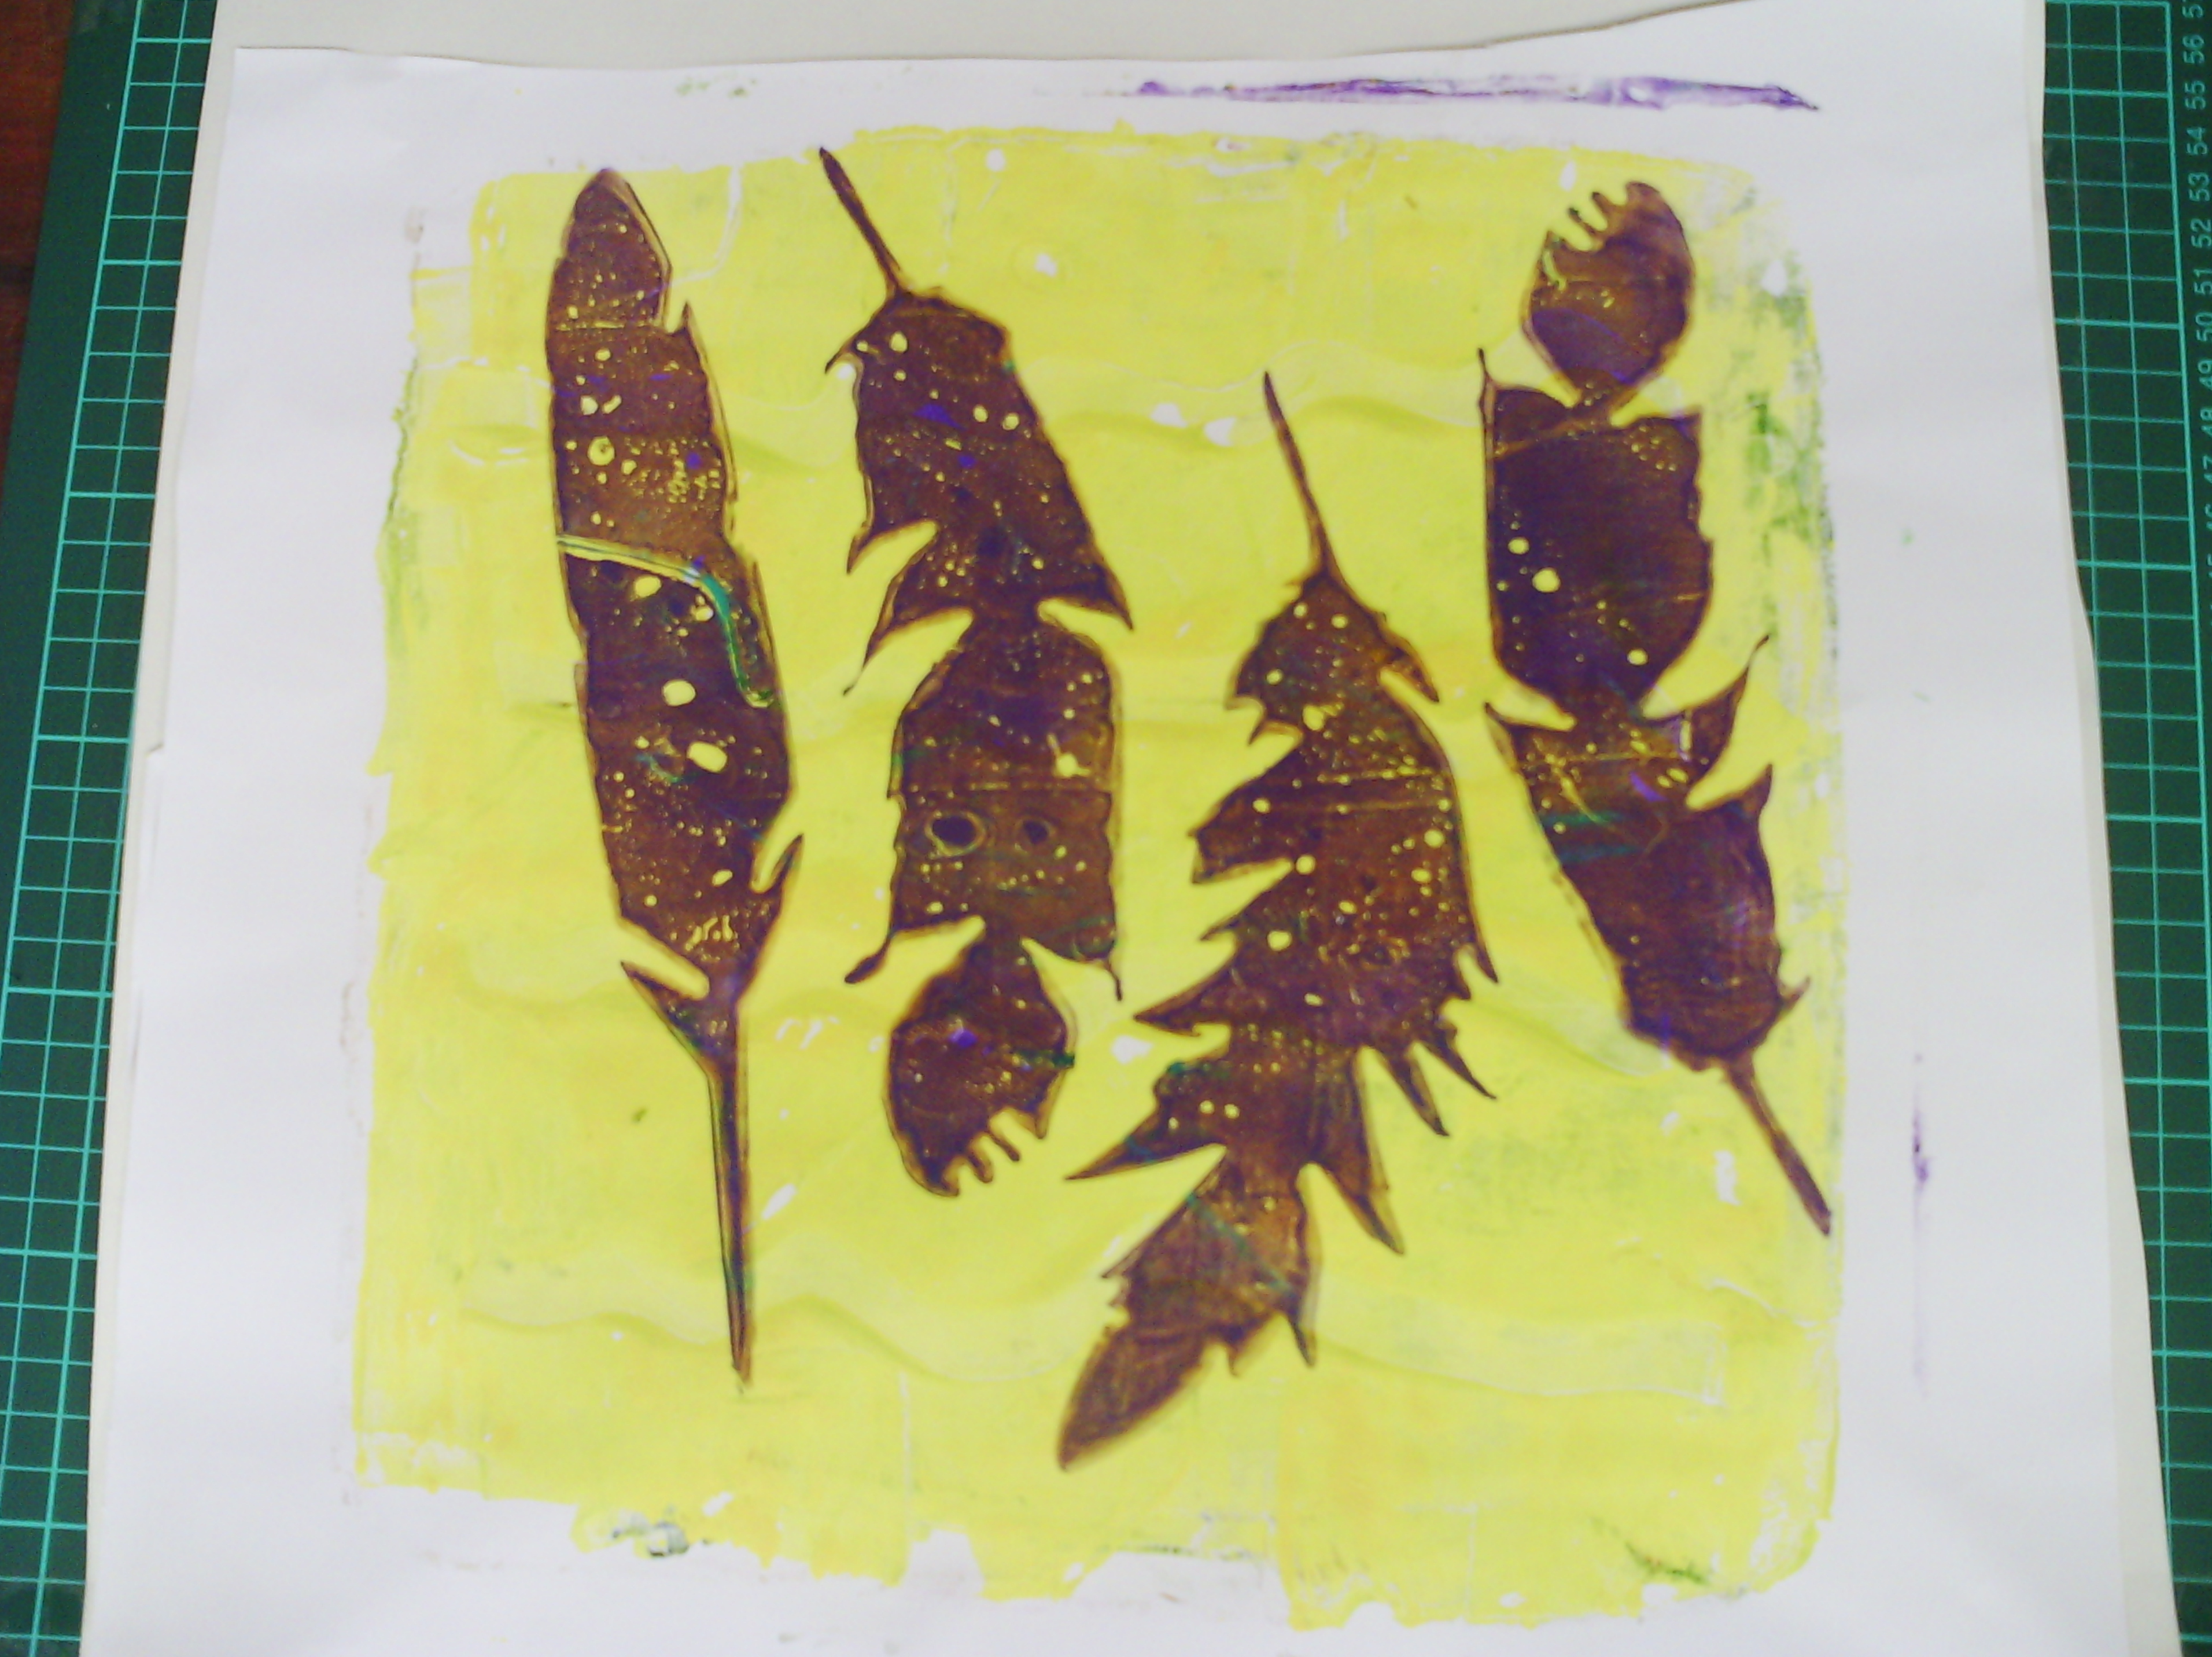
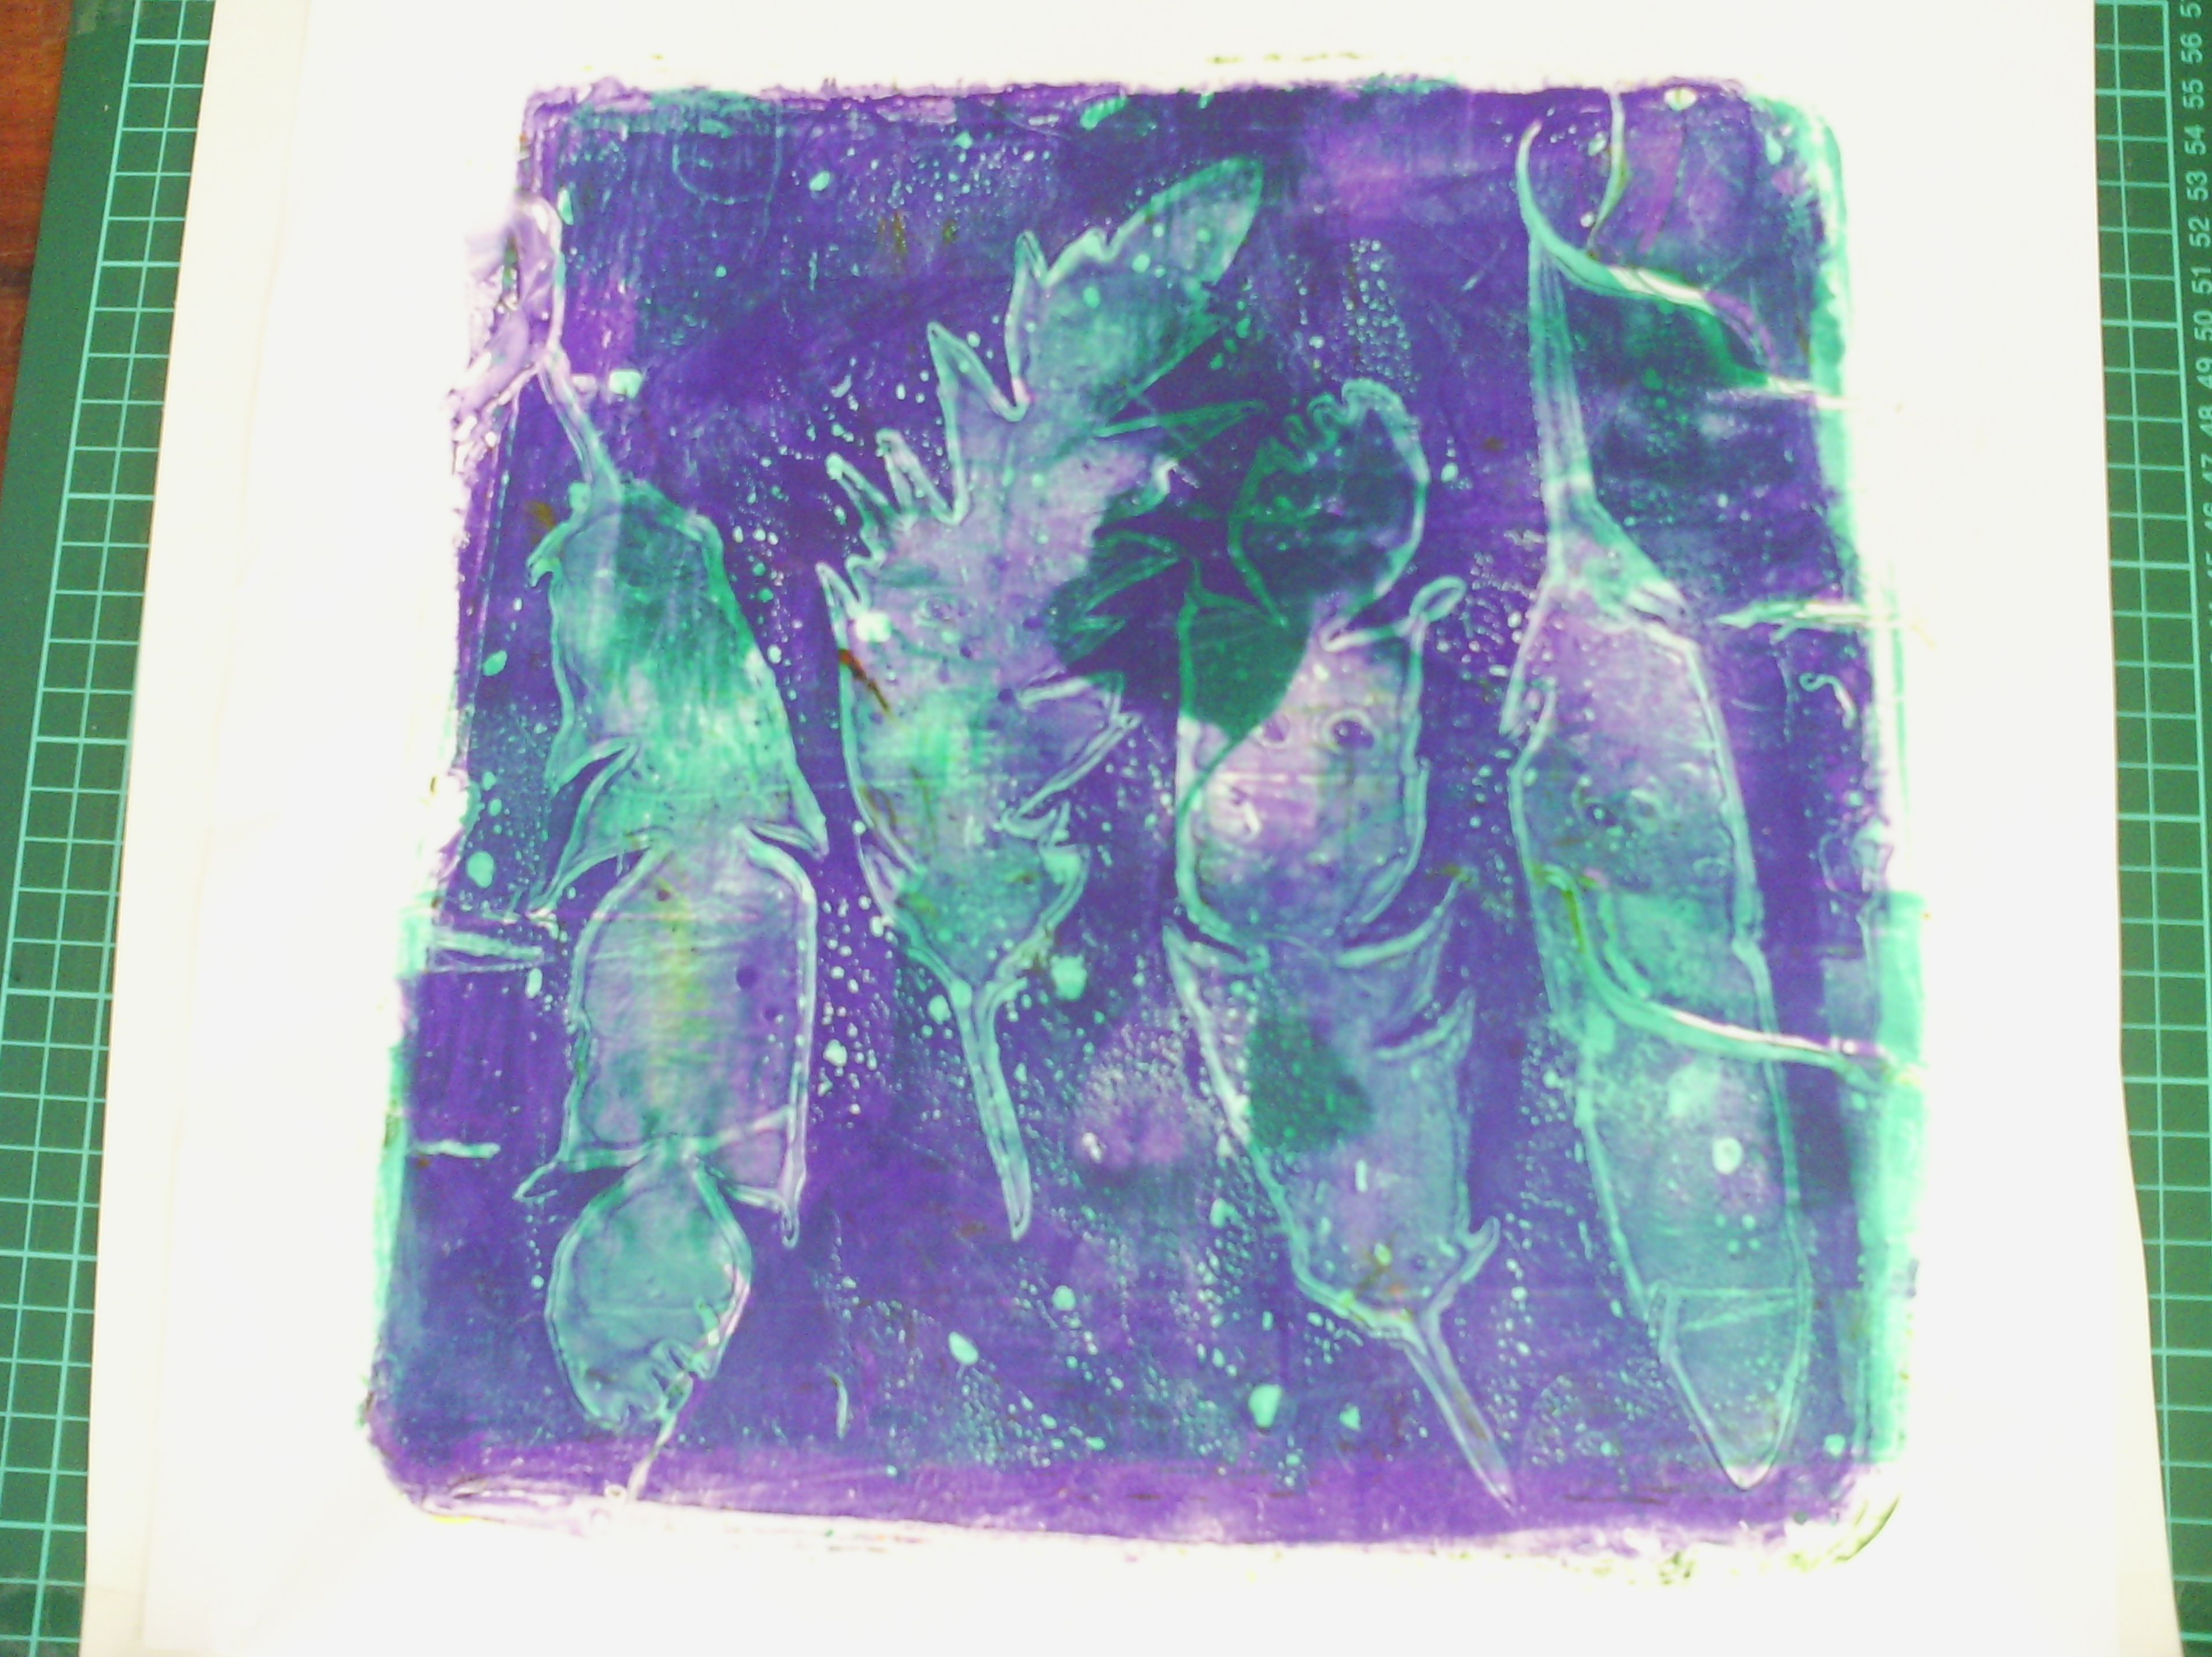
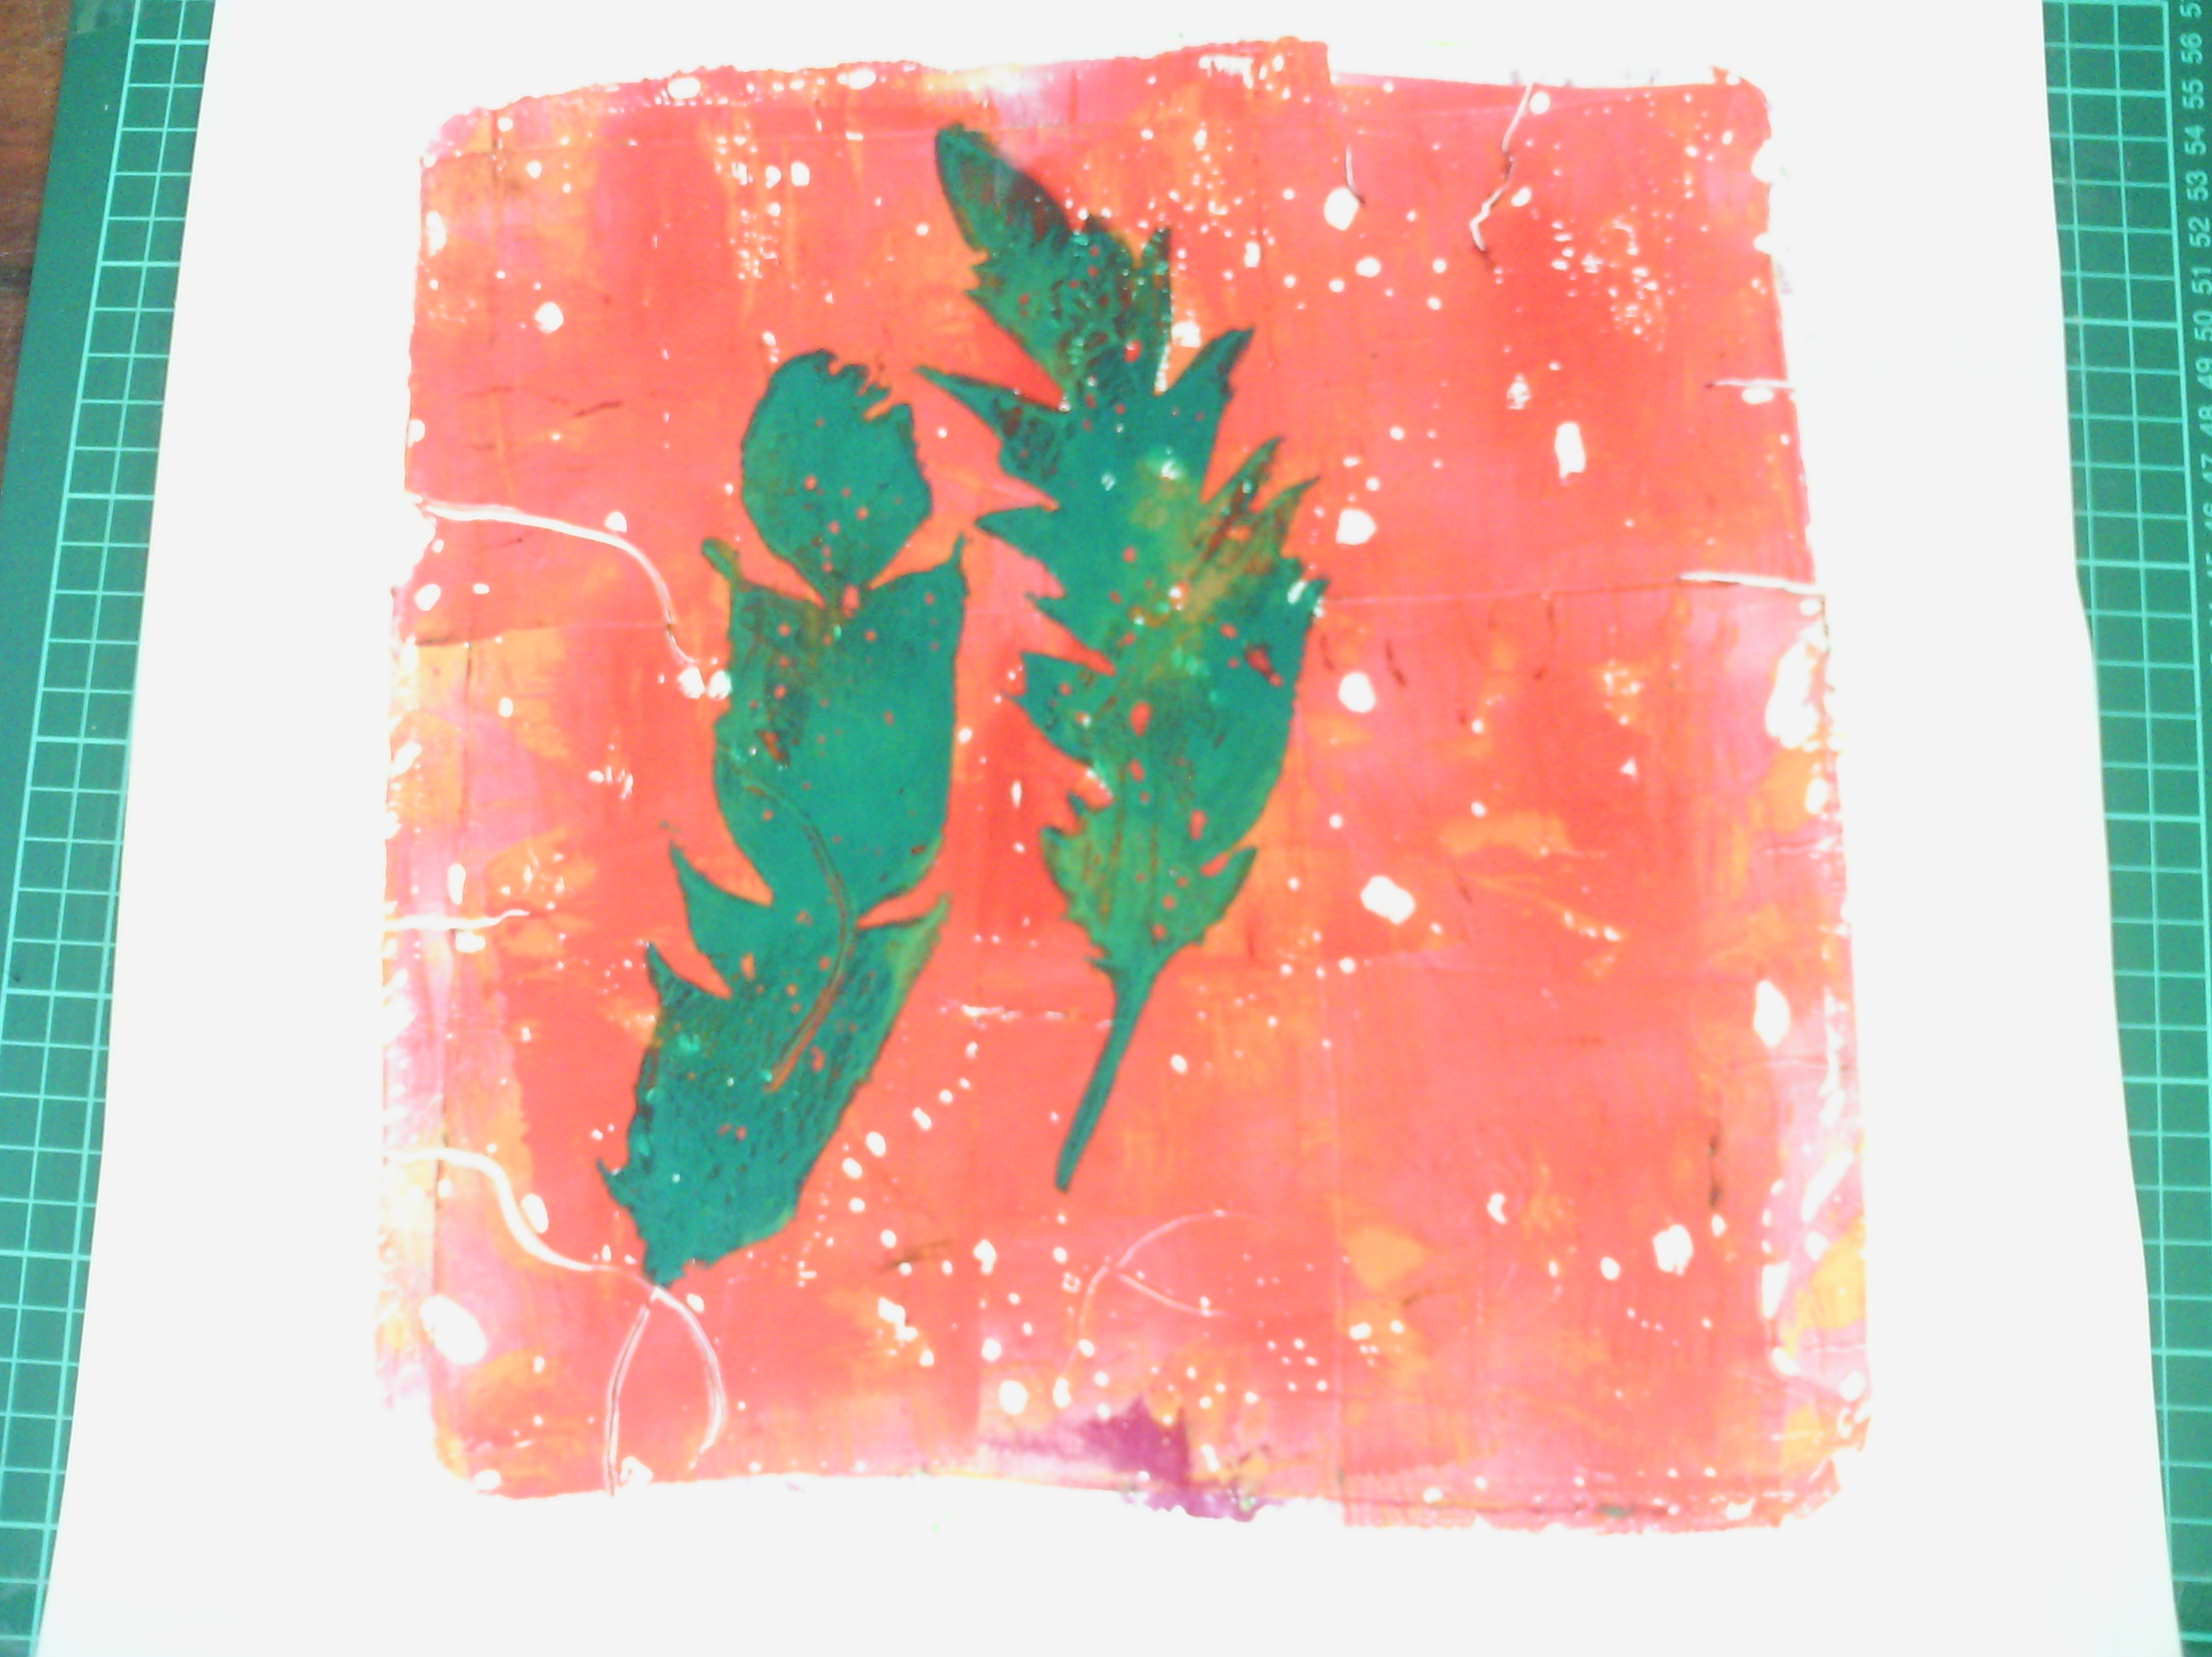
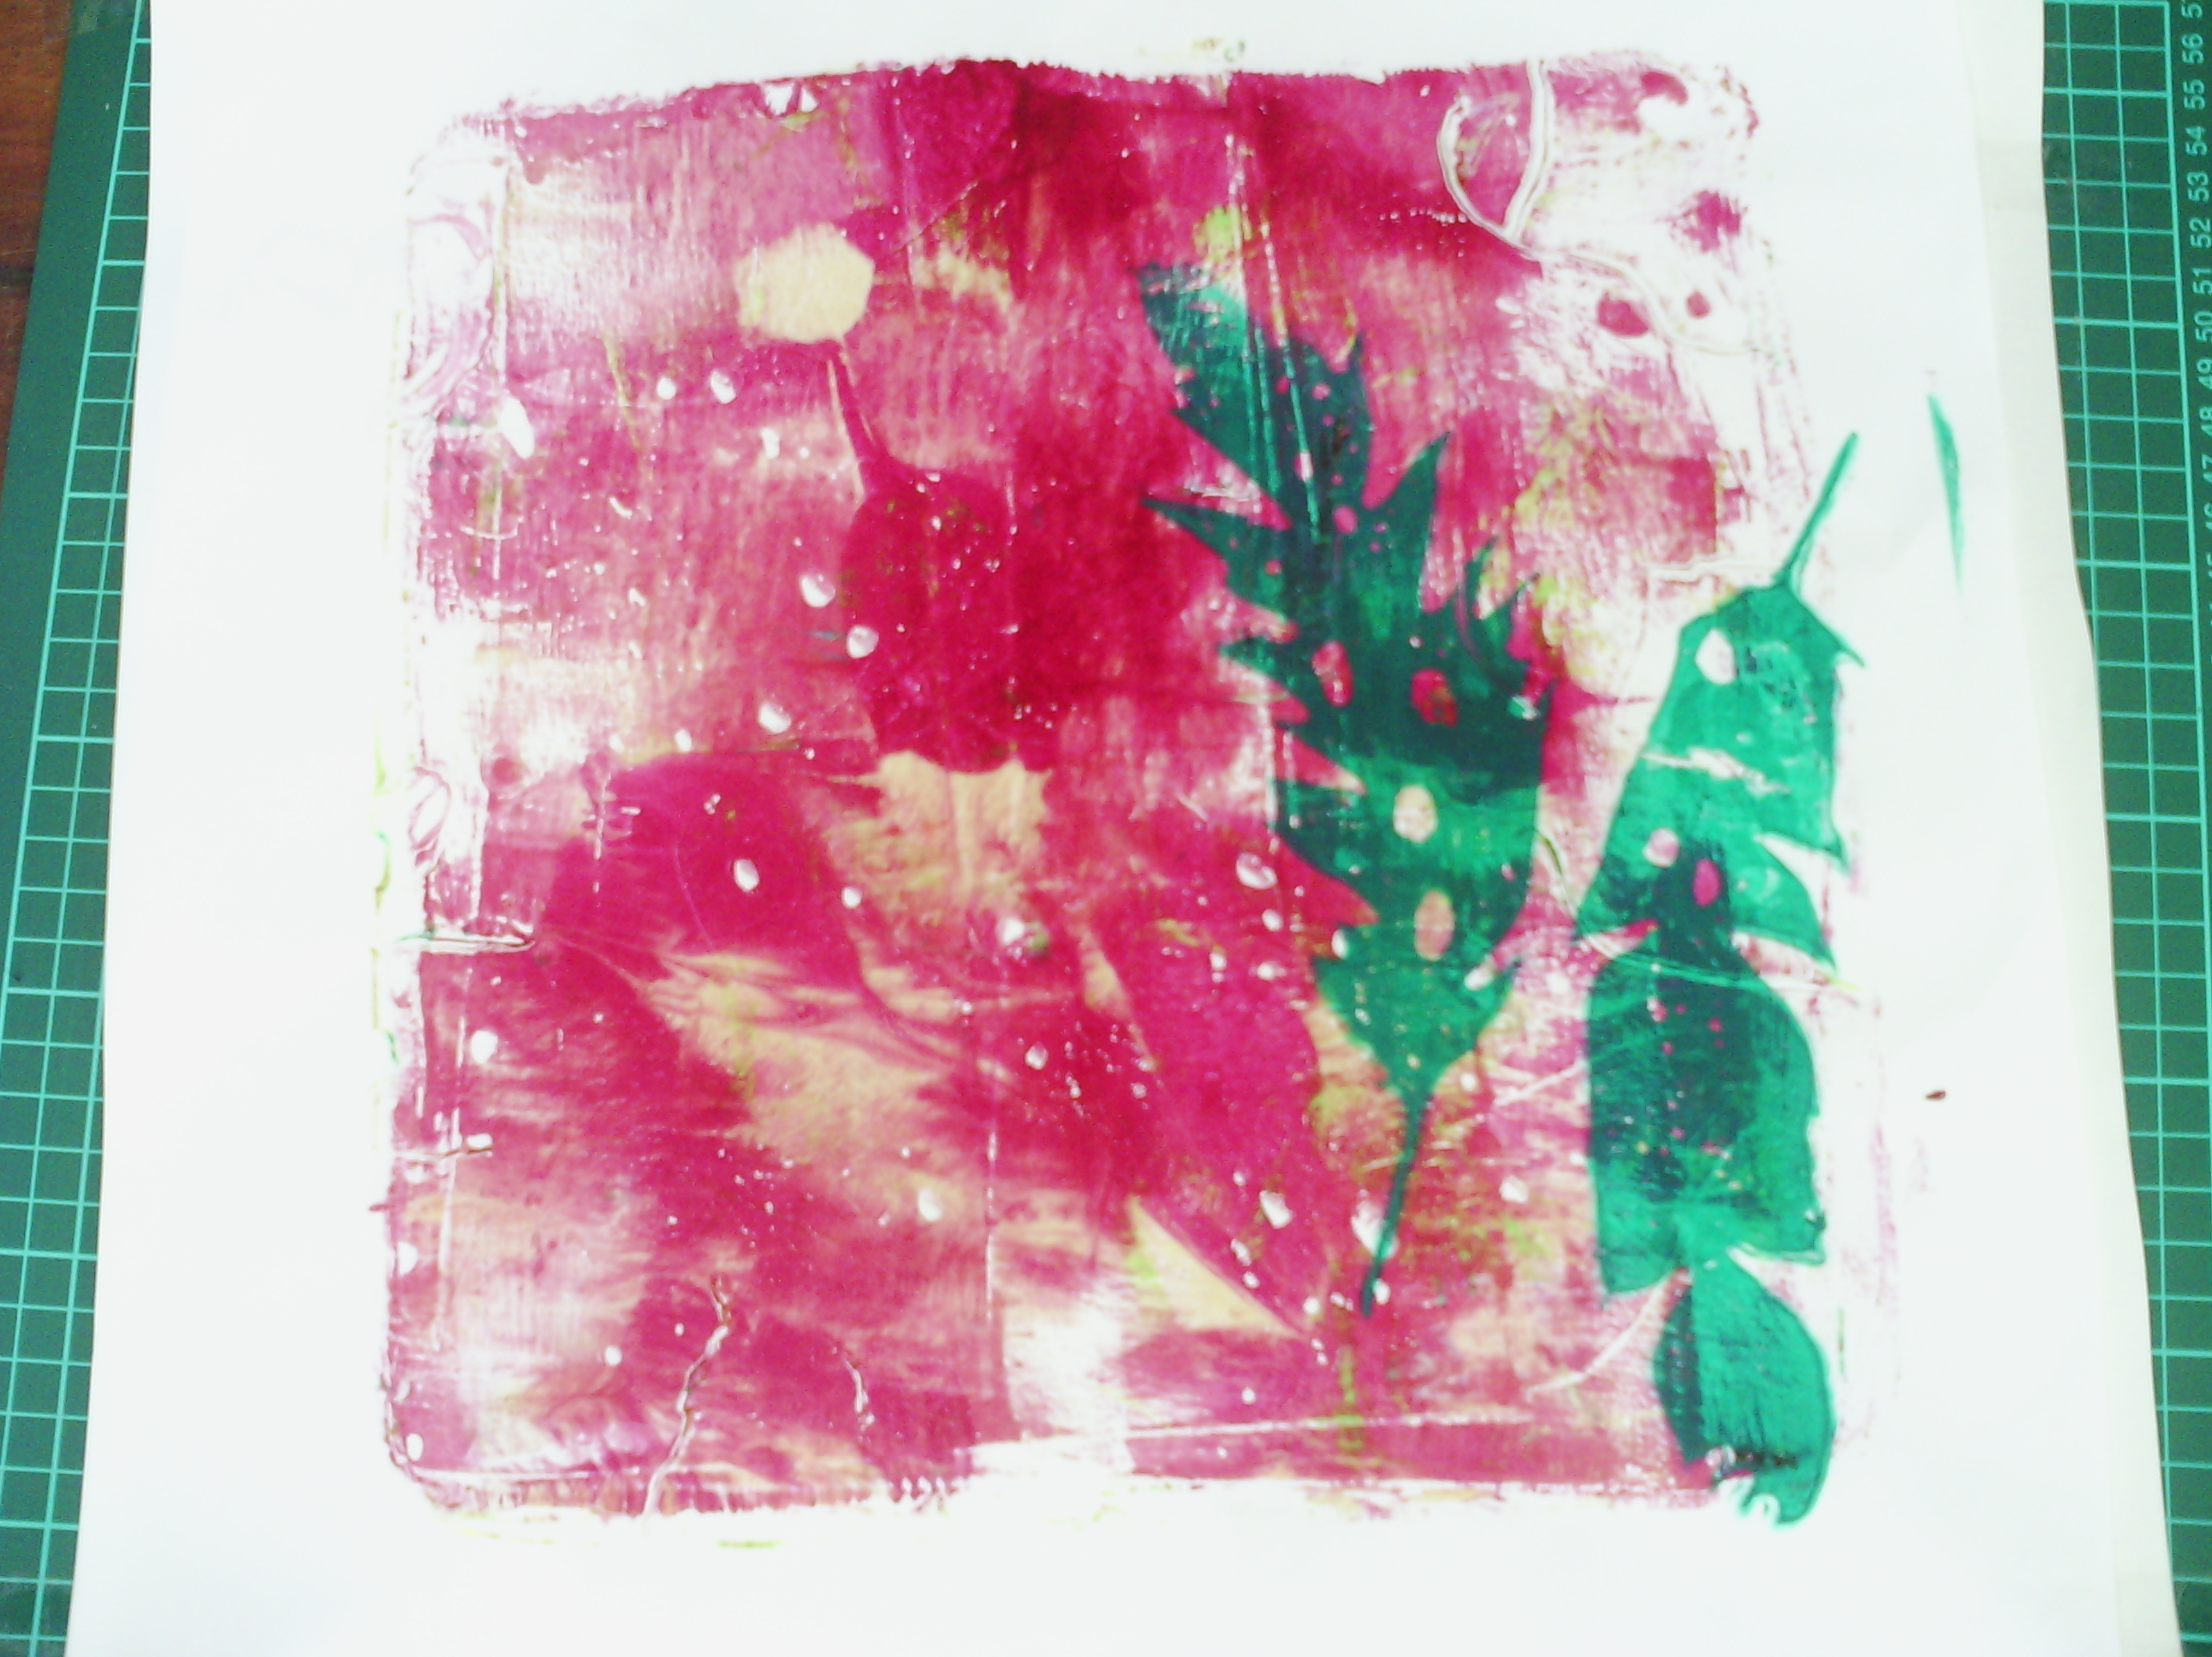
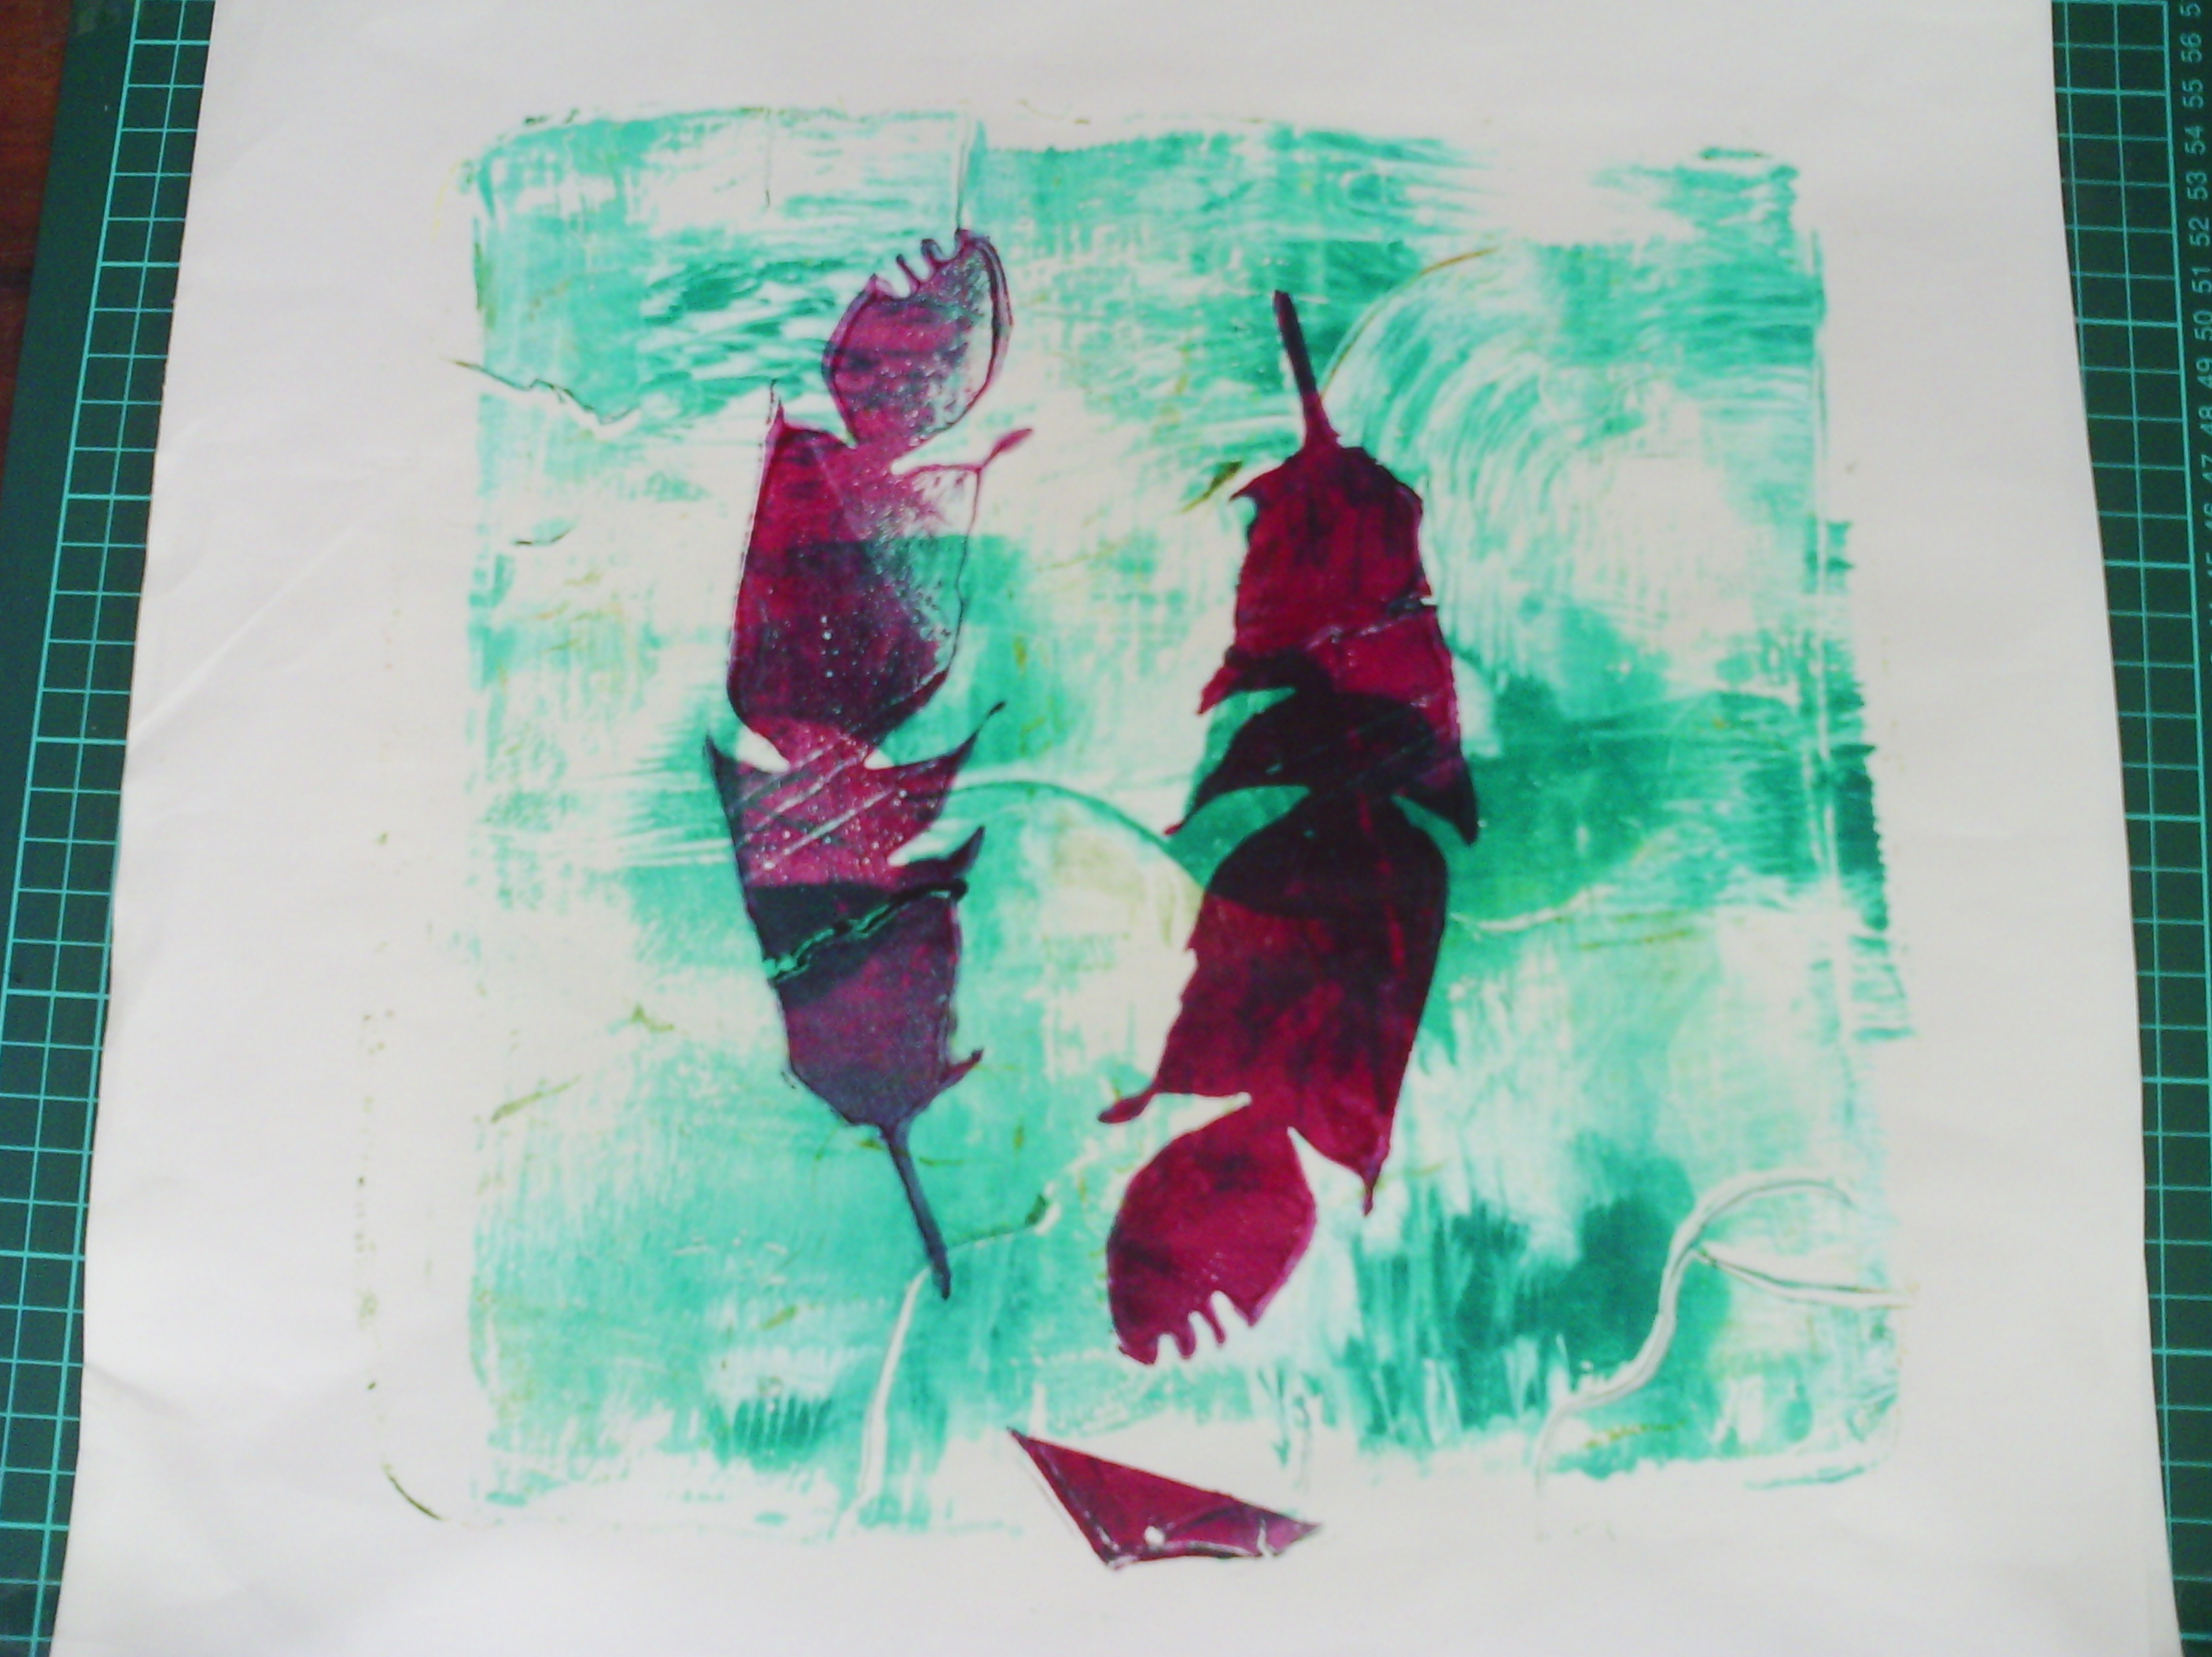
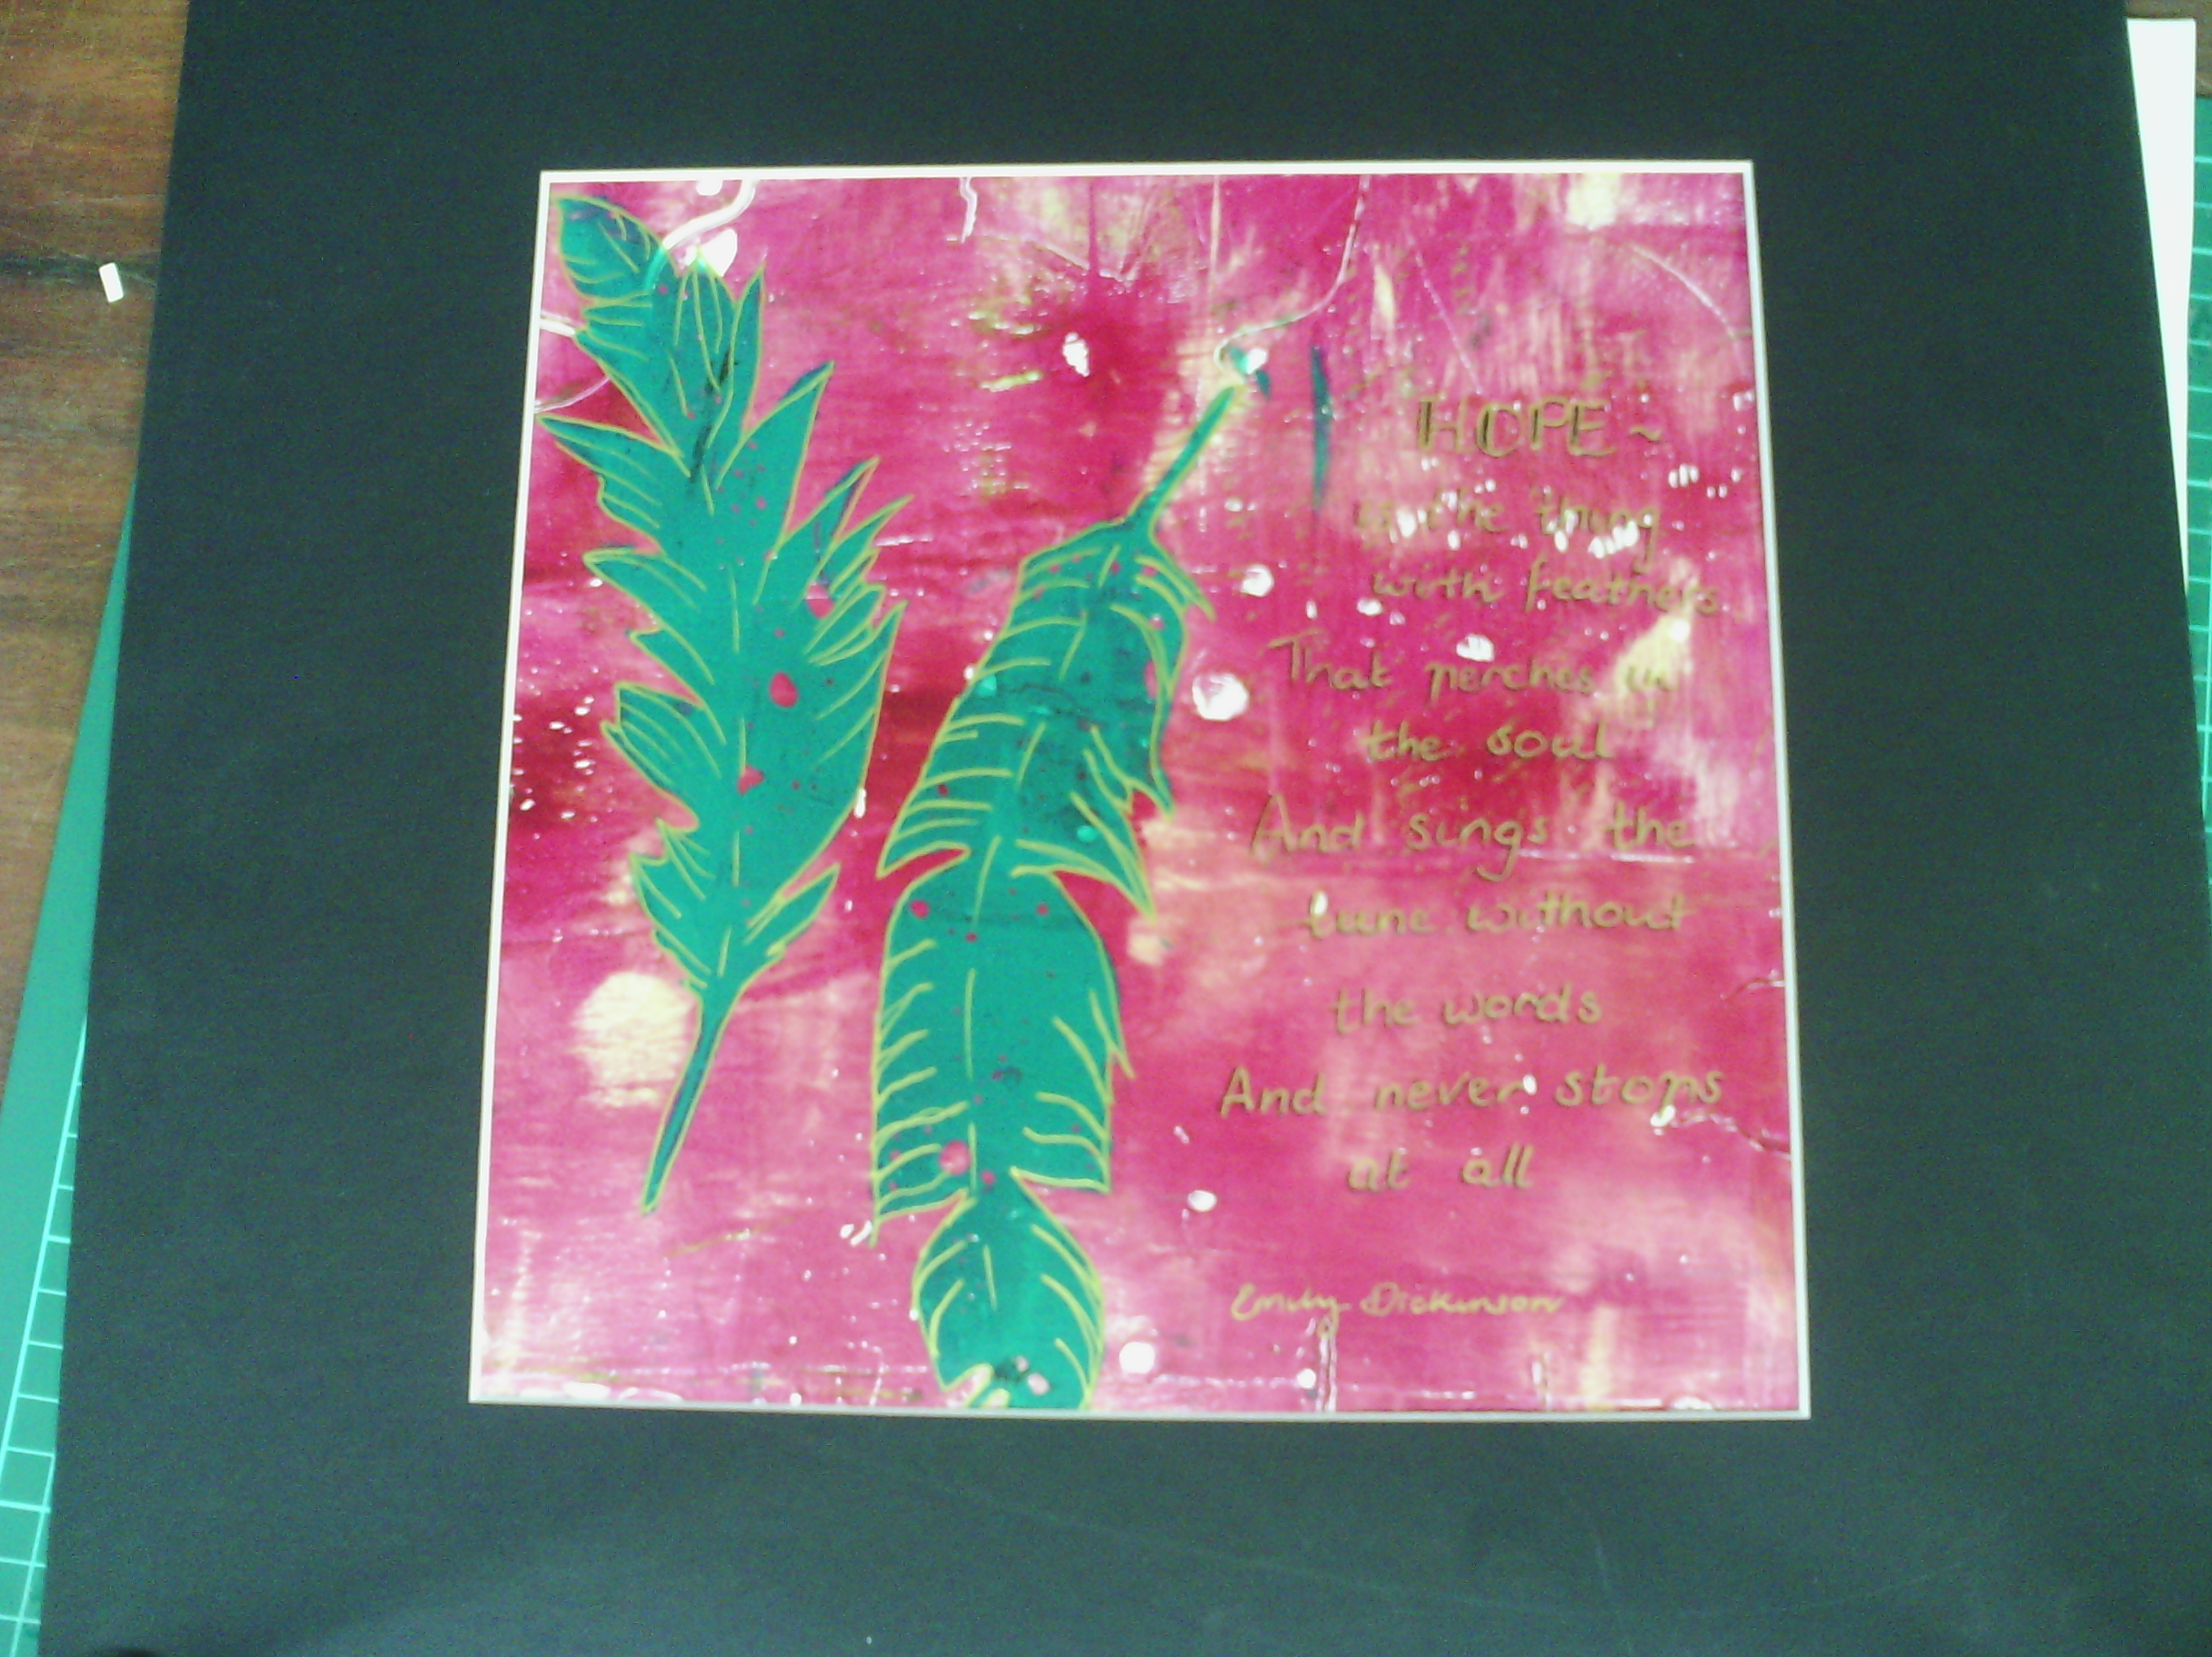
My favourite shape from my enormous monoprinting session, was the feathers.
Here are a few prints.
As I said, L loved these prints the most and so I did a bit more work on one of them.
I added some detail with a gold pen and also a poem.  Below is a close up.
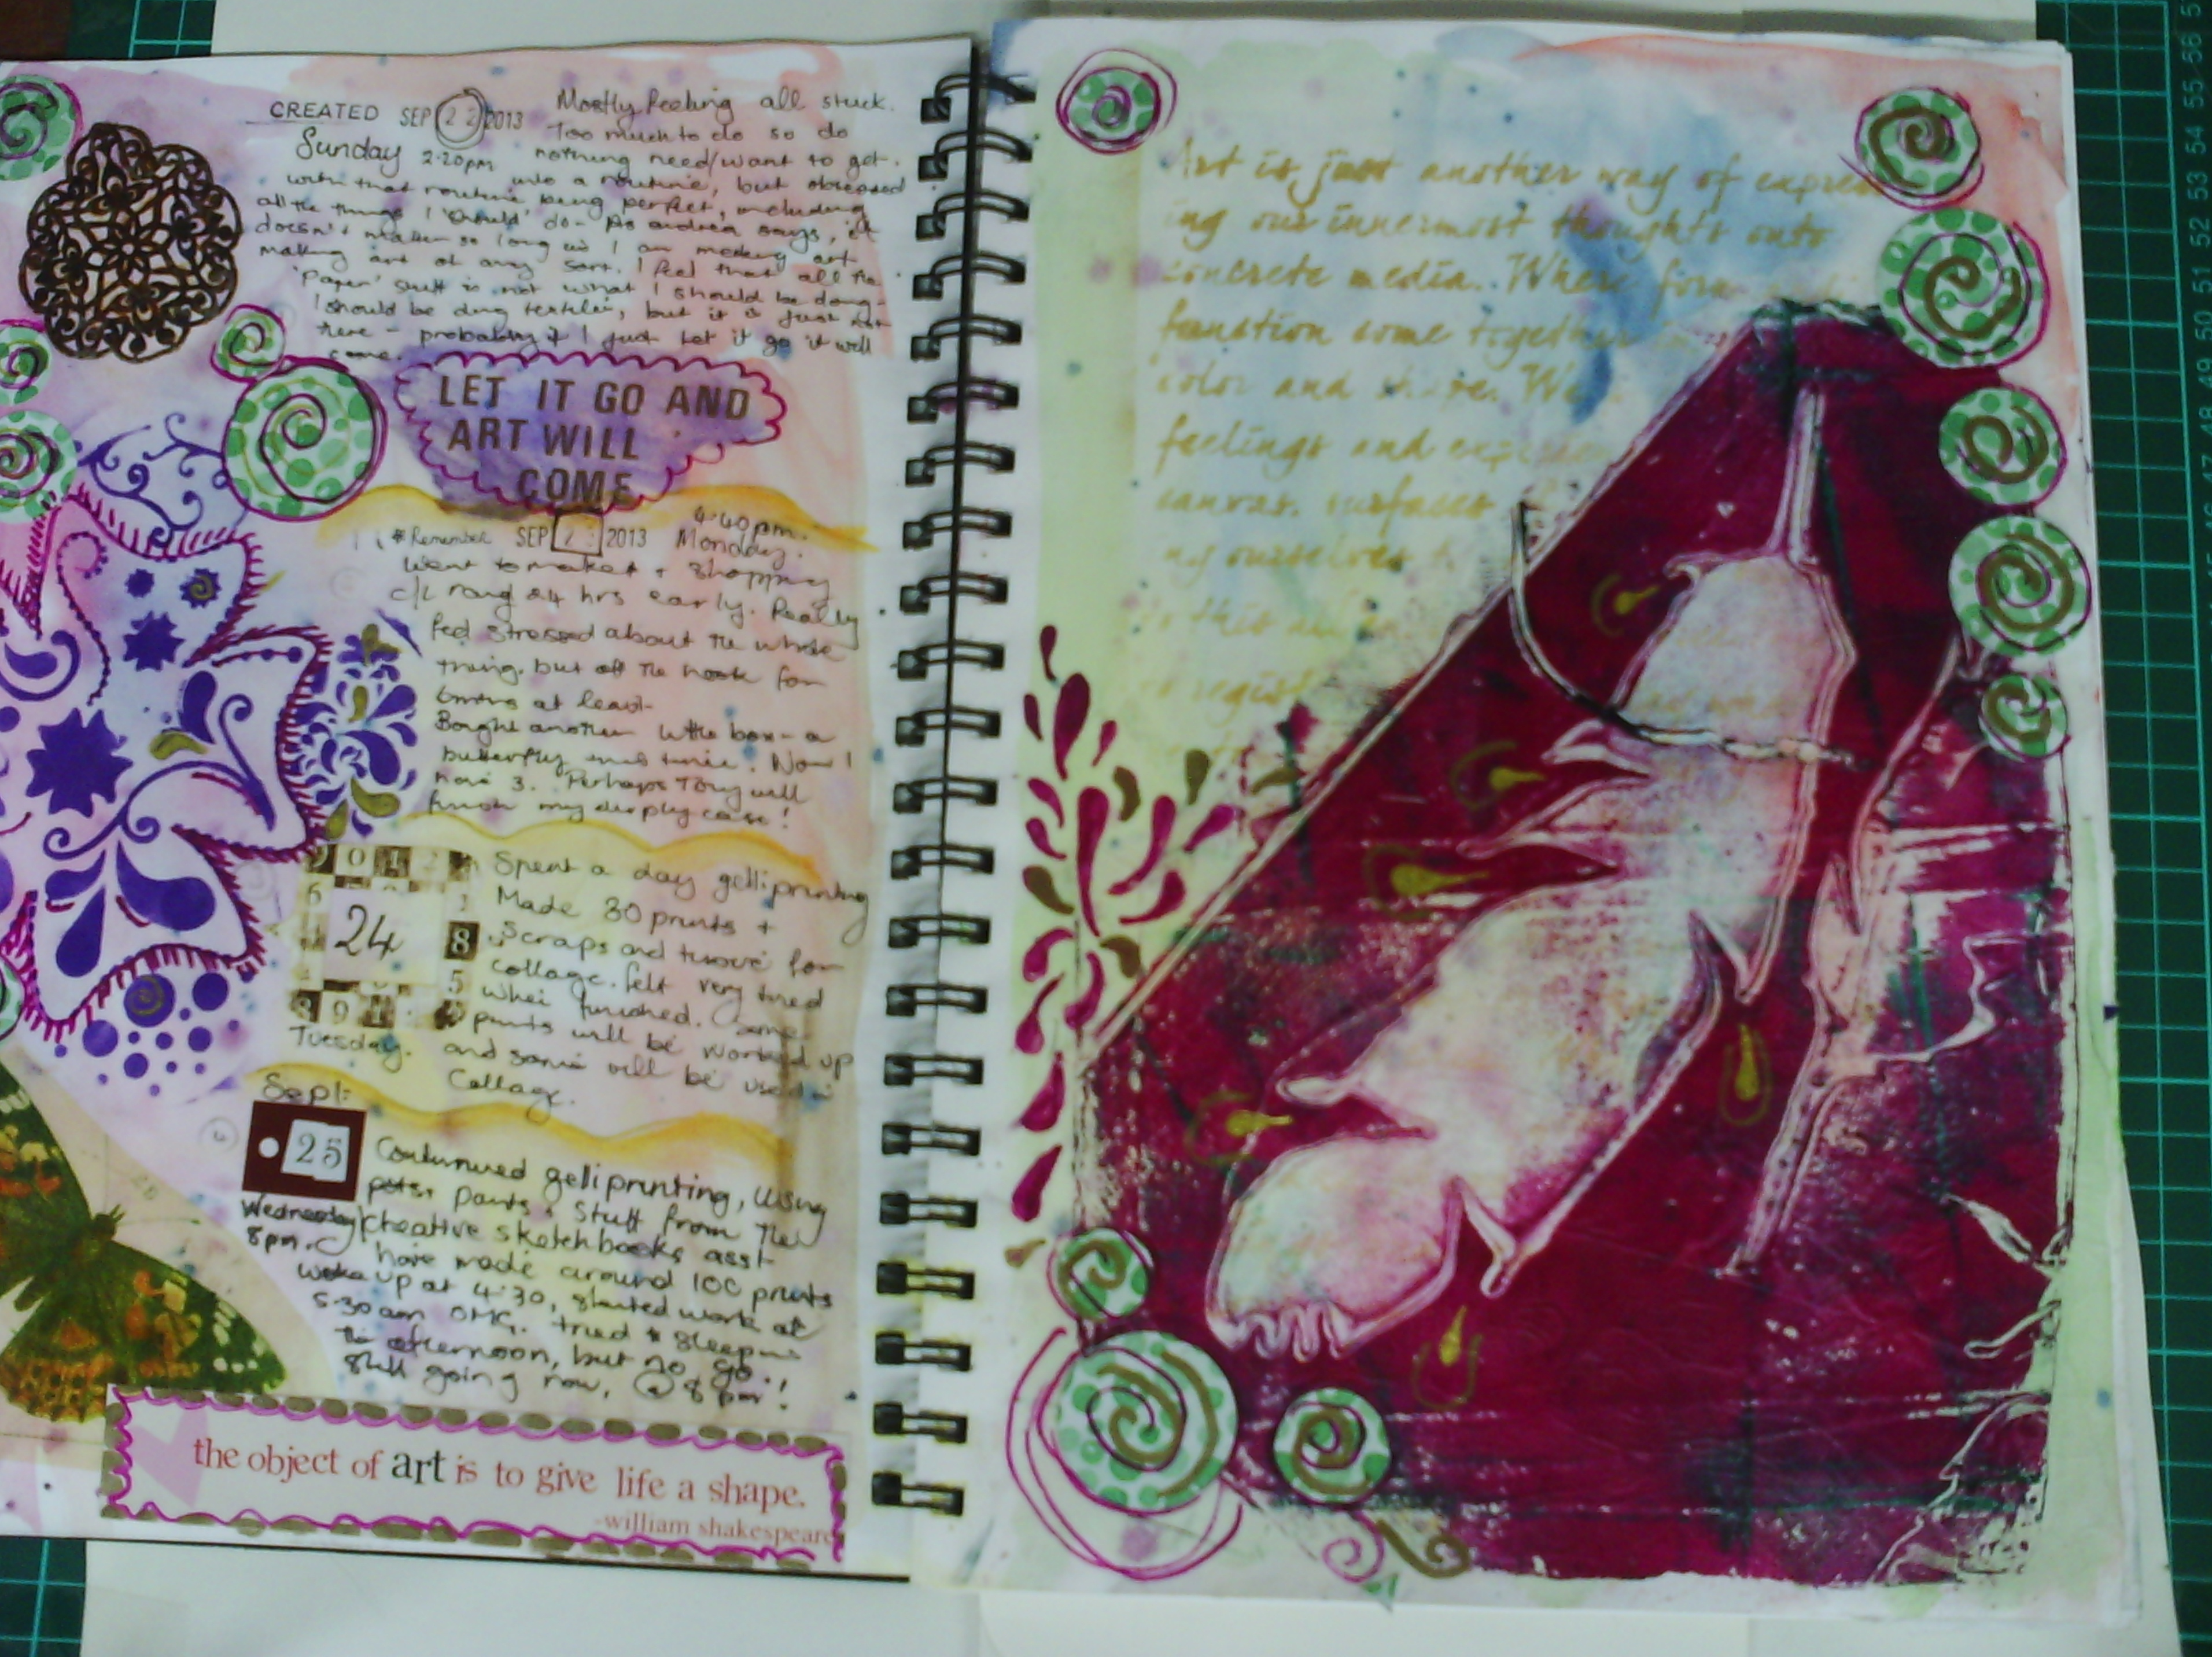
I also added one of the prints which was on tissue to my journal.
And that's all for now.