Showing posts with label felt. Show all posts

Friday, December 27, 2013

Collages 16 to 20

Here are a few more collages.  I am amassing a collection, now and know I will always be able to find some inspiration by looking through them.

This one has two hand dyes, a cotton and two pieces of felt.  The central green square is washi paper.
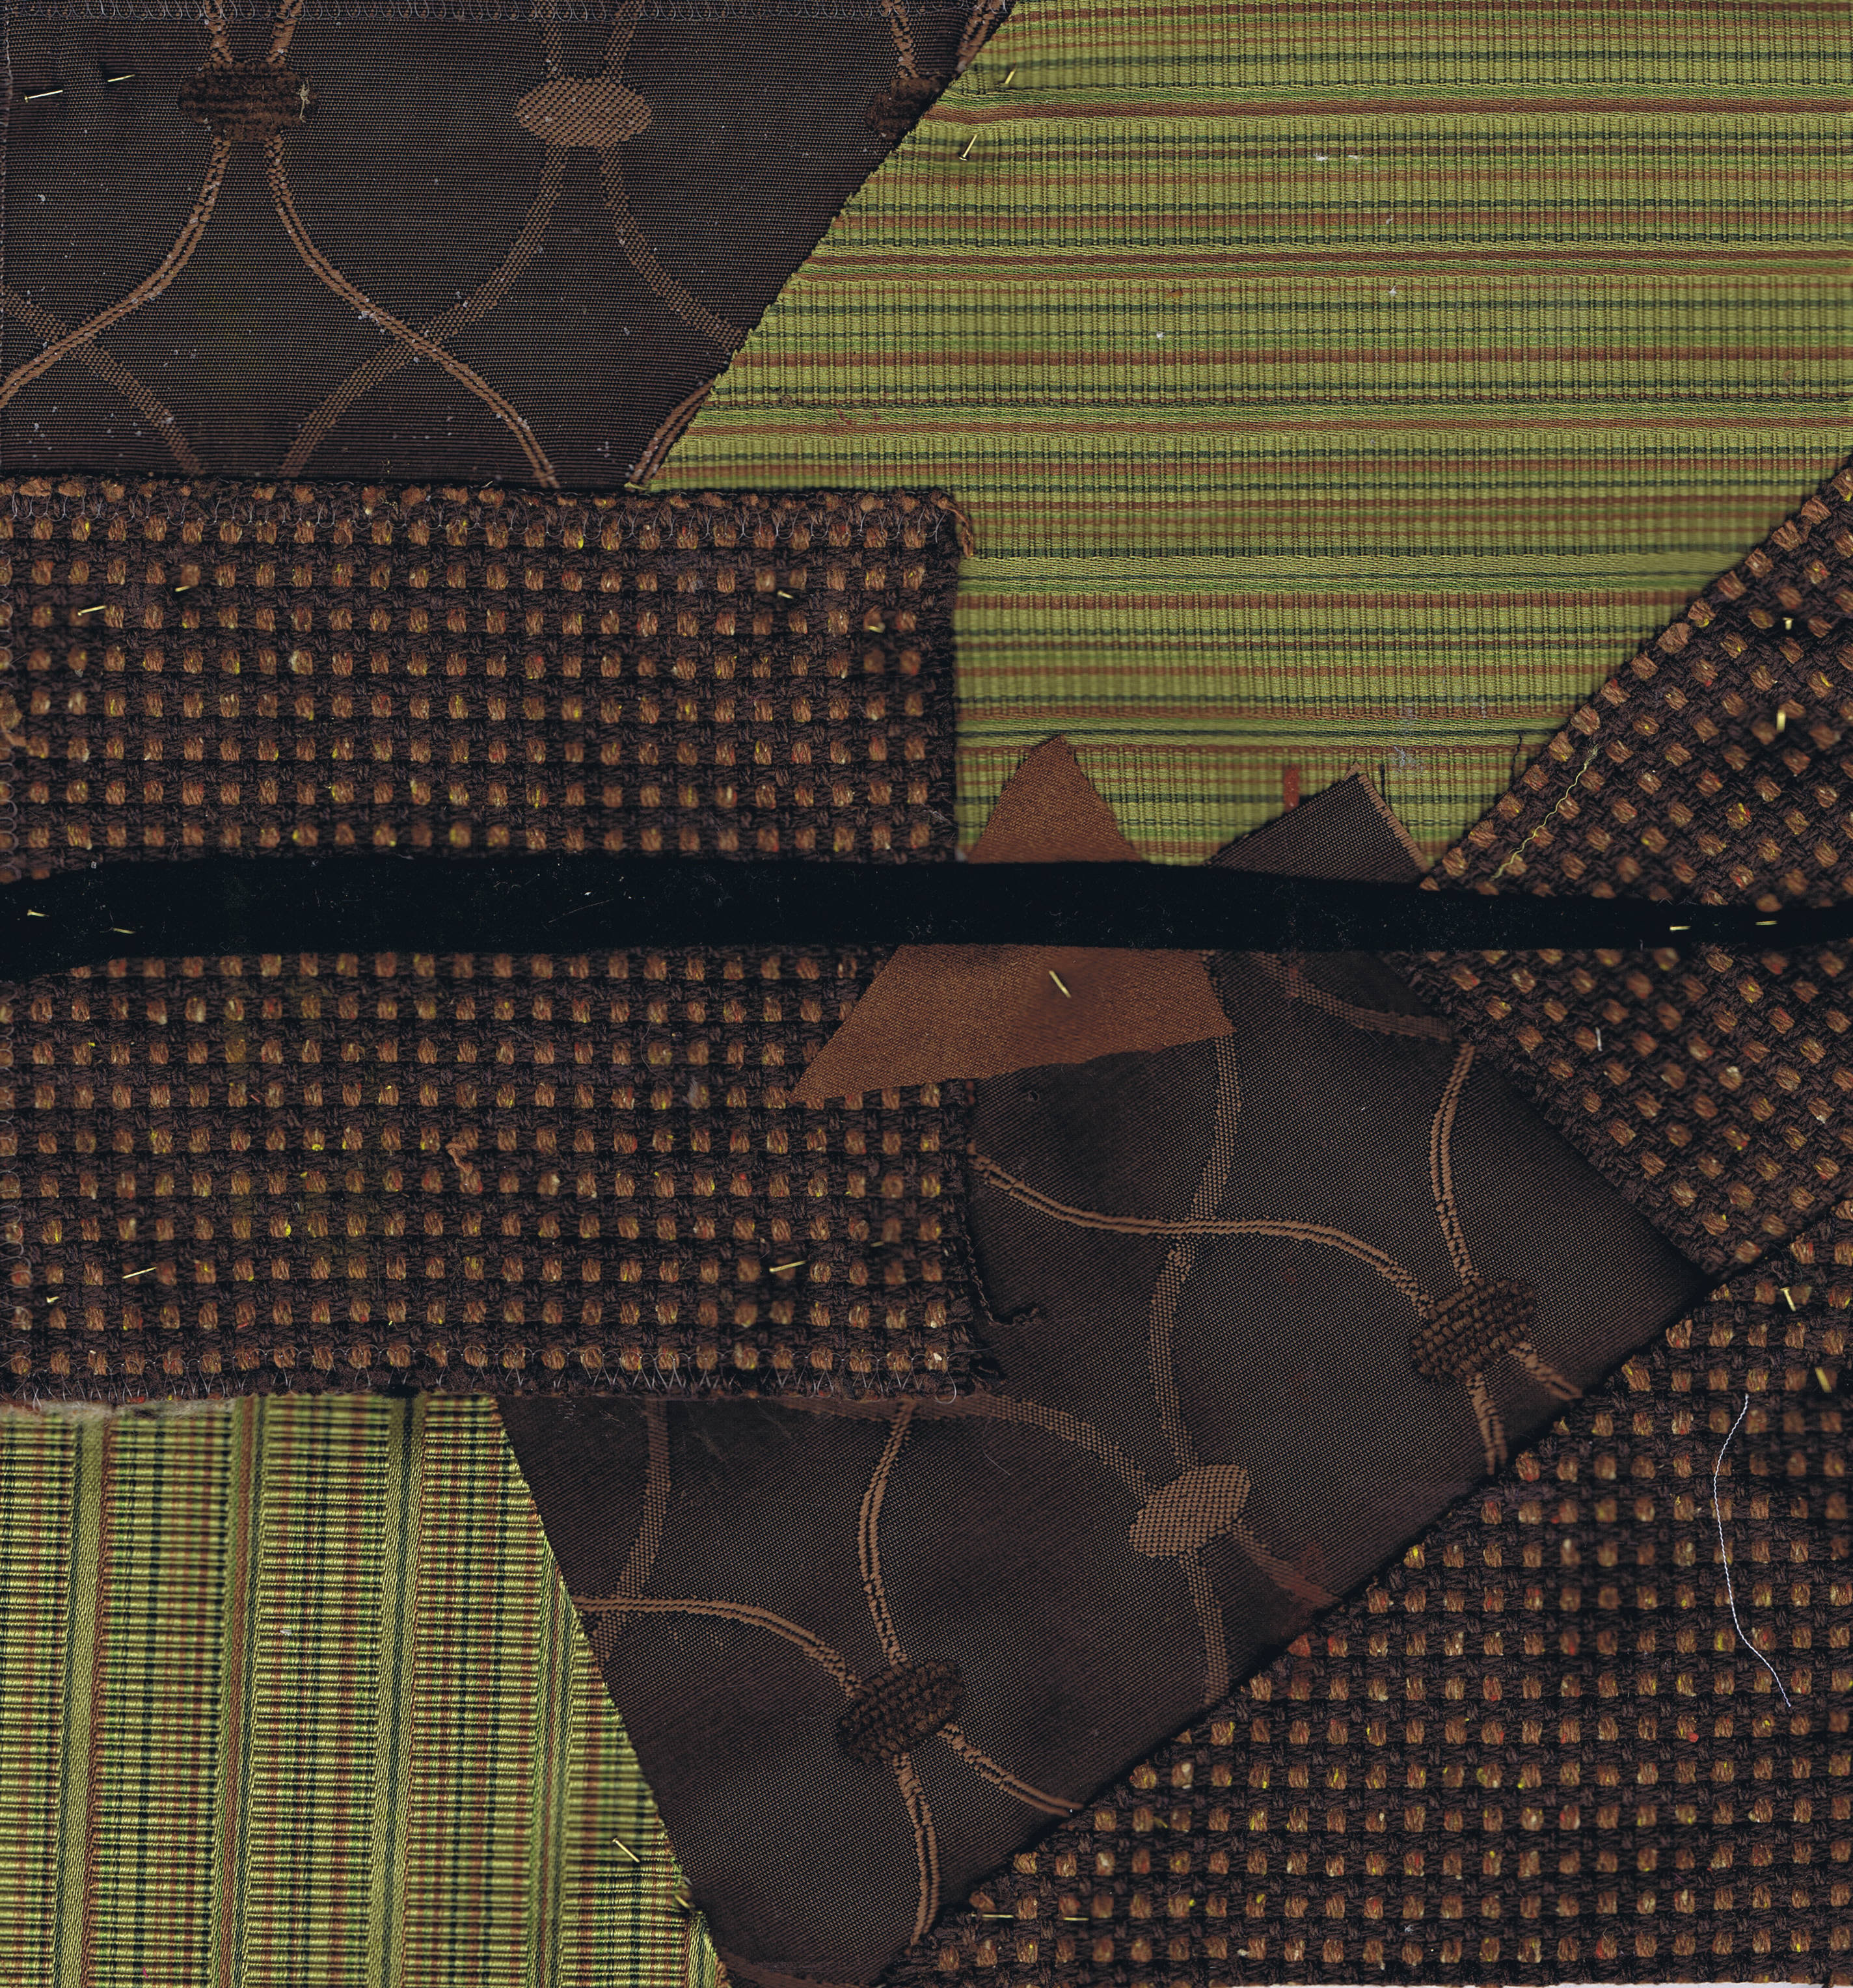
This one is all furnishing fabrics and a piece of felt across, again.  I like these thin lines.
This is a furnishing fabric, but it is turned to the back side, showing these chenille threads that are woven into the front.  The leaf shapes are cut from ultra suede, and I think they echo the pattern in the background nicely.
This is a needle felted mess.  but i am sure I will play with it later.  I just felted lots of scraps of fibres down, with no thought of a theme, then added the leaves and flowers on the left from my sample box.
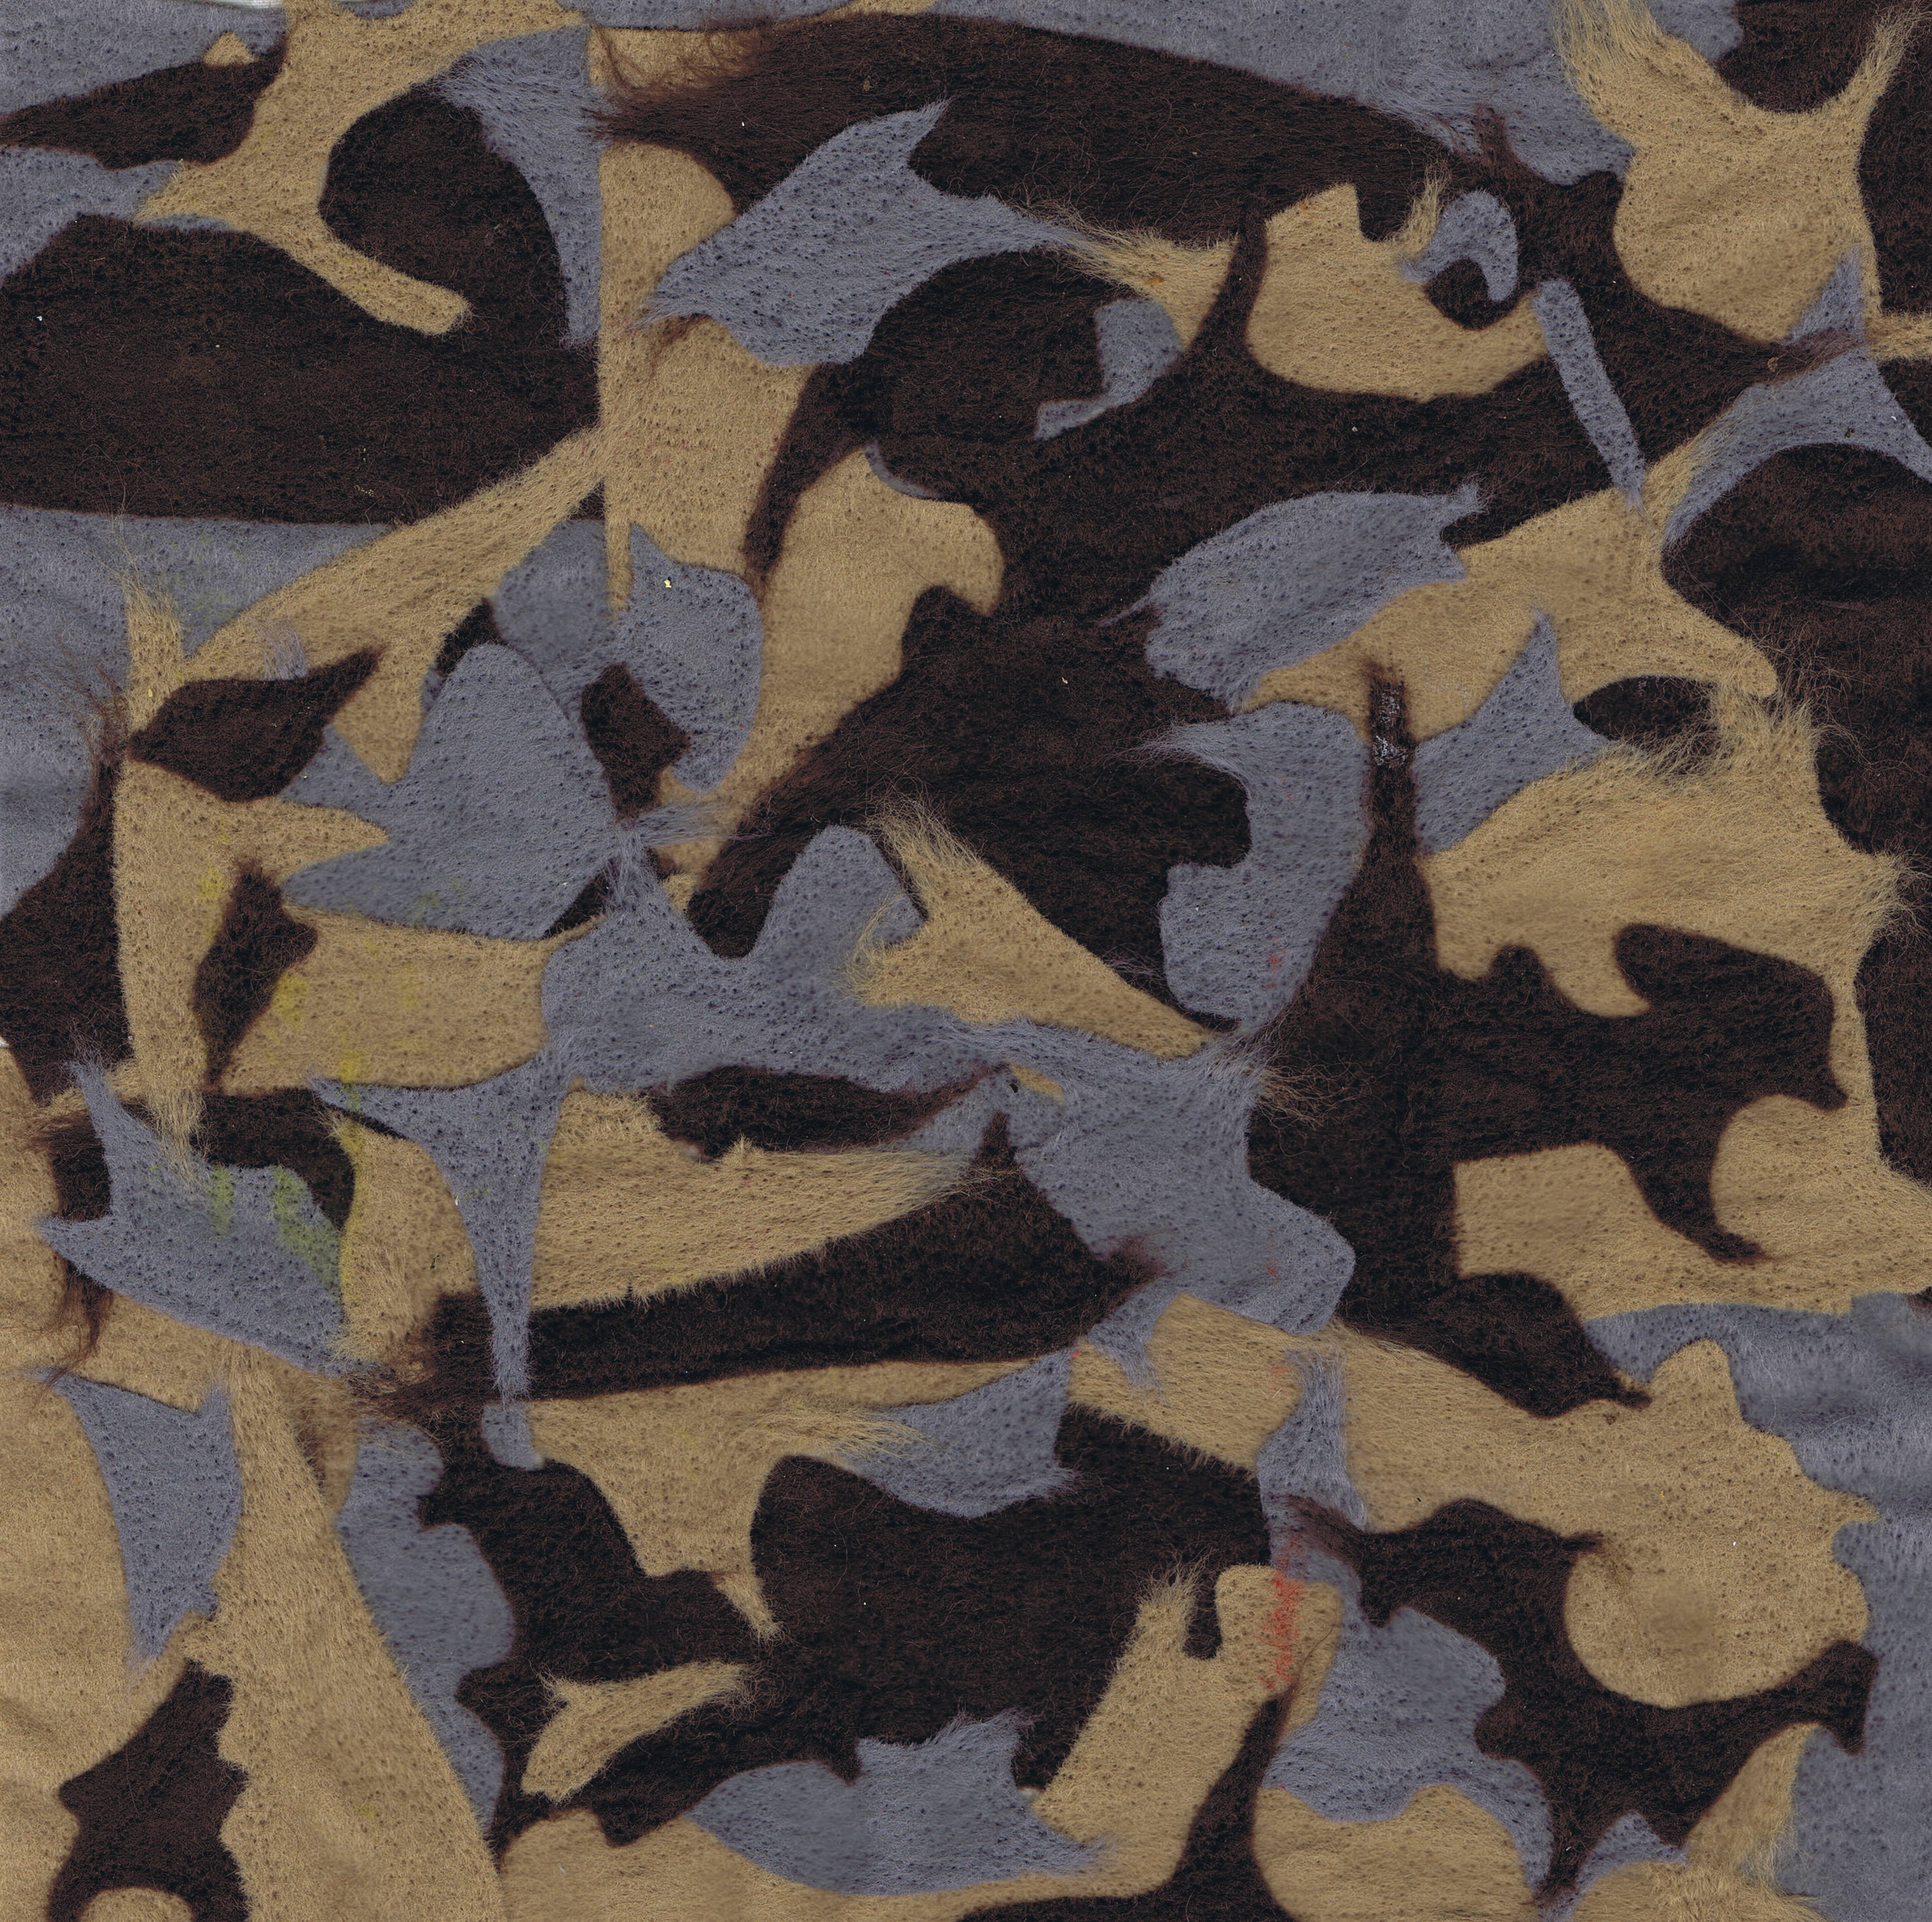
Another needlefelted foundation.  This one is made from offcuts of felt that I was given a while ago.  My husband said it looked like cow hides, but I can see lots of birds flying around.

Happy creating!

Friday, December 20, 2013

Felt and a few beads

I did say that I had a new piece finished/almost finished.

This piece was needlefelted a little while ago with black felt, organza and silks.  The black lines are needlefelted from the back and the beads are handmade fabric and paper beads.  I have also beaded the entire border (But it was a few millimetres too short for the scanner)  I love all the frayed edges, but not sure whether it still needs a bit of stitch.  hmmmm.  I'll just have to think on it a bit more.

Happy creating!

Friday, November 29, 2013

Fabric Fix

Day 29 of AEDM!
It has been a while since I posted any textile work.  I have been working, but not anything finished to show.
So today I had my fifteen minute fix.  It was one of those pieces that came together quickly, perhaps a bit more than fifteen minutes, but not much.
I do find that this often happens when I have nothing in mind; the ideas seem to come quickly when I throw away the rules.

And here is what I have put together.  Not finished yet, but perhaps you can help me with that!
I decided to look at some textile videos (I always have videos running in my studio) and the first which came up was Pokey Bolton's Needlefelting video.  So I got out the embellisher.
I thought a tiny bit about what to do and feathers came into my mind (all those journal pages with feathers came to me) and I had a few ideas in mind, but when I went down to the machine, I saw a scrap of felt.  My original idea was to use yarns to make the feathers (and I still might do that), but on the shelf nearby was some gorgeous silk weave that a friend had given me (saying " You'll think of something to do with it")
Perfect!
So I cut some feather shapes out and just needlefelted them down with the embellisher.
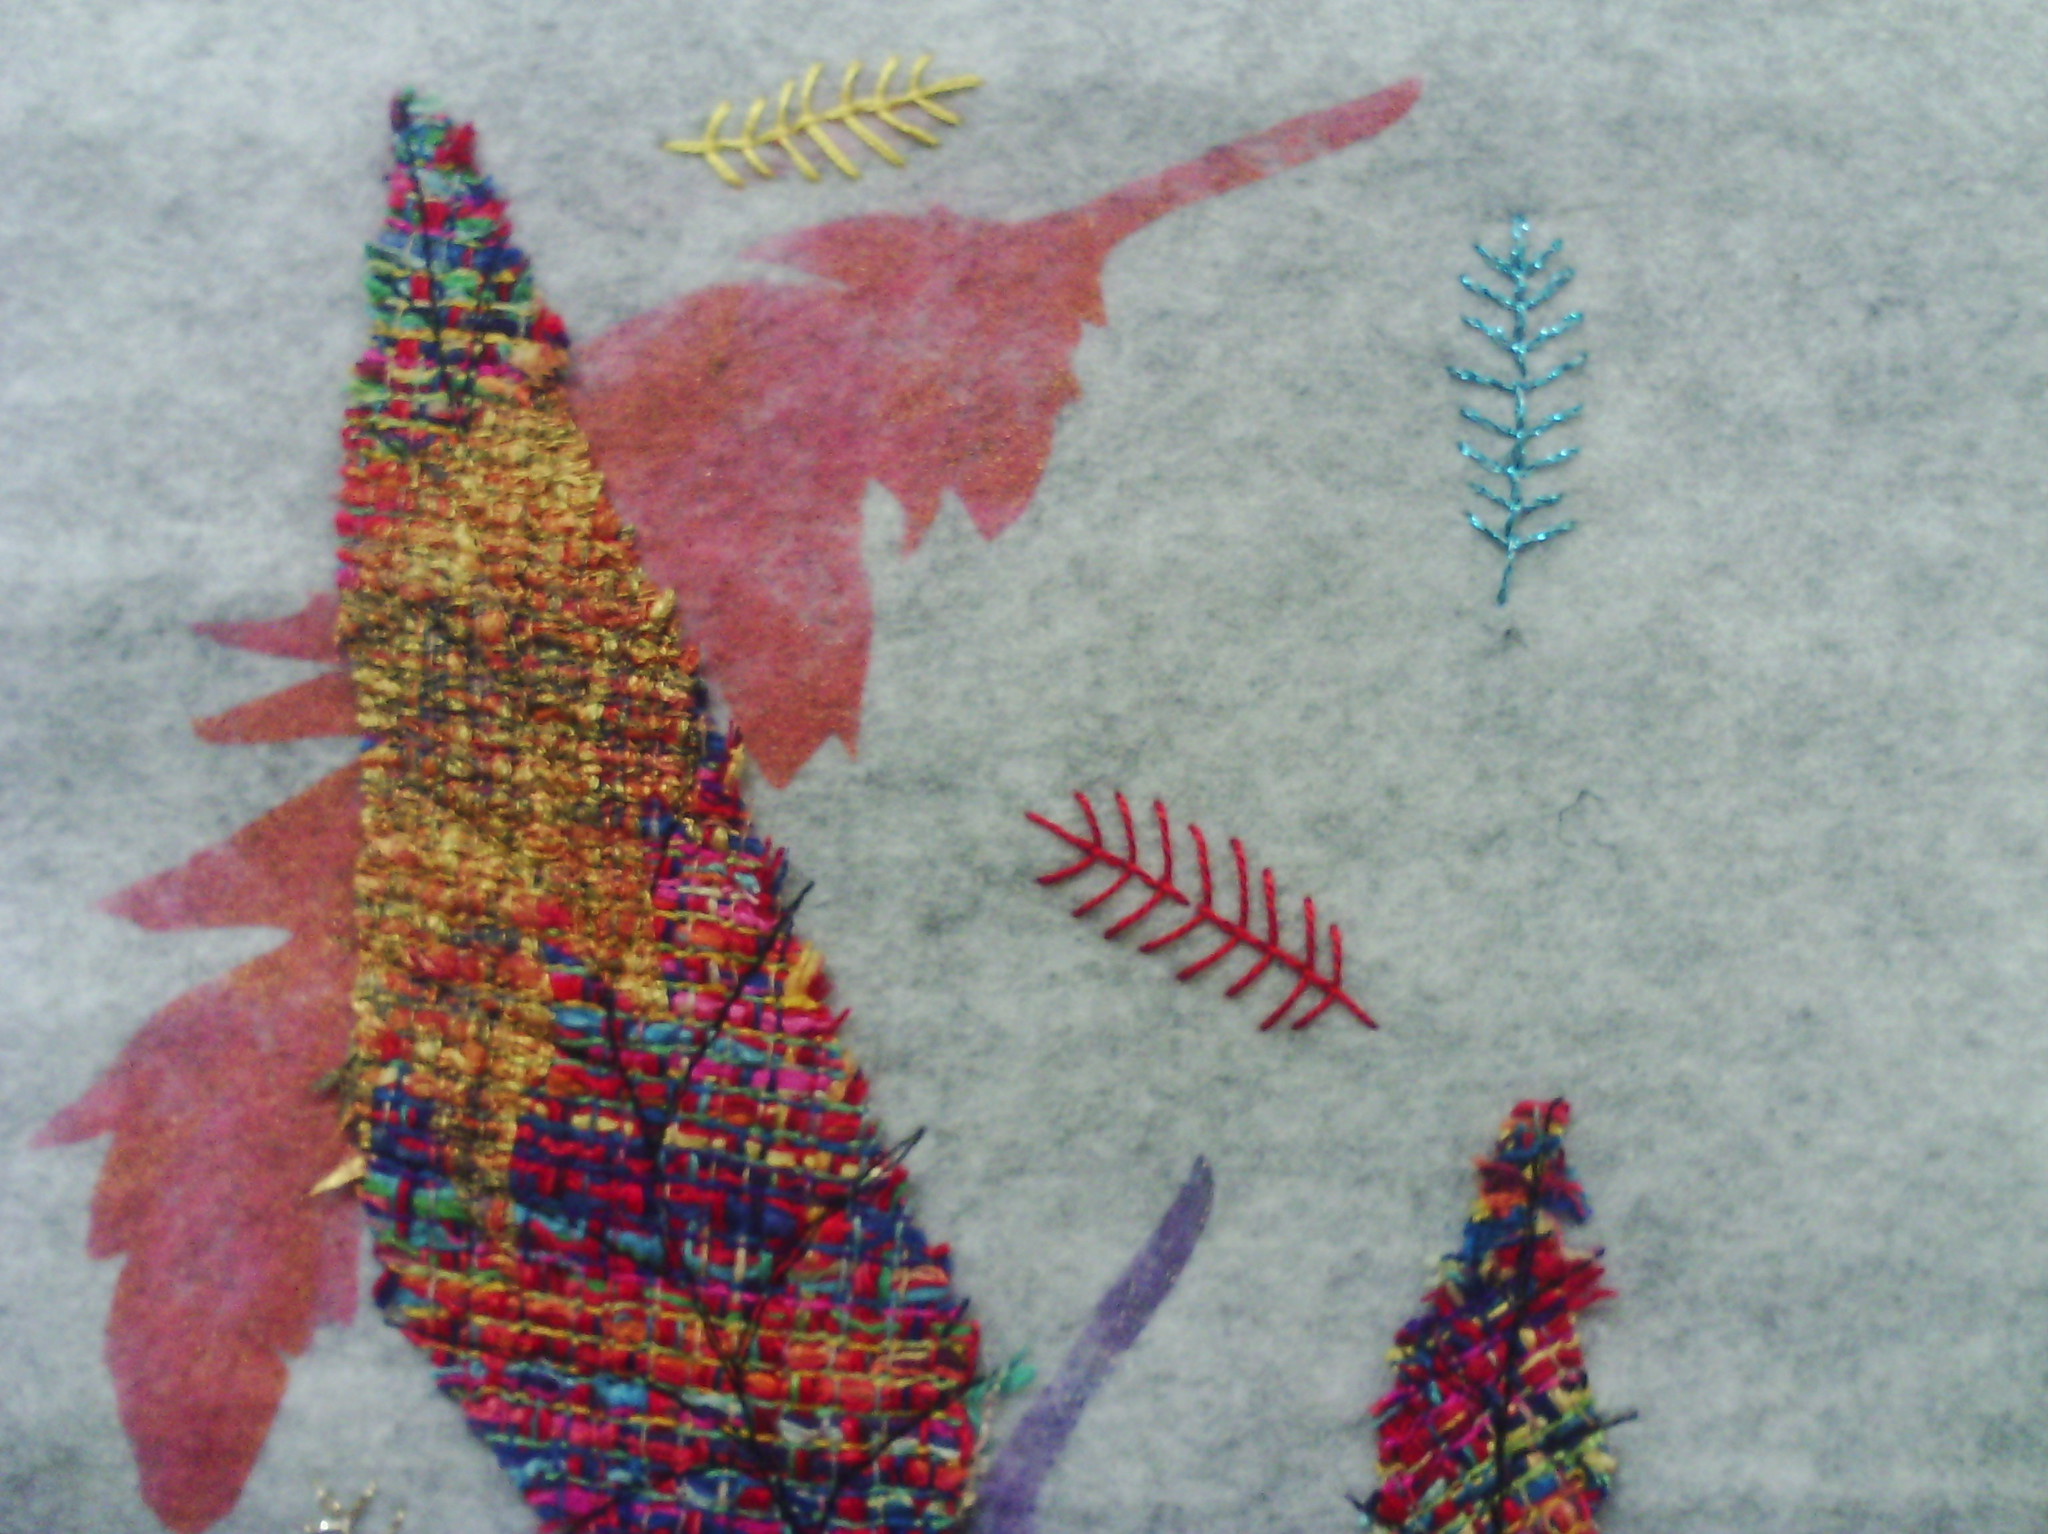
You can see the gorgeous woven texture of the silk in this picture.  I paid a lot of attention to the edges when I was needlefelting, which made them fray nicely.
When I had done that, I threaded up with Black thread and free motioned over them to make the stems and some side branches.
At this stage, I knew I needed more, and indended to do some sheer raw edge applique, but all my sheers were all still in the car from teaching a class and since it is 42 steps down and 42 steps back, I was too lazy to go and get it.
Opportunity!  I saw a feather stencil sitting on my journaling table and thought, let's add some stencilling.  The lumiere paints were just there so I used them, intending to add a bit of bling.
You can see in the photo above that a strange thing happened.  In the felt, the paint took on the base colour (this was rose gold) and the silk took on more of the metallic part of the paint.
WOW!  I loved that, so I tried a few more colours.
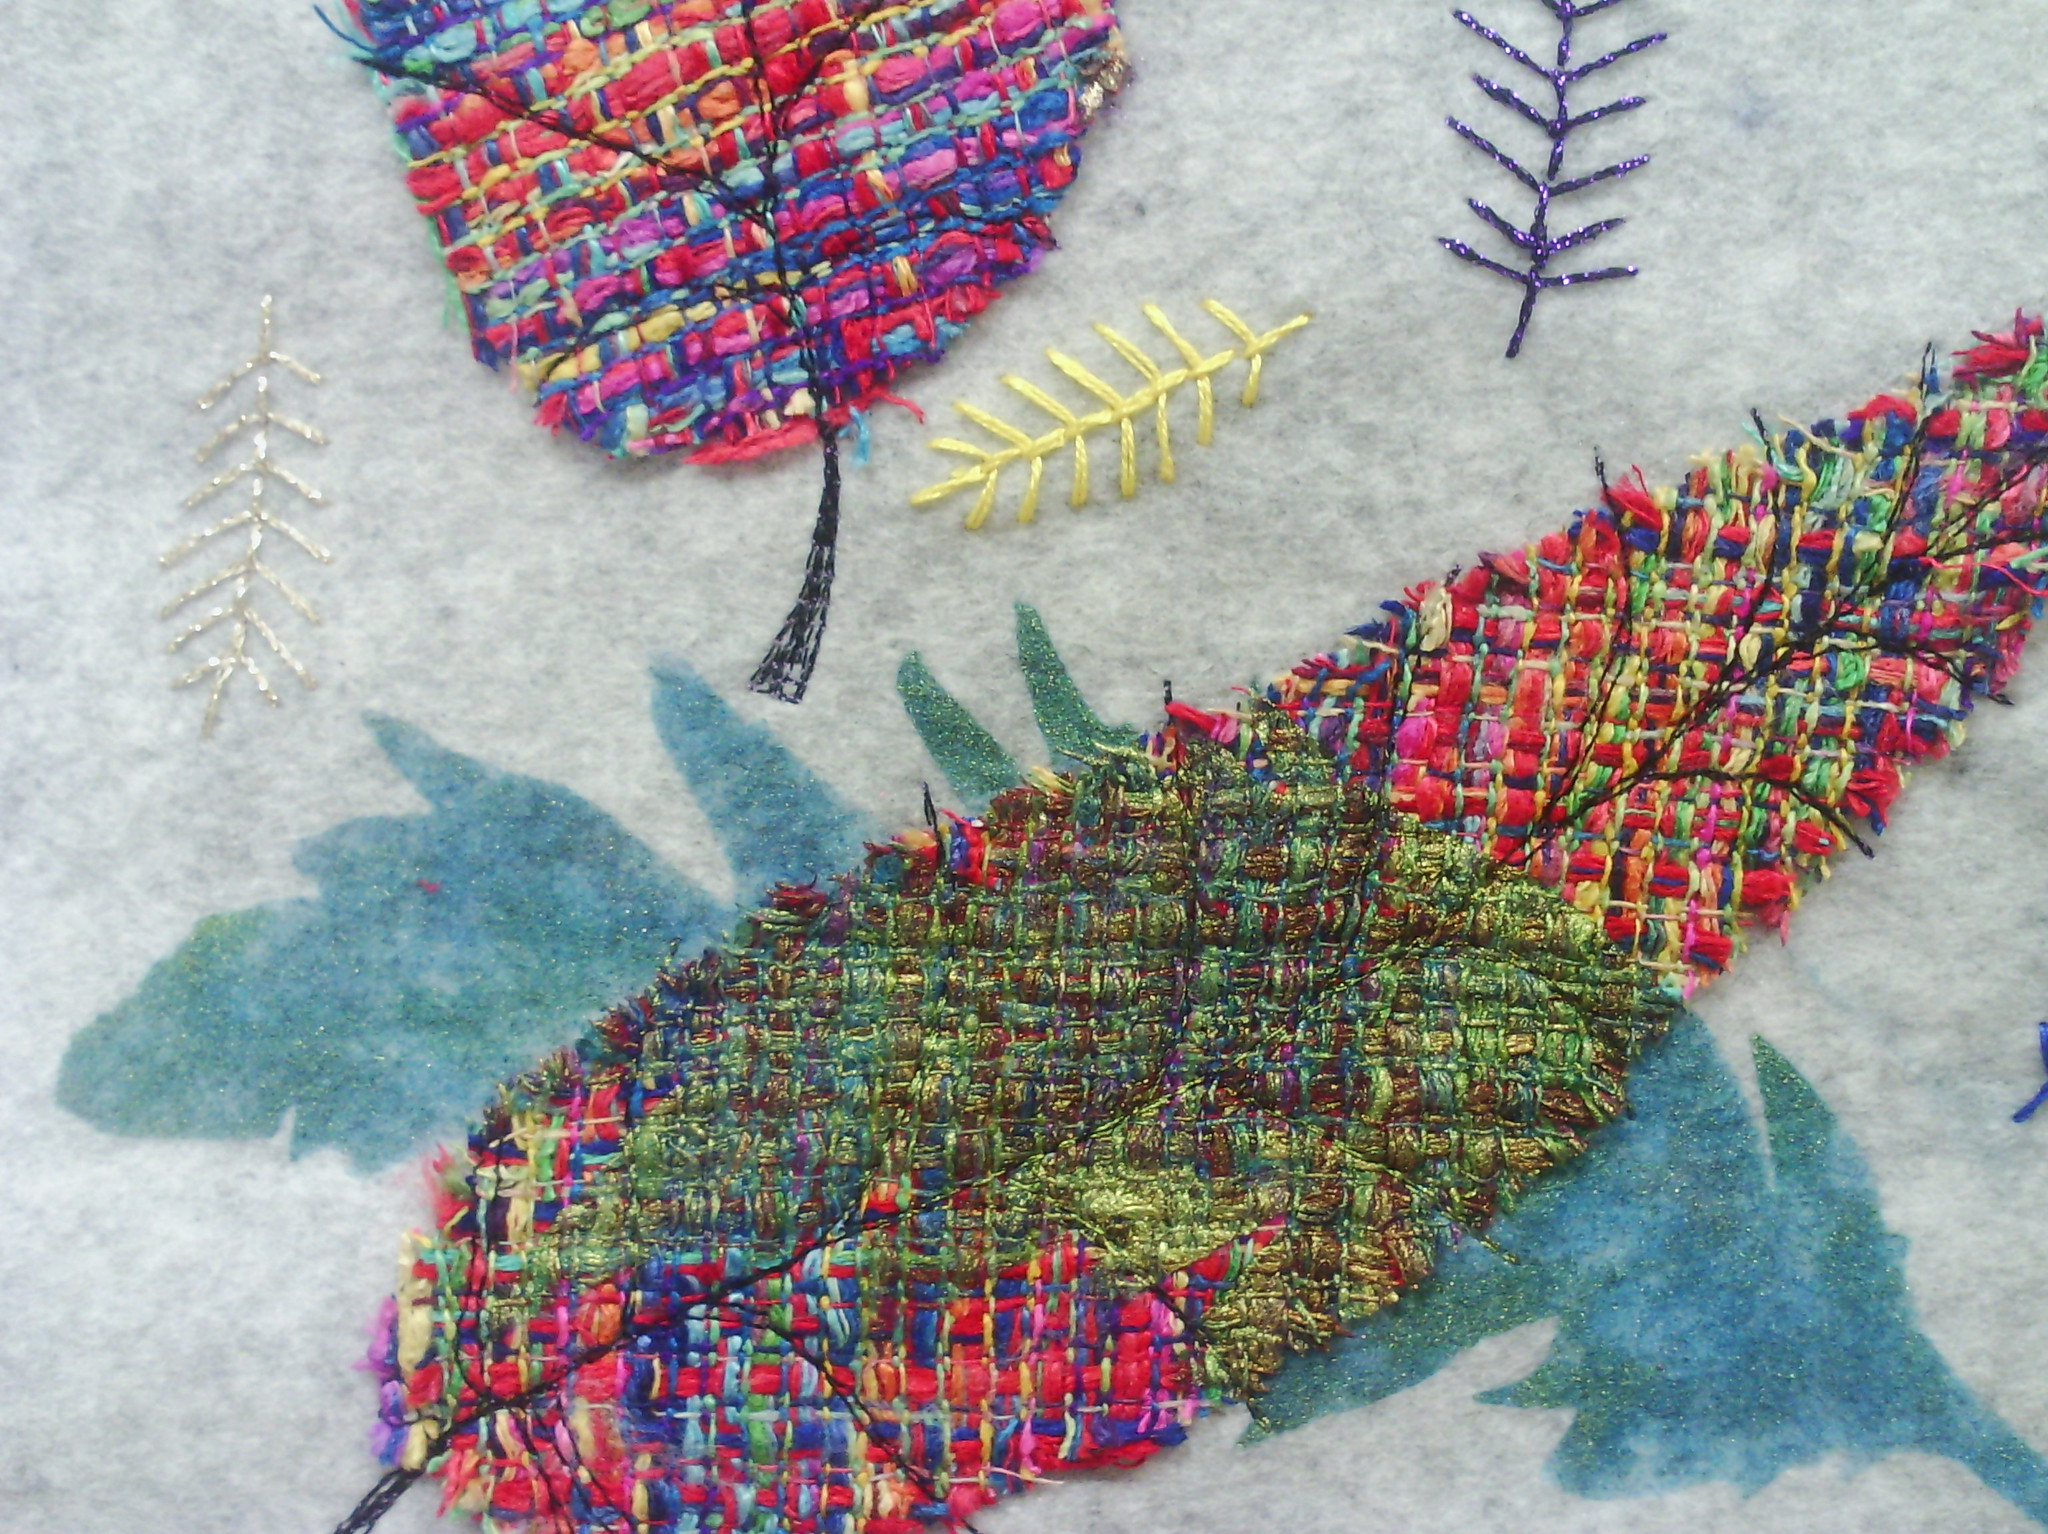
This was the blue gold and it did the same thing.  I also used violet gold, but I didn't overlap it much, so I  didn't take a photo.
I still felt it needed more and got some beads out, but as I sat down to start, I saw some candlelight thread I bought on a recent trip.  YUM!  so I embroidered some feathers - using feather stitch of course!  I also added a few feathers in the colours in the silk fabric - yellow, red and blue.
And that is where I am at.
I am not sure where to go next - whether to add more stitching and what method for binding.  I am leaning towards beading the edge and adding some seed stitch, but you are welcome to leave suggestions.
And that was my fabric fix.

Happy creating!

Friday, April 26, 2013

ipod cases

I have been working on some ipod cases for my gallery, which is open once a month at the moment.  This last month, I had some other artist's work in the community, which was really great.  DH and I are always trying to think up small things to draw more sales and so this month I am working on ipod or iphone cases.
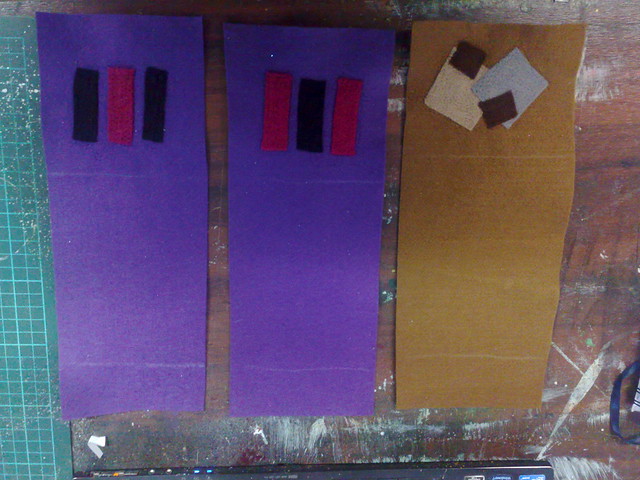
This one is nearly finished.  I am thinking of adding a few beads and of course the clasp.  It is made from chiffon needlefelted onto felt.
This one is trimmed ready for embellishing and stitching and is made from slub yarn needle felted onto felt.  Obviously, felt is so easy to make these from.
Another one ready for stitching this one is made from felt scraps needlefelted onto a felt backing, then some free motion scribbling with my favourite gold thread (one day it is going to run out and what will I do then?).
I have found that the basic pattern for these cases is to use a half of an A4 (or letter) sized piece of felt or fabric (cut along the length) is perfect for this.
Here are three more with needle felted scraps on the flaps ready for stitching.  All I did was cut an A4 piece of felt in half.  Once I am happy with the design and stitching etc, I just fold it to the right size and trim about 1/4 to 1/2 inch off the (long) sides and blanket stitch the sides together.  It's a quick piece of work, depending on how much hand stitching and embellishing you do.

After reading a friend's blog about treasure bags, I am now  thinking about fabric cases using the decorative stitches as she did, since hers are so gorgeous and I have soooo much yummy thread.

Anyway, need to get back to my tangled textiles piece, which is due in a few short days.  Tomorrow, I am teaching a beading class and in a few weeks, a painted chiffon scarf workshop, so busy, busy.

Keep creating

Wednesday, February 15, 2012

some charms and fantastic plastic

This atc has a felt bacground, some textured organza ribbon, heart charms and free motion stitching.  The edges are glued and gold leafed and it is backed with a playing card.

This afternoon, I had a play with embossing powder and plastics.  I have seen a video where plastic was embossed with an embosser like a cuttle bug here .  This doesn't require heat. and although I will try it, it wasn't what I wanted.

I tried quite a few different types of plastics.  (This table here is an overwiew of recyclable plastics.)  The first plastic I tried was a number 5 or poly propylene (PP) .  It is not completely clear and is more soft rather than brittle.  Generally it is from take away or thin microwaveable plastic containers - like the ones you can get in packs of six at the supermarket.
the plastic puckered a tiny bit, but it can be flattened while still warm after using the heat gun.  i found it best to hold the gun high up, at least 8 inches and wait a bit longer as there was less puckering this way.
Buoyed on by this success, I tried a few more types of plastic.
Acetate, or transparency did not work as it buckled up straight away and never got anywhere near melting the embossing powder.
This one is PET or number 1 plastic.  This is generally what soda/fizzy drink bottles are made of or frozen meals, but I got it from a non-food packaging.  It didn't work either, buckling under the least heat.
This one didn't have a label, but was from a chinese take away type container and it felt the same as the PP (5) above.  It worked the same as the poly propylene.
The last two plastics I tried  are a bit different.  They both came out of an LCD computer screen when hubby pulled it apart.  The first one is slightly frosted and looks just like quilting stencil plastic.
I have put it on a coloured surface so you could see what I mean.  It worked really well.  I also tried a piece of stencil plastic, to put my mind at rest (not shown) and it worked as well.
This last one is the one I liked the best of all.  It is a reflective clear plastic that I have been collecting from computer sreen demolitions, because it is lovely and shiny like a pearl or a mirror.  It worked very well.
Here is a shot of this reflective plastic so you can sort of see what I mean.  When the light shines through it, it makes rainbows, I must be a bit of a Pollyanna, I suppose.
The reason this one appealed to me so much is that a friend is going to run a dream catcher workshop at our community house, and I thought that if these were suspended at the bottom, they would just top it off.
I am sure you will be seeing this technique in my ATCs (when I get all the hearts out of my system, lol)


Make sure you play every day.

Friday, January 20, 2012

round and round in circles

today's ATC is just felt, cotton thread and a few sequins and beads.
I am working very hard on a secret!
A bit of free motion handwriting.
and more..........................................
a bit more...............................
and some bits that I am hand embroidering.
There are 32 lines and it has taken me a long time to finish this section.
This project also involves the thread paintings I was working on here.

UH well, back to the needle and thread.
oh, and here is my little Tammy, sleeping on the washing basket!

An ATC a day keeps the creativity flowing!


Wednesday, November 23, 2011

Still in the red

Today, I worked on the second  red hanging.  I told you that the mini quilts in this one would be different to those in the first  piece (here), but I chose a pretty simple one to begin showing you.
Here are all my bits and pieces for all the left over mini quilts.
This is the first one I will put together.  There's a lot in this photo to talk about.  First of all, in the bottom left, are the fabrics.  This one as you can see is going to be a long thin mini quilt.  I have a piece of gold satin/chiffon stripe, a piece of red satin and a piece of red felt.  None of the pieces are cut to size.  There is an important reason for this - putting all the mini quilts together into a cohesive whole will require alterations and adjustments to get a nice fit at the end, so edges and bindings are left until the end, when all the pieces are finished.
OK, at the bottom next to the fabrics are three pairs of buttons (actually one is a pair of brads) which will make up the main motifs.
Above all this and on the right of the buttons are lots of other bits and bobs, beads, sequins, threads, etc.
The first thing I do is to glue the foundation (red satin) to the felt underlay.  This is only a temporary hold, as remember, I may have a bit of adjusting to do later.  I also allow a lot of fold over fabric for later - if  I require it.  Binding or turning under is a decision I make much later.
Here is my basic idea for the mini quilt.  I have cut squares (approximately) out of the satin part of the shot chiffon and layered the buttons and brads.  The first button is a very old pink button, which was still on it's card (check back to the first photo).  The second one was a mother of pearl button and the third is a red heart shaped brad, which fits perfectly into the two opposite holes in the buttons.
First I frayed the edges of my pieces of satin and stuck them down in a diagonal orientation.
Next, I sewed the pink button on.
Then mother of pearl.

And then the brads.
I decided to put a border of bugle beads just inside the frayed edge.  I intended to finish this step tonight, however we went visiting!  So this is where I am at.
Sometimes, I find that leaving work for a day or a few days, helps me to decide on further work.  At the moment, I am thinking about some french knots in gold around the motif, but you never know.  When I work on this next time, I may have decided on a completely different thing.

Once upon a time I would have worked into the night, finished this and then blogged well into tomorrow, but one of the things I am learning is that fibre art, and all art, I suppose, does not need to be finished all at once and needs these little naps in order to metamorphose. I think that in my little breaks from a piece, my subconscious does a little bit of shuffling around of ideas and sometimes comes up with an improved version.
Well, that's my story and I'm sticking to it!

Let's see what I get up to tomorrow!

Monday, July 11, 2011

Creating silk paper and other fibre films - Introduction Part 1


Since I have had a drawer full of silk fibres for a while now, I decided it was time to experiment with them.  Also I am working on a piece which requires several natural textures, so experimentation is likely to help me with this.  Silk paper is very useful and can be stitched, cut, coloured, molded and manipulated in many many ways for use in fibre art.
I have always loved the feel of silk.  Of course, now there are many synthetic fabrics which mimic silk, and I love them too.  My niece, also loved shiny fabric as a child and had to have a piece with her.  She called it her “Tikki”.
In my researching this blog, it has grown quite large, so will probably take up several blogs by the time I am finished with it.

I have divided up the methods into five main types and have applied these methods to all fibres, not just silk.
We would call the fabric felt if it is made from wool,

and silk paper if from silk,
or something else entirely if made from other natural fibres, synthetics or even fusible fibres.

As I have shown in the diagram above, there are five methods I will speak about for making fabric or paper out of fibres etc.  Some of these I have alluded to before and I will try and include these links as I go along.

I have also broken up the many variations and embellishments to these fabrics into wet and dry variations:

Wet variations
  • Colouring sprays (Starburst spray and Distress ink shown)

  • Tea and other natural colours (Tumeric powder, tea leaves and tea shown)


  • Metal or other flakes (metallic flakes, glitter and bronze pulver shown)
Natural additions, leaves, petals etc (Small dried flowers, and leaves shown)
 Angelina or other metallic fibres (Angelina shown)
 Scrap fabrics
 Yarns and threads
 Molding and casting can also be done at the wet stage, but I will cover this in detail in a later post.
    Dry Variations, I will also cover in a later post
    • Colouring sprays
    • Tea and other natural colours
    • Weaving
    • Embossing
    • Stitching
    • Other embellishments
    I will include a few variations with each method.
    I will also give a list of my many references in a later post in this series.
    So, to make silk paper interesting, you need to collect up lots of bits and pieces, scraps and flat found objects for inclusion.
    I will cover the types of silk fibres available in the next post.