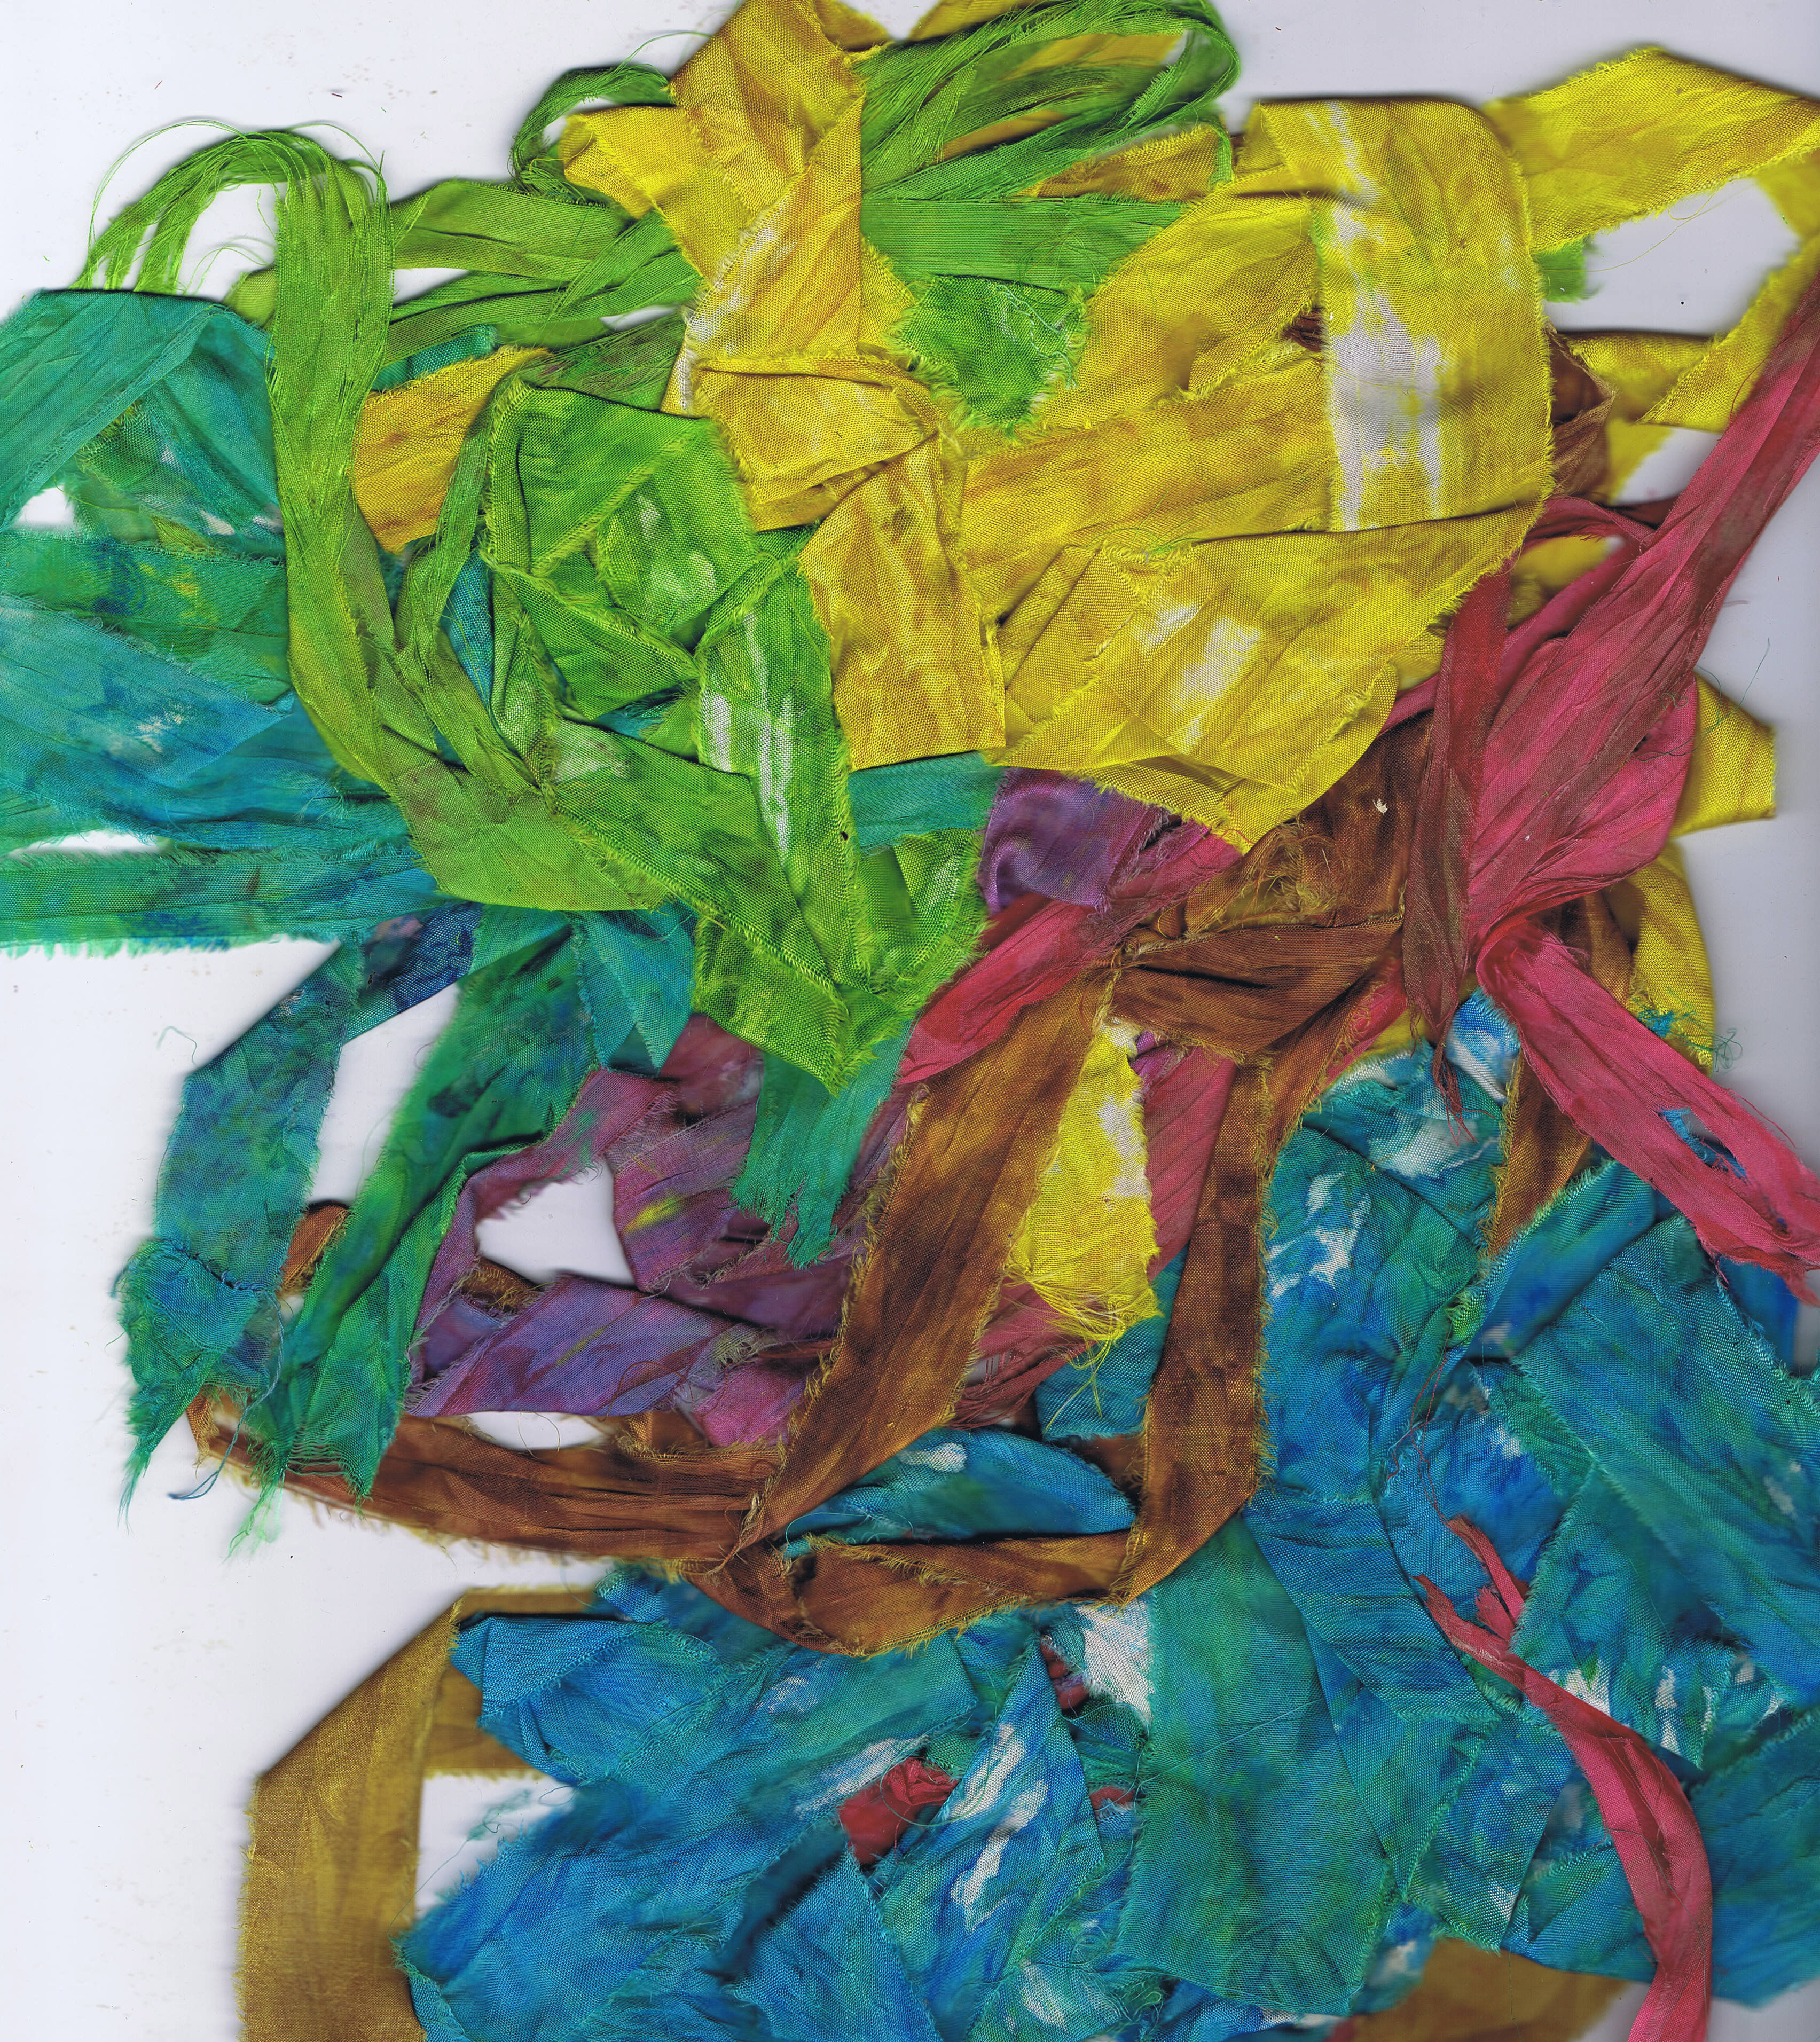
I have had a bit of a play around with some sari silk thread which I had lying around
I dyed some bits and pieces with ink.
here a some of the bits. It is very lustrous and shiny and yummy
I did one of my collage a day foundations with it.
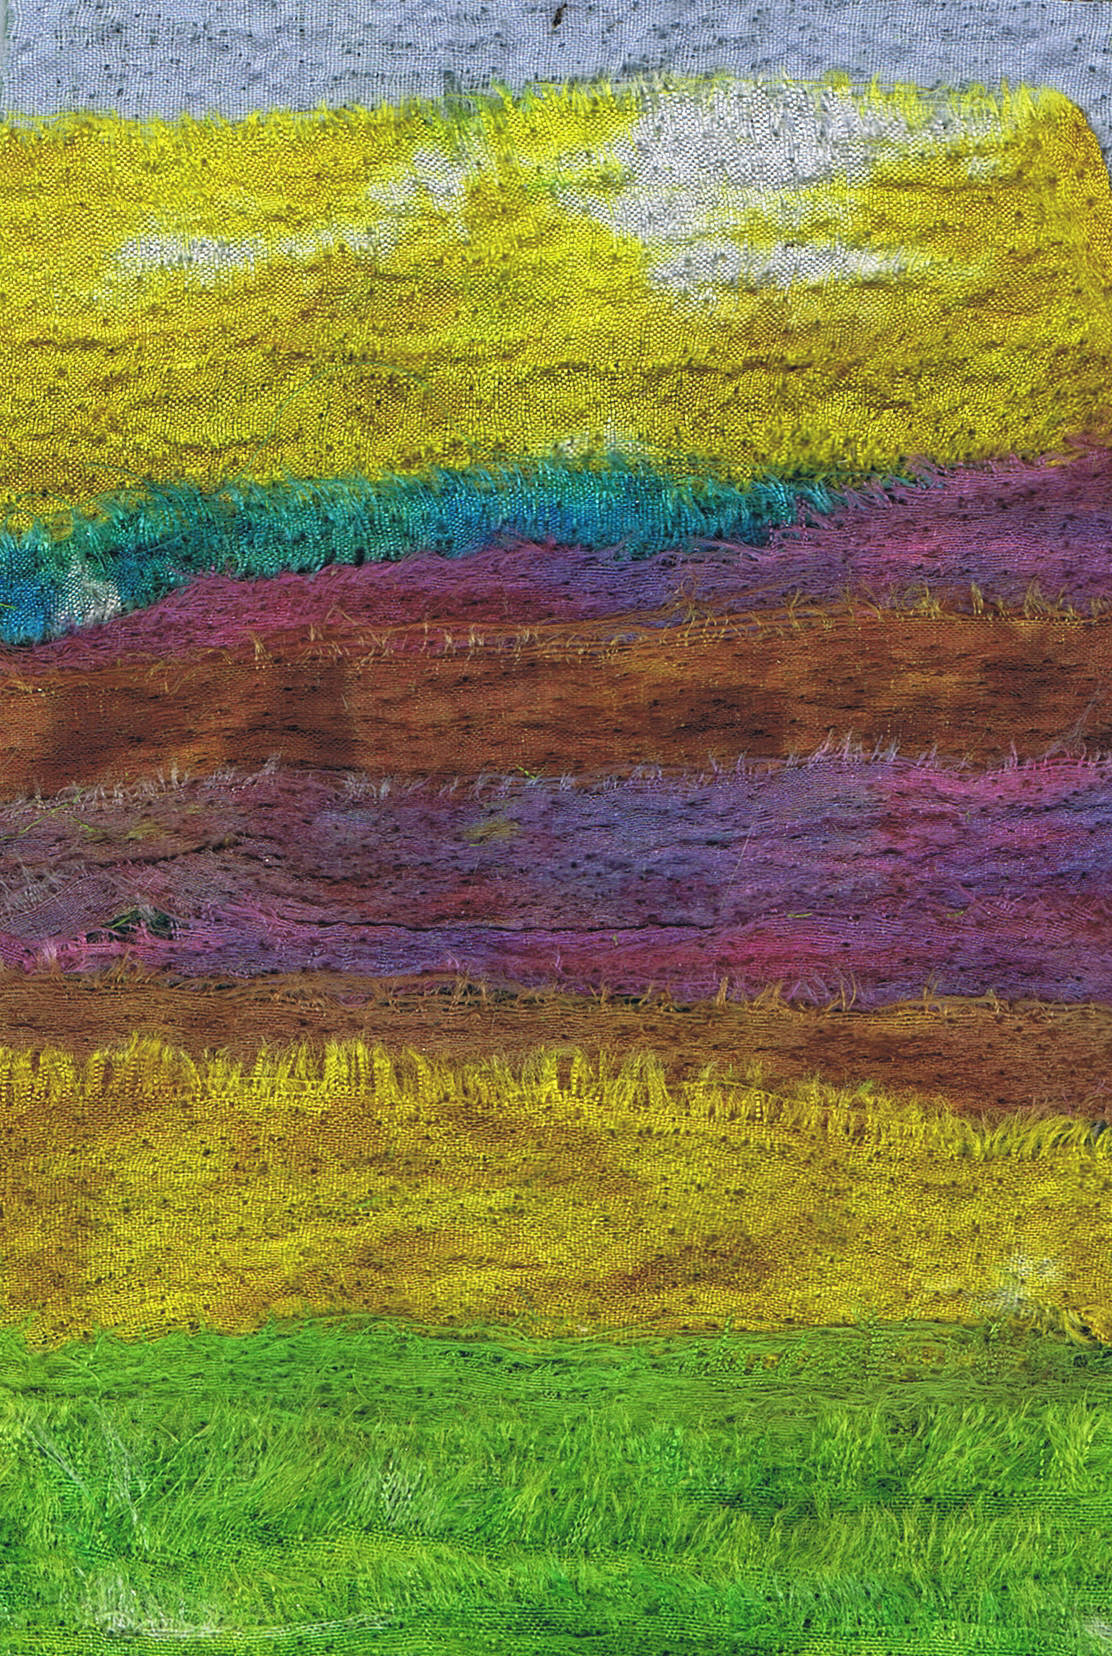
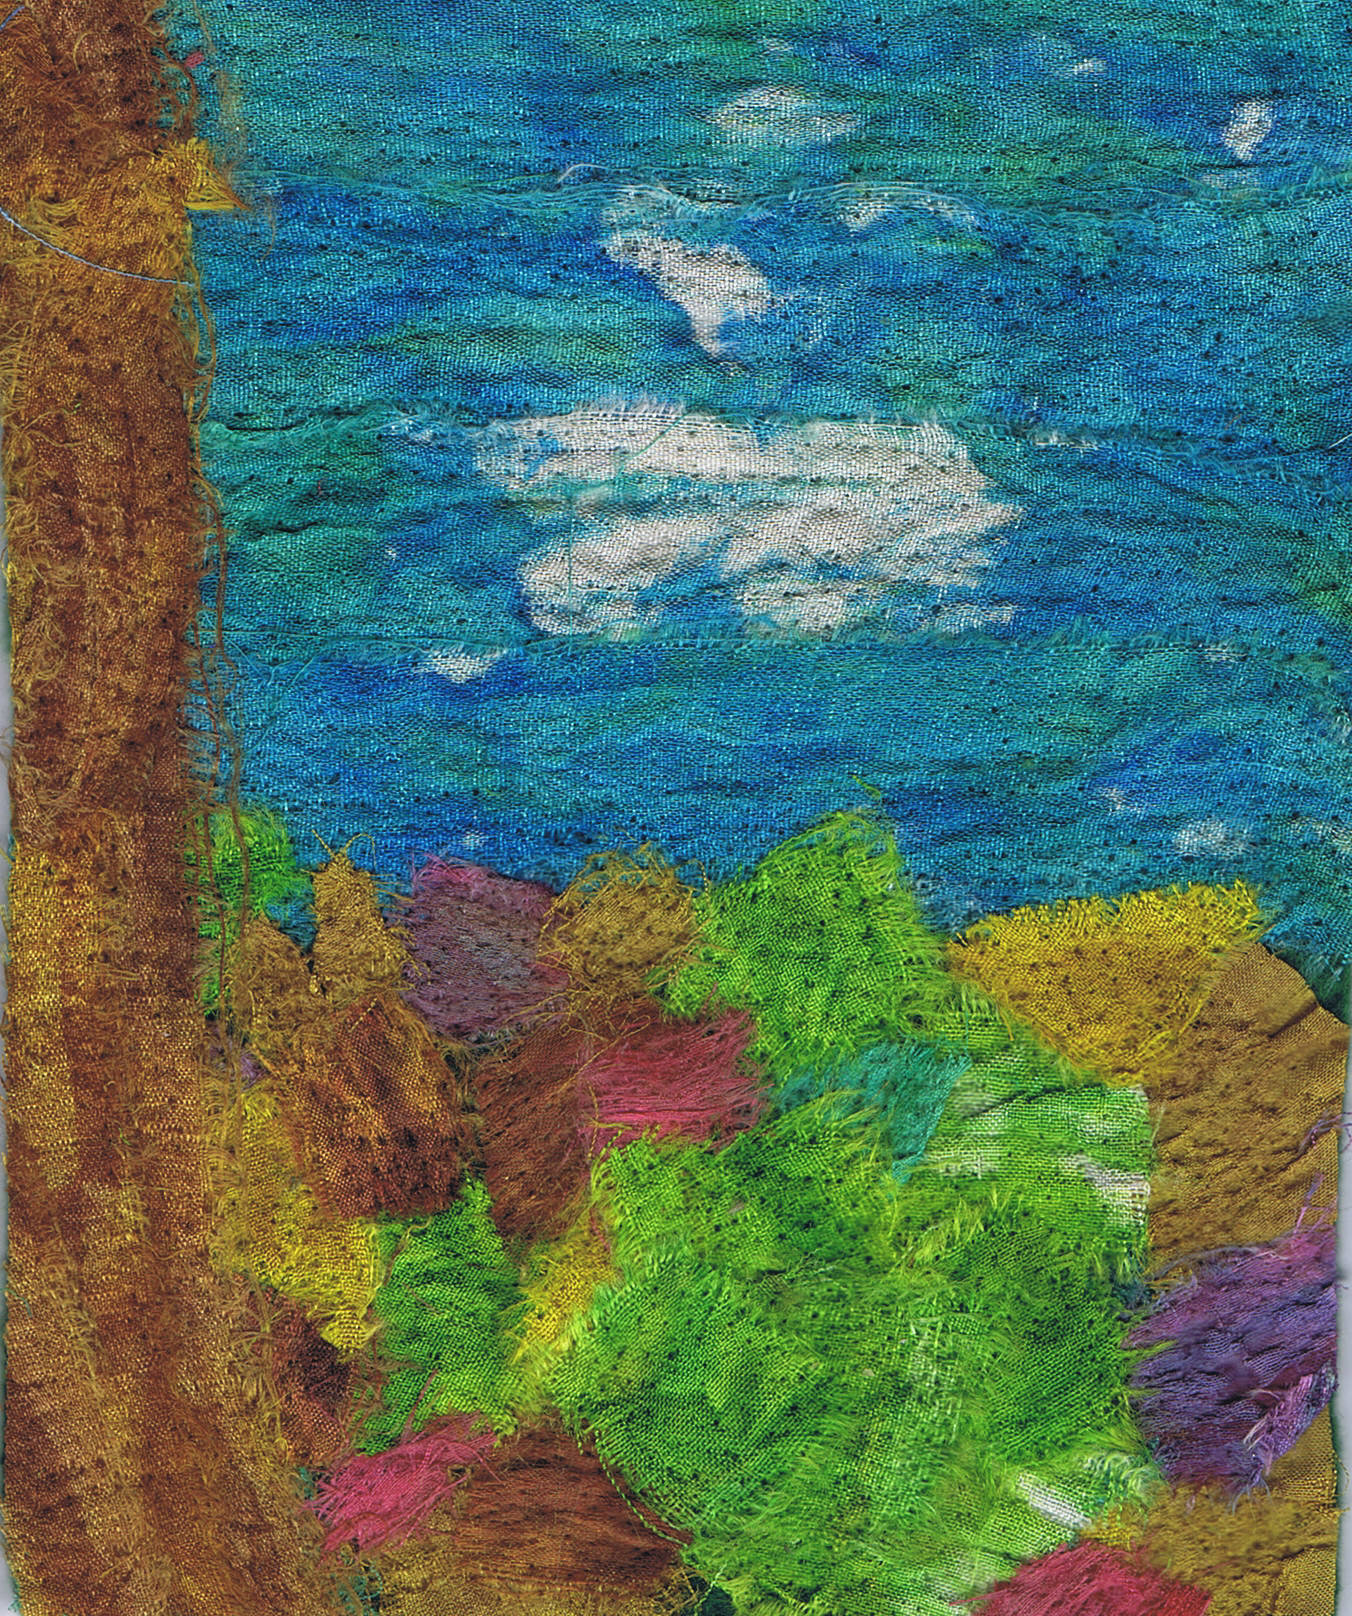
You can see it would be wonderful for landscapes, so I made a few little ones.
This one is a very simple one, but what I love is the white bits at the top that look a bit like clouds and the way I have frayed the bits at the bottom and they look like grass.
In this one I have again used the little white patches as clouds and all the leafy bits at the bottom are just my offcuts from the others.
This one is my favourite and I know I will be stitching on it very soon. I even used some little threads of the sari silk, to make a few reeds.
Happy creating!
Showing posts with label silk. Show all posts
Showing posts with label silk. Show all posts
Thursday, January 9, 2014
Friday, December 20, 2013
Felt and a few beads
I did say that I had a new piece finished/almost finished.
Happy creating!
This piece was needlefelted a little while ago with black felt, organza and silks. The black lines are needlefelted from the back and the beads are handmade fabric and paper beads. I have also beaded the entire border (But it was a few millimetres too short for the scanner) I love all the frayed edges, but not sure whether it still needs a bit of stitch. hmmmm. I'll just have to think on it a bit more.
Happy creating!
Labels:
beading,
felt,
fiber art,
fibre art,
mixed media,
needlefelting,
organza,
silk,
textile art
Friday, November 29, 2013
Fabric Fix
Day 29 of AEDM!
It has been a while since I posted any textile work. I have been working, but not anything finished to show.
So today I had my fifteen minute fix. It was one of those pieces that came together quickly, perhaps a bit more than fifteen minutes, but not much.
I do find that this often happens when I have nothing in mind; the ideas seem to come quickly when I throw away the rules.
And here is what I have put together. Not finished yet, but perhaps you can help me with that!
I decided to look at some textile videos (I always have videos running in my studio) and the first which came up was Pokey Bolton's Needlefelting video. So I got out the embellisher.
I thought a tiny bit about what to do and feathers came into my mind (all those journal pages with feathers came to me) and I had a few ideas in mind, but when I went down to the machine, I saw a scrap of felt. My original idea was to use yarns to make the feathers (and I still might do that), but on the shelf nearby was some gorgeous silk weave that a friend had given me (saying " You'll think of something to do with it")
Perfect!
So I cut some feather shapes out and just needlefelted them down with the embellisher.
It has been a while since I posted any textile work. I have been working, but not anything finished to show.
So today I had my fifteen minute fix. It was one of those pieces that came together quickly, perhaps a bit more than fifteen minutes, but not much.
I do find that this often happens when I have nothing in mind; the ideas seem to come quickly when I throw away the rules.
I decided to look at some textile videos (I always have videos running in my studio) and the first which came up was Pokey Bolton's Needlefelting video. So I got out the embellisher.
I thought a tiny bit about what to do and feathers came into my mind (all those journal pages with feathers came to me) and I had a few ideas in mind, but when I went down to the machine, I saw a scrap of felt. My original idea was to use yarns to make the feathers (and I still might do that), but on the shelf nearby was some gorgeous silk weave that a friend had given me (saying " You'll think of something to do with it")
Perfect!
So I cut some feather shapes out and just needlefelted them down with the embellisher.
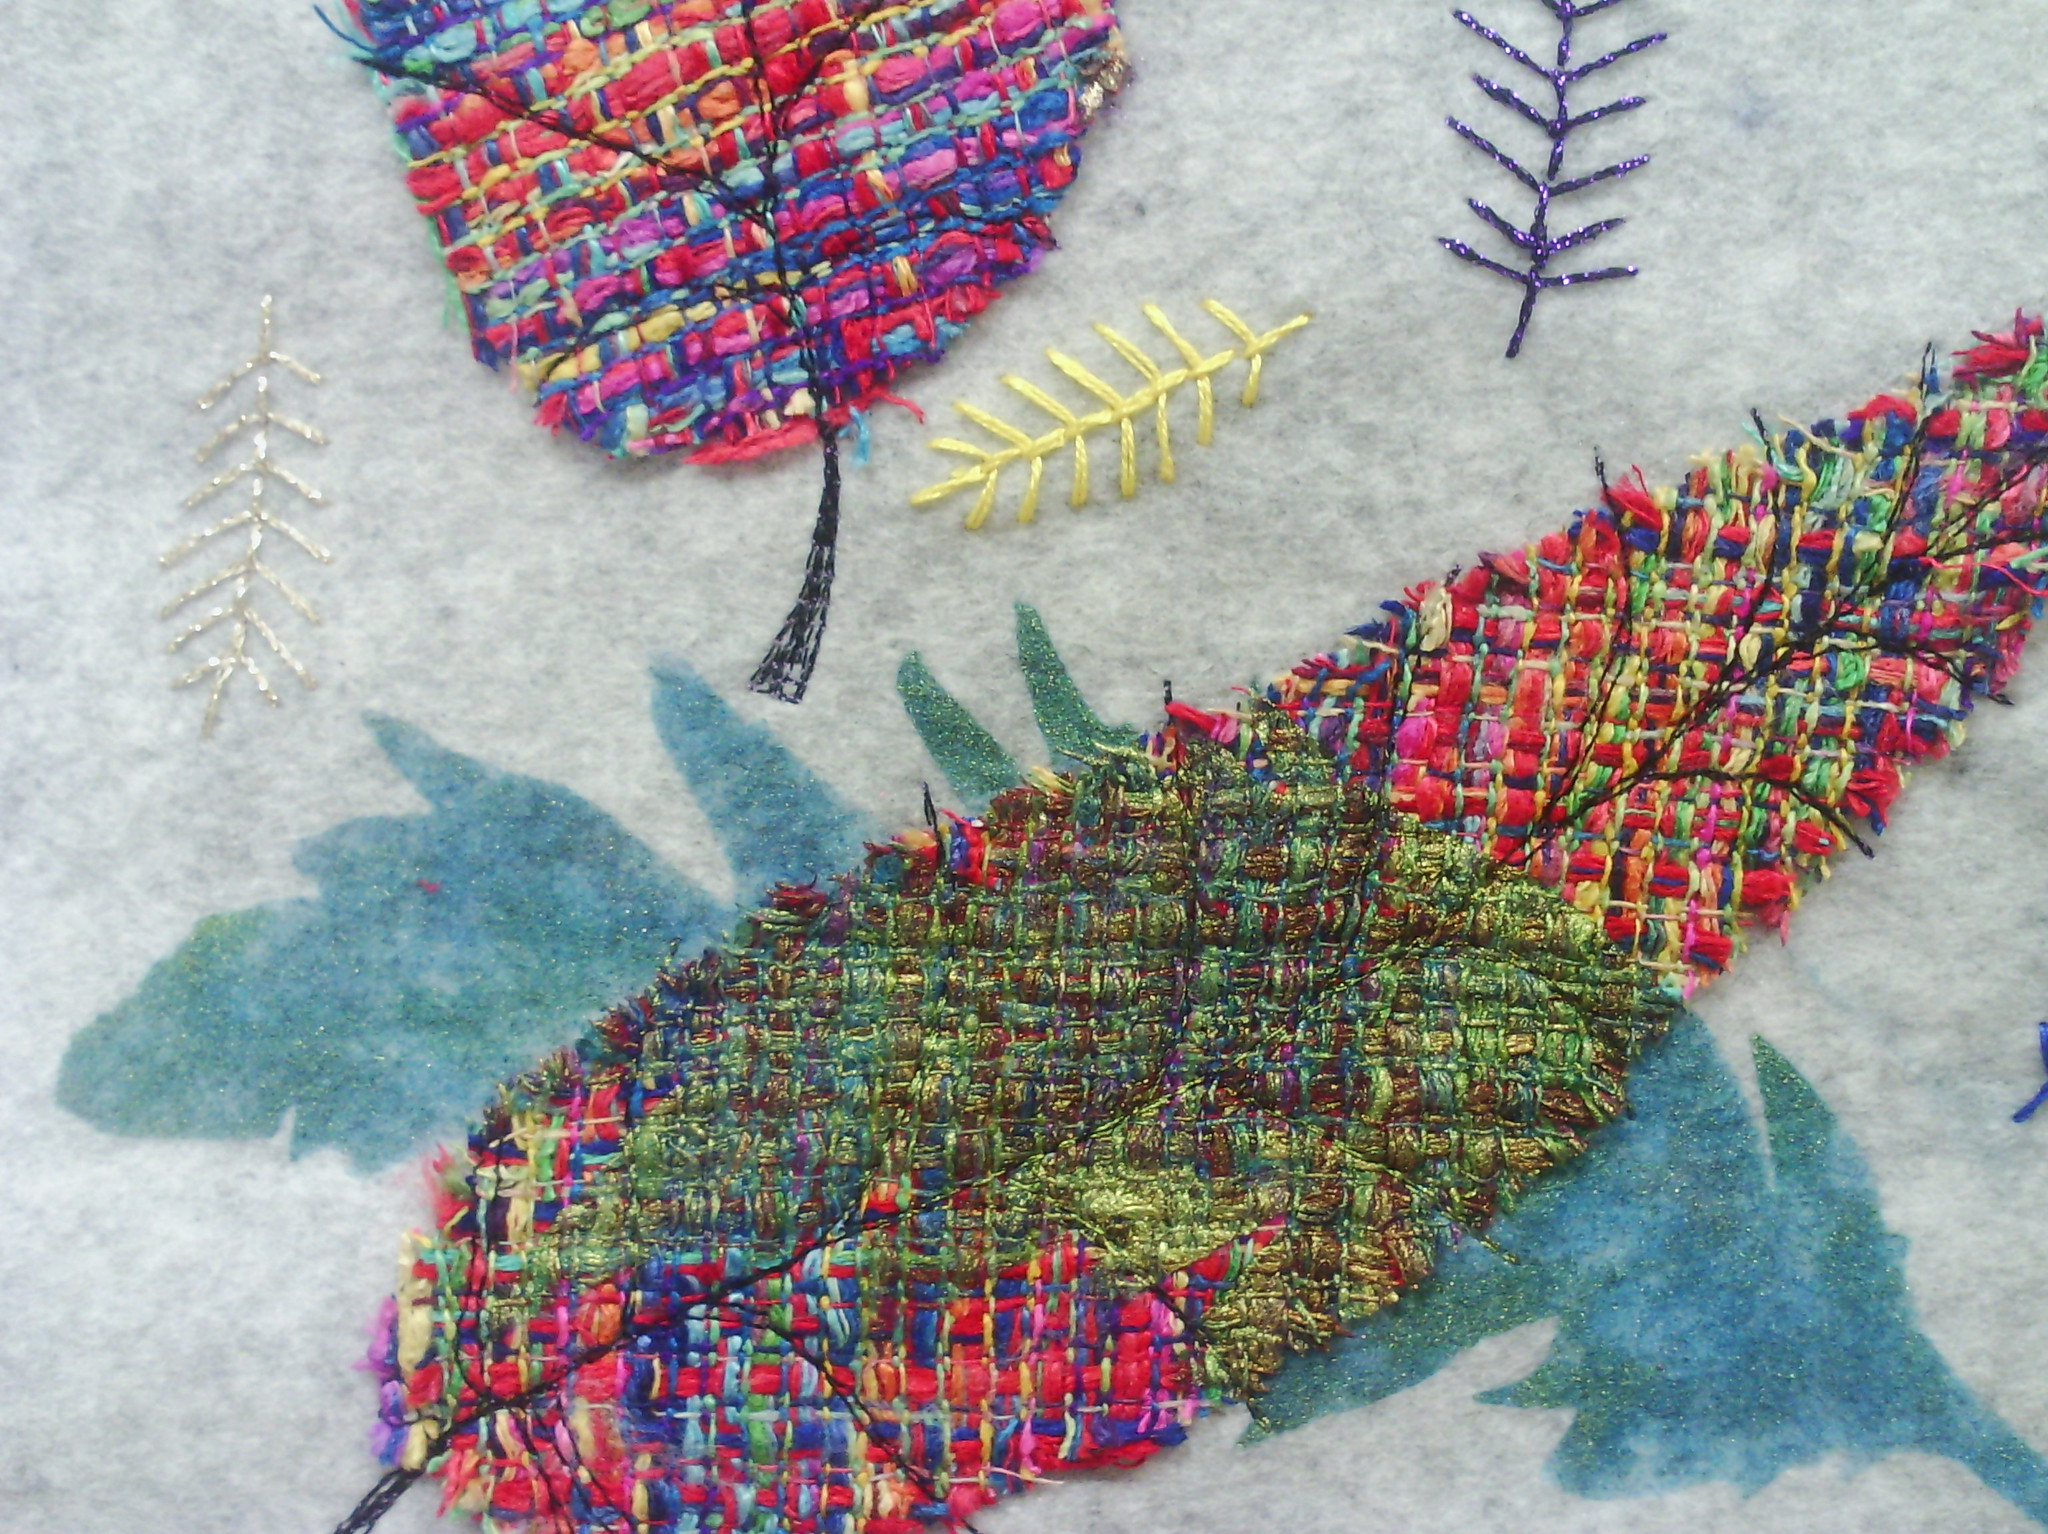
You can see the gorgeous woven texture of the silk in this picture. I paid a lot of attention to the edges when I was needlefelting, which made them fray nicely.
When I had done that, I threaded up with Black thread and free motioned over them to make the stems and some side branches.
At this stage, I knew I needed more, and indended to do some sheer raw edge applique, but all my sheers were all still in the car from teaching a class and since it is 42 steps down and 42 steps back, I was too lazy to go and get it.
Opportunity! I saw a feather stencil sitting on my journaling table and thought, let's add some stencilling. The lumiere paints were just there so I used them, intending to add a bit of bling.
You can see in the photo above that a strange thing happened. In the felt, the paint took on the base colour (this was rose gold) and the silk took on more of the metallic part of the paint.
WOW! I loved that, so I tried a few more colours.
This was the blue gold and it did the same thing. I also used violet gold, but I didn't overlap it much, so I didn't take a photo.
I still felt it needed more and got some beads out, but as I sat down to start, I saw some candlelight thread I bought on a recent trip. YUM! so I embroidered some feathers - using feather stitch of course! I also added a few feathers in the colours in the silk fabric - yellow, red and blue.
And that is where I am at.
I am not sure where to go next - whether to add more stitching and what method for binding. I am leaning towards beading the edge and adding some seed stitch, but you are welcome to leave suggestions.
And that was my fabric fix.
Happy creating!
Wednesday, December 7, 2011
A couple of leaves
This is where my leaf quilt was at last week. I have worked on a couple of leaves since then.
Here is the first one I worked on, with my sketch in the top left. My idea was to have a fabric paper leaf and have the veins of the laf go over the top of it, using bugle beads.
first I just tacked down the fabric paper leaf with some vein like stitches.
Then I started stringing the bugle beads over that.
But the problem I found was making the bugle beads fit nicely. I suppose I could have shortened a few, or added some beads to fil, but instead, I took them off.
And did some fishbone stitching instead.
And added some beads, but then realised that I had already drawn this design on my sketchbook page.
Oh well, these things happen. I will have to design another one, won't I?
On the next leaf, I wanted to string a grid and put beads and sequins in the squares.
Here I am stringing the first layer of the grid.
And here is my very wonky finished grid.
and here I have filled all the full square with sequins and beads( the wonkiness at the tip was a bit difficult, but I just stayed symmetrical)
Then I decided that the centre vein needed a few bugle beads. I did audition the green sequins, but it was a bit christmassy. I still think I might add something else between the bugle beads, perhaps a cross stitch in glod thread on the intersections....hmmm.
Anyway, as you can see, I am working on these small pieces. I am enjoying the process, but it is taking some time to complete three fiddly pieces at once (plus all my other bits and pieces I haven't even talked about!
Art is not a thing; it is a way.
Elbert Hubbard
Wednesday, July 13, 2011
Creating silk paper and other fibre films Method 1 – Water method
Creating silk paper and other fibre films
Method 1 – Traditional Water method
Method 1 – Traditional Water method
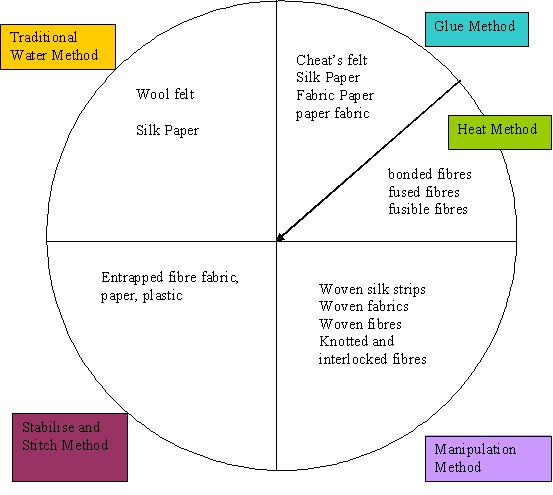
The first method I call the water method. It is called silk paper making for silk, but the method is also basically used to make felt from wool and this is called wet felting. Some references, like trenway silks (12), call silk papermaking using this method 'felting' or fusion, but it is really easy felting.
Silk paper making with water relies on the presence of a natural glue called sericin in the silk fibre, so those lovely, shiny, lustrous silk rovings won’t work very well on their own. You will need some gummy throwster’s waste, cocoon strippings, or rods are needed for the paper to bond as they still have the natural glue (sericin) in the fibres (these are described in my last post - here).
Wet felting relies on the scales on wool fibres to entangle the fibres and hot water will also speed this up.
Both fabrics require the fibres to be agitated whilst wet. Silk paper requires minimal agitation, whilst felting requires a lot more elbow grease.
I wonder what you would get if mixed wool rovings with silk strippings? Now that is an whole other blog entirely.
The water method used to be the most common method and is described in most fibre or textile art books.
- Basically, in this method (and in most of the other methods), you create a sandwich of the fibres, as shown in the diagram below.
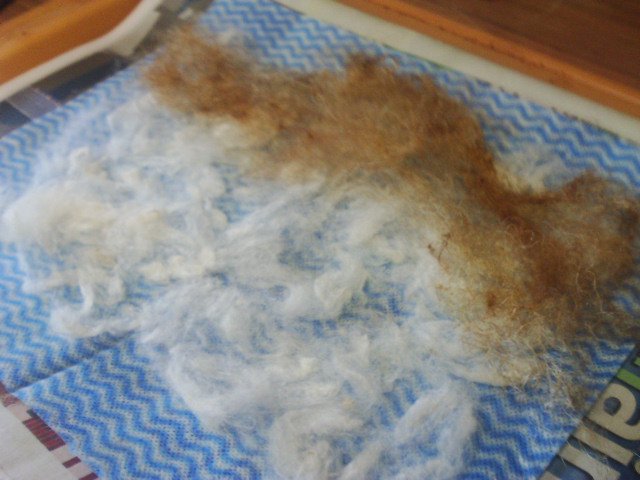
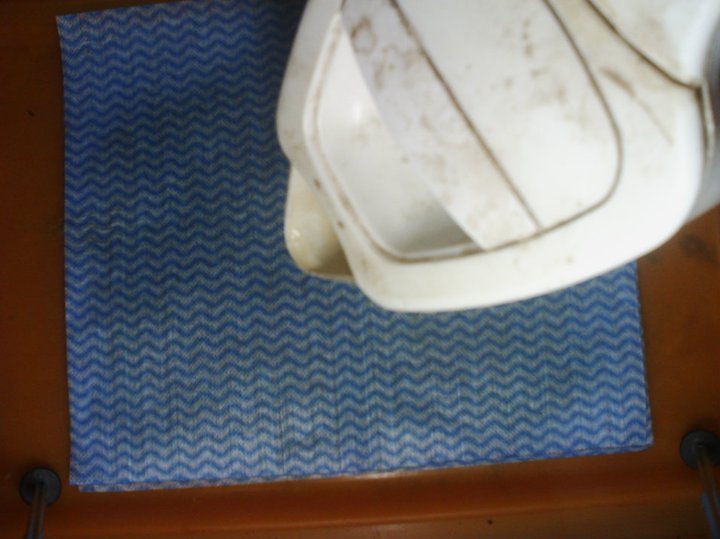
- Here, I have added my bottom layer to newspaper. Chux for this example.
- The fibres are teased apart and placed in two layers which go in opposing directions if at all possible, but more layers can be added and holes can be encouraged for a lacy texture. This is true for felt as well.
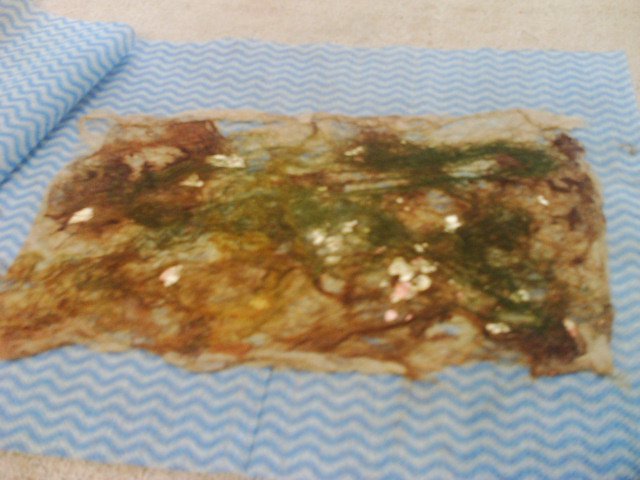
Above, in my chux sample, I have added cocoon strippings (white) and then throwster's waste (brown) which is also spread about. Then I also added some chopped up and fuzzed bits of sericin fibre.
- It is at this stage, usually between layers, that the wet variation options are added. With both silk paper and with felt, it is best if additions are covered by a light layer of fibres to entrap them in the final fabric/paper. Colourings can be added here before the water, or after, depending on the effect and density of colour you want.
Above, I have added metallic flakes and a second layer of silk.
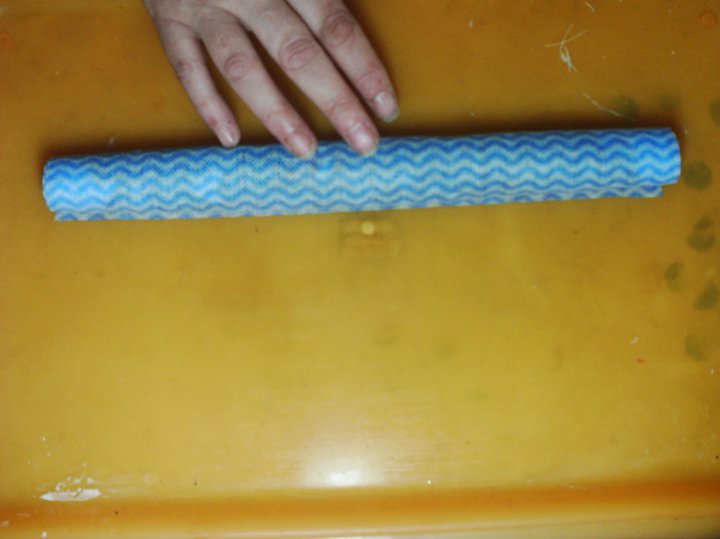
- A small amount of water is added for silk fibres, and agitation usually involves pressing and moving your fingers around the top surface to distribute the natural glue (sericin) on the fibres. With wet felting, more agitation is required and usually the sandwich is rolled up and rolled over and over as well as rubbing with the hands (as for silk paper, but more vigorous) to tangle the fibres together.
- Once the tangling is achieved in both cases, the sandwich is flattened and blotted dry.
The top and bottom cloth or net can removed before or after drying depending on the strength of the fabric (ie how many layers).
- The fibre layer needs to be thoroughly dried, either flat on a surface, or hung up depending on the strength of the fabric (i.e. how many layers).
- Silk paper can benefit from ironing at the dried stage, whilst felt probably will not want this step.
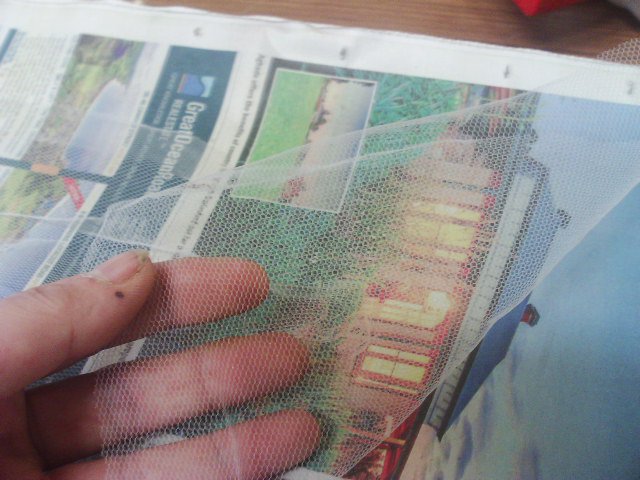
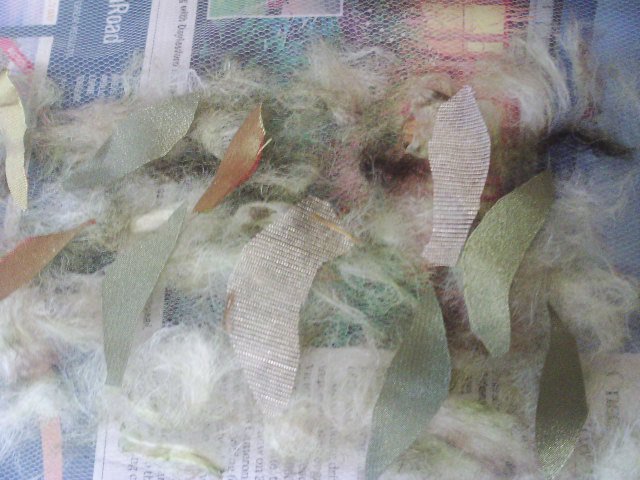
This time I used tulle, or bridal net.
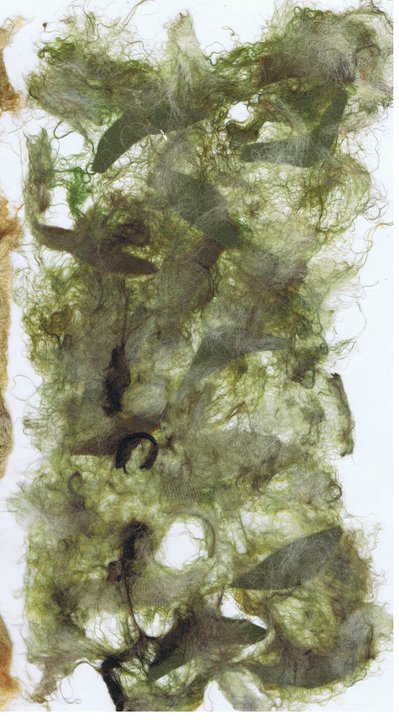
I used a rod, which I stretched out and then pulled off in tufts.Then I added scraps of fabric left over from needle felting.
The top layer was some throwster's waste.
I added the top layer of tulle and I used some boiling water.
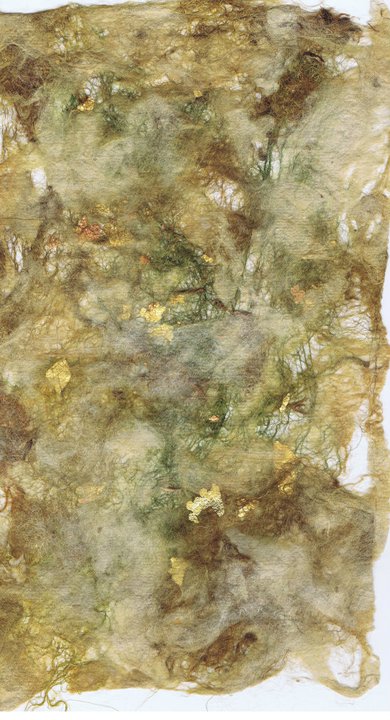
I hung the piece to dry and I really liked the leaf silhouettes in it.
I hope you liked this experiment, as i will be doing some more!
Tuesday, July 12, 2011
Creating silk paper and other fibre films Intro part 2
There are a wide range of types of silk fibre available to use in silk paper making.
It is important to know the properties of the type of fibre you are getting, because the type of fibre has some bearing on the method you will use to create the paper.
There are nine types of silk fibre which can be purchased;
Here are some pictures and description of these fibres to help you
Tussah silk tops are made by silkworms that are not fed on mulberry leaves. They are slightly cheaper than mulberry tops and have slightly less sheen. This might be an advantage if you want a more matte appearance to your paper. Because these fibres have been processed, there is little sericin left on the fibres and they will not bond together tightly on their own.
Mulberry tops, are obviously made from cocoons where the worms have fed on mulberry leaves. They have an high sheen and are slightly dearer than tussah tops. Because these fibres have been processed, there is little sericin left on the fibres and they will not bond together tightly on their own.
Collected fibres are silk fibres that you can collect from silk fabrics and from silk threads when sewing. These fibre have no sericin, but are very useful as inclusions in all methods of silk paper production.
Silk hankies, are basically cocoons which have been stretched out into a flat piece of intermeshed silk fibres. They can be used as a base for silk paper in this stretched out form, but can also be stitched into fibre work as is or needle felted to a piece to add a fine layer of colour. They are made from degummed coccoons (which is why they can be stretched out in this way), so contain only a little sericin
Cocoons are just that. The cocoons of the silk worm. Usually they are degummed. There are two types of cocoon. The first is the cocoon where the worm has been allowed to emerge from the cocoon. The worm destroys some of the silk to create a hole to do this. for our purposes, this method is satisfactory. As well, it is more humane and eco friendly, because the worms are allowed to emerge and reproduce.
The other method, used in manufacturing, where the cocoons are reeled, or wound as single threads, involves smothering and killing the worms so they do not break the threads as they emerge. I don't think I could purchase these cocoons.
Cocoons are often used just as they are for dimensional work by fibre artists. They can be processed into hankies and fibres, however, the availability of these other more useful forms makes this process a bit tedious and they are such a beautiful shape and texture as they are.
Silk rods are a very useful, sericin rich fibre. They can be used in all methods to make silk paper, but can also be used on their own to make dimensional work in fibre art. They are the fibres which stick to the rods of the machinery during processing and are cut off frequently as the silk is processed.
Cocoon strippings, are just that, the strippings from the silk cocoon before it is processed. when the silk worm begins it's cocoon spinning, these bits of fibre are the first bits made, to attach itself to a support. They are not as fine and long as the actual fibres within the cocoon, but are full of sericin, which makes them very useful as a binder in silk paper.
Throwster's waste, is also a by-product of silk processing, being merely the silk fibres which are cut off the machine when tangles occur. It can be gummy or degummed, depending on where you get it from. It is best to check before buying, depending on the method you are using, but you can experiment with it to see if it will bind, and if not, use it in another method or as an inclusion.
Sericin fibre, is fibrous waste which is very rich in sericin, so is very useful for making paper using the traditional water method, but can also be used in more dimensional fibre work due to it's strength and stiffness.
I hope this extended introduction has given you the information you need to make some silk paper.
The next post will start on the actual making, finally!
Below is a list of the references I have used so far in this series.
If I find any more good ones I will add them to the following posts. I will also try and give you an idea of which references have which techniques. (I will use the numbers below, then I'll know who hasn't read these intros, LOL)
It is important to know the properties of the type of fibre you are getting, because the type of fibre has some bearing on the method you will use to create the paper.
There are nine types of silk fibre which can be purchased;
- Tussah silk tops
- Mulberry silk tops
- collected fibres
- Silk hankies
- Cocoons
- Silk rods
- Cocoon strippings
- throwster's waste
- Sericin fibre
Here are some pictures and description of these fibres to help you
Tussah silk tops are made by silkworms that are not fed on mulberry leaves. They are slightly cheaper than mulberry tops and have slightly less sheen. This might be an advantage if you want a more matte appearance to your paper. Because these fibres have been processed, there is little sericin left on the fibres and they will not bond together tightly on their own.
The other method, used in manufacturing, where the cocoons are reeled, or wound as single threads, involves smothering and killing the worms so they do not break the threads as they emerge. I don't think I could purchase these cocoons.
Cocoons are often used just as they are for dimensional work by fibre artists. They can be processed into hankies and fibres, however, the availability of these other more useful forms makes this process a bit tedious and they are such a beautiful shape and texture as they are.
Silk rods are a very useful, sericin rich fibre. They can be used in all methods to make silk paper, but can also be used on their own to make dimensional work in fibre art. They are the fibres which stick to the rods of the machinery during processing and are cut off frequently as the silk is processed.
I hope this extended introduction has given you the information you need to make some silk paper.
The next post will start on the actual making, finally!
Below is a list of the references I have used so far in this series.
If I find any more good ones I will add them to the following posts. I will also try and give you an idea of which references have which techniques. (I will use the numbers below, then I'll know who hasn't read these intros, LOL)
References:
- Rollerson, Dale. (2011) Silk Paper Making. Thread Studio leaflet. www.threadstudio.com
- Lawrence, Sarah. (2008) Silk Paper. North Light Books.
- Hedley, Gwen (2010) Drawn to Stitch. Interweave.
- Grey, Maggie and Hall, Isobel (2010) Mixed Media new Studio Techniques. D4Daisy books.
- Holmes, Val (2006) Creative recycling in embroidery. Batsford.
- Beck, Jean Raffer. Quilting Arts. 25. pg. 62-68 Textural Surfaces for Stitch.
- Hughes, Angie (2007) Quilting Arts. 29. pg. 50-57. Textural Book Wraps.
- Clasper, Carol. (2007) Silk Paper Making Tutorial. Downloaded from; http://carolclasper.blogspot.com/2007/09/silk-paper-making-tutorial.html
- e-How. How to make silk paper. Downloaded from http://www.ehow.com/how_2321852_make-silk-paper.html
- Spiral Dyed Downunder (2010) Silk Paper Instructions. http://spiraldyeddownunder.blogspot.com/2010/07/silk-paper-instructions.html
- Meinke, Debra Olbrantz. Silk Paper Making Instructions. http://www.meinketoy.com/silk_paper_inst.htm
- Trenway silks The Inside out of Silk Fusion. http://www.treenwaysilks.com/inout_fusion.html
- Ten Two Studios. (2005) Making Silk Paper. http://gomakesomething.com/ht/papermaking/silk-paper/
- e-ssortment Learn the origins of silk, and how to make silk paper.
- McCaffery, Bonnie. Fantasy fabric. Vidcast 02. http://bonniemccaffery.com/VC002.wmv
- Miller, Vicki. (2011) Organza, collage and entrapping. http://victoriaedm1.blogspot.com/2011/05/i-have-been-hard-at-work-on-renovations.html
- Welsh, Vicki. (2010) Technique of the month – Using bits and pieces. http://threecreativestudios.com/freeprojects/tom/bitsnpieces_TOM.pdf
Subscribe to:
Posts (Atom)

