I have been a bit under the weather this week, and not felt much like doing much, but I was surprised when I looked back and saw what I had done.
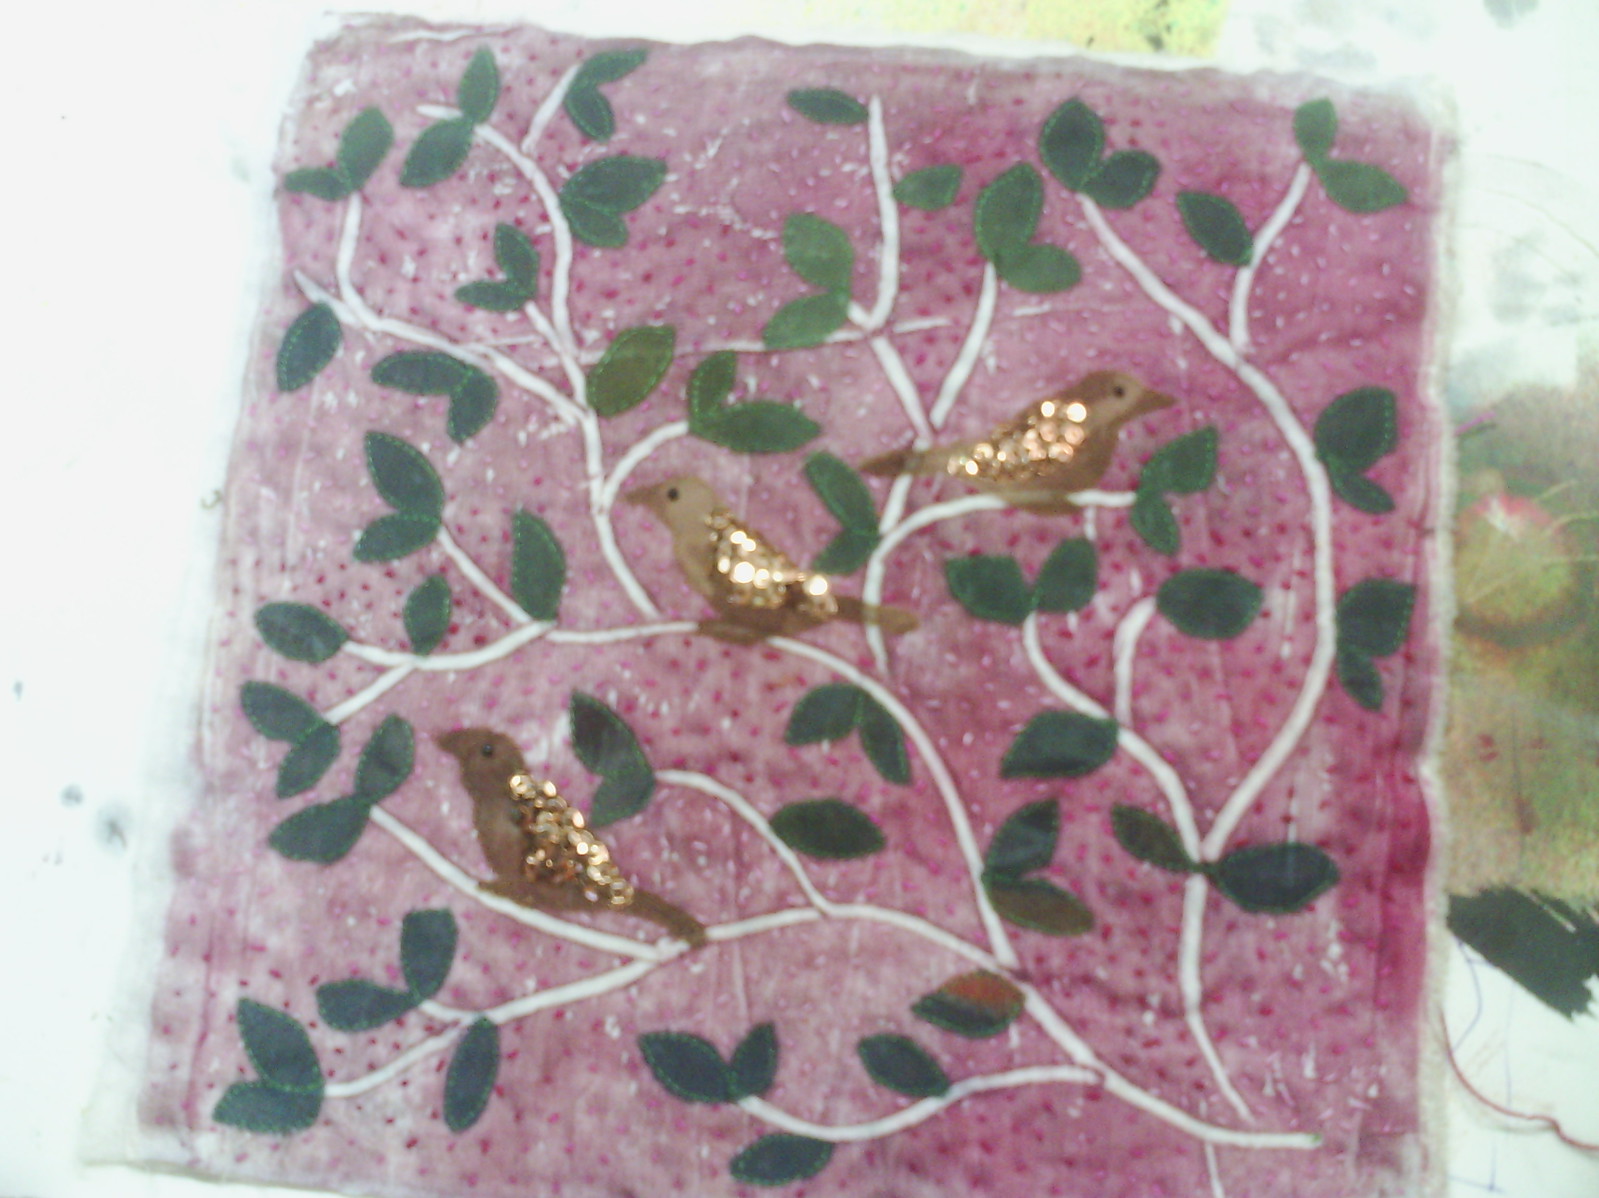
Sorry about the bad photo, but you might remember this piece from a little while ago. I have finished all the hand stitching in the background and beading the birds and now need to think about how it will be displayed.
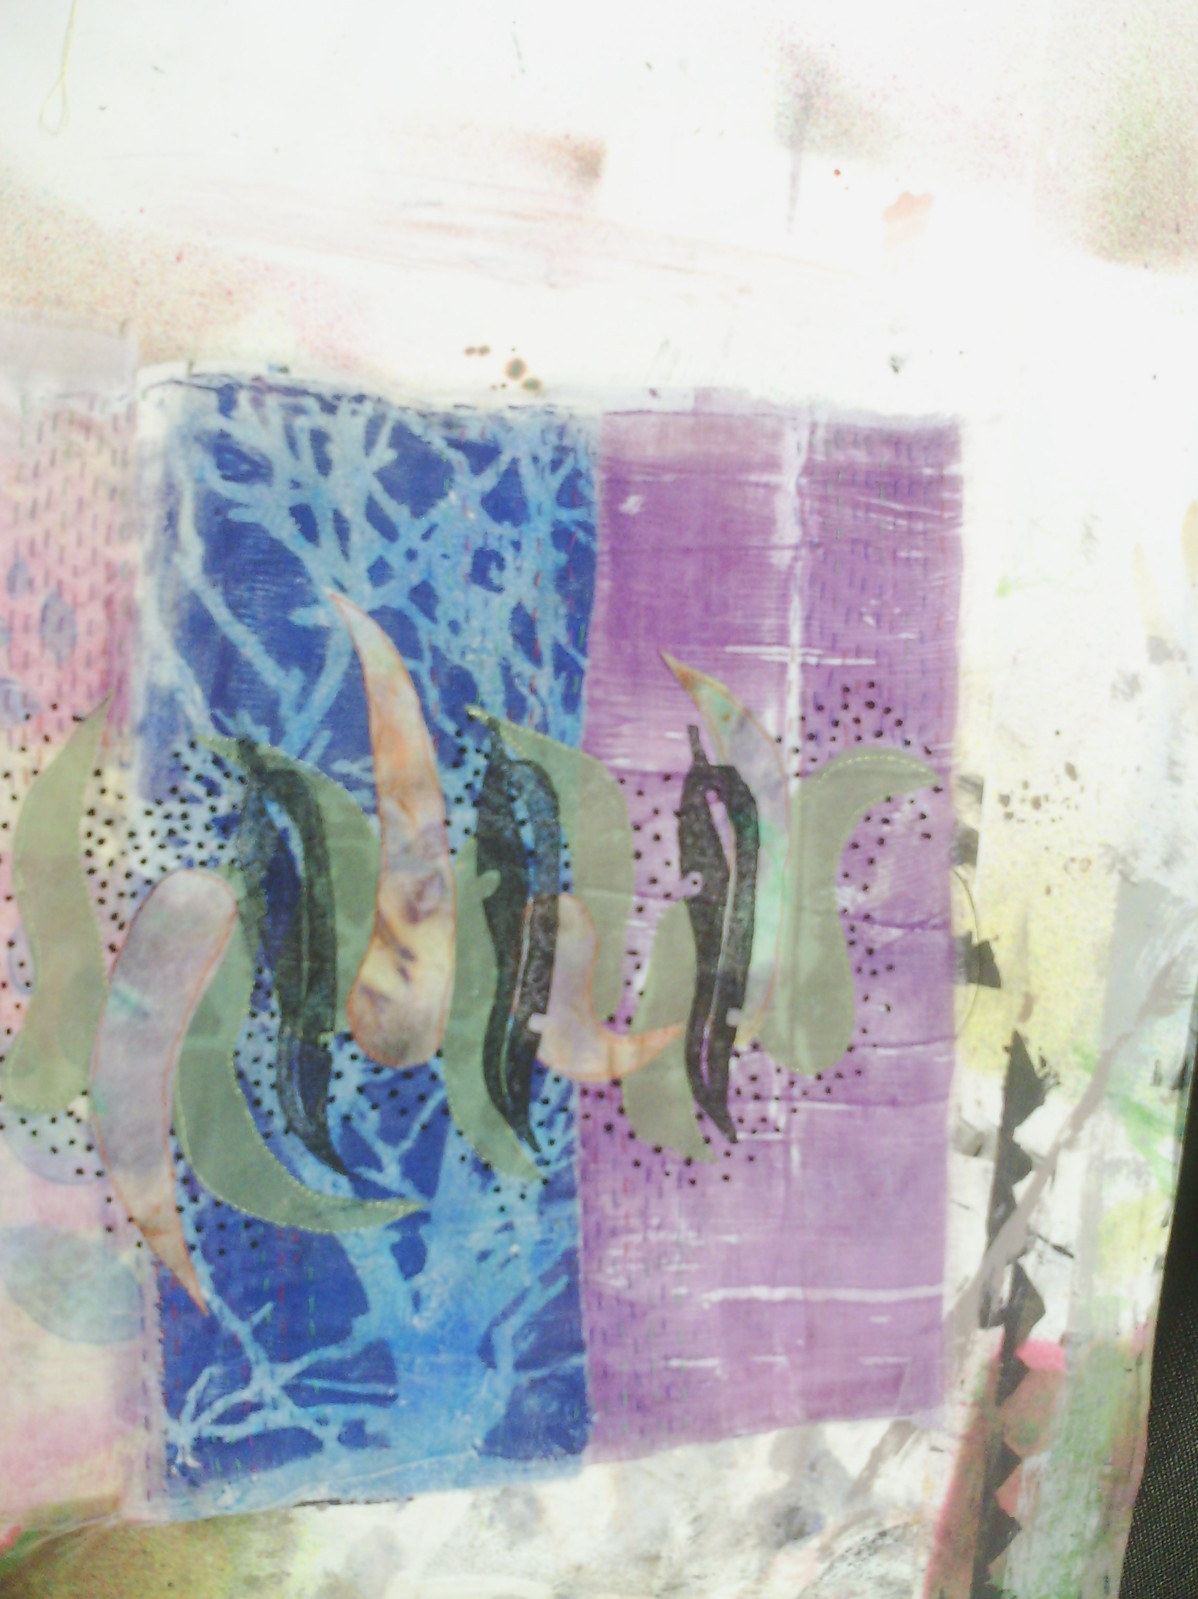
I have also finished my stitching on this piece from last week.
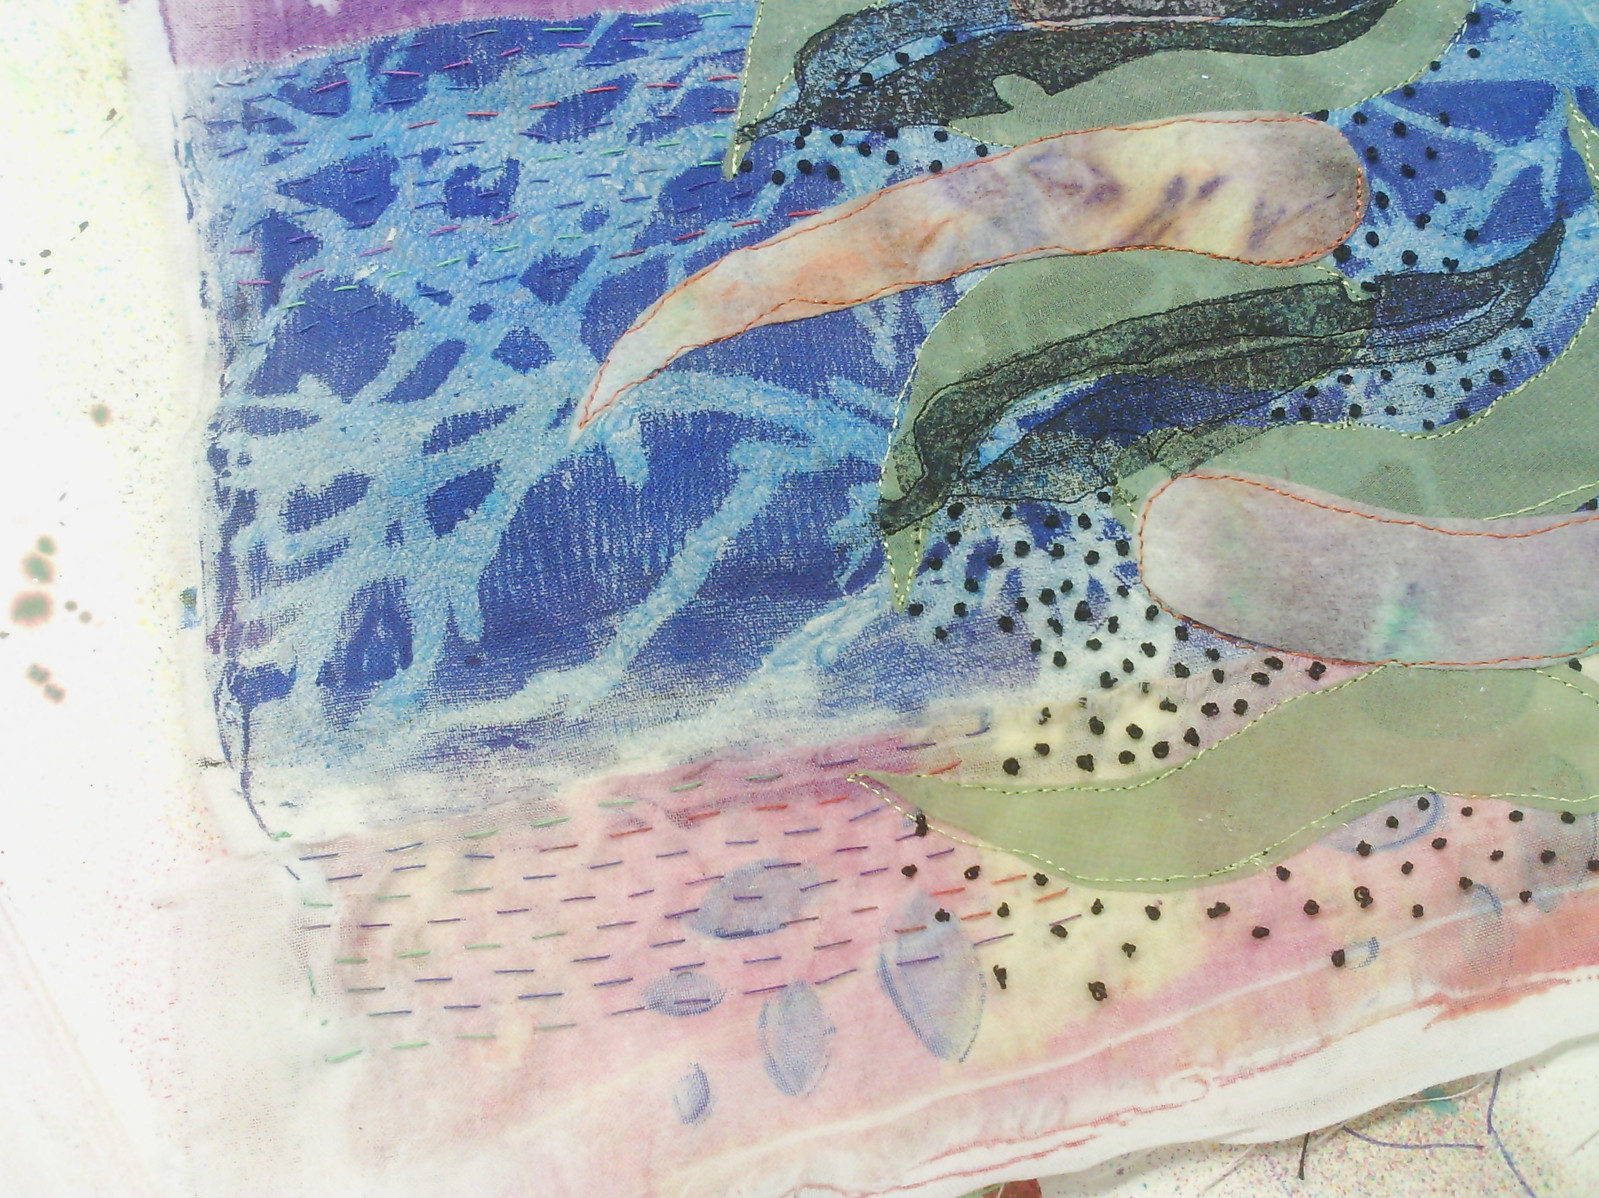
Here is a close up. I have decided that this will be a book cover.
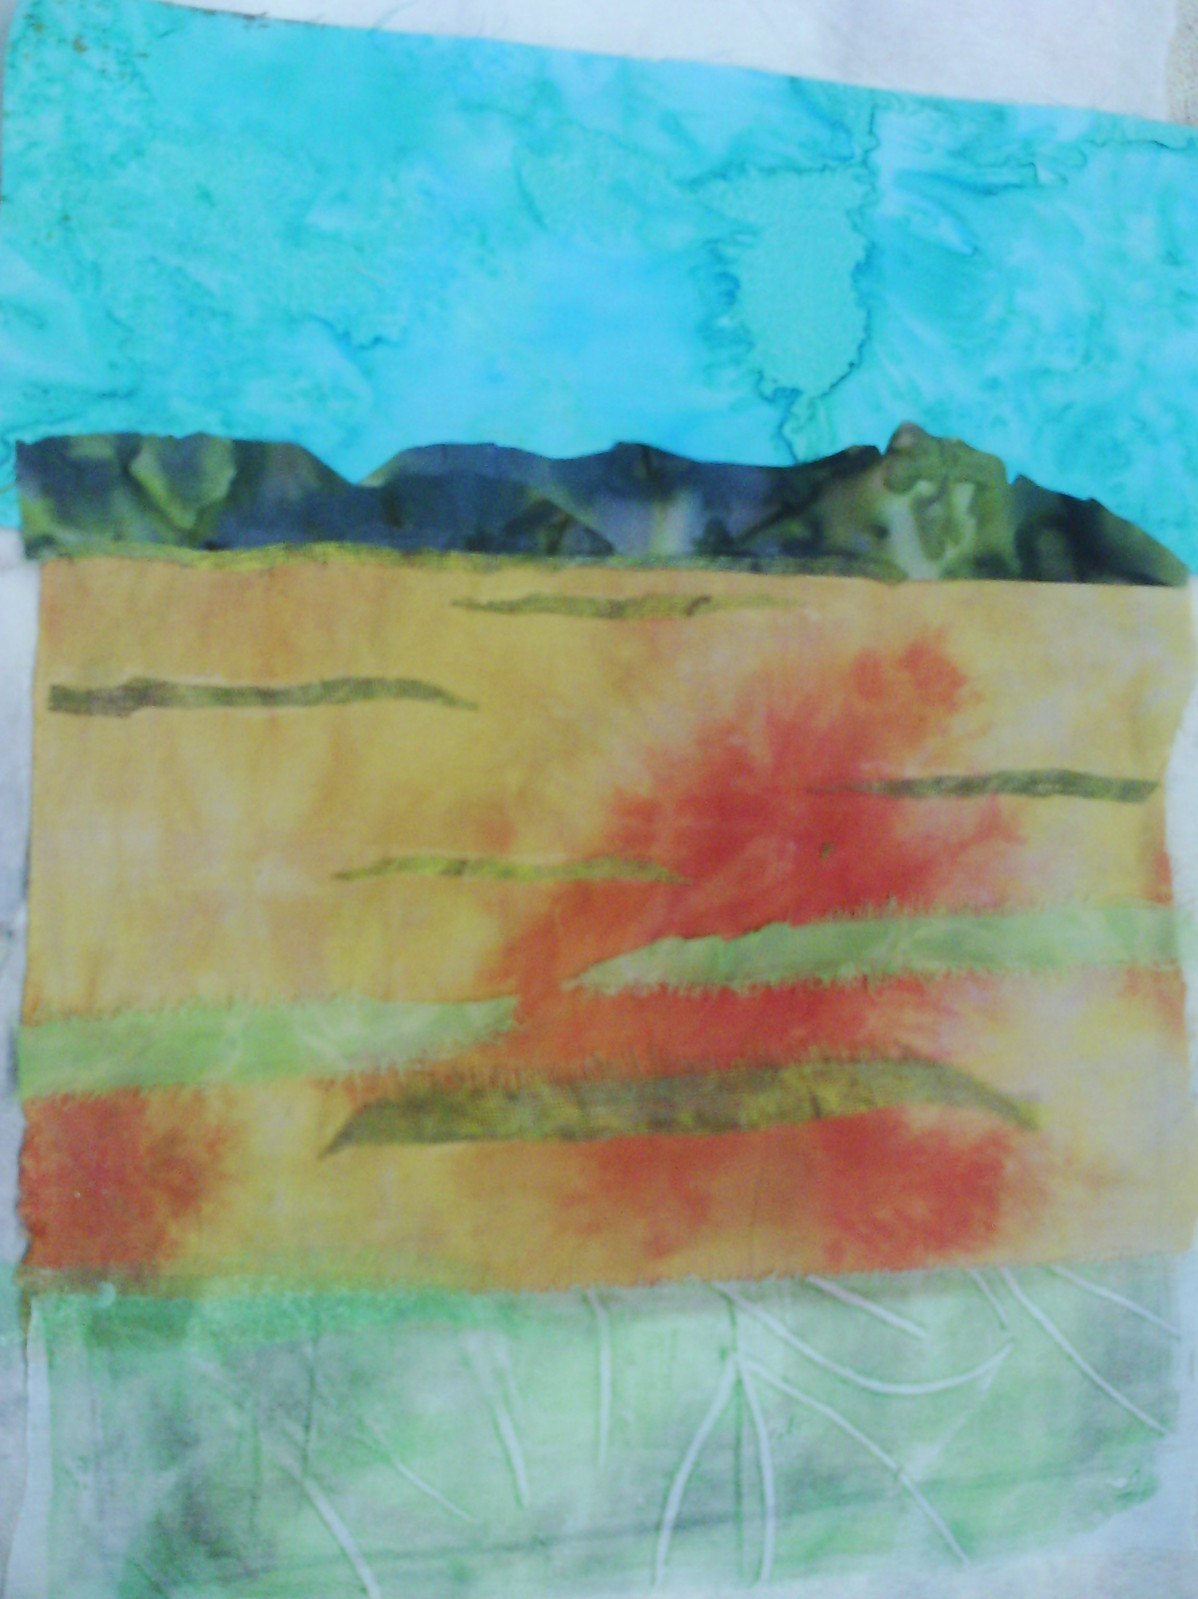
I have also put together another landscape to stitch on.
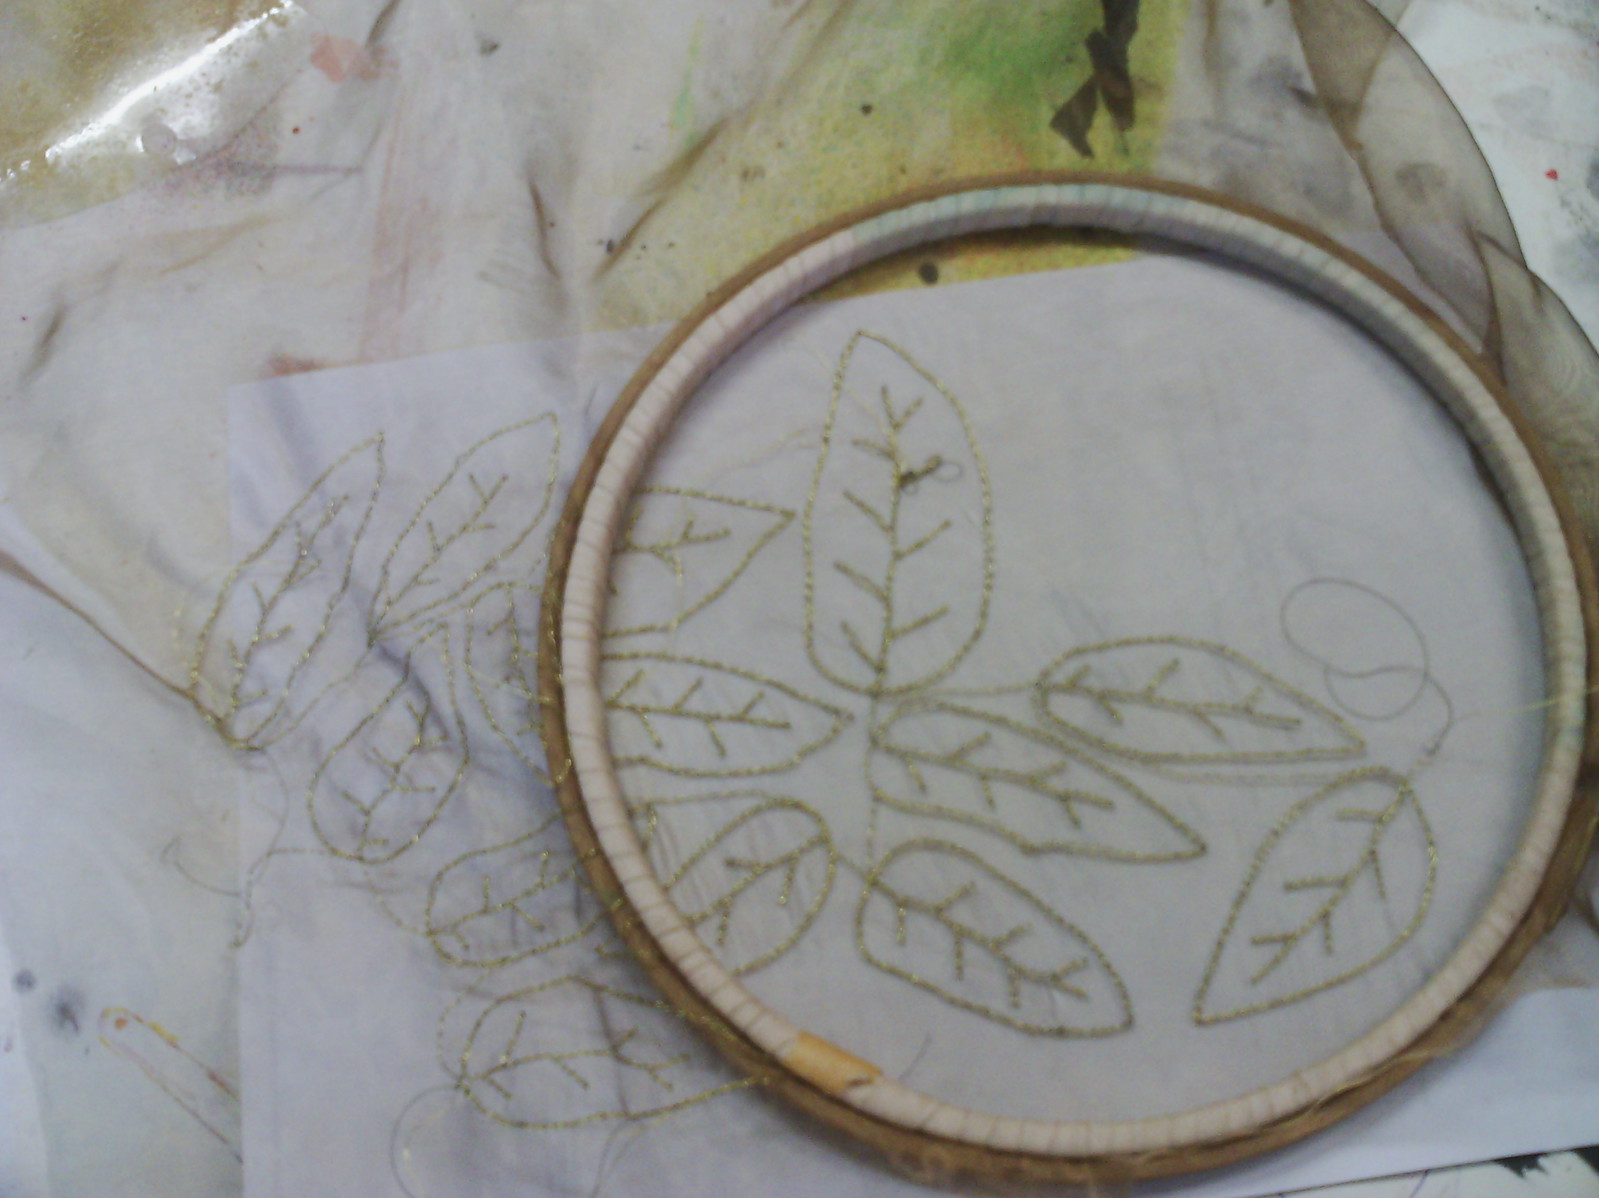
I have been making leaves. These are free motion with a gold thread on a copper organza
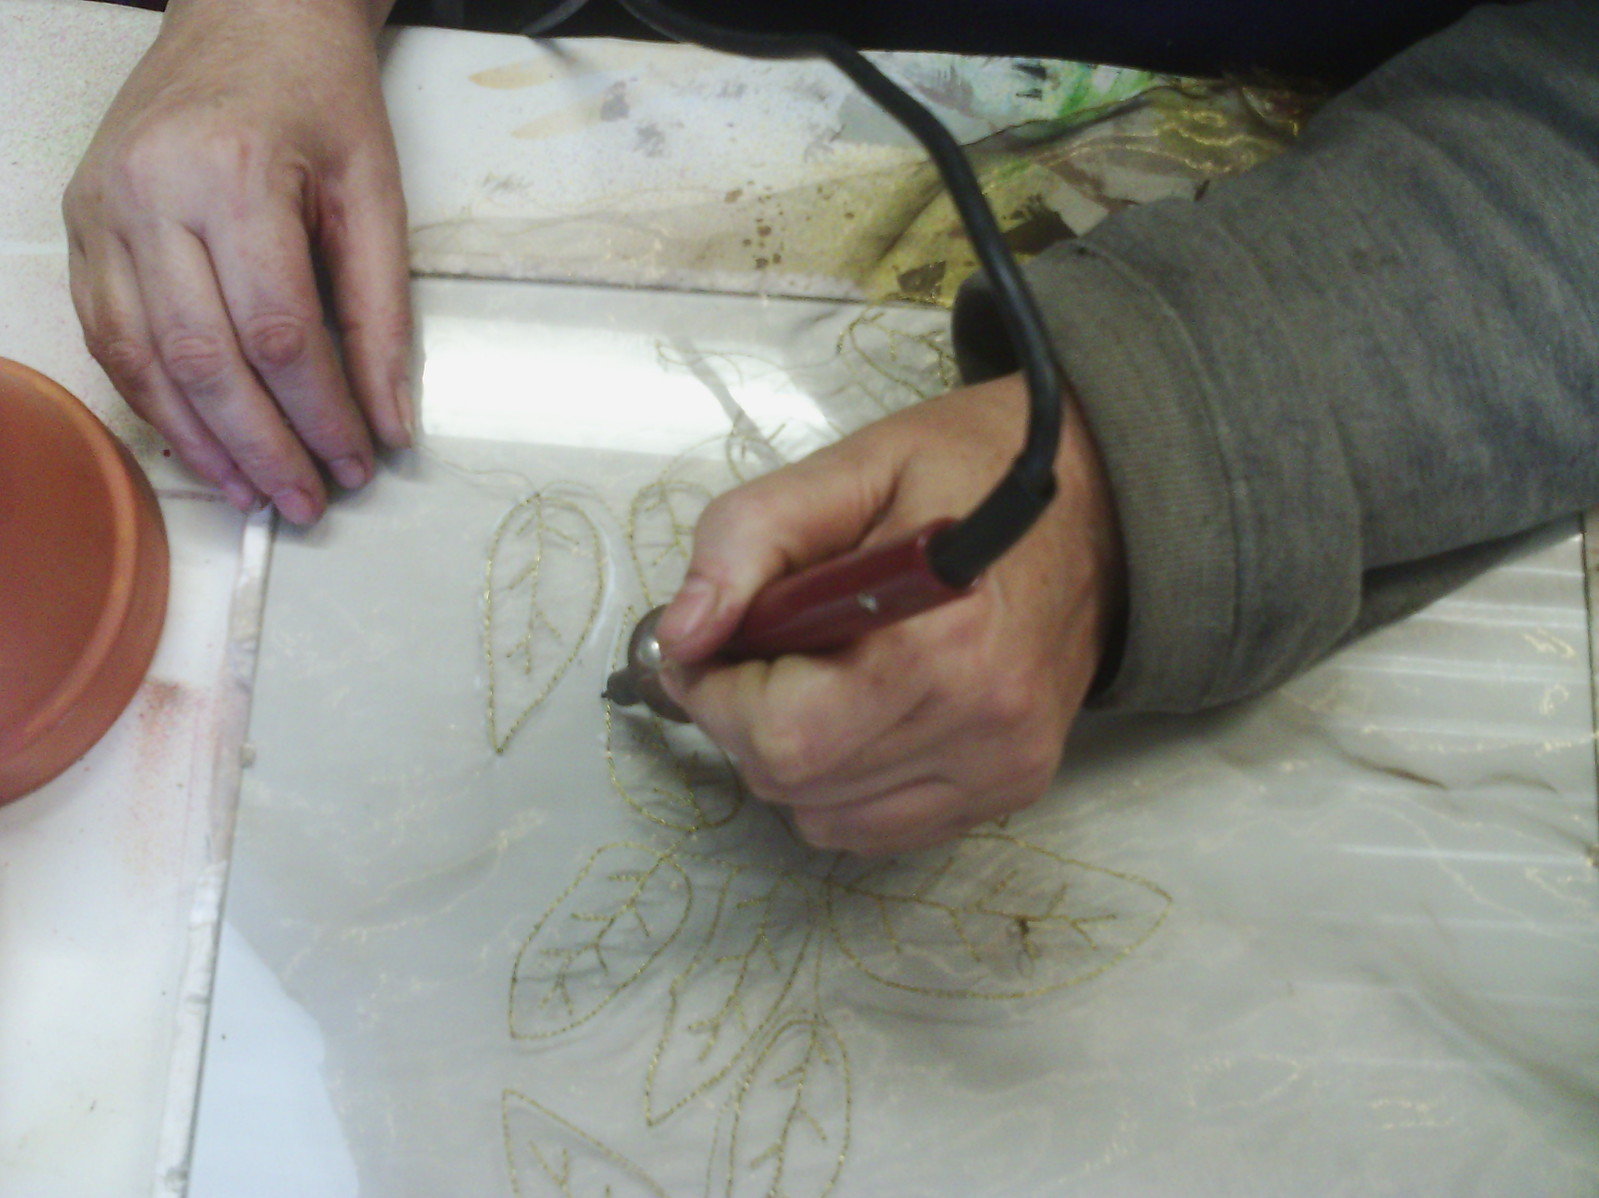
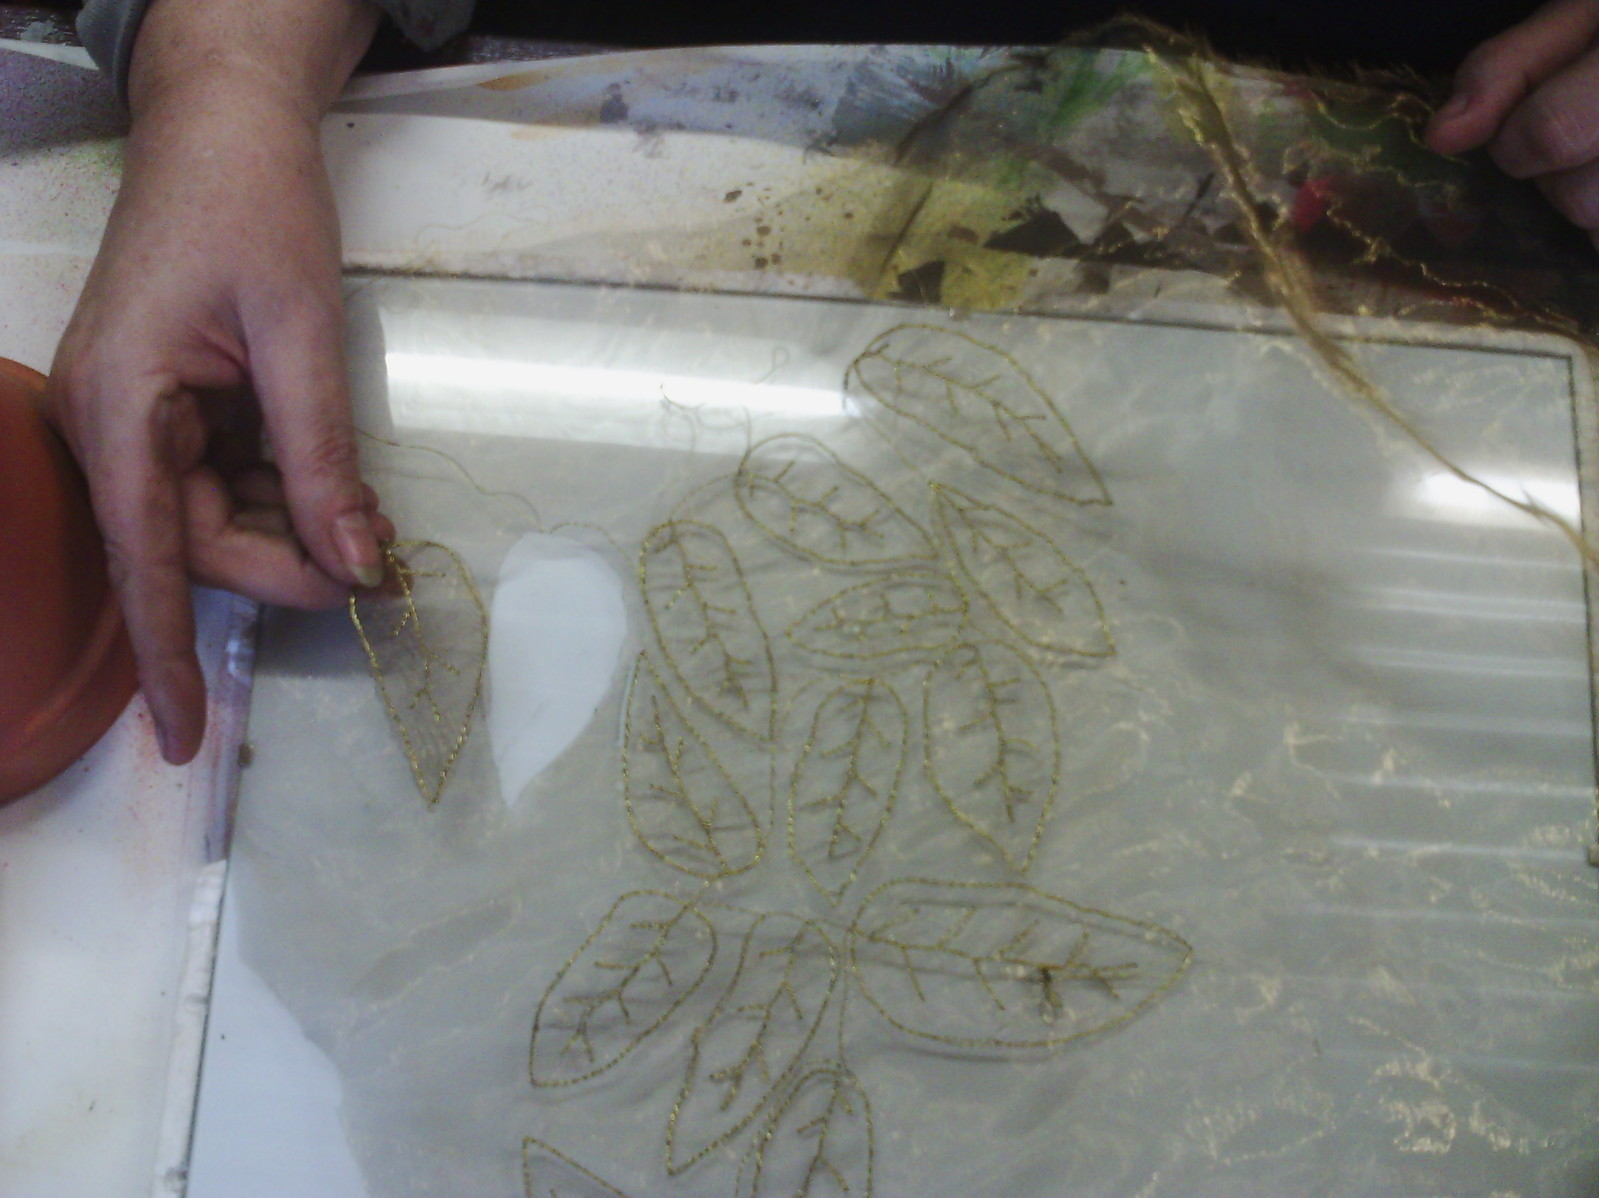
Once they are stitched, I cut them out with a soldering iron, over a glass sheet.
Here is one close up. These will go onto a collage, later.
So a not very productive week turned into a reasonable one on reflection!
Happy Creating!
Showing posts with label organza. Show all posts
Showing posts with label organza. Show all posts
Sunday, June 15, 2014
Monday, January 6, 2014
A couple of collages
I was absent without leave yesterday with a blazing migraine. i found it impossible to even look at the computer screen. but back on board today.
I have not been posting all of my work from my collage a day challenge, but if you look to the top of the screen, there is a link that will show you a slideshow of all the ones so far.
Today I thought I would just show you a couple that I enjoyed a lot.
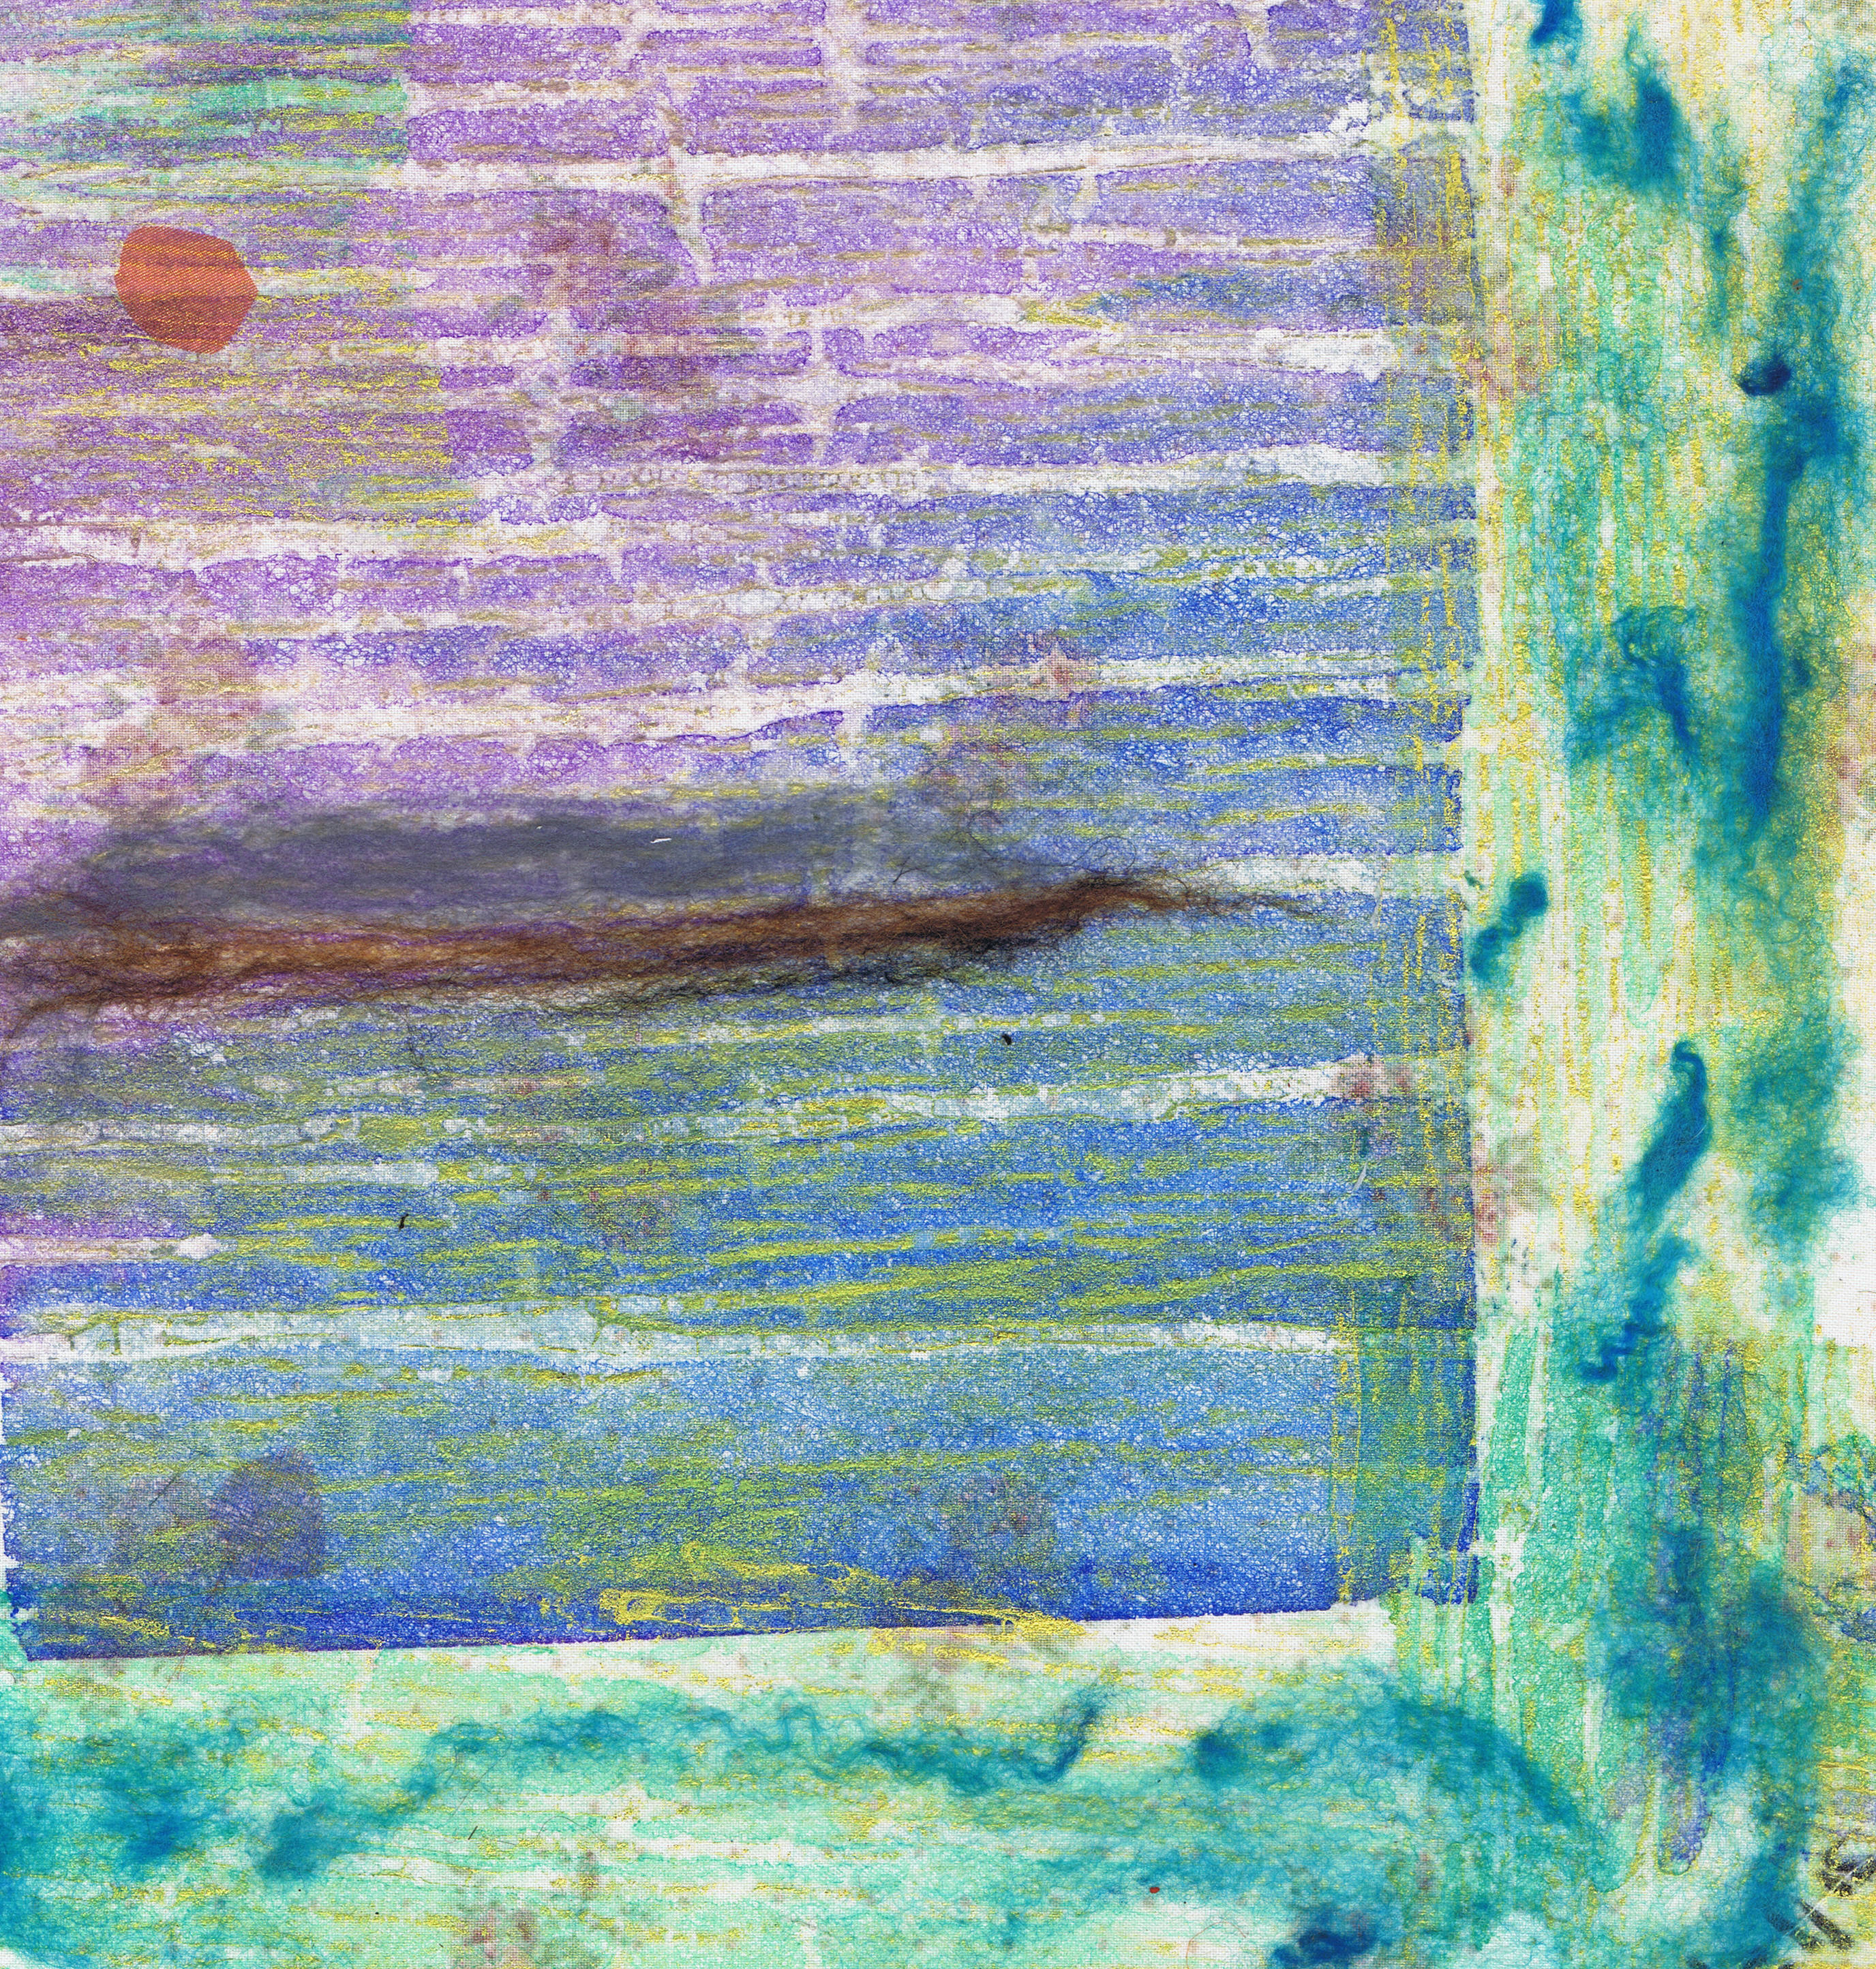
This one is made with painted fusible web and I have ironed a little bit of wool roving on the border and the little bit of land. The sun is a tiny bit of organza.
I used lumiere paint watered down to paint the fusible and you can see the metallic streaks have separated out, which i think is lovely.
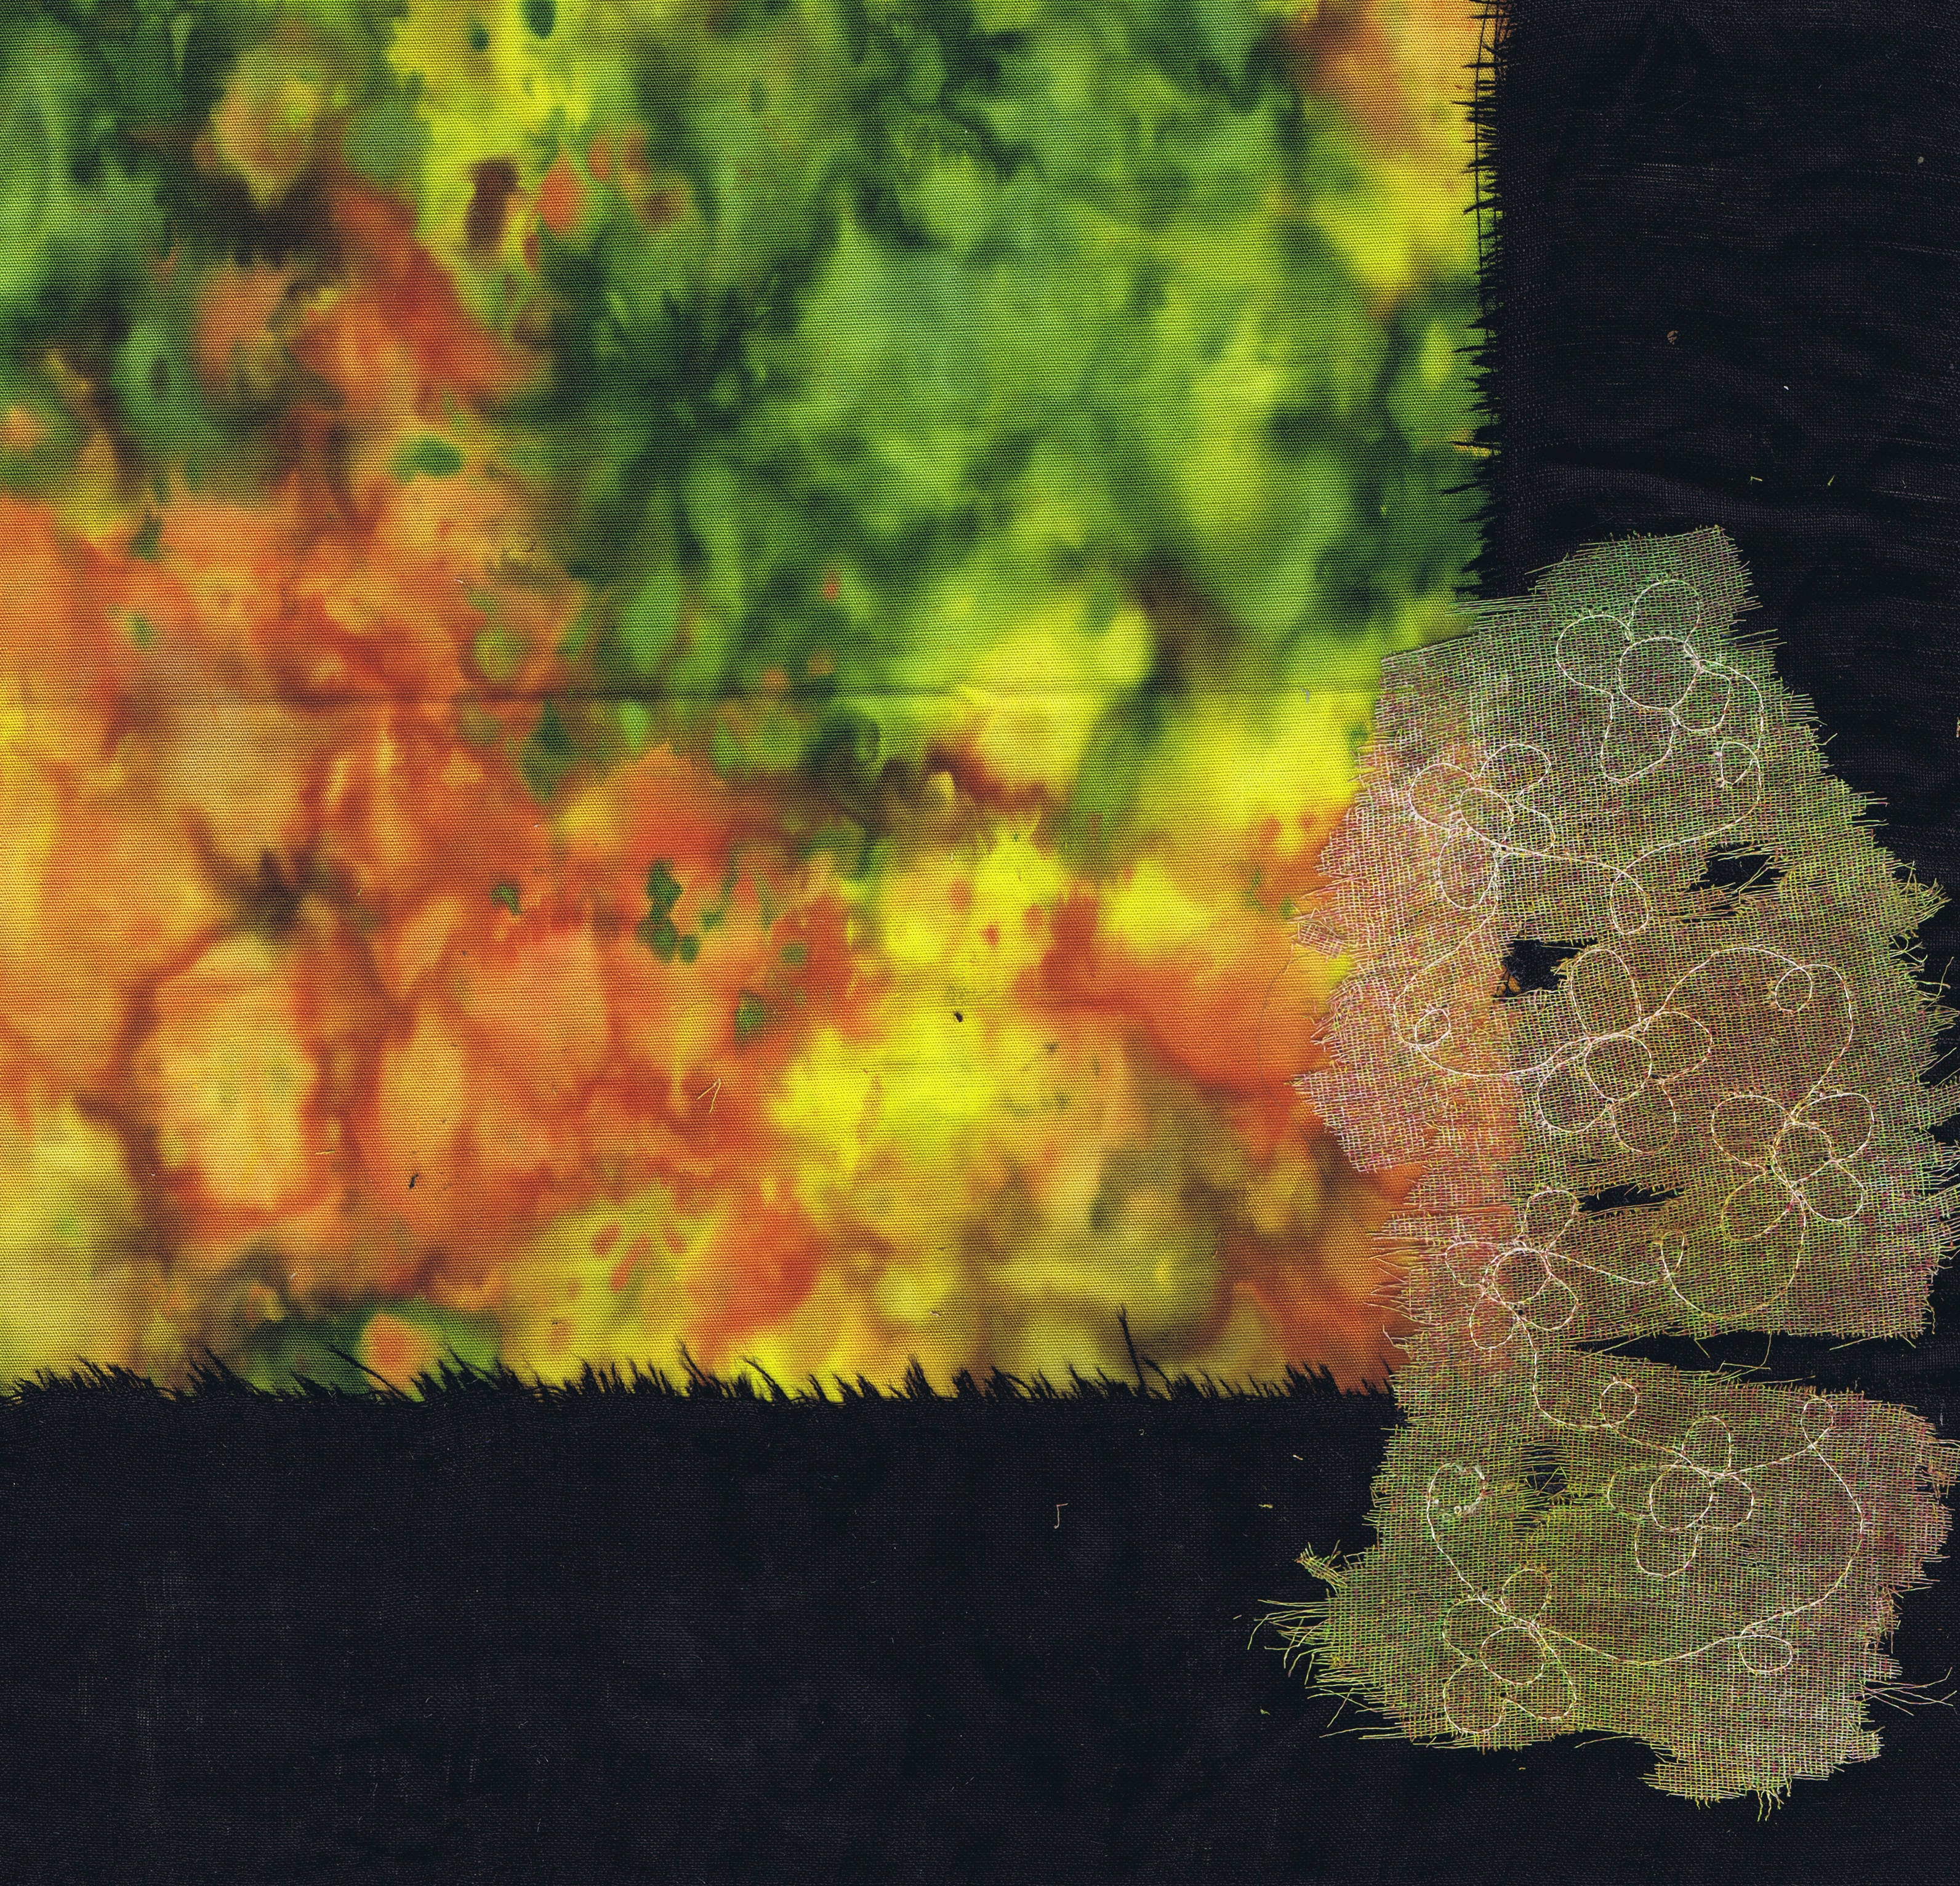
This one used some gorgeous batik I bought a few months ago and a piece of black polyester linen-like fabric, which I ripped to create the border. The focus in the bottom right was the technique I was playing with. It is a piece of vanishing muslin, which I free machine embroidered then ironed a little. Vanishing muslin was originally used as an iron away stabiliser, so when you iron it it becomes crumbly and flakes away. In this case, I just ironed around the edges and a little bit in the middle then scrunched it up to crumble the fabric away. It gives a great distressed look.
Some of these odd, hard to get things, I get from The thread studio, which specialises in these things. I subscribe to a product a month with them and each month, I get a sample of something interesting to play with!
This one, which you can see I have started stitching on, was a piece of fusible stabiliser i have ironed pieces of painted nappy liner on to. I have then done a little free machine scribble and added some circles of red organza. I now need to add some hand stitching and more organza circles, between the ones already there, so that the 'poppies' stand up and aren't so circular and flat. This is inspired by Gilda Baron who is an english fibre artist. Her work is amazing and you can read about here here.
I love her work so much and she seems such a lovely person.
Happy creating!
Saturday, December 28, 2013
A lace sample
Last night, I had a quick go at making a piece of lace on organza.
I was a design I had been playing with in my sketchbook, but I think I need a bit more practice and perhaps a paper pattern to keep it a bit tidier. As you can see I kept making the flowers bigger. I worked in a hoop and simply drew with the machine. when it was finished, I simply cut it out. I looks a bit flat and opaque here, but in reality it is very transparent and filmy. Another idea to use on my crazy quilt in the new year.
Happy creating!
Friday, December 20, 2013
Felt and a few beads
I did say that I had a new piece finished/almost finished.
Happy creating!
This piece was needlefelted a little while ago with black felt, organza and silks. The black lines are needlefelted from the back and the beads are handmade fabric and paper beads. I have also beaded the entire border (But it was a few millimetres too short for the scanner) I love all the frayed edges, but not sure whether it still needs a bit of stitch. hmmmm. I'll just have to think on it a bit more.
Happy creating!
Labels:
beading,
felt,
fiber art,
fibre art,
mixed media,
needlefelting,
organza,
silk,
textile art
Monday, December 9, 2013
Collages 2 to 4
So here are my collages from the last few days. As you will see, they are all very different. I am afraid I probably have enough and varied 'stuff' for a million of these. I have down sized as well, so that they don't take such a long time.
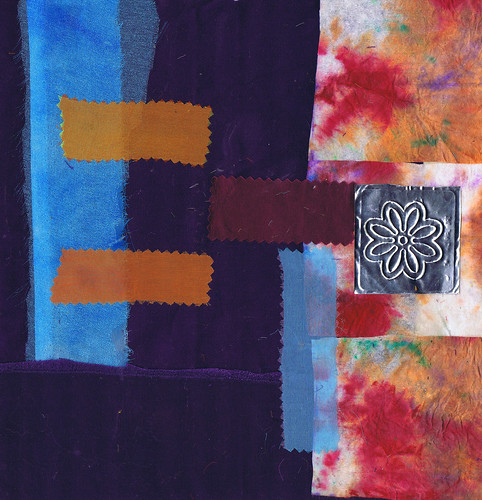
This one has a motif added, just because it was there. I have used satin (it looks black, but is a deep purple), baby wipes, chiffon, organza and embossed foil
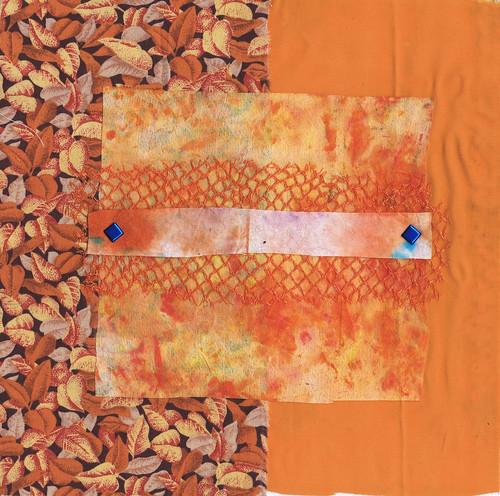
This one is very simple and was inspired by a piece of baby wipe that I only ended up using as the strip across the centre. I found the piece of mesh from an orange bag and it became the focus. I have used satin, quilting cotton, another baby wipe, plastic net and two little brads to hold the centre on
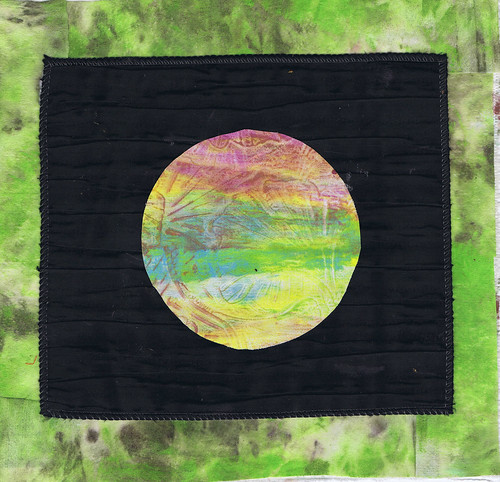
This one was again inspired by the green baby wipe which I made into a border. I found this lovely piece of pleated black satin (a fabric sample that was already edged and the perfect shape), then went to find something for the centre. I spent five minutes looking for a square template to cut the monoprinted fabric, then decided to actually cut a circle. After it was put together, my hubby suggested that he could see a landscape in the little circle, so when I need something for inspiration, I will know exactly what to do with this one!
Hope you are enjoying this as much as I am!
Happy creating!
Wednesday, February 15, 2012
some charms and fantastic plastic
This atc has a felt bacground, some textured organza ribbon, heart charms and free motion stitching. The edges are glued and gold leafed and it is backed with a playing card.
This afternoon, I had a play with embossing powder and plastics. I have seen a video where plastic was embossed with an embosser like a cuttle bug here . This doesn't require heat. and although I will try it, it wasn't what I wanted.
I tried quite a few different types of plastics. (This table here is an overwiew of recyclable plastics.) The first plastic I tried was a number 5 or poly propylene (PP) . It is not completely clear and is more soft rather than brittle. Generally it is from take away or thin microwaveable plastic containers - like the ones you can get in packs of six at the supermarket.
the plastic puckered a tiny bit, but it can be flattened while still warm after using the heat gun. i found it best to hold the gun high up, at least 8 inches and wait a bit longer as there was less puckering this way.
Buoyed on by this success, I tried a few more types of plastic.
Acetate, or transparency did not work as it buckled up straight away and never got anywhere near melting the embossing powder.
This one is PET or number 1 plastic. This is generally what soda/fizzy drink bottles are made of or frozen meals, but I got it from a non-food packaging. It didn't work either, buckling under the least heat.
This one didn't have a label, but was from a chinese take away type container and it felt the same as the PP (5) above. It worked the same as the poly propylene.
The last two plastics I tried are a bit different. They both came out of an LCD computer screen when hubby pulled it apart. The first one is slightly frosted and looks just like quilting stencil plastic.
I have put it on a coloured surface so you could see what I mean. It worked really well. I also tried a piece of stencil plastic, to put my mind at rest (not shown) and it worked as well.
This last one is the one I liked the best of all. It is a reflective clear plastic that I have been collecting from computer sreen demolitions, because it is lovely and shiny like a pearl or a mirror. It worked very well.
Here is a shot of this reflective plastic so you can sort of see what I mean. When the light shines through it, it makes rainbows, I must be a bit of a Pollyanna, I suppose.
The reason this one appealed to me so much is that a friend is going to run a dream catcher workshop at our community house, and I thought that if these were suspended at the bottom, they would just top it off.
I am sure you will be seeing this technique in my ATCs (when I get all the hearts out of my system, lol)
Make sure you play every day.
Monday, January 23, 2012
A pebbly arrangement
I love pebbles. I often pick up lovely smooth river stones on my walks, and you know I bought a bag of them recently!
This ATC is made from a piece of a quilting sample with pebbling pattern, and pebbles trapped under organza. The organza has long frayed edges, which are difficult to see in the photo.
My other project, which I can't show is moving along, but it is going to be down to the wire, I can see.
There is a fine line between letting work rest (briefly) to allow for contemplation time - and procrastination and I think I cross it regularly!
Friday, January 6, 2012
Sunny days and sketching
Today, another screenprint
This piece of screen print was just asking for a sun. I used some red organza backed with fusible and applique'd/cut it with the soldering iron (I showed this technique here) I added some dimensional gold paint for the rays and put some brads in the corners. OOps, no stitching at all in this one.
OK - now a quick glimpse into my sketchbook for this last week.
A stylised japanese tree, based on a dover illustration
a design from a lolly (candy) wrapper.
Some leaf shapes ( the white bits you can see on the page are a result of using a black marker in my book - it creates spots on the back of the page - which I have to paint over)
A design for a quilt, which might use applique or printing.
A leafy doodle which might be interesting as a free machine embroidered wholecloth - however it will have to wait as I already have one in progress)
A sprig of rosemary from the garden, sketched in outline ( Now write - "I must not use markers" one hundred times, lol)
And finally, another quilt design that I am sure I will get to... one day.
Remember to create something today!
oops! and don't forget to check out Lisa's ATCs
Monday, January 2, 2012
ATC No. 1.
Let's hope this is the first of very very many!
Here is my first ATC-a-day.
Fabric paper, green crushed velvet, free machine embroidery, shot organza, beading, blanket stitch edge.
I must have been half asleep when I squared this one up as there is more border at the bottom than the top. I suppose I could have left it and you all would have thought it was by design, lol. I just put the bugle beads at the bottom to make it seem that way!
Don't forget to check out Lisa's gorgeous birdie ATC here.
By the way, I will still be posting other stuff, tutorials etc as separate posts
Don't forget to create every day!
Monday, November 21, 2011
Those red buttons and a prize
I was getting some bits together for a recycled mixed media collage...
If we go clockwise from the bottom left, a plastic lid, some stained tea bags, foil lolly wrappers, plasterer's mesh, metal from an aluminium can, some decorating fabric samples, some vinyl scraps, felt and dyrd batting, painted tyvek and two plastic rings. In the centre are a variety of 'embellishments', such as washers, resistors, metal and plastic tube bits, old coloured LEDs, a reflector from a bike, a piece of mirror from a cd drive and other little bits and pieces I have collected.
Now if that list seemed like a long one, it is and putting the selection together took me almost all afternoon! So, obviously, I haven't started on the piece yet. It will be something for next week.
While you are waiting however, I have decided to have a give away.
I already have my piece mapped out and it has a theme, but I will put every comment on this post (only) with a suggestion of what I might be going to do or a theme I might follow into the draw with a number and next Monday I will draw a winner from random.org.
The prize will be six floral fat quarters.
Red buttons
Now on to the real blog for today, which is showing you my last Tangled Textiles challenge, which happened whilst I was offline last month.
I did something really different this time and because it was a bit mixed media, I'm showing it to you today.
Here is the finished piece. As you can see it is made up of lots of little mini quilts. In fact, I assembled so many of these, I have enough to make another one, with different techniques to these, and I will show you these as I do them, rather than after the event, like I am now.
In no particular order, here are the little quilts and what I did with them.
All of the little quilts were backed with felt.
This one had a background fabric of textured brocade in brown and gold. The background was overlaid with red sinnamay , which is a very stiff netting used in hats, woven from abaca.
I have then beaded randomly with gold seed beads around the two motifs.
The motifs are mad up of a square of red lutradur (or rainbow spun from pellon). Over this I have laid two flowers cut with a soldering iron from gold shot organza and the red lutradur, then I added the gold buttons, which came from a uniform of some sort. The panel was bound with red satin ribbon and a running stitch in a thick gold thread.
This next one (I have rotated some of the photos so they show better on the blog) has a thick gold brocade as the base. Over that I have taken a very thin red chiffon and done some large smocking. On alternate smocking intersections I have sewn on either
stacked buttons, an antique mother of pearl and a pearly red with a large gold seed beed, or
a small gold seed bead and red sequin.
I have also added groups of three gold bugle beads down the centre triangles.
This panel is not bound, but has a red chain stitch with gold french knots down each side.
This panel was made from a red brocade with a gold woven pattern. The motifs were layered from a gold lutradur flower, a gold shot organza flower, a transparent red button and a gold heart brad, which was poked down through the hole of the button for a perfect fit!
This one was not bound, but has a fly stitch in red around the edge with gold seed beads.
This panel was my favourite. It had almost no sewing in it! The base is a red fabric paper made from foils. This was attached with large square brads.
Then a square of head distressed red chiffon and a square of gold shot cotton which had been frayed were attached with smaller square brads.
The red flower applique was an iron on one I had had in my sewing box for many years, then I added a gold filligree button I got from my Mother.
This panel had a panel of a japanese patterned red and gold brocade. The button motifs were stacked from an antique dark red button, an antque mother of pearl button, a red star sequin and a large red seed bead.
Again, this one had a turned edge and was edged with red bugle beads interspersed with cross stitch in a very thick gold thread.
This one had a see through base, so the felt showed through. The first layer was an angelina fibre film with gold organza and cream velvet pieces in it. This was overlaid by a piece of red plastic netting from a fruit bag. The motifs were composed of an antique mother of pearl button, a gold button and a red facetted bead, surrounded by spokes of red bugle beads and a further circle of cold seed beads.
This panel was bound with a red organza ribbon attached with fly stitch in red thread.
This was my other favourite panel. It was based on a piece of textured gold brocade bound with gold satin ribbon. The motifs were made from a flower stencilled with modelling paste, allowed to dry, then painted with gold acrylic. Each flower centre is a triangular red button topped with a large gold seed bead. These were sewn on with gold thread in a type of wrap, so the gold thread forms 3d spokes. It is hard to see in the picture, but is gorgeous in real life if I do say so myself.
I beaded in a diagonal grid with red seed beads in the spaces between the motifs.
This little one is a bit blurry. The base os a bronze brocade quilted in diagonal running stitch with red thread. It was bound with red nylon knitting tape, to which I added red seed beads.
The motif is layered from a large red, then gold lutradur flower, then a small red lutradur flower and a very old red button I had as a child. I added some gold seed beads in the apexes of the petals of the button.
This very simple panel was formed on a base of a pale gold brocade with red painted fusible ironed on top. I used another red daisy applique and a flat gold metal button that had a shank, but was set flat by punching a hole threough the centre of the layers. This was surronded by a scattering of gold seed beads and two little embroideries, the bound with blanket stitch in red.
This little one was made on a base of shot furnishing fabric in gold and brown. A piece of shot metallic and red organza was frayed and placed over the top, held down by a row of gold seed beads top and bottom.
The motifs were stacked of a large antique button, not plastic, but probably bakelite, which makes it quite old, a red transparent button and a square bronze pearly button. Again I attached these using the wrapping technique, which created two wings of spokes in red metallic thread because of the two button holes.
Another small one, had a red satin base with chain stitch top and bottom in a red perle thread.
Over this I put a piece of distressed ciffon in a red and gold textured colour. The gold lines are metallic perl wire coils which were couched on. The buttons were simply some gold thimble shapes that I couldn't resist.
Getting near the end now. This one has red taffeta that I have tacked onto the felt underlay. There is a glod lutradur square attached with small gold brads, a red lutradur flower and a red felt flower I bought in a packet at a discount store and then a tortoise shell button with a gold filigree centre.
This panel I had a lot of fun putting together. The base is a bronzy/gold brocade. Each gold button is set on a tiny label/tag which has been painted red with nail polish (the mixed media artist's best friend). the buttons are attached with a large red seed bead and the tags each have a bow made from thick gold thread and are sewn down through the hole.
I couched on some red satin cord on a wavy pattern and emphasised it with long red stitches.
This tiny one was made from an origami hexagon folded from gold lurex. The hexagon was actually made for a christmas table runner, but I decided to use white instead and this fit in perfectly for this piece. The centre is a mother of pearl button and a small red button attached with a large red seed bead.
This final panel, although ver small had a lot of work in it due to the seed bead border. It is simply a god button with a red centre and red organza flowers on a piece of gold satin.
Wow, it almost took me as long to explain this quilt as it did to make it!
The whole quilt, with some painted lutradur as the top under the panels, was quilted with running stitch before the panels were added and bound with textured red organza ribbon decorated with red bugle beads and see beads.
Oh, and I forgot. It was all done by hand.
Anyway, I hope you liked the piece and don't forget to comment about what I might do with my trash.
Spend more time being creative, turn off the computer
(after you've read this of course)
Subscribe to:
Posts (Atom)

