I have been a bit under the weather this week, and not felt much like doing much, but I was surprised when I looked back and saw what I had done.
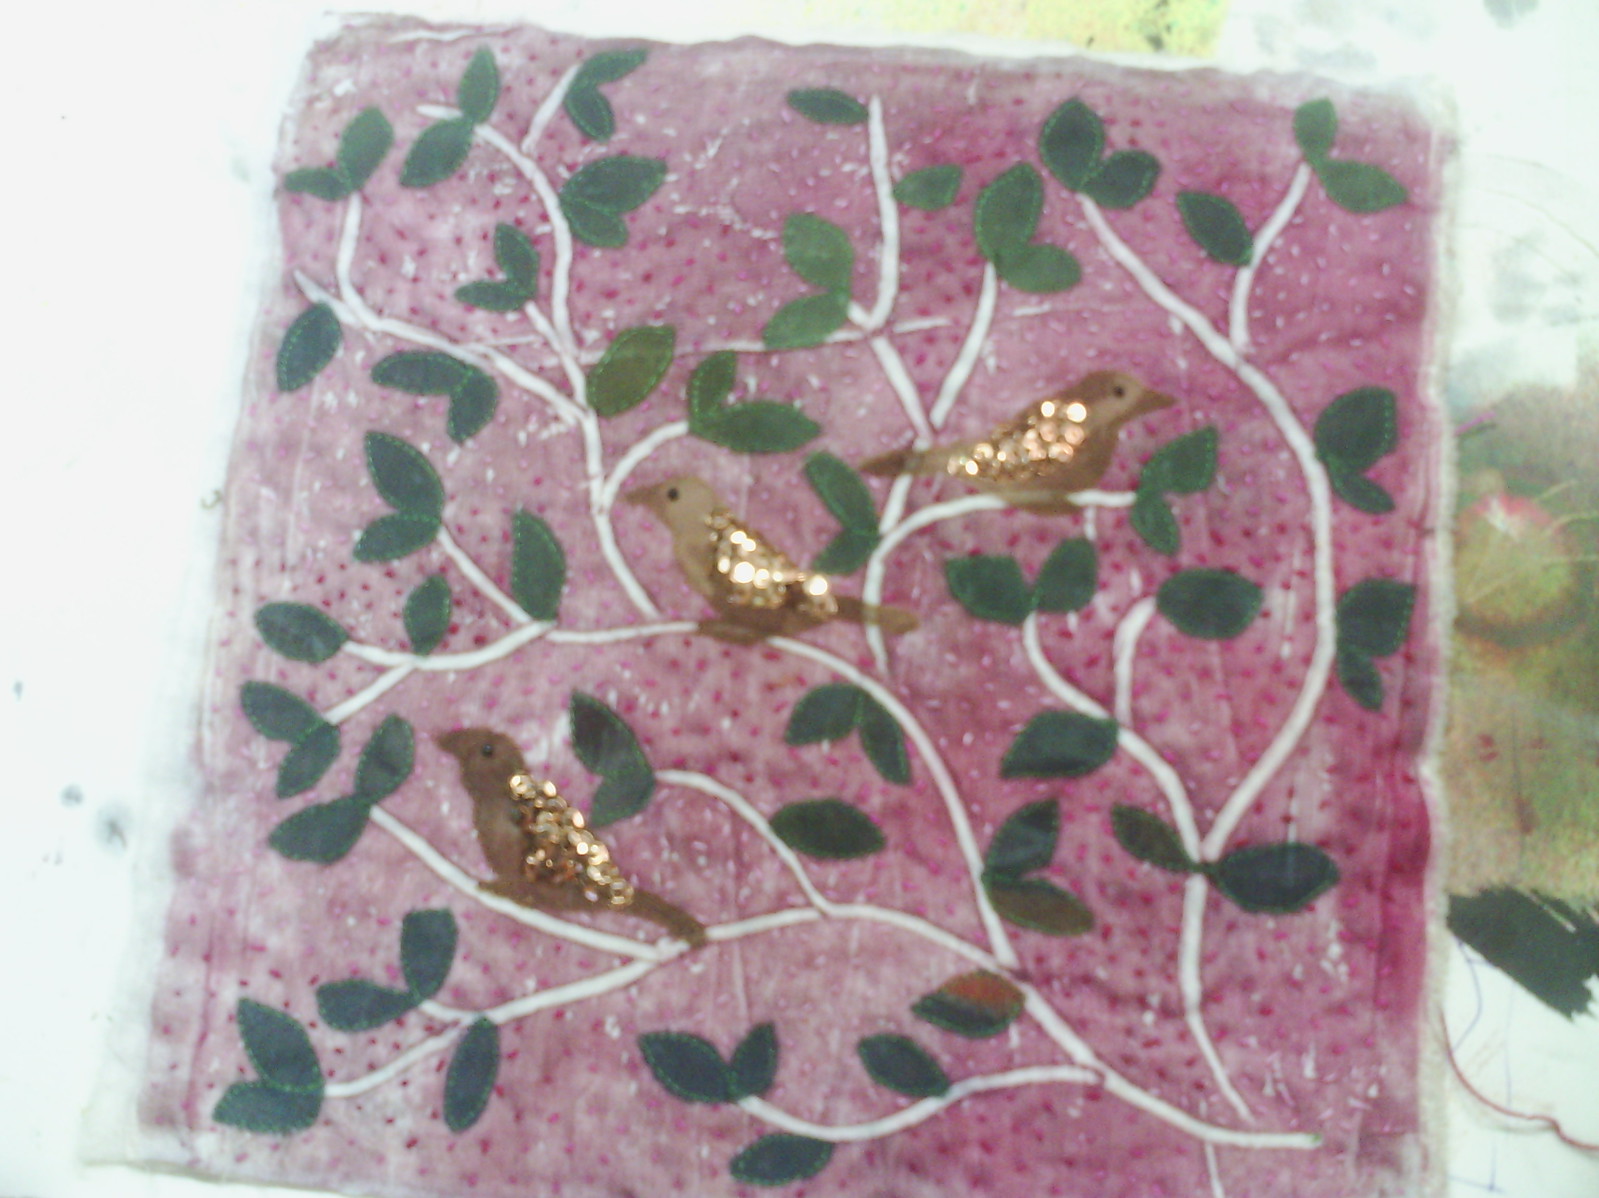
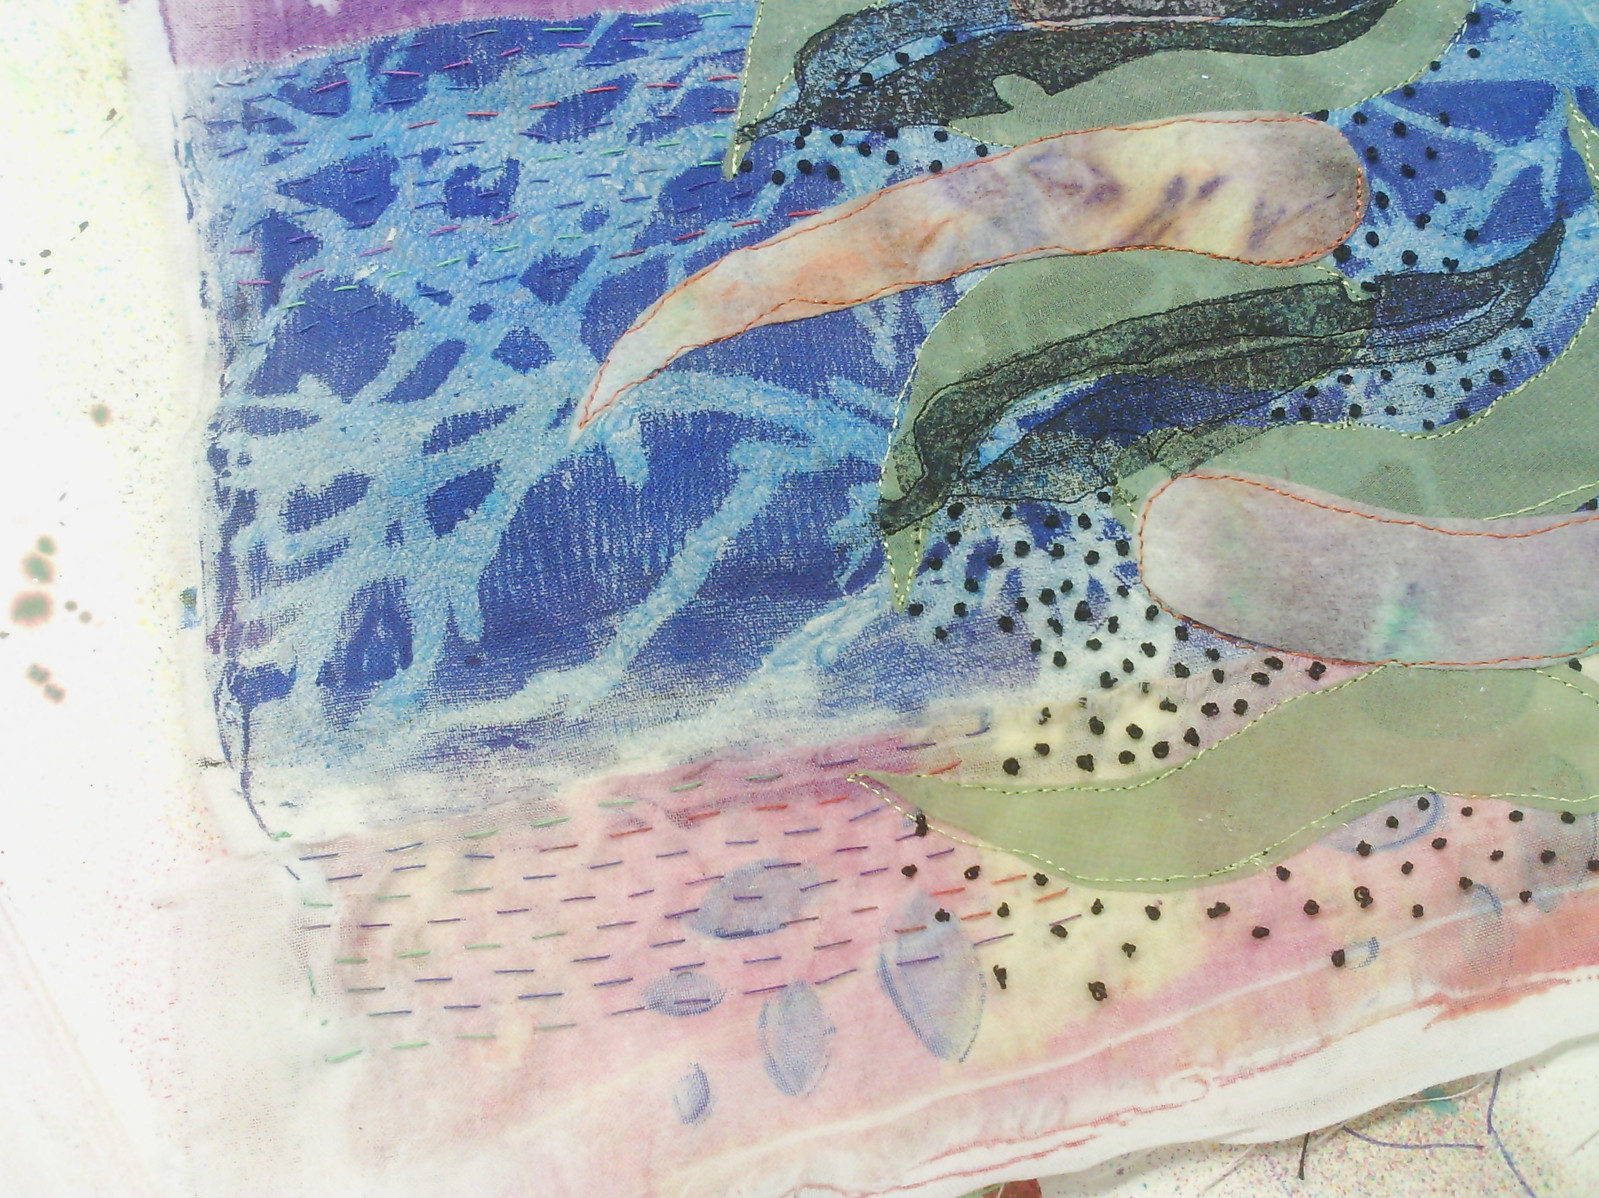
Sorry about the bad photo, but you might remember this piece from a little while ago. I have finished all the hand stitching in the background and beading the birds and now need to think about how it will be displayed.
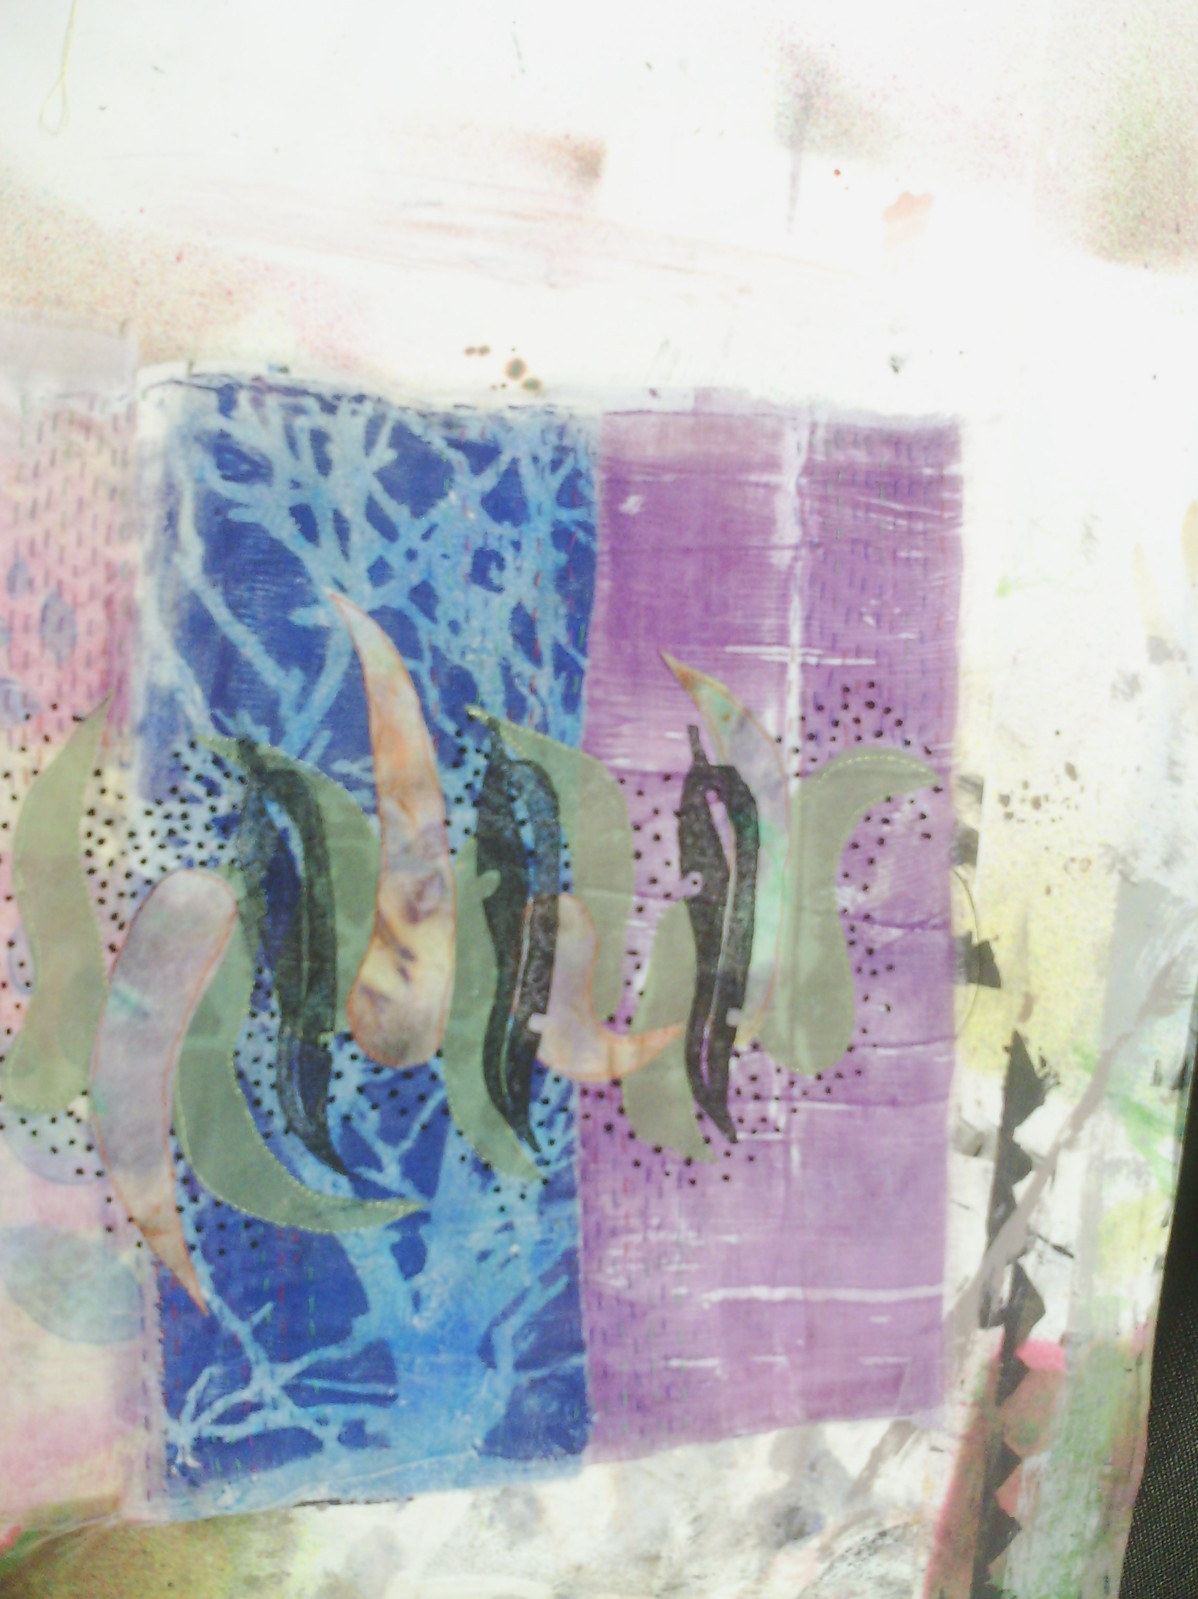
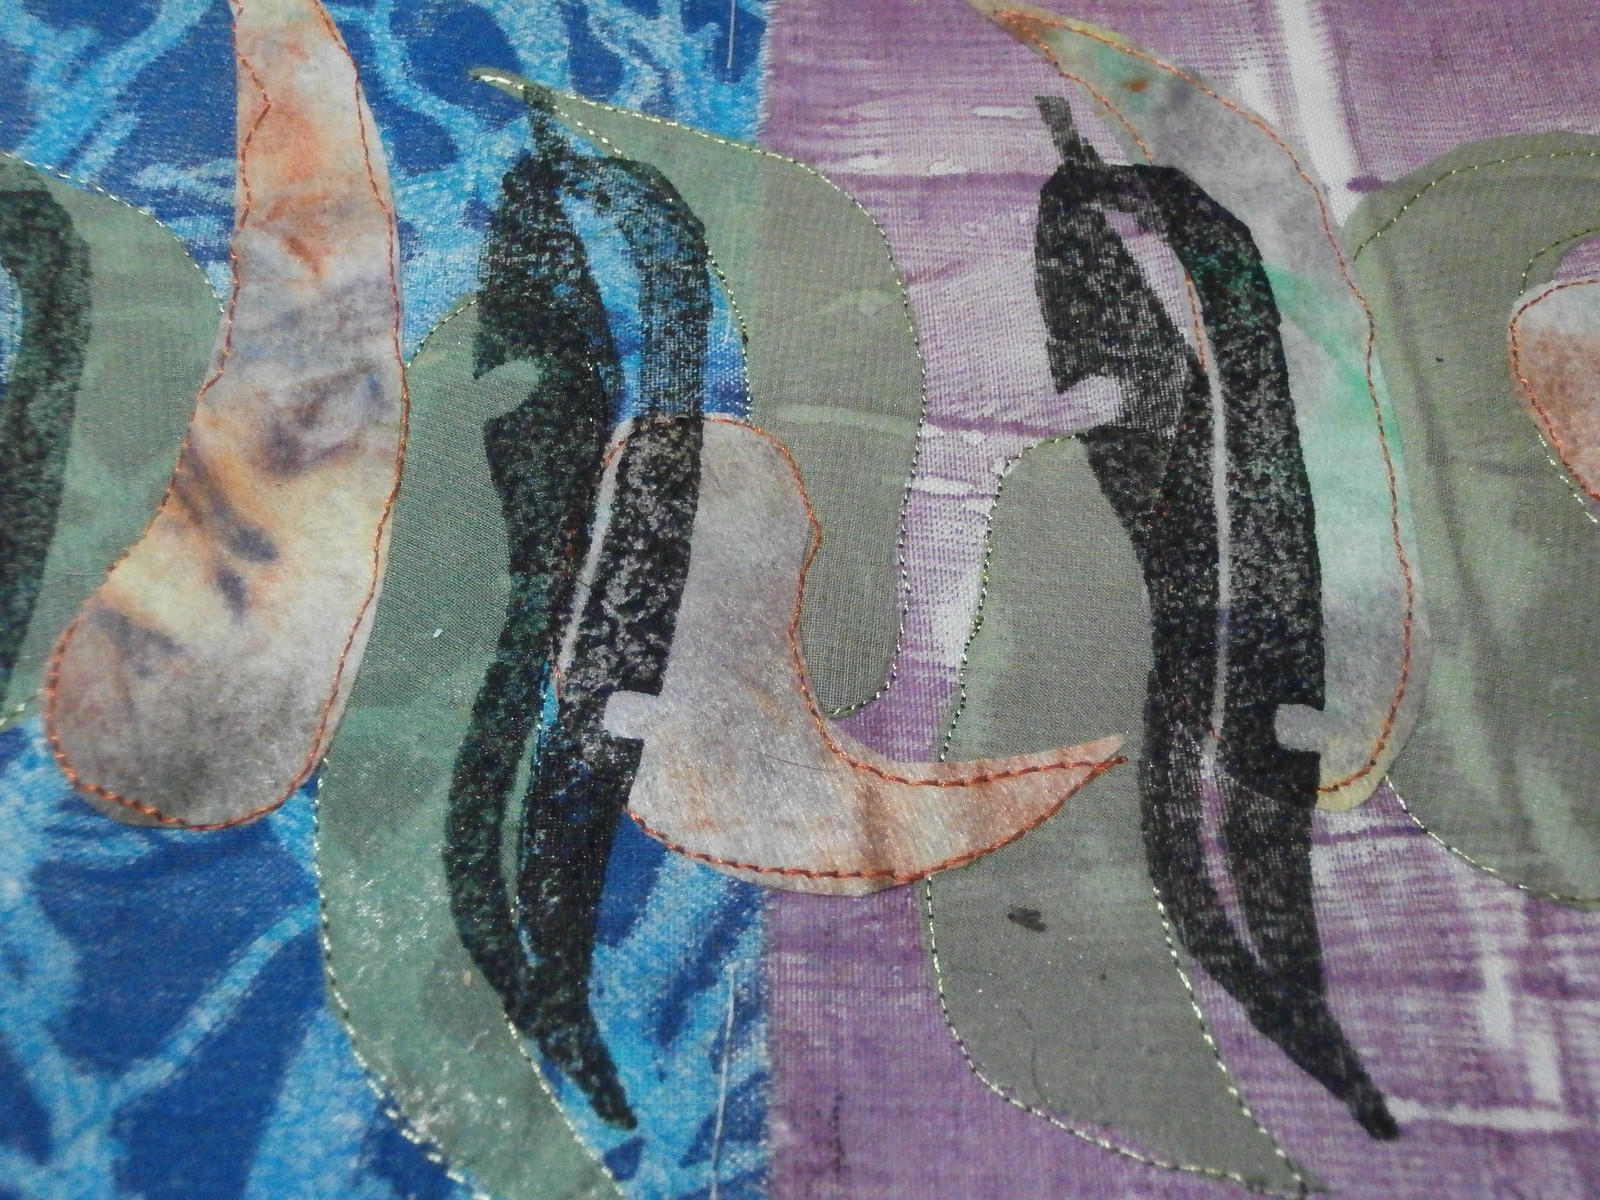
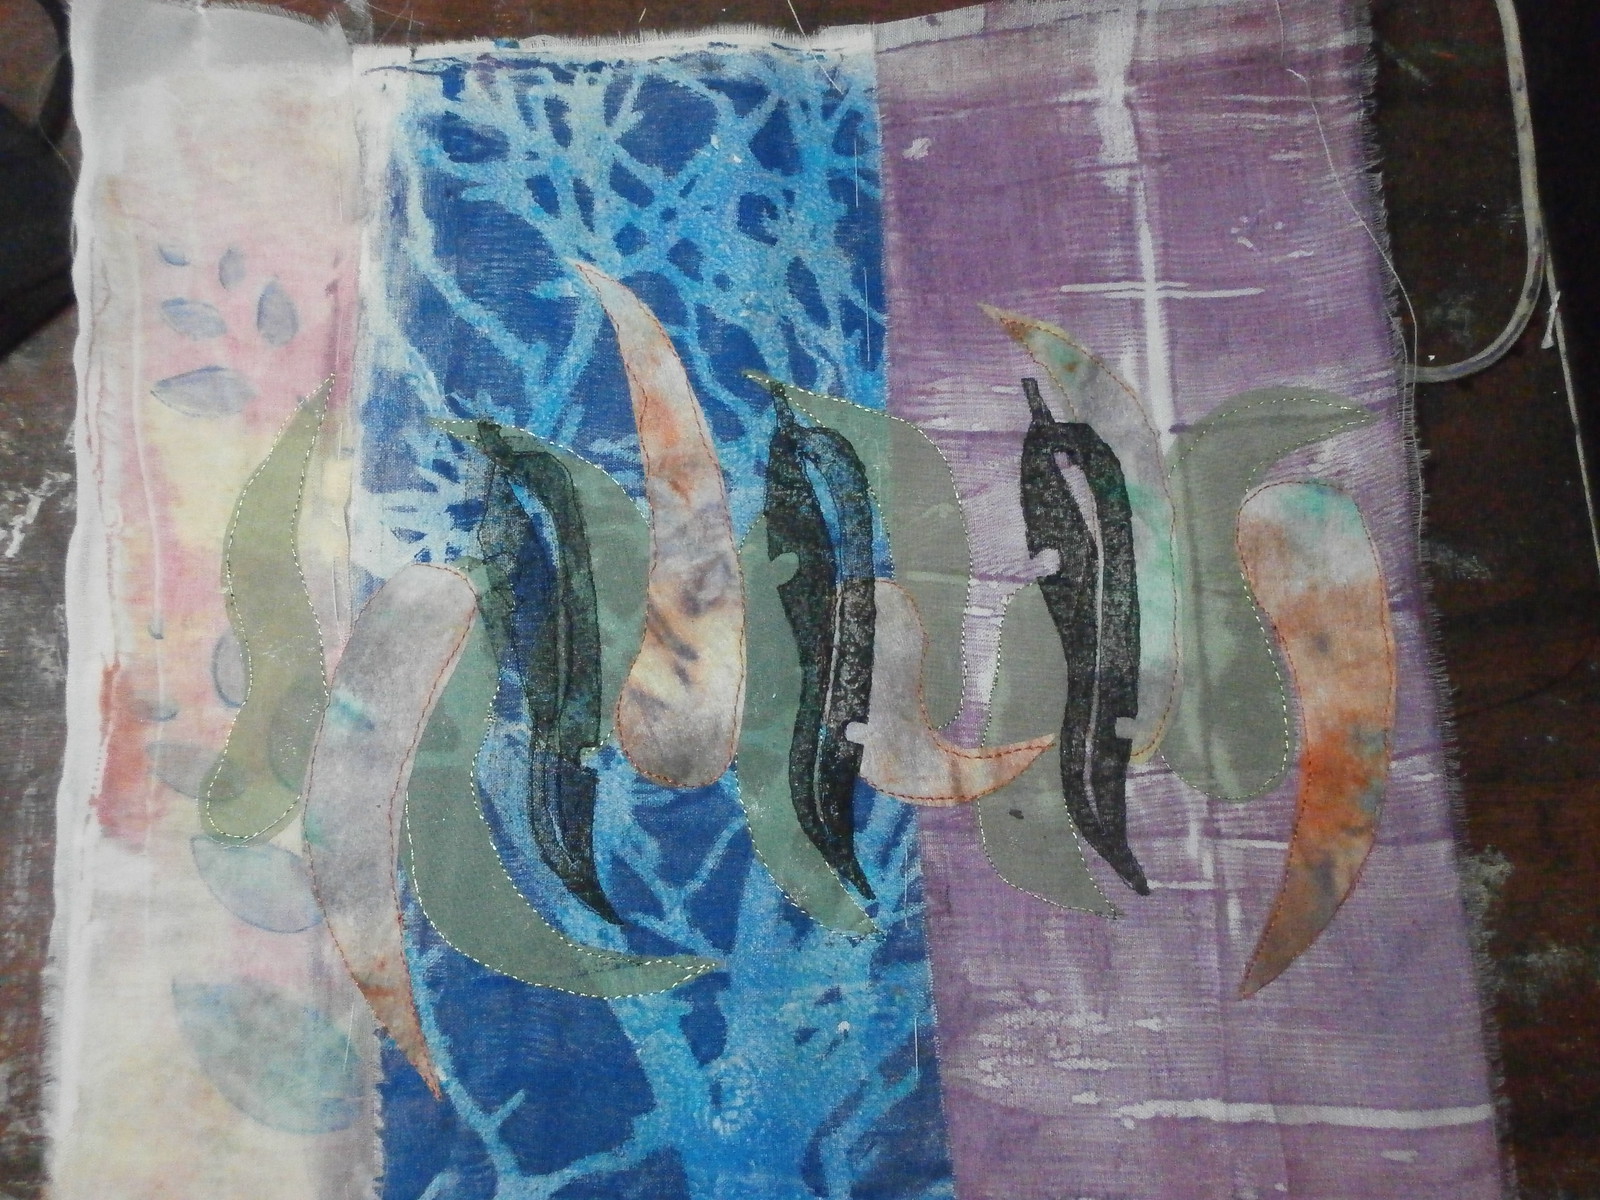
I have also finished my stitching on this piece from last week.
Here is a close up. I have decided that this will be a book cover.
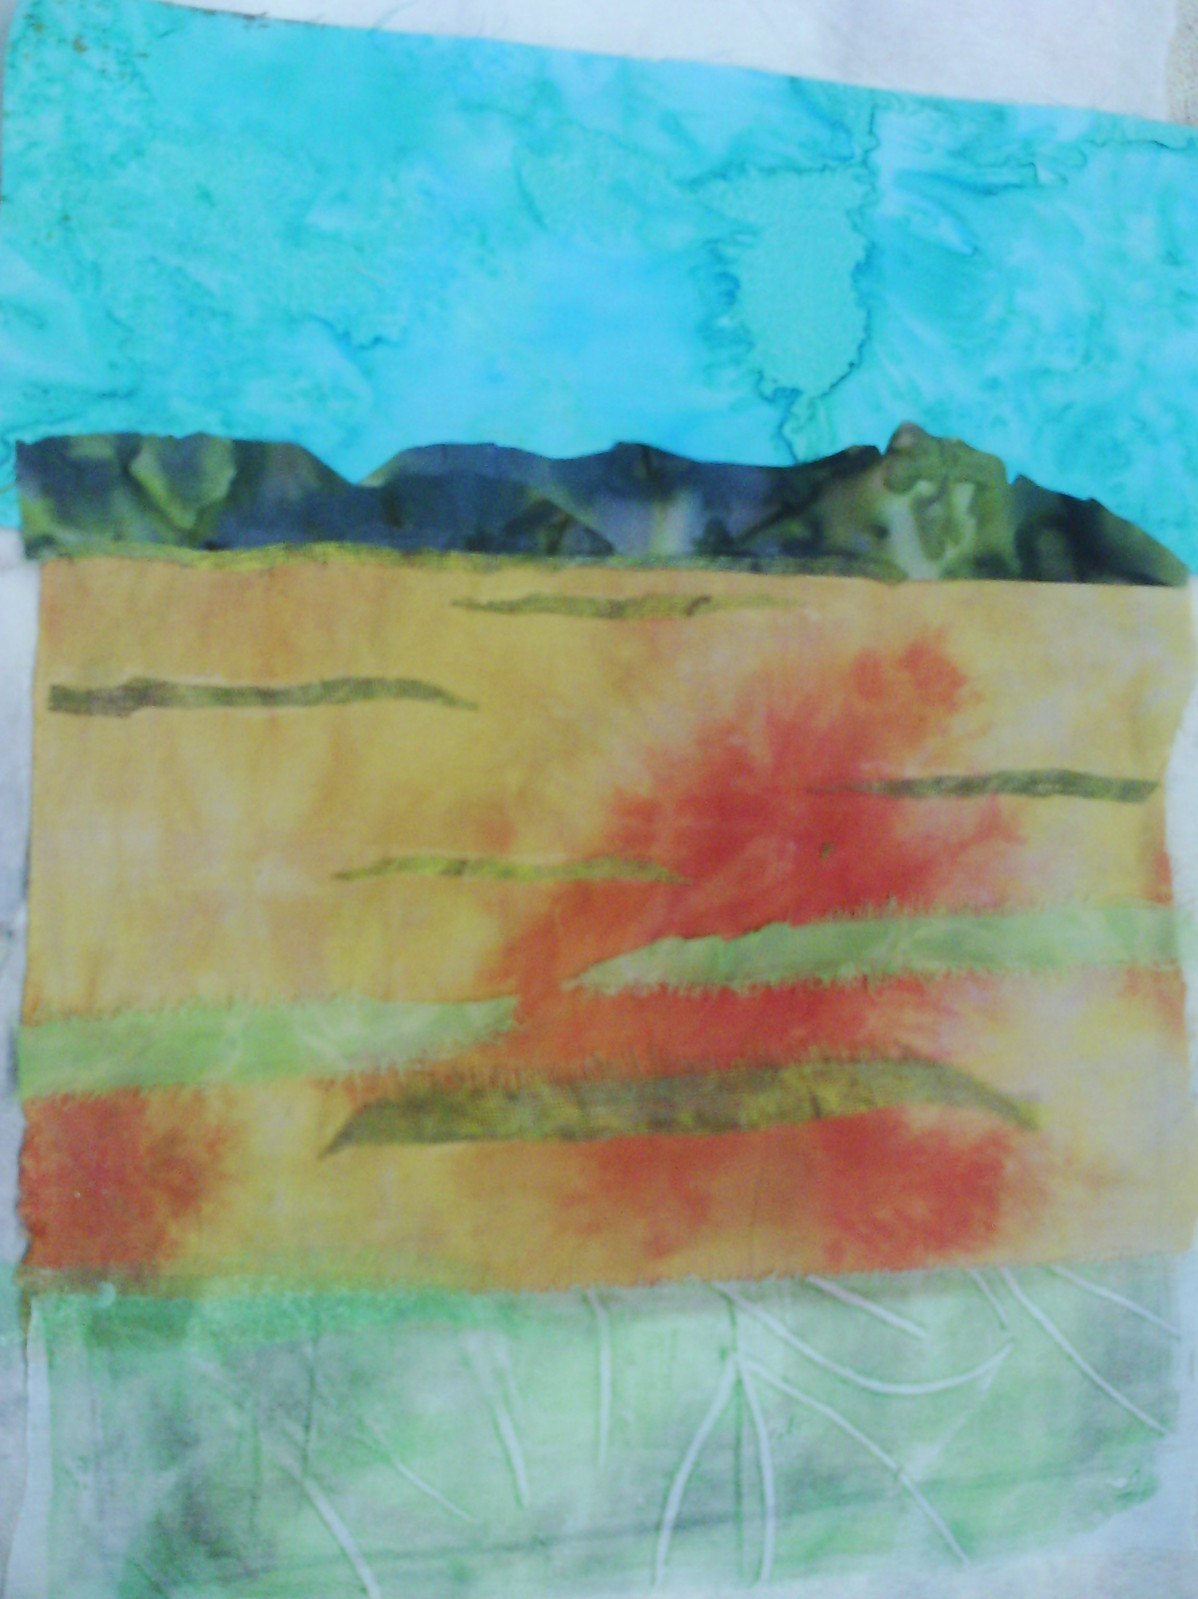
I have also put together another landscape to stitch on.
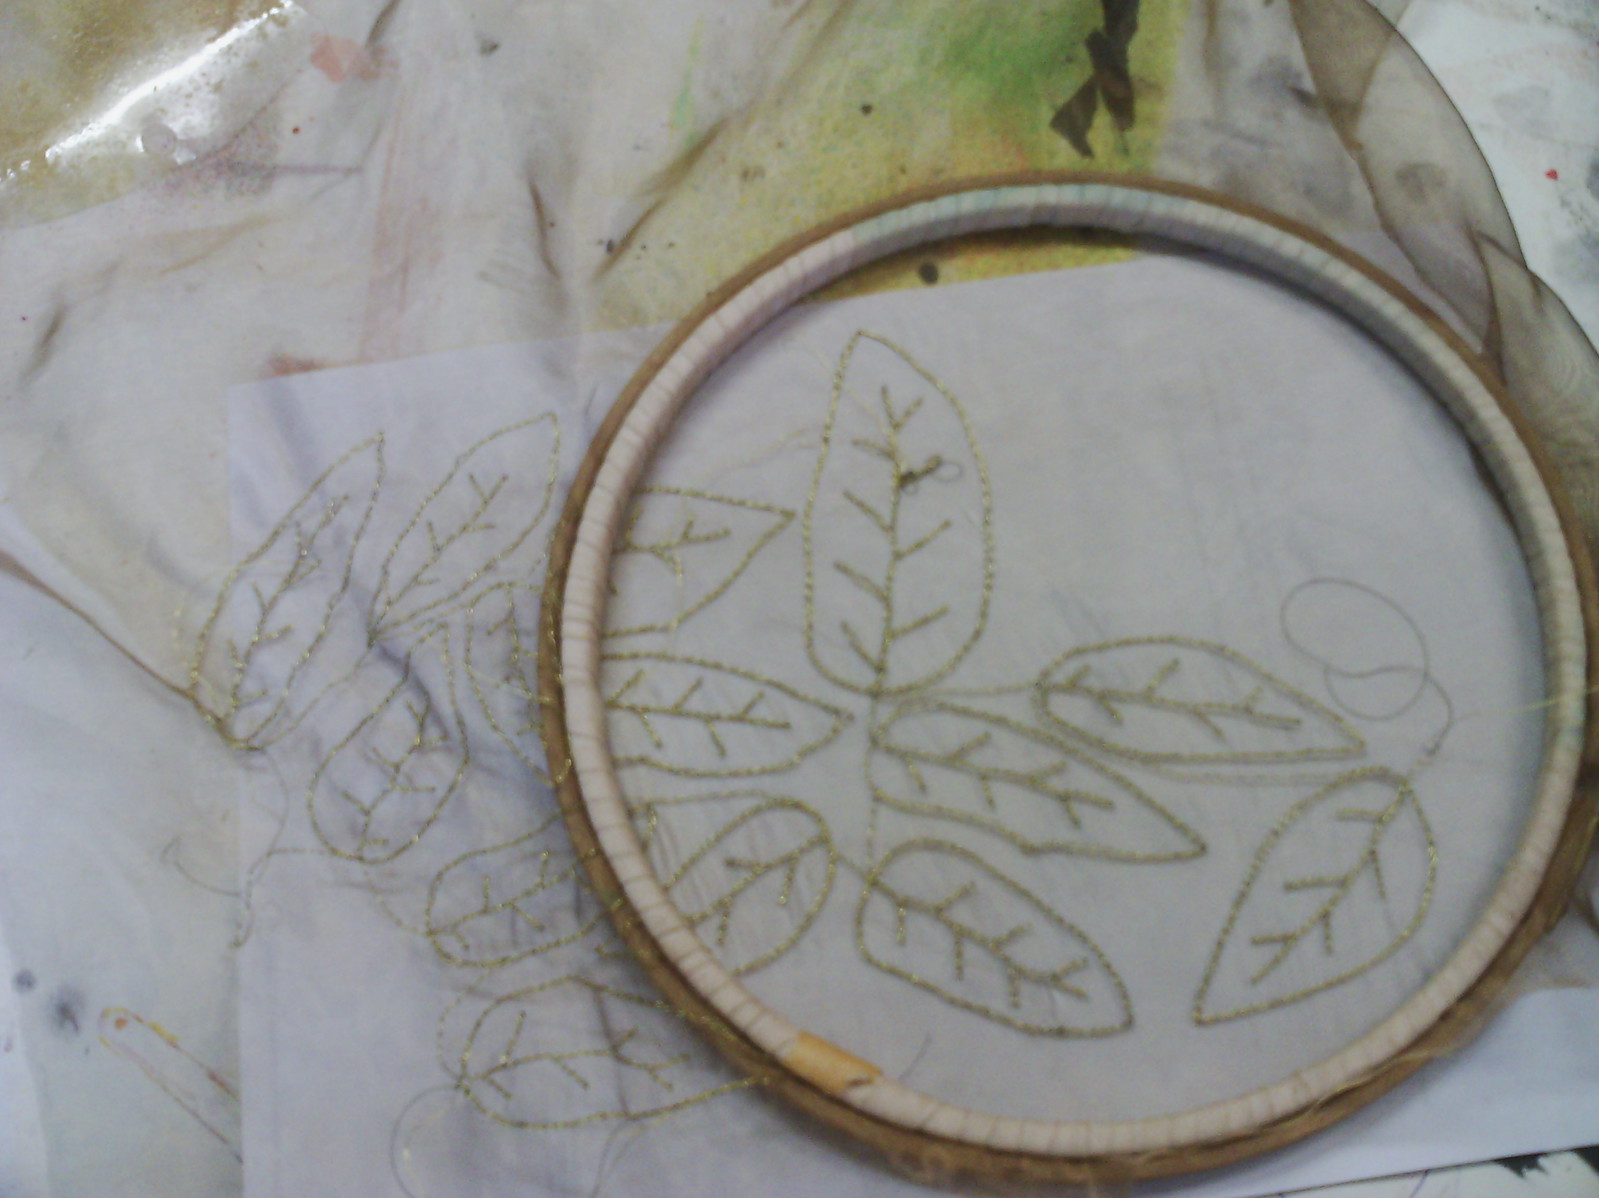
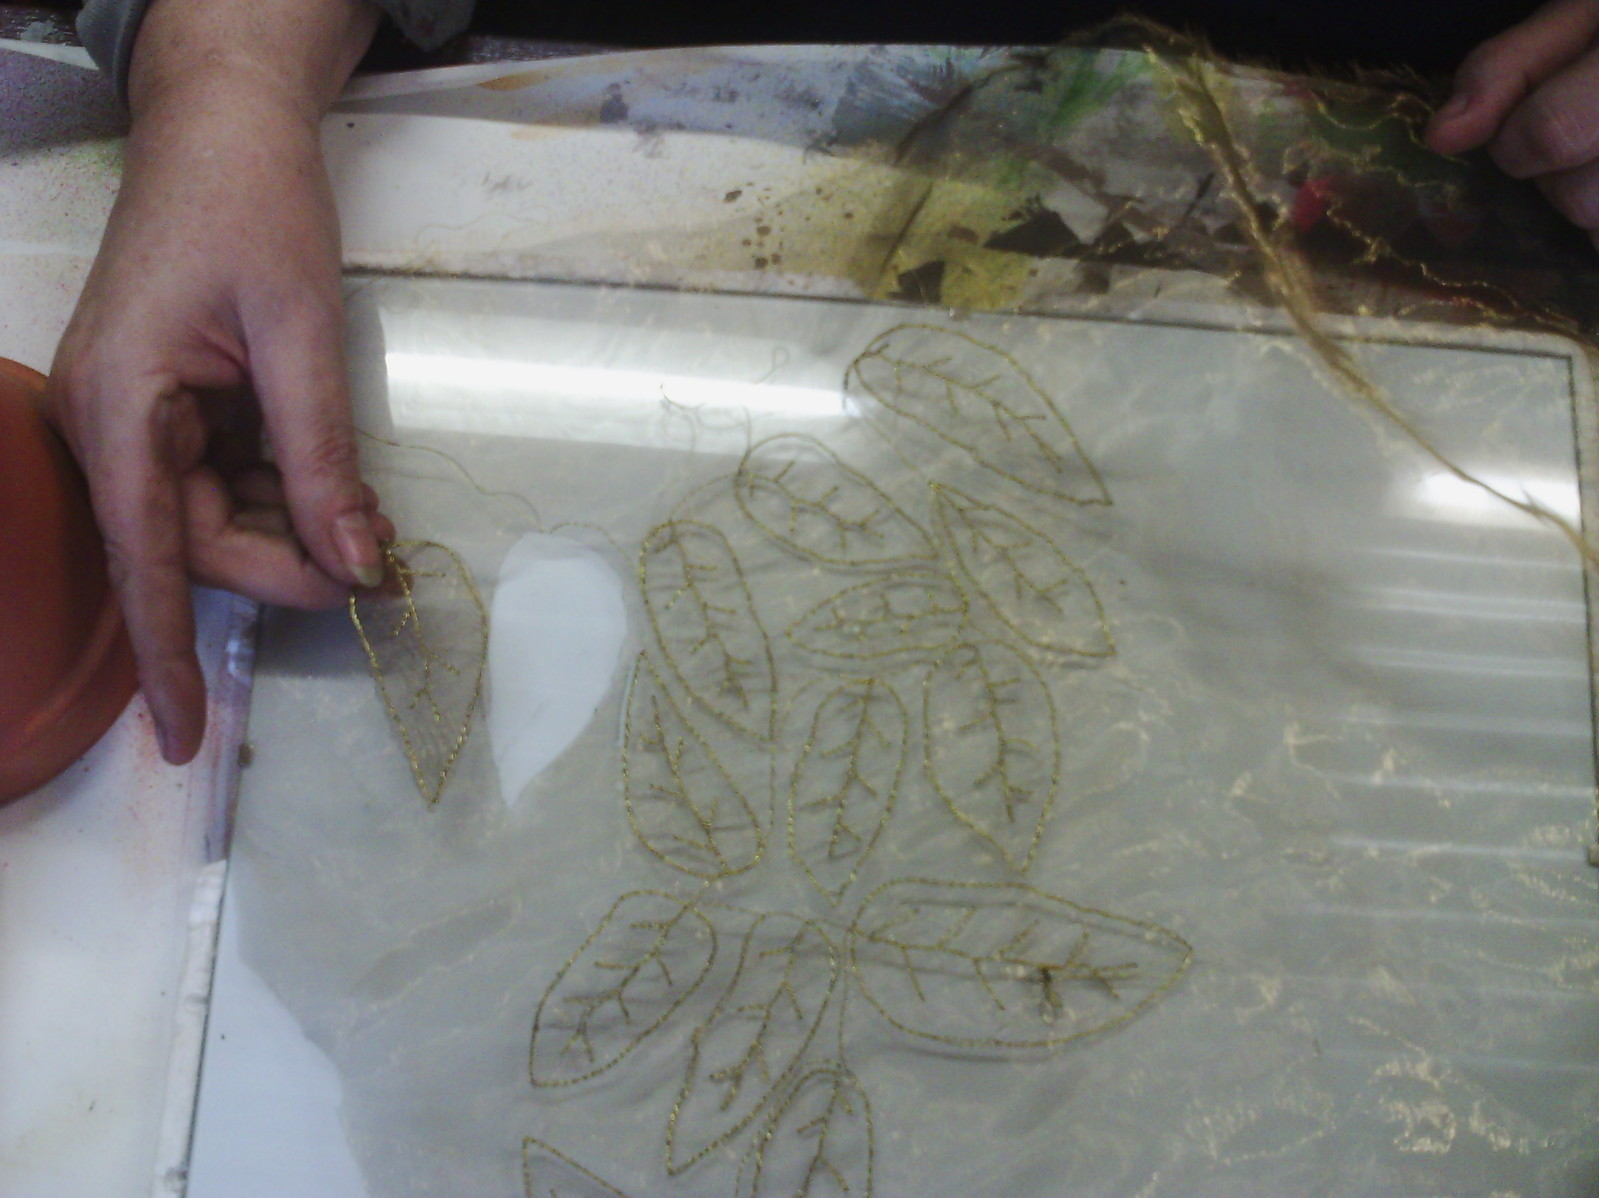
I have been making leaves. These are free motion with a gold thread on a copper organza
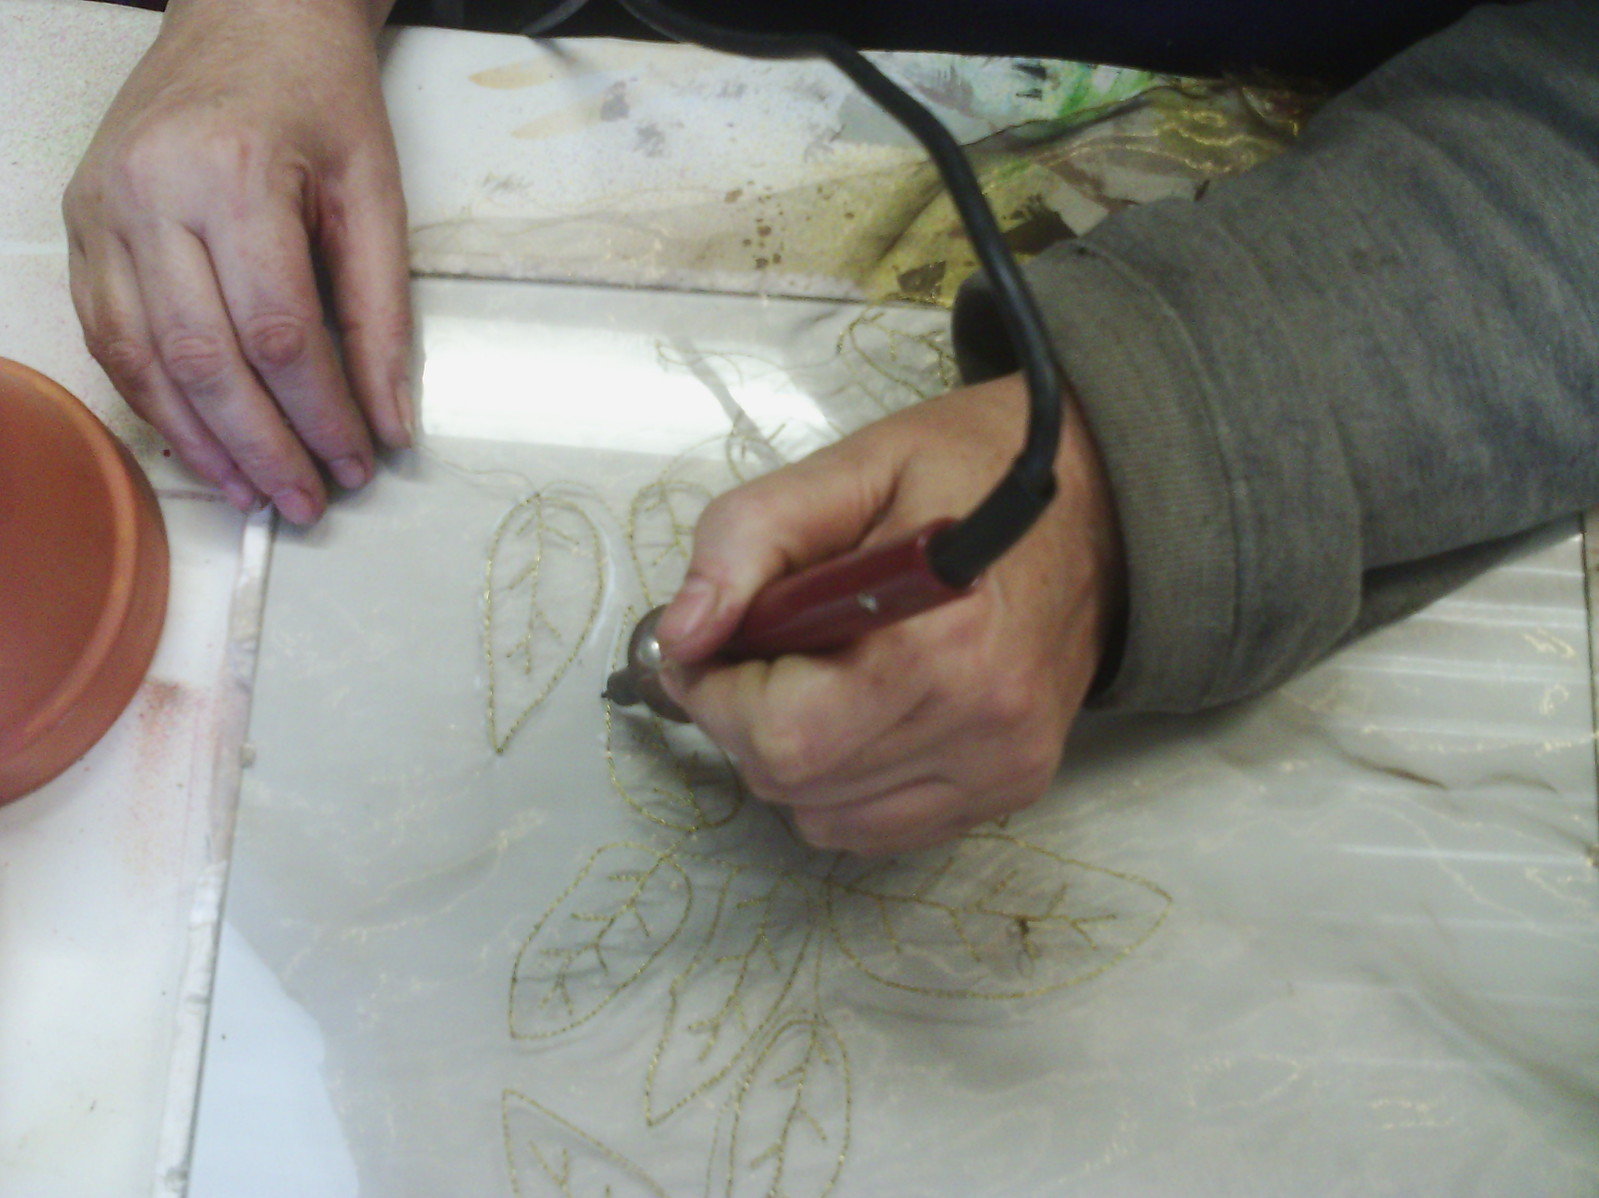
Once they are stitched, I cut them out with a soldering iron, over a glass sheet.
Here is one close up. These will go onto a collage, later.
So a not very productive week turned into a reasonable one on reflection!
Happy Creating!
Showing posts with label collage a day. Show all posts
Showing posts with label collage a day. Show all posts
Sunday, June 15, 2014
Sunday, June 8, 2014
More work in process
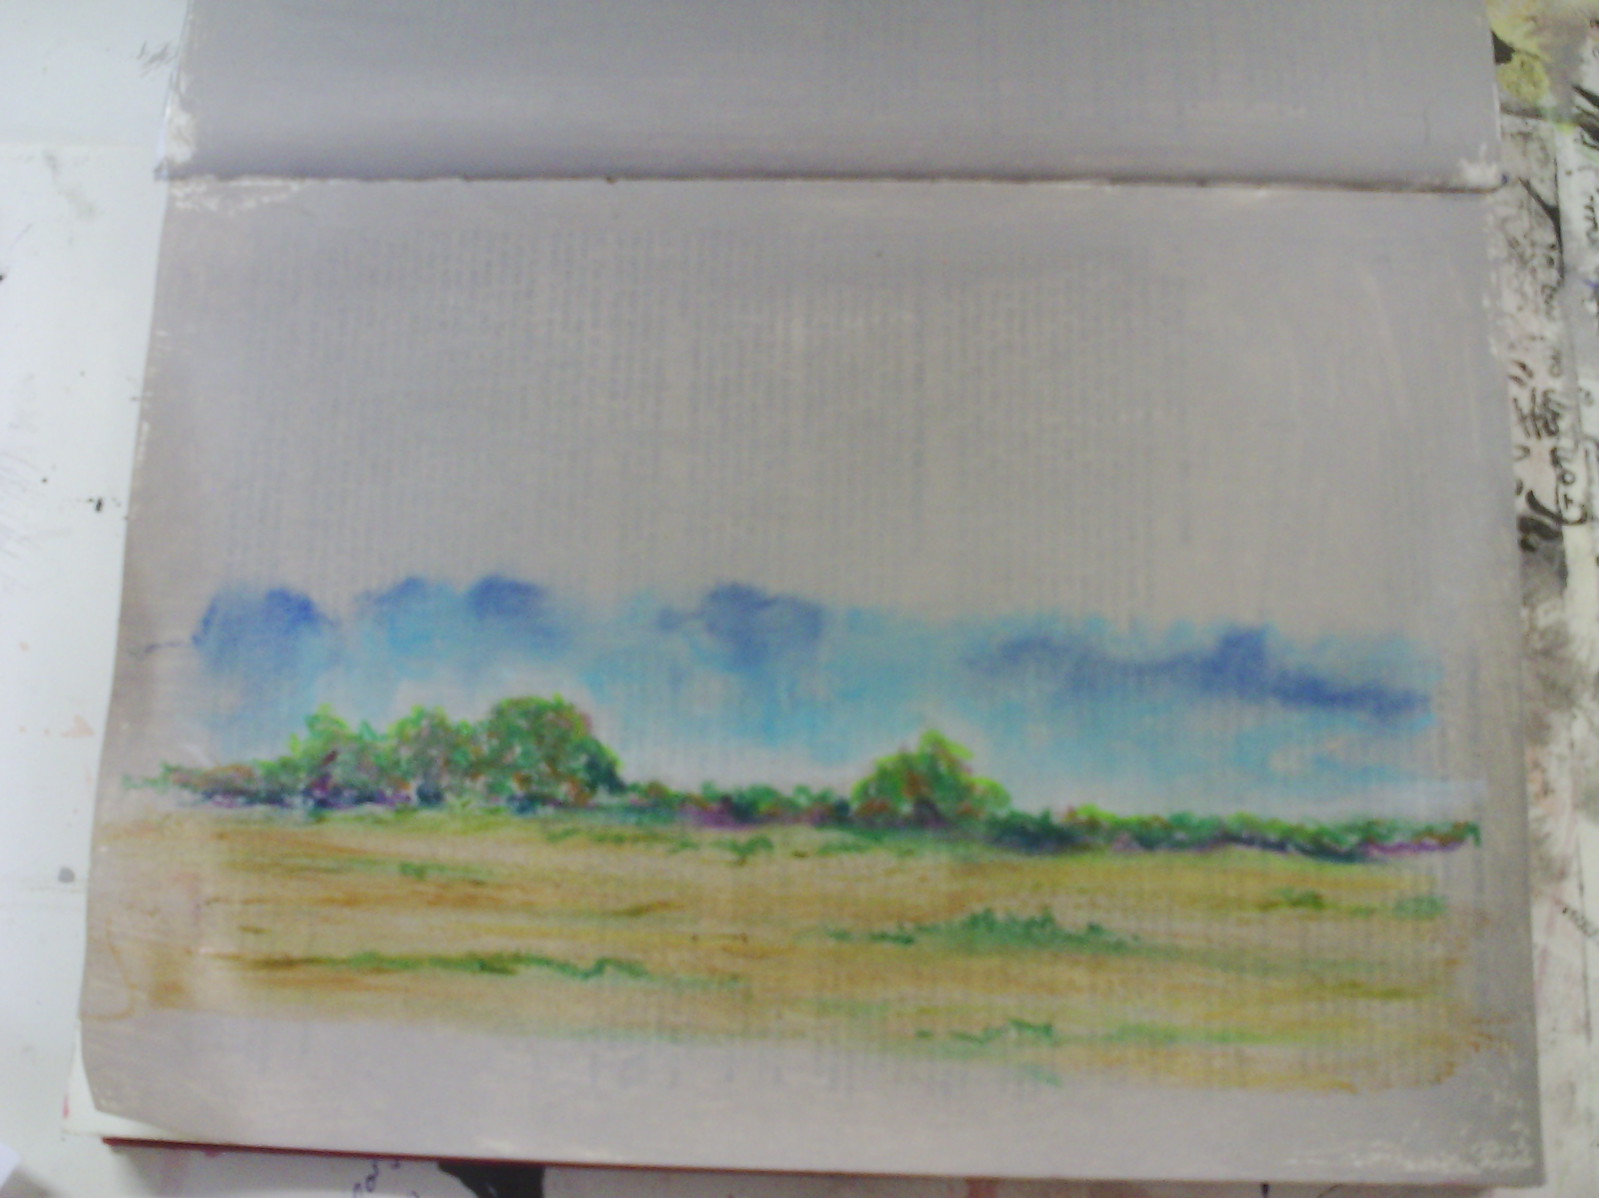
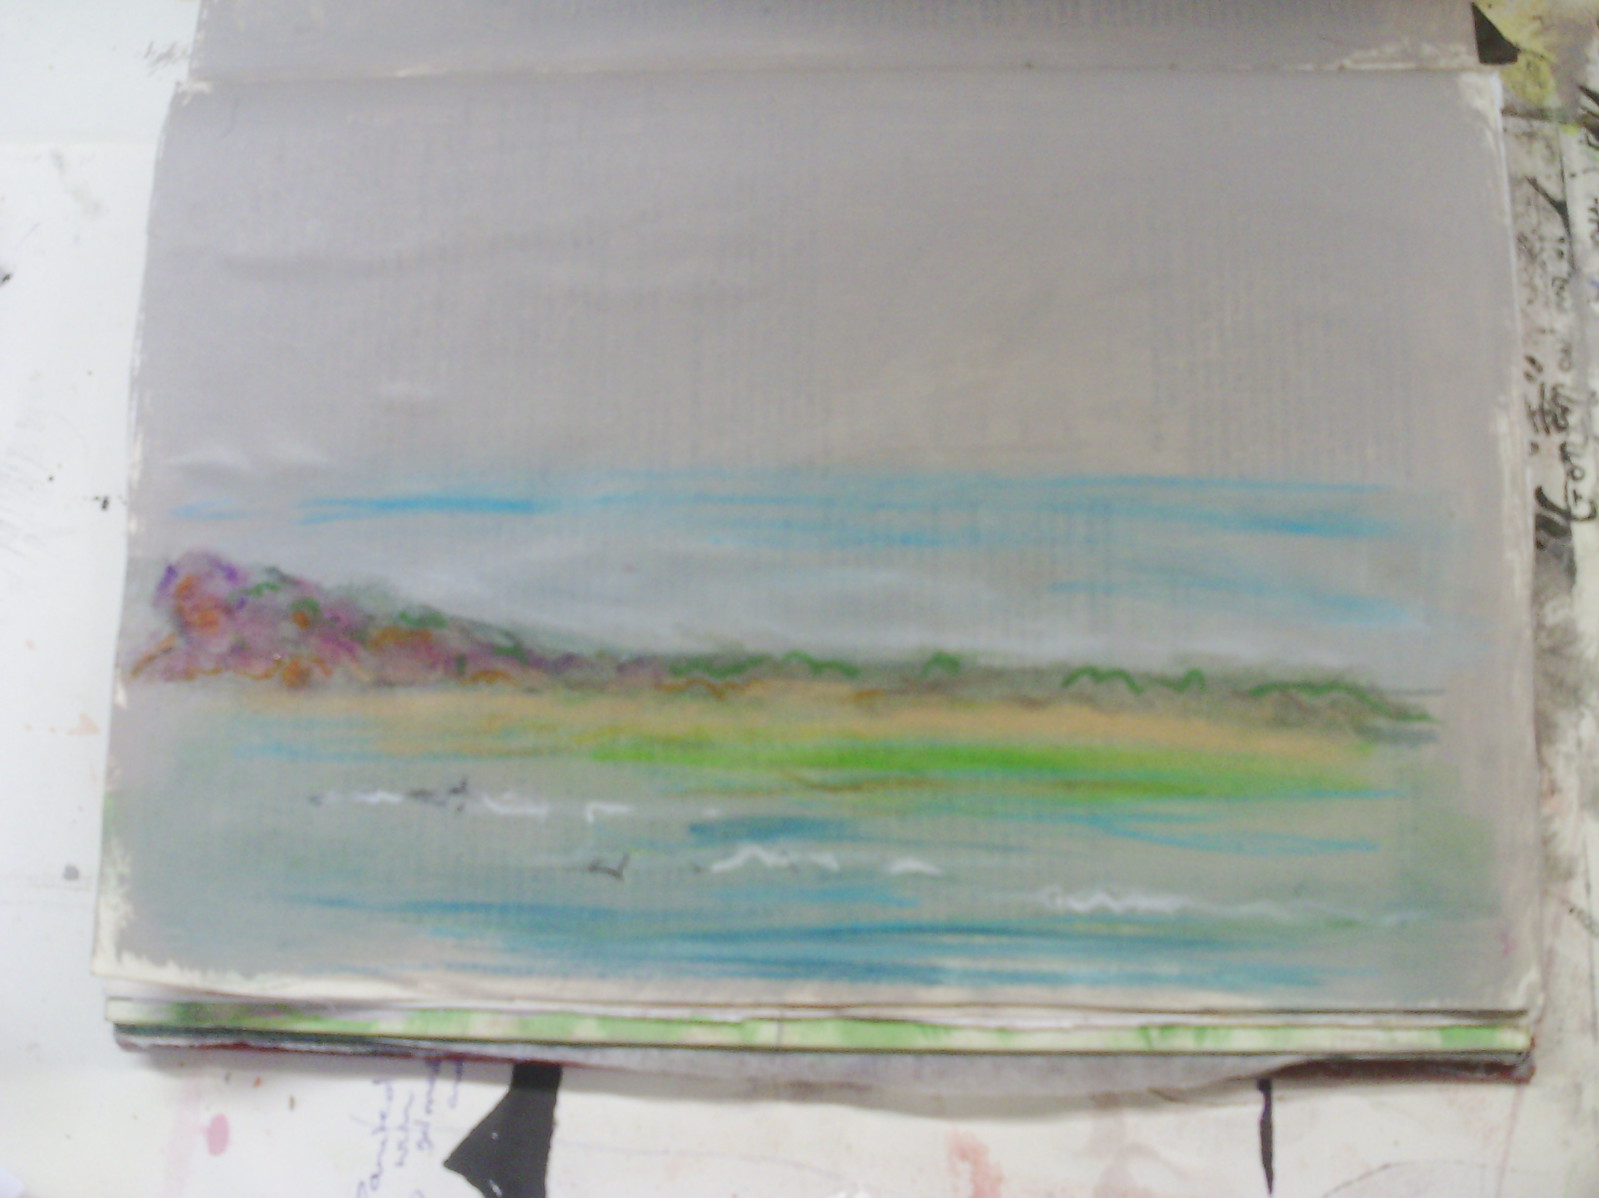
Sometimes, I get asked why I have a sketchbook, when my work is about textiles, but really, my sketchbooks (of which I have many) are great inspirations for my textile work.
Today's piece of work is directly inspired by some pictures in one of my books.
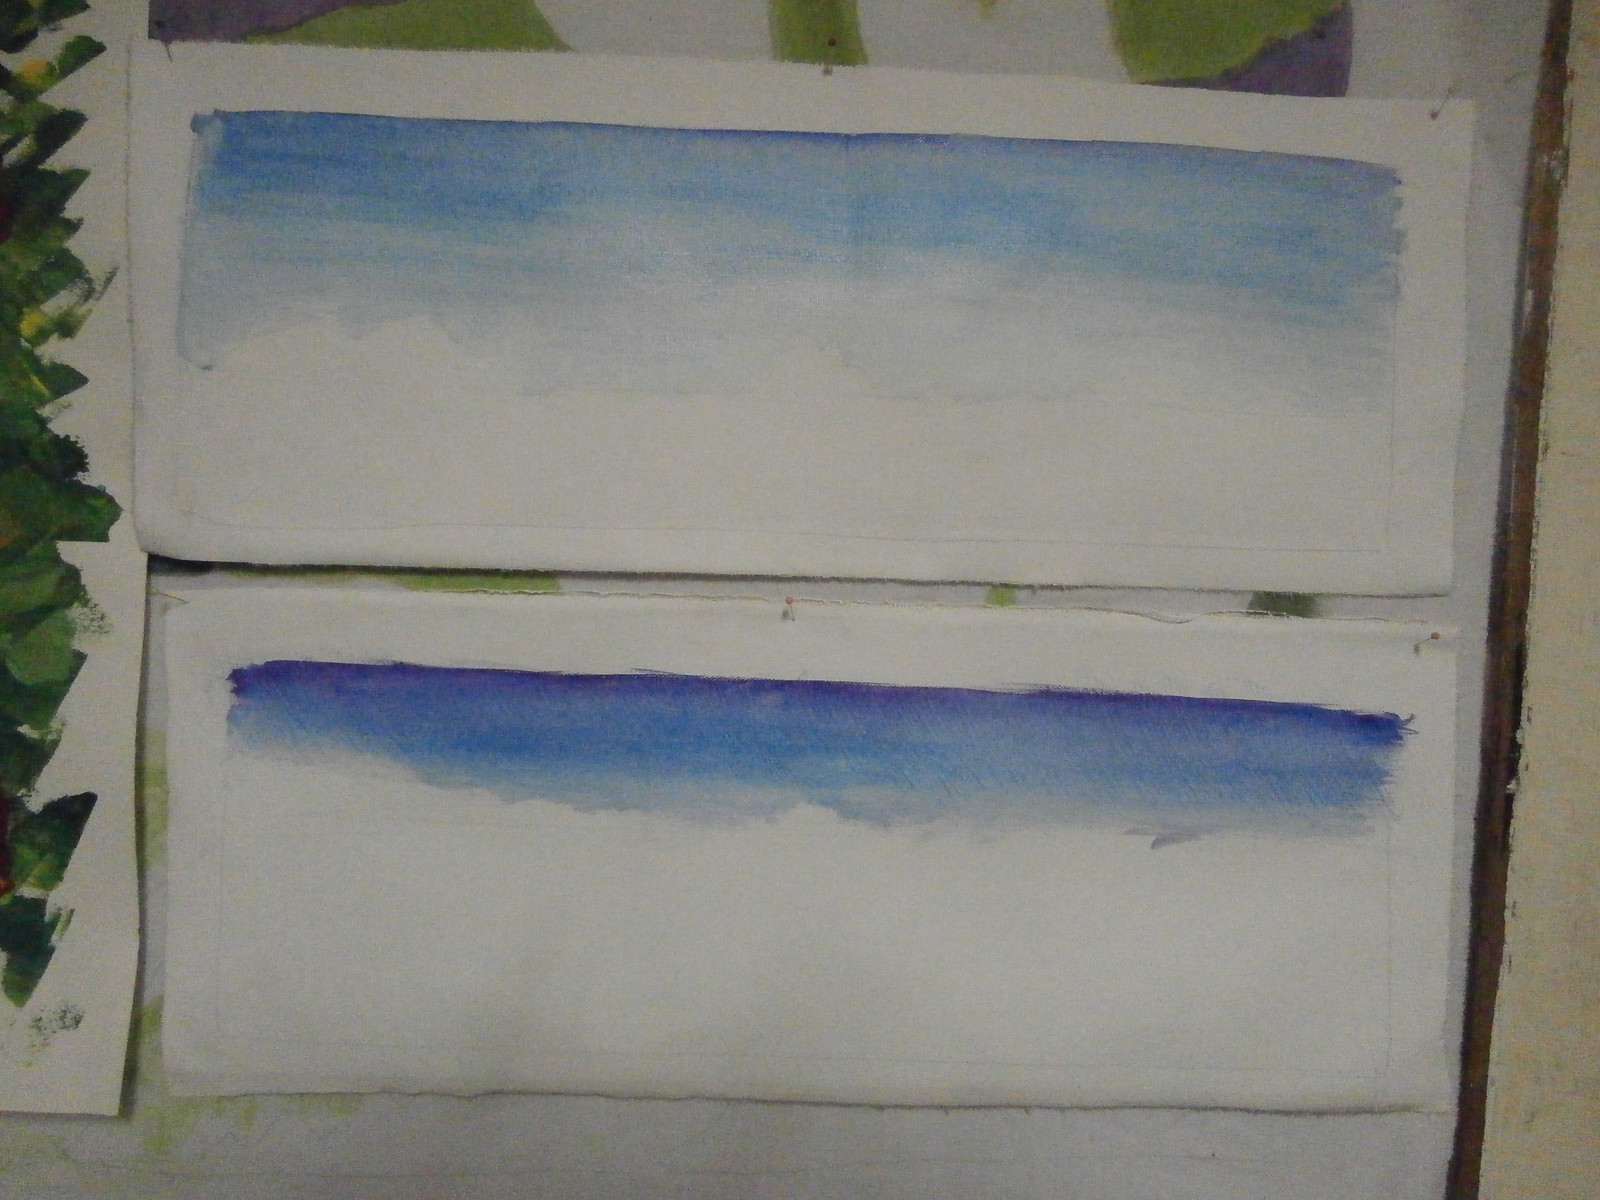
These two oil pastel sketches inspired me to try some simple landscapes in fabric, which, if you know me, is something I do a lot of. My idea was to paint the sky and the foreground, then use fabrics to create the horizon in a dimensional manner, ie using scrunched and folded fabric.
So far, all I have done is paint the skies. I am using canvas for these and using the long format to fit a pair of frames I have. I am still dithering about whether to paint the foregrounds, or whether to use fabric. Perhaps I should do both?
Also, here is another of the collage a day foundations I have added to.
As you can see, I have made it to fit a particular frame as well. What inspired this was the tiny piece of metallic sari border fabric. In fact, this is all I have, a scrap, but I wanted to use it as it is sooo shiny.
On the right are black linen and satin pieces and the Grey square is a painted baby wipe. I free motioned the moth onto a piece of filmy gold organza, which is only just visible and if you look carefully, you can see I have not trimmed it right back to the stitching yet. I am quite pleased with this one and am itching to get on with some hand stitching on it!
Happy Creating!
Sunday, June 1, 2014
Another collage
Since I enjoyed making the fabric collage (or more correctly embellishing) yesterday, I decided to do another one.
The foundation I chose was one with pieces of three monoprints, which again, I forgot to photograph first.
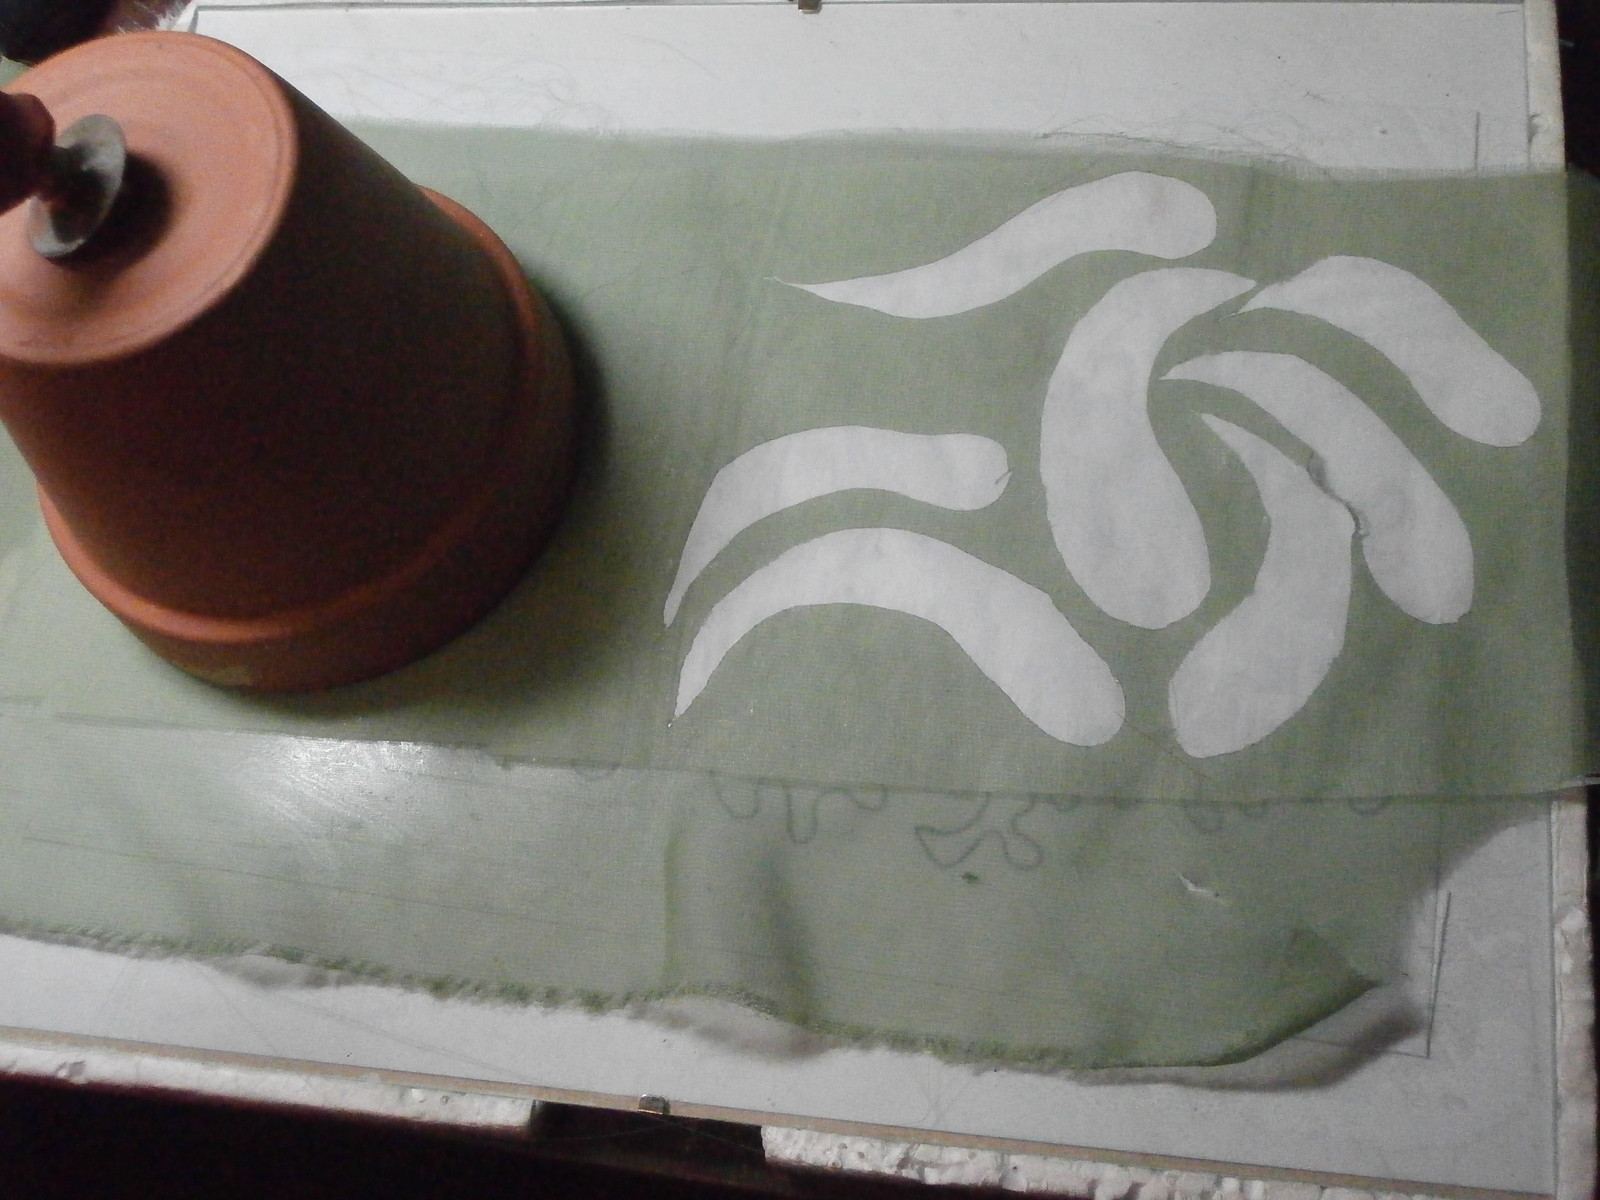
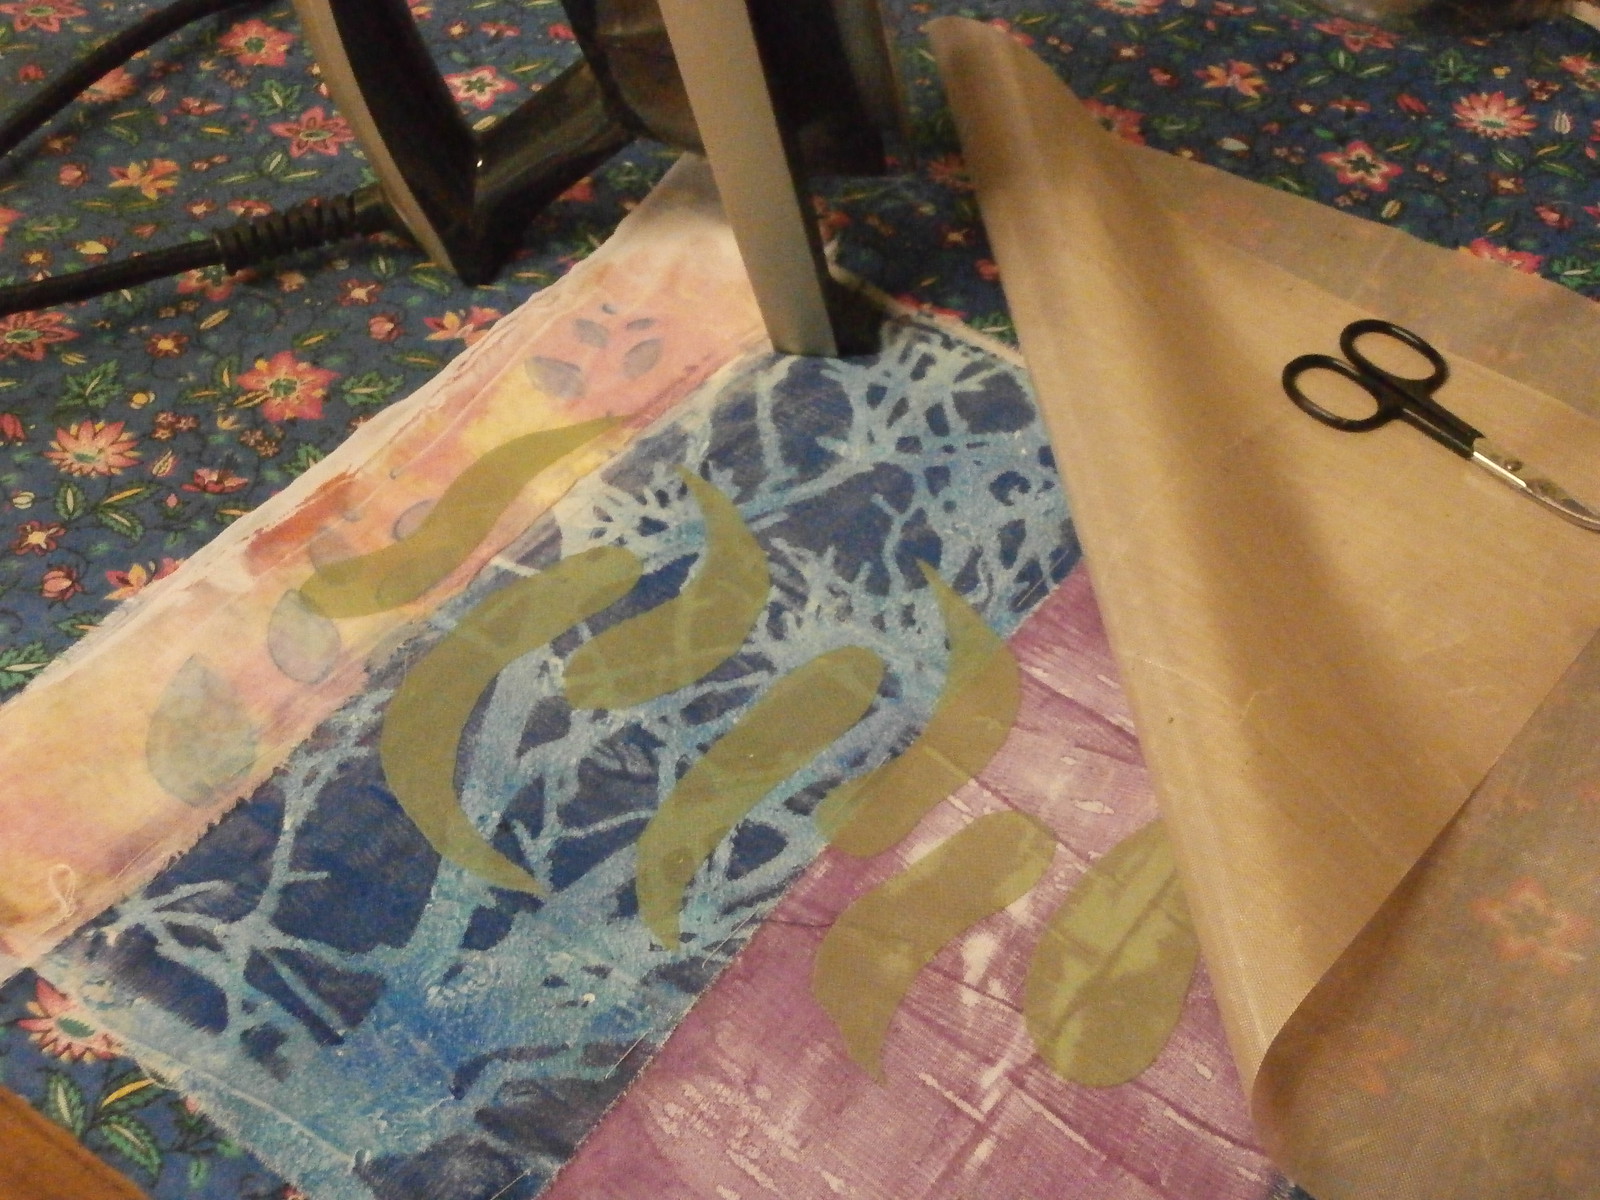
I started by ironing some green chiffon onto fusible, then cutting out gum leaf shapes (My favourite).
I peeled the shapes off and fused them to the collage.
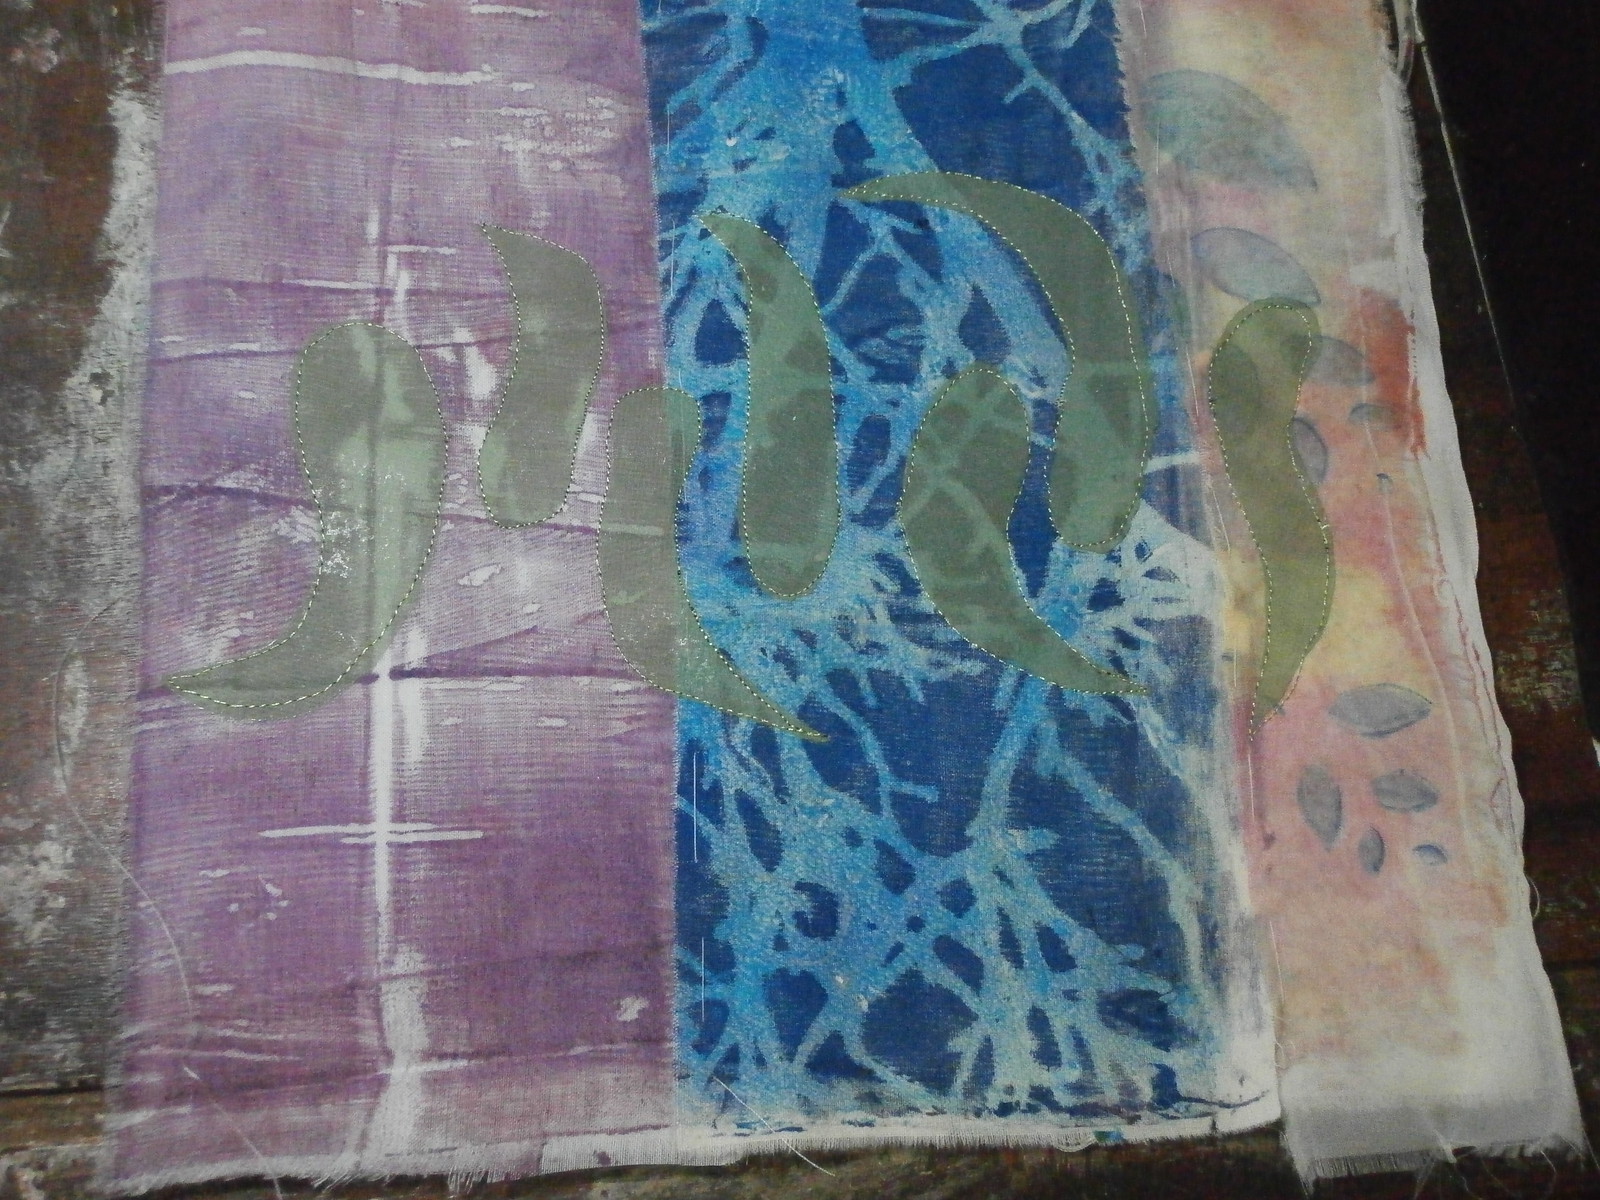
Then free motion stitched around them ( click to see the detail)
The contrast was very low, so....
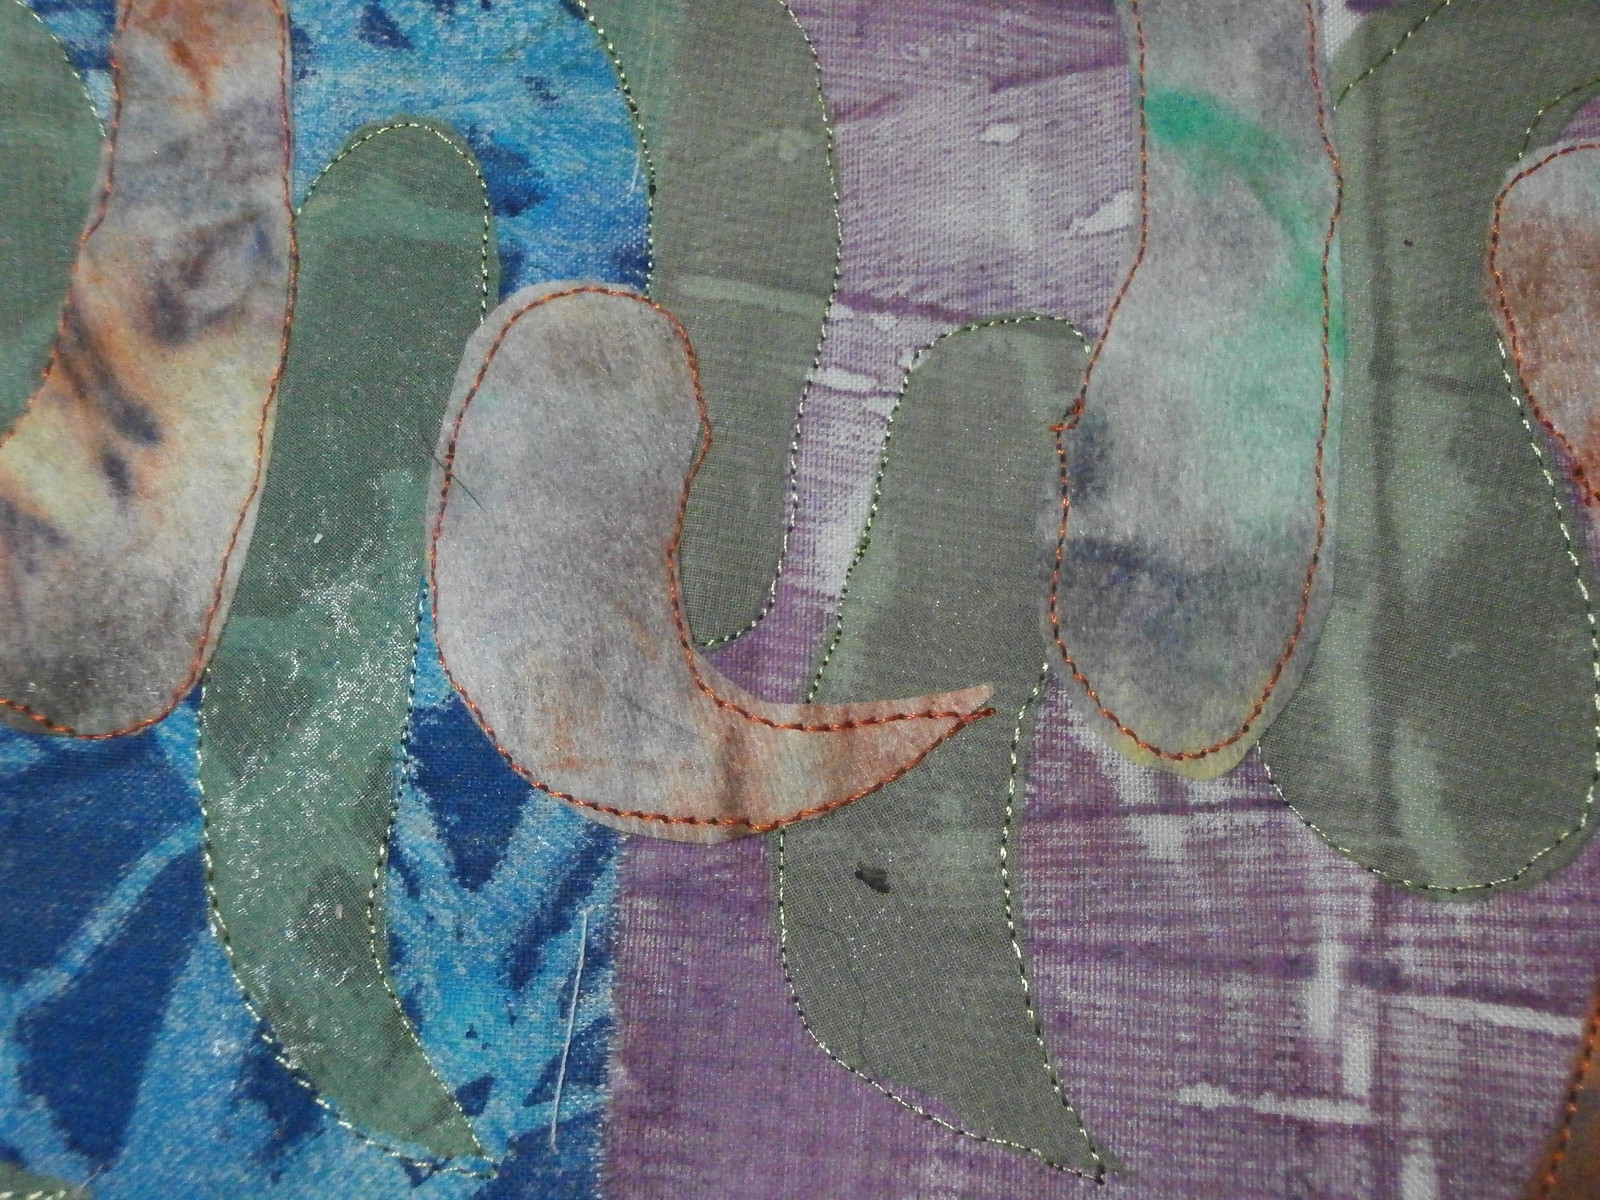
I cut some out from a sheet of fusible backed baby wipes (If you know me, you will know I have a huge stash of these, which have been coloured from cleaning up after painting and often use them in my collages)
I fused and stitched those down, but I wanted more, so......
I stamped a leaf on top with black acrylic. This is a stamp made from fun foam I made quite a while ago.
I stitched around these stamps as well
Now for the hand stitching.
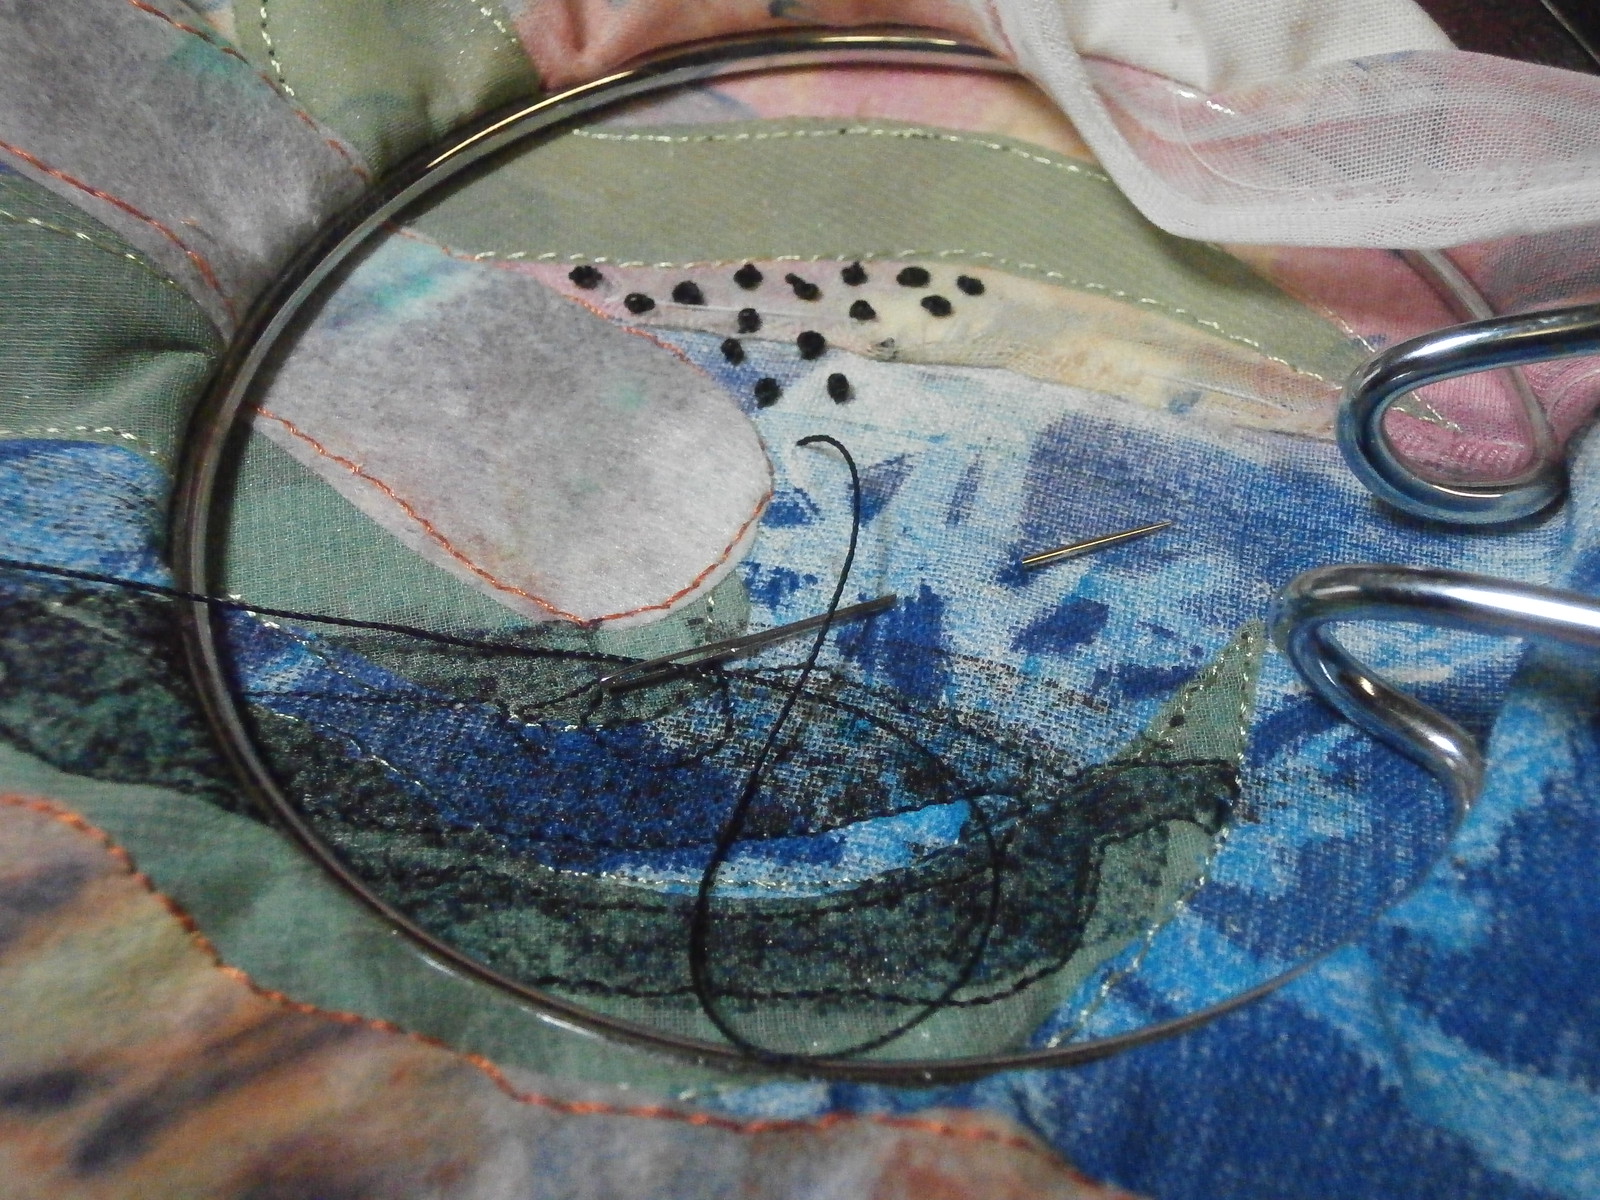
Here I am adding french knots around the appliques, and seeing this picture, I changed from this little hoop to my big standing frame. It is easier to make nice french knots when you have two hands free, and of course it is quicker. I will probably add other french knots in other colours further away from the leaves, but at present, I am just adding contrast.
Happy Creating!
Saturday, May 31, 2014
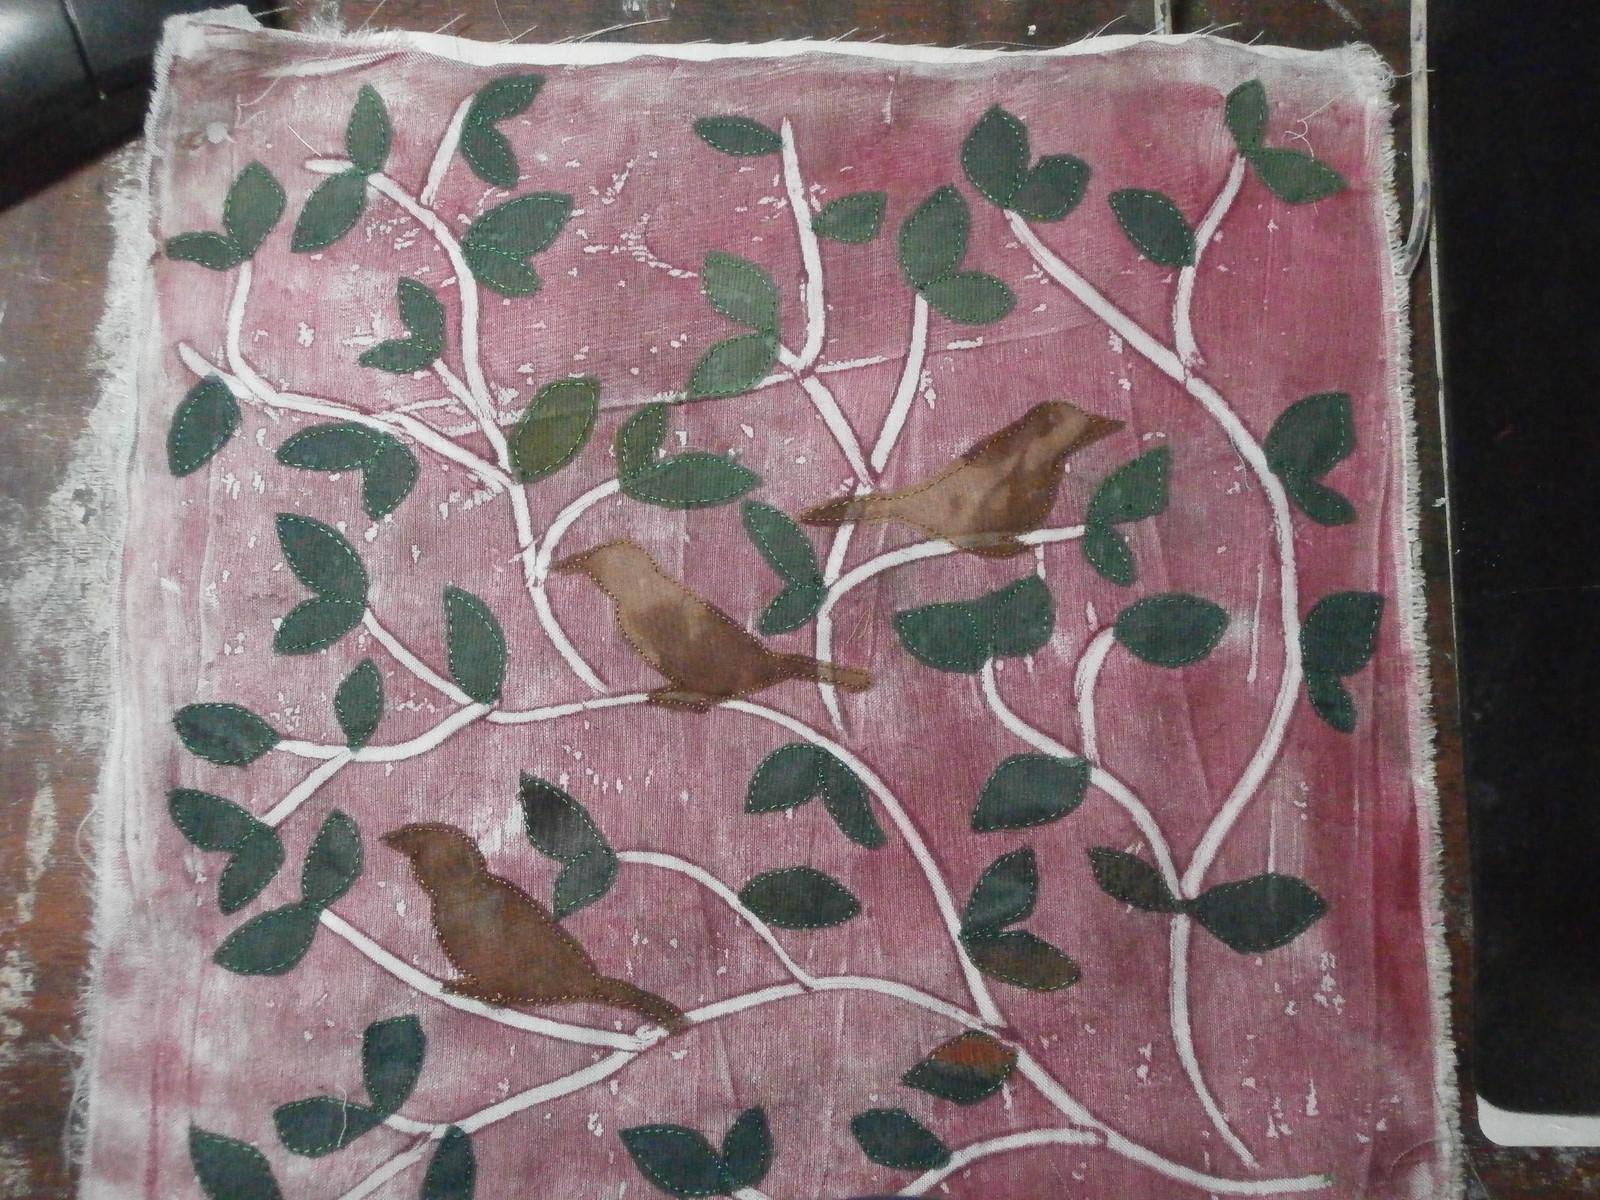
Birds on a branch
This morning I worked into one of my monoprinted fabrics.
I was a very simple monoprint of branches (which I forgot to photograph before I started - sorry)
I decided to do some raw edge applique
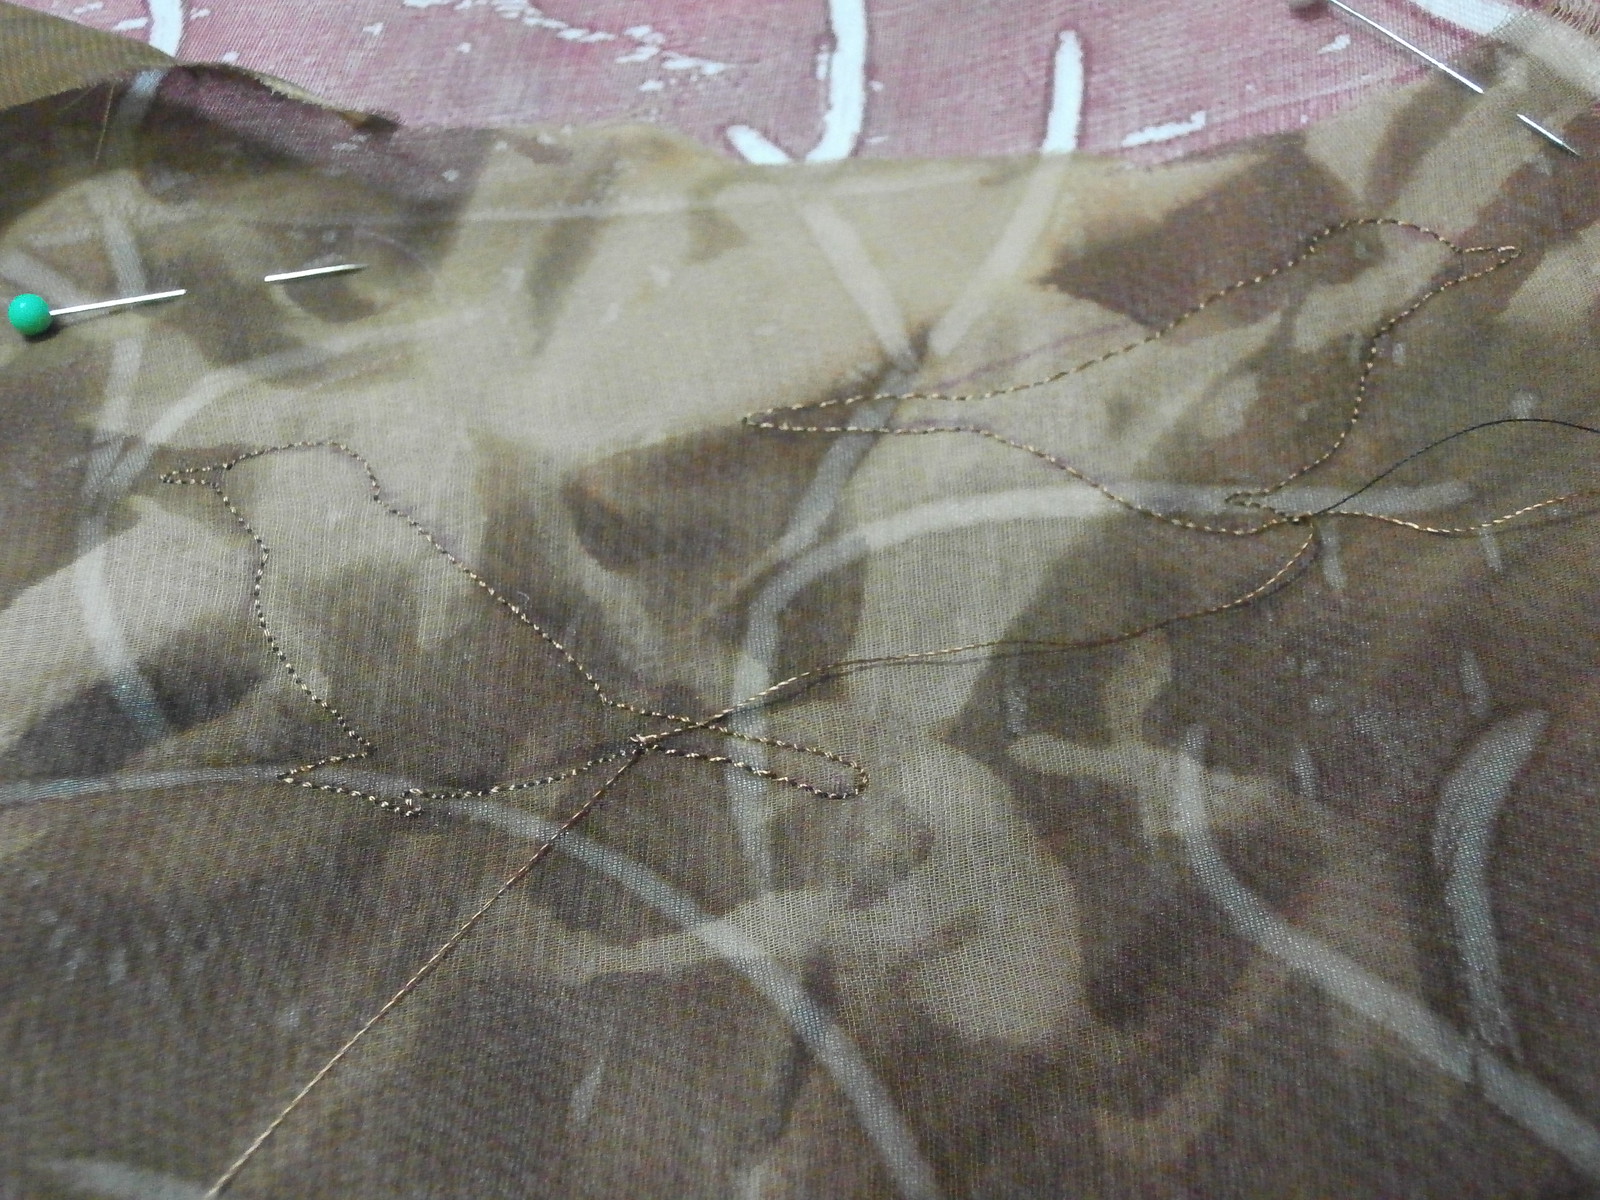
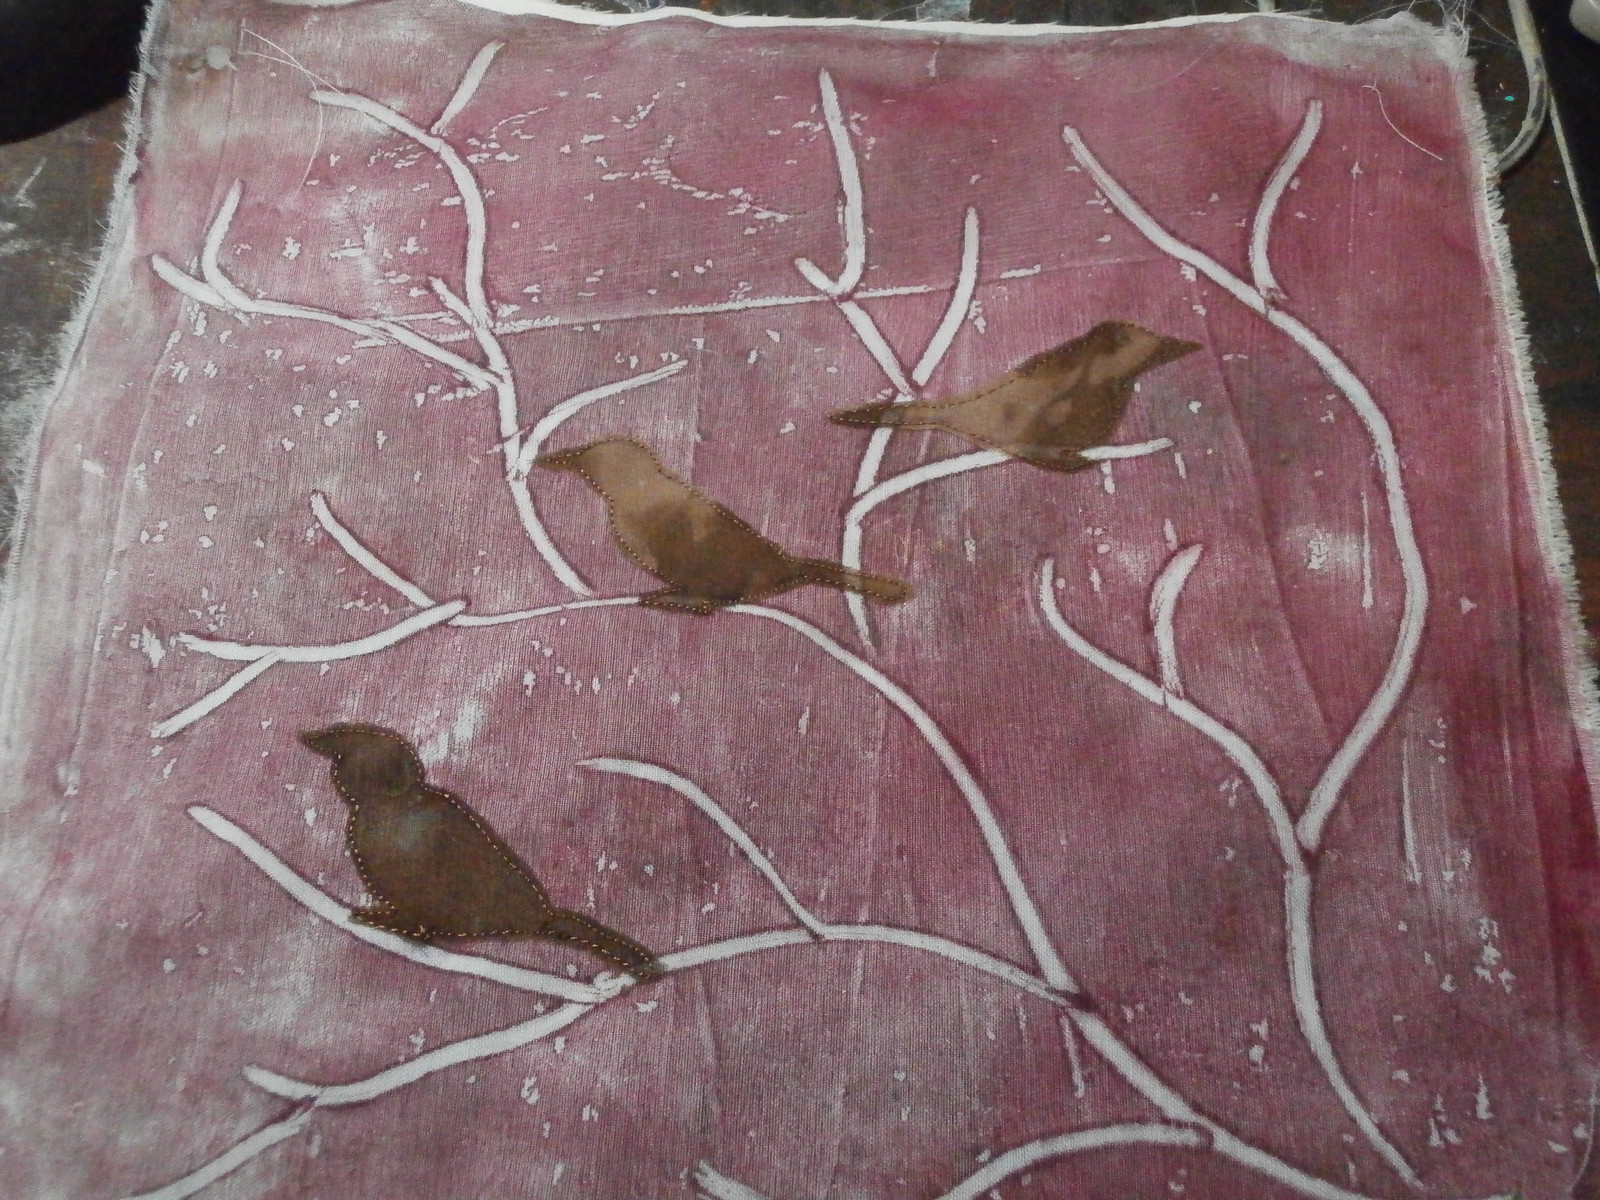
You can see in the above photo, the pinky fabric at the top is the monoprint, and I have layeres some sheer chiffon over it then free machined some birds onto the white branches of the monoprint.
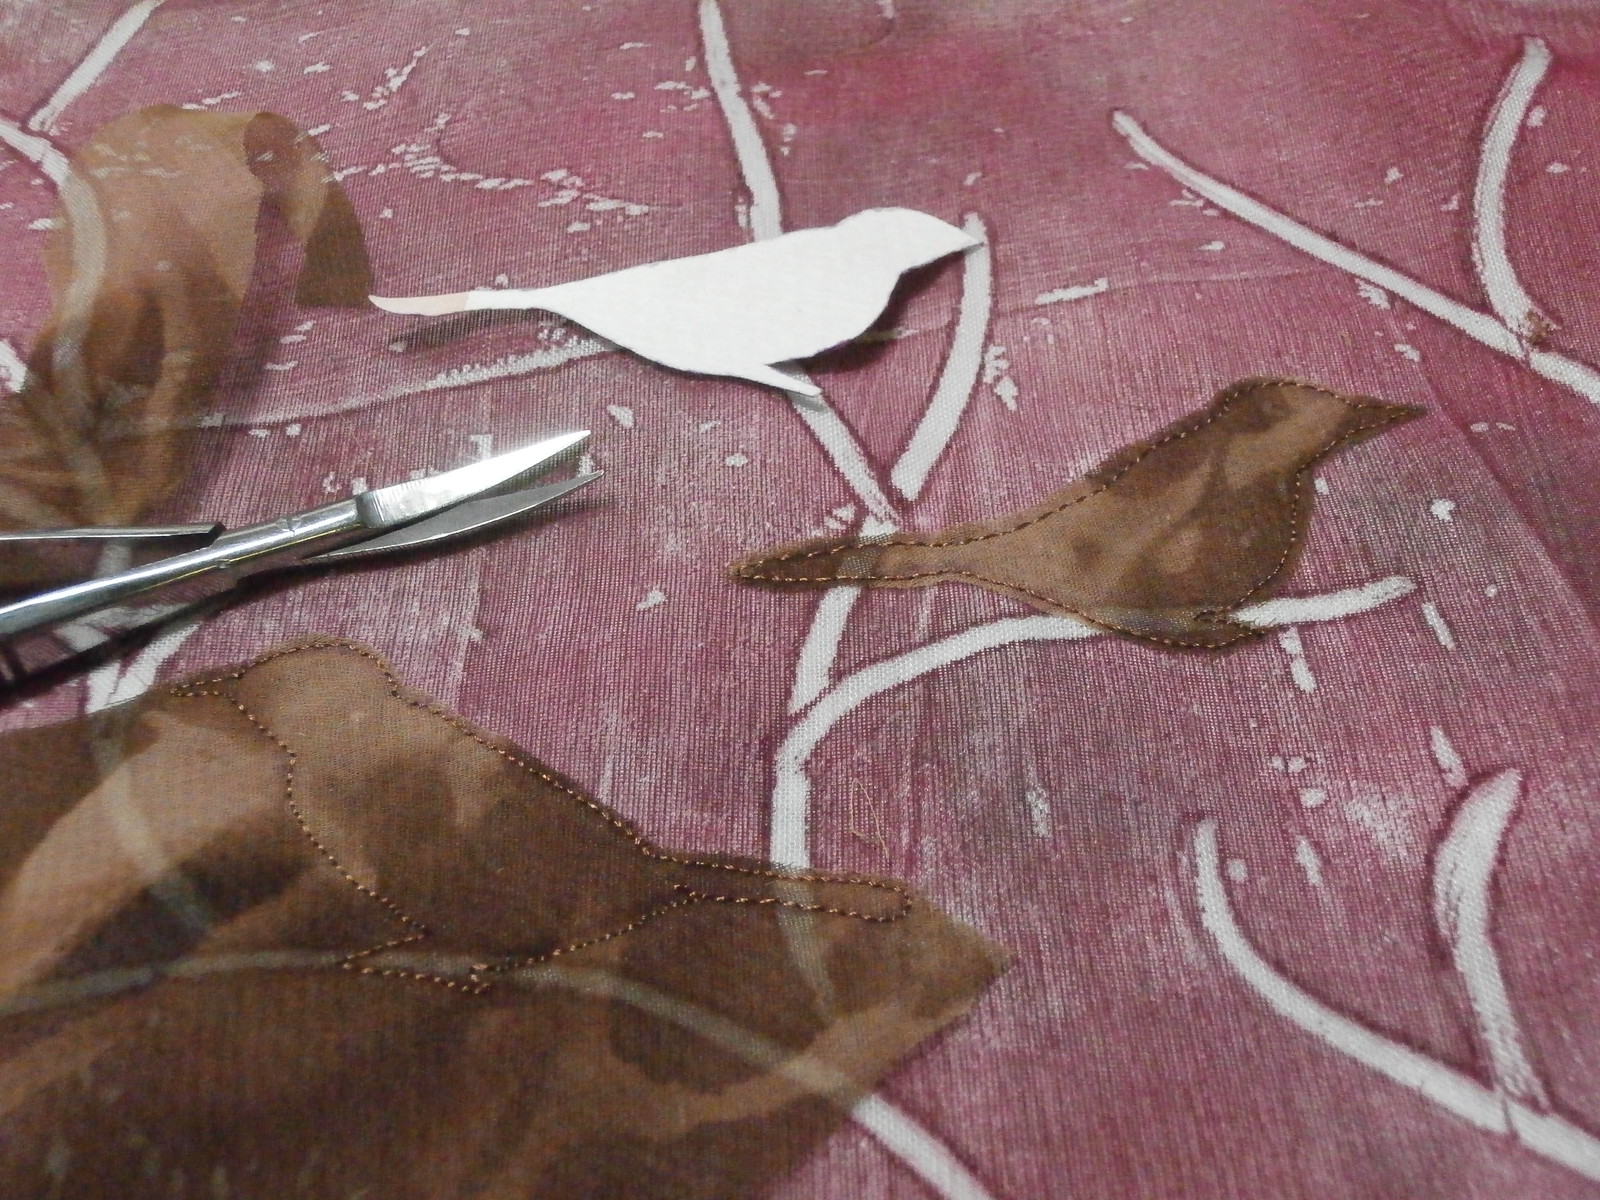
Here I have cut away around some of the birds, The white bird is a template I made to trace around for the stitching.
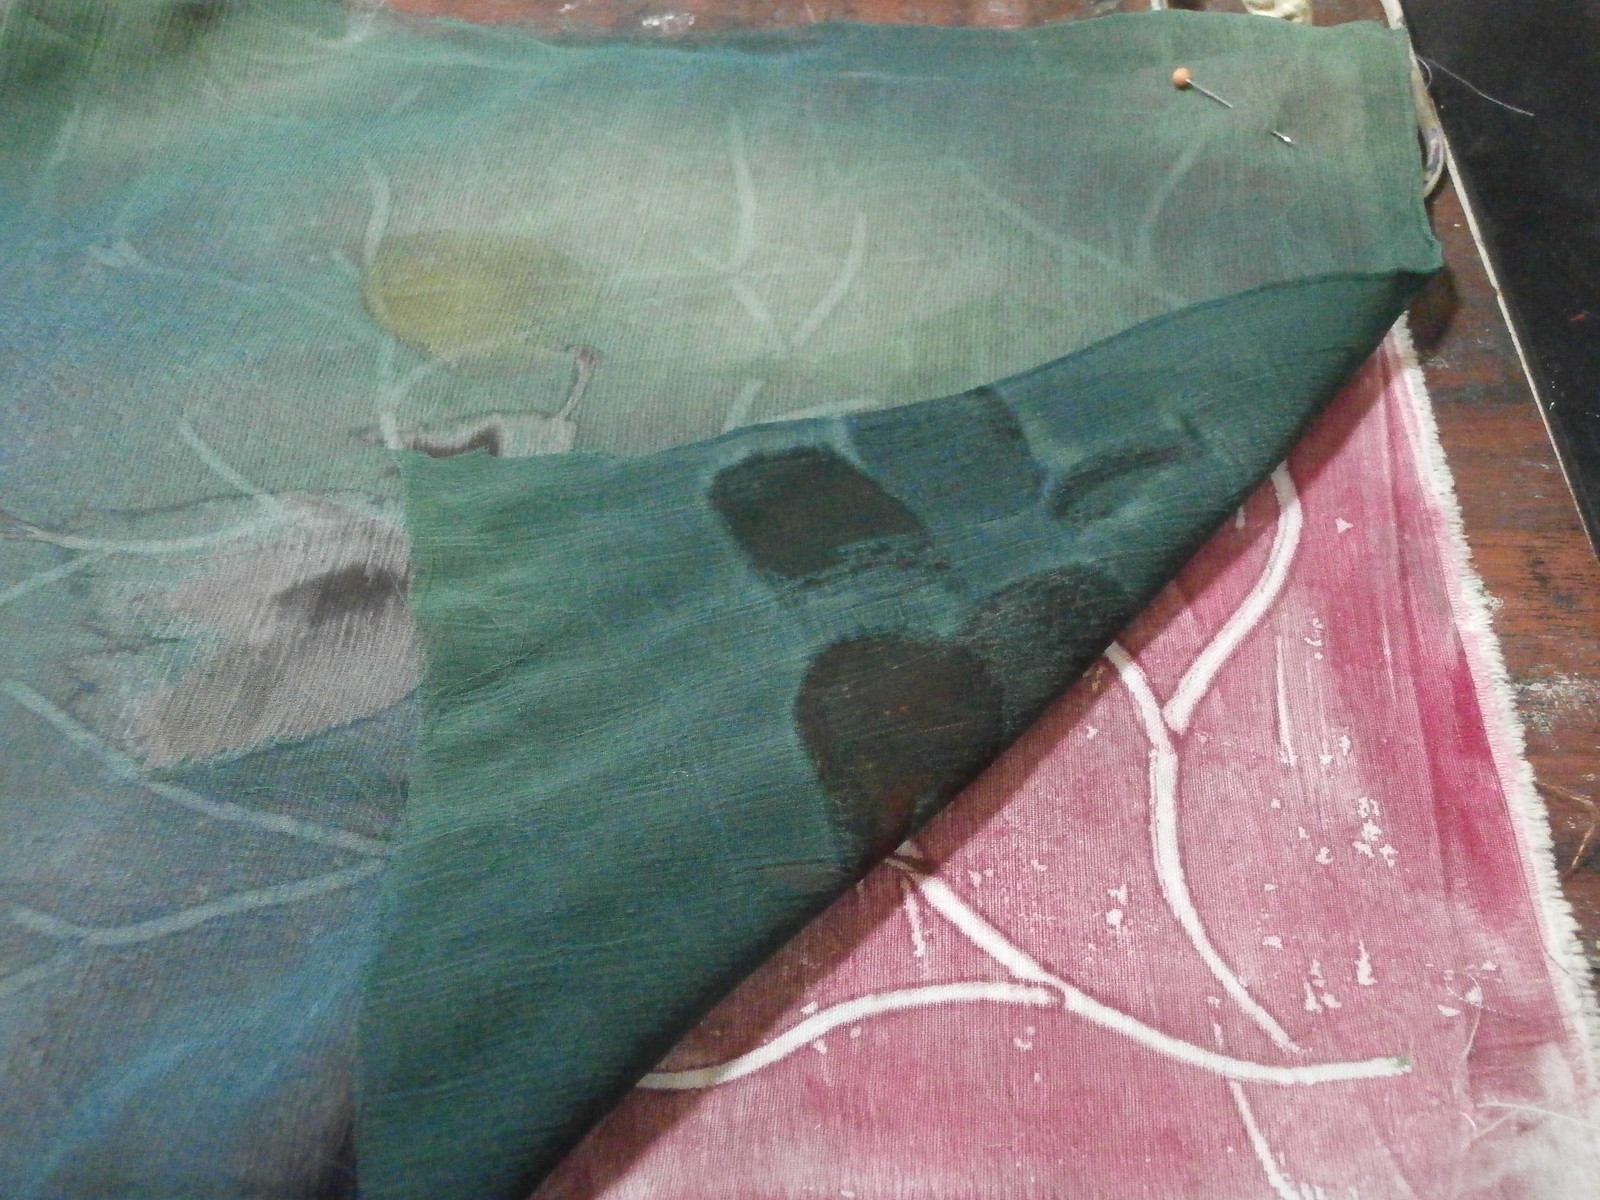
Here you can see the monoprint that was underneath after I cut around the birds.
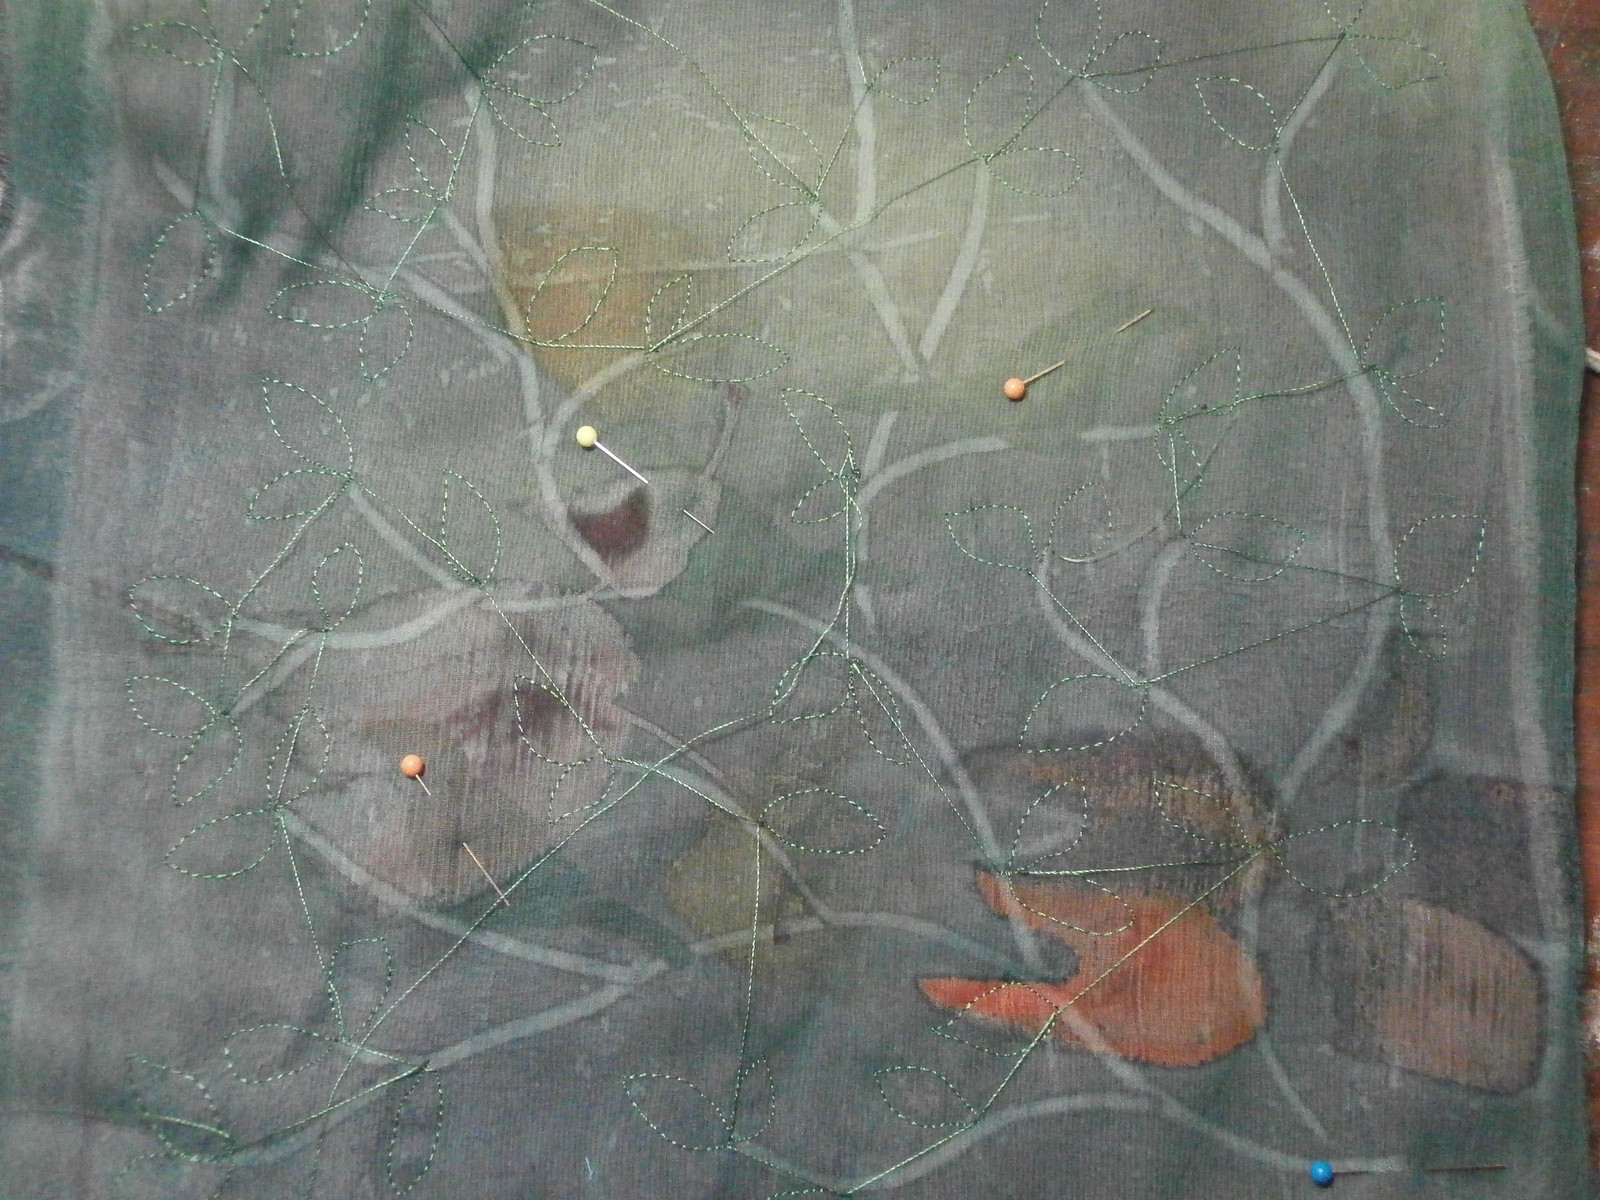
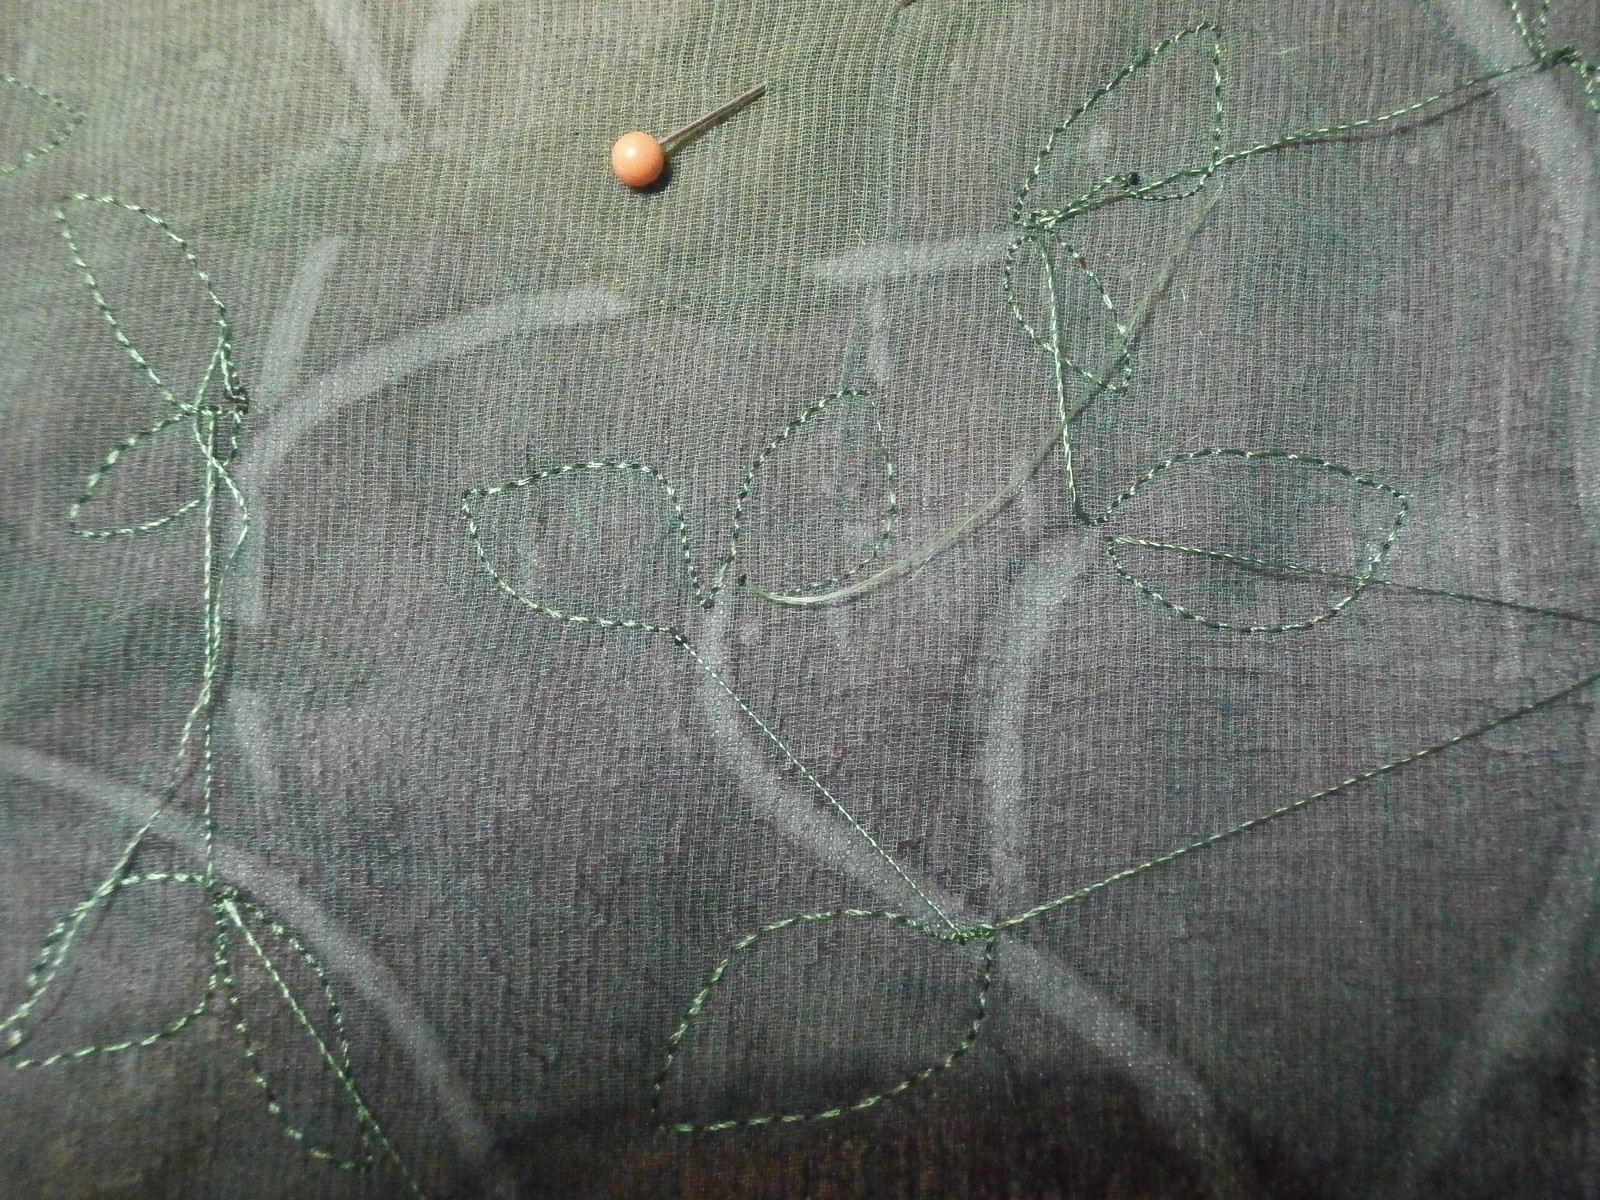
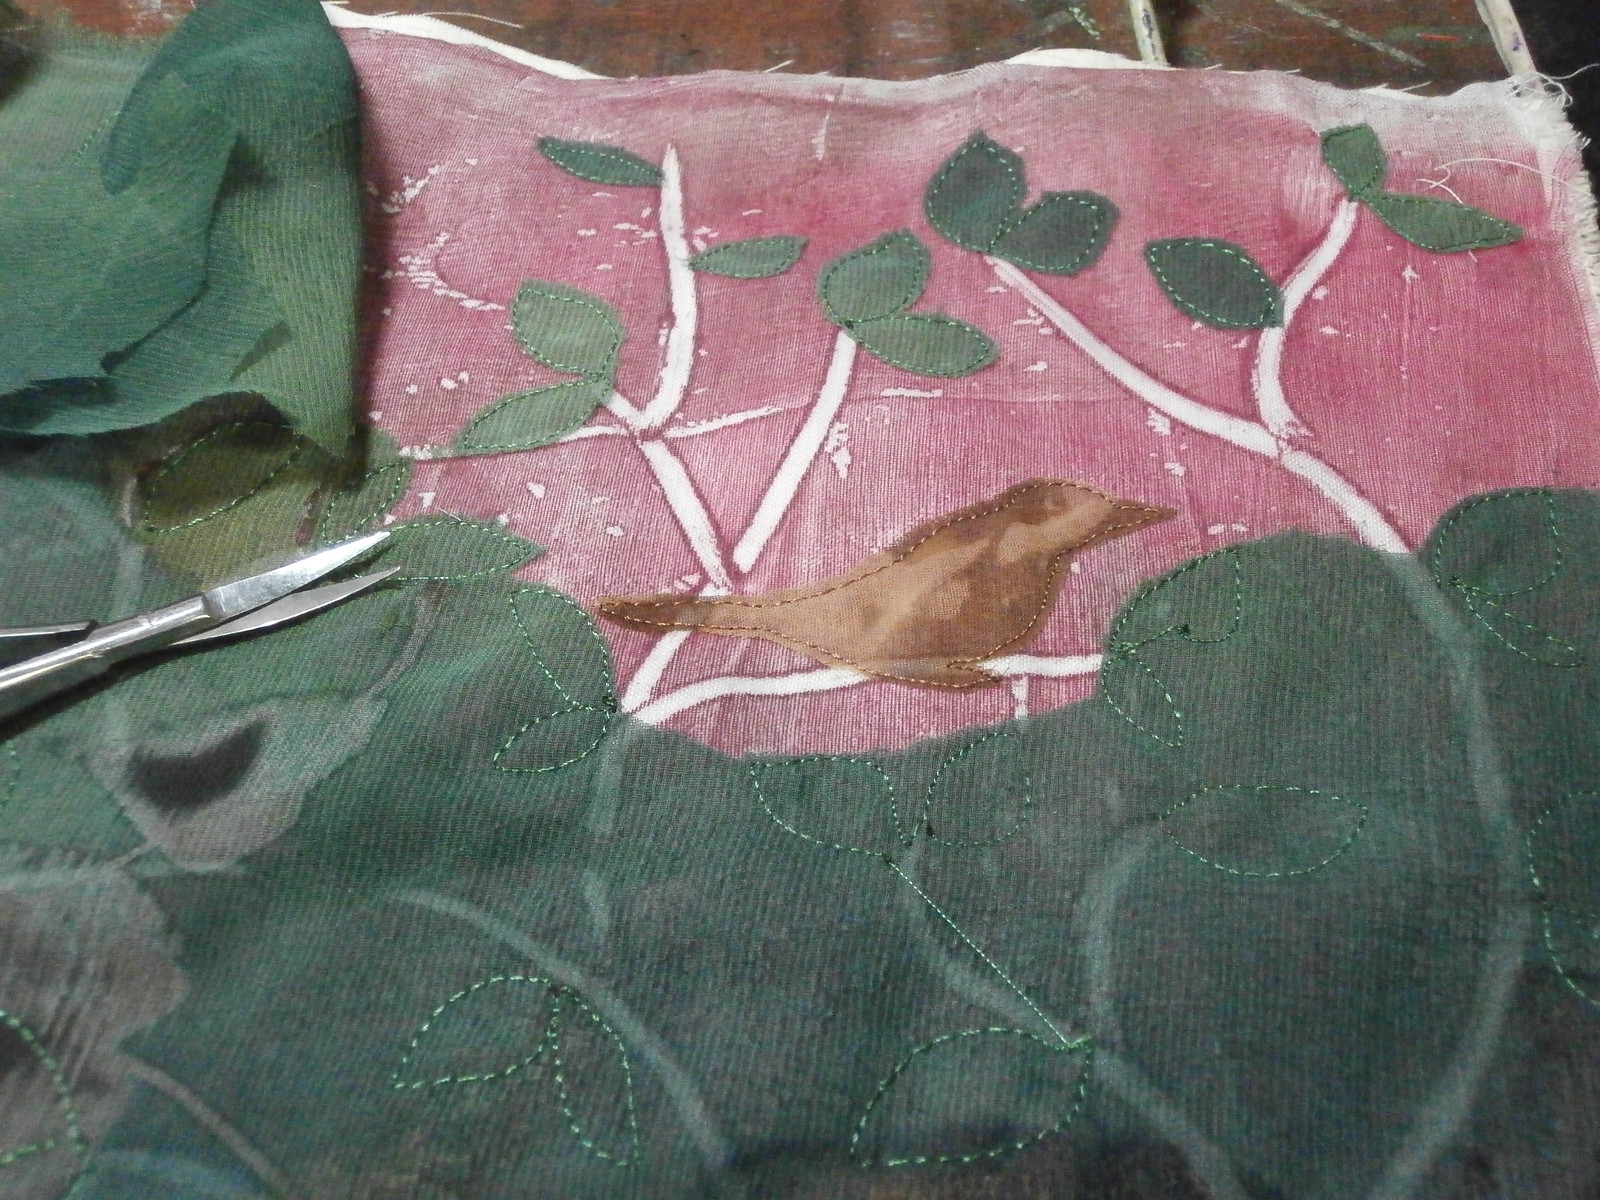
Next I placed a piece of green chiffon over to stitch some leaves.
I stitched a lot of leaves.
I did a bit of cutting....................
And then a lot more. And now I am presently hand stitching the background. That will take me a fair while.
Happy Creating!
I was a very simple monoprint of branches (which I forgot to photograph before I started - sorry)
I decided to do some raw edge applique
You can see in the above photo, the pinky fabric at the top is the monoprint, and I have layeres some sheer chiffon over it then free machined some birds onto the white branches of the monoprint.
Here I have cut away around some of the birds, The white bird is a template I made to trace around for the stitching.
Here you can see the monoprint that was underneath after I cut around the birds.
Next I placed a piece of green chiffon over to stitch some leaves.
I did a bit of cutting....................
And then a lot more. And now I am presently hand stitching the background. That will take me a fair while.
Happy Creating!
Friday, May 23, 2014
Butterflies
I really enjoyed the painting I did on fabric recently, so I thought I'd do some more. I saw some butterflies yesterday and thought, well let's do one then.
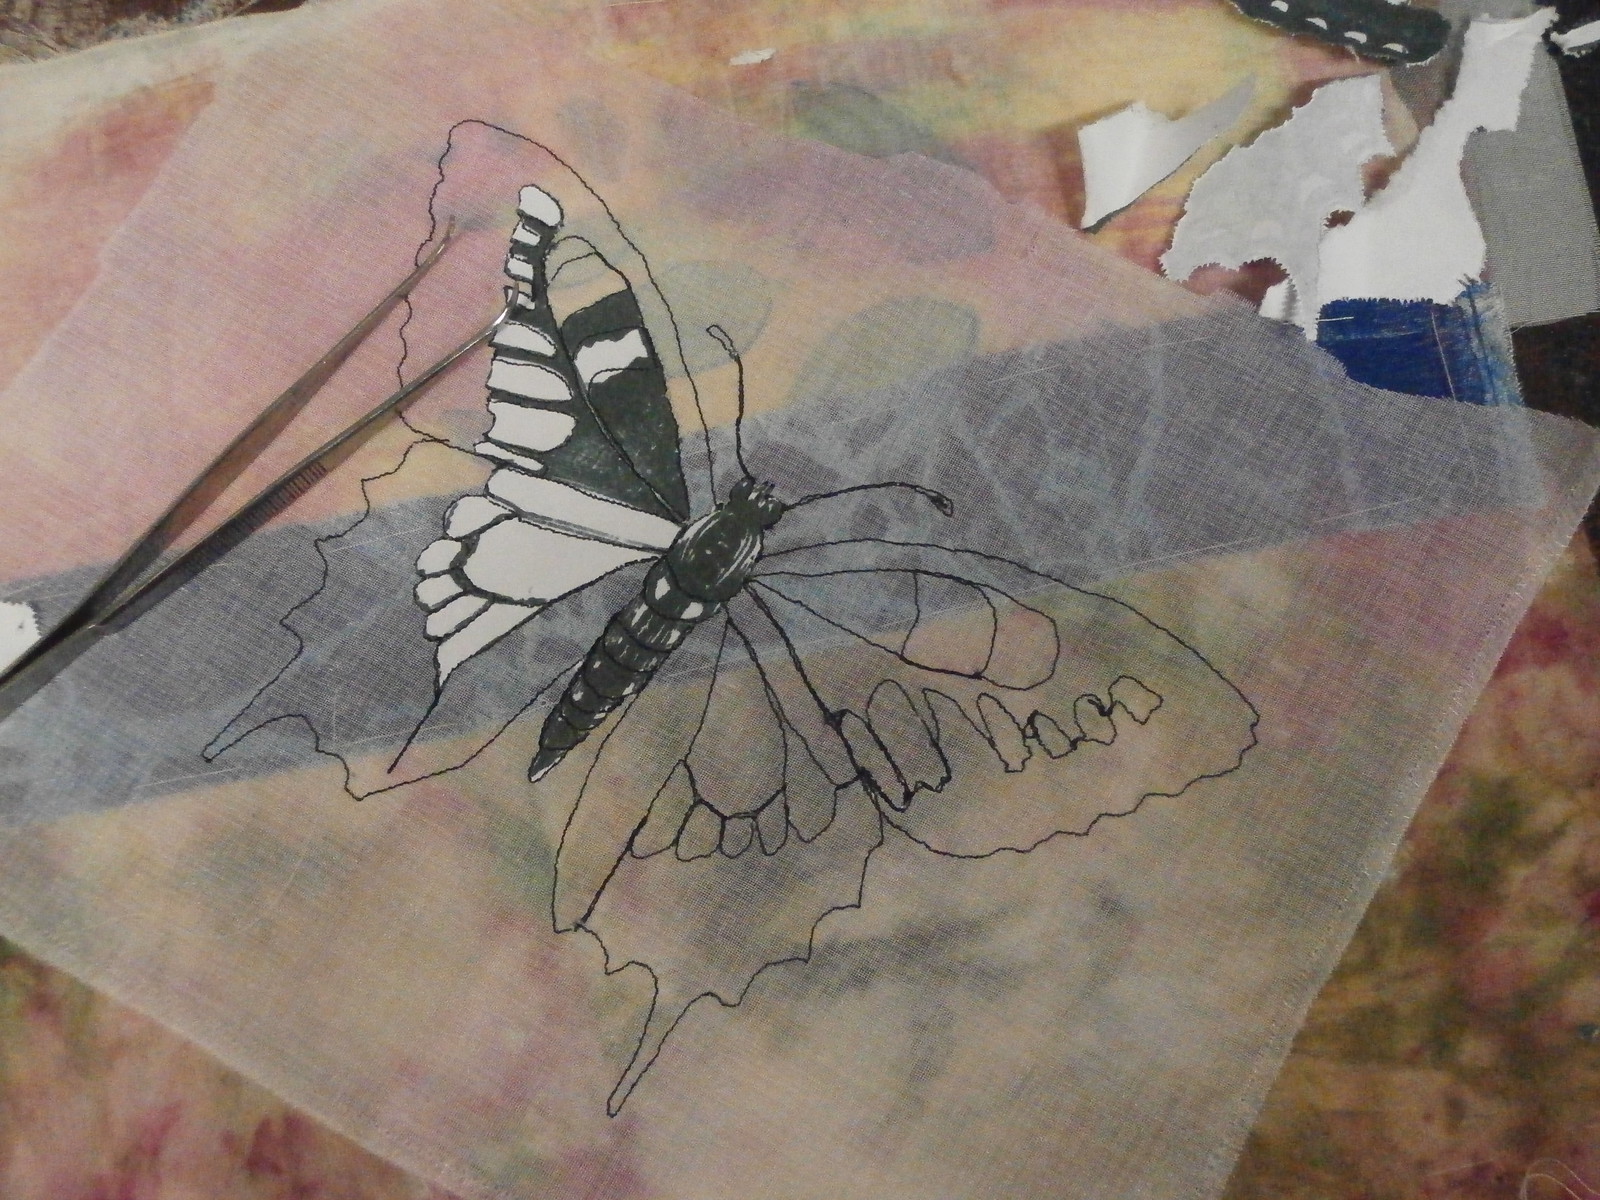
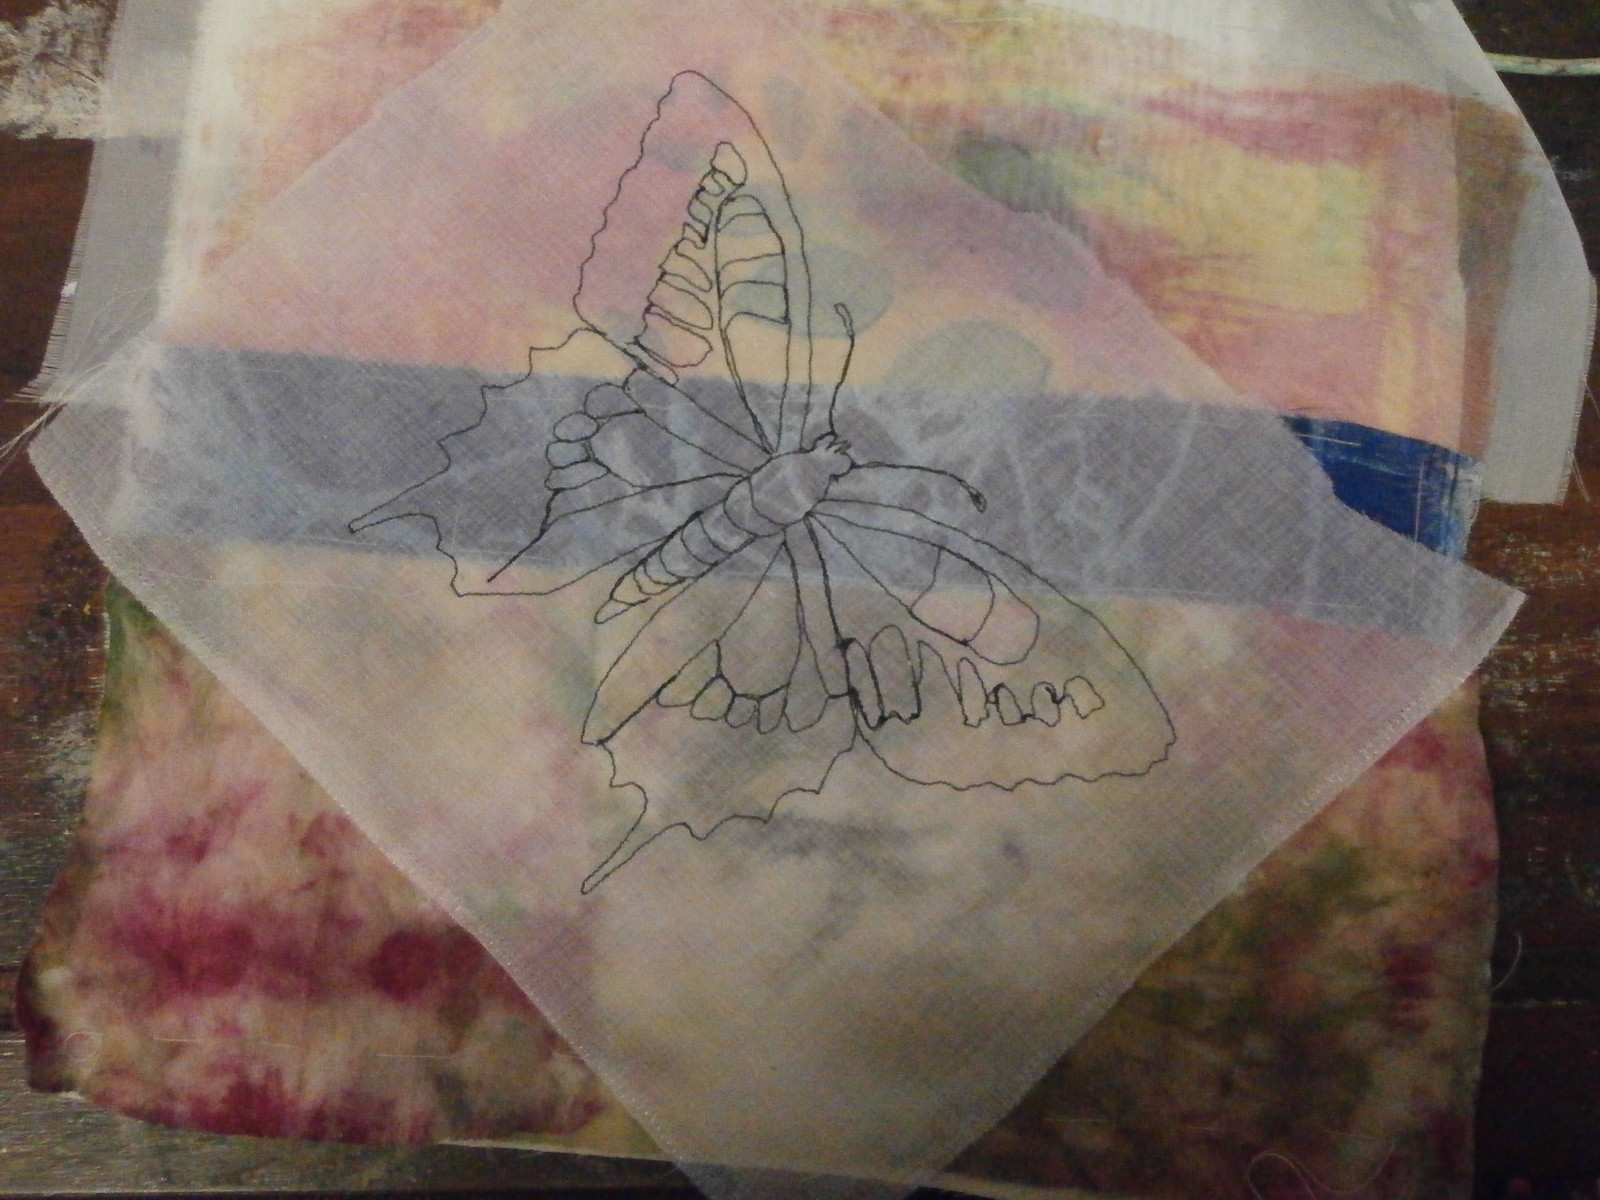
I used a photocopy of a dover picture to start me off and free motioned the outlines through the paper onto one of my collages.
I didn't think to take photos until I was nearly finished picking the paper away. This is a technique that I have shown before, but really, I just sew the main lines of a picture through a paper laid over the fabric, basically tracing with a sewing machine. You can see above there are still bits of the photocopy on the left wing, and when the paper is picked out (which is quite easy so long as you only stitch the main lines) you only have your stitched lines. Some of the picked out paper is at the top right.
Here are just the lines of stitching left. I used a piece of voile over the collage, so the surface of the butterfly would be even for painting.
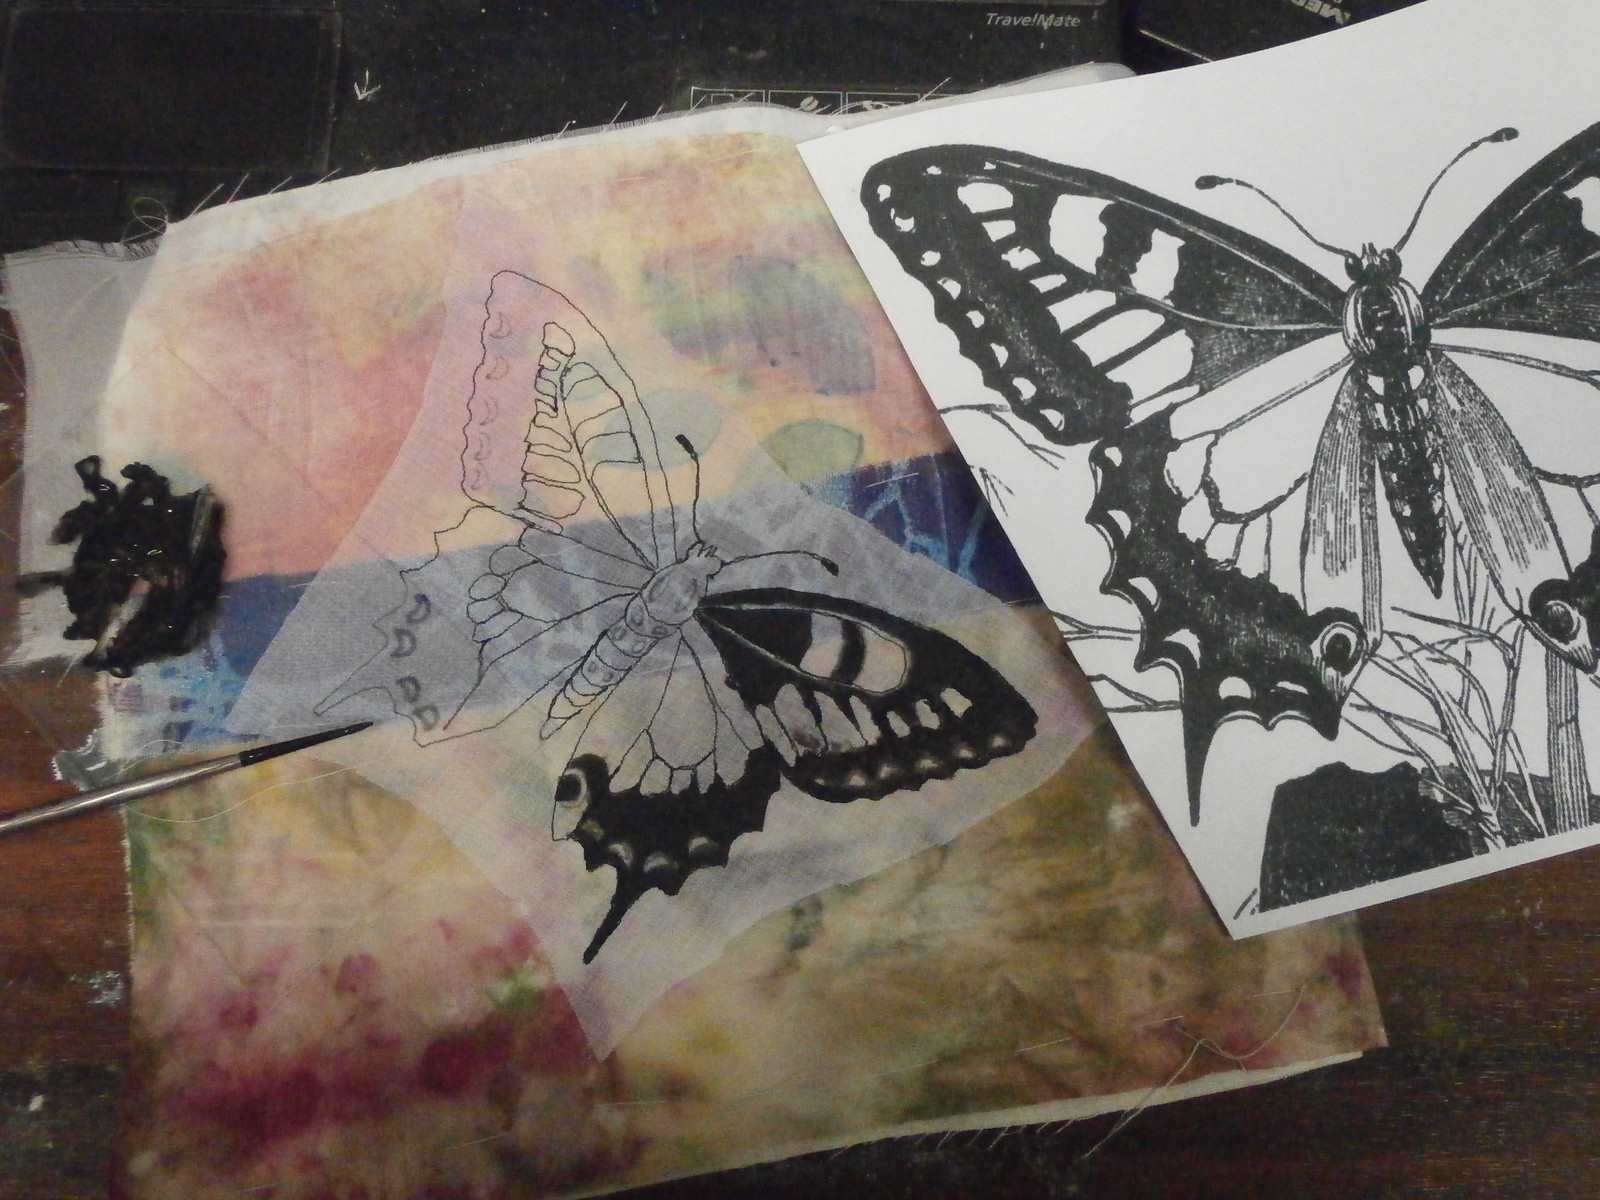
Here, you can see I am painting the black areas with acrylic paint. Don't worry, the paint and brush are sitting on some clear perspex, not on my work!
I have finished all the black here and it is a bit messy, but all my mistakes will soon be covered up.
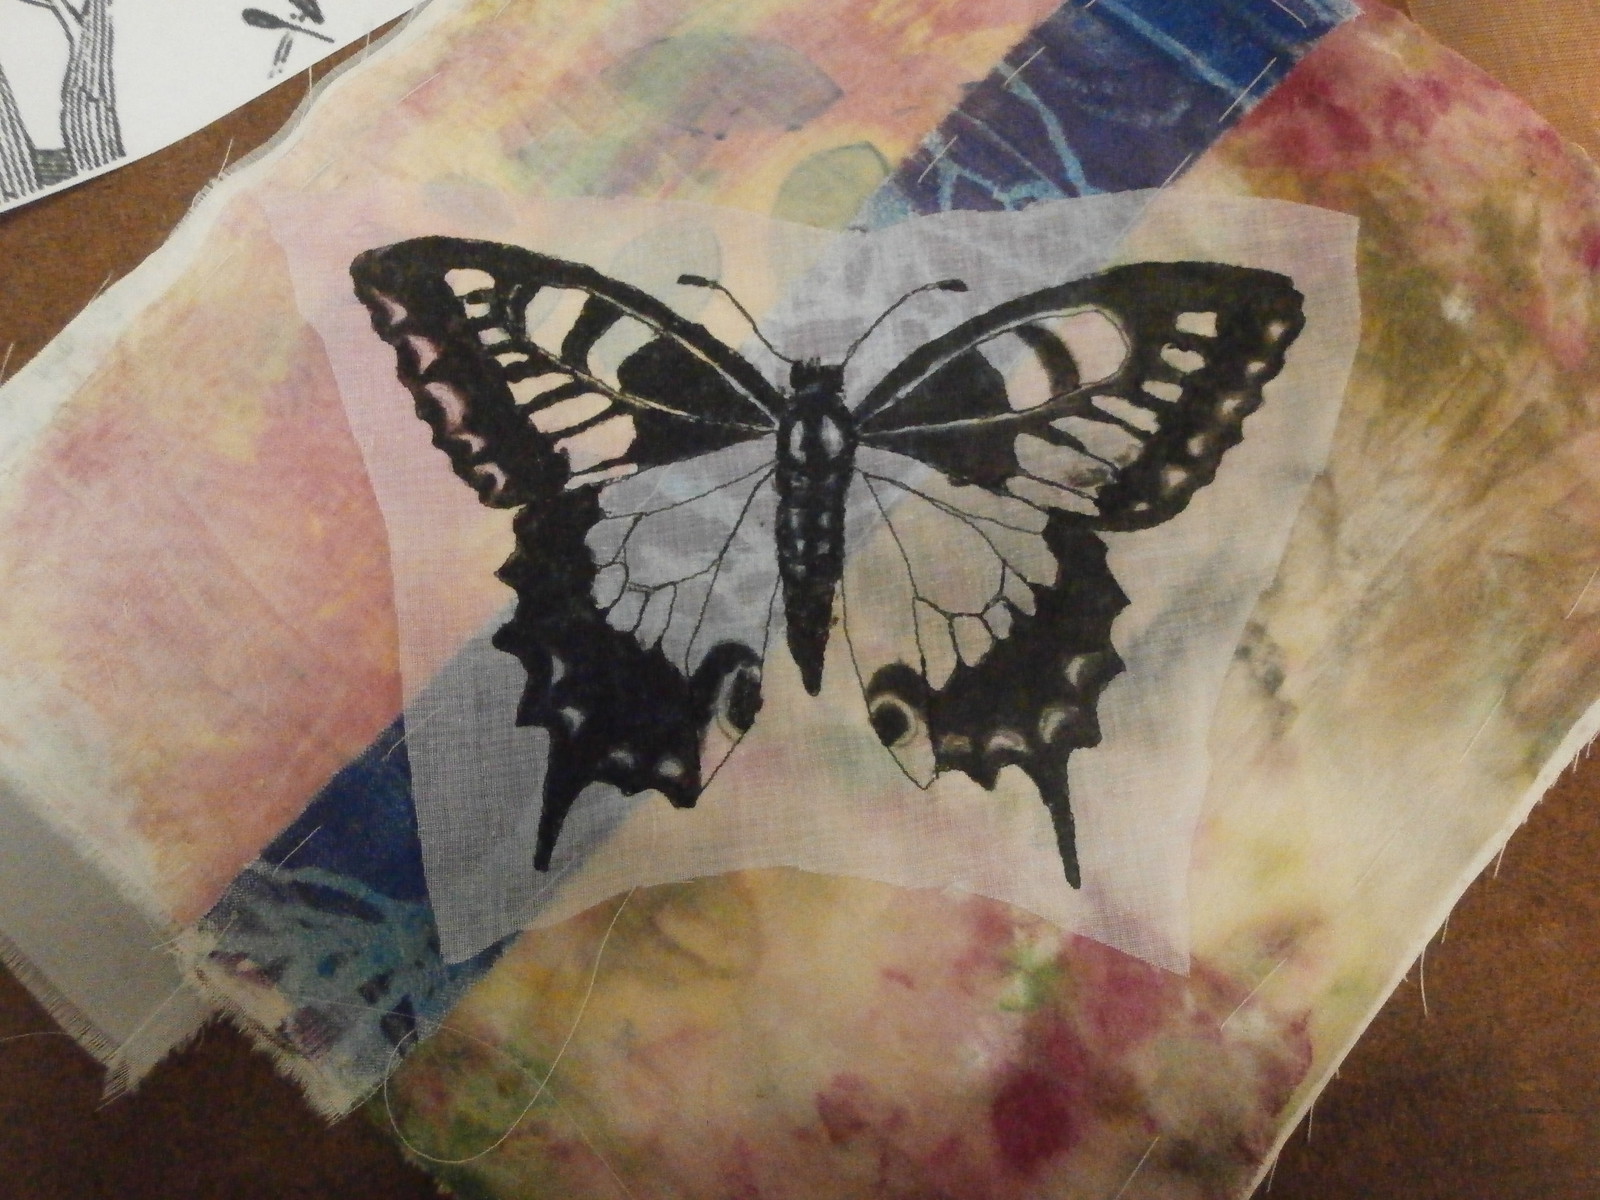
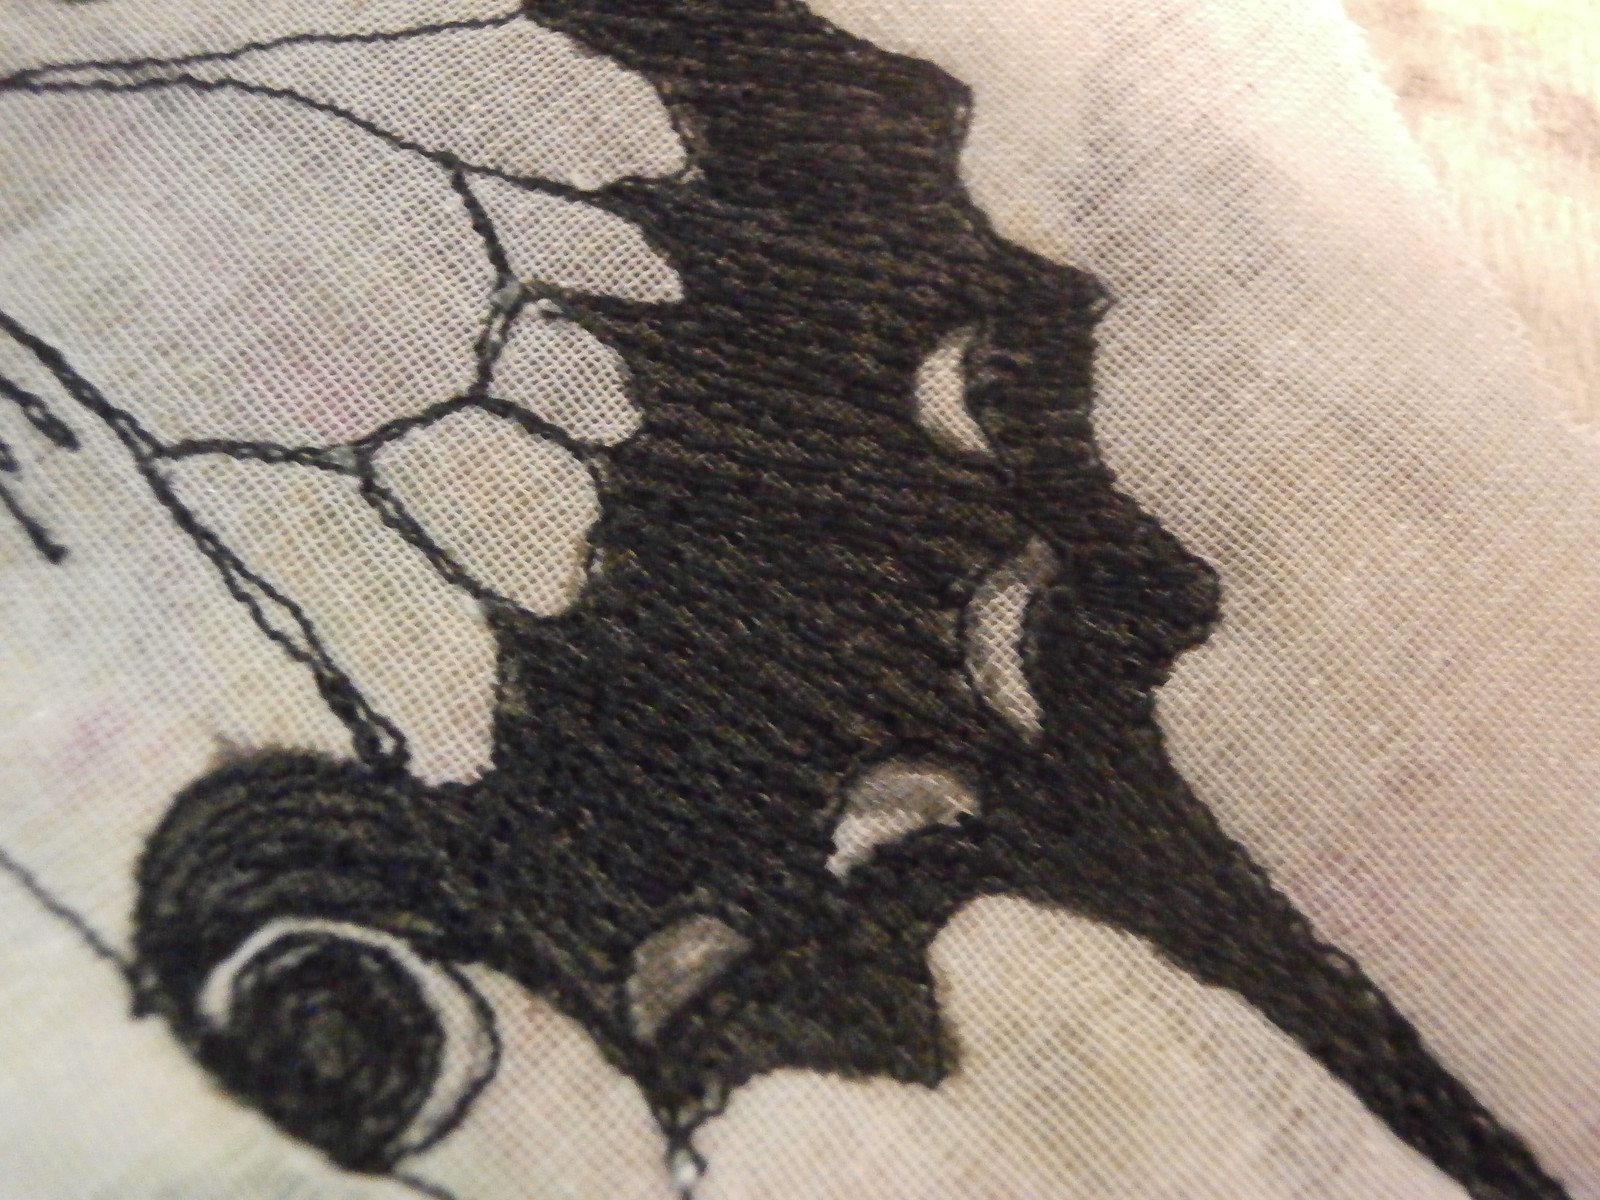
Here, I have taken it back to the sewing machine and covered the black with stitching.
I painted it black, so I didn't have to do so much stitching to cover it.
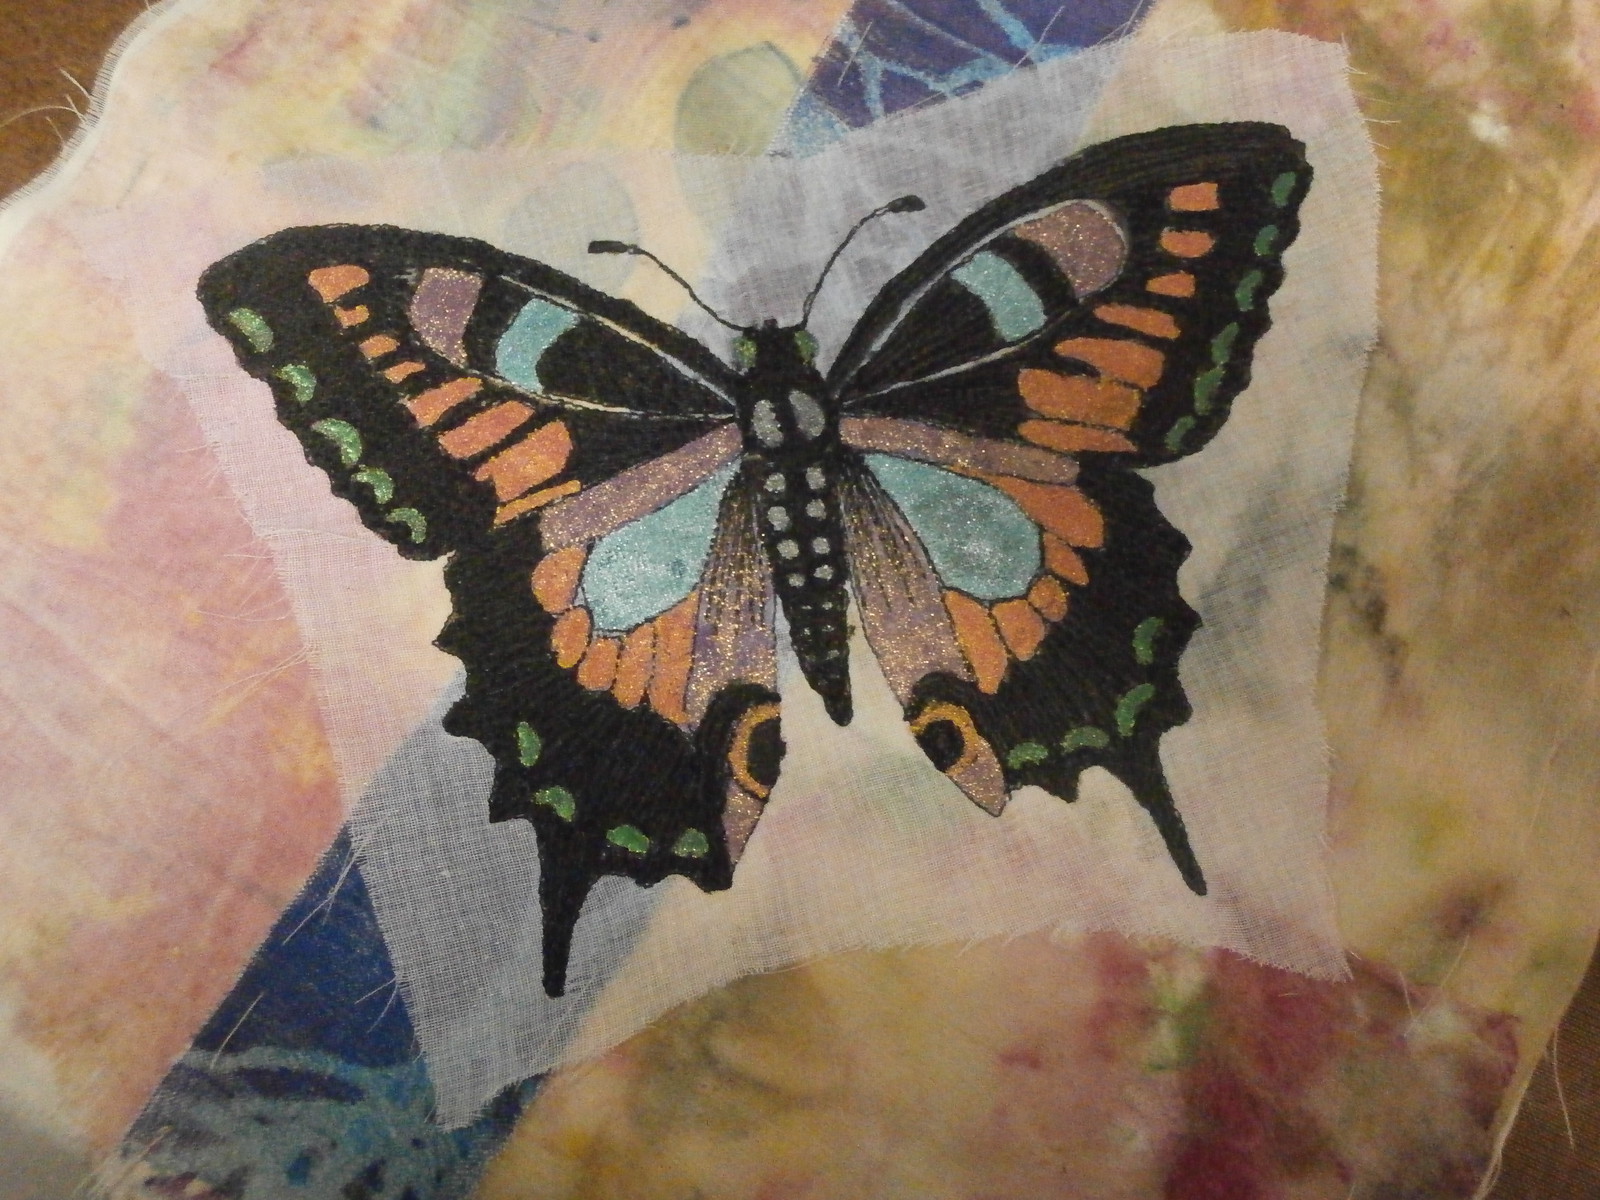
then I went and painted all the white patches (Which are actually white in real life) with some metallic paints.
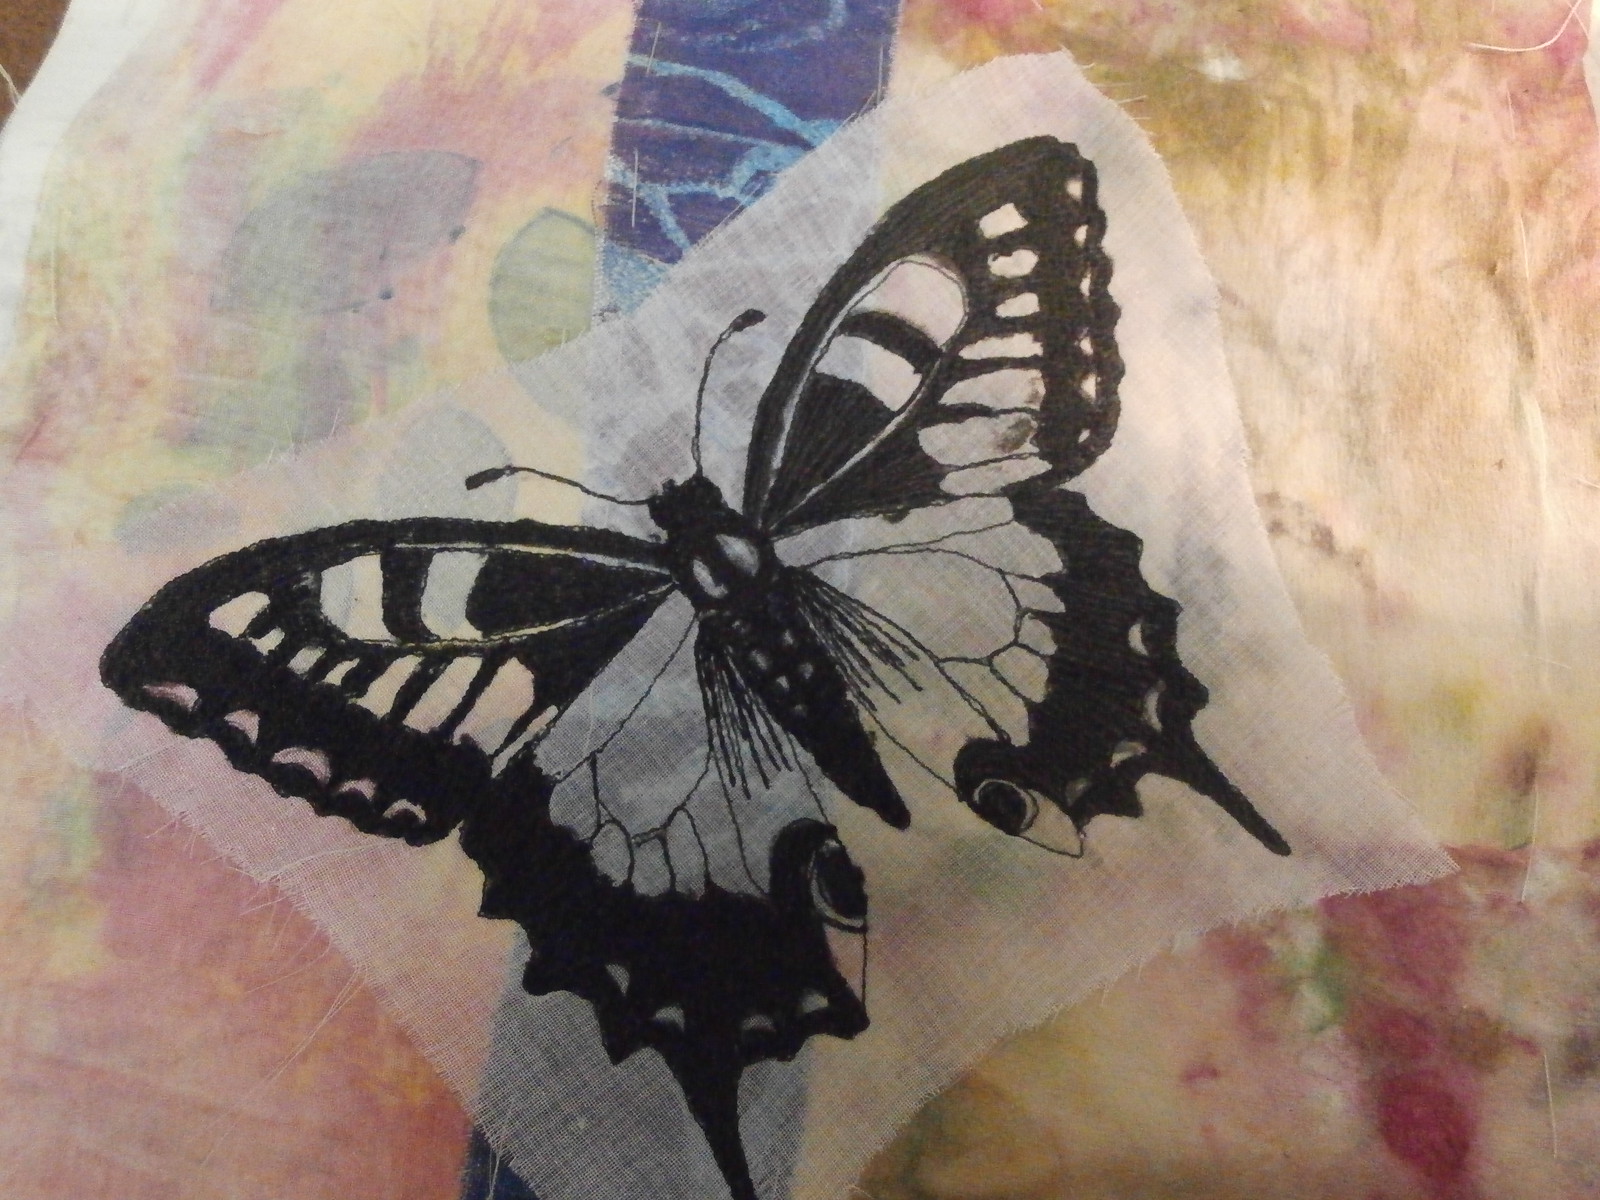
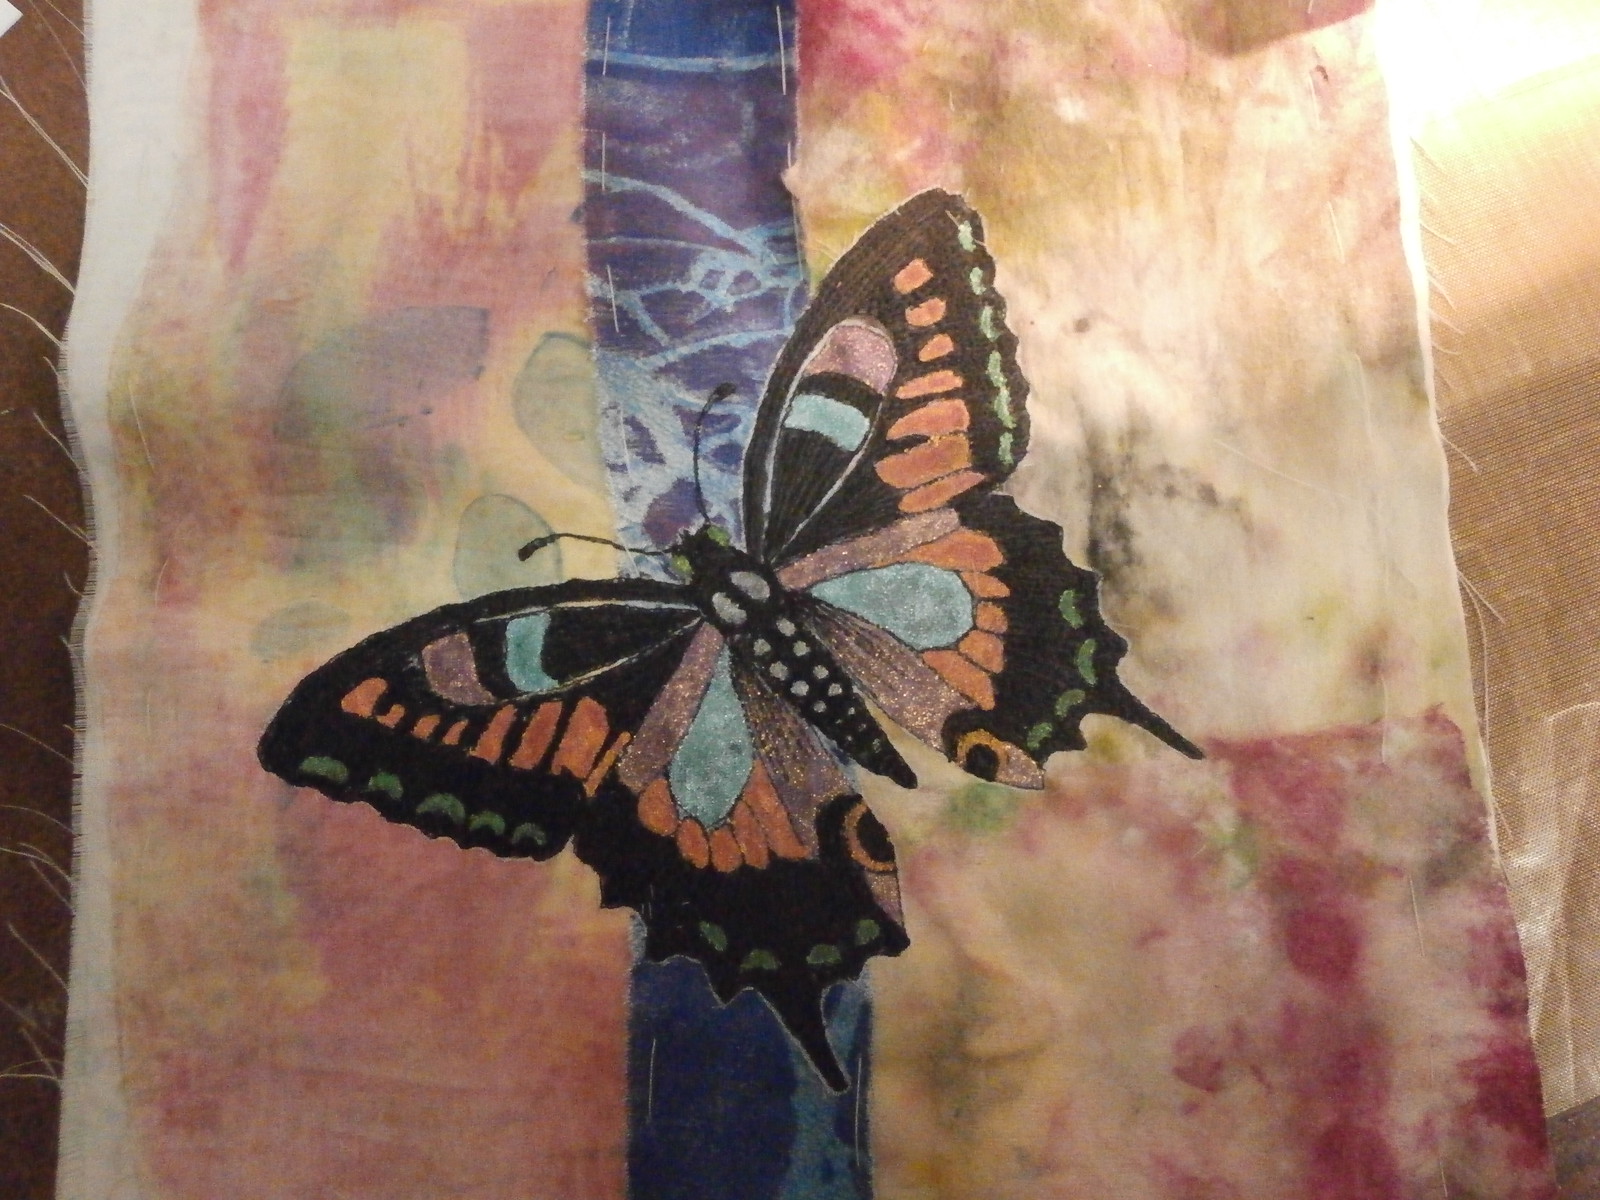
Finally, I cut away the voile and I also went and added a bit more stitch, too, but I don't seem to have a picture and since it took me over an hour to upload these because the internet is playing up (as it always does when it rains), you will have to wait until I finish the hand stitching on the background for that.
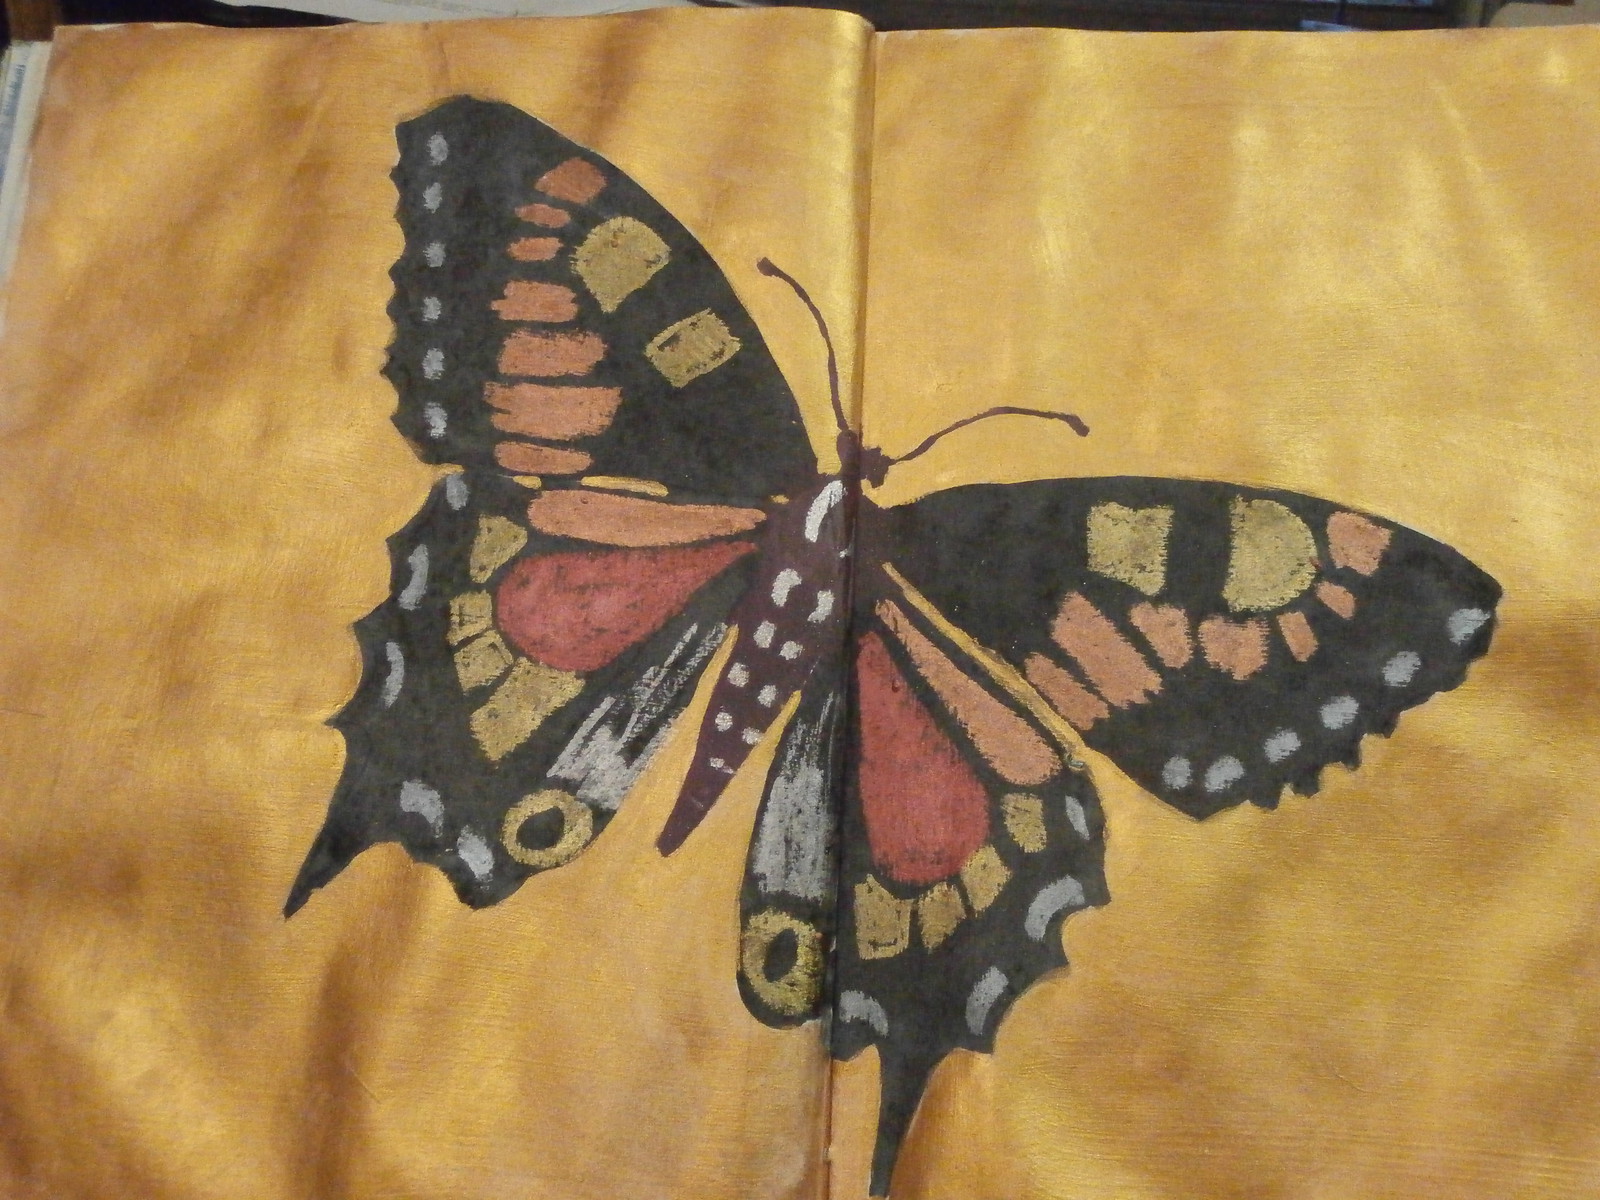
Serendipity also, that today's design matters TV video (need to subscribe to watch, but really worth it) was also on butterflies, so I also did one of these in my sketchbook!
Hope you enjoyed the butterflies!
Happy Creating!
I used a photocopy of a dover picture to start me off and free motioned the outlines through the paper onto one of my collages.
Here are just the lines of stitching left. I used a piece of voile over the collage, so the surface of the butterfly would be even for painting.
I have finished all the black here and it is a bit messy, but all my mistakes will soon be covered up.
Here, I have taken it back to the sewing machine and covered the black with stitching.
I painted it black, so I didn't have to do so much stitching to cover it.
then I went and painted all the white patches (Which are actually white in real life) with some metallic paints.
Finally, I cut away the voile and I also went and added a bit more stitch, too, but I don't seem to have a picture and since it took me over an hour to upload these because the internet is playing up (as it always does when it rains), you will have to wait until I finish the hand stitching on the background for that.
Serendipity also, that today's design matters TV video (need to subscribe to watch, but really worth it) was also on butterflies, so I also did one of these in my sketchbook!
Hope you enjoyed the butterflies!
Happy Creating!
Thursday, May 22, 2014
Some doodling
I found it very hard to get started this morning and one of the things I have done to solve this problem, is that earlier in the year, I made a number of fabric collages (about a hundred), so when I have no idea what to do, I can just grab one and play with it.
This morning I chose a monoprint on some curtain voile, which has been sitting in my pile for a while.
The monoprint was very simple, just green, with leaves drawn with a palette knife. (And as per usual for me I had forgotten to photograph it before I started)
The first thing I did was use some green thread to scribble the zig zags inside the leaves. Then I got some orange and drew loops in the background. I felt that the zig zags did not show up well, so I painted them with a turquoise metallic lumiere paint.
It is a bit quirky, but I will make it up into something, a wallet or a couple of credit card cases, perhaps. It is about 8 inches square. Any ideas?
Happy Creating!
Wednesday, February 5, 2014
fifty collages
I now have over fifty collages from my collage a day challenge and now, my intention is to slow down and make a few a week, but to also begin working on the foundations I have so far created. I want to add lots f embellishment!
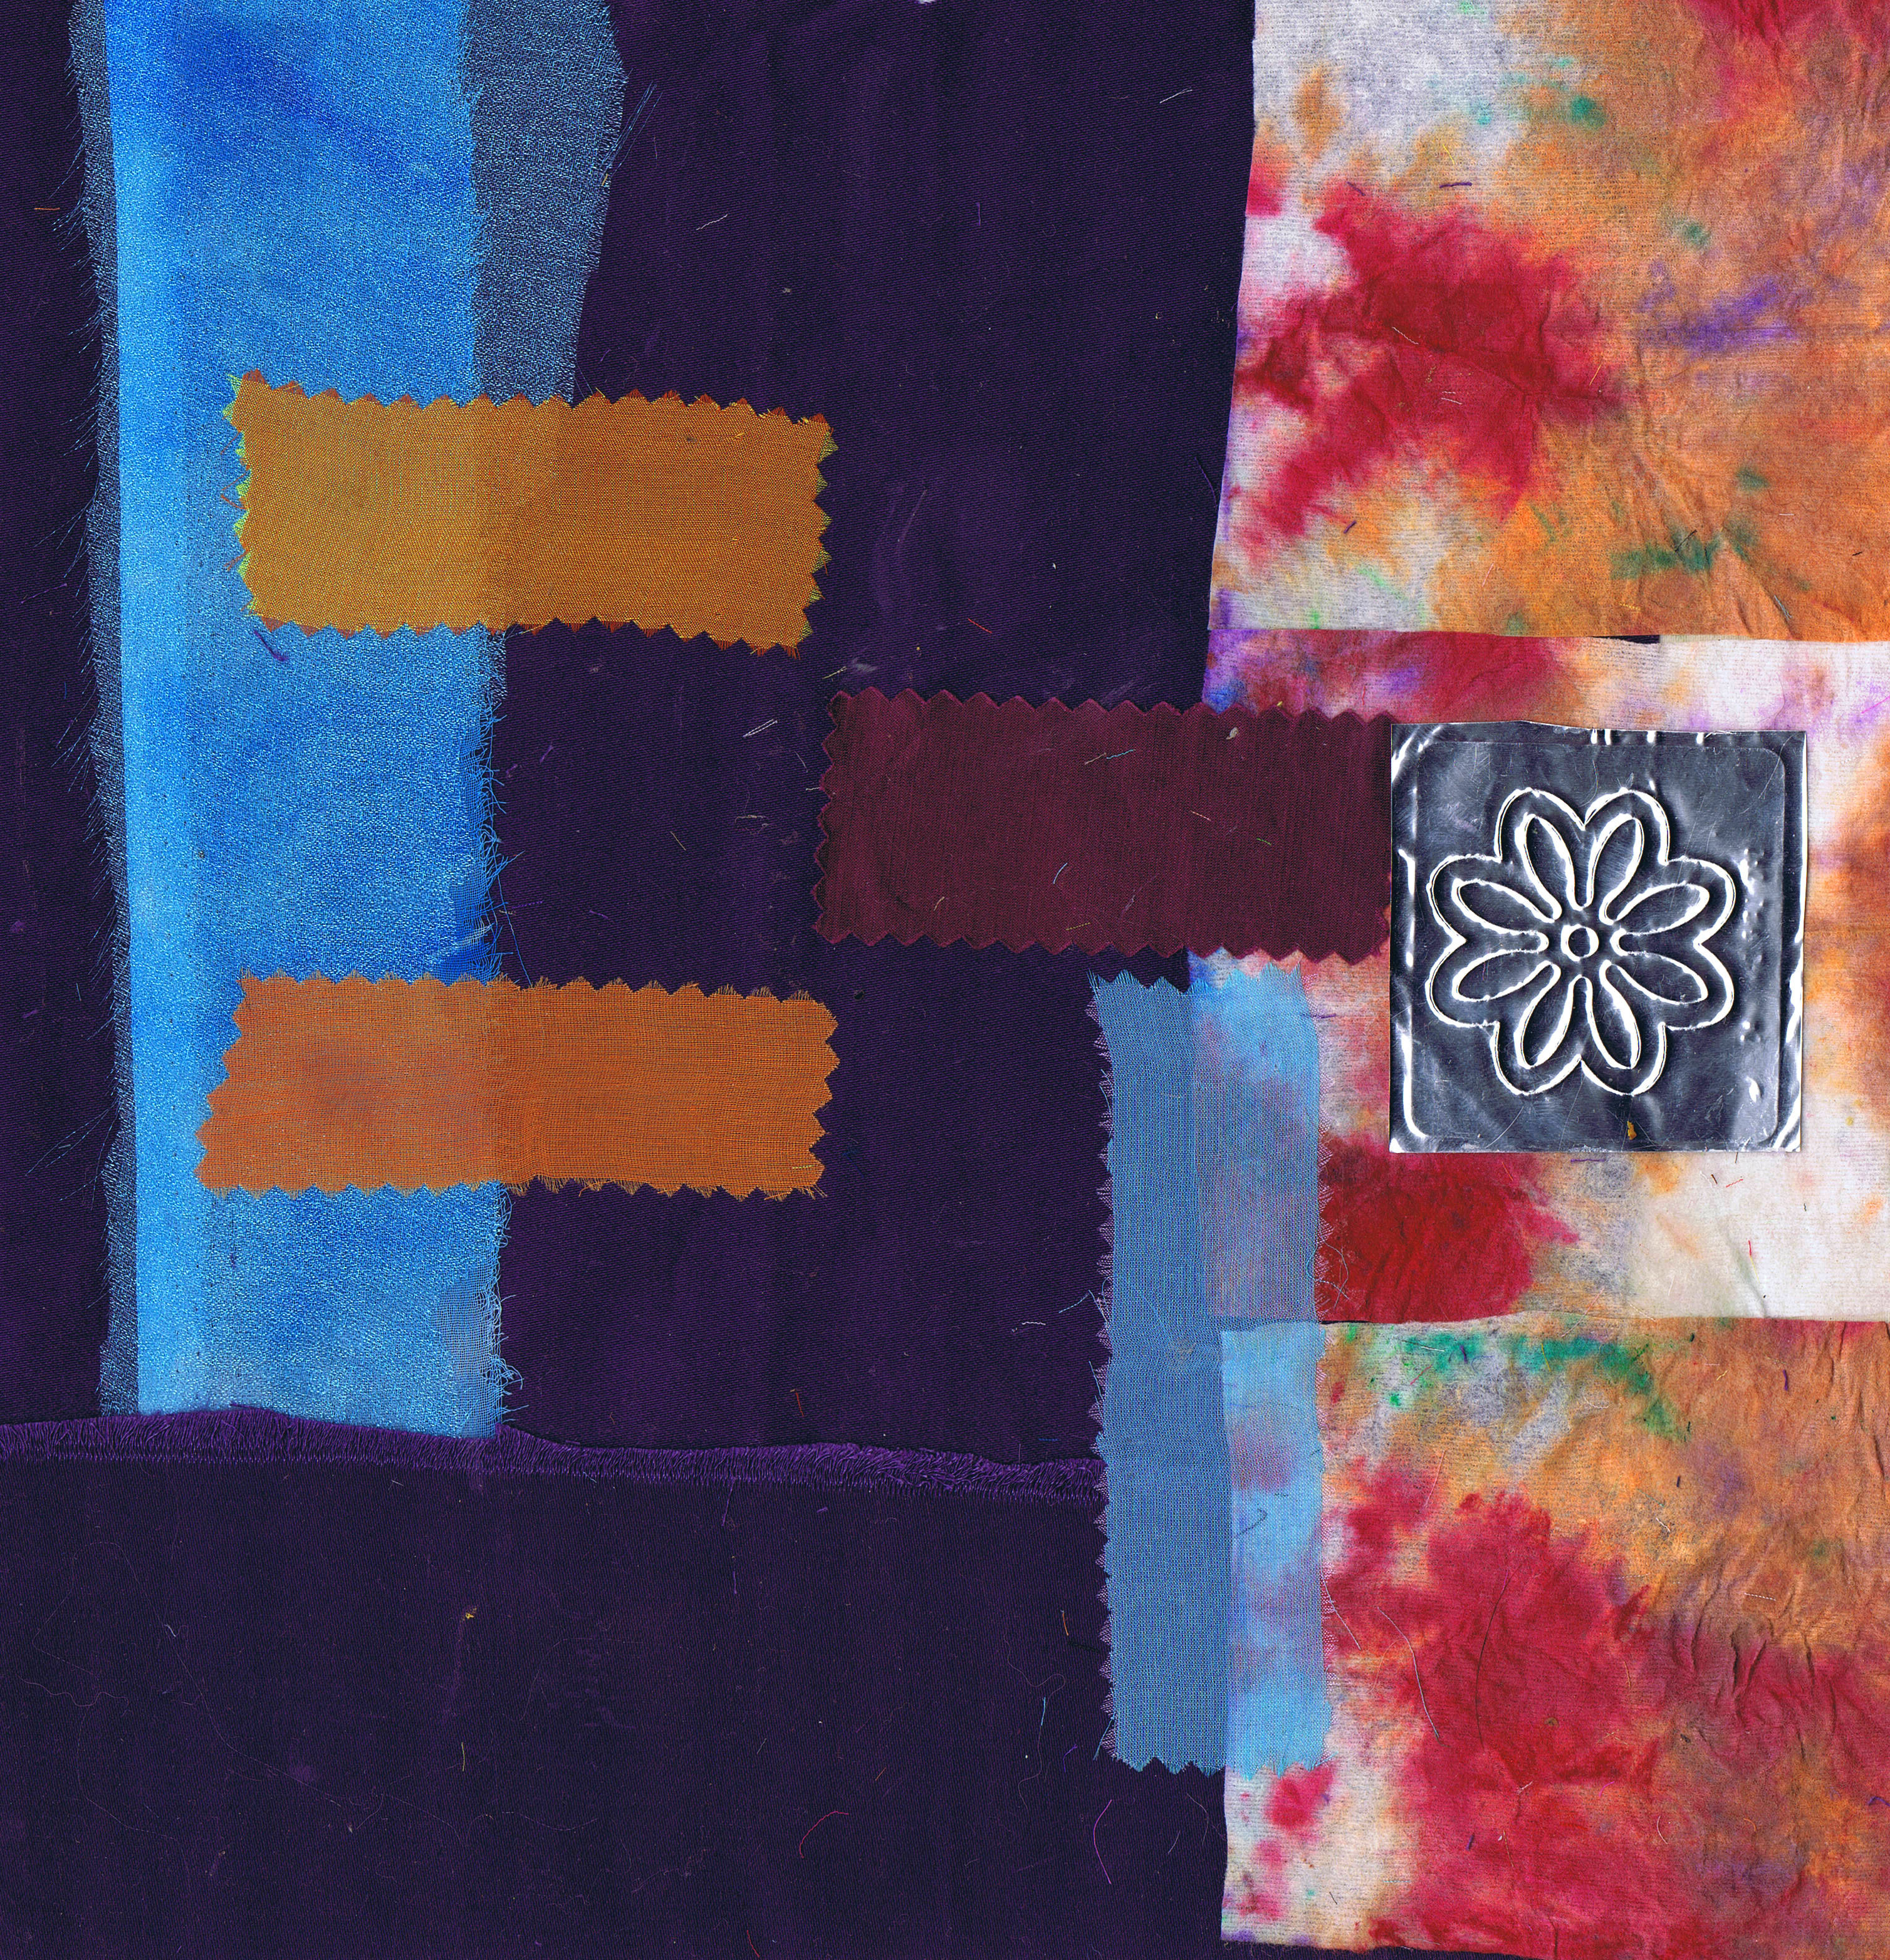
Above, you can see I have started on one of the collages. I added some free motion stitching on painted cheesecloth and have started some hand embroidery.
Here is the original, simple collage
And here is where I am with this. you can see the free machined cheesecloth (or scrim) is transparent. I will probably be adding a lot of stitch to this one. I have started some french knots in the flower centres and some lazy daisies and also some seed stitch. I have more of the embossed metal and thought I might like to do some rubbings with them and I have to find my orange hand dyed perle thread. the thread I have used here is variegated and has too much white. It is, in fact a vintage ball that I got from the opp shop.
Happy Creating!
Saturday, January 25, 2014
A bit of everything
I have been quite busy with a few projects.
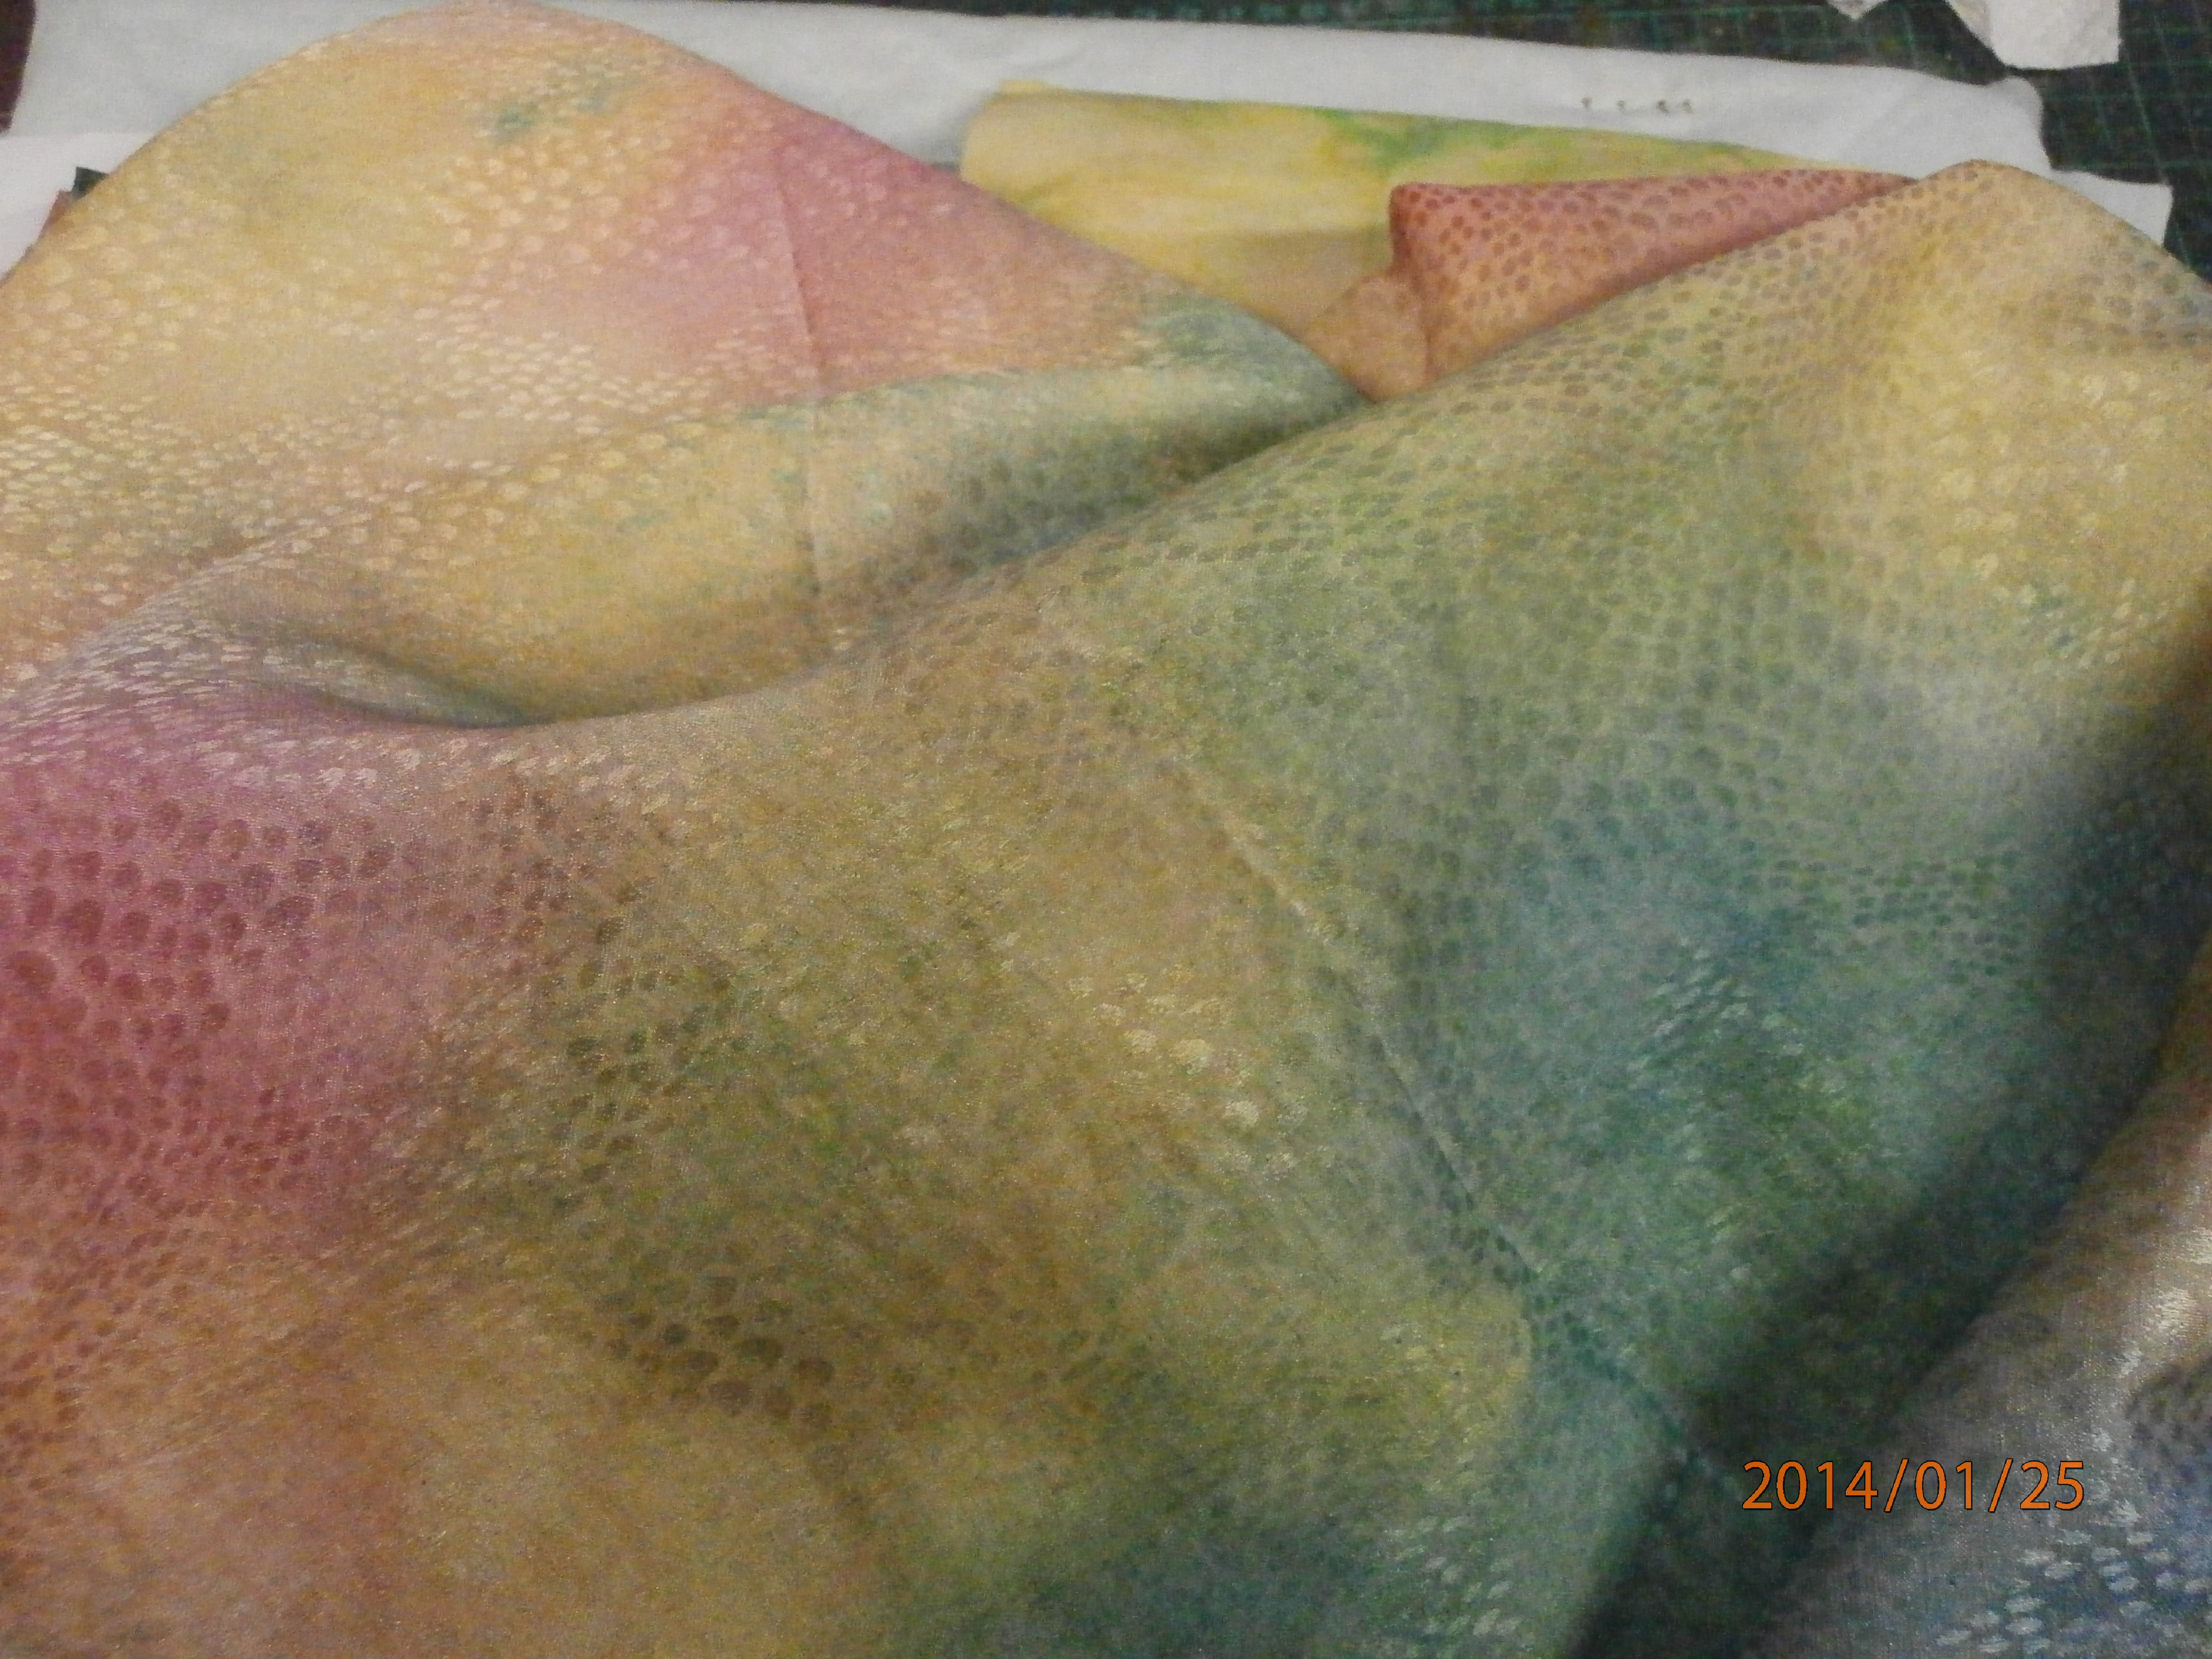
I have painted a large piece of textured satin for an art quilt I have been thinking about for a while.
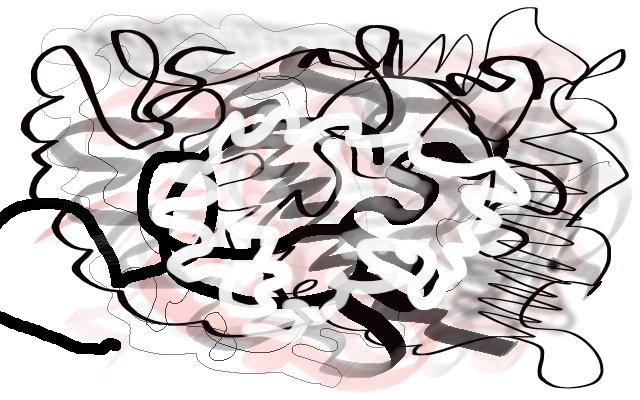
I have spent a lot of time plying with my new graphics tablet, but I can't say I have created any masterpieces, yet. I am still learning to use a pen instead of a mouse!
I have been doing some thermofax printing on fabric, which I will show more of in another post.
And I have been playing with more fabric folding, which I will also show more of in another post.
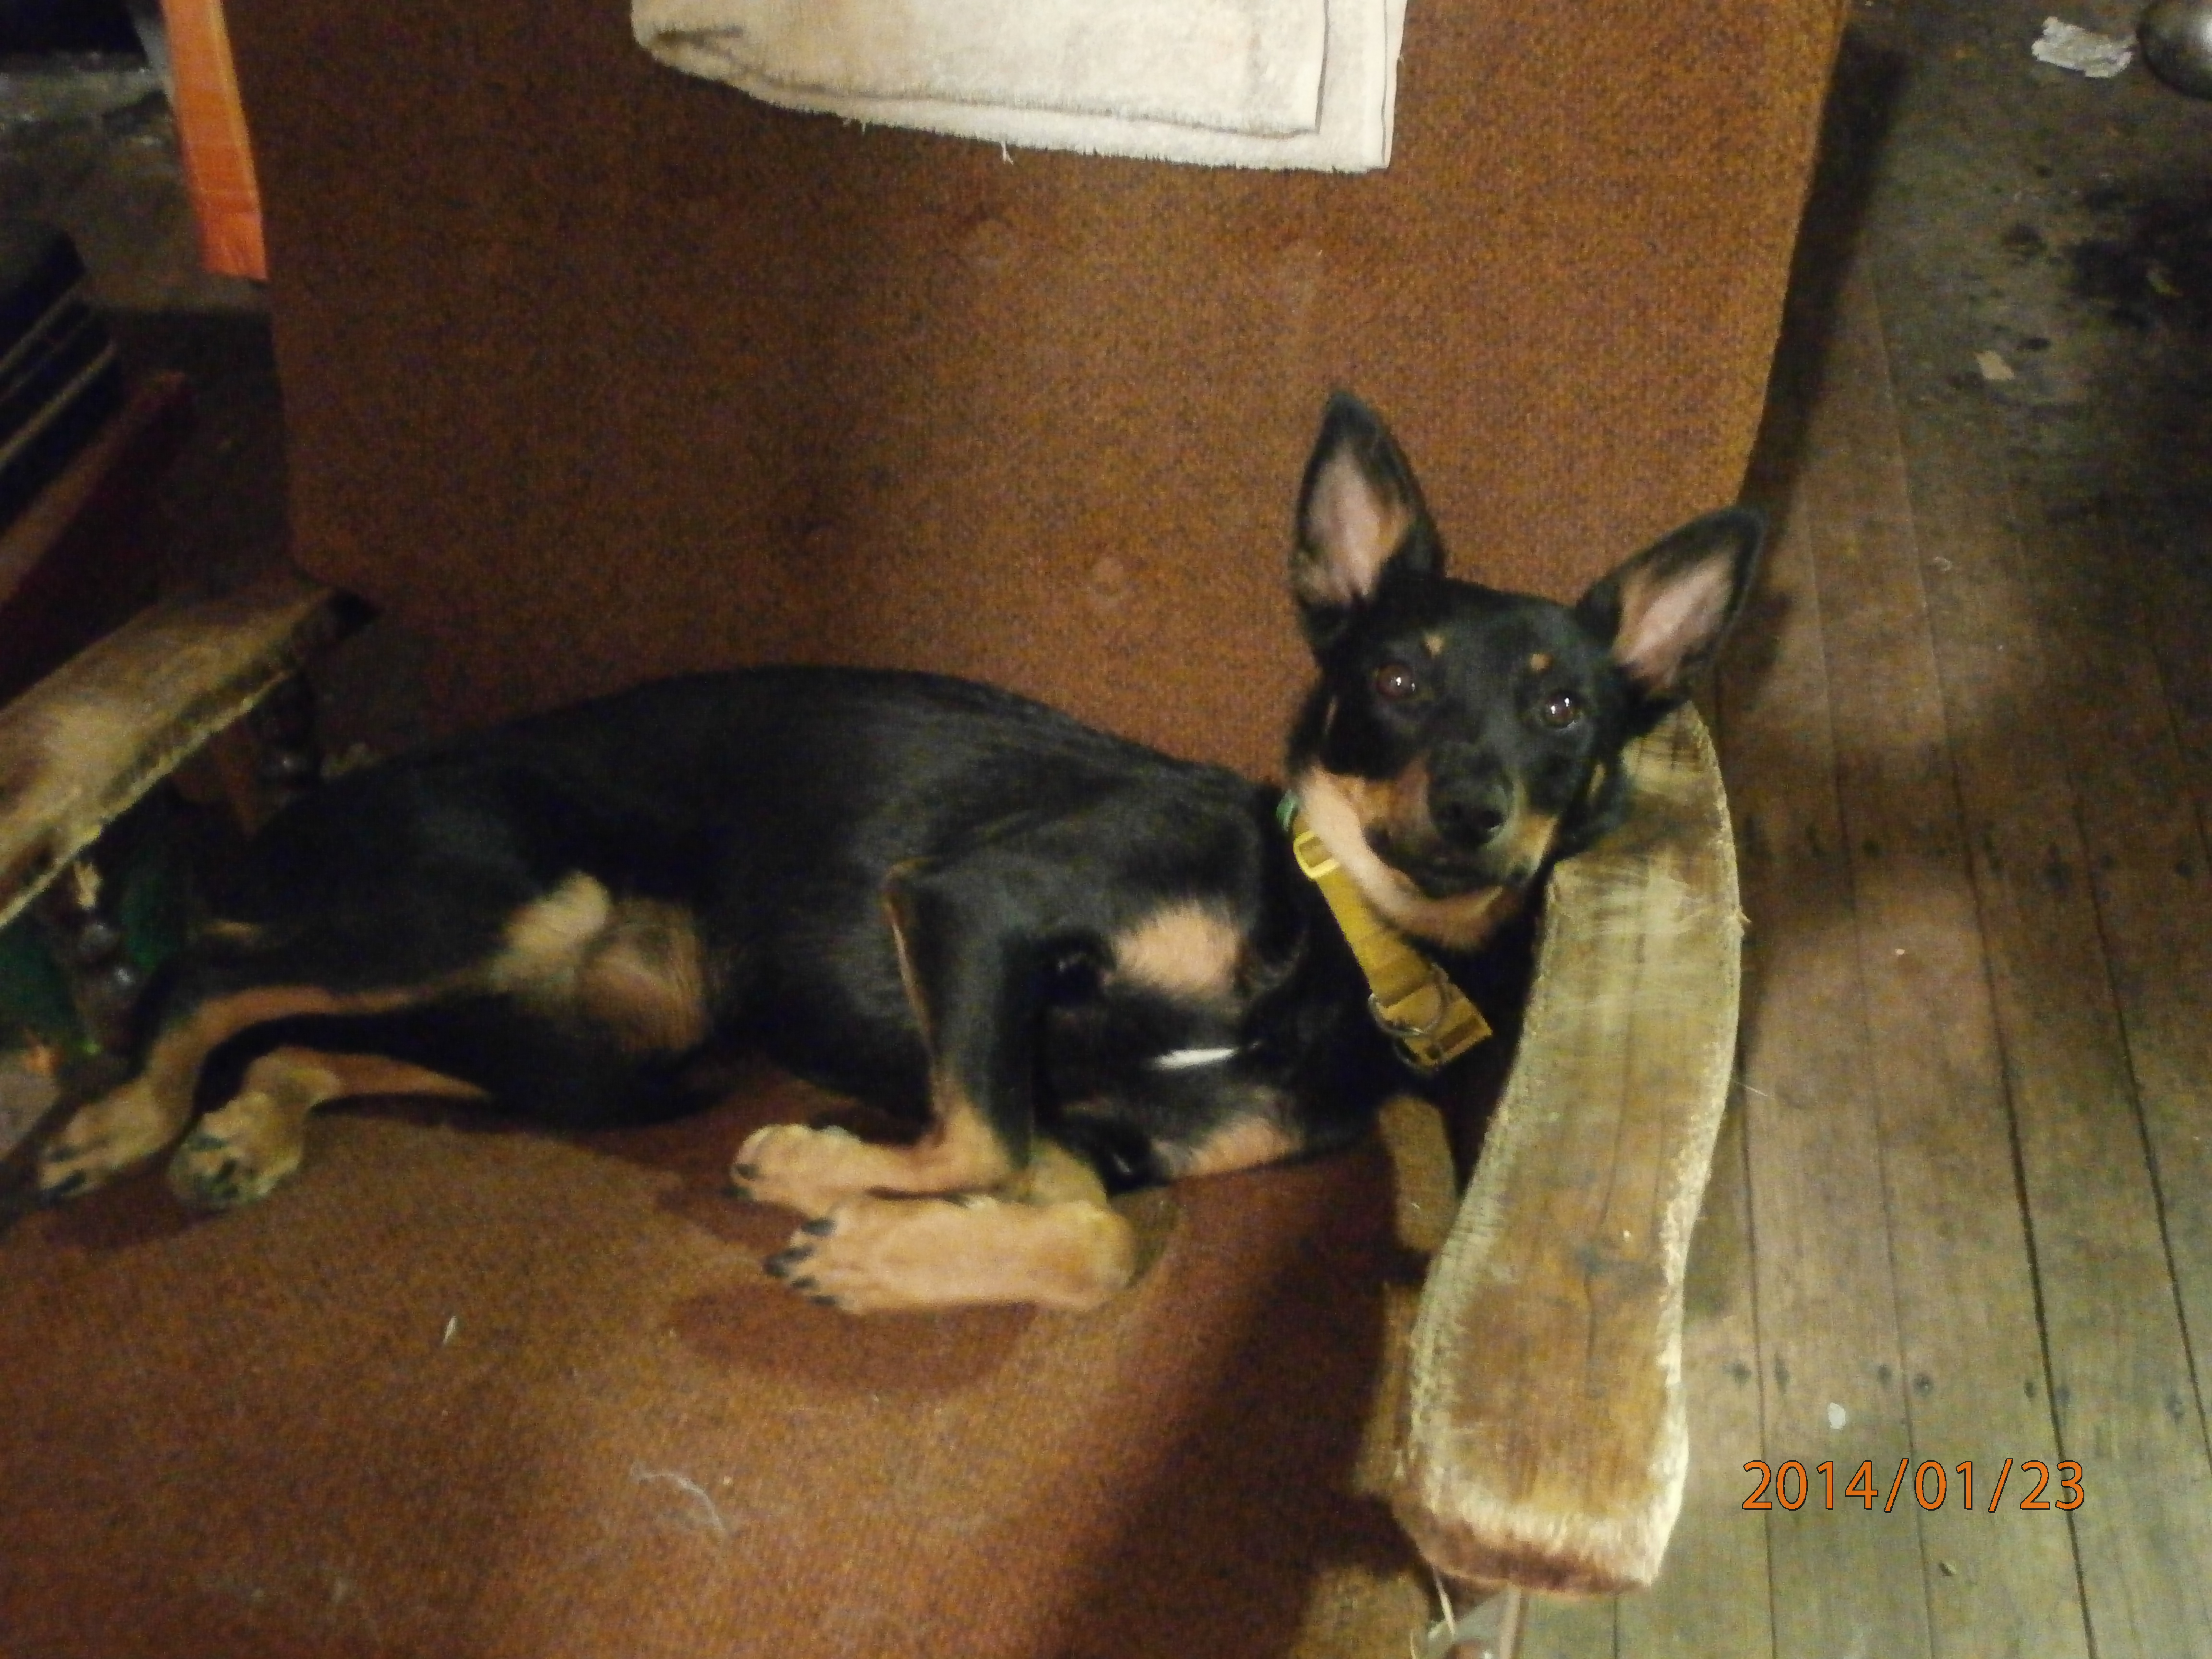
An of course I have been at the beck and call of little ruby, who is the king of the castle!
OOps, I mean Queen, don't I?
Of course, I have also been continuing my collage a day project. I am almost up to 50 collages and the collection is really growing. You can click on the link on the title bar to see a slide show.
Happy creating!
Saturday, January 11, 2014
Printing on synthetics
I was given some Idye poly dyes, which are for dyeing synthetics and have been wanting to try a new technique with them.
Transfer printing involves painting papers with a strong dye solution, allowing them to dry, then printing by ironing off the dye onto polyester fabric. You can cut shapes and print shapes onto the fabric as well.
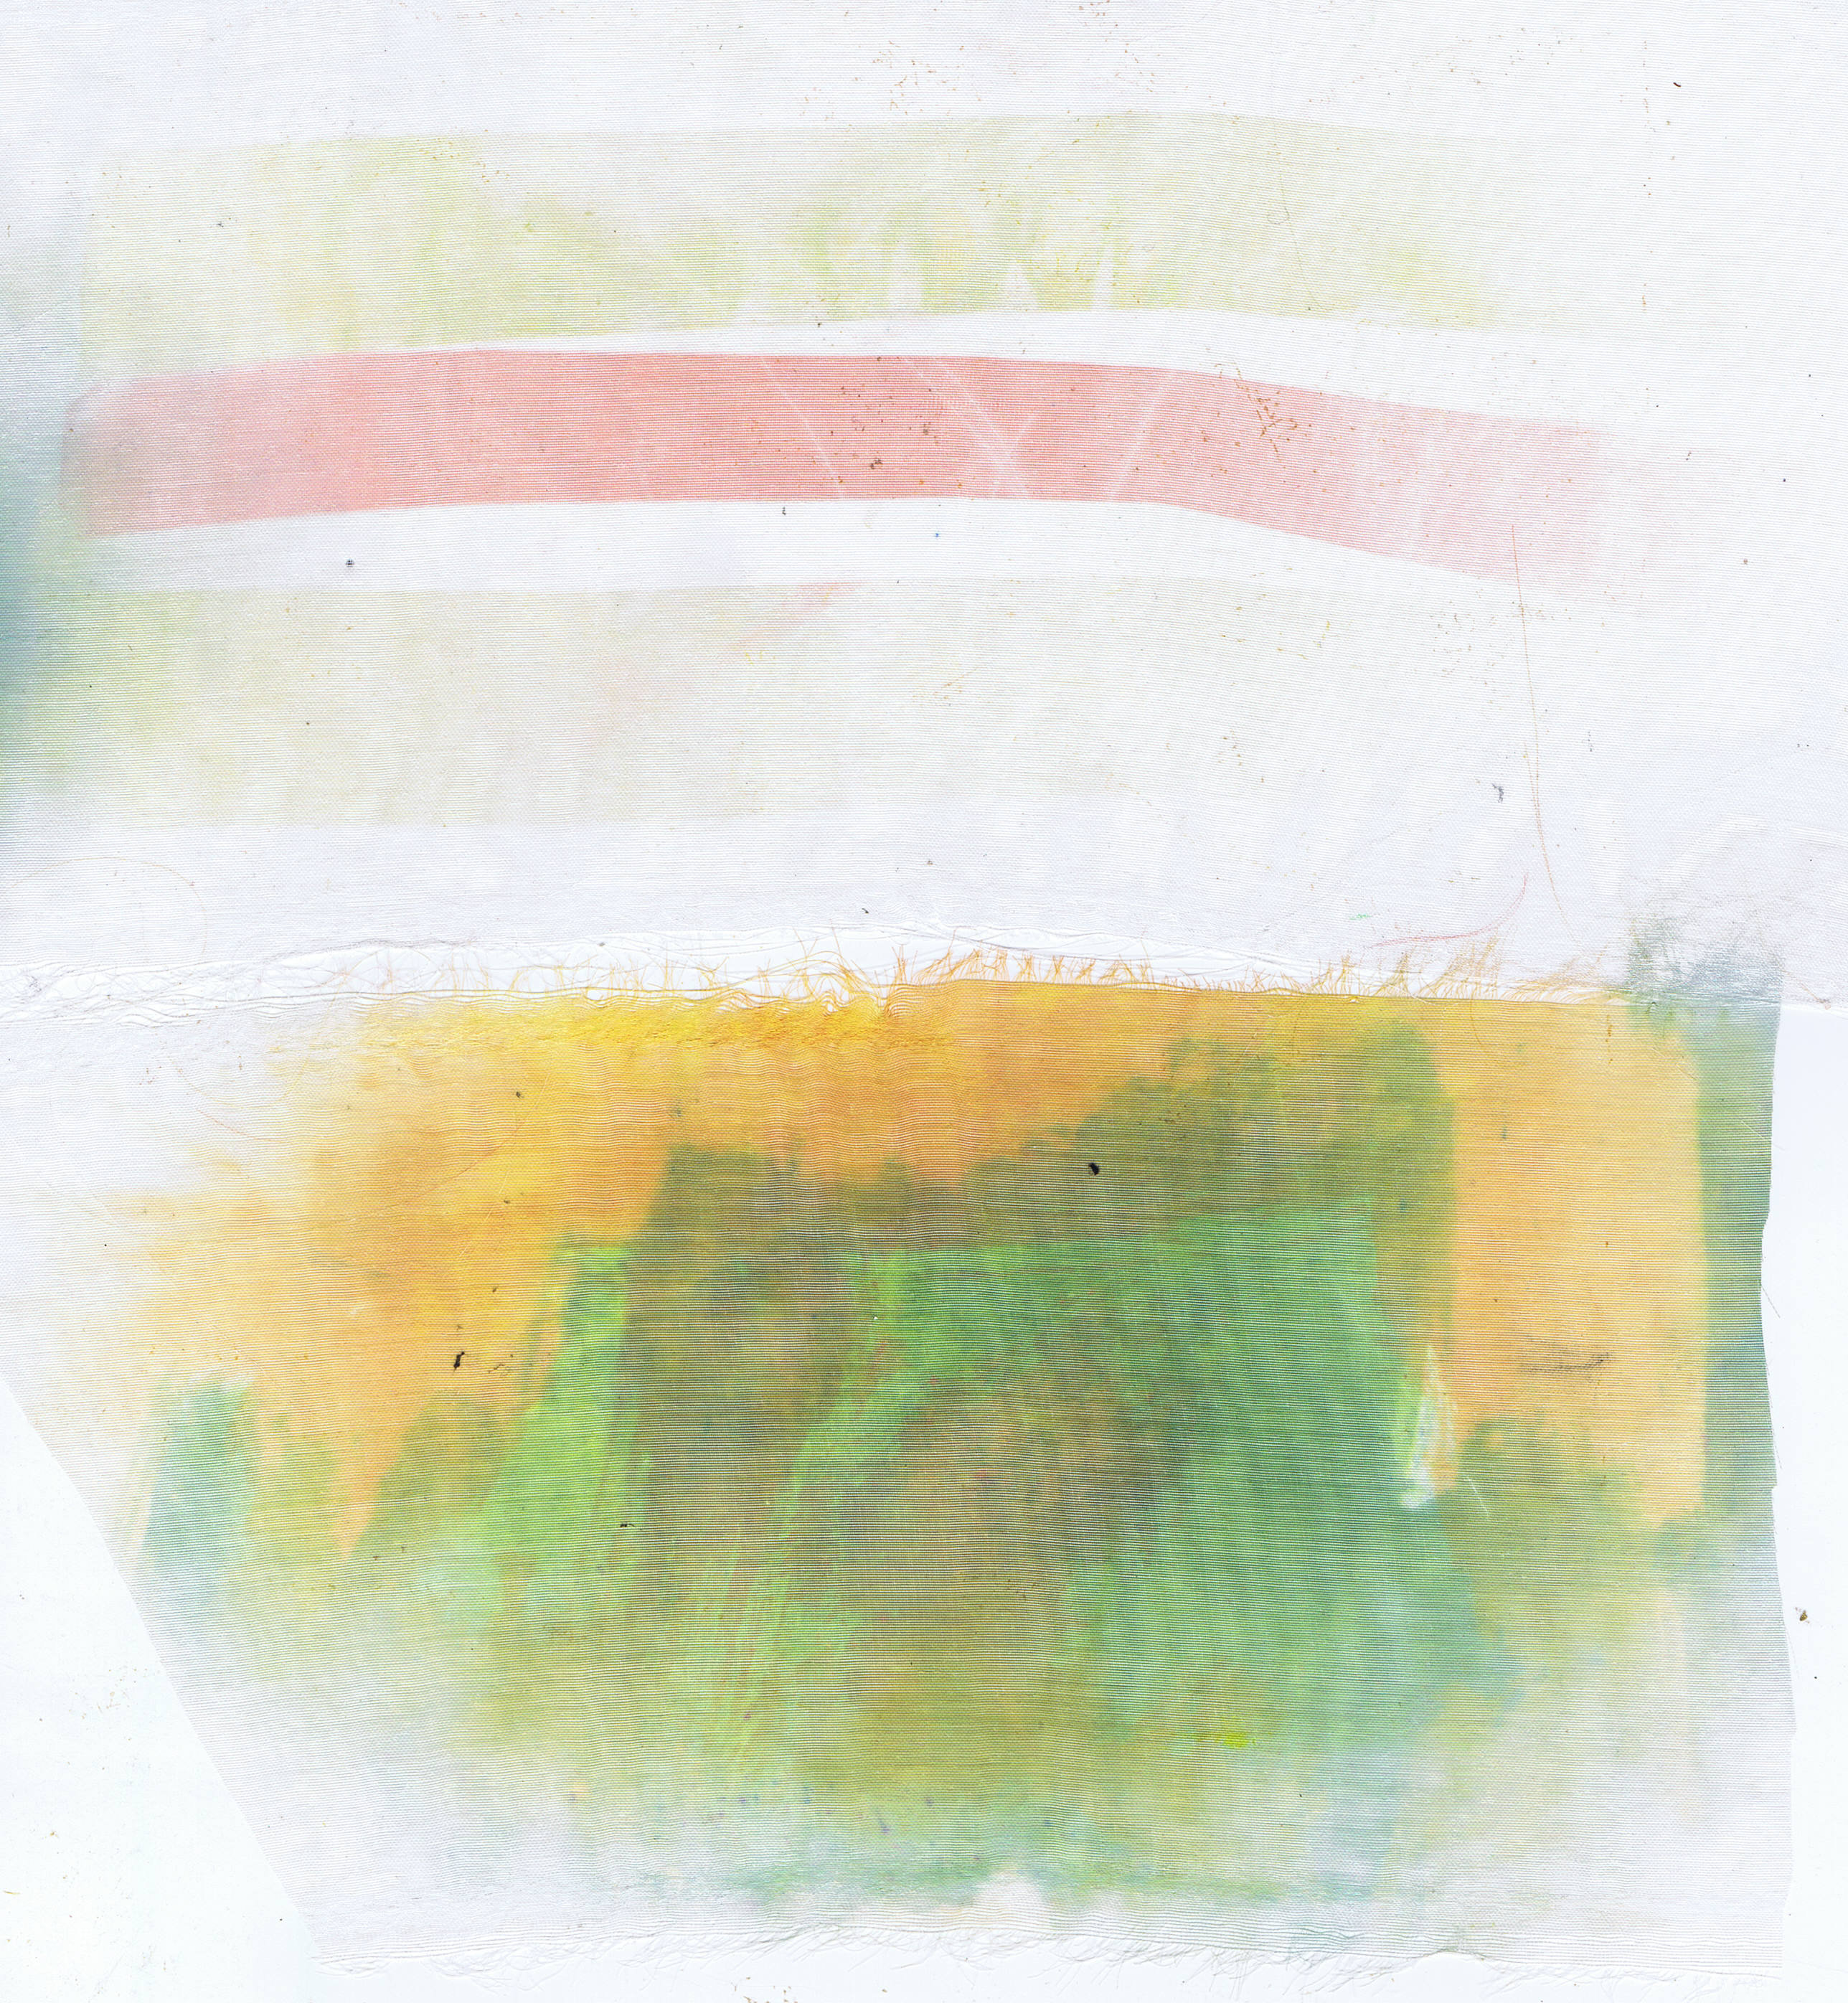
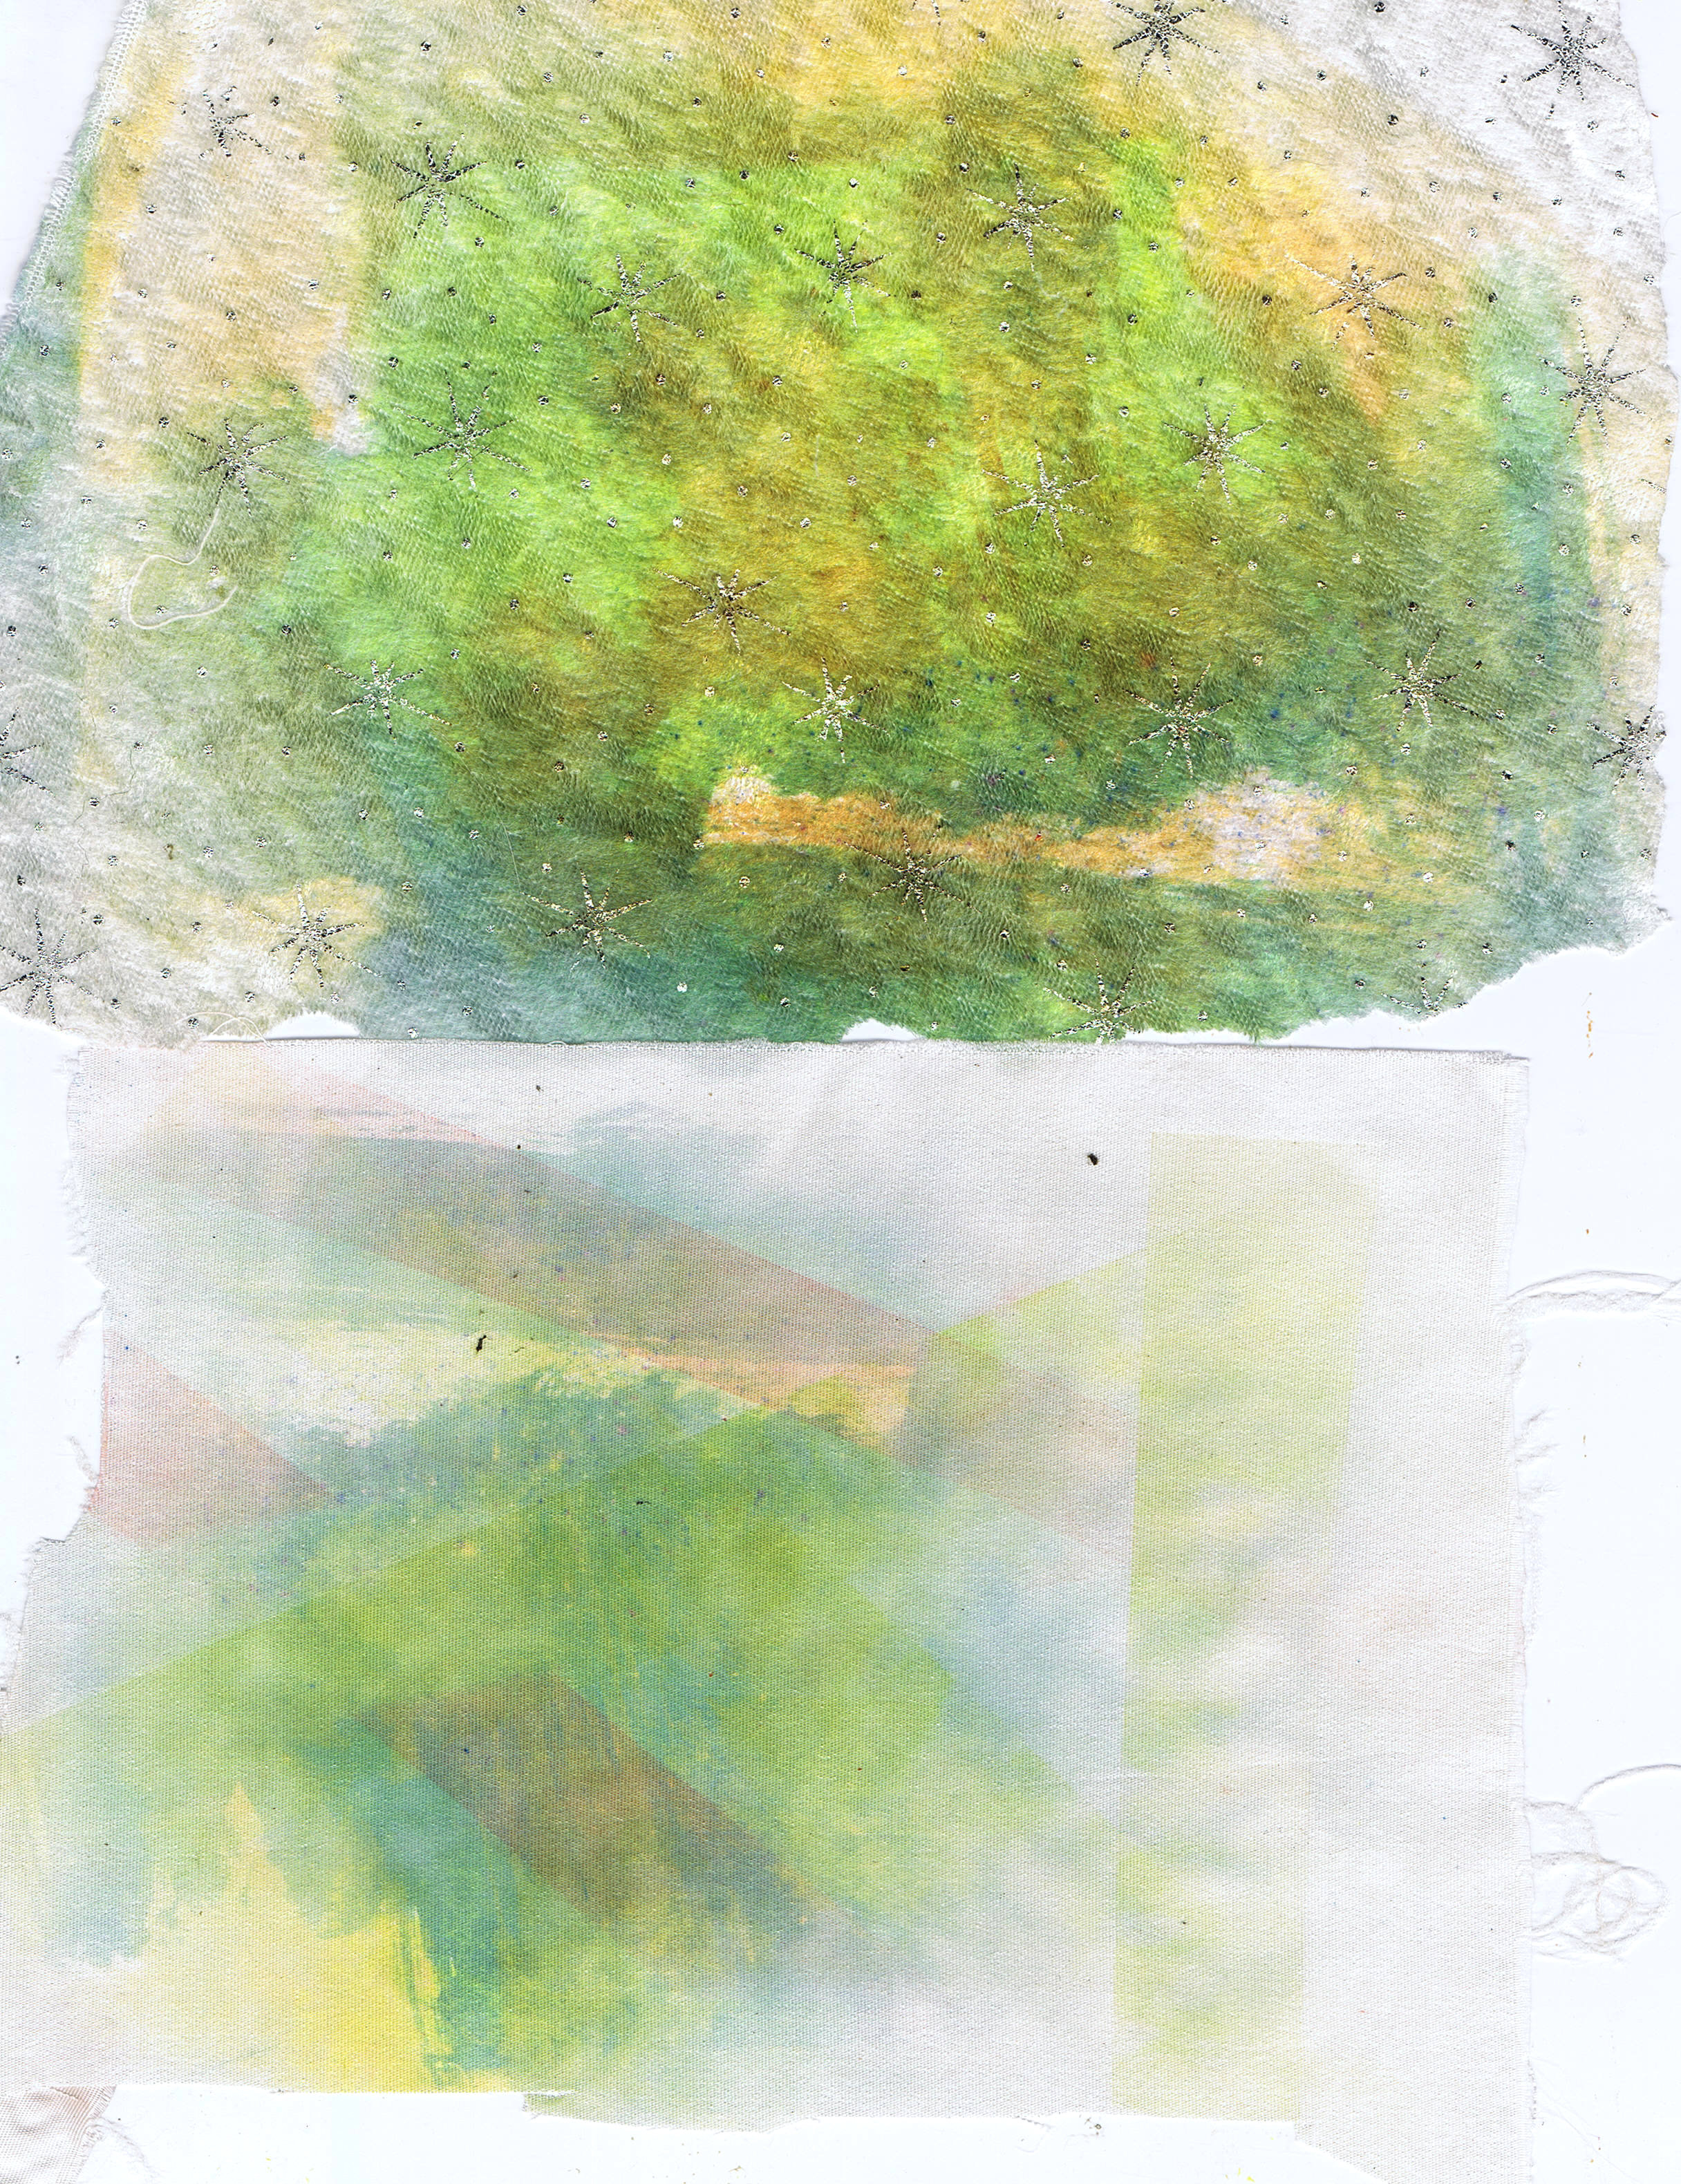
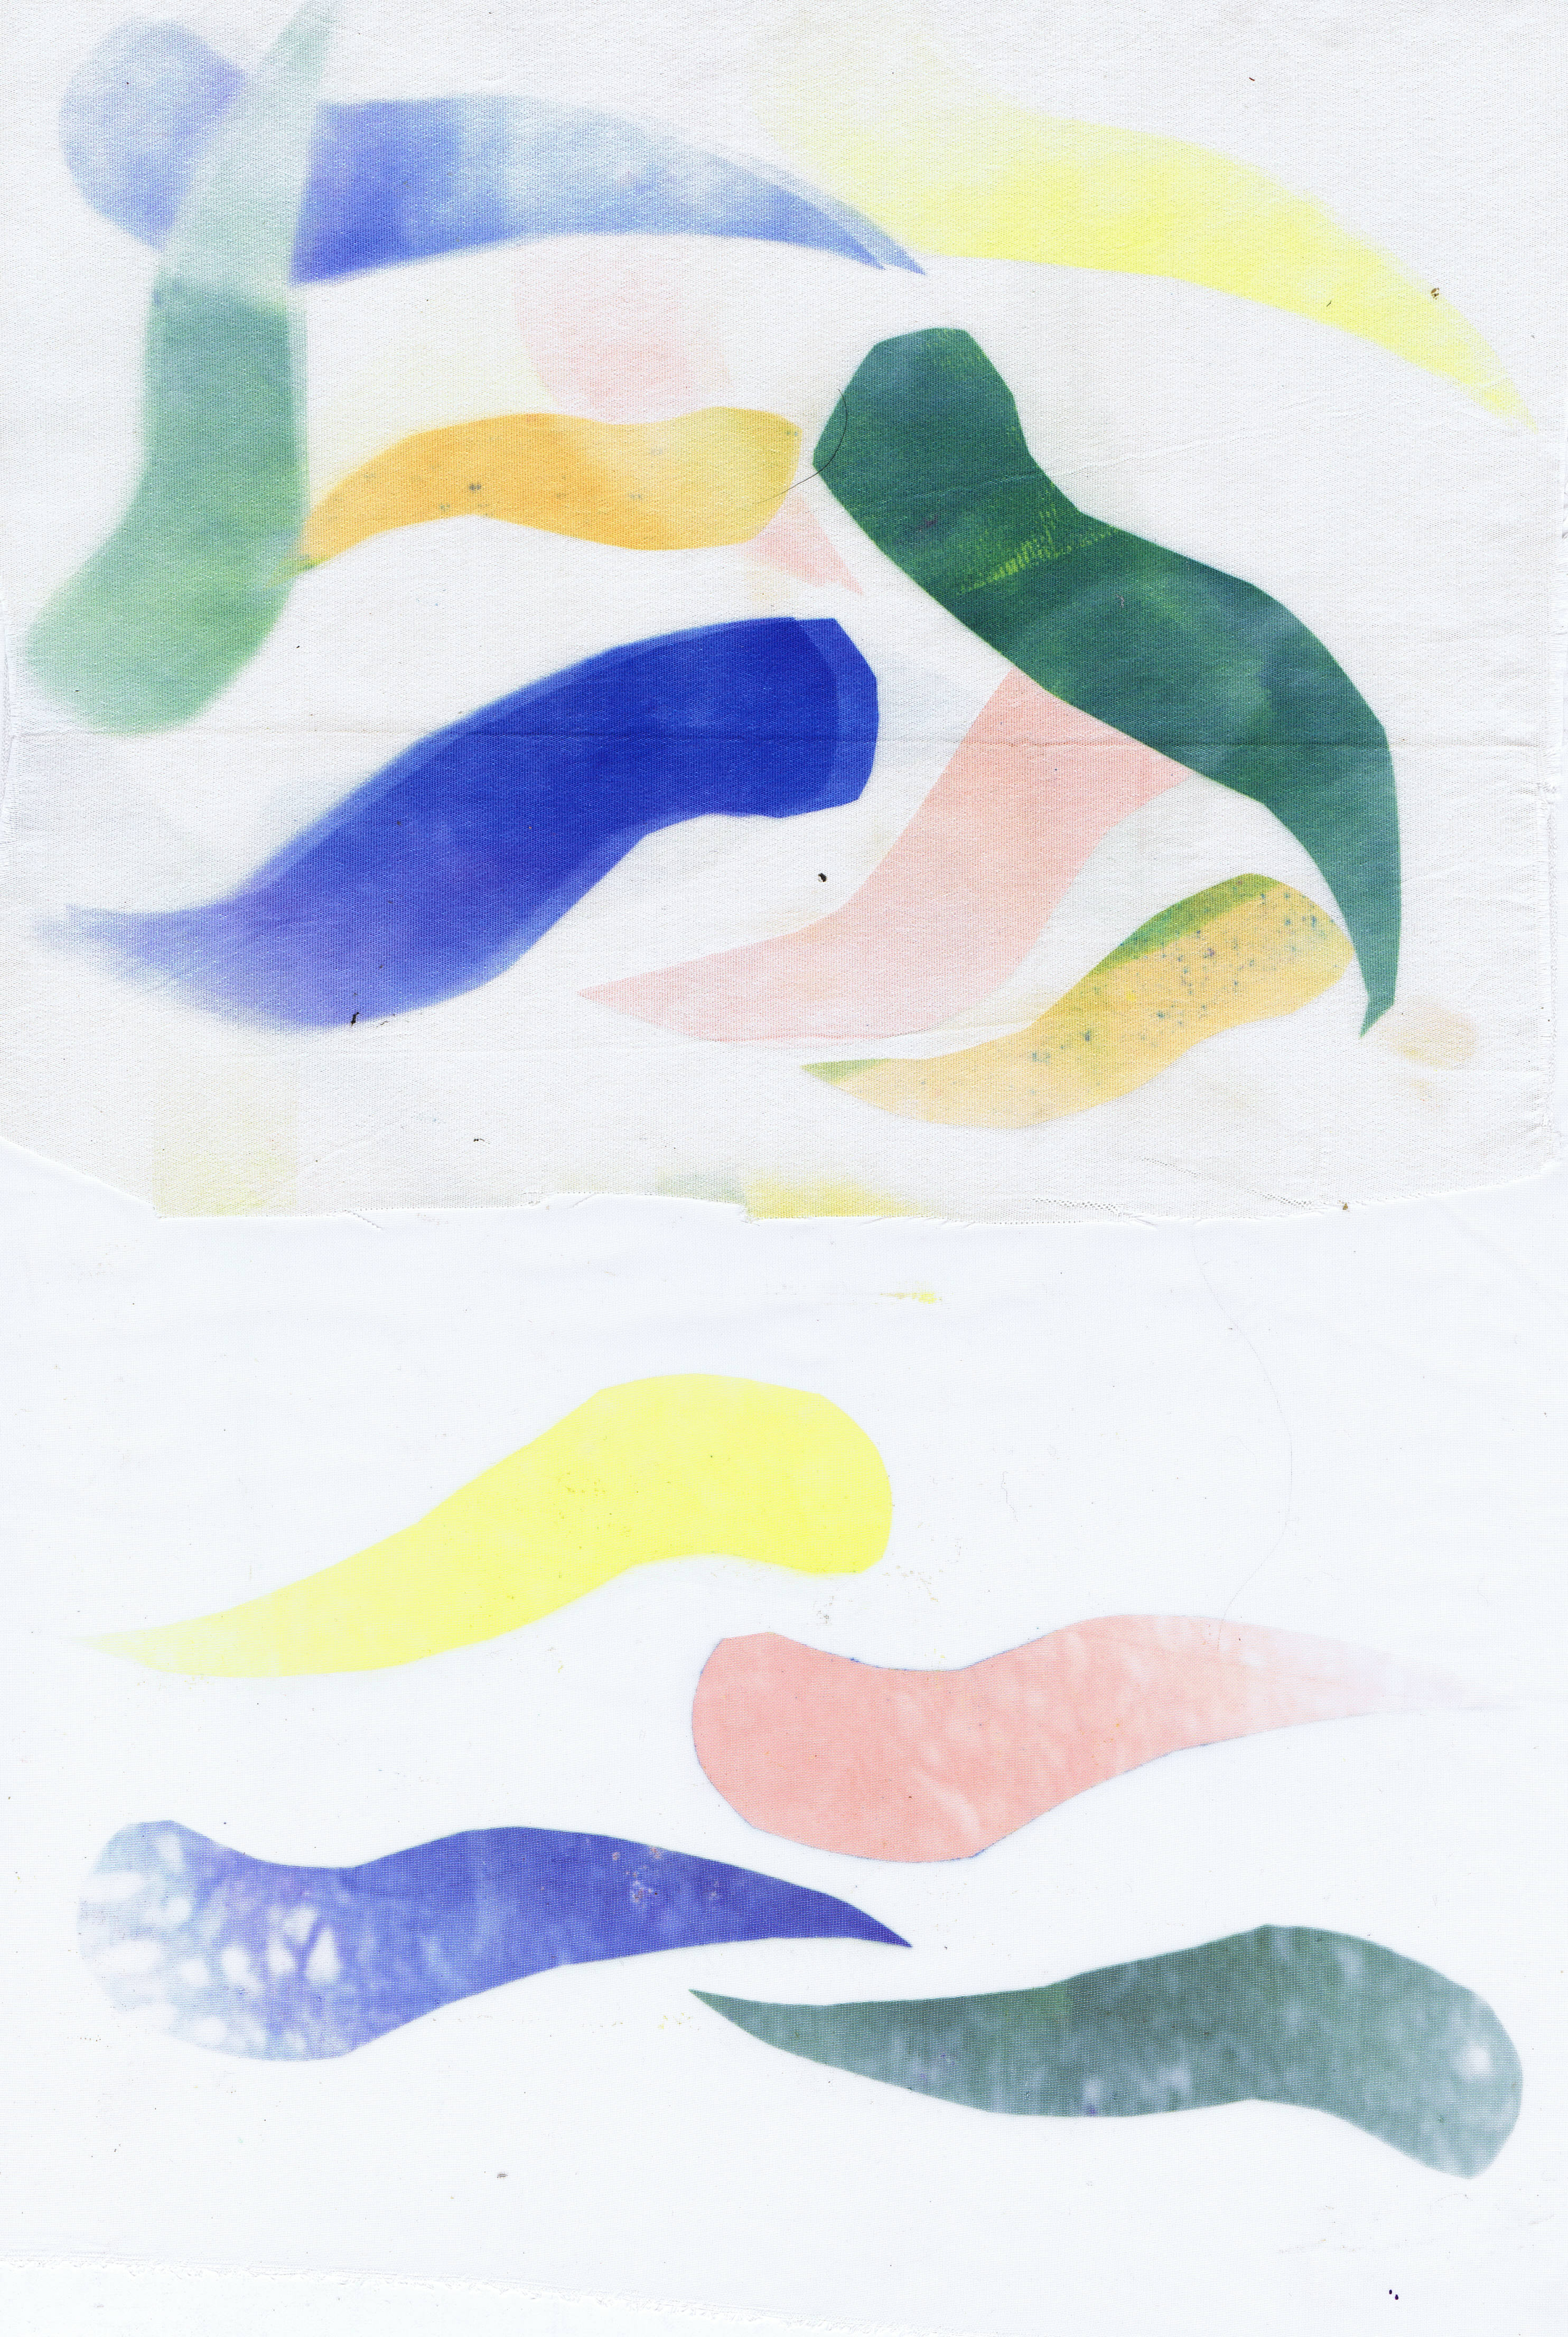
These two are both organza, which is why they look pale. On the top one, I printed some strips of the painted paper. The bottom one was printed with a paper that I cleaned my brush off on, so I got some green and yellow.
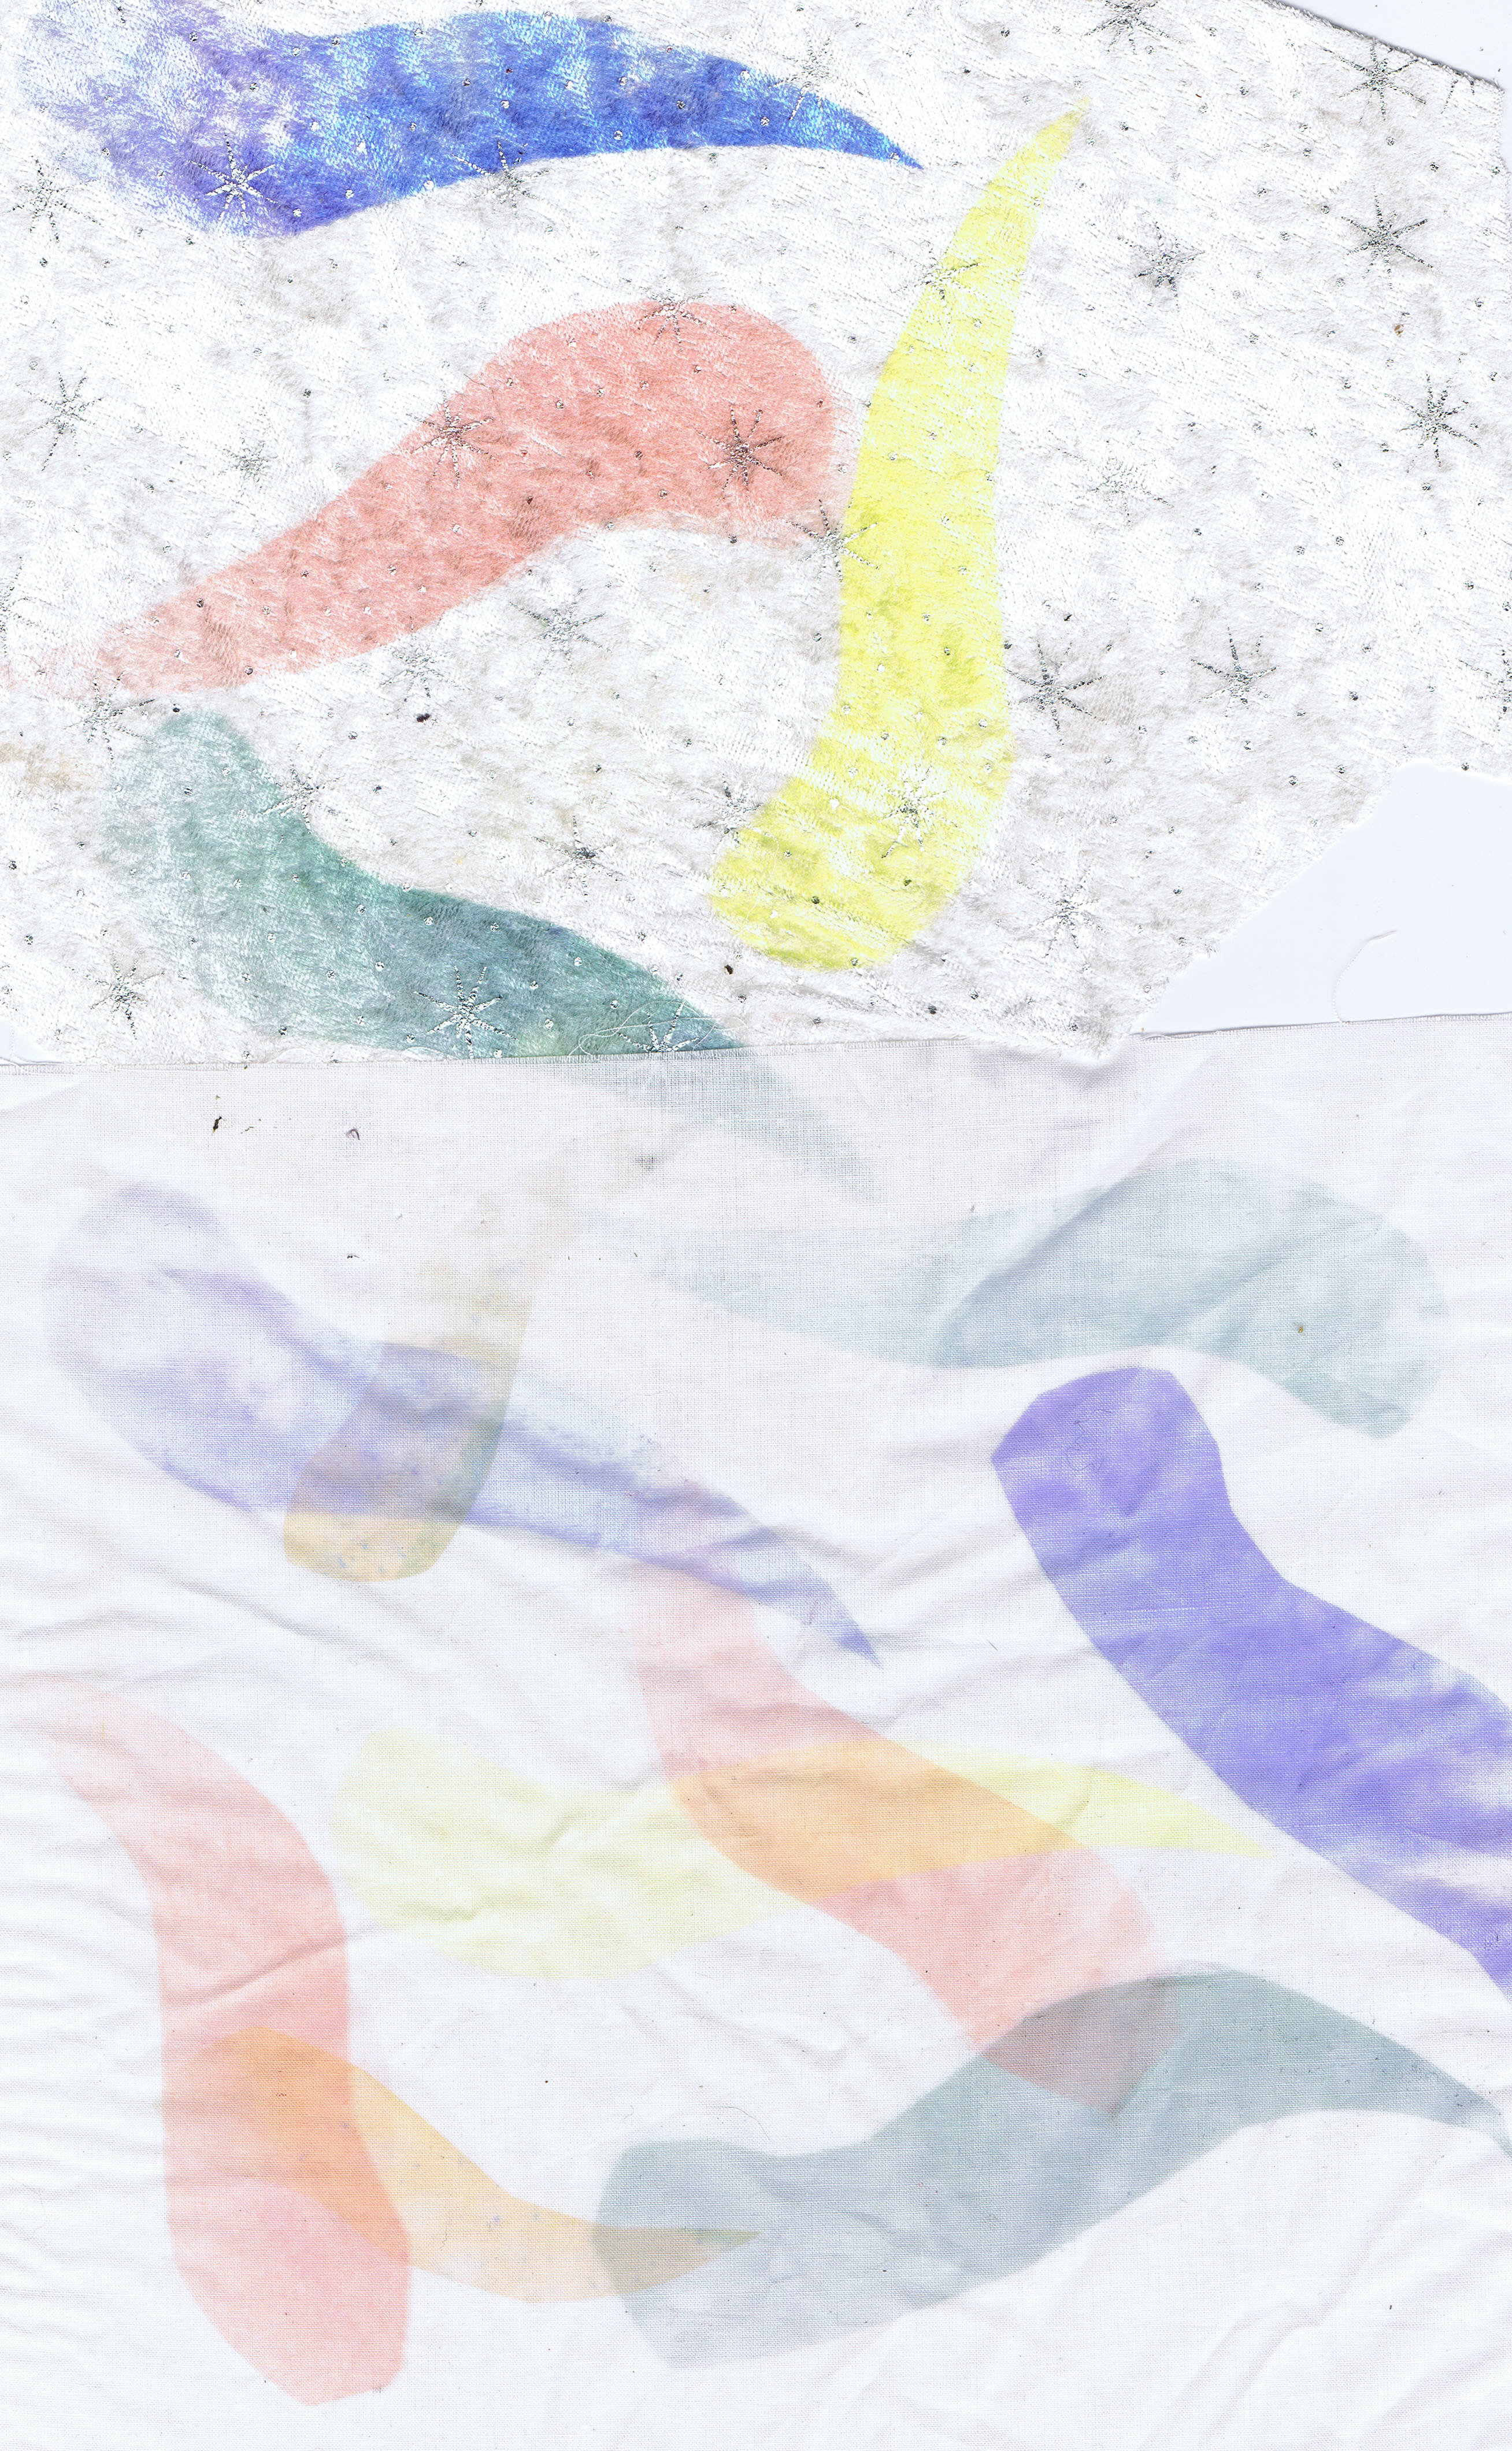
Again, with the waste paper (you can re use the paper many times), the top one is a piece of white velvet with little silver stars that I thought was ugly, but the transfer dye makes it look very gorgeous. The bottom one is a piece of satin.
After this I started using some gum leaf shapes.
The top piece here is the white velvet again and the bottom is a very fine cotton like fabric, very filmy.
This is a piece of polyester that has textured lines on it, probably a curtain lining, but you can see it took the leaves really well.
This is another piece of satin at the top and chiffon at the bottom. One thing you can see in the chiffon, is that if the paint is put on the paper with texture, it transfers that texture to the fabric. I am looking forward to trying this with some texture painting techniques to see what I get.
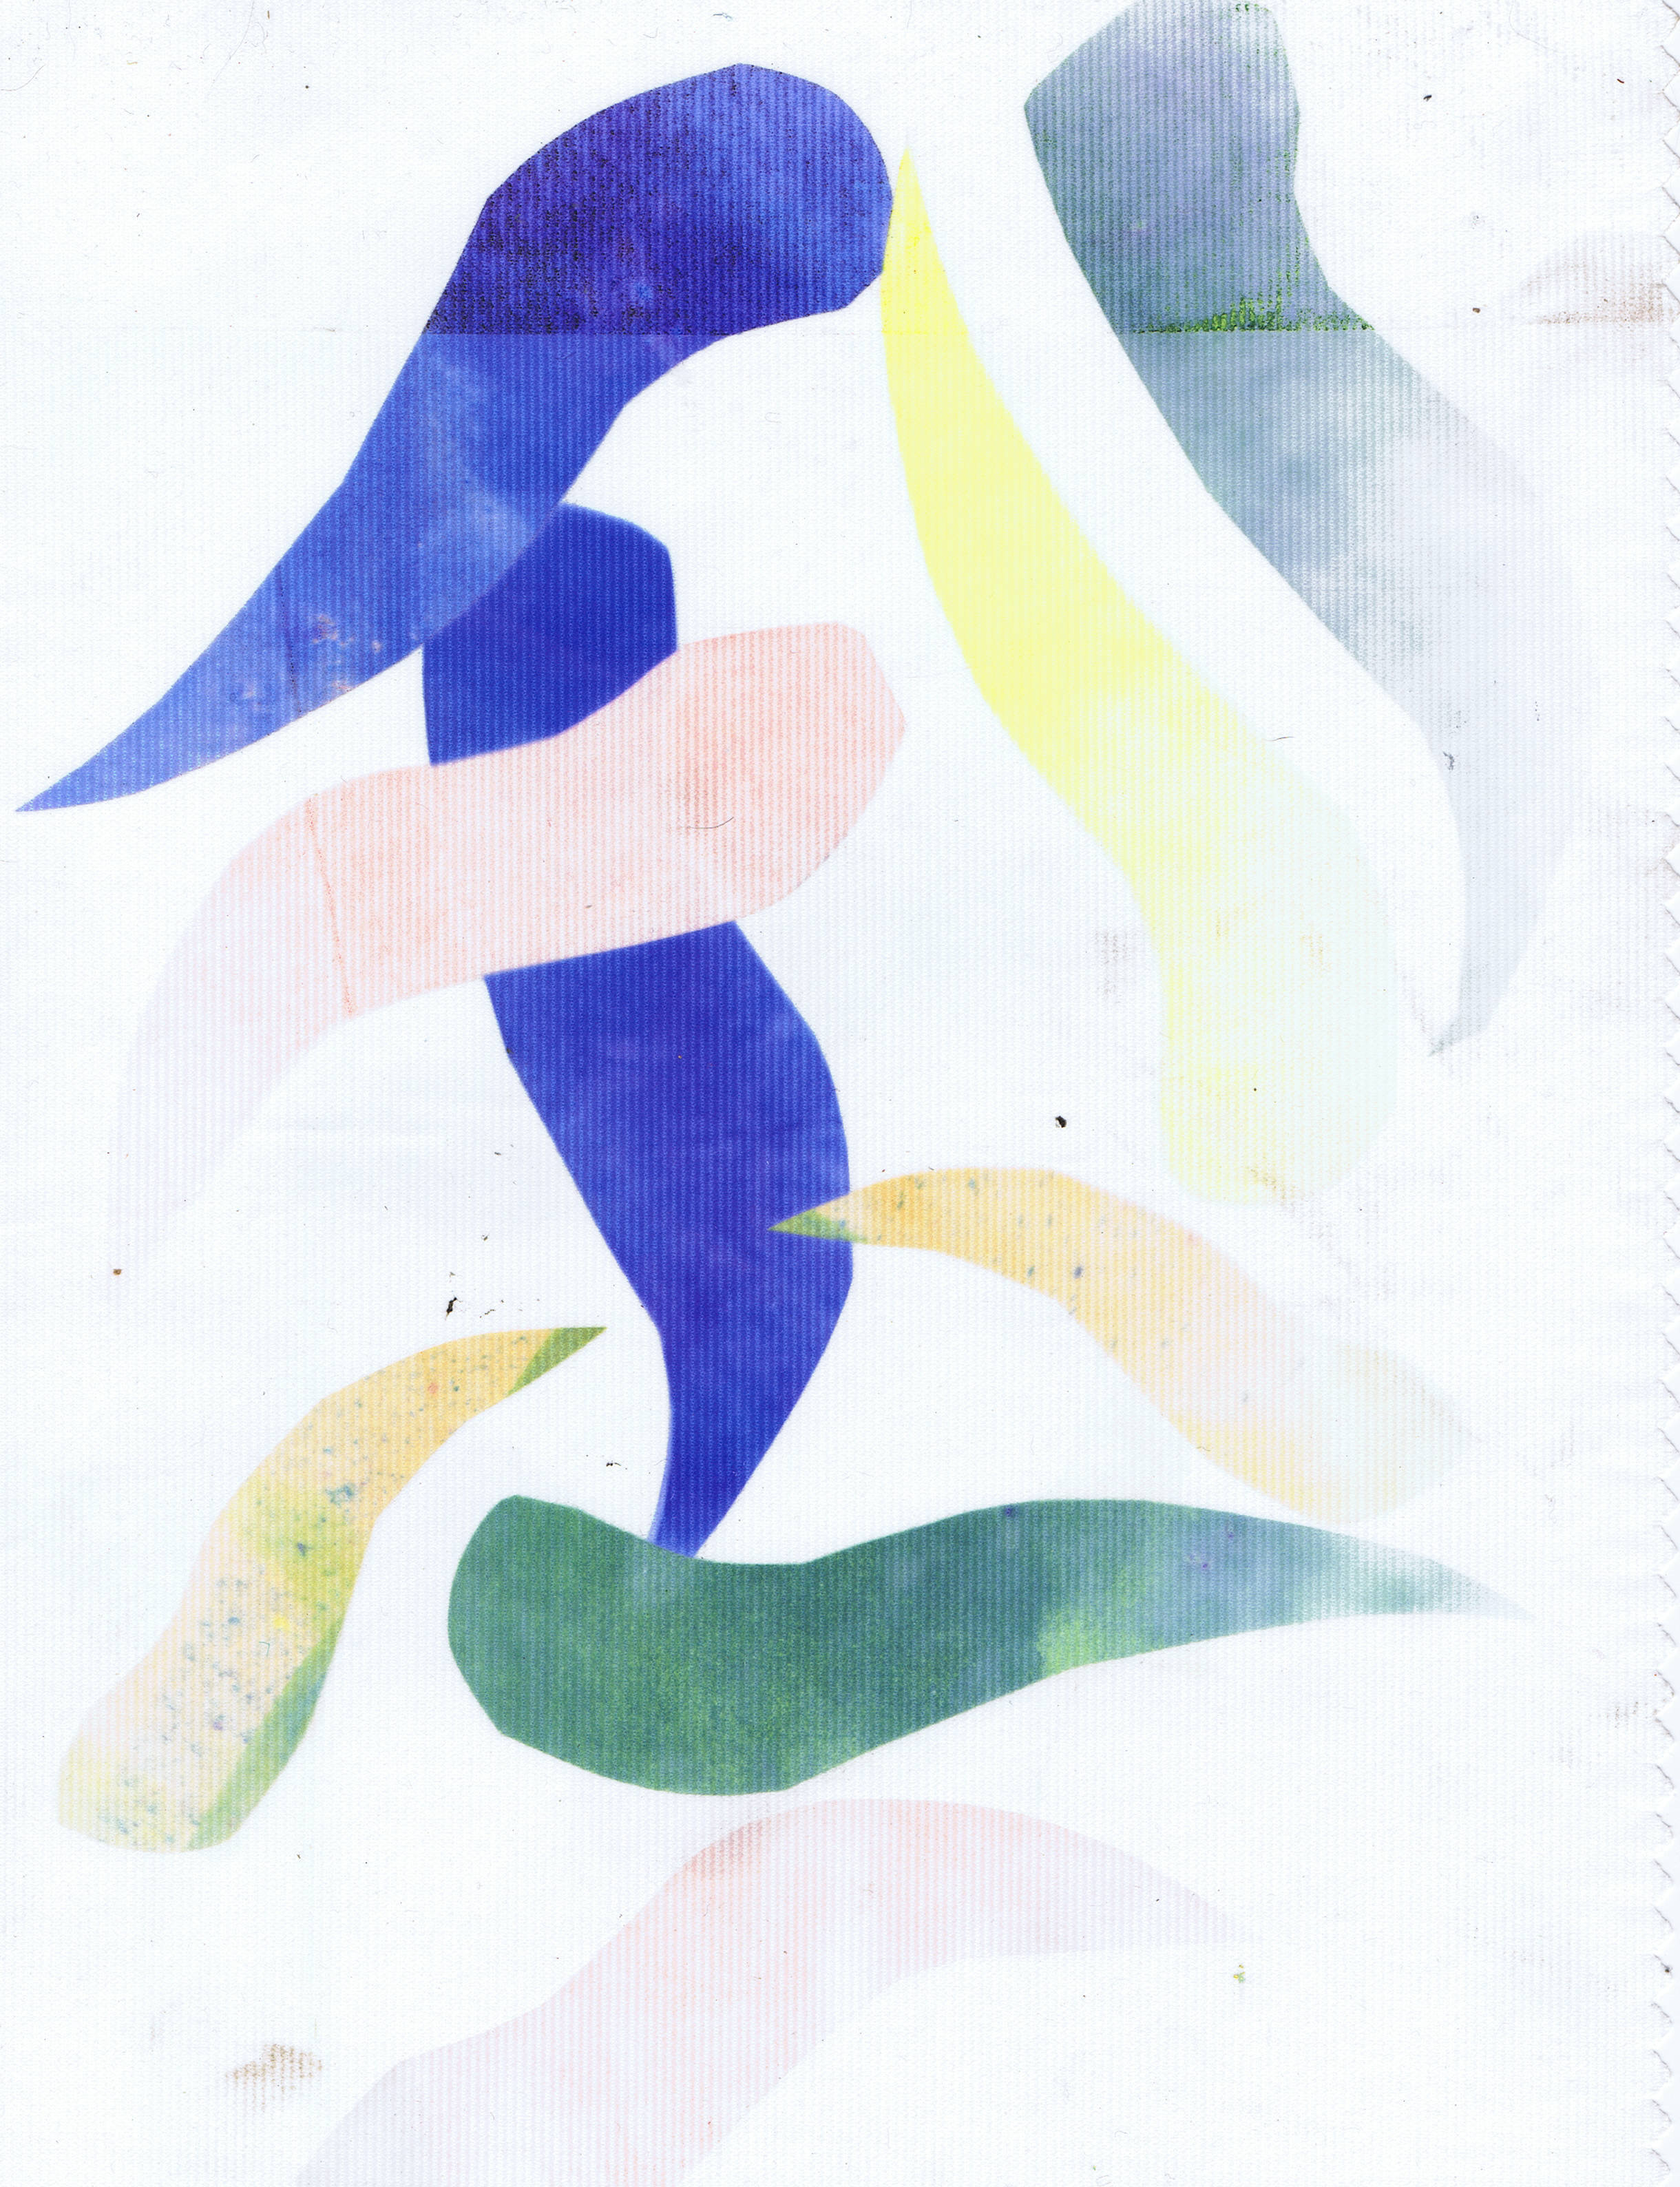
This print is on satin and used strips of the painted papers, but also a leaf drawn using sulky transfer pens. I drew this onto the shiny side of freezer paper, because I find that the pens often give a pale print on plain paper. This paper had been used several times before.
Since I love using synthetics in my work, this technique is most definitely going to find a home in my studio.
Lastly, here is one of the transfer prints I put into one of my collage a day foundations
The print was on the polyester curtain lining and I teamed it with a few commercial batiks. I like how this one turned out and I am sure I will have great fun stitching on it.
I am very busy at present setting up an Etsy store (it isn't open yet, so don't go looking) and finishing my Tangled Textiles challenge which is due in a day or so. I am always a procrastinator, so I don't usually get my challenges finished until the last possible moment, but I will show you on monday or Tuesday.
Happy Creating!
Subscribe to:
Posts (Atom)






.JPG)
