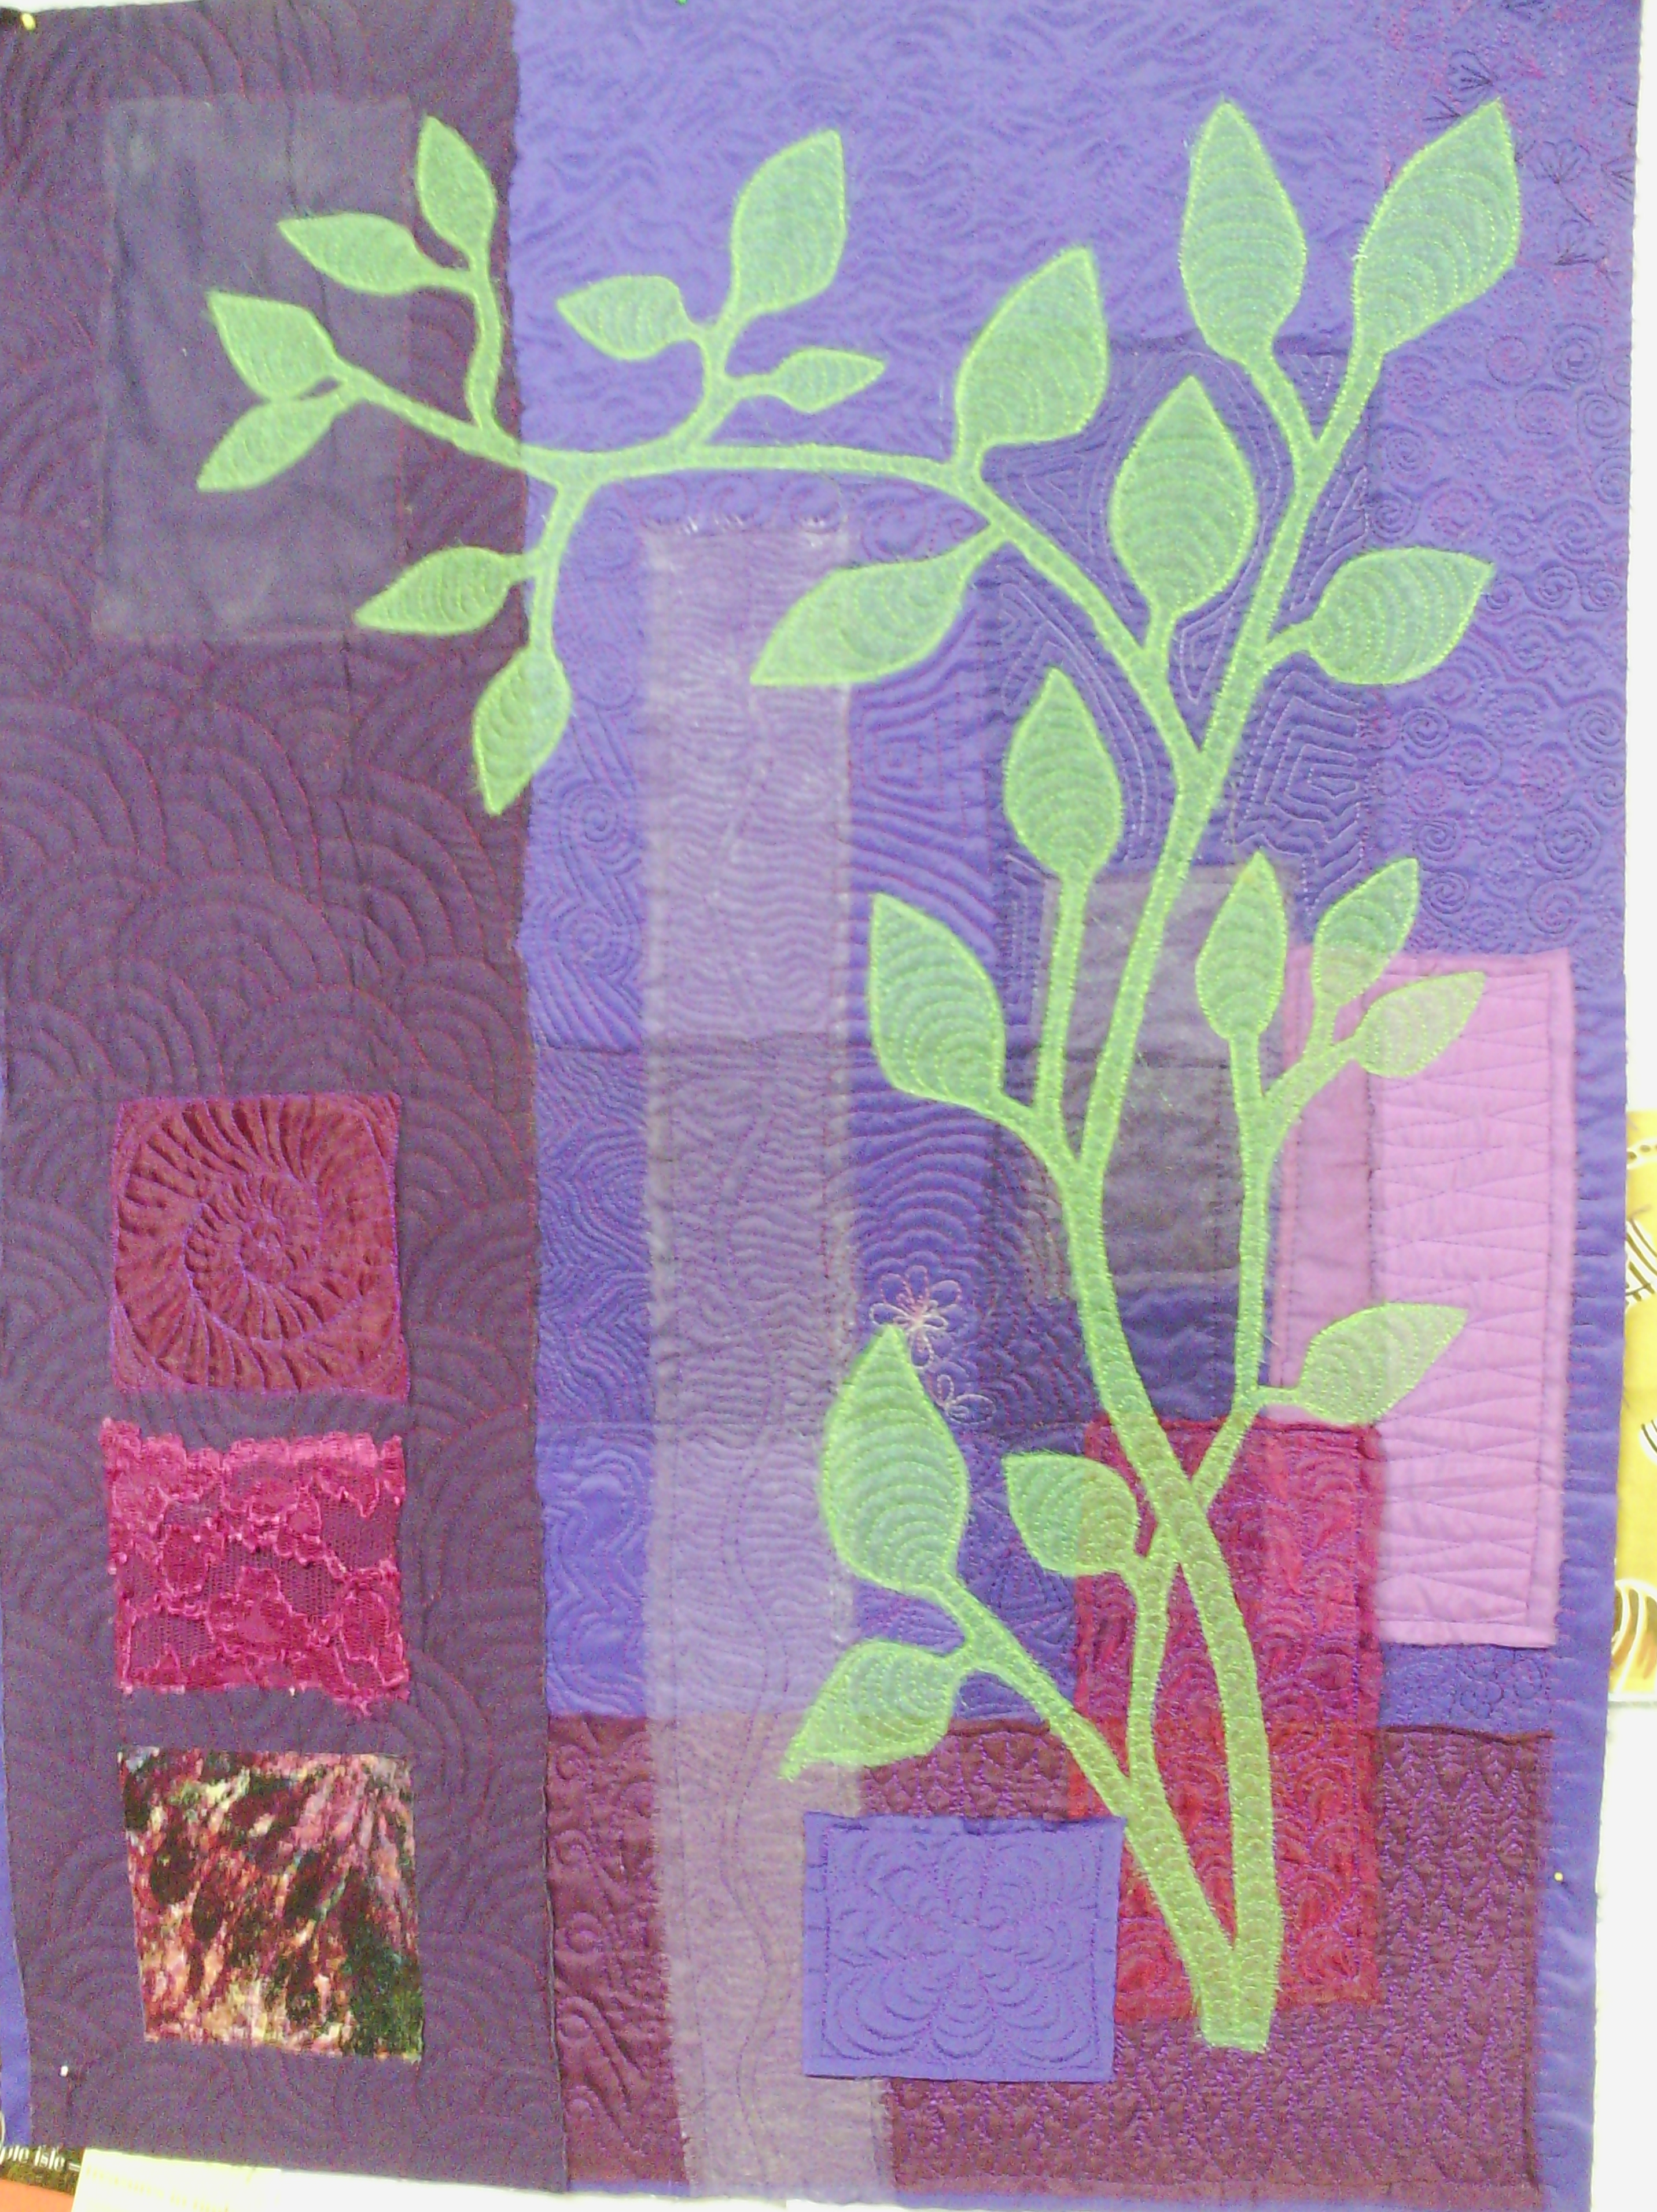
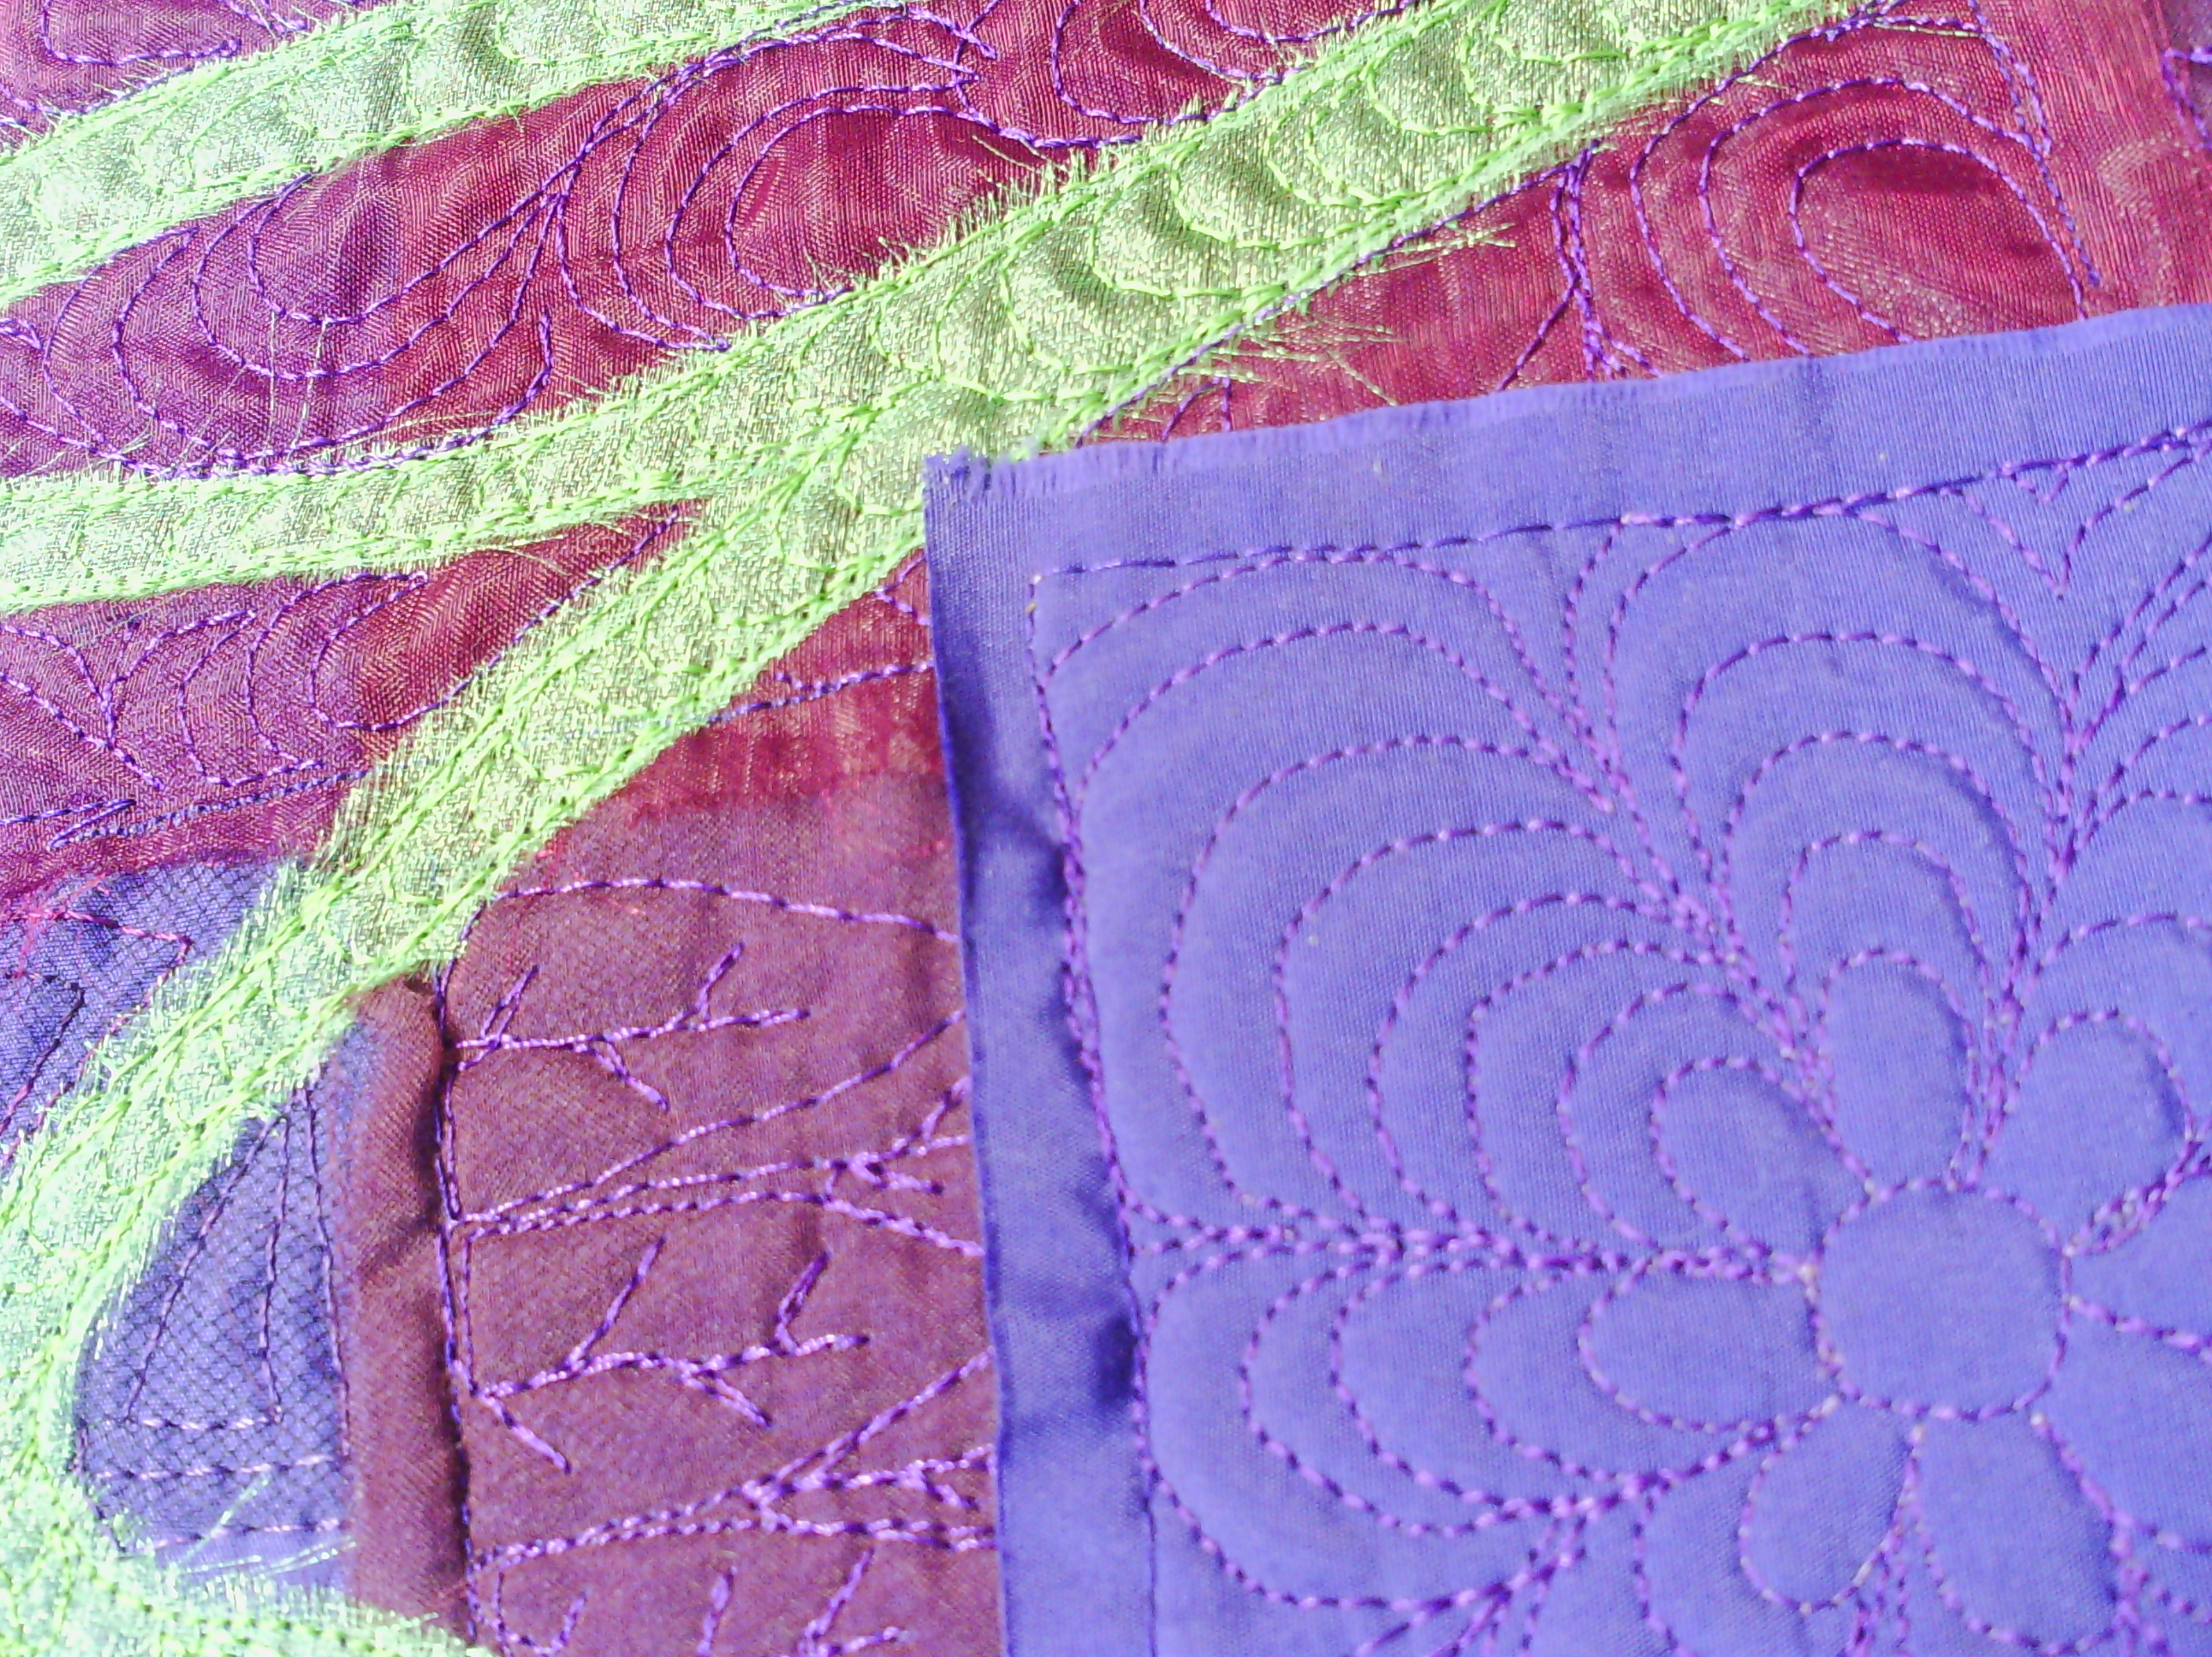
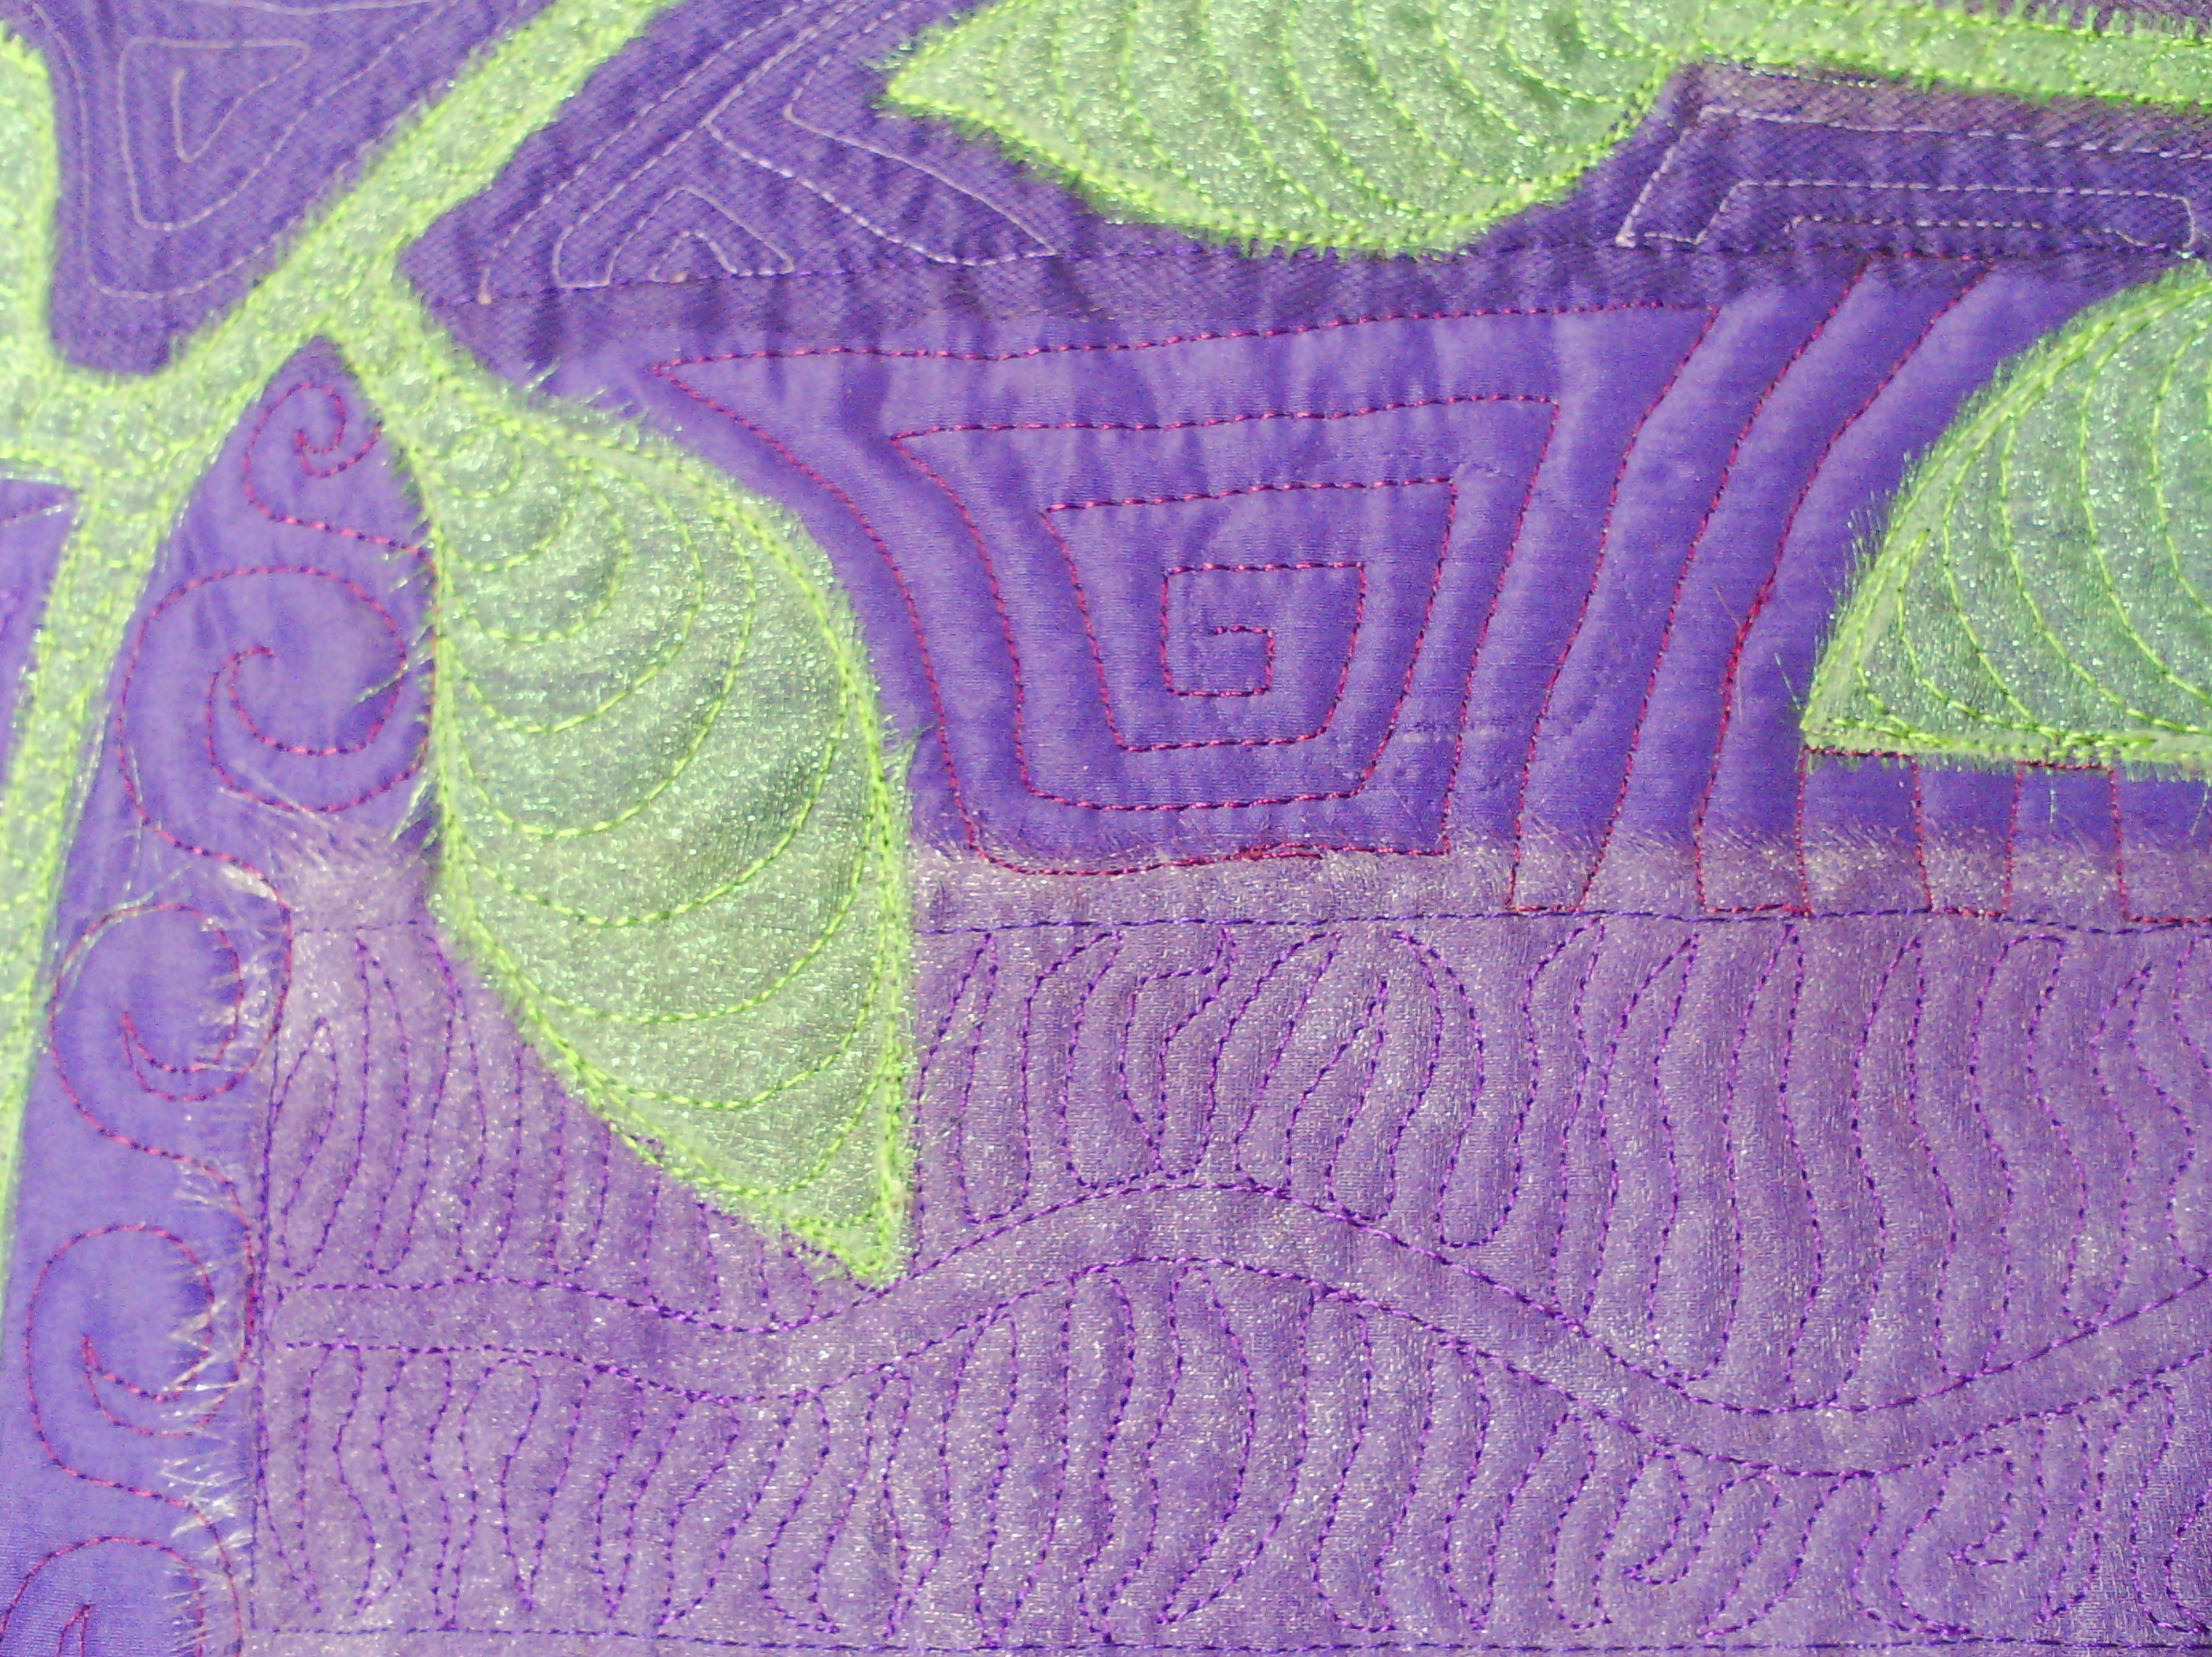
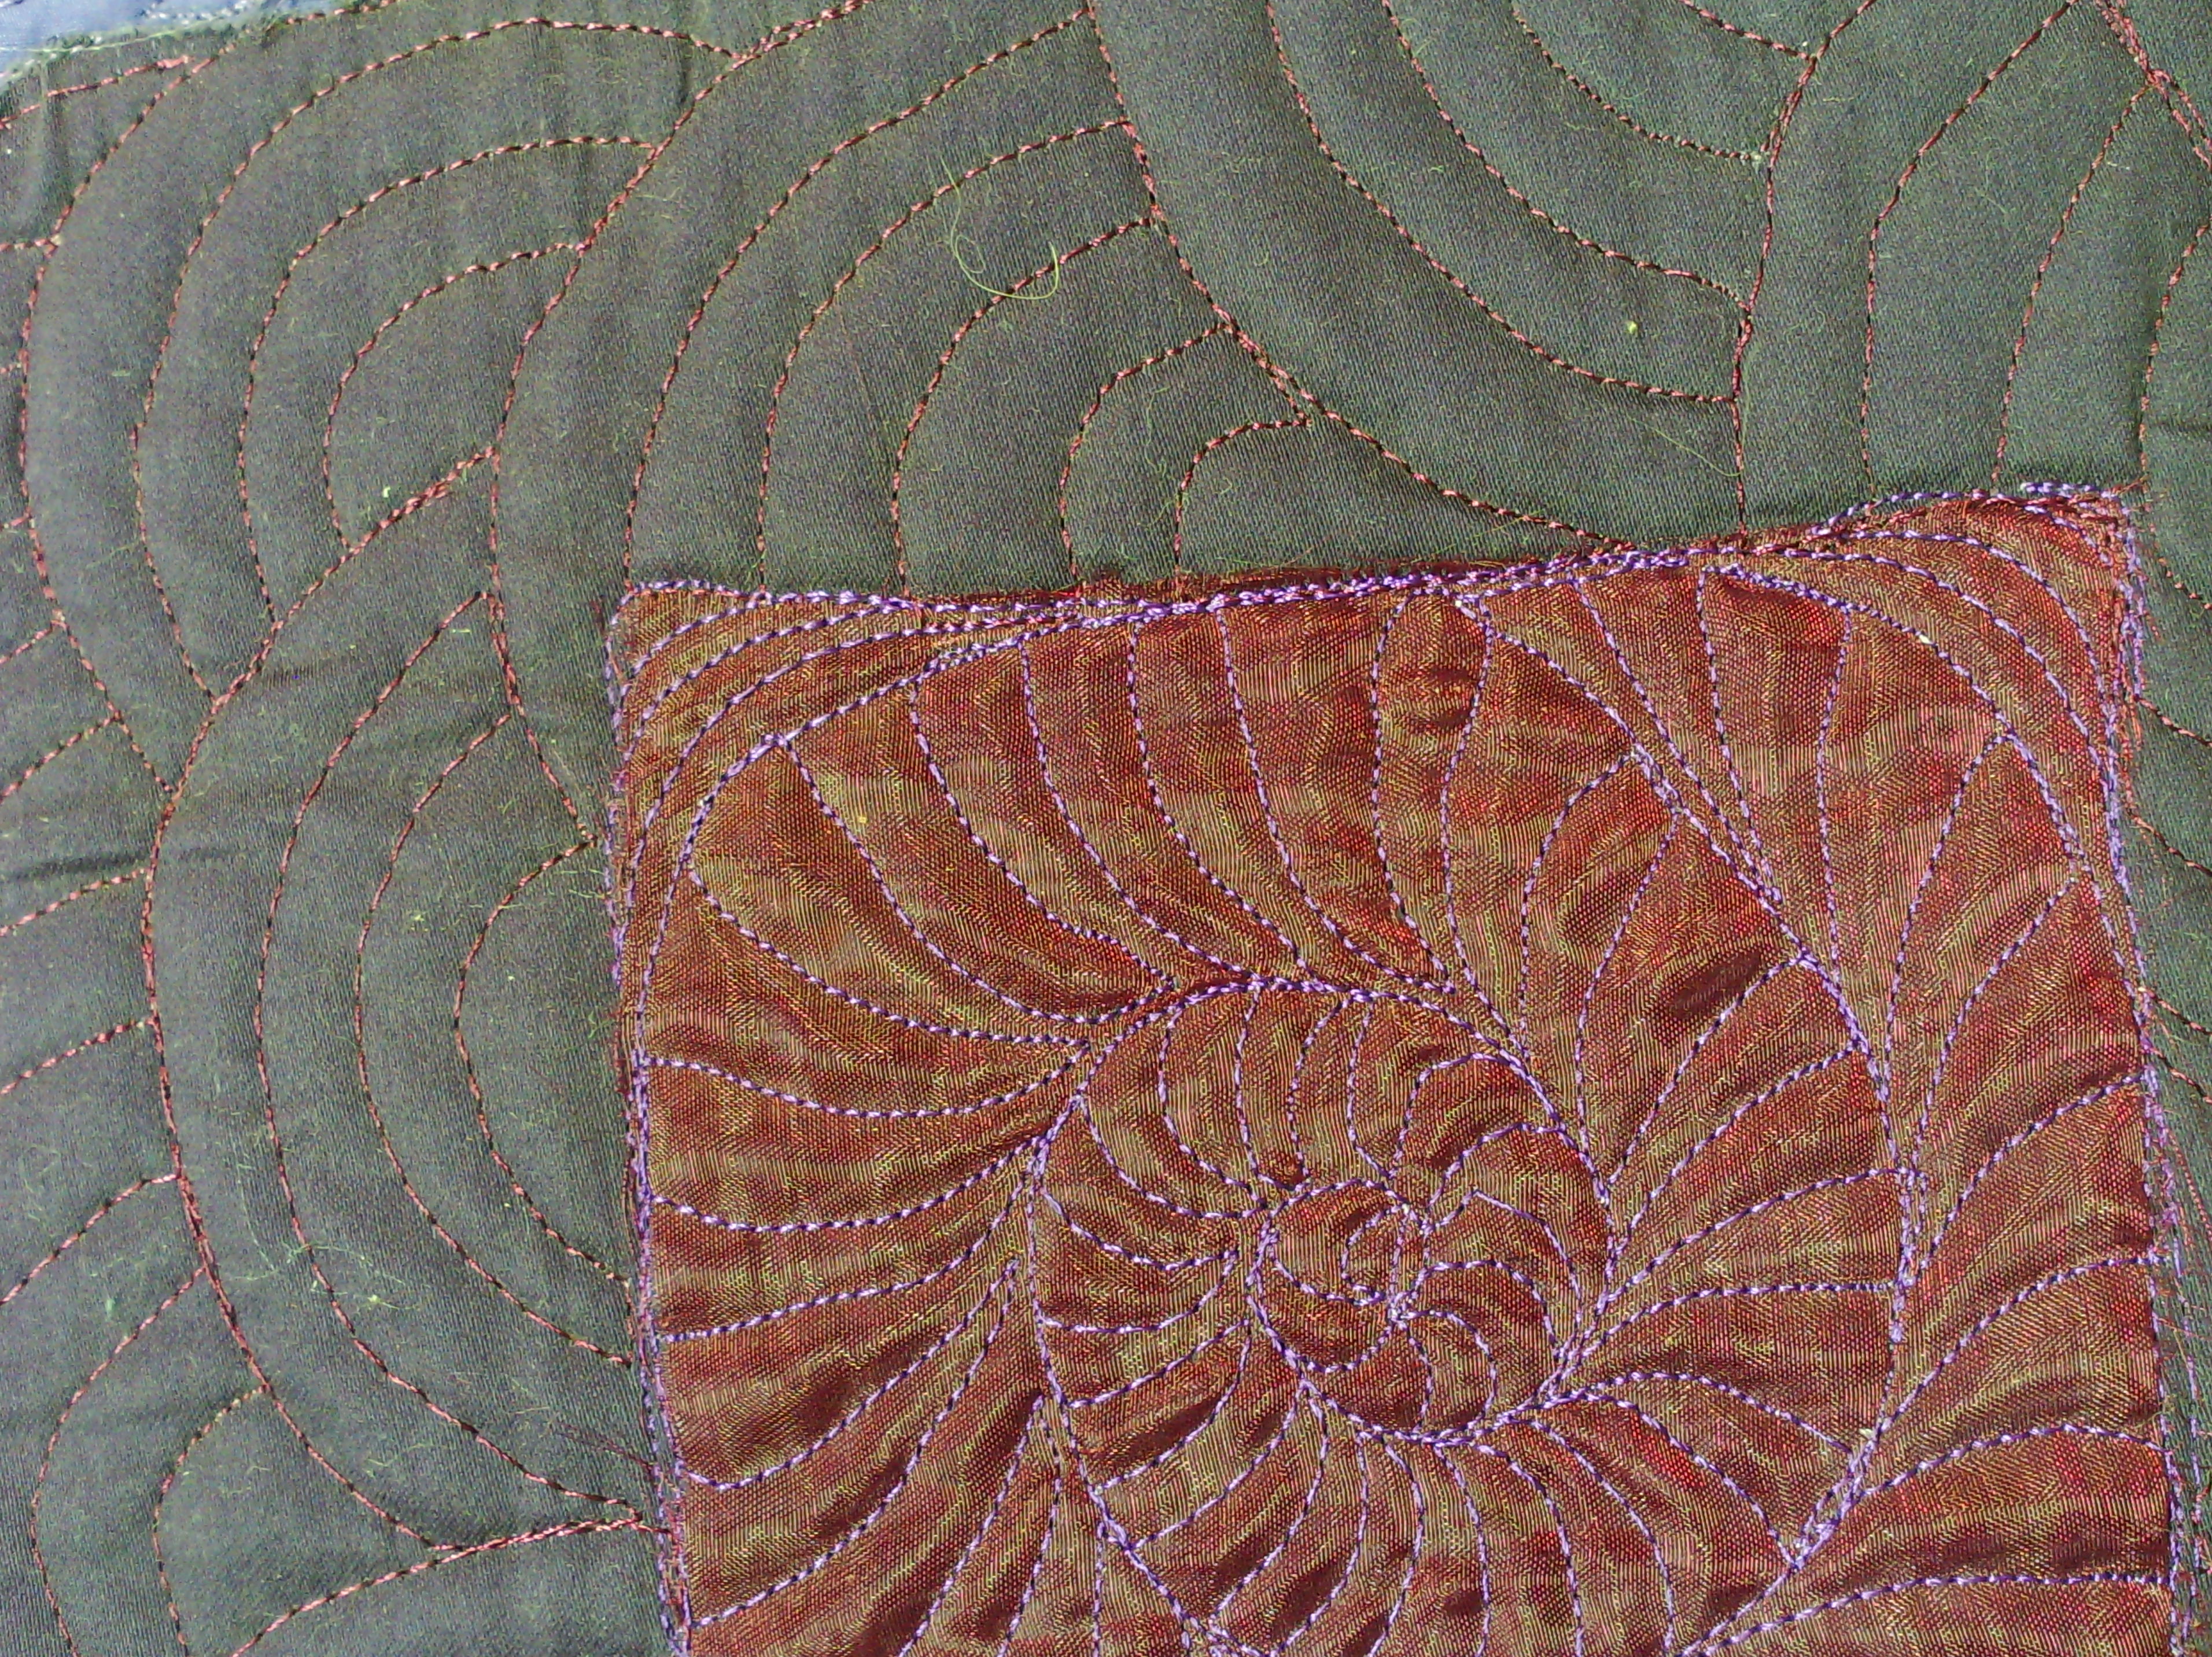
Showing posts with label sheer applique. Show all posts

Saturday, May 31, 2014

Birds on a branch

This morning I worked into one of my monoprinted fabrics.
I was a very simple monoprint of branches (which I forgot to photograph before I started - sorry)
I decided to do some raw edge applique
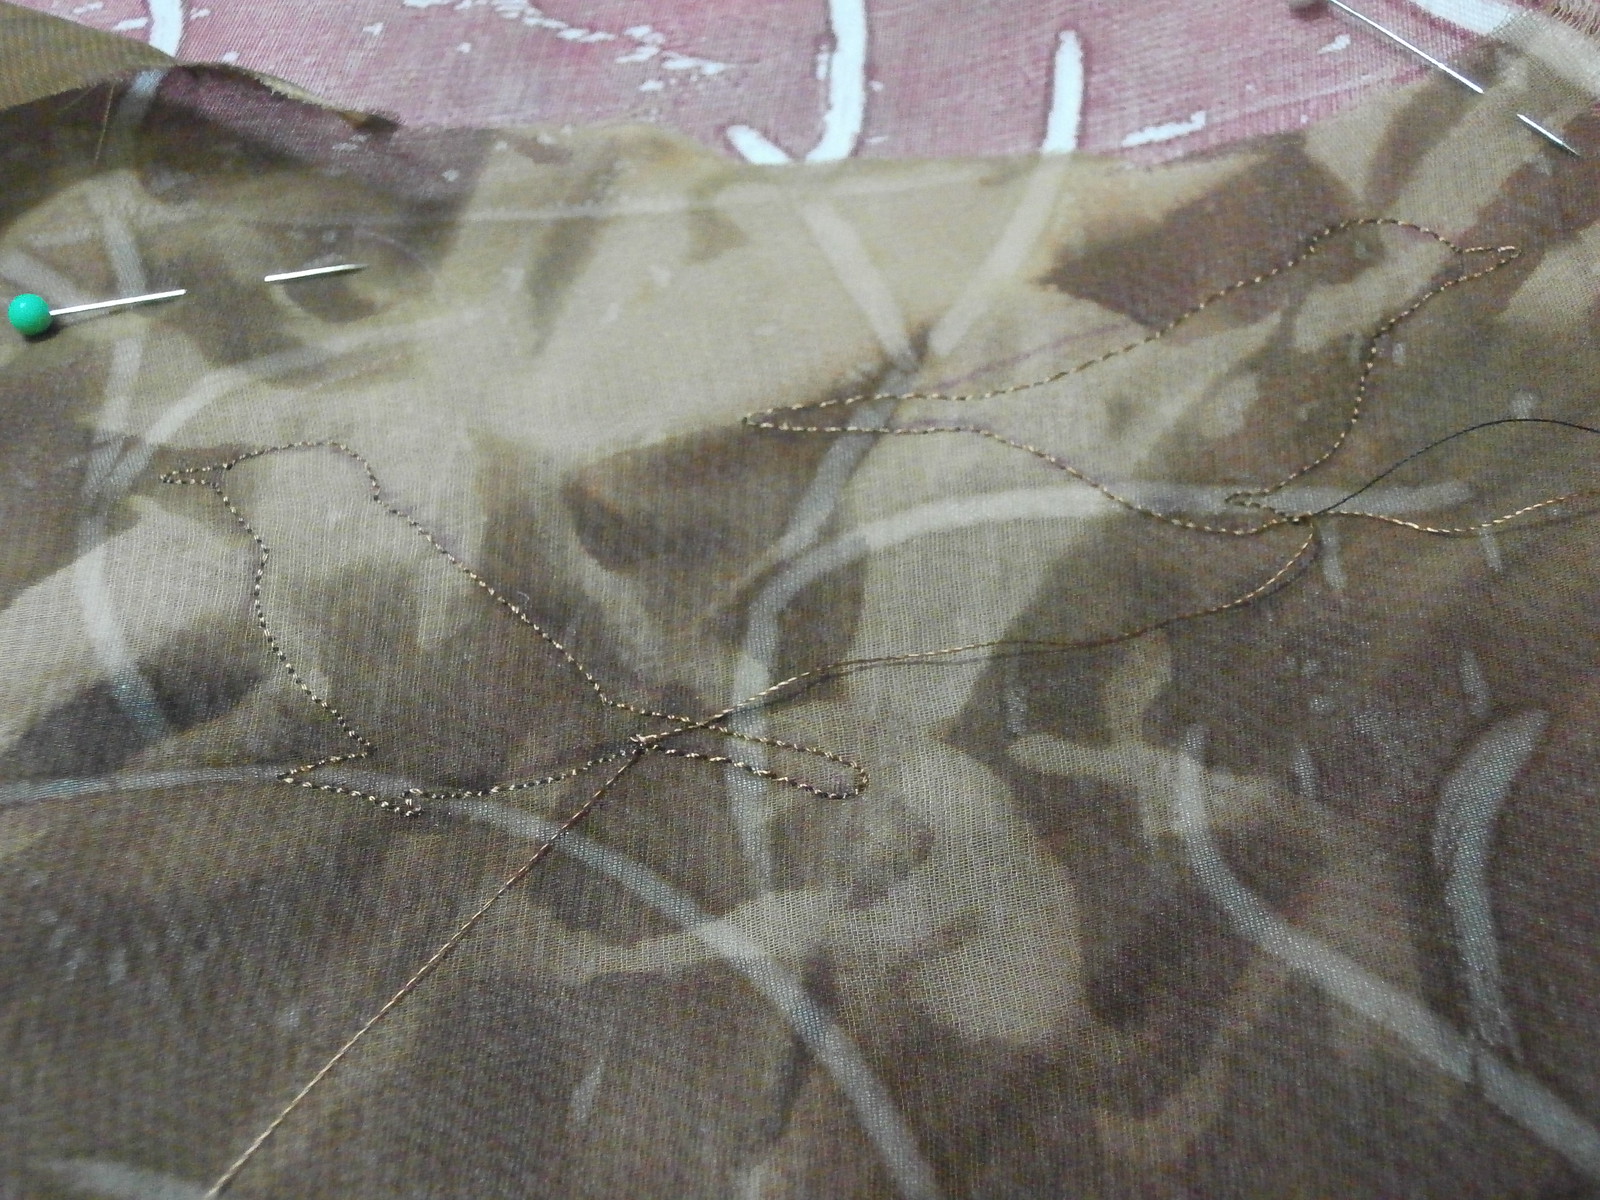
You can see in the above photo, the pinky fabric at the top is the monoprint, and I have layeres some sheer chiffon over it then free machined some birds onto the white branches of the monoprint.
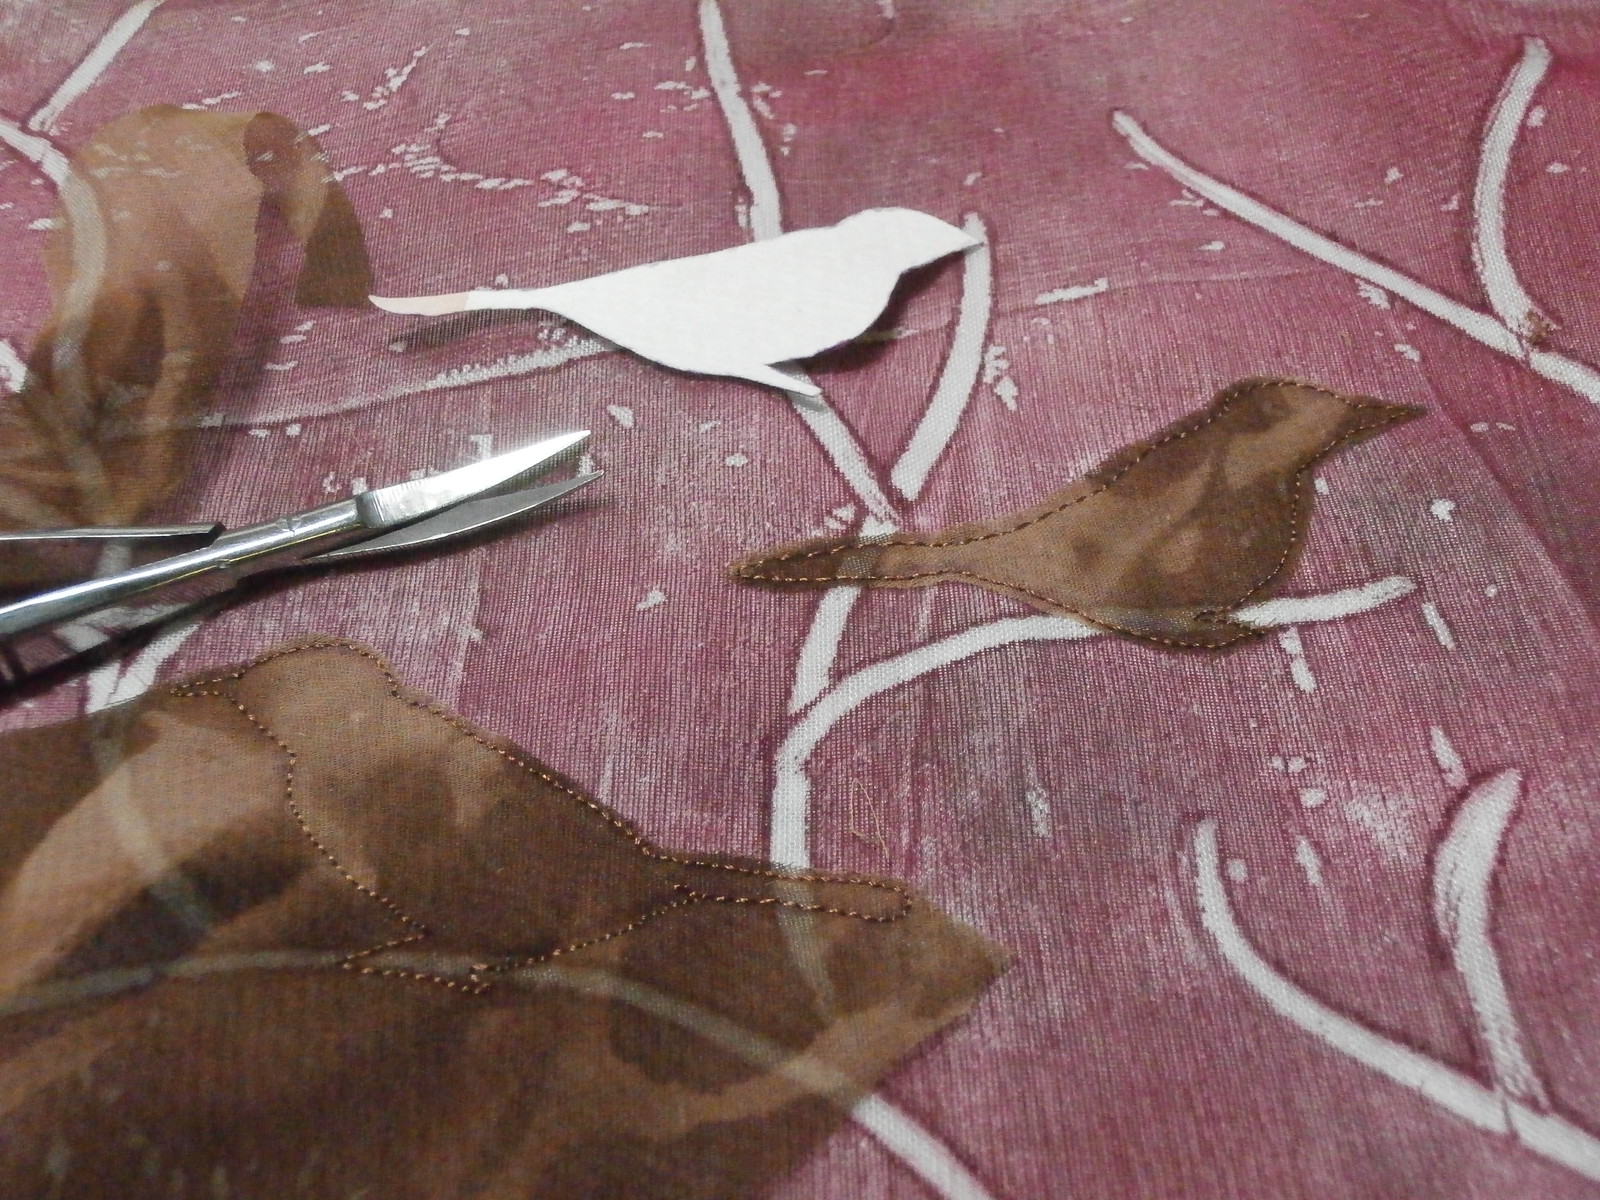
Here I have cut away around some of the birds, The white bird is a template I made to trace around for the stitching.
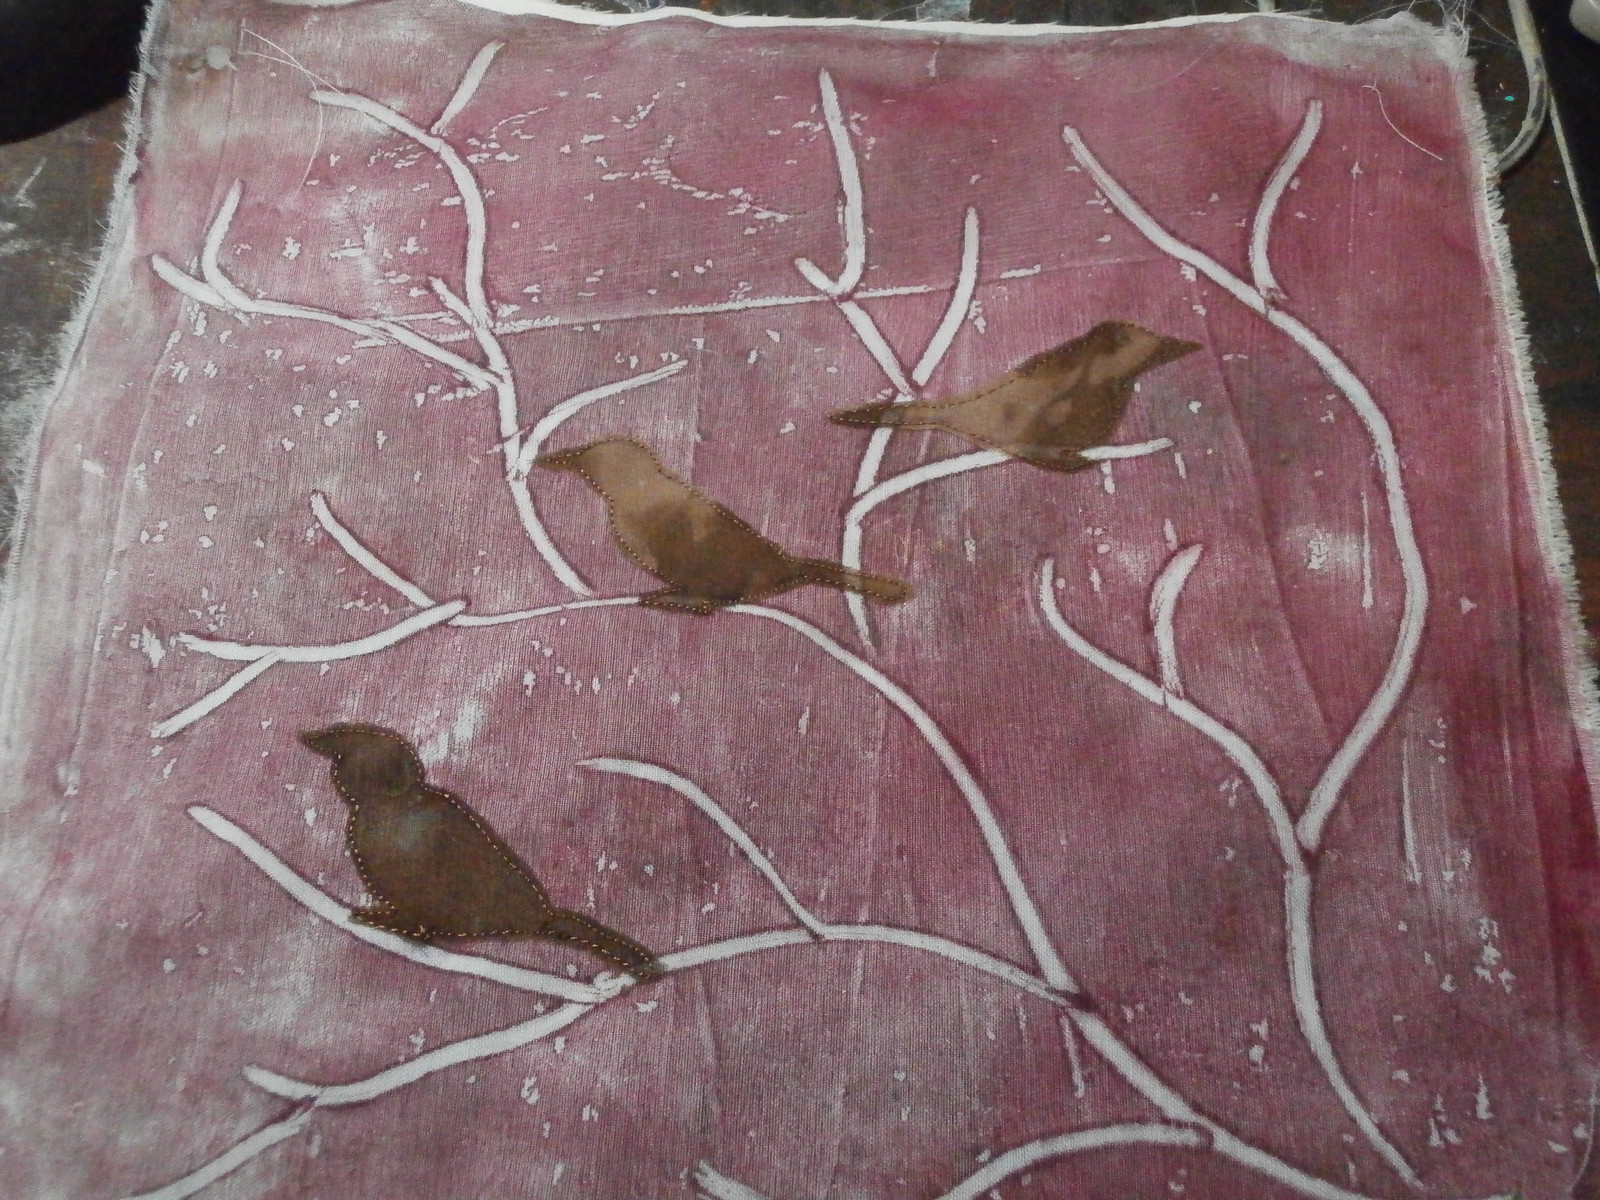
Here you can see the monoprint that was underneath after I cut around the birds.
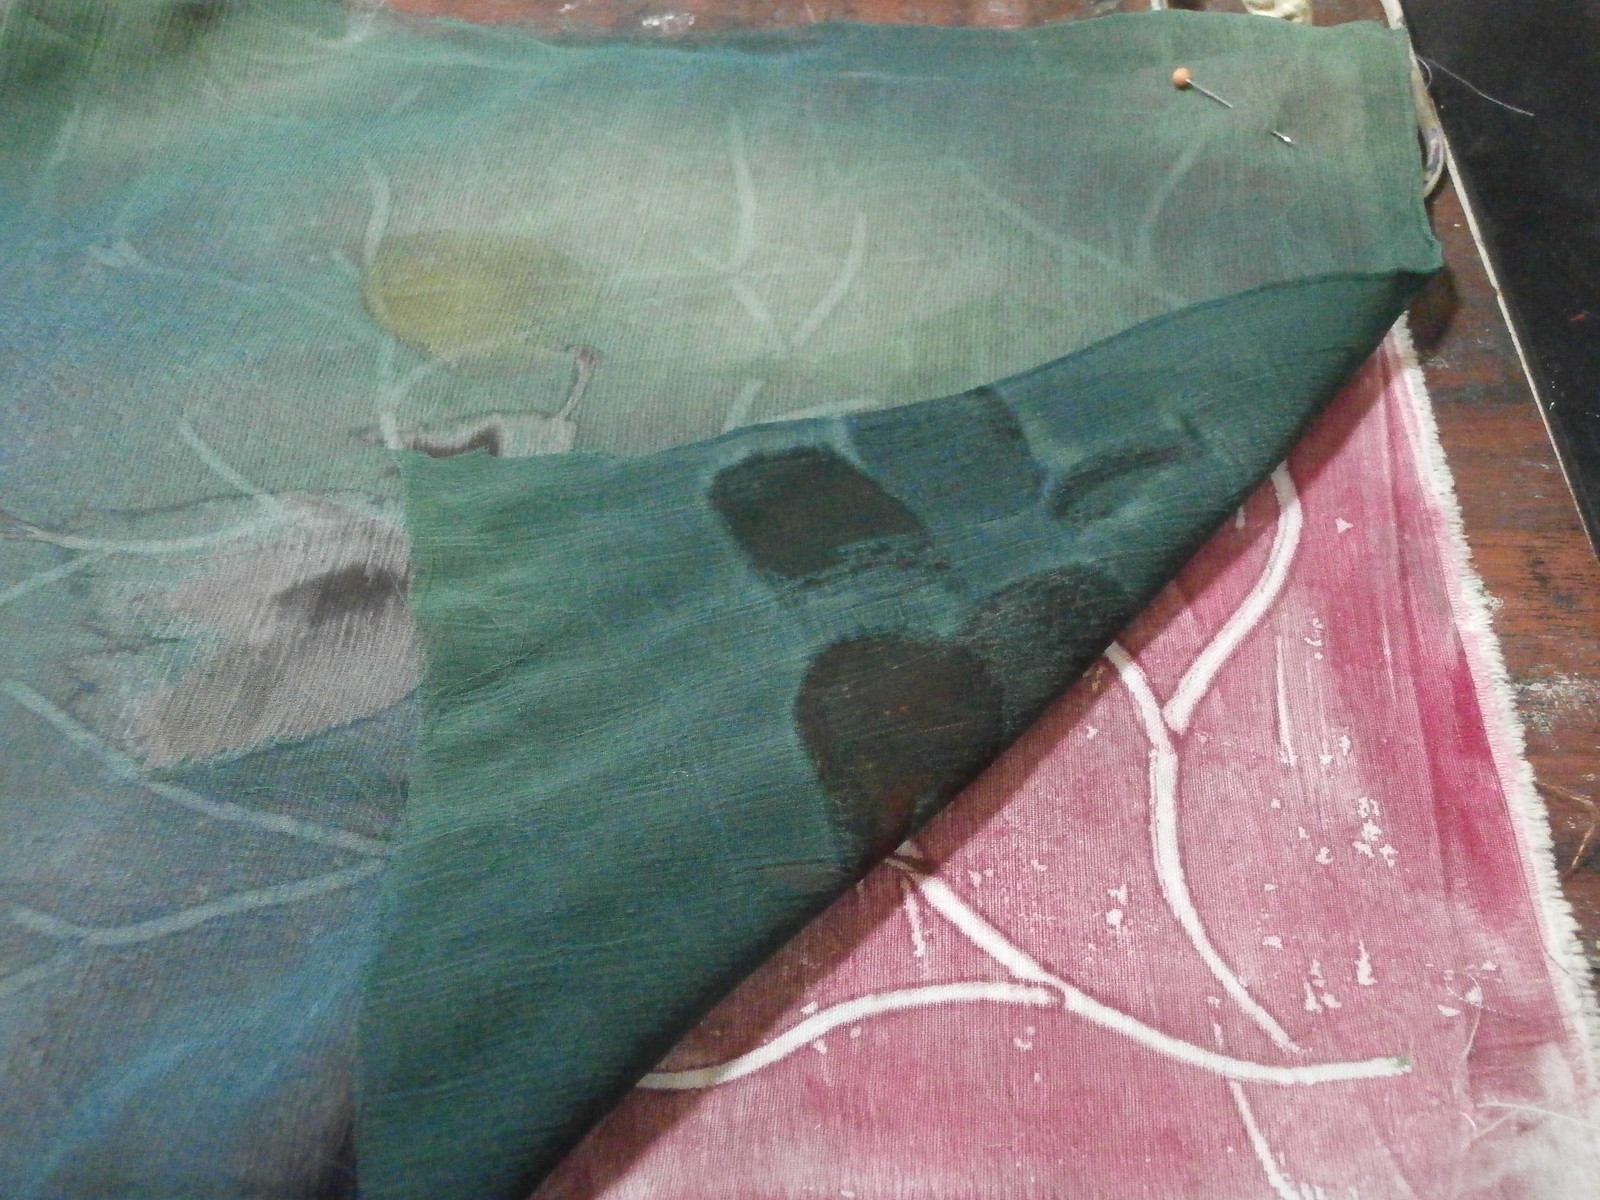
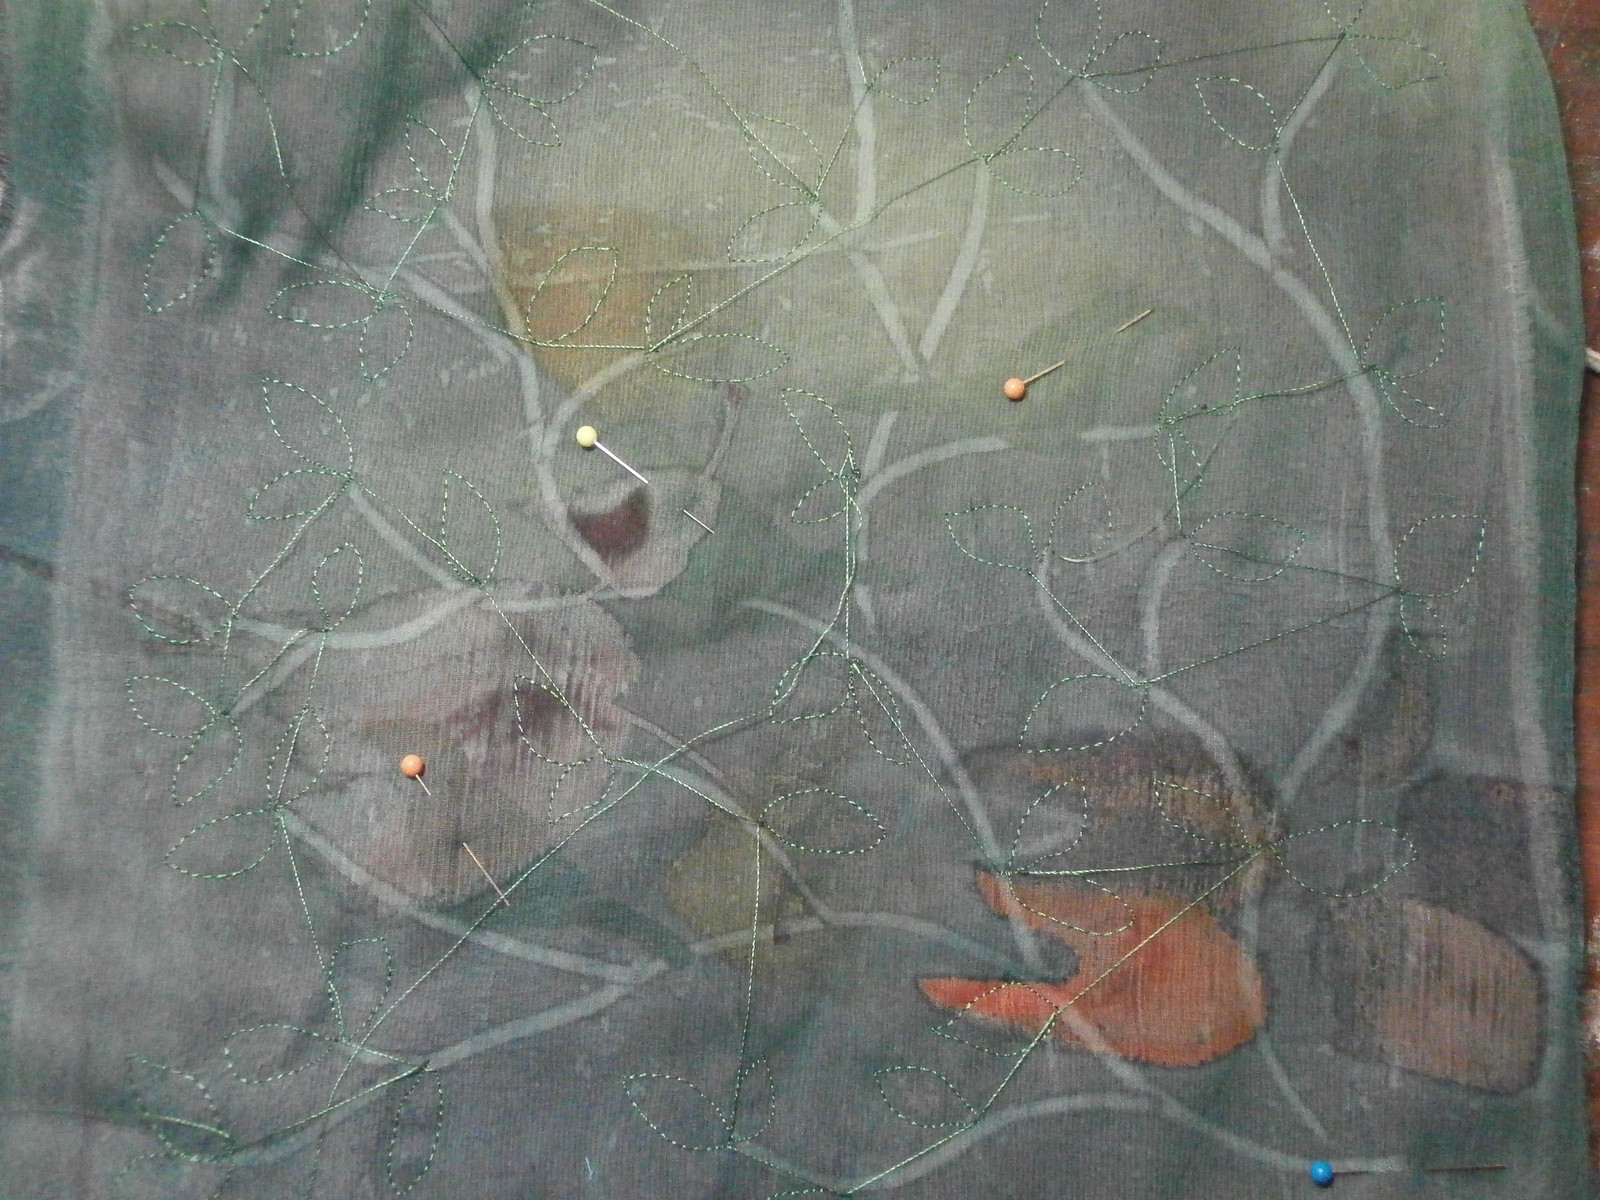
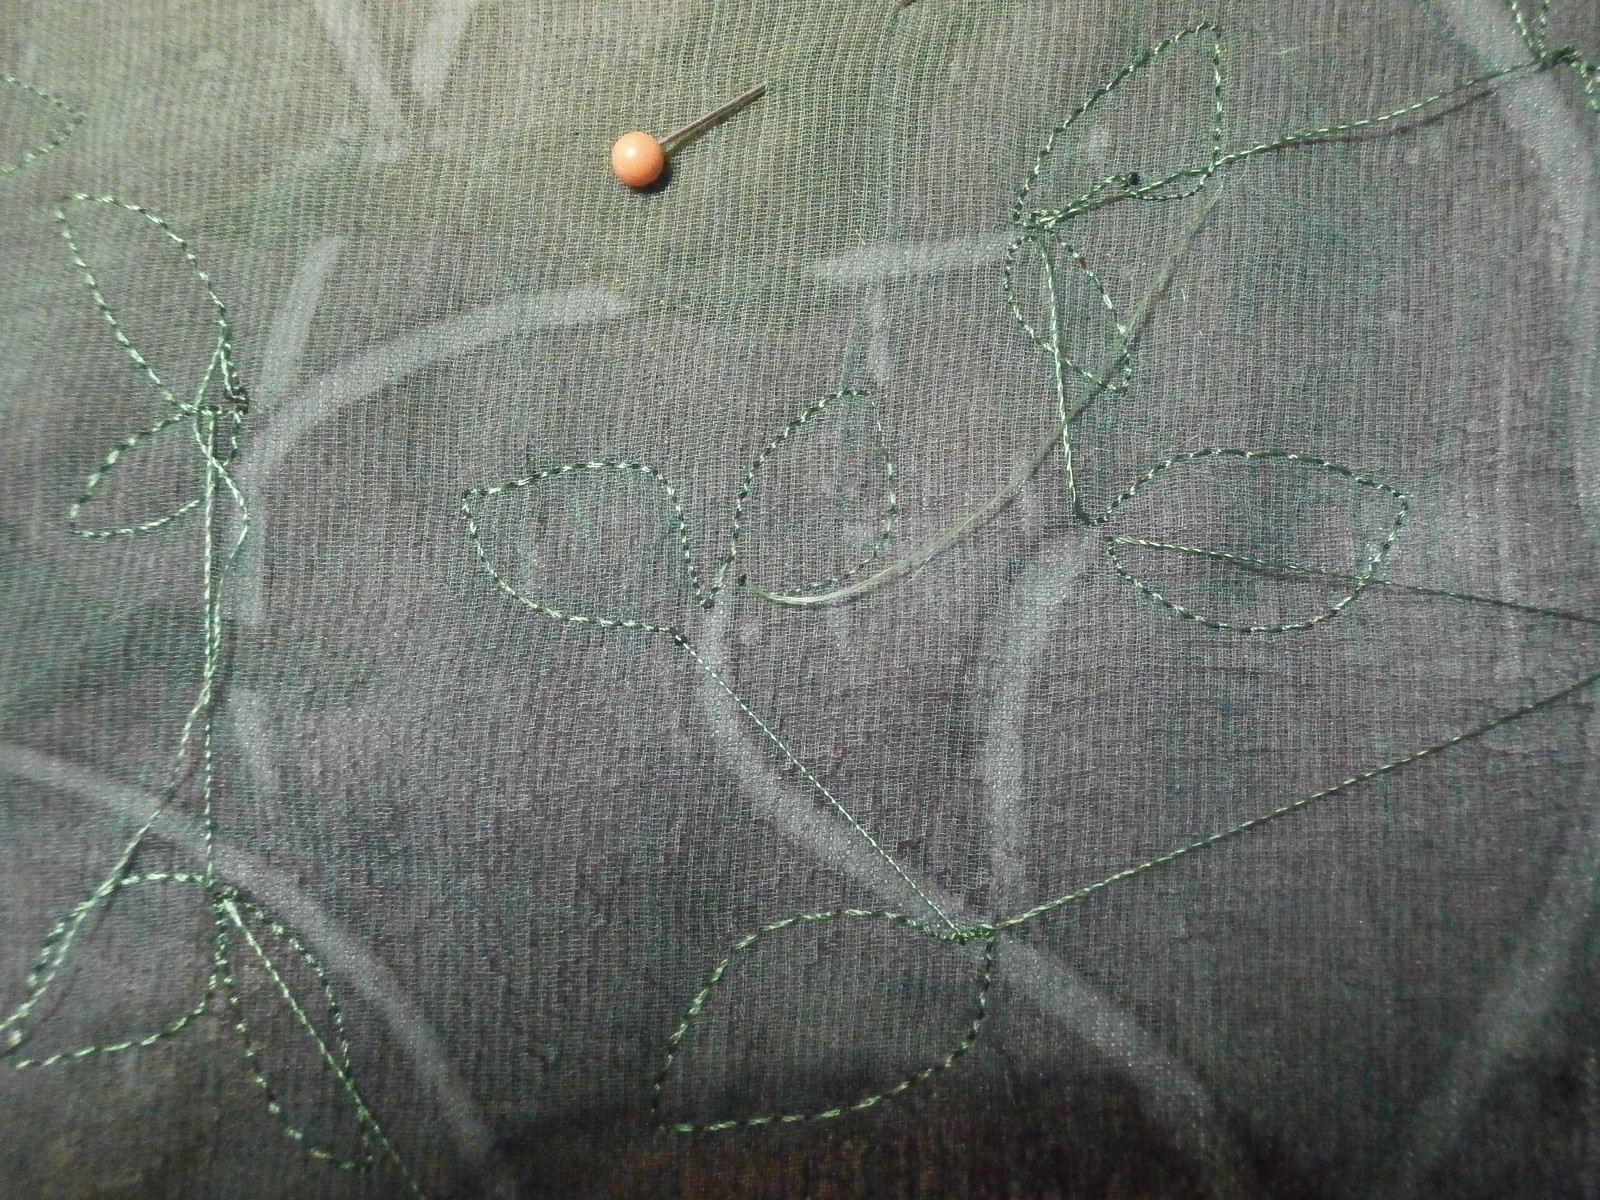
Next I placed a piece of green chiffon over to stitch some leaves.
I stitched a lot of leaves.
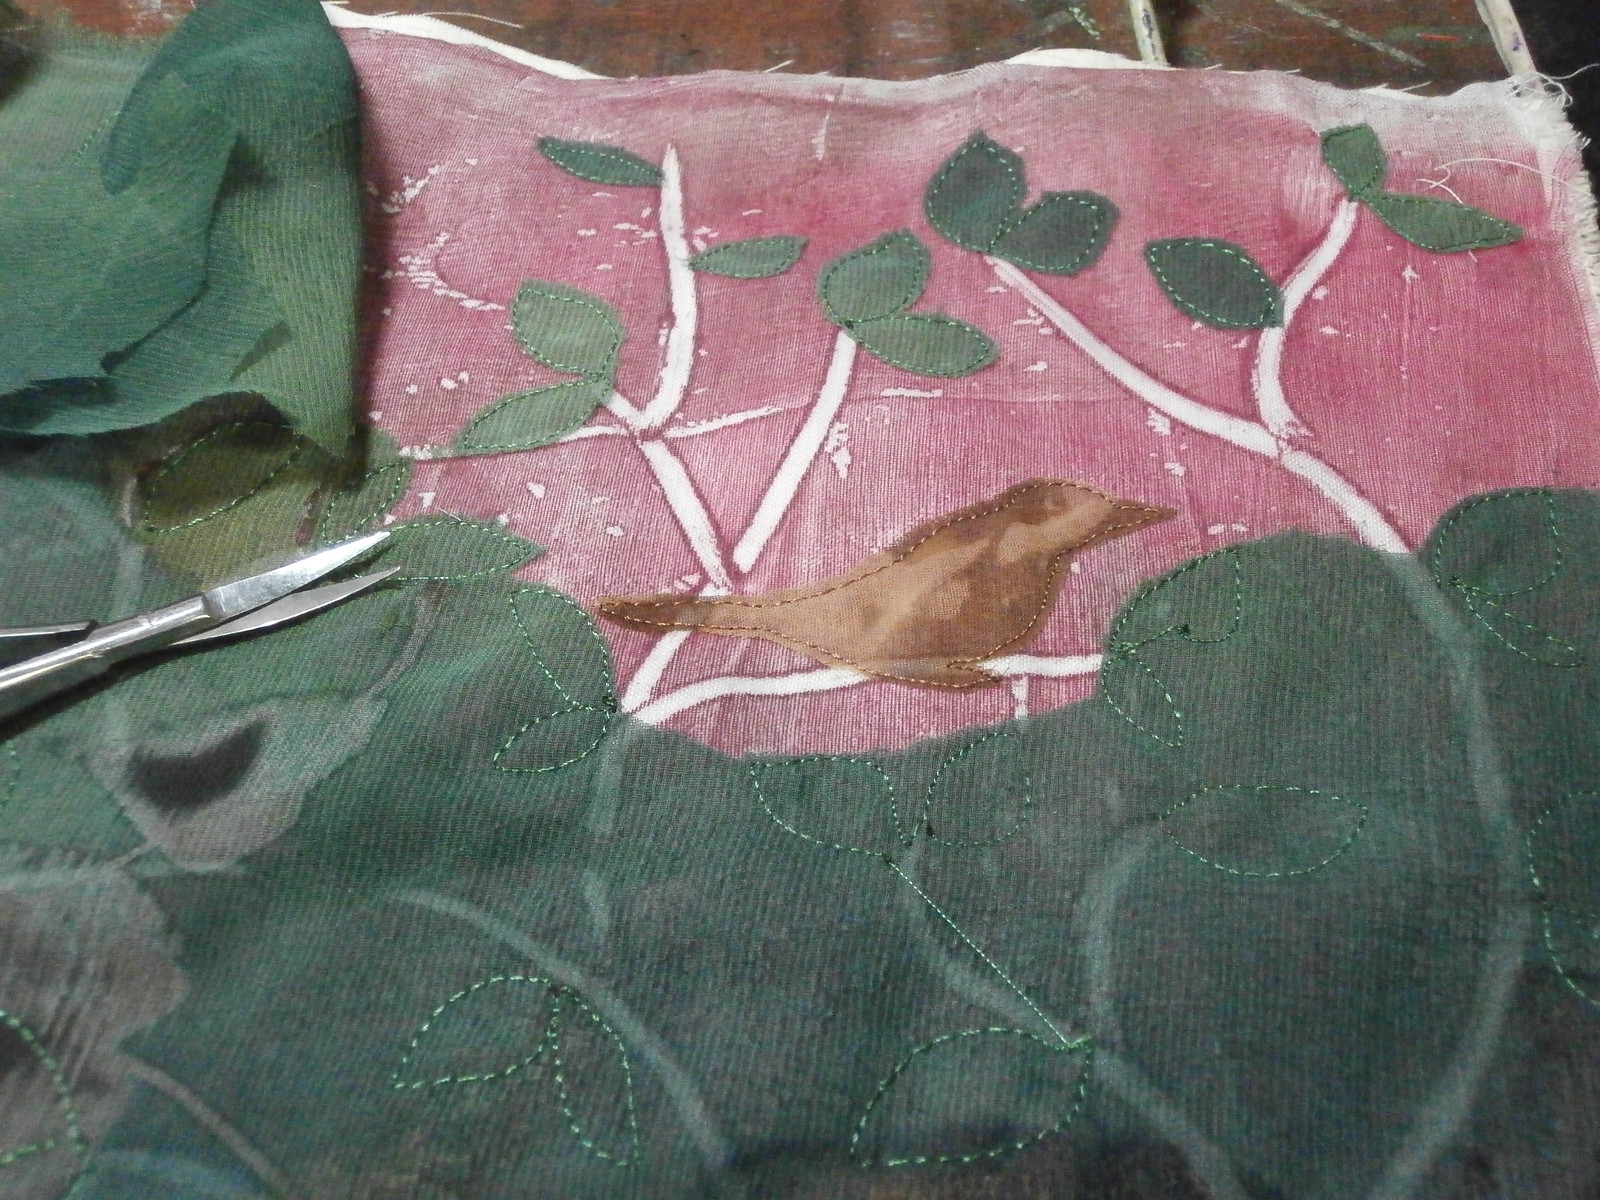
I did a bit of cutting....................
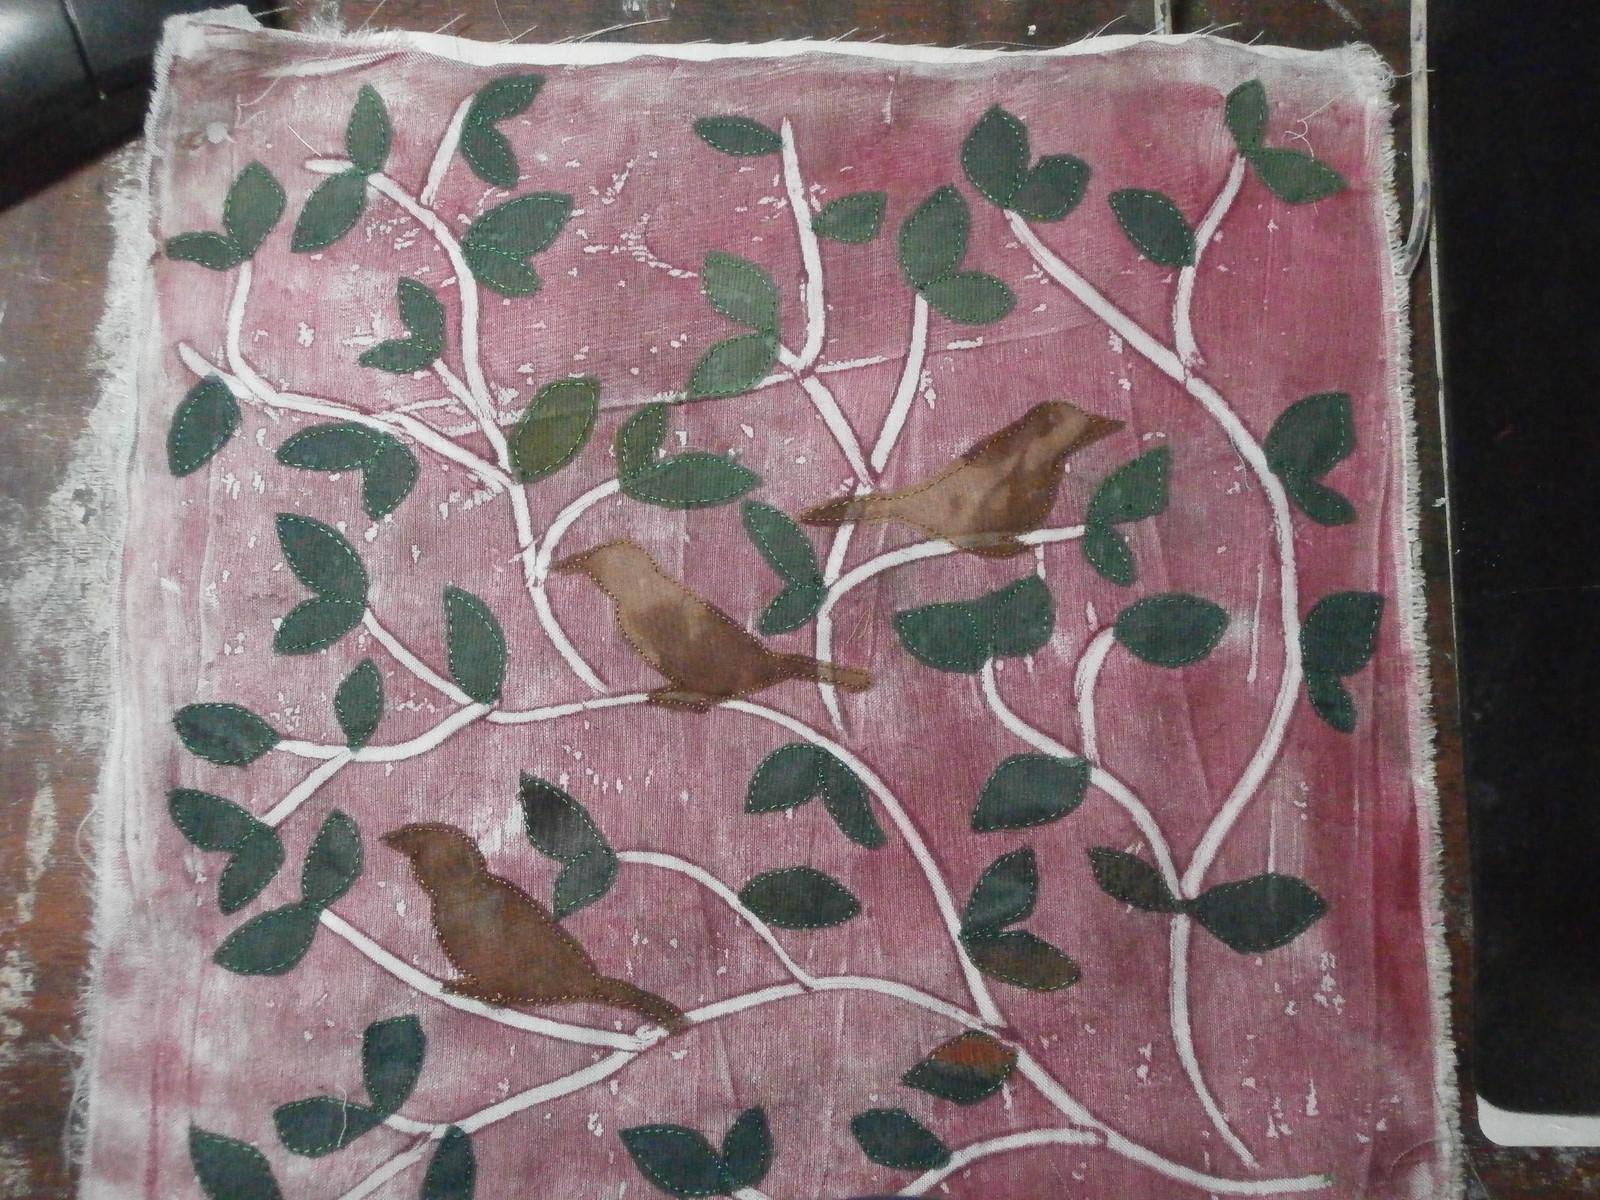
And then a lot more.  And now I am presently hand stitching the background.  That will take me a fair while.

Happy Creating!

Thursday, February 6, 2014

Free motion filling in

you might remember this quilt that I started recently
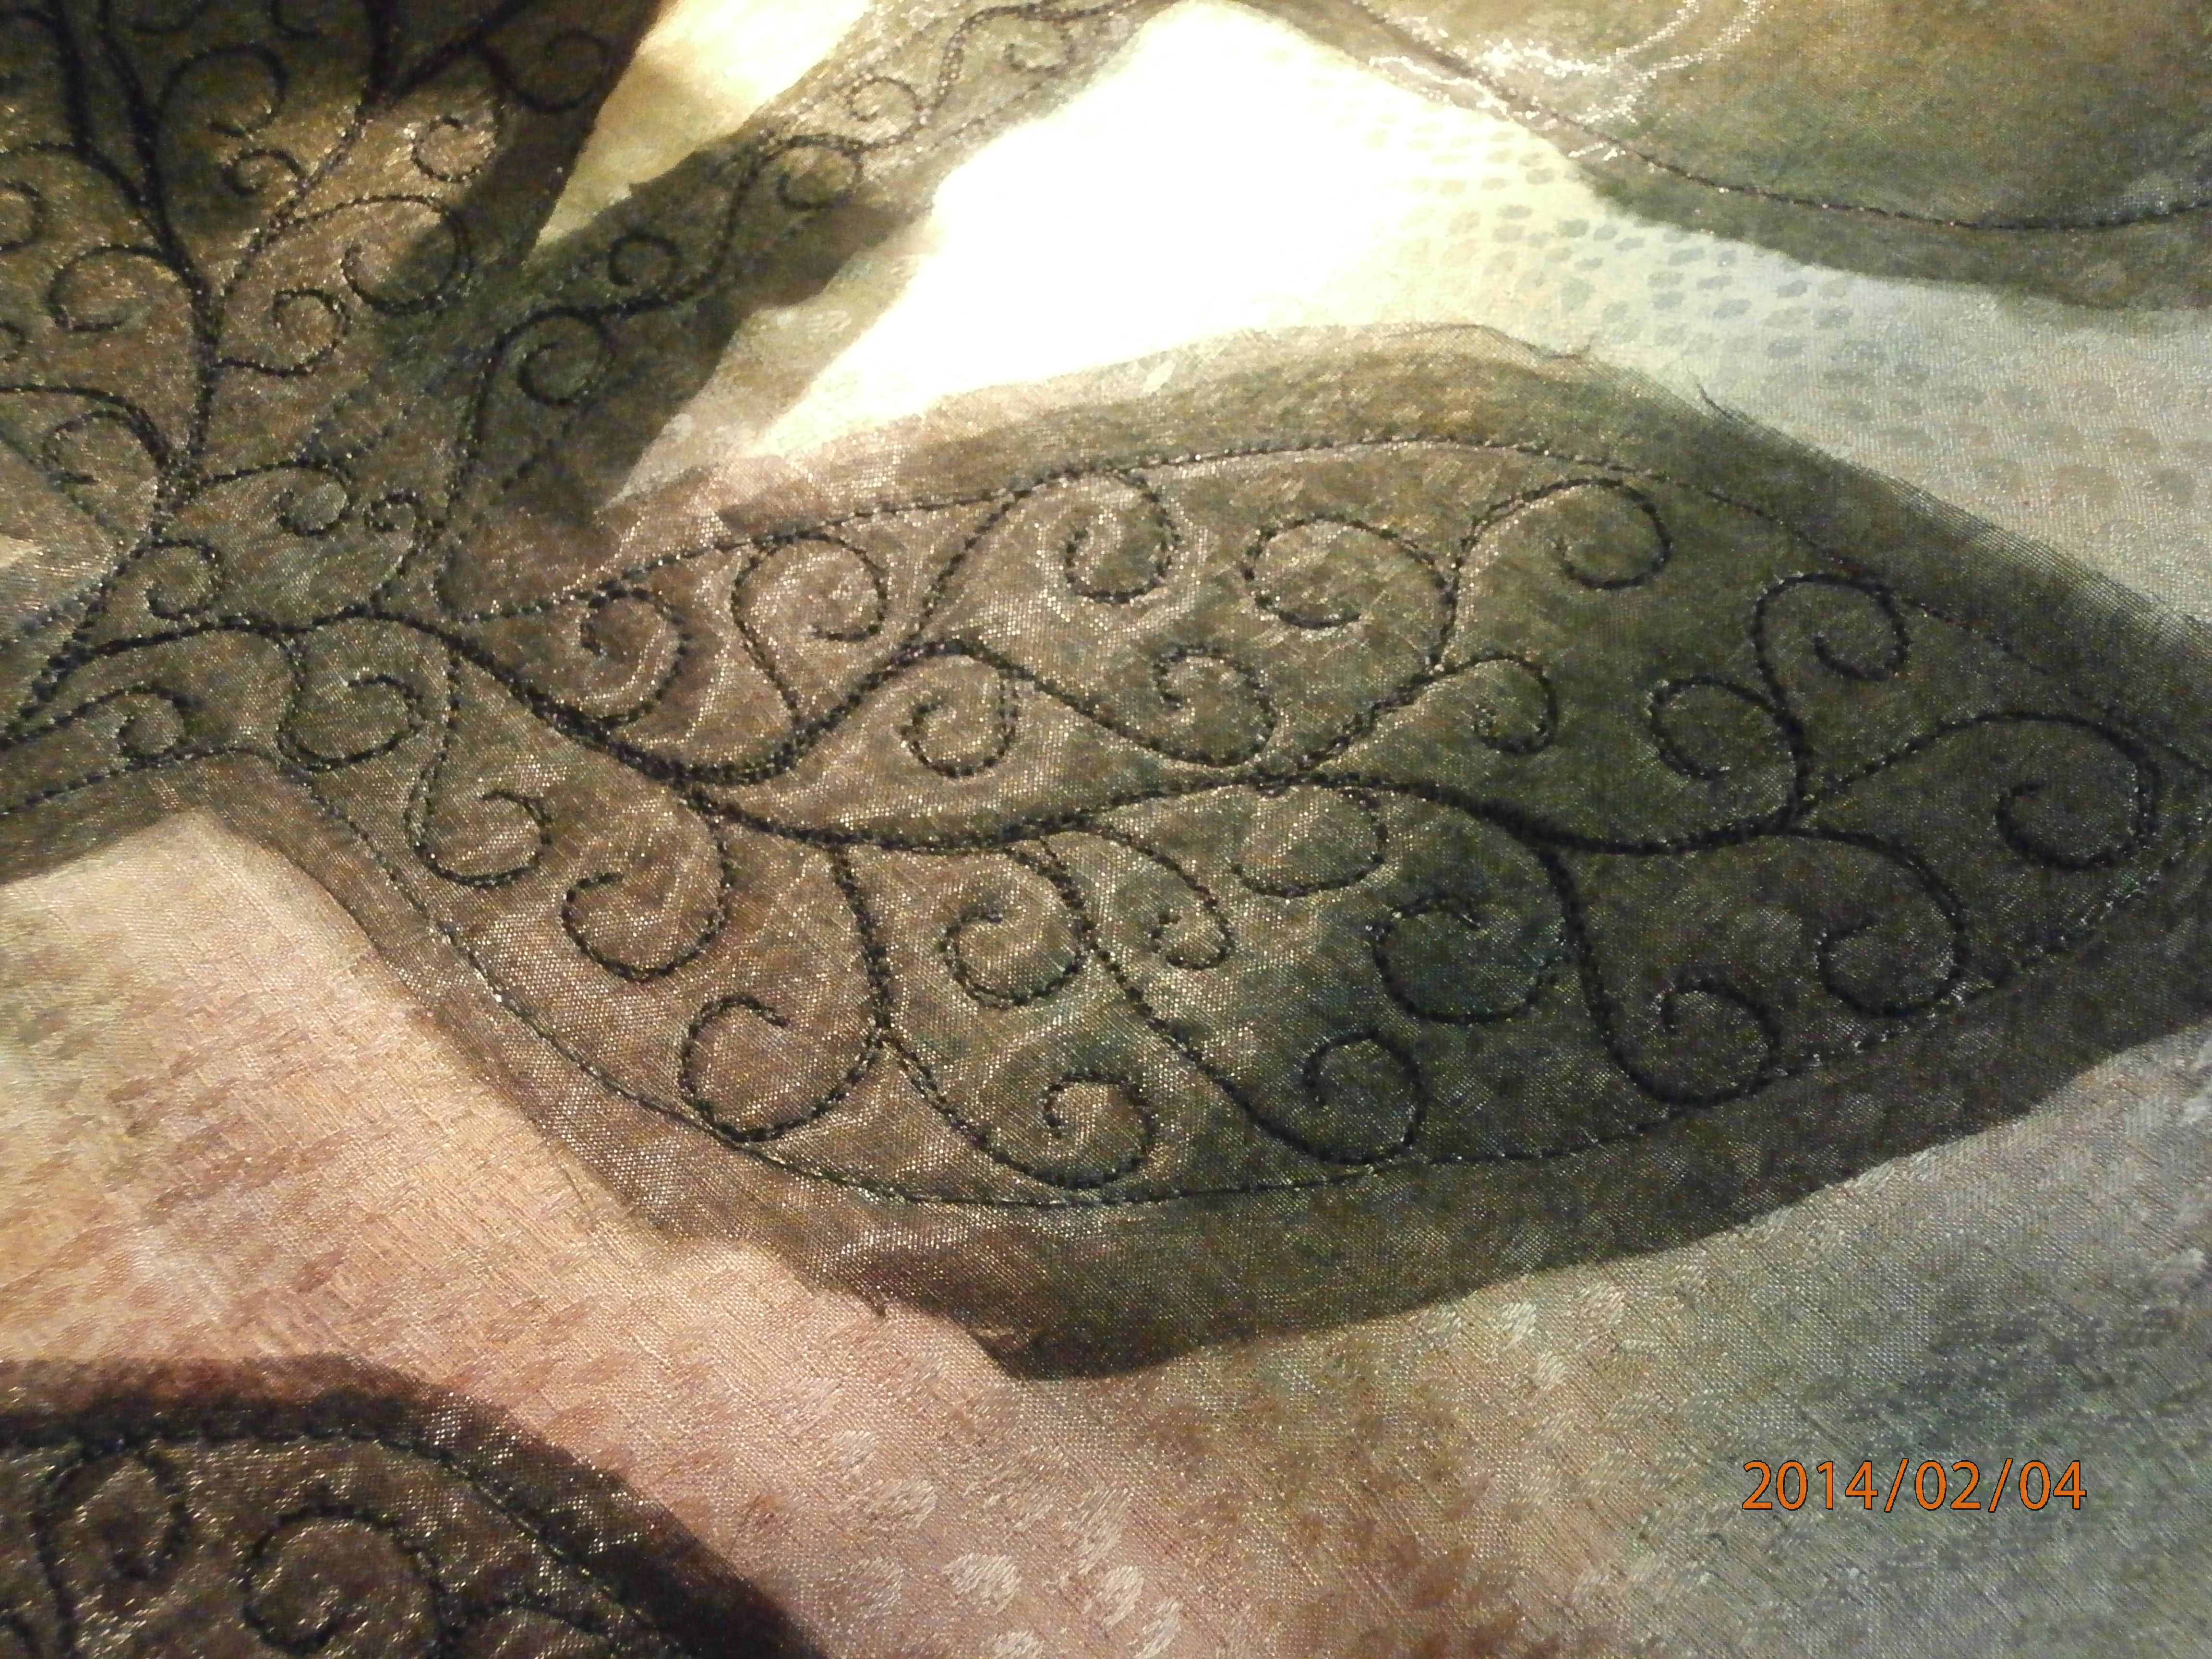
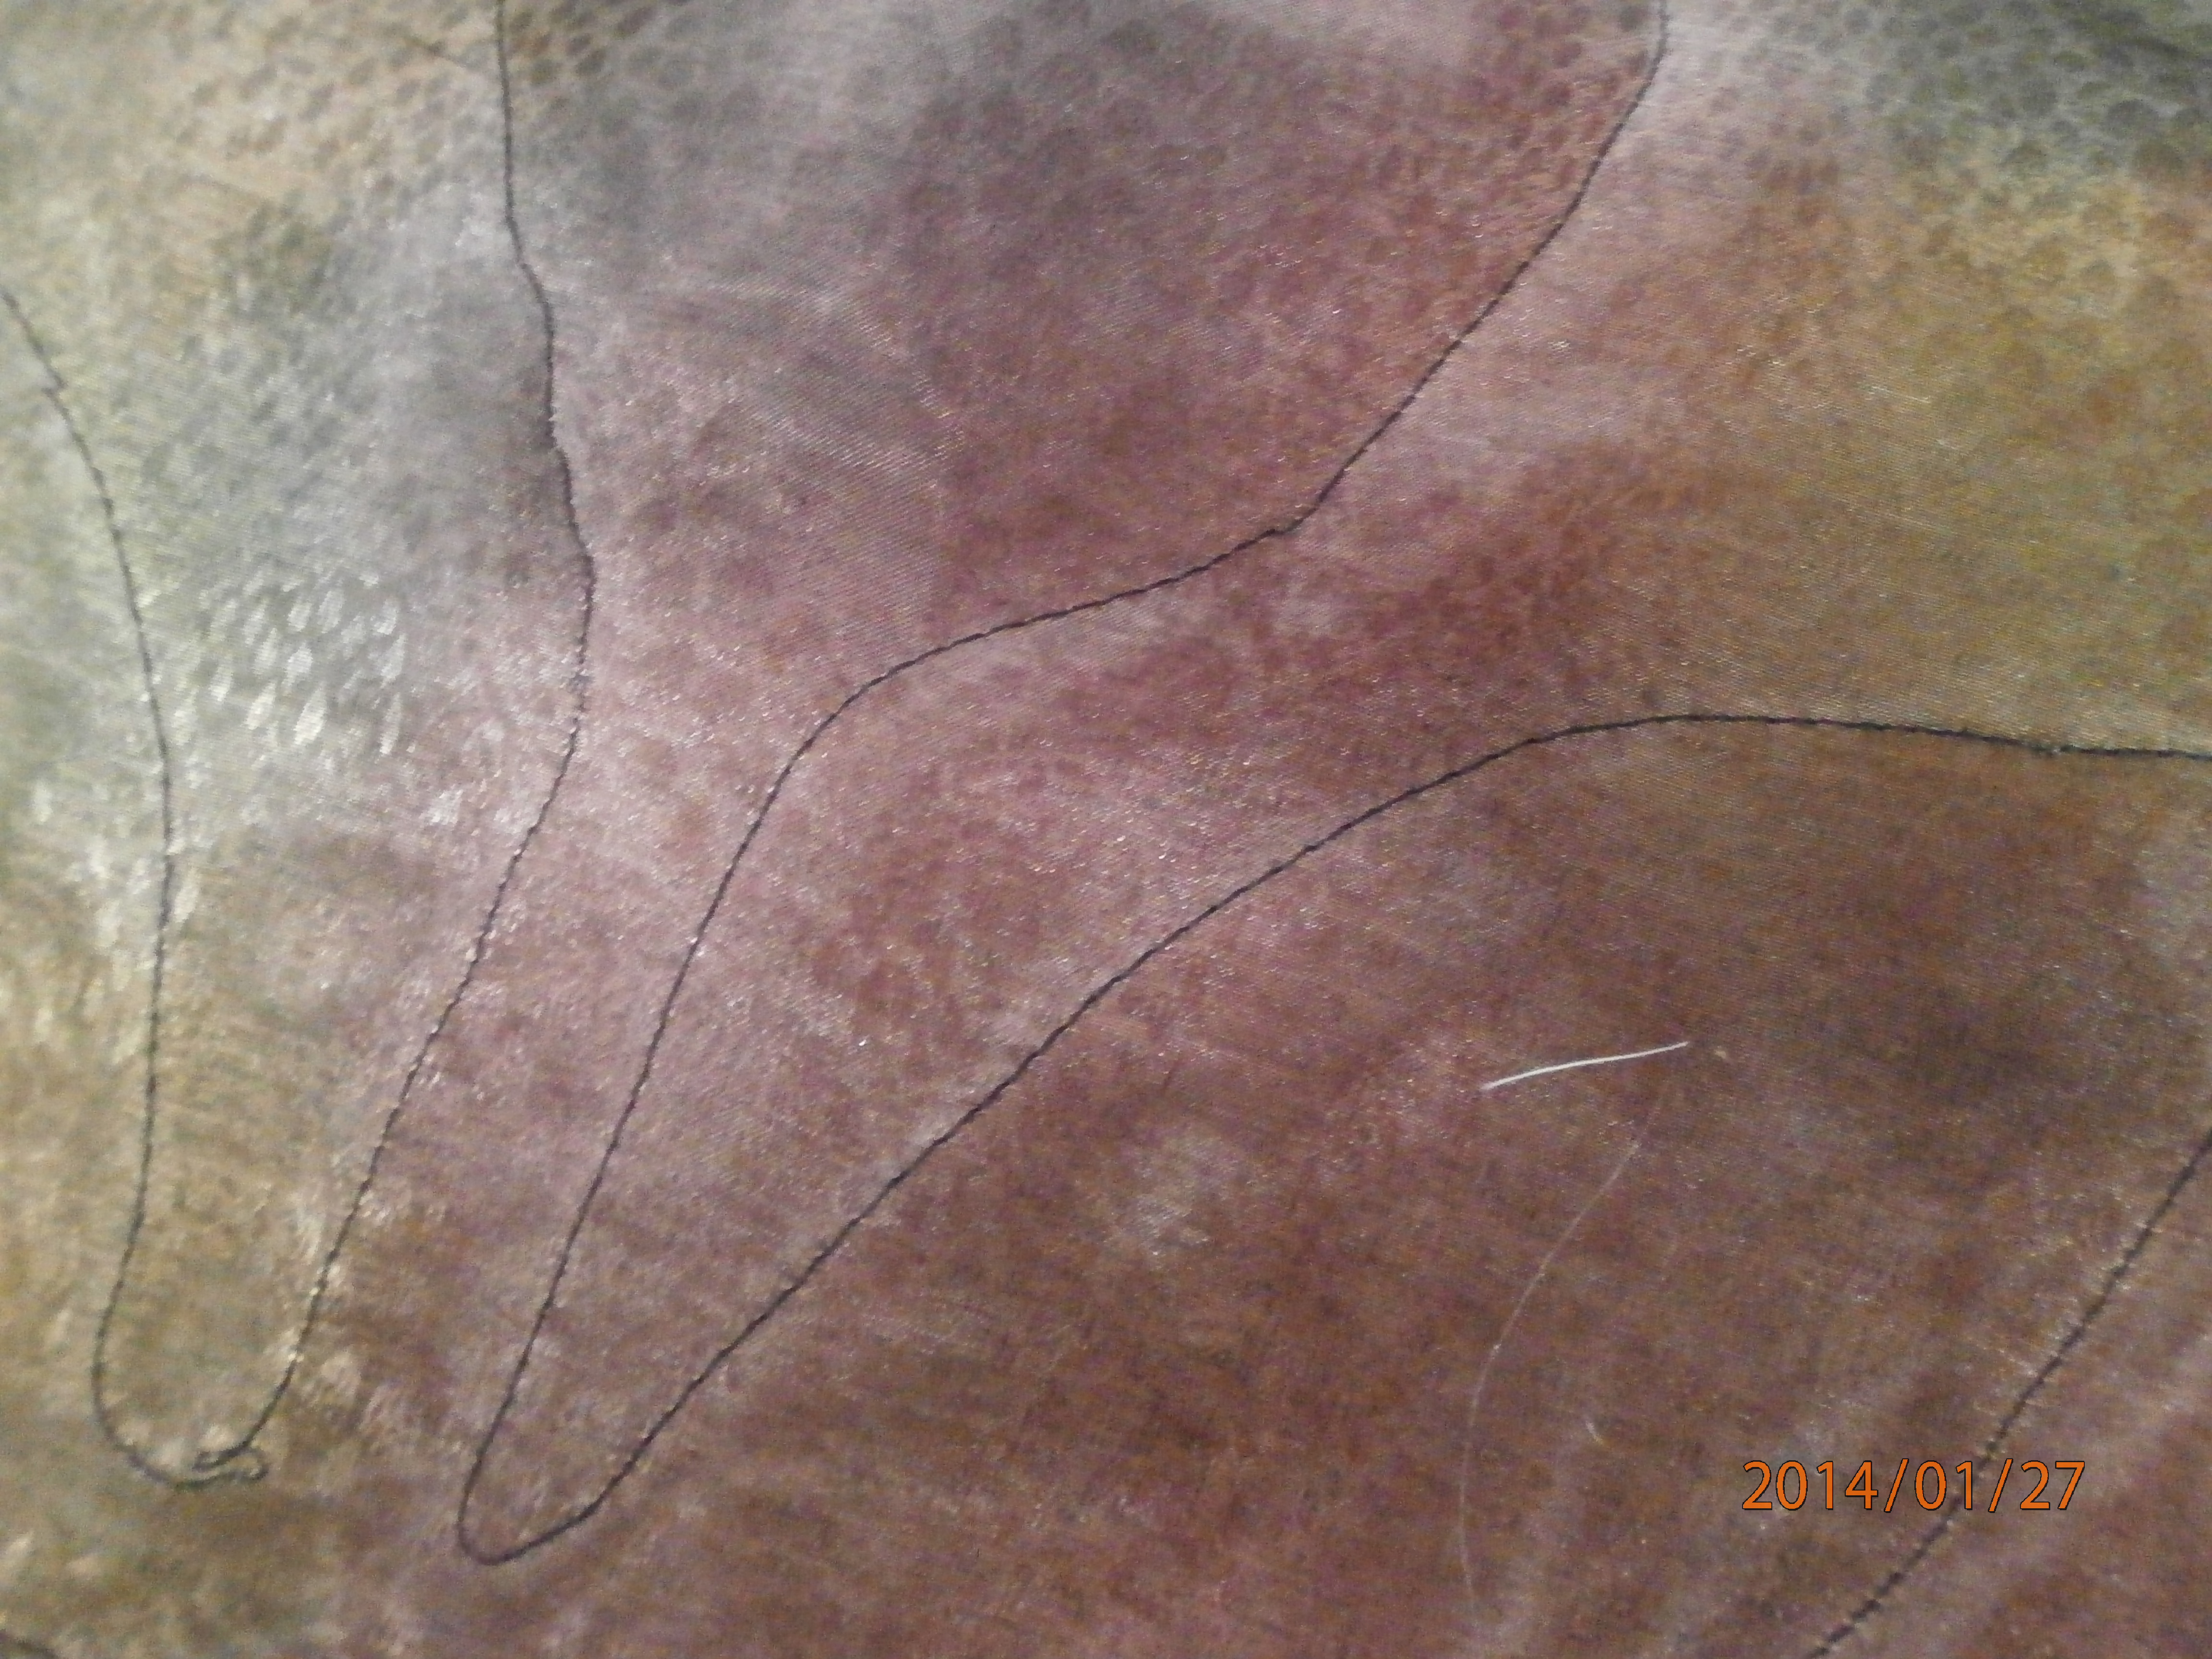
I have been working on the free motion on the black organza

I am doing a spiral sort of design on this one.
As you can see, my free motion is not perfect, and I still have not trimmed the edges of the leaves.  that will be the next step before I quilt the background.  I am still umming and ahing about what to do there.  I am thinking about gold thread but whether or not to do some shadowy  leaf shapes or more abstract designs eludes me at present.  We will see.....

Happy Creating!

Wednesday, January 29, 2014

What's growing?

A new art quilt is growing.
It is at the  stage where i have a lot of free motion to do, so I thought I'd show you what I have done so far.
This quilt is based on a page in my leaf sketchbook.
These are three gelatin monoprints that I have collaged together.  One is a negative and two are positive.  I used a bit of artistic licence and moved them around a bit.
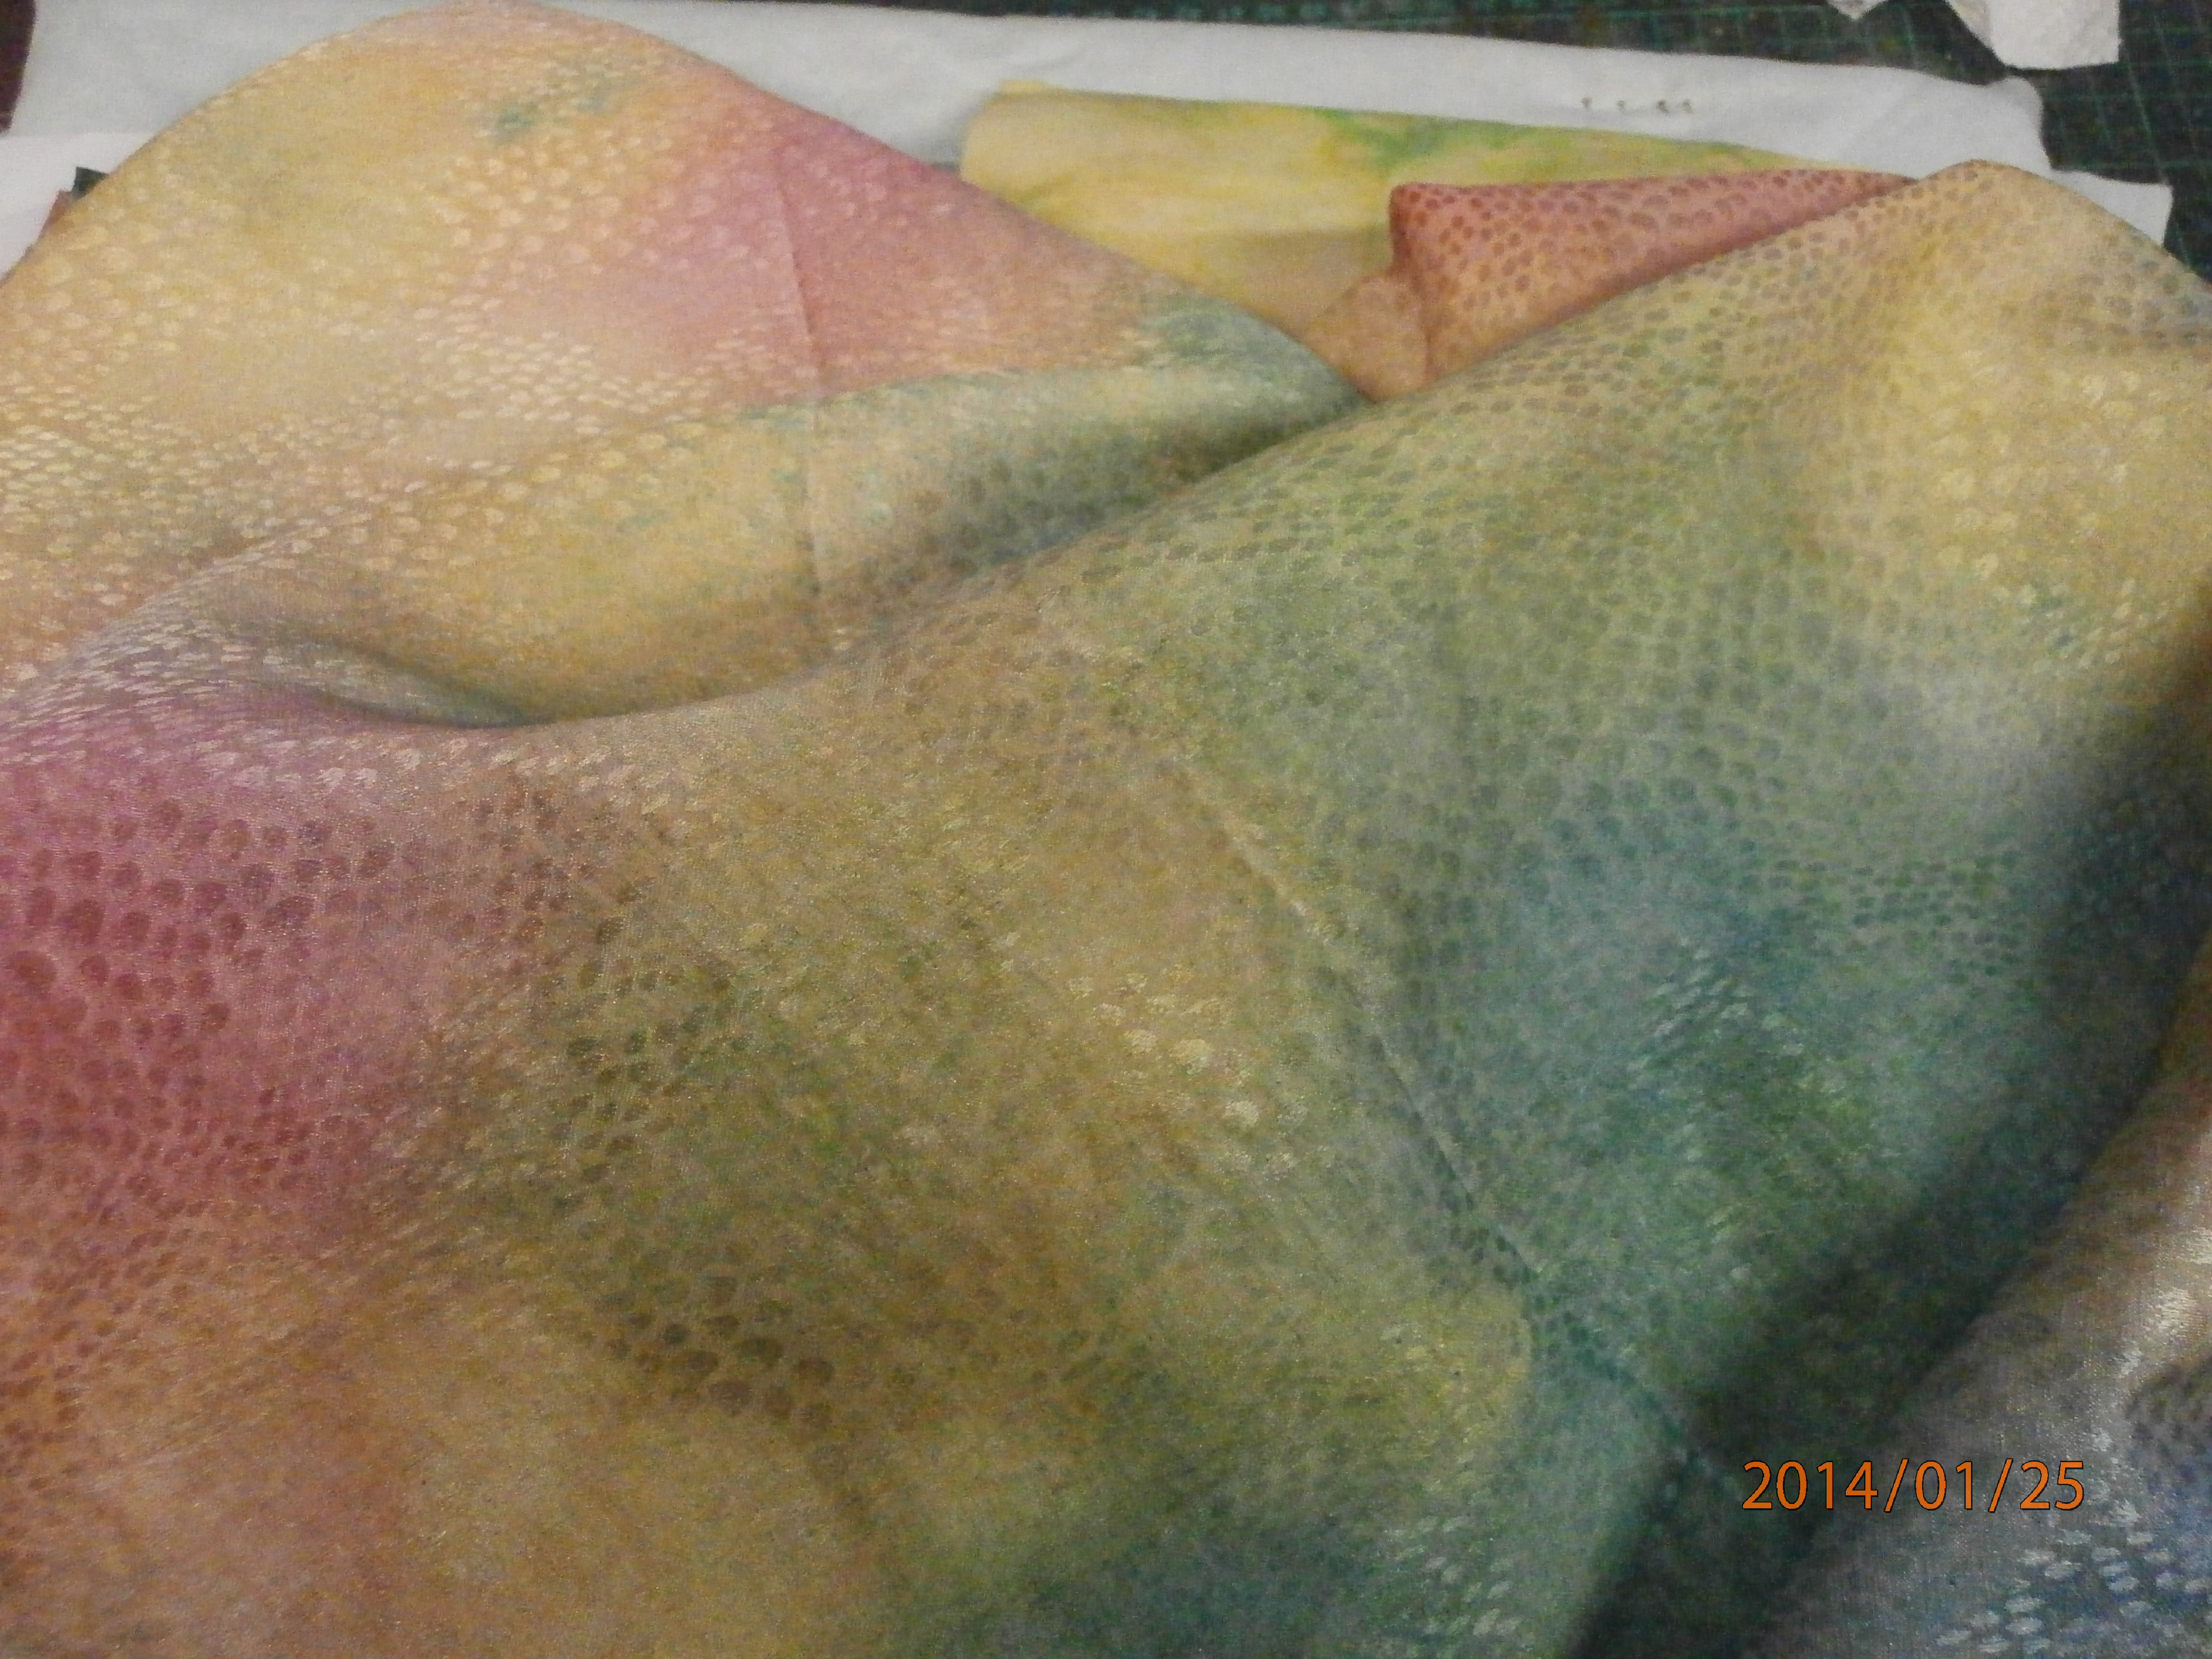
My background was the textured satin I sprayed the other day.
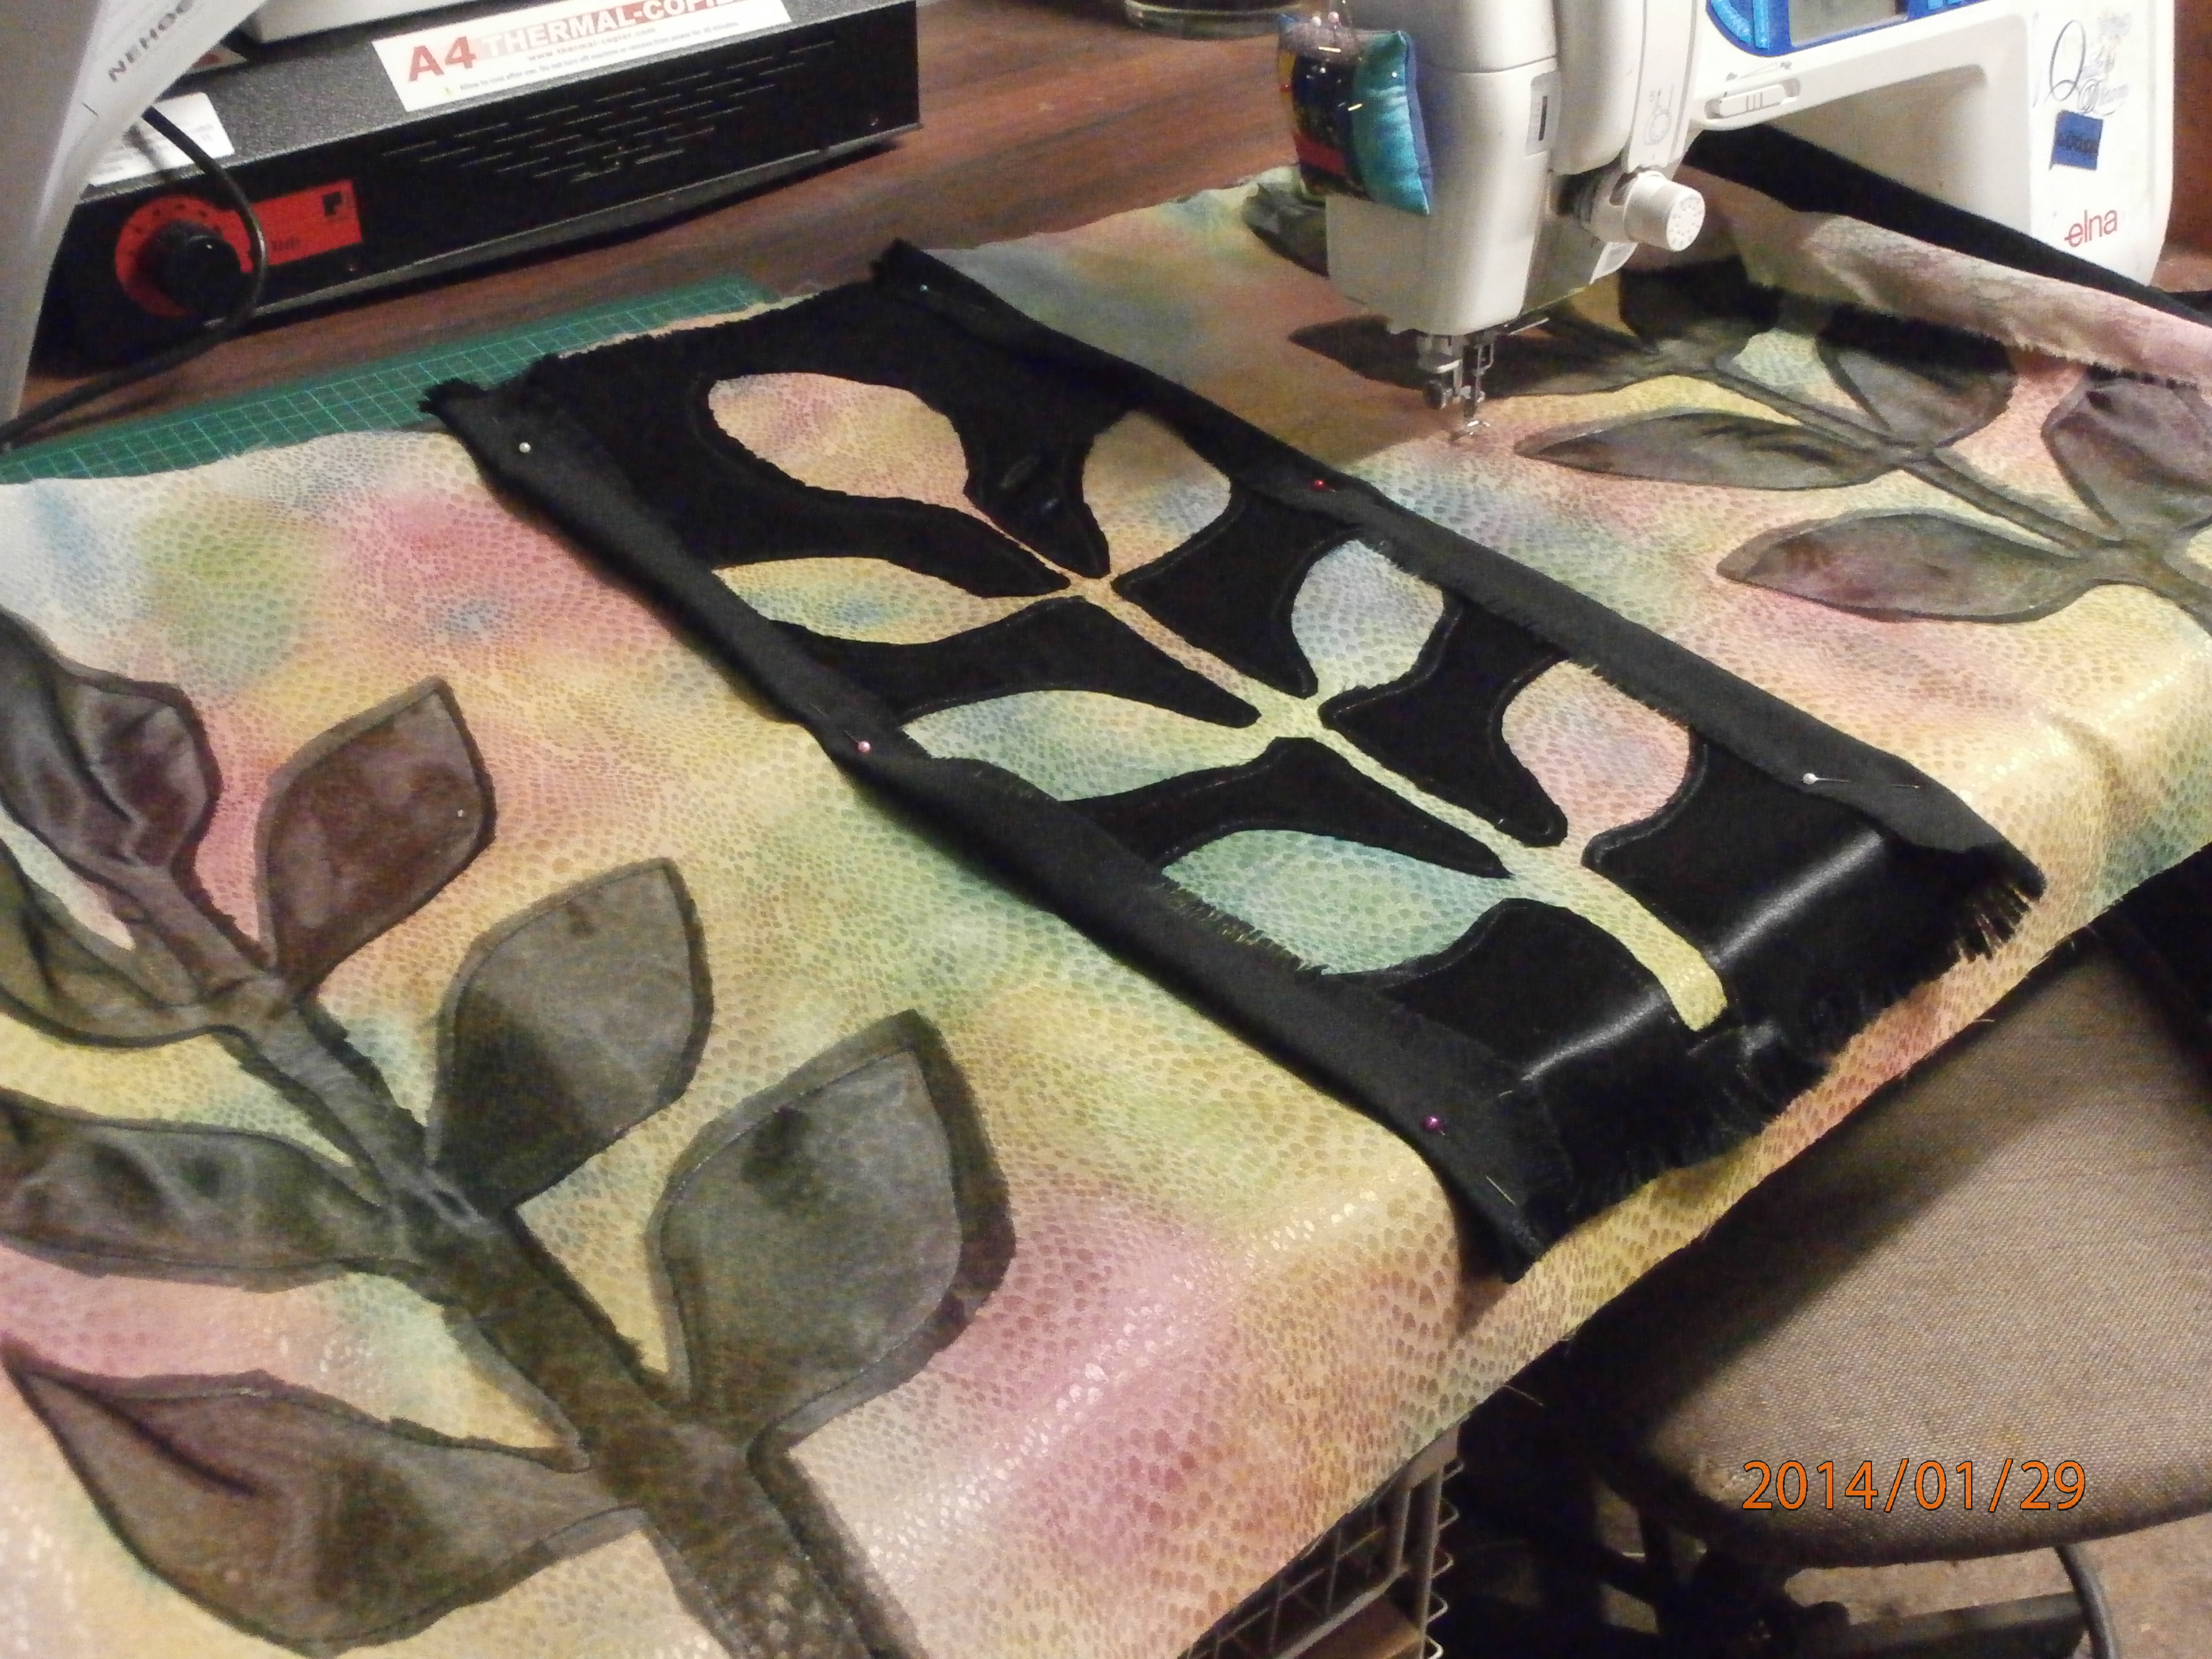
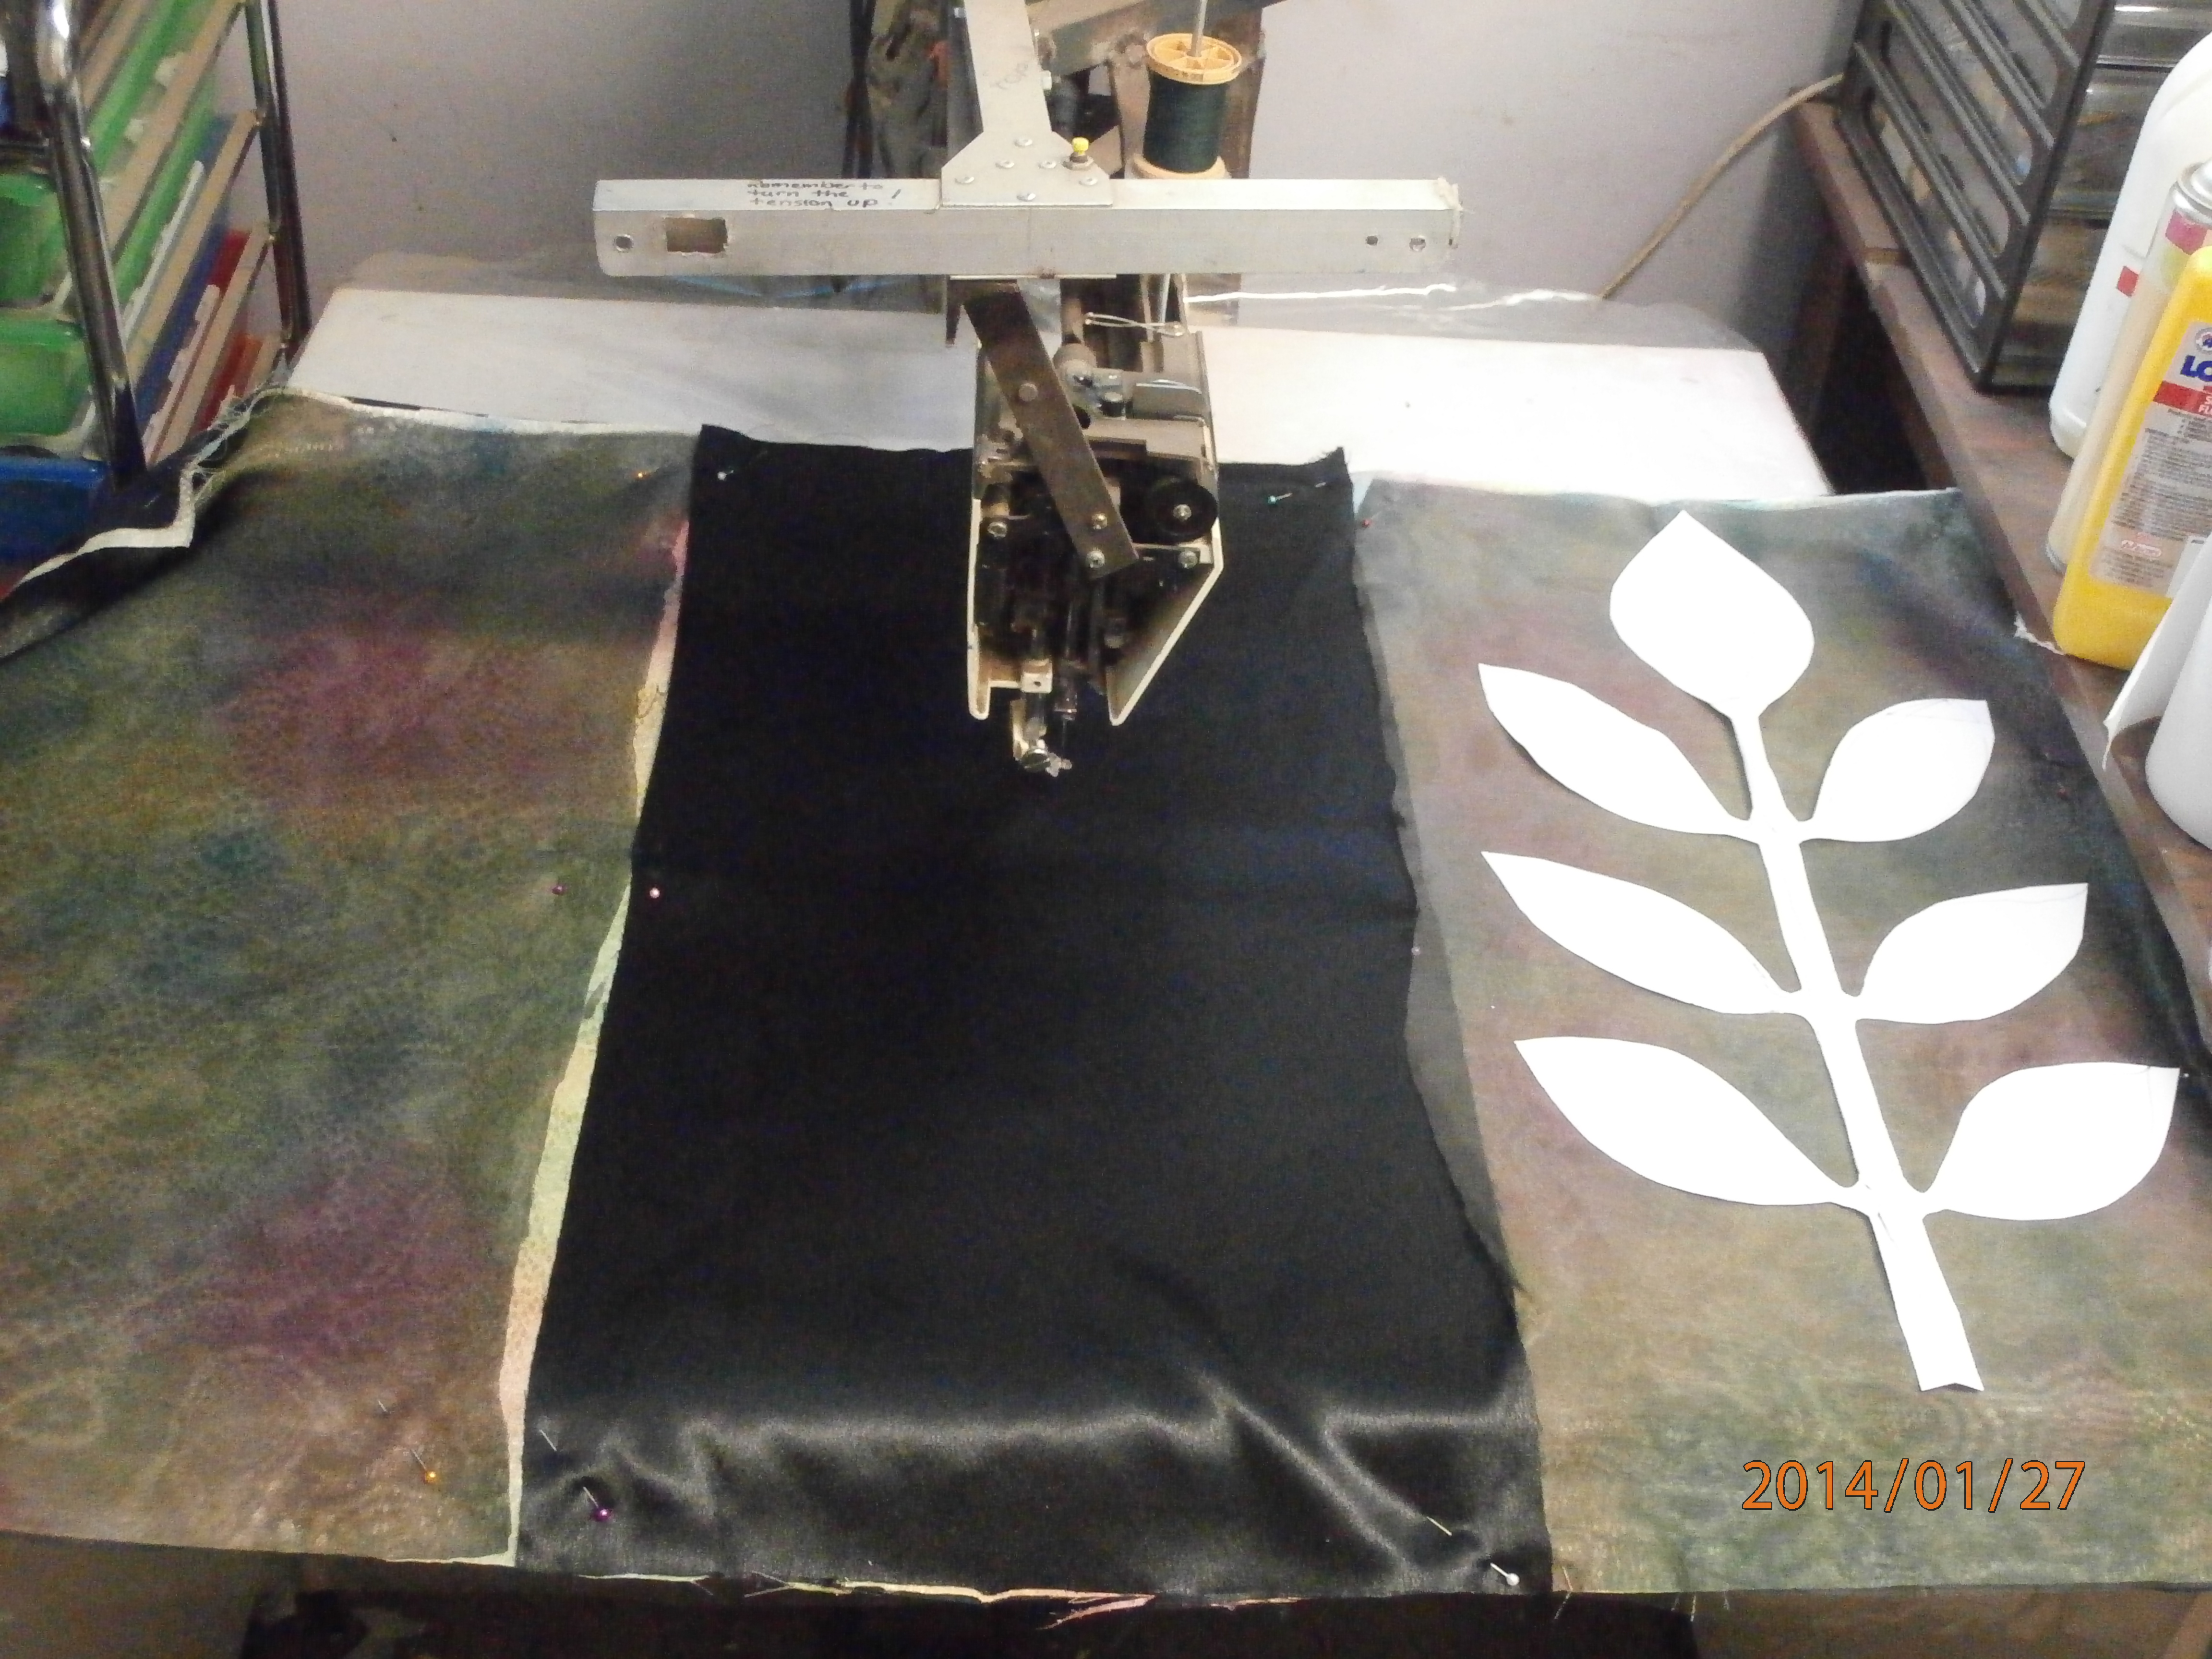
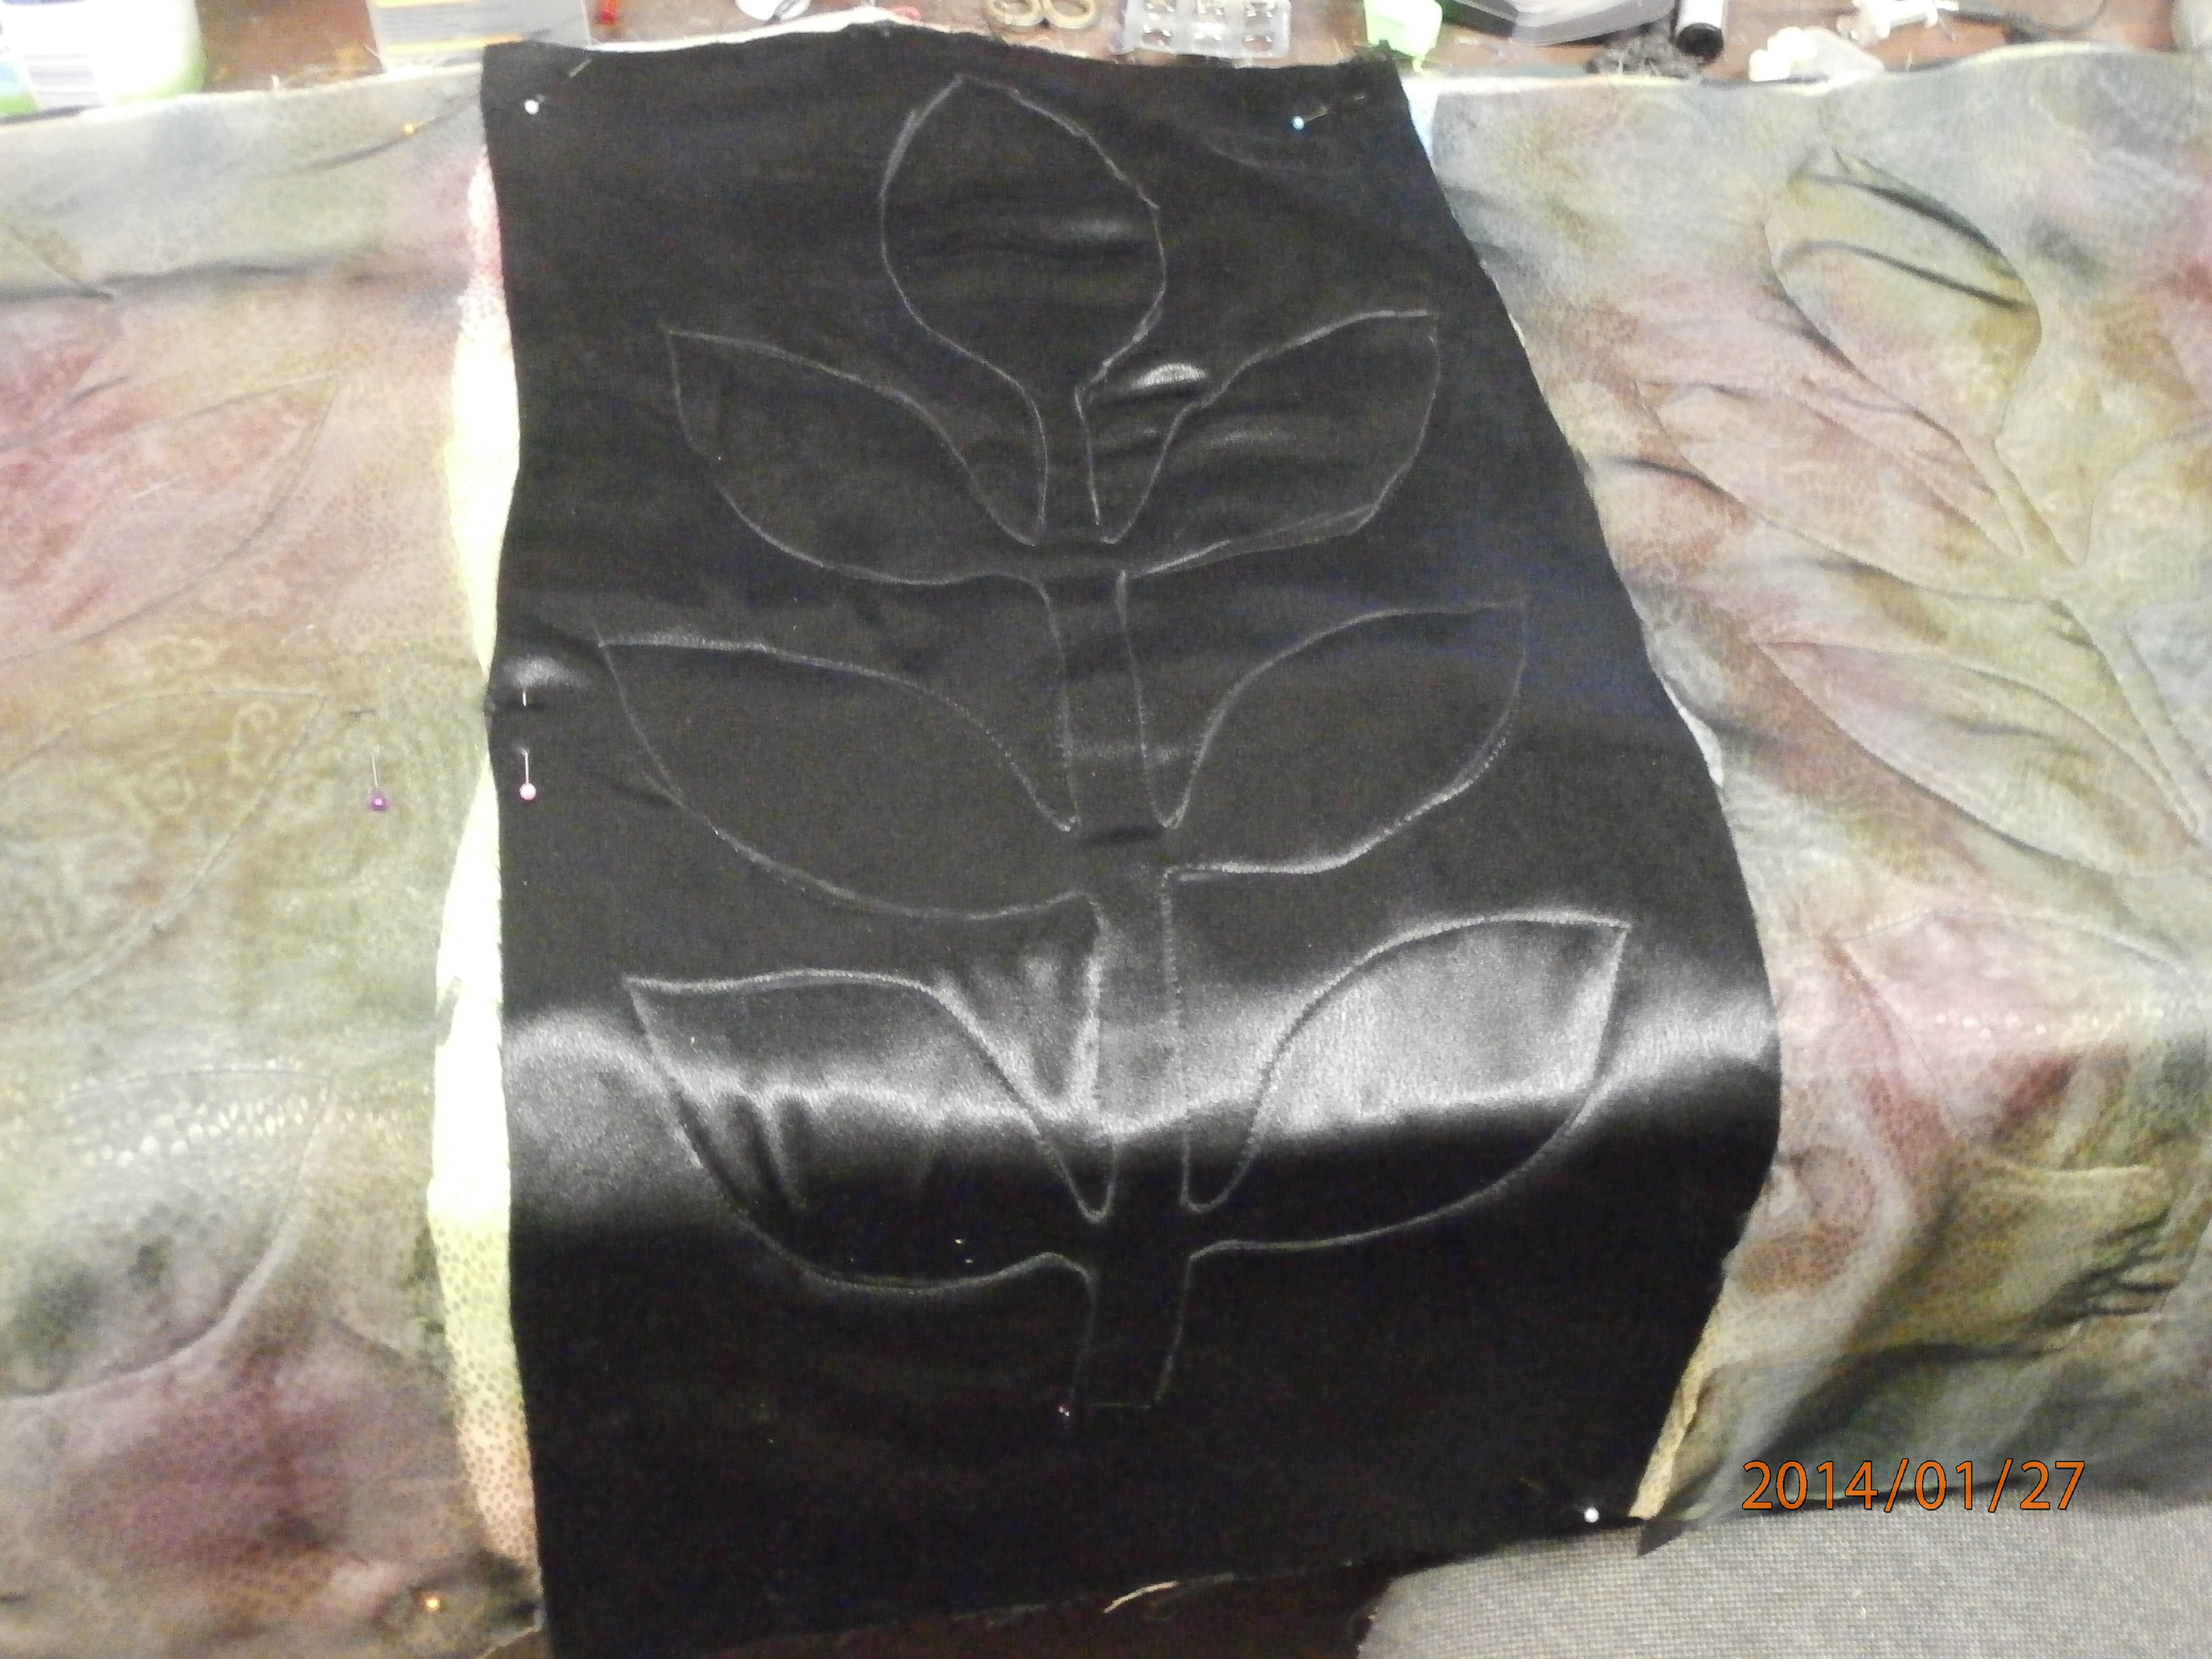
I layered it up with felt and added some black satin in the centre and black organza on the sides to create three sections.   I traced around the paper stencil I made for it and stitched around it three times.
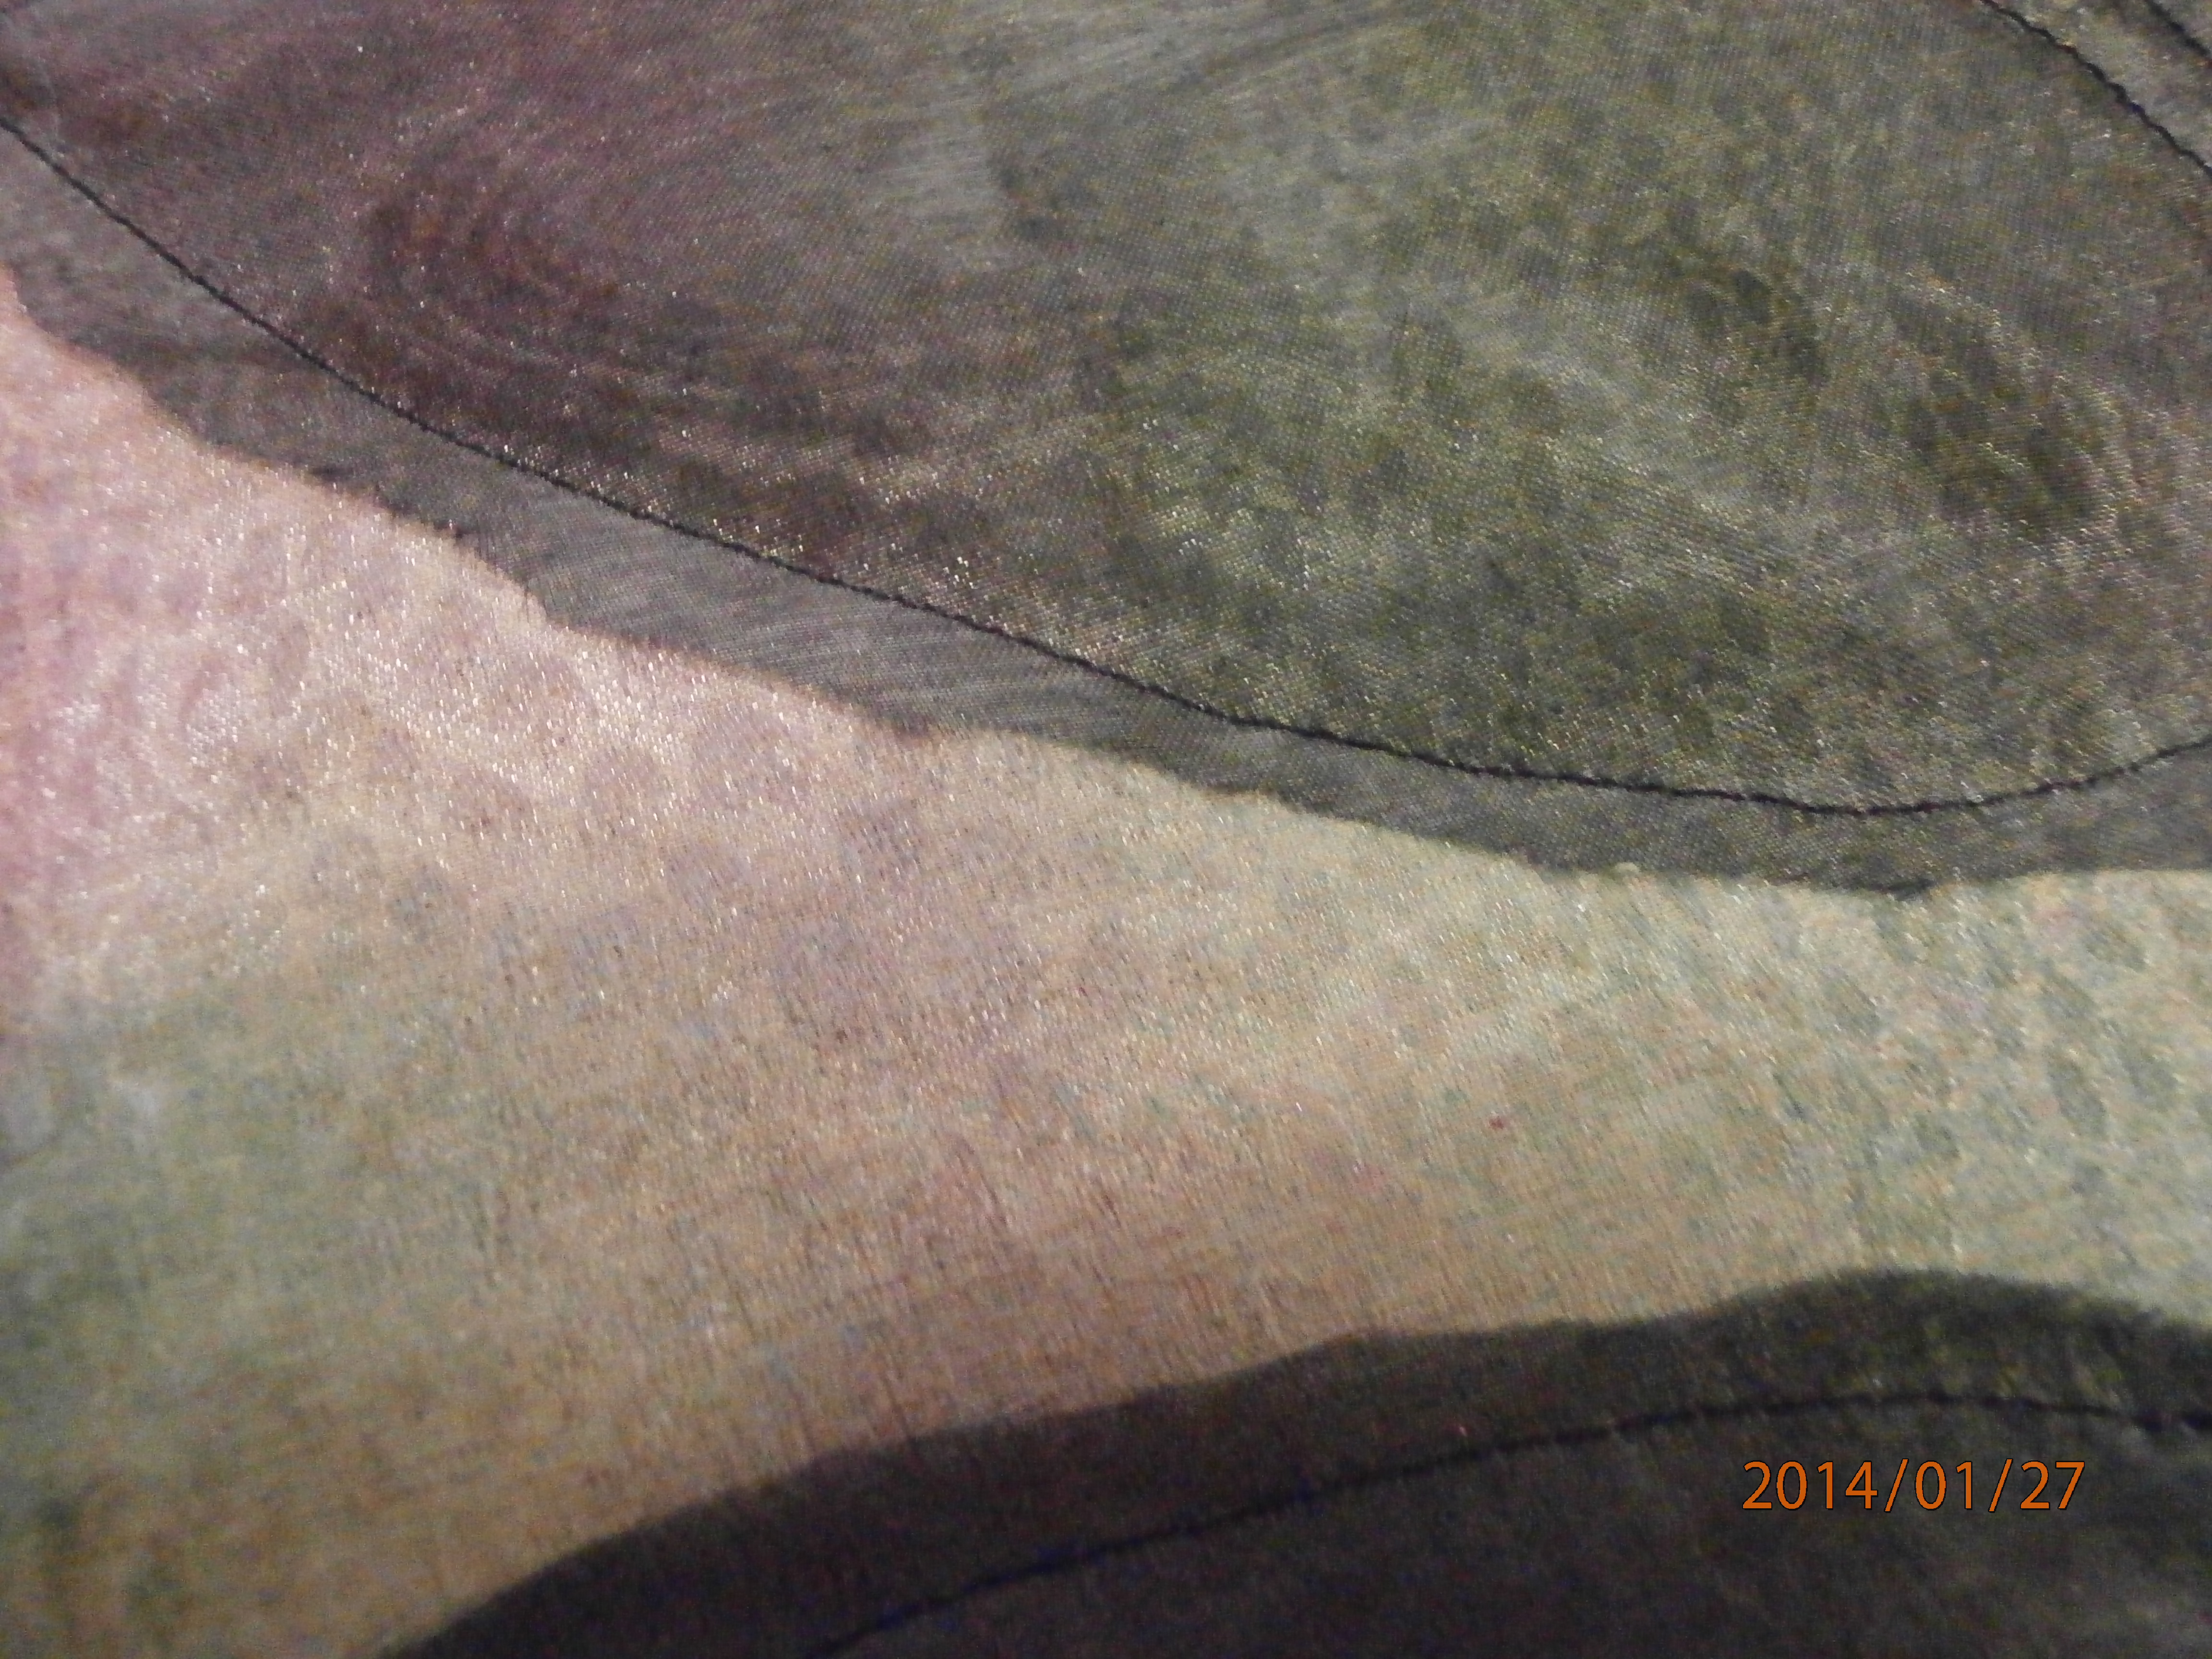
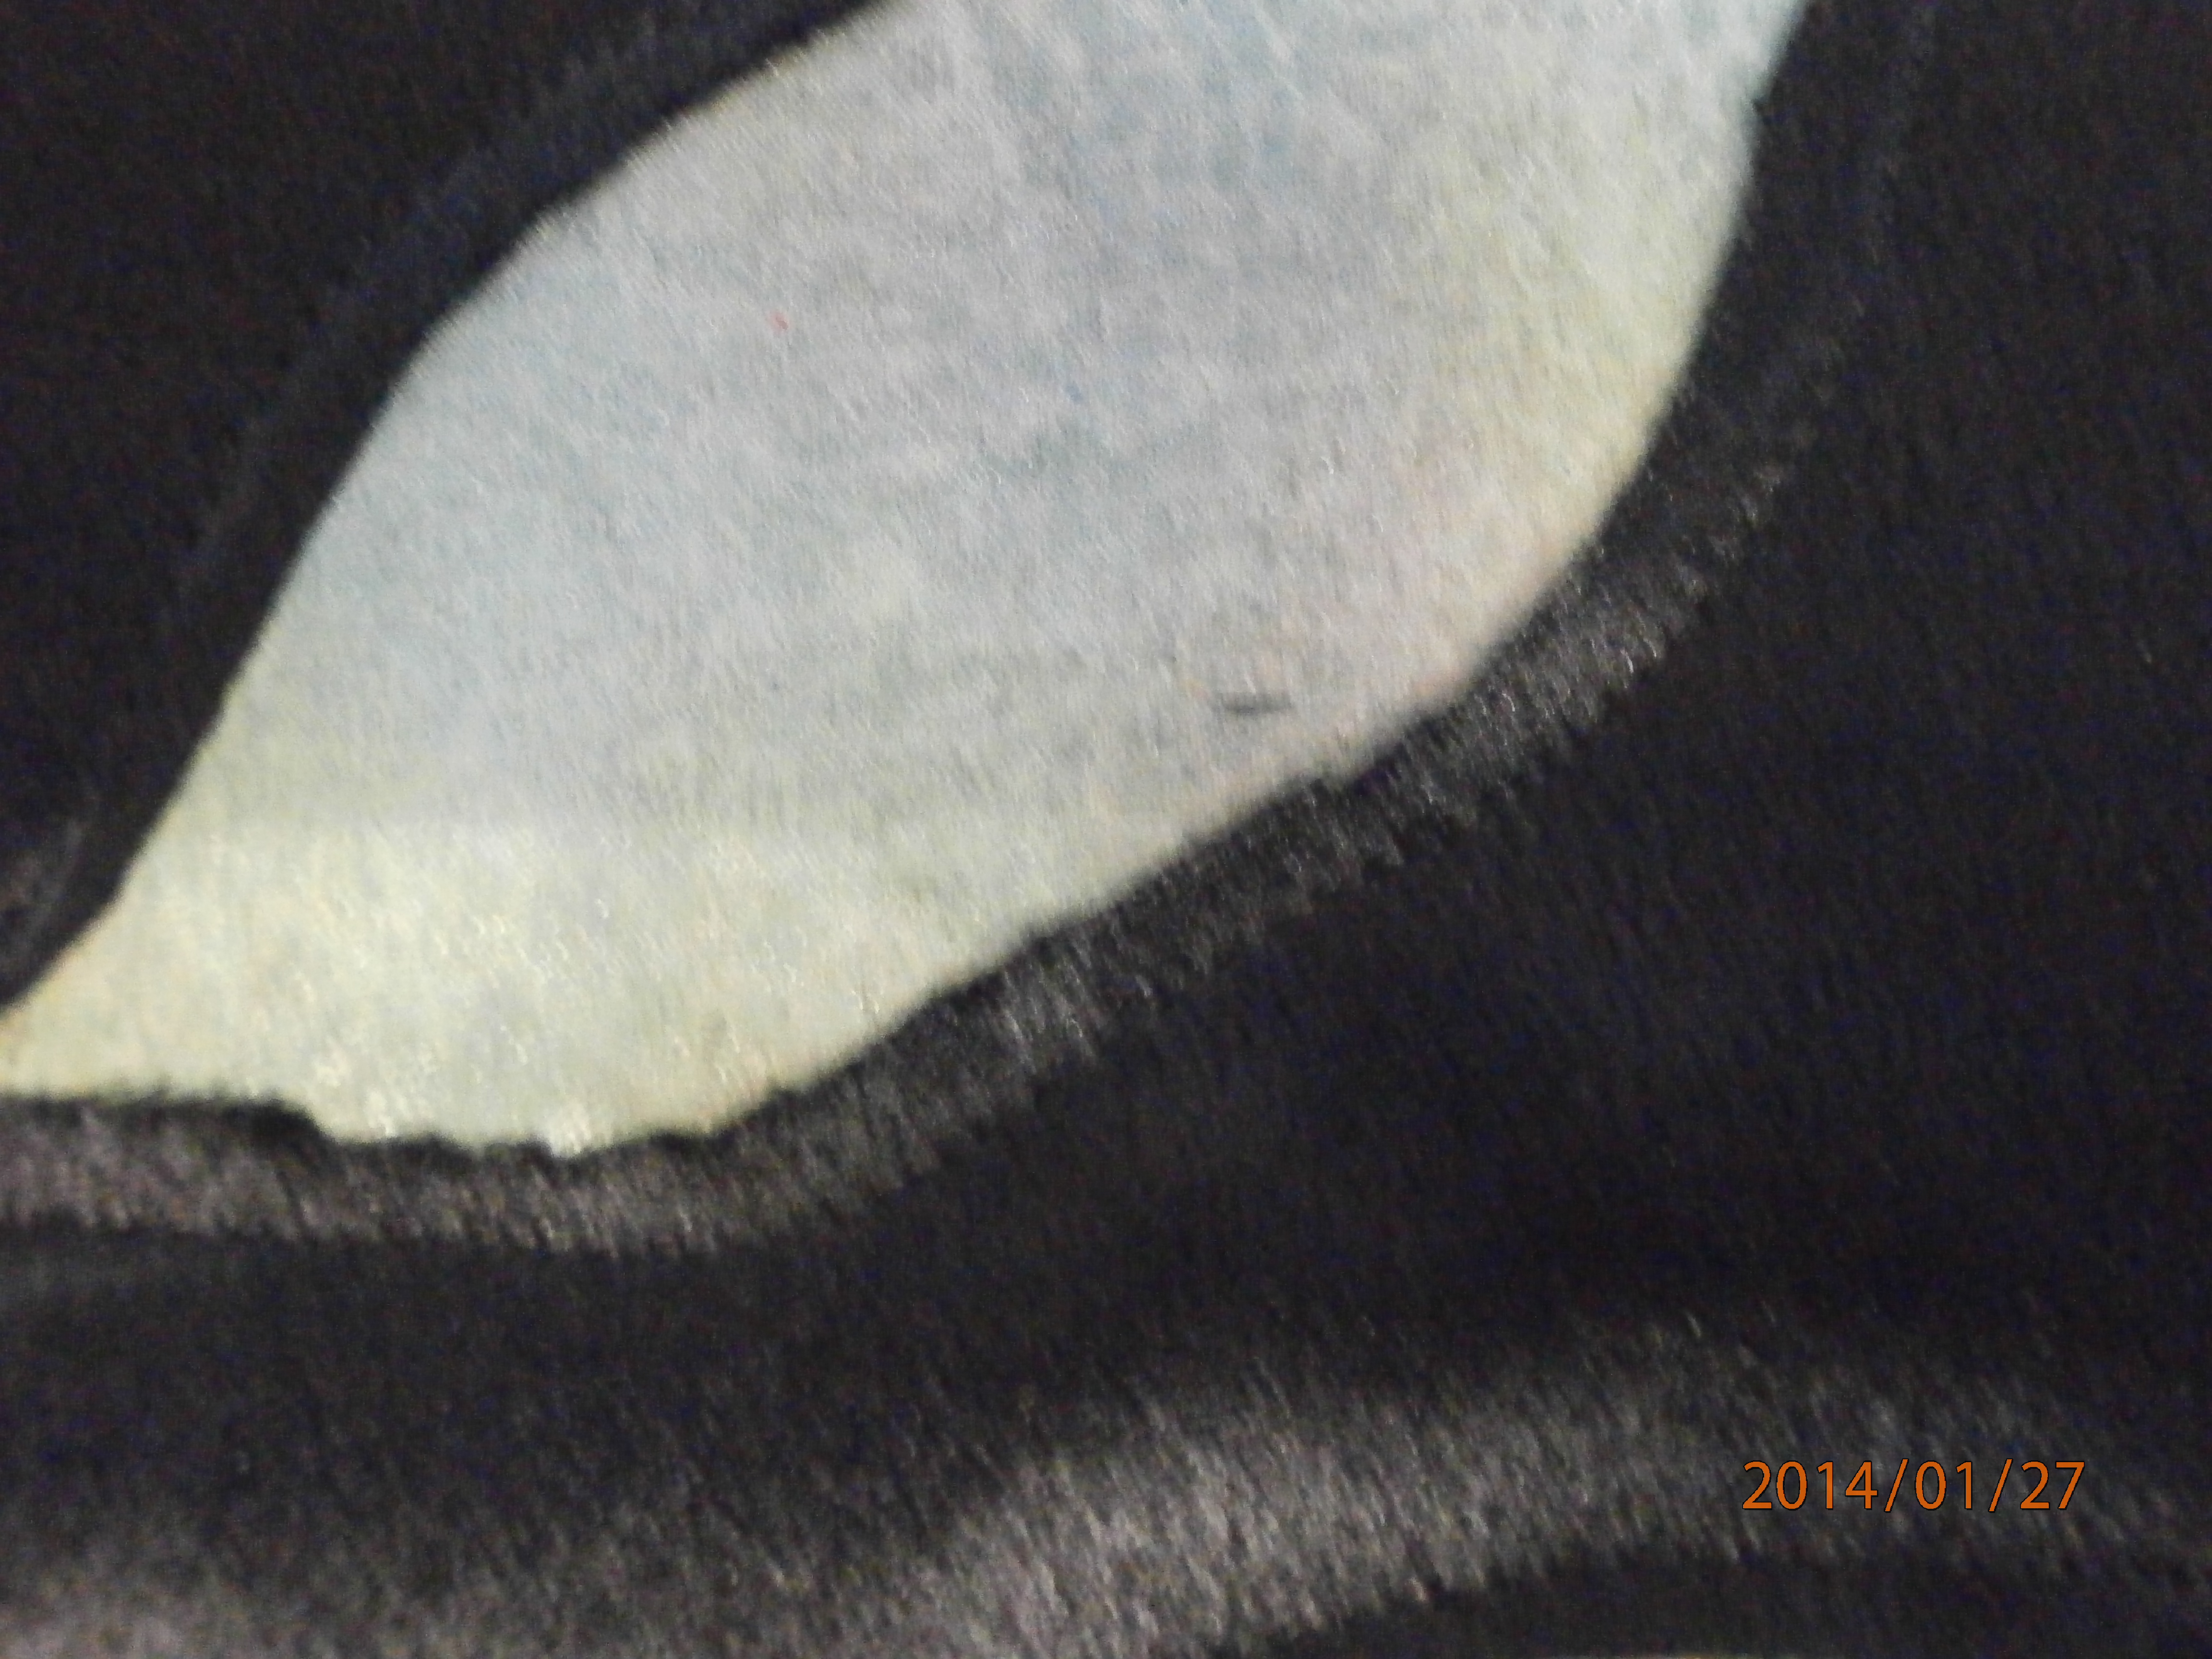
Then I rough cut out around the organza stitching and inside the satin stitching.
the next step was to run along the stitching lines with some fabric glue.
With a small piece, I have found that this is not really necessary, but with a large piece like this (40inx30in), I have found hat sometimes the slippery satin and organza can come out of the stitching when I trim right back.  I have been thinking about testing out fusible thread to see if it works any better.  It would certainly be quicker!
And here is the whole piece ready for a lot of free motion work!


Happy creating!


Friday, November 1, 2013

A stitch every day for November

OK, so I have been absent a bit lately - again.
i have signed up with Leah Piken Kolidas over at creative every day for art every day month.  I thought I needed to challenge myself both to blog and to stitch every day, so that is what I am doing.
Today, I finished the free motion on a quilt I was working on at the start of the month.
Here is a shot of the whole quilt and I don't think there is any cotton fabric in it!  It is all my favourite organzas and satins and lots of other stuff.  Tomorrow is our local monthly quilting day, so I intend to square it up and bind it then.  Oh, the size is approximately A1 or about 85 by 55 cm  or 33x23 in.

here are a few close ups.
I can't say my free motion is ever perfect, but it creates gorgeous texture anyway.
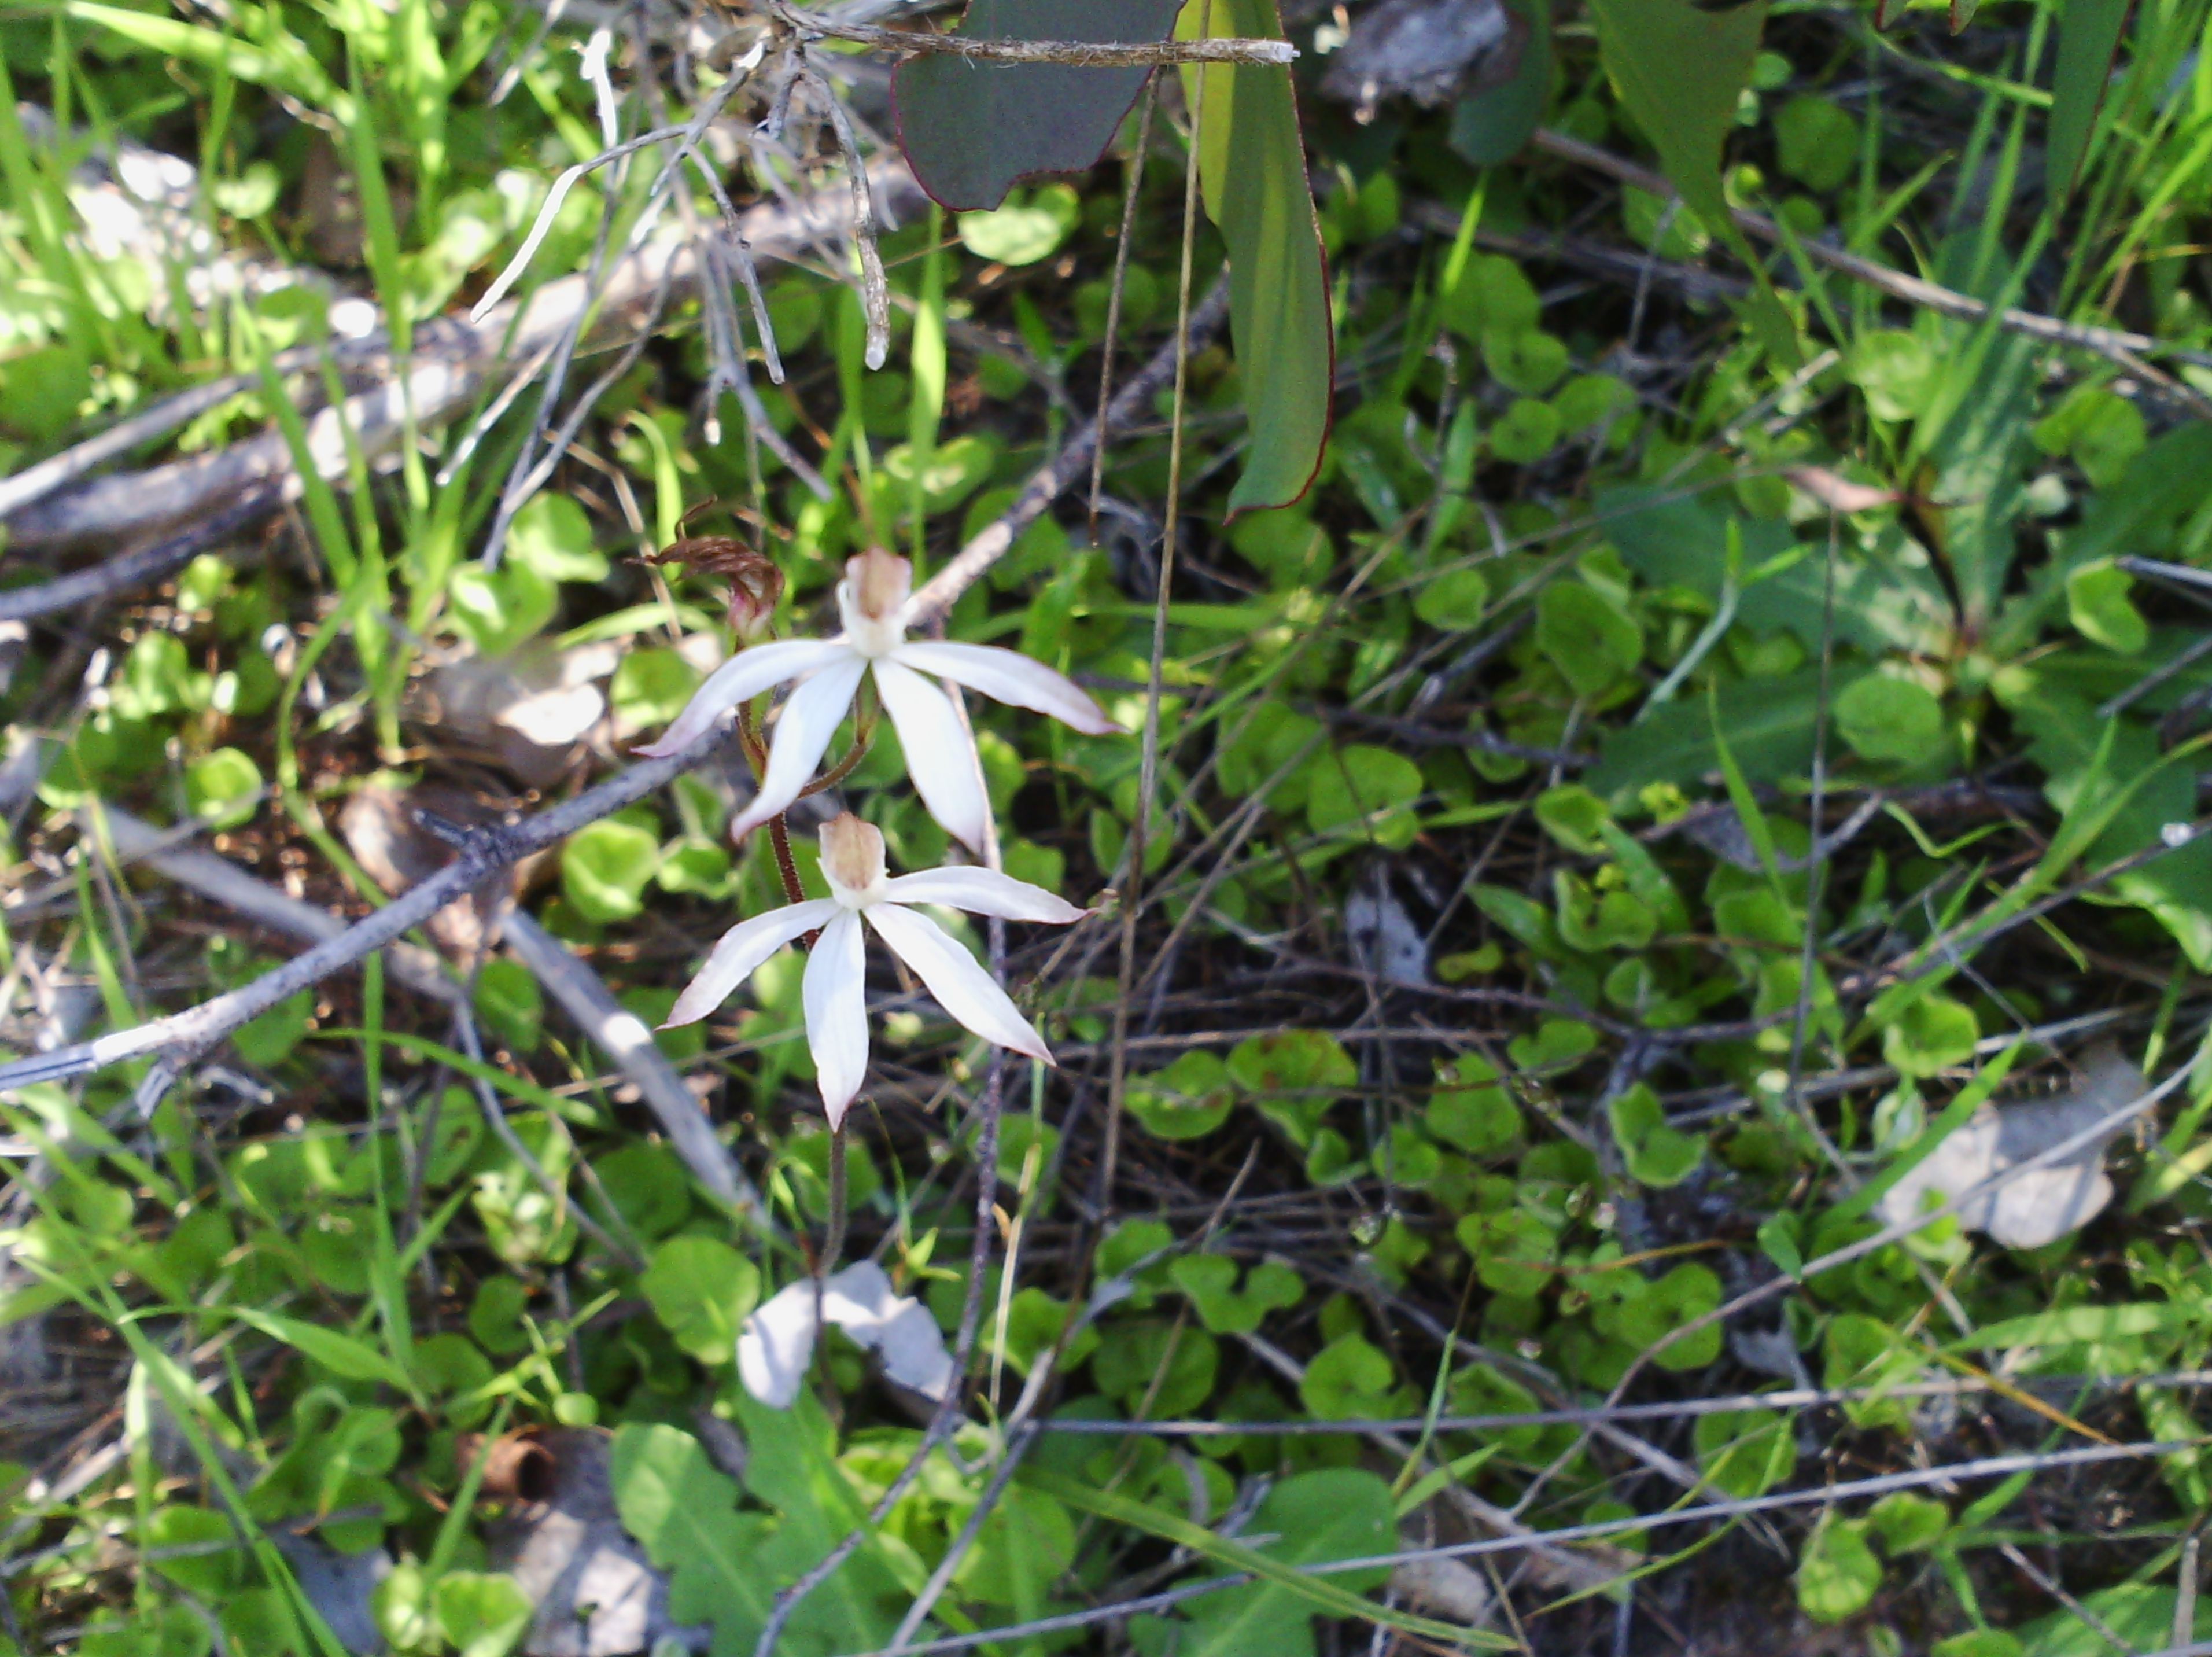
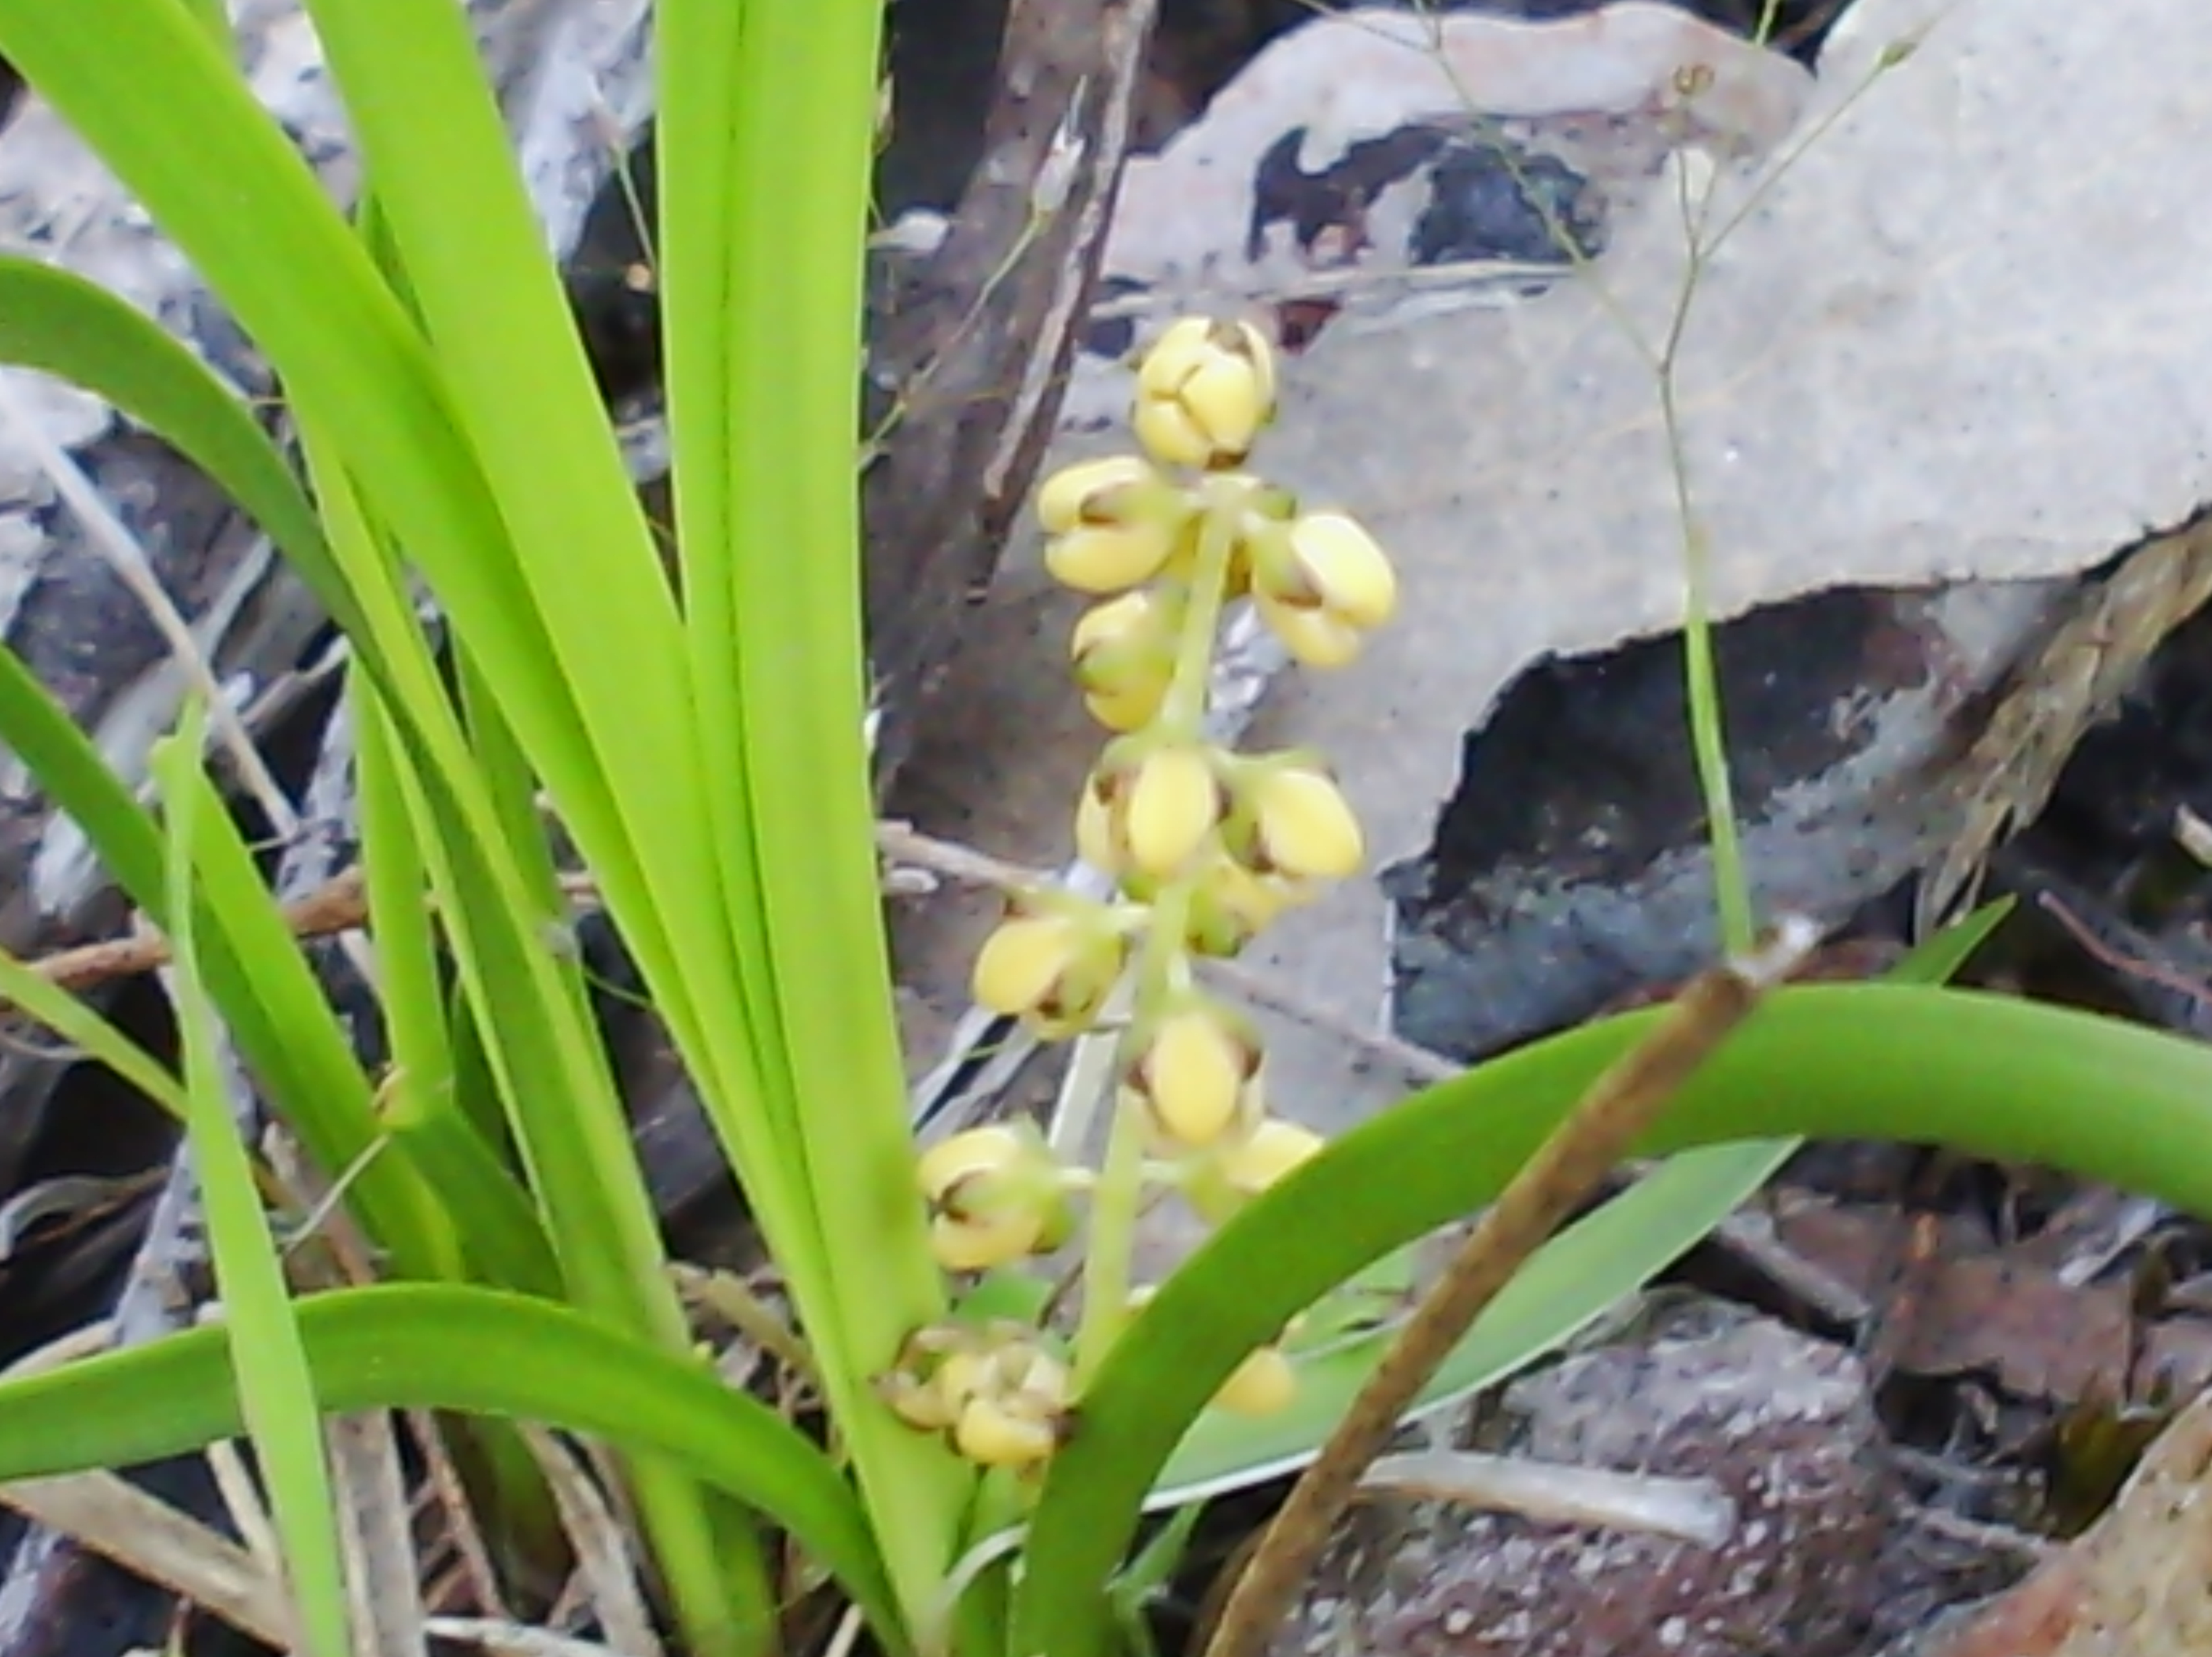
On another note, yesterday I went on my annual hike up the mountain (only a little one) behind my house to look for bush orchids.  I only found two, but at least i did find two.
This one is called a caladenia and is usually very easy to find, but not this year.  It is about an inch, or 2-3 cm across, so very small, it is pinky-white, but sometimes they are pink as well.
This one is even tinier.  The little yellow flowers are less than half a cm or 1/8 inch across.  I am not sure what it is, besides being an orchid and I have never seen it before.
So, after trudging for hours, that was all I found.  I might try again when the ground dries up a bit as it was very green and these orchids don't really like that. They seem to pick the most inhospitable areas to grow.
that's all for today
Hopefully I will be back, tomorrow with another few little stitches.

Wednesday, October 31, 2012

Fiber Art Wednesday

Hopefully, I am going to get more regular with this - each week I hope.
Today's collage is inspired by Melanie Testa and Deborah Boschert, as was the last one, here.
I started with a piece of textured furnishing fabric as my foundation, layered on some non woven stabiliser.  I get lots of my fabrics for collage at recycling places, as samples. 
I collected up some chiffon, lace and other little bits.
Then arranged them to form my background collage.  As you can see I am using a purple/green colourway, which is one of my favourites.
I stitched them all down free motion, using a green rayon thread.  The stitching is very simple on this one, just fastening the pieces down.
Then I took some lilac coloured sheer chiffon for the applique.
And stitched a leaf silhouette on it.
Then trimmed back around it to create a raw edge applique.  Don't cut too close, or you will be sorry - more about that later.
Then I started embellishing.
I did some seed stitching in the large green chiffon square with gold metallic thread, and added a little dragonfly made from knitted wire tube and some beads.  (hopefully I will do a tutorial on these later).
I also did some chain stitch curves and a spiral with a variegated perle thread.  I blanket stitched the edge with the same thread.
Now I hear you saying, what about cutting the applique too close?  I did cut too close in places and when I was doing the seed stitch, the applique came out of the stitches in places.  I repaired it with a little fusible tape, ironed under the loose bits, but the fusible was visible.  That was when I decided to add the dragonfly and the chain stitch.  They covered up my mistakes and finished the piece. Yes!
And here is the finished piece.  It is about 8x10in.  Of course I could have kept embellishing forever, but doing a weekly video makes me keep it simple, which is probably a good thing.

And here is the video


Happy Creating!


Tuesday, January 17, 2012

A little beetle and a finished butterfly

Today's ATC
 
 Beetle, cast  with tissue paper and painted with nail polish.  Beaded and stitched on to monoprinted fabric.  folded edge.

and now, my butterfly, I was working on here and here is finished.
I added some dyed chiffon in the bottom right and stitched it down, then did a bit of stitching over it.  Last, I quilted/embroidered the sky and called it done.  I might, pehaps add some hand stitching and beads and of course, finish the edges, but all that will take a while to think about.

What are you creating today?

Saturday, January 7, 2012

Stitched house and a butterfly

"Once upon a time there was a Little House way out in the country.
She was a pretty Little House and she was strong and well built."
So begins Virginia Lee Burton's classic The Little House, winner of the prestigious Caldecott Medal in 1943.
 This ATC was stitched with wool on water soluble stabiliser and then needlefelted, this was from an article by Jan beaney and Jean Littlejohn, the stitching queens in " fabric from cloth" Quilting arts 48 and also here.
I used my prompt cards for this one and they were
Use heavy stitching
Add a charm
I had recently read the article in QA and decided this was a great way to use heavy stitching.  I selected a little charm of a house, which inspired the design ( but forgot to add it in the photo.
Here it is with the charm added with a brad.

Remember this digital projection of a piece I started using prompts?
Well I have done a little bit of work on it after a lot of thinking.  My work often takes a lot of that before I find what I want to do with it.

Here is where I am at the moment.  I was inspired by Melanie Testa  "Inspired to quilt" and using sheers, to add a sheer layer and as I was about to stitch it, I thought of using some black sheer and reverse applique to outline the butterfly.   I like the effect, however I couldn't solder the edges of the black because I already had a sheer beneath it, so I have a few problems with the black sheer fraying as a result.  I have stabilised it, but it looks terrible close up, so I am bow going to do double sided blanket stitch around it to make it look better, I will do some free motion embroidery over the sheer, then I will create sheer flower silhouettes with the soldering iron and sew them down.

Let life inspire you.

Tuesday, November 22, 2011

Up in the trees

Today's post is about  my work theme, which is leaves and nature, but it could also be about my Tangled Textiles challenge theme, which is look up.
I have been working on this piece.
Which is about looking up through the trees at the sun.
Whilst it fits 'Look up', it is not, however, the correct size, as I made it to go in one of my secondhand store finds.
It is a wrought iron fire screen.  you can't see it here, but the whole piece is very transparent and I like the effect.  I have decided to not put a backing on it, but as you can see, it does need some weight, so I am thinking along the lines of a beaded fringe on the bottom and some couched yarn around the edge.
however, as you can see I still have a bit to do.
To begin with, I layered organza from pale yellow through to deep blue and added a sun in a metallic fabric.  These were layered on light lutradur and then I free machined circular lines, expanding from the sun and changing to the blue shade.
Next I used some patterned chiffon in orange and brown tones to make the branches and free machined them down, adding a few free machined lines for twigs.
I started adding leaves which had been cut out of organza, chiffon and satin with a soldering iron, and of course I ran out of leaves.
So today I am making a new batch of leaves to add.
Here you can see I am set up to start making the leaves.  I keep the soldering iron in an upturned terracotta pot, which keeps it safe.  The fabric is hooped to help with burning.  I find keeping the fabric taut helps to make the lines easier to cut in the synthetic as it melts.
Here is a set just cut.  Basically I just draw a leaf with the soldering iron.  It helps to draw slowly, if you go too fast, the fabric can tend to move.
Here is a batch of cut leaves ready to go.  This technique also seals the edges of the fabric.
And this is what is left of the fabric - swiss cheese.  I am sure I will find something creative to do with it!
Next, I free machined the leaves onto the branches.
Basically, I do it in two motions, which involve a bit of backtracking.

Above left is the basic outline of a leaf   In the second picture, I go up the centre of the leaf.  Then in the third picture, I come back down, drawing the veins as I go.
Here I am a bit further along.
And with all the leaves added.  At this point, I decided the sun needed a bit more colour, so I just free motion scribbled a bit with a variegated yellow and orange.  And here is the final piece (before the edge treatment)
I am pretty pleased with the way this one came out.  I like to do leaves like this because they are dimensional and have a lovely texture.


Don't forget to leave a comment here to go in the draw to win the fat quarters.

Make something wonderful and have a great time doing it!