Thursday, June 30, 2011

Needle Felting Experiments - Yarn and slub

Oops, I forgot about this post.  Better late than never.
 The sample on the left used yarn on it's own.  Whilst the sample on the right used yarn as well as slub, or roving.


Each sample has been felted onto cotton and batting and includes a strand of un needlefeted yarn to the extreme right of each picture.
  
Yarn and Roving


 Above is a simple sample of yarn.  This was a very soft yarn and felted easily.  Most yarns will needle felt on the machine quite easily, irrespective of the fibre type.  Some keep their shape like this, whilst some like wools can lose their shape, but both effects are useful.
 This yarn has a nub in it and like most yarns, it felts extremely well.  The nubs are good for giving colour in a small area.


This is slub or roving.  It is the best felter of all because it is not twisted very much at all.  It is twisted only enough so that it stays together.  In the textile mill, this is useful so that the long slubs can be run through dye vats.  In felting it is useful to us, because it can cover large areas with colour very quickly and can be broken apart into roving quickly.

This mixed yarn has some slub, some eyelash and some metallic all wound together.  It felts well and can be used to add a little bit of metallic and some colour.
This slub type yarn also has a metallic woven in.  I often do this myself with a bit of slub, to attach metallic or other non-felting threads.  The metallic also adds a bit more twist to the slub and gives it more of a yarn shape although when you look carefully, you can see that the red fibres themselves are not twisted much at all.

I hope you have enjoyed this series on Machine Needlefelting Fibre Samples.  I will be continuing in a few weeks with fabric samples.

Happy embellishing

Wednesday, June 29, 2011

Paper Sketches

Some of you might wonder why I am doing so much design stuff right now.  I am currently in the midst of assisting a friend with her sculpture exhibition.  See details here. Here is a picture of part of the sculpture, but it's one of those things you actually need to see to understand.

We have spent a few days getting everything ready to travel to the big city.  This was a large job as the sculpture, which my Husband also worked on, is extremely large.  They went ahead and took it to Federation Square, in Melbourne, where it is to be exhibited and I will join them tomorrow, coming home for quilting on Saturday, then returning Sunday, so I really haven't the time at the moment to get any stitching or experimenting done.  Next week! 

Another design tool I use, particularly for landscapes, is paper sketching.  Not sketching on paper, but making a simple collage with paper.  It frees you up from being too fiddly and accurate and helps to simplify designs.
The paper sketch can be as simple -
Or as complicated as you like.
Here are a few more-
 All that I do is rip pieces of paper to a basic shape and stick it down.  It makes me keep to a narrow palette of colours.  The reason I find this useful is that one of the hardest parts of landscapes is getting them simplified.  If you start with detail, you will soon find that the elements of the landscape don't fit together.  What I do is get a simple landscape together that works well, then add elements to it.
As you can see, I might add a few lines to help me later on, and notes about what the parts are.
Here is another sketch, but one that illustrates what I was talking about yesterday, that cropping and framing makes a big difference.
 This is a sketch of the Twelve Apostles, near Lorne in Vic. Aust.  It doesn't look particularly balanced and is a bit confusing to look at.
Here is the same picture, but cropped.  It makes an huge difference to the picture, even at this design stage, so as well as stepping back from your work (and squinting can help), also photograph it at various stages and frame or crop it before you judge it's merits.

Tuesday, June 28, 2011

Taking the design process back to front

Today, I am going to talk about another WIP and how my initial design process there was the reverse in many ways of the one I began describing yesterday.
Sometimes, I have an idea in my mind for a long time and I might look for reference photos or inspirations for a while before I even think to start and in this case, I did not even start with a sketch.
I had been given some SWARF (this is metal filings, like steel wool, that comes off a lathe when turning metal), because I had commented that it reminded me of the froth on waves, so making a piece with it became a bit of an obsession and of course my love of all things watery came into it.
The pictures above, (from geograph.org.uk via wiki media/creative commons) were my inspirations for this piece because I wanted waves crashing over rocks.
Instead of sketching, this time I began with the fabric itself.
In the picture above, I have simply pinned scrunched fabric to a board where I thought it might work.  Of course, I pinned and repinned added and took away and looked at it and went away and came back.  In reality, my composition bears no real resemblance to any of the pictures, but takes ideas from all of them.

On my board, this does not look as balanced as it does in the picture.  This is an important point.  Sometimes, simply putting a frame around your work or cropping it can help to give it substance and depth.  See this recent blog here by Diane Perrin-Hock.  After looking at the photo, which is a crop of my collage, I opened it in Photoshop Elements (I am not going to go into detail about HOW I did it, only WHAT I did - How is an whole other blog) and decided that the sky needed a bit more room, because I felt there should be splashes of foam up higher. Below, I have extended the sky.
 Also, this collage does not have the metal filings on it yet, so there is another layer above the waves, which you will see as I make up a simplified colour map of my piece in the steps below.
Here is a simple line drawing, made by tracing over the photo above, then saving the tracing as a new picture.  As you can see, I am not particularly precise when drawing on the computer, but IT DOES NOT MATTER - it is just some lines dividing the different areas of the picture.
 Here are the first two layers, the black and brown of the rocks (obviously, the black is below the brown, like a shadow, but still, no need for real accuracy).
 Next the dark and medium blues of the deeper water, both in the background and a little in the foreground.
 Pale blue in the foreground water and the white foam (slightly grey so you can see it)
The final layer (also white) is where I intend to put the swarf to imitate froth.
But there is still something missing.
Here I have added a few highlights to the rocks, as it is a sunny day.
Now, I have a basic diagram of where I want things to go in my piece, so I can take all the fabric off and cut and manipulate it to make the textures I want, and when I put it back, it will probably look a lot closer to the final piece than my original simple collage.
Obviously, the colours I have used in the diagram are only a guide and are more values than actual colours.  They are areas where I might put several different pieces of fabric in the appropriate colour/value range.

So this was a different way to design.  This way is more hands on and about playing with fabric to get the effects you want - in a general way, which can then be refined later.

Don't forget to play with fabric - It's the best way to understand how it can go together.

Monday, June 27, 2011

Creative Every Day and Process Pledge

I have joined another two challenges, not like Tangled Textiles, where I have a deadline, but ones to help me keep on task.  Some of you may remember that I started this blog as a journal of my creative efforts, however I find that having things like swaps and TT where I cannot post my work each day has interfered with my blogging regularity.
It's a bit of a catch 22 - can't blog without something to blog about, but need the blogging to keep me being creative.  But I think I have solved the problem.  Creative Every Day is about checking in once a week and using a monthly theme, The process pledge is about blogging the artistic process, design, how things change and decisions, etc, not just finished products.
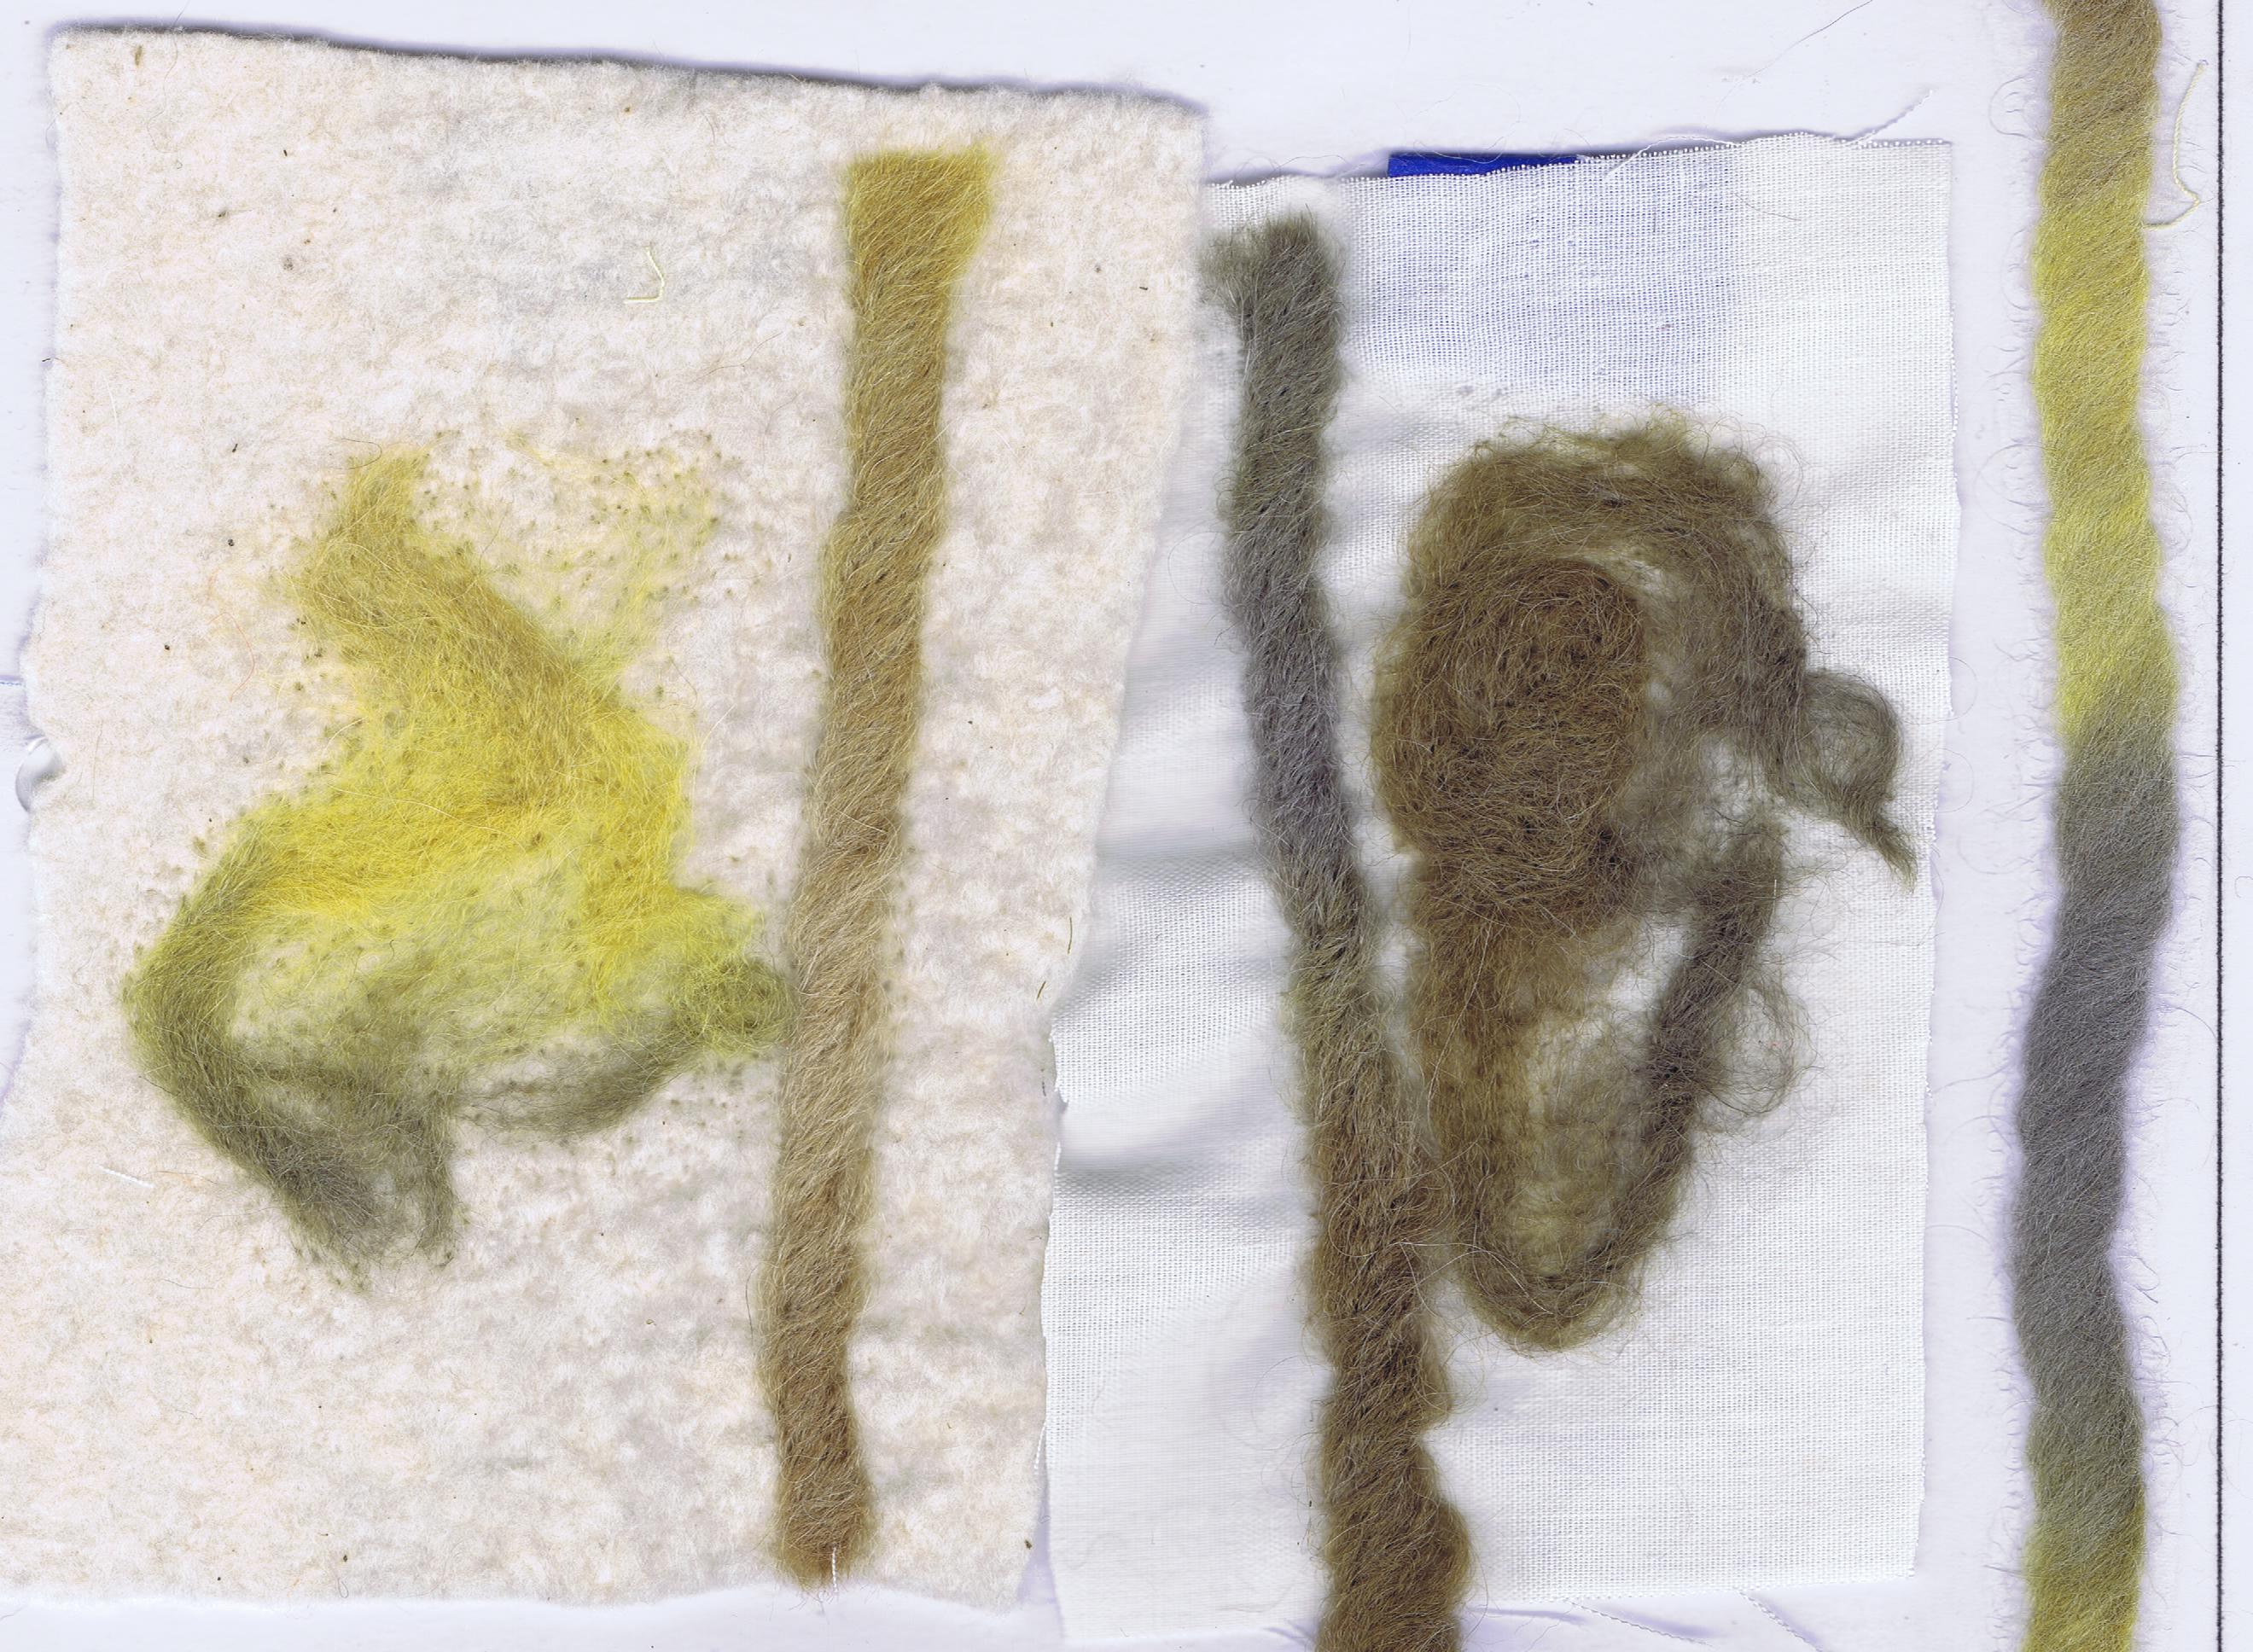
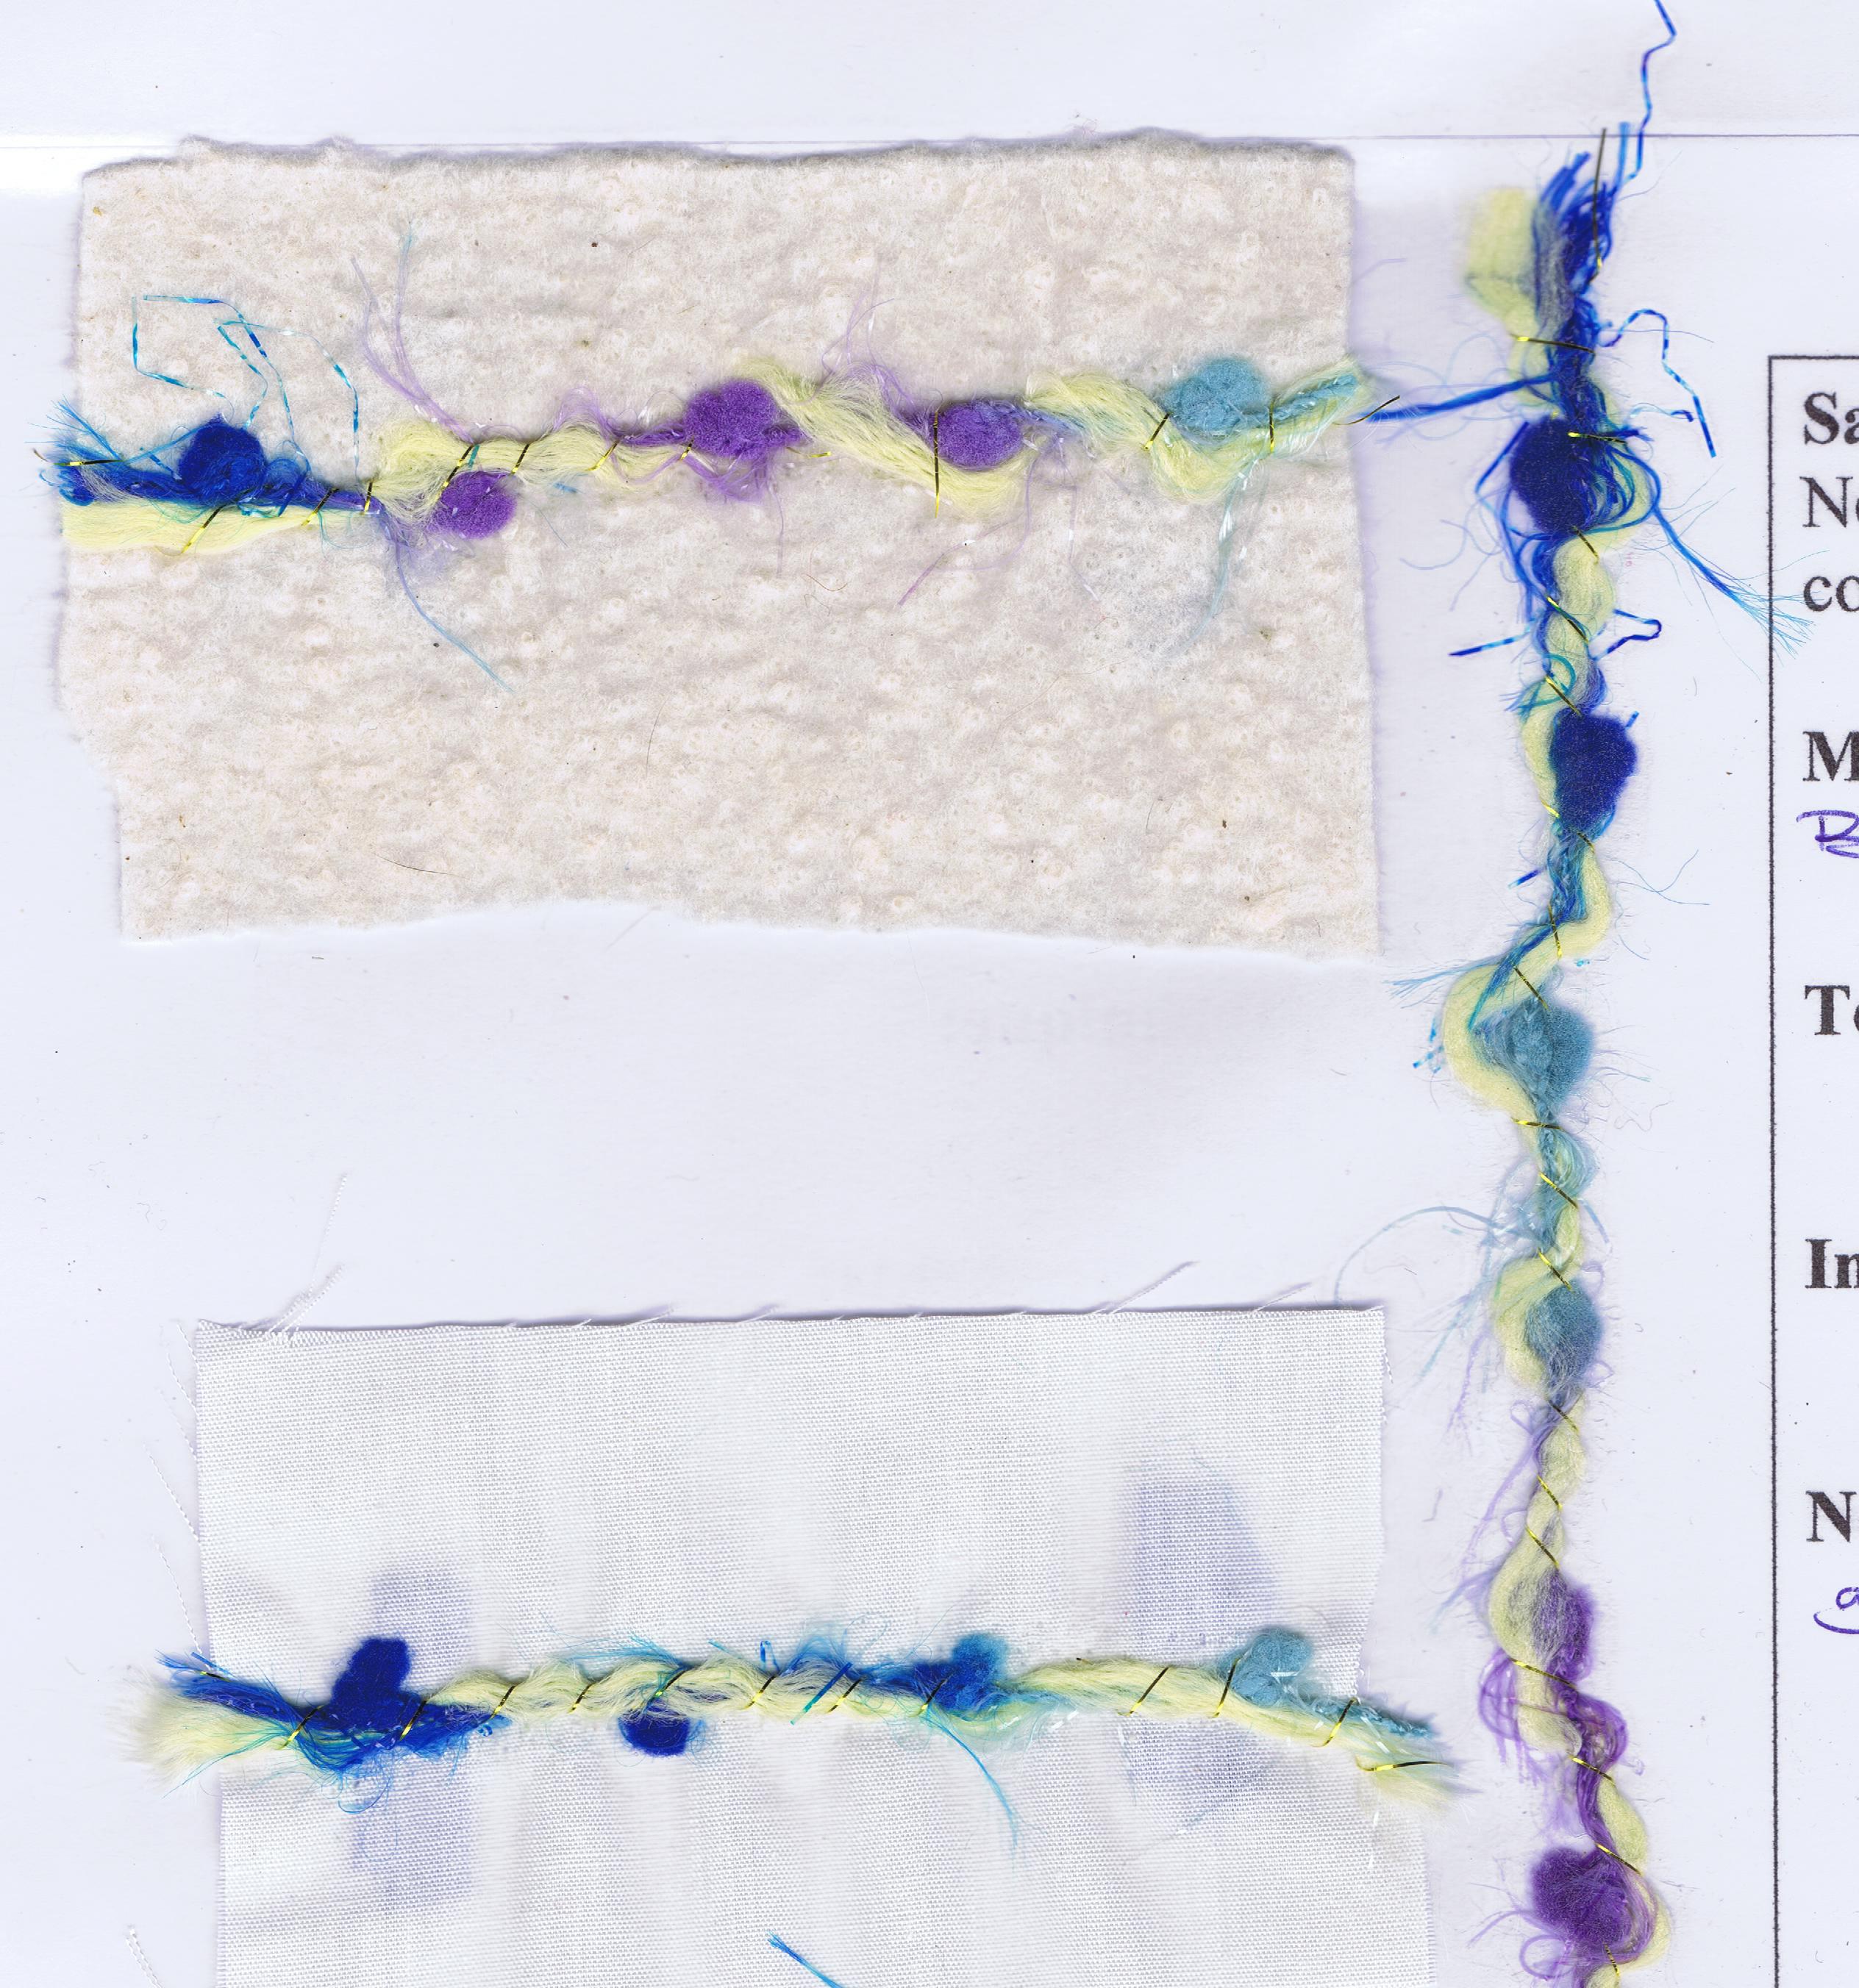
So let's start being creative and showing my process by giving you a peek into my sketchbook.
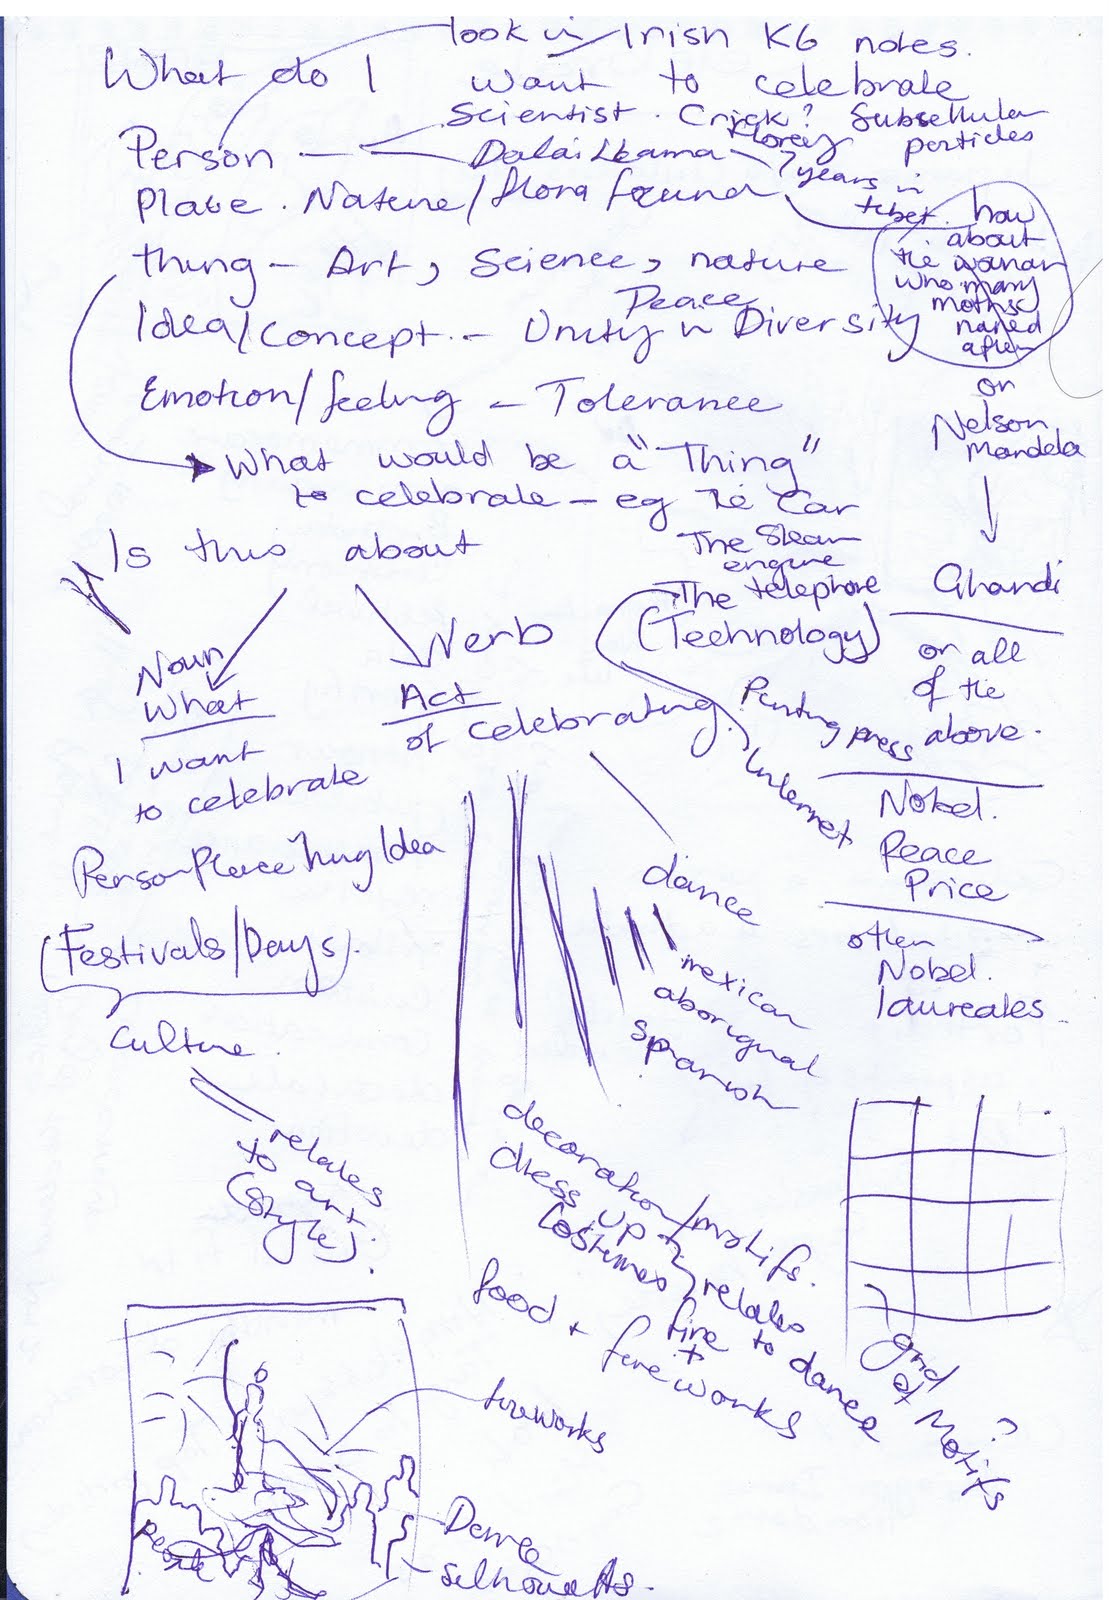
 This is the first page of my thinking about the TT theme, which is "celebrate".  Usually I will come up with an initial idea at this stage and the small picture at the top left is one of those, but I will also write lots of words and ideas as well.  The long list of words on the top right is from a thesaurus, which is often my first port of call.
These words all mean "celebrate or celebration" in a loose sort of way.  Because you can't read them, I'll type them in:

commemorate  anniversary  birthday  ceremony  festival  gala  glorify  honour  jubilee  remembrance  rejoice  tribute  custom  convocation  dedicate  devotion.

On this page, I also began exploring different festival and days around the world.

Japanese boys/children's day (the scribbly picture at the top right)
Chinese new year
Ballinasloe fair (Ireland)
High Plains Festival (Australia)
Day of the dead Nov 2 (Mexico)
Venice Carnival
Cinco de mayo (mexico)
Ramadan and Eid ul Fitr (Moslem)
Holi (india)
Mardi Gras (new Orleans)
Carnaval  (Rio de Janeiro)

That is a short part of an huge list that I was incapable of completing in this lifetime.

This is page two of this process.
On this page I looked at how the noun (celebration)  and the verb (celebrate) gave different ideas.
Celebration was the 'what and where' and celebrate was the 'how'
I'll talk about the how first, since it was not so complicated.
I asked myself - 'How do we celebrate?' and came up with -
dance
decoration
dressing up
dining, or food
drawing together,or gathering
display, or fireworks
As you can see, I am partial to alliterations and my thesaurus is always handy to help.
The little picture at the bottom of the page is the beginning of an idea based  on these words.

Now the noun, or what and where or to Celebrate is a bit more complicated.
I had to subdivide into separate lists-

Celebratining a person, eg A nobel prize winner, your mother, children
Celebrating a place, eg Australia Day
Celebrating an event, eg Remembrance day
Celebrating a thing, eg an invention, or trees or the internet, or even Art
Celebrating an idea or concept, eg Unity, Peace, Tolerance, happiness, science or nature

After all this thinking was done, and it is not exhaustive, I had quite a few ideas mulling in my mind.
I will show you what I did with them next time.

Have fun exploring - It will lead you to creating.

Thursday, June 16, 2011

Voyage of Imagination

Here is my Challenge Quilt for the Tangled Textiles "games" challenge.


This 16 in square quilt is called "Voyage to Imagination, and is based on a vintage postcard.  I wanted to capture the joy of being a child and simple games that are the best memories.
The sky is felted on satin, the ocean is fused sheers with some stitching,  The rocks are fused sheers using my soldering iron - no cutting there and the rock pool is organza, burned with a heat gun to make it puckery, then beaded.
The children are mostly needleturn applique and have needlepunched silk hair
The doll is polymer clay and the boat is some twigs and a bit of bark.  I made these into a little brooch that clips on.
There is also a fair bit of threadpainting.

Even though I had a lot of problems with this piece and some of it is not how I imagined it, I am pleased with the overall picture.  I had to re applique the little girl's face three times before I felt it was good enough to go on with and there are lots of mistakes - so does that mean I learnt a lot?

I will be posting my step by steps probably next week after I get a few ATCs and postcards in the mail.

Have a look at all theother fabulous work at our blog and also don't forget to keep up with Twelve by Twelve as they are our foster mothers, LOL.

Friday, June 10, 2011

Needle Felting Experiments - Ladder and Ribbon

This really quick sample, and I mean really quick (5 min) used ribbon yarn, sometimes known as knitting ribbon to create very realistic fence posts.  The background is simply three pieces of organza.  When the ribbon yarn first scrunched up like this, I was very disappointed, but as you see failures sometimes become successes.  Luckily the sample I first saw this with was brown and reminded me of wood after felting.

Each sample has been felted onto cotton and batting and includes a strand of un needlefeted yarn to the extreme right of each picture.
Quotes (in italics) on yarn definition are from wikipedia
 
Ladders and Ribbons
"Ribbon is a type of yarn that resembles a ribbon. It can be made from synthetic or natural fibers, such as silk or cotton. Some ribbon yarns are flat, while others are tubular in construction."
I have not included tubular ribbon yarn in this post as it tends to break needles.  It is best couched.


"Ladder resembles a ladder, with two flat threads representing the two sides of the ladder held together by a strip of material at the center that represents the rungs. The material at the center of ladder yarn can be metallic, beaded, or otherwise adorned. This type of yarn is more often used to create trim or embellishments than to knit or crochet entire garments."
 
 This first sample is quite clearly a ladder.Very fine tightly woven yarn forms the length of the ladder and the rungs are the same yarn, but only loosely woven.  As you can see, it loses it's width, distorting markedly, but creates a nice soft line of coloured dots on the back, so the loose fibres felt well.
 It is very hard to see in the photo, but this is actually a ladder, with a second yarn threaded through and looped.  The looped fibre is very loosely twisted and felts well.  It creates colour on the back and the loops can be used well in floral pieces of work, by either cutting the pieces between out, or embellishing with foliage yarns between.
 This yarn is like a double ladder, with a slub or roving type yarn alternating in the rungs either side.  As with all the ladder yarns I have looked at, it distorts and narrows, but the slub rungs felt extremely well, with good transfer of colour to the back, and on the front, if the slub blends with the background, it adds some narrow sketchy lines, which could be very useful in certain compositions.
 This is the first of the ribbon samples.  It is a narrow braided ribbon, about 5mm or 1/4 in in width. Looking at the original sample on the right, you can see in the stretched part that the fibres are aligned in diagonals from both sides.  The fibres are satiny prior to felting, but as can be seen, they become very fuzzy.  Like all ladders, ribbon yarns also narrow and distort, as you can see in the sample above.  This particular sample could be easily used for branches or stems, or even a line of sand in the distance.
 This is a similar ribbon to the one used in the fence picture above.  This one is more red than brown, but you can see the effect, still.  It is a wide satin ribbon more than 1cm wide and appears to be more of a woven, construction than the narrow ribbon above. It is actually constructed of six very narrow ladders with rungs that are extremely close together.  When this is needlefelted, it narrows by at least half its width and becomes a raised textured band.  Transfer to the back is very easy, but the texture it creates on the front is more interesting.
This last sample is also a knitting ribbon (Unfortunately white - sorry) but it is a nylon one, knitted or interlocked.  It distorts, narrowing by half,but also tends to shrink lengthwise unless the foundation is reasonably strong.  You can see this above, where the bottom sample (cotton) is quite puckered, whilst the top one(batting) is not.  Nylon ribbon used to be quite common and I remember my gran using it.  I use it to crochet really great pot scrubbers.  Now, I have found another use for it, since it felts down well.

So, a few points with ladders and ribbons
  1. They will shrink/distort in width to half or less of their original width
  2. They generally felt well with the embellisher
  3. Sometimes the shrinkage creates great texture
I have not included actual ribbons in this blog as I will consider them in a later set of posts using different fabrics.

Happy embellishing

Thursday, June 9, 2011

Needle Felting Experiments - Eyelash

This sample was needle felted with primarily eyelash yarns although there is some ribbon at the top and some chenille at the bottom.  This yarn creates great texture, which when I originally experimented with this sample, I felt made a really great ocean effect.

Each sample has been felted onto cotton and batting and includes a strand of un needlefeted yarn to the extreme right of each picture.
Quotes (in italics) on yarn definition are from wikipedia

Eyelash
"These are made from a polyester fiber with a furry texture resembling eyelashes. These novelty yarns are made of a thin central ply surrounded by short "hairs"."
 Although I am discussing this yarn under eyelash, it is more properly called a fur yarn.
" fur yarns have an abundance of threads covering the entirety of the core thread"
This yarn has a core of two satiny threads twisted. and the fur or lashes are very feathery.  It attaches well and especially on cotton, where it makes a lovely soft texture on the back.
This is a very shiny, satiny eyelash, with the lashes very close together and straight,  however the fine satin lashes are not stiff and so felt well.  The lashes from several lengths can be felted down into an all over texture, but Iprefer to felt down only the braid backbone and leave the lashes free.
This is another very hard to see yarn,a narrow satiny twist with lurex "fur".  It attaches only loosely, the lurex threads being very crisp and not soft and the core being very tightly woven.  It is probably better if this yarn is couched, but it can be loosely tacked down first using the embellisher.
This is a great, soft eyelash, which has very loose lashes, like roving or slub. 
"A slub or thick spot in a yarn is created by varying the tightness of the twist of the yarn at various intervals"  However, thick, minimally twisted yarn is also referred to as slub or roving.
This yarn felts readily and forms an irregular line of felted material, although the lashes can be left loose.  On cotton, thr transfer to the back is very dark and it can be useful for adding colour from the back.
Although at first glance this might appear to be a fur type of yarn, it is actually an eyelash with very long, fluffy lashes.  It felts readily, because of the fluffines of the lashes and I have found it extremely useful in defining hilltops in landscapes as it gives an irregular line, like trees or bushes in the distance.
This is another, slub-like eyelash and it also felts extremely well.  If used from the back of a piece it adds colour very well.
 This last yarn is a mix of several things.  It has a twisted core, into which are twisted puffs of slub as well as lurex fibres, which create a fur rather than an eyelash. The core felts a little, the fur not at all, however the puffs felt extremely well and hold the rest of the yarn in place.  I have also found yarn with puffs like this to be useful for adding dots of colour either from the front or back.  If on the front of a piece, the core and fur is clipped off afterward, leaving a nice little dot of colour.  This is great, especially to indicate rocks, or flowers in the distance.

So eyelash is a very useful yarn for embellishing:
  1. Usually, the core or backbone will felt in nicely, leaving the lashes free
  2. Lurex and other plastic fibres will not felt on their own, but can be attached when blended with another fibre either in the lurex yarn itself, or by twisting it with one.
  3. Eyelash yarns are useful in landscapes because of their one-sidedness
  4. Eyelash with slub-like lashes are very good felters, from both the fron and back with different effects for each.

Happy embellishing


Wednesday, June 8, 2011

Needle Felting Experiments - Chenille

This little sample of a fuchsia flower uses the satin boucle from yesterday's post for the stamens, some satin petals and two chenille yarns for the sepals and stem/leaves.

Chenille
 "The soft, fuzzy surface of chenille yarns, which resemble pipe cleaners in appearance, can be created in several ways. Most commonly, a fabric is first produced and then cut into narrow strips resembling a yarn. Then, when the fabric is cut, the raw edges become very fuzzy and produce the chenille appearance. Other chenilles are created by trimming a loosely-attached effect fiber to create the fuzzy appearance. Still other chenilles are created by attaching or gluing fibers to the yarn." Wikipedia

Each sample has been felted onto cotton and batting and includes a strand of un needlefeted yarn to the extreme right of each picture.
Quotes (in italics) on yarn definition are from wikipedia
 This chenille yarn is extremely dense.  The cross fibres are short, very closely packed, and stiff like on a toothbrush.  It felted best on to cotton, prpbably because of the short fibres, but the bond was very weak. In order to use this yarn with the felting machine, it really requires an overlay or a twist of  yarn which does felt well like slub, roving, or some fabric. It is probably really best sewed on to the work rather than felted
 This chenille, on the other hand is very fluffy and the fibres are not packed so tight.  It felts excellently on just about any surface the needles will go through, as the fluffy fibres catch in the foundation easily.
 This third chenille, is also a fluffy one, which reminds me of the cotton chenille on bedspreads.  It is denser than the airy one above and also has a metallic inclusion in it.  It felts very well on both surfaces and transfers to the back quite quickly.  Because it felts so well, the metallic threads get meshed in and become part of it.  (metallic threads generally will not attach on their own)
 This chenille looks very like the first unworkable sample, however it is quite different.  Although the fibres are dense, they are not stiff, but cottony like the pink sample and this also felts well.  Because it is denser, it does require a few passes to attach and transfer to the back.
 This is another fluffy or cottony chenille , which felts extremely well and was used for the stem and leaves in the fuchsia sample at the top of the page.  It is one that I use quite often in my work to create stems and leaves.
 This last sample is  a crepe yarn and is the yarn used for the sepals in the fuchsia.  It is included in this section because the crimson strand is a narrow chenille, however the other two yarns are very tightly woven.
"Crepe yarns may be classified as fancy yarns and are created by tightening the twist given to a yarn, resulting in a kinked or looped strand."
The chenille strand, which makes up most of the crepe, is of the fluffy cottony type, but is very dense and in addition is quite twisted, so it does not fall into the category of easy to felt, but will attach with some work. 

So with chenilles:
  1. Look for yarns that look cottony and remind you of old fashioned bedspreads
  2. When using yarns with very straight dense cross fibres, sometimes sewing is a better alternative
  3. Highly twisted crepe yarns may transfer, but the twists will not always stay down.  However this might be an effect you want.
Happy needle felting