Showing posts with label yarn. Show all posts

Thursday, January 19, 2012

a bit of tulle and Transfers

 today's ATC is HOT
 
Abstract cotton fabric on heavy stabiliser.  Decorative yarn trapped under tulle with free motion scribbling. yarn couched on the edge

Now, an update on the fabric transfers I was doing last week.
This transfer (of a dover copyright free image) was done on very high count cotton using an acetate overhead transparency (not a printer transparency)  When you print this way, the ink does not soak into the transparency, but just sits on top of the sheet.
My fabric had been moistened thoroughly, but was not dripping.  I made sure there was no water sitting on top by wiping it.
I carefully placed the transparency face down onto the damp fabric and without moving it, pressed all over with a brayer (I used the brayer, but  I have found that it is not as good as using your hands)
If you look carefully,  you can see down the centre of the picture, there is a pale streak.  The brayer did not make good contact here, so that is why I find using your hands is more successful.
another point to make here is that there was a little bleeding with just water.  If you look carefully at the edges, you will see that they are a bit wobbly.  Also, if the fabric is too wet, this will happen, so there isis a bit of balance to it.
This transfer was done using an Alum solution to wet the fabric. (I use a saturated solution, which means no more alum will dissolve in it.  It is available at chemists, but you might have to order it.)
As you can see, I was still using the brayer here, but the edges are much clearer and the image is much more defined.
Imagine my surprise, when searching on the internet, to find this method being used by a printmaker!
This is a very complicated image, so these results are pretty good.  The main points are:

  • use an overhead transparency, or a thin piece of acetate (the flexible sort, not stiff) cut to size for your printer.
  • prepare your fabric (damp, but not wet) before printing, I find placing an absorbent piece of paper under it helps with this)
  •  Don't disturb the ink on the acetate before transferring it
  • use an alum solution for slightly clearer prints
  • I heat fixed my prints when still wet, but I actually found that they did not bleed if left to dry and appeared sharper
  • use your hands to smooth the transparency and transfer the print
Obviously, this process will differ with different inkjet printers as they all have different feed mechanisms and inks.(don't use a lazer or photocopier for this method)

One of the main advantages of this method is that it is very cheap.
  • after transfer, simply wipe the acetate clean and reuse
  • you can get a reasonable print with water


Monday, December 12, 2011

Using Prompts

Recently, I read an article by Robin Olsen from the sep/oct 2009 issue of Cloth Paper Scissors  I decided to extend her idea, which was to use prompts to direct the construction of a fibre art piece.
I made up 110 cards for my prompts.  I used a list of techniques from my database, where I keep a record of  my reading and the ideas which come from it.  In the past, I have simply been able to scan through the database until I find something I felt like experimenting with, and do it - but now, with the techniques converted to prompts, it gives me random ideas for a piece.
Today, I decided, it was time to put the cards to the test!  Were there too many?  How flexible could it be? Would it work for me?
Let's find out!
I started with a piece of felt.
The prompt said "Add needle felted fabric" - Now, I have only small scraps of fabric left from other projects, not enough to cover this piece, which was about 14-16 inches square!  So here, the flexibility came in.  I decided to just needlefelt onto the felt.  You can see, I already had the machine out above.
Here I am in the final stages of covering the felt with needle felting.  (As usual, I got too engrossed to take pictures!) I used scraps of Fabric from my scrap box which included cottons, organza, satin, plastic, silk, roving scraps, painted nappy liners and face cloths, dyed batting and felt. Any fabrics which were not felting in well were covered in a fine film of roving scraps and re-needled.
 Above are a few close ups of the surface.
Here is the final foundation layer, with a few bits of scrap yarn added.
A close up of the yarn.
My next card said "Use a monoprint"  I was stumped for a while.
There was nothing for it but to get out the fabric I monoprinted a little while ago.  I looked at it.   I looked at it again.....  Finally I thought of cutting some flowers out of it.
So I got some flowery stencils out and moved them around.  The tulip and sunflower looked interesting, but... then I saw this stencil.
Decision made!
I thought the butterfly might look nice placed like this.  But I wanted to be sure.  So I loaded all my pictures into Photoshop.
First I cropped the background.

Then I got rid of most of the background from the butterfly and flowers (only a rough job, really)
and then I pasted them into place.  The contrast between the background and the elements is not wonderful, more is needed, so...
I drew around the butterfly with black to see what black satin stitch would do for it - and I liked that!
So I cut out my butterfly and put it down on the background.  I was still not sure about the flowers, though and just to make up my mind, I drew another card.
 It said "Attach something that isn't fully anchored down / dimensional" and that made up my mind for me.  I would make some dimensional flowers to add.


So that is where I got to today.  Considering I had no idea where I was going this morning and now I have a piece well on it's way, I'd say this method works.  But I'll have to try it a few more times, just to make sure, lol.
When I first started thinking about doing this, I  thought it might be a little too lacking in creativity, but the way I have put it together allows a bit of freedom in interpreting the prompt and the challenge actually seems to stimulate more creativity.  If I hadn't had to look at my monoprints, I wouldnt have looked at the stencils and I probably would never have  seen the butterfly and thought of using it.
Instead of how I thought it would be, it actually helps my creative impulse to not have to wrack my brain thinking of how to do something and instead simply take a random technique and  make it fit.

Try making a list of the techniques you regularly use and/or want to use.  Make them into cards so you can pick randomly, and have a go.  You might be surprised (like I was) at what you create.

Well, that's my story - and I'm sticking to it

Saturday, September 3, 2011

Bonded fibre film -Angelina

I had intended to blog about the workshop I did today with Neroli Henderson at ATASDA, and I will, but unfortunately, I am away from home for a few days and forgot to bring my card reader with me.  Silly me.  So you will have to wait for that one.  Needless to say it was great and a great group of people.
So, with no more ado, I will instead show you the first of the bonded fibres experiments.  In my categorisation of fibre films, these are the heat method.

As you might have noted, there is one further group after this.  The final type of fibre film at present is making films by manipulating fibre and fabric.  I have updated the Tutorials page so that all the fibre film tutorials up to this one are listed.

So, back to bonded fibre films.  The reason I call this the heat method is that, unlike the glue method, these films require heat to bond.  As fibre artists, we are blessed with a range of heat bonding methods.  Fusible webs, bonding powder, plastics and angelina are a few that come to mind.  My soldering iron applique method fits into this category as well.  This is the method I used to make the rocks in my first challenge piece for tangled textiles
The first one I am going to look at is angelina.
The first and most important thing (other than an iron, of course), is silicone coated paper, release paper, or baking paper as we call it in Oz.  All of these bonding agents could make a mess of your iron, so you need to protect it and your ironing surface as you work.
I usually roll off a large piece and pre fold it in half, so that I can fold it over the top of my layers before I iron
Above, I have spread a very thin layer of angelina on the baking paper (I did have a picture, but you could not see the angelina), then I have laid some threads and fancy yarn scraps over the top of the angelina.  I then laid another fine network of angelina over the top of this - to trap the yarns between.
Here, You can see the top layer of baking paper folded over the fibre layers.
After ironing, the angelina fuses together, trapping the yarns into a fine net.  When ironing these angelina films, I give the film only two or three quick sweeps with the iron.  If you keep the iron on the film too long, it will dull the shine of the angelina fibres.

So that is the basic method:
  • a layer of angelina
  • a layer of bits
  • a layer of angelina
  • baking paper
  • iron briefly
The film can be stitched through quite easily, and it doesn't take much angelina to make a film.  My personal preference is less is better.  you can always add more if required, but besides thick films not looking as good, they are also harder to stitch.

Here are some pictures of a few samples:
This is the first film with a wide variety of threads and yarns.
This lovely sample trapped some skeleton leaves I found in the garden.
This one uses bits of foil from lolly (candy) wrappers.
This one uses snippets of light lutradur or rainbow spun.  All very shiny!
These are snippets of gold shot organza and crushed velvet.  Great texture.
This, is strips of coloured plastic bags.  The bags also melt and pucker.
And this last sample, the piece de resistance, is silk tops.  Using this method, it is possible to make extremely thin pieces of silk paper which will not fall apart and can be stitched down easily.  There is the added bonus of the sheen of the angelina setting the silk colours off.


Making these films can be addictive, you can use almost anything small and flat and they make lovely additions to art quilts and fibre art pieces.  I like to use them like a mat between a background and a small art piece.  They frame small work beautifully, but they can also be torn or cut up for inclusion in your work.


A little bit of shiny stuff goes a long way and can help to give interest to the focus of your piece. 


Sunday, August 21, 2011

Entrapped Fibre Films - Samples

Here are a few samples from my last tutorials on  creating fabrics and foundations by entrapping them using sheers and using water soluble stabiliser.
This sample used a number of yarns entrapped between two layers of tulle and free machine stitched with silver thread.
This sample is made in the same way as the sample above, but used ripped up pieces of paper, and also a few scribbly flowers in the free machining.
This sample had tulle on top, but had a layer of black velvet underneath and entrapped silk  tops.  You can see the velvet fibres comming through where the stitches are.
This sample had a layerof bronze shot satin underneath, and water soluble on top, with a few yarns entrapped, the free machining was with a bronze metallic thread.  Yummy!
This last sample had a huge variety of scraps entrapped between water soluble, top and bottom.  Free machining was with a lime coloured embroidery thread in a geometric meandering.

These samples show only a few of the wide variety of items which can be used to make fabric films in this manner, from paper, to scraps, to sheers, to luxury fabrics, yarns and fibres.  These pieces are destined to become notebook covers and I will show that in a later blog.

The next technique I will be looking at when I get my studio organised again, will be bonded fibre films.

Happy stitching


Thursday, June 30, 2011

Needle Felting Experiments - Yarn and slub

Oops, I forgot about this post.  Better late than never.
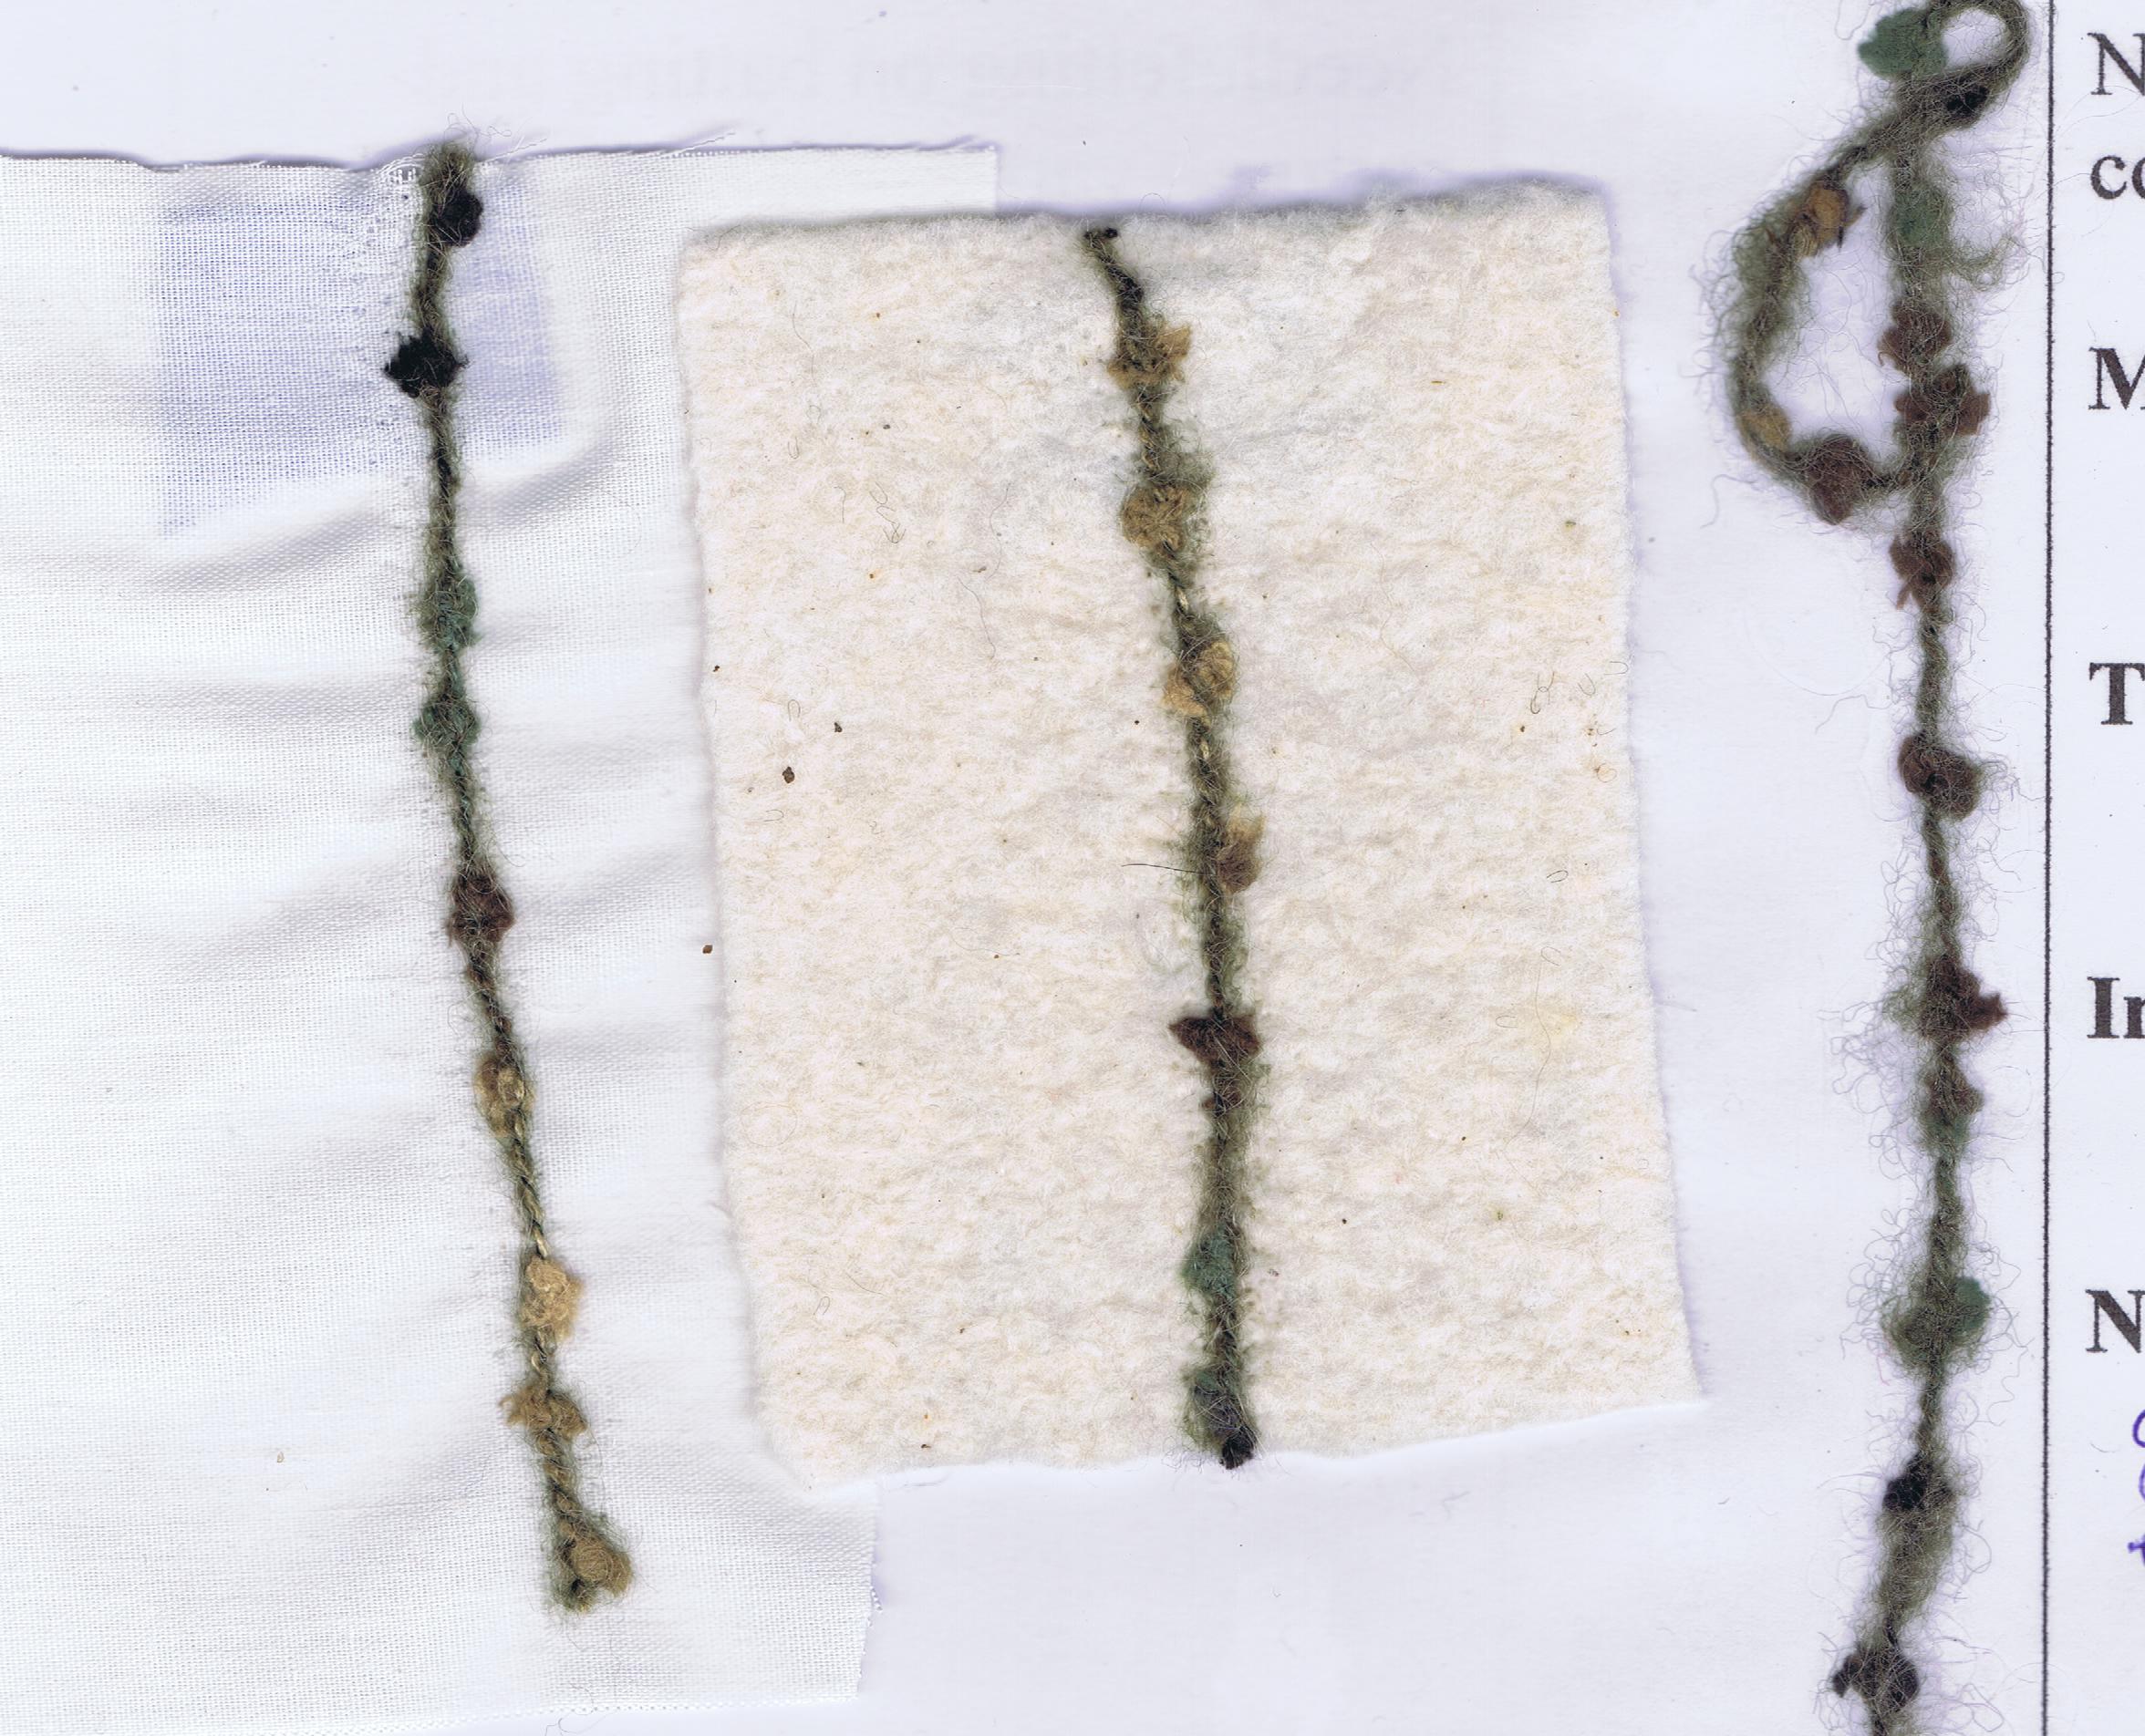
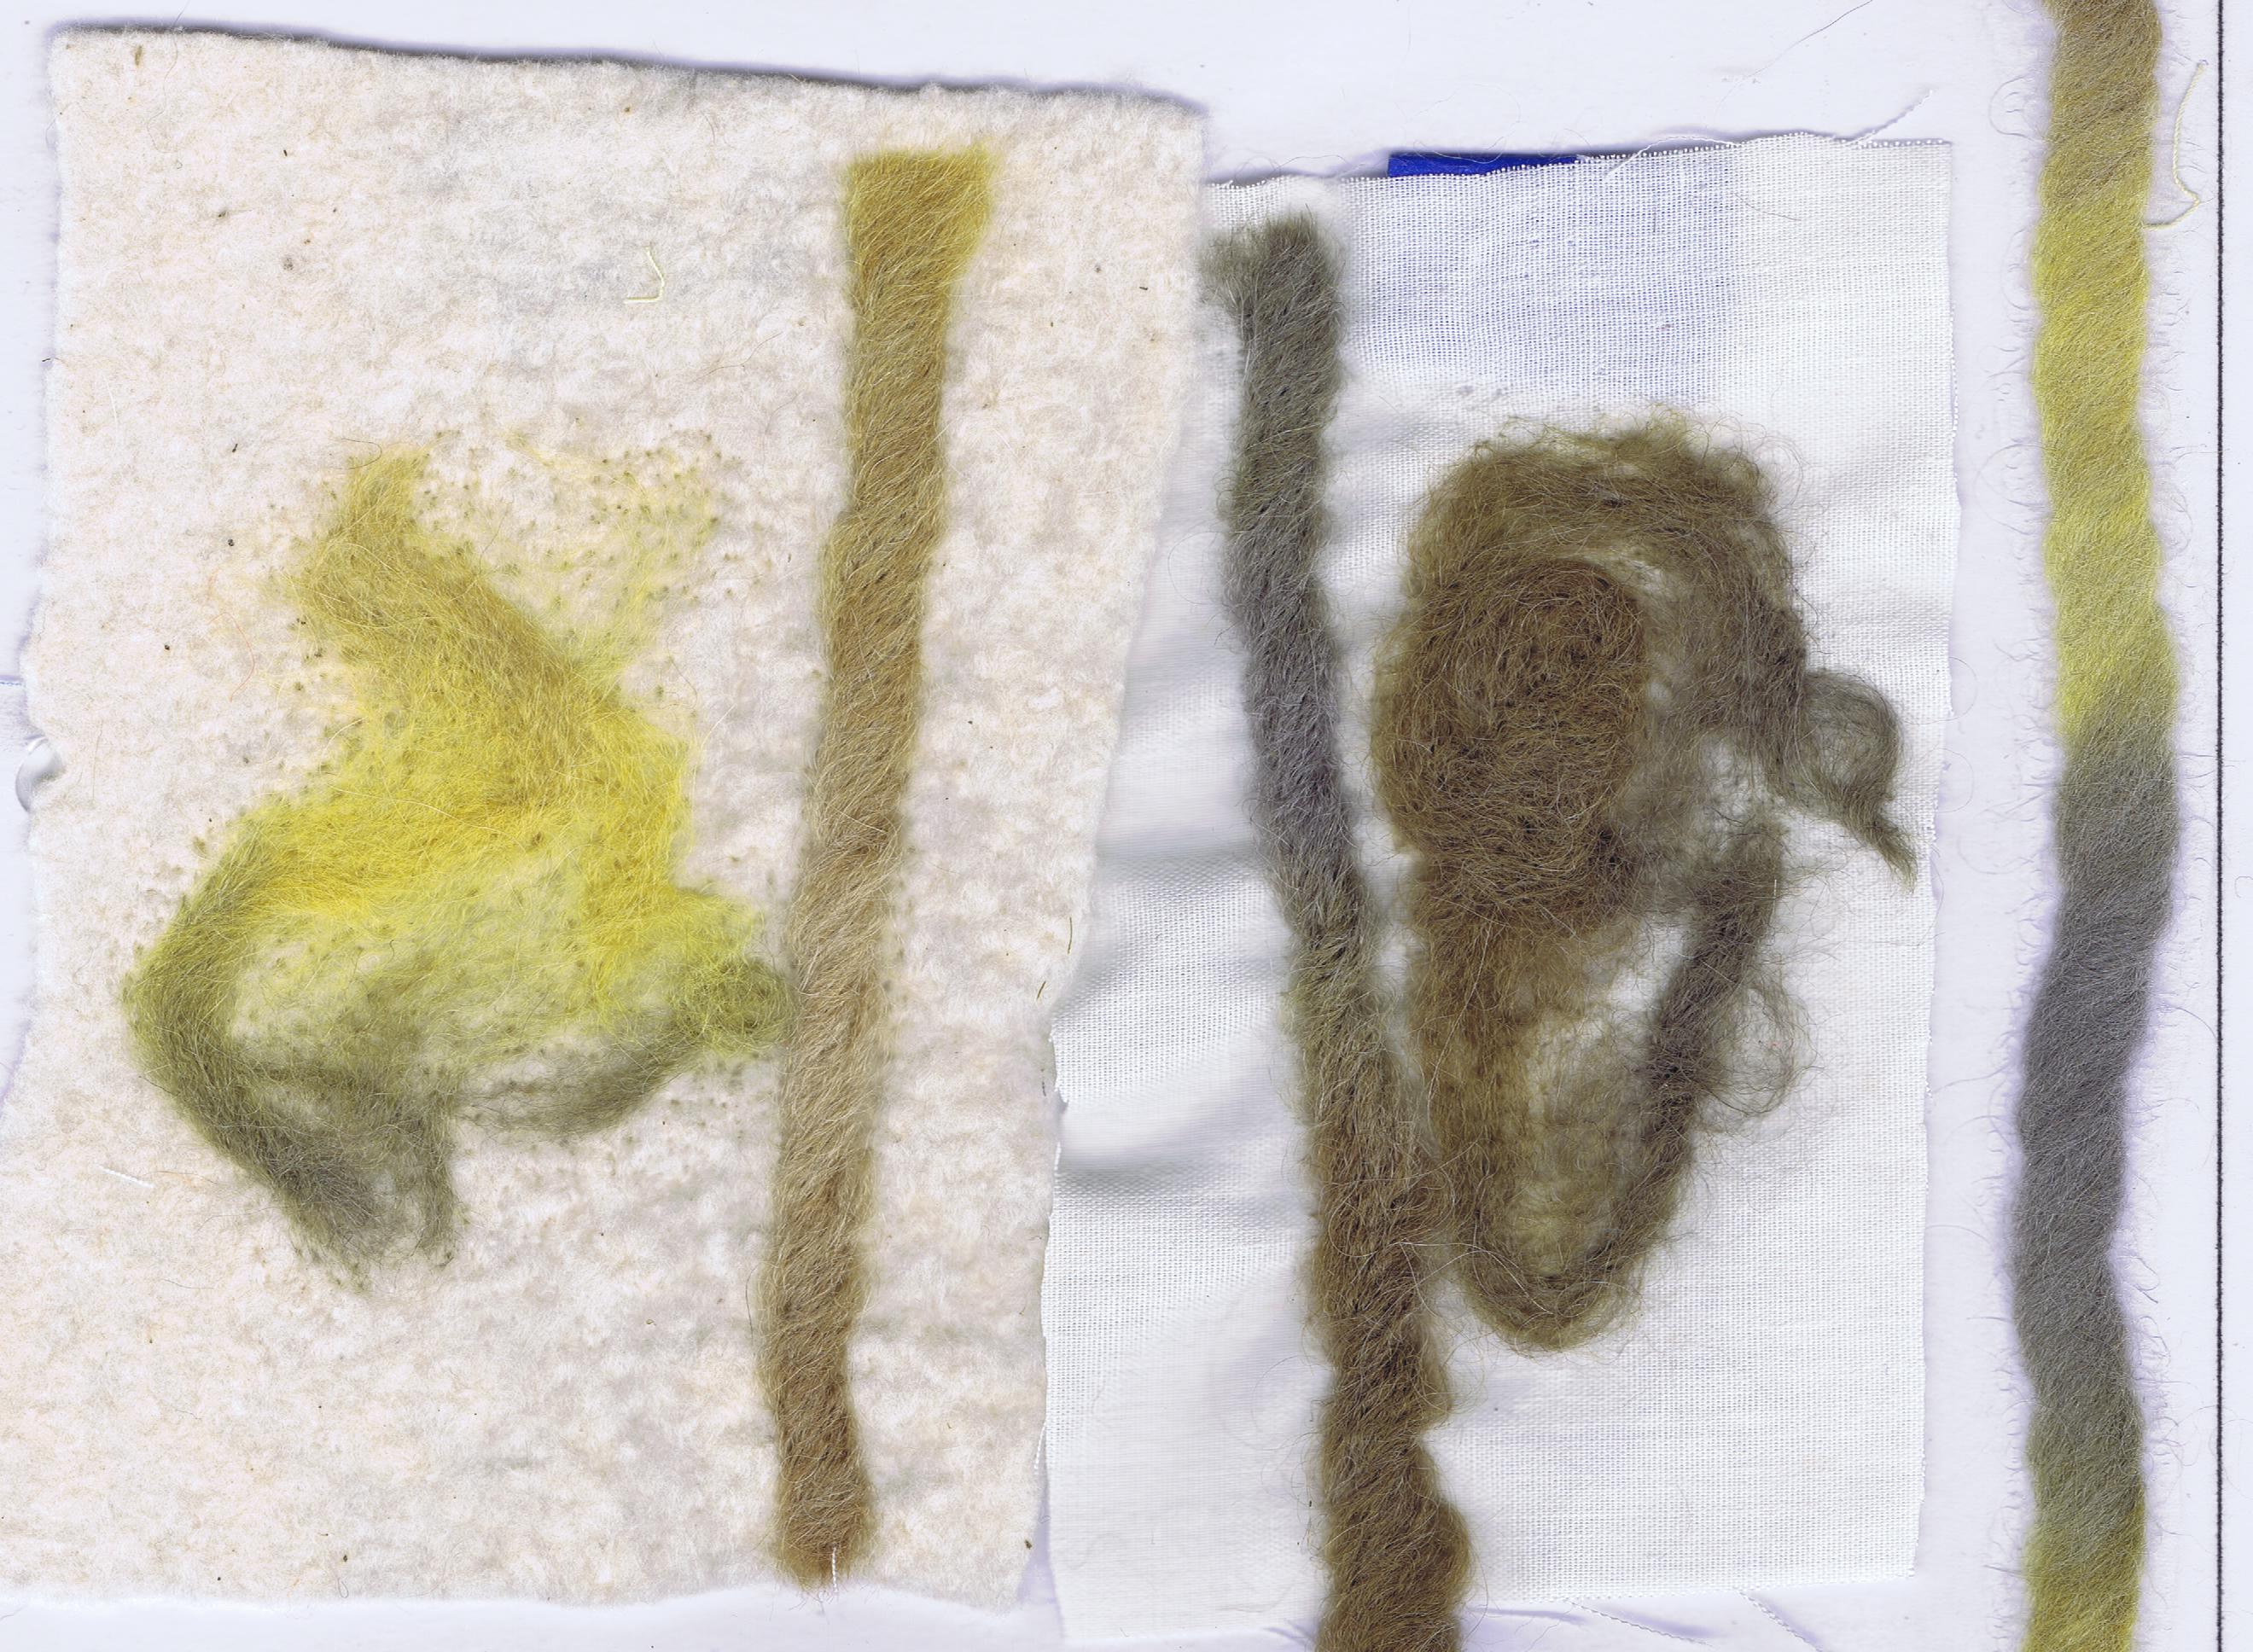
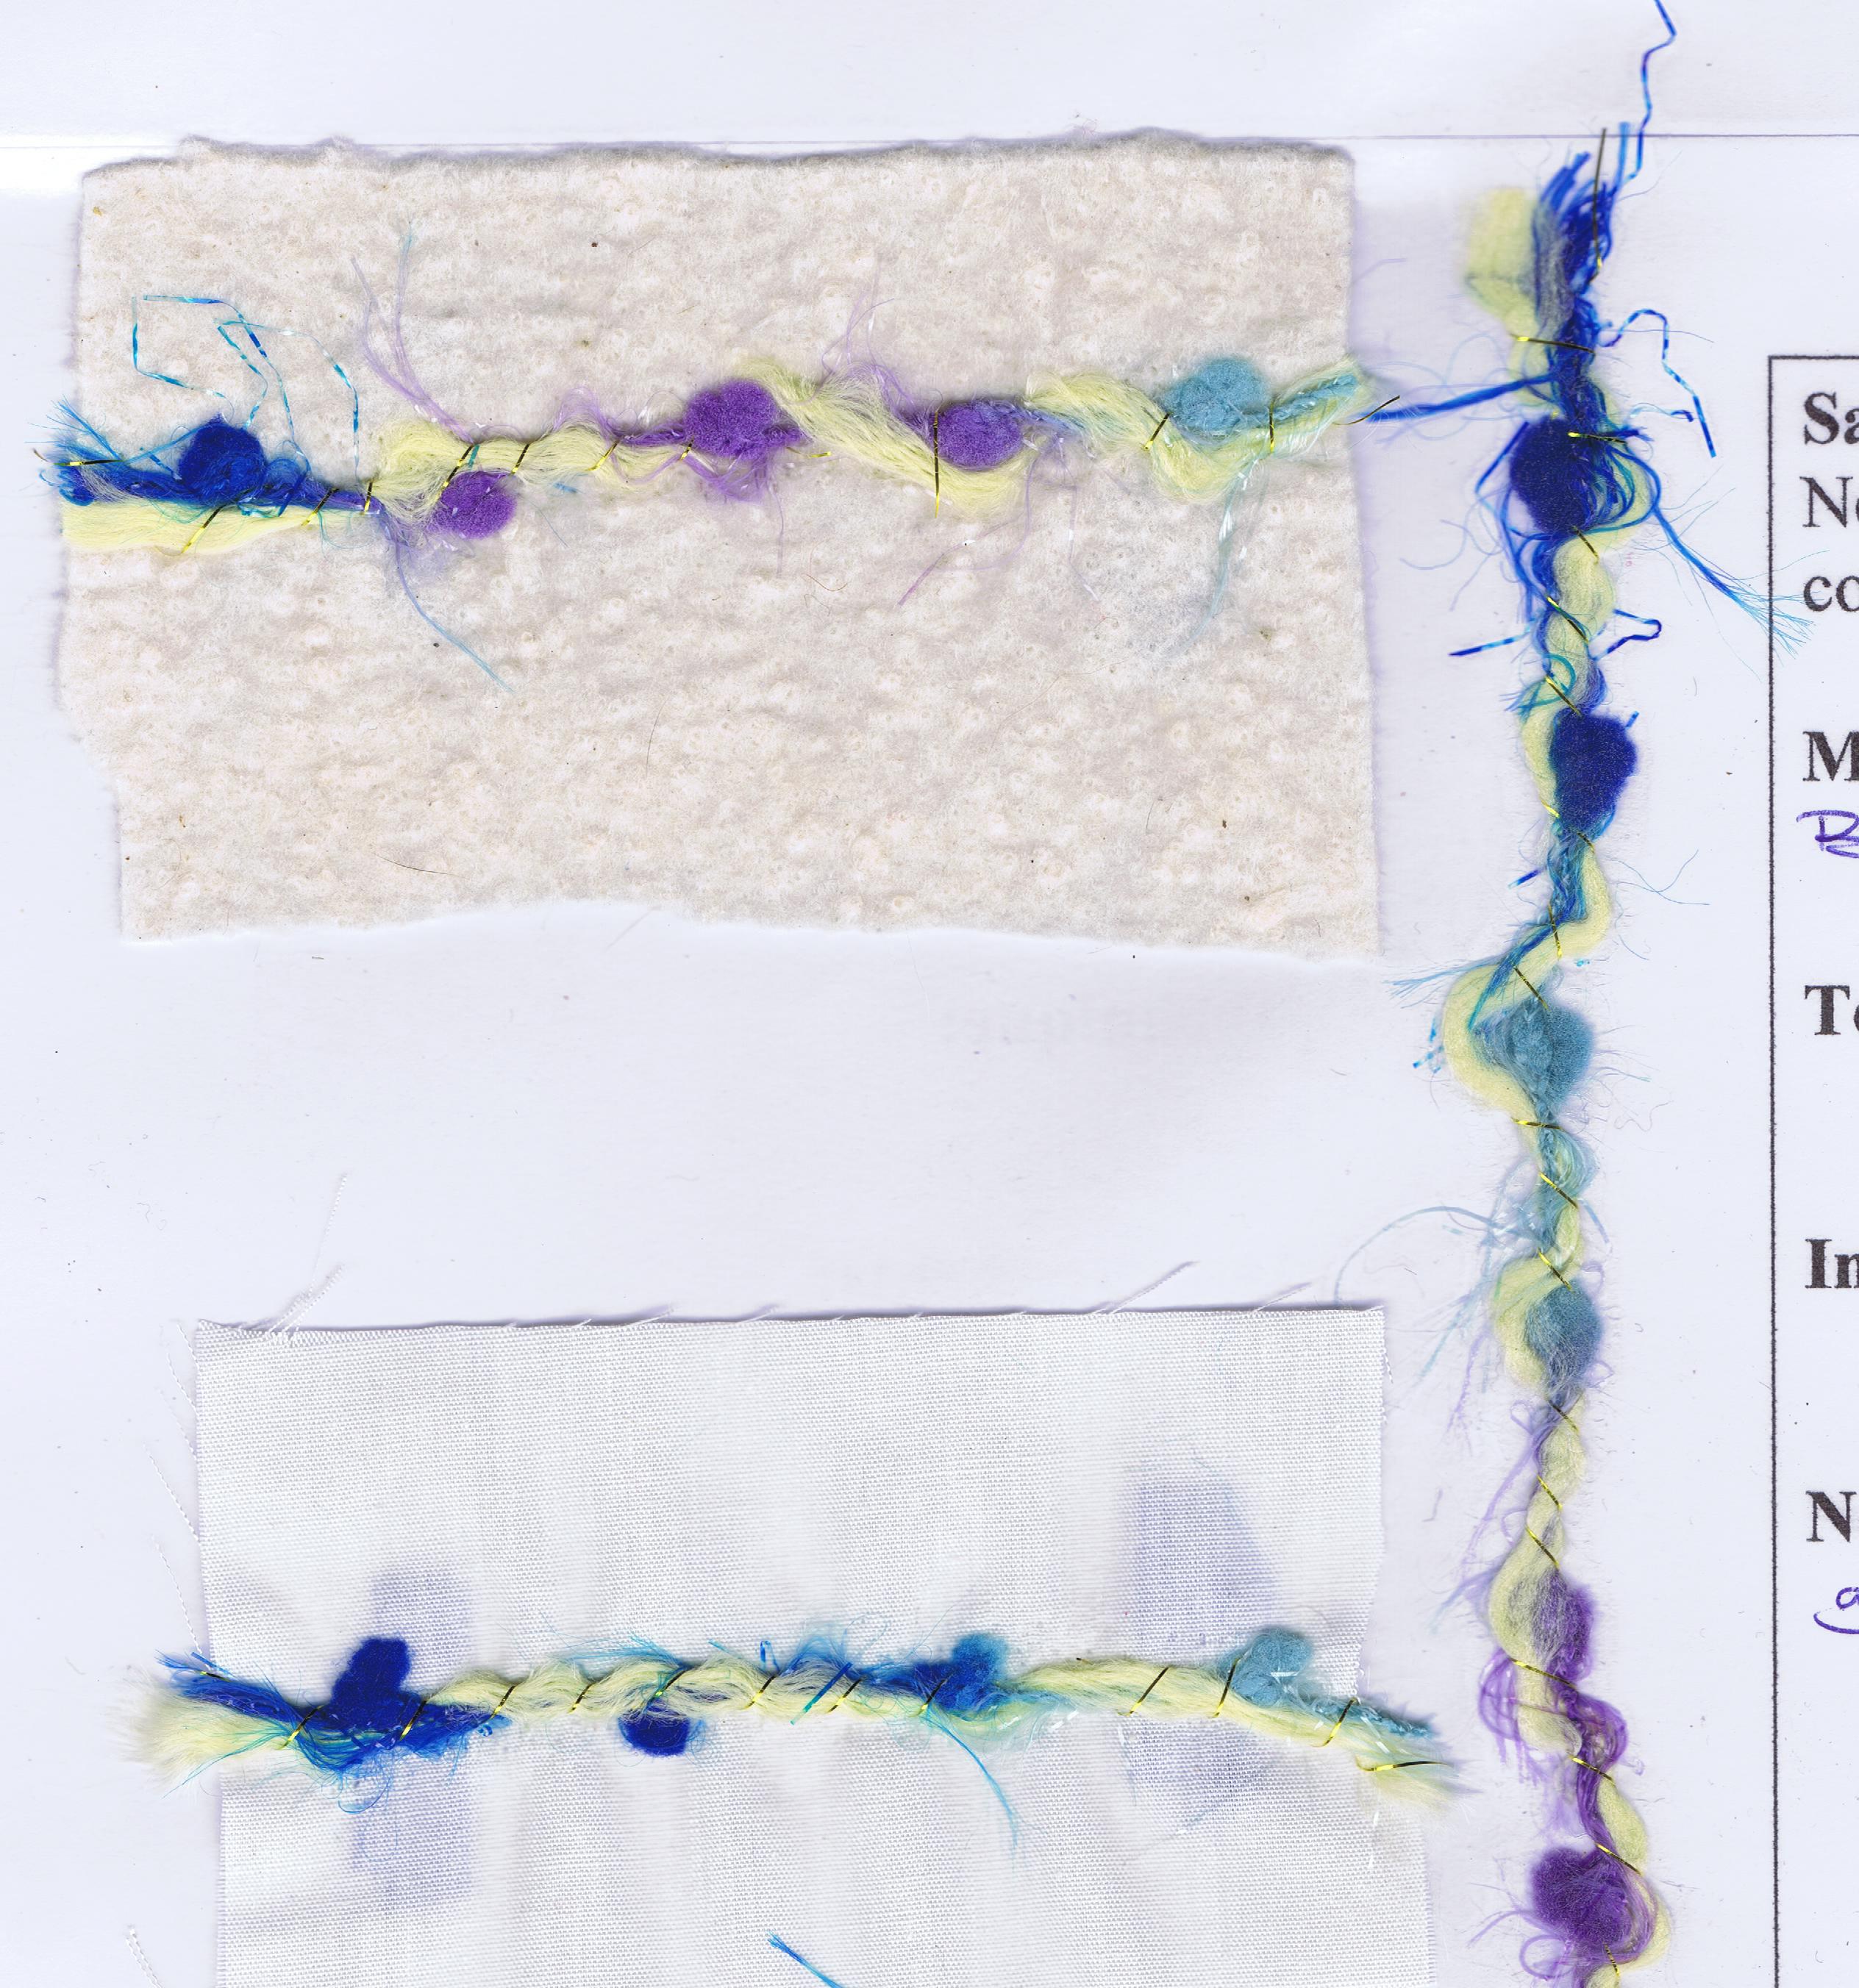
 The sample on the left used yarn on it's own.  Whilst the sample on the right used yarn as well as slub, or roving.


Each sample has been felted onto cotton and batting and includes a strand of un needlefeted yarn to the extreme right of each picture.
  
Yarn and Roving


 Above is a simple sample of yarn.  This was a very soft yarn and felted easily.  Most yarns will needle felt on the machine quite easily, irrespective of the fibre type.  Some keep their shape like this, whilst some like wools can lose their shape, but both effects are useful.
 This yarn has a nub in it and like most yarns, it felts extremely well.  The nubs are good for giving colour in a small area.


This is slub or roving.  It is the best felter of all because it is not twisted very much at all.  It is twisted only enough so that it stays together.  In the textile mill, this is useful so that the long slubs can be run through dye vats.  In felting it is useful to us, because it can cover large areas with colour very quickly and can be broken apart into roving quickly.

This mixed yarn has some slub, some eyelash and some metallic all wound together.  It felts well and can be used to add a little bit of metallic and some colour.
This slub type yarn also has a metallic woven in.  I often do this myself with a bit of slub, to attach metallic or other non-felting threads.  The metallic also adds a bit more twist to the slub and gives it more of a yarn shape although when you look carefully, you can see that the red fibres themselves are not twisted much at all.

I hope you have enjoyed this series on Machine Needlefelting Fibre Samples.  I will be continuing in a few weeks with fabric samples.

Happy embellishing