With the hot weather, I have been holed up in the main house with some hand sewing, so today I will show you a little project I completed this week
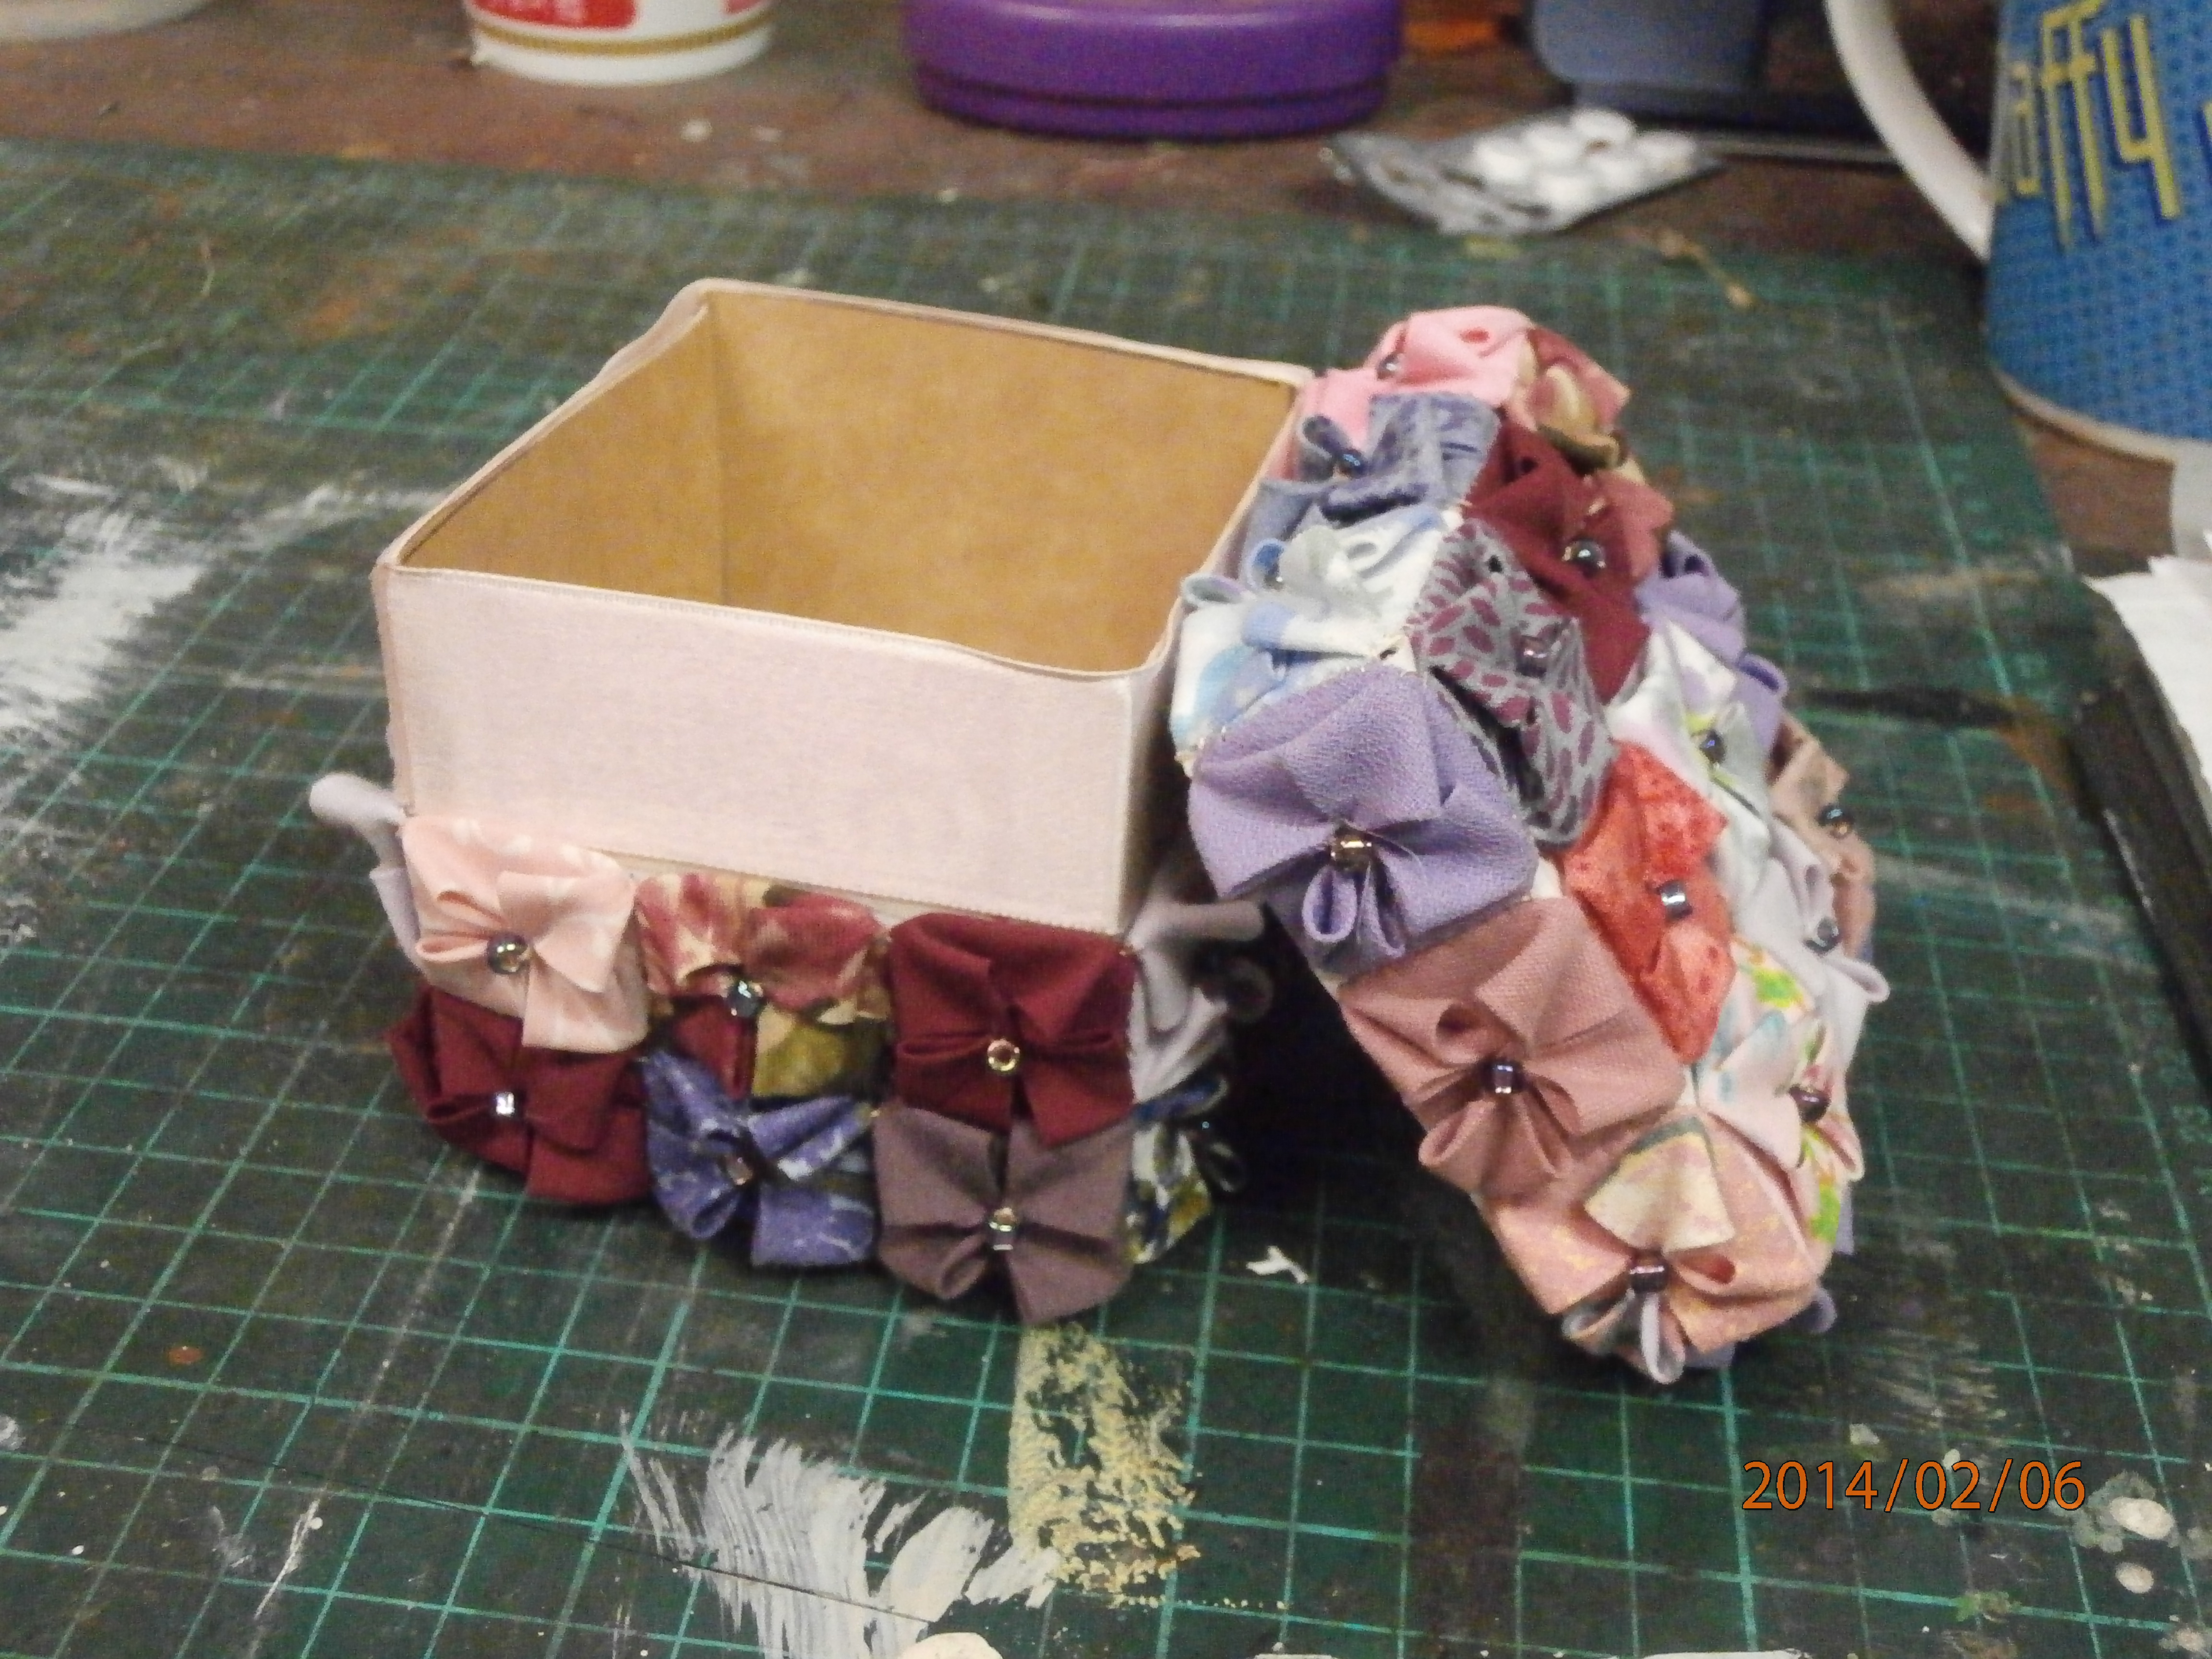
You might remember I was making these little folded units here. I was thinking of making them into hydrangea like flowers, but I changed my mind and made a box out of them.
Here is the box and lid. I have not as yet covered the inside, but the part of the bottom that is covered by the lid is covered with a satin ribbon.
Basically, I made my box from some recycled card and as it is a cube, each face was the size of nine units. I made the top face of the lid slightly bigger - less than an eighth of an inch - so it would slide on properly.
I am really liking this little box and like the way the little units are textural like tiny little flowers.
Happy Creating!
Showing posts with label fabric folding. Show all posts
Showing posts with label fabric folding. Show all posts
Sunday, February 9, 2014
Sunday, January 26, 2014
Using up the baby wipes.
I tend to use a lot of baby wipes in my painting. They end up being covered with beautiful colours and I find it impossible to throw them out. When i was folding fabric the other day, i thought perhaps I could fold them.
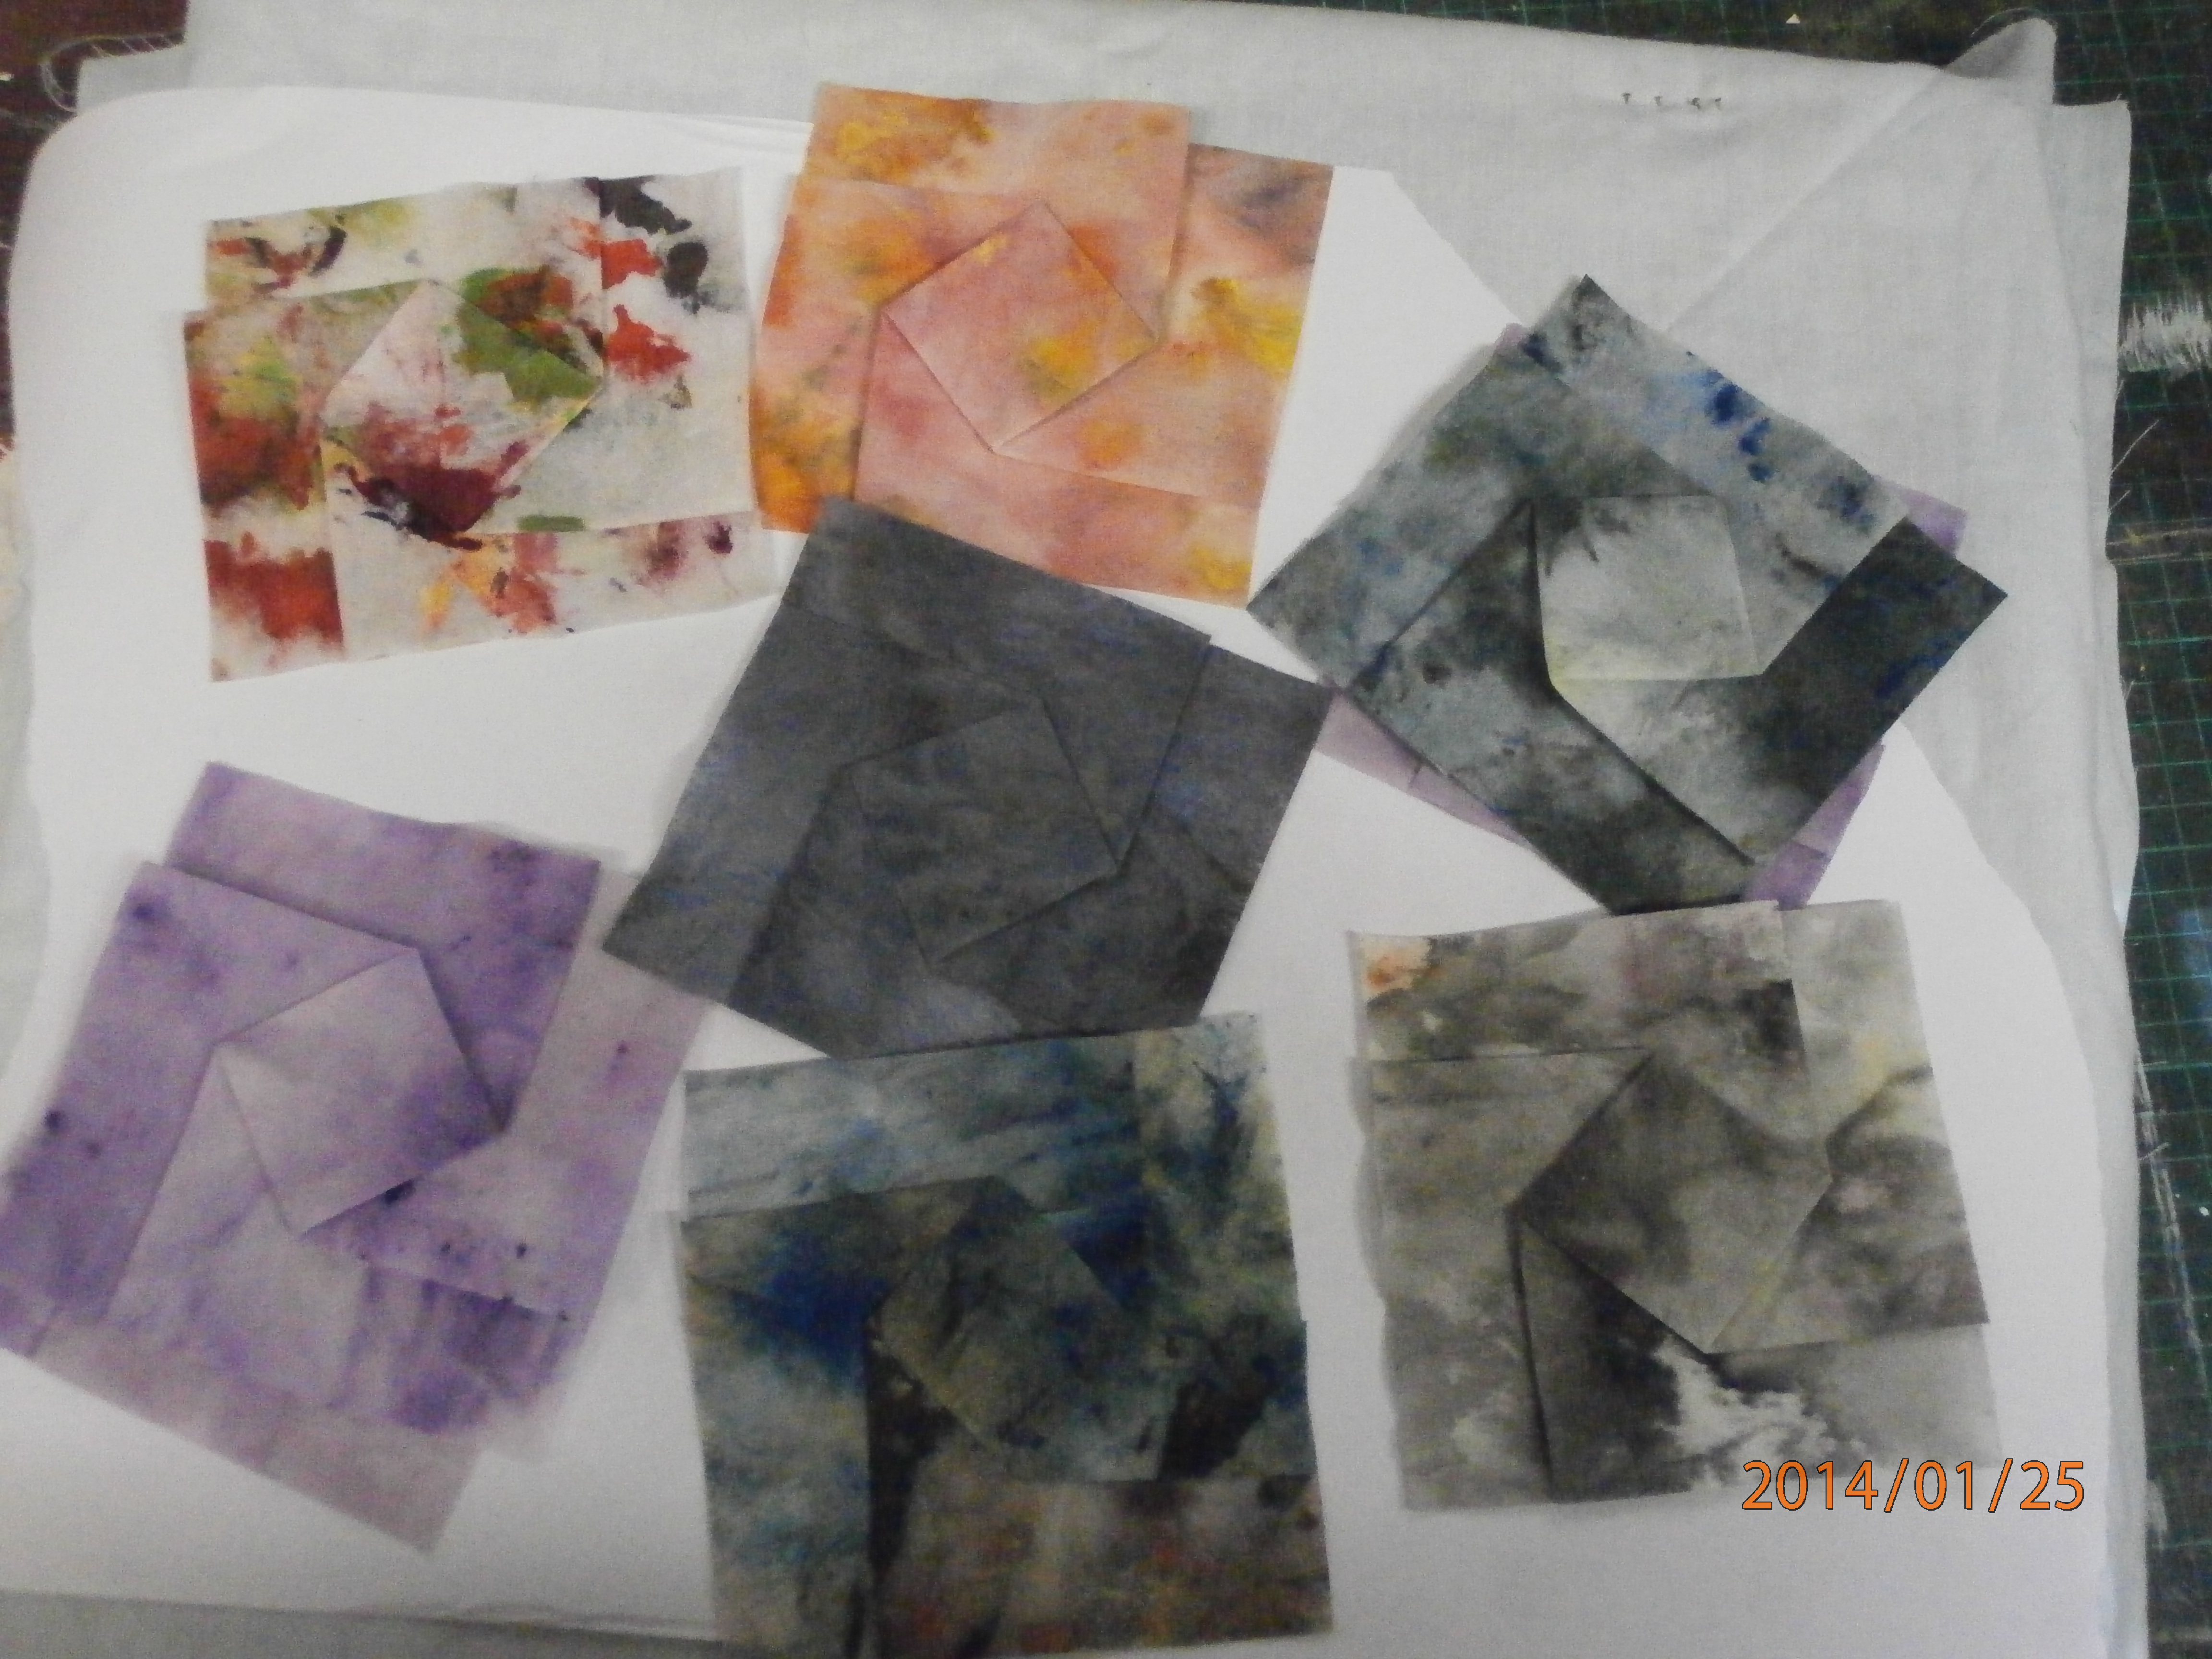
Here is a selection of wipes I used to fold blocks. I soaked them in some strong starch, then squeezed them out and laid them between paper towels to dry, then ironed them.
Here is a selection of folded blocks.
And a close up of one of the folded units. I have shown how to fold these here.
Of course after I had folded lots, probably about thirtyish, I needed to decide what I wanted to do with them.
In the beginning, i just put them together in a traditional manner.
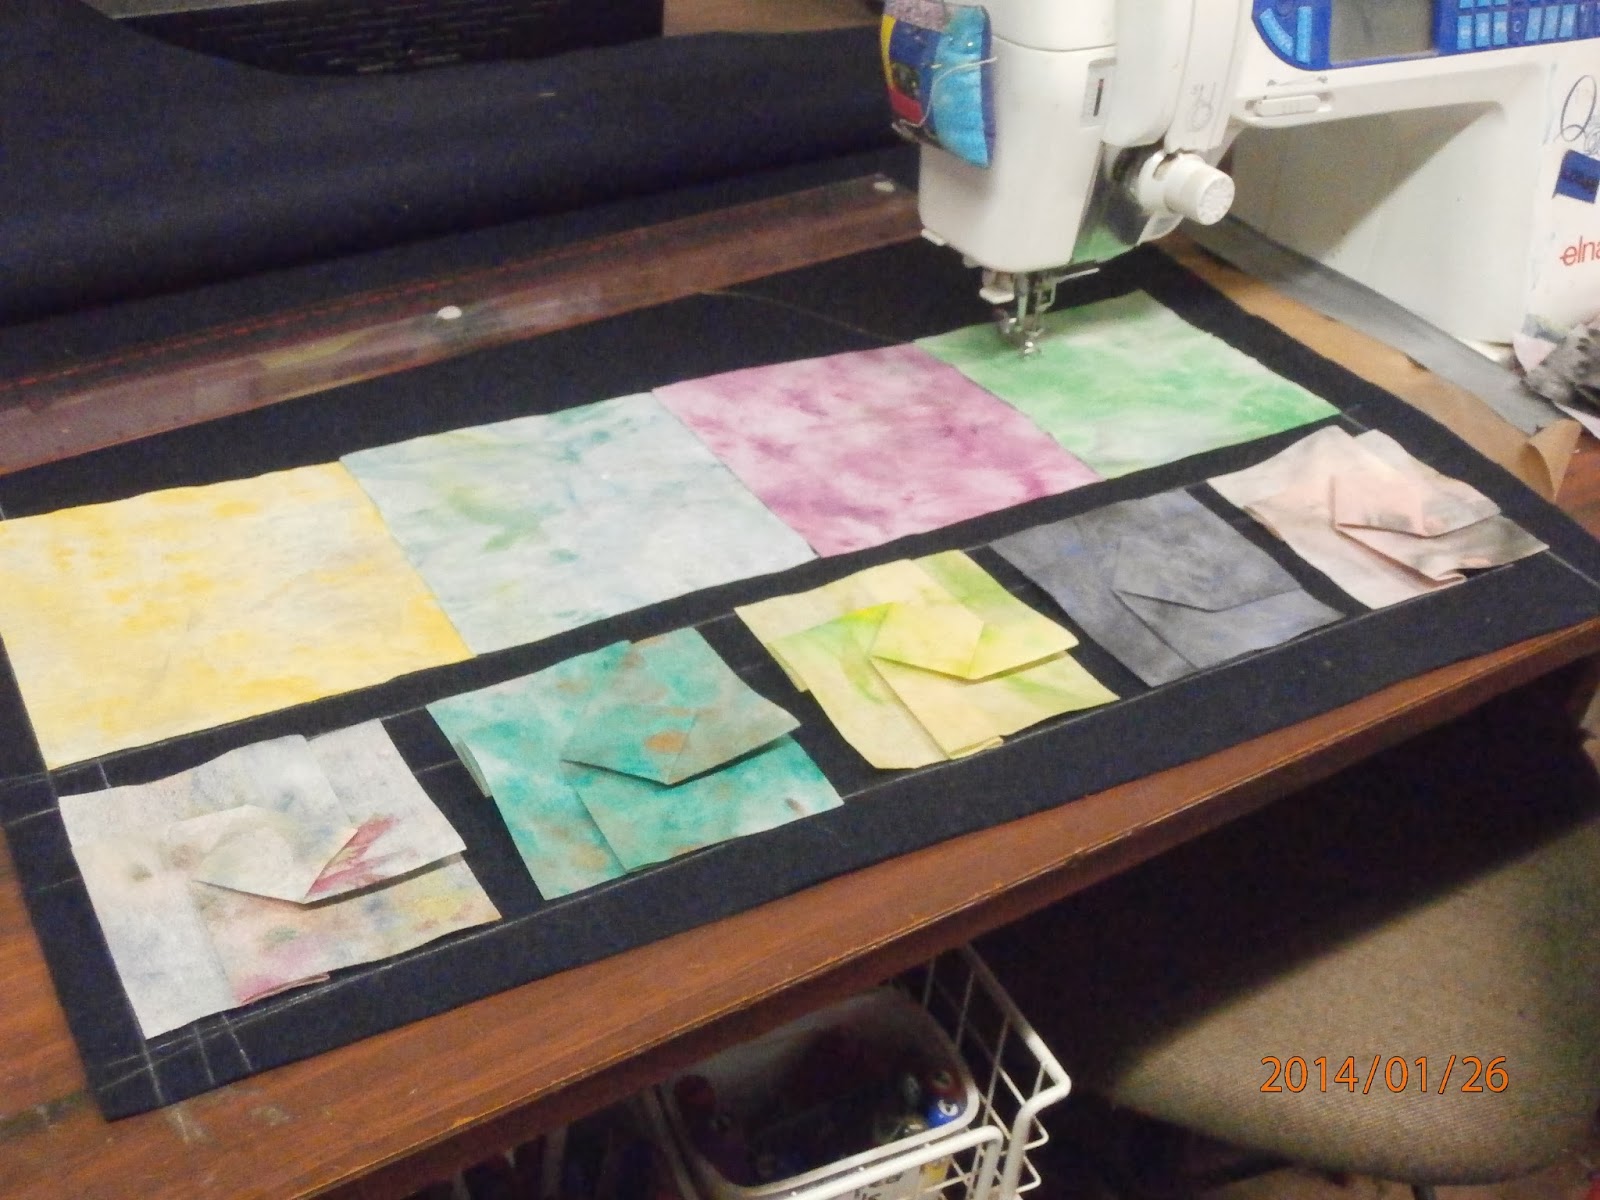
My net idea was to space them in rows and to intersperse the rows with plain, unfolded pieces, which would give me more scope for free motion embroidery. These are sitting on a piece of blue felt marked with chalk, but I think I need a background fabric which contrasts with the matt surface of the blocks, so I am thinking of a black satin, as I intend to do the stitching in gold. I had also thought of having a japanese print with them to accent the origami theme. I do have a gorgeous Mount fuji type print that might work (if I can find it)
Anyway, that's where I am at!
Happy creating!
Saturday, January 25, 2014
A bit of everything
I have been quite busy with a few projects.
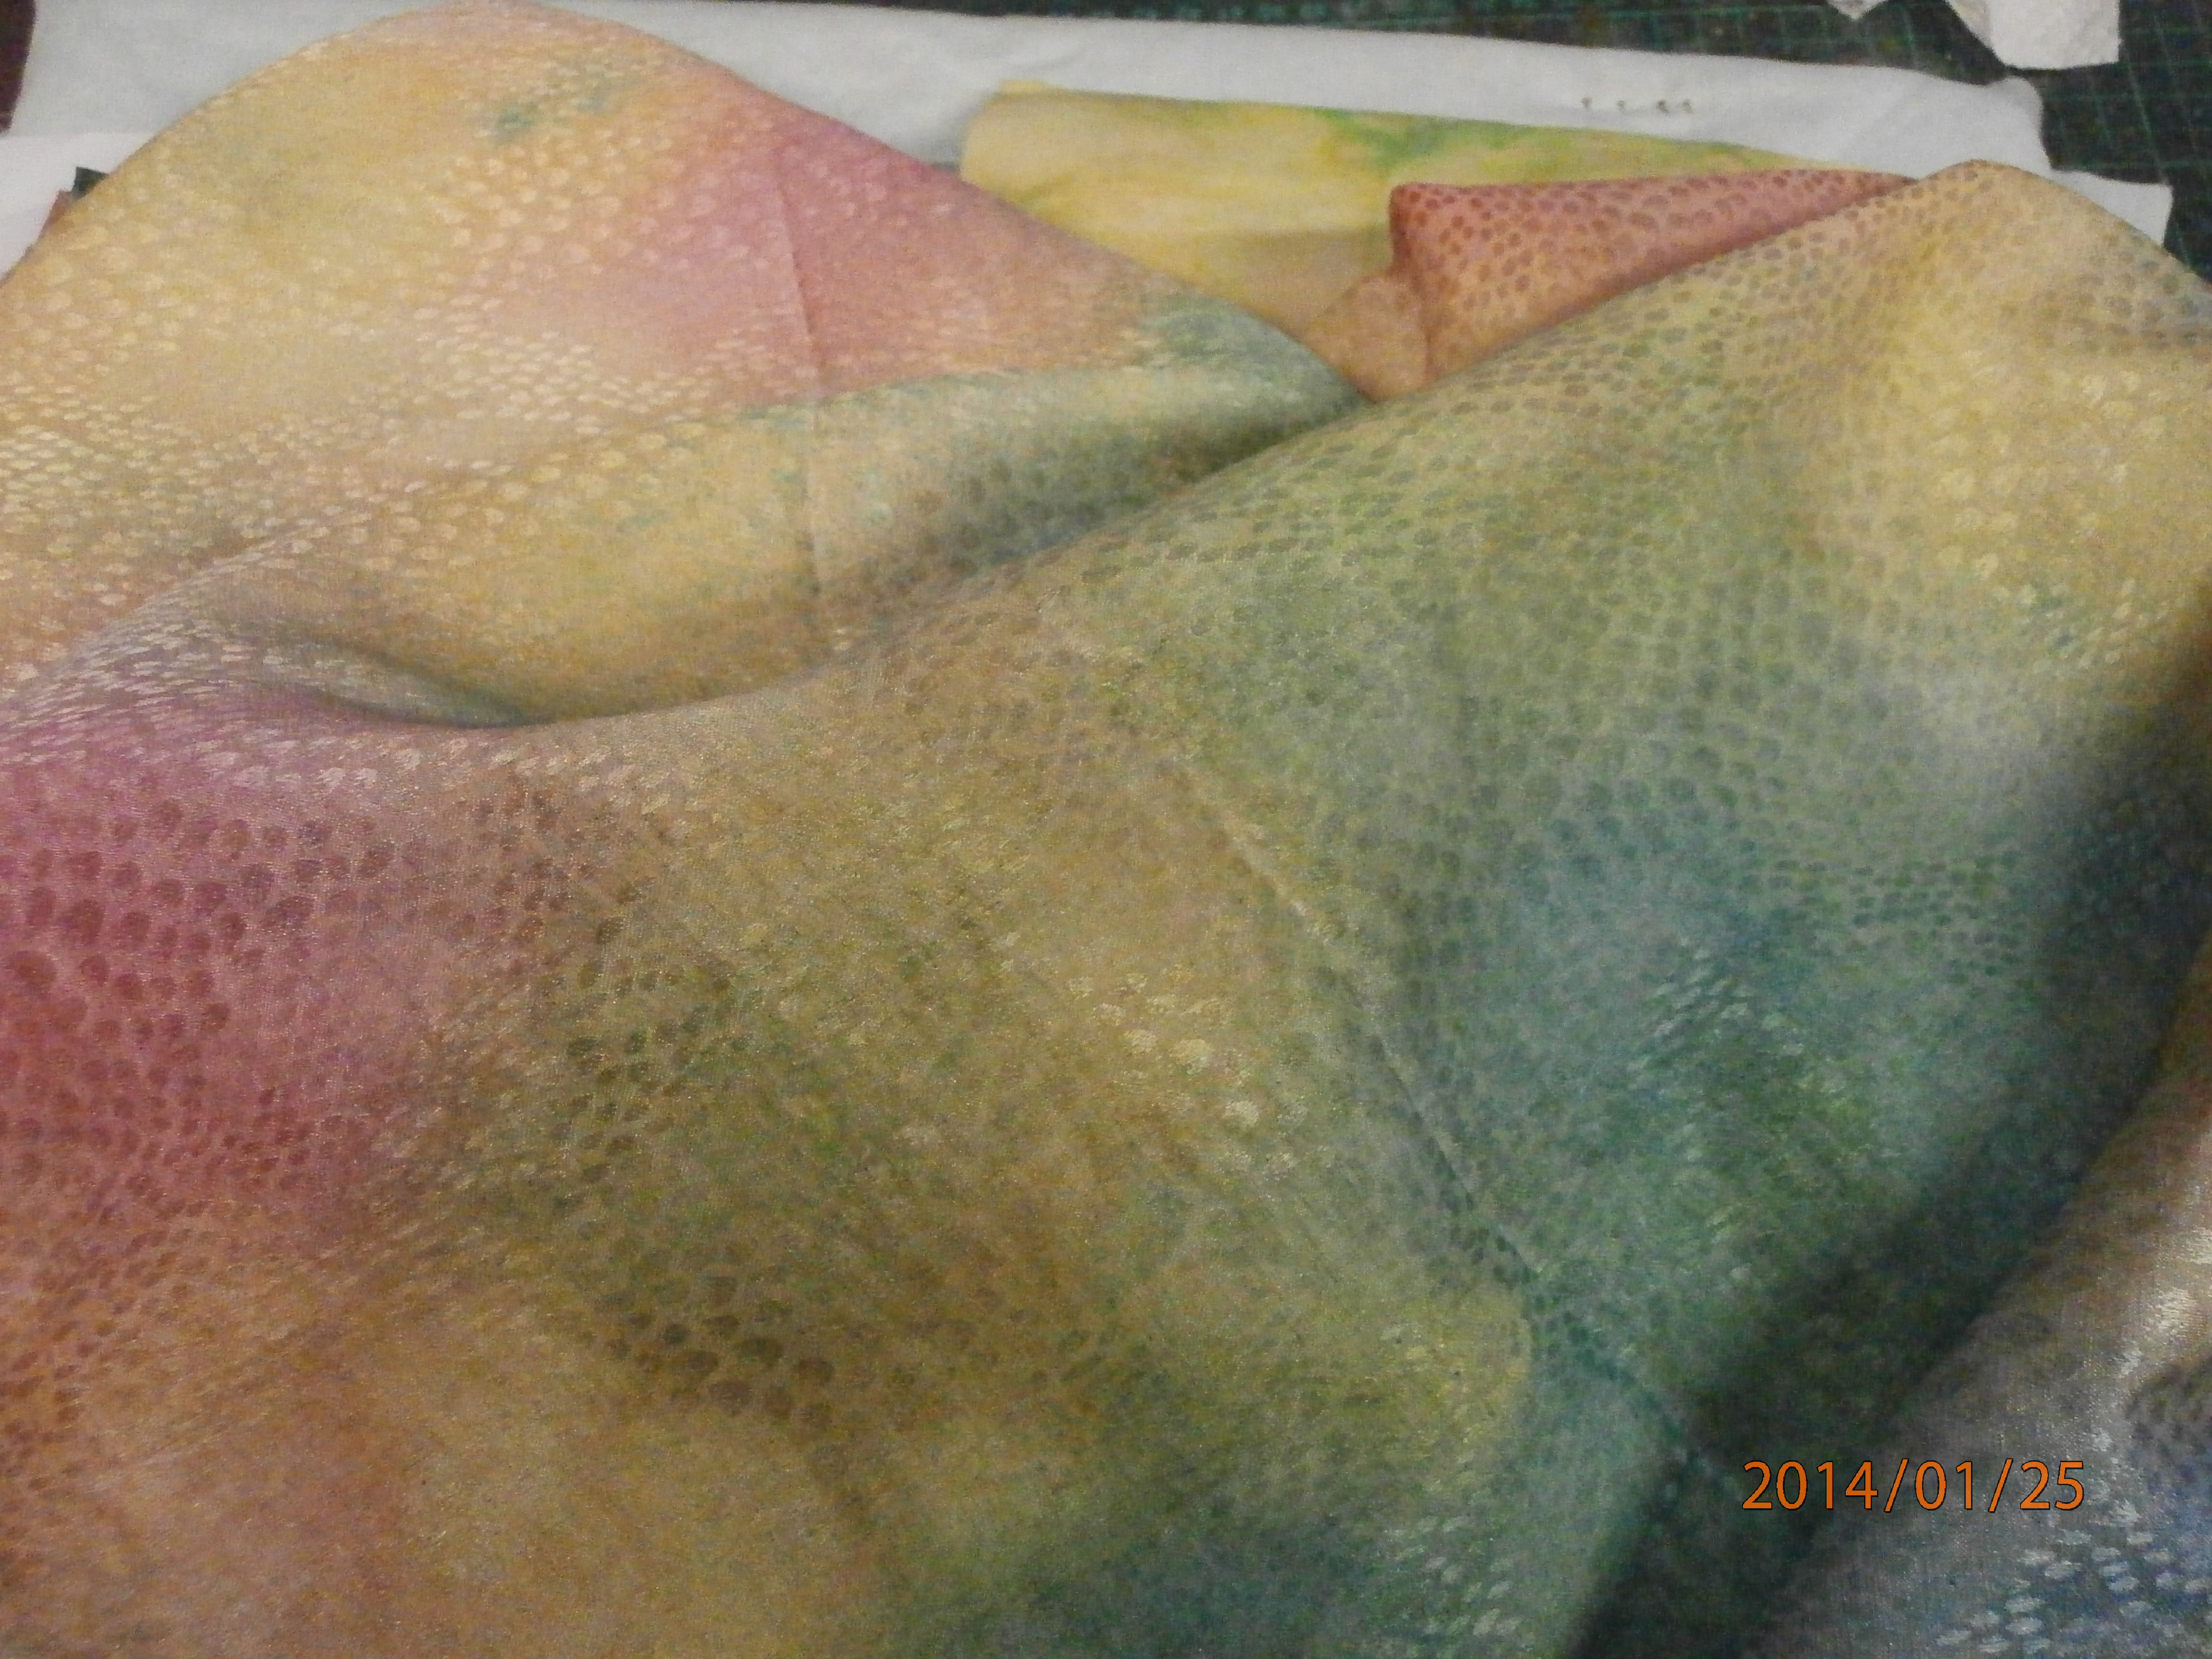
I have painted a large piece of textured satin for an art quilt I have been thinking about for a while.
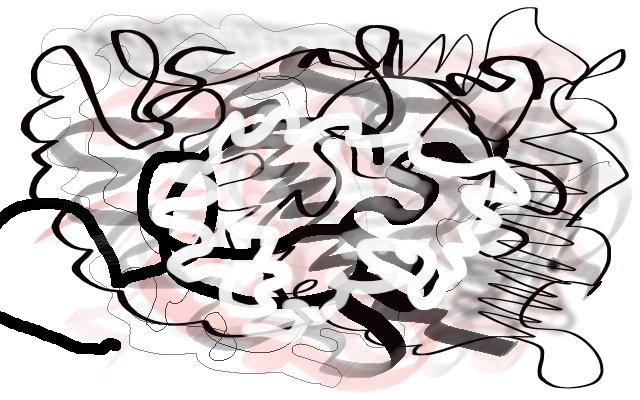
I have spent a lot of time plying with my new graphics tablet, but I can't say I have created any masterpieces, yet. I am still learning to use a pen instead of a mouse!
I have been doing some thermofax printing on fabric, which I will show more of in another post.
And I have been playing with more fabric folding, which I will also show more of in another post.
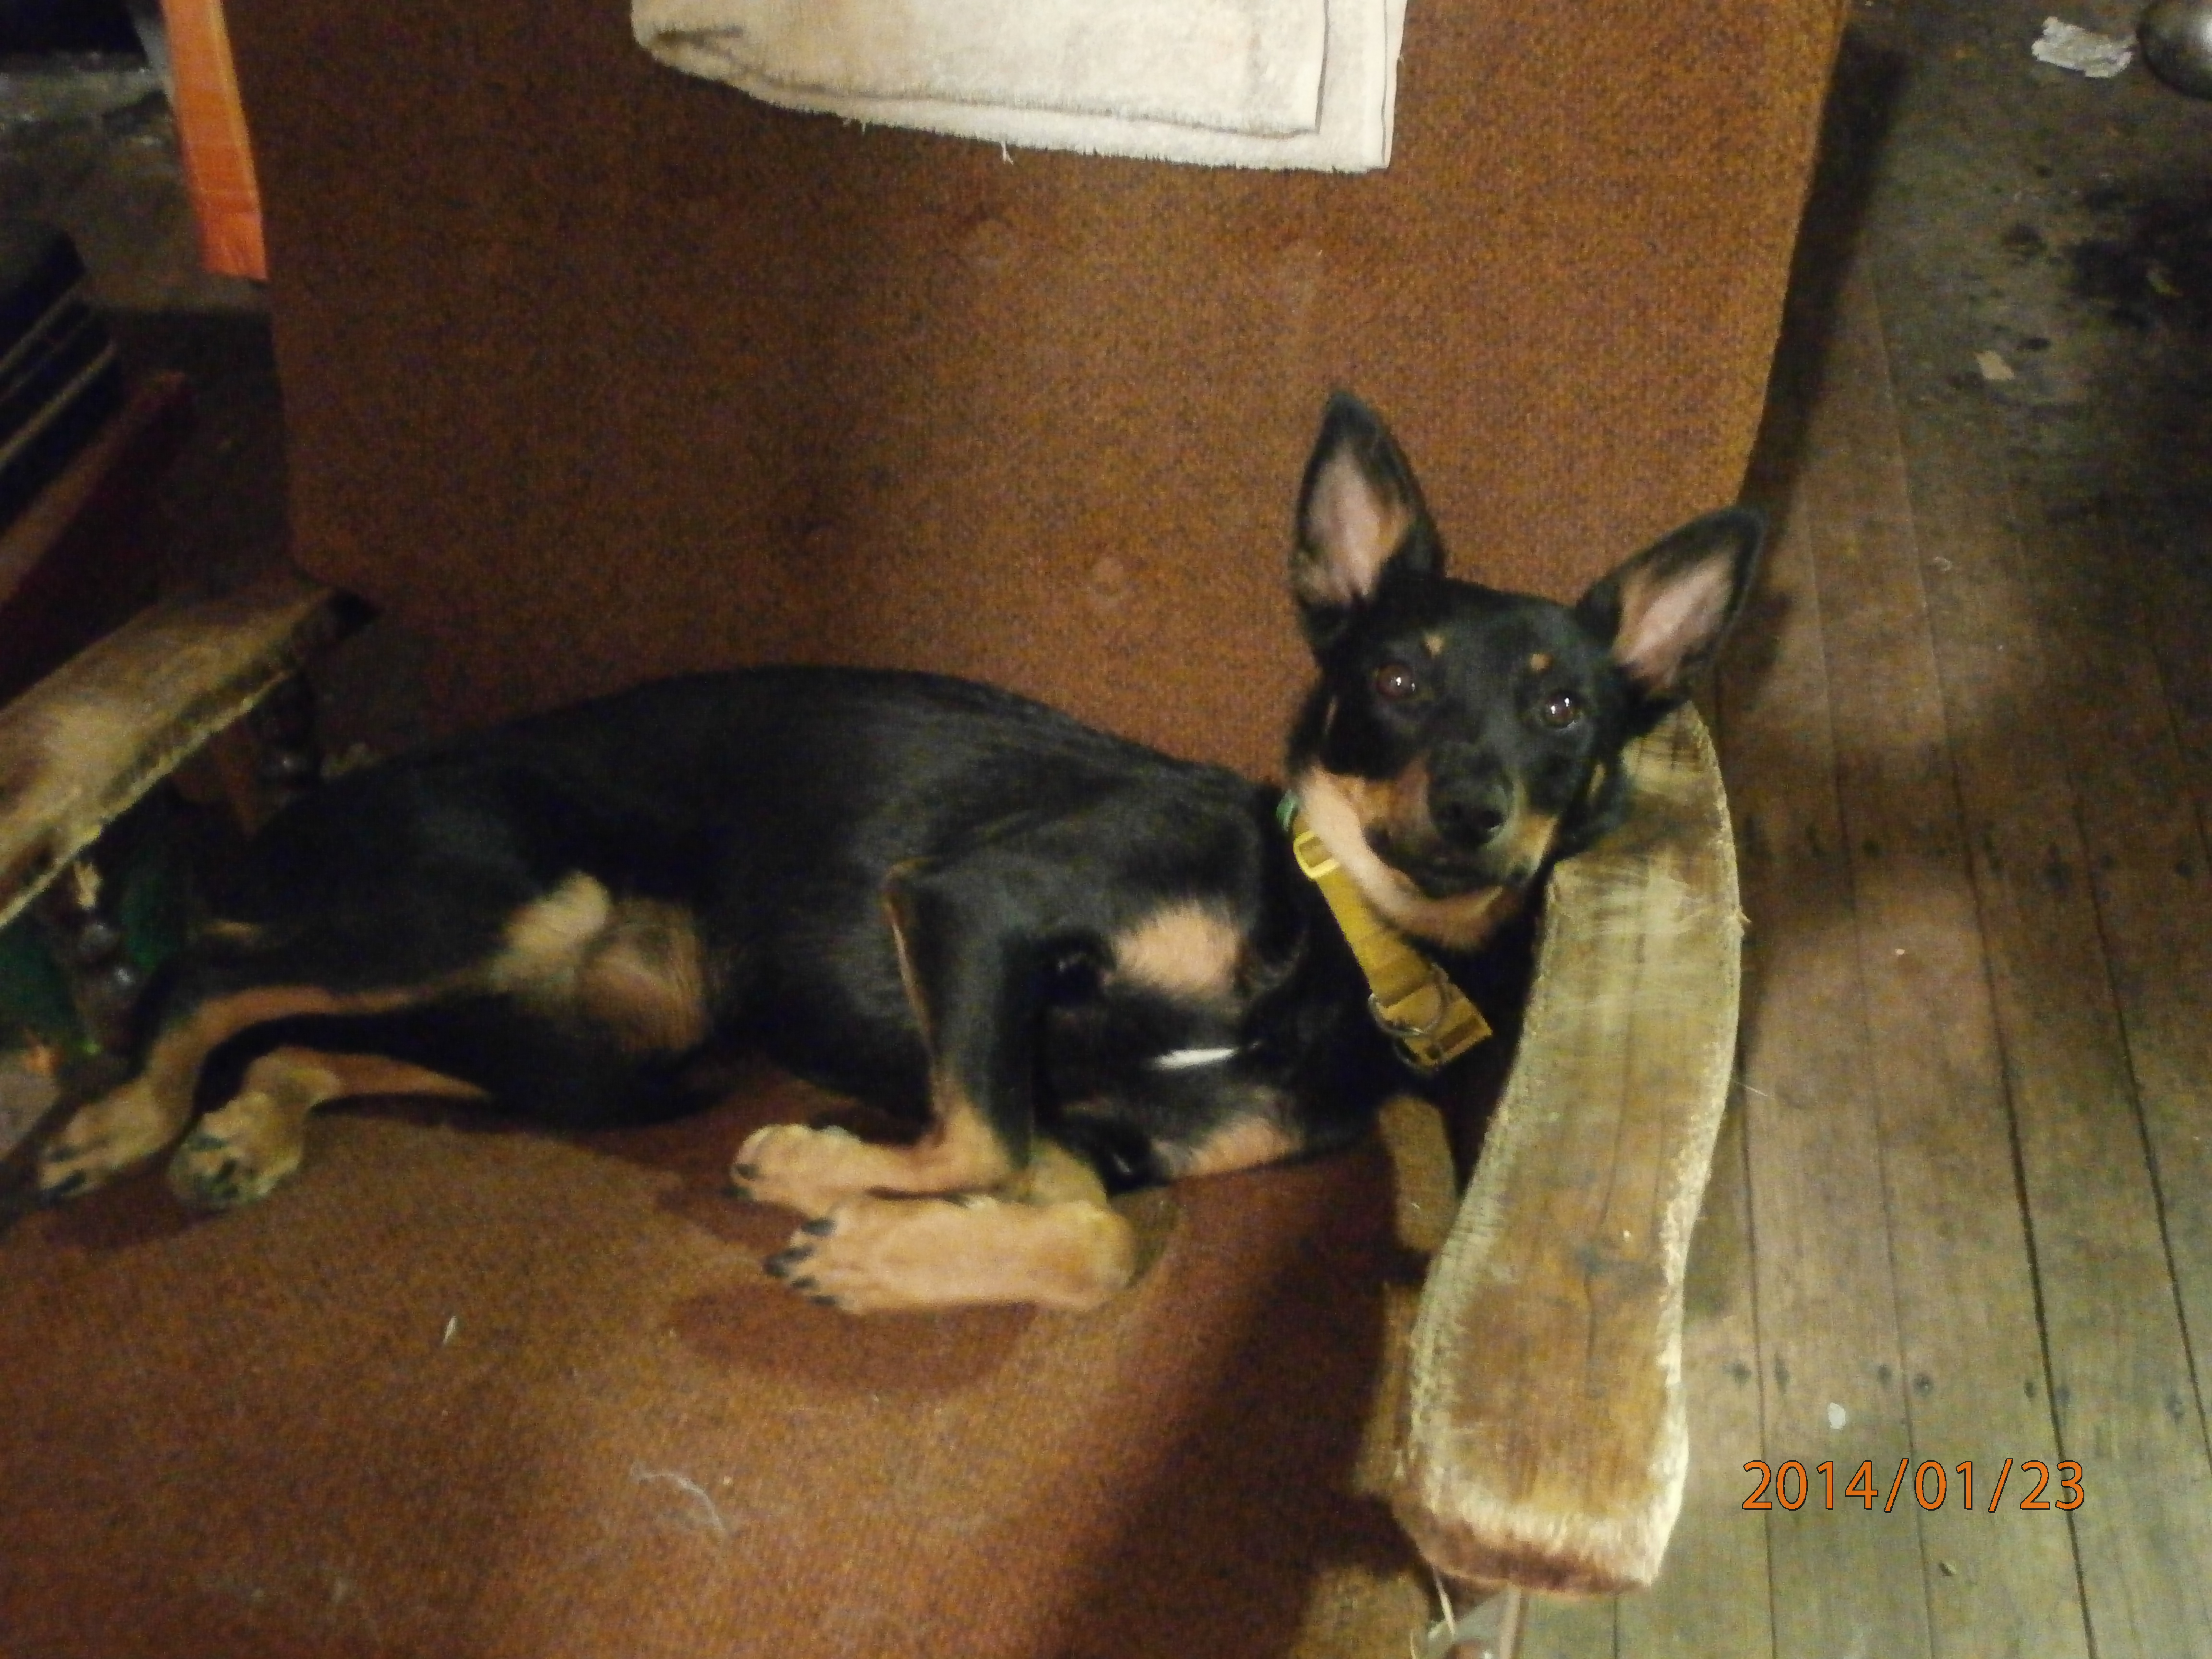
An of course I have been at the beck and call of little ruby, who is the king of the castle!
OOps, I mean Queen, don't I?
Of course, I have also been continuing my collage a day project. I am almost up to 50 collages and the collection is really growing. You can click on the link on the title bar to see a slide show.
Happy creating!
Thursday, January 23, 2014
Fabric folding
Last year, I posted about some little fabric folding projects I was doing here. I made a little pincushion from tiny folded units
I love this little pincushion, I think it looks like a hydrangea flower and is very textural.
Today, I have been doing a little more of this, but putting the units together in a flat manner.
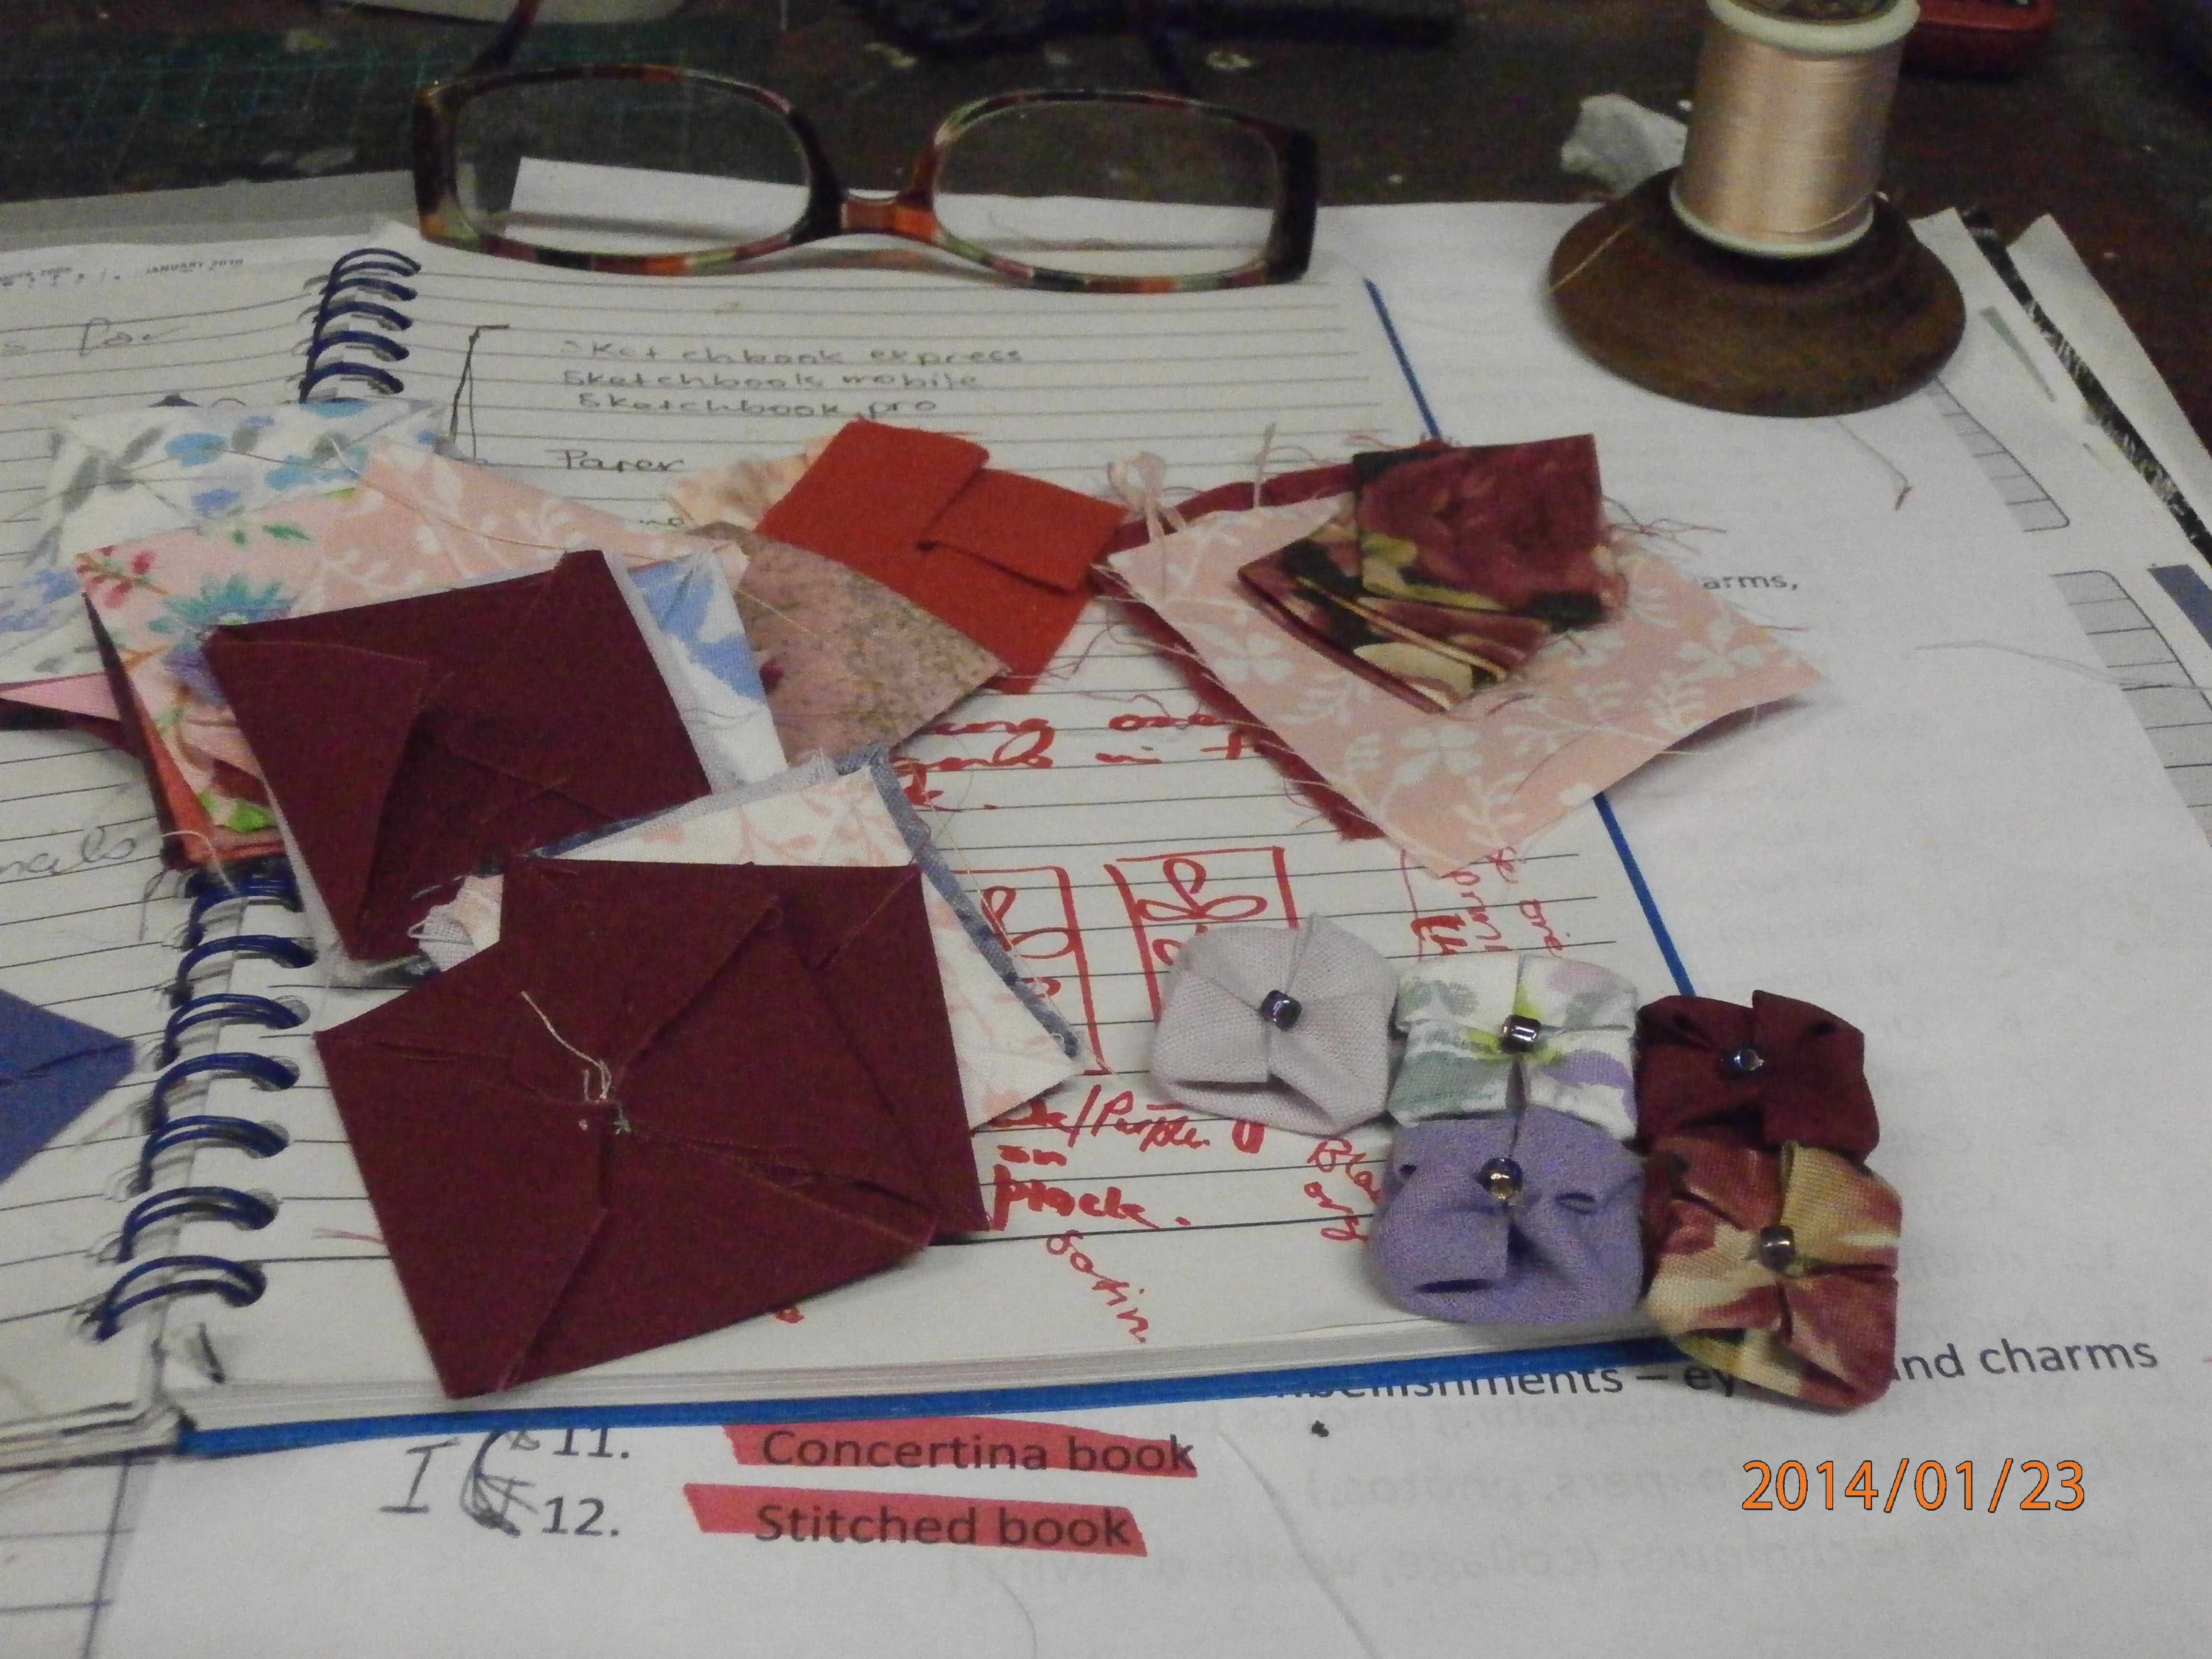
Above you can see all my units in process. I won't repost the steps as they are shown here
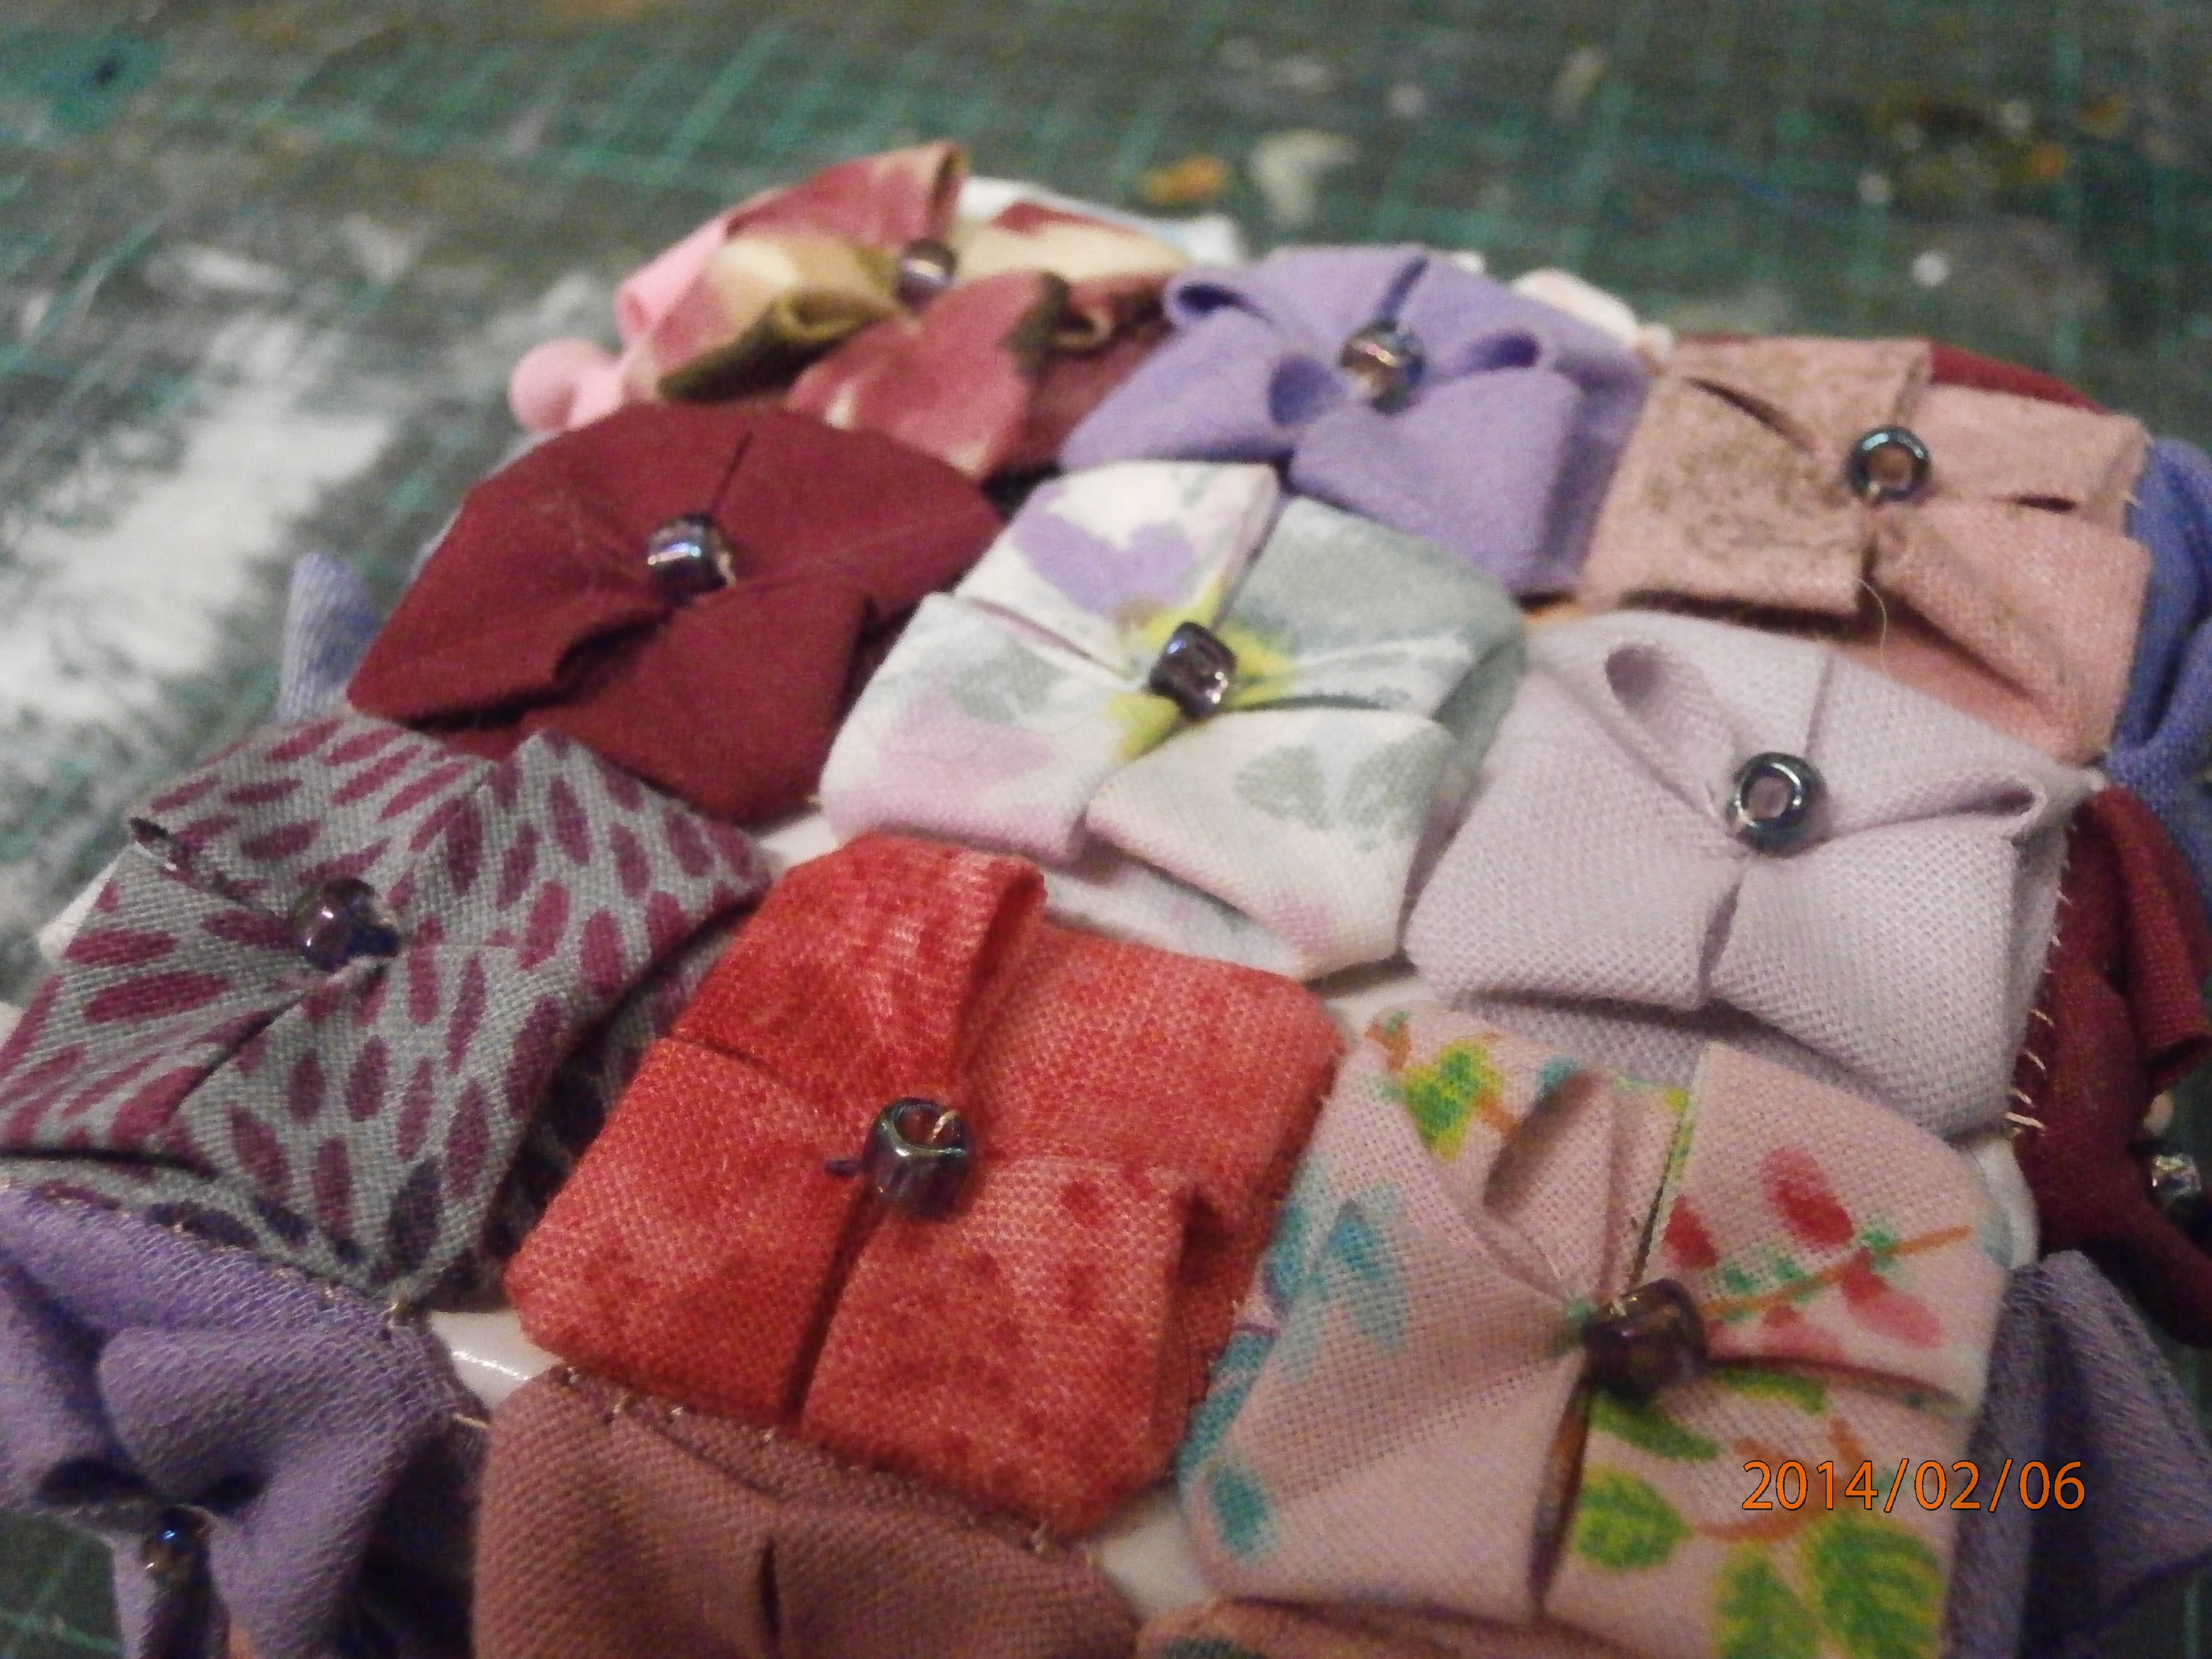
Here is a close up of the units being put together. I have covered the sewing in the centre of the squares with a bead and hand stitched them together. My idea for this is to make a table runner with these making hydrangeas in it.
Another project that is very similar that I have been working on is a folded hexagon table runner, which will go onto our fundraising stall for the quilting group.
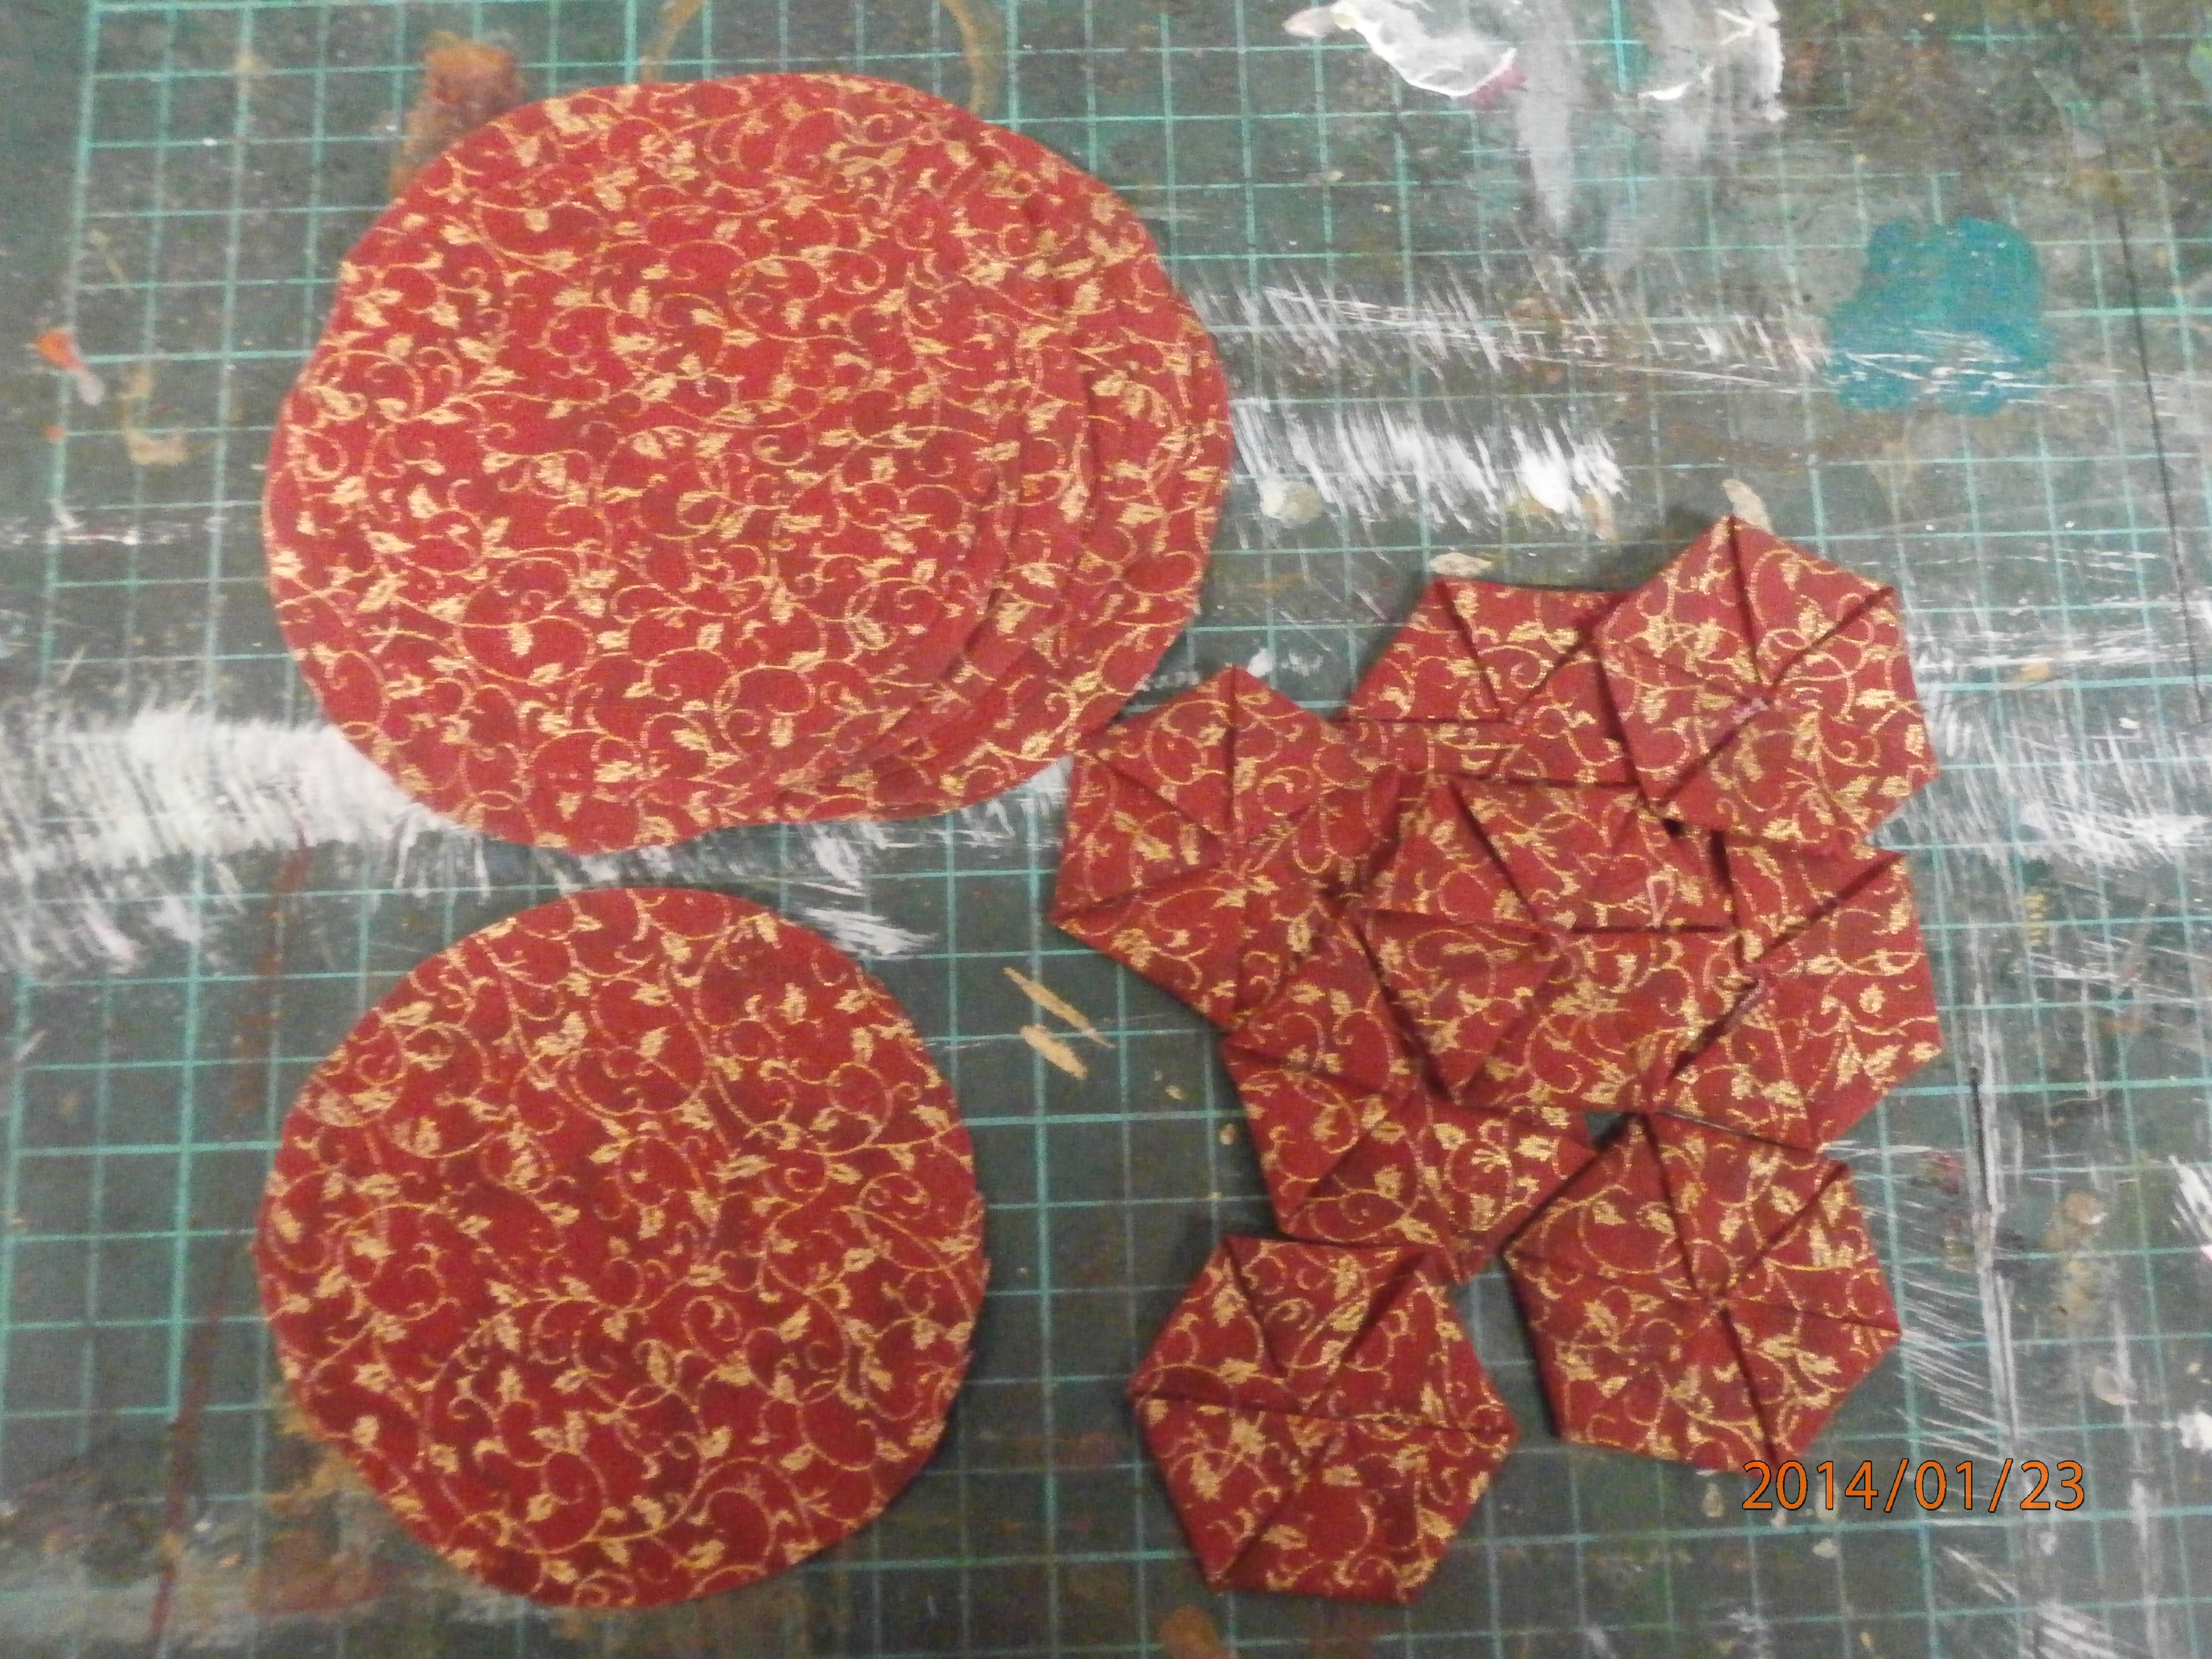
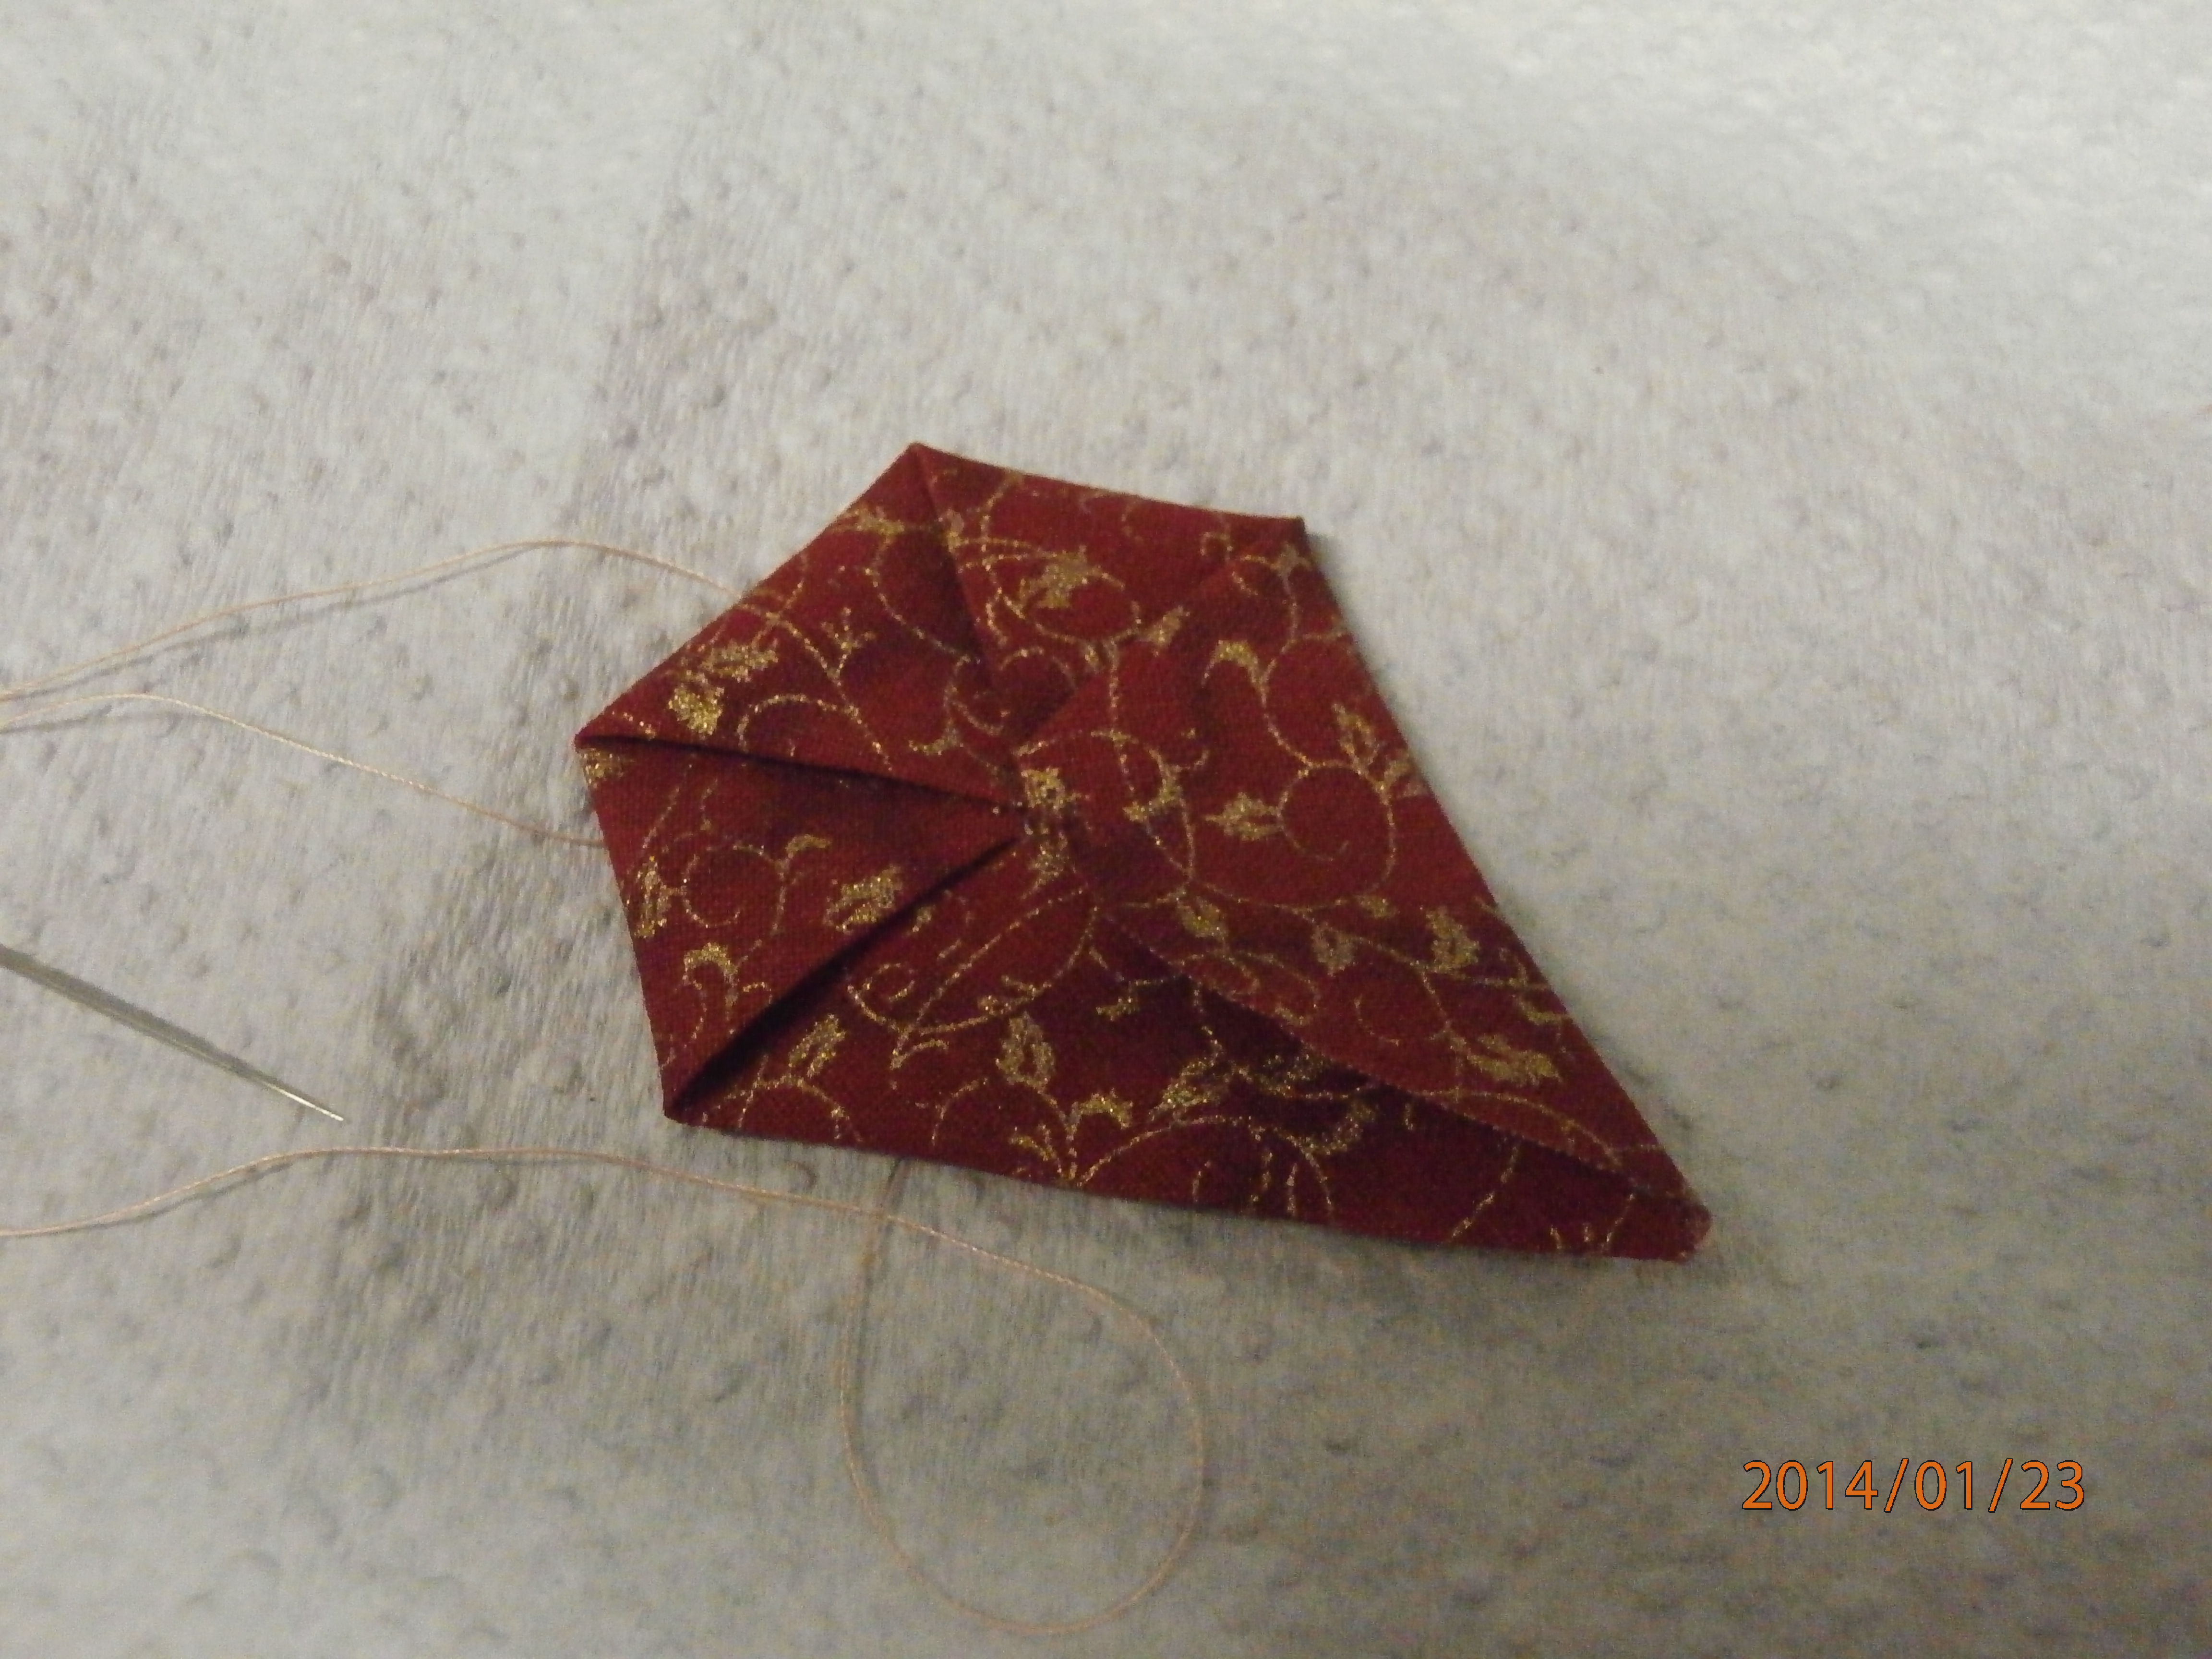
Here are some folded hexagon in a gorgeous gilded red fabric I was given for christmas. (And elizabeth, you can see I really meant it when I said my workspace was messy!) As you can see these hexagons are created from circles and are two sided. The back in this picture (which you can't see) is simply plain, like a normal hexagon, whilst the front which you see is folded and has lovely texture.
I love this technique, as there is none of the tedious papers and basting. Circles are much easier to cut and the folding is really easy.
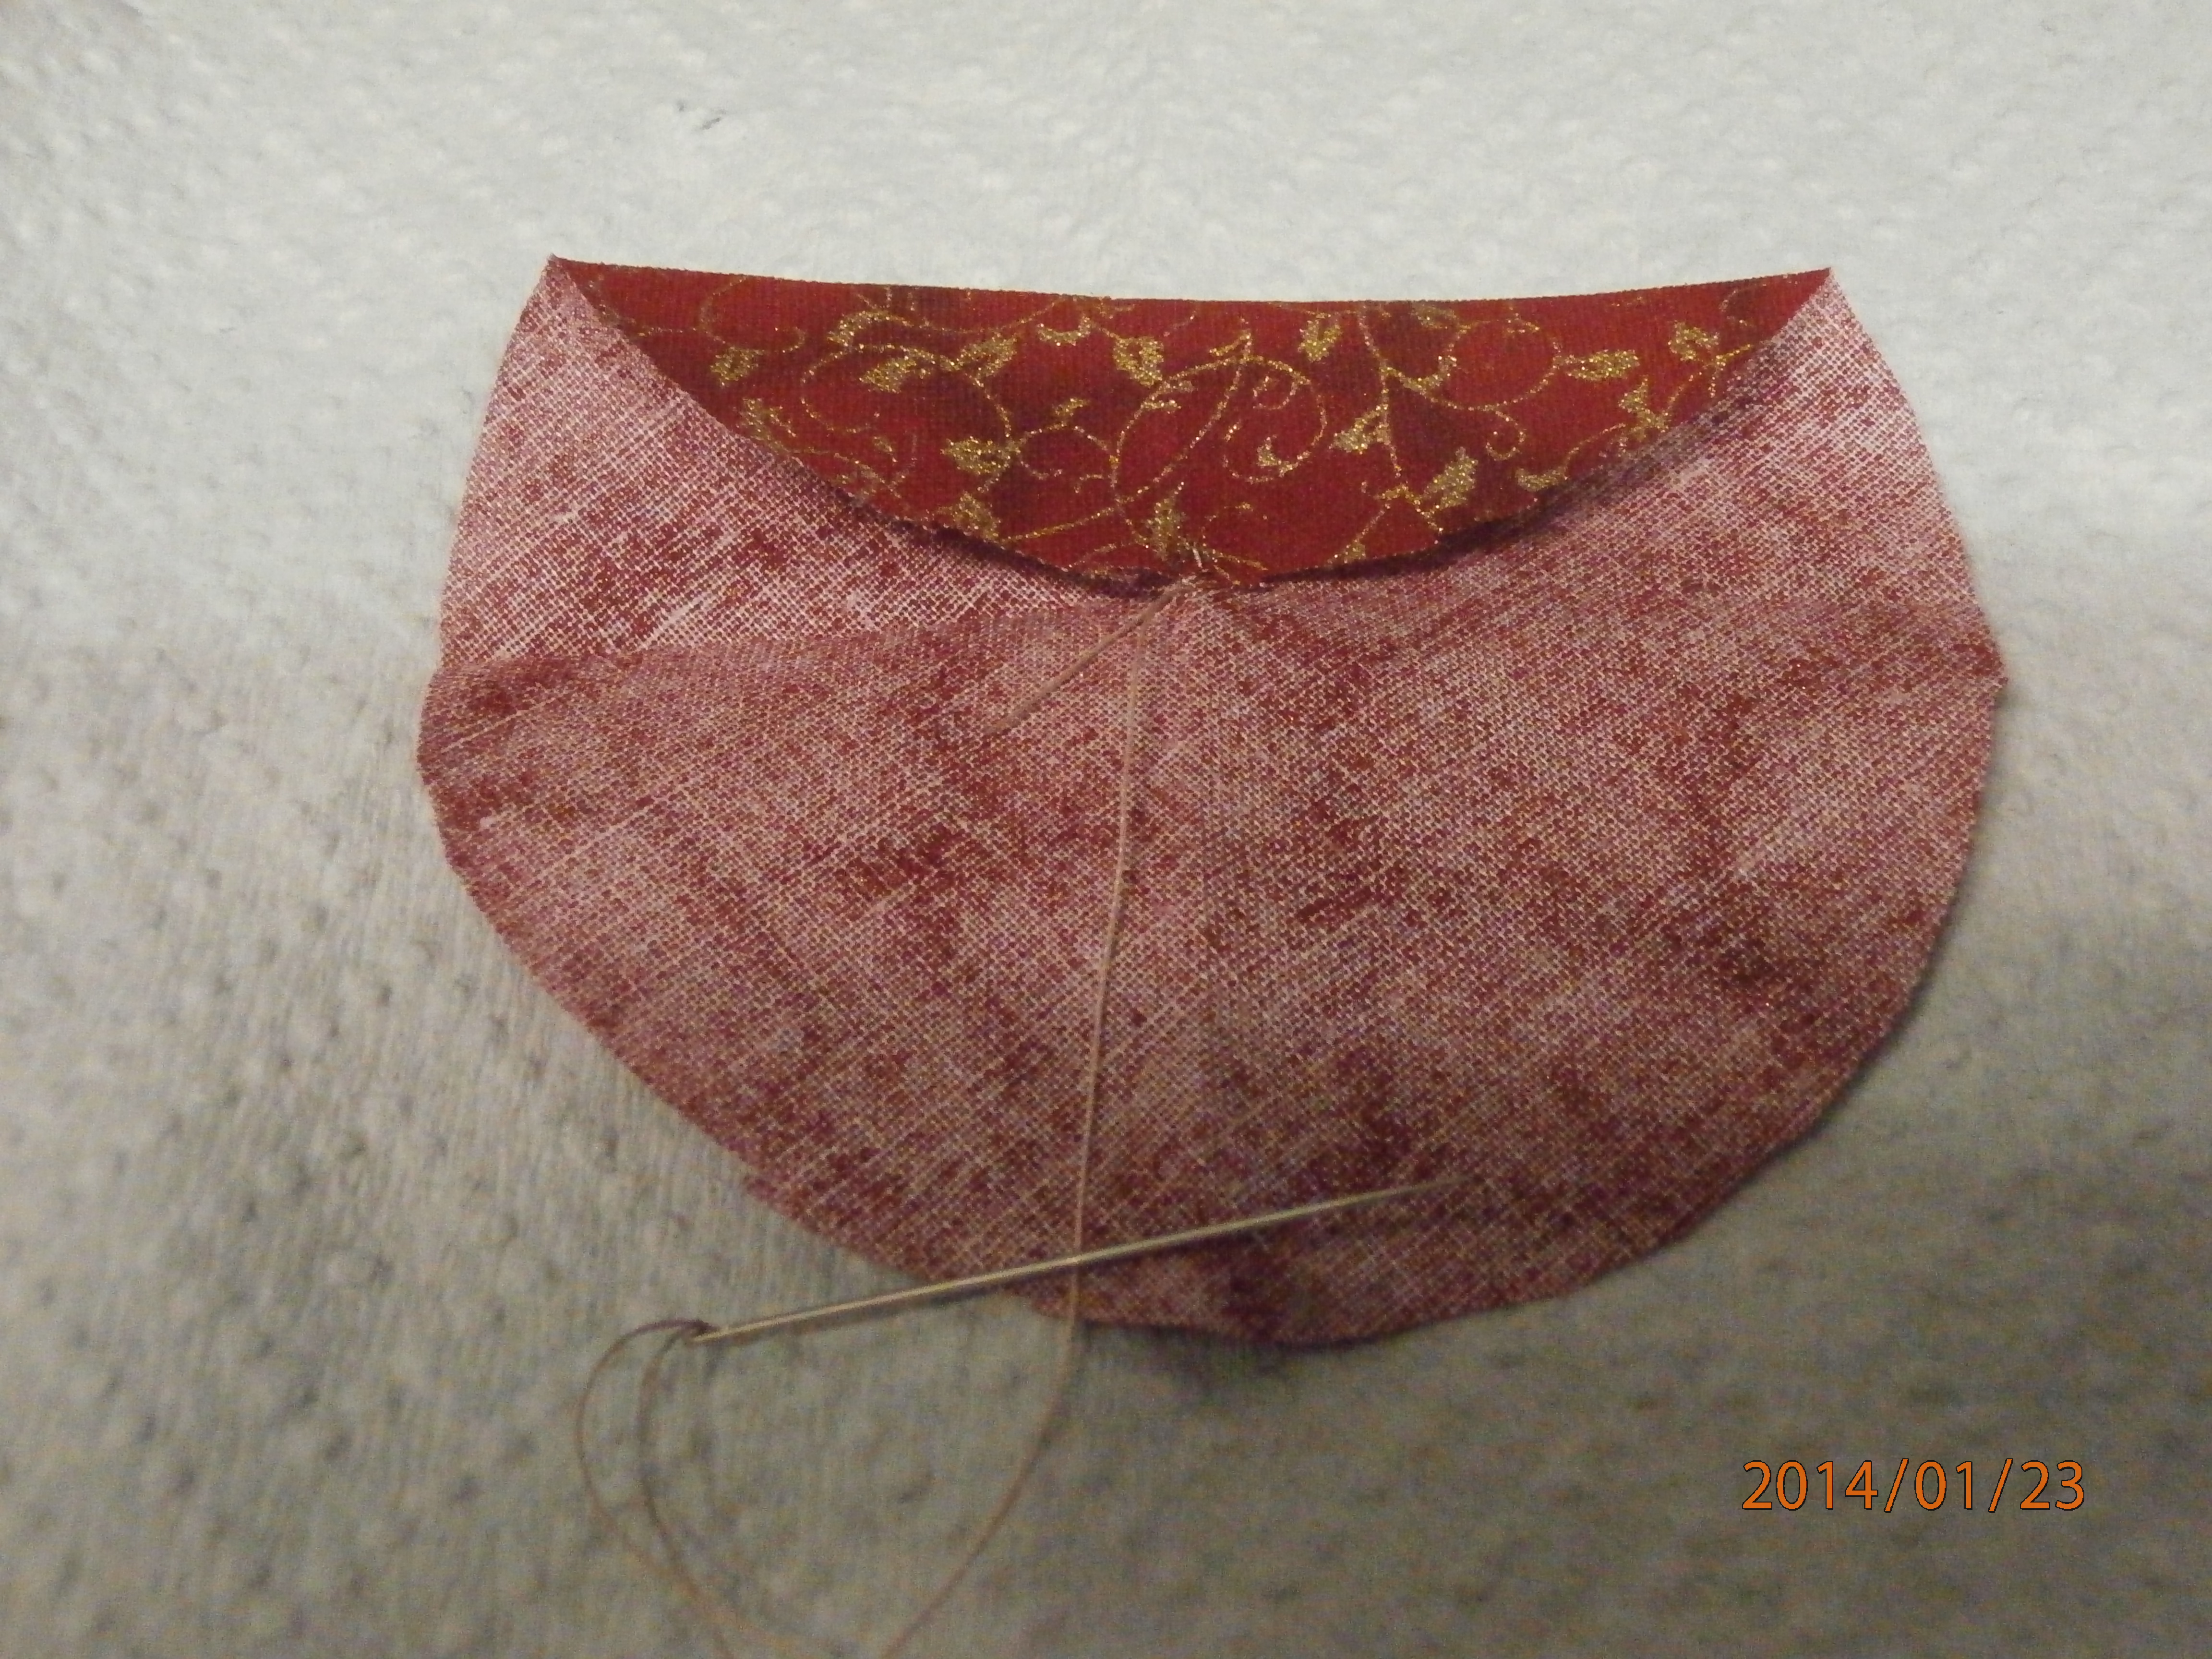
On the left is a finished hexagon. On the right I have folded a circle into quarters to find the centre. this is where I start my thread.
Once you have attached your thread in the centre, you don't need to be concerned about the folds you made. The first step is to bring on side to the centre, attach with a stich and finger fold. There are two folds, or ears created at each end of the fold. I will be working clockwise, but it doesn't matter, so long as you keep going the same direction.
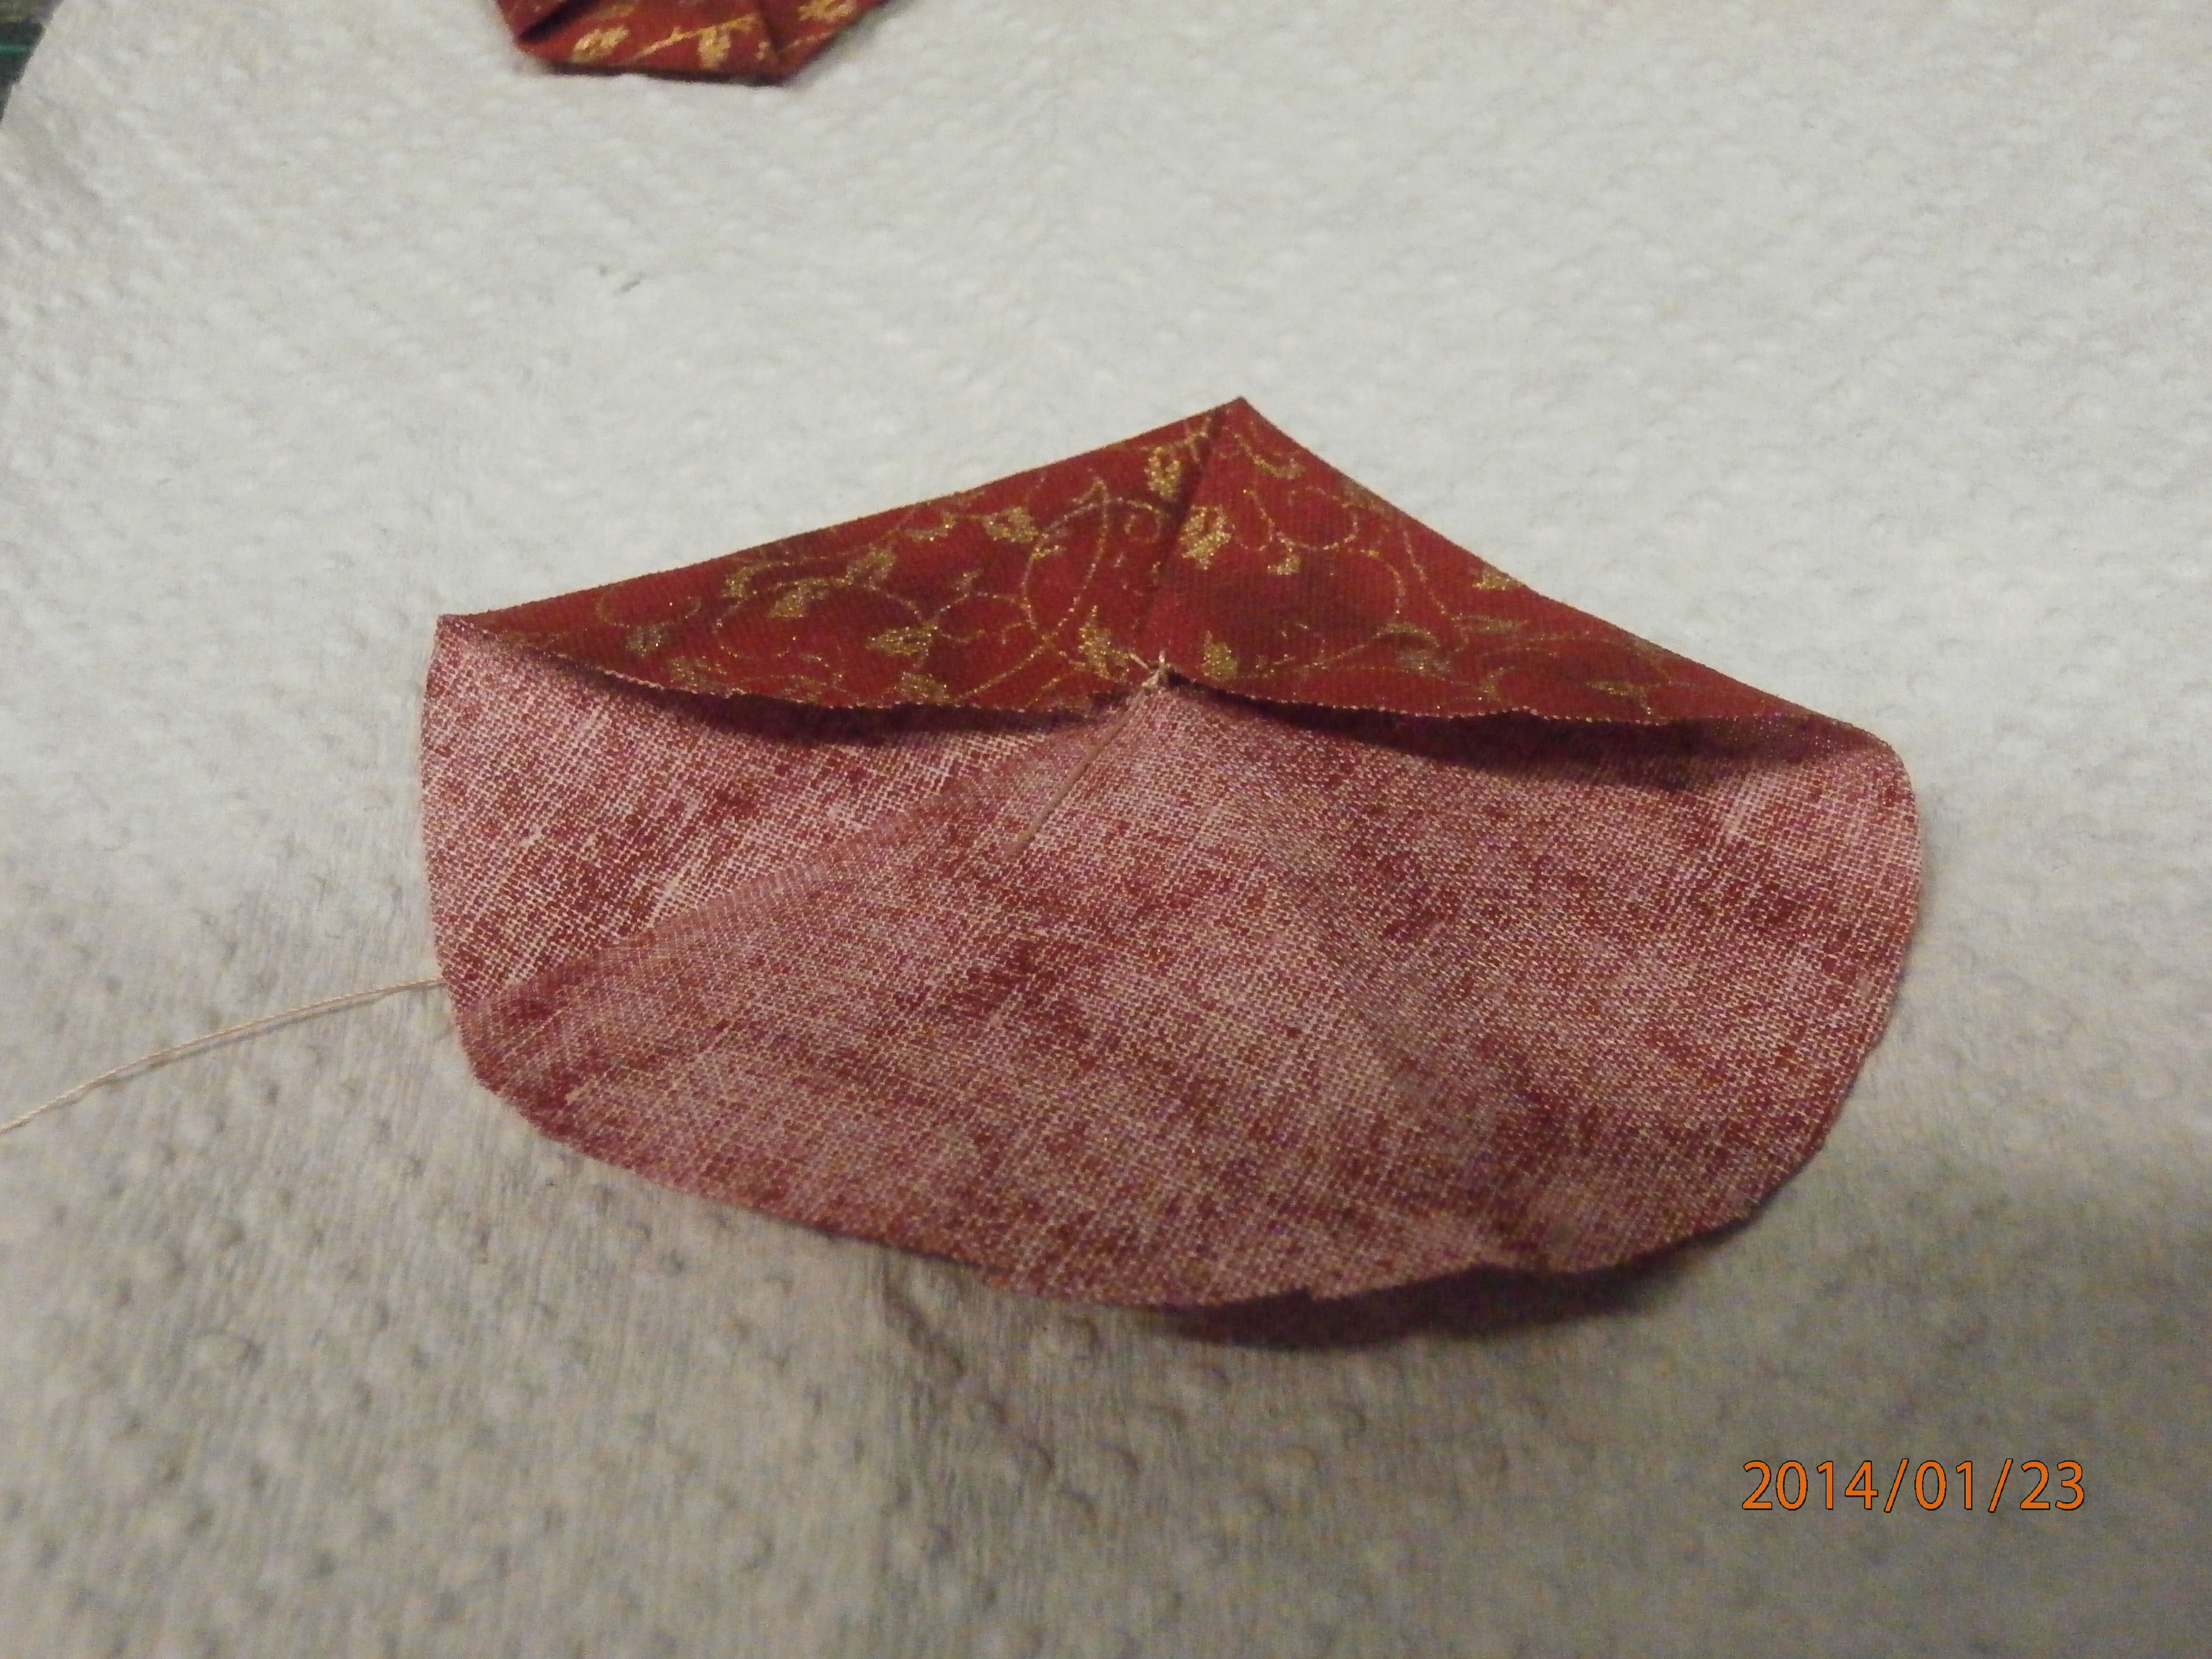
Here I have taken the right hand fold or ear to the centre and attached it with a stitch. This has created a new fold or ear on the right.
As you can see I have taken the new fold to the centre and attached it, creating a new ear to the right.
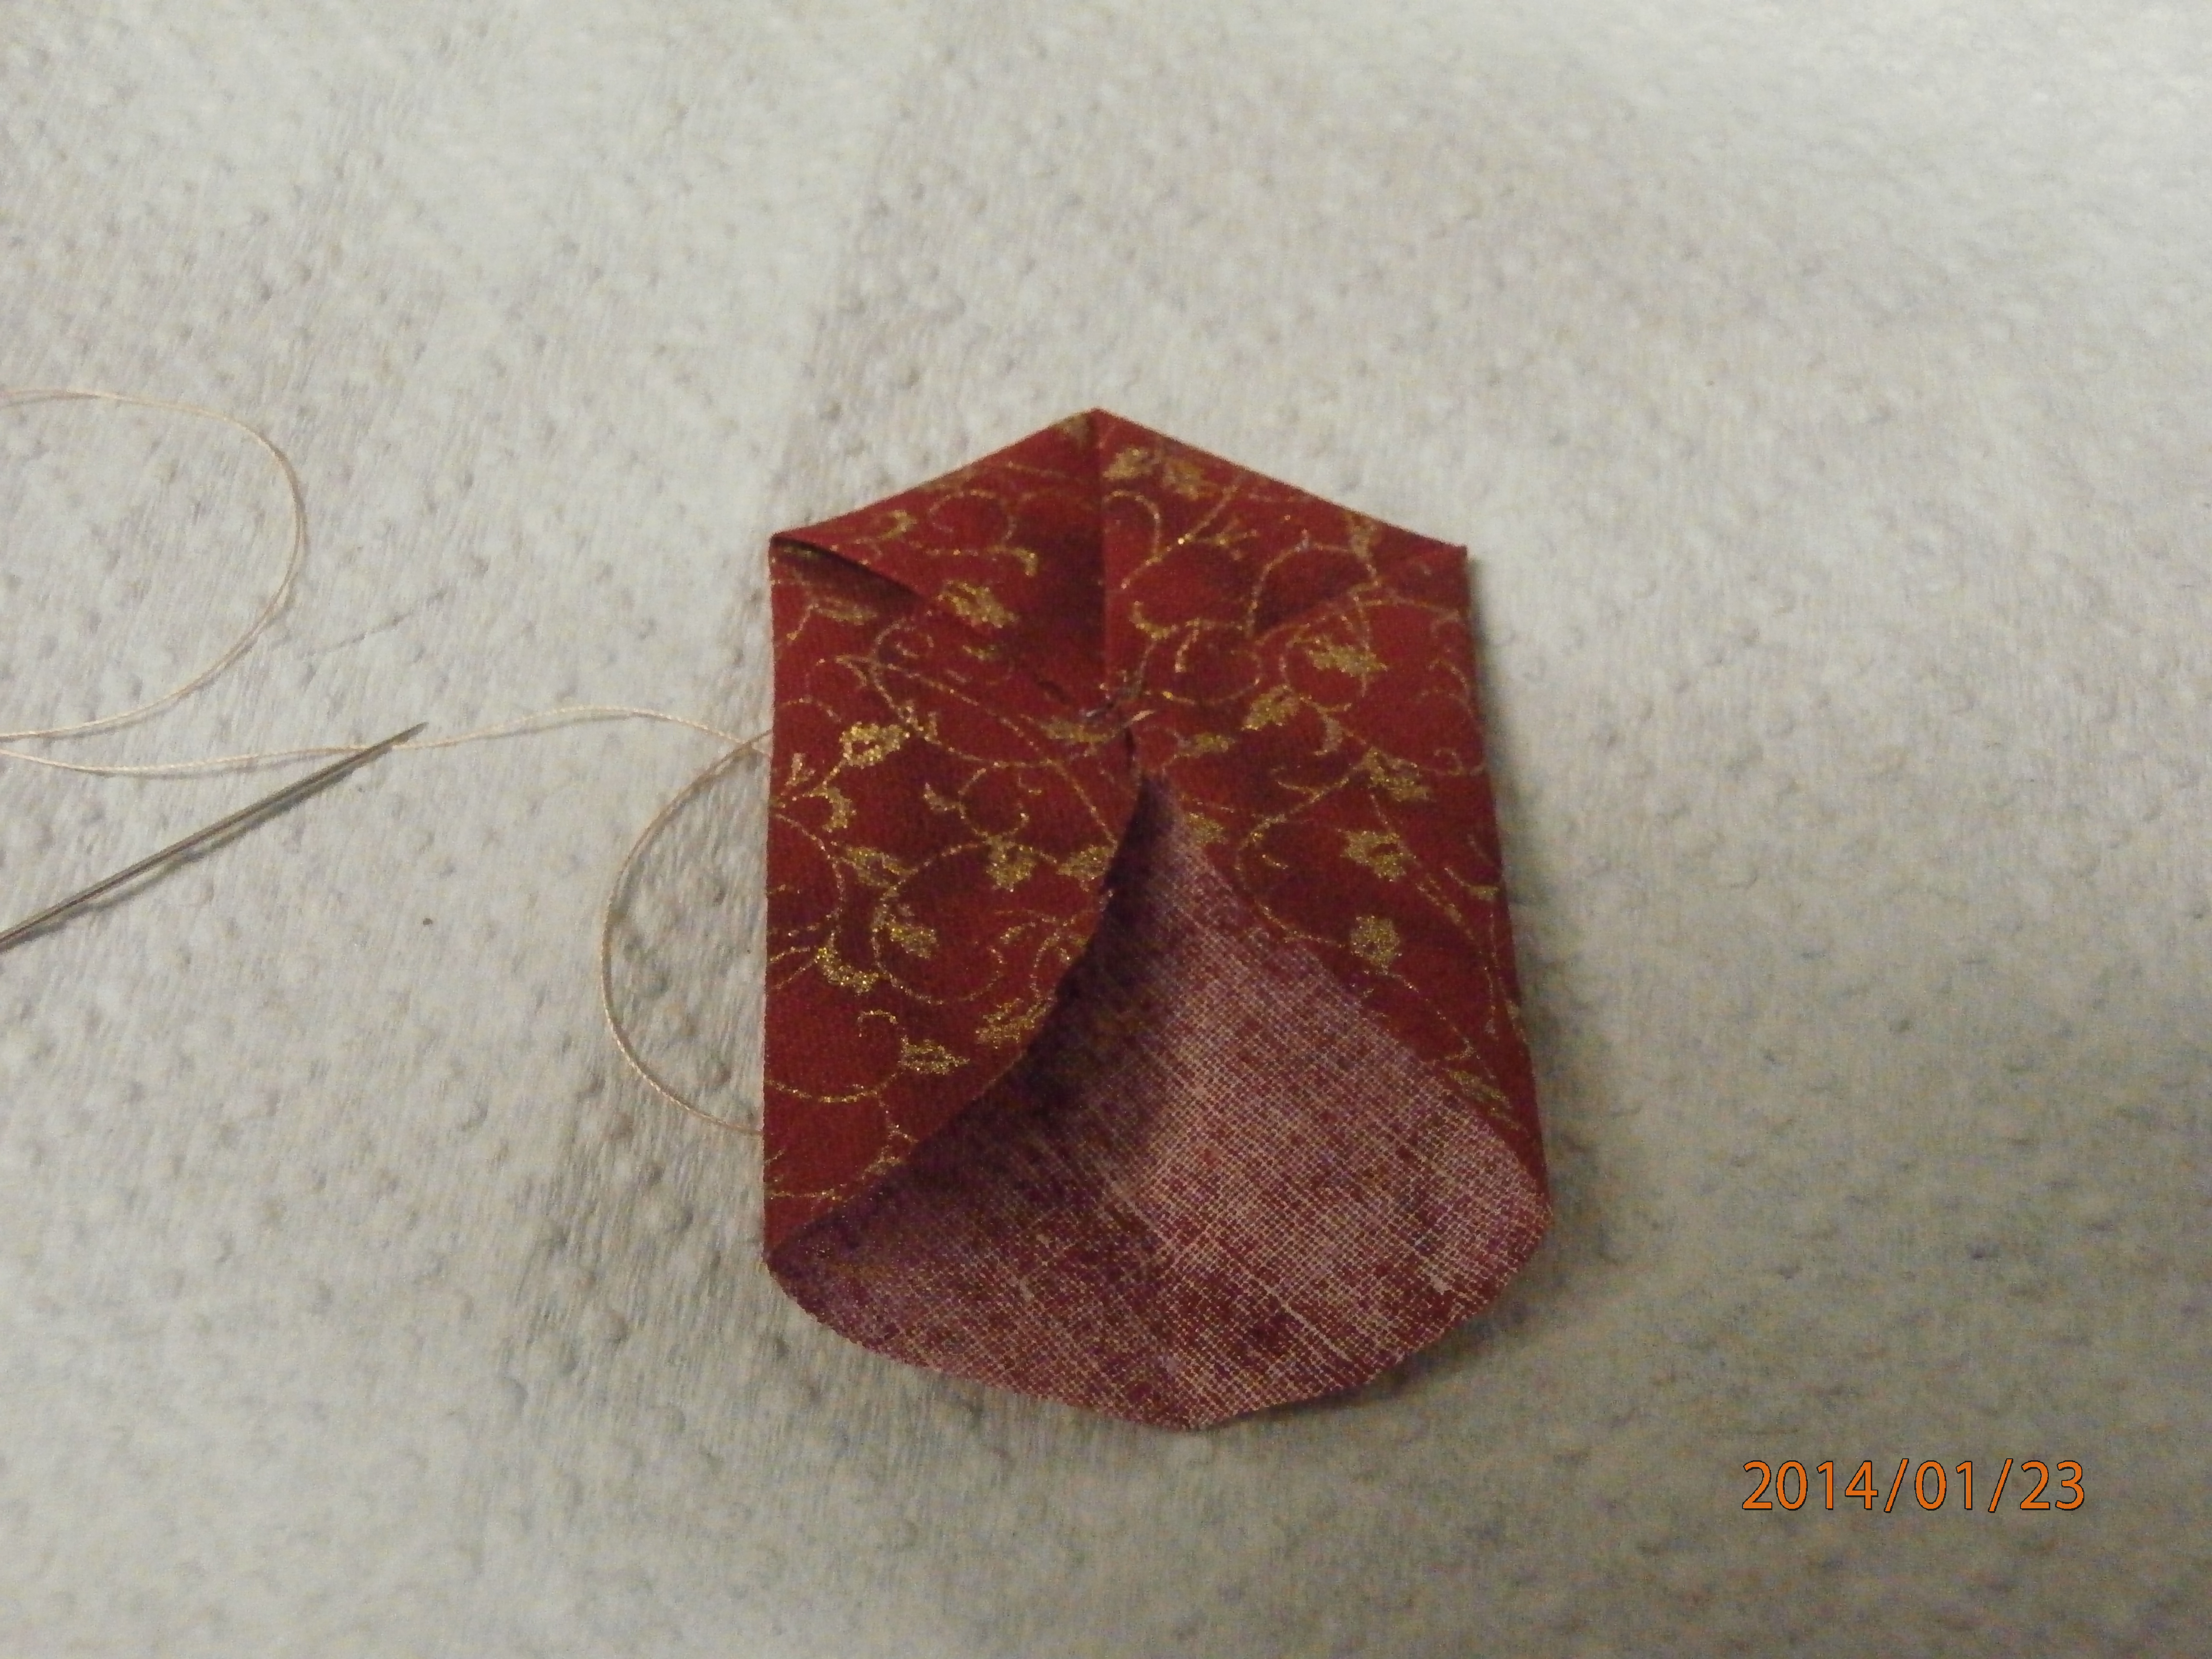
Here I have taken the next ear to the centre as before. The important thing here is that the two sides left are parallel. If they aren't parallel or close to it, then you haven't been stitching into the exact centre and might need to do some adjusting.
With the second to last fold you will get this shape. What you are aiming for is a good point on this last ear.
And when you bring this last point to the centre you will have a two sided hexagon! I have used different methods to hide my stitching on the folded side. If you are putting them upside down, with the normal hexagon side, you don't really need to, so long as you used matching thread, but I like the folded part to be on top, so I have used sequins, beads, or french knots or even a button to hide the stitching. Of course it is an opportunity for bling, and don't we all love that?
Happy creating!
Monday, November 5, 2012
A bit of folding
So where are we at with my Textile and mixed media sampler project (TAMMS)? So far we have made a foundation,
some paper beads (embellishments),
and some dyed fabric (Surface design),
I have been thinking all week about Fabric manipulation and had a few ideas on what I might do (of course with no Idea in mind yet about what I might make, lol) and finally I decided on fabric folding. I have recently been doing some fabric folding with my huge stash of charm squares. Spurred on by a recent design matters episode called twisted squares, (which is available to watch if you are a member). I also have in my UFO stack a pile of folded satin blocks which I made a few years ago and haven't got back to - as you do.
Some good references for fabric folding, which show ways to use similar folded blocks are
Fantastic fabric folding by Rebecca Wat
A fresh twist on fabric folding by Rebecca Wat
Quiltagami by mary jo hiney
Folded fabric elegance by Rami Kim
Any basic origami book or site
Tea bag folding books and sites
I have always had a fascination for origami and when I saw folded fabric, well, I just had to do it. I have actually done quite a bit, but it appears I have not blogged about it.
So to today's Fabric manipulation method.
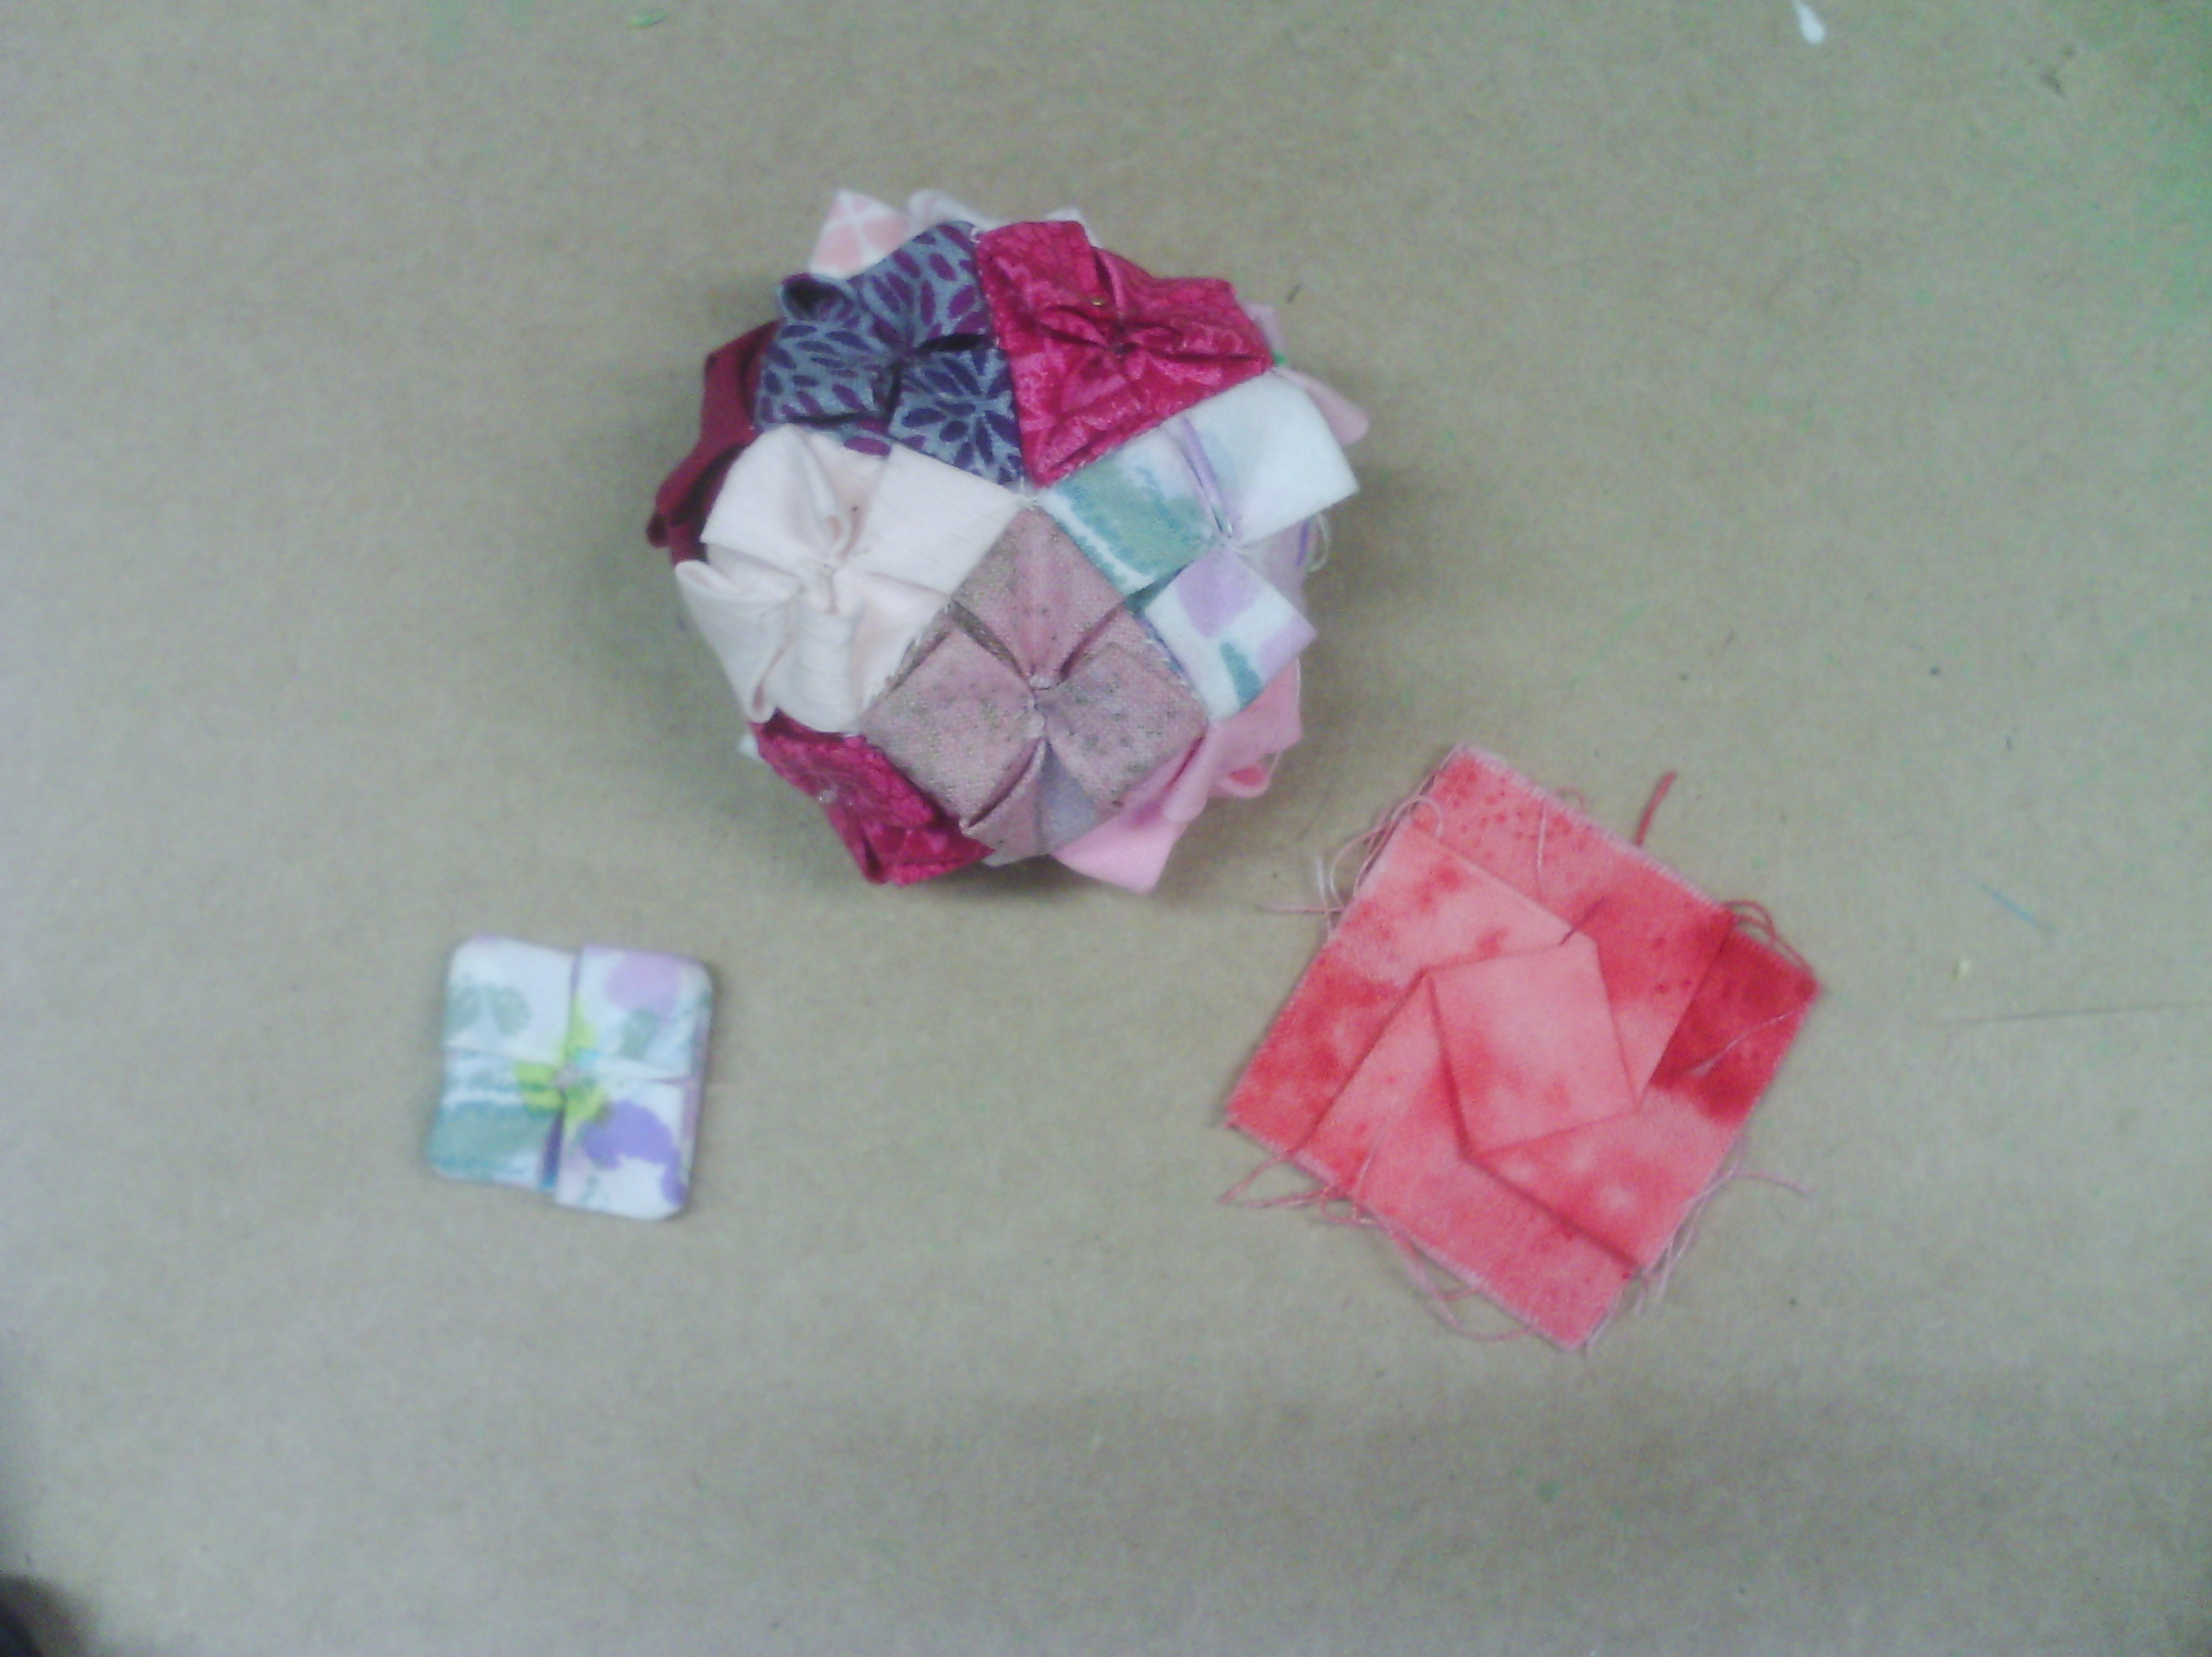
here are the two folds I like to use most. The one on the bottom left is a simple folded flower like a little hydrangea, the one on the right is a twisted square or chopkey square. Once you get the idea, the twisted square can be made in any shape, just beginning with a different shape piece of fabric. I founhd, when I was starting out, that it was helpful to make a few in paper first as it holds the folds better than fabric and helps you to get the folding right first. The blob at the top is a pincushion I made with the hydrangeas, using five on top, five oun bottom and five around the middle.
Let's start with the twisted square first.
Start with a square charm, I am usung tiny 2.5 in squares. Fold in half and crease one way then fold the other way and crease. Open out. Now you have the centre marked easily.
Take one of the folds and fold it halfway to the parallel edge. I have included a diagram which might make it easier.
Turn 90 degrees and do the same with the next fold. fold all the folds in the same direction - ie clockwise or anti clockwise.
Continue until you have folded all four of the initial creases.
Squash and twist the centre and it will form a square!
Press and remove the pins and you have a twisted square.
Above are four I have pieced together. The folded edges create a nice seam allowance for piecing so that only the little dimensional square is visible.
The back is also quite interesting as it creates a four patch which is interlocked.
The hydrangea begins exacly the same way.
Create the crossing creases as with the twisted square but the next steps are different.
Fold each corner to the centre and crease. I usually tack the tips in the centre with a few tiny stitches.
I also add a tiny bit of clear nail polish to the new outside corners to stop them fraying.
I bring a knotted thread up through the centre, catch the centre of one of the edges and go back through the centre. Repeat on the opposite side.
Next I do the same with to other two sides. The first one creates a boat-like shape, then with the second, you can see the petals starting to form.
I pull the corners of the petals to the centre one by one, catching them and flattening them. I have included my index finger so you can see how small these are. I suggest you start with a much larger square, lol. The stitches and nail polish in the centre can be easily covered with a sequin or a few tiny beads.
As I said, these remind me of hydrangea flowers. This is an ATC I made with them a while ago
Hope you enjoyed this post and have lots of ideas to use the little fabric manipulations. Don't hesitate to post your ideas and creations here.
I will be away on family business until the end of the week, so won't be able to post, but don't forget
Happy creating!
Subscribe to:
Posts (Atom)






.JPG)
