Showing posts with label tamms. Show all posts

Tuesday, July 30, 2013

Journal quilt

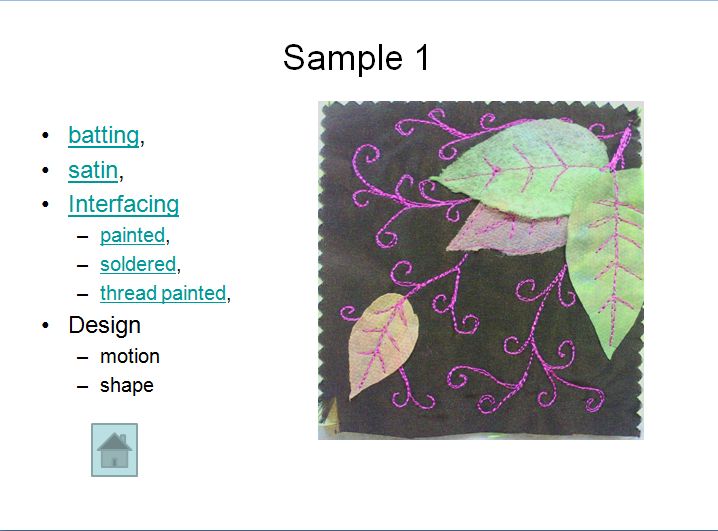
I have made another journal quilt.  I find these little pieces an easy way to do a little experimenting.  I am slowly putting all of the information from all of them in an interactive database and this shows me which techniques I have not done yet.  Although I have many of these pieces (and I have even been asked if they are for sale!), there are still lots of techniques I have not put into them and of course, I am always expanding and adding ideas to try as well.
Here is my latest one.
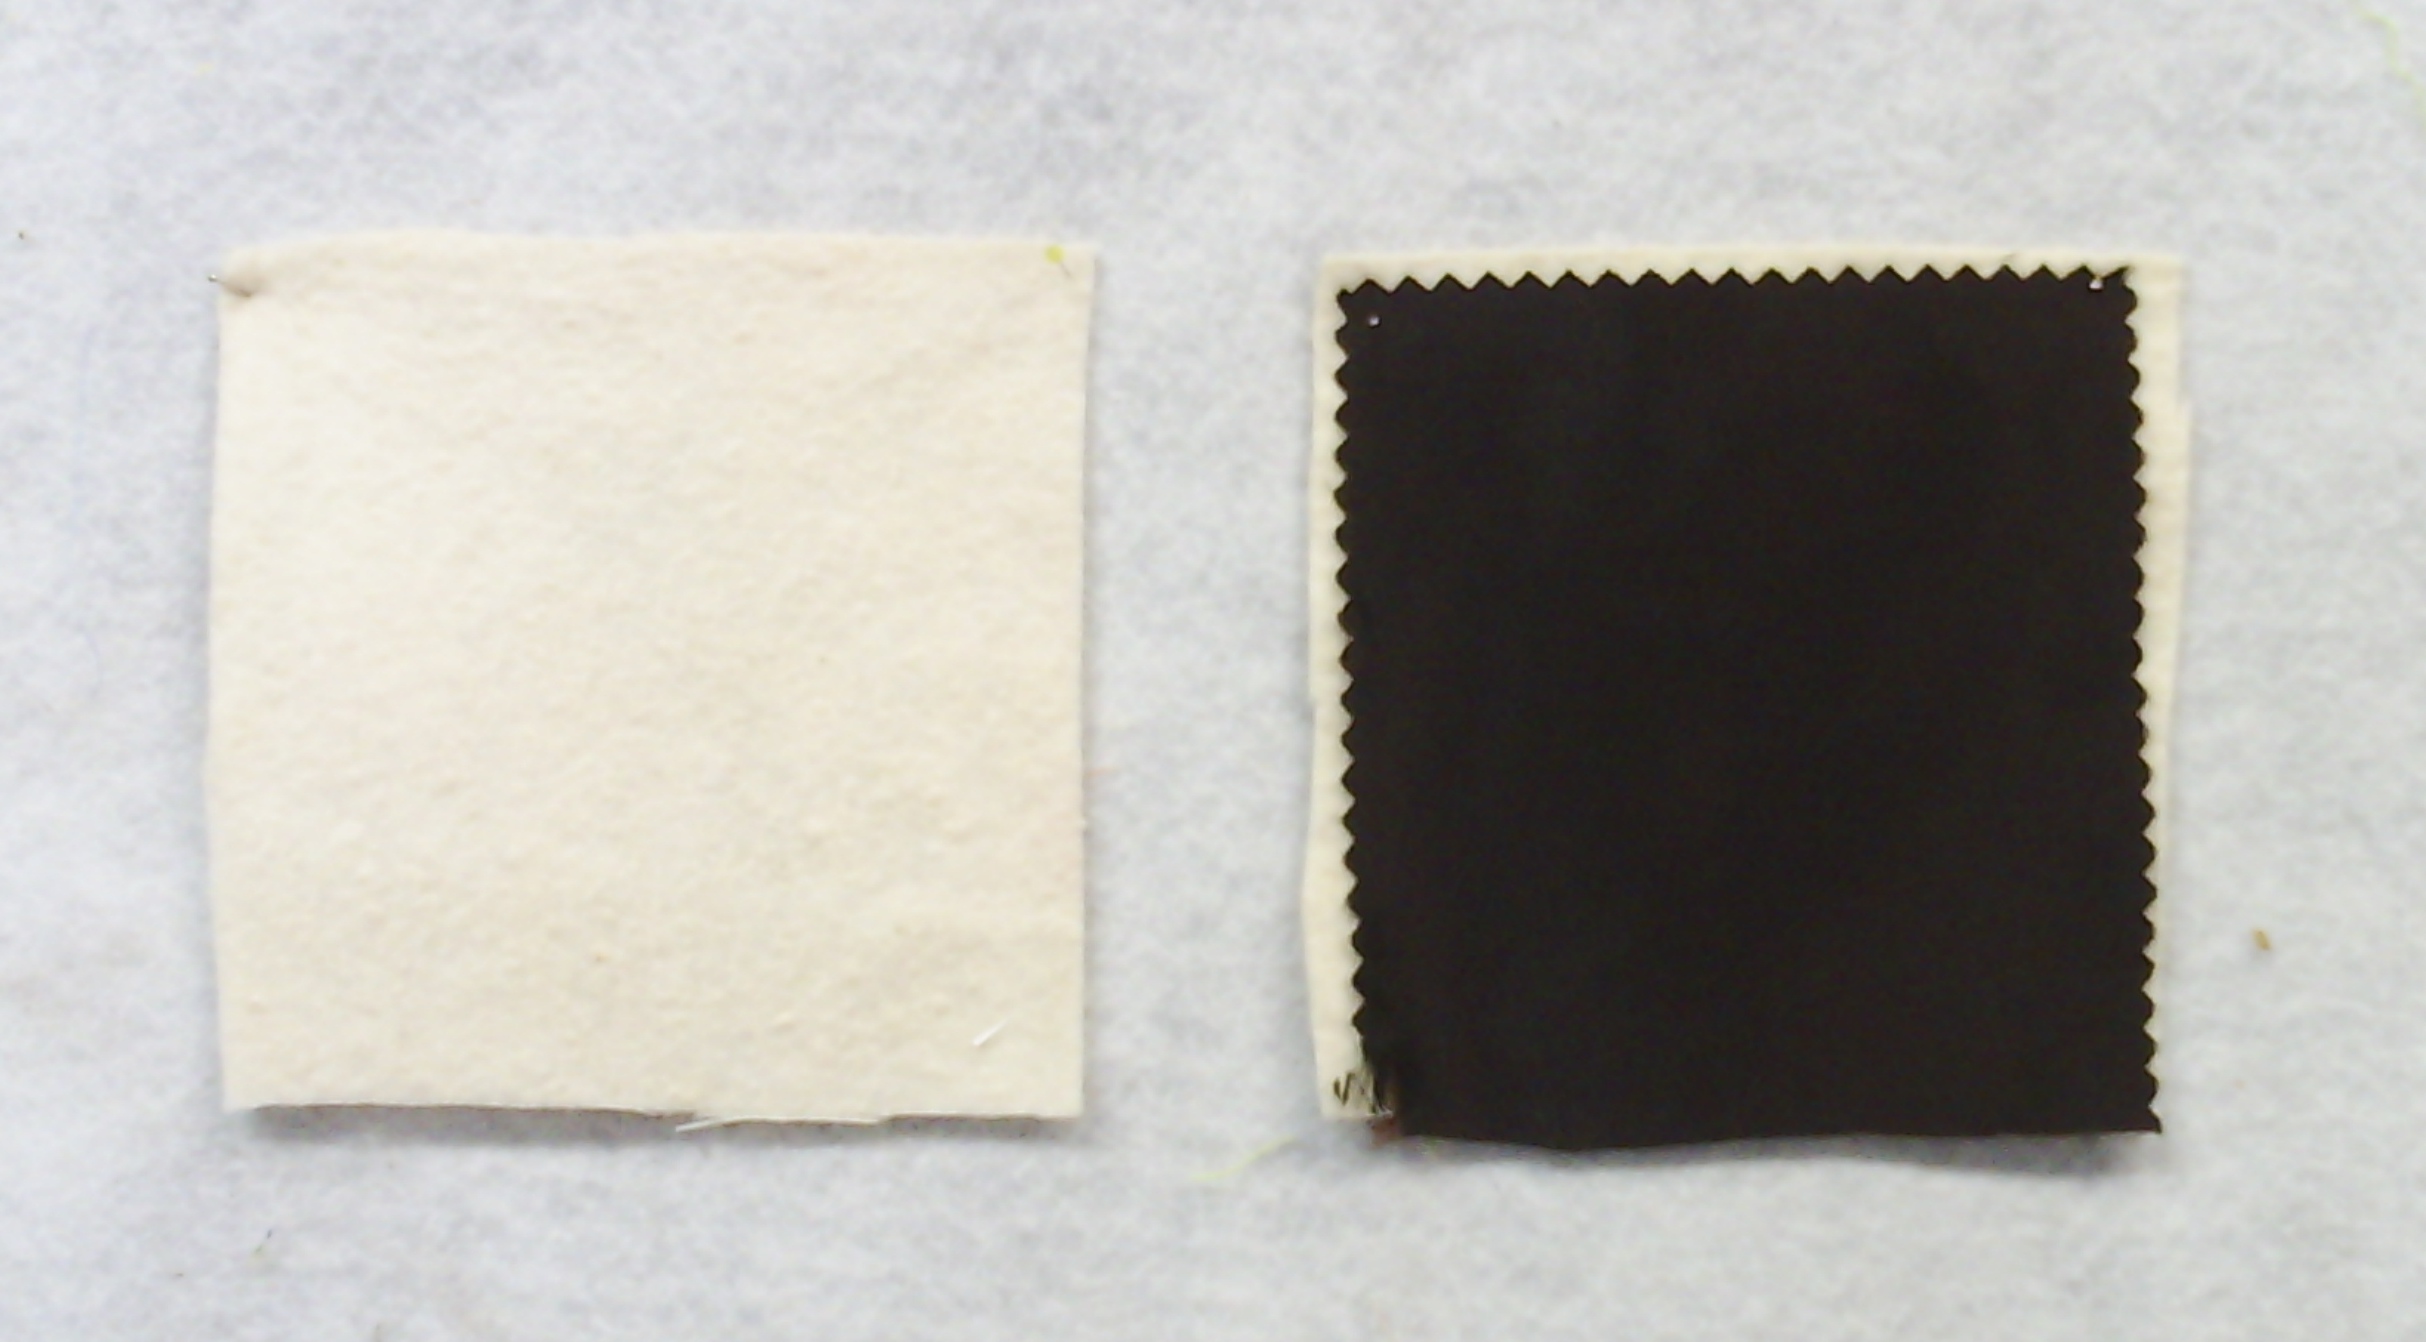
I picked the techniques I wanted to use before I started, but of course I always change my mind. I had intended to use batting as the foundation and cotton for the first layer, but I found this piece of very dark brown, almost black satin and used that instead.
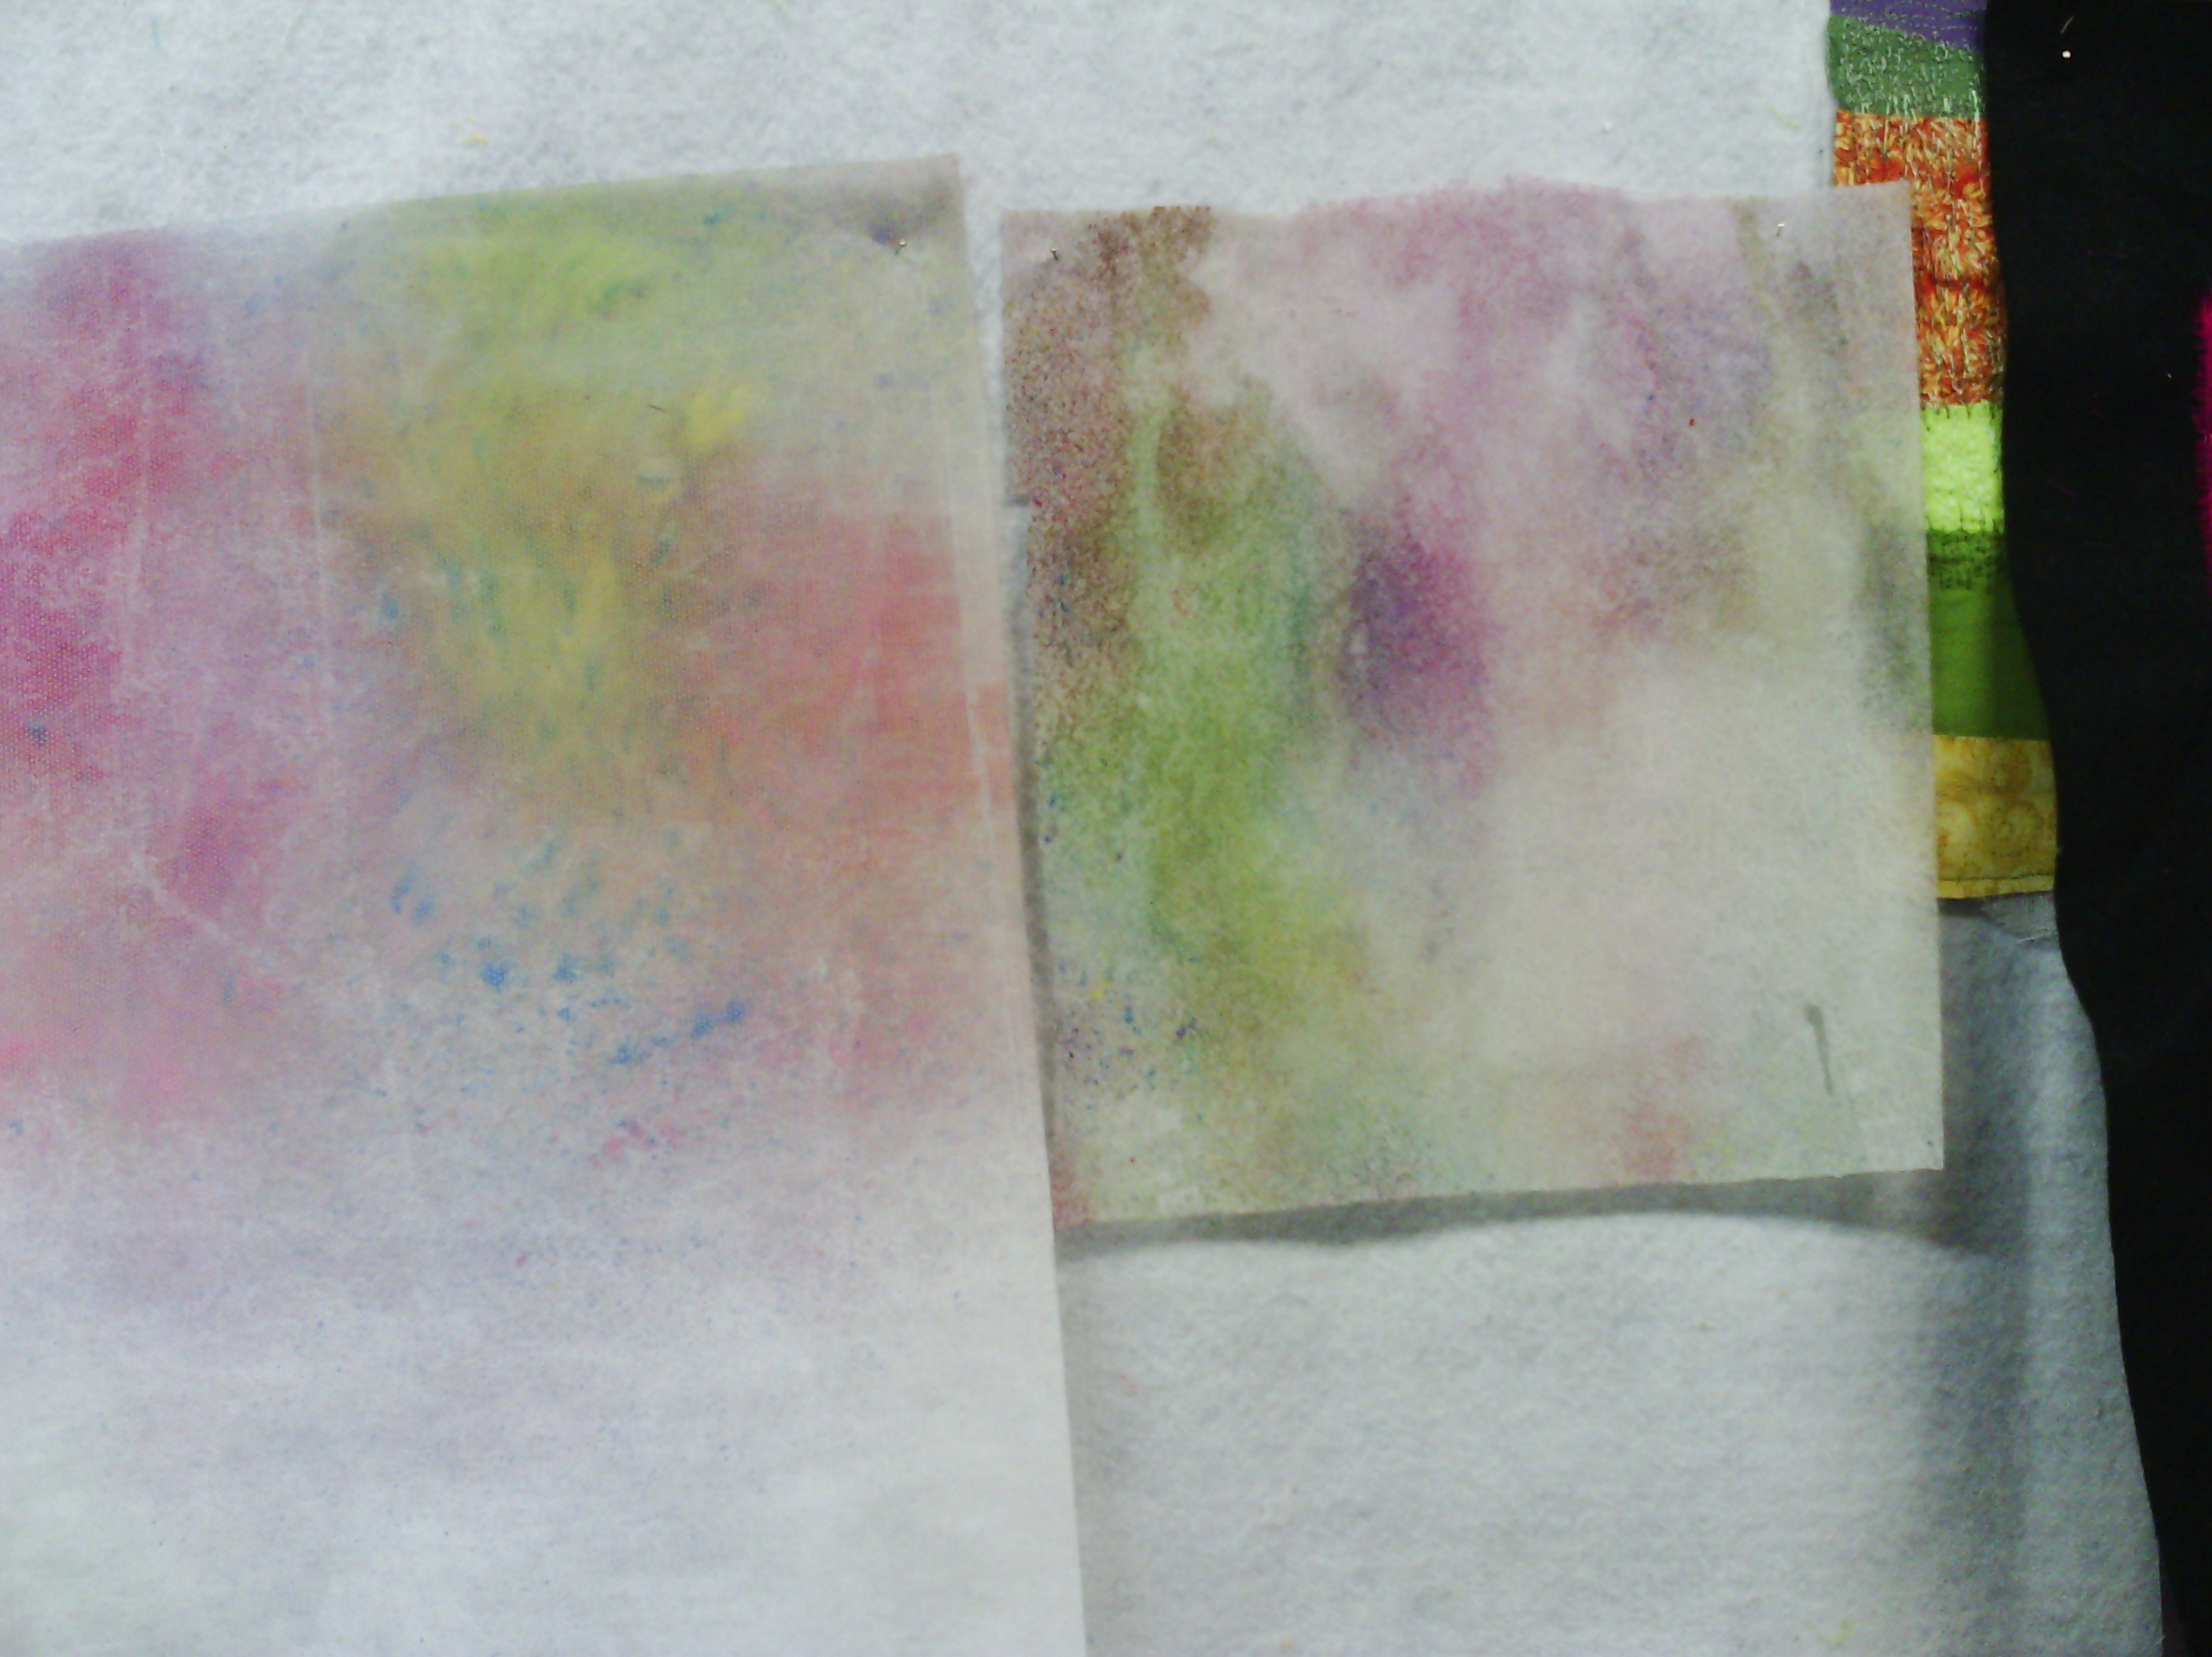
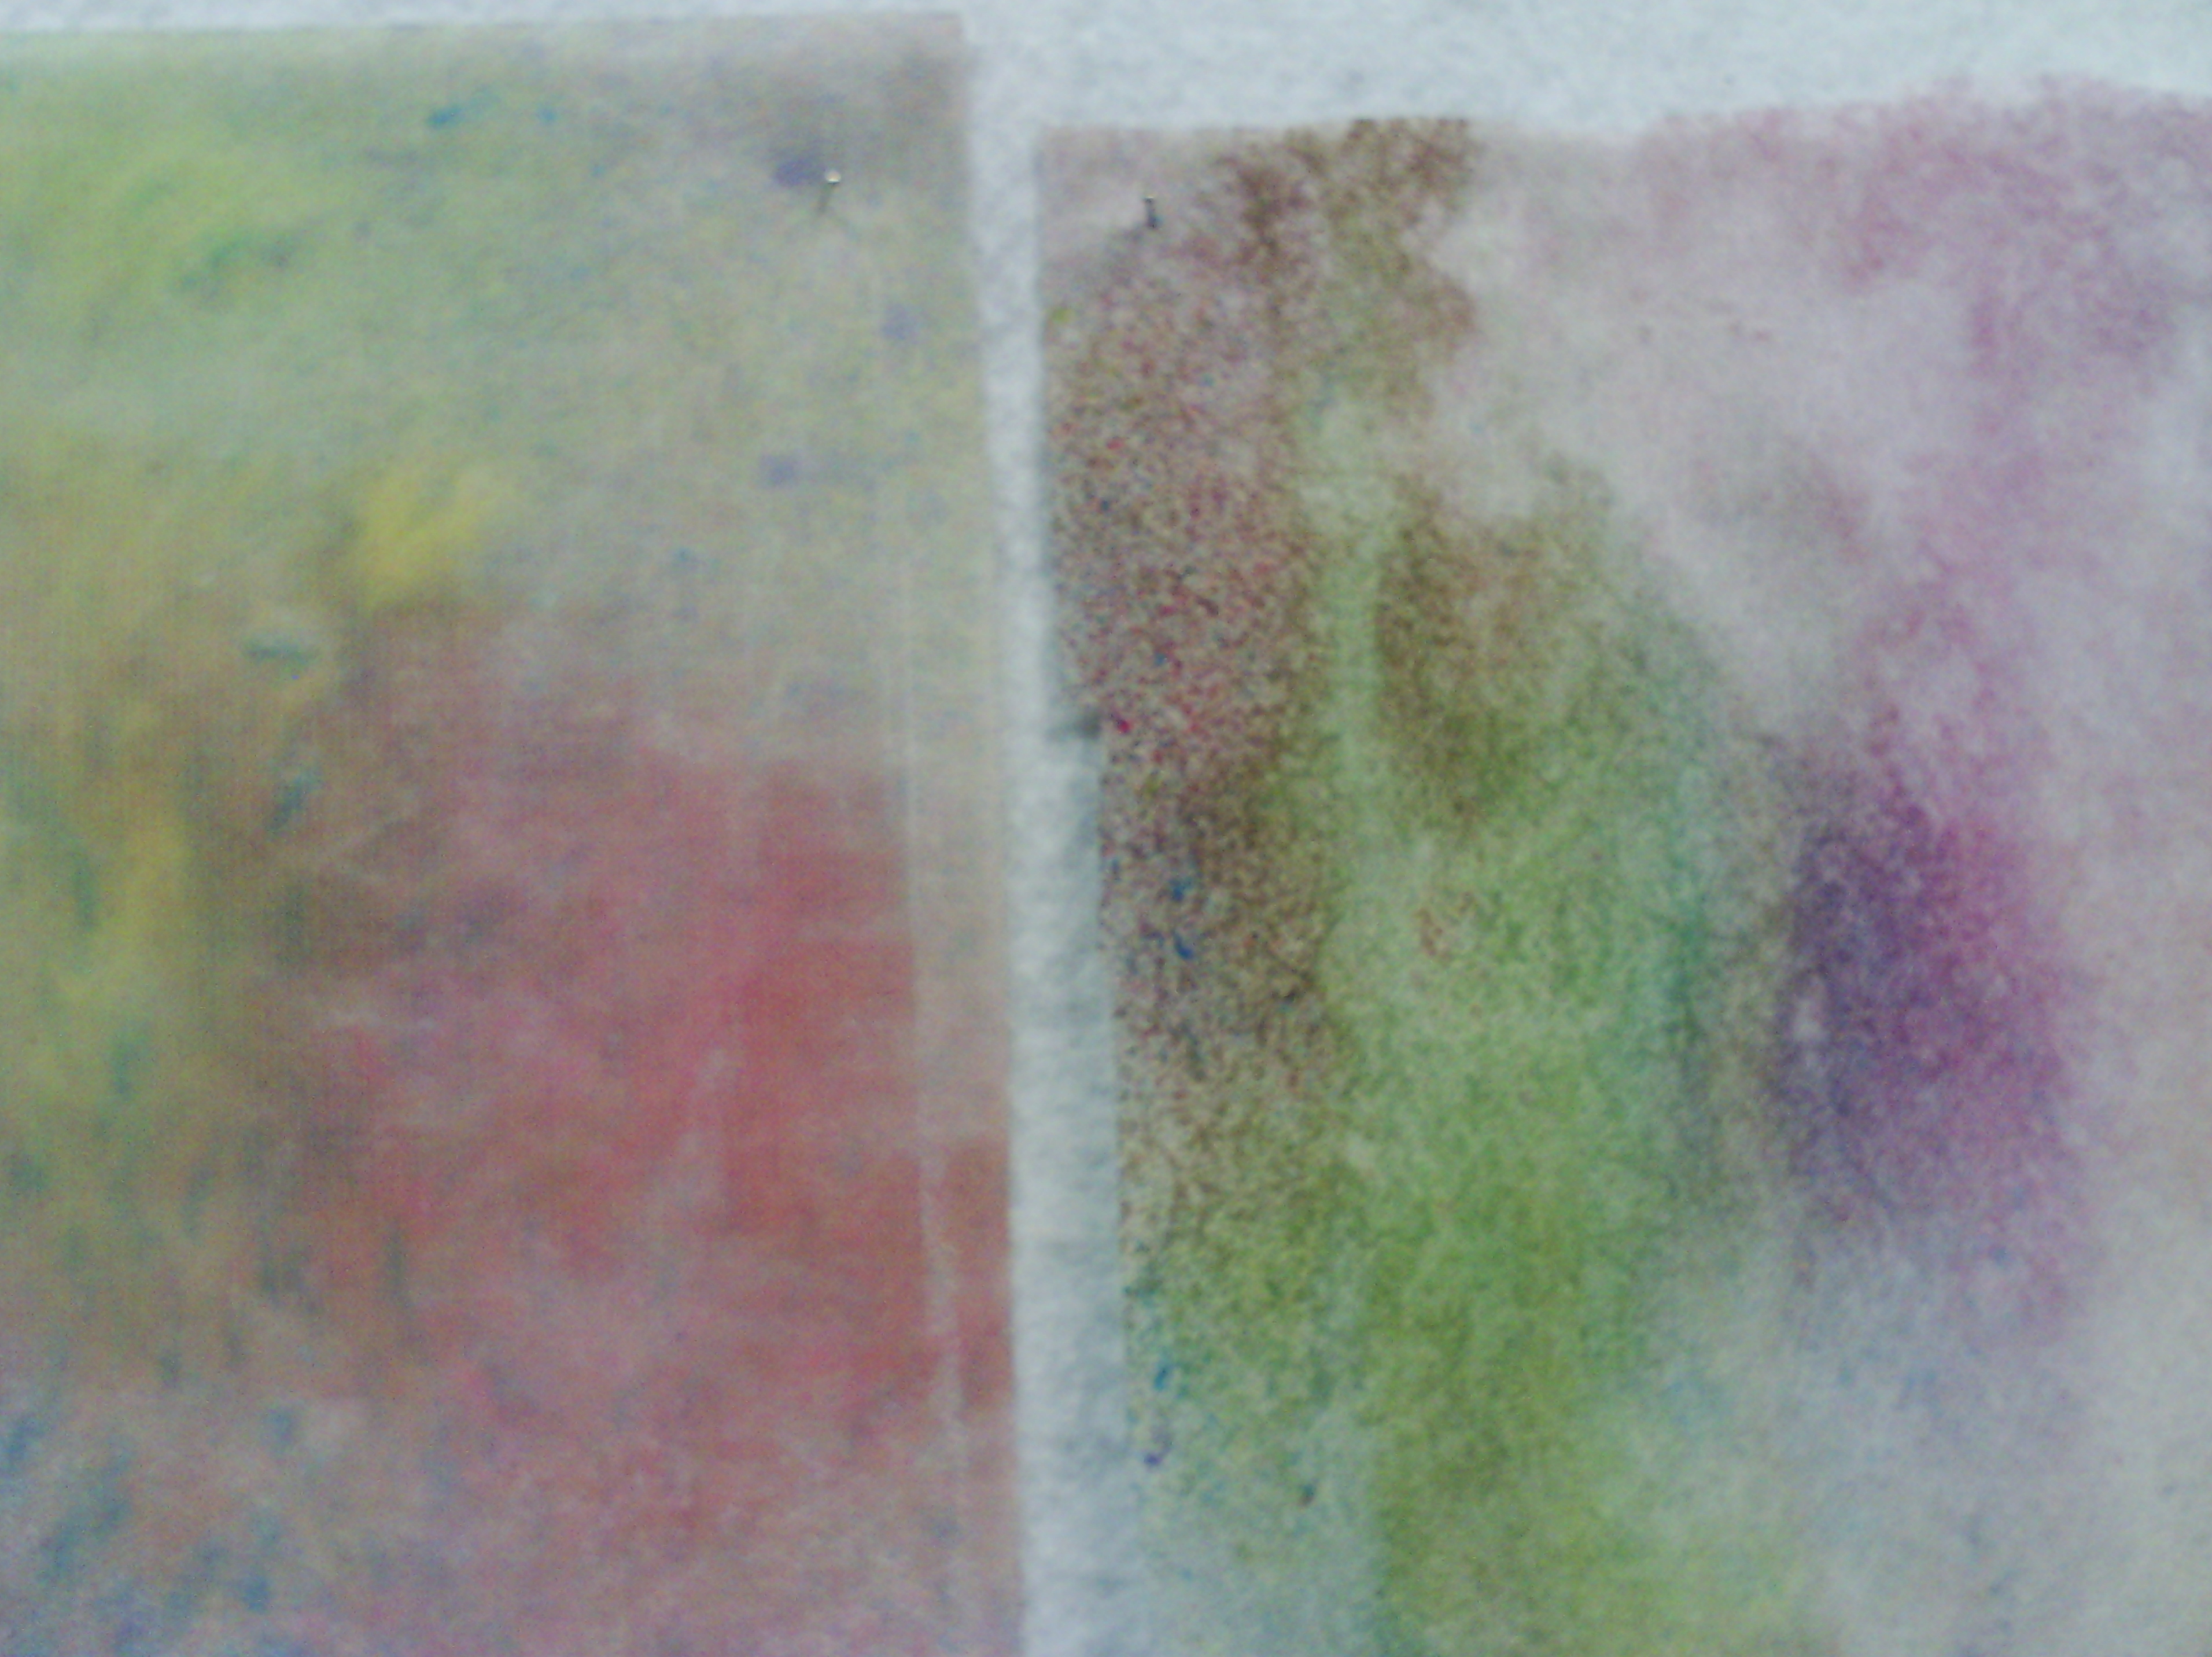
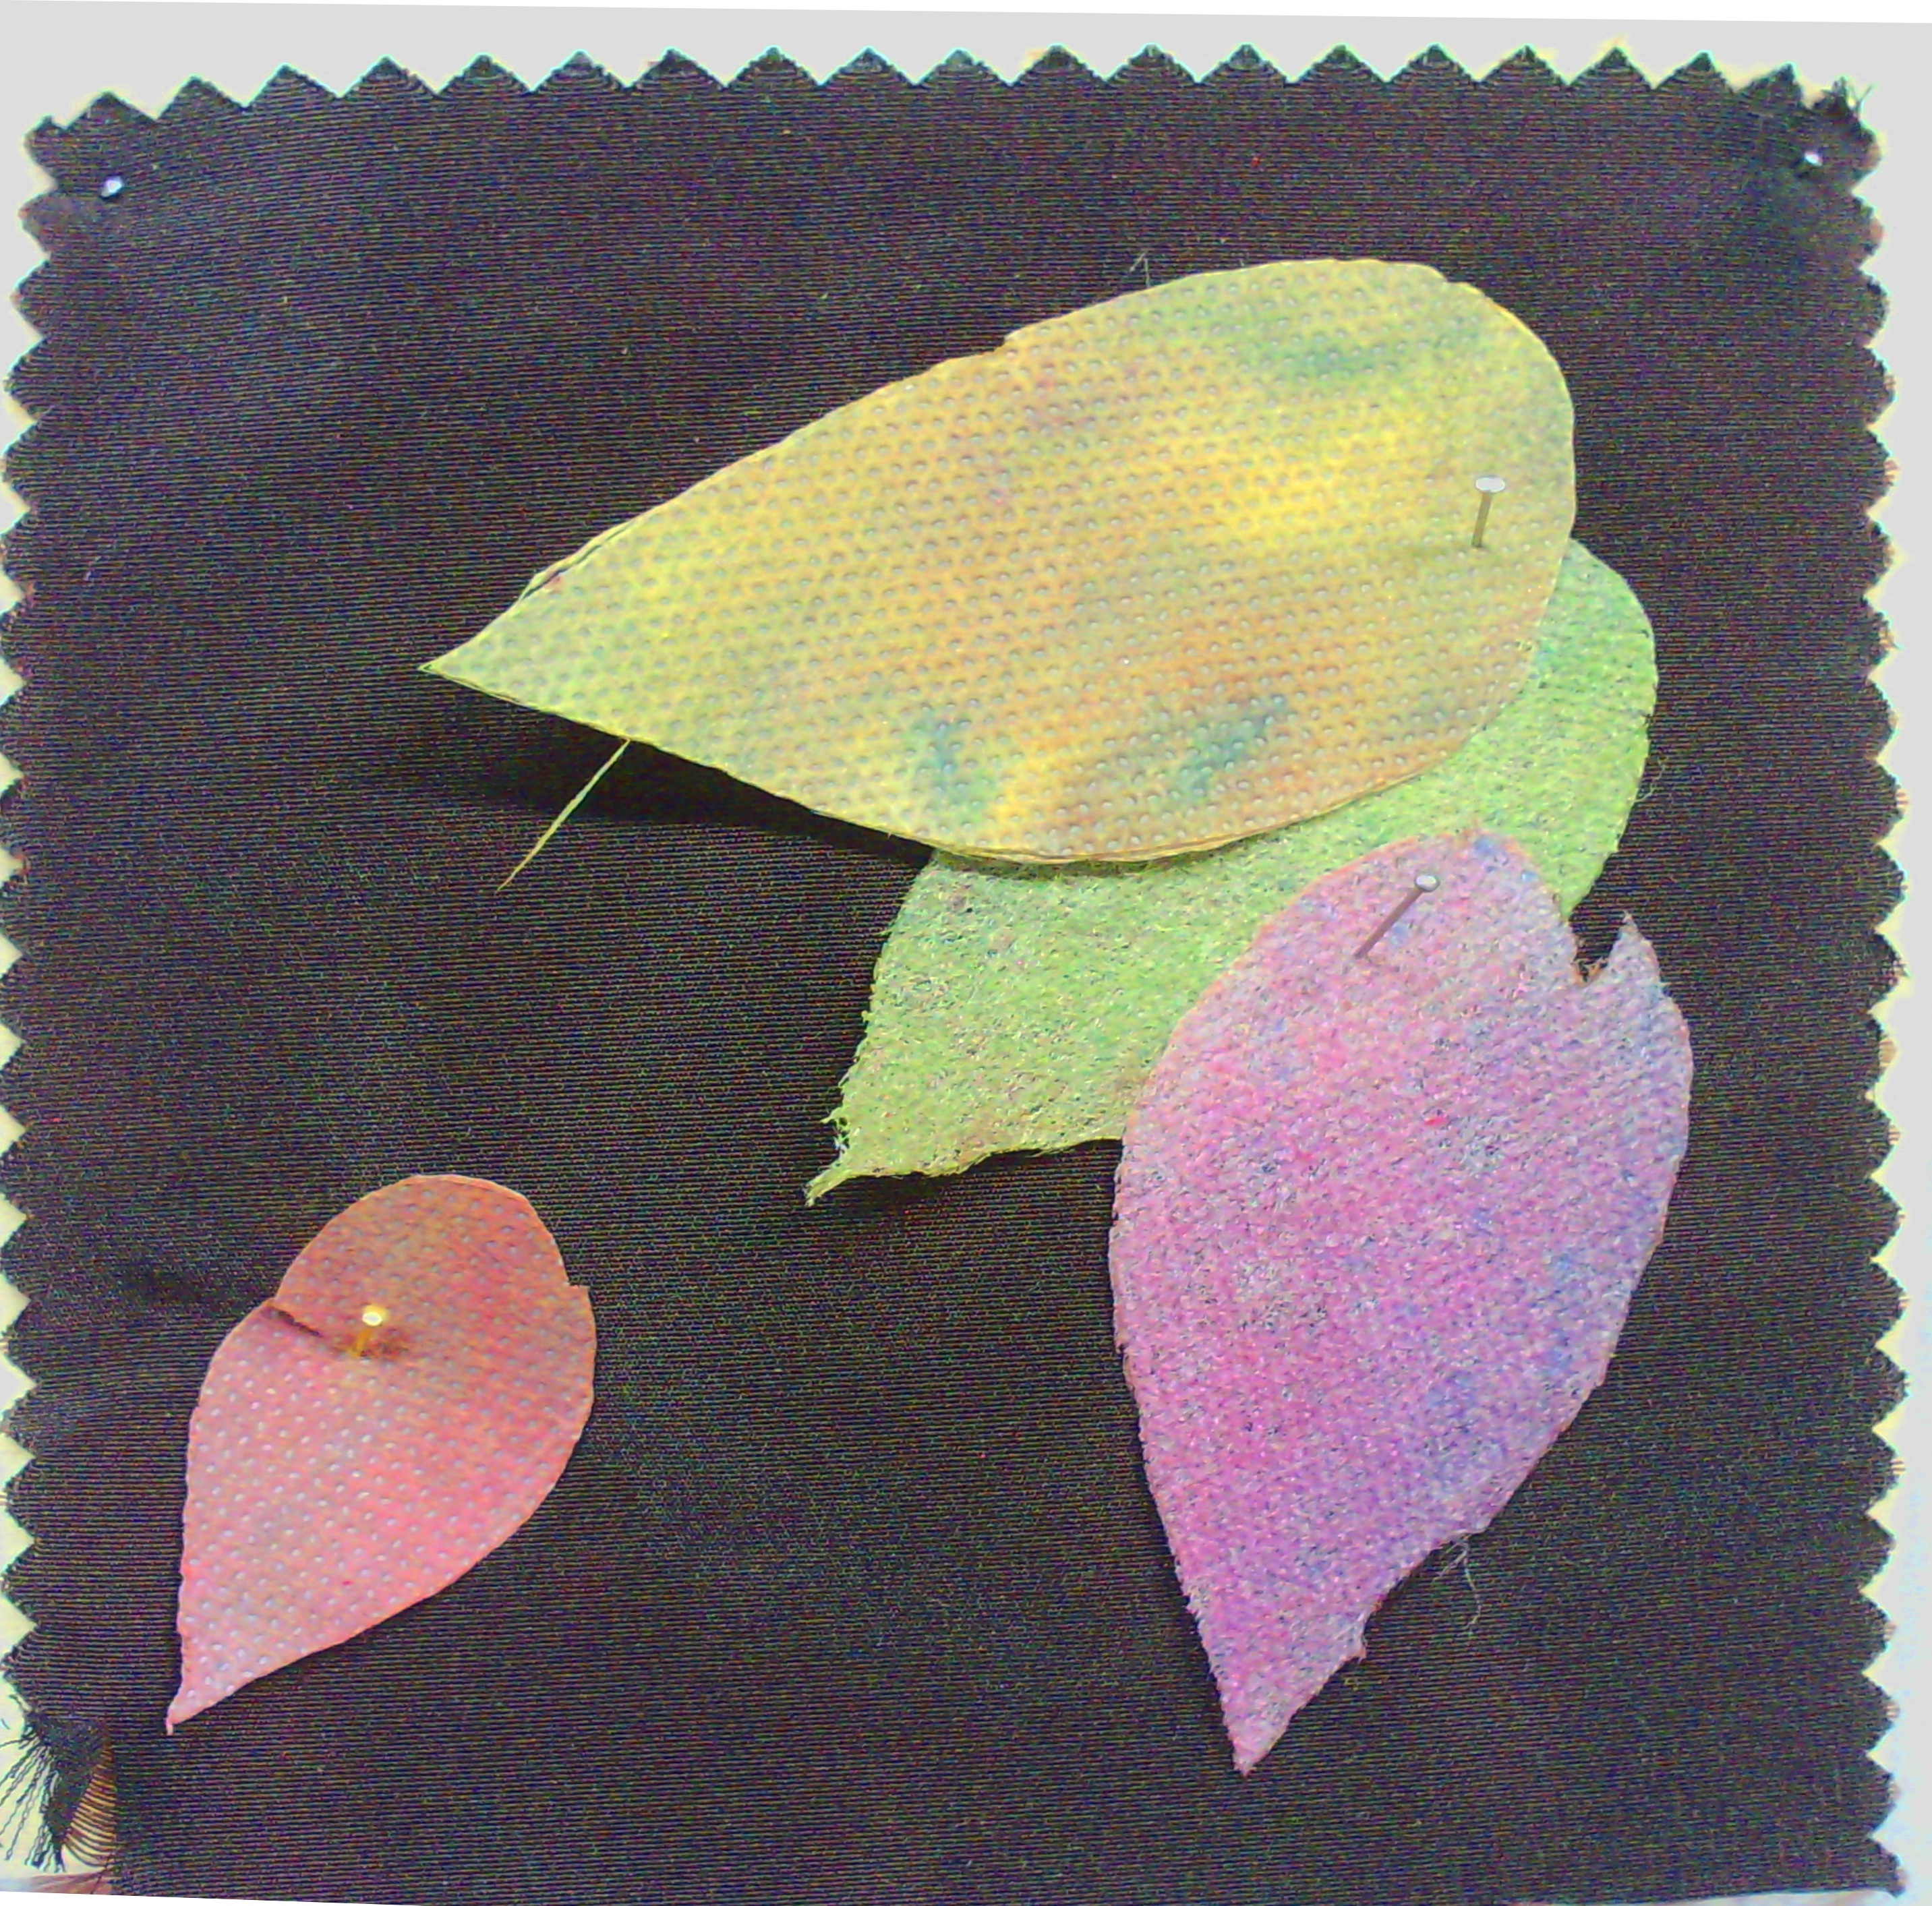
I got a couple of pieces of interfacing (don't ask what type as I get these from the recyclers and there are no labels.  They are synthetic, I know that much)  one was more like a lutradur and one was smoother.  I sprayed them with fabric paint and let them dry.
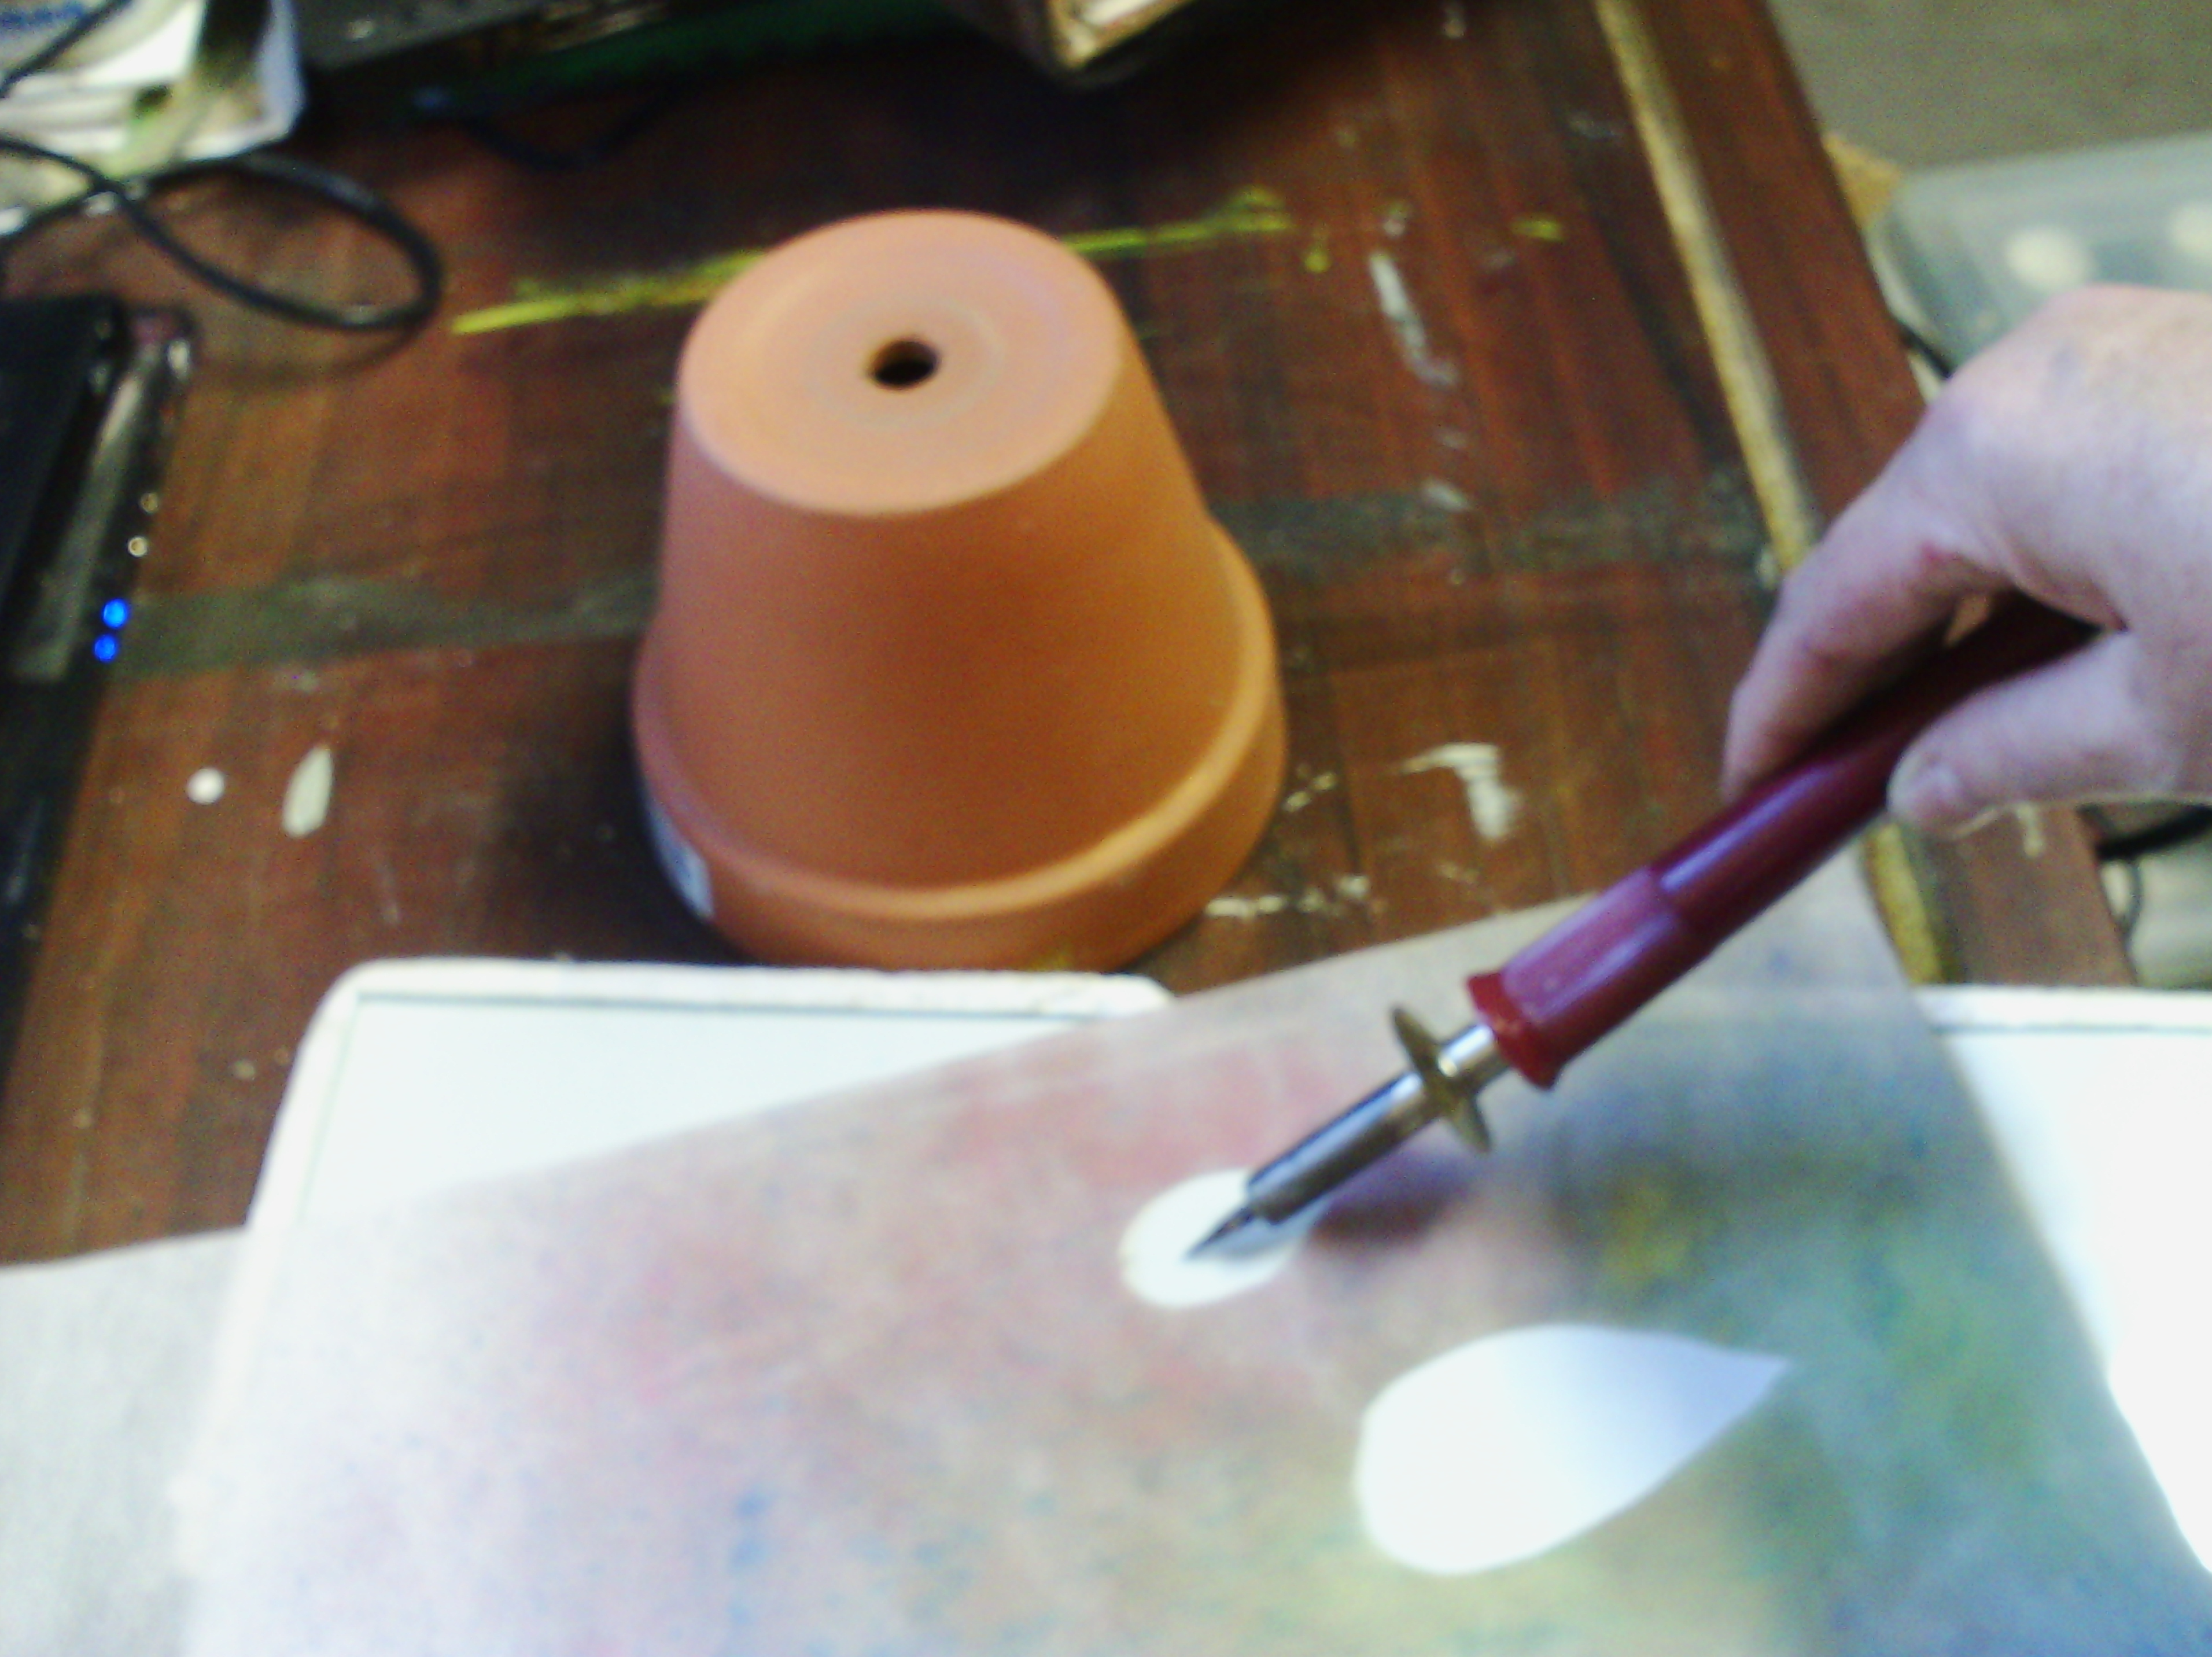
Then I cut a few leaf shapes out with my heat tool.  They cut very cleanly this way.  I could of course have used scissors since the fabrics wouldn't fray, but hey I wanted to be different.
I arranged my leaves on the background.  I decided to put the purple one in the centre at the top instead.  I made it up as I went along, because this was not the design I had originally intended.  What I had originally intended was to cut out a wavy shape with little curly bits.
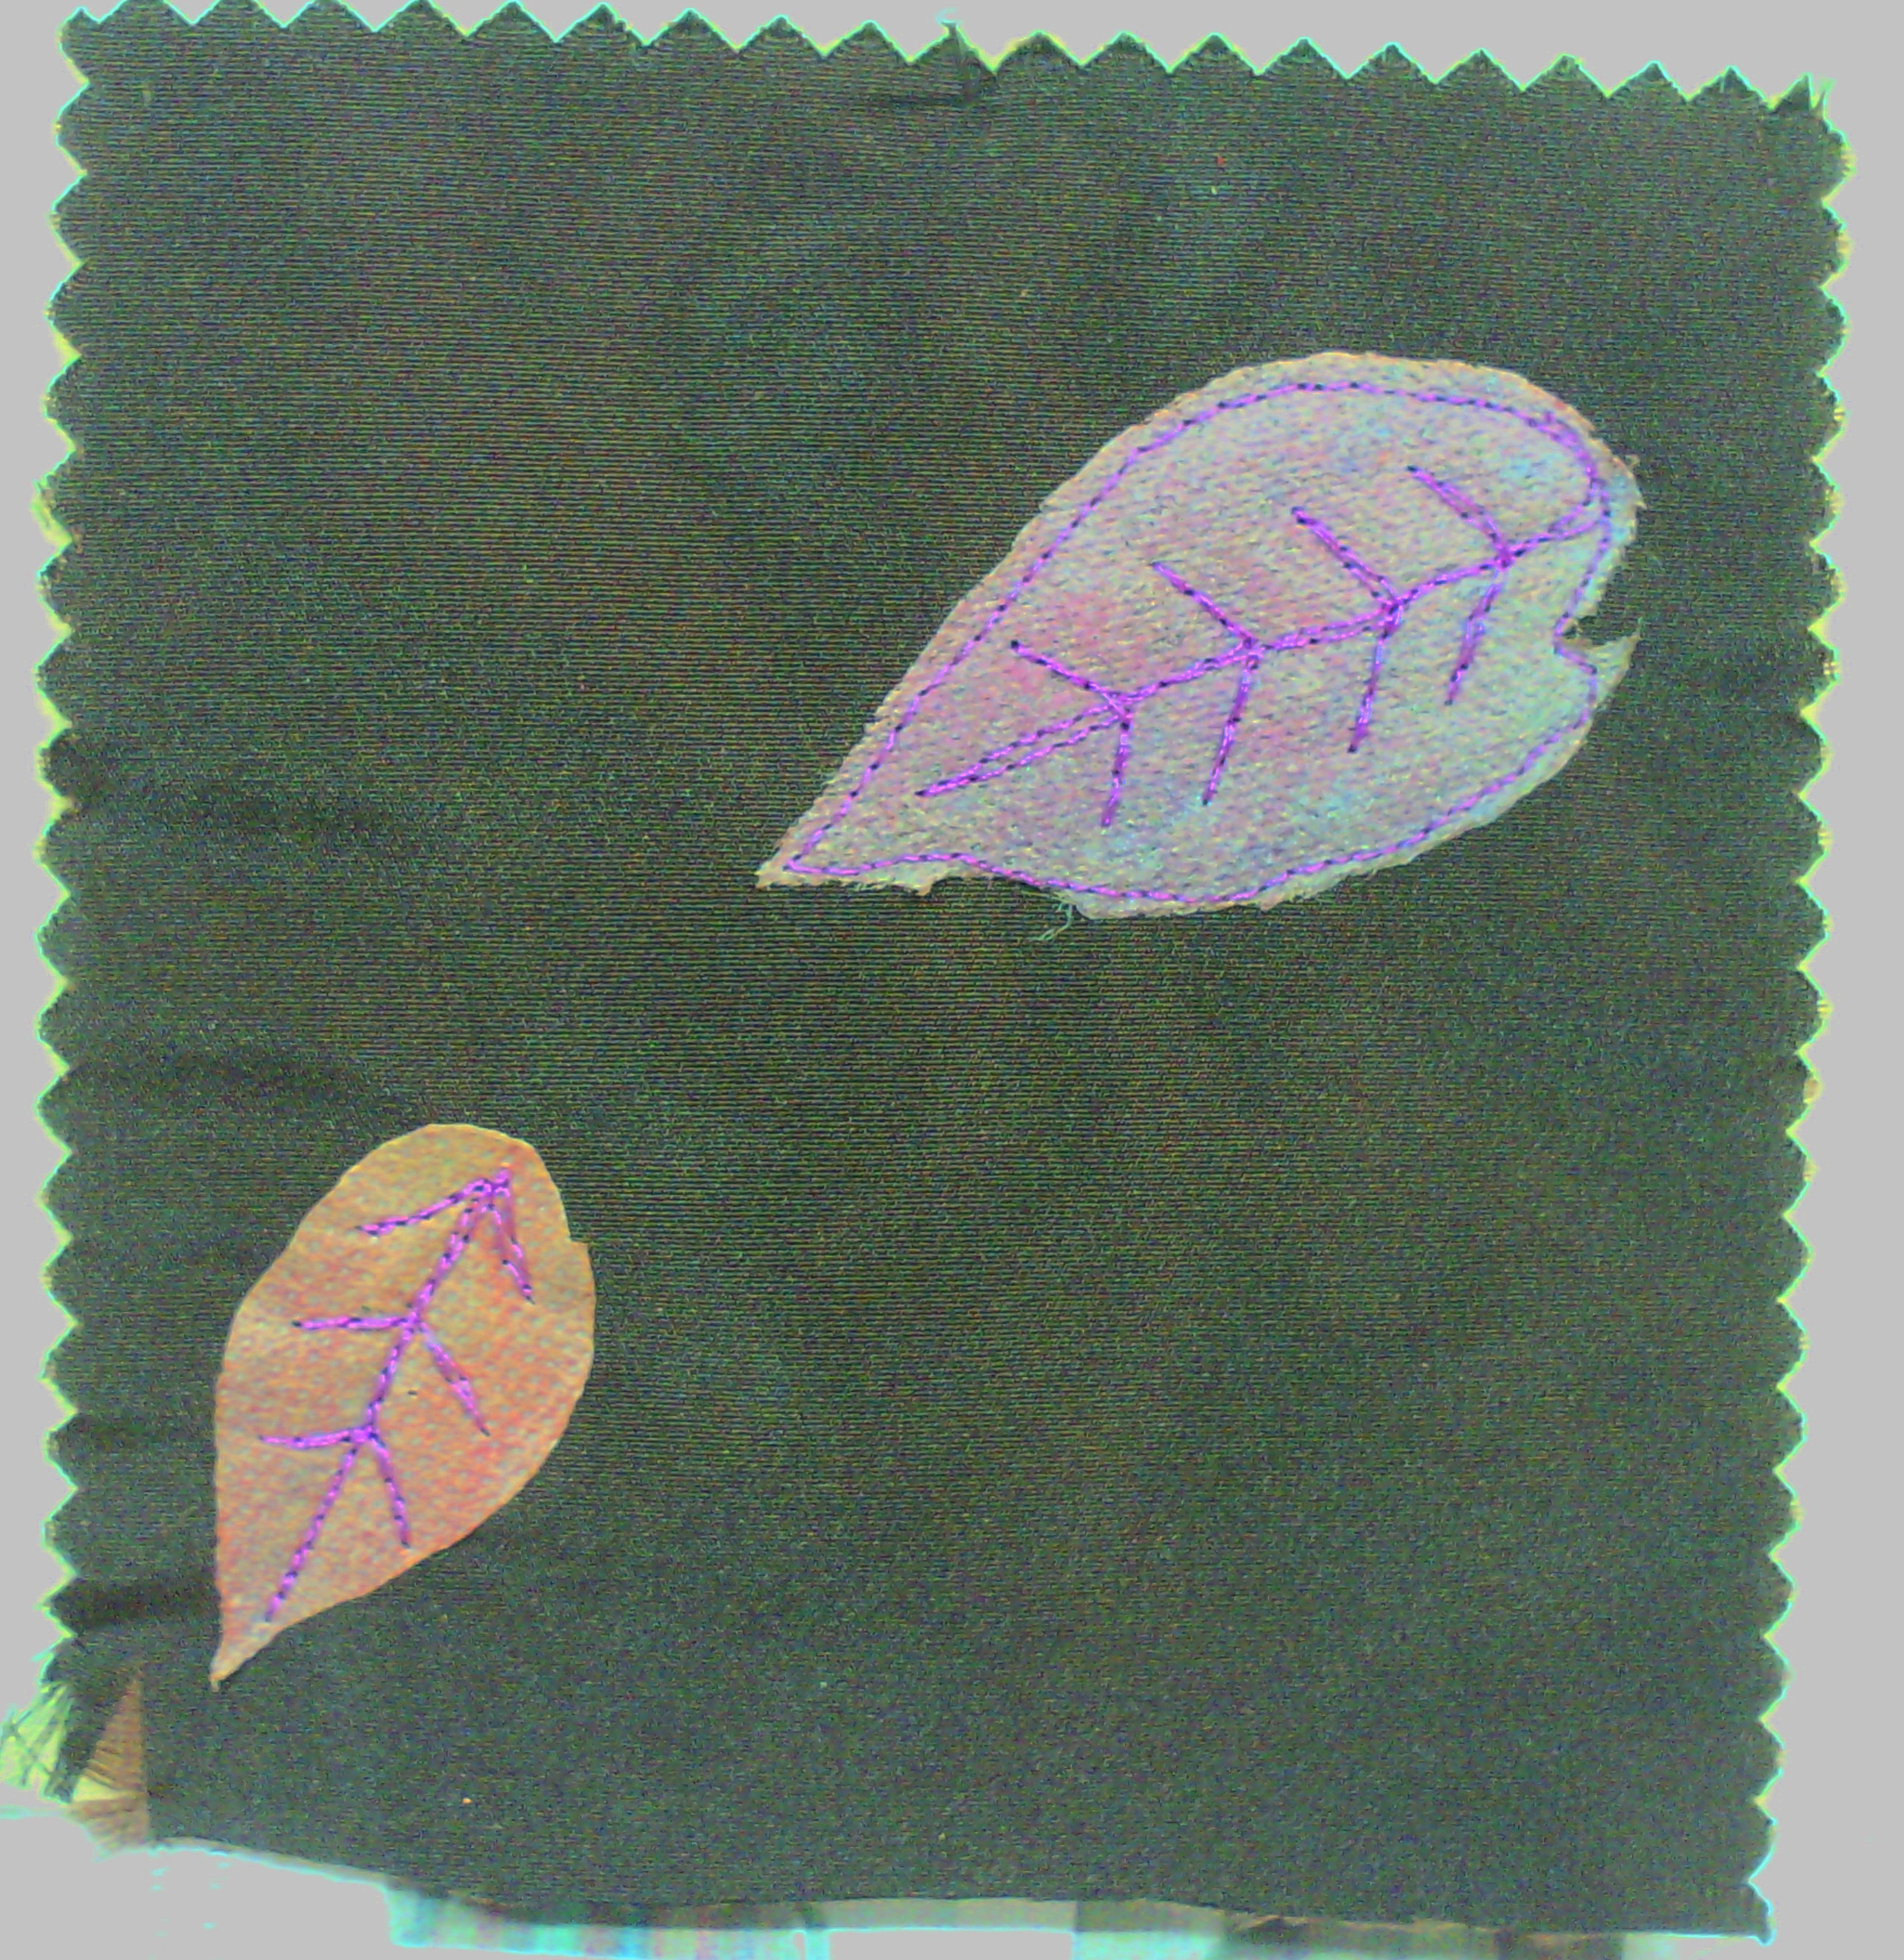
I started by attaching the two warm coloured leaves with free motion.  I did the top one first and went all the way around the outside, but when I had put the veins in the small one, I decided I liked it being dimensional with the edges unattached.
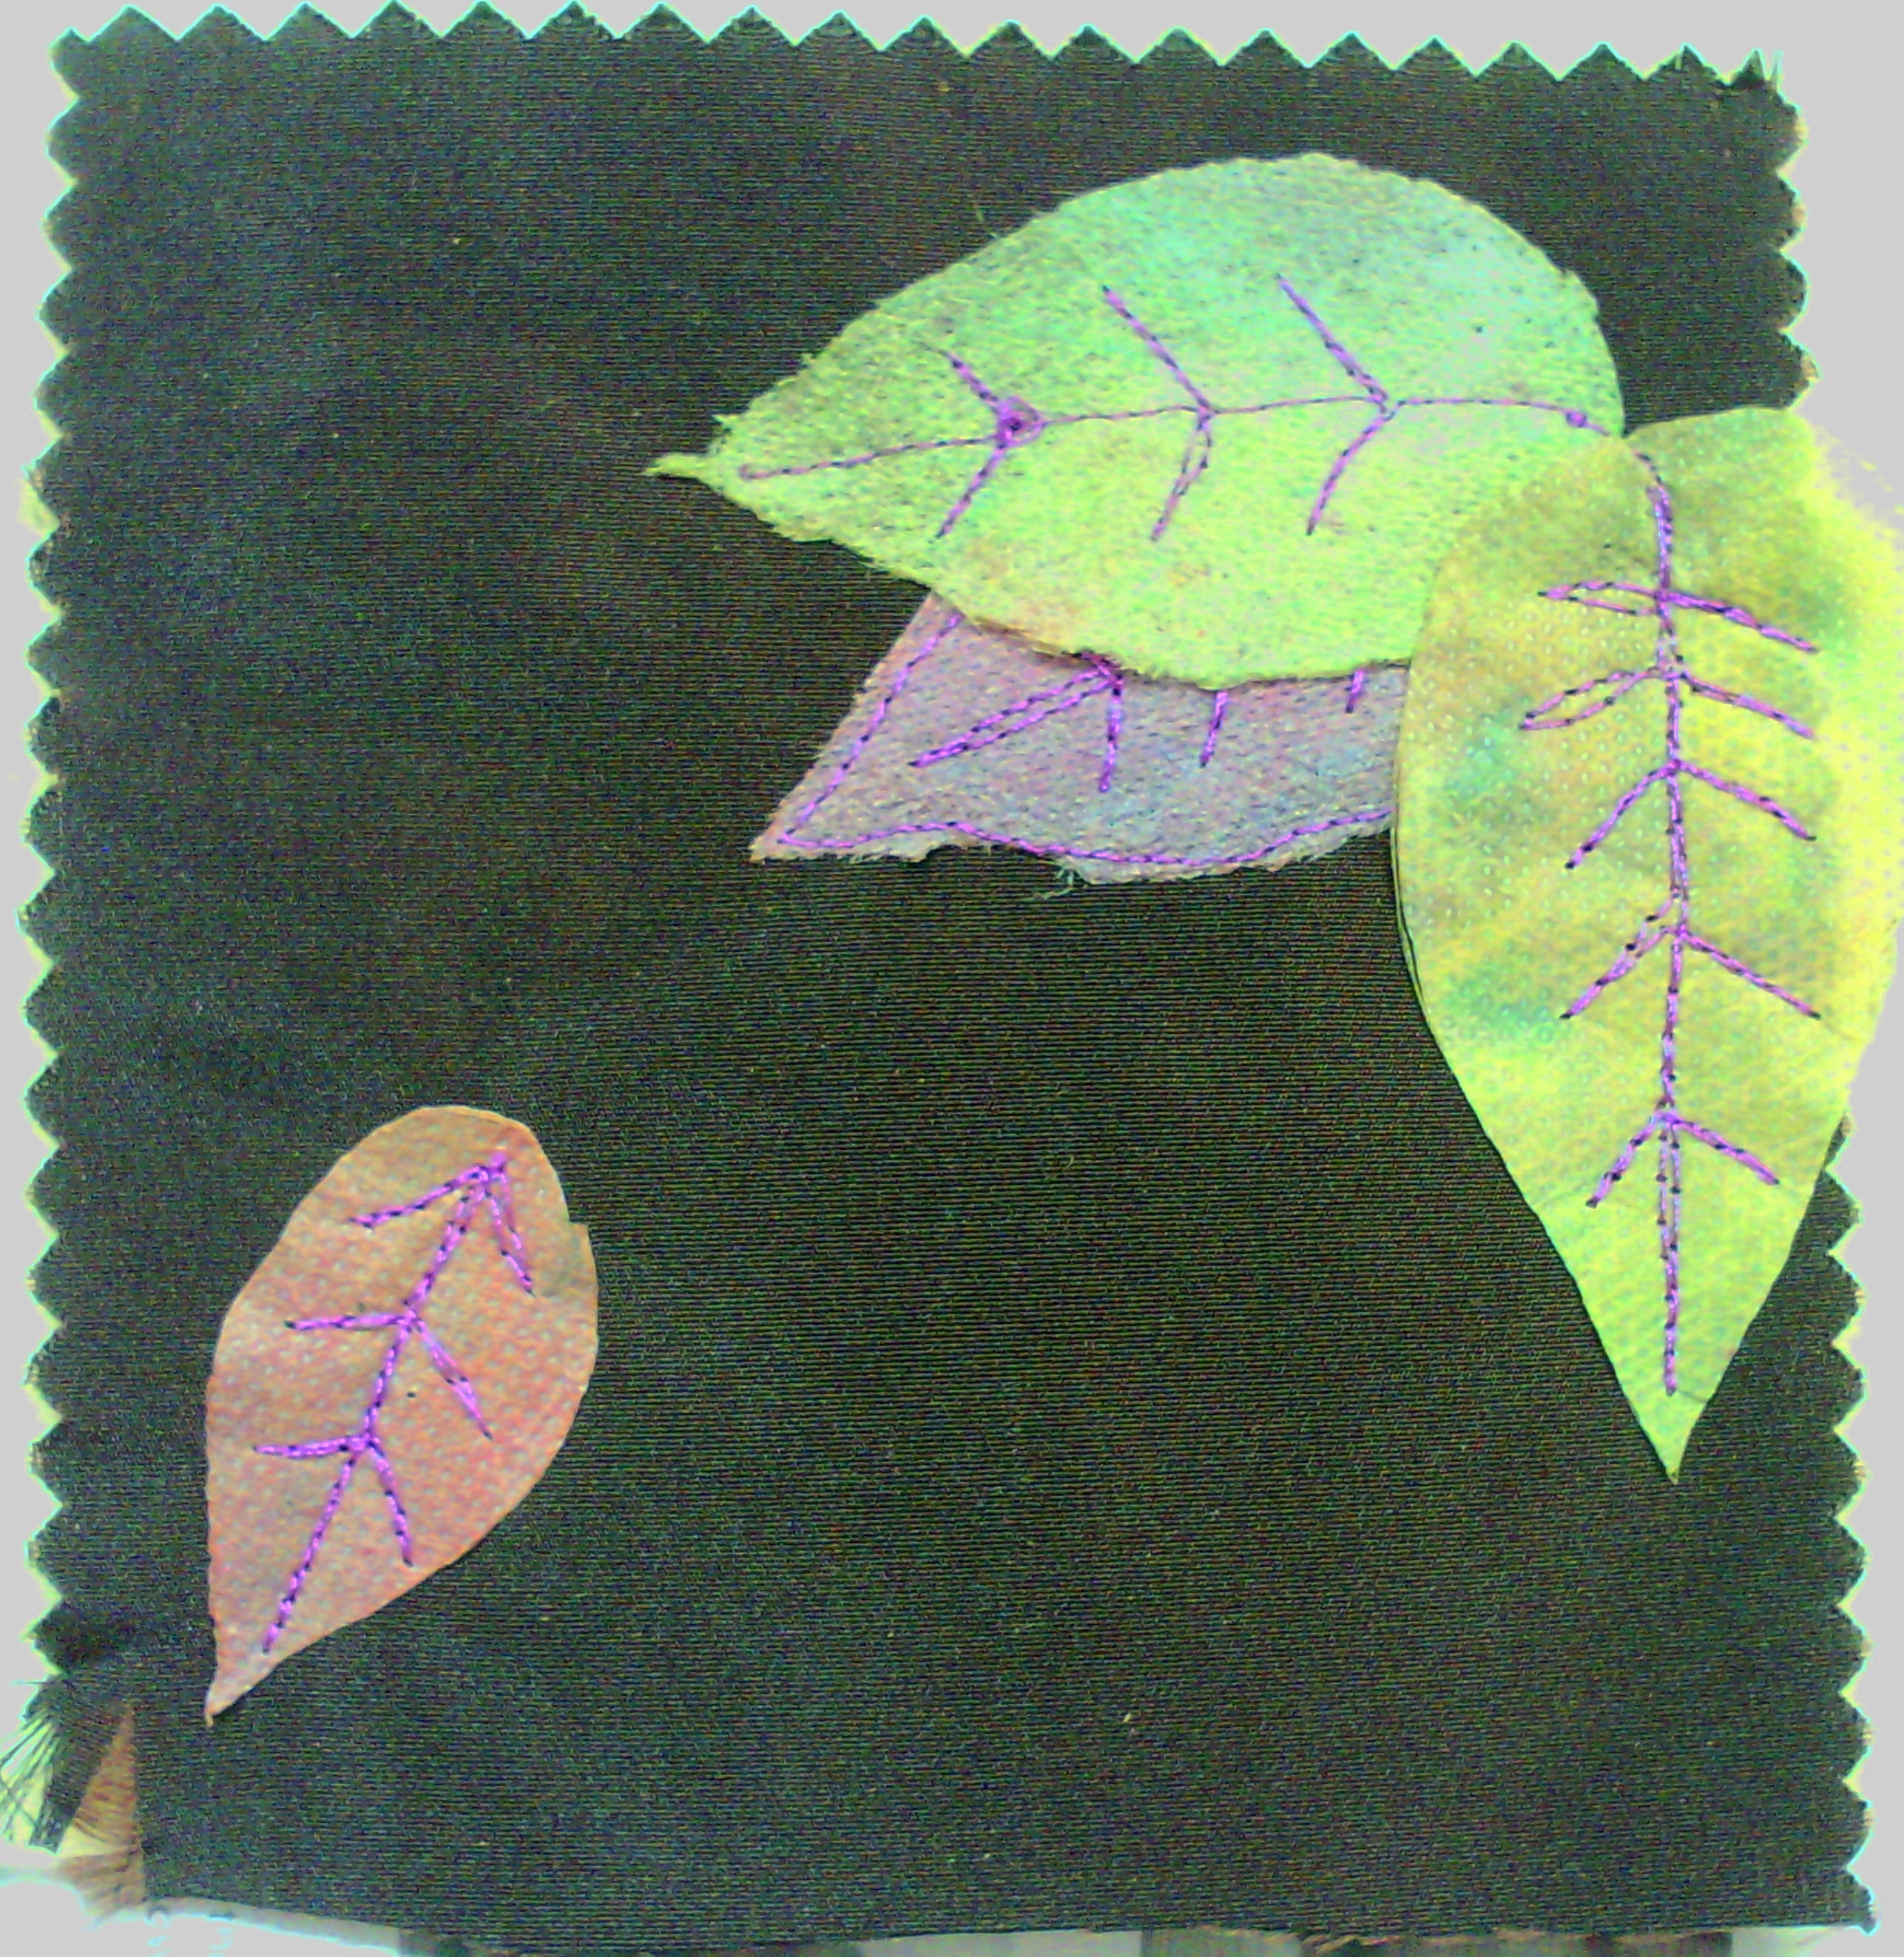
Then I added the two green leaves over the first one.  I decided I liked the one that went over the edge of the piece.  I did think about chopping it off, but decided it was nice the way it was.
I had a little think about the composition and read through my initial notes.  I had wanted to use shape and motion as my design elements.  I had the shape, but not the motion, so I went back and did a little more thread sketching.

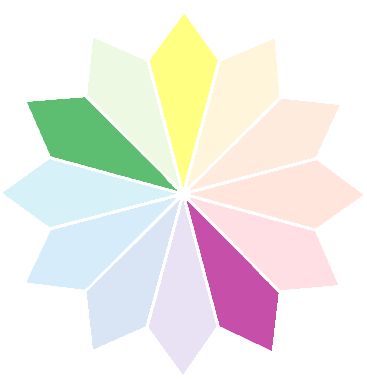
Now, It had motion!  It also was close to my favourite split complementary colour scheme, which I had not really planned, but it just goes to show doesn't it?

And this is how it looks in my database, with links back to the information for each part.
Of course, I still need to do the edges.  i have some black organza ribbon to bind it.  That's a TV watching job!

Create every day.


Monday, November 19, 2012

Free machine embroidery TAMMS project

I have been very busy lately, getting ready for the first day of our community gallery, which went extremely well, and also with a few family duties, but now on to the next step in my November TAMMS you can post about what you have done with it here.
We have done several things so far;
A foundation
Surface design
Fabric manipulation
Embellishments
Design
So this is where we were up to last time.
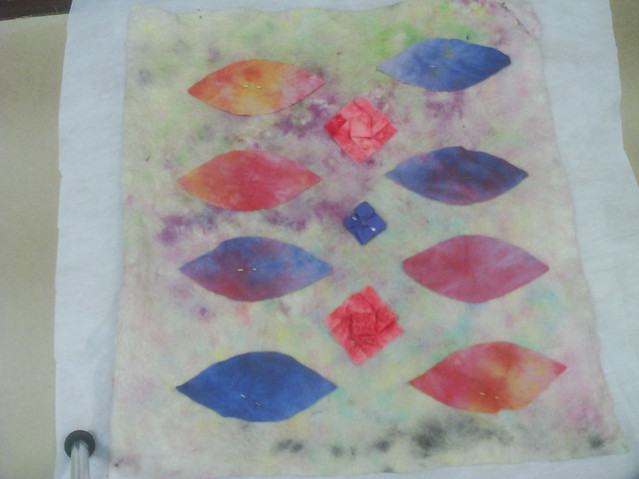
We had arranged the pieces in a design to our liking.  I have placed a piece of non-woven interfacing underneath, to keep it stable for the stitching.
In this post, I stitched everything down with free motion and added a bit of decorative free motion stitching.

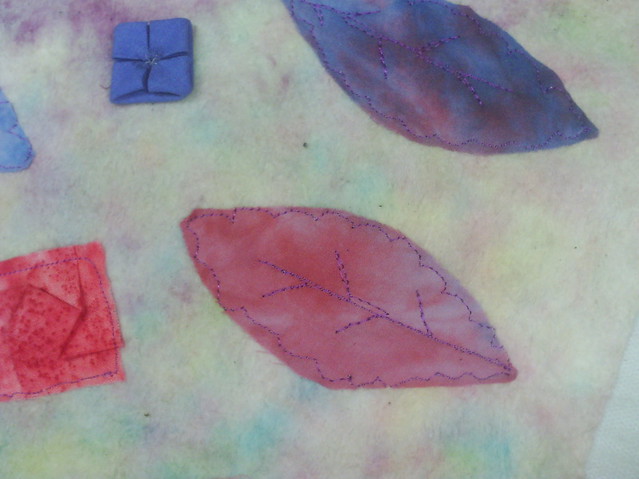
First I stitched all the elements down.  I used straight lines for the folded squares and scalloped lines and veining for the leaves.
Here are a couple of close ups of the stitching.  It used a magenta rayon thread, a solid colour, however it looks quite different on the different coloured fabrics.  I just secured the hydrangea square with a couple of stitches in the centre.

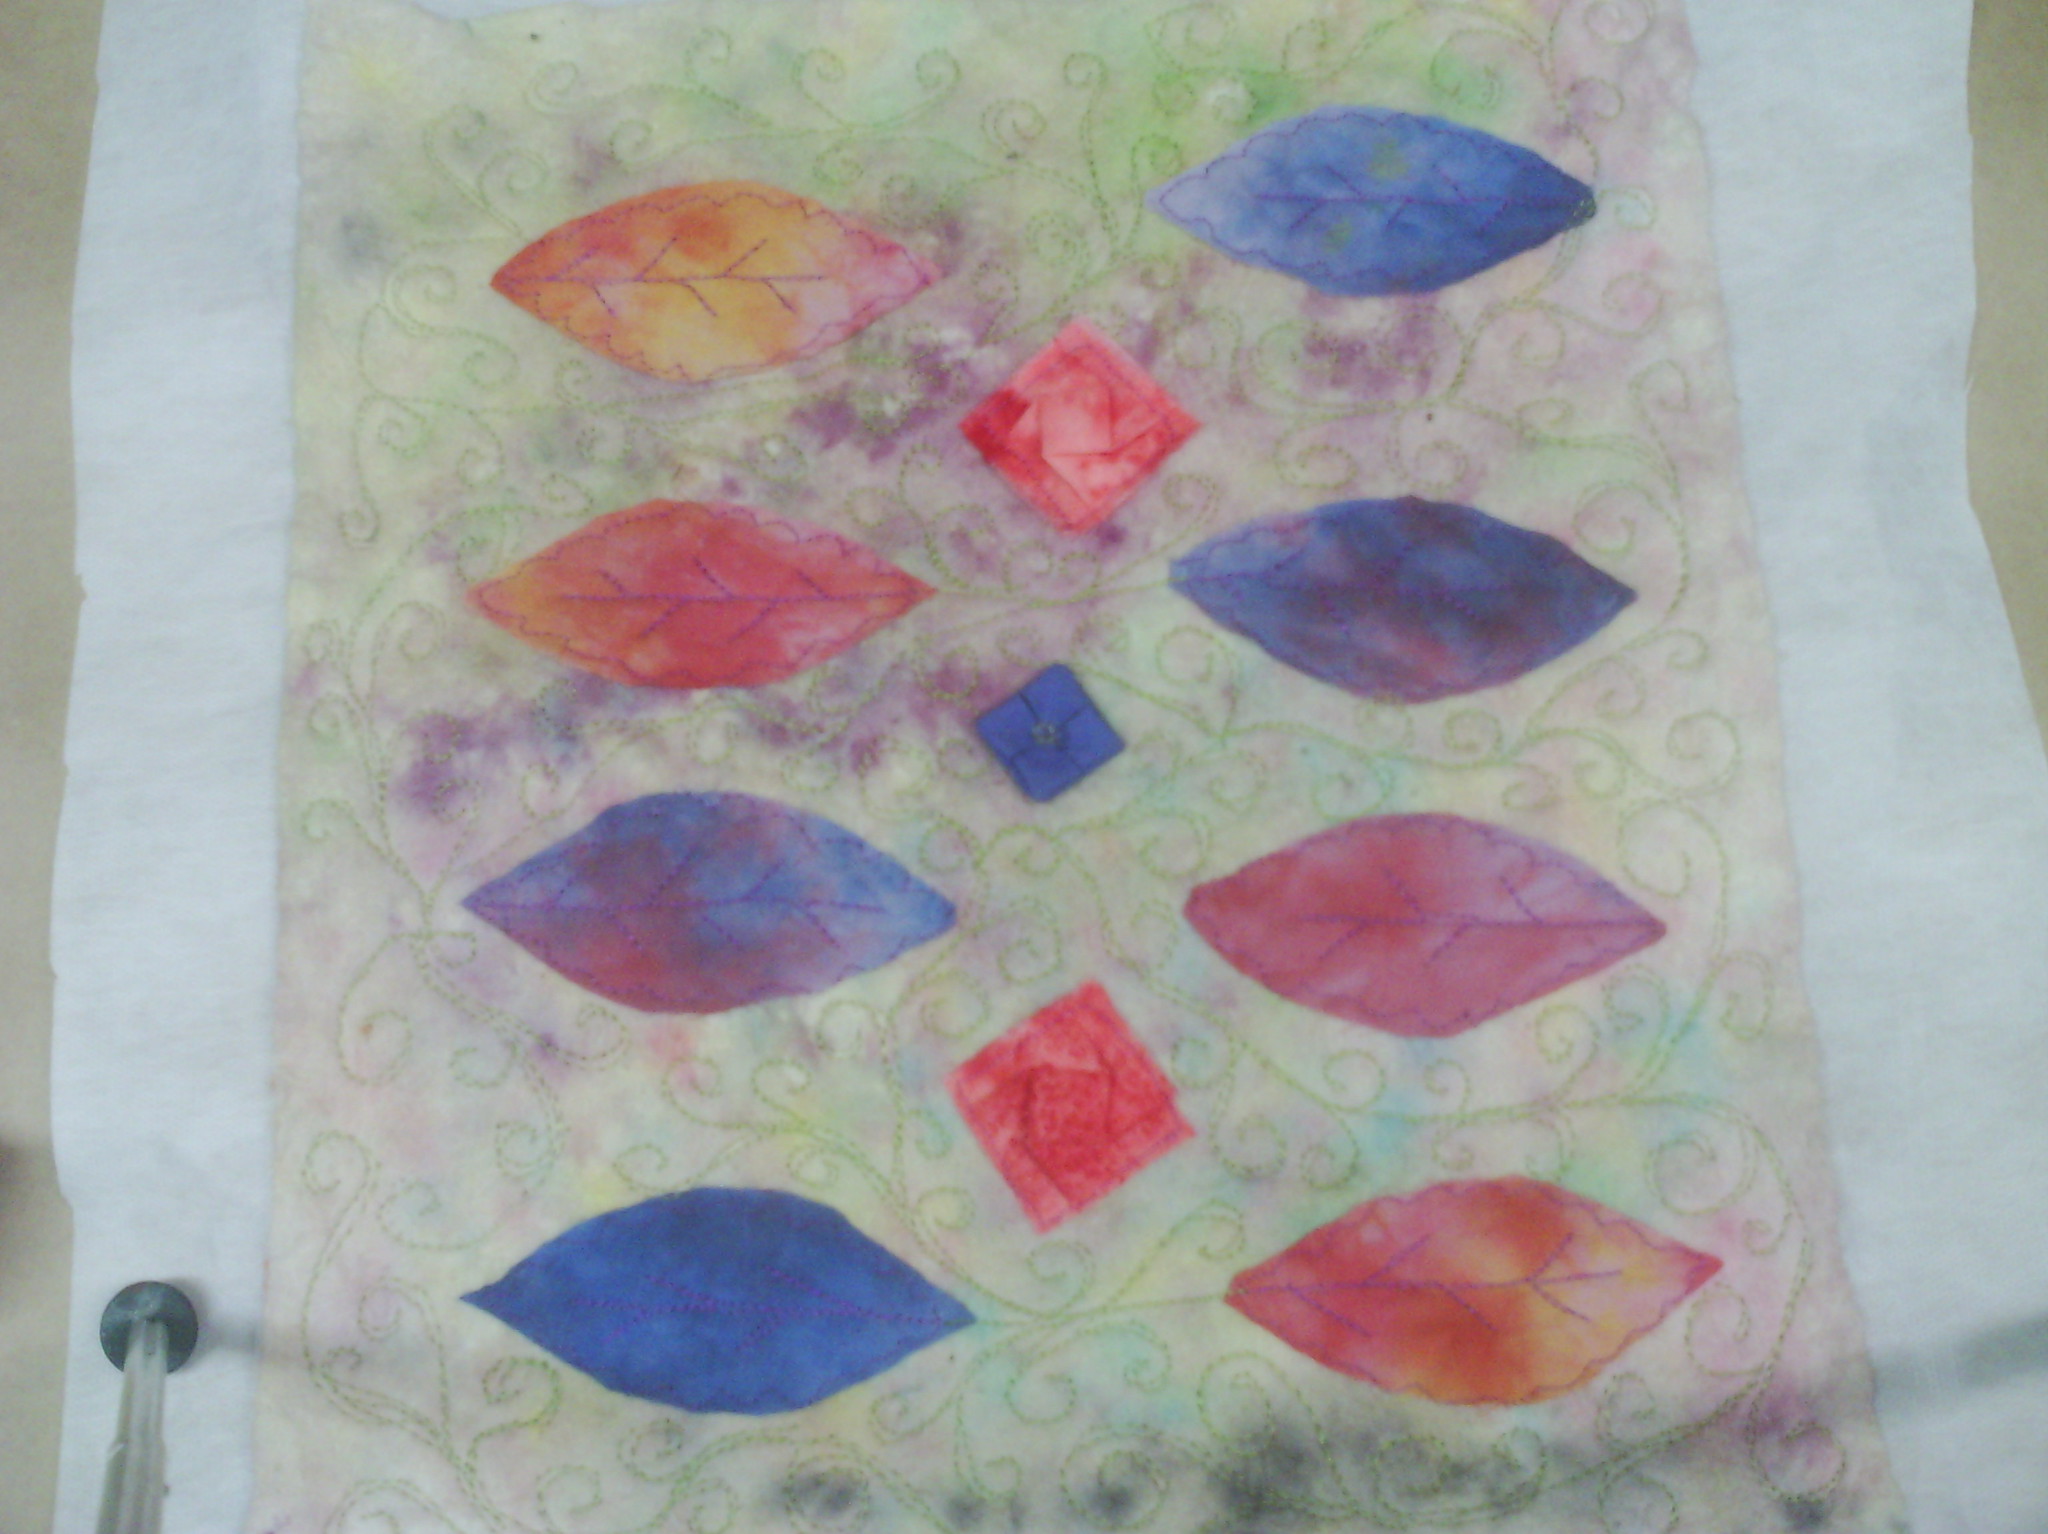
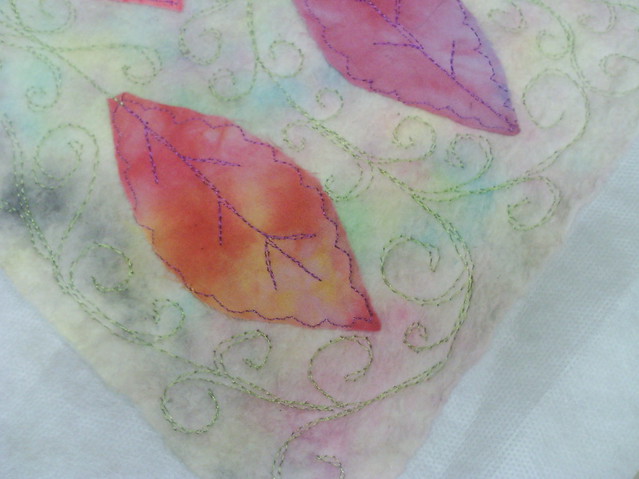
Next I did some swirly stitiching on the painted batting background.

And a close up of the swirls, which were in a green rayon thread.
And that's all there is!  I find this step in my work to be the quickest.  I am really liking where this piece is going, it looks a bit like a tapestry with all the stitching and I am looking forward to doing some hand stitching next.  What do you think would be the right stitching to set off the design?

And Mounting?  I am at this stage thinking of turning it into a large book cover, but we will see.

Until next time, Happy Creating!


Monday, November 5, 2012

A bit of folding

So where are we at with my Textile and mixed media sampler project (TAMMS)?  So far we have made a foundation,
some paper beads (embellishments),
and some dyed fabric (Surface design),
I have been thinking all week about Fabric manipulation and had a few ideas on what I might do (of course with no Idea in mind yet about what I might make, lol) and finally I decided on fabric folding.  I have recently been doing some fabric folding with my huge stash of charm squares.  Spurred on by a recent design matters episode called twisted squares, (which is available to watch if you are a member).  I also have in my UFO stack a pile of folded satin blocks which I made a few years ago and haven't got back to - as you do.
Some good references for fabric folding, which show ways to use similar folded blocks are

 Fantastic fabric folding by Rebecca Wat
A fresh twist on fabric folding by Rebecca Wat
Quiltagami by mary jo hiney
Folded fabric elegance by Rami Kim
Any basic origami book or site
Tea bag folding books and sites

I have always had a fascination for origami and when I saw folded fabric, well, I just had to do it.  I have actually done quite a bit, but it appears I have not blogged about it.
So to today's Fabric manipulation method.


here are the two folds I like to use most.  The one on the bottom left is a simple folded flower like a little hydrangea, the one on the right is a twisted square or chopkey square.  Once you get the idea, the twisted square can be made in any shape, just beginning with a different shape piece of fabric.  I founhd, when I was starting out, that it was helpful to make a few in paper first as it holds the folds better than fabric and helps you to get the folding right first.  The blob at the top is a pincushion I made with the hydrangeas, using five on top, five oun bottom and five around the middle.

Let's start with the twisted square first.
Start with a square charm, I am usung tiny 2.5 in squares.  Fold in half and crease one way then fold the other way and crease.  Open out.  Now you have the centre marked easily.
 Take one of the folds and fold it halfway to the parallel edge.  I have included a diagram which might make it easier.
Turn 90 degrees and do the same with the next fold.  fold all the folds in the same direction - ie clockwise or anti clockwise.
Continue until you have  folded all four of the initial creases.
Squash and twist the centre and it will form a square!
Press and remove the pins and you have a twisted square.
Above are four I have pieced together.  The folded edges create a nice seam allowance for piecing so that only the little dimensional square is visible.
The back is also quite interesting as it creates a four patch which is interlocked.

The hydrangea begins exacly the same way.
Create the crossing creases as with the twisted square but the next steps are different.
Fold each corner to the centre and crease.  I usually tack the tips in the centre with a few tiny stitches.
I also add a tiny bit of clear nail polish to the new outside corners to stop them fraying.
 I bring a knotted thread up through the centre, catch the centre of one of the edges and go back through the centre.  Repeat on the opposite side.
Next I do the same with to other two sides.  The first one creates a boat-like shape, then with the second, you can see the petals starting to form.
 I pull the corners of the petals to the centre one by one, catching them and flattening them.  I have included my index finger so you can see how small these are.  I suggest you start with a much larger square, lol.  The stitches and nail polish in the centre can be easily covered with a sequin or a few tiny beads.
As I said, these remind me of hydrangea flowers.  This is an ATC I made with them a while ago
Hope you enjoyed this post and have lots of ideas to use the little fabric manipulations.  Don't hesitate to post your ideas and creations here.

I will be away on family business until the end of the week,  so won't be able to post, but don't forget

Happy creating!


Friday, November 2, 2012

Dyeing again

Since I am a little under the weather today, I am going to repost from a year old experiment, which seems to have lost it's photos, but which is relevant to my new project.

surface design - dyeing

I did a little dyeing, spurred on by  design matters videos.  Laura did some gorgeous dyeing and Linda used the fabric to make a small iris applique.
Serendipitously, the day before I watched the videos, I was tidying up and found a large pastel painting of an iris that I had been thinking about making into an art quilt.
 
As you can see, this painting is unfinished.  It also has a little kitty paw print at the top right if you look carefully, lol.  It was done a few years ago and was one of the last things I worked on at Painting.
It is nothing like Linda Kemshall's picture, being about 30 inches square and a different style, but hey I thought I would have a go.
The first piece of fabric I dyed was some cotton, about 2 metres. 
I used exactly the same method as I used here.  The only difference was that I scrunched it up extremely tight into a micowave safe pot.  I usually use glass, because I find plastic melts and wrecks the process and it allows me to check that the bottom fabric is dyed well (underneath).  I then poured the dyes on and made sure they went into the fabric folds by gently massaging.
Because I poured the dye onto the fabric, I could mix the dyes.  I just used a simple, yellow-red-blue sequence like Laura Kemshall did.
Obviously mine is quite different to Laura's for chemical reasons as I don't use the same dyes, but I did get some lovely mixing effects.  The shades are not quite right but the value changes are, so I will begin with these and tweak the shades as I go with some fabric paint and watercolour pencils.
As usual, I made too much red dye, so I also dyed up a batch of  cheesecloth/scrim
-with a little blue to make it interesting.
I also grabbed a pile of cotton scraps and did some greens to use in a landscape 
The green batch had a lot of variation in colour and texture.  This just a few of the scraps.  They were all different pieces of cotton, left over from lots of other things and each piece took the dye differently.  I was very pleased with this lot.  And my evening's dyeing was a great success.
Even hubby took an interest, using some of my left over dye to experiment with dyeing bits of wood.

As I said, this is an old post, whose pictures seem to have disappeared here.   I think I was using Flickr at that stage and off course, if you just have a basic account, as you add more pictures, once you get over 300, pictures disappear from the beginning.
You may see some old post cropping up as I edit them - I'm not sure whether they get reposted or not.

Happy creating!