Showing posts with label colour wheel. Show all posts

Tuesday, July 30, 2013

Journal quilt

I have made another journal quilt.  I find these little pieces an easy way to do a little experimenting.  I am slowly putting all of the information from all of them in an interactive database and this shows me which techniques I have not done yet.  Although I have many of these pieces (and I have even been asked if they are for sale!), there are still lots of techniques I have not put into them and of course, I am always expanding and adding ideas to try as well.
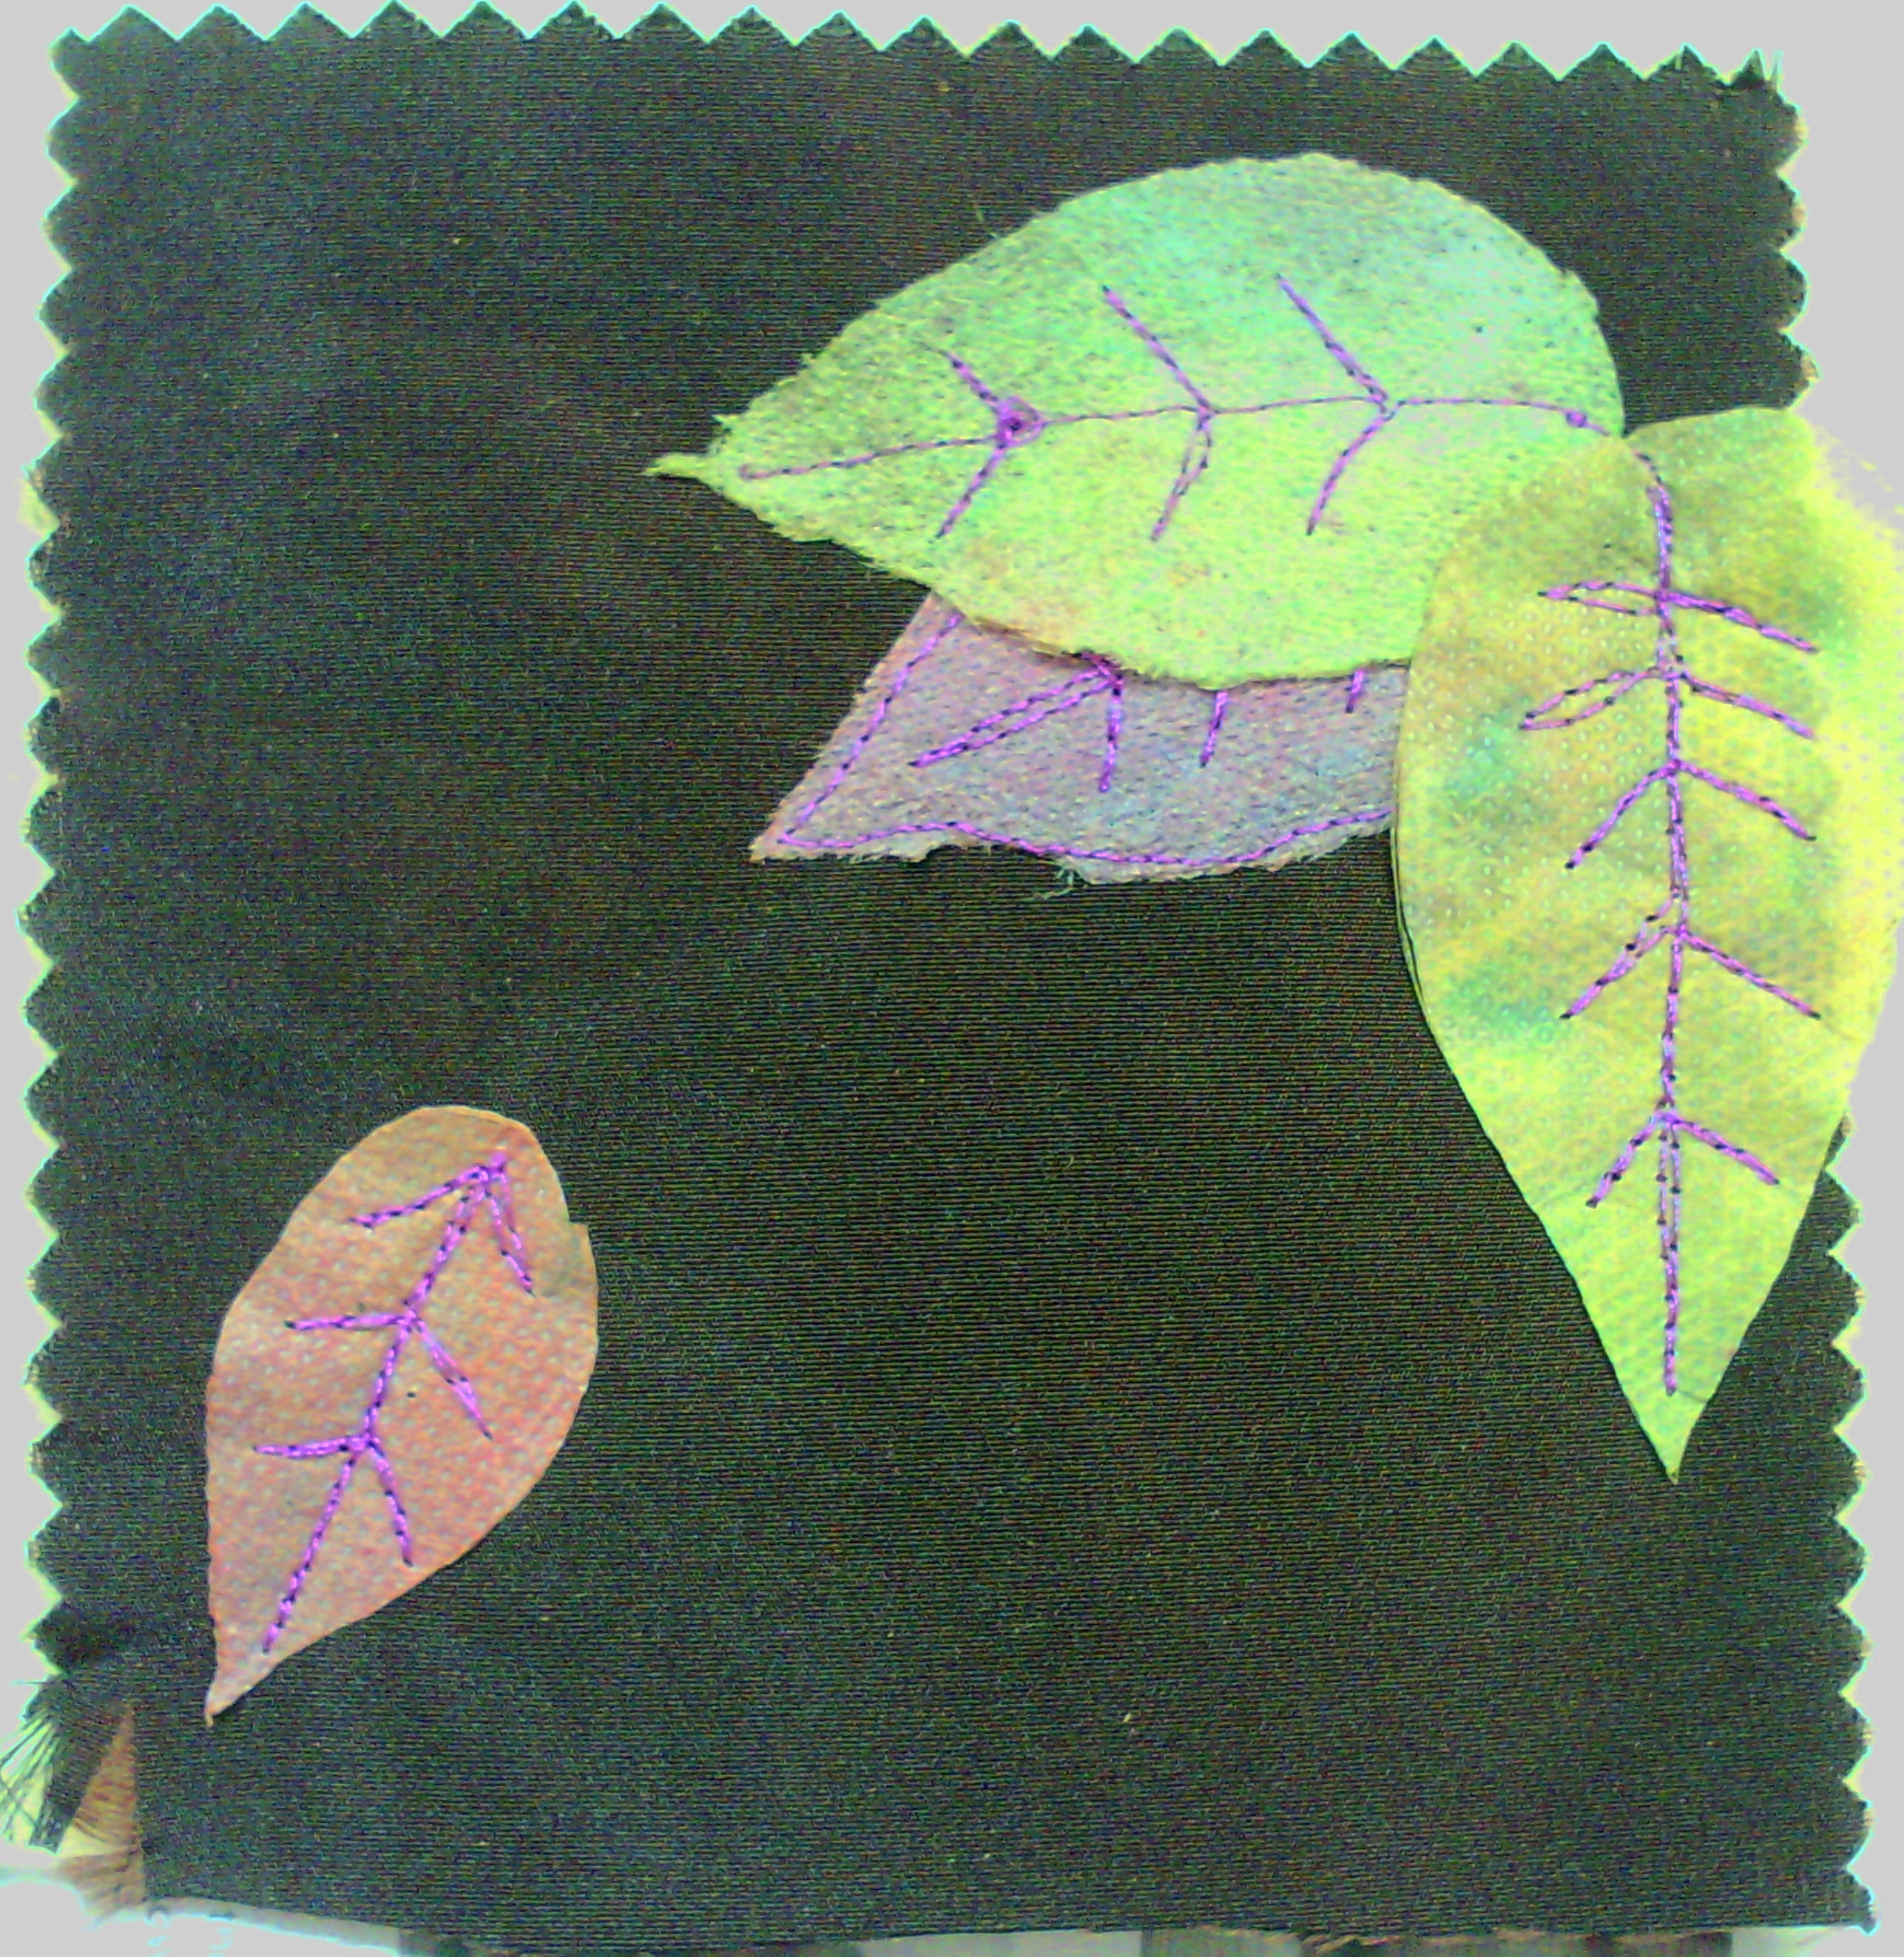
Here is my latest one.
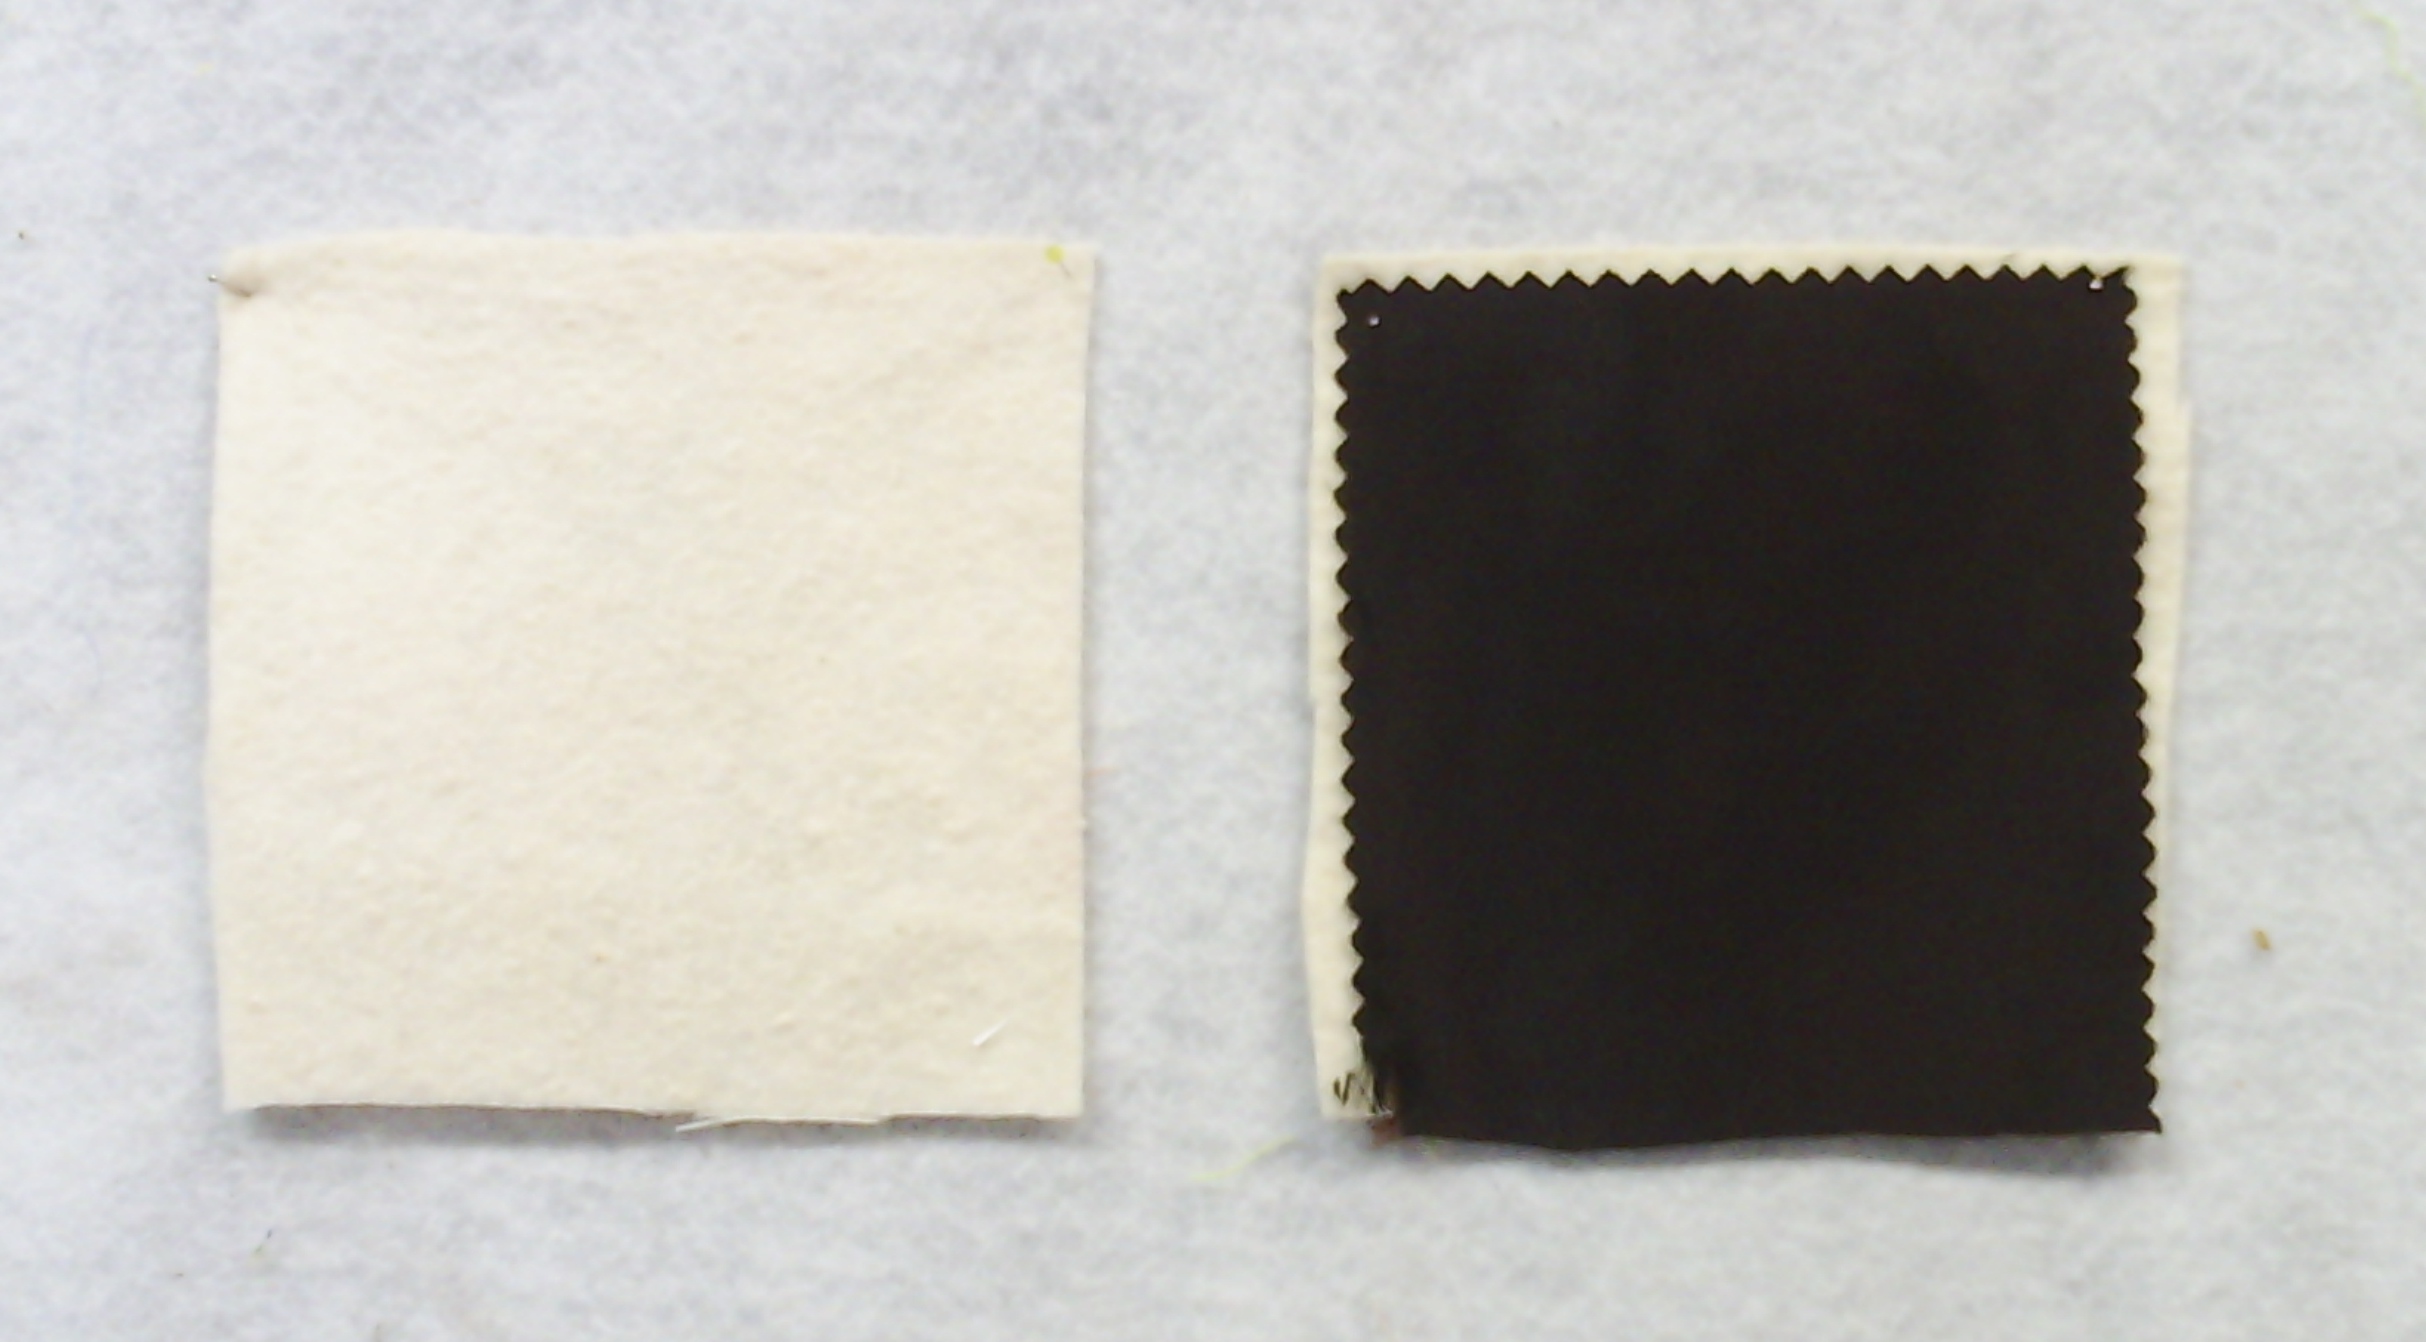
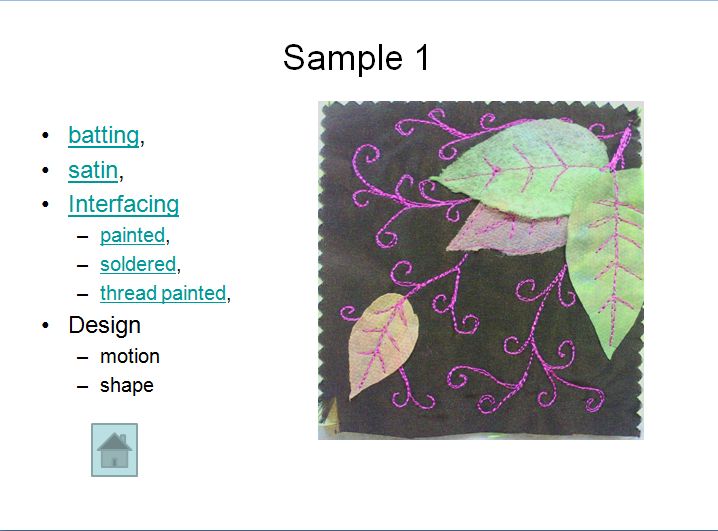
I picked the techniques I wanted to use before I started, but of course I always change my mind. I had intended to use batting as the foundation and cotton for the first layer, but I found this piece of very dark brown, almost black satin and used that instead.
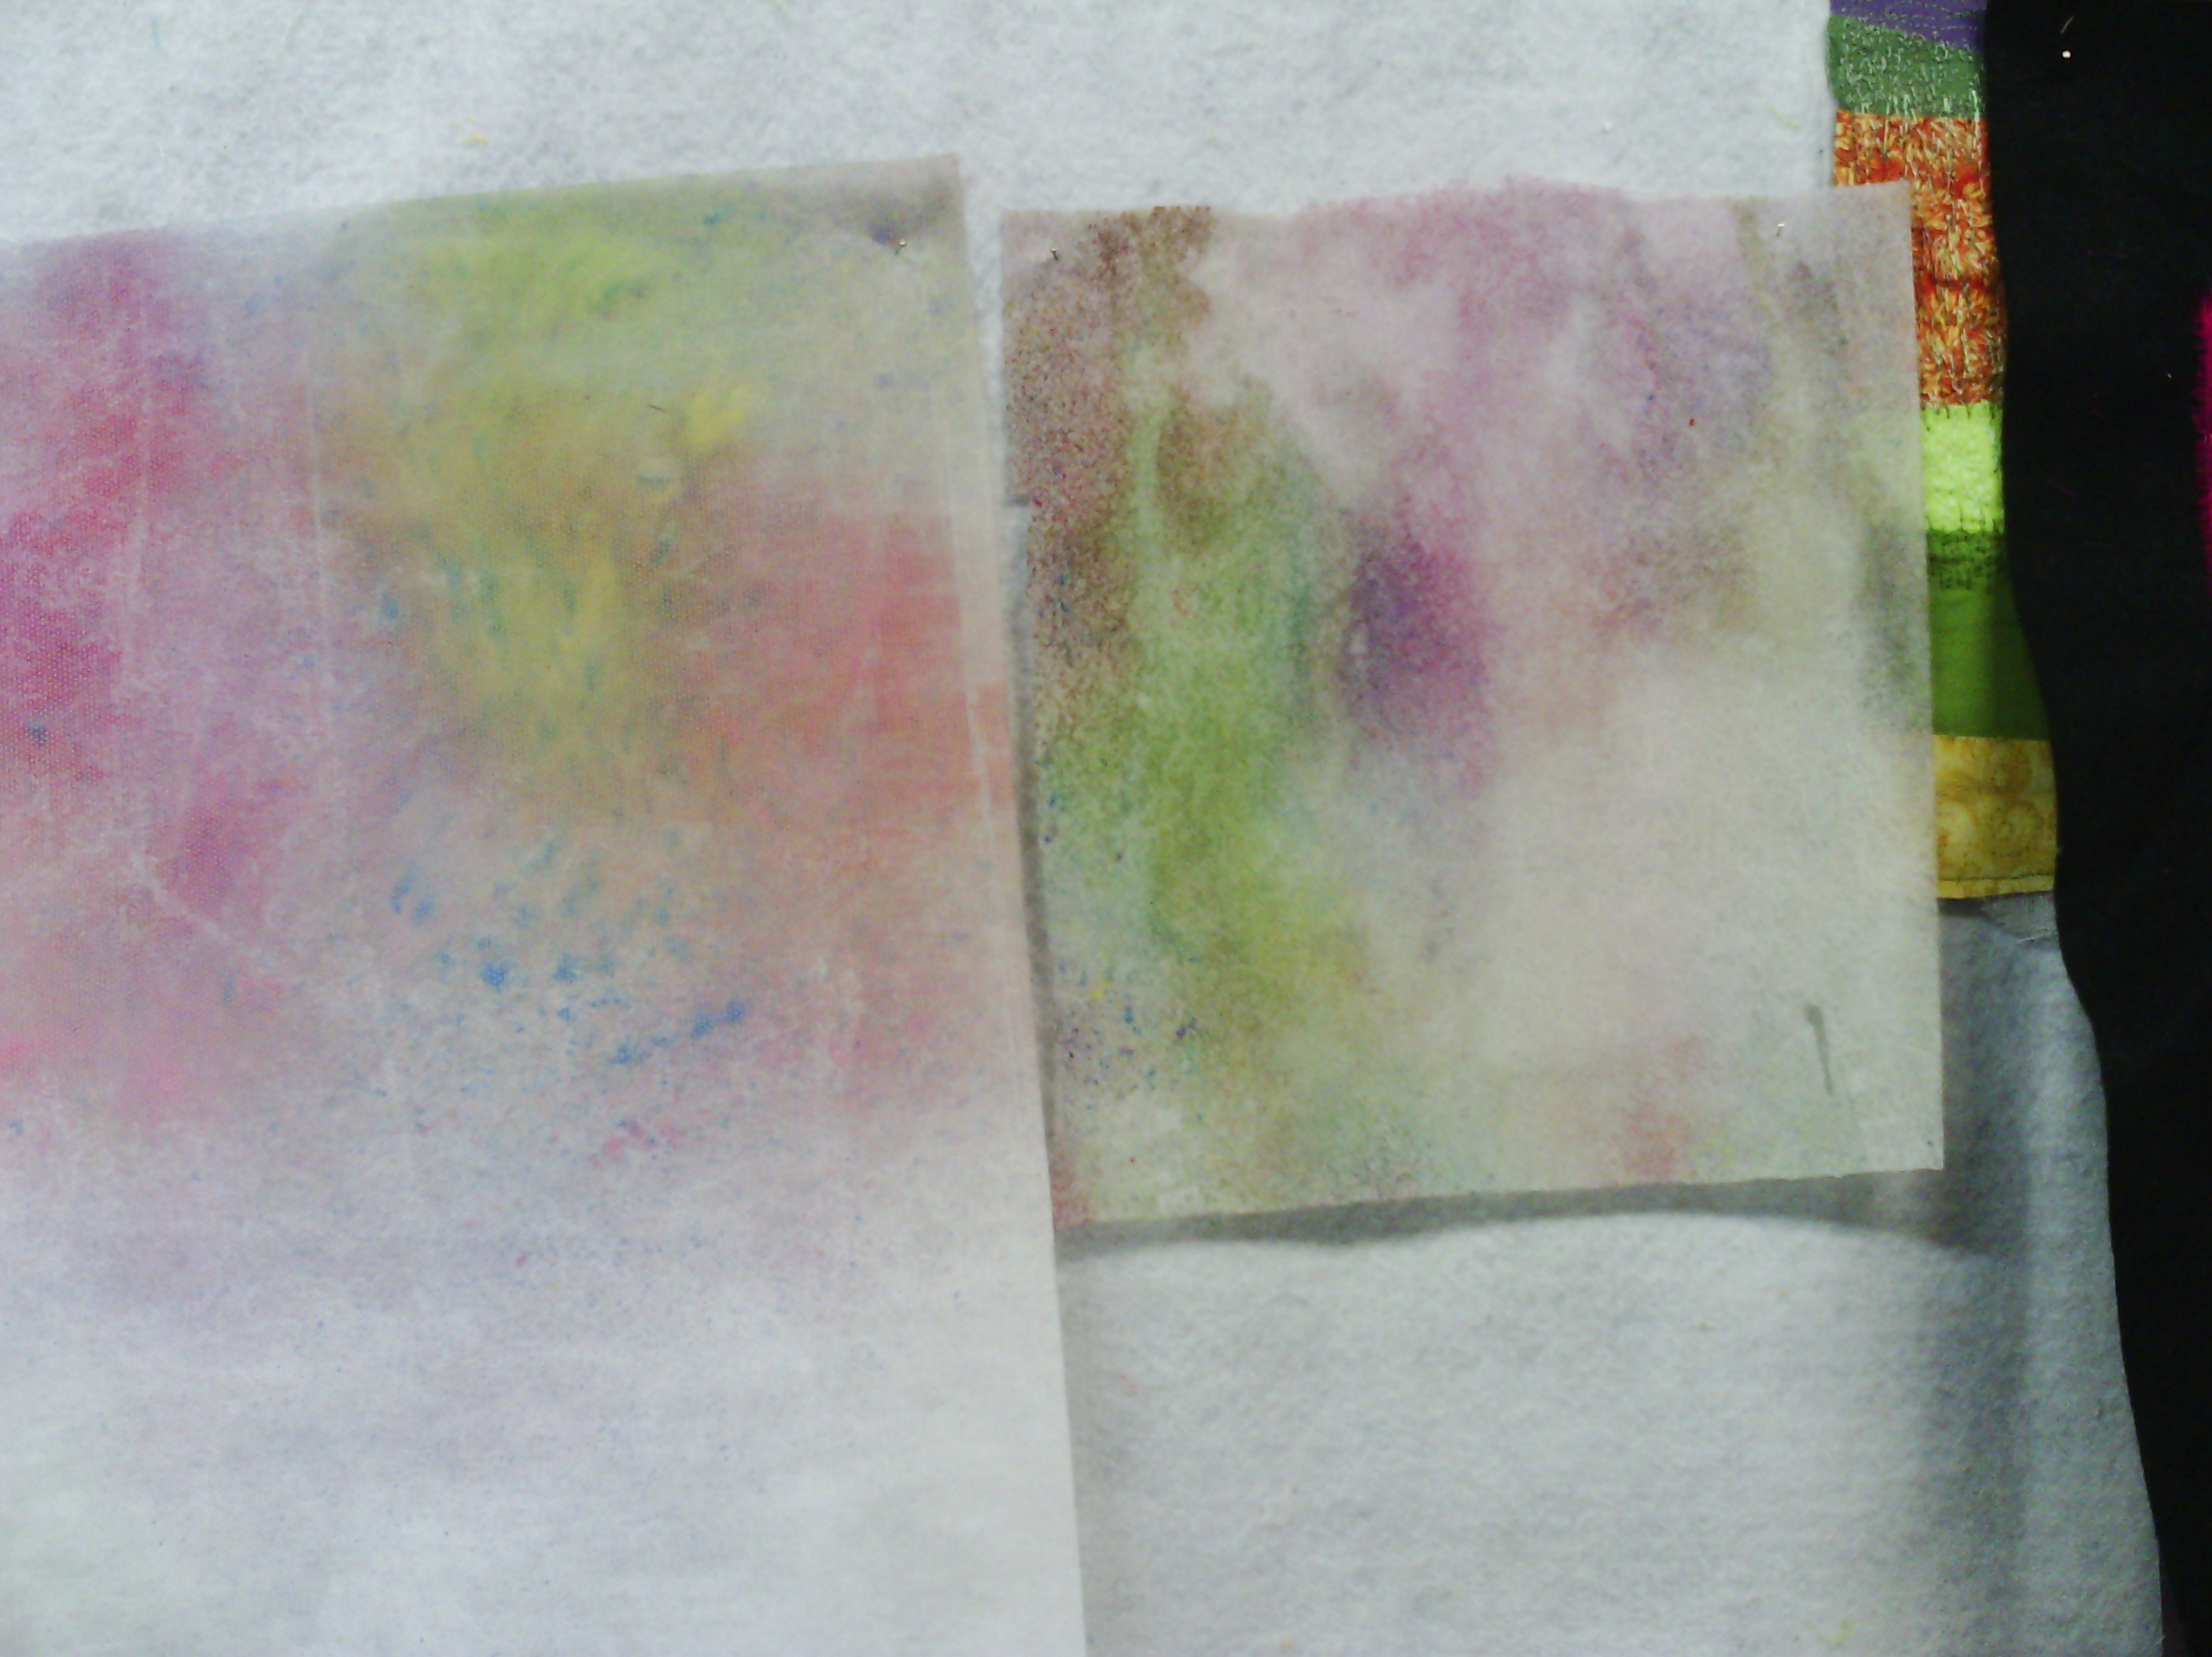
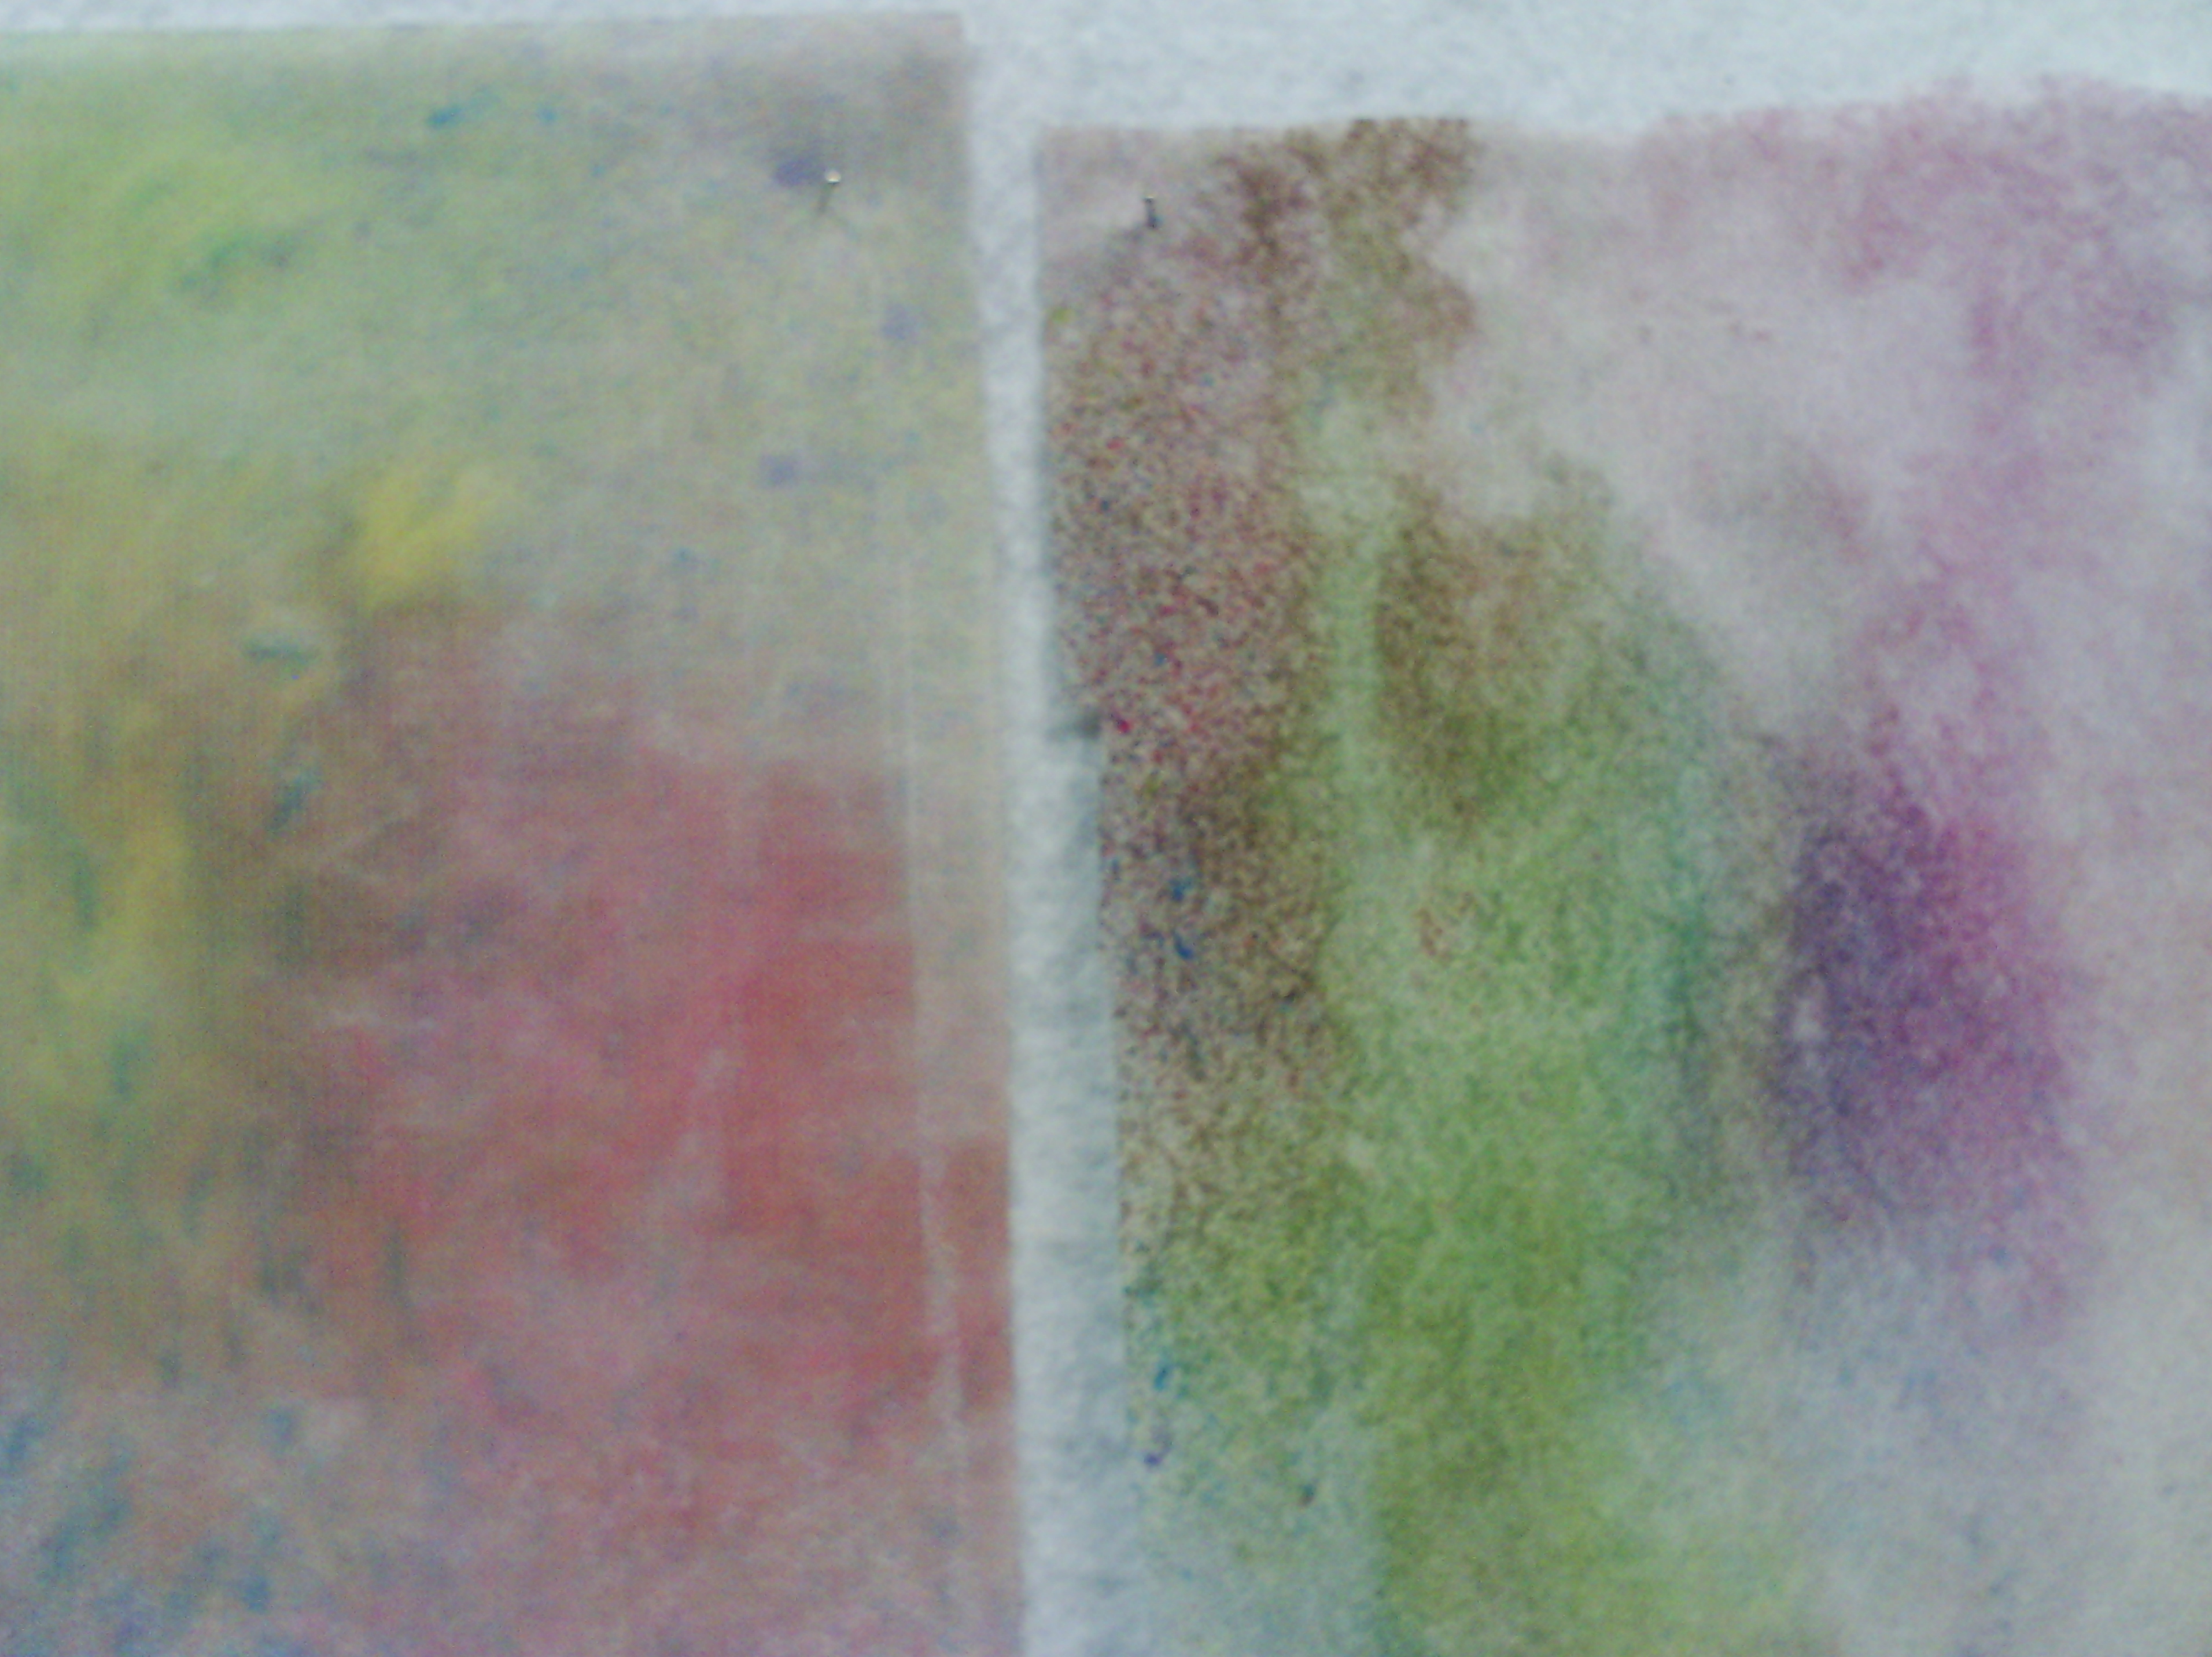
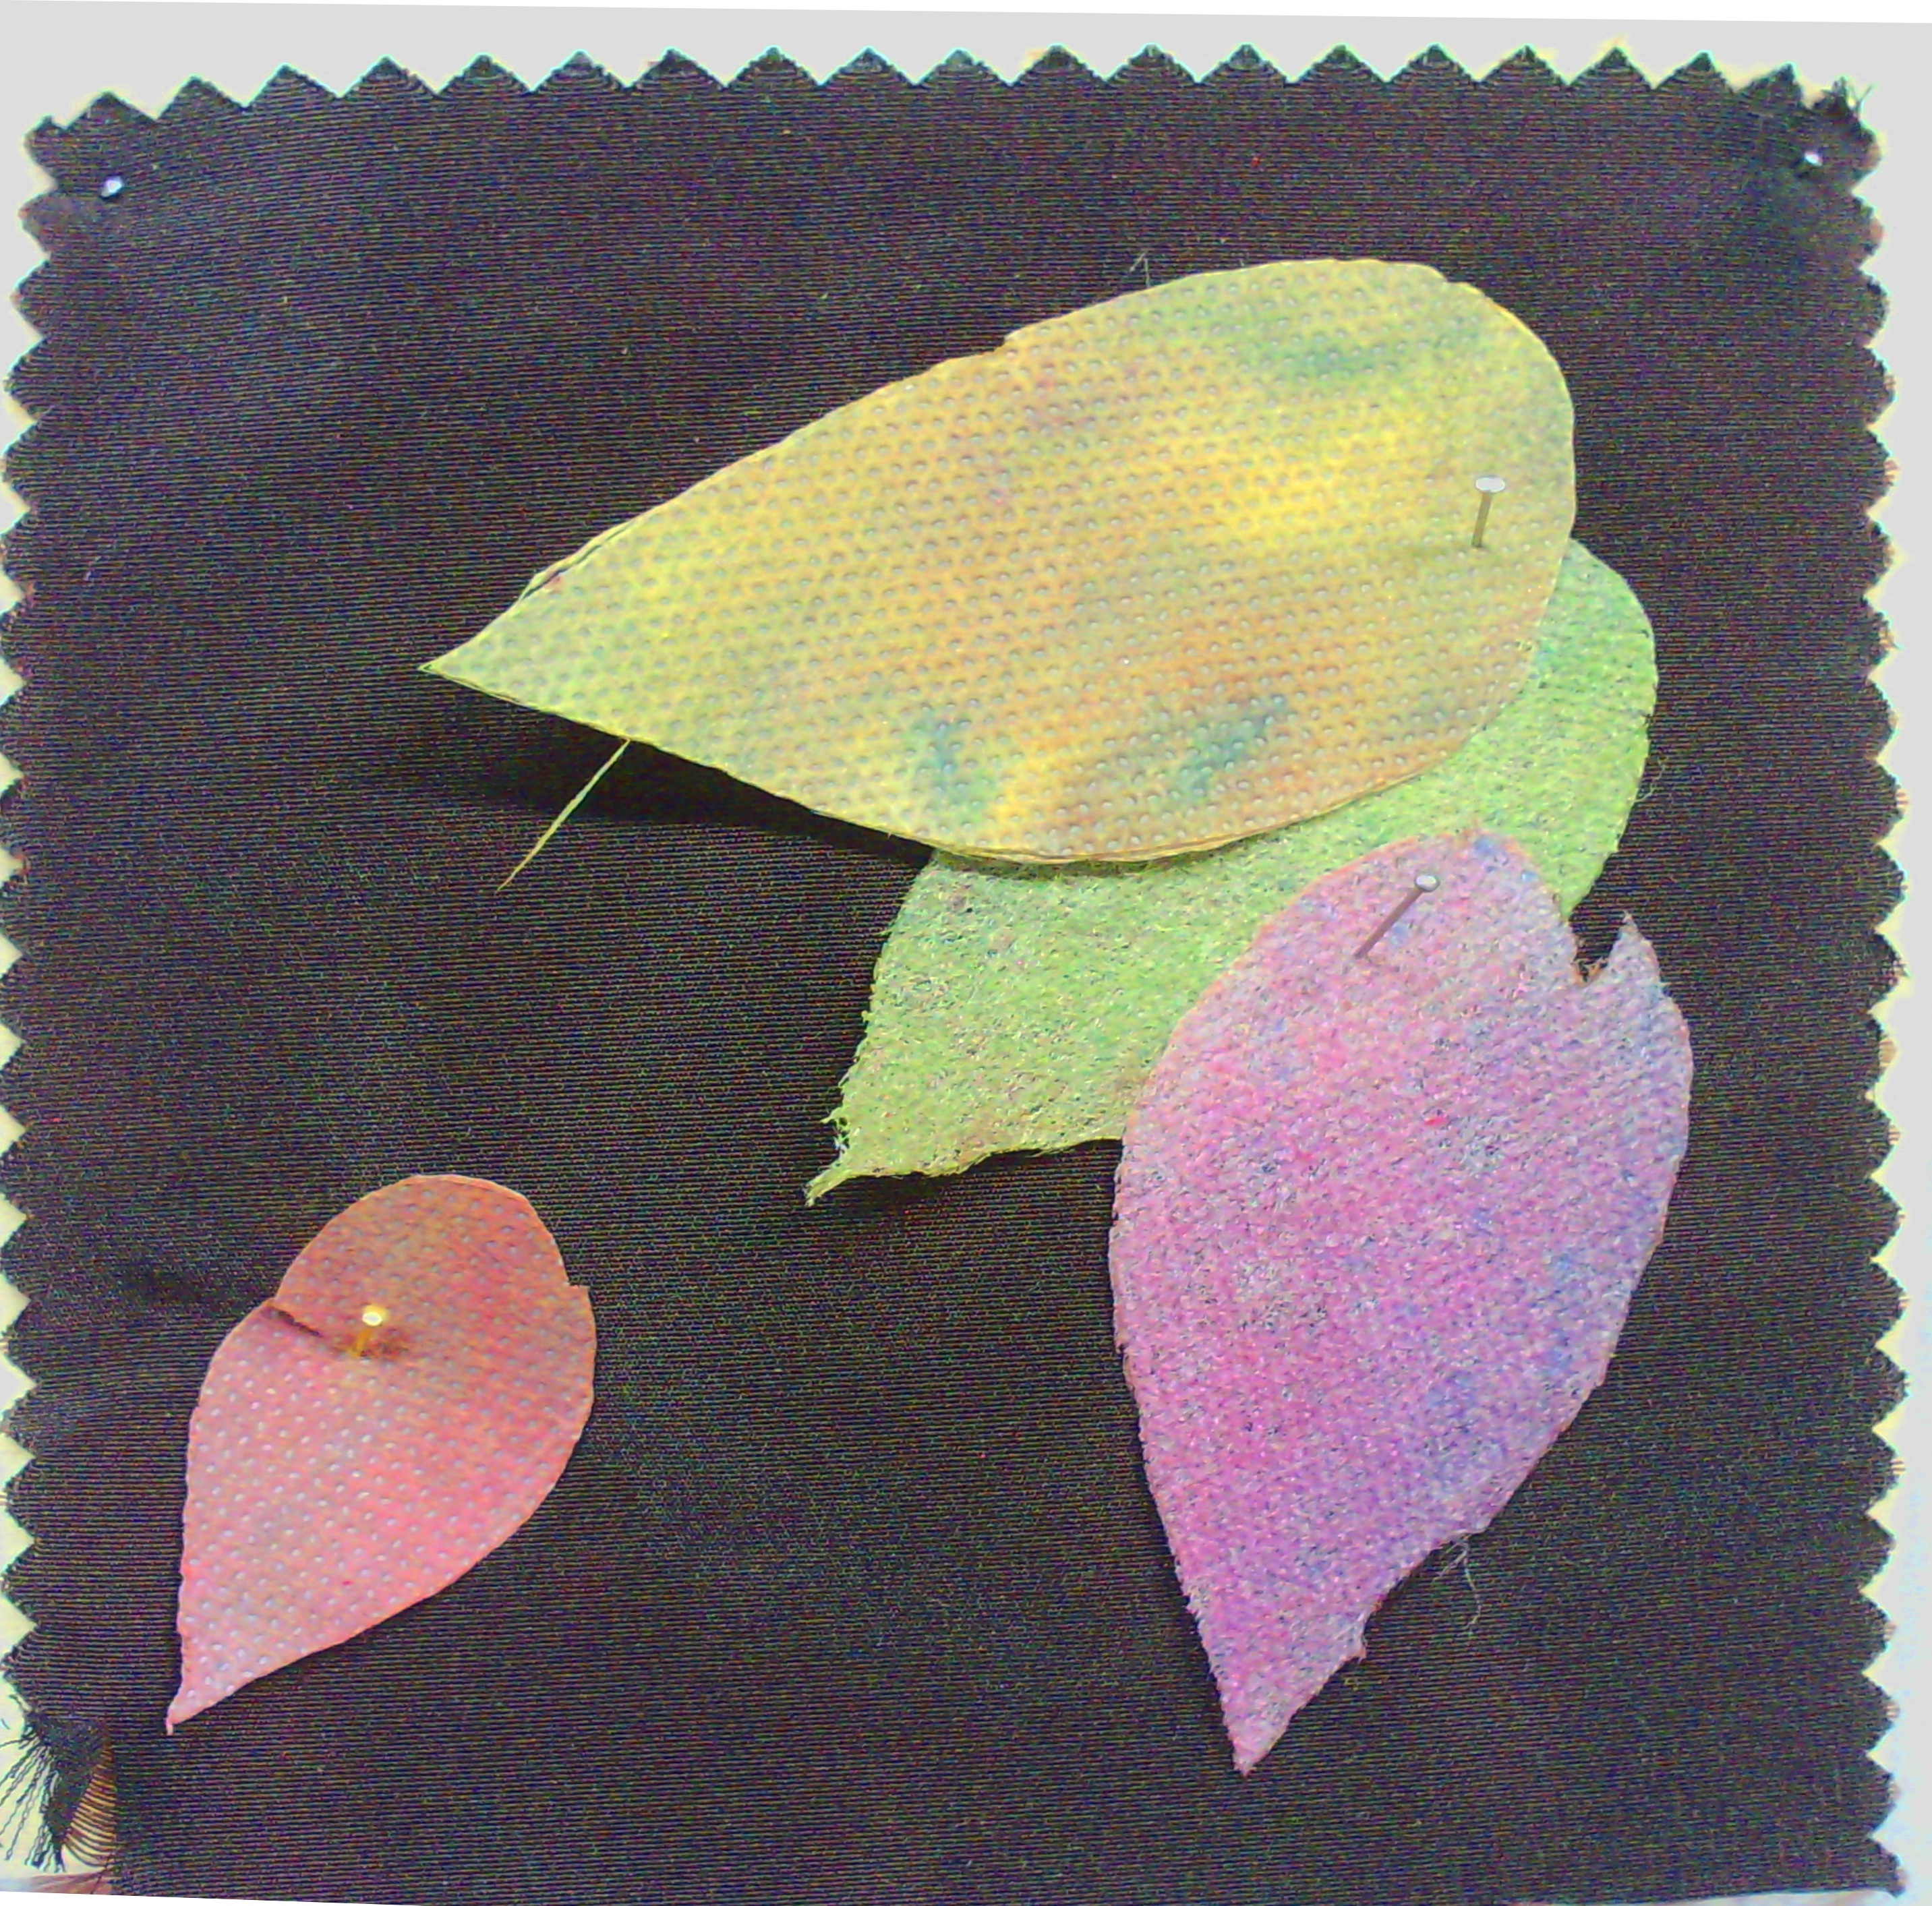
I got a couple of pieces of interfacing (don't ask what type as I get these from the recyclers and there are no labels.  They are synthetic, I know that much)  one was more like a lutradur and one was smoother.  I sprayed them with fabric paint and let them dry.
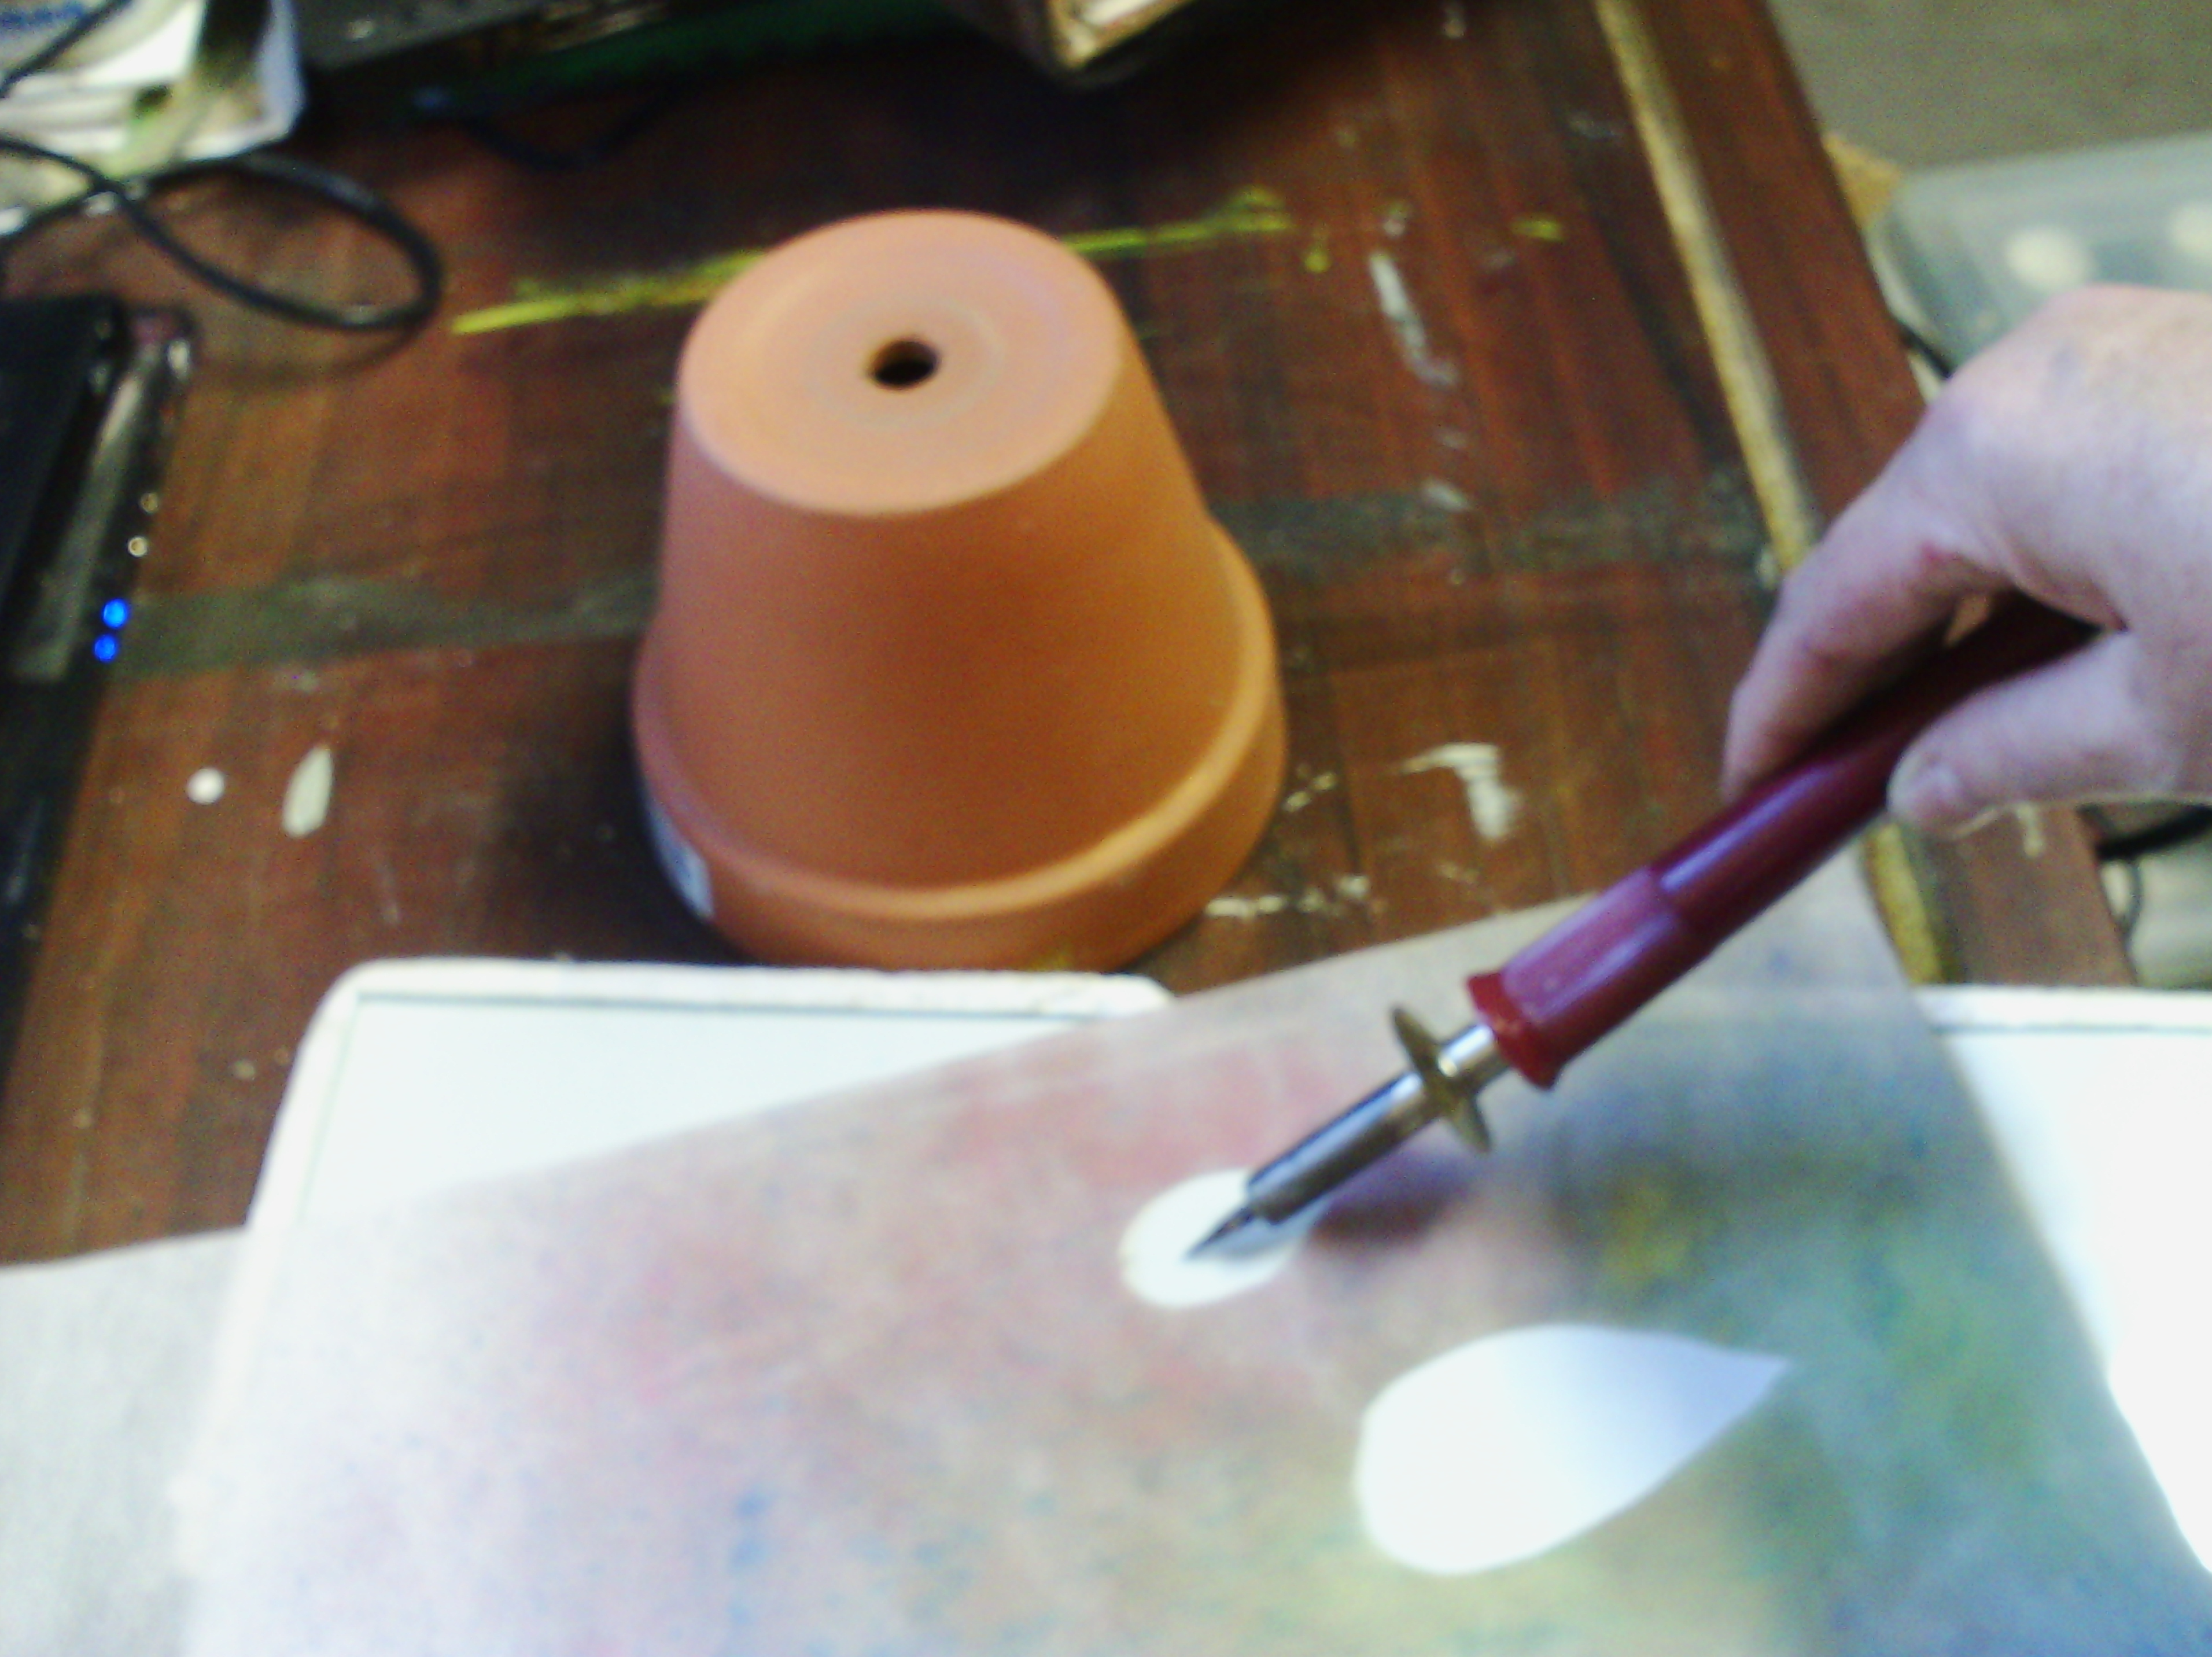
Then I cut a few leaf shapes out with my heat tool.  They cut very cleanly this way.  I could of course have used scissors since the fabrics wouldn't fray, but hey I wanted to be different.
I arranged my leaves on the background.  I decided to put the purple one in the centre at the top instead.  I made it up as I went along, because this was not the design I had originally intended.  What I had originally intended was to cut out a wavy shape with little curly bits.
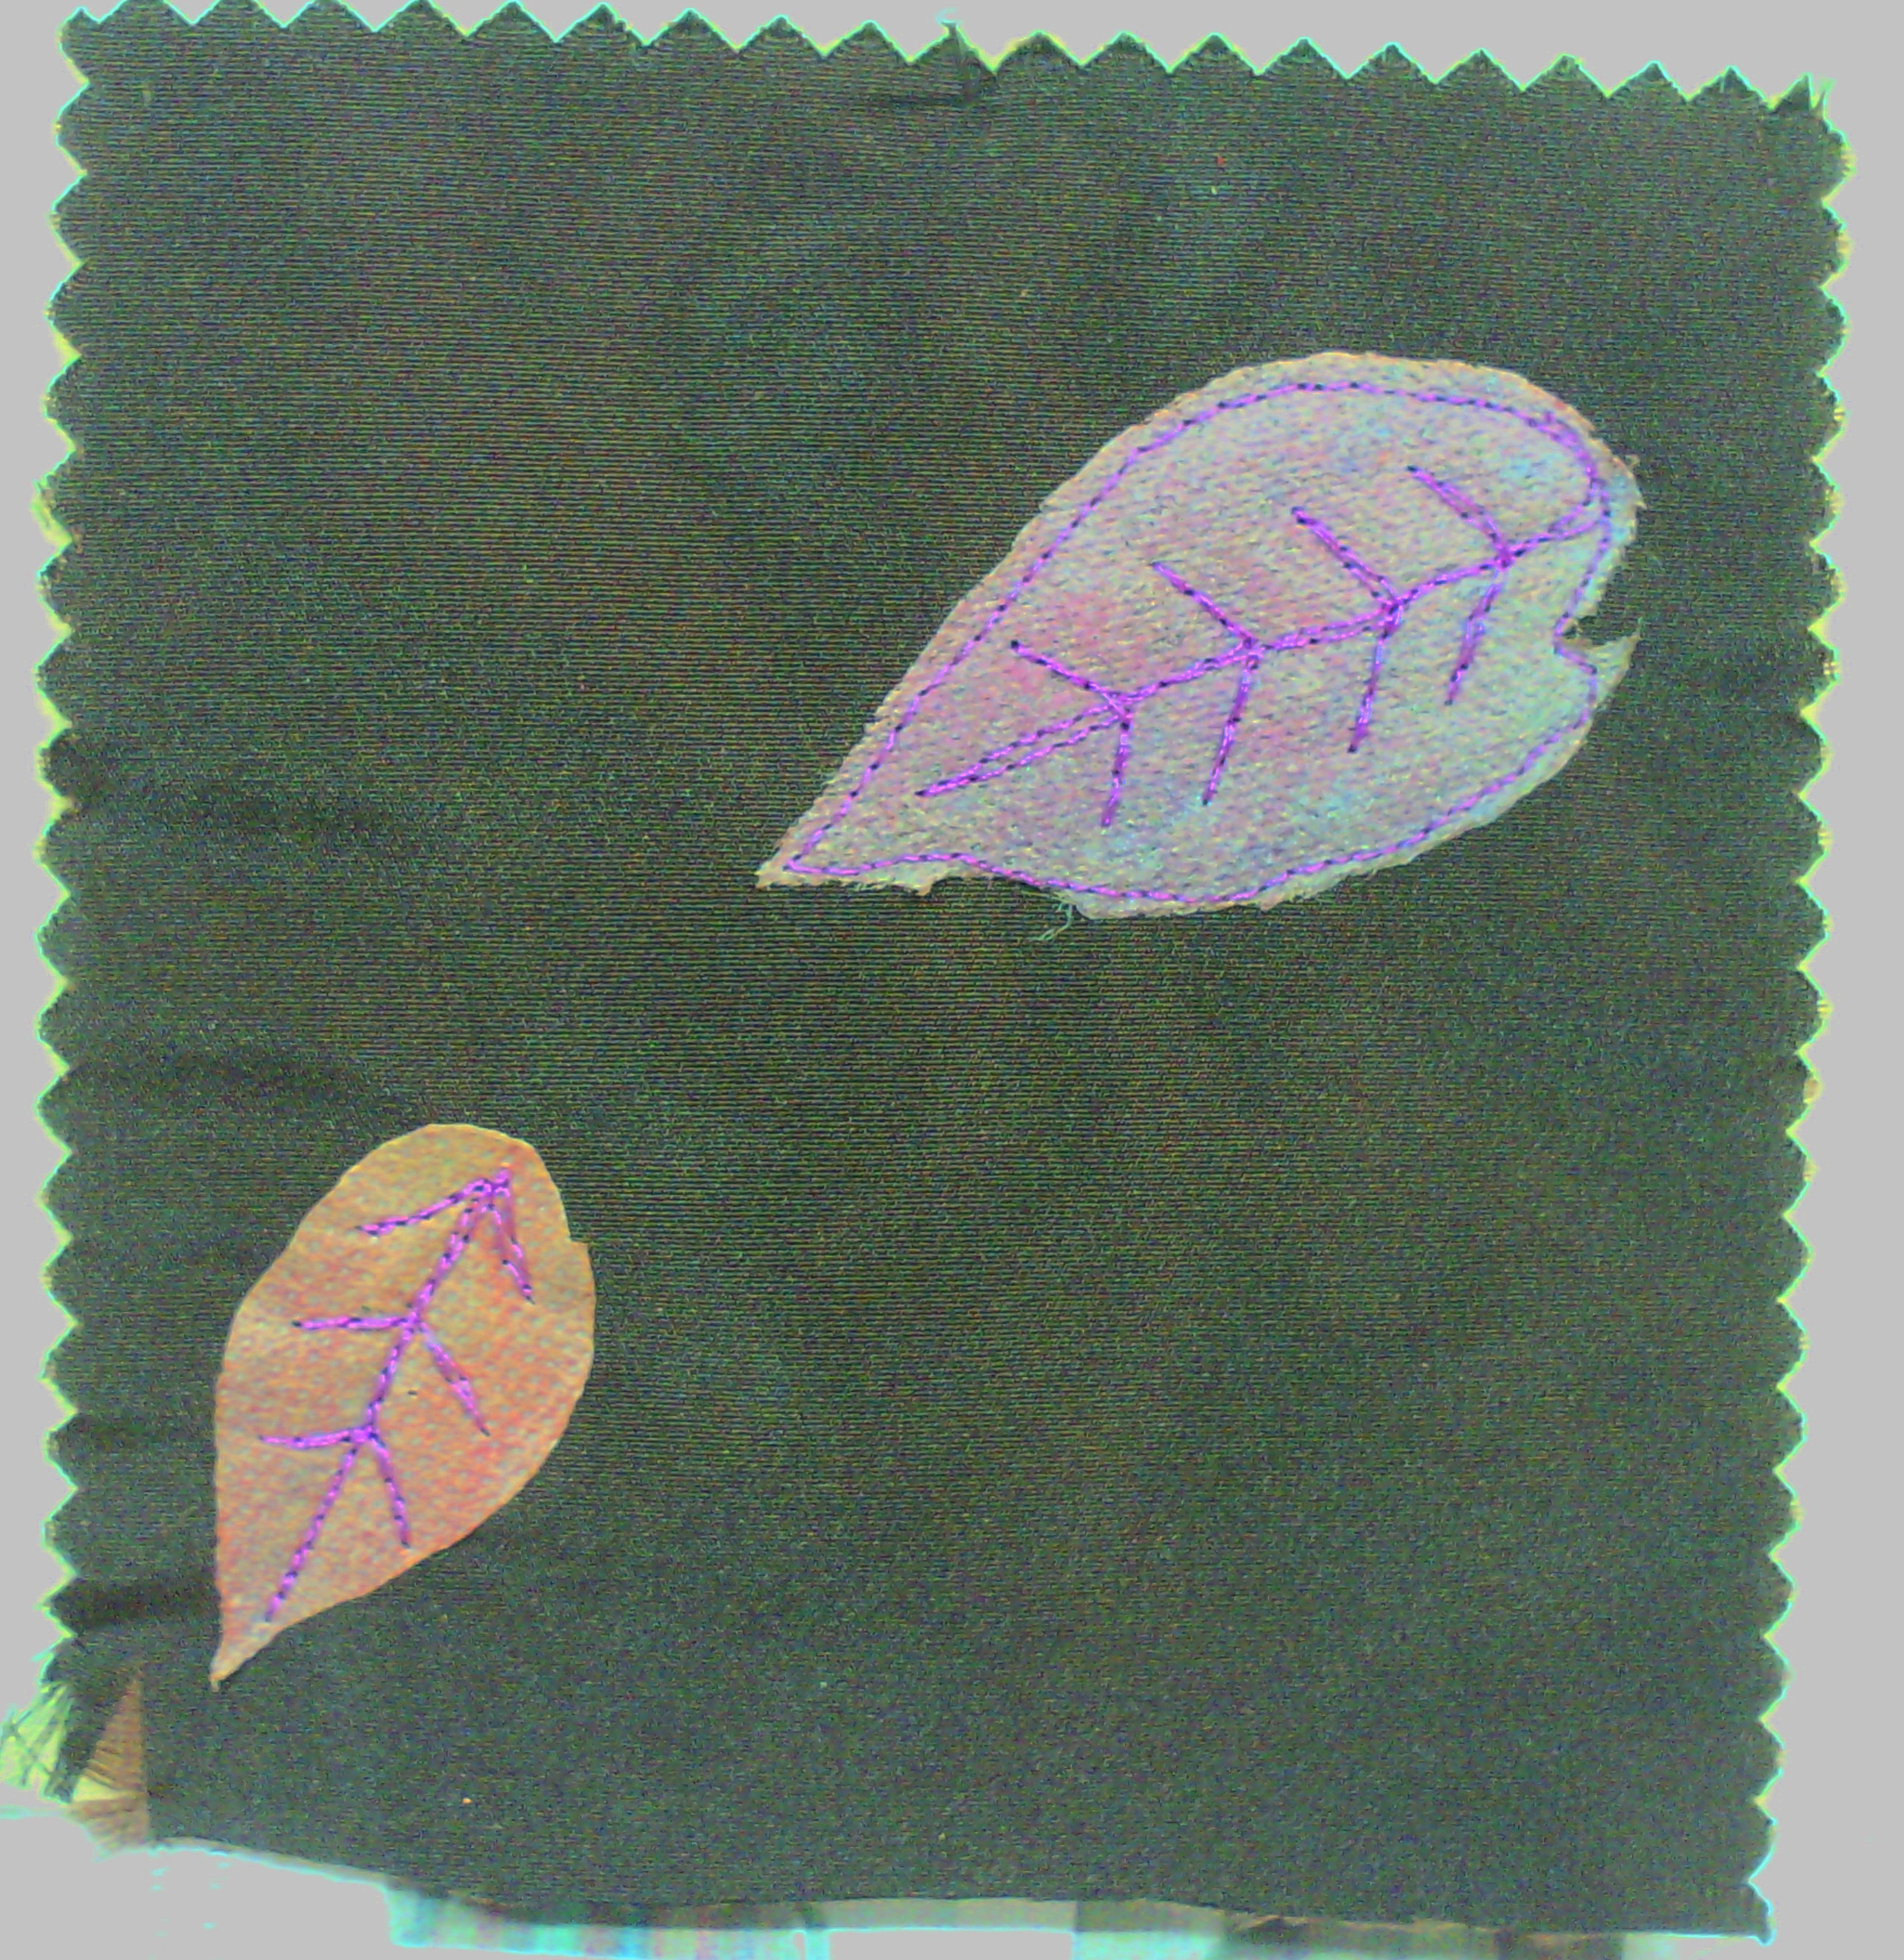
I started by attaching the two warm coloured leaves with free motion.  I did the top one first and went all the way around the outside, but when I had put the veins in the small one, I decided I liked it being dimensional with the edges unattached.
Then I added the two green leaves over the first one.  I decided I liked the one that went over the edge of the piece.  I did think about chopping it off, but decided it was nice the way it was.
I had a little think about the composition and read through my initial notes.  I had wanted to use shape and motion as my design elements.  I had the shape, but not the motion, so I went back and did a little more thread sketching.

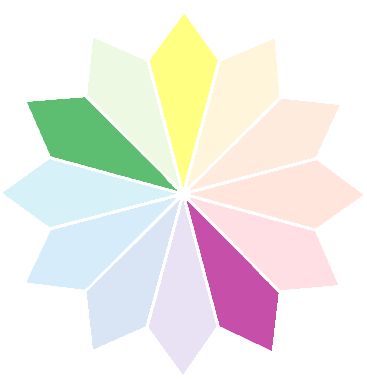
Now, It had motion!  It also was close to my favourite split complementary colour scheme, which I had not really planned, but it just goes to show doesn't it?

And this is how it looks in my database, with links back to the information for each part.
Of course, I still need to do the edges.  i have some black organza ribbon to bind it.  That's a TV watching job!

Create every day.


Thursday, December 1, 2011

colour glorious colour

I have been working on some other bits and pieces and one of them is a colour journal.  I have only just started this and so am working on straight colours at the moment.  This will be a working journal where I can play with colours and colour combinations.  Here is where I am at.
Here is my front cover
and my back cover
page 1 of red
page 2 of red
orange, partially done
yellow ditto
green
and blue.
I haven't started on purple yet, although I have an envelope of pictures to stick in.
Mt idea is to add fabrics and fibres etc to the pages and play with colour combinations.
I find the pages nice to look at, like eye candy, in fact, they make you want to go and greate a quilt with the different bits on the page - hey - there's an idea!


Wednesday, August 3, 2011

Colour spotting in machine embroidery

It occurred to me yesterday that I needed to spend a bit of time explaining colour spotting.
Although I use it mostly in Free machine embroidery, the same technique can be used in normal feed dogs up sewing, so long as the bobbin tension can be adjusted.
 When children colour in, they tend to colour in with blocks of colour.  The sky is blue, the grass is green.  In free machine embroidery, we begin by doing this, too.  Colour spotting is a way to introduce shading and tones into machine embroidery as an artist would with paint. In the pictures above, the top circle is all one colour, the lower circle  has two colours and appears to have more substance and depth.
The principle is simple, we use a different colour in the bobbin to the top of the machine and tighten the top tension so that it draws the bobbin thread up (above).  The reason you need to be able to alter the bobbin tension is that at a certain point, you will not be able to tighten the top tension any further (the thread will begin shredding) at this point, if you need more of the bobbin showing, you will have to loosen the bobbin tension (I usually work with a bobbin that is on the loose side to start with to avoid this).
This stitch with the bobbin thread drawn up is called Whip stitch

In whip stitch, the upper tension is tight and the lower is loose and when you stitch in a straight line or a very smooth curve, the bobbin thread wraps around the upper thread.

Just to give you an idea of the subtle effect you can get with colour spotting, I made up a colour wheel for you.
In the three squares, I have used red, blue or yellow thread in both top and bottom.
Between the squares I have usd different colours in the top and bottom.
  • Between blue and yellow, the top circle had blue in the top and yellow in the bobbin.
  • Between blue and yellow, the bottom circle had yellow in the top and blue in the bobbin.
  • Between blue and red, the top circle had red in the top and blue in the bobbin.
  • Between blue and red, the bottom circle had blue in the top and red in the bobbin.
  • Between red and yellow, the top circle had red in the top and yellow in the bobbin.
  • Between red and yellow, the bottom circle had yellow in the top and red in the bobbin.
 Wow, that was a mouthful, but what I hope you have picked up is that it makes a difference for each pair of threads, which is in the top and which is on the bottom.  There are two oranges, two purples and two greeny patches.

Another important point is that dark colours, like blue show through very clearly from the bobbin, whilst light colours like yellow, are much more subtle.  If you want speckling, use a darker colour than the top thread in the bottom,  If you want a more subtle blending, choose a lighter colour in the bobbin.

Happy Stitching