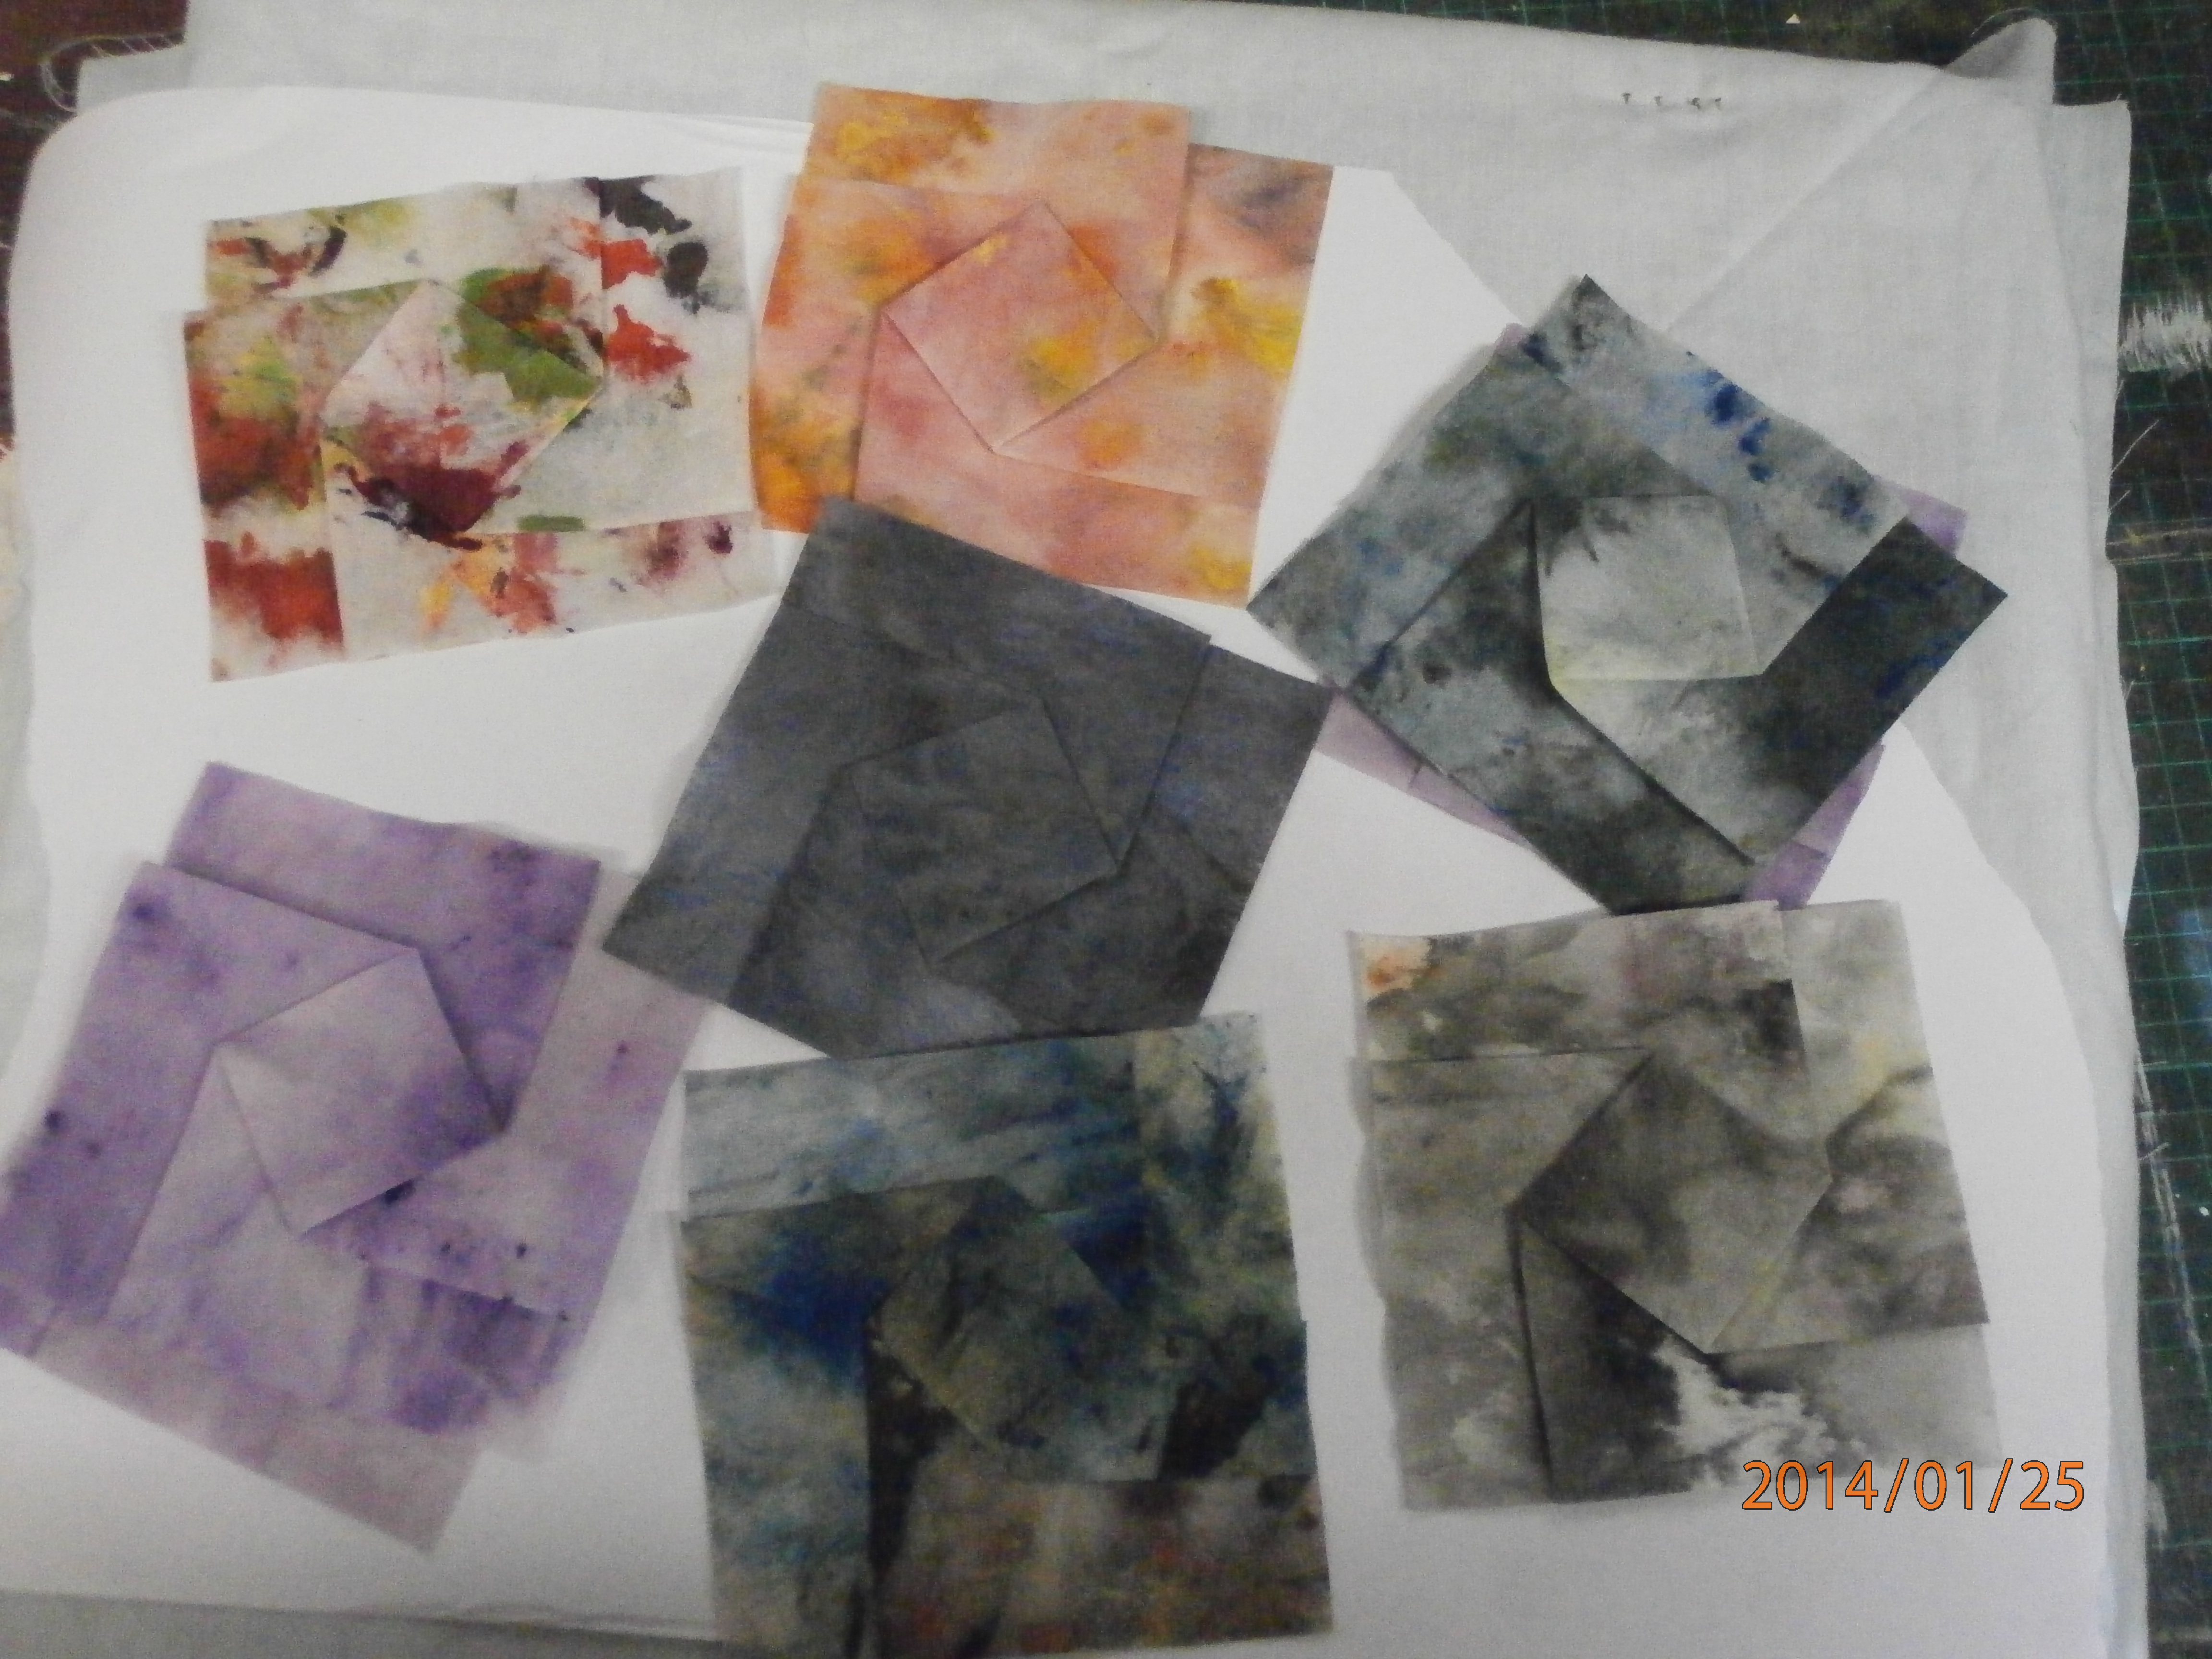
I tend to use a lot of baby wipes in my painting. They end up being covered with beautiful colours and I find it impossible to throw them out. When i was folding fabric the other day, i thought perhaps I could fold them.
Here is a selection of wipes I used to fold blocks. I soaked them in some strong starch, then squeezed them out and laid them between paper towels to dry, then ironed them.
Here is a selection of folded blocks.
And a close up of one of the folded units. I have shown how to fold these here.
Of course after I had folded lots, probably about thirtyish, I needed to decide what I wanted to do with them.
In the beginning, i just put them together in a traditional manner.
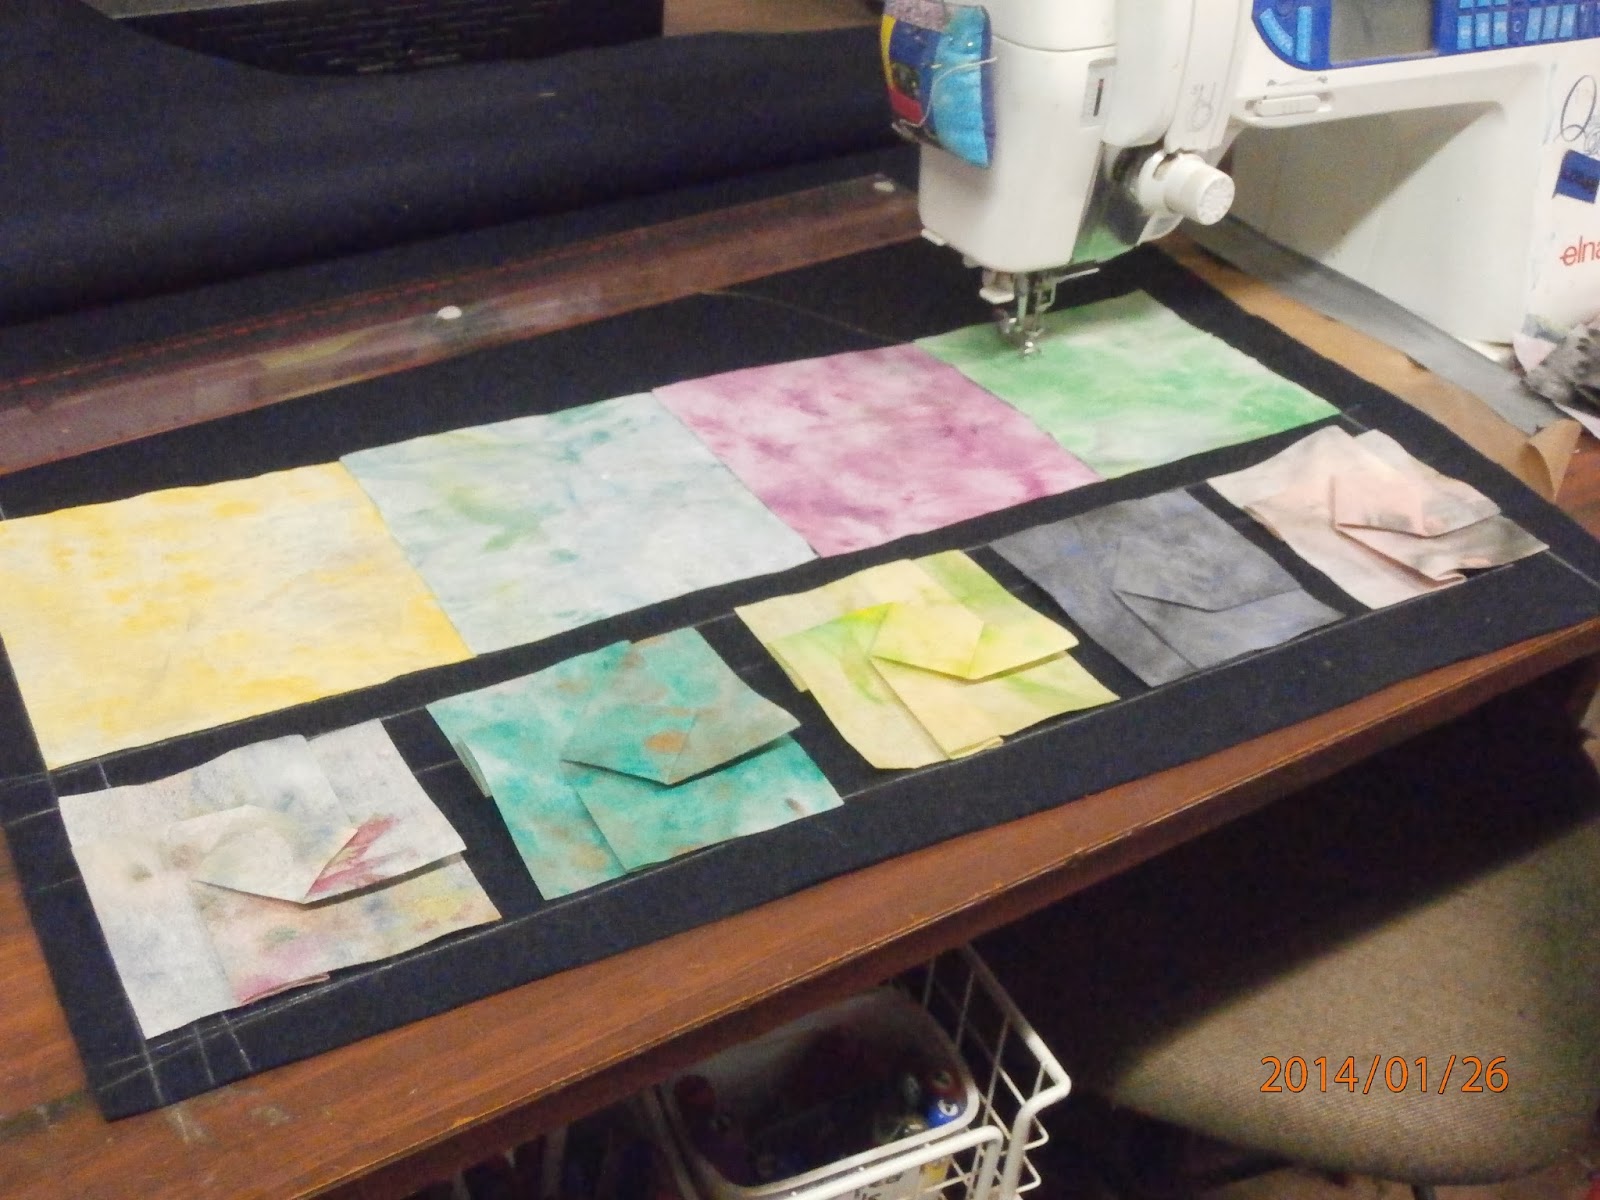
My net idea was to space them in rows and to intersperse the rows with plain, unfolded pieces, which would give me more scope for free motion embroidery. These are sitting on a piece of blue felt marked with chalk, but I think I need a background fabric which contrasts with the matt surface of the blocks, so I am thinking of a black satin, as I intend to do the stitching in gold. I had also thought of having a japanese print with them to accent the origami theme. I do have a gorgeous Mount fuji type print that might work (if I can find it)
Anyway, that's where I am at!
Happy creating!
Showing posts with label recycling. Show all posts
Showing posts with label recycling. Show all posts
Sunday, January 26, 2014
Thursday, December 5, 2013
Little booklets
This evening I have been playing with some recycled cardboard stuff.
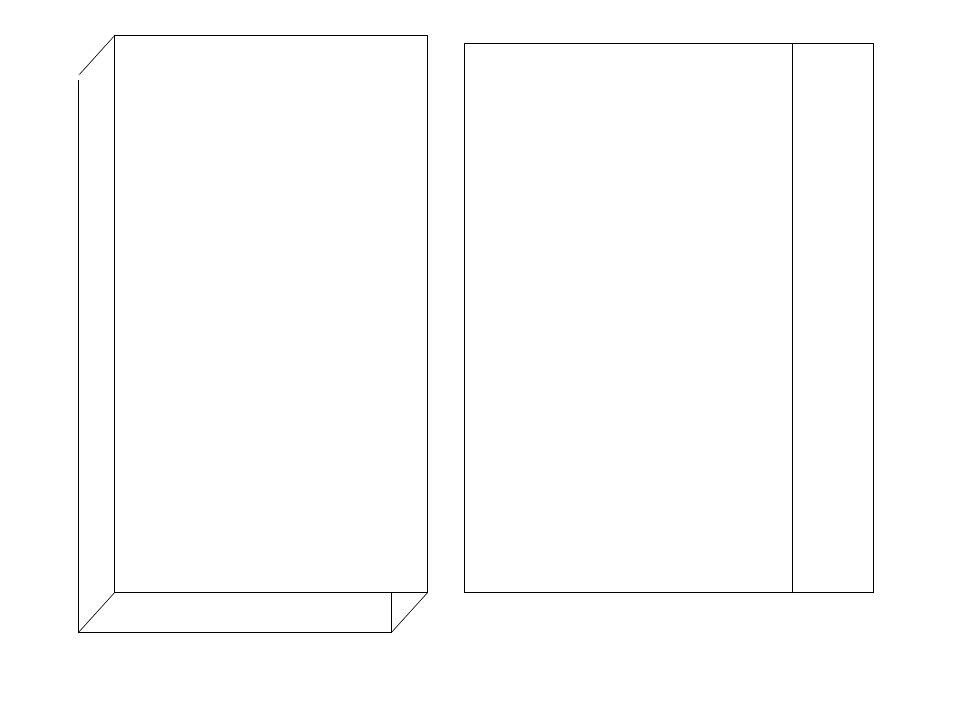
I collect all the boxes from scripts and other packaging. I love my medication boxes, because they are small and I end up with sets of boxes that can form books
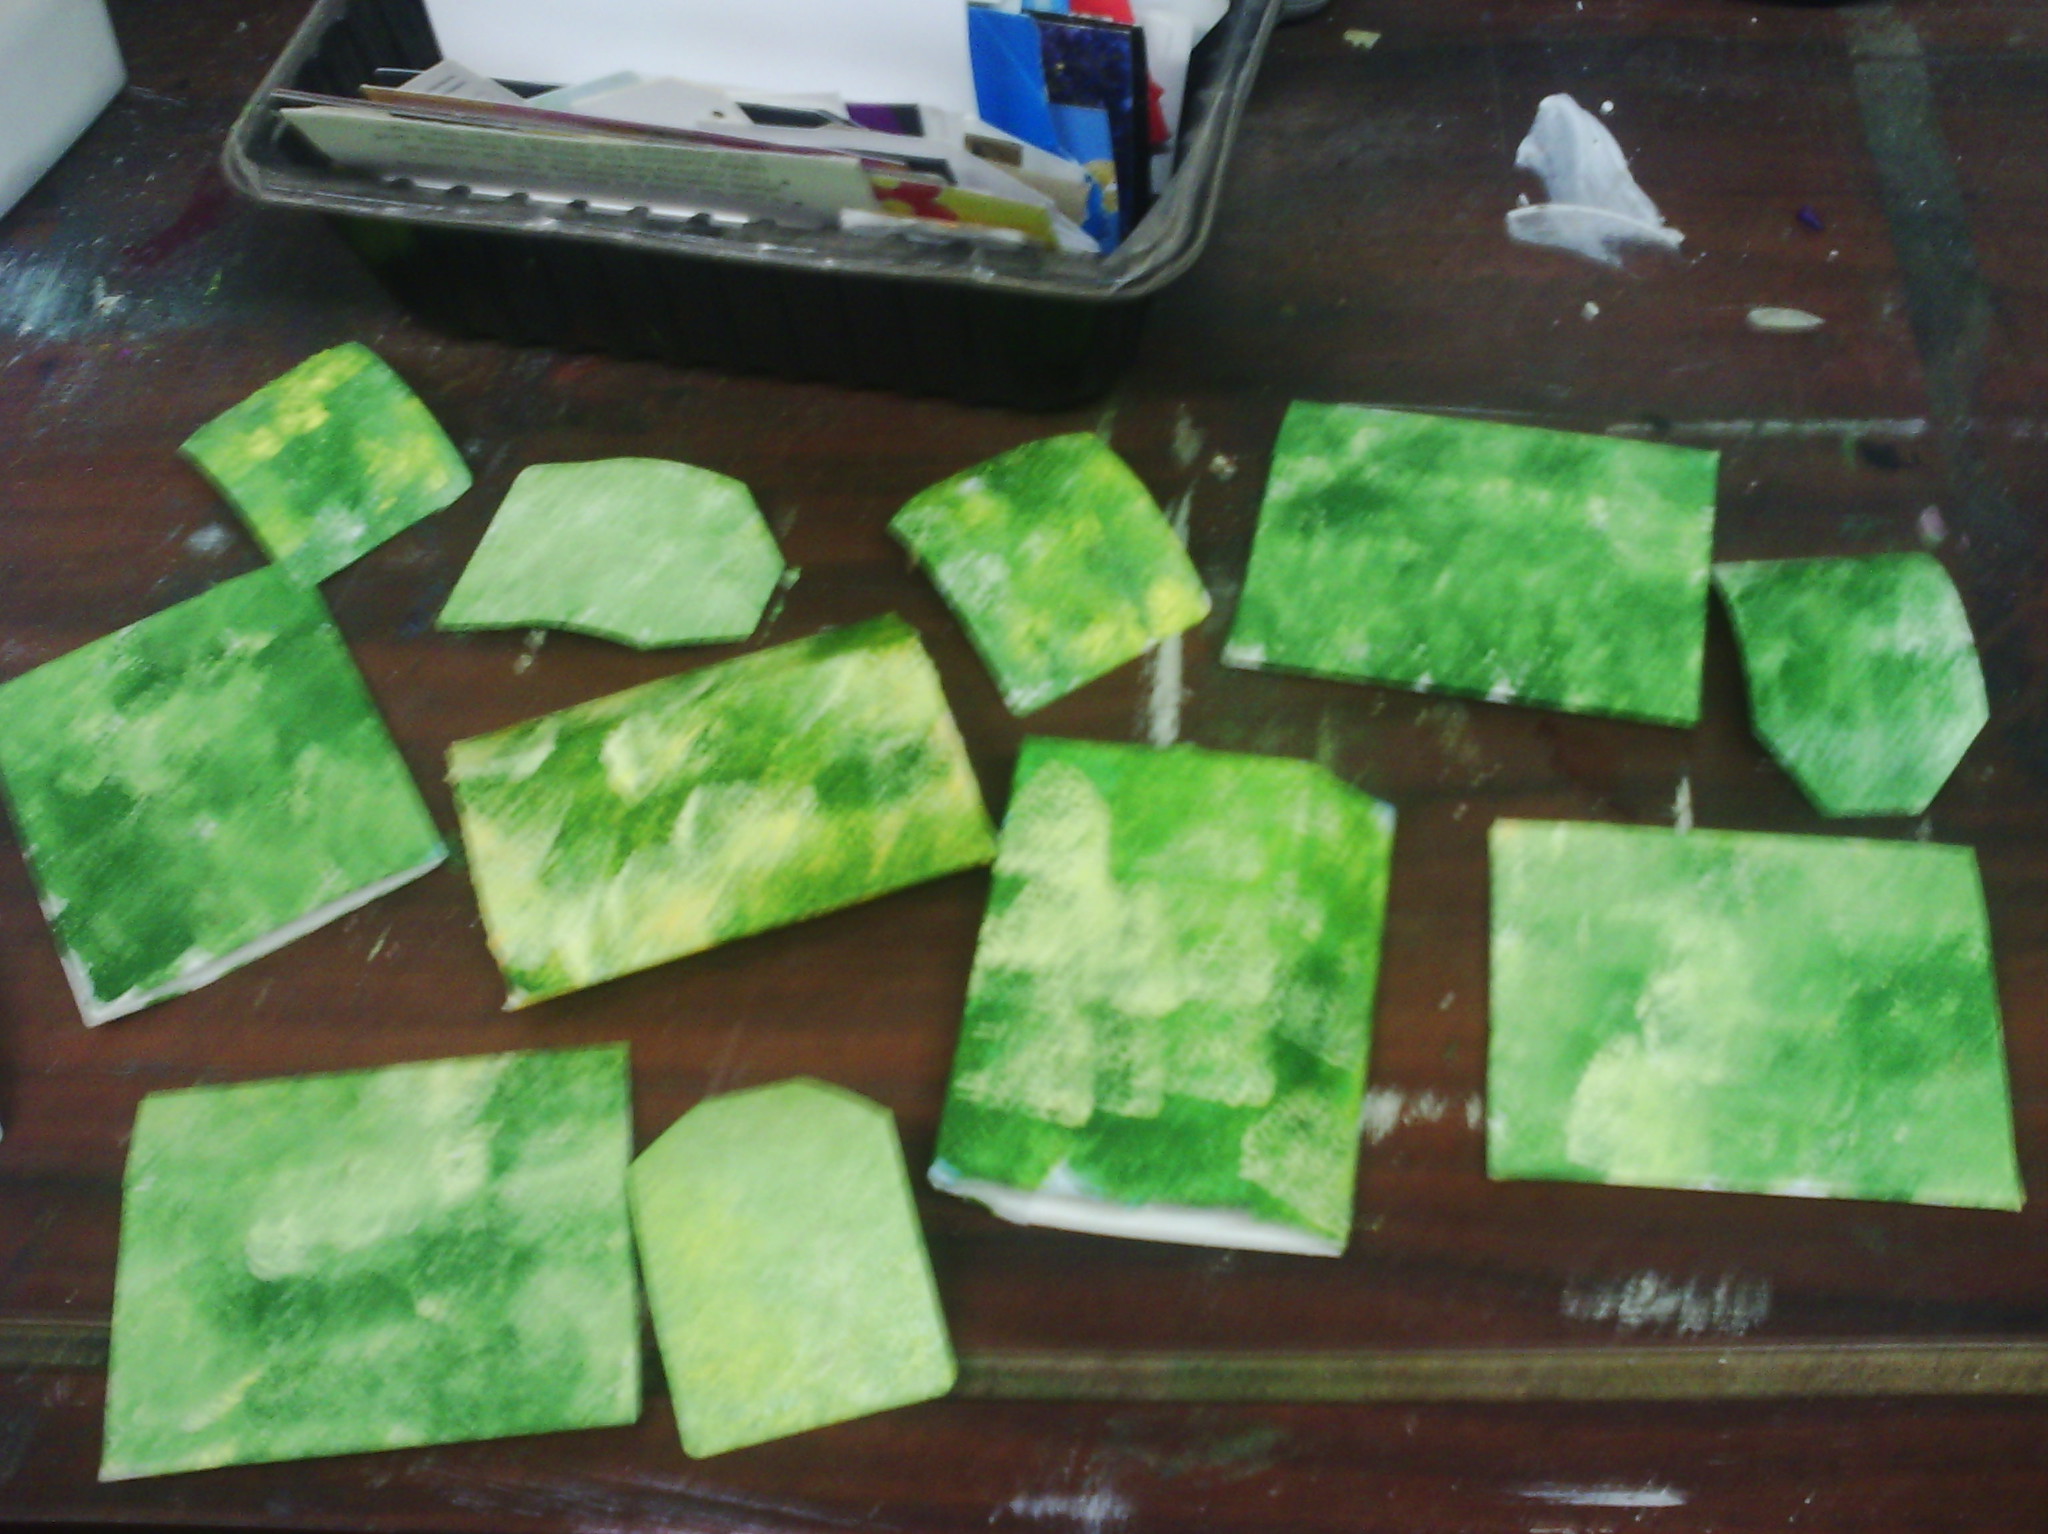
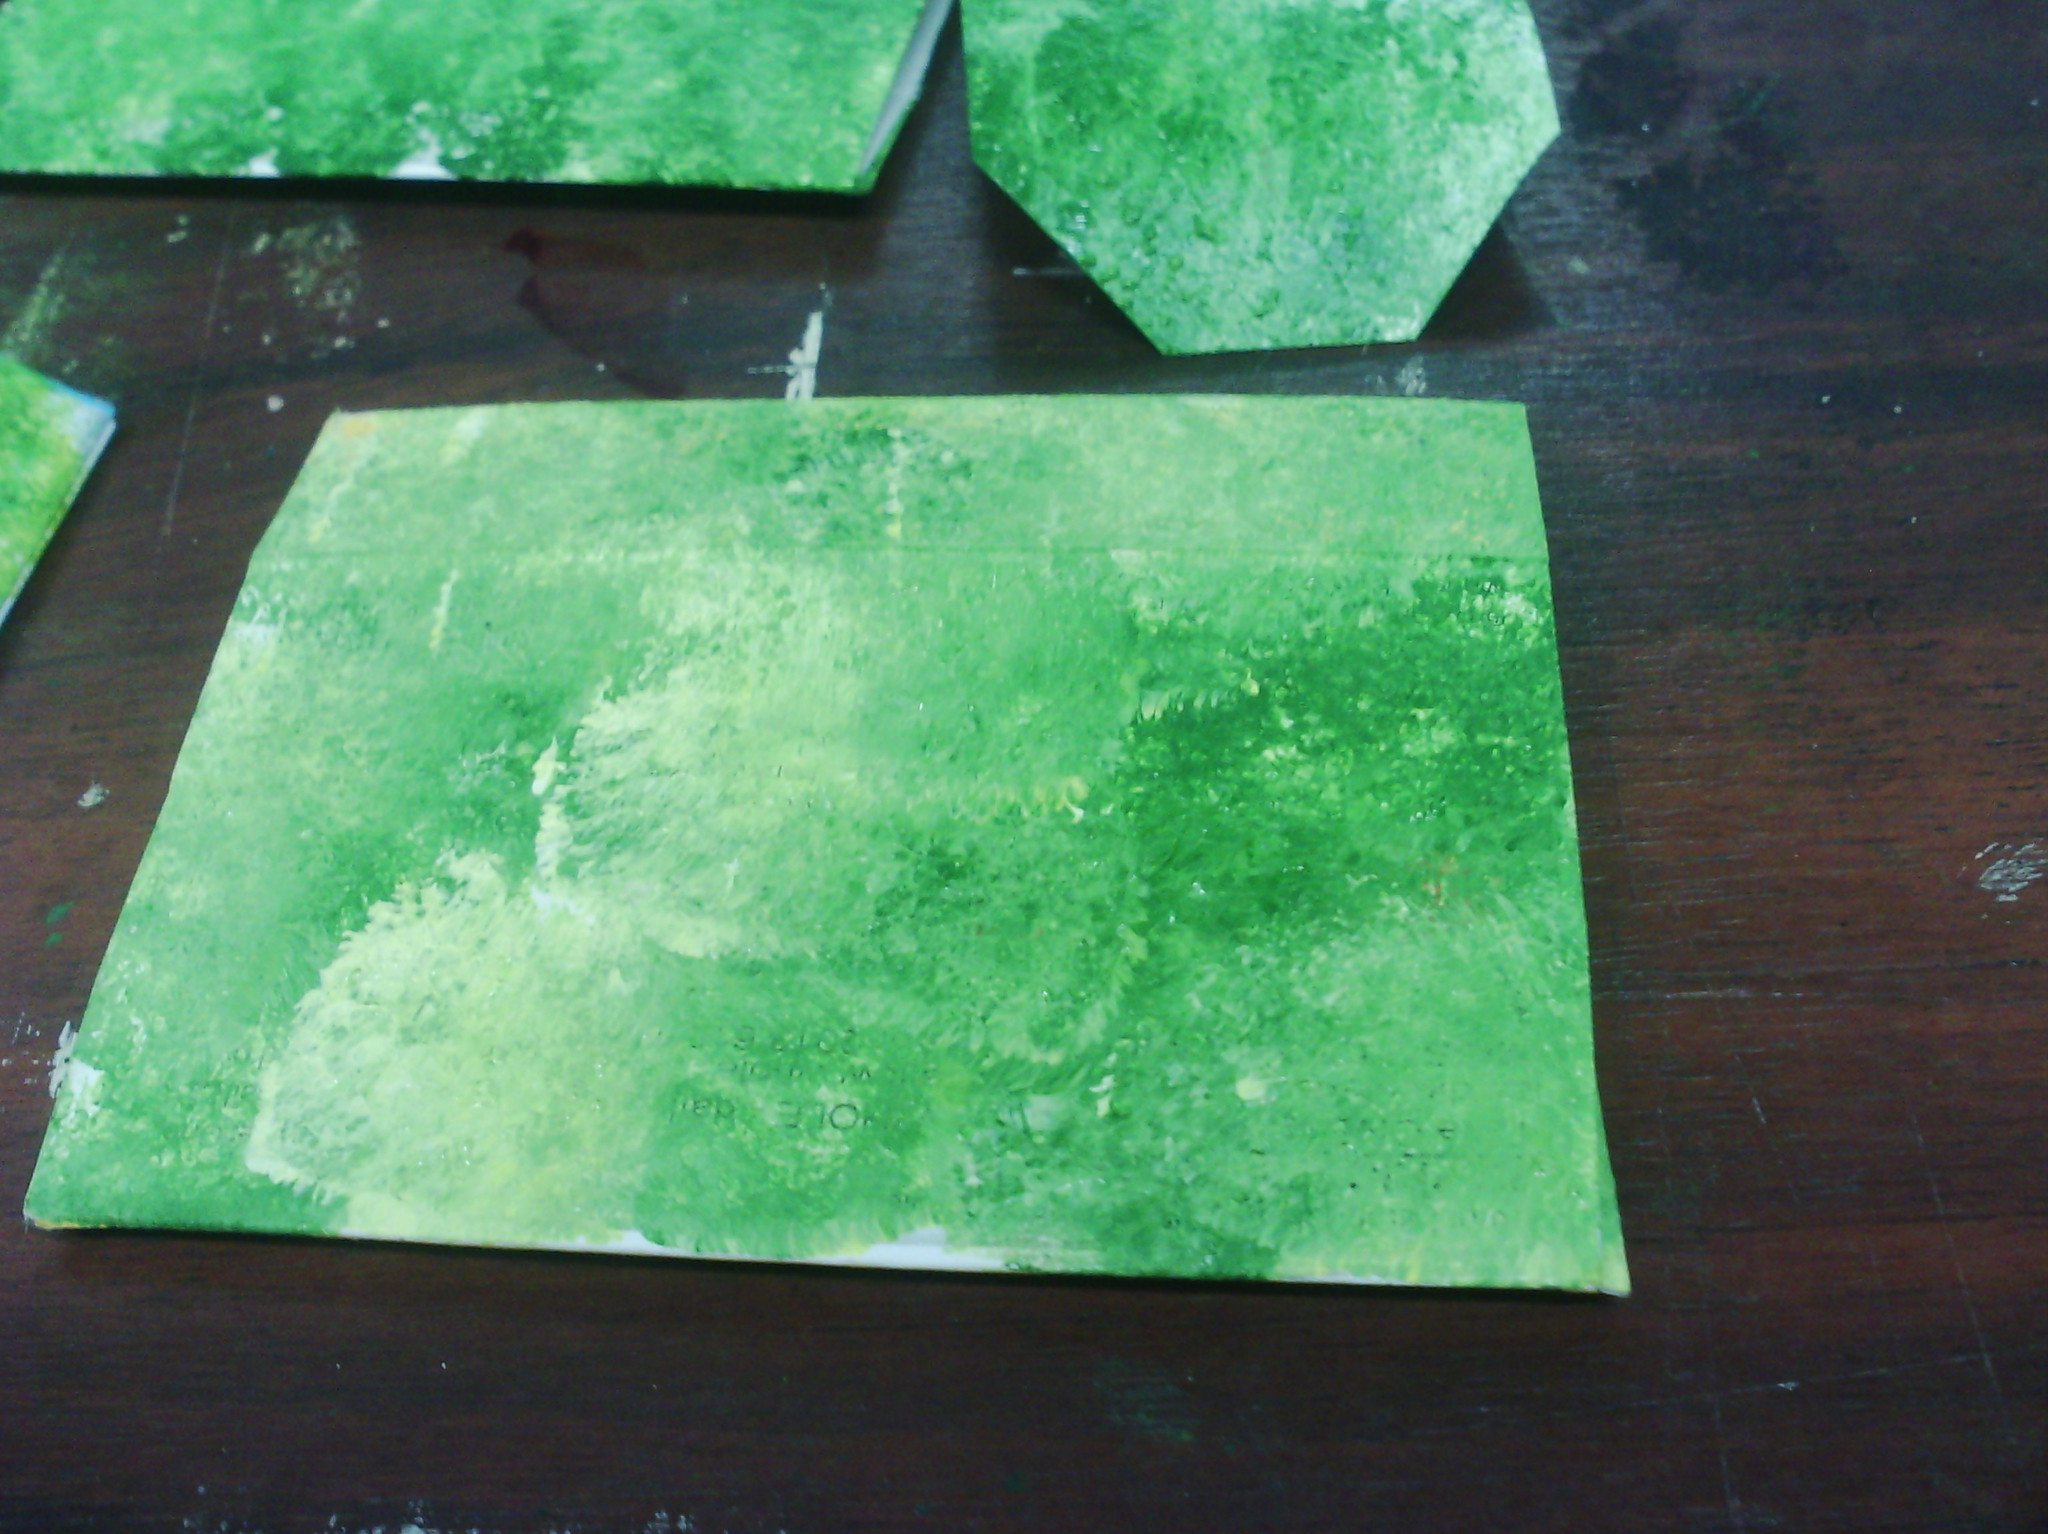
Here is my palette with acrylic paint and a sponge which I used to cover the sleeves.
Above in this blurry photo (sorry), you can see some of the box sleeves and some tags which I cut from other card pieces. I must say that the surface of the packaging is usually a bit glossy, so I sand the surfaces and wipe them clean a little before applying the paint.
I collect all the boxes from scripts and other packaging. I love my medication boxes, because they are small and I end up with sets of boxes that can form books
the diagram above shows how I remove the ends of the boxes and flatten them to form a sleeve that I can put things in.
Above in this blurry photo (sorry), you can see some of the box sleeves and some tags which I cut from other card pieces. I must say that the surface of the packaging is usually a bit glossy, so I sand the surfaces and wipe them clean a little before applying the paint.
Above, you can see some of the texture I got on these surfaces with the sponge.
I will work more with these, so you will have to check back to see how little books evolve from these bits of painted card.
Happy creating!
Wednesday, November 13, 2013
To recycle or not to....
Day 13 of AEDM!
Today I was also out, teaching my Adult art class, but when I got home, I felt the need to make something and the first thing that came to hand was a milk bottle cap!
I decided to put together a quick journal quilt.
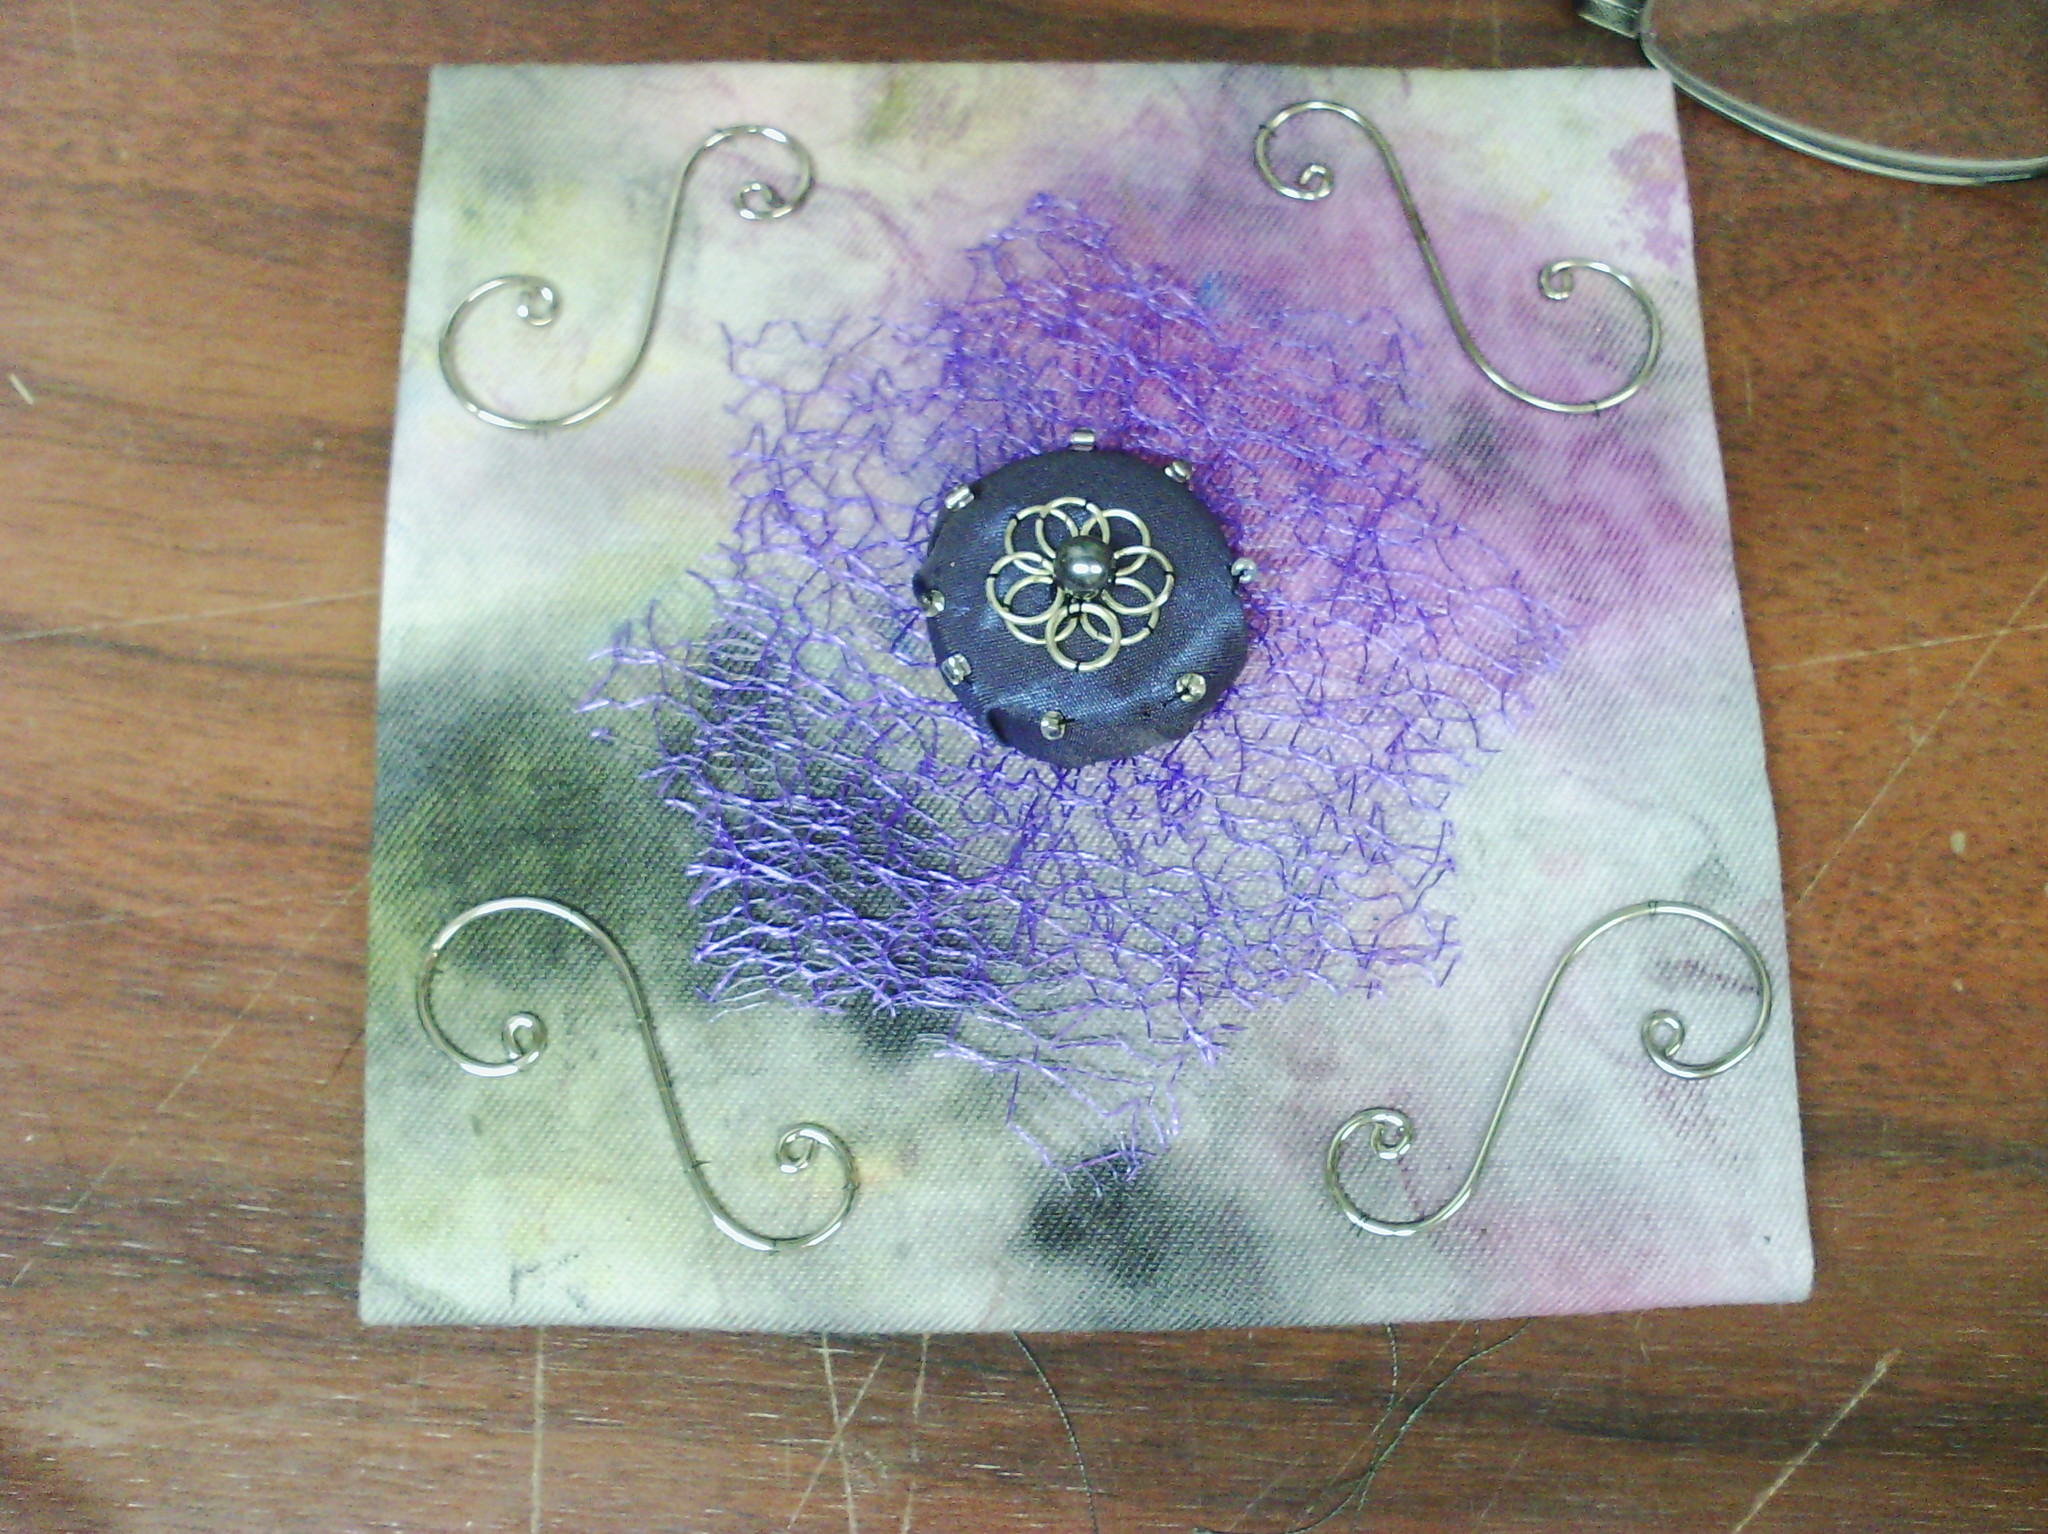
The milk bottle cap forms the base for the central button, covered in a little bit of silk. The silver motif in the centre is simply eight chain links stitched on in a circle with a bead on top and some seed beads around the outside edge. The purple 'stuff' is some wispy fibre ribbon (two squares overlapped and offset). The silver swirls are some left over hanger clips for christmas cards, stitched down and the background fabric is one of my clean up cloths from painting.
I liked this one, but I think I might add a bit more stitching, perhaps some hand seed stitches
...and maybe a few beads....
Happy creating
Sunday, April 28, 2013
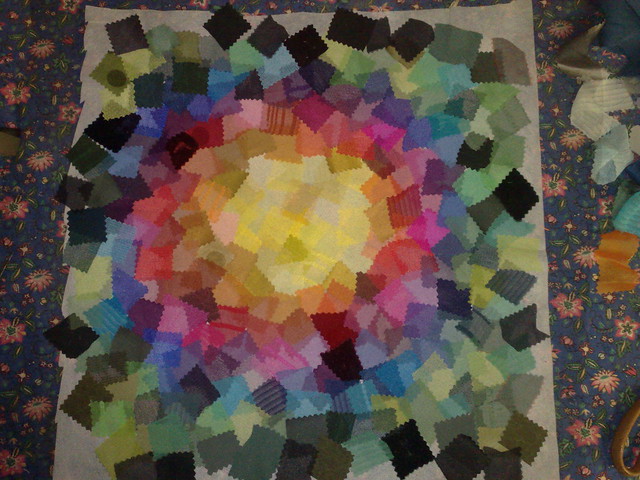
a scrap collage
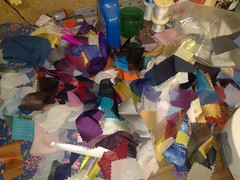
As I have mentioned, I get a lot of my stuff from a recycle depot, Resource rescue, One of the things that always catches my eye is the sample books for fabrics. The little swatches in a myriad of colours ar very hard to resist......
..so as you can see, I have a lot of them! This is the third time I have put this collage together. The first time, I got sidetracked and the cat walked all over it and messed it up. The second time I had a lot of trouble keeping the bits where I wanted them. This time I was prepared.
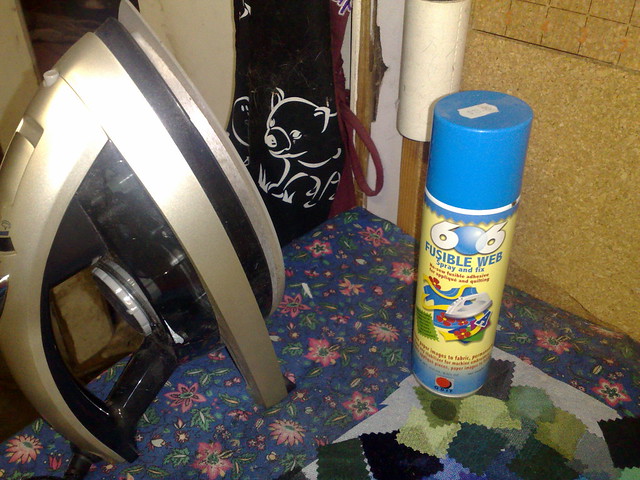
I used this spray on fusible web to stick them down. I found that the spray was a little bit tacky, even before the fusing with the iron, so I got all my coloured pieces down easily. There was chiffon, organza, silk, satin, velvet and lots of textures.
This is how it looked when they were all down. I covered it with some fine black bridal tulle to make my free motion stitching easier, later.
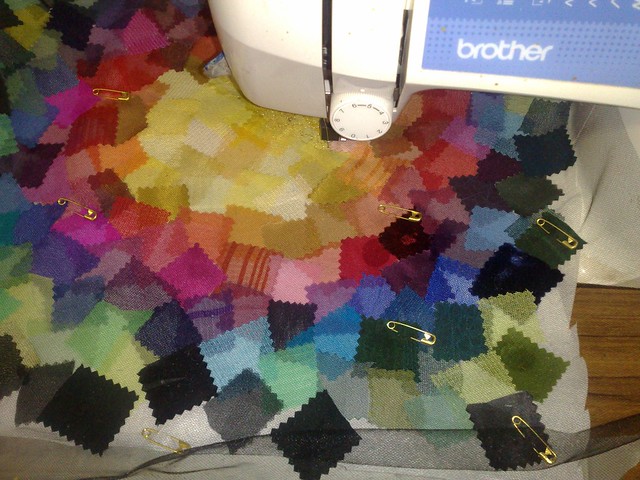
Originally, the idea was just an abstract one,perhaps representing the sun, but the more I looked at it, the more I saw a flower. A pink flower with a big yellow centre, so I decided to do some free motion to make it into a flower.
Here it is under the machine I use for thread painting (as you can see, there is no presser foot - I have adapted this machine to use no foot as I find it much easier to thread paint and sketch this way. However I do not recommend this to any one, it is just the way I work).
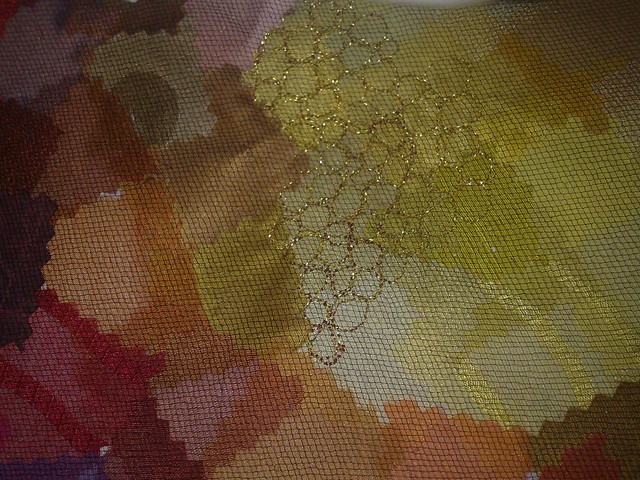
And here is a close up of the pebble stitch I am doing in the yellow centre with my favourite gold thread again (well, it was on the machine, so...) Obviously I will have to change my colour when I move to the petals and the background, but that is for another day.
My main problem as an artist is that I have too many ideas. (And some say too many UFOs) I find that if I concentrate on finishing everything, then I get nothing done, because it all becomes a chore, which dampens down the creativity quite a bit. I have to keep the ideas flowing and sometimes it takes me a while to get back to a piece. 80 or 90% of the time, I do get back to the piece, after a time and mostly it is when I get a new idea or a 'what if' that adds to the piece. That is true of this collage, which was sitting in my 'current' pile for quite a while until I thought of the 606 spray I am sure Van Gogh didn't finish everything he started, in fact historians know that he and other artists repainted their canvasses as the muse took them. Anyhow, that's my stuff for today.
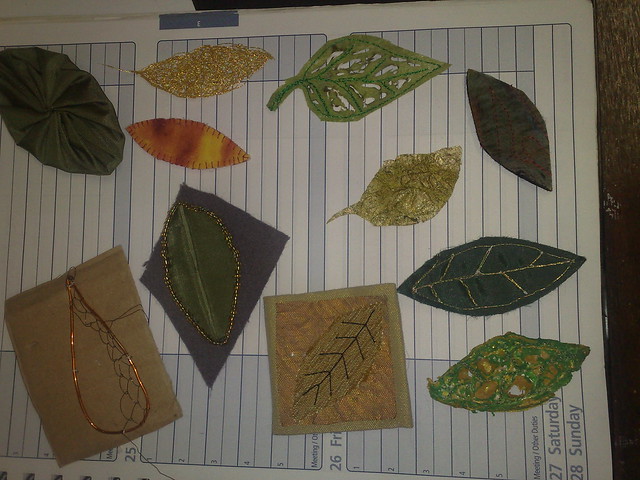
Here are a few of the leaves I will be putting into my fabric book from yesterday. I will have at least a few pages for you sometime next week.
Happy creating!
Friday, May 11, 2012
embossed and embellished
This
ATC did not turn out as I planned, however I will show it. It is made
with a piece of heavy foil, embossed with my embossing machine which is a
teeny tiny one. The piece of foil had three holes in it, since it came
out of a computer, so I added three die cut flowers. The green is an
experiment with alcohol ink that went wrong. I was hoping the ink would
stay where I wanted it - but no, it had a mind of it's own (message to
self - alcohol ink is very runny)
these are a few embellishments I made a week or two ago and hadn't gotten round to posting. the top two are made with milk carton caps, which I have a collection of, lol.
I covered them with a scrap of satin or silk, yo-yo style, then embellished the top with sequins and beads.
Oh. before I started, I punched a hole through the top with my soldering iron to allow for adding the beads.
I actually have made more, but obviously haven't taken a photo yet.
The bottom embellishments are made from these tiny tag shaped bits of metal I got from laptop frames. I loved how tiny they were and the cute shape, but had to think about the holes for a bit. sequins and beads were the best way to jazz them up and fill the holes at the same time.
Here's a few more being made. I am looking forward to making a piece with some of these on. But as you know thinking is a long winded process. It will happen when it's ready.
Tuesday, December 20, 2011
recycled mixed media
I have finally finished all of the blocks for my recycled piece.
This is the first set, which have in order from the fabric up
plasterer's tape (grid), sewn down with scrap thread
Chewing gum foil flower blanket stitched down
flower made from scraps of entrapped fibre film
plastic washer painted with green nail polish sewn down
black transistor with the eletrodes poking out in the centre for the stamens.
Here they are closer up.
Here is the next set.
These are constructed from.
plasterer's tape (grid), sewn down with scrap thread
Tyvek scraps and tea bag flowers cross stitched to opposite corners
Small straight stitches across the opposite diagonal
Large to medium circular disks couched down (painted with nail polish)
Medium washer with smaller washers or rings around it (painted with nail polish)
Coloured LED for the flower centre
And here they are close up - there is a lot more variation in this group.
And the next set.
These are constructed from.
plasterer's tape (grid), sewn down with scrap thread
A plastic disc cut from plastic packaging and painted with nail polish.
Two different coloured and oriented chewing gum foil flowers
A black metal gripper or crimp used for wiring
A grey wire crimp that I have painted green for the centre
And there they are close up - this group is actually my favourite.
And the last set.
These are constructed from.
plasterer's tape (grid), sewn down with scrap thread
A circle of dyed batting blanket stitched down
A plastic flower cut from plastic packaging and painted with nail polish.
Four springs painted and tied into petals
A painted washer with a scallopped sort of edge again painted
A few french knots in the centre and some tied thread in the corners
And here they are close up. You can click on them to see a bit closer.
I really enjoyed making these and the challenge of making them from scraps and rubbish was fun.
I do enjoy making little fiddly things like this in the evenings.
Now I just have to decide on a background and arrangement. I have a few ideas but I'll just let them play around in my head for a little while before I decide.
Oh, well, that's one project out of the way, just a few hundred to go......
Labels:
blocks,
collage,
flowers,
mini quilts,
mixed media,
motif,
recycling
Monday, November 28, 2011
Recycled collage
Forgive me if I have been remiss in getting back to everyone who has commented in the last week or so. Needless to say, I will try to catch up on the computer stuff, but it is soooo hard to fit in when the creative juices are flowing. And at the moment, they are!
OK, let's get the business out of the way. There were five commenters (both here on blogger and at the hive) and I numbered you in time and date order.
The winner was number 4 which is Connie Haskell from creating the hive, whose address I have, so I will be sending six fat quarters out to you asap!
Now down to the creative stuff!
Remember last Monday I was beginning a collage made from recycled bits and pieces.
This is my desk, whilst I was sorting out what I might use
And here, I am brightening up a few of my bits with nail polish.
Here are the raw materials I started with. Beginning at the top right, are circles cut from clear plastic packaging and coloured with nail polish, going clockwise, next are some flowers from the same source as the circles, some more flowers cut from some free motion scraps, then some angelina scraps, then teabags, some rings cur from a spring, some black clasps from some machinery, some small washers, some crimpy flower like washers, some plastic rings, some led lights, some led holders, large plastic and metal rings, flowers cut from vinyl, flowers cut from gum wrappers, flowers cut from coloured tyvek scraps and lastly flowers cut from foil packaging.
I think you might all have an idea of my theme, now. Lisa you were right with the money!
Here is a more complete layout idea - at least, this is how I have bagged them up for sewing.
Here is the first block sewn. I have put some red whipstitches along the edge of the plasterer's tape and some tied blue thread in the corners. I attached a circle of dyed batting from my felting scraps with a green blanket stitch. Next came a flower cut from plastic painted with nail polish. The red petals are made from tiny springs that I have painted, then sewed the ends together to form a loop, and the flower centre is a small blue coloured crimpy washer. I have put a few french knots in blue in the centre (perhaps they should be orange?).
Here is the second block. On this one I have put some half cross stitches in blue across the diagonal on the plasterer's tape, then added a tea bag/tyvek flower on the other corners with a cross stitch.
Next, I added a plastic ring, secured by alternating red and blue stitches.
The flower in the centre is made from one large washer with six smaller washers arranged over the top of it. In this picture, there is nothin in the centre. I took the centre out to get a good scan.
Here it is with the centre in, an LED from some old electronic parts.
Since the blocks are generally in sets of four, I have more of each of these two, in other colour combinations and then another two sets to finish.
The blocks are about 3 1/2 inches, so the whole piece will probably be about 16 inches square, depending on how much space I leave between the blocks on the backing.
Oh, and I forgot - the thread I am using is from one of my waste bags from embroidery, so even that is recycled!
Congrats Connie, I'll be heading to the PO tomorrow, which is craft group day at our community house and hopefully I'll have another giveaway before Christmas!
Subscribe to:
Posts (Atom)


