I have been a bit under the weather this week, and not felt much like doing much, but I was surprised when I looked back and saw what I had done.
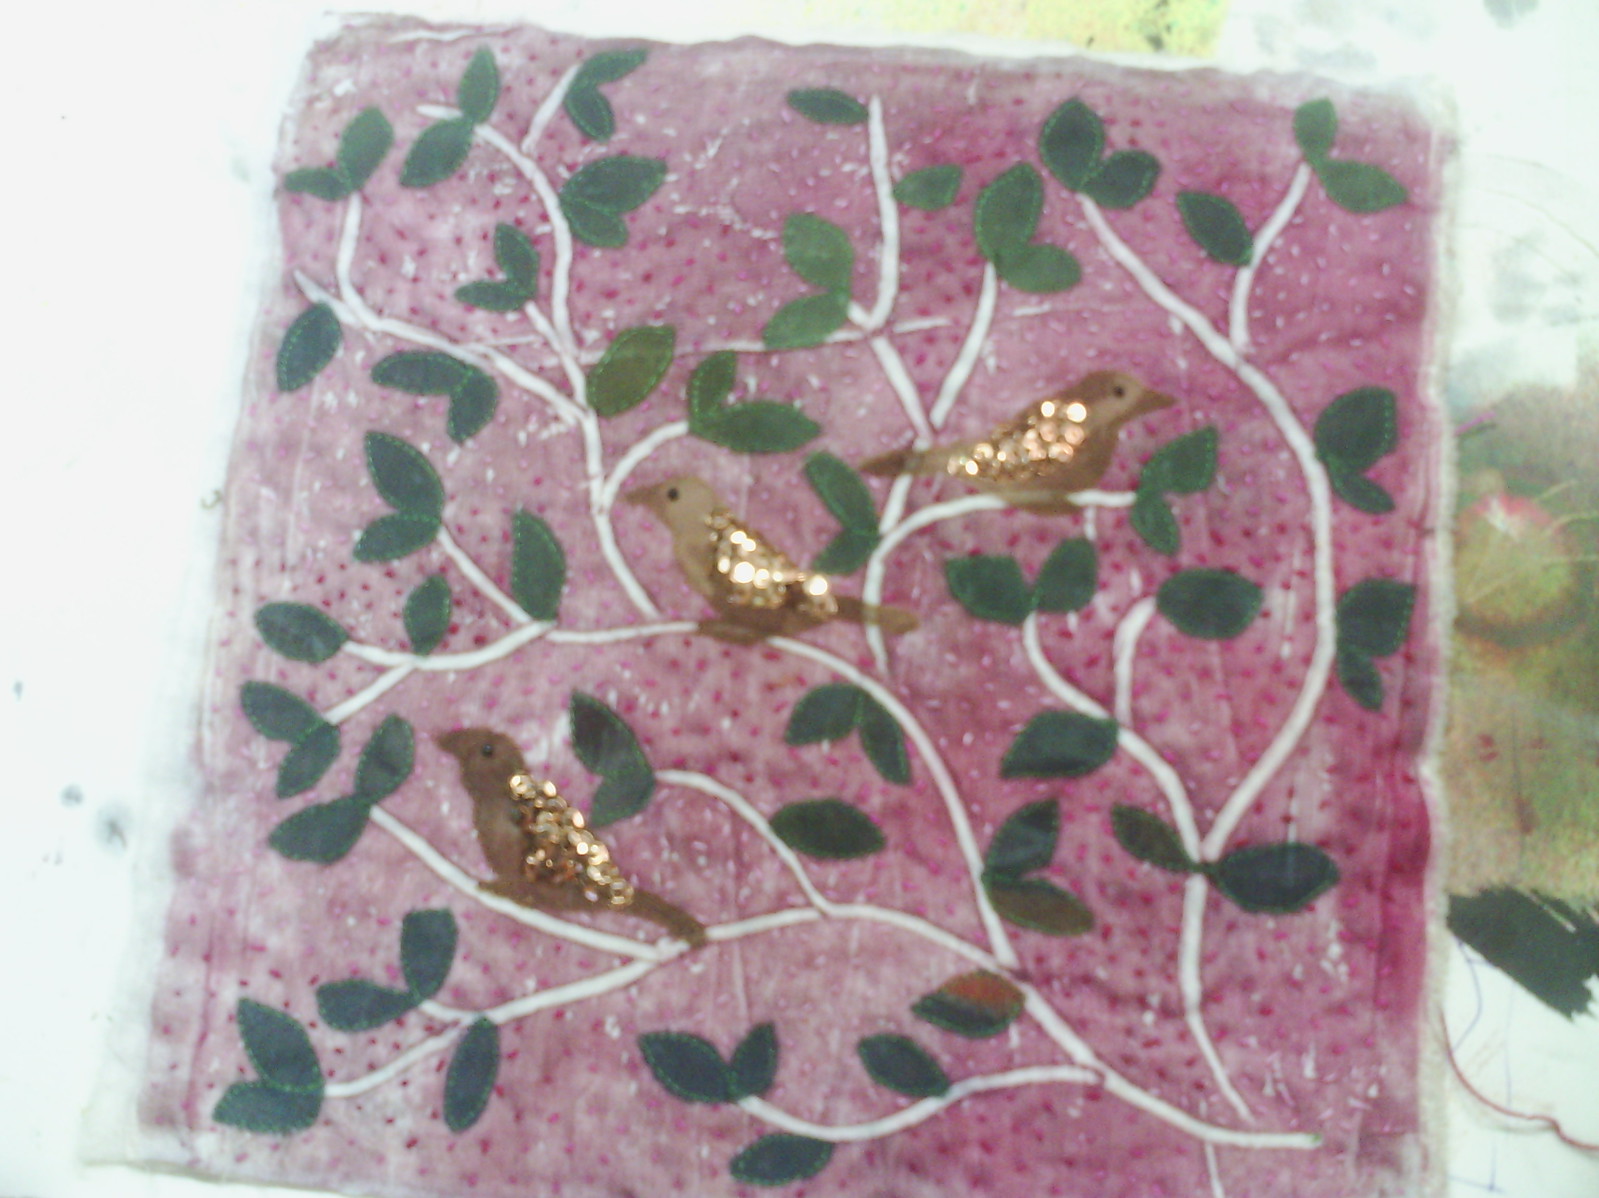
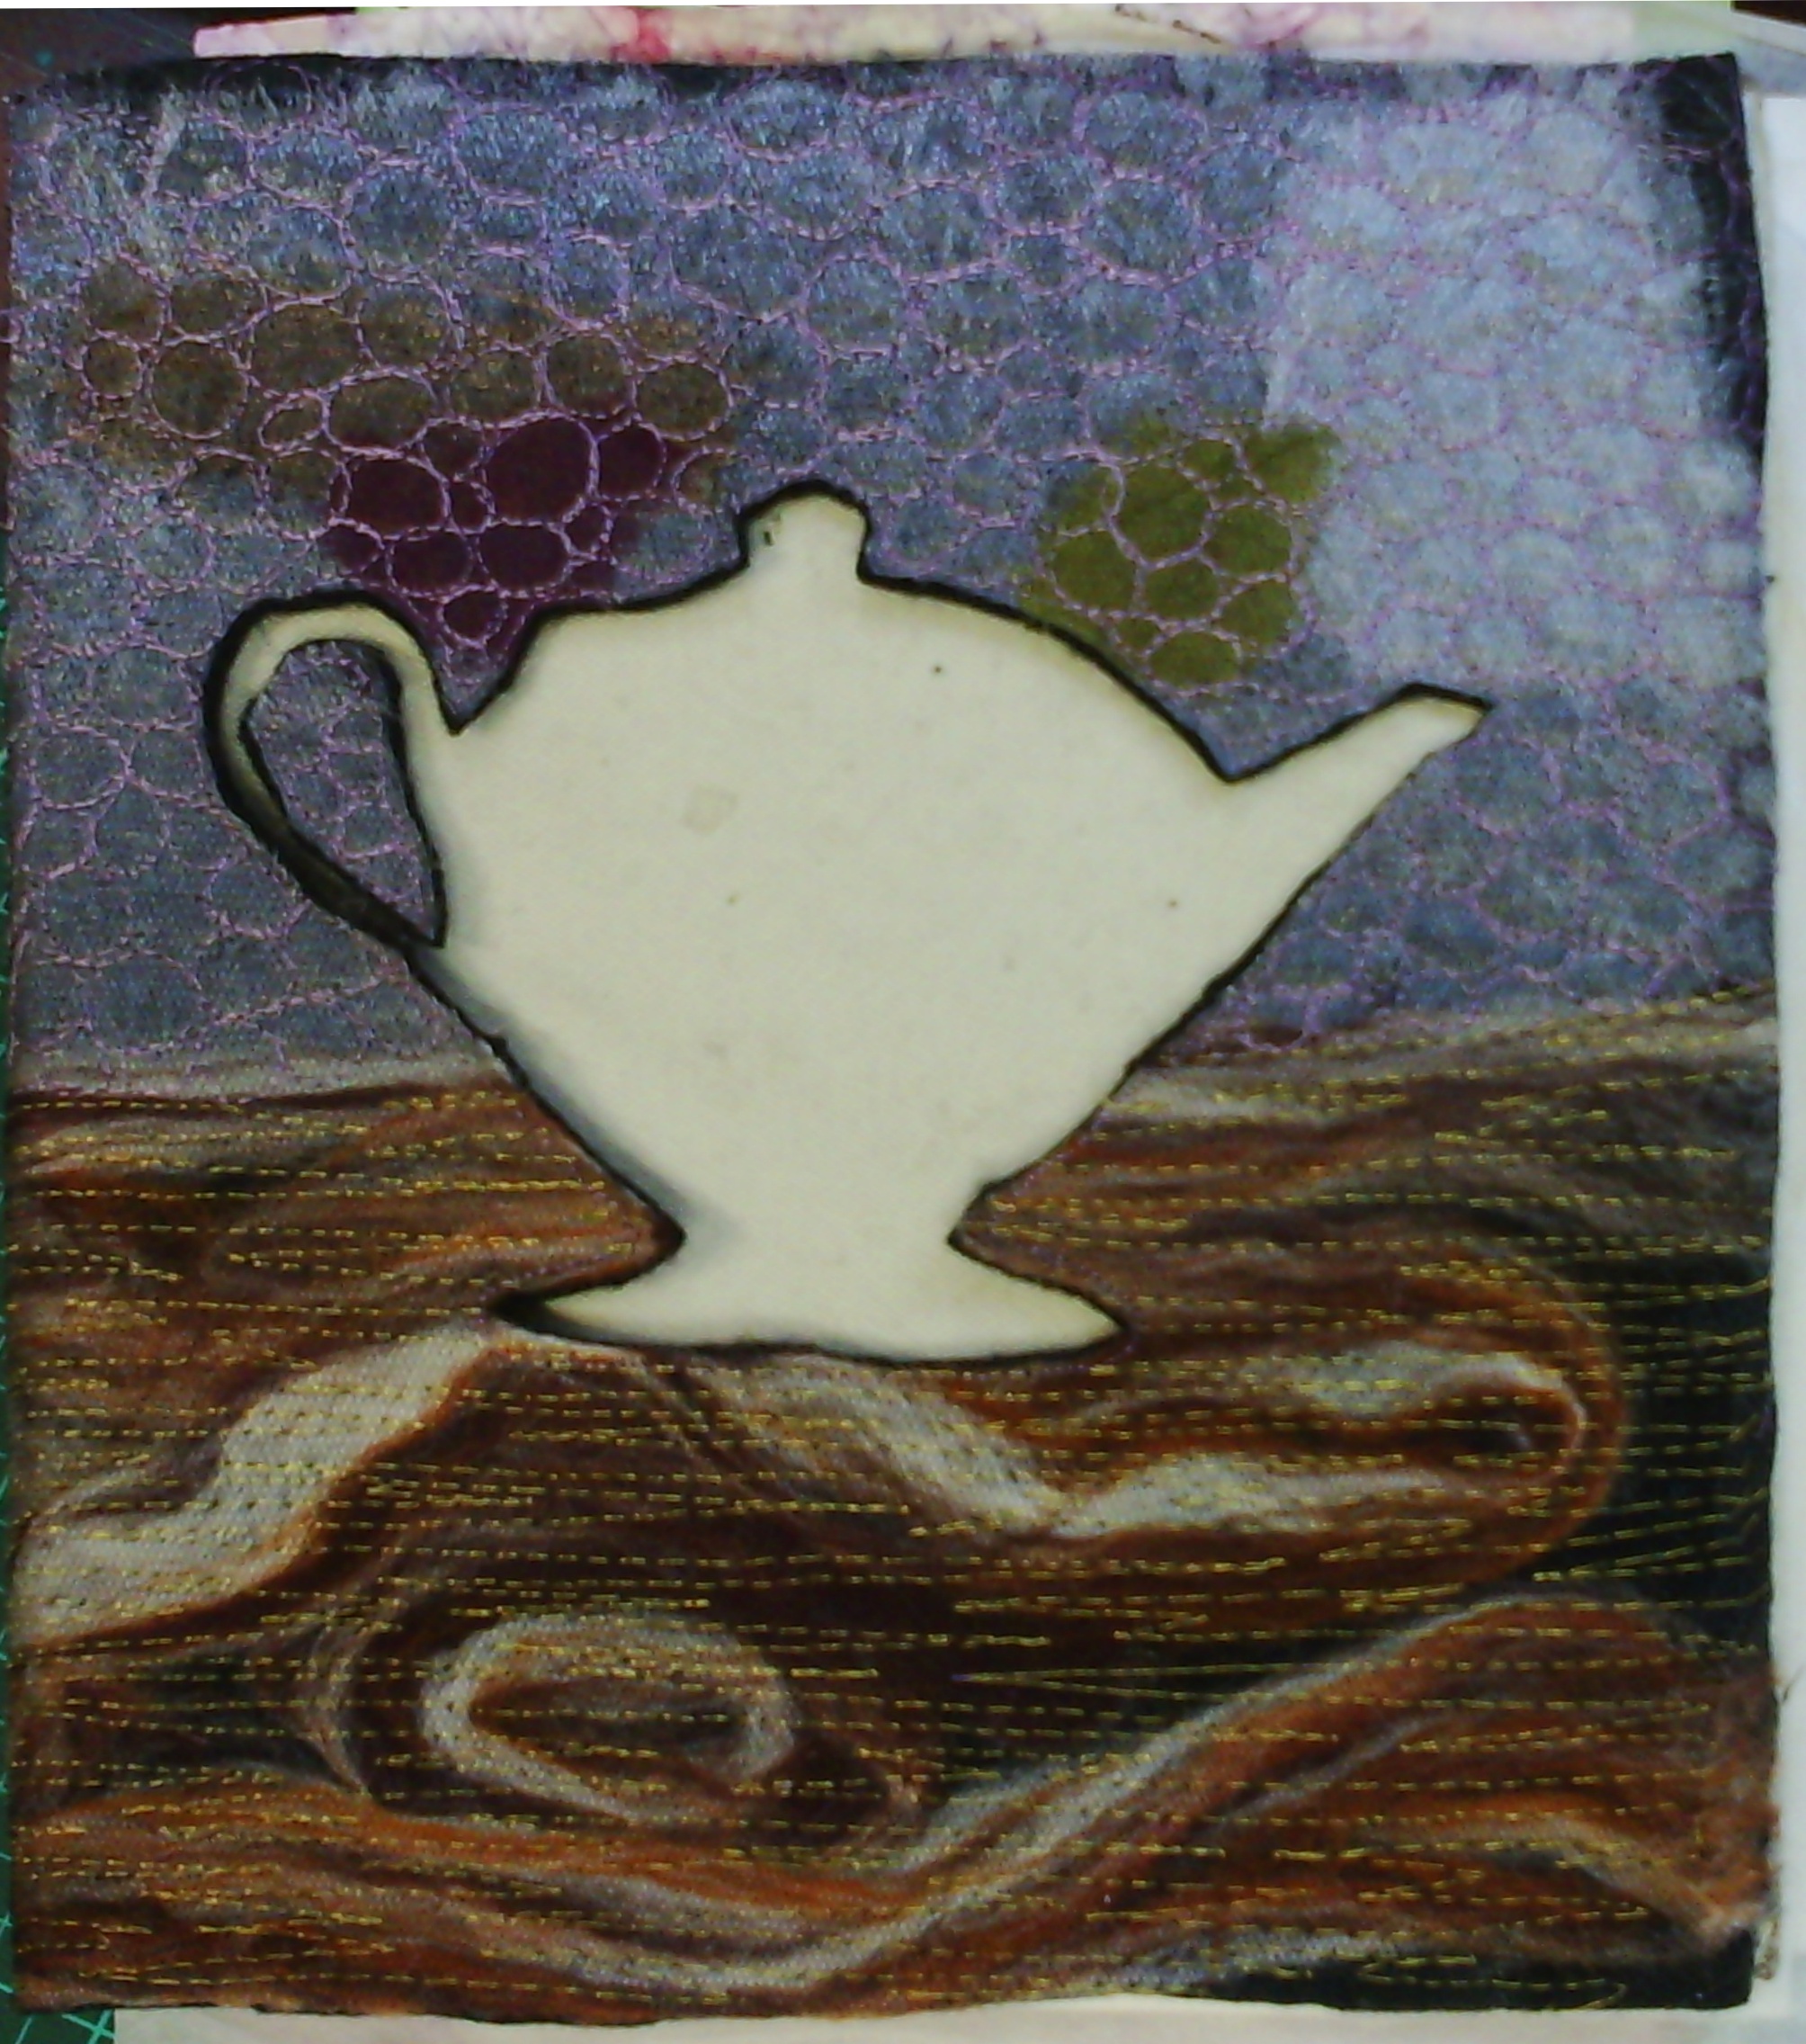
Sorry about the bad photo, but you might remember this piece from a little while ago. I have finished all the hand stitching in the background and beading the birds and now need to think about how it will be displayed.
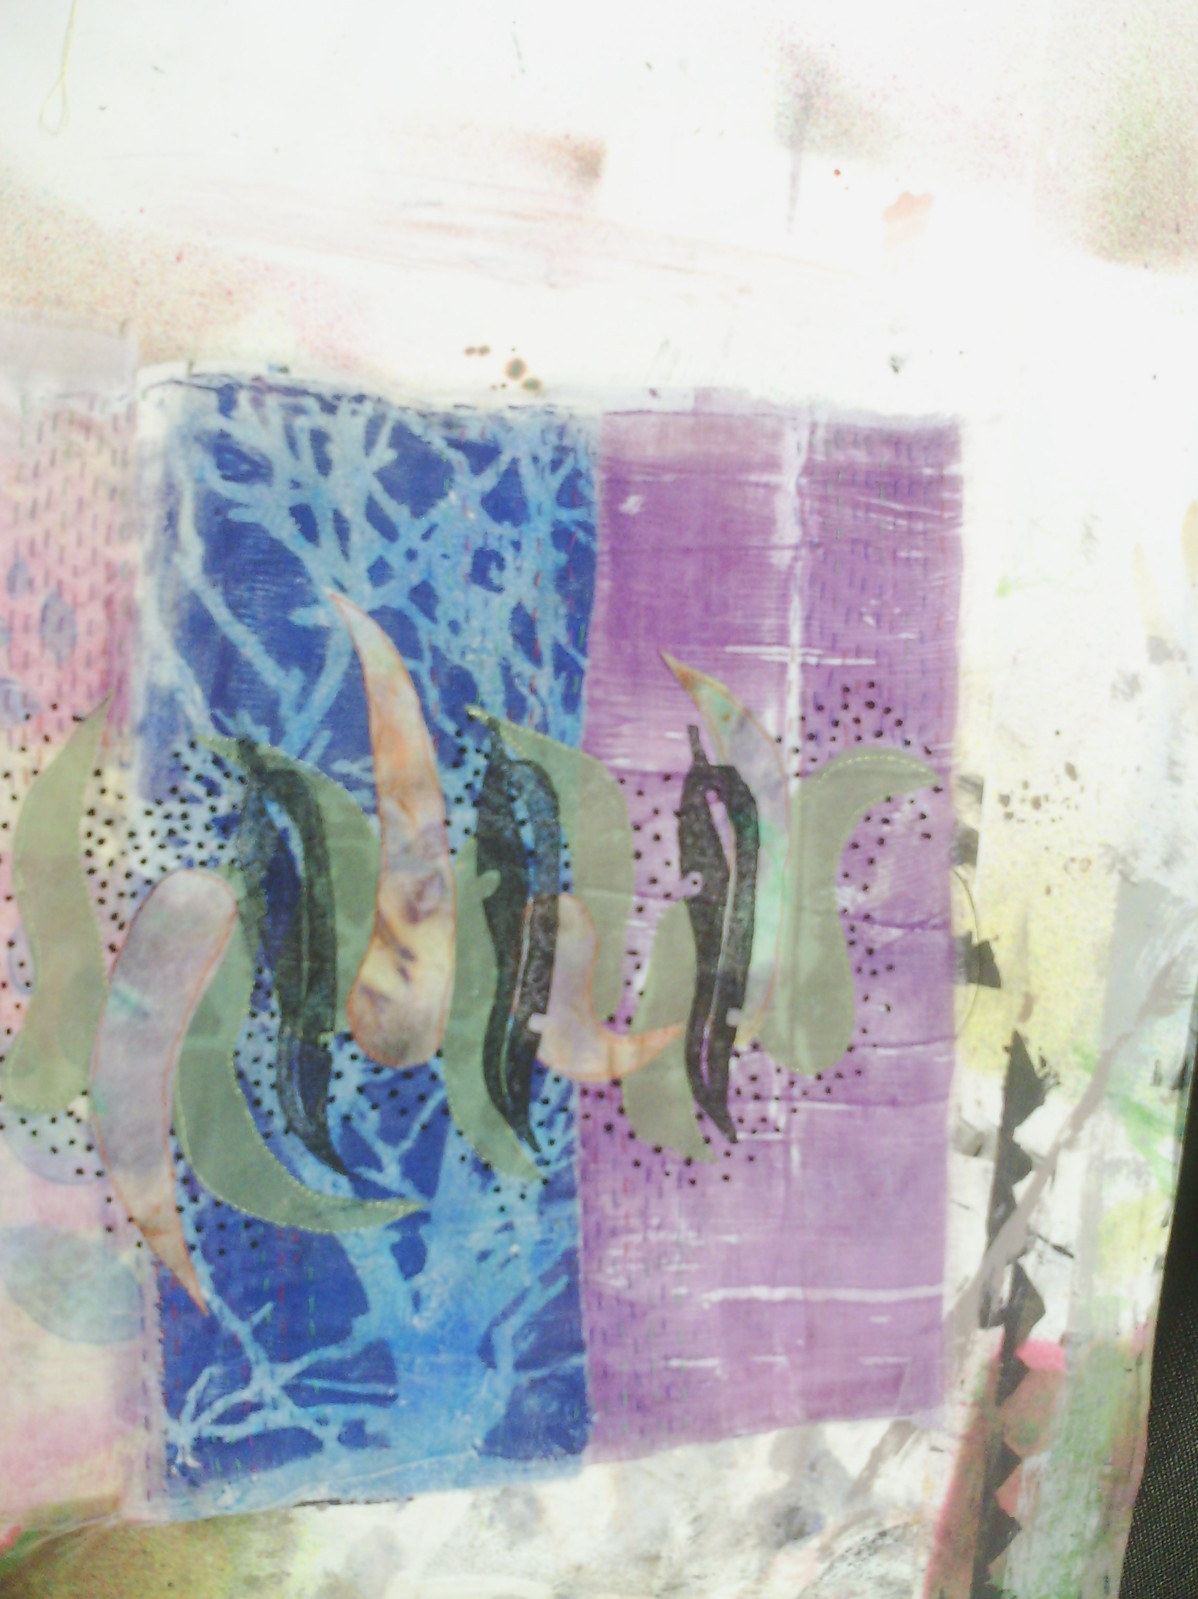
I have also finished my stitching on this piece from last week.
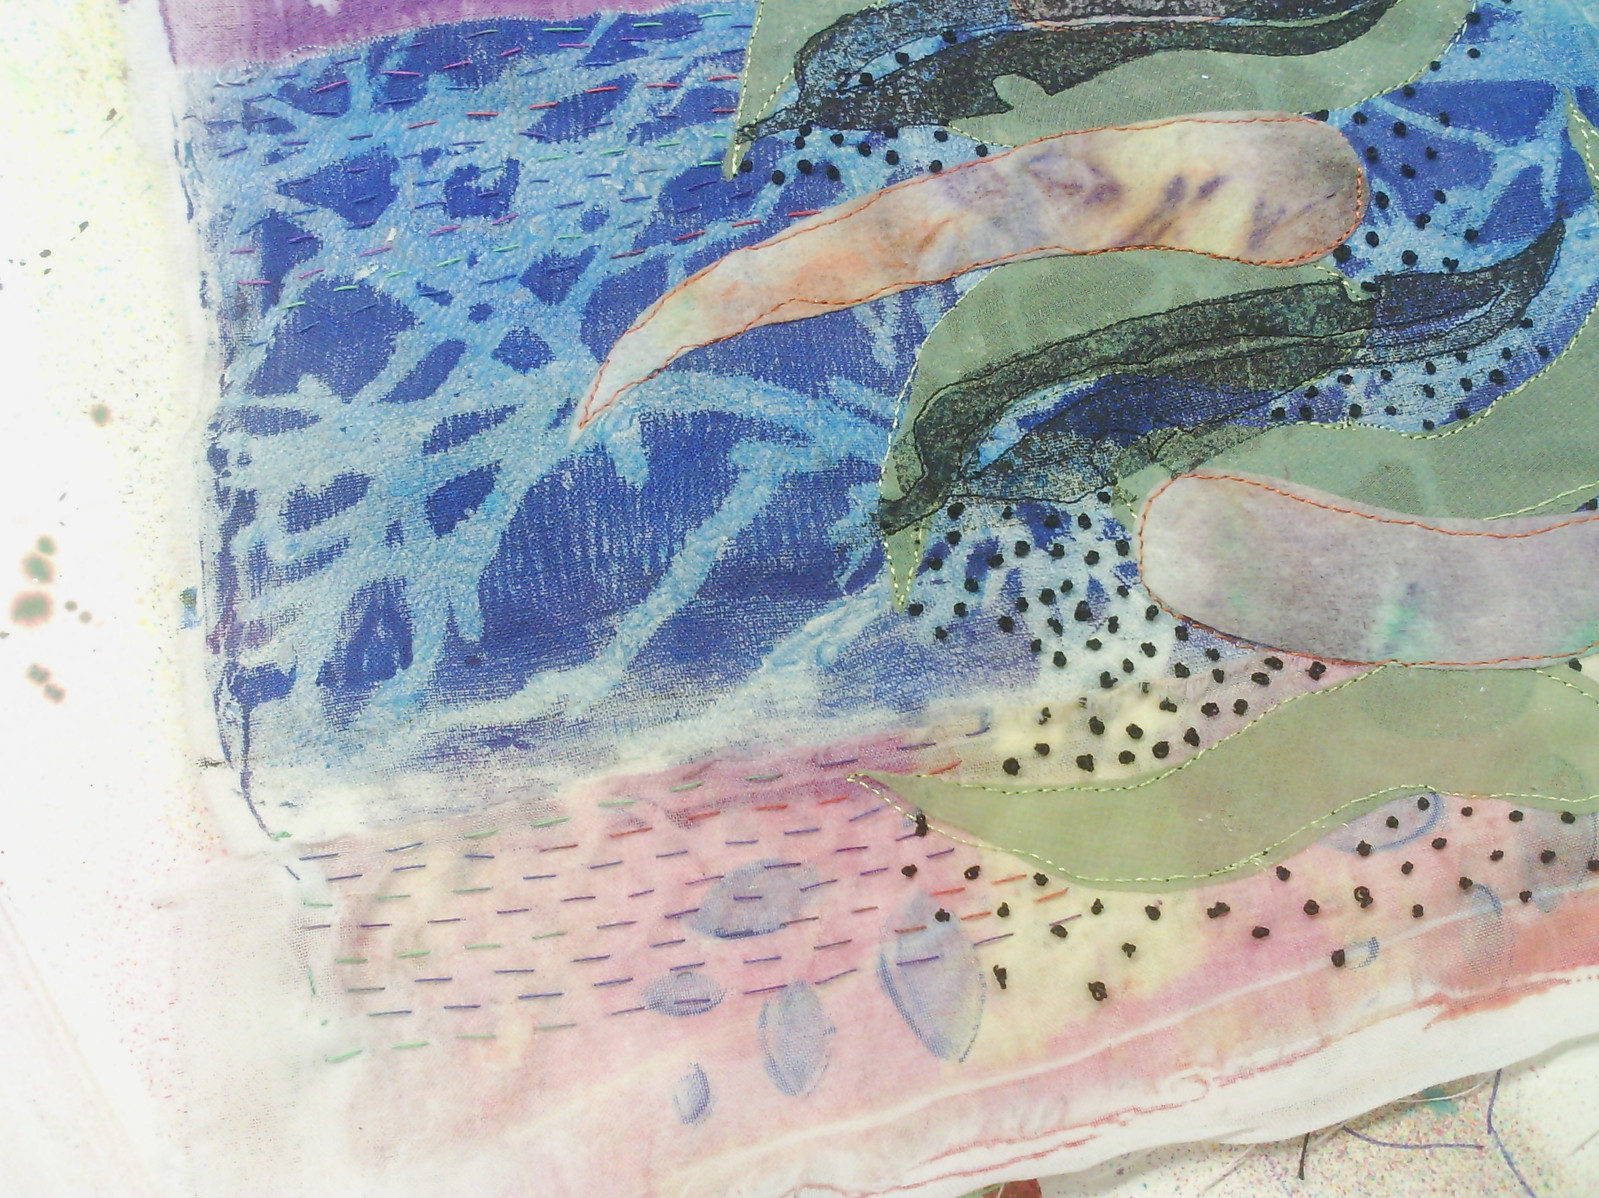
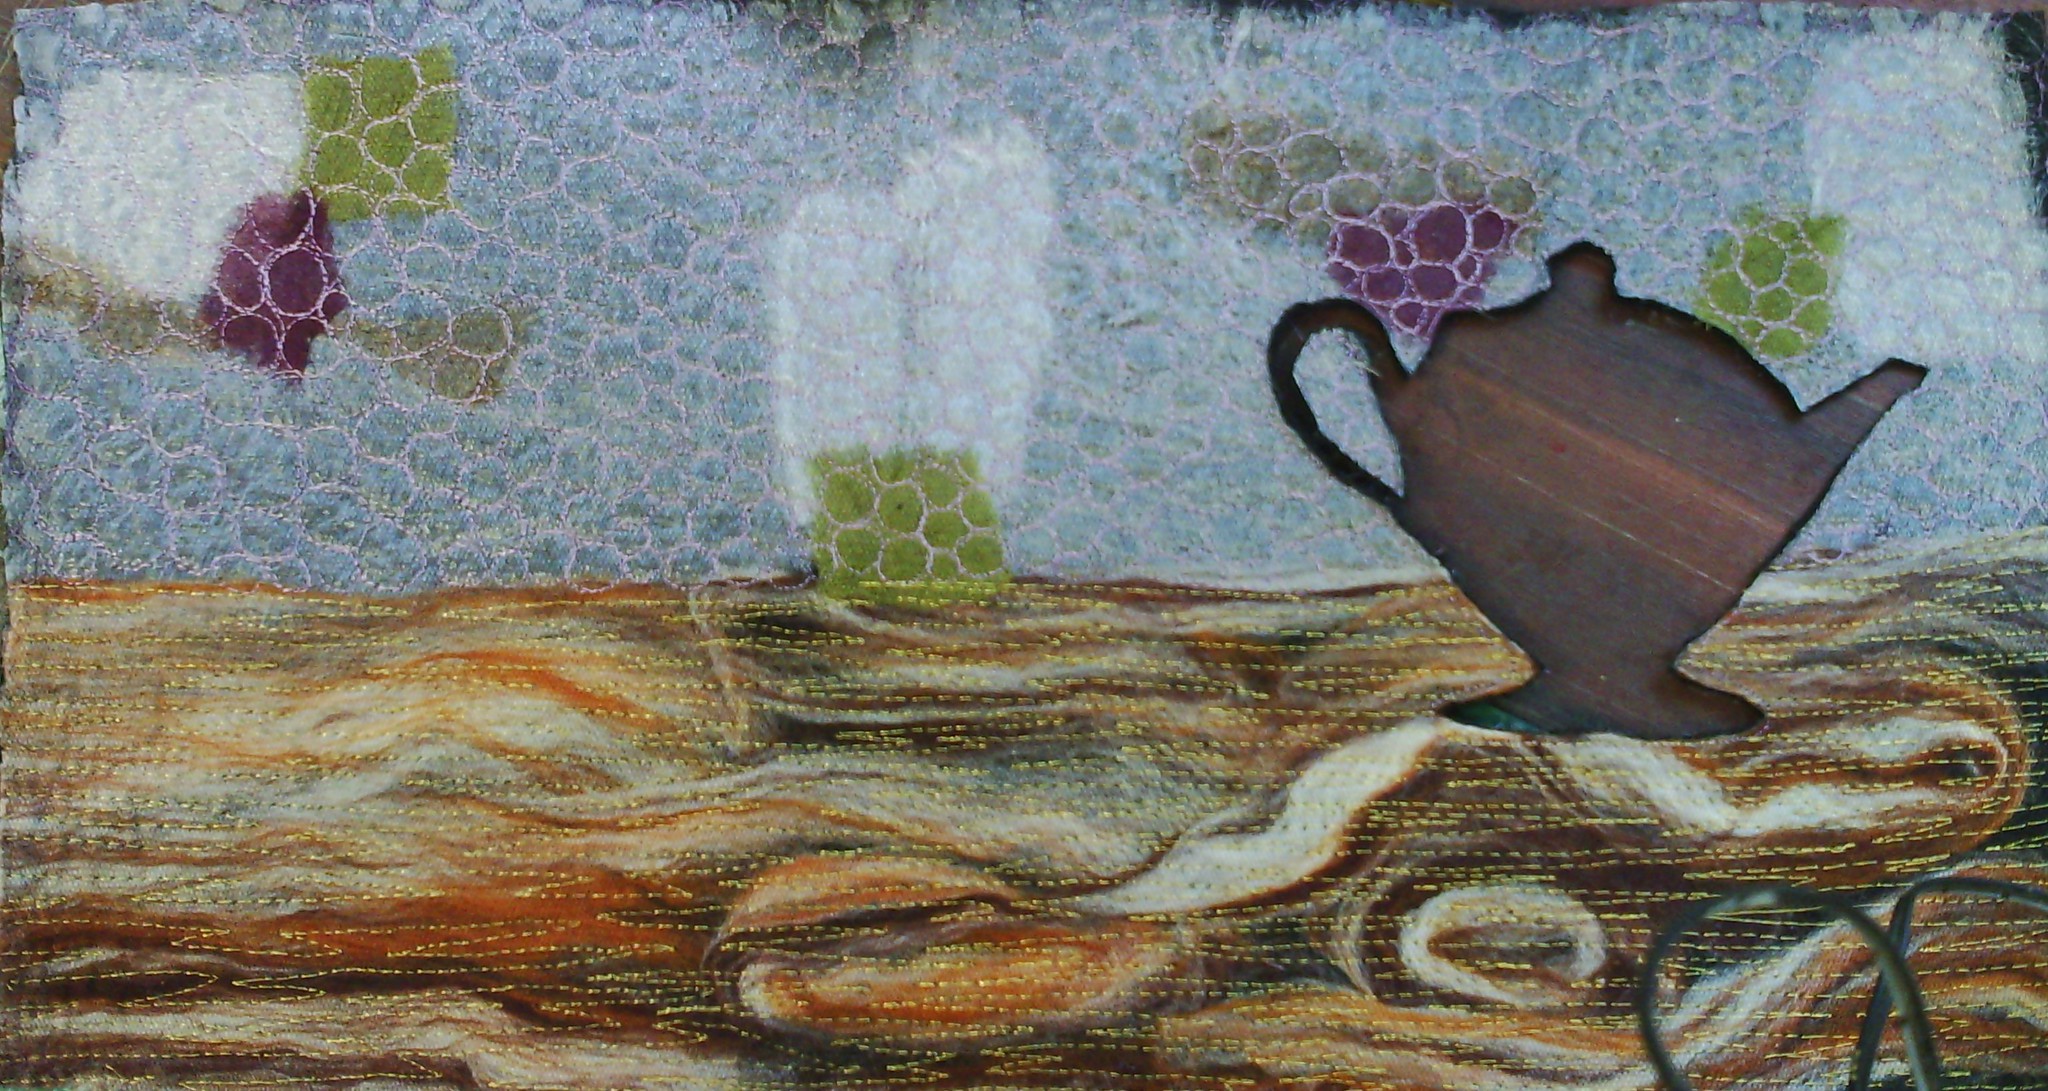
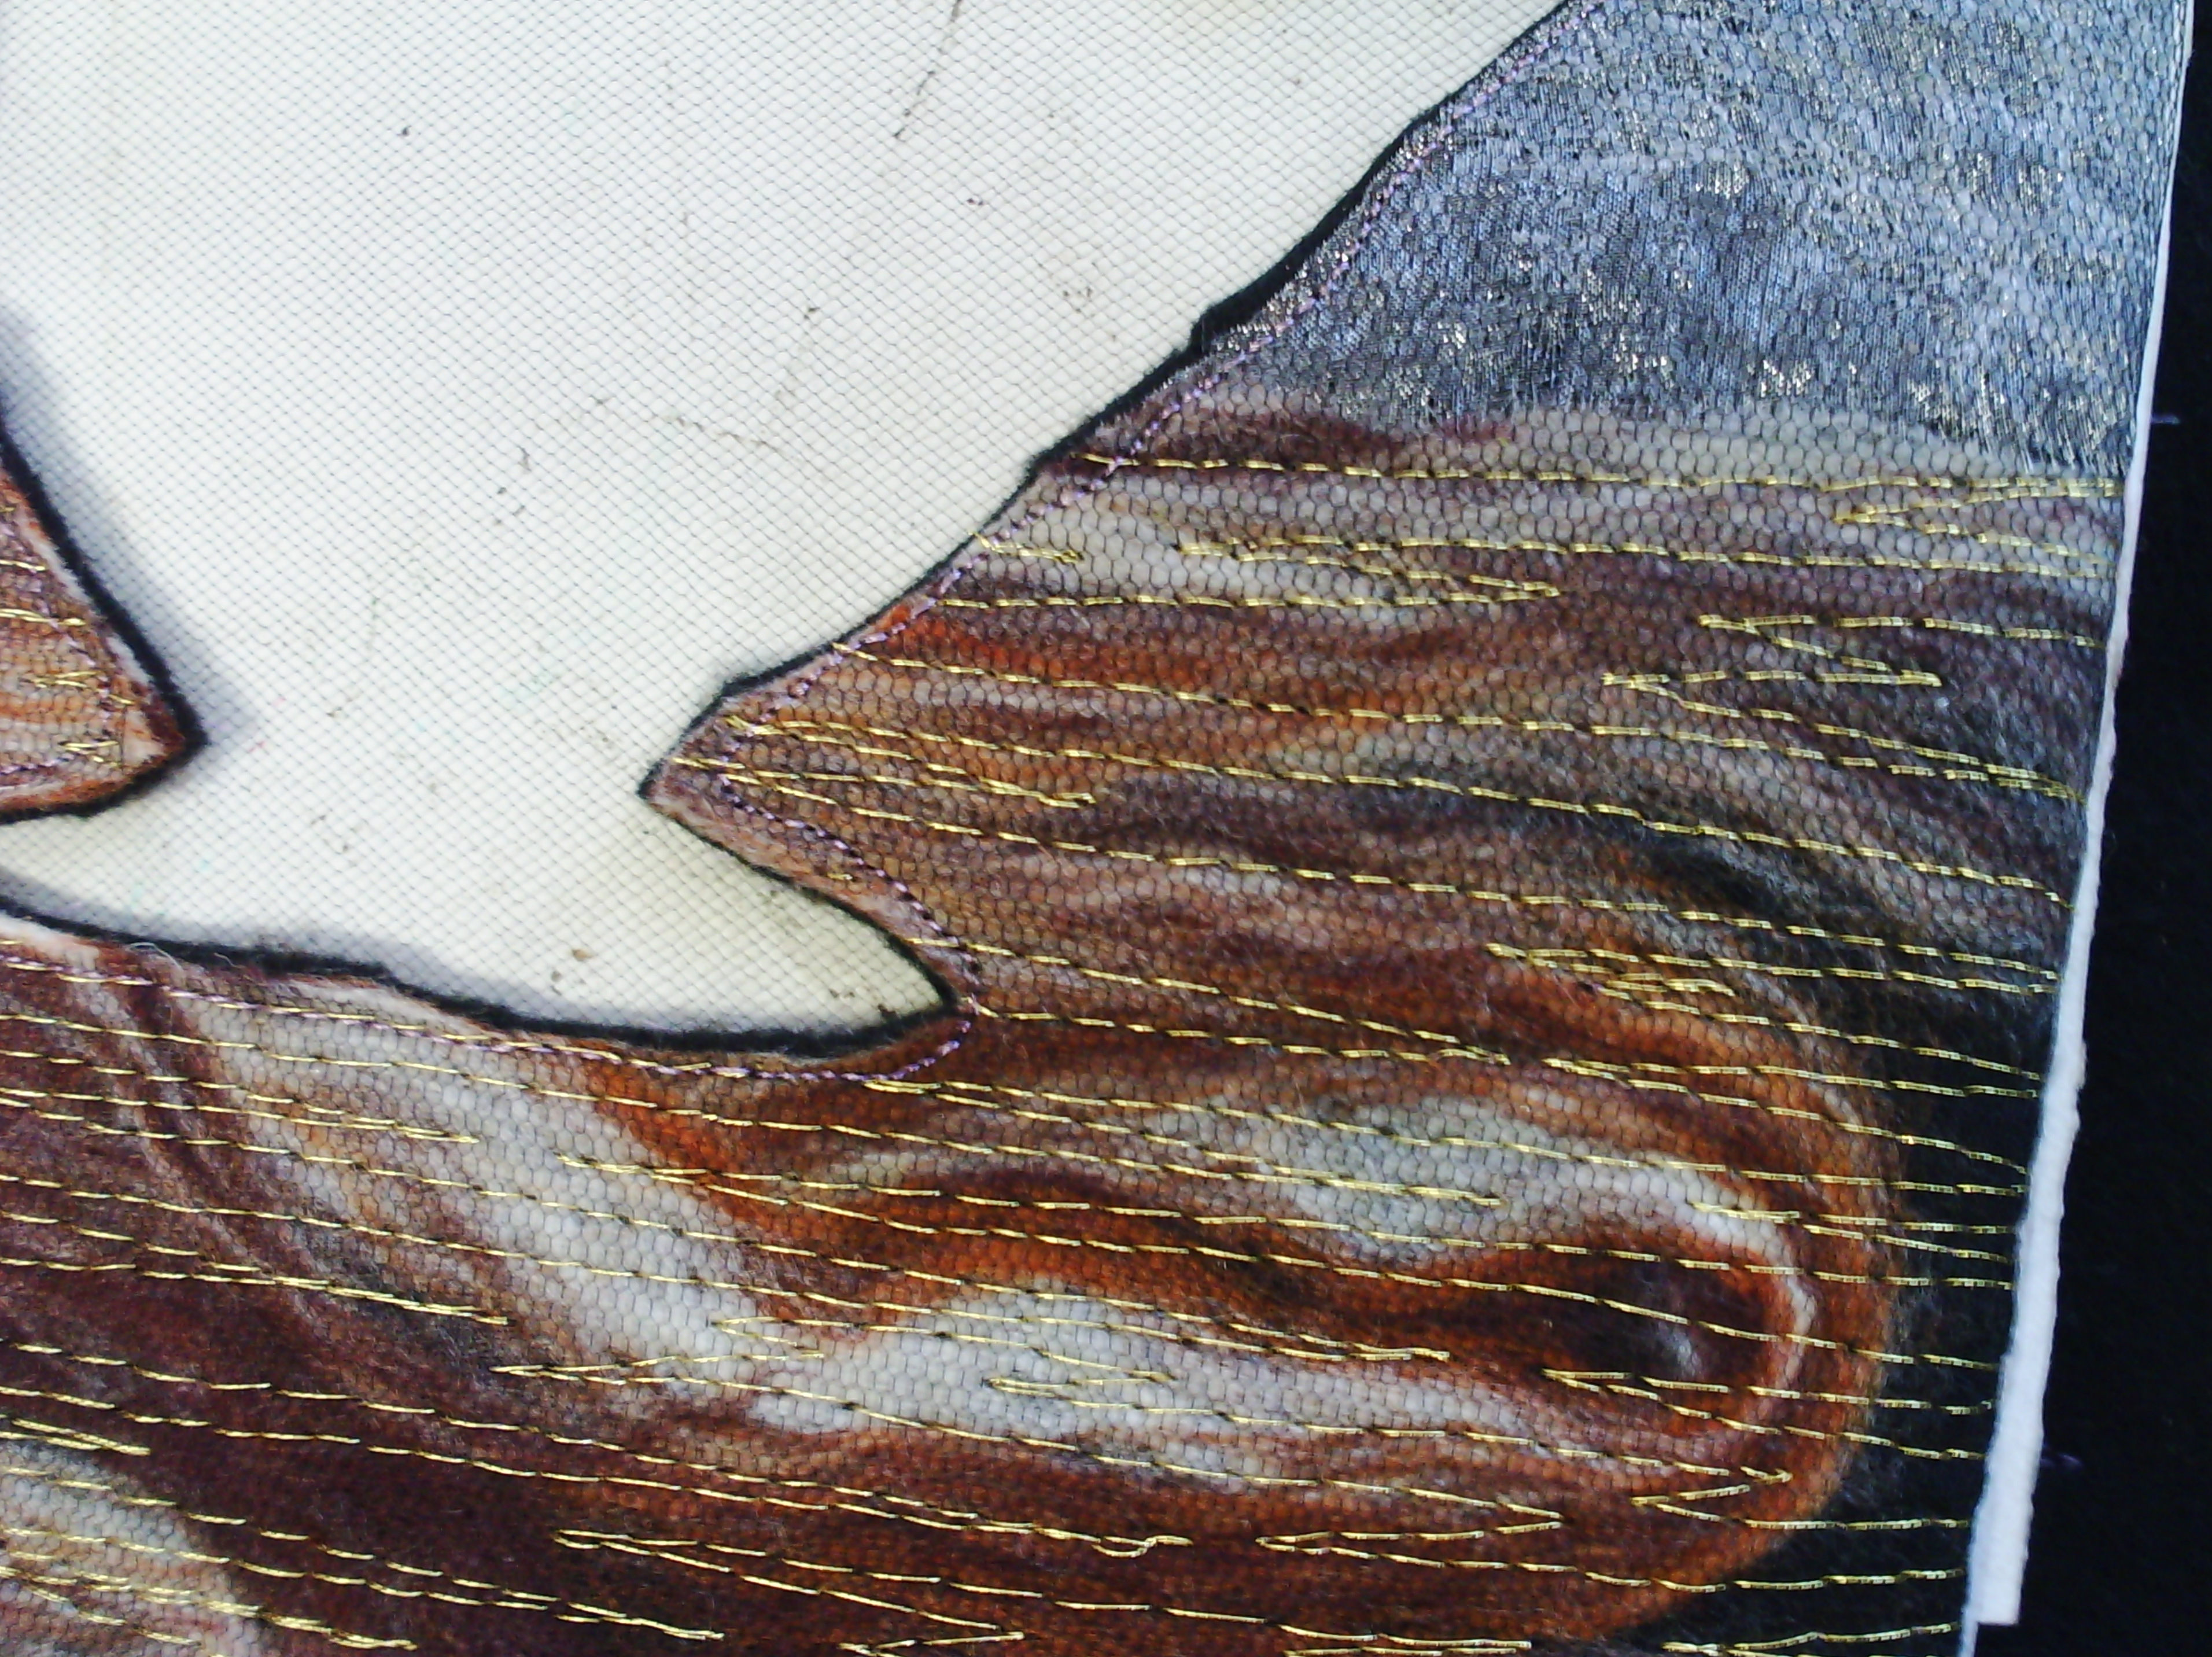
Here is a close up. I have decided that this will be a book cover.
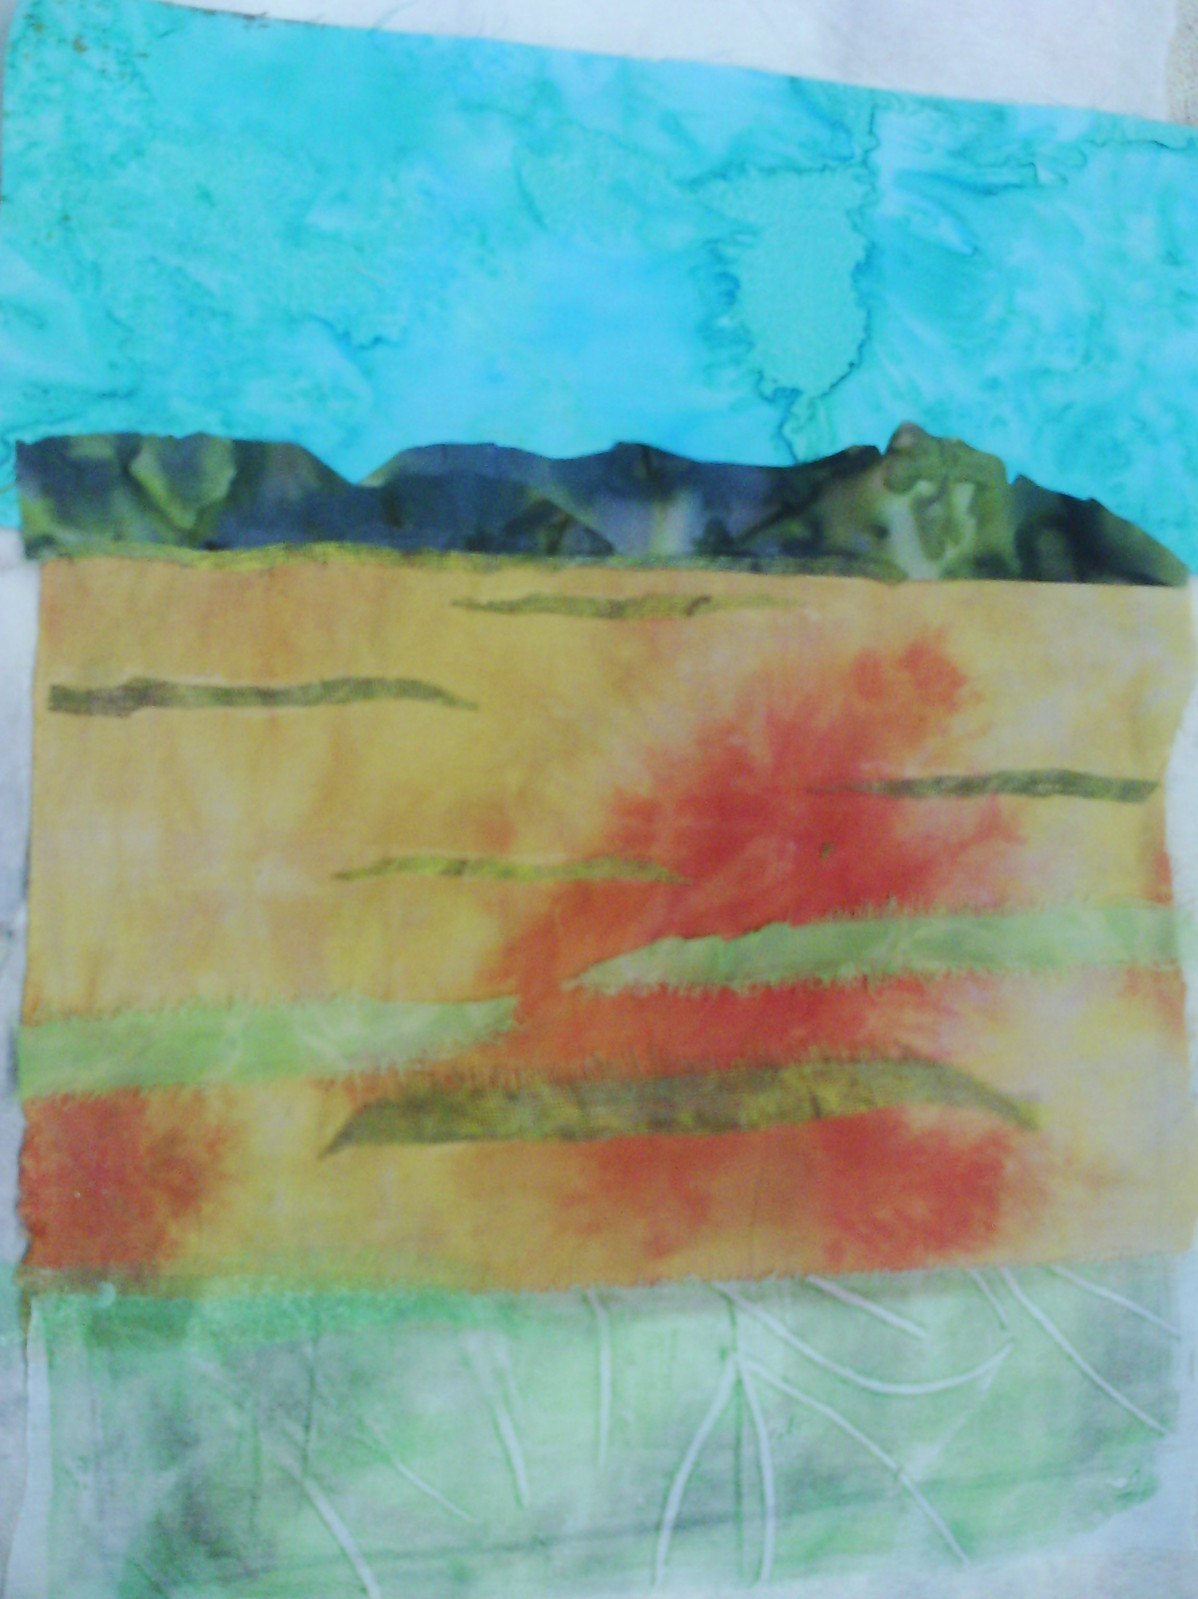
I have also put together another landscape to stitch on.
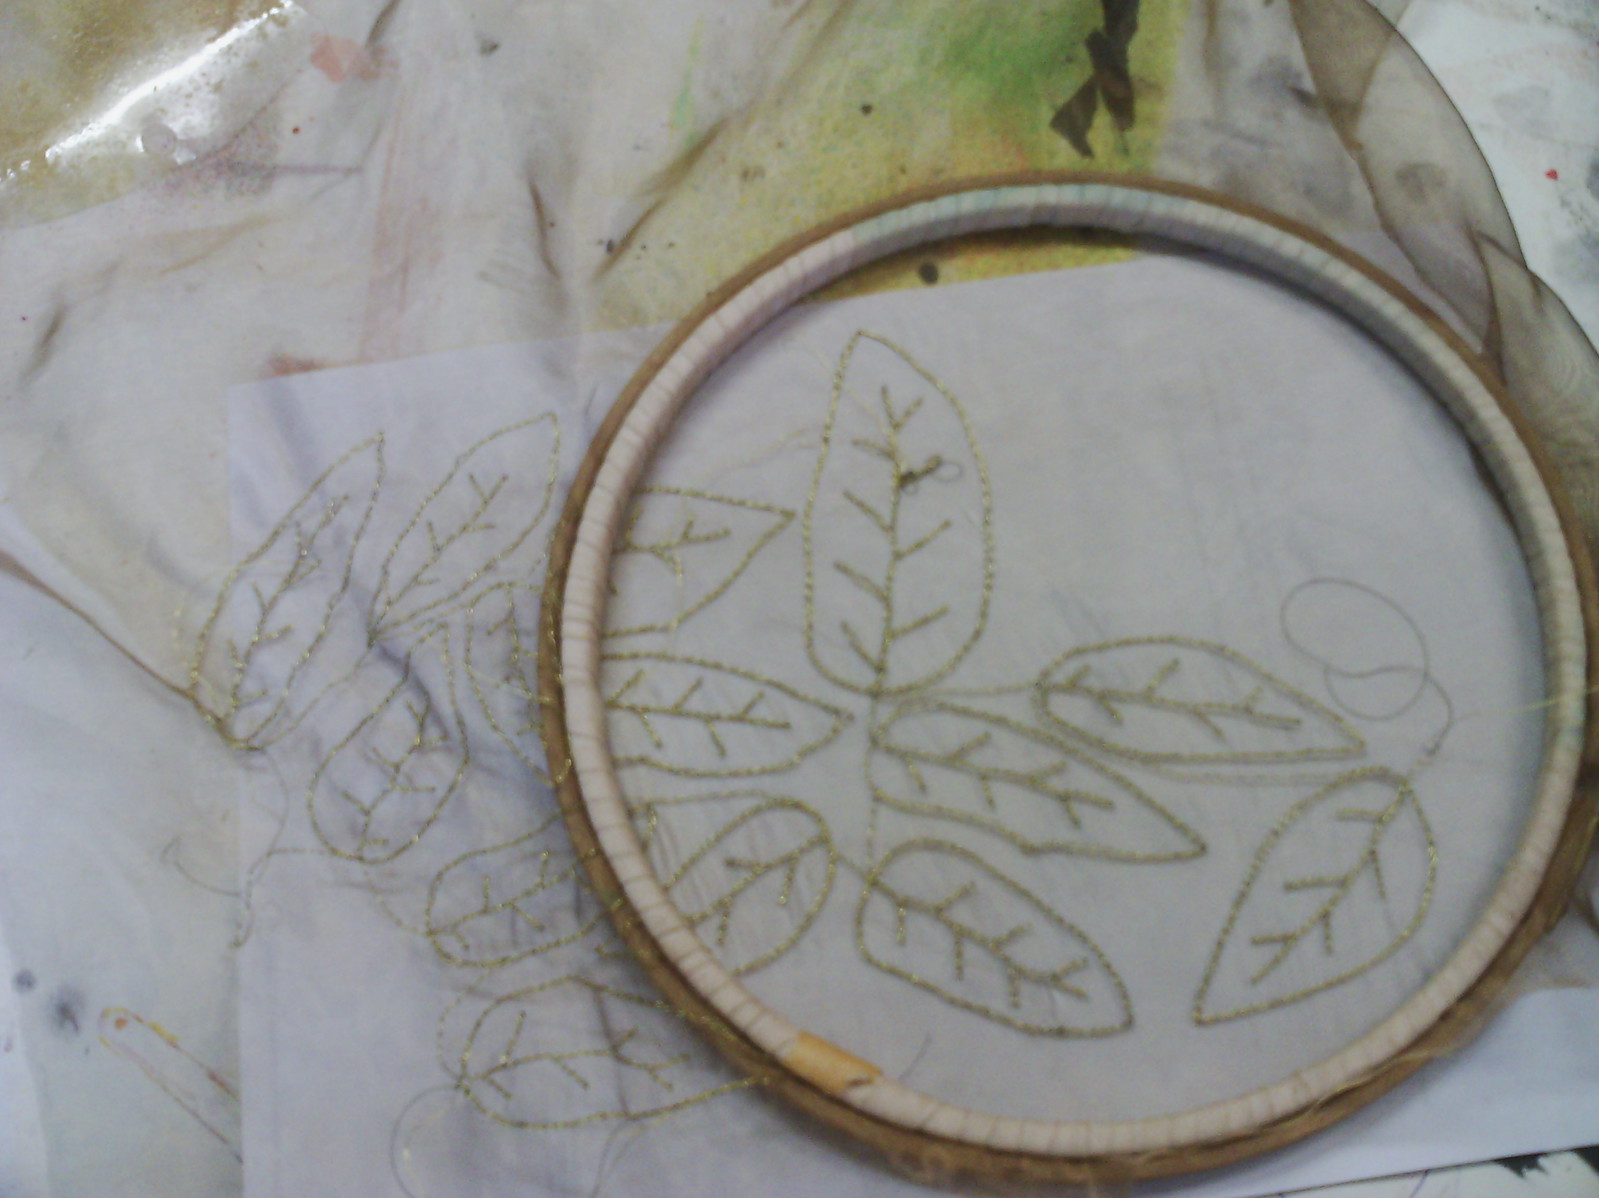
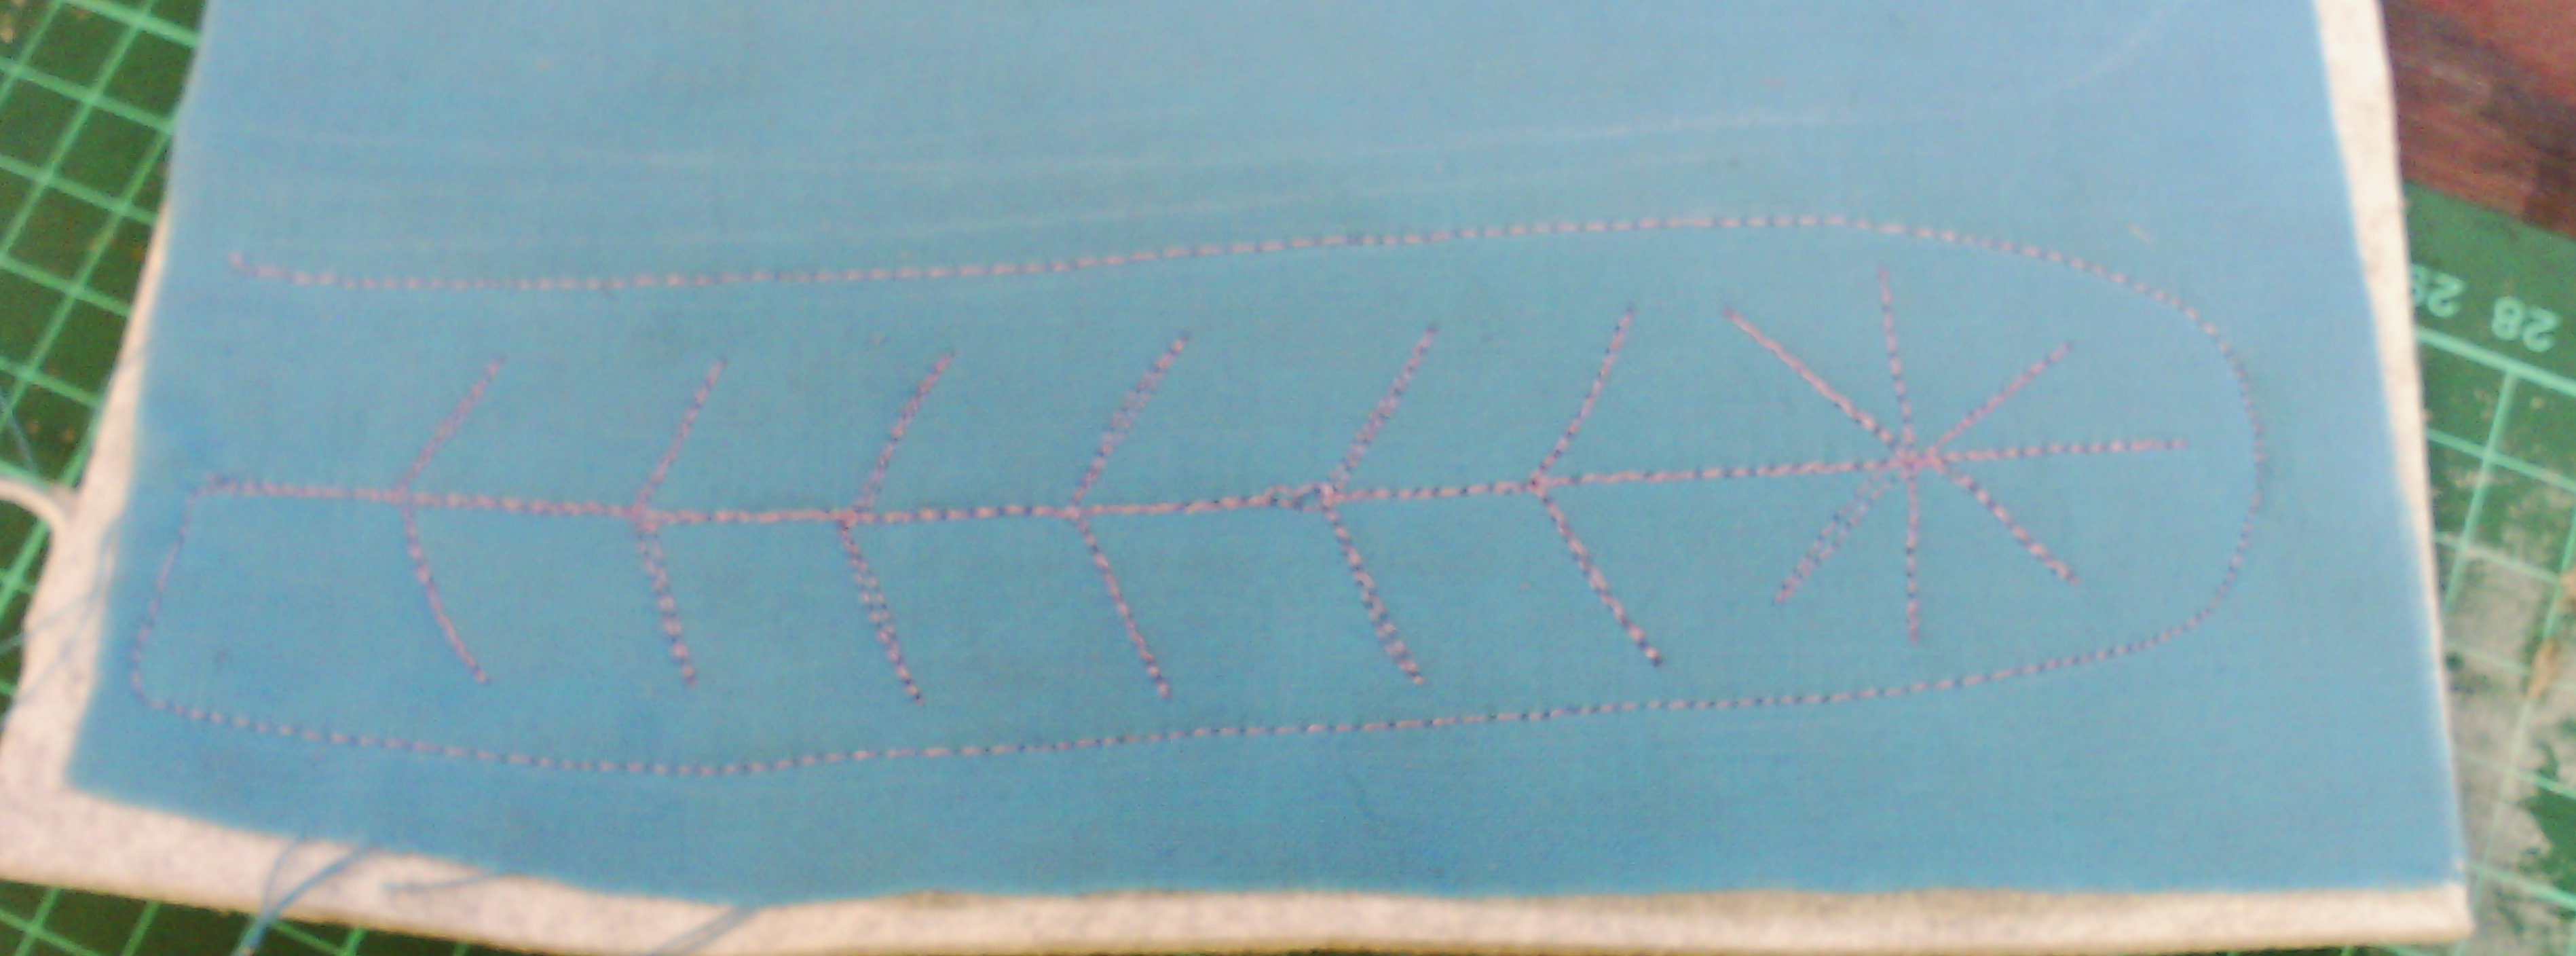
I have been making leaves. These are free motion with a gold thread on a copper organza
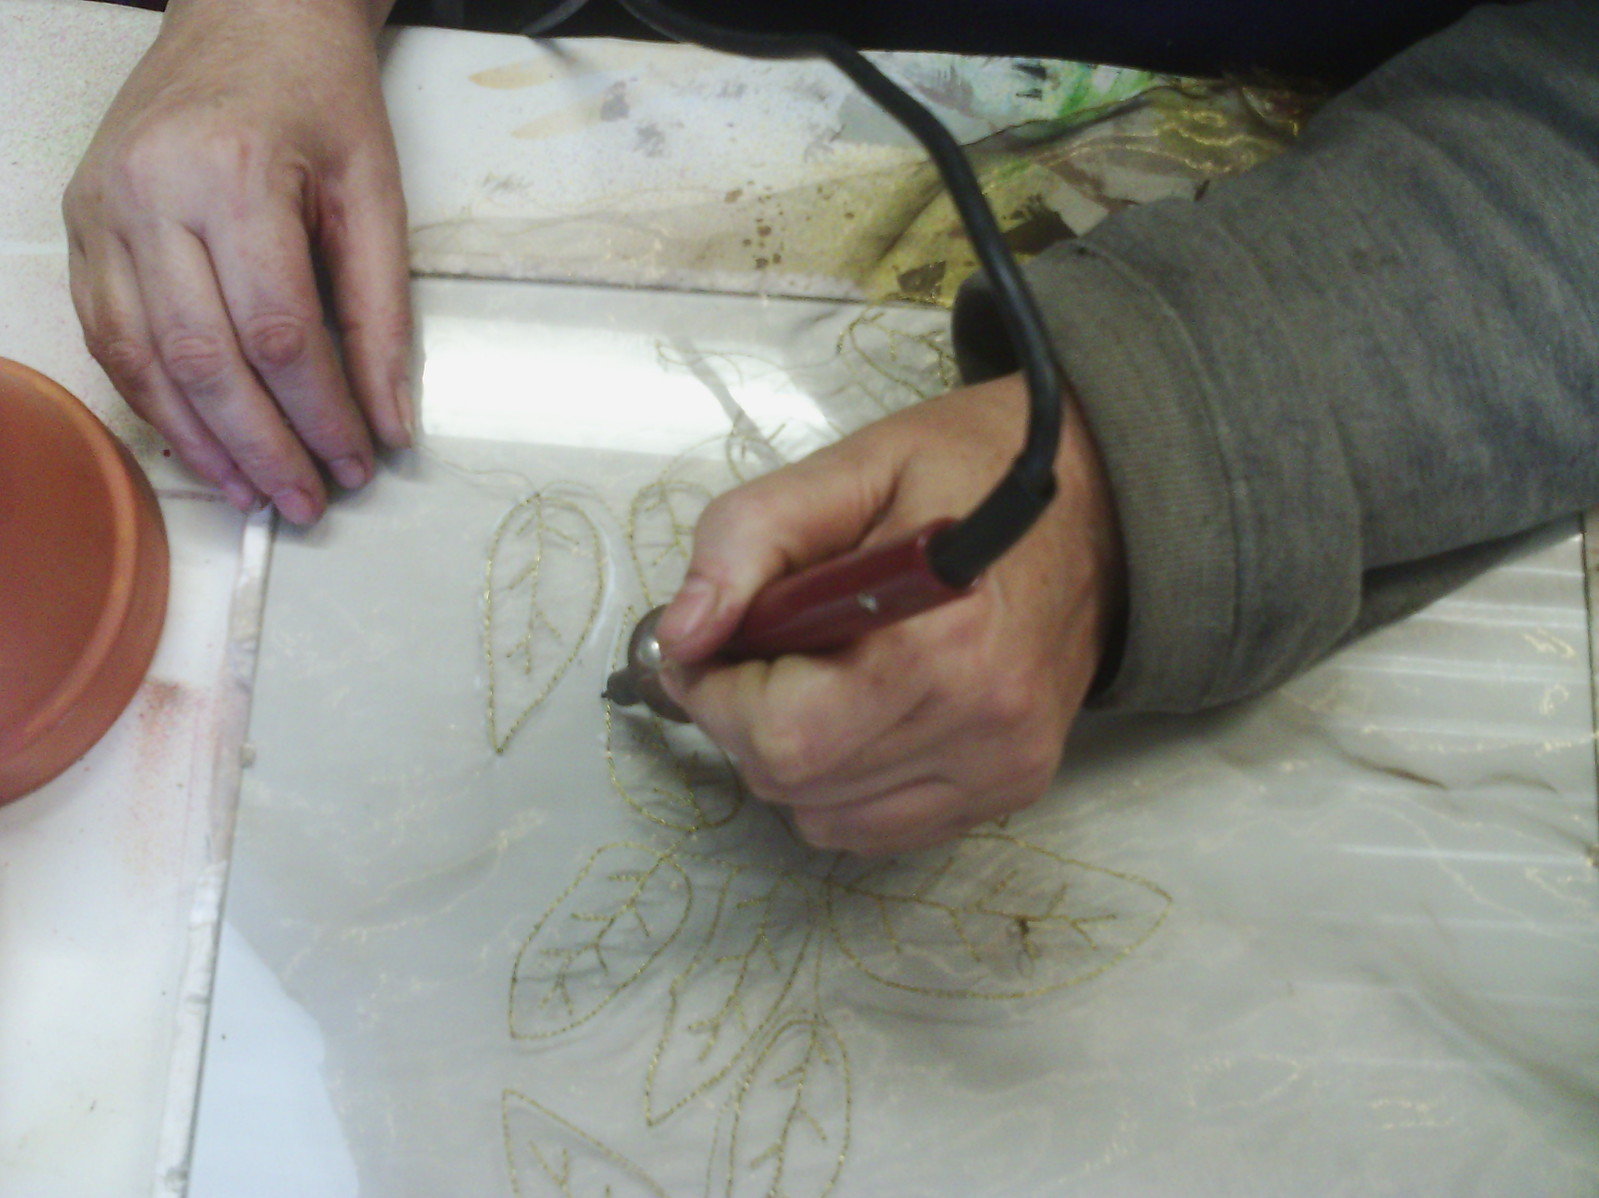
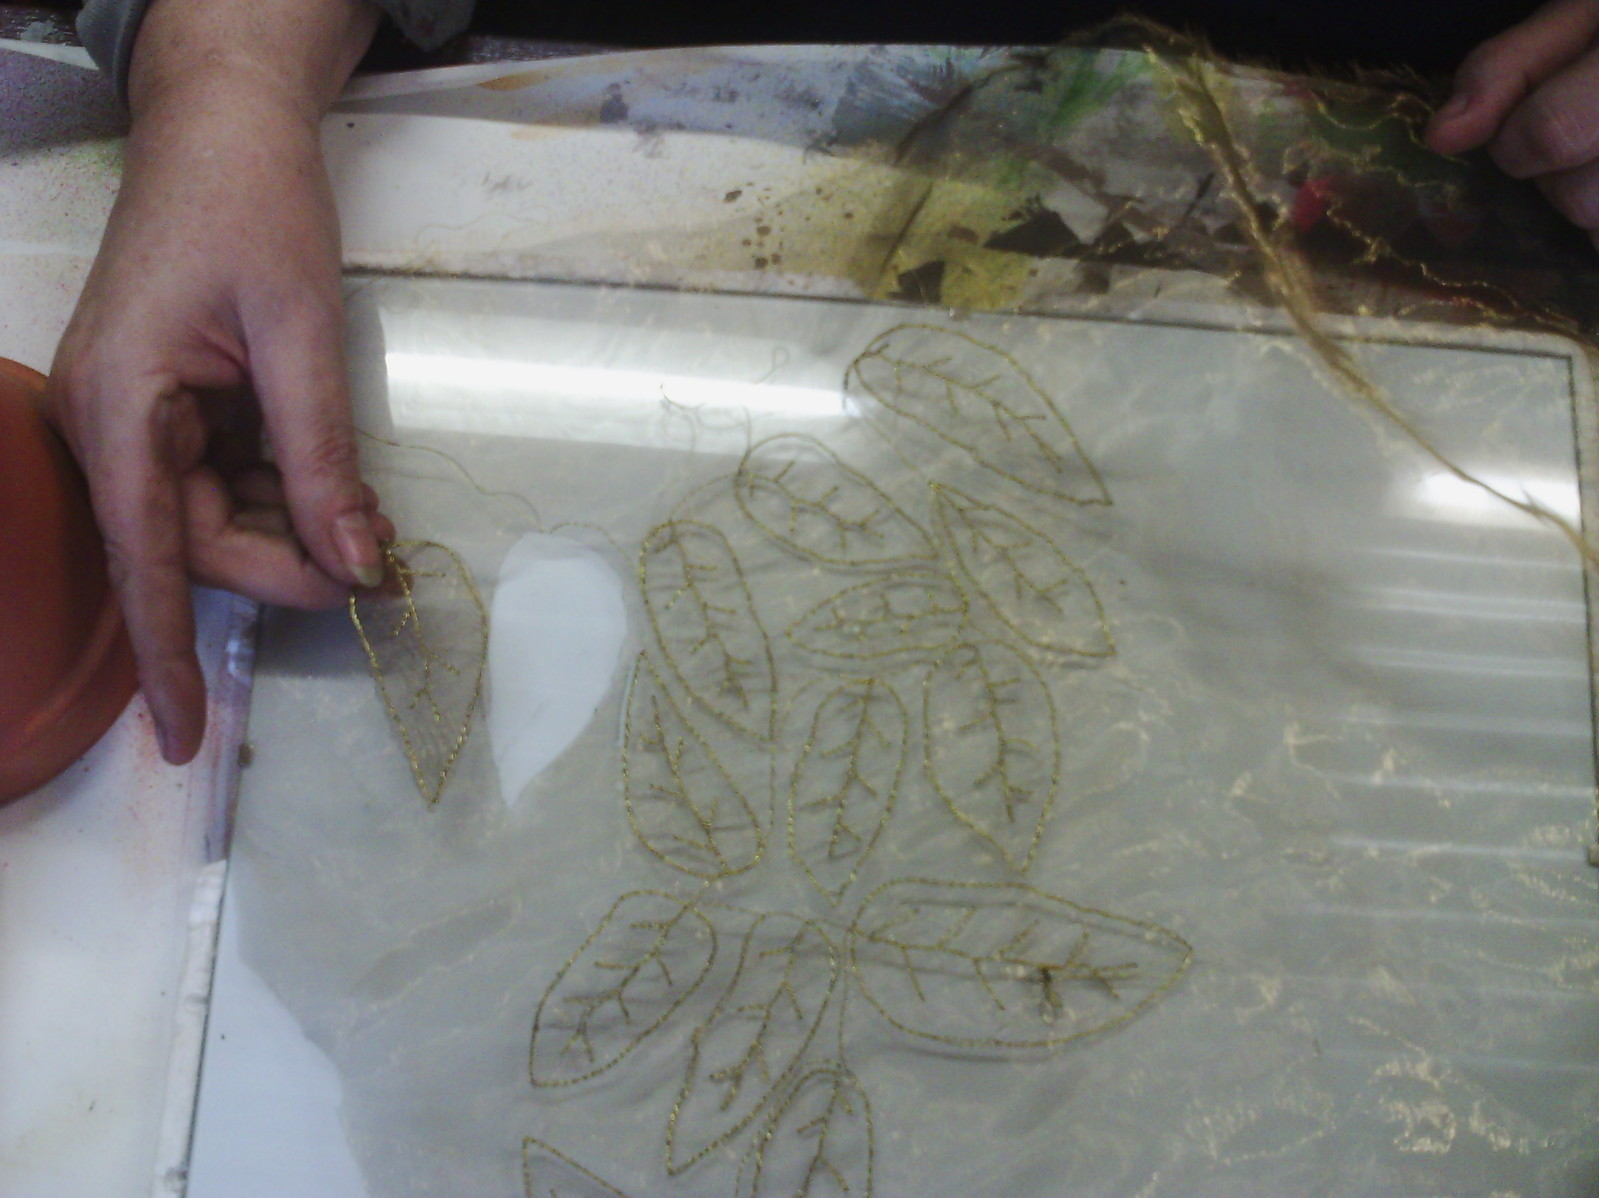
Once they are stitched, I cut them out with a soldering iron, over a glass sheet.
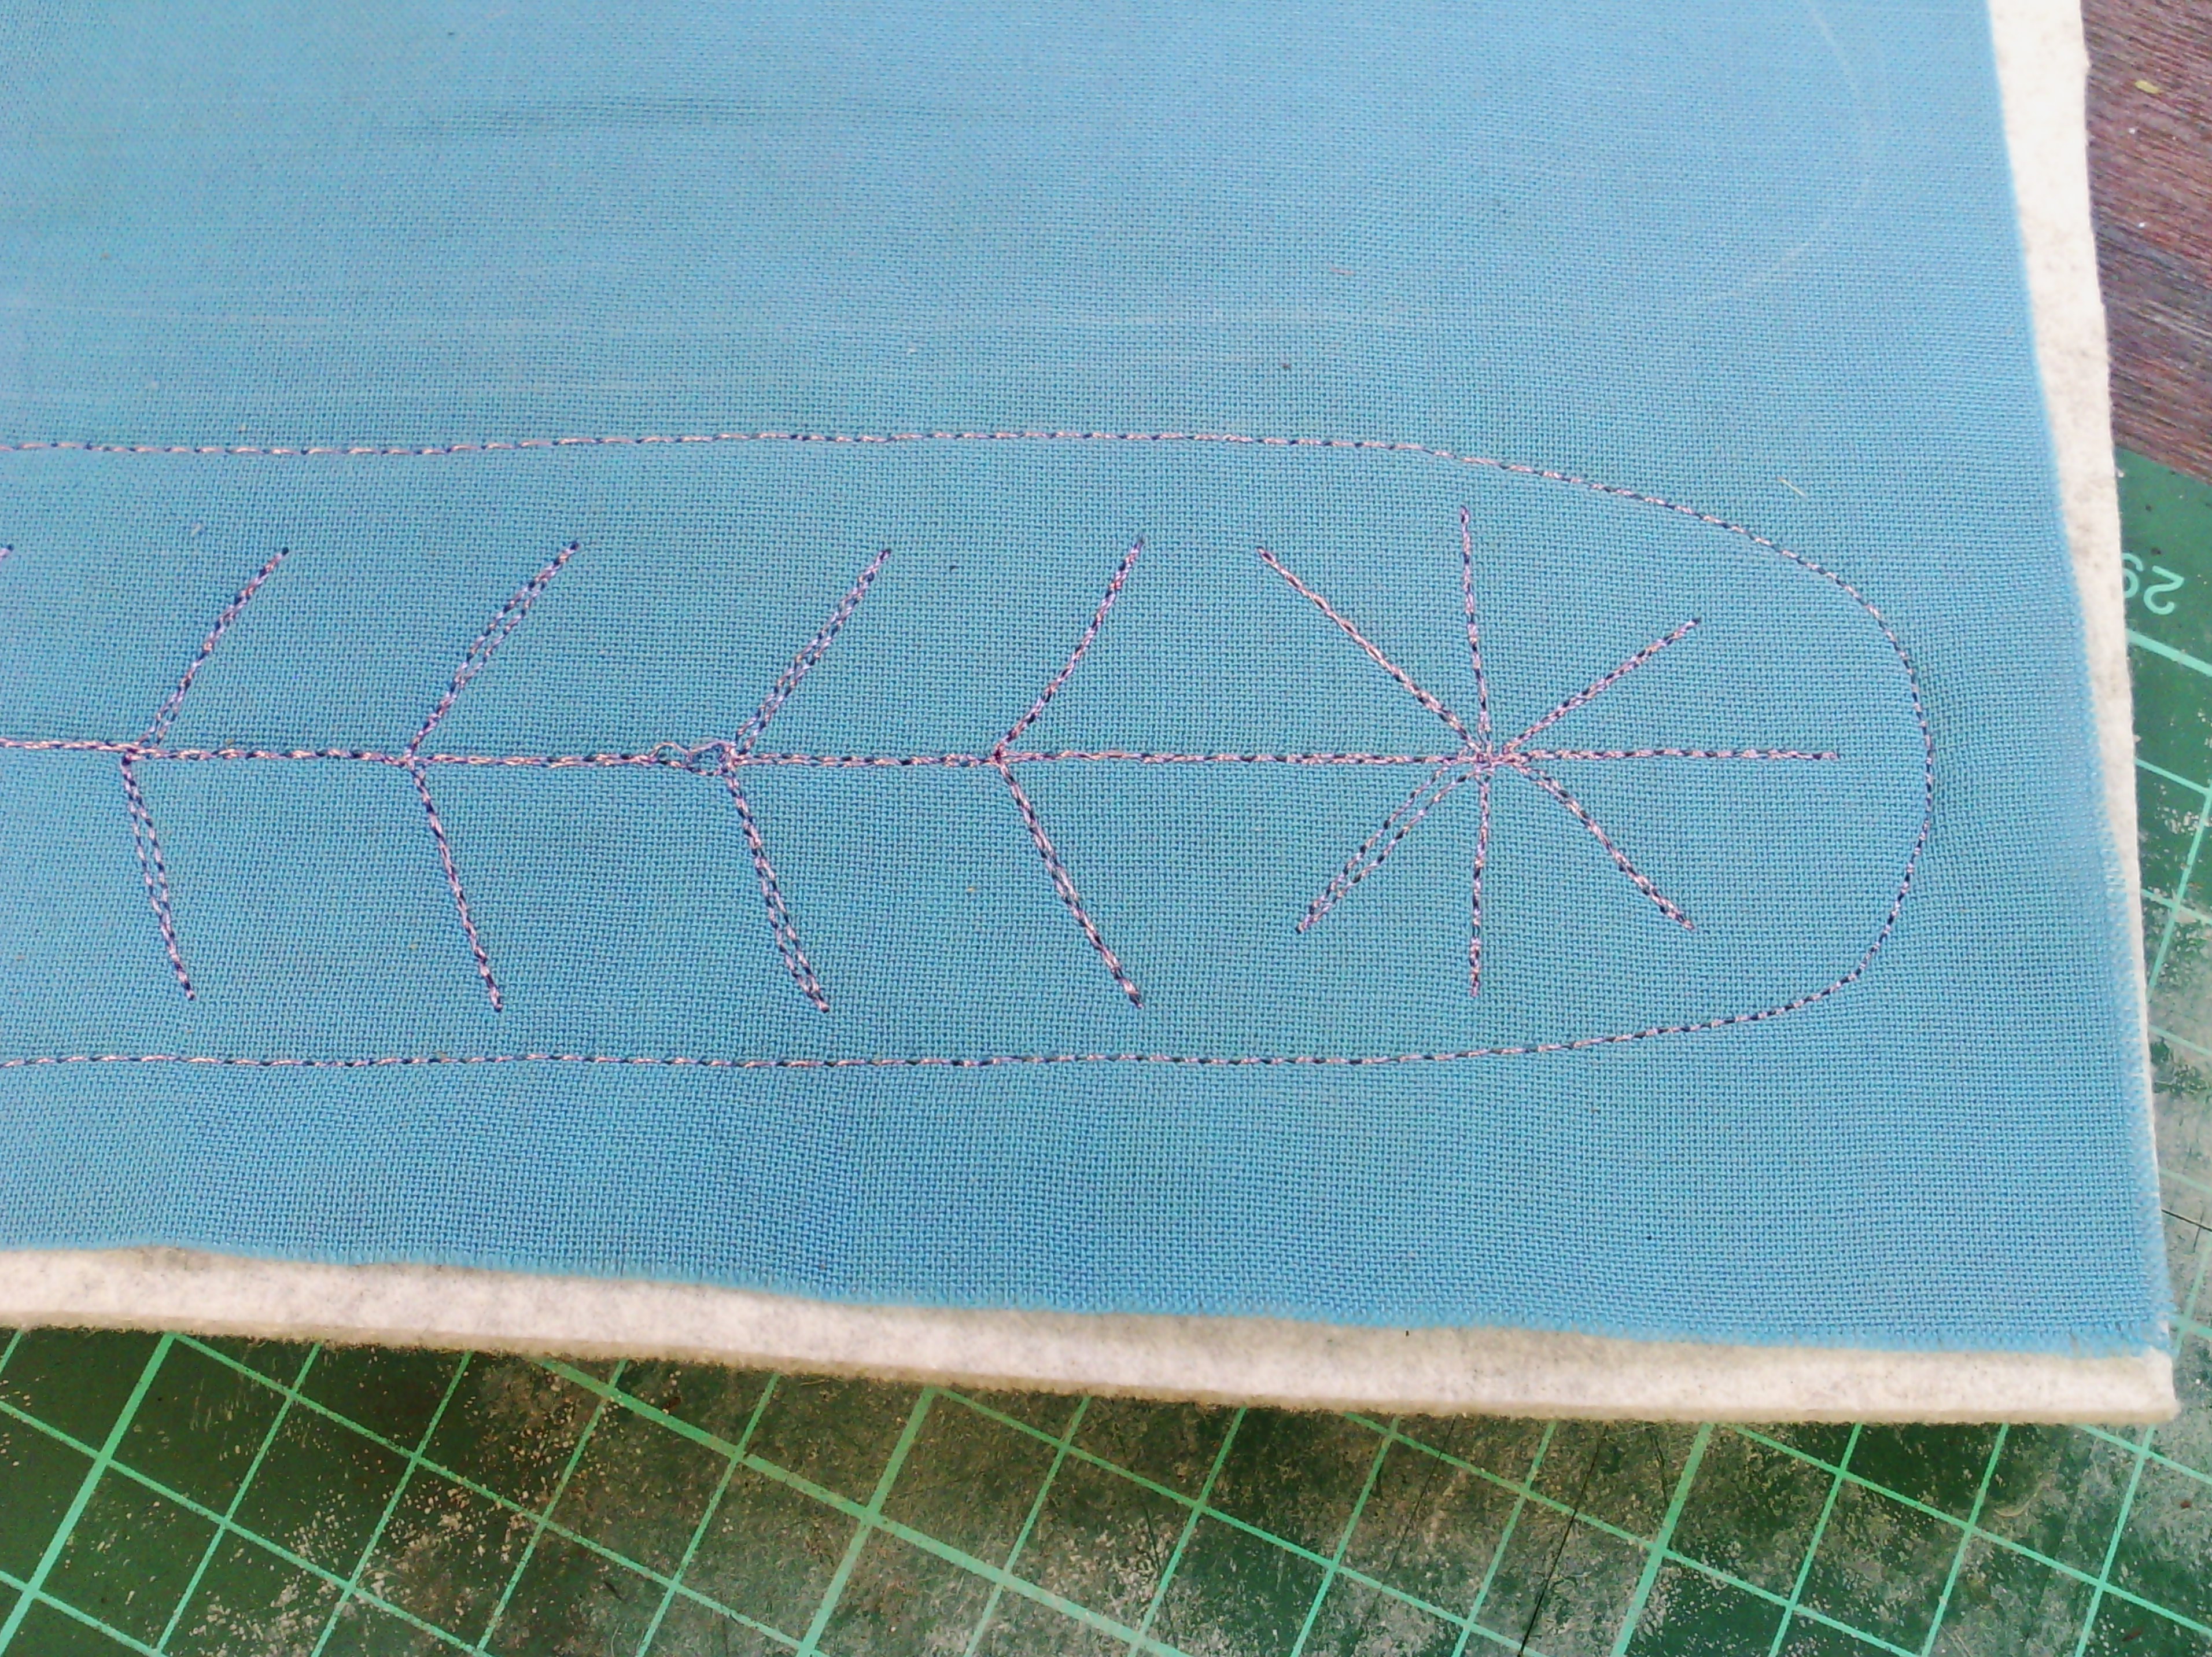
Here is one close up. These will go onto a collage, later.
So a not very productive week turned into a reasonable one on reflection!
Happy Creating!
Showing posts with label book covers. Show all posts
Showing posts with label book covers. Show all posts
Sunday, June 15, 2014
Saturday, July 20, 2013
On the mend
I have finally finished my sketchbook cover.
I am quite happy with the way it turned out. I trimmed it to size and glued the edges so the stitching was secure, then thought about how to attach it to the sketchbook.
I could have glued it down, since it is made specifically for this book, but I decided it was best not to do this in case the book needs rebinding at some time.
I decided to add some sticky velcro to the front and back, which would grab the felt backing. This worked really well and held the cover on very firmly.
I have not decided yet whether anything will go on the cover under the cutout, or if I will paint the cover.
Above are a few close ups of the stitching.
I have been thinking a lot about blogging and have come to the conclusion that it keeps me on track. It has been a month since my last post and I have hardly done any textile work. Whilst a break can be a good thing, I am finding it very hard to get back into the swing of things. In the past I have always had a little project to keep me going, like ATCs and journal quilts and so I have decided what it is that I need to do every day at present and decided that it is quilting and free motion embroidery..
I have quite a few little sketchpads, filled with free motion doodles and a couple of months ago I came across one where I had doodled hundreds of little feather shapes with different fillings. I set up a pile of felt and fabric sandwiches to make samples with. And it sat on my table for quite a while.
So now I have set myself the task of doing one of these feathers a day. It only takes five minutes and makes me go into the studio and sew. Of course I can't always blog every day, but my task is to makes sure I do one of these every day and blog at least three times a week.
So here is my first one. It is a sort of dandelion inside the feather. I must admit, this one took actually less than a minute!
and here is a bit closer to see the stitches.
So, let's see if I can stick to my project and create every day again.
Sunday, June 23, 2013
of books and broken ankles
There are two reasons I have not blogged for a while. The first is that I am spending far too much time on my creative sketchbooks course and the second is that I currently have a broken ankle. Until late last week, it was impossible to do any sewing and quite easy to sit and draw for my course.
My ankle is now in an huge boot, which will keep it stable until I have surgery to re attach some ligaments. It's like an enormous cast, but it can come off.
Enough of that. Today I decided my sketchbook needed a cover so I started needlefelting a wrap around cover for it.
I warn you my pictures are awful as I am getting used to the new camera after my old one died a few blogs ago.
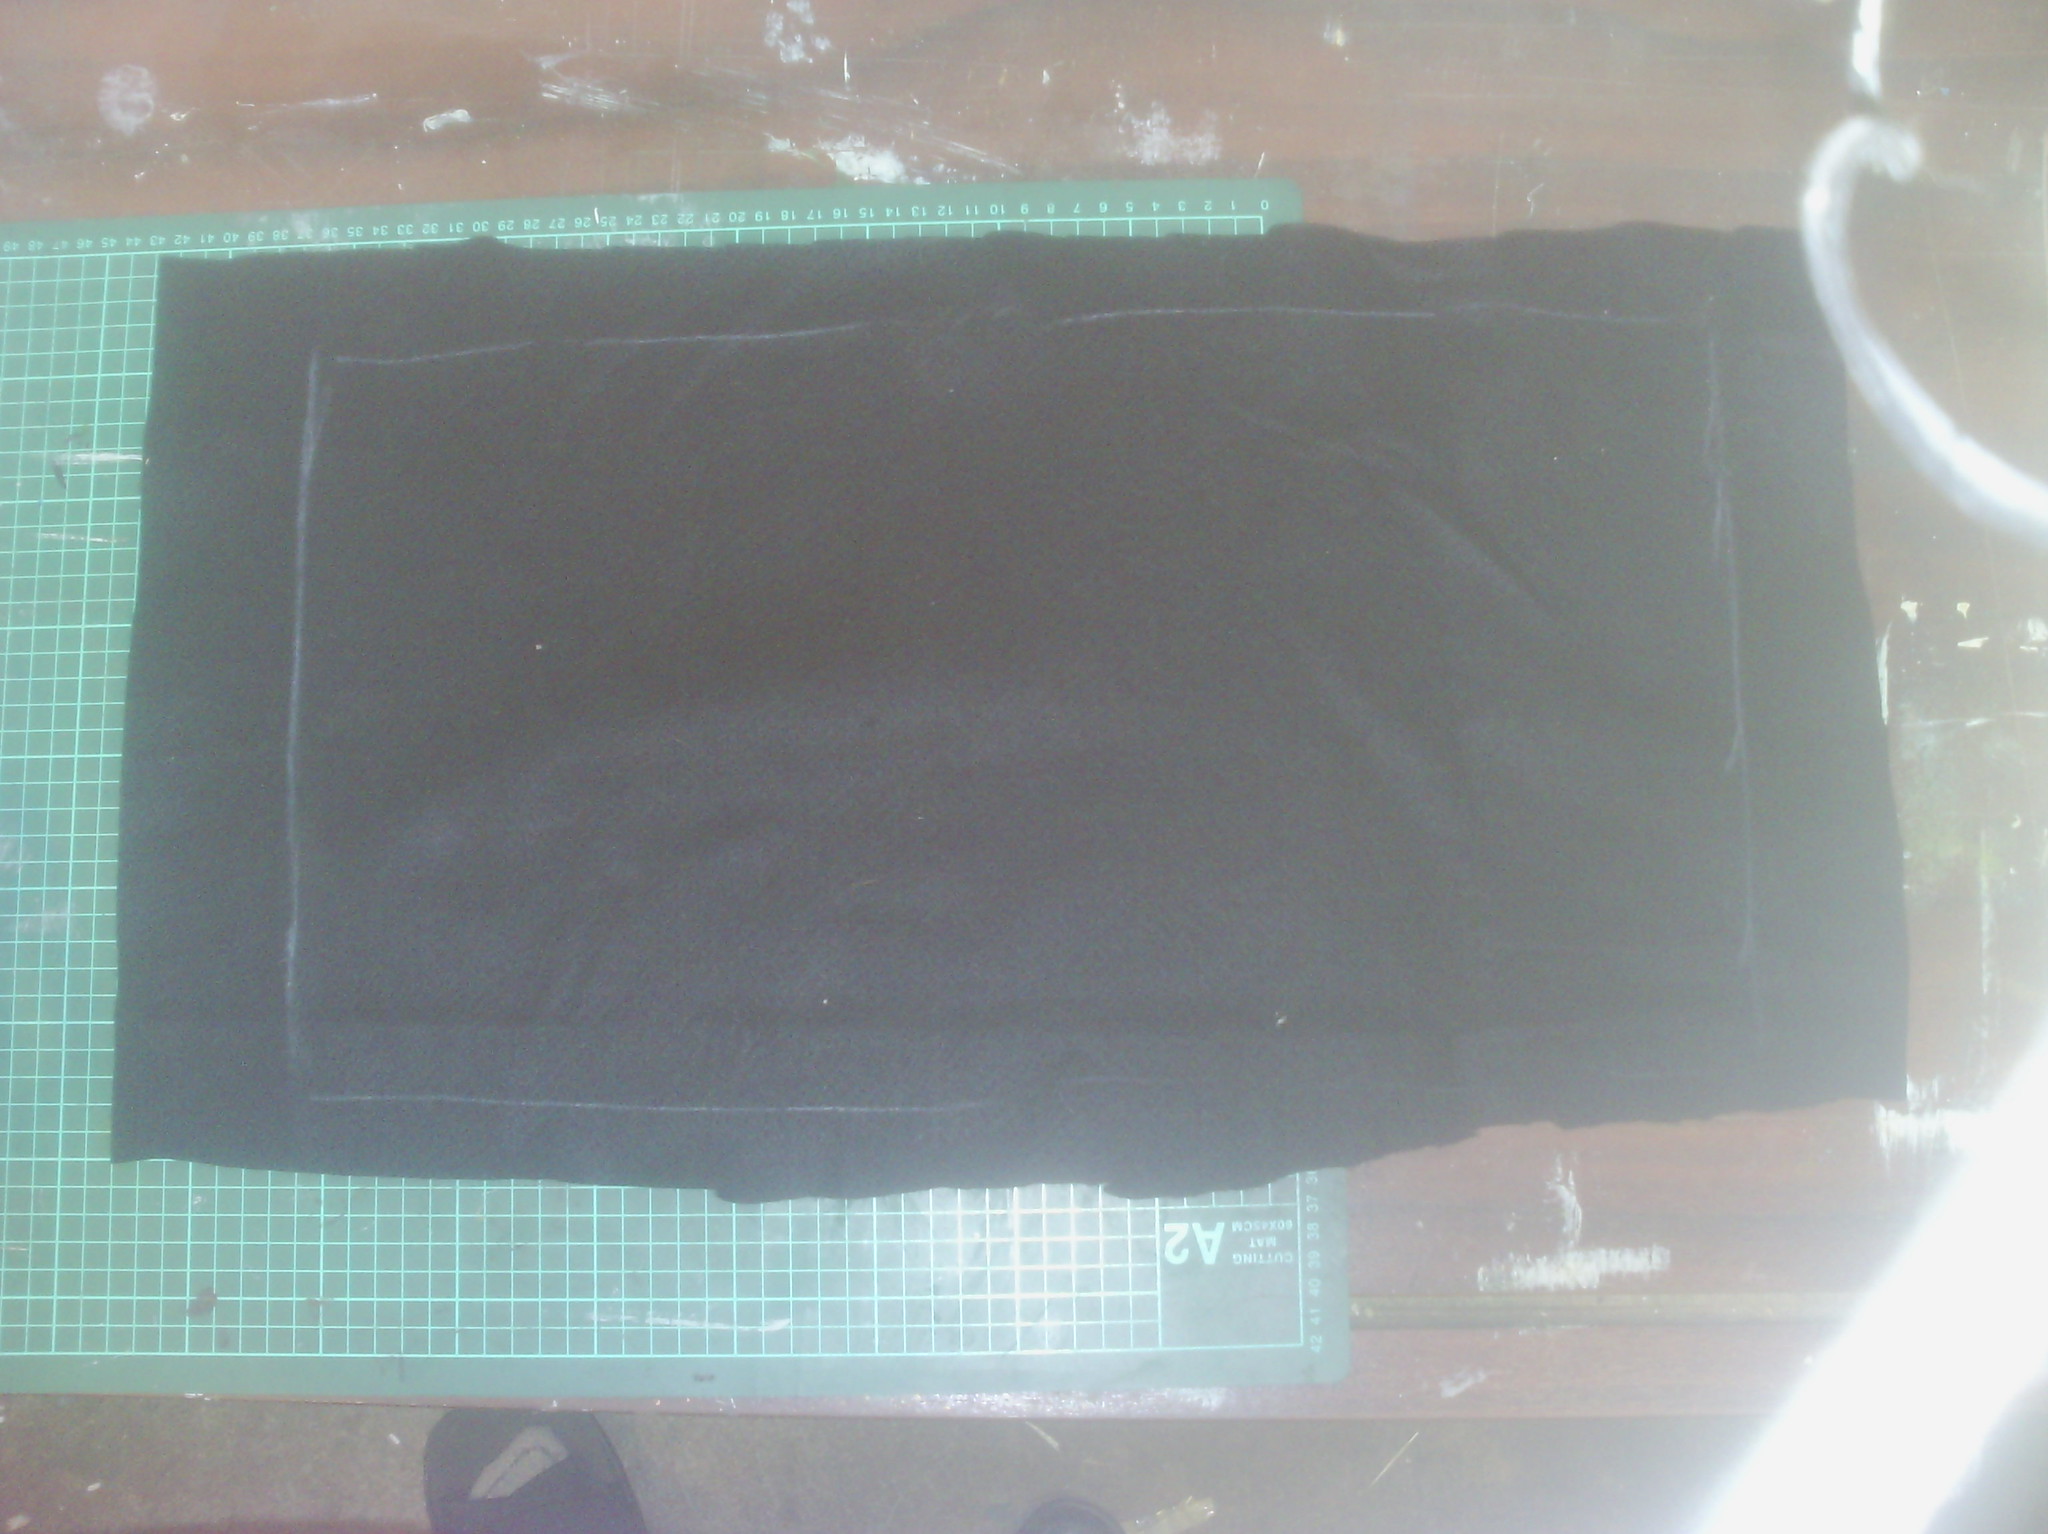
First, I wrapped some black felt around my book and marked the edges with chalk. The felt will shrink quite a bit and that is why I have cut it extra large.
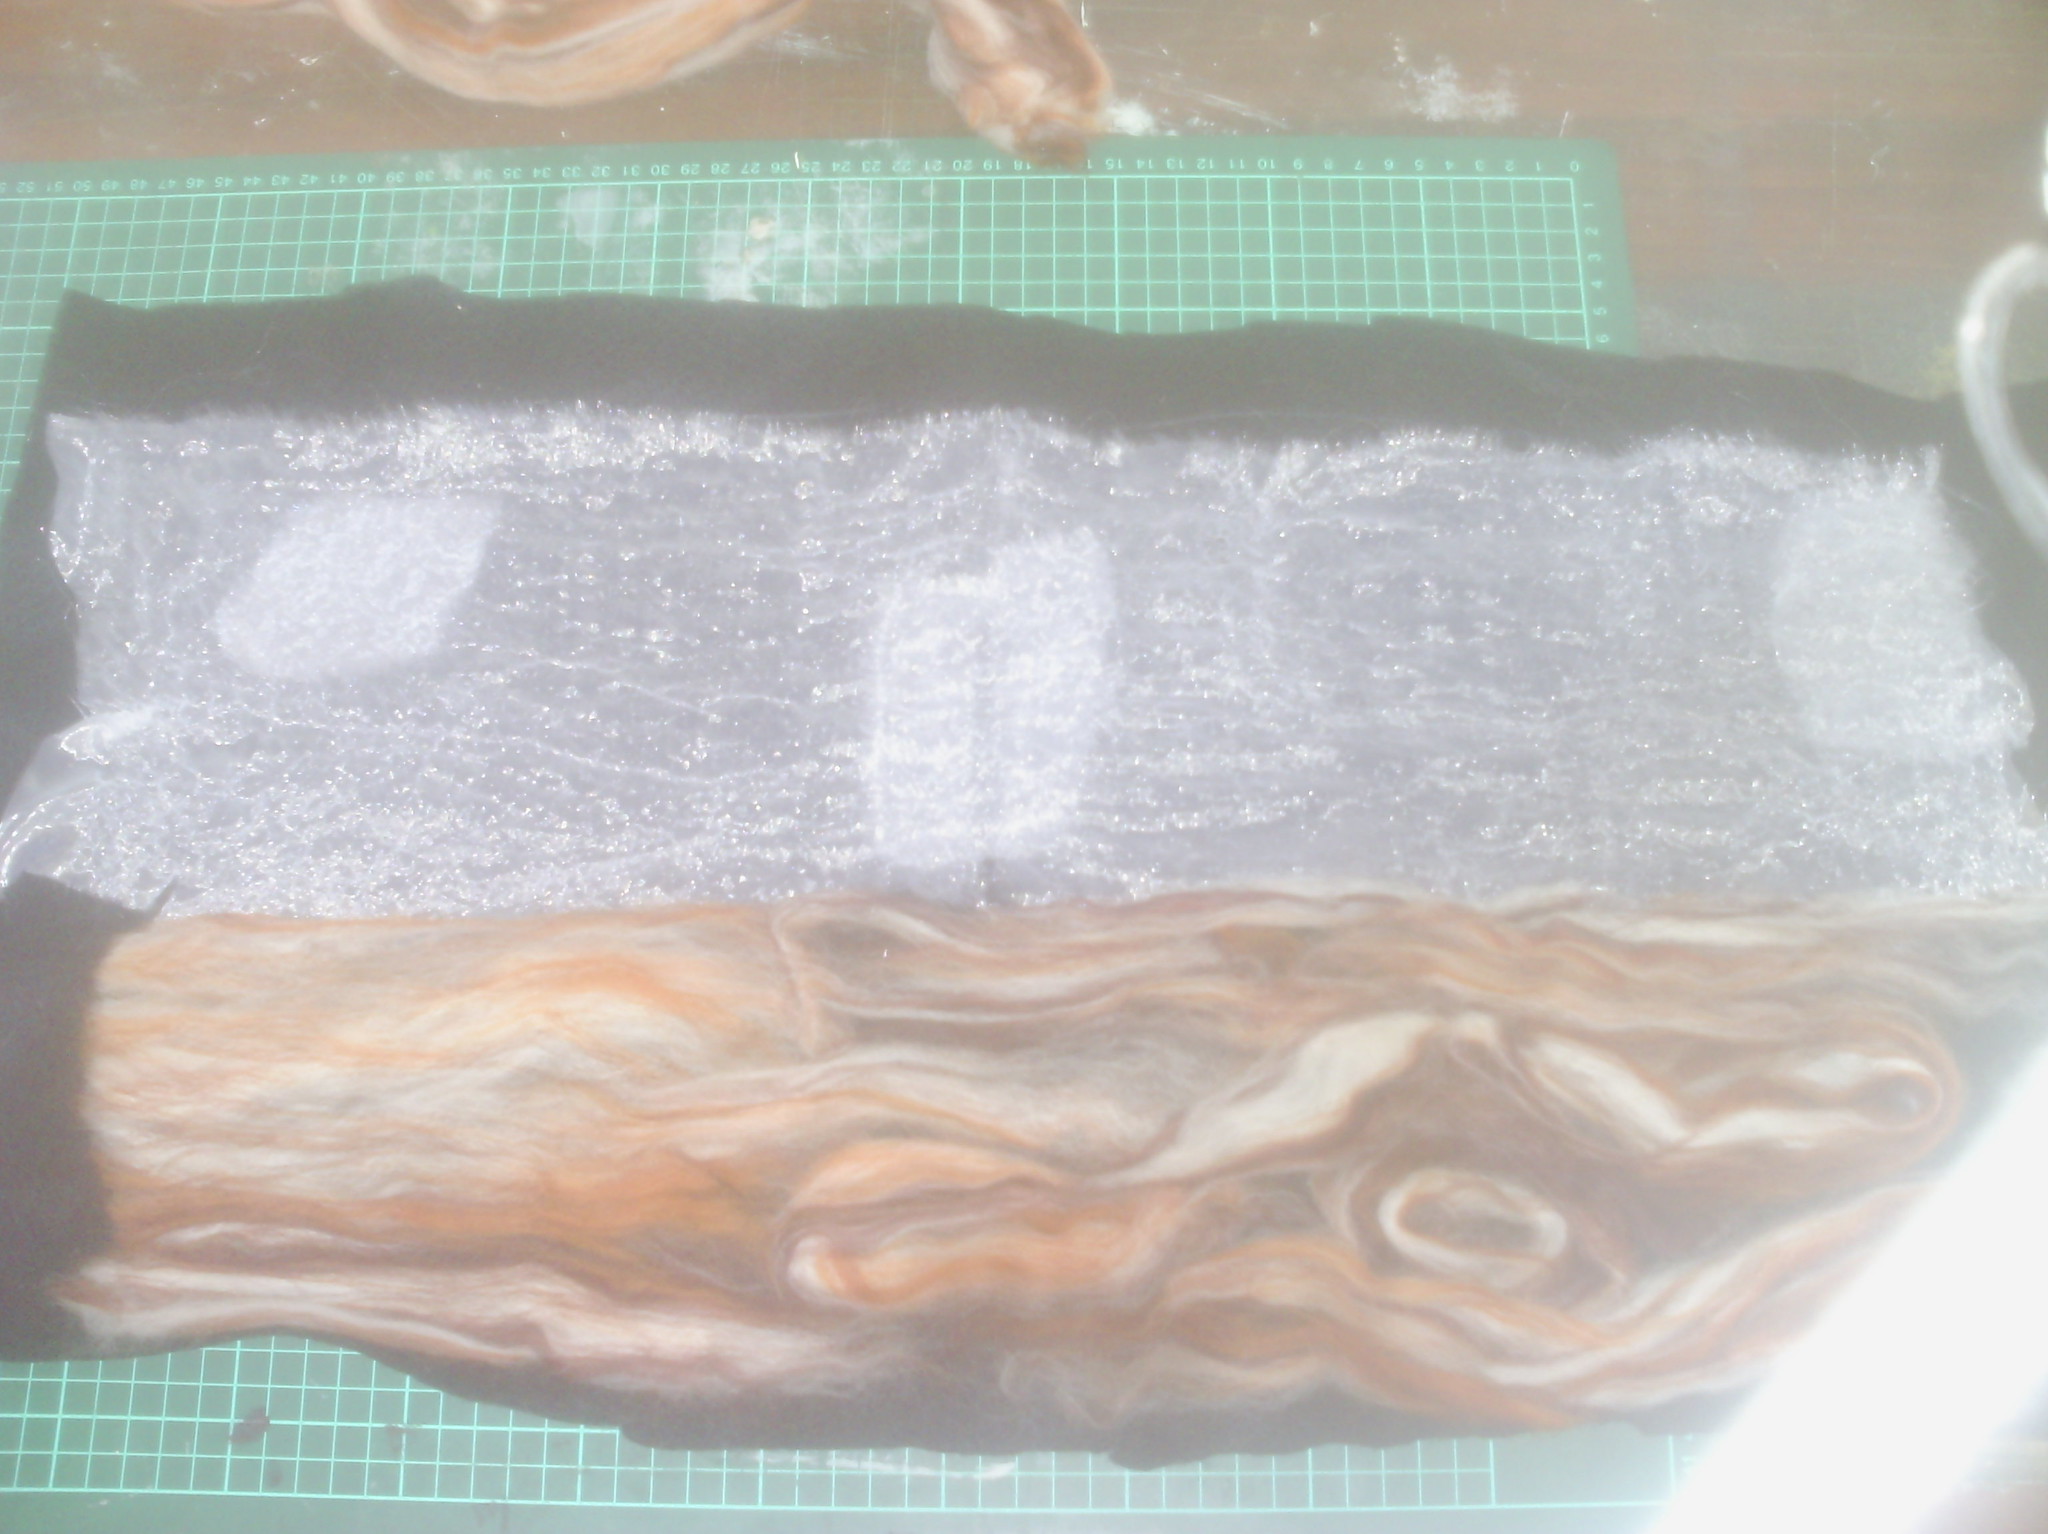
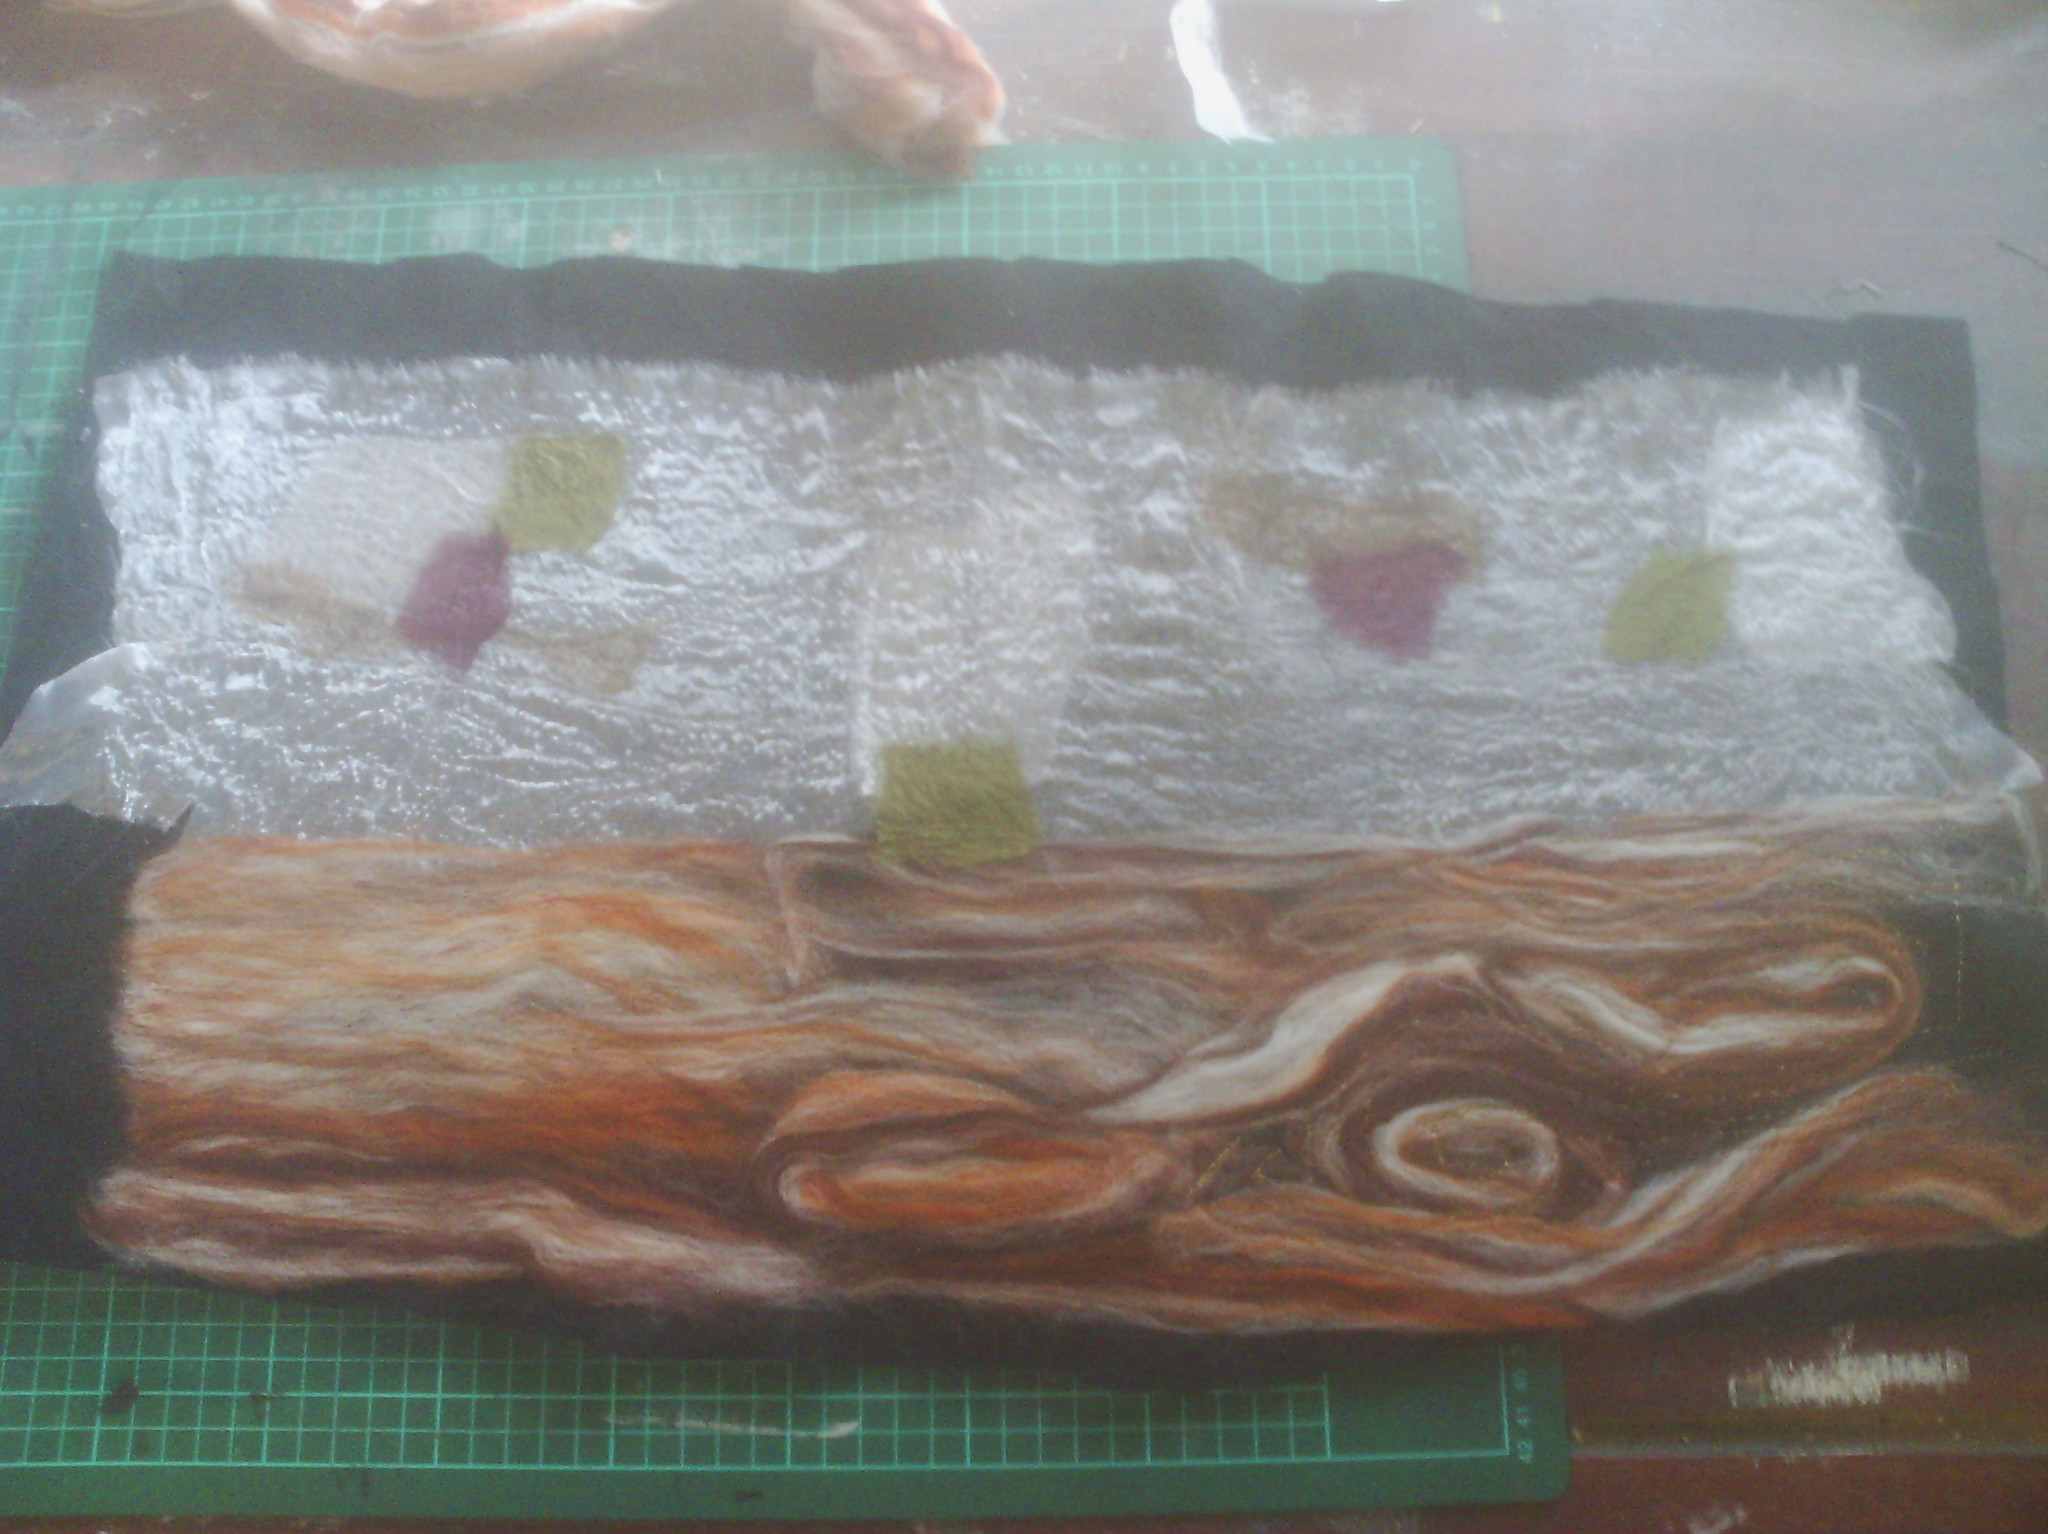
I missed a few steps before this photo, but I laid out some white organza for my background and some rovings in browns to look like wood for my table top. In this photo, I have needlefelted the organza down. and added a few extra bits. I love the texture of needlefelted organza.
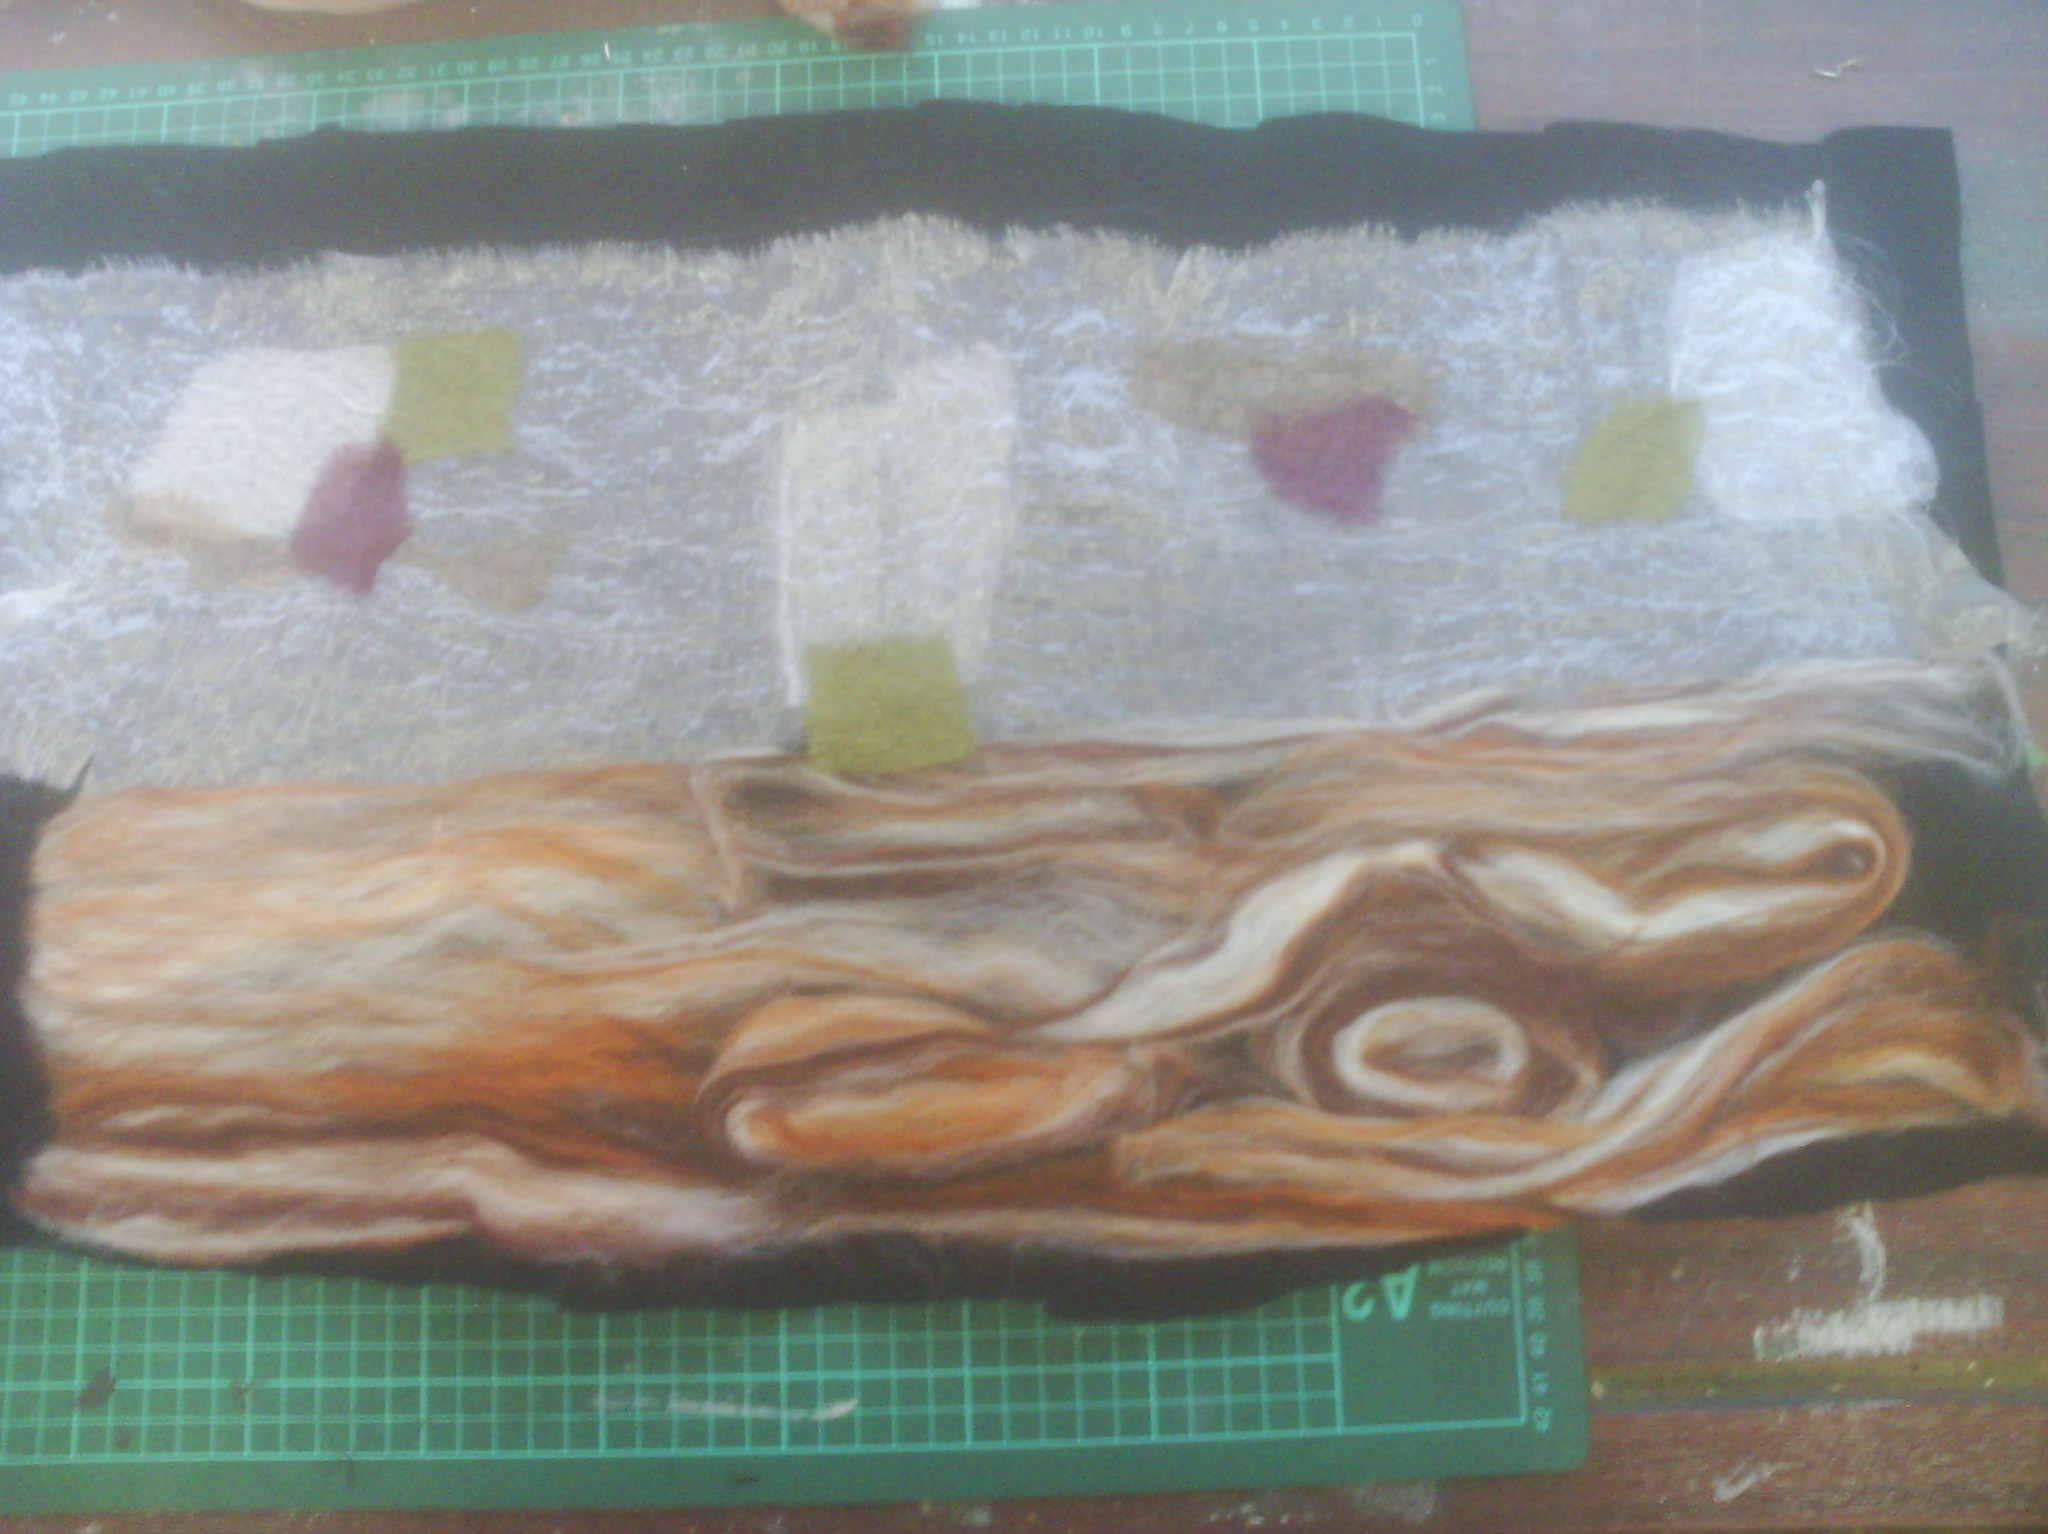
I thought the background could do with a bit more colour, so I put a few scraps of other coloured organza and chiffon down.
And felted them into the background.
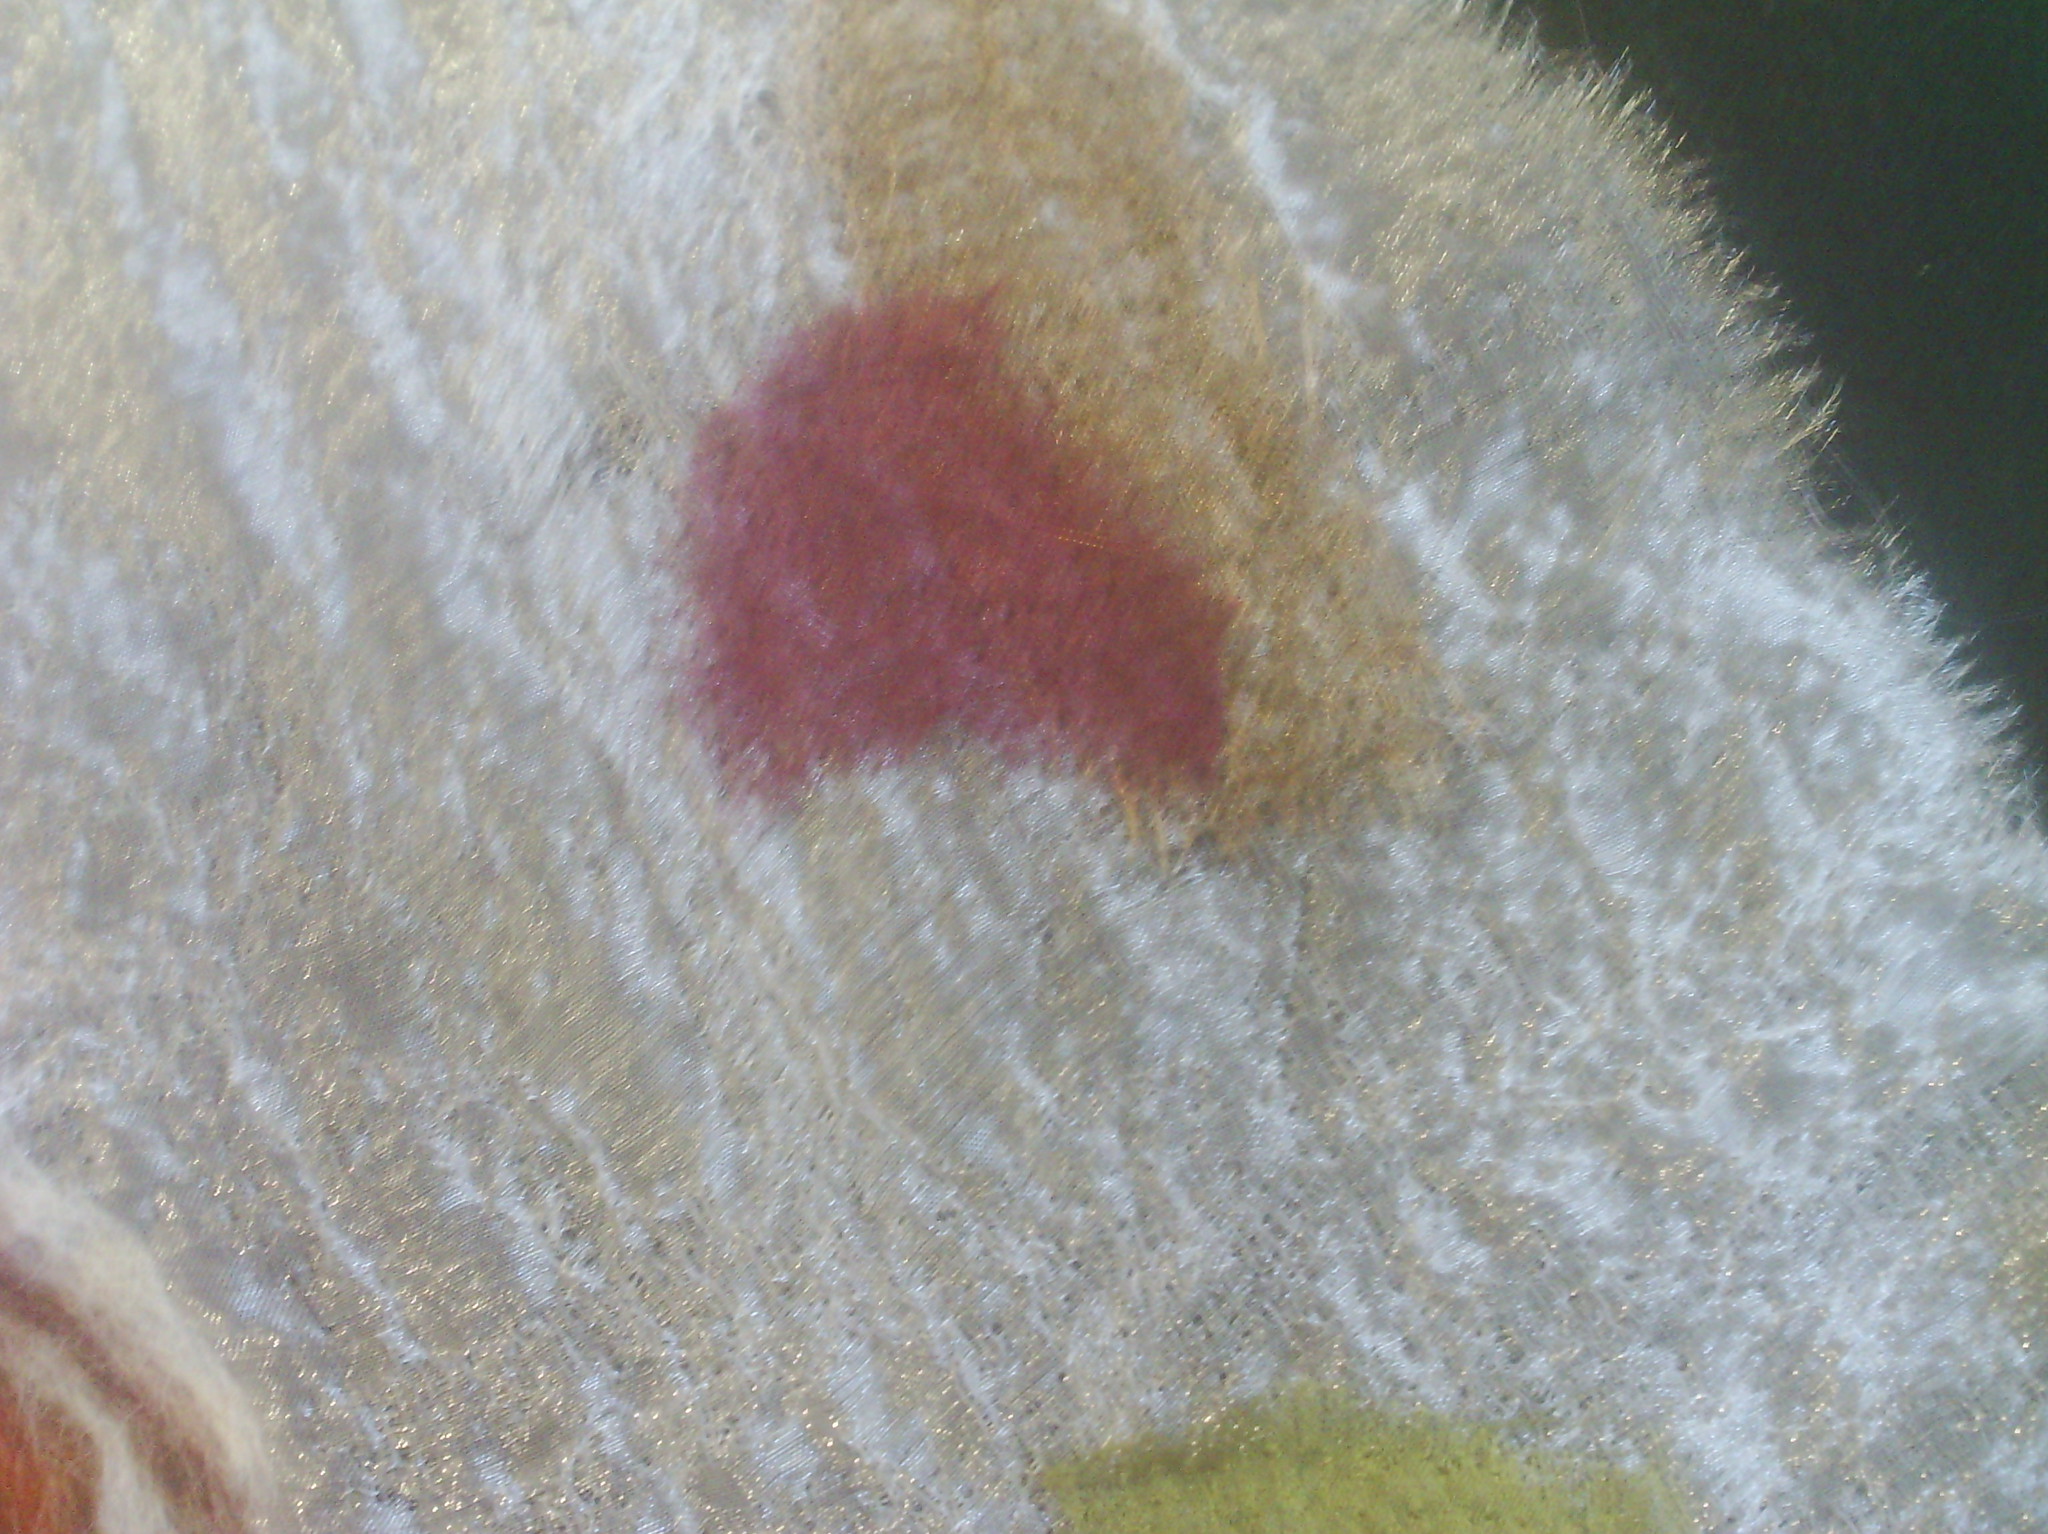
Here's a closeup of the texture after needlefelting.
And here it is after I have needlefelted all the rovings in place.
I started free motion stitching at the bottom right with a gold thread, but I wasn't happy with it. It didn't show well and I felt the colour of the rovings was just too raw, so I unpicked it all.
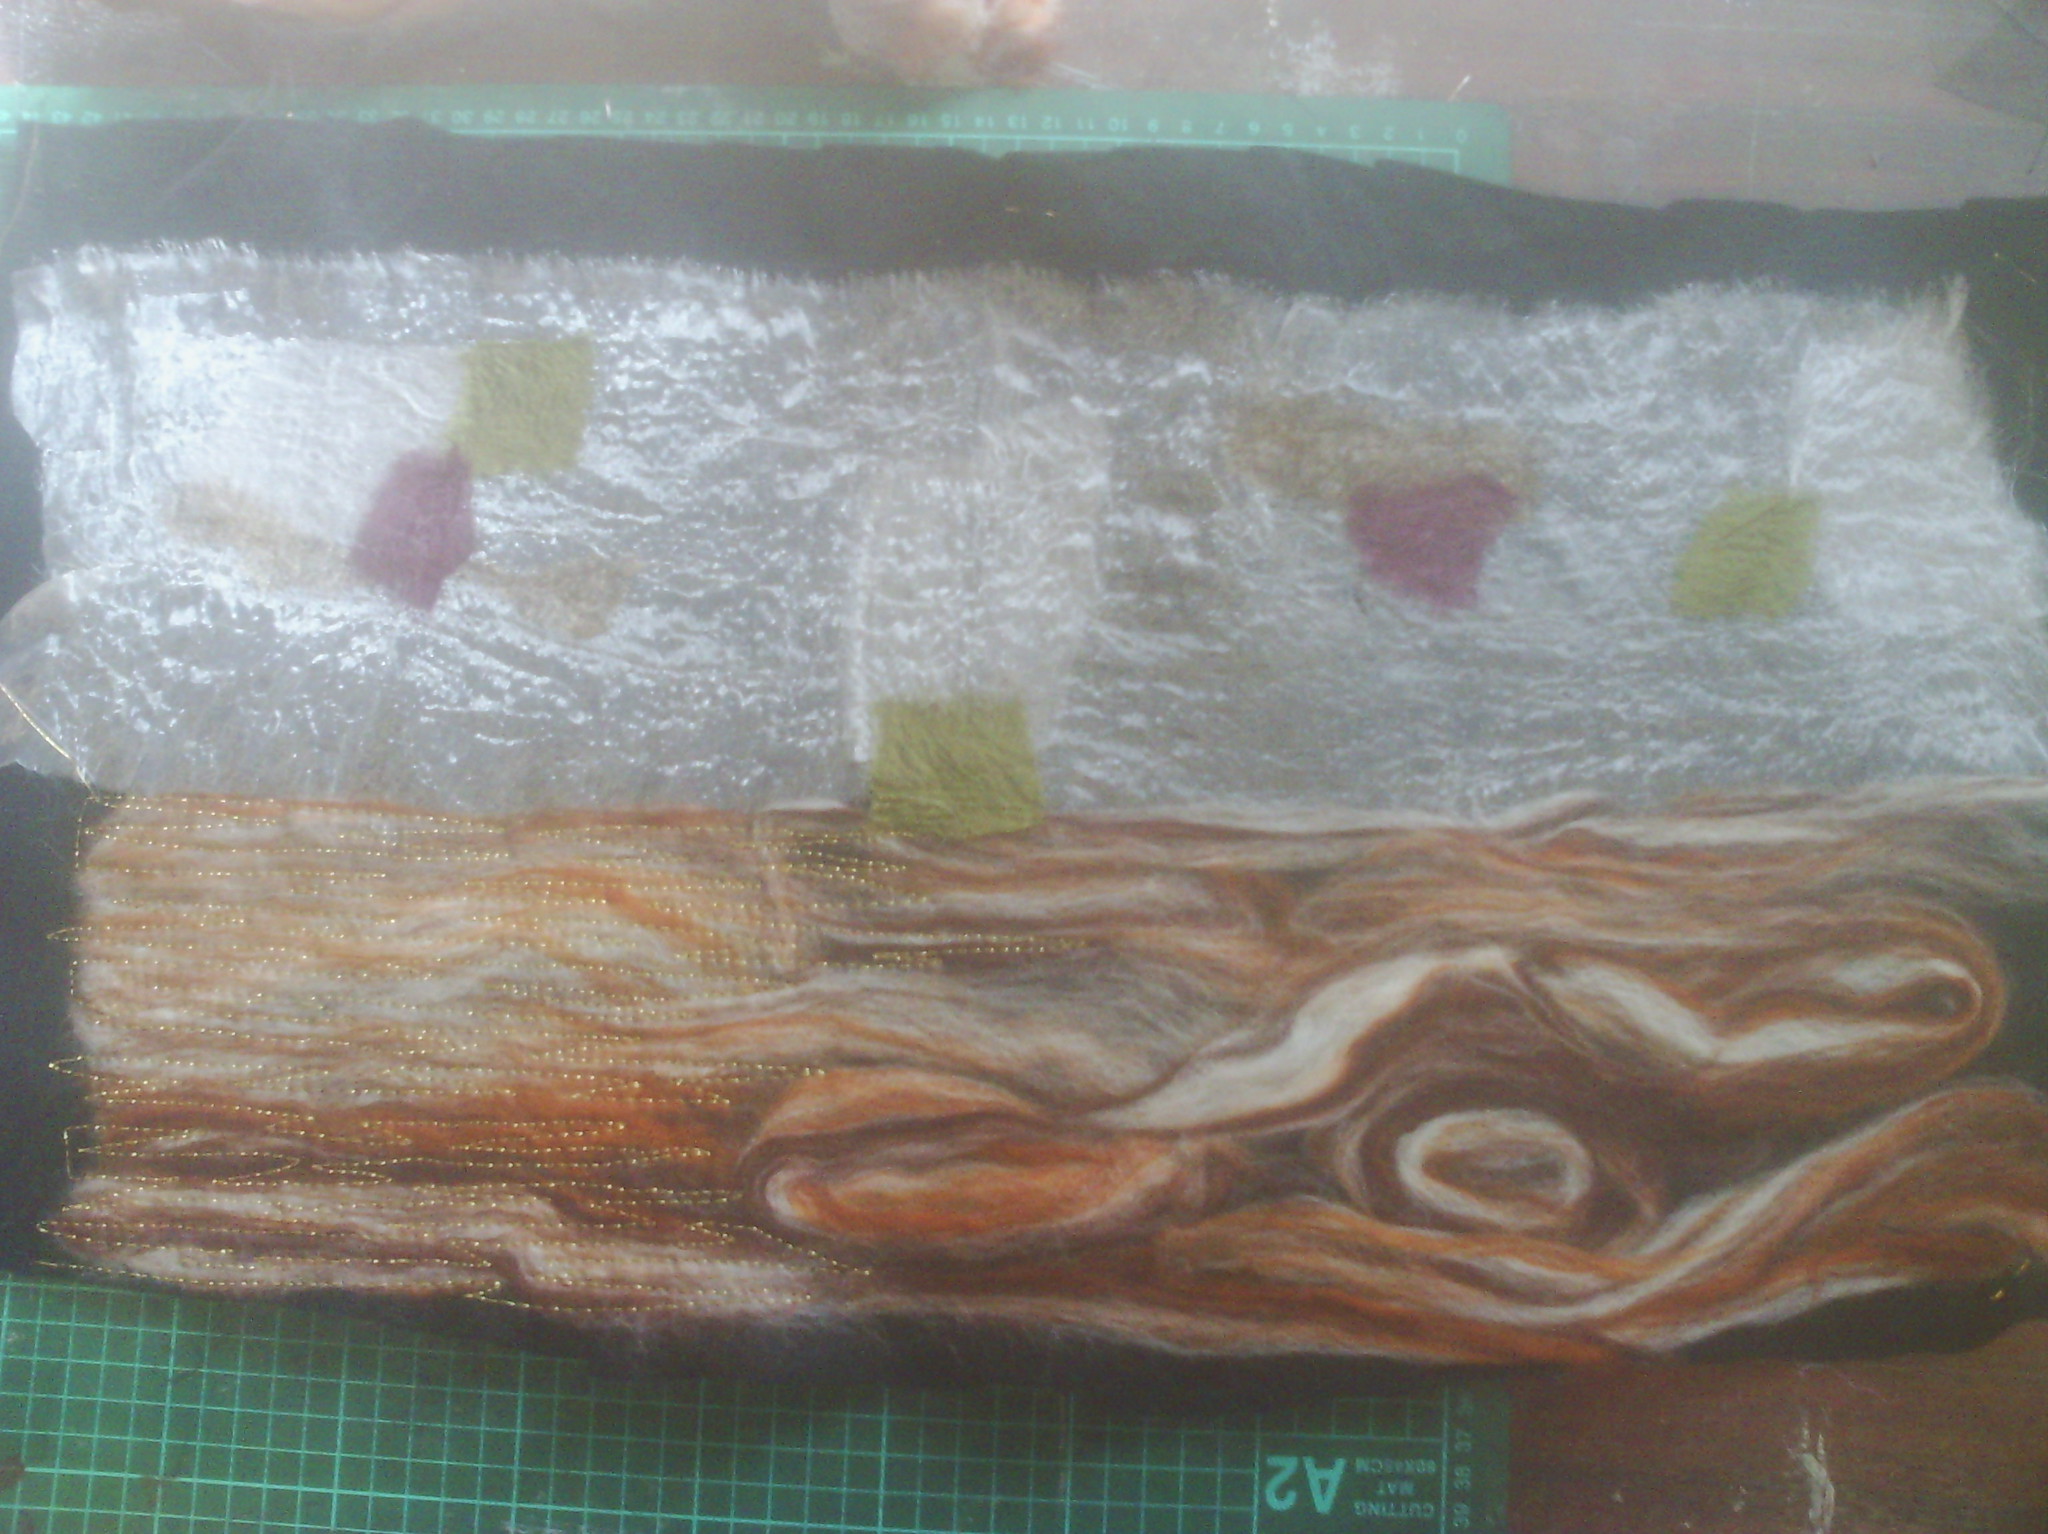
Then I added some black bridal tulle over the top and started stitching again.
And here's where I got to with my stitching, on the bottom left.
and a close up of the stitching. I am quite happy with how it is going and will work on it again tomorrow, but I still have a ways to go before I get to the design I have in my head.
Make time for art!
Wednesday, March 28, 2012
tree and leaf
This ATC was hand needlefelted (background) on a piece of batting. It took a bit of cogitation, but then I decided it needed a tree, so I stitched one. I finished with a very untidy blanket stitch,lol.
Since I was playing with the hand felting tool, I decided to make a leaf, but instead of batting or felt or anything solid, I felted it onto tulle.
Here it is. You can just see the netting, which I can cut off or use a soldering iron to cut., but wait, there's more.
When I turned it over...
It had this really cool fur-like texture on the back where the fibers had been pushed through. It reminds me of a possum's fur and is really soft. Now I know this will come in handy.... when inspiration strikes.
something else I did a few days ago was to recover my journal.
Usually, I start with White glue and acrylic paint mixed together to both seal and cover the surface at the same time. This time, I started with white paint and glue, but remembered an experiment I did a few weeks ago.
I had been reading about the different texture mediums being marketed and I thought "What if I just" so I mixed a few things with white glue and added them to my practice journal to see what would happen.
From top left, clockwise they are - seed beads, herbal tea mixture, sawdust and glitter.
I wasn't reall impressed with the beads, but perhaps even tinier ones might work? The Tea mix was interesting and I liked the green tinge in the glue. The sawdust was really great, and of course having a woodturner for a spouse means we have tons of that, lol. The glitter was very transparent, but made a beautiful suface, so might be useful over something else.
So, back to the experiment at hand - I had painted my page with a white acrylic/PVA mixture, but decided it was a bit boring for a cover and just grabbed the leftovers from the above experiment at random. They were unlabeled and in opaque tubs.
It turned out to be the herb tea mix, and I dabbed it all over the wet white paint/glue. I liked it, but wondered whether the texture would be durable enough for a book cover.
In a moment of inspiration, I grabbed some tissue paper and covered over the pain, glue and tea.
You can see above a close up of the texture, which reminds me of those expensive japanese papers.
The tissue folded in places and became almost translucent and it made a beautiful cover for the book.
I was concerned that it would not be durable, but it is pretty solid now that it is totally dry. I may just seal it with some PVA to make sure, but I haven't made up my mind yet whether I want to add some colour. I have in mind some lovely watercolour dribbles that blend together. I will just have to try that out in my practice book. But I am very pleased with this old textbook which I use as a personal journal.
A bit to get through today!
Saturday, July 23, 2011
Creating silk paper and other fibre films Method 2 - Glue method Part 6
Making Fabric Paper.
Another way to use Method 2 (Glue method) is to use fabric as a base and add to it. In these samples, I used different foundations and added paper scraps to them. This creates a useful foundation for stitch, but also a firm, durable paper for collage.
For all the samples, I used torn and scrunched papers. Torn edges will bond better and look better. I scrunch up my papers to put texture in them and to make them more pliable and allow the medium to absorb easier. The papers range from wrapping paper, to rice paper, to coloured scraps of printer paper, to handmade papers, and all will give different effects.
For the first sample I used a heavy weight scrim, or cheessecloth.
I painted it with medium. You can iron the fabric prior to using it, but I find that when you paint the medium on, you can brush the creases out.
Start adding the paper scraps. I painted each scrap individually with a 1 to 1 dilution of medium. You will know when you have painted them properly, because they will sit flat on the base, instead of wrinkled. This is important. Each scrap needs to be wet all the way through with medium in order to bond properly. After a while, you will gain experience with this, but some papers, such as wrapping paper have a cellulose gloss added to them, which takes a lot of wetting and manipulating with the brush before it is soaked right through. Generally the colour of a scrap will be darker when it is soaked through.
Here all the scraps have been added. I like to overlap them and not leave spaces, but you can if you want to.
At this stage, I lay on another layer of medium, to make sure the surface is wet for the next step.
Add ripped up pieces of tissue paper (the wrapping type, not the blowing type). You can add different colours or not, depending on your taste. You can also use pieces of sheer fabric - organza, chiffon and scrim, dyed or not here, but you will need to take care that the medium binds them down properly. Another variation is to entrap pieces of foil, fibres, leaves, flowers etc by adding them before the tissue layer.
After adding the tissue and any other additions you might like, sponge on some diluted paint. I used a metallic purple setacolour fabric paint - but use whatever you have got.
I also added some gold setacolor which I dabbed on with a brush.
The fabric paper now needs to be dried. Above is this piece after drying and a light press (on the fabric side) with the iron. This paper has a lovely raised texture on the surface from the wrinkles in the tissue, which is highlighted by the gold paint. It is firm, but easily manipulated and very easily stitched.
The next sample used thin cotton as a base. I used the same technique, so I will not repeat the steps again.
Here is the cotton ready to start. This fabric was from my scrap bag and has marks on it. I chose it because of the imperfections, which will add to it's charm.
Adding the papers as I did previously.
After adding the tissue. I added some pink tissue to this one.
And the final piece after drying and ironing. This piece is slightly stiffer due to the cotton, but is still flexible and stitchable. The cloloured tissue tended to blend the colours in the papers more than straight white, which was a nice effect.
In my final sample, I used a very lightweight scrim as the base.
Here is the scrim laid out. This fabric will crinkle as you paint it with medium, and is very easily stretched, so take care at this step.
Above is the finished piece before drying and pressing.
And the finished piece. This paper is extremely lightweight, but still has some stiffness. With this one, I liked the way some of the papers bled colour as it dried. The other samples did not do this and I will have to experiment to find out how I did this, lol.
These fabric papers are a preliminary to making book covers. The final papers will be stitched and embellished for this purpose.
In order to remove some of the stiffness of these papers and use them in fabric collages, all that is needed is to scrunch them up and open them out flat several times - until you are happy with the texture. You will find that they take on a more fabric-like feel as you do this. The fabric and paper should not come apart. If this happens, then I would guess that you did not totally saturate the scraps with medium in adding them to the base. This is a very important step, and is why I add the pieces one by one.
Happy scrapping!
Subscribe to:
Posts (Atom)

