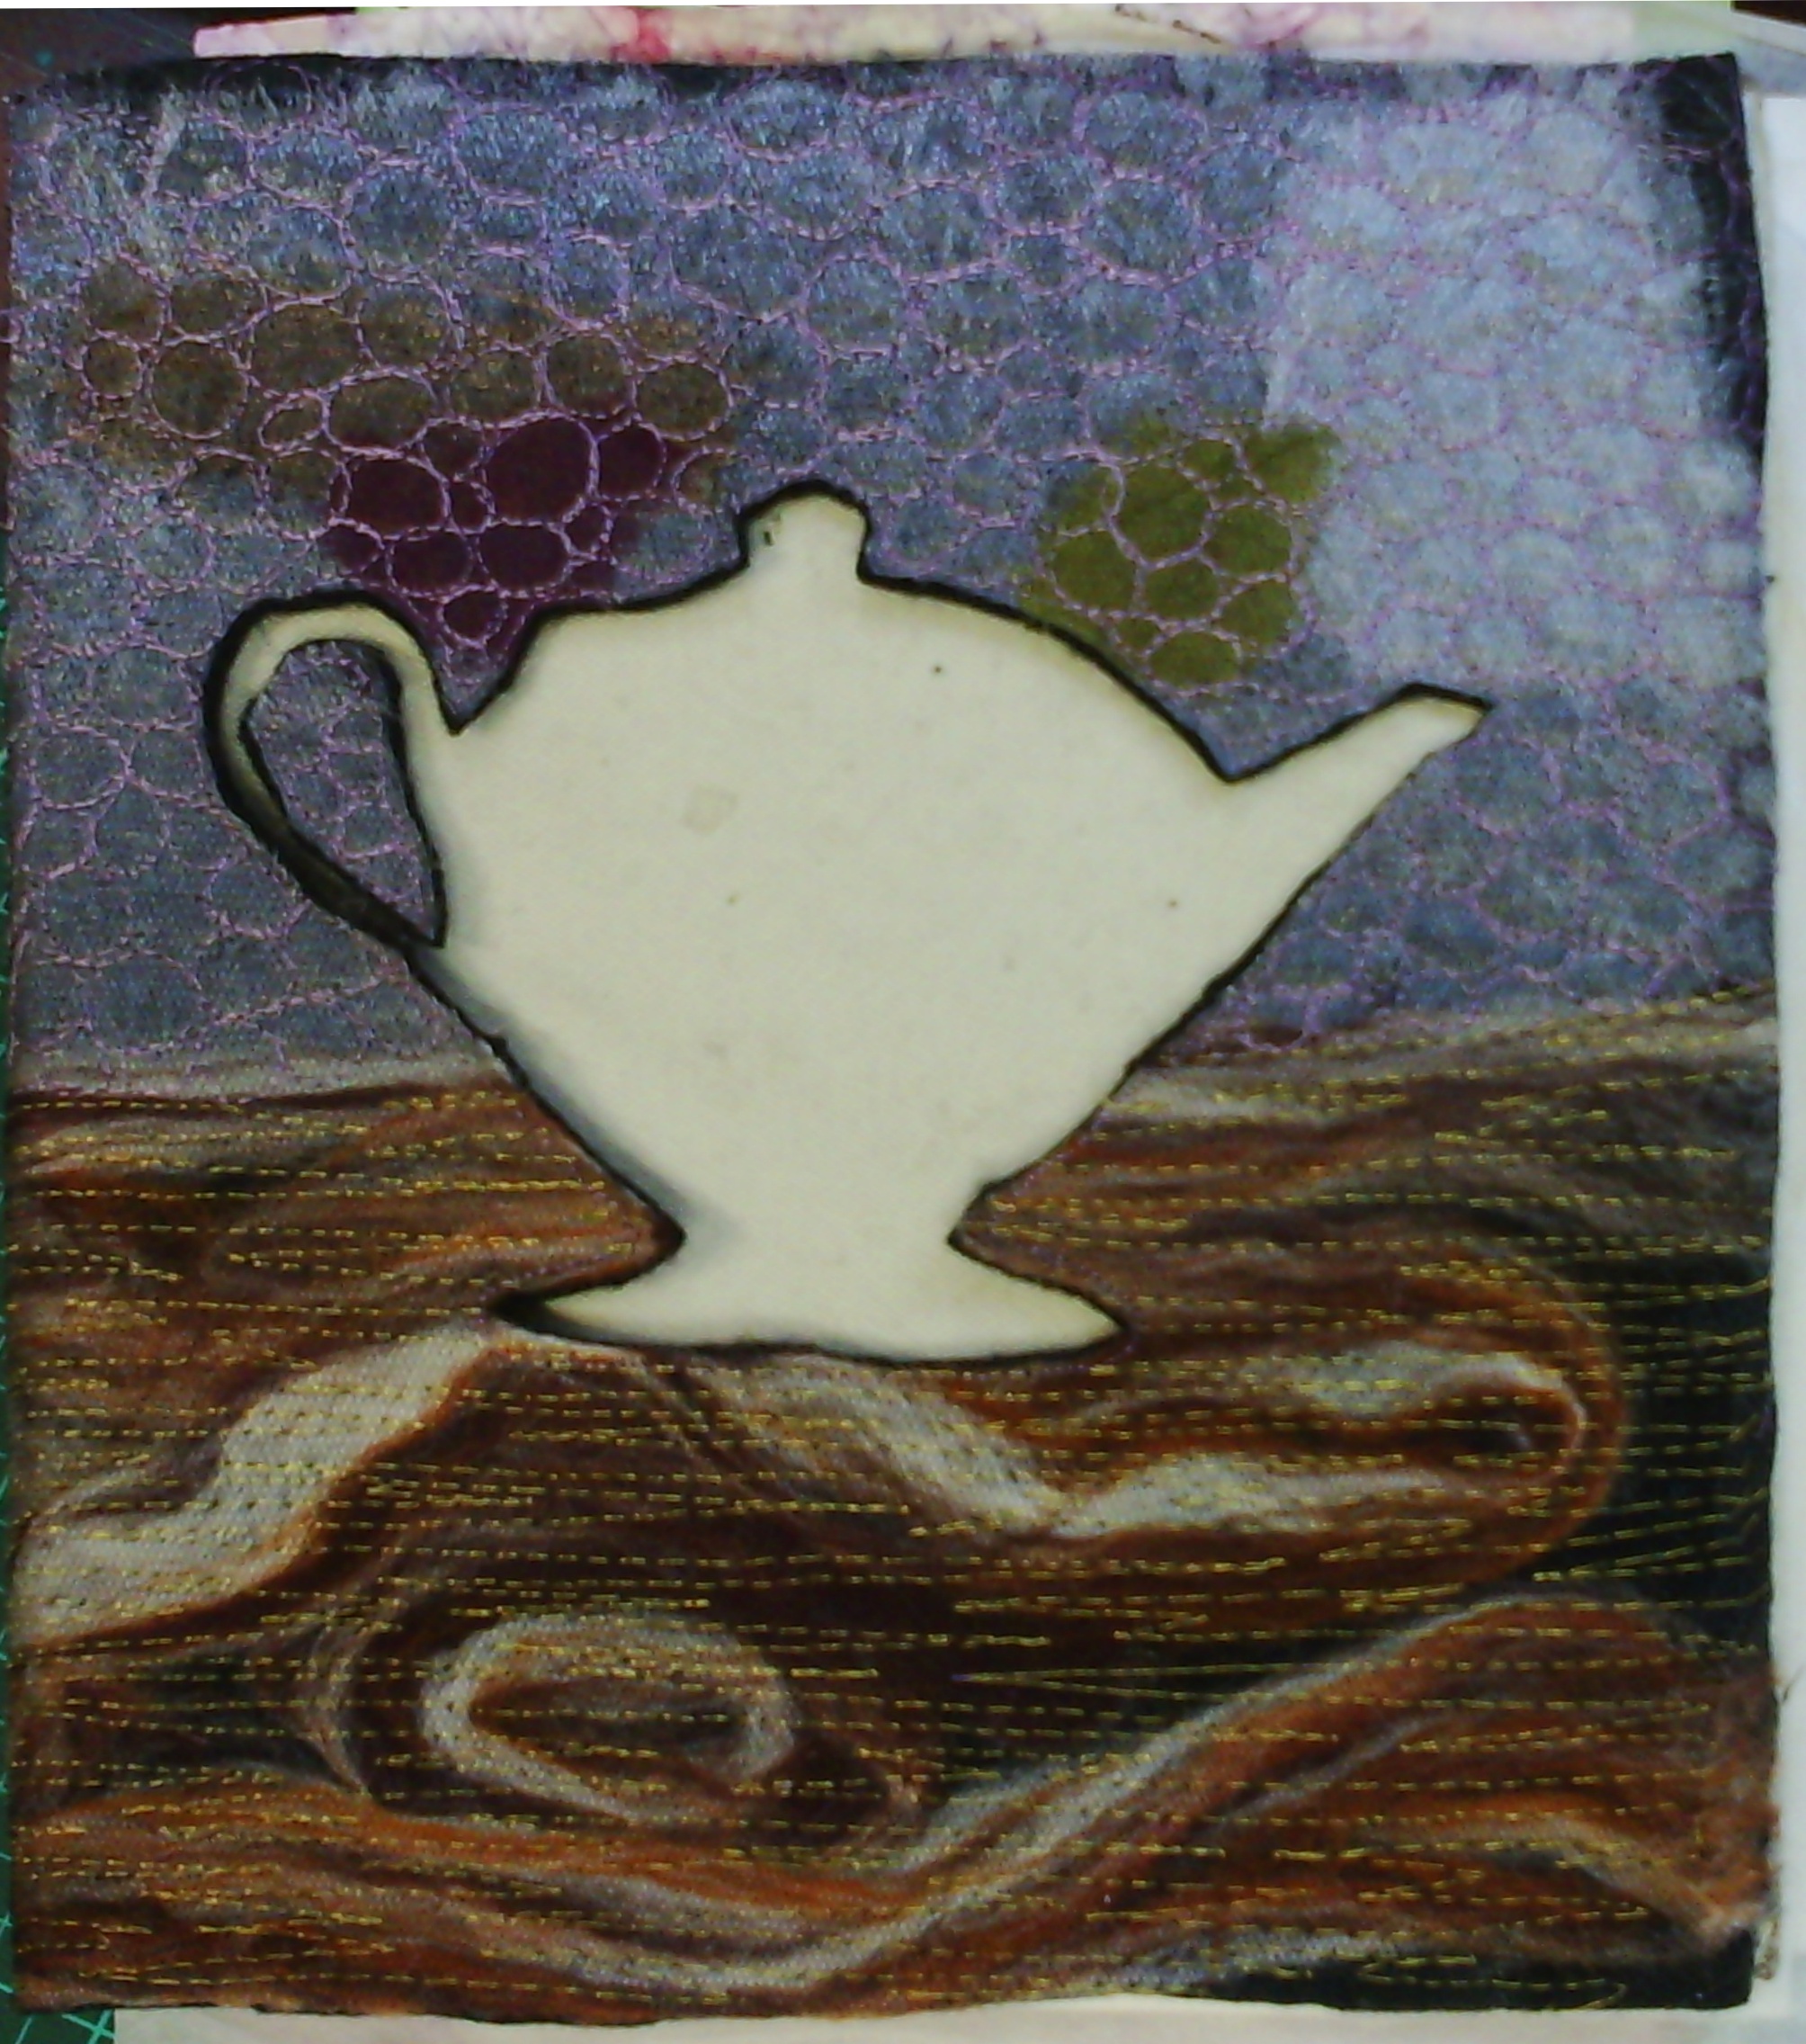
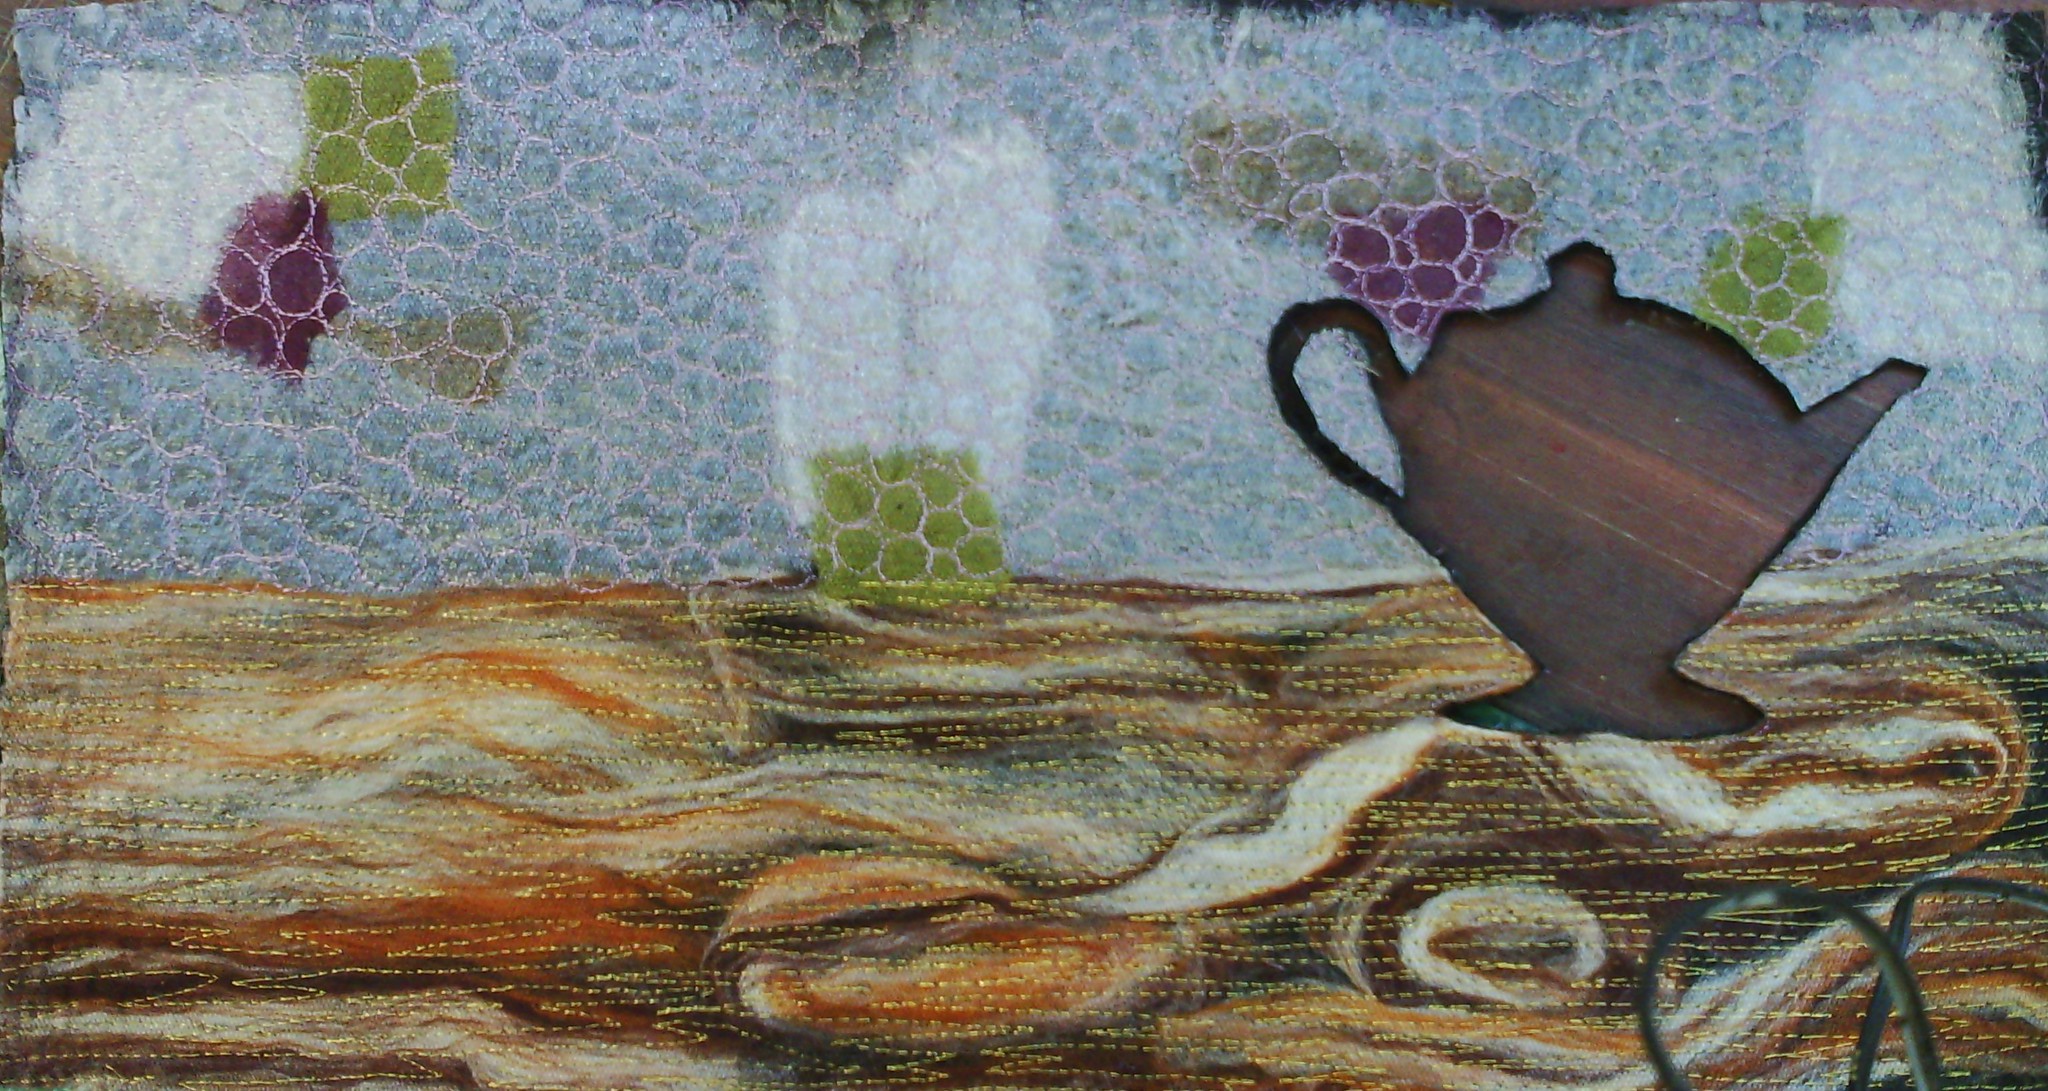
I have finally finished my sketchbook cover.
I am quite happy with the way it turned out. I trimmed it to size and glued the edges so the stitching was secure, then thought about how to attach it to the sketchbook.
I could have glued it down, since it is made specifically for this book, but I decided it was best not to do this in case the book needs rebinding at some time.
I decided to add some sticky velcro to the front and back, which would grab the felt backing. This worked really well and held the cover on very firmly.
I have not decided yet whether anything will go on the cover under the cutout, or if I will paint the cover.
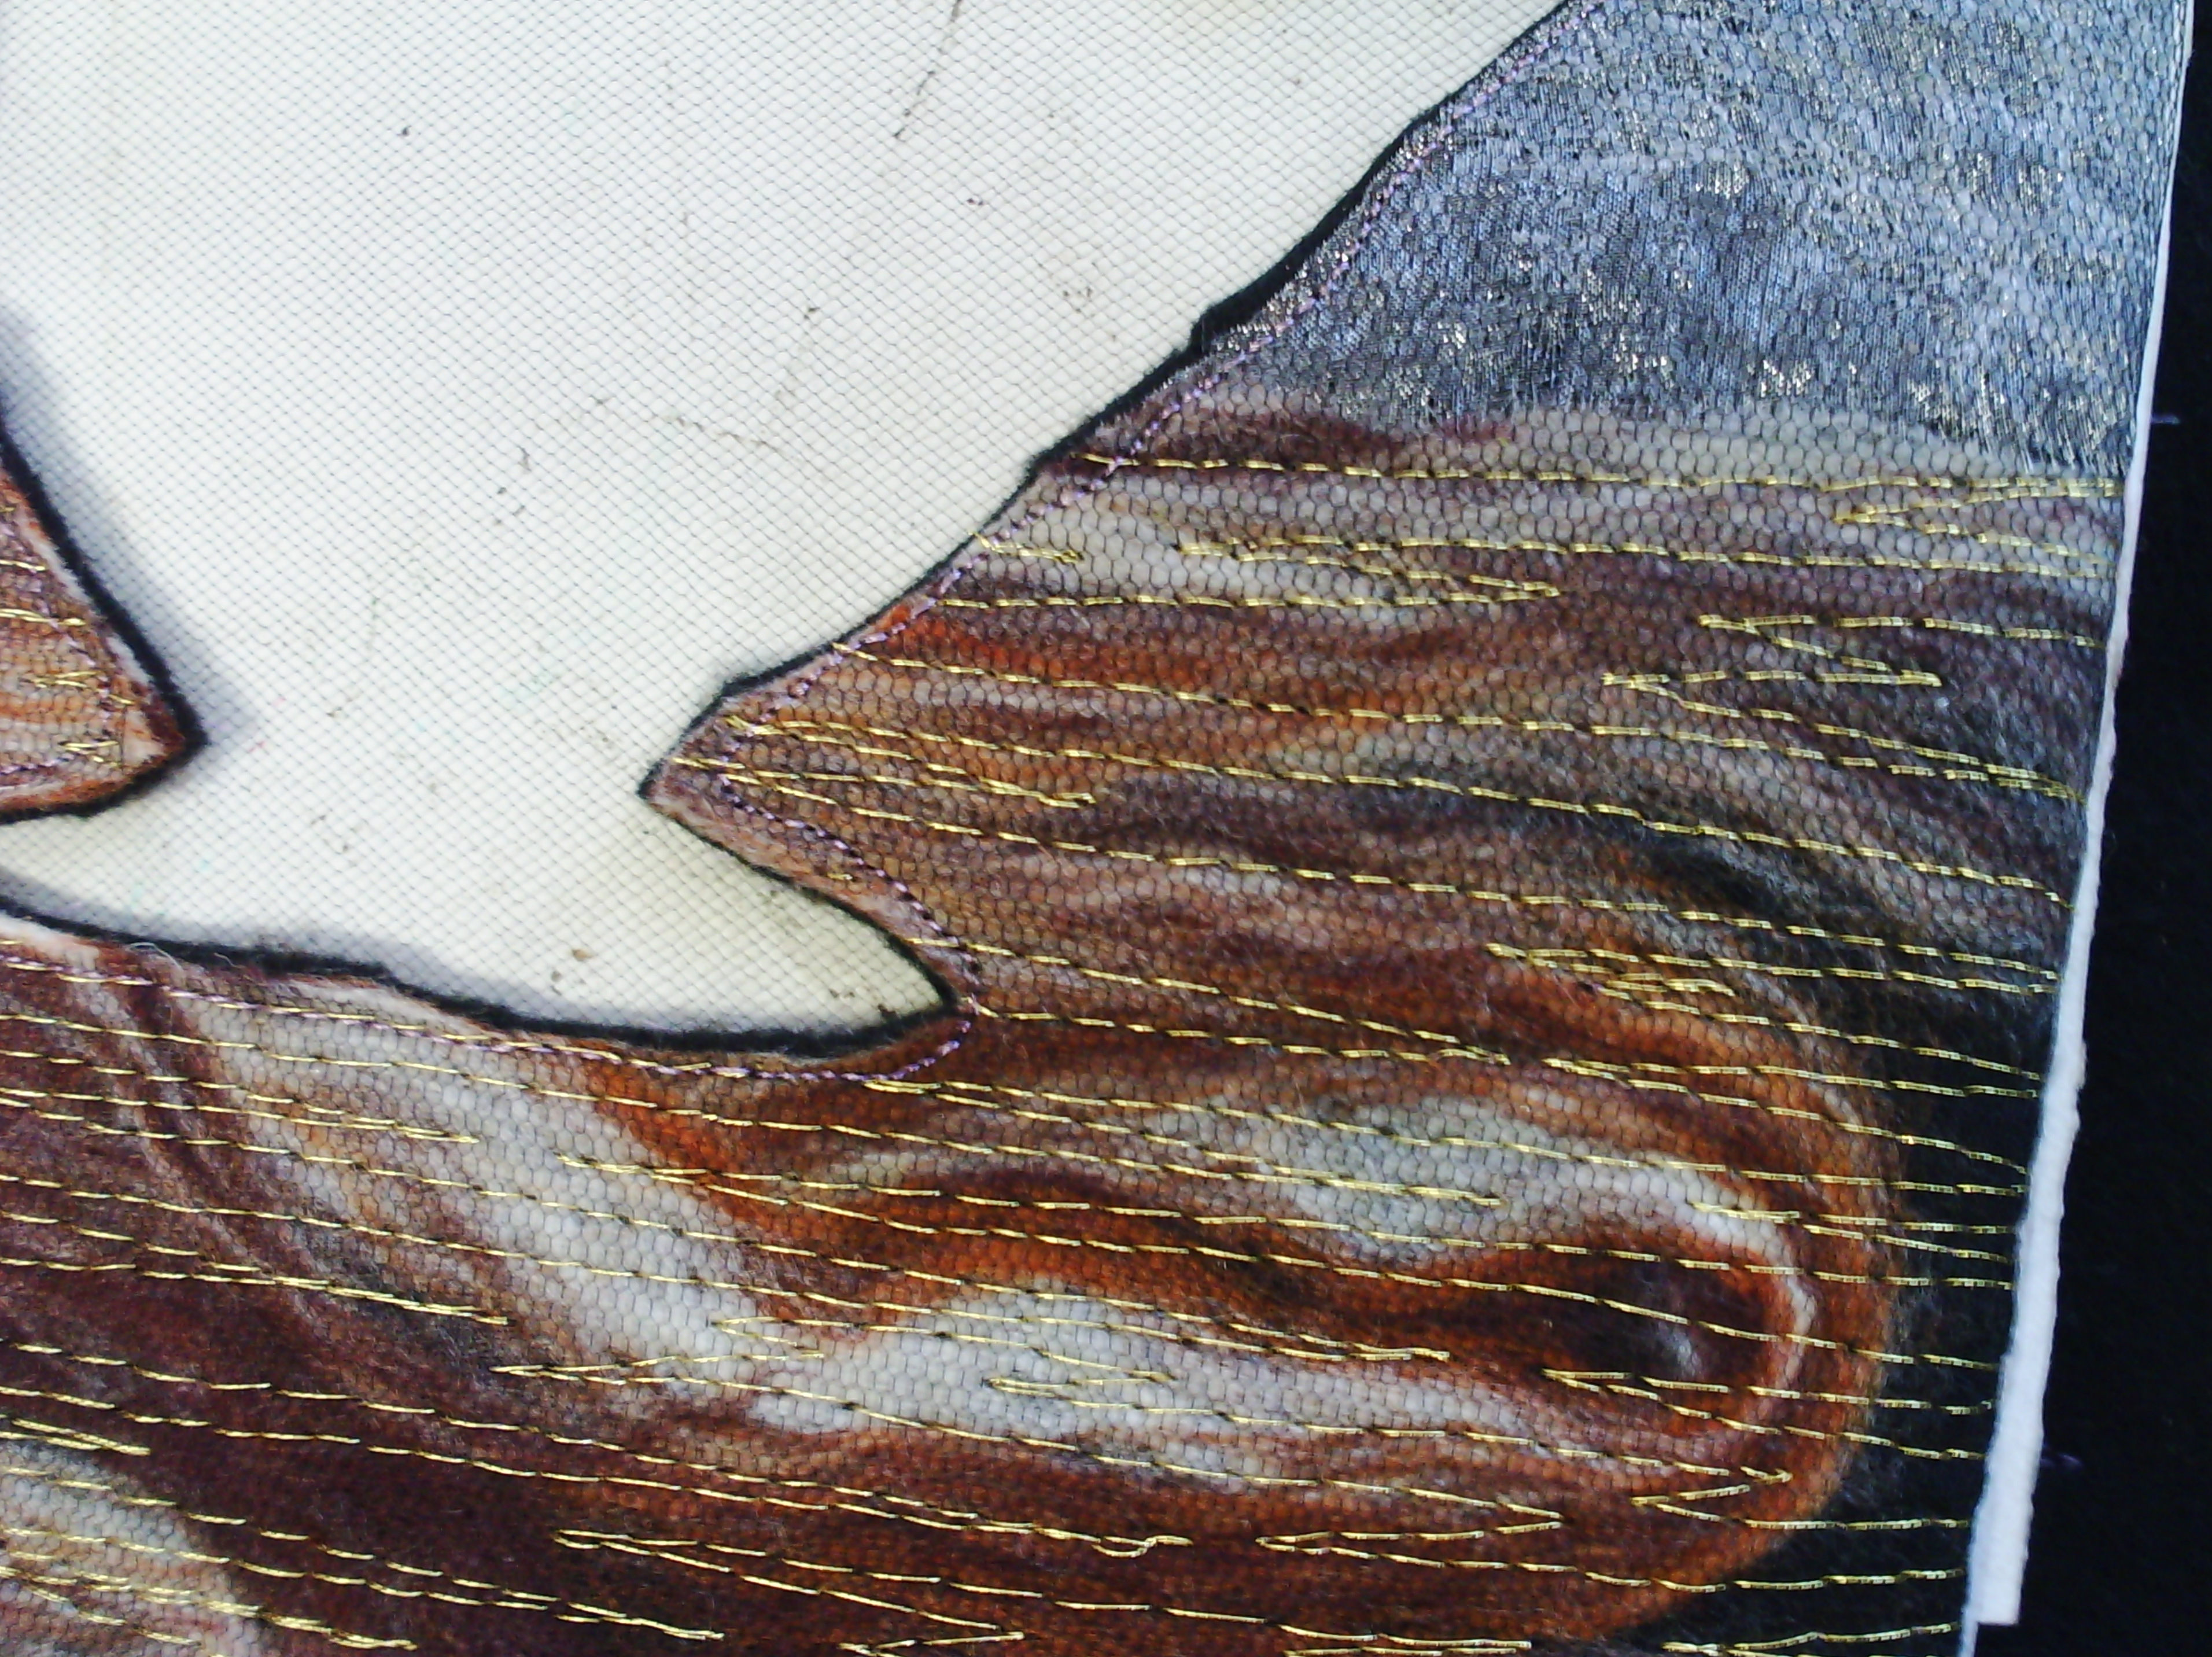
Above are a few close ups of the stitching.
I have been thinking a lot about blogging and have come to the conclusion that it keeps me on track. It has been a month since my last post and I have hardly done any textile work. Whilst a break can be a good thing, I am finding it very hard to get back into the swing of things. In the past I have always had a little project to keep me going, like ATCs and journal quilts and so I have decided what it is that I need to do every day at present and decided that it is quilting and free motion embroidery..
I have quite a few little sketchpads, filled with free motion doodles and a couple of months ago I came across one where I had doodled hundreds of little feather shapes with different fillings. I set up a pile of felt and fabric sandwiches to make samples with. And it sat on my table for quite a while.
So now I have set myself the task of doing one of these feathers a day. It only takes five minutes and makes me go into the studio and sew. Of course I can't always blog every day, but my task is to makes sure I do one of these every day and blog at least three times a week.
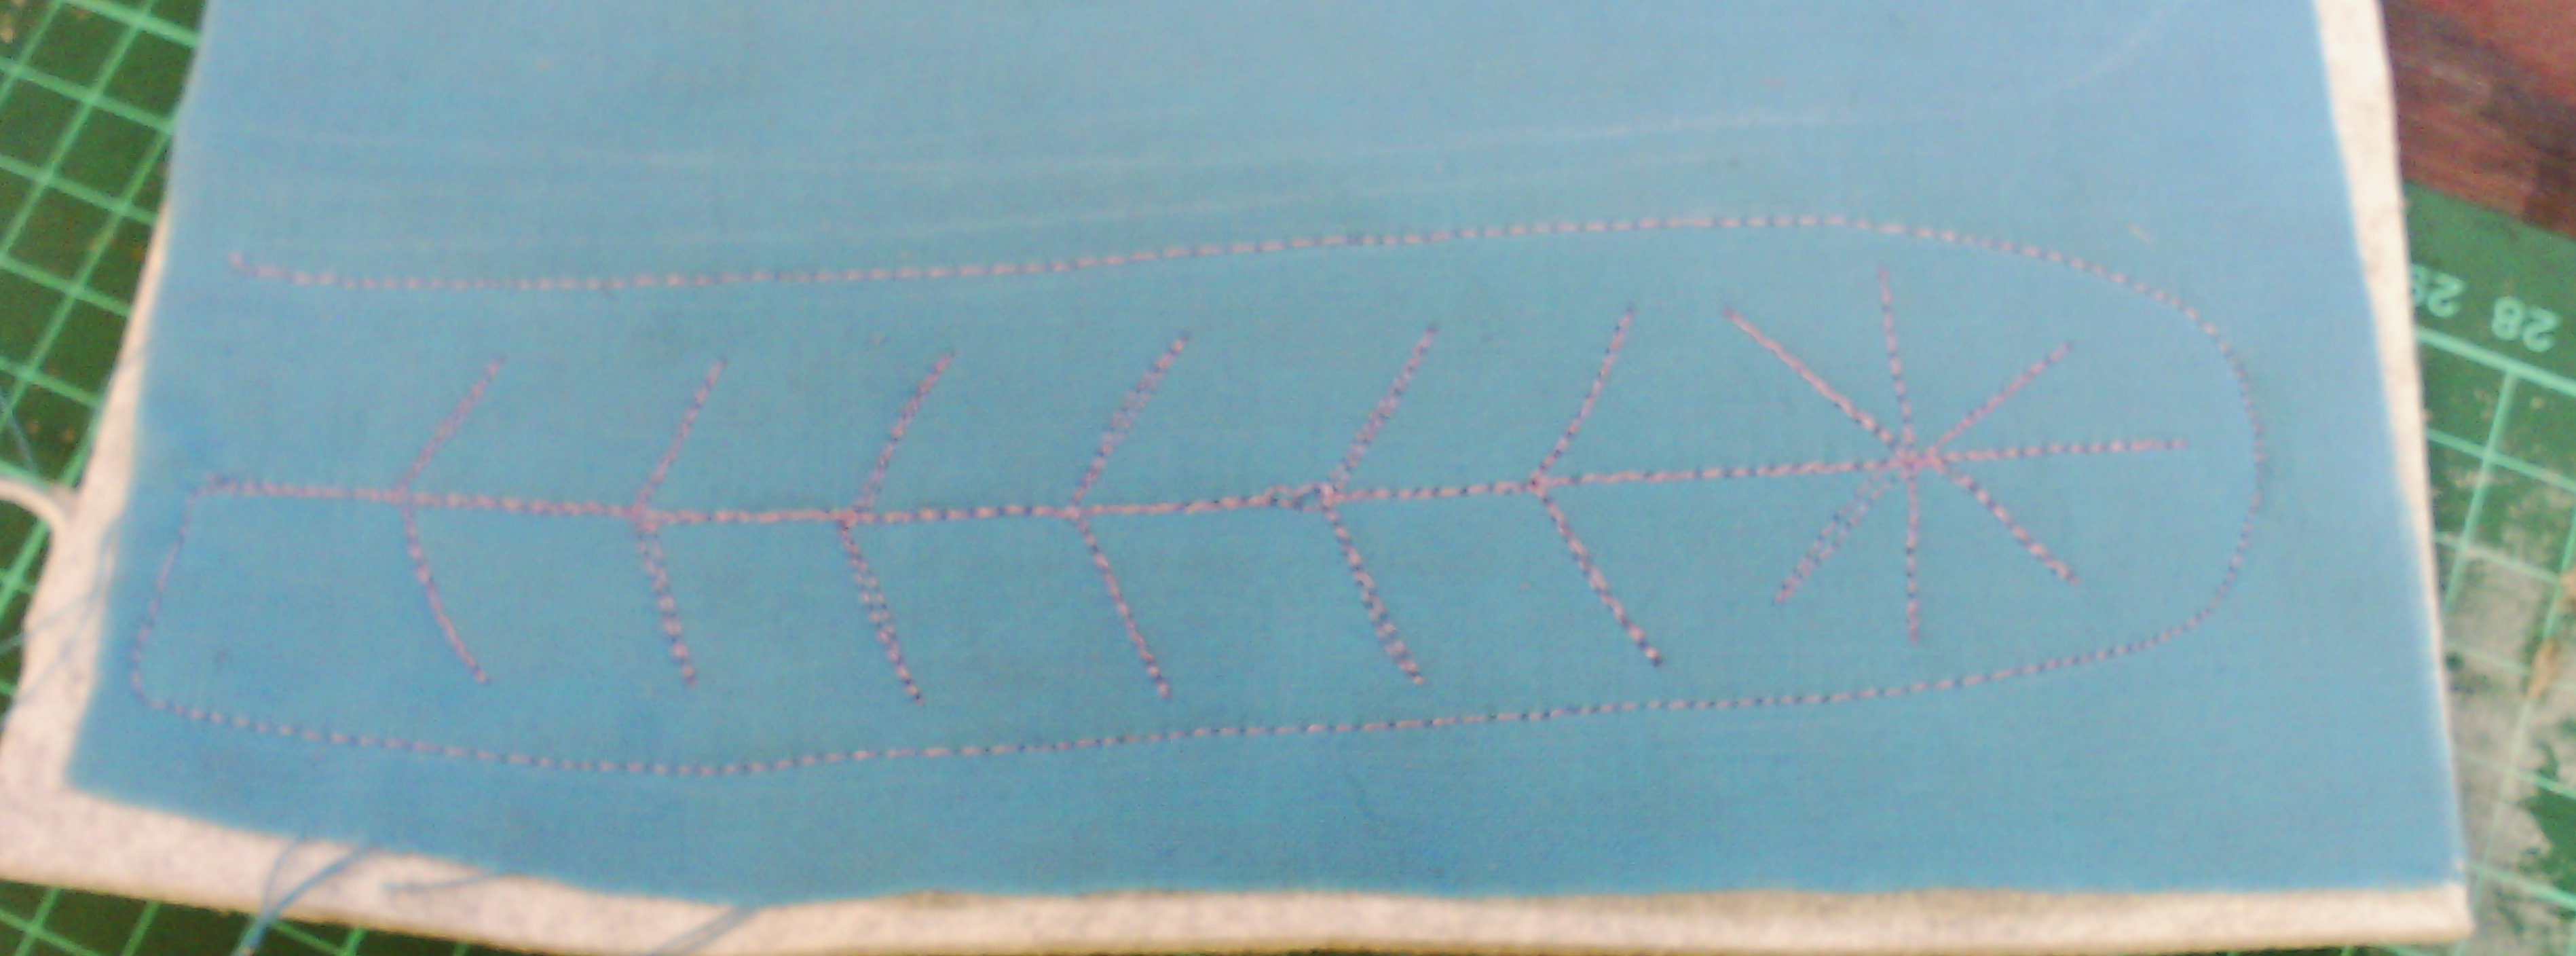
So here is my first one. It is a sort of dandelion inside the feather. I must admit, this one took actually less than a minute!
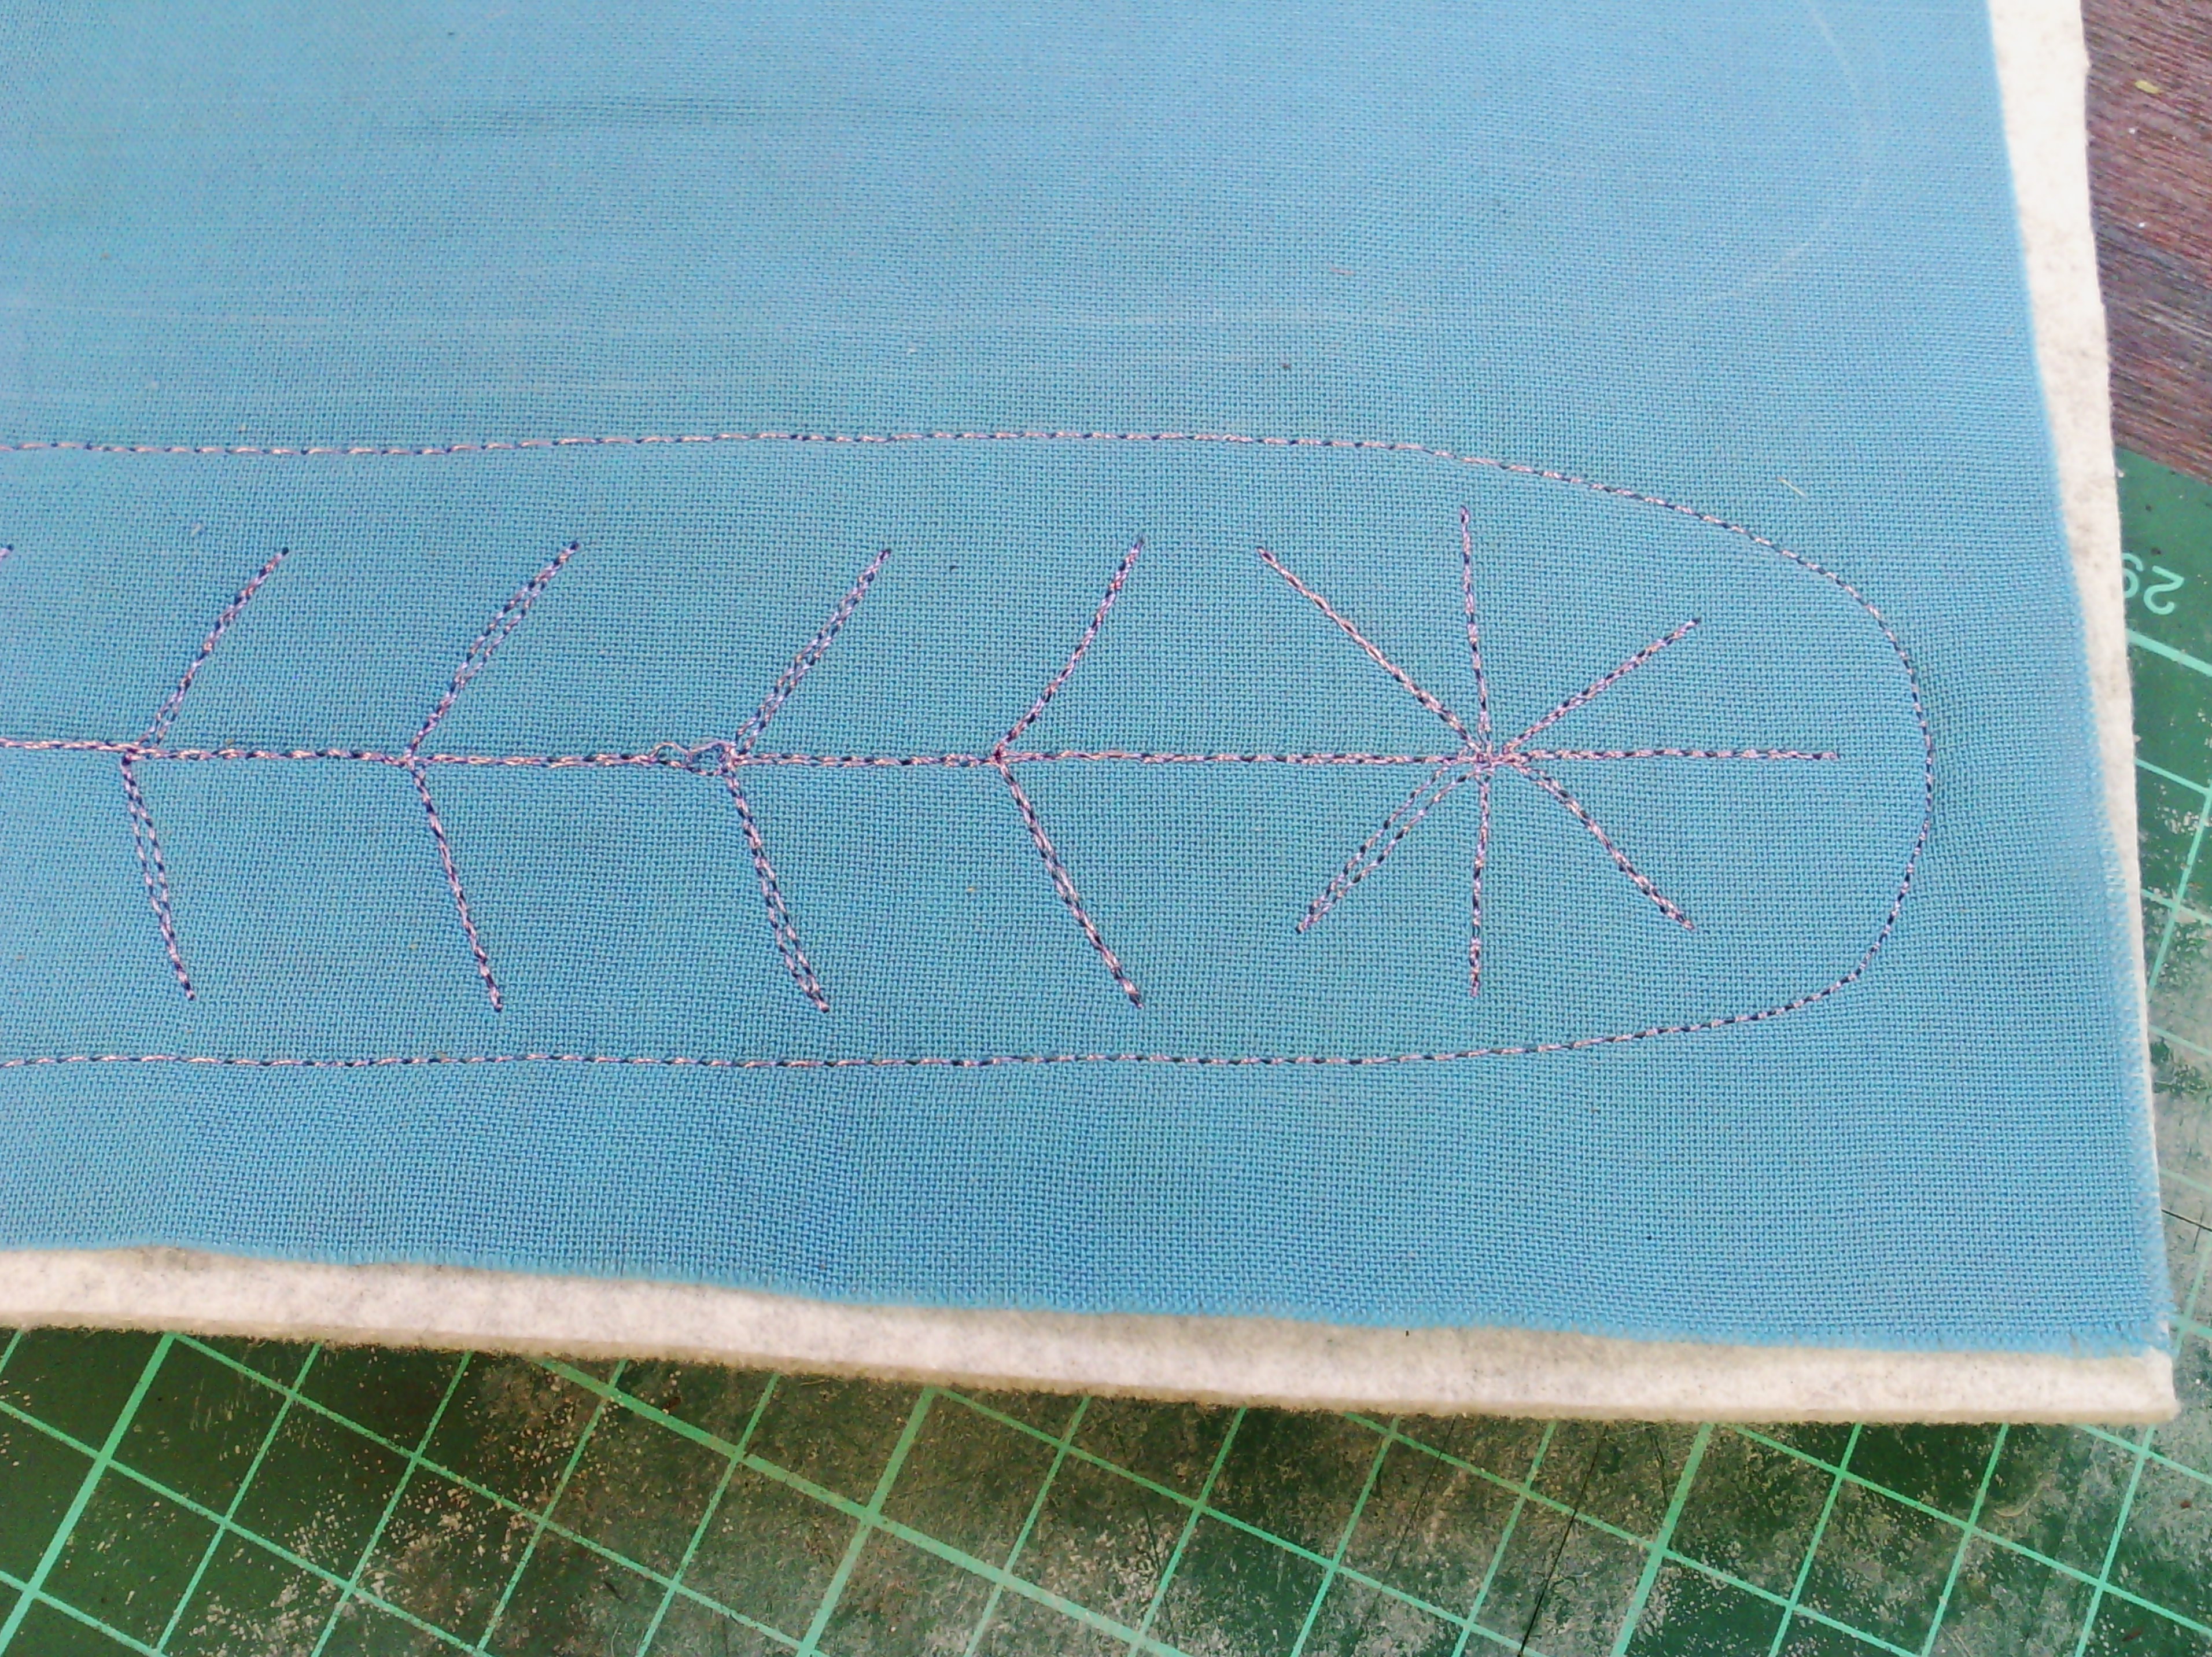
and here is a bit closer to see the stitches.
So, let's see if I can stick to my project and create every day again.
Showing posts with label project. Show all posts
Saturday, July 20, 2013
Monday, March 21, 2011
Easter basket
WOW! and I really mean WOW or Workshop on the Web. I won! Workshop on the web is a quarterly english online magazine that I joined a while ago. It puts out really professional tutorials by some of the best and well-known fibre artists in the UK and elsewhere - and I have won some yummy goodies and a book and entry to an online group for the book. The book is called Mixed Media: New Studio Techniques by Isobel Hall and Maggie Davies. You can click on their names to see the great work they do and I know you will agree that this win is perfect for me.
With easter looming, I thought a little project for kiddies might be the go.
This is a small easter basket, which can be as simple or as elegant as you like.
Start with the fabric (or paper, or card) you wish to use. I have decided to make mine using the plastic collage of fusible web I did a few weeks ago
You will need a square. I chose nine inches, since it can be divided easily by three. I actually cut my fusible collage a bit bigger to allow for shrinkage during ironing. I ironed it on to an aqua piece of cotton. You will need a reasonably stiff piece of fabric, or one which has been stabilised well
Remember to use parchment paper if you are using webbing as I am.
Once ironed, I trimmed the piece to it's final size
My piece shrank a little more than I wanted, so I am using an old tradesman's trick to easily divide into thirds (leave me a comment if you want to know more)
Mark lines, dividing the fabric into thirds left to right and top to bottom (like a nine-patch)
Sew ribbon, or cording or yarn along the two horizontal lines. I have used a flat knitting tape which was variegated in all the colours on the other side. I attached it with straight stitch.
Do the same along the vertical lines, making a grid. (make sure you leave enough free at each end to tie a bow)
I ran a line of clear nail polish around the edge of the fabric to seal it and stop it fraying. If you wish you could use fray stop, or you could bind the edge, or do satin stitch, or blanket stitch. It is all up to you.
Grab two adjacent ribbons, (if you look at the pic above, I mean the two ribbons that come out on each side of a corner, like the two on which the bottle is sitting) and tie them in a bow.
Fold over the little bunny ear you create after tying to show the inside fabric
Repeat this for all four corners
The finished basket. You might need to tweak the bottom corners a little to make them sit square.
Because you have made a two sided fabric, you can decide which side is out and change it to suit yourself
There are a myriad of options to assemble your box. You can sew ribbons on as I outlined above, you can sew a button and loop on or you can simply sew up the side seams, you can use grommets and ribbon, similar to the cardboard idea below. You can quilt the fabric, you can free machine embroider, add embellishments
As I said, this is a simple little basket, and in fact, with a little assistance, you could have kids making their own out of card. Instead of sewing ribbon on (which you could still do), punch holes in the corners to thread ribbon through.
I know kids would love to make these for their easter eggs, but perhaps not big enough? This can be made as big as you like, I have been thinking of trying a huge one, quilted, to make a picnic basket and as a rug when unfolded, but more thought is needed.
Enjoy your baskets.
With easter looming, I thought a little project for kiddies might be the go.
This is a small easter basket, which can be as simple or as elegant as you like.
Start with the fabric (or paper, or card) you wish to use. I have decided to make mine using the plastic collage of fusible web I did a few weeks ago
You will need a square. I chose nine inches, since it can be divided easily by three. I actually cut my fusible collage a bit bigger to allow for shrinkage during ironing. I ironed it on to an aqua piece of cotton. You will need a reasonably stiff piece of fabric, or one which has been stabilised well
Remember to use parchment paper if you are using webbing as I am.
Once ironed, I trimmed the piece to it's final size
My piece shrank a little more than I wanted, so I am using an old tradesman's trick to easily divide into thirds (leave me a comment if you want to know more)
Mark lines, dividing the fabric into thirds left to right and top to bottom (like a nine-patch)
Sew ribbon, or cording or yarn along the two horizontal lines. I have used a flat knitting tape which was variegated in all the colours on the other side. I attached it with straight stitch.
Do the same along the vertical lines, making a grid. (make sure you leave enough free at each end to tie a bow)
I ran a line of clear nail polish around the edge of the fabric to seal it and stop it fraying. If you wish you could use fray stop, or you could bind the edge, or do satin stitch, or blanket stitch. It is all up to you.
Grab two adjacent ribbons, (if you look at the pic above, I mean the two ribbons that come out on each side of a corner, like the two on which the bottle is sitting) and tie them in a bow.
Fold over the little bunny ear you create after tying to show the inside fabric
Repeat this for all four corners
The finished basket. You might need to tweak the bottom corners a little to make them sit square.
Because you have made a two sided fabric, you can decide which side is out and change it to suit yourself
There are a myriad of options to assemble your box. You can sew ribbons on as I outlined above, you can sew a button and loop on or you can simply sew up the side seams, you can use grommets and ribbon, similar to the cardboard idea below. You can quilt the fabric, you can free machine embroider, add embellishments
As I said, this is a simple little basket, and in fact, with a little assistance, you could have kids making their own out of card. Instead of sewing ribbon on (which you could still do), punch holes in the corners to thread ribbon through.
I know kids would love to make these for their easter eggs, but perhaps not big enough? This can be made as big as you like, I have been thinking of trying a huge one, quilted, to make a picnic basket and as a rug when unfolded, but more thought is needed.
Enjoy your baskets.
Once you open the creative door, ideas are plenty, whilst time is short.
Choose to do what you love and it will shine.
Monday, March 14, 2011
Foiled Games sacks
In this tutorial we are going to use foiling to embellish some simple drawstring bags.
Here is the pattern for the dragonfly and the butterfly.
These bags are pretty useful. I use them for my crochet and tatting projects, and these two are for my mum, who uses them for the game pieces for Rummikin, which is sort of like rummy (cards) and uses tile like mah jong.
So, let's get down to business.
BAG
I have cut two pices of fabric 16 x 8.5 inches
I have overlapped them so you can see that they are right sides together.
Next, starting 2 inches from the top, sew down to the bottom, across to the other side and up to the 2 inch mark as in the picture below
Next, hem the 2 inches of the sides you have left unsewn.
Do this by folding the seam allowance back and topstitching.
Next, fold the tops down 1 inch and seam to make a channel on the fron and the back of the bag as shown below
The finshed channels and the bag turned right side out
Next insert the drawstrings. You will need two lengths of rope or string which are at least three times the width of the bag.
Attach the first string to a bodkin or large safety pin
next, push the string through to the other side, making sure the end is still at the start
then take the string through the other side of the bag going the other way.
Tie off the two ends at the start
then, with the other string, attach to pin and start taking it through in the same way from the opposite side
once you get to the knot side,
take it back through the other channel
now, tie off in the same way as the other knot. You should have a knot on either side of the Bag
I like this method, because the strings draw tight and are more secure than one string.
EMBELLISHMENT
First, cut out the webbing shapes, leaving the paper on
next, place them on the fabric and iron down (using parchment to protect your iron)
then rermove the paper backing (when cool) and place the transfer foil coloured side up, cover with parchment and iron
As you can see below, different webbings will produce different effects. In the top sample, the foil transferred cleanly and did not stick to the fabric at all. In the bottom sample, the transfer was partial, and there was some transfer in places where there was no webbing.
I actually liked the partial transfer and decided that a bit more experimentation was required. I cut out a piece of the fusible plastic I made here and fused my butterfly to the webbing side (upside down), then cut it out and fused it above the foil, slightly out of register.
Now this, I really liked with the foil showing through and the bright colour - Wow.
And now we have two games sacks!
Here is the pattern for the dragonfly and the butterfly.
These bags are pretty useful. I use them for my crochet and tatting projects, and these two are for my mum, who uses them for the game pieces for Rummikin, which is sort of like rummy (cards) and uses tile like mah jong.
So, let's get down to business.
BAG
- You will need some fabric and some string for the drawstring. I use cotton rope..
- some fusible webbing. I have used two different types. In the photo I have traced my patterns on the paper side of the webbing.
- some transfer foil. This is not just wrapping paper foil, but is made specially for transfer to surfaces
- An iron and ironing surface
I have cut two pices of fabric 16 x 8.5 inches
I have overlapped them so you can see that they are right sides together.
Next, starting 2 inches from the top, sew down to the bottom, across to the other side and up to the 2 inch mark as in the picture below
Next, hem the 2 inches of the sides you have left unsewn.
Do this by folding the seam allowance back and topstitching.
Next, fold the tops down 1 inch and seam to make a channel on the fron and the back of the bag as shown below
The finshed channels and the bag turned right side out
Next insert the drawstrings. You will need two lengths of rope or string which are at least three times the width of the bag.
Attach the first string to a bodkin or large safety pin
next, push the string through to the other side, making sure the end is still at the start
then take the string through the other side of the bag going the other way.
Tie off the two ends at the start
then, with the other string, attach to pin and start taking it through in the same way from the opposite side
once you get to the knot side,
take it back through the other channel
now, tie off in the same way as the other knot. You should have a knot on either side of the Bag
I like this method, because the strings draw tight and are more secure than one string.
EMBELLISHMENT
First, cut out the webbing shapes, leaving the paper on
next, place them on the fabric and iron down (using parchment to protect your iron)
then rermove the paper backing (when cool) and place the transfer foil coloured side up, cover with parchment and iron
As you can see below, different webbings will produce different effects. In the top sample, the foil transferred cleanly and did not stick to the fabric at all. In the bottom sample, the transfer was partial, and there was some transfer in places where there was no webbing.
I actually liked the partial transfer and decided that a bit more experimentation was required. I cut out a piece of the fusible plastic I made here and fused my butterfly to the webbing side (upside down), then cut it out and fused it above the foil, slightly out of register.
Now this, I really liked with the foil showing through and the bright colour - Wow.
And now we have two games sacks!
Labels:
bags,
butterflies,
dragonfly,
drawstring,
foil,
make it monday,
pattern,
project
Subscribe to:
Posts (Atom)