I meant to post yesterday, but as often happens on the weekend, there was not enough internet to go around in our little town, so I couldn't upload any photos.
But here are a few backgrounds and bits I did in my journals whilst the embroidery machine was whizzing away.
These are all sticker sheets I painted whilst I was working on the pages. I have done this before, with large pieces, but I was reminded of it after watching a Mary Beth Shaw Webinar
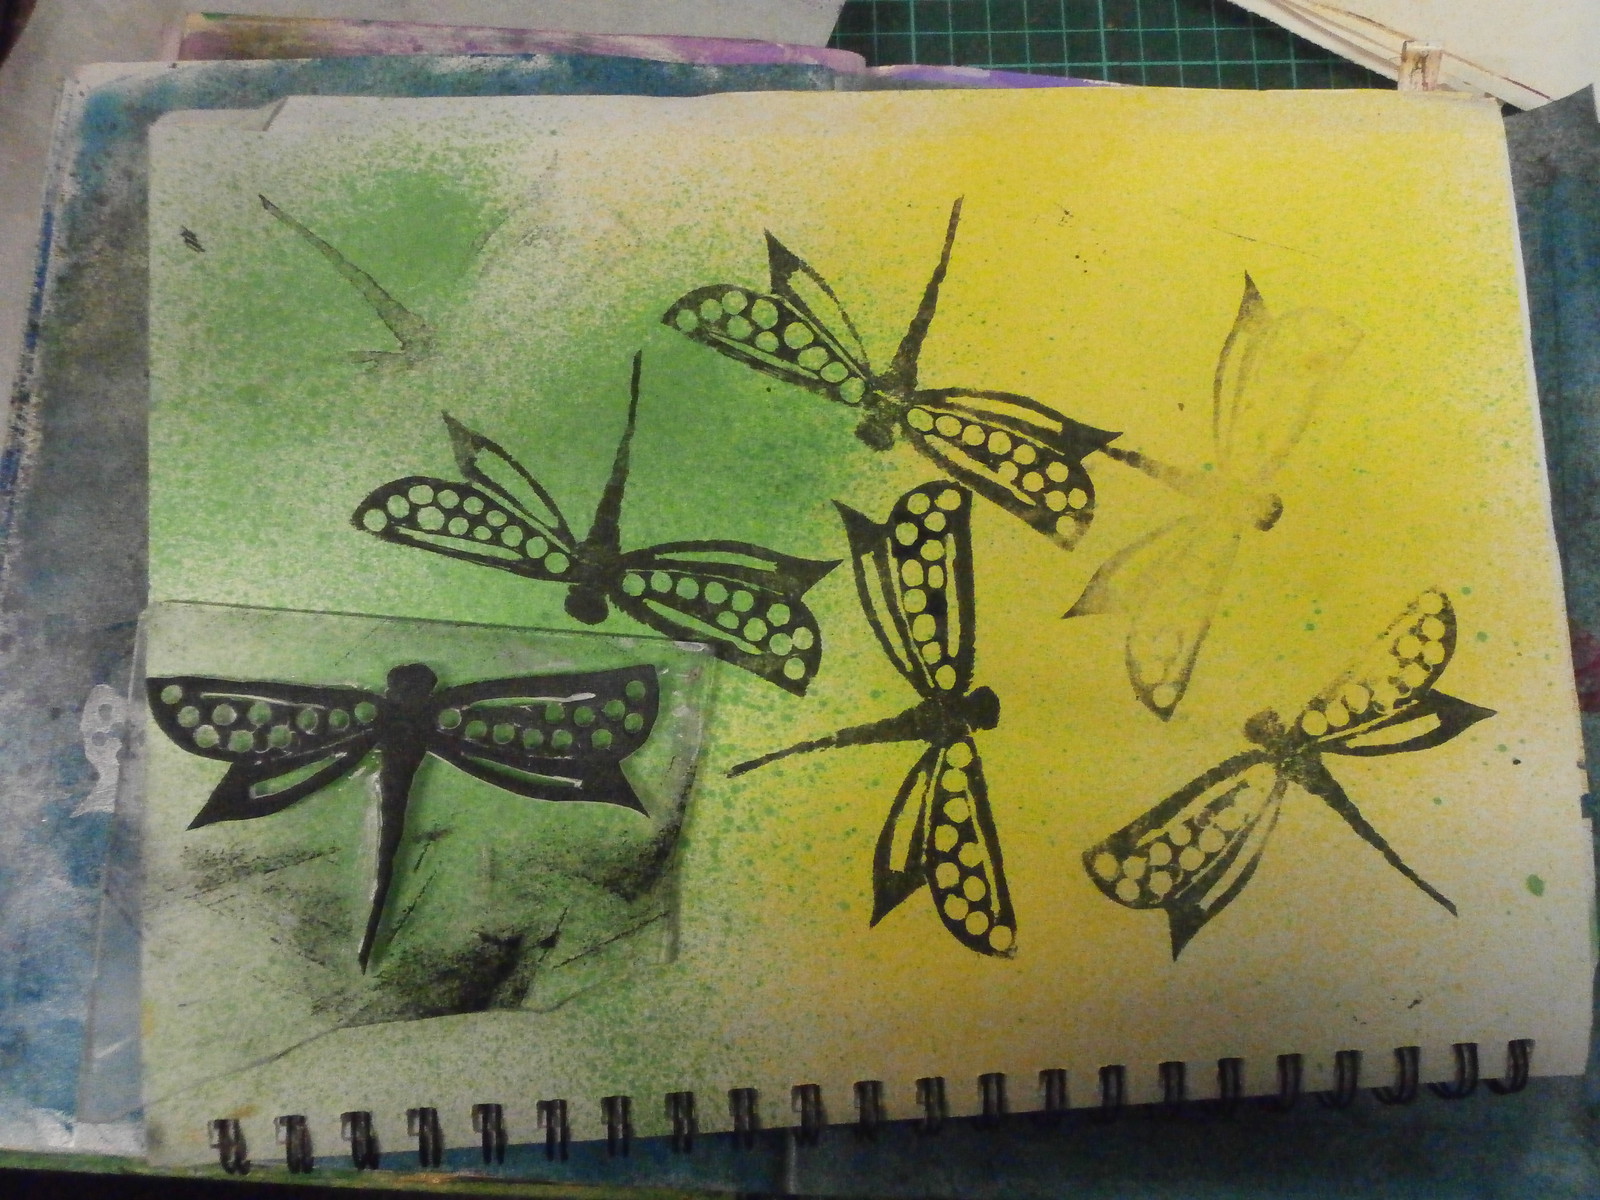
This was a stamp of a dragonfly I made and tested out in my journal
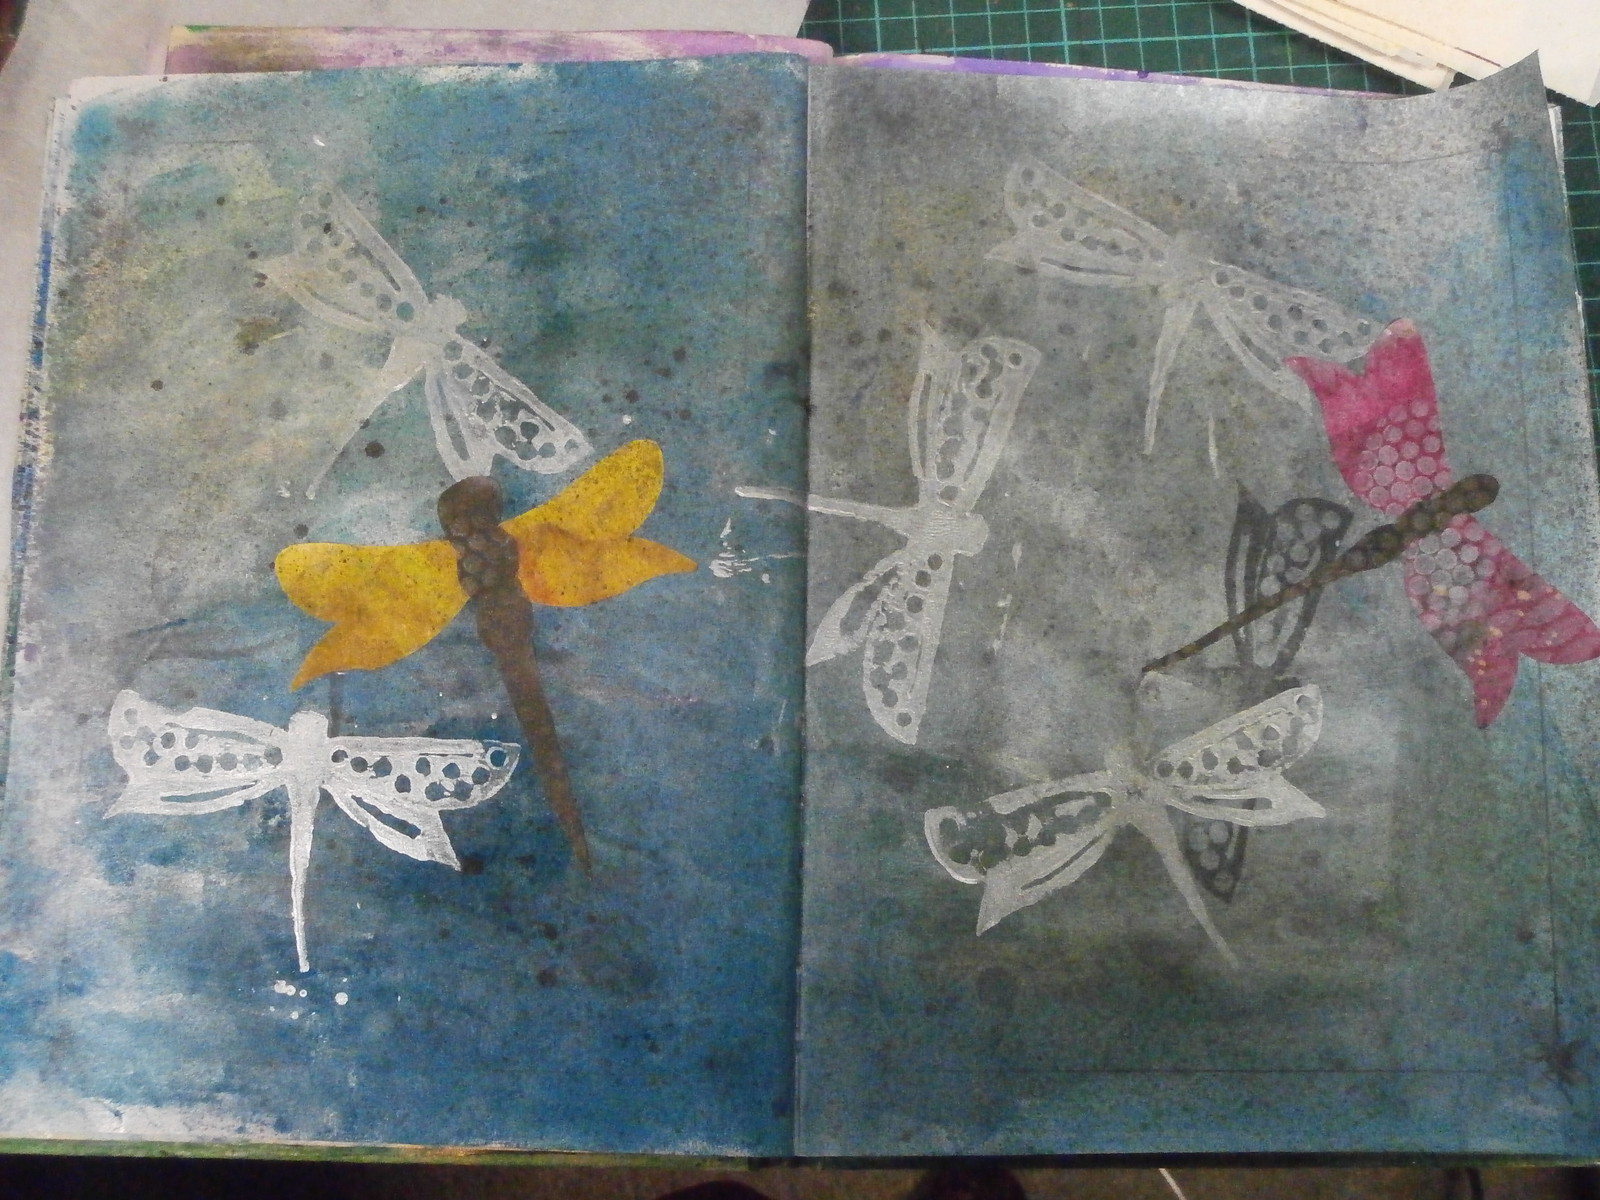
This page used the stamp with some silver paint and the coloured dragonflies were cut from the stickers
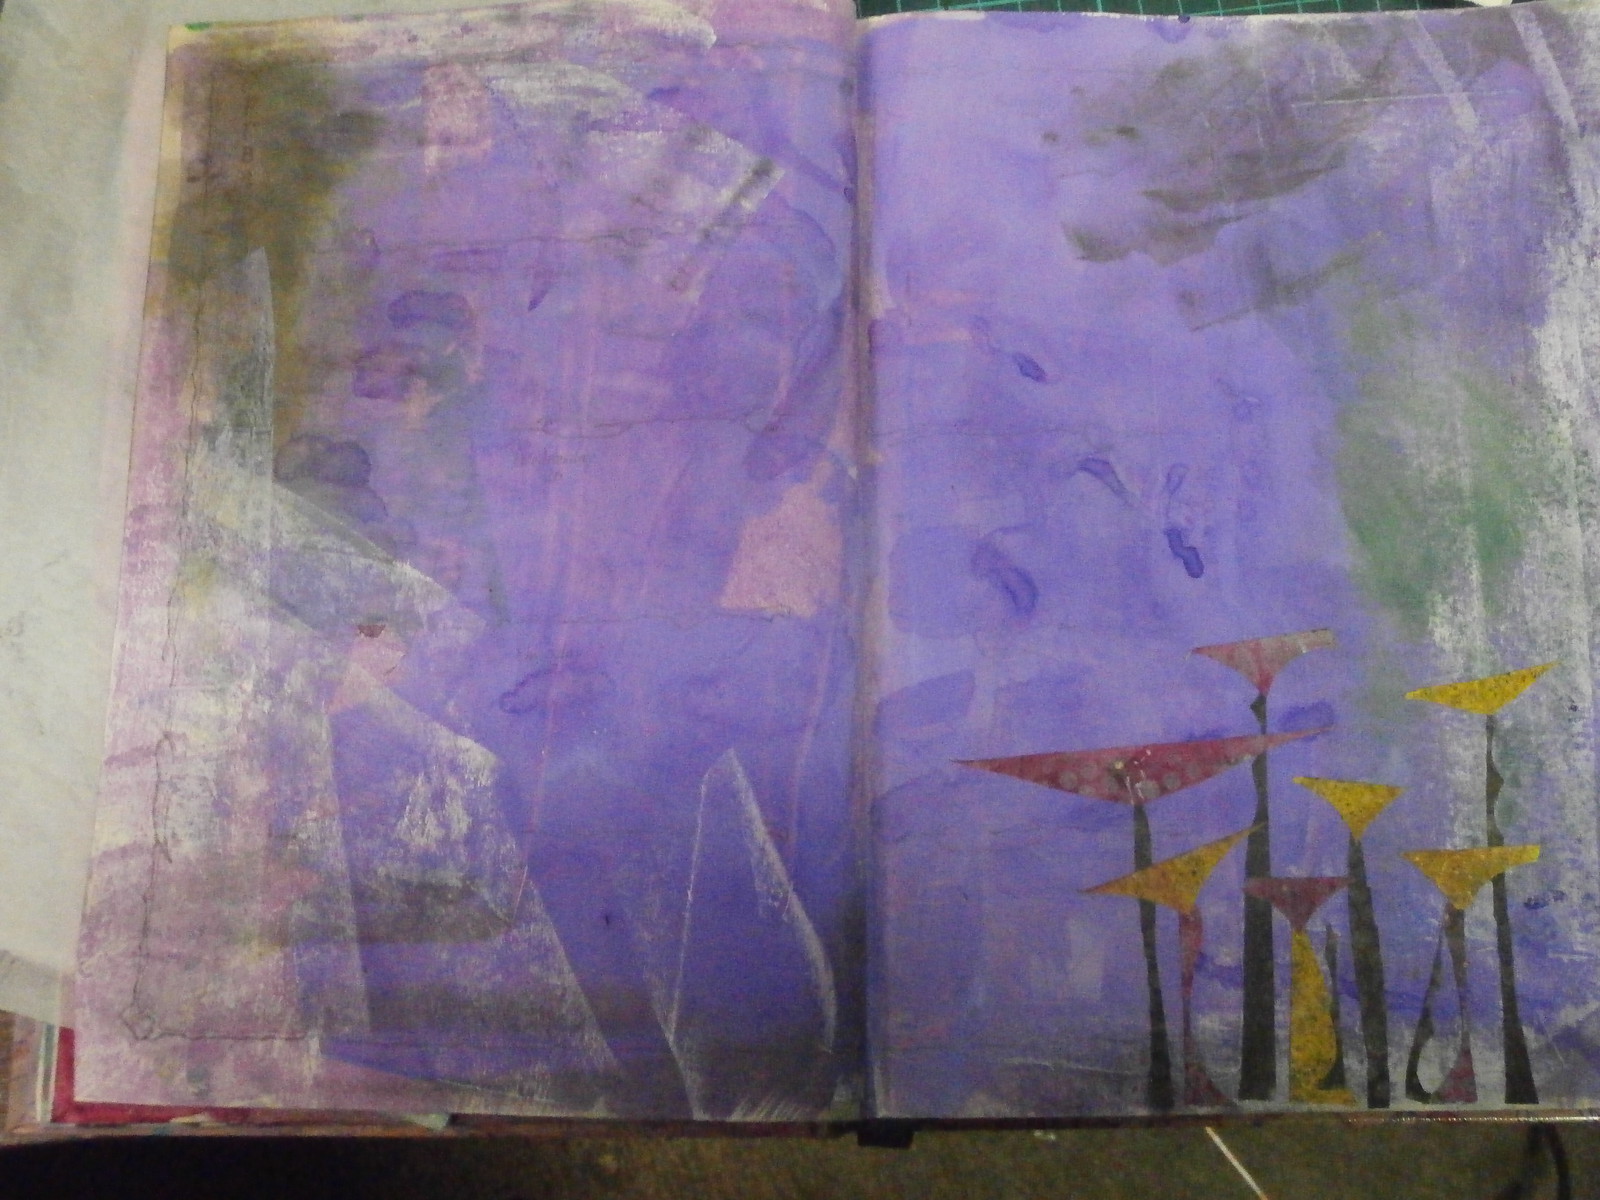
After I cut out the dragonflies, I used the scraps to makes some strange looking plants on this page.
Nothing is ever wasted here!
Happy Creating!
Showing posts with label dragonfly. Show all posts
Showing posts with label dragonfly. Show all posts
Monday, May 26, 2014
Monday, January 21, 2013
Languishing
So I am back. I have had a bit of a break from my textile work, doing things that I never have time for, which is lucky, because it is very hot here and when it is hot I am not at my best.
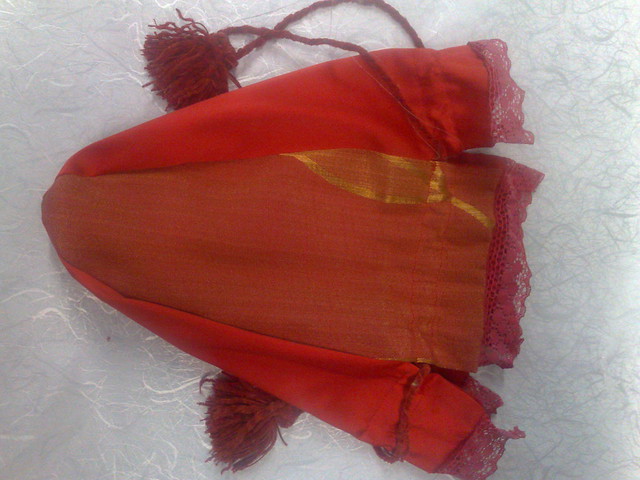
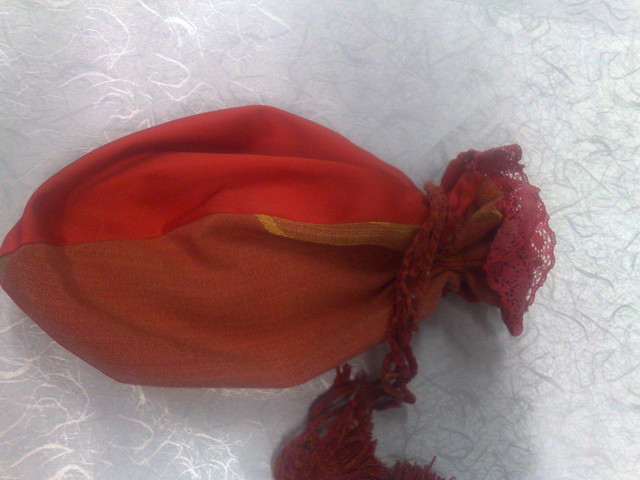
I made some little bags for the ladies in my family for christmas
I made six of these in different colours, from recycled fabric and braids, The inspiration was a felt bag in quilting arts episode 1010, by Rebecca Kemp Brent, which used the sole plate of an iron for a pattern! However, I made lined bags and did not embellish the panels.
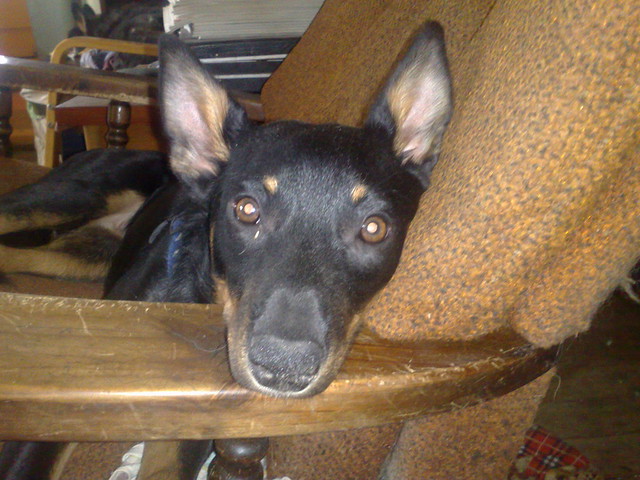
I spent a lot of time with my puppy, Ruby, who is growing up fast, but has not stopped chewing everything as you can see from the arm of the chair she is sitting on, lol
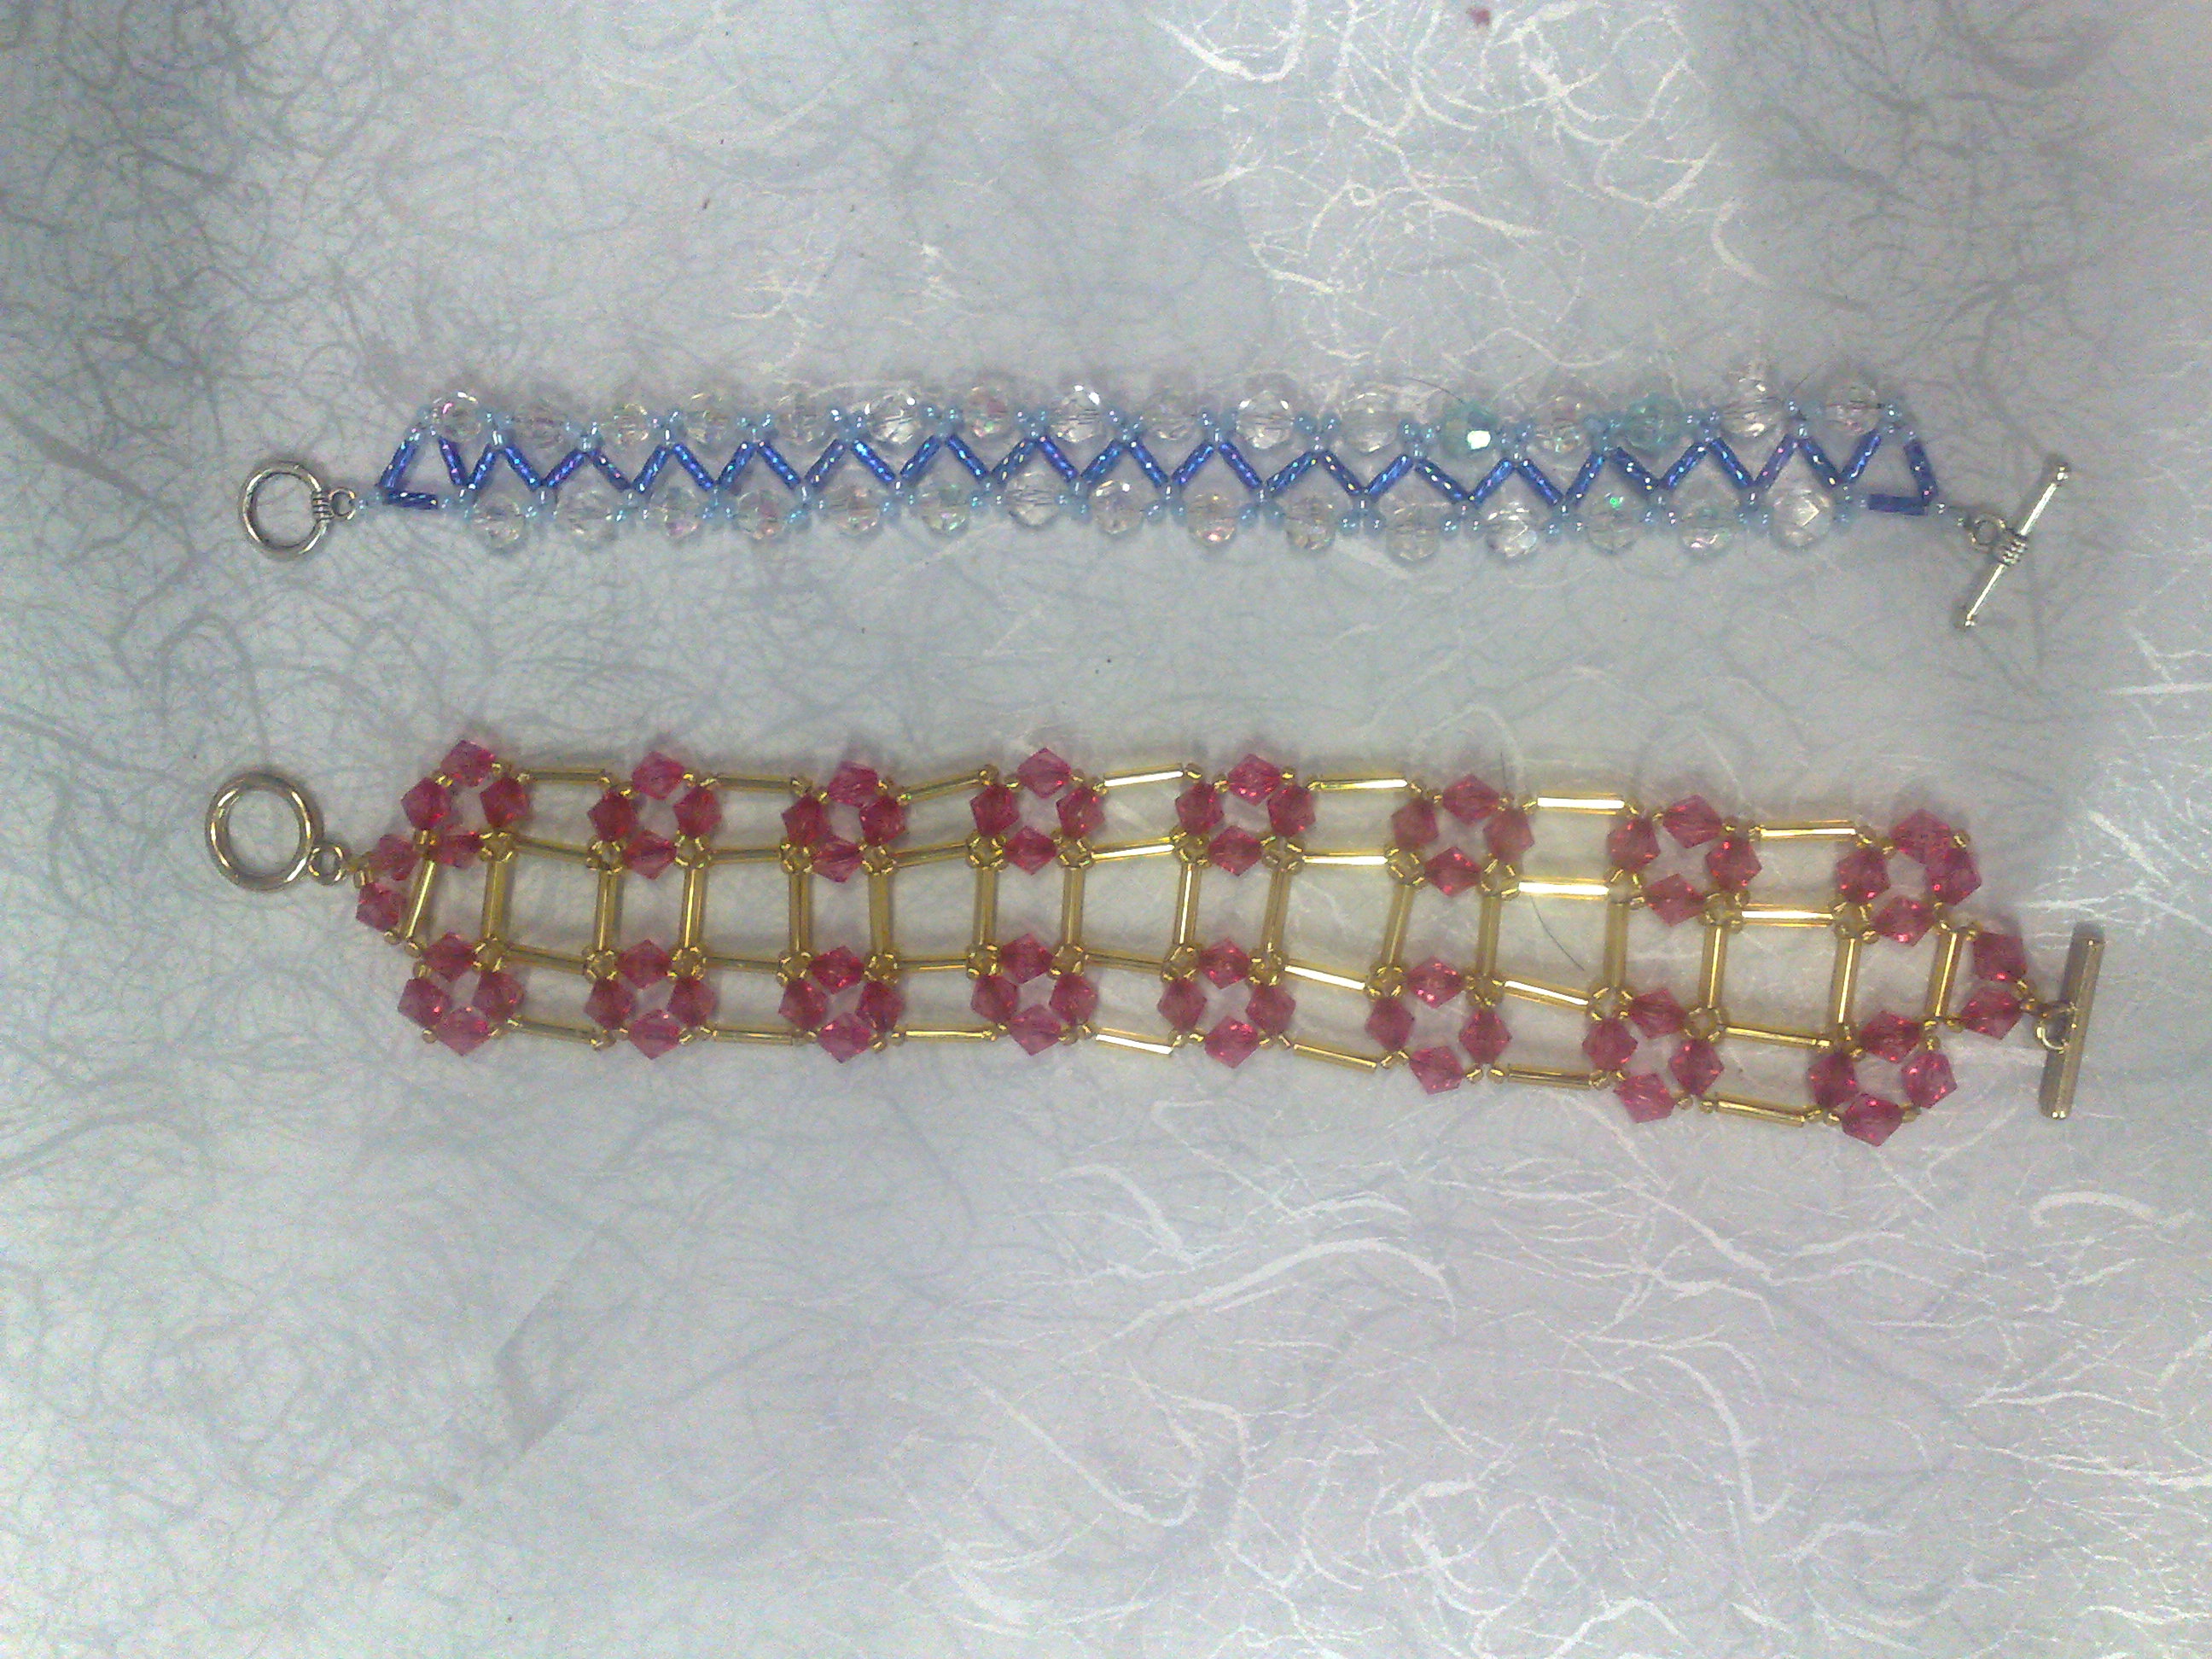
I made a few pieces of jewellery.
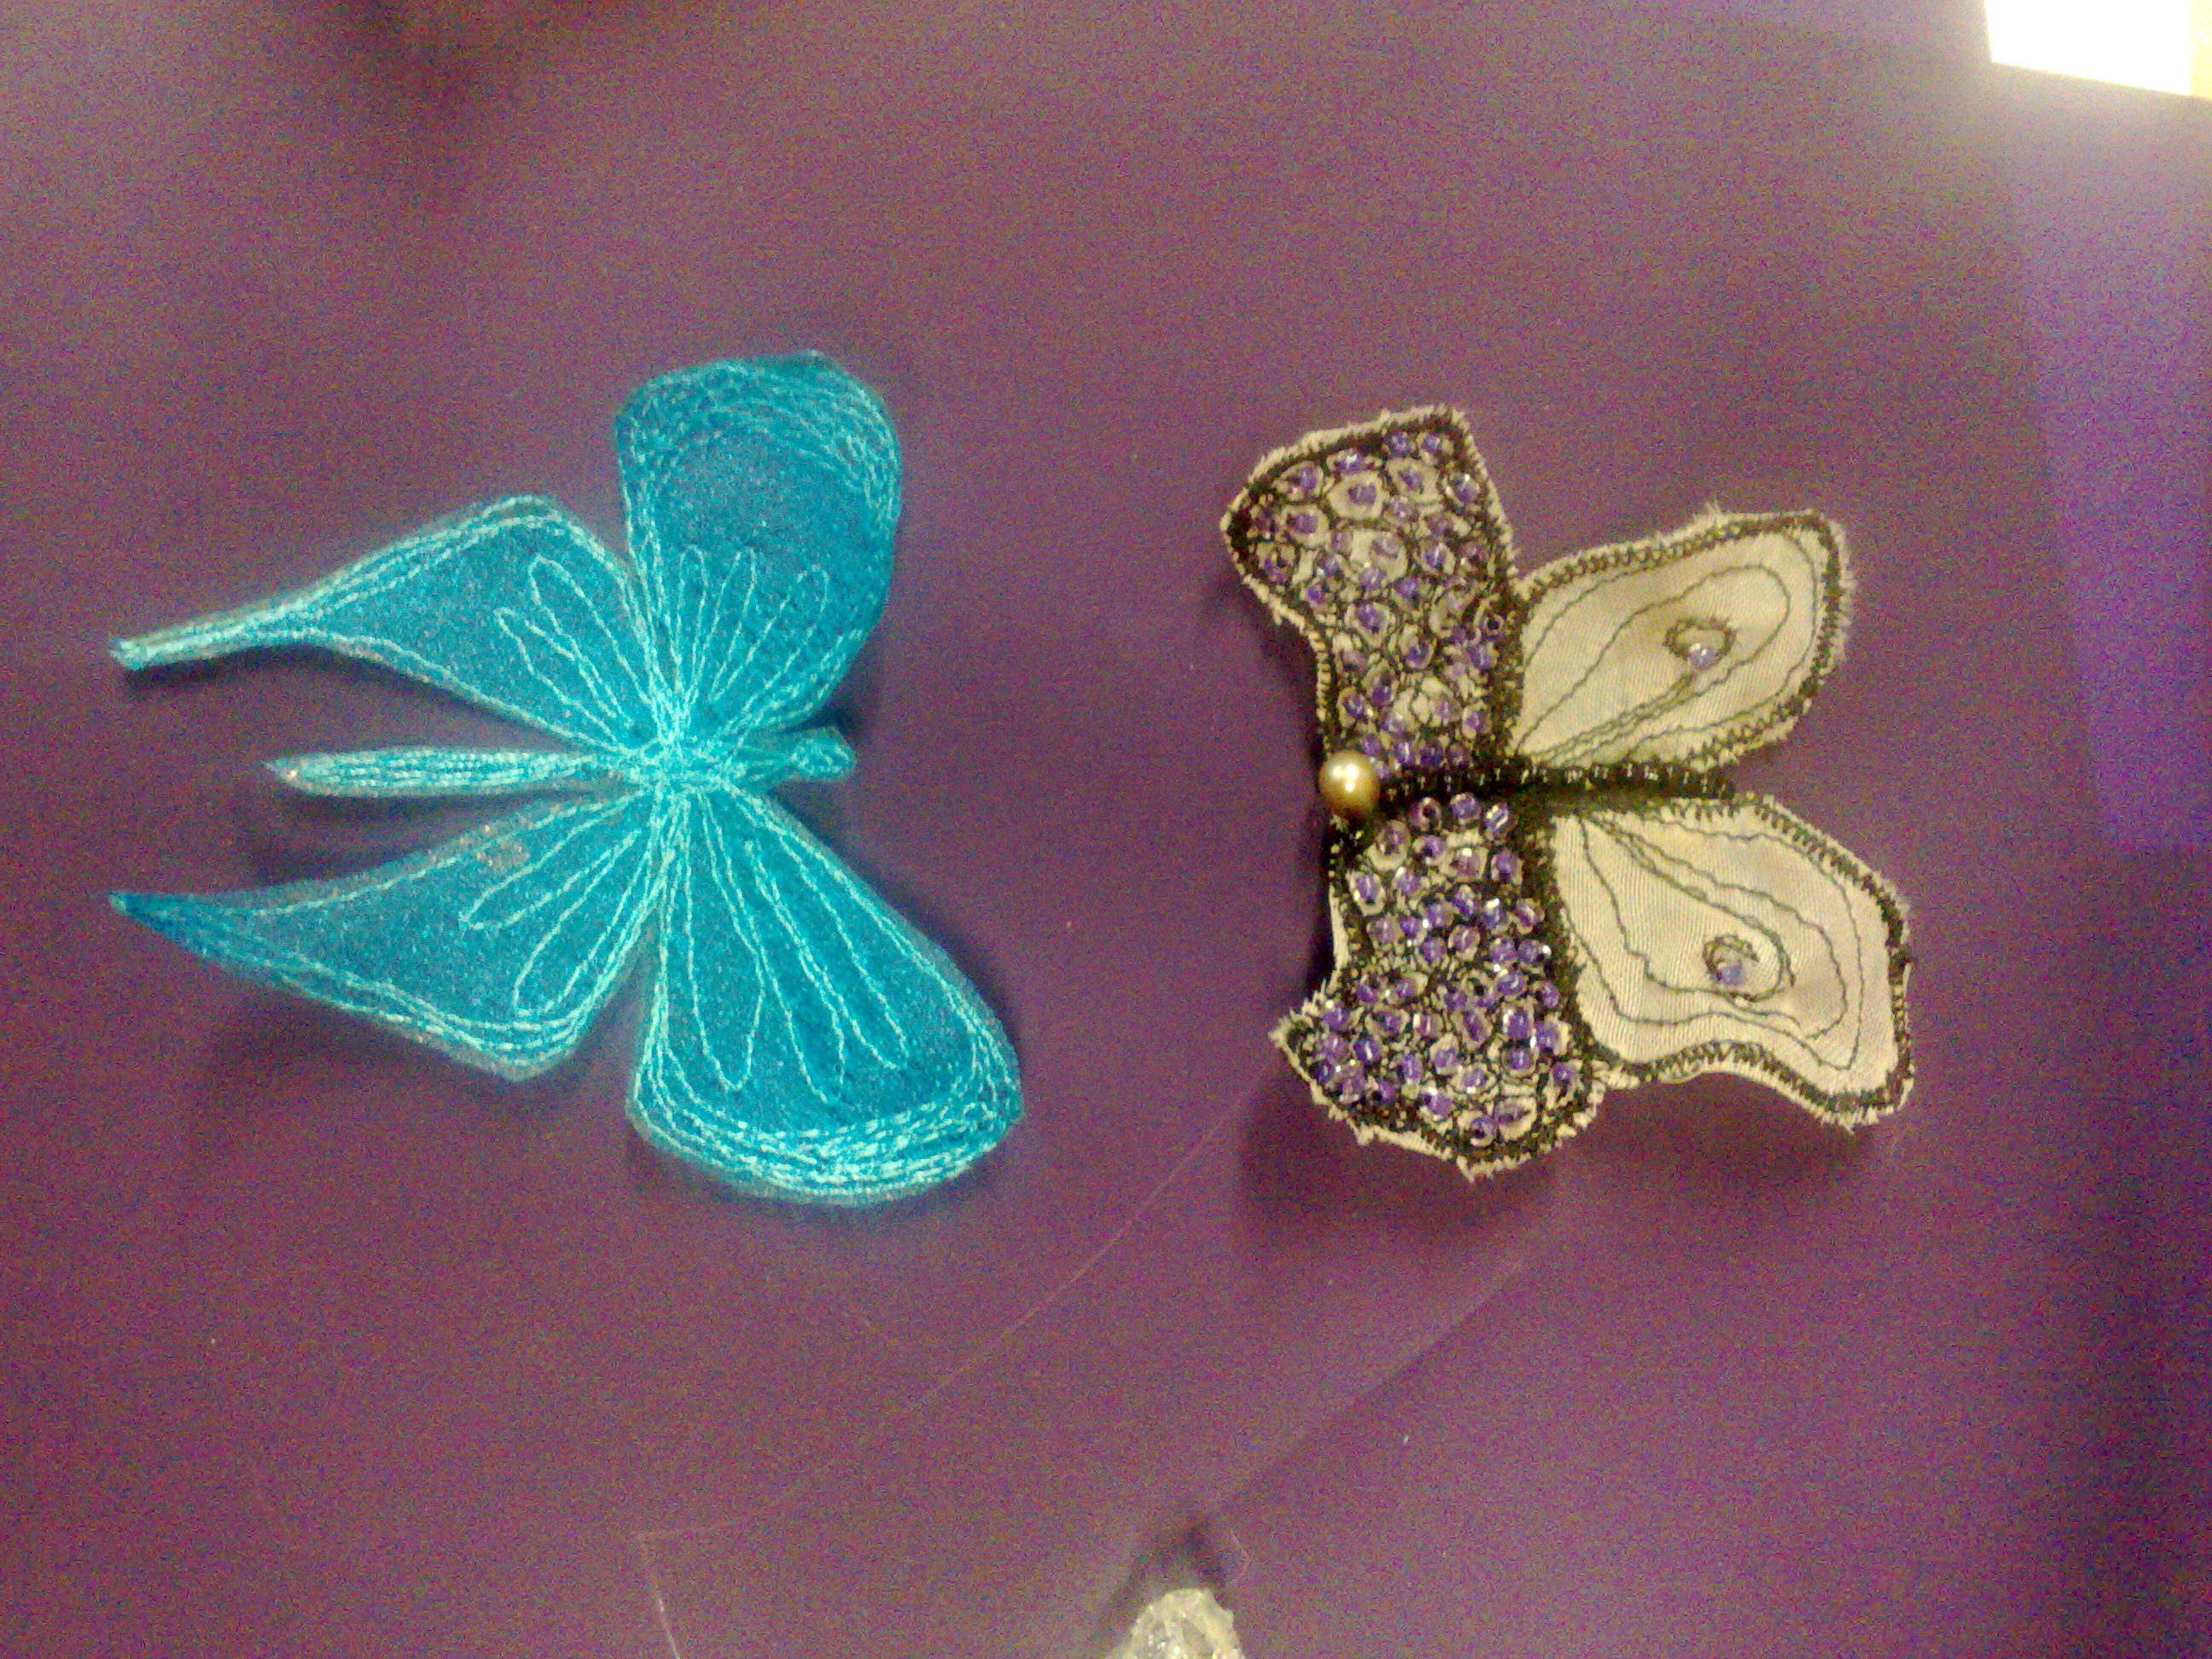
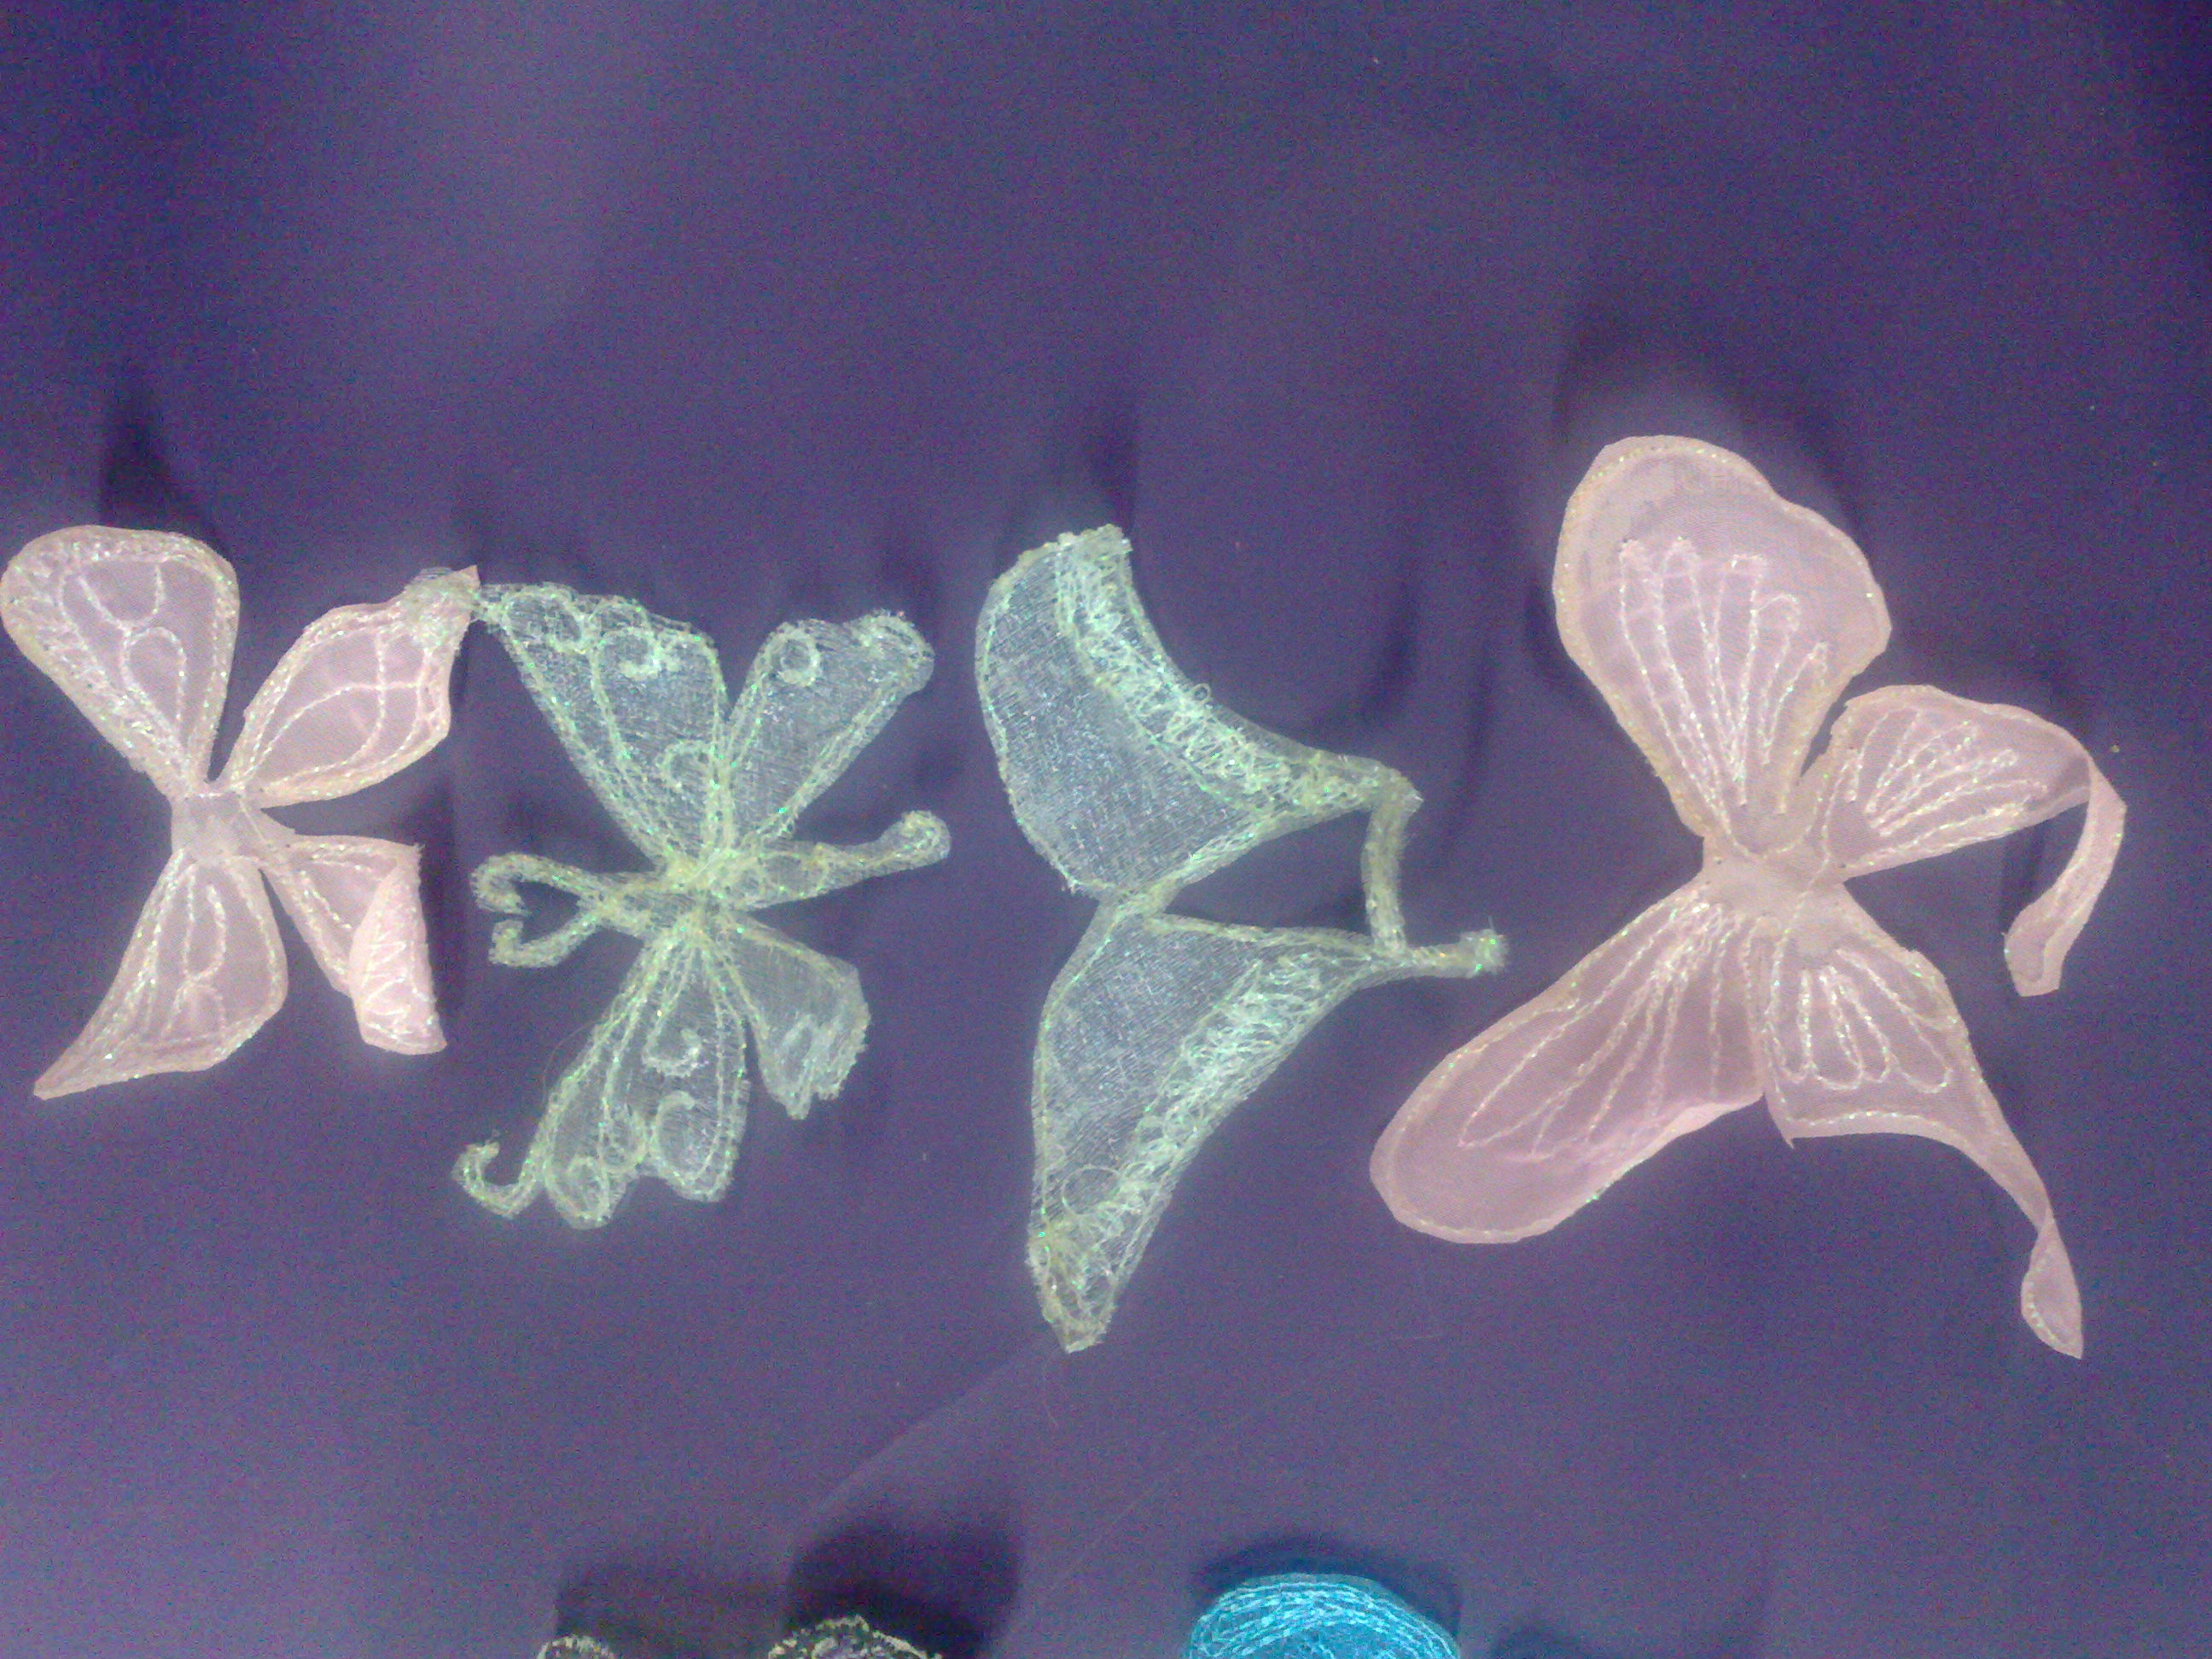
I made some free motion butterfly wings on organza
and some more
I have been working on a quilt as part of a Craftsy Course - Beyond Basic Machine Quilting.
I have altered my piece slightly, I did reverse applique with painted organza for the feather flowers and I used satin as my foundation. It made it slightly more difficult but I like it. As you can see at the moment, I am slowly filling in the background.
I have also been doing stupendous stitching and stitch and slash with Carol Ann Waugh at craftsy, but nothing to show there yet.
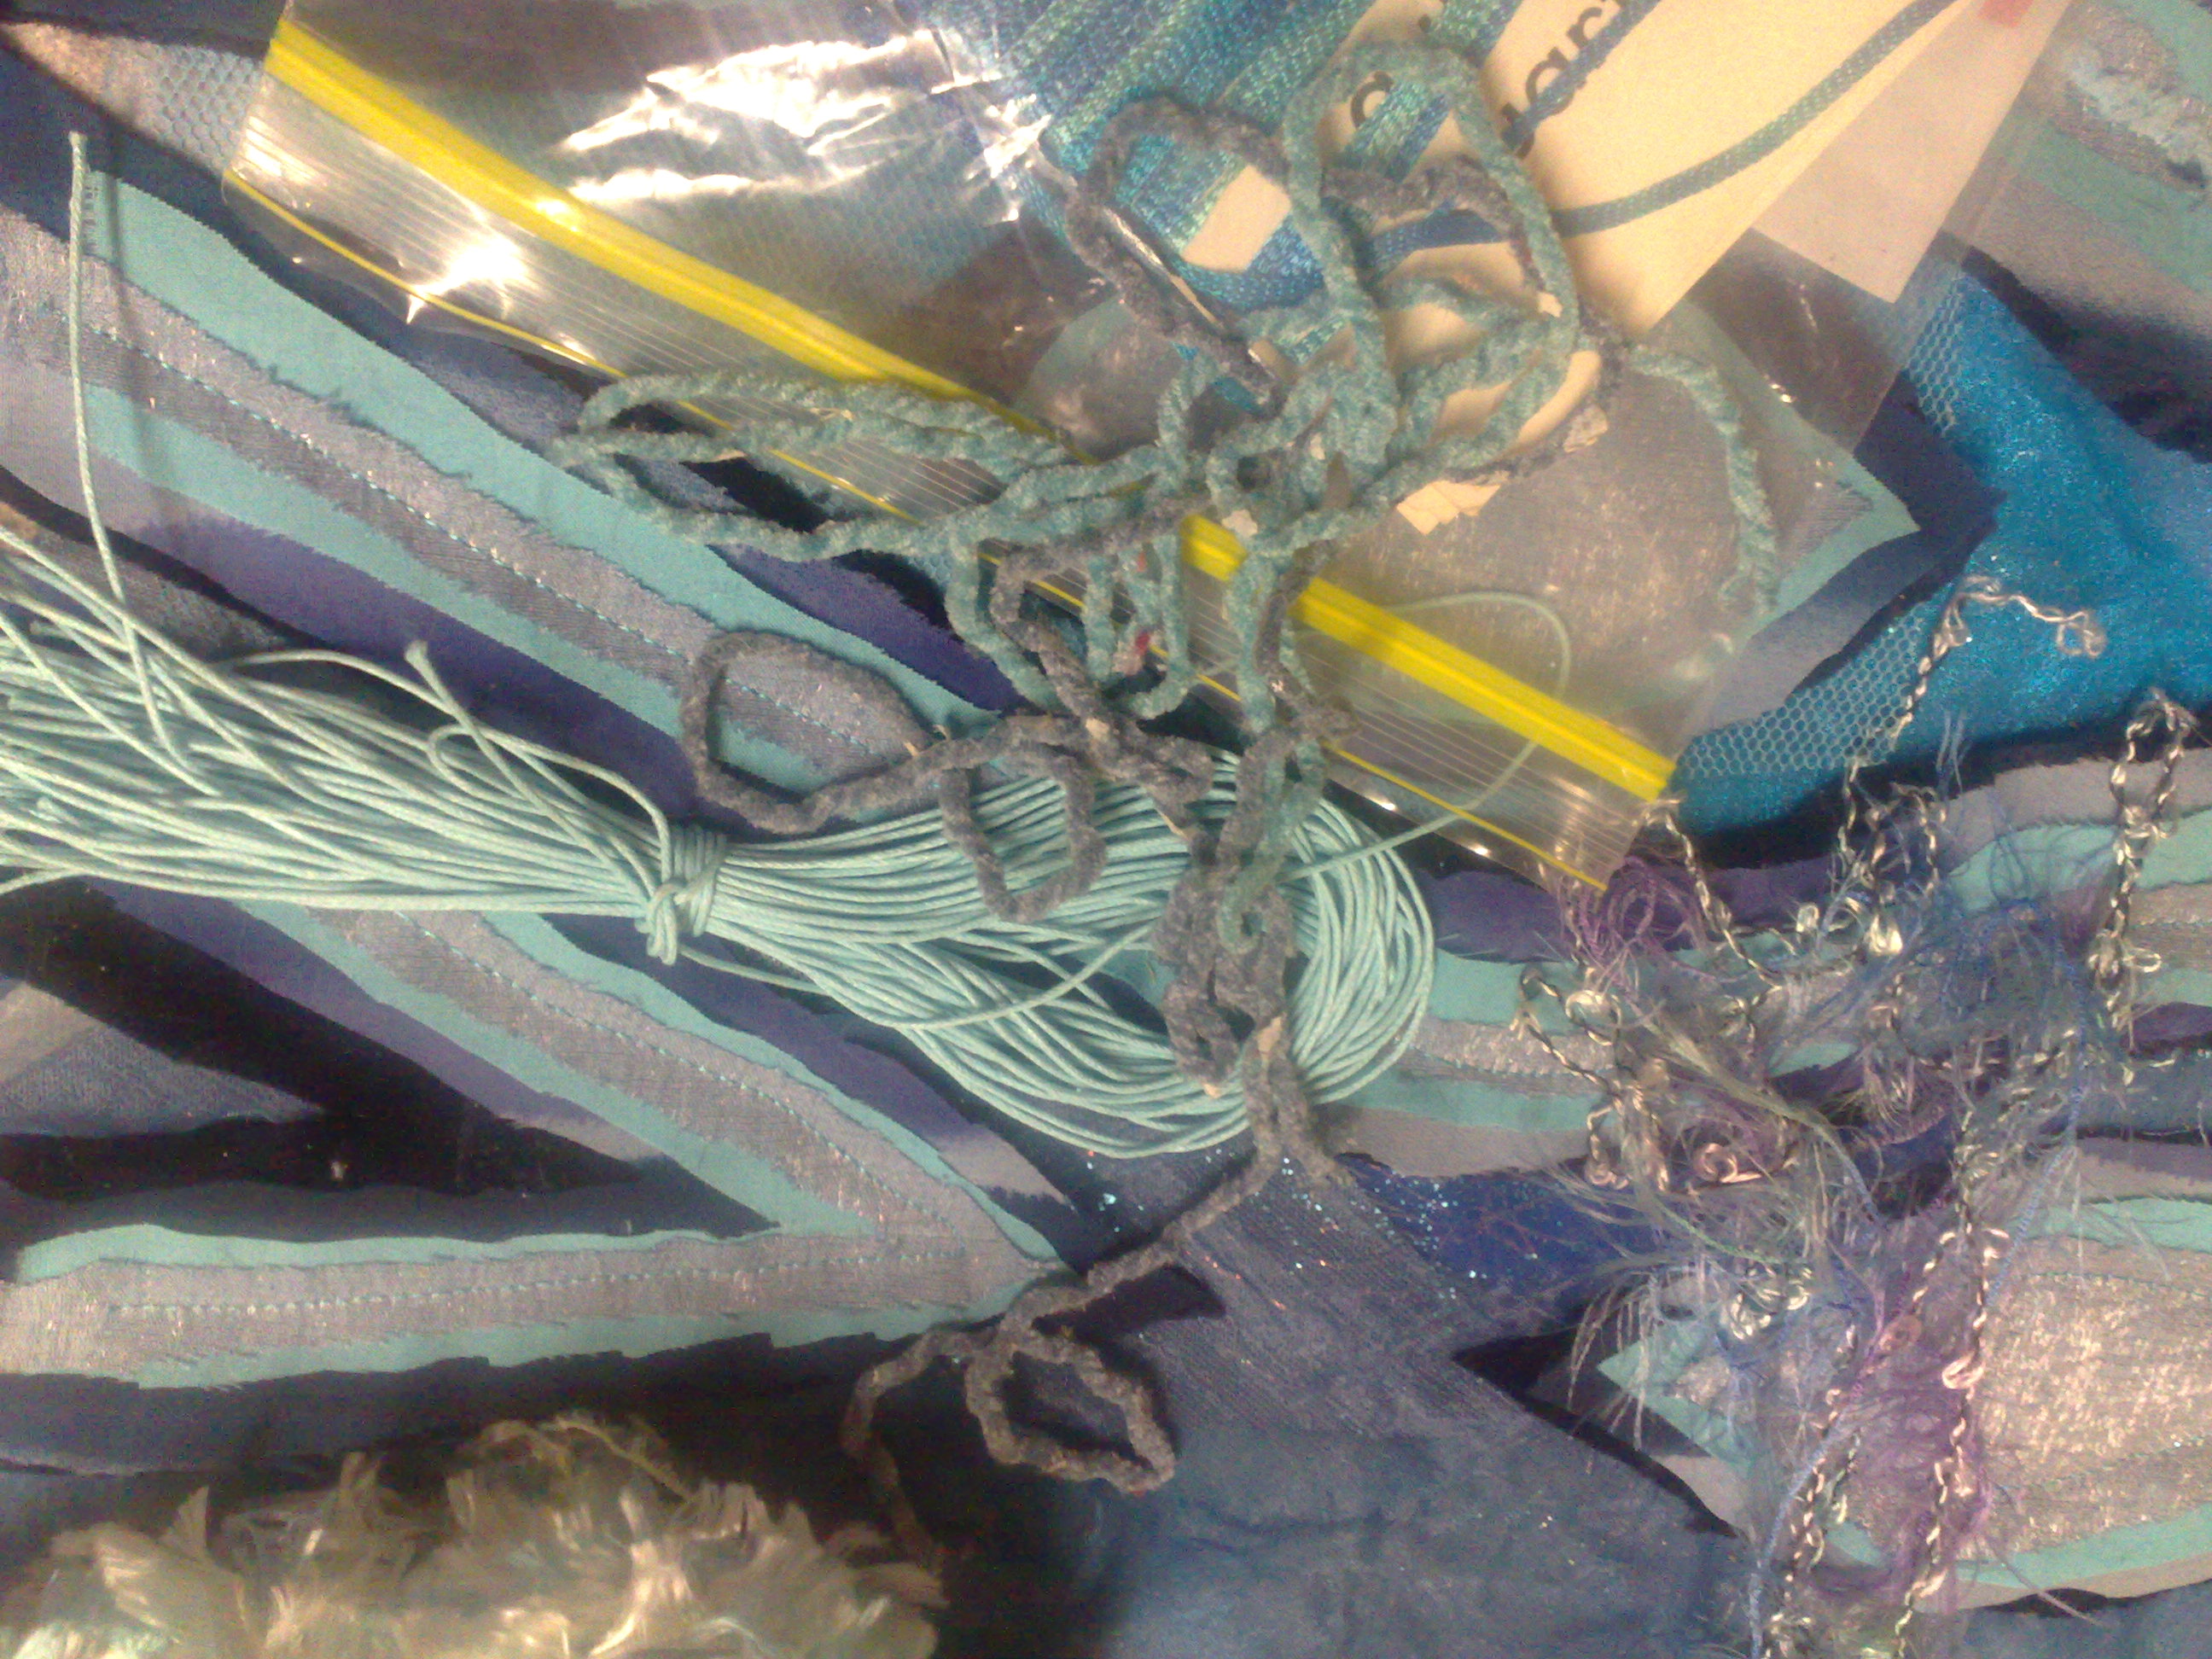
I have been working on my Blue Piece for Tangled Textiles, which is due in a week. Above are some of my blue bits and pieces - just a peek. I am not happy with how it is going, and wish I had stuck to my first idea, but of course there is no time to change now.
I have also been reading a lot - something I hardly ever do (stories, that is, I read text books a lot). I started reading Robert Jordan's "wheel of time" series twenty years ago and the final book was released earlier this year and I got it on my birthday, but I decided that I needed to reread all of the books from the beginning so that it is all fresh in my mind when I start the last one. There are 14 books altogether and none of them is short, hardly any less than 500 pages and most are more, so that is going to take me a while - lol.
I have been finding it hard to get back to work, but hopefully getting back to blogging will help put a bit of discipline into my days!
Be creative every day
I made some little bags for the ladies in my family for christmas
I made six of these in different colours, from recycled fabric and braids, The inspiration was a felt bag in quilting arts episode 1010, by Rebecca Kemp Brent, which used the sole plate of an iron for a pattern! However, I made lined bags and did not embellish the panels.
I spent a lot of time with my puppy, Ruby, who is growing up fast, but has not stopped chewing everything as you can see from the arm of the chair she is sitting on, lol
I made a few pieces of jewellery.
I made some free motion butterfly wings on organza
and some more
and some dragonfly wings.
I have altered my piece slightly, I did reverse applique with painted organza for the feather flowers and I used satin as my foundation. It made it slightly more difficult but I like it. As you can see at the moment, I am slowly filling in the background.
I have also been doing stupendous stitching and stitch and slash with Carol Ann Waugh at craftsy, but nothing to show there yet.
I have been working on my Blue Piece for Tangled Textiles, which is due in a week. Above are some of my blue bits and pieces - just a peek. I am not happy with how it is going, and wish I had stuck to my first idea, but of course there is no time to change now.
I have also been reading a lot - something I hardly ever do (stories, that is, I read text books a lot). I started reading Robert Jordan's "wheel of time" series twenty years ago and the final book was released earlier this year and I got it on my birthday, but I decided that I needed to reread all of the books from the beginning so that it is all fresh in my mind when I start the last one. There are 14 books altogether and none of them is short, hardly any less than 500 pages and most are more, so that is going to take me a while - lol.
I have been finding it hard to get back to work, but hopefully getting back to blogging will help put a bit of discipline into my days!
Be creative every day
Monday, March 14, 2011
Foiled Games sacks
In this tutorial we are going to use foiling to embellish some simple drawstring bags.
Here is the pattern for the dragonfly and the butterfly.
These bags are pretty useful. I use them for my crochet and tatting projects, and these two are for my mum, who uses them for the game pieces for Rummikin, which is sort of like rummy (cards) and uses tile like mah jong.
So, let's get down to business.
BAG
I have cut two pices of fabric 16 x 8.5 inches
I have overlapped them so you can see that they are right sides together.
Next, starting 2 inches from the top, sew down to the bottom, across to the other side and up to the 2 inch mark as in the picture below
Next, hem the 2 inches of the sides you have left unsewn.
Do this by folding the seam allowance back and topstitching.
Next, fold the tops down 1 inch and seam to make a channel on the fron and the back of the bag as shown below
The finshed channels and the bag turned right side out
Next insert the drawstrings. You will need two lengths of rope or string which are at least three times the width of the bag.
Attach the first string to a bodkin or large safety pin
next, push the string through to the other side, making sure the end is still at the start
then take the string through the other side of the bag going the other way.
Tie off the two ends at the start
then, with the other string, attach to pin and start taking it through in the same way from the opposite side
once you get to the knot side,
take it back through the other channel
now, tie off in the same way as the other knot. You should have a knot on either side of the Bag
I like this method, because the strings draw tight and are more secure than one string.
EMBELLISHMENT
First, cut out the webbing shapes, leaving the paper on
next, place them on the fabric and iron down (using parchment to protect your iron)
then rermove the paper backing (when cool) and place the transfer foil coloured side up, cover with parchment and iron
As you can see below, different webbings will produce different effects. In the top sample, the foil transferred cleanly and did not stick to the fabric at all. In the bottom sample, the transfer was partial, and there was some transfer in places where there was no webbing.
I actually liked the partial transfer and decided that a bit more experimentation was required. I cut out a piece of the fusible plastic I made here and fused my butterfly to the webbing side (upside down), then cut it out and fused it above the foil, slightly out of register.
Now this, I really liked with the foil showing through and the bright colour - Wow.
And now we have two games sacks!
Here is the pattern for the dragonfly and the butterfly.
These bags are pretty useful. I use them for my crochet and tatting projects, and these two are for my mum, who uses them for the game pieces for Rummikin, which is sort of like rummy (cards) and uses tile like mah jong.
So, let's get down to business.
BAG
- You will need some fabric and some string for the drawstring. I use cotton rope..
- some fusible webbing. I have used two different types. In the photo I have traced my patterns on the paper side of the webbing.
- some transfer foil. This is not just wrapping paper foil, but is made specially for transfer to surfaces
- An iron and ironing surface
I have cut two pices of fabric 16 x 8.5 inches
I have overlapped them so you can see that they are right sides together.
Next, starting 2 inches from the top, sew down to the bottom, across to the other side and up to the 2 inch mark as in the picture below
Next, hem the 2 inches of the sides you have left unsewn.
Do this by folding the seam allowance back and topstitching.
Next, fold the tops down 1 inch and seam to make a channel on the fron and the back of the bag as shown below
The finshed channels and the bag turned right side out
Next insert the drawstrings. You will need two lengths of rope or string which are at least three times the width of the bag.
Attach the first string to a bodkin or large safety pin
next, push the string through to the other side, making sure the end is still at the start
then take the string through the other side of the bag going the other way.
Tie off the two ends at the start
then, with the other string, attach to pin and start taking it through in the same way from the opposite side
once you get to the knot side,
take it back through the other channel
now, tie off in the same way as the other knot. You should have a knot on either side of the Bag
I like this method, because the strings draw tight and are more secure than one string.
EMBELLISHMENT
First, cut out the webbing shapes, leaving the paper on
next, place them on the fabric and iron down (using parchment to protect your iron)
then rermove the paper backing (when cool) and place the transfer foil coloured side up, cover with parchment and iron
As you can see below, different webbings will produce different effects. In the top sample, the foil transferred cleanly and did not stick to the fabric at all. In the bottom sample, the transfer was partial, and there was some transfer in places where there was no webbing.
I actually liked the partial transfer and decided that a bit more experimentation was required. I cut out a piece of the fusible plastic I made here and fused my butterfly to the webbing side (upside down), then cut it out and fused it above the foil, slightly out of register.
Now this, I really liked with the foil showing through and the bright colour - Wow.
And now we have two games sacks!
Labels:
bags,
butterflies,
dragonfly,
drawstring,
foil,
make it monday,
pattern,
project
Wednesday, March 2, 2011
Waterfall WIP
As I said, Wednesdays will be work in progress day. The day when I show you how I go about creating my fibre art pieces.
Today I worked on a landscape with waterfall collage that I designed for my Quilt uni course.
This is the original idea sketch in my journal. It is a simple scene with only a few elements and uses the golden rule in composition. There is a rocky cliff on the left, A waterfall with pool in the centre, and rainforest and ferns on the right. The ferns are in the foreground, covering the other side of the cliff. There will also be a dragonfly buzzing around somewhere.
This is my sketch on interfacing 18x14 in. I have already placed some hand dyed fabric for the sky.
The brown fabric, another hand dye, is what I will use for the cliffs. On the left is a close up of my sketch of the rocks on the fabric. This fabric will be extensively thread painted, then trapuntoed to give dimension before I put it on the background.
The green mottled fabric will go under a large amount of FME lace representing trees and ferns in the foreground on the right.
This is my tucked fabric for the pool at the bottom of the scene pinned ready to sew the ripples in, and on the right, pinned in place. The pool is contructed of an organza overlay over a navy blue piece of cotton, so that when the ripples are sewn in, it will appear to hane depth.
These are a variety of yarns and threads which will be couched in place for the waterfall. In the picture on the right they are sitting in place and also to the right of them, is some of my Fibre film from yesterday which will form the moss at the edge of the pool.
As you can see, Most of the pieces require some work before the piece can be assembled, and at present it is still only a plan and looks like quite a mess.
Creating art is always about give and take. At this stage I like how I imagine the pieces will fit together, but you must always be open to change. Our minds are always learning new things and new ways to do them, so when you look in next week, I cannot guarantee my plan will be the same, however, I hope the piece will be a little closer to being finished and starting to look like more than a mess!
Sunday, January 30, 2011
Stumpwork
My dragonfly is finished!
I actually re did the wings a total of four times, but I learnt a lot along the way.
I have always wanted to do one of these and I am pretty happy with this first effort.
FME and quilting artists always say, that you need a lot of practice before you become comfortable with the technique and I think I am starting to get familiar with what I can do, but let's push a bit further anyway...
Thursday, January 27, 2011
Some thread painting
I have been away, doing the airport shuffle with my mum and haven't posted for a bit, but I have been working.
I have gotten my study schedule worked out, and have been doing some thread painting.
I recently got two books by Alison Holt and have been studying them, even started one of her projects
I have bought a few small frames and one gave me the idea to do a stumpwork dragonfly.
This is the background for the piece. It is only 2x3"
here is a sample of some variegated threads I thought might be good for the body, but I decided that they looked too even and artificial.
and here are my wings set up to embroider, with tulle sandwiched between two layers of soluble stabiliser.
I will embroider the lines with gold and wire the edges with same.
Also, I have started back on a couple of pieces I was working on a while ago.
The first is a design by Richard Box from a really old copy of Needlecraft magazine (out of print) aug 1994. You can also see him working here.
and a needle point picture of a train which I am thread painting for the DH.
I have done a little bit of work on my large anemone quilt
As you can see, I have added the darks to the flower.
And, I have set up a sample for the first two layers and lace of my large walhanging
Not much to see, yet, and the chalk lines on the main fabric are a little hard to see.
Hopefully I will get some work done tomorrow when the DH is at work
Subscribe to:
Posts (Atom)


