Another week and this week I feel I have done a bit more and been more productive, Even with some saddening family news this week. I am glad I have been keeping busy, because I think it does help when life happens - having things to do. Stops you reveling in your own sadness.
But anyhow, Let's look at what I have gotten done this week.
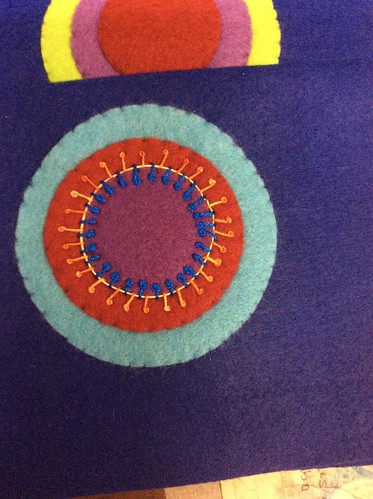
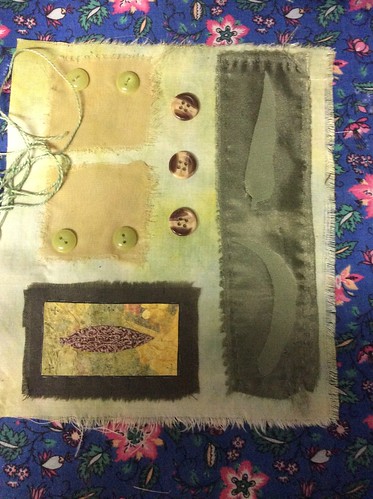
This is my first bit of embroidery on my Sue Spargo sampler with craftsy. It has taken me a while to get started, but hopefully I will get some done on Tuesdays at Quilt group which begins again this week.
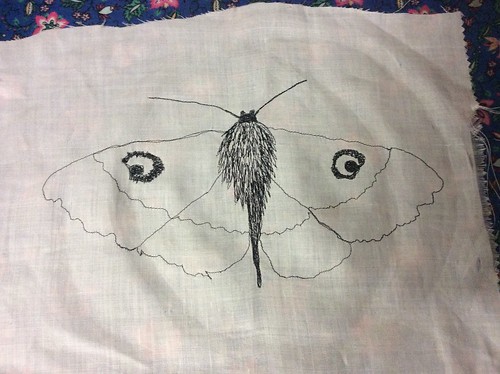
This is a Thread painted moth I finished during the week. Not sure what I am going to do with it yet, perhaps it will become a fabric page.
I finished unpicking this piece of printing on chiffon, which had some free motion I didn't like
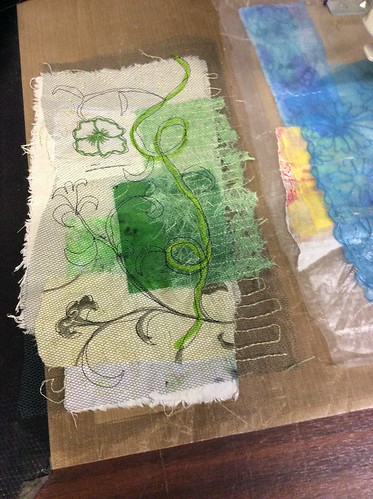
Another of the fabric and paper collages I am making for Fabric books.
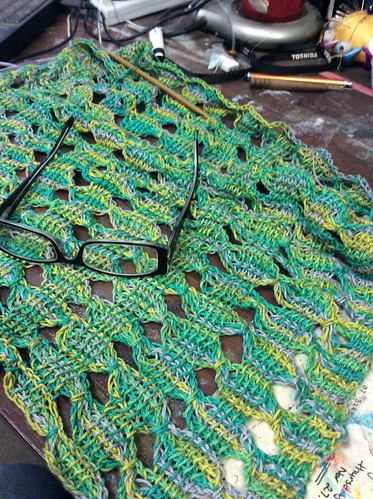
Getting along with my crochet!
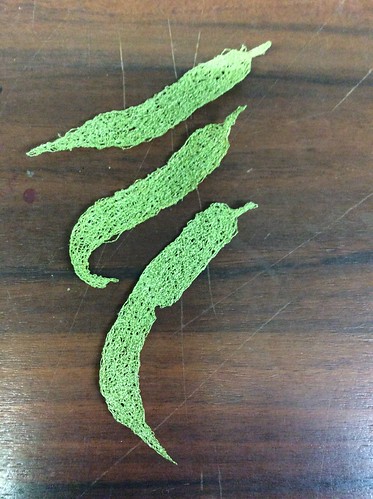
Some thread lace leaves.
A teeny tiny embellishment - again for fabric pages.
A page in my doodle book I am working on. The red leaves are a deli paper page that has been cut - over the top of the green and purple page.
This is a page from week two of Lisa Congdon's Sketchbook Explorations on creativebug.
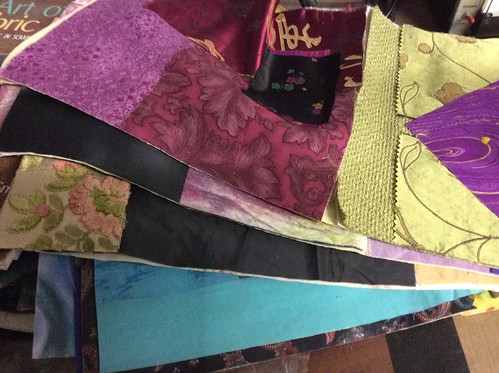
If you have known me for a while, you might recognise this pile of fabric pages ready to embellish. I have used my collage background challenges from last year.
And here is one of the pages, with a free motion sketch which has been painted. Quite happy with this page, but still needs a little more work.
Another fabric page in process.
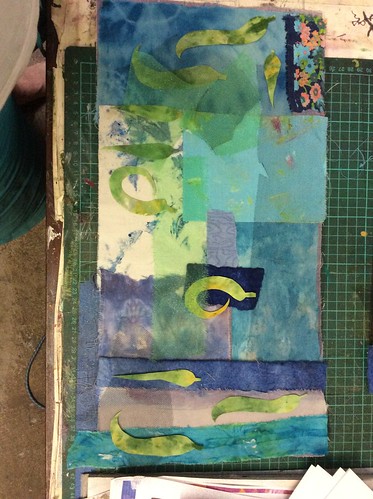
And finally another fabric page, a two page spread ready to free motion stitch. It might seem that I am a bit obsessed with fabric books at present and I probably am. I have been interested for a few years and never yet completed one! So this year is the year.
My pinterest page has lots of inspiration if you want to look, but the main artists who are inspiring me are Frances Pickering, Ro Bruhn, Jill Taylor, and Annette Bolton and of course Cas Holmes. As usual quite a few UK artist in that group!
Happy Creating!
Showing posts with label machine embroidery. Show all posts
Showing posts with label machine embroidery. Show all posts
Sunday, January 25, 2015
Saturday, February 15, 2014
A brief update
I have a few bits and pieces to show, none of which are finished, but I though you might like to see what I have been up to.
first is my sunflower piece, which is decidedly NOT moving at present, except perhaps in my head.
I have all the little bits pinned up on a piece of felt, but at present I don't know what to do with them. I think it might have to be a small series, because I have too much for one piece!
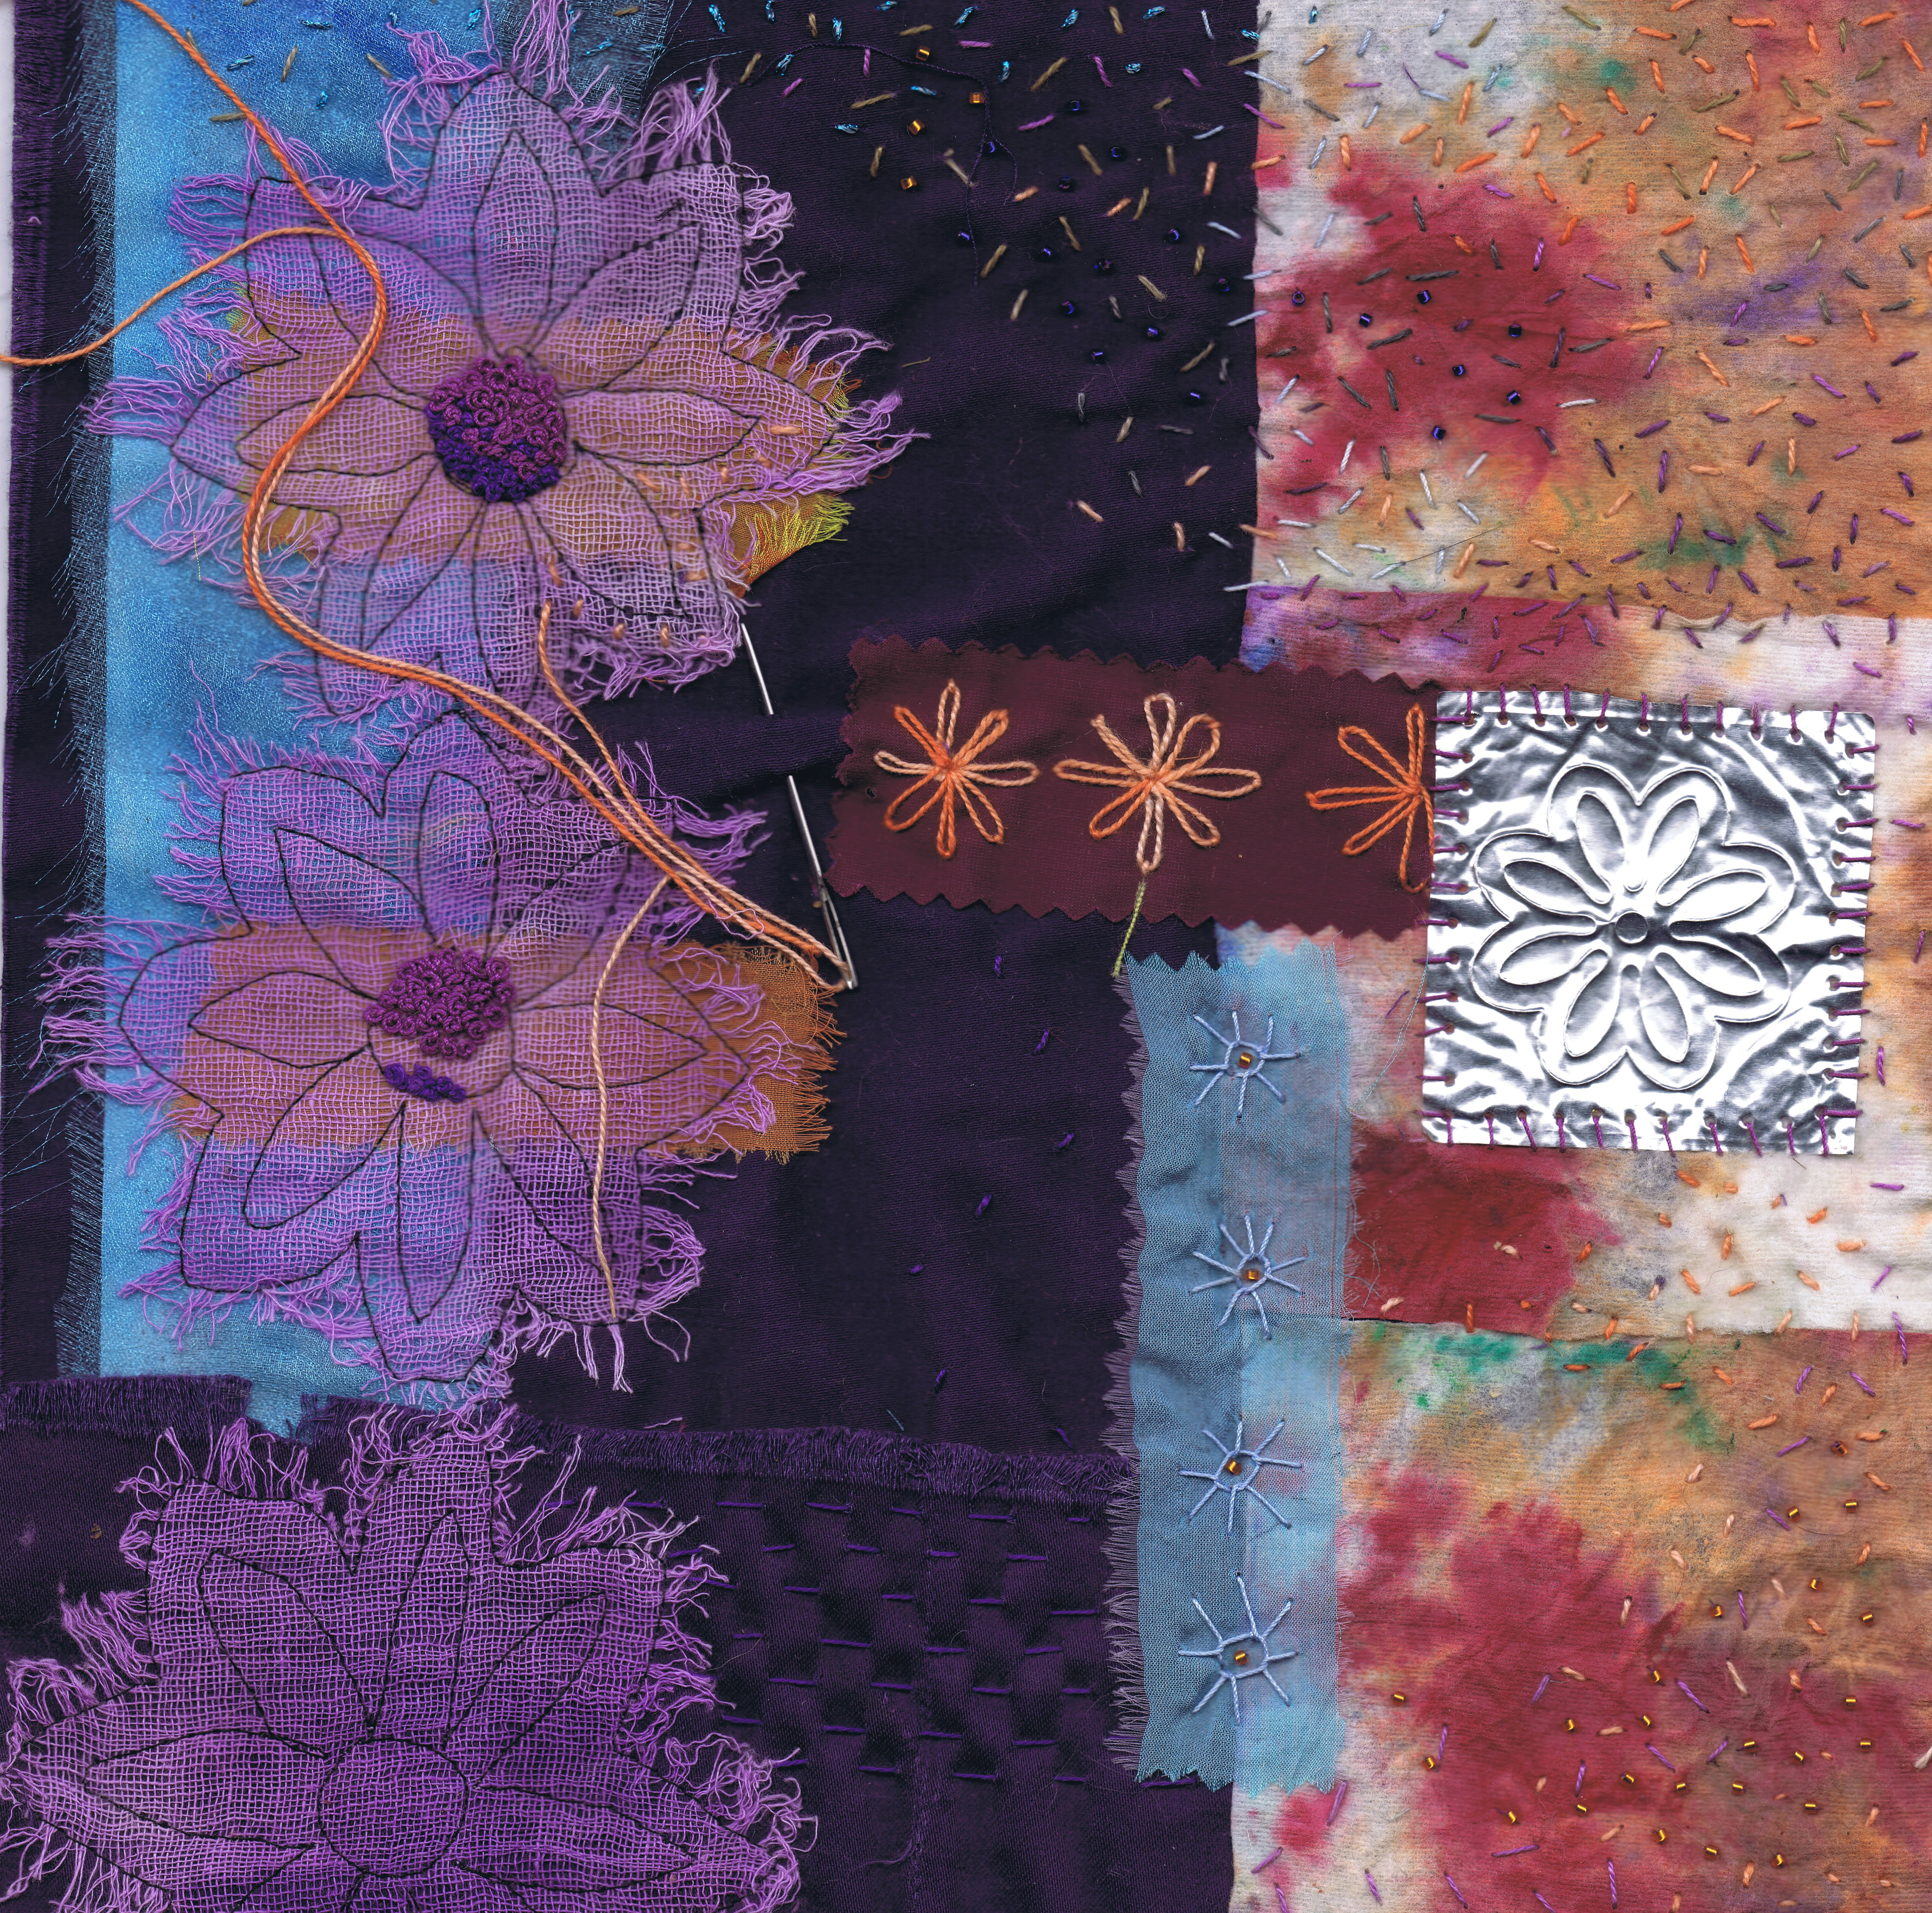
The little daisy collage I started work on has been coming along slowly. this is where it is at.
It is coming along, but slowly.
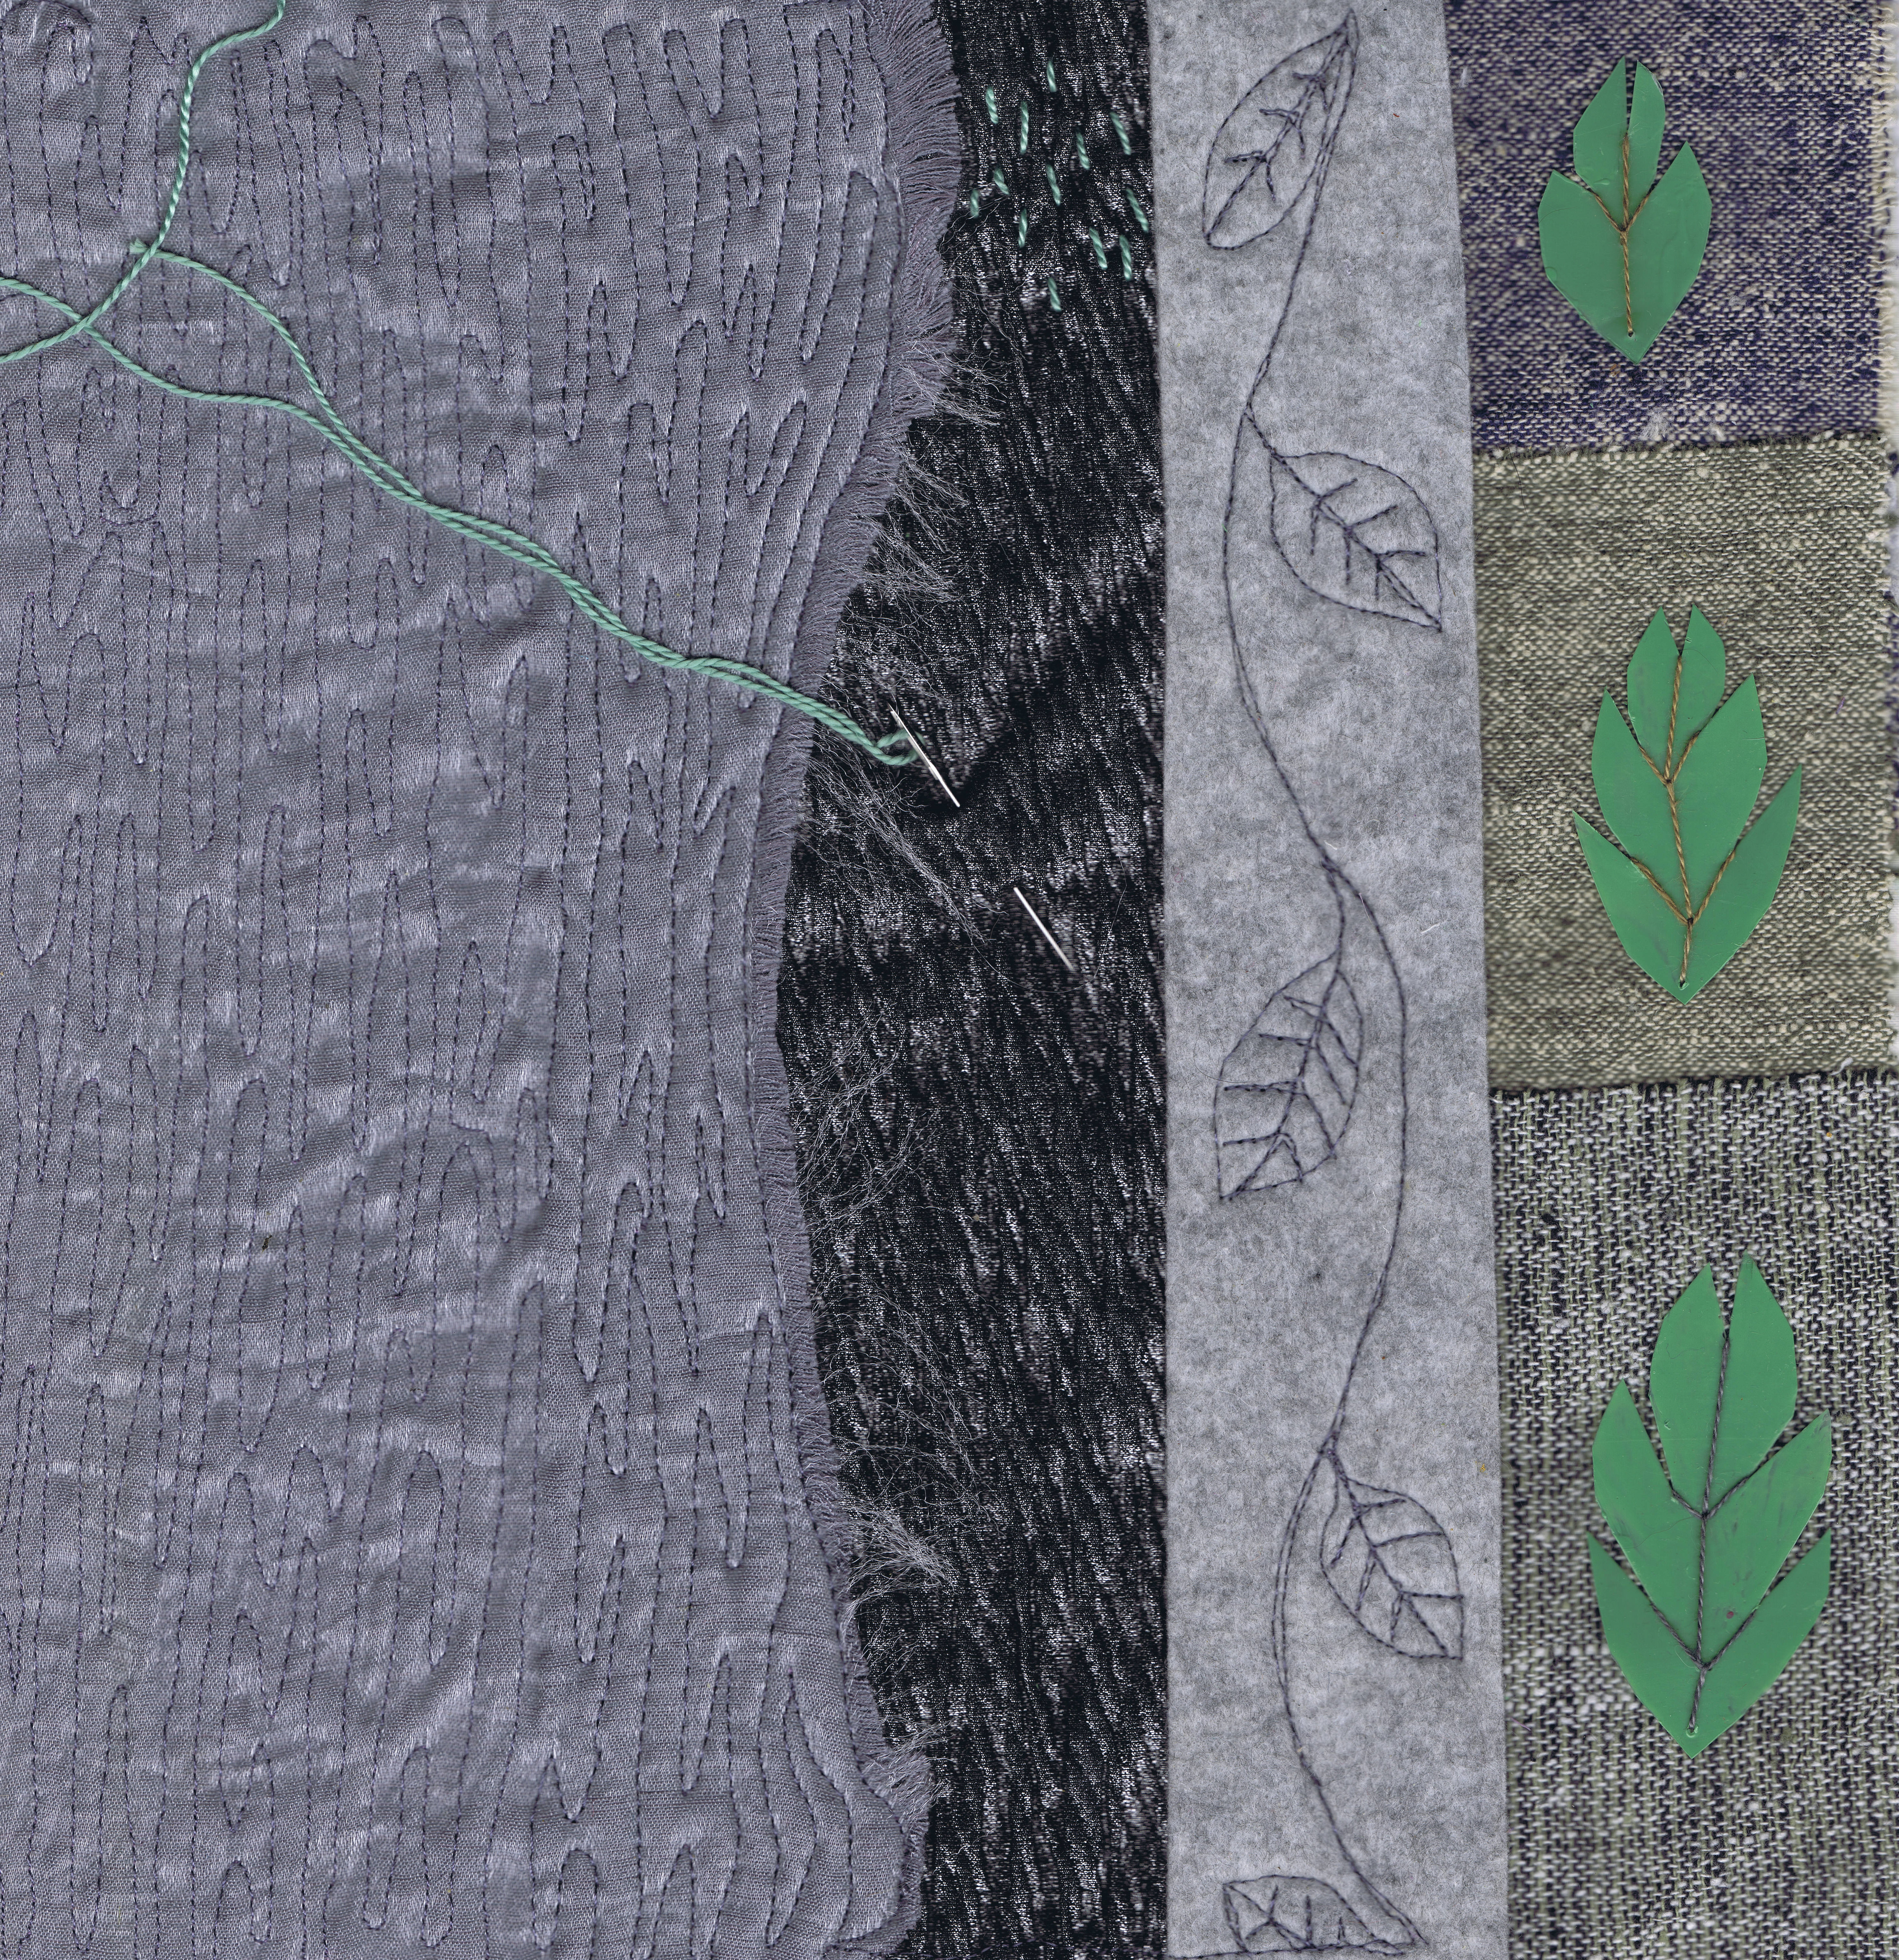
I have also started adding to another of my collage a day foundations.
This one was very simple and the strip of felt was just crying out for a vine. I have free motioned a bark design onto the silver fabric to the left. The green leaves on the fight, are pieces of plastic cut into leaf shapes, painted with green nail polish and stitched on with fly stitches to reference the leaf veins. I am at present doing some seed stitch into the black textured area in the centre with a green thread that matches the leaves.
The next thing to show you is just a practice piece.
This is a sea theme fabric with pictures in squares which is layered up and has had the squares quilted, ditch, style. The reason I am showing it is because this is what I get up to when I can't think of what to do. I just stitch a square and usually, that gets me going. Picasso once said "Inspiration exists, but it has to find you working" This is my "working" quilt, because even though it might seem like I am always on the ball, I have times when my muse is absent. This mindless stitching sometimes gets me moving.
Next, is another thing I do when I am stuck. you are probably getting the idea, I have been a bit stuck this week! lol
I have a pile of monoprints, like this one, on chiffon, which I just play with the stitching on. I usually just use a layer of felt underneath.
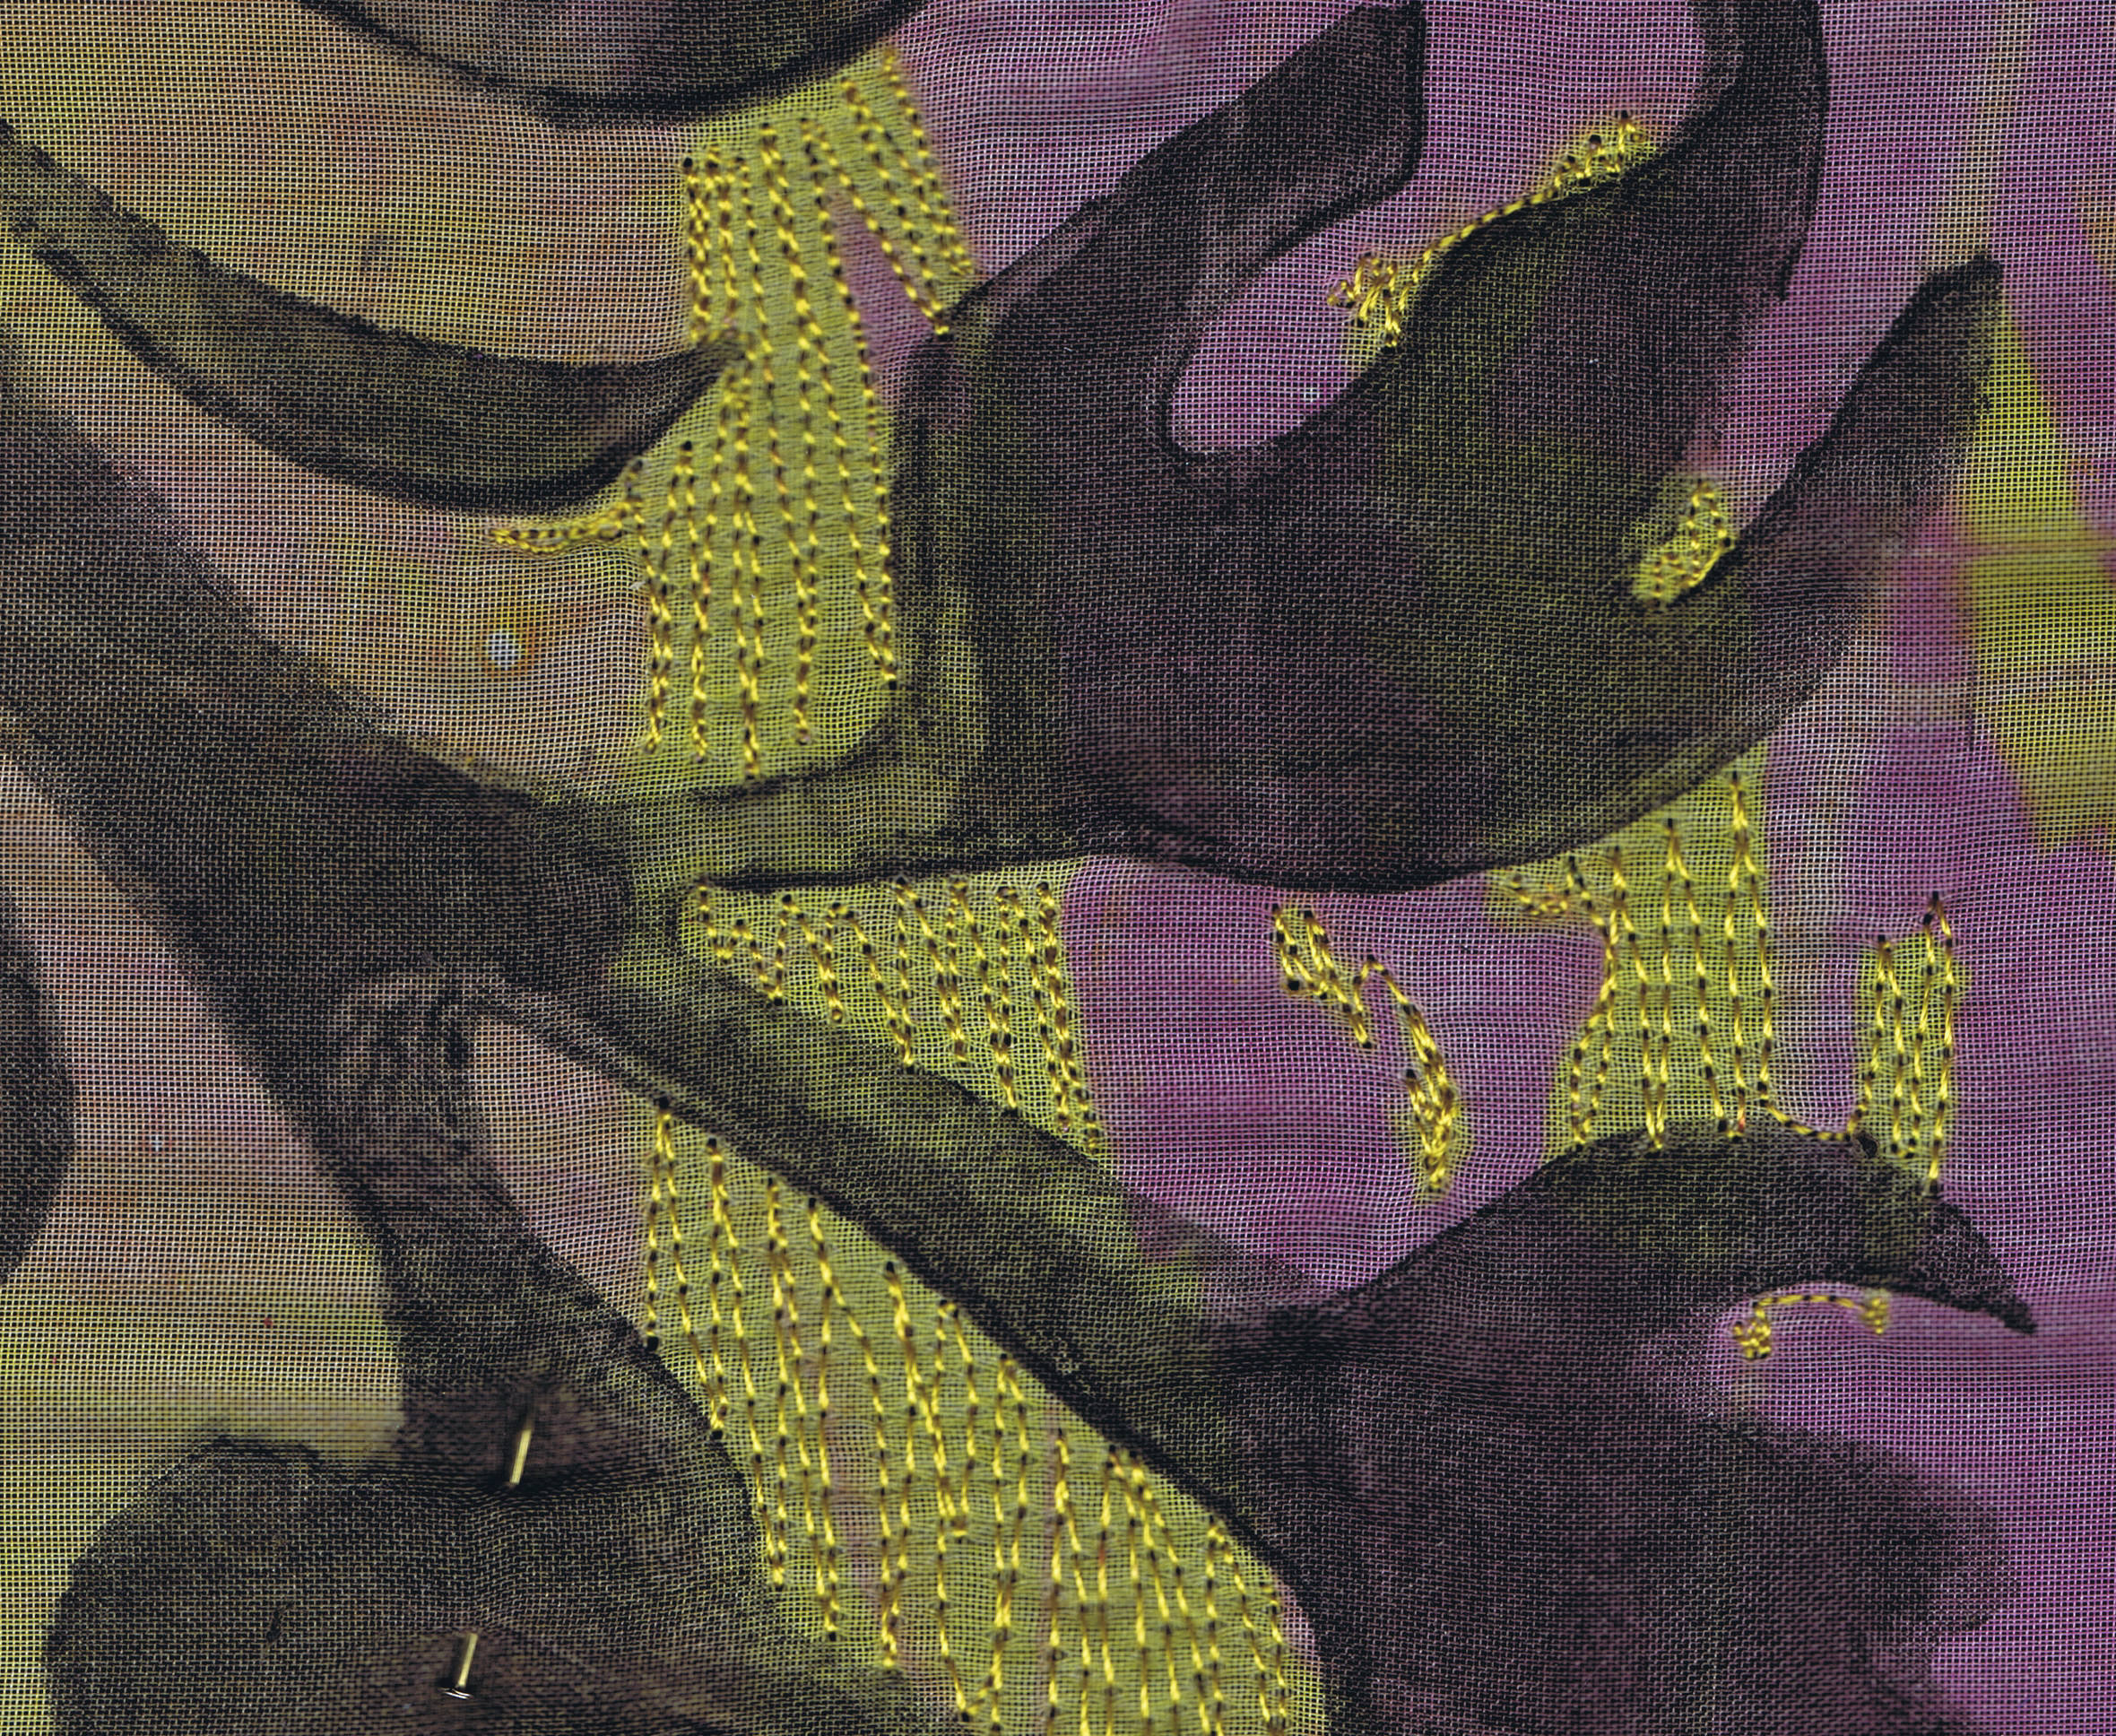
You can see in this detail, i am just thread sketching over the colours in the background.
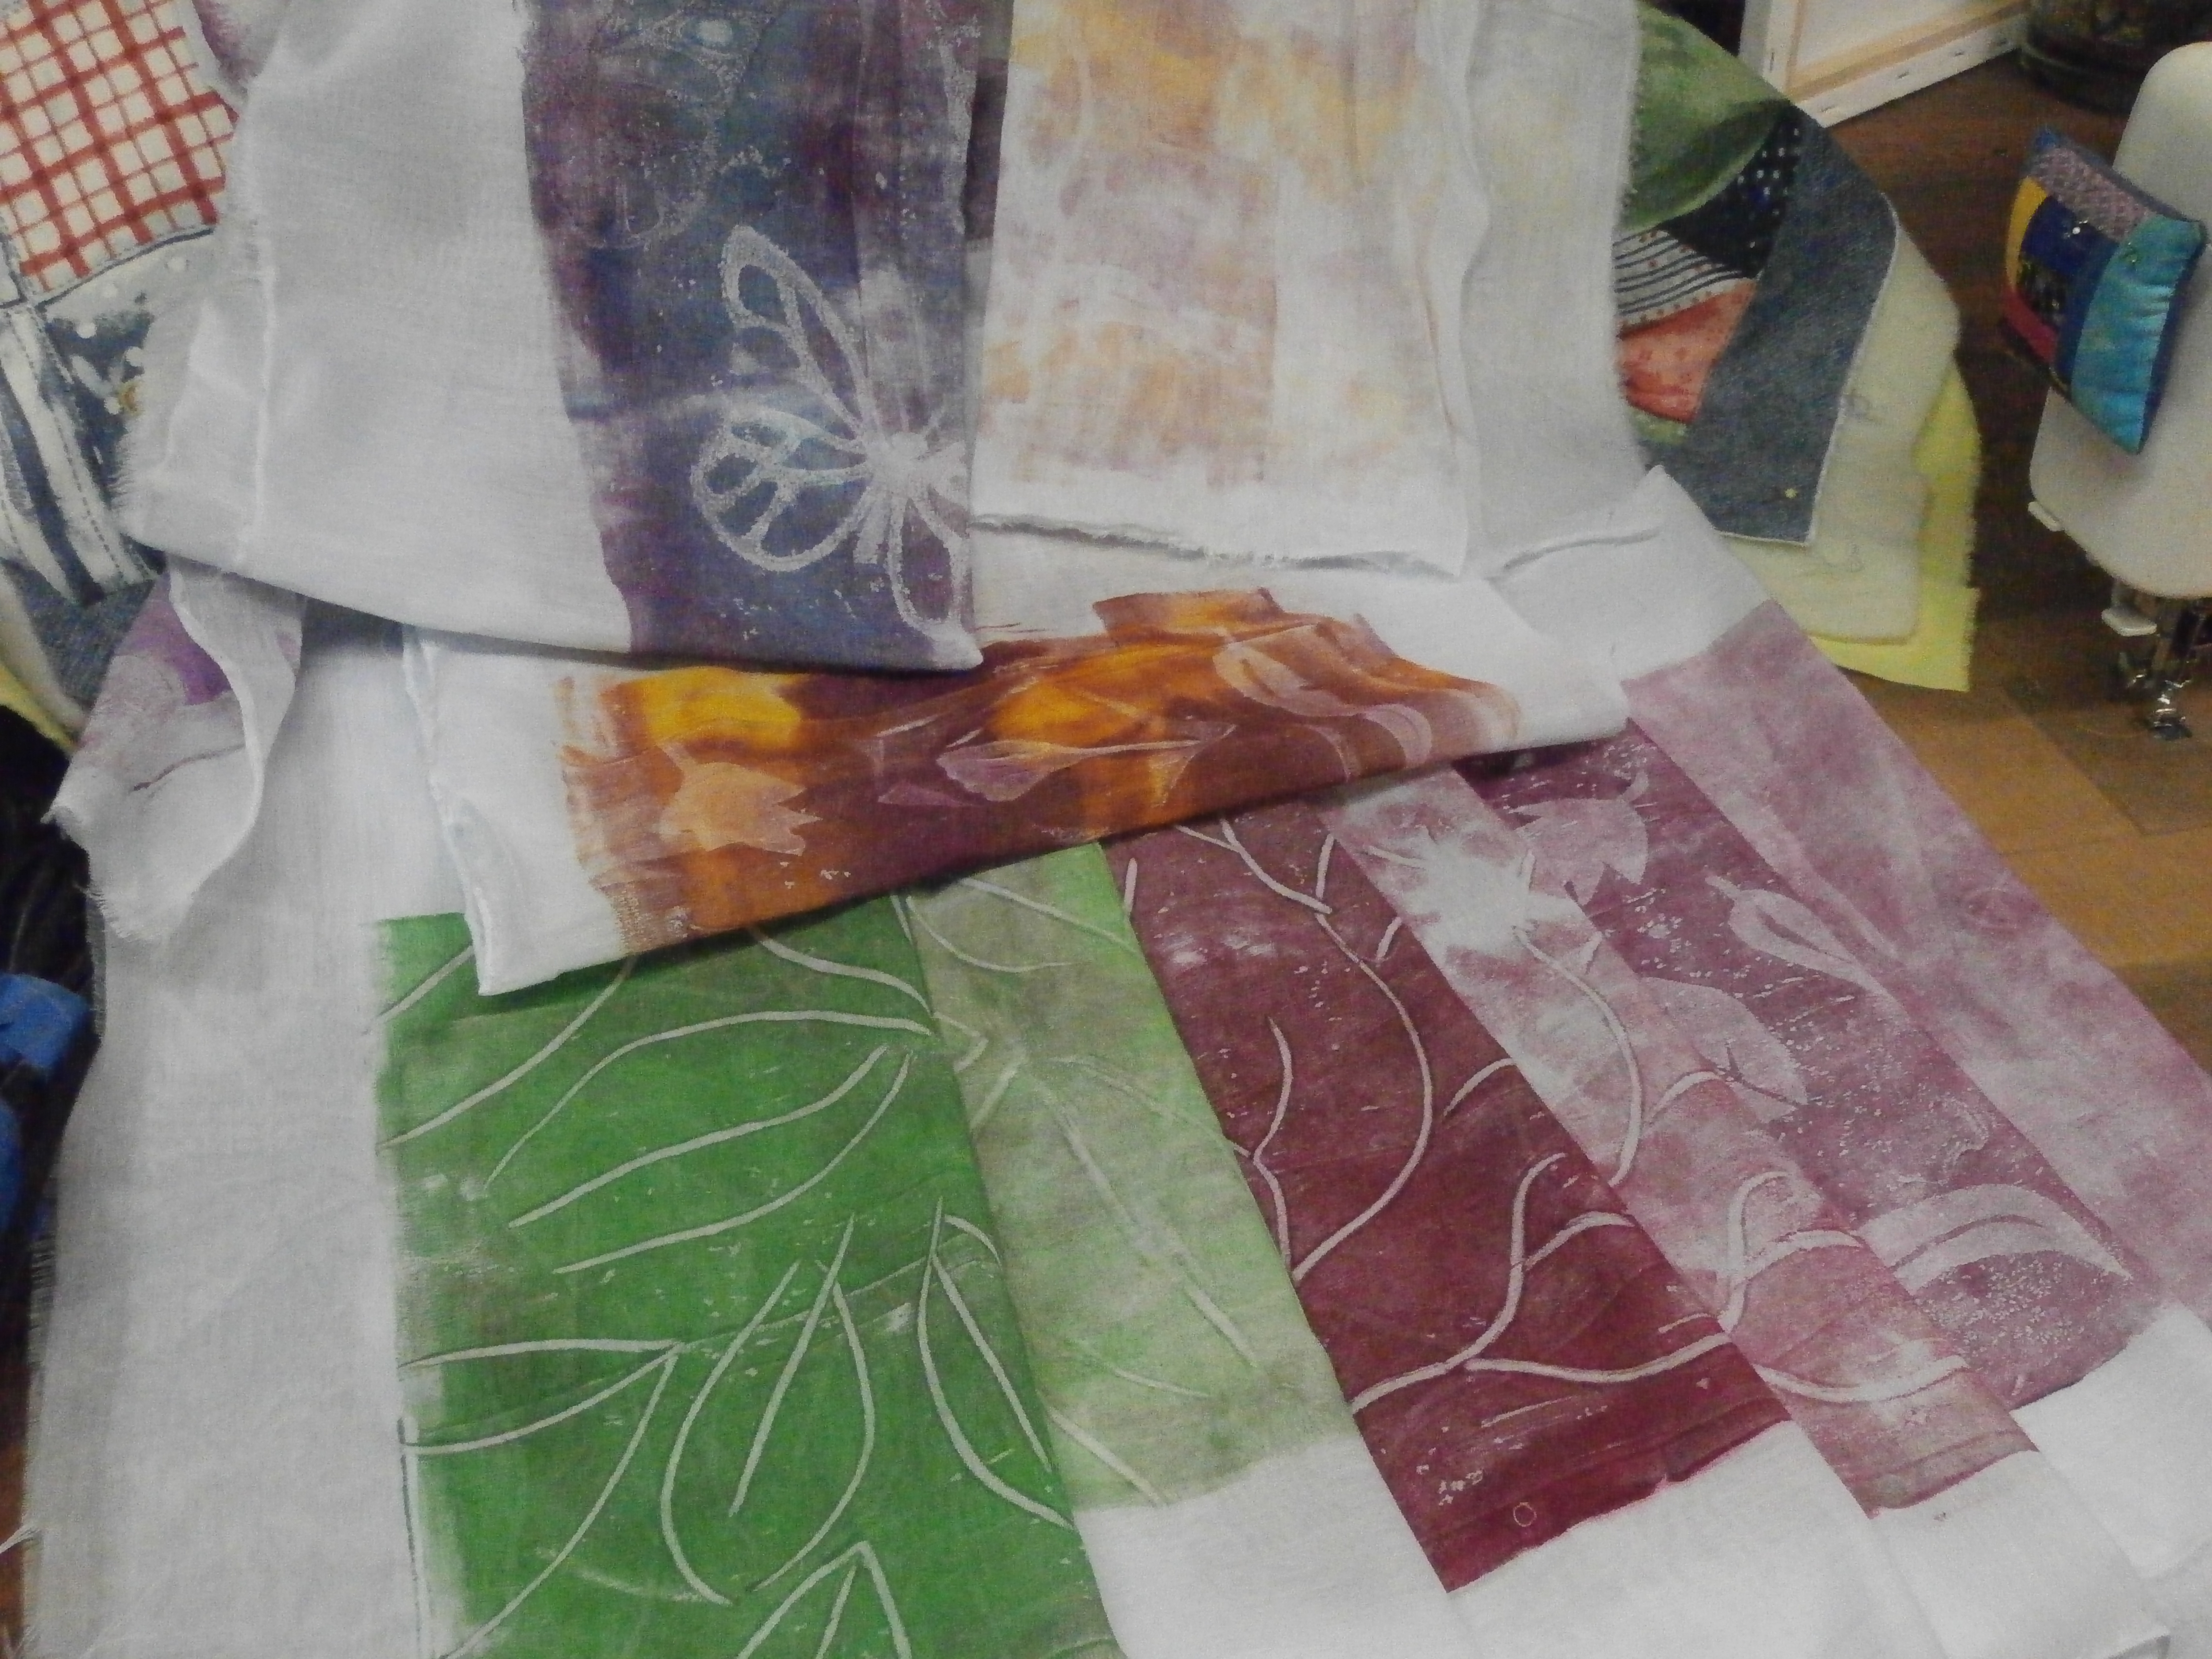
And of course, I have added to this pile of monoprints today, with a handful of prints on voile (Like chiffon, but a bit stiffer)
These will be cut up and ripped to use in collages. You can perhaps see a tiny bit of checked fabric in the background at top left. This is a large panel which I have layered up for quilting, which will be a baby quilt for my niece. Shock, Horror. Me. Actually making a quilt! i will show you it in a few weeks when it is finished.
So that is some of what I have been up to this week
Happy creating!
first is my sunflower piece, which is decidedly NOT moving at present, except perhaps in my head.
I have all the little bits pinned up on a piece of felt, but at present I don't know what to do with them. I think it might have to be a small series, because I have too much for one piece!
The little daisy collage I started work on has been coming along slowly. this is where it is at.
It is coming along, but slowly.
I have also started adding to another of my collage a day foundations.
This one was very simple and the strip of felt was just crying out for a vine. I have free motioned a bark design onto the silver fabric to the left. The green leaves on the fight, are pieces of plastic cut into leaf shapes, painted with green nail polish and stitched on with fly stitches to reference the leaf veins. I am at present doing some seed stitch into the black textured area in the centre with a green thread that matches the leaves.
The next thing to show you is just a practice piece.
This is a sea theme fabric with pictures in squares which is layered up and has had the squares quilted, ditch, style. The reason I am showing it is because this is what I get up to when I can't think of what to do. I just stitch a square and usually, that gets me going. Picasso once said "Inspiration exists, but it has to find you working" This is my "working" quilt, because even though it might seem like I am always on the ball, I have times when my muse is absent. This mindless stitching sometimes gets me moving.
Next, is another thing I do when I am stuck. you are probably getting the idea, I have been a bit stuck this week! lol
You can see in this detail, i am just thread sketching over the colours in the background.
And of course, I have added to this pile of monoprints today, with a handful of prints on voile (Like chiffon, but a bit stiffer)
These will be cut up and ripped to use in collages. You can perhaps see a tiny bit of checked fabric in the background at top left. This is a large panel which I have layered up for quilting, which will be a baby quilt for my niece. Shock, Horror. Me. Actually making a quilt! i will show you it in a few weeks when it is finished.
So that is some of what I have been up to this week
Happy creating!
Thursday, March 31, 2011
Thread painting for spring
I decided that we will continue with these little thread paintings, and cover a few techniques with each one.
I have got a few ideas for different types of landscapes, but since it is spring over in the northern hemisphere, I thought we might begin with a daffodil.
Above is my pattern, which you can find here.The pattern size is 6x4 inches or A6 size.
Obviously, with this pattern, it is important to trace the pattern backwards because when we fuse it it will be a mirror image, This is because the picture is not symmetrical. Above you see my paper backed fused fabrics. What I do is take the paper off, trace the pattern pieces and re-fuse the paper BACKWARDS, in other words I place the pencil next to the fabric.
And here they are cut apart. I remove the papers and rearrange them in the backing. Using my own judgement.
Above, the pieces are arranged in a pleasing way, so
I fuse them down inside the line marked from the pattern.
Here is a close up, showing the colours more clearly. There are two colours for the petals and trumpet. The two back petals and the underneath part of the trumpet are a darket colour.
We will start defining the flower next week, so get your green and yellow threads ready!
Sunday, March 27, 2011
Stem stitch
The next in our series of free motion embroidery stiches, is stem stitch. I talked about this last week when we were looking at weave using the zig zag. We will also look at a stem stitch derivative, the stem stitch extension leaf.
Stem stitch
When you are doing stem stitch by hand, the stitches look like the picture below.
To accomplish this in free motion, we use zig zag.
Satin stitch is a closed zig zag stitch. This means that it has a short stitch length. In free motion, this is controlled by how fast or slowly you move the fabric under the needle. If your movement is not even, the satin stitch will be uneven too, but you can go back over it as I have done in the video to even it up.
Above, you see a normal satin stitch. In order to create a stem stitch, with overlapping stitches like in the hand stitch we rotate the hoop 45 to 90 degrees or one eighth to one quarter of a turn. A quarter turn is easier to accomplish.
When we rotate the hoop, we do not change the direction we are moving in. In the top example, I am moving the hoop to the left and I am facing the machine at the left. This is much easier to see in the video.
So, really stem stitch is quite and easy stitch, however, it does require a little practice to master curves using it.
Stem stitch is used for, obviously stems, but also for any definite lines in a piece of work.
This looks easy, but you will find that it requires a fair bit of practice. If you have a digital or sliding stitch length dial, you might find it easier to just do a satin stitch that gets narrower by moving to a narrower stitch as you stitch (or pausing often to shorten), You may also be able to program in a narrowing stitch that you can select when you get to the end of your leaf.
As my machine has neither of these things and to boot I am left handed and the dials are on the right, i have developed this method.
If we look at the leaf from the right, I have started with satin stitch, then as we go left, the stitches angle so that at the tip they become stem stitch. This is much clearer in the video.
You might find it easier to stabilise the fabric near the leaf and allow the rotation by using a bamboo skewer (cut short to make it easier to manage.) I use use my finger, but I DO NOT RECCOMMEND THIS TO ANYONE.
This stitch takes lots of practice as you can see below.
But remember, little irregularities can usually be remedied by more stitching (to a point). None of us is perfect.
Hope you are enjoying this series.
I have designed a sampler (it is actually a little landscape) to go with the stitch course and will have the pattern ready for the next lesson. I will also go back over the previous lessons so we can do some homework with it and get our stitches in the right places.
It has been an extremely long day and I am finally off to bed. Happy Stitching
Stem stitch
When you are doing stem stitch by hand, the stitches look like the picture below.
To accomplish this in free motion, we use zig zag.
Satin stitch is a closed zig zag stitch. This means that it has a short stitch length. In free motion, this is controlled by how fast or slowly you move the fabric under the needle. If your movement is not even, the satin stitch will be uneven too, but you can go back over it as I have done in the video to even it up.
Above, you see a normal satin stitch. In order to create a stem stitch, with overlapping stitches like in the hand stitch we rotate the hoop 45 to 90 degrees or one eighth to one quarter of a turn. A quarter turn is easier to accomplish.
When we rotate the hoop, we do not change the direction we are moving in. In the top example, I am moving the hoop to the left and I am facing the machine at the left. This is much easier to see in the video.
So, really stem stitch is quite and easy stitch, however, it does require a little practice to master curves using it.
Stem stitch is used for, obviously stems, but also for any definite lines in a piece of work.
Leaves
I use this technique usually for grasses and long leaves. I use another technique for small leaves.Basically, we start with a satin stitch and end up with a stem stitch as in the diagram below.
As my machine has neither of these things and to boot I am left handed and the dials are on the right, i have developed this method.
If we look at the leaf from the right, I have started with satin stitch, then as we go left, the stitches angle so that at the tip they become stem stitch. This is much clearer in the video.
You might find it easier to stabilise the fabric near the leaf and allow the rotation by using a bamboo skewer (cut short to make it easier to manage.) I use use my finger, but I DO NOT RECCOMMEND THIS TO ANYONE.
This stitch takes lots of practice as you can see below.
But remember, little irregularities can usually be remedied by more stitching (to a point). None of us is perfect.
Video
This short video shows both stitches being made on the machine.Hope you are enjoying this series.
I have designed a sampler (it is actually a little landscape) to go with the stitch course and will have the pattern ready for the next lesson. I will also go back over the previous lessons so we can do some homework with it and get our stitches in the right places.
It has been an extremely long day and I am finally off to bed. Happy Stitching
“The thing that is really hard, and really amazing, is giving up on being perfect and beginning the work of becoming yourself.”
Anna Quindlen
Saturday, March 19, 2011
Free Motion Zig Zag - 1
For those people who visited as soon as I uploaded, I have reloaded the video, sorry for the mistake,
Vicki
This is a short lesson, however I just want to show you my organisational diagram for these lessons.
It is a bit hard to read here but you can download a copy here.
What this basically says is that I have divided free motion into two halves, straight and zig zag. Each of these is divided again into the four different directions, straight lines, circles, weave and multidirectional. Fuether out are more stitches and the final two rings refer to tension techniques, which can apply to some or all of the stitches in the green and orange areas. As you can see it is quite complicated but don't let it worry you, I have only included it for those who want it, and I am sure I will add to it, but as we move through the lessons, I will guide you through it.
Below, the first diagram shows where we are now, if you have looked at the first two lessons (here and here )
and this diagram below shows there area we are going to cover today circled in red.
So let's get on with it
Circular Zig Zag Stitching
Below, is a picture of this stitching. and next to it I have drawn the motion with red.
As you will see in the video, it is best to use a fast speed on the machine and an even, moderate to slow motion for this stitch. It is very useful for filling up large areas fast. I like to use it with variegated thread as in this example.
This sort of background in a piece of work gives depth, but does not draw the eye. I often use many hues in a background, even in my paintings.
This stitch is als very good for melding different colours and shading with different colours, especially when you do not want a directional shading like with garnet and weave stitch.
Weave Zig Zag Stitching
There are two ways to do this motion in zig zag, as you will see from the video and the pictures below.
In the top area, I did not rotate between the vertical and horizontal stitching (for description of this see lesson 2) You can see that the horizontal zig zags are zig zags, but the vertical stitches are not. They are stem stitch, which we will cover in the next lesson. In the top sample all stitches lie in the same direction.
In the bottom sample, both horizontal and vertical stitches are true zig zag stitches. This is because I rotated 90 degrees (a right angle) between. You will see me do this in the video. So in the bottom sample the stitches are not lying in the same direction.
This difference is important when considering the style of your thread painting. Some artists have every stitch in the same direction, giving a very tapestry like look to their work.
Other artists like to vary the direction of their stitches either all over, or in certain parts.
When stitches all lie in the same direction, they tend to shine and reflect light more, whilst when the stitches are in different directions, the light tends to be absorbed and the effect is duller (I do not mean boring, some parts of you work need this)
Obviously, the top sample of zig zag weave is more useful in areas where you want to define direction, like the lines in a tree trunk, whilst the second stitch is more useful in areas like backgrounds in a similar way to the circular stitch above.
Multidirectional Zig Zag Stitching
Multi directional zig zag is shown below.
In many ways this stitch resembles it's straight stitch cousin closely. The main difference is that it fills more quickly and so is useful for large areas.
It can be combined with true multidirectional straight stitch quite easily, the straight stitch being used near the edges of an area where more prescision is needed.
As with the rotated zig zag weave (above), it is useful in backgrounds and far away areas in a piece of work, where the non reflection means it does not draw the eye and compete with the focus of the work .
Zig Zag Stitching Video
Even though this was a short lesson, It was covering a fair amount of ground. Remember, the most important thing is to practice and to play.
Vicki
This is a short lesson, however I just want to show you my organisational diagram for these lessons.
It is a bit hard to read here but you can download a copy here.
What this basically says is that I have divided free motion into two halves, straight and zig zag. Each of these is divided again into the four different directions, straight lines, circles, weave and multidirectional. Fuether out are more stitches and the final two rings refer to tension techniques, which can apply to some or all of the stitches in the green and orange areas. As you can see it is quite complicated but don't let it worry you, I have only included it for those who want it, and I am sure I will add to it, but as we move through the lessons, I will guide you through it.
Below, the first diagram shows where we are now, if you have looked at the first two lessons (here and here )
and this diagram below shows there area we are going to cover today circled in red.
So let's get on with it
Zig Zag Stitching with Free Motion
These three types of stitching with zig zag don't have specific names like the straight stitches; Granite, Multidirectional and Weave. And there are really only slight differences between them, but there are some. I will discuss them as we go along, and I have also made a short video of all three for you.Circular Zig Zag Stitching
Below, is a picture of this stitching. and next to it I have drawn the motion with red.
As you will see in the video, it is best to use a fast speed on the machine and an even, moderate to slow motion for this stitch. It is very useful for filling up large areas fast. I like to use it with variegated thread as in this example.
This sort of background in a piece of work gives depth, but does not draw the eye. I often use many hues in a background, even in my paintings.
This stitch is als very good for melding different colours and shading with different colours, especially when you do not want a directional shading like with garnet and weave stitch.
Weave Zig Zag Stitching
There are two ways to do this motion in zig zag, as you will see from the video and the pictures below.
In the top area, I did not rotate between the vertical and horizontal stitching (for description of this see lesson 2) You can see that the horizontal zig zags are zig zags, but the vertical stitches are not. They are stem stitch, which we will cover in the next lesson. In the top sample all stitches lie in the same direction.
In the bottom sample, both horizontal and vertical stitches are true zig zag stitches. This is because I rotated 90 degrees (a right angle) between. You will see me do this in the video. So in the bottom sample the stitches are not lying in the same direction.
This difference is important when considering the style of your thread painting. Some artists have every stitch in the same direction, giving a very tapestry like look to their work.
Other artists like to vary the direction of their stitches either all over, or in certain parts.
When stitches all lie in the same direction, they tend to shine and reflect light more, whilst when the stitches are in different directions, the light tends to be absorbed and the effect is duller (I do not mean boring, some parts of you work need this)
Obviously, the top sample of zig zag weave is more useful in areas where you want to define direction, like the lines in a tree trunk, whilst the second stitch is more useful in areas like backgrounds in a similar way to the circular stitch above.
Multidirectional Zig Zag Stitching
Multi directional zig zag is shown below.
In many ways this stitch resembles it's straight stitch cousin closely. The main difference is that it fills more quickly and so is useful for large areas.
It can be combined with true multidirectional straight stitch quite easily, the straight stitch being used near the edges of an area where more prescision is needed.
As with the rotated zig zag weave (above), it is useful in backgrounds and far away areas in a piece of work, where the non reflection means it does not draw the eye and compete with the focus of the work .
Zig Zag Stitching Video
Almost everyone learns to play, but a creative person plays to learn.
Friday, March 18, 2011
A Landscape of your own - 2b
I have gotten this tutorial together for you. Today we will look at decorative stitch embroidery on our landscape.
So far we have cut some strips and arranged and fused them. It is a simple landscape, but a really easy one to start with and one that can be changed in many, many ways.
For the sky, I used straight stitch and a slight curve. You can see where I turned at the ends, here.
Next the far away hills. I have used straight stich in an up and down motion (I used the reverse button) to cover the whole hillside. I used a grey thread and allowed the purple to show through.
The next hillside was with a matching olive green thread. I used a programmed stipple stitch along the edge of the hill here. I went over it twice to fill.
On the next hill, I again only stitched the top edge. Variety in textures will give depth. The thread was a slightly lighter thread. The stitch here was an angled blanket stitch down the diagonal slope. Again, I went over twice to fill.
In the layer above, I used a bright green with a wide blanket stitch. Starting at the top, I overlapped the blanket stitch rows and offset them.
In this last layer, I actually went over three times. The first time, above is in a dark green with an alternating branch pattern, and in the second one (below left) , I used a variegated thread, and a very narrow satin stitch, spacing them apart and having irregular heights. Finally I used a wide double blanket stitch at the bottom.
Below is my practice fabric. I always have a practice fabric, so that I can test out tensions and patterns on it before I begin on my actual work. When you change colours and bobbins frequently, you need to test everything on a similar piece of work - every time.
Here is the piece in a piece of mount board 3x5 in.
I will show you the embellishment tutorial next week.
vicki
So far we have cut some strips and arranged and fused them. It is a simple landscape, but a really easy one to start with and one that can be changed in many, many ways.
For the sky, I used straight stitch and a slight curve. You can see where I turned at the ends, here.
Next the far away hills. I have used straight stich in an up and down motion (I used the reverse button) to cover the whole hillside. I used a grey thread and allowed the purple to show through.
The next hillside was with a matching olive green thread. I used a programmed stipple stitch along the edge of the hill here. I went over it twice to fill.
On the next hill, I again only stitched the top edge. Variety in textures will give depth. The thread was a slightly lighter thread. The stitch here was an angled blanket stitch down the diagonal slope. Again, I went over twice to fill.
In the layer above, I used a bright green with a wide blanket stitch. Starting at the top, I overlapped the blanket stitch rows and offset them.
In this last layer, I actually went over three times. The first time, above is in a dark green with an alternating branch pattern, and in the second one (below left) , I used a variegated thread, and a very narrow satin stitch, spacing them apart and having irregular heights. Finally I used a wide double blanket stitch at the bottom.
Below is my practice fabric. I always have a practice fabric, so that I can test out tensions and patterns on it before I begin on my actual work. When you change colours and bobbins frequently, you need to test everything on a similar piece of work - every time.
There is no way to ever be the perfect artist, but a million ways to be a good one.
I will show you the embellishment tutorial next week.
vicki
Subscribe to:
Posts (Atom)

