Showing posts with label leaf. Show all posts

Friday, January 3, 2014

leafy prints

Anyone who knows me knows I am mad about gelatin monoprinting.  I do not have a gelli plate, but have a silicone rubber plate my husband made me.  It works for most things, but not really for plastic or card stencils.  When I want to do that sort of thing I make a gelatin plate.  You can find instructions for that just about anywhere on the internet by typing in 'gelatin printing plate'  I add an amount of glycerin to mine and it lasts for months.  When it gets a bit tatty, I just remelt it in the microwave.
However, one thing the silicone plate does extremely well is leaf printing, and of course, I love leaves.
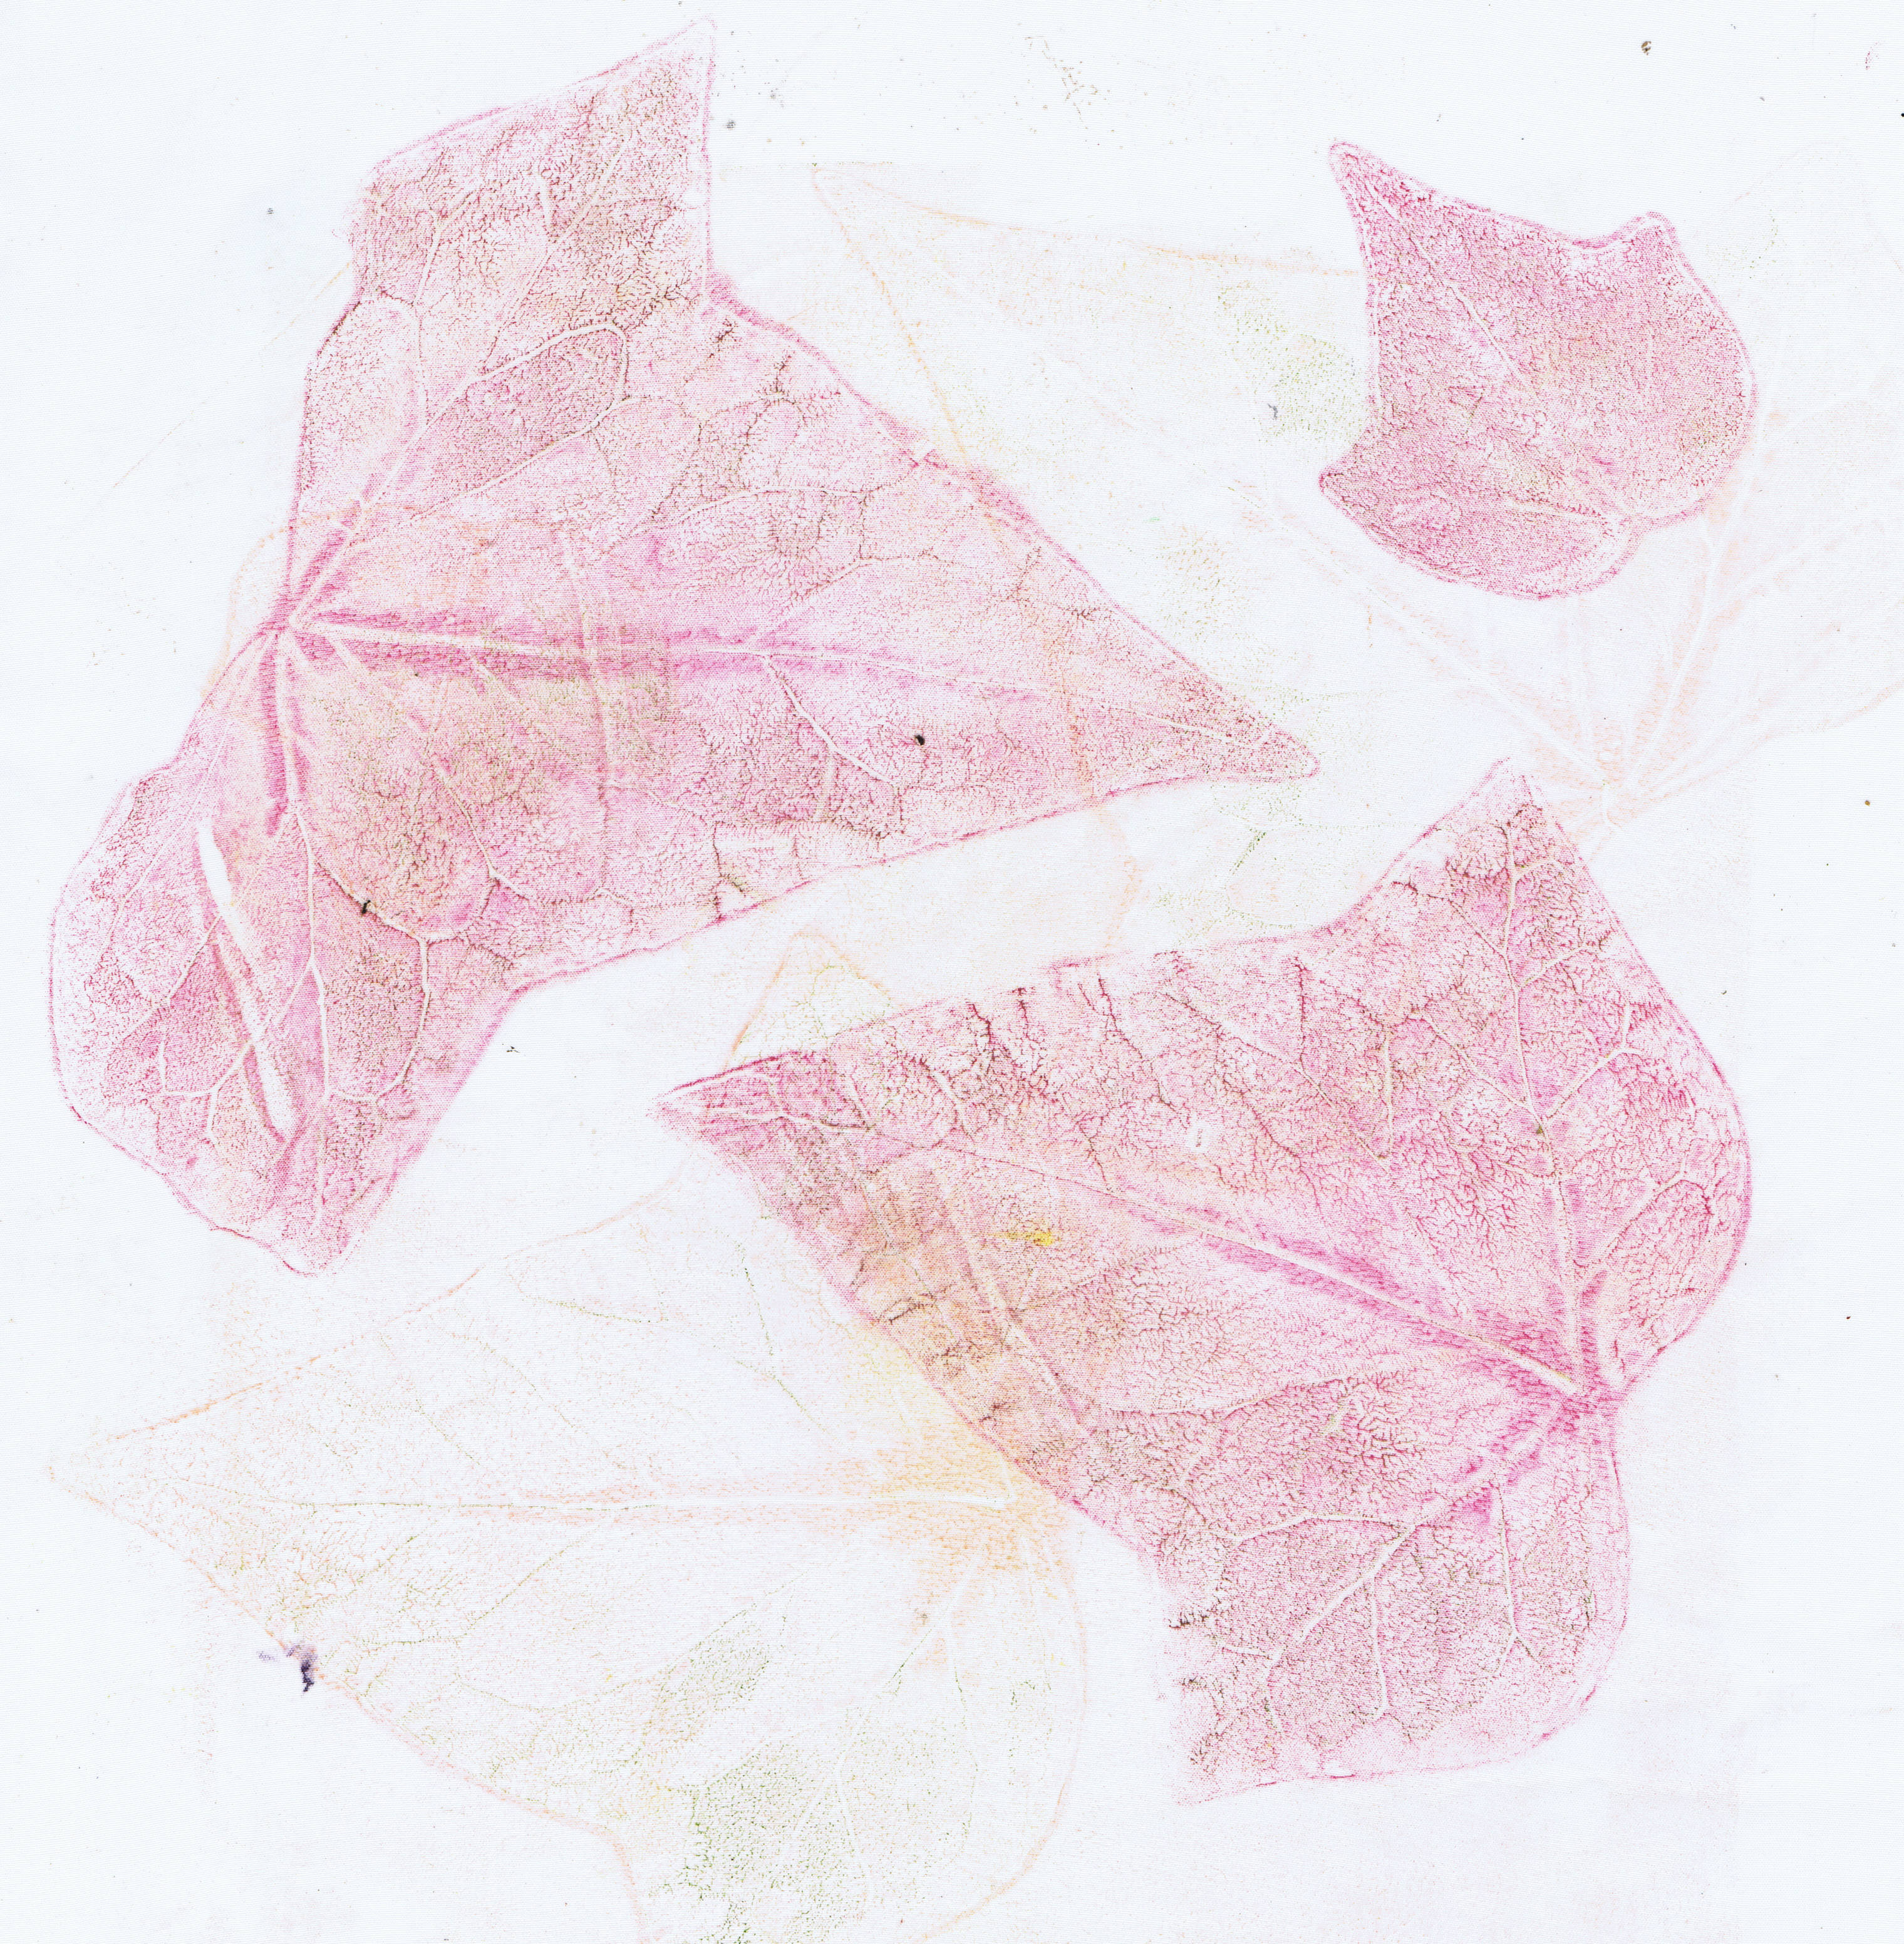
The other day, I did a few prints on chiffon.
Isn't the detail on these prints glorious?
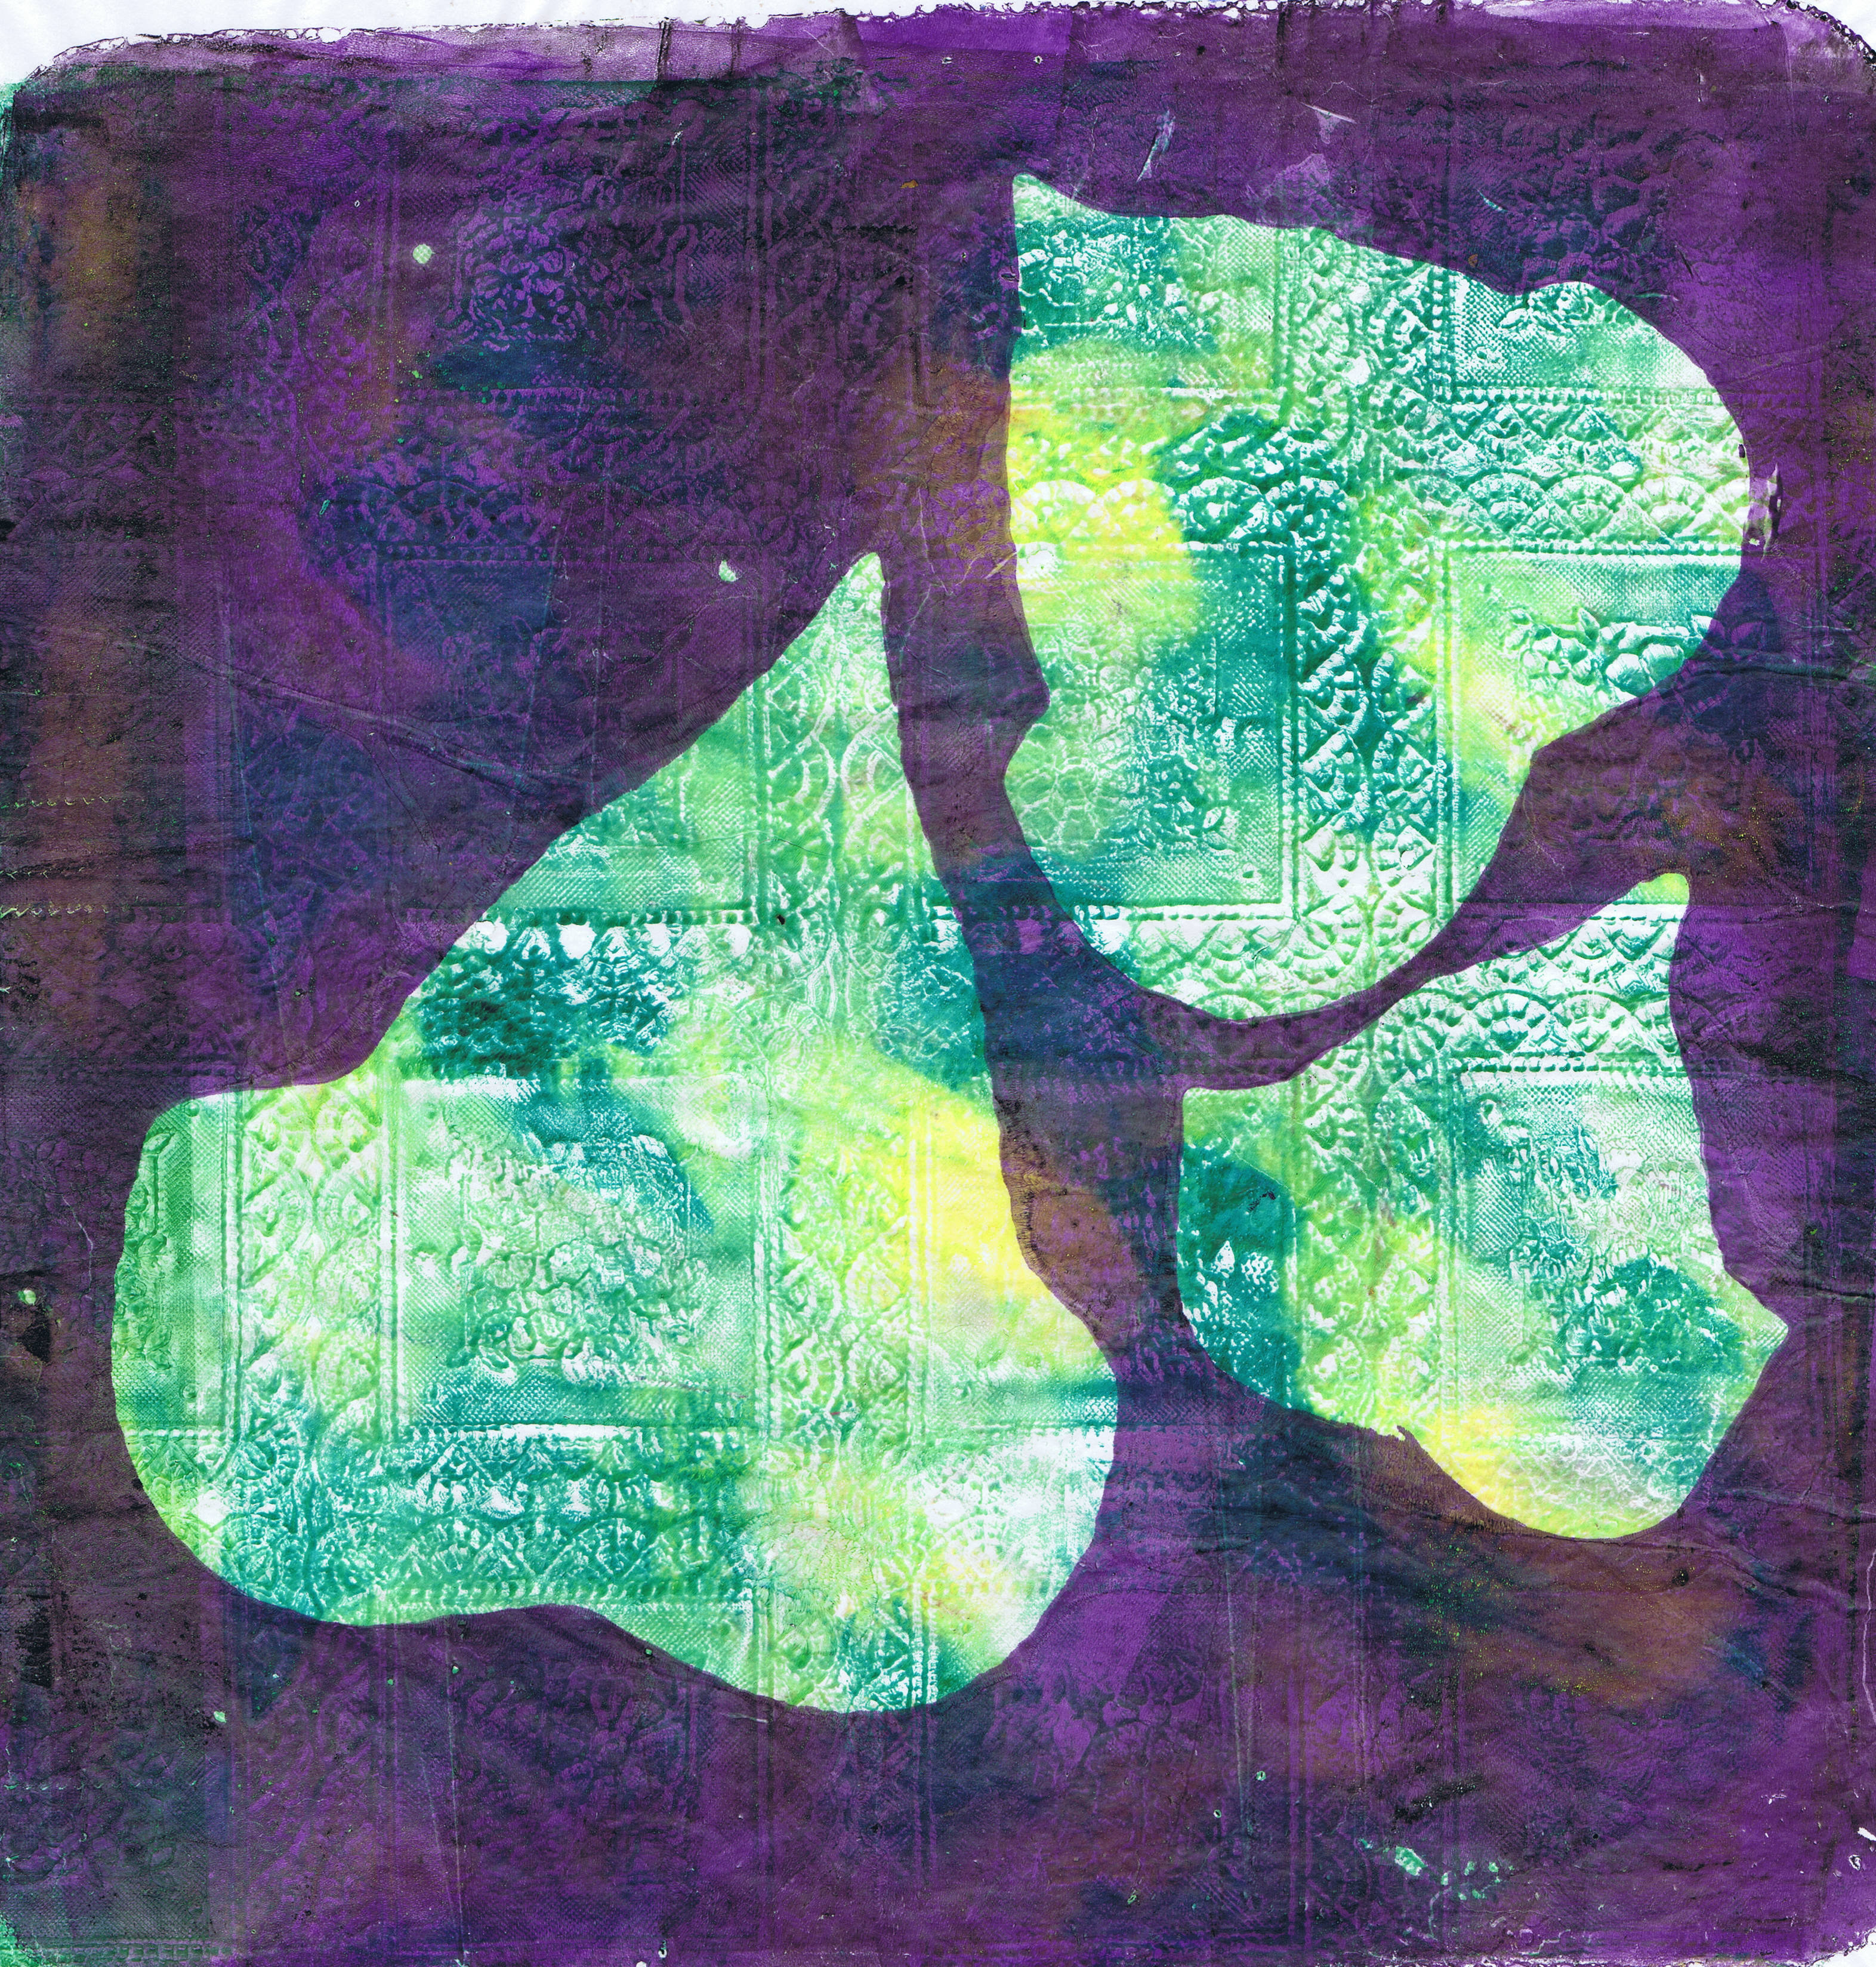
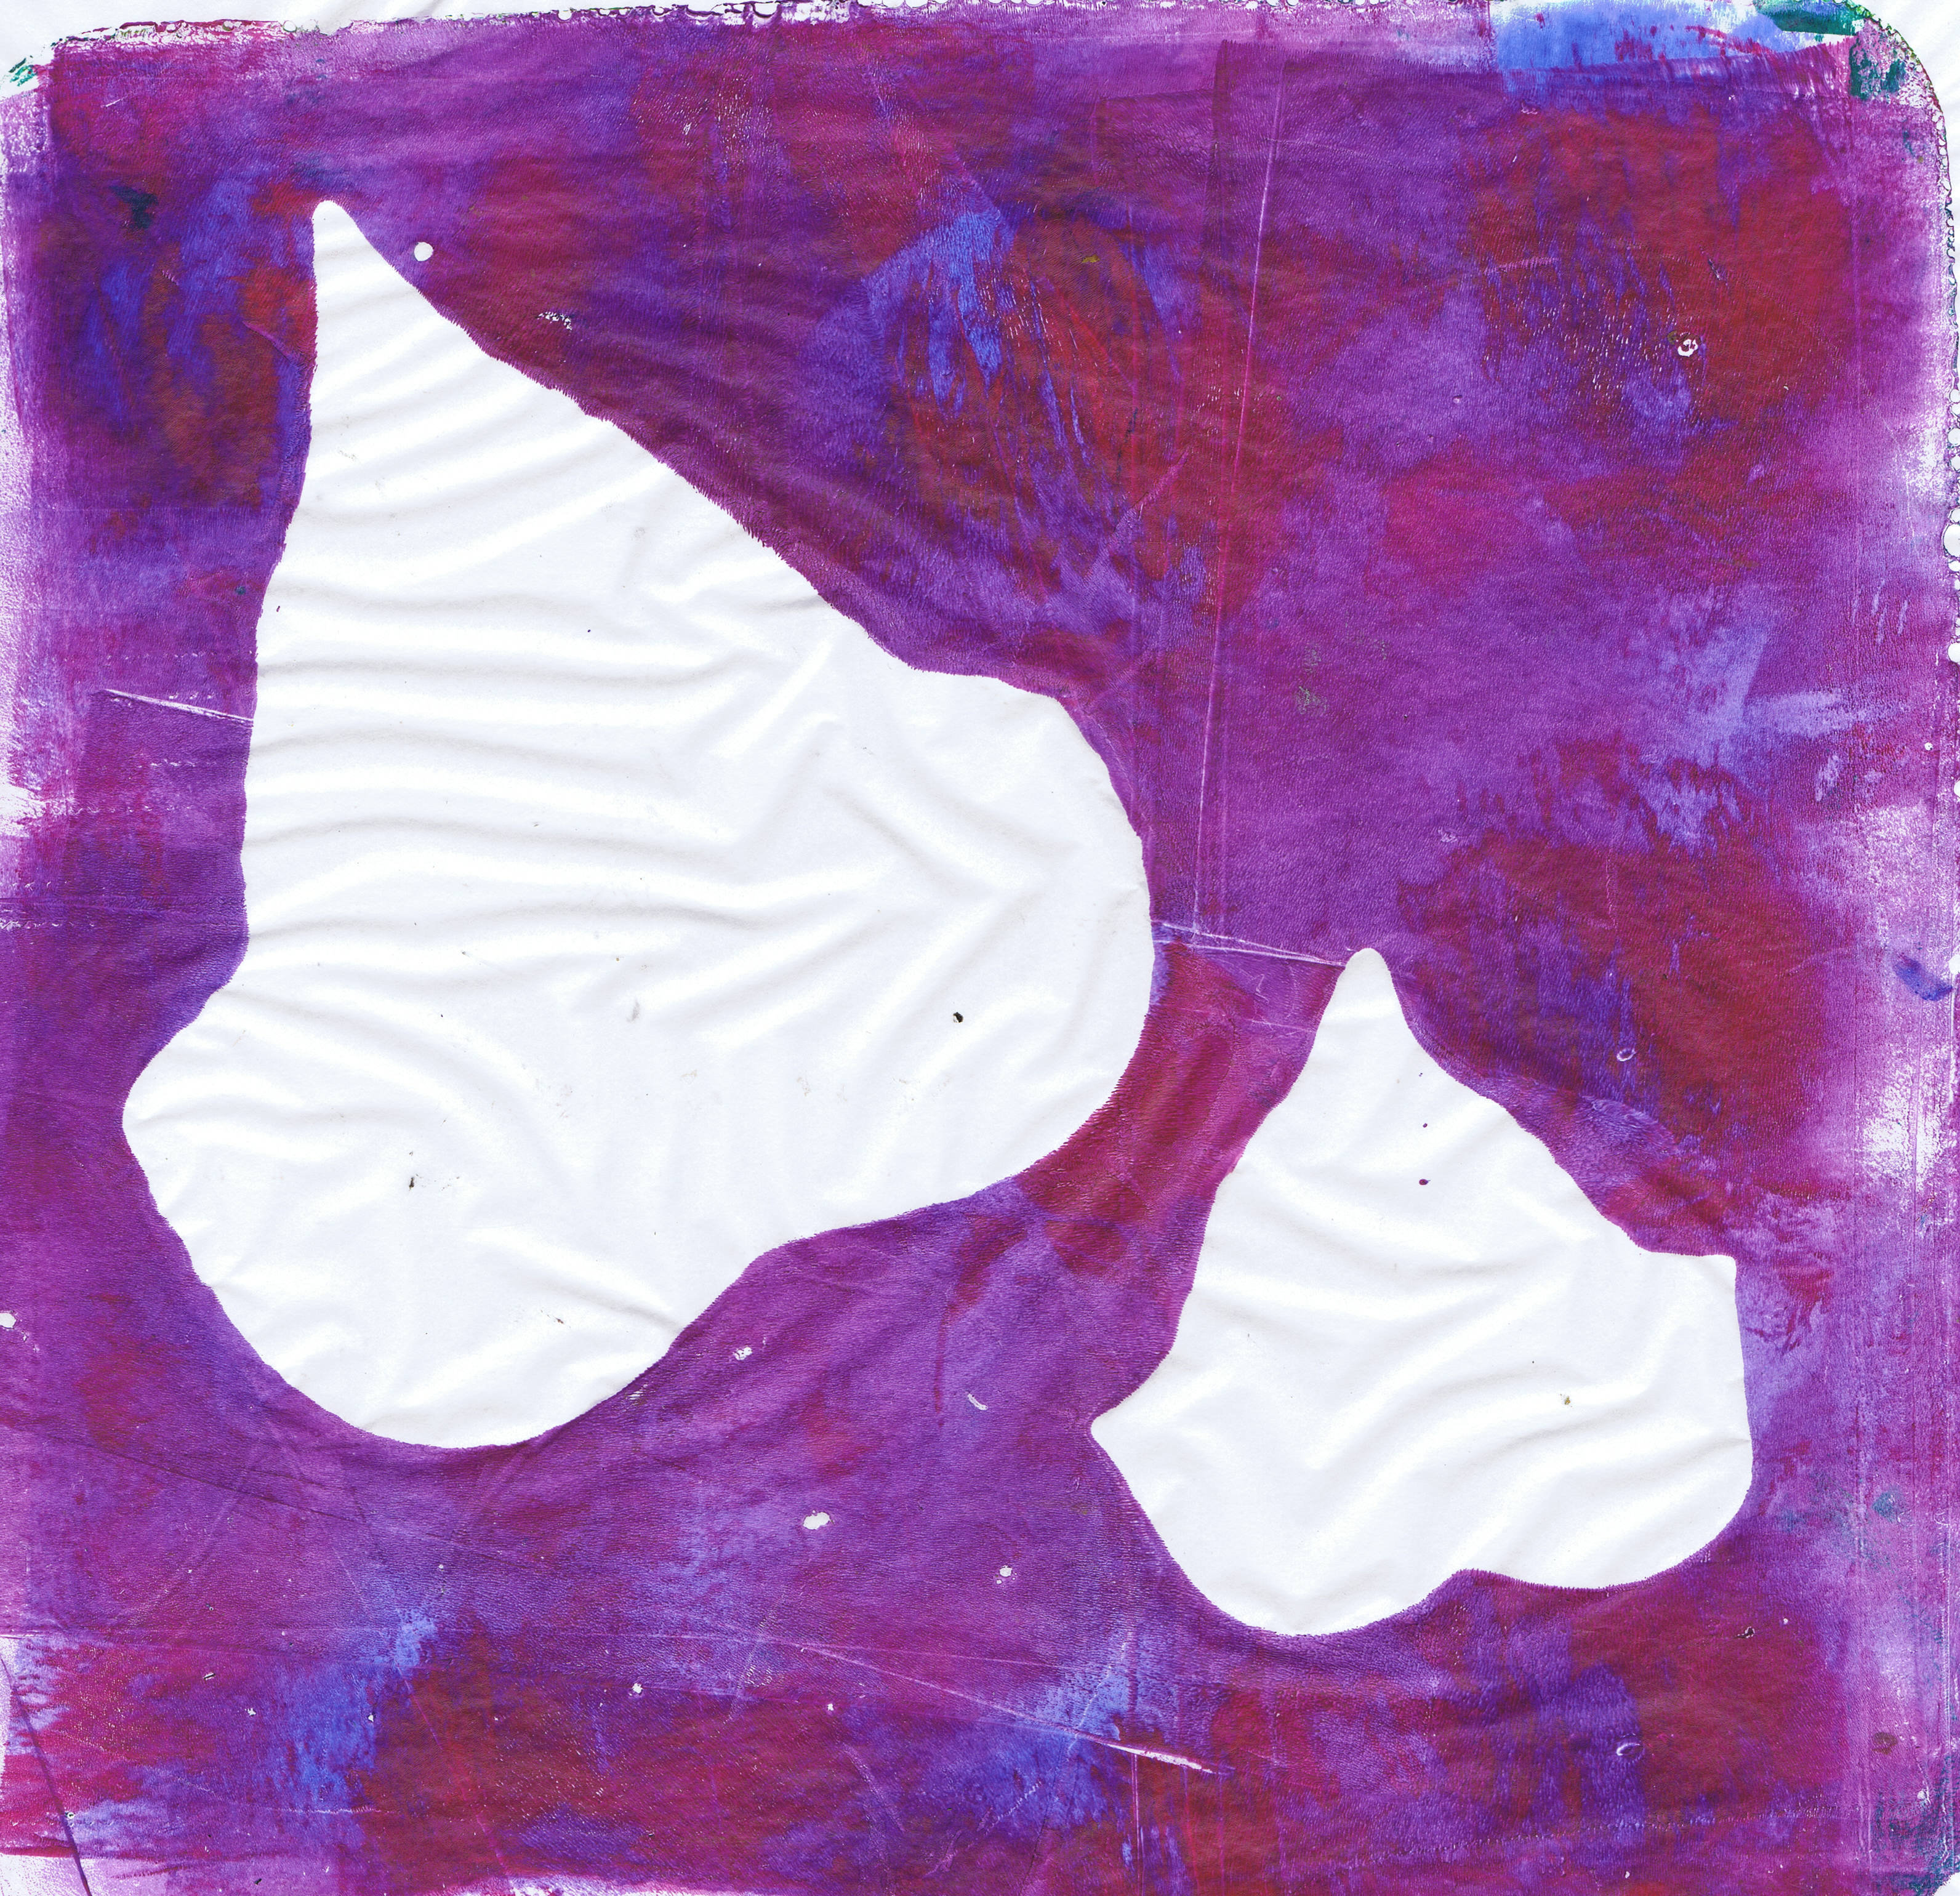
What I do is ink the plate (sorry, roller paint onto the plate) add the leaves, vein side down.  Then I get rid of the paint around the prints by just printing off on paper.
I get a print like this.  Sometimes I overprint on already printed papers.
And I get something like this, so then there is no waste with the paint.
However back to the leaf prints,  I still have the leaves on the plate, but there is no paint around them  any more, so I carefully lift them up and do another print and get the leaf prints.  Voila!
The prints look a bit pale' but you have to remember they are printed on transparent fabric and in reality, they are quite visible.  These will most certainly find a home in my fibre art pieces.  Very yummy!


Happy Creating!

Thursday, December 26, 2013

heavy metal

A bit late blogging today, I got sidetracked by a little patchwork project and it is nearly time for bed.
We had a nice, quiet Christmas day and are now getting back to working.
today I am showing a WIP which is not textile, but does have fibres in it and a tiny bit of weaving, but it is not finshed as I want to do a lot of stitching on it.

It is a tree or shrub, made from copper wire (retrieved from the power supply of an old computer) with leaves cut from copper foil and copper mesh (which were stolen from my husband)
The background is Japanese washi paper fused to felt with fusible webbing.  The paper is very textured and I am looking forward to stitching on it.  I will also be securing the leaves properly with some stitch and beads.

Oh, and theweaving?  If you look to the very bottom, you can see that I wove the stems together with some fine wire and I really liked the effect.  I think I will be making some embellishments using this technique - in fact I have the perfect background for such embellishments.

Happy creating!

Monday, August 6, 2012

A little bit of everything

I have not really been very productive lately, although I know some of you won't believe that, however I have really been doing a lot of reading and staying away from the computer.  I recieved two books from Kim Thittichai recently- "layered Textiles" and "experimental textiles", which I have been enjoying immensely.  Layered textiles is about creating wonderful textures using many layers, heat tools, stitching and lots of other stuff.  To that end, I have been painting non woven fabric such as light lutradur, fusible, nappy liner, tyvek and rainbow spun.
These are a few samples.  The top one is nappy liner, which I spayed with my air gun.  The bottom two are fusible, painted with acrylic.  You can see on the middle picture I have ironed some glitter onto the fusible.
I wanted to create a water effect and tried a few different ways with the nappy liner.
I ironed the nappy liner down after cutting it with a heat tool.  It created an interesting effect, but as you can see in several places, I was a bit impatient waiting for the baking paper to cool and some came away with my blue nappy liner still attached.
In the sample on the left, I ironed the pieces onto interfacing, but the iron was too hot and the interfacing wrinkled up.  Ah well, we live and learn.  In the right hand sample I just layered strips of coloured nappy liner on cotton and cut into it with the heat tool.  This created while lines, and might be useful if I want to make foam on the waves in a sort of heat tool reverse applique.
I used some of the fusible in this piece.  I ironed it onto a yucky beige fabric, which I had painted ages ago and it created the orange squares behind my leaves.  In fact when I had ironed it on the fabric, I loved the marble like effect so much, I had to create something with it, so I cut lots of leaves from my huge collection of baby wipes which I use to mop up my paintin messes, then dry.
This piece is just fused down and sitting next to my free motion machine for stitching.
This is my sample for the stitching, which I made from left overs.  I used purple and turquoise thread, but I think a little orange and gold will not go astray as it is a little flat at present.
The stitching was inspired by "retro inspired stitch samplers" by Jackie Cardy in the jun/jul 2000 issue of Quilting arts, which has been sitting in my to do pile for a long time.
I didn't forget the other book I was reading, "experimental textiles", it is full of yummy samples and is really about sketchbooks for textile art.  I have been reading it together with another two books, "sketchbooks for embroiderers and textile artists" by kay greenlees, and "dreaming from the journal page" by Melanie Testa as well as doing Melanie's online course "dream Journal".
Wow, that was a mouthful and a lot of links to paste in!  But I am, as you might gather, spending a lot of time in my sketchbooks at present.  I also am watching "Internationally inspired" from donna downey, so I suppose I am doing stuff, it's just it's all very paper oriented, lol.
This is a quick sample from Melanie's course, where I am testing out different media, like watercolour, watercolour pencils, pastel pencils, water soluble wax and oil crayons, and crayola slicks, which are a bit like gelatos.
These two are pages from my journal, where I was just playing.
This page from my sketchbook is a few insects I was playing with.
At our art group at our community house we have been doing some beading, and these are two little bits I made.  I have made a few more, but haven't photographed them, and will show you next time.
I think that's enough for one post.


Saturday, November 19, 2011

Leafy Lace

On Saturdays, I will endeavour to post something to do with stitching, whether hand or machine.
Today i am posting about another WIP which is a piece of thread lace.
It is quite a large piece of lace.  The leaf measures about  11 or 12 inches from the tip to the end of the stem.
I started by laying out some heavy water soluble stabiliser and placing knitting ribbon on that in the shape I wanted
I hate using the plasticky stabiliser as it sticks and does not feed nicely.  I solve this problem by laying some more light water soluble stabiliser of the non woven type top and bottom.
In the picture above, I have also stitched the main ribbon lines down.
Do any of you out there have this problem?

or even this one?


Then you know why this post has taken me over an hour to write.  Hopefully tomorrow, Tammy will find another place to fall asleep, lol.

be creative every day!

Wednesday, September 21, 2011

Leafy fabric book - progress

As you  know if you have been checking in, I am working on a little fabric book based on a leaf theme  (which is my current work theme).
As it has been a while, I thought I would give you an update on where the pages are at.
I have shown this one before, it just needs a little adjustment.
This one is basically finished, now, except, I think I may go over the word "fern"  in a contrasting colour.
This one is a bit further along.  I have defined the blue tree with some free motion, and now I think I see some yellow grassor bushes under it.  I also found these fish bone leaf danglies which I will embellish with some blue and gold thread.
My wrapped leaves have found a new backing, which suits them better, but I am still dithering over my next steps here.
So, instead of dithering, I just went on to some new pages until the muse strikes.  This one was inspired by the circle, which I have blanket stitched on.  The sequins are a bit lost, although I think their shape and arrangement are good.  I did try stitching on them with green (top left), but it just wasn't enough contrast.  I think I will paint them with pale green gesso. Although I do like the pearly sheen, it doesn't work here.
This page uses some pressed fern leaves my mother gave me.  I liked the three sizes.  They are glued beneath a piece of tulle, which is attached with gold brads.  I will be stitching the leaves down and trimming the tulle with wave blade scissors or pinking shears.
This is a very simple page with lovely fabric and a little gold embellishment.
This one uses a bit of nylon lace curtain in a whorl.

This last one uses some little leaf charms I found with fabric shadows.  Not sure where this one will go.

So there is a peek at where I am at, but of course, if you know me, a peek is not much help, because it is just the tip of the iceberg, since I am into anything and everything vaguely to do with fibres and textiles.  My hubby says he has no idea what I am upto from one minute to the next, but he is exactly the same with his craft.  Two peas in a pod.


Tuesday, September 20, 2011

Leaf Wall art - Update

Sorry if you missed me yesterday, We had a bit of a storm and lost internet and power.  It happens when you live in the back of beyond.

I have been working on some small wall art collages using sheer applique.
They are all nearly finished, just a little bit of free machining on a few of them.
This one is a Ginko leaf and I have done a little bit of beading on the frayed fabric.  I intend to echo the flower shape and colour in the quilting.
For this geranium leaf, I used fly stitch in the background colours for the hand stitched accent.
For this dandelion leaf, I mirrored two fly stitches then wove two sets of purple thread through the centre, finally doing green french knots to make the woven lines into crosses.  I liked this.
This gum leaf is the least finished.  My intent is to embroider little circles with different coloured centres in two browns.
This one has been shown before.  It was the first one I made.
Now I don'tknow if you have been counting, but there appear to be five of these and I said earlier that they were to be a set of four.  Well, I thought I would do an extra one, just in case I don't like the way they hang together.

I was never a girl guide, but it is better to always be prepared.

Thursday, September 1, 2011

Distressed nonwoven leaves

I have been working on some distressed leaf samples for a few days.
Basically, I gathered a range of non wovens and a few synthetics.
I painted the non woven fabrics.  The synthetics were all coloured.
I free machined two simple leaves on each fabric - a leaf with veins and a leaf without veins.

Then the fun began
I used the soldering iron to put holes in the leaves with veins
I used the heat gun to distress the leaves without veins

And here's what I got

This first sample was a synthetic, crisp, organza type fabric in an olive green.  The holes in the leaveswereeasy to cut, but when I used the heat gun, instead of bubbling or creating holes like most organzas, I got these wierd lines, like one of the warp or weft melted and the other way didn't.  This leads me to think that this is a type of shot organza with two different fibres going in the two directions.  Interesting.
The next sample was a crepe like chiffon fabric.  The hole burned very quickly, so care was needed and the veinless leaf shrank to half.  however there was some puckering in the unstitched fabric,so I cut a leaf from that, too.
This third synthetic was a chiffon, but crisper than the one above.  You can see it behaved in a very similar way.  I  varied the way I made the holes with the soldering iron to see what different effects I could get.
This is a beautiful,  gold  rainbow spun or light Lutradur.  It was easy to cut through with the soldering iron and reacted quickly to the heat gun, making holes inside the stitched area.  You can see on the right, that in unstitched areas, it bubbles.
The next sample was weed mat from the hardware.  This behaves in a very similar way to light lutradur (I suspect it is a form of lutradur sold as weed mat.  It even looks and feels like lutradur)
This sample is tyvek.  My treatment of this sample is slightly different to the others.  All went well with the soldering iron,  but my heat gun is extrememly hot and I know from experience that it will shrivel my tyvek up into nothing.  The unveined leaf was ironed rather than heat gunned.  There is a leaf cut from heat gunned tyvek at the right.  Very dense.
Although this face wipe looks woven, I suspect it is actually needle punched or bonded.  It looks and feels  like other non wovens, so I did a sample.  It burned with diffculty and you can just see some charring around the holes.  It did not melt but burned as you can see in the open leaf, so I suspect that it has some polyester, but also has cotton or other cellulose fibes in it.  It was worth a try.
Here is another type of face wipe, which behaves in exactly the same manner.
This very distressed sample is frost net.  I believe it is what the english call agricultural netting and also that it is very similar to nappy or diaper liner.  It distresses very very easily.  I would use the soldering iron, but not the heat gun - at least not when there are areas bounded by stitch.  You can see how the heat gun dissolved the fabric inside the stitching in the open leaf.  However in areas not bounded by stitch it shrank and frothed up as you can see at right.  I have used it this way to make froth for seaside pieces and it works well.
The final sample is heavy lutradur.  It distresses extremely well and the holes in the open leaf were really easy to make with the heat gun.

So, now I know how all these fabrics react to the soldering iron and the heat gun and I will most definitely be using some of these in my leaf project.

Don't get stressed - distress some synthetics

Sunday, March 27, 2011

Stem stitch

The next in our series of free motion embroidery stiches, is stem stitch.  I talked about this last week when we were looking at weave using the zig zag.  We will also look at a stem stitch derivative, the stem stitch extension leaf.
Stem stitch
When you are doing stem stitch by hand, the stitches look like the picture below.
To accomplish this in free motion, we use zig zag.
Satin stitch is a closed zig zag stitch.  This means that it has a short stitch length.  In free motion, this is controlled by how fast or slowly you move the fabric under the needle.  If your movement is not even, the satin stitch will be uneven too,  but you can go back over it as I have done in the video to even it up.
Above, you see a normal satin stitch.  In order to create a stem stitch, with overlapping stitches like in the hand stitch we rotate the hoop 45 to 90 degrees or one eighth to one quarter of a turn.  A quarter turn is easier to accomplish.
When we rotate the hoop, we do not change the direction we are moving in.  In the top example, I am moving the hoop to the left and  I am facing the machine at the left.  This is much easier to see in the video.
So, really stem stitch is quite and easy stitch, however, it does require a little practice to master curves using it.
Stem stitch is used for, obviously stems, but also for any definite lines in a piece of work.

Leaves
I use this technique usually for grasses and long leaves.  I use another technique for small leaves.
Basically, we start with a satin stitch and end up with a stem stitch as in the diagram below. 

This looks easy, but you will find that it requires a fair bit of practice.  If you have a digital or sliding stitch length dial, you might find it easier to just do a satin stitch that gets narrower by moving to a narrower stitch as you stitch (or pausing often to shorten), You may also be able to program in a narrowing stitch that you can select when you get to the end of your leaf.
As my machine has neither of these things and to boot I am left handed and the dials are on the right, i have developed this method.
If we look at the leaf from the right, I have started with satin stitch, then as we go left, the stitches angle so that at the tip they become stem stitch.  This is much clearer in the video.
  You might find it easier to stabilise the fabric near the leaf and allow the rotation by using a bamboo skewer (cut short to make it easier to manage.)  I use use my finger, but I DO NOT RECCOMMEND THIS TO ANYONE.
This stitch takes lots of practice as you can see below.
But remember, little irregularities can usually be remedied by more stitching (to a point).  None of us is perfect.

Video
This short video shows both stitches being made on the machine.
Hope you are enjoying this series.
I have designed a sampler (it is actually a little landscape) to go with the stitch course and will have the pattern ready for the next lesson.  I will also go back over the previous lessons so we can do some homework with it and get our stitches in the right places.

It has been an extremely long day and I am finally off to bed.  Happy Stitching

“The thing that is really hard, and really amazing, is giving up on being perfect and beginning the work of becoming yourself.”
Anna Quindlen