Showing posts with label gelatin. Show all posts

Thursday, May 28, 2015

Layered Gelli Printing

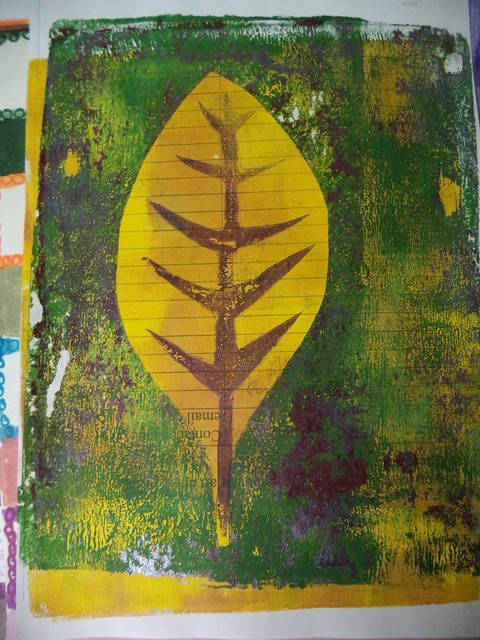
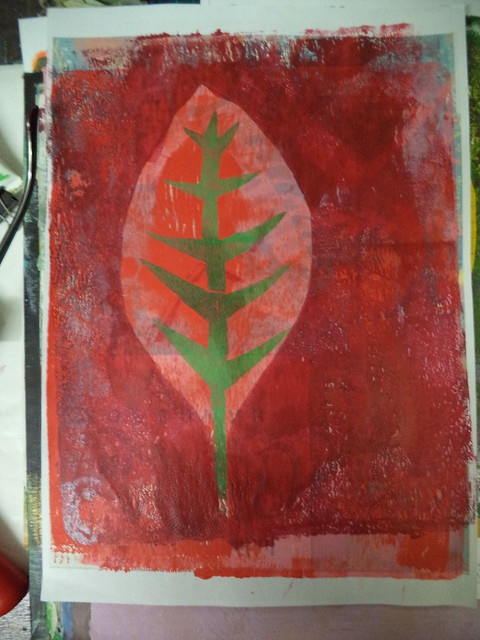
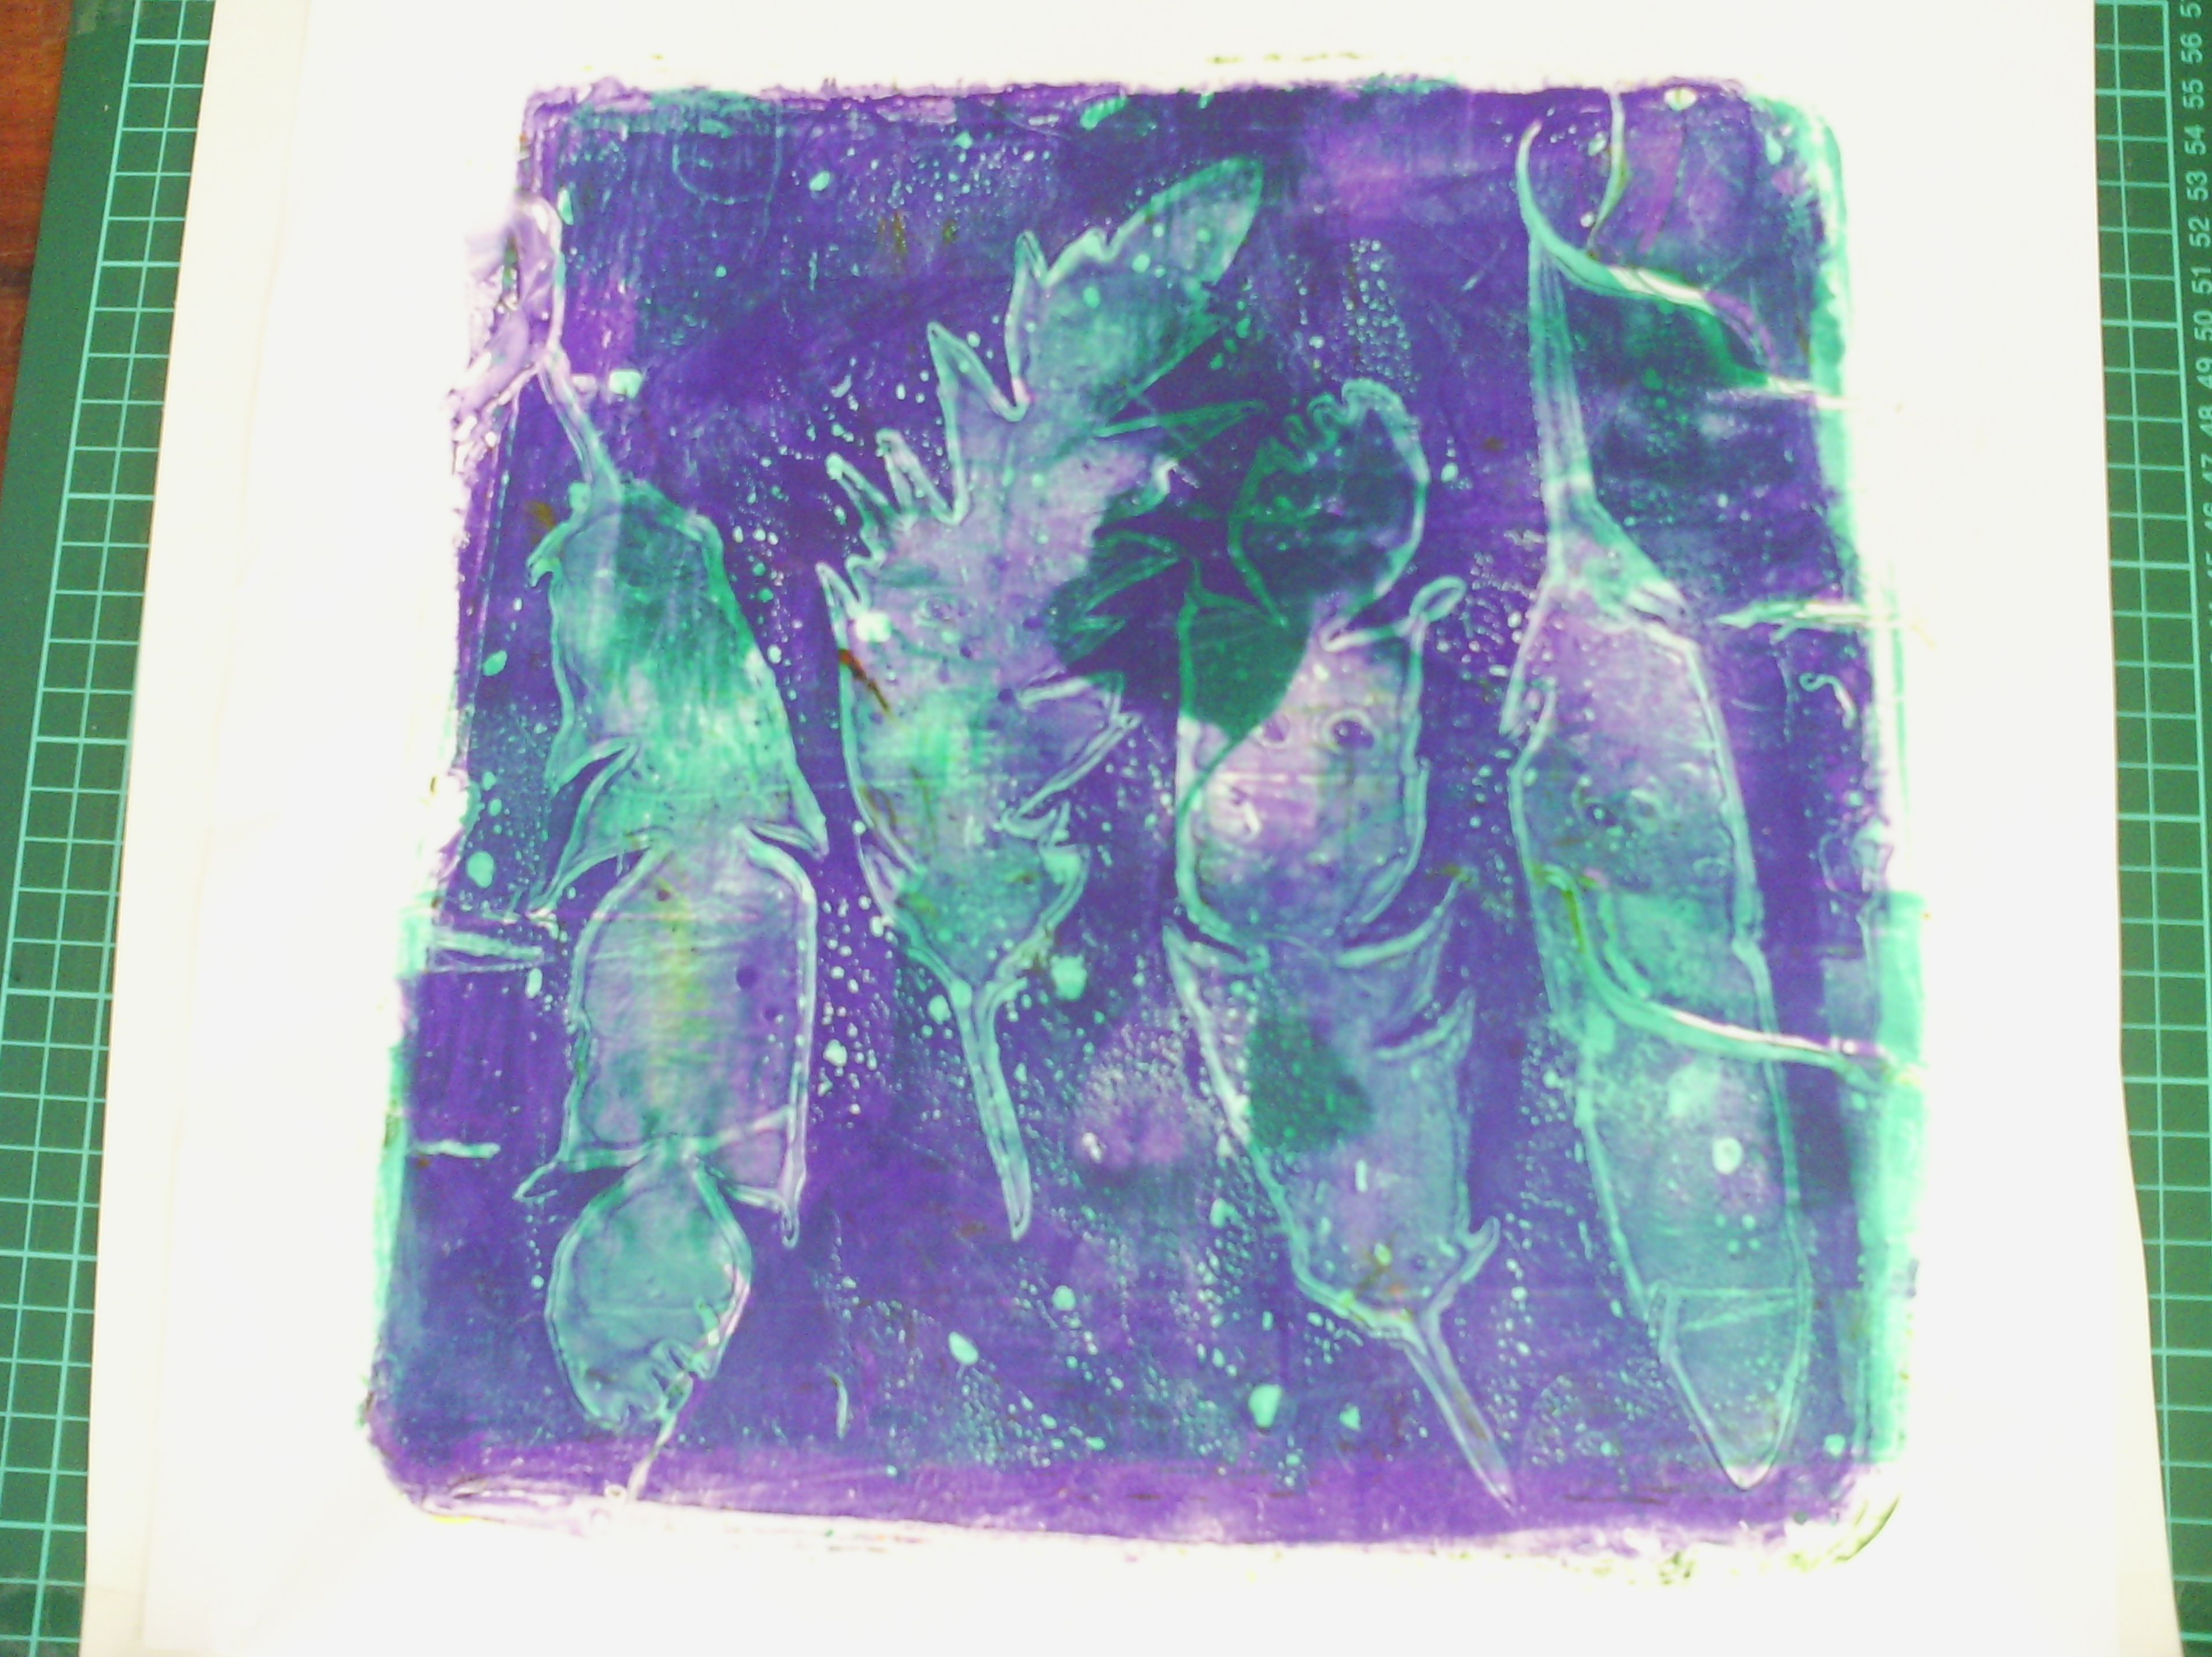
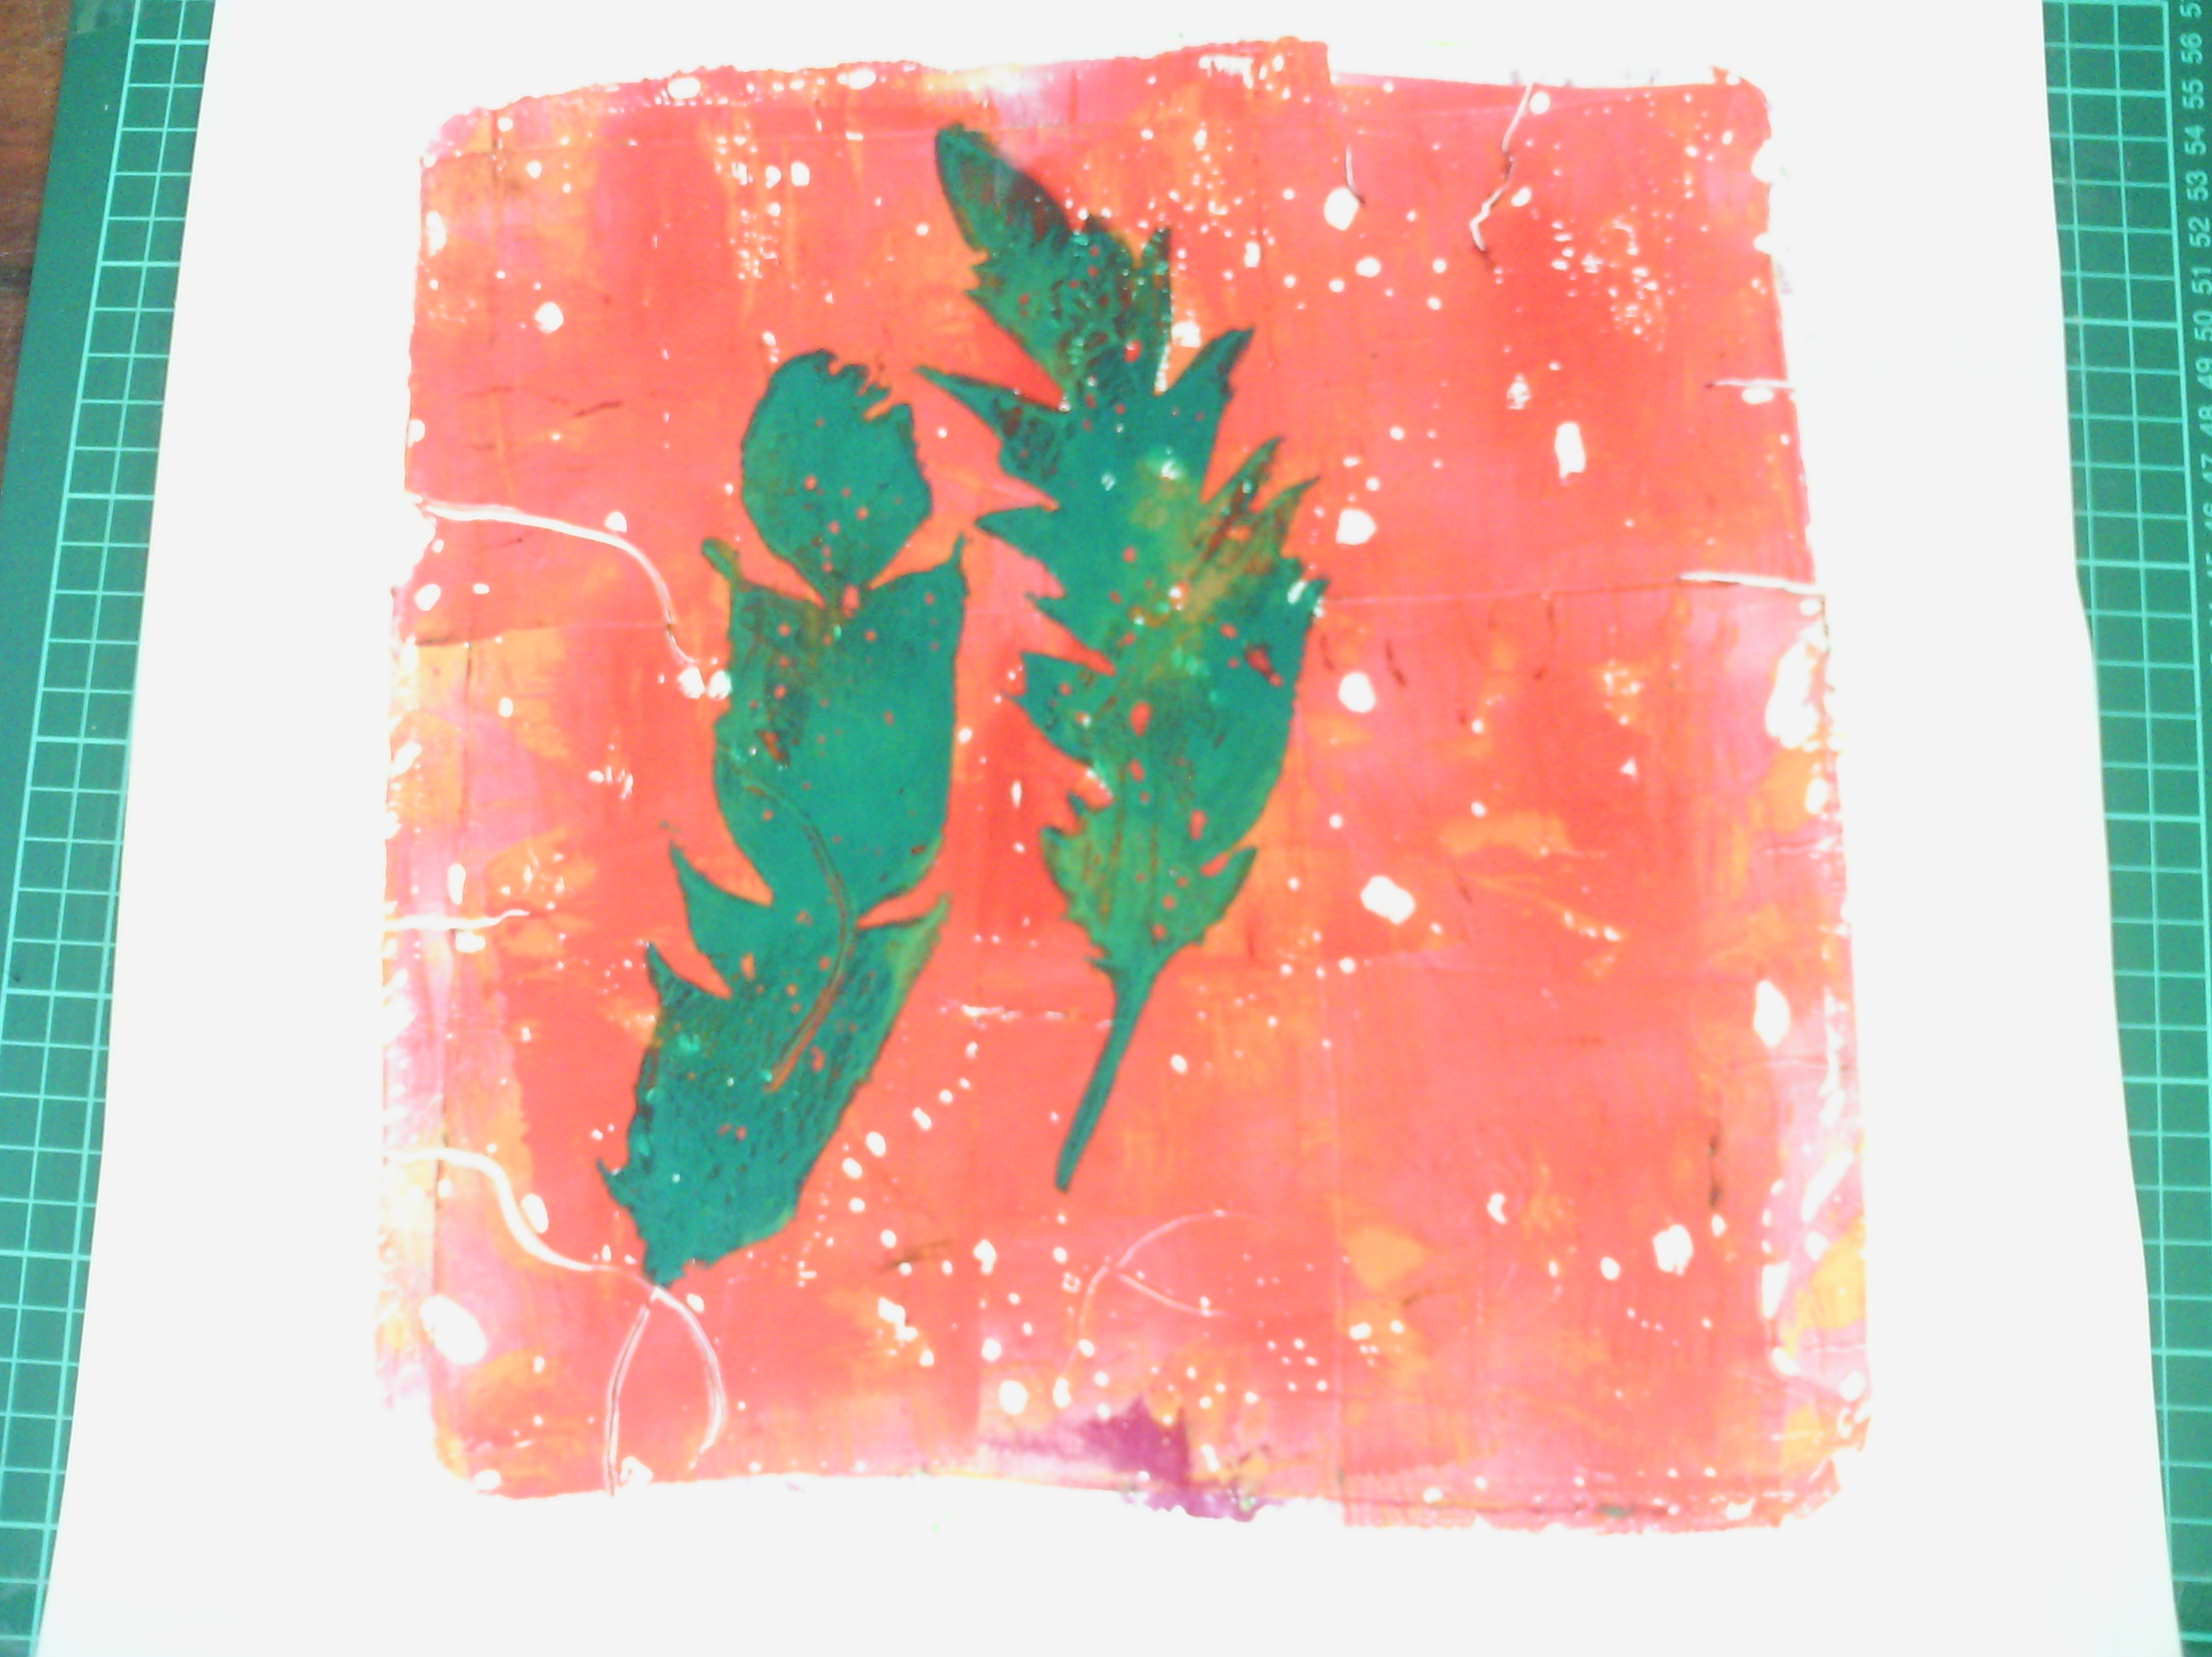
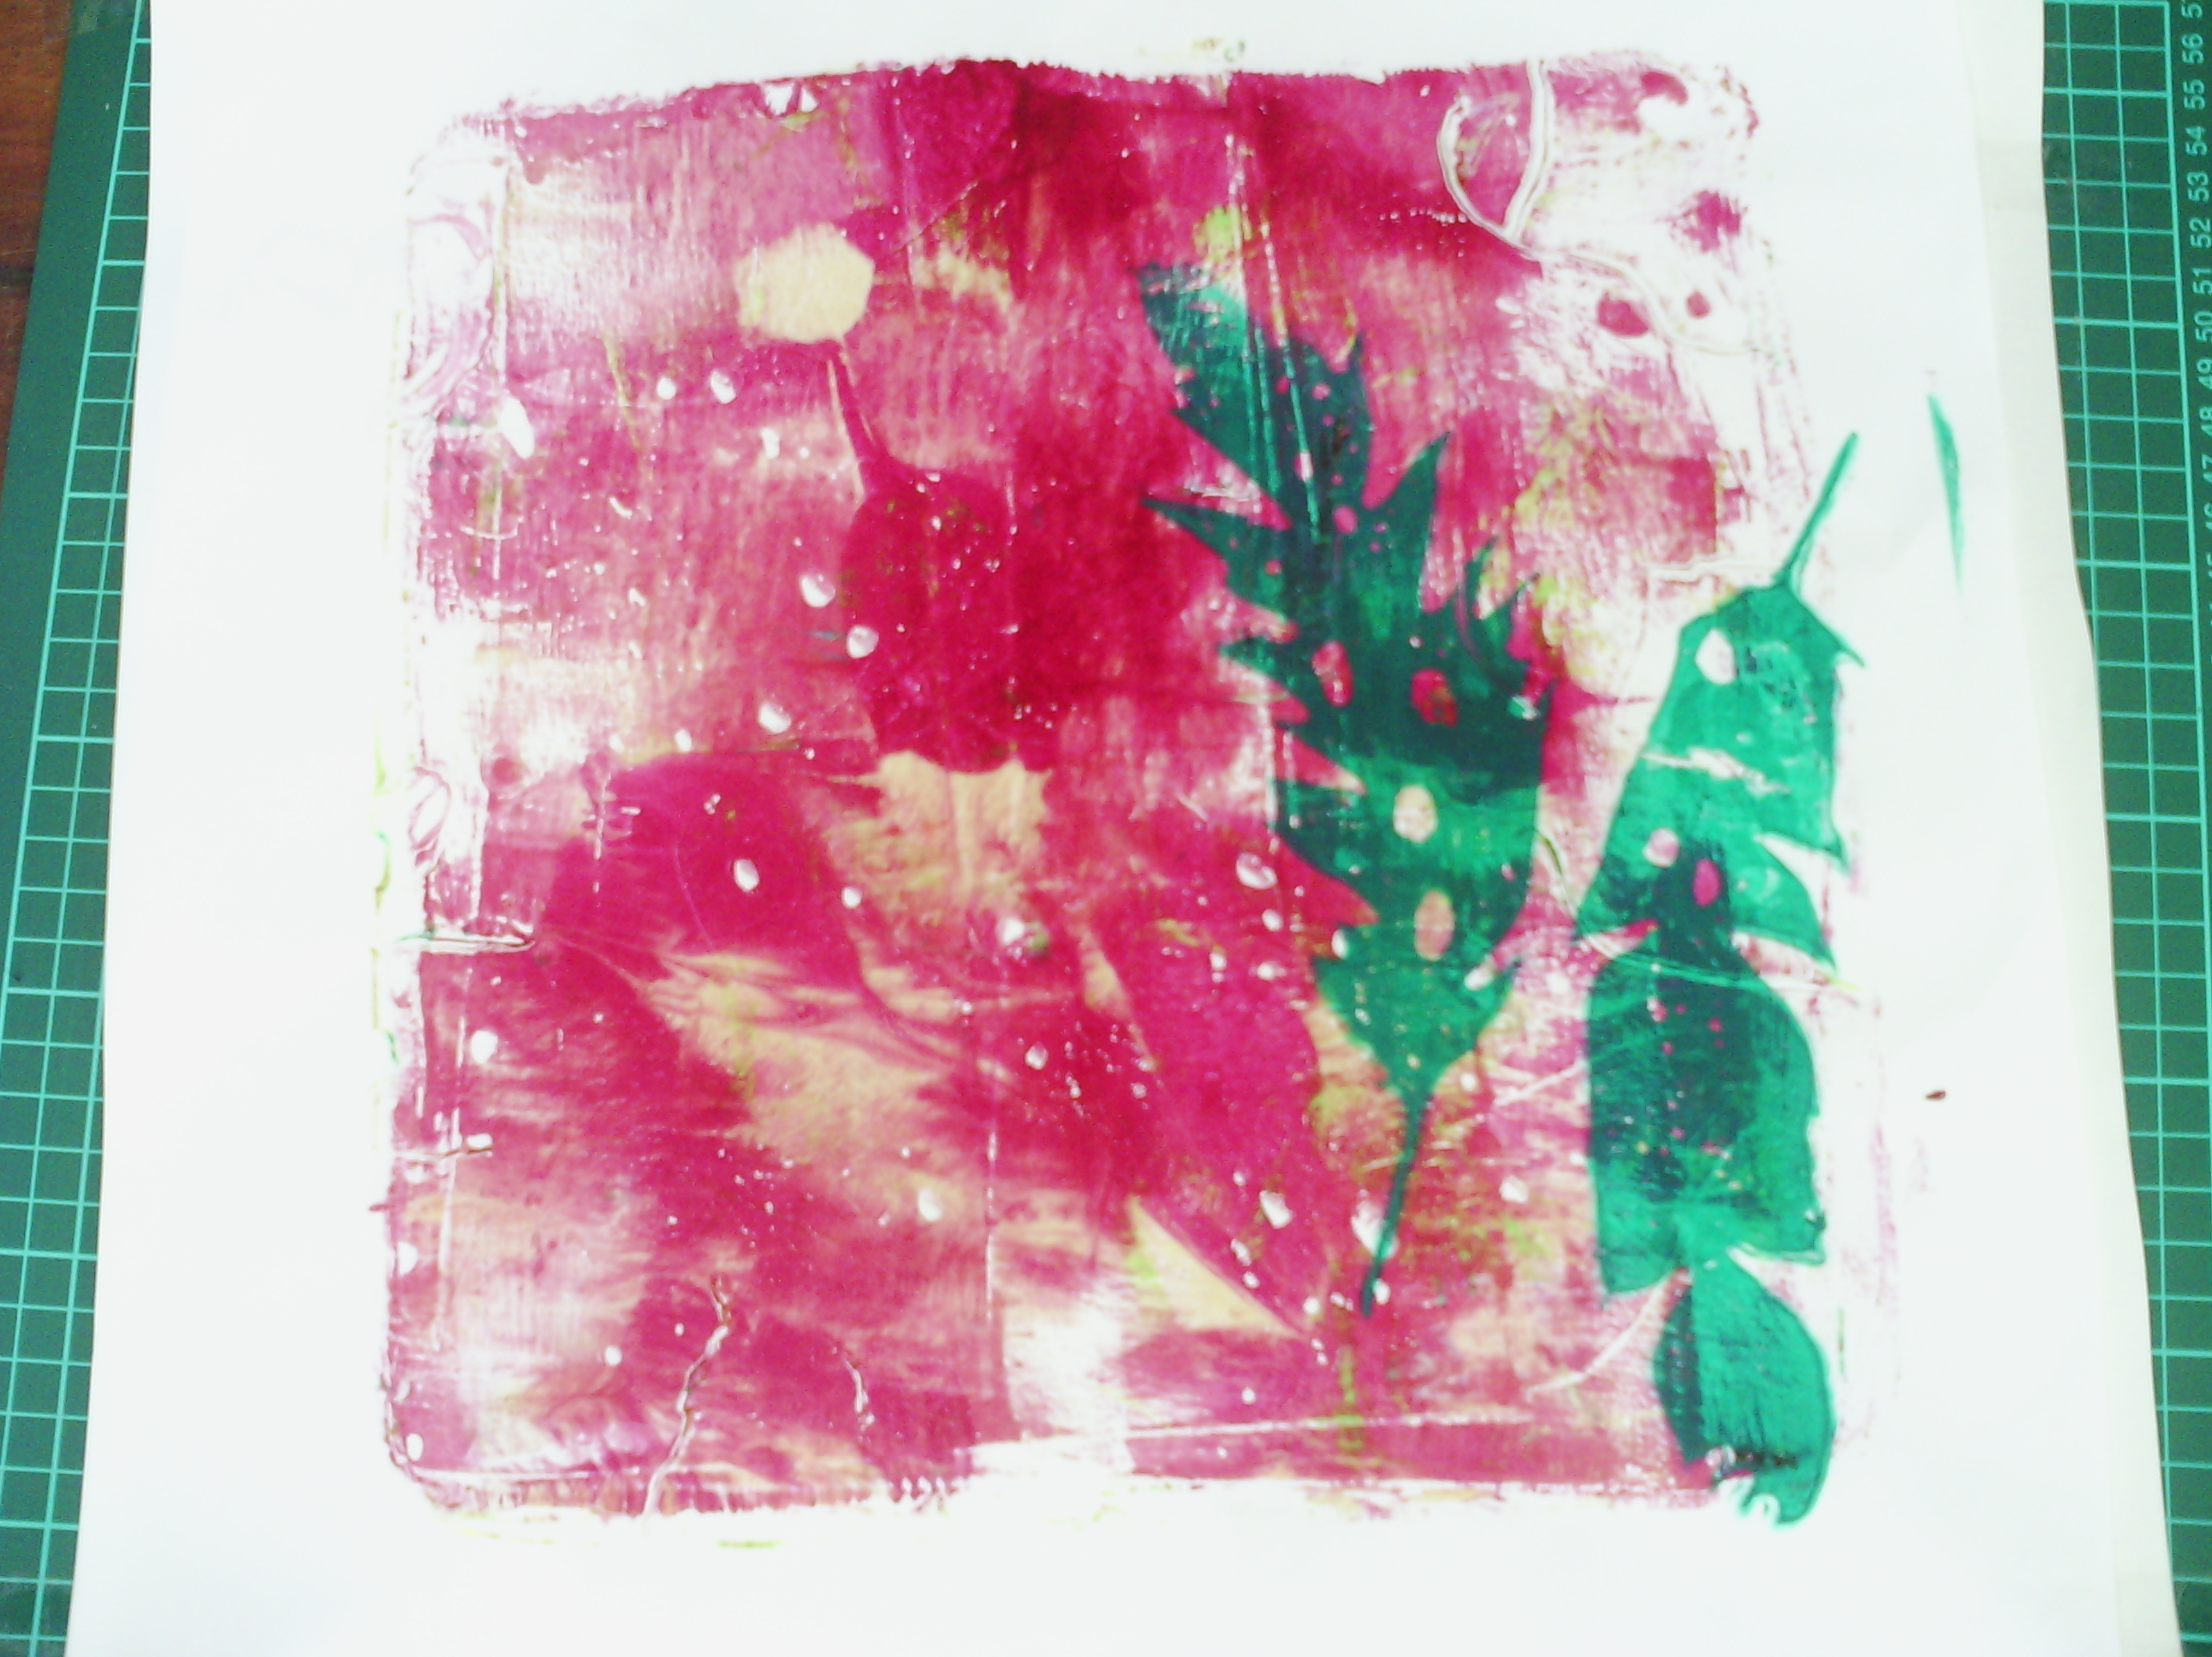
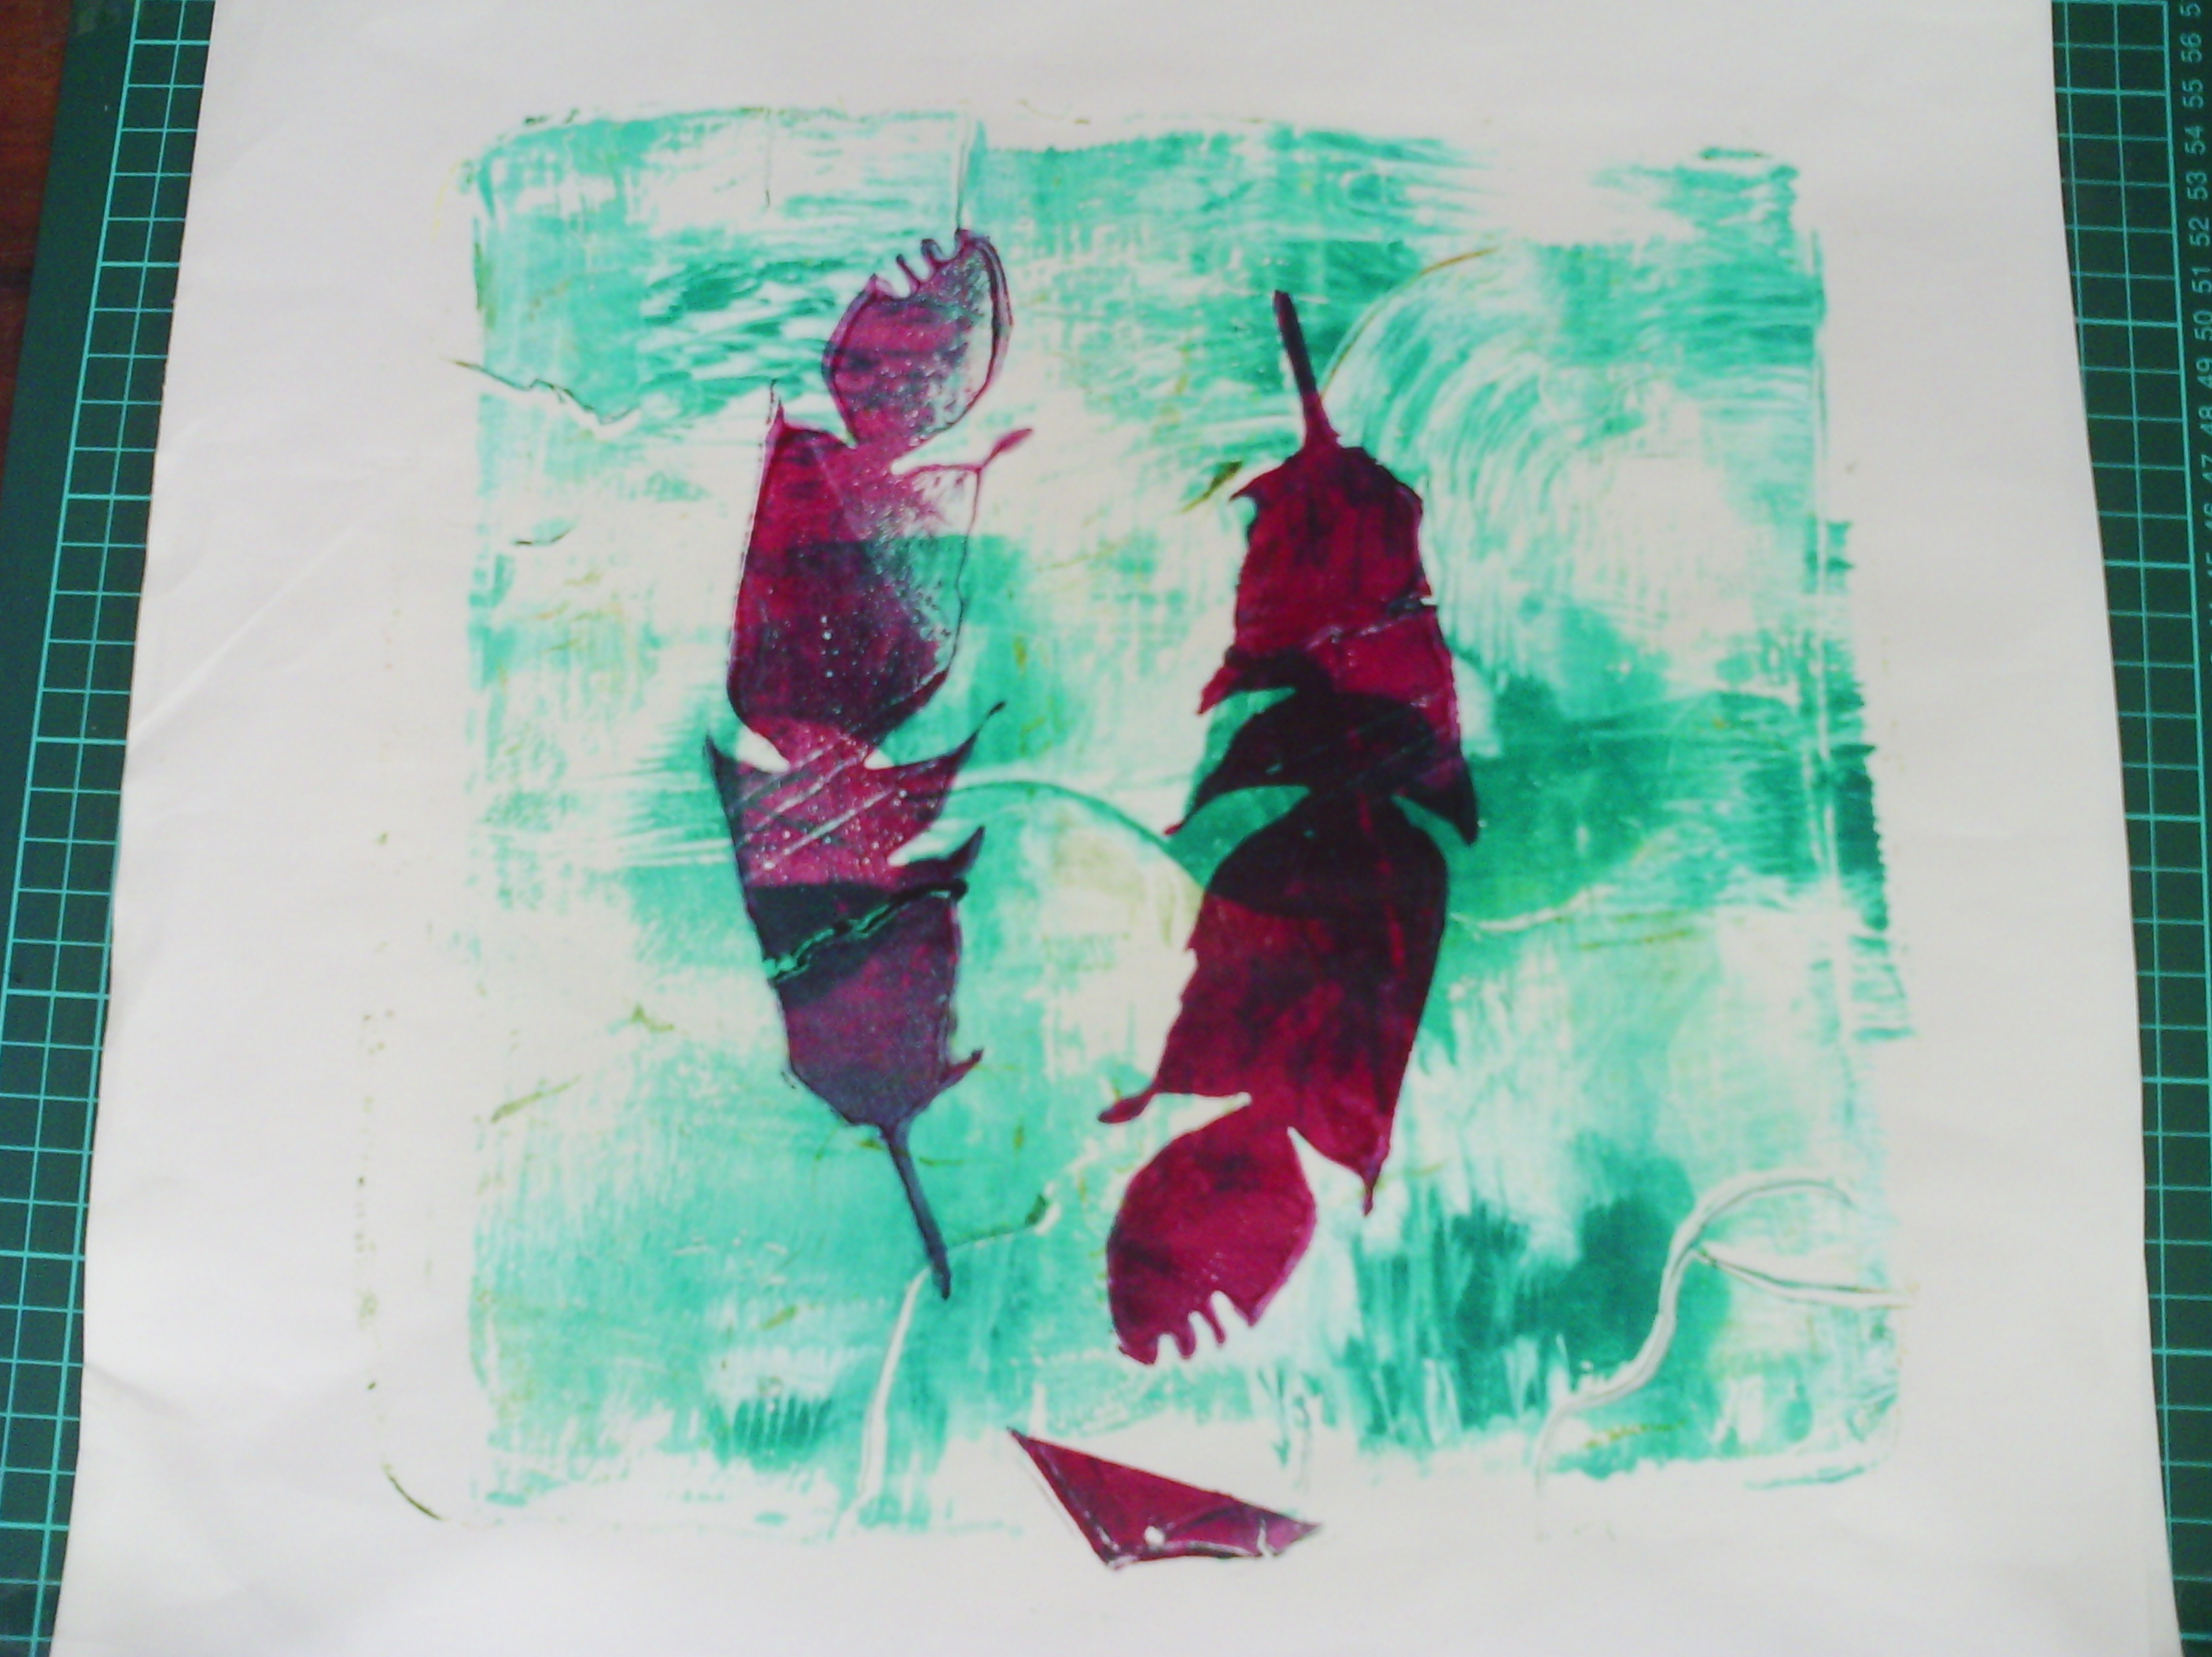
I have been doing a few courses and posting in facebook groups lately, and a few people in the gelatin printing enthusiasts group asked how i did my layered prints.  For those who are familiar with this, my video below will tell you nothing new, but if you are new to gelli printing, the video might be of some help.  Unfortunately, my voice over is a bit soft, so if you are watching, turn your volume up.  I will try to be a bit more outspoken  if and when I do another one.
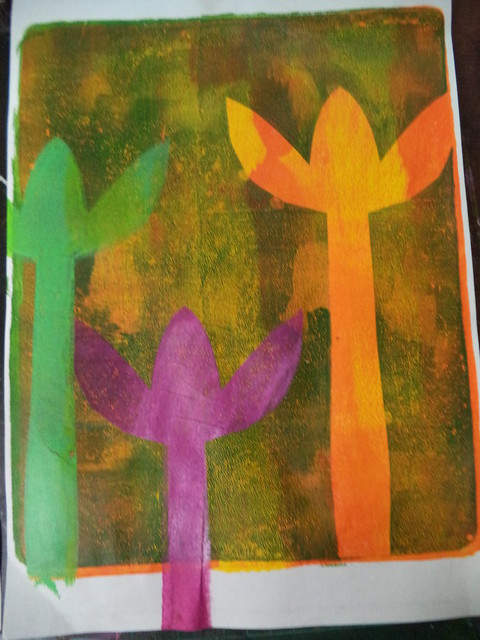
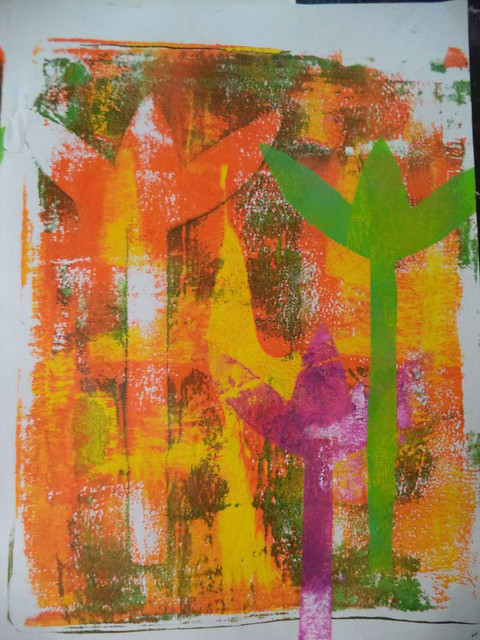
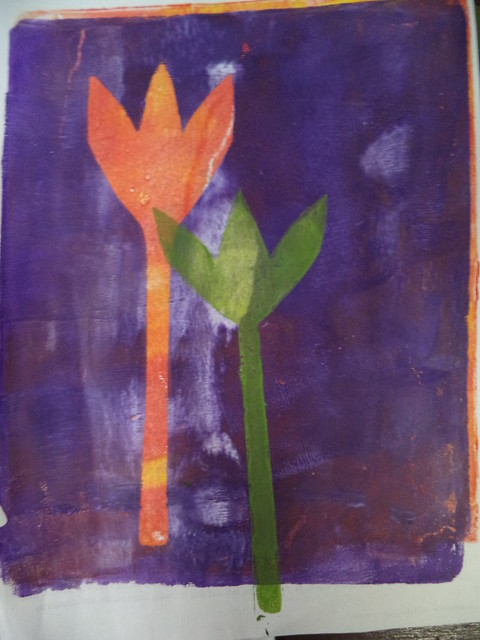
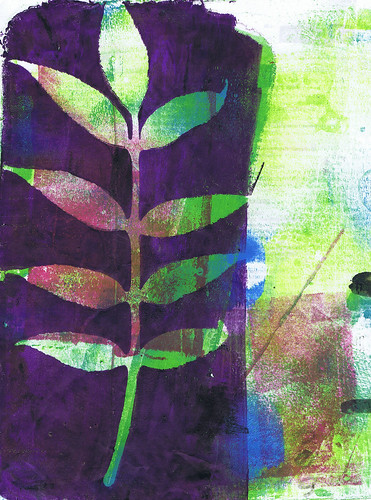
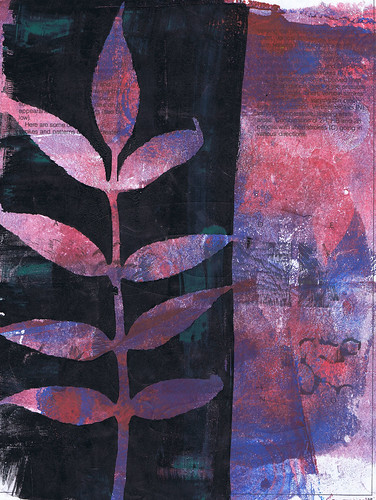
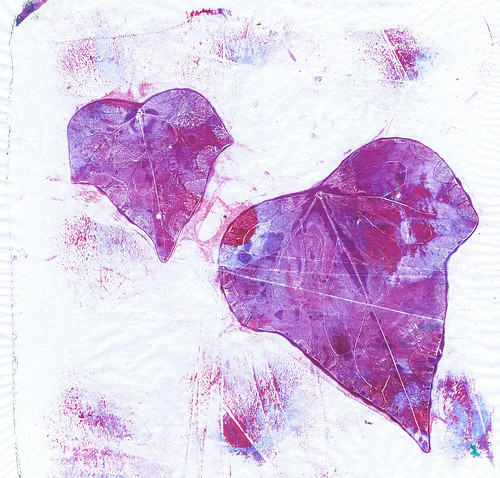
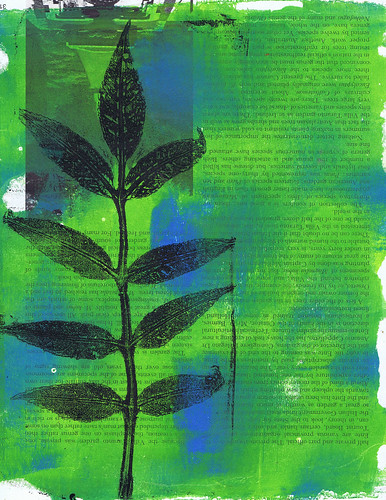
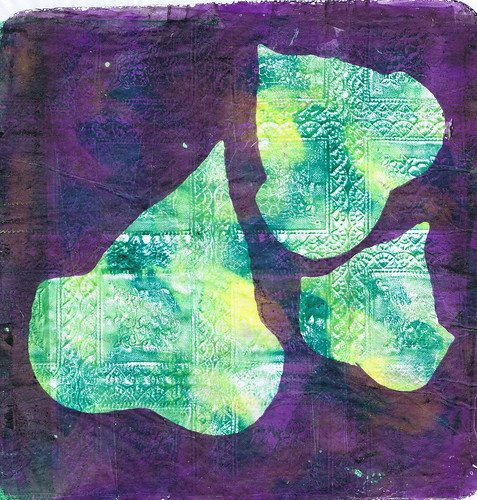
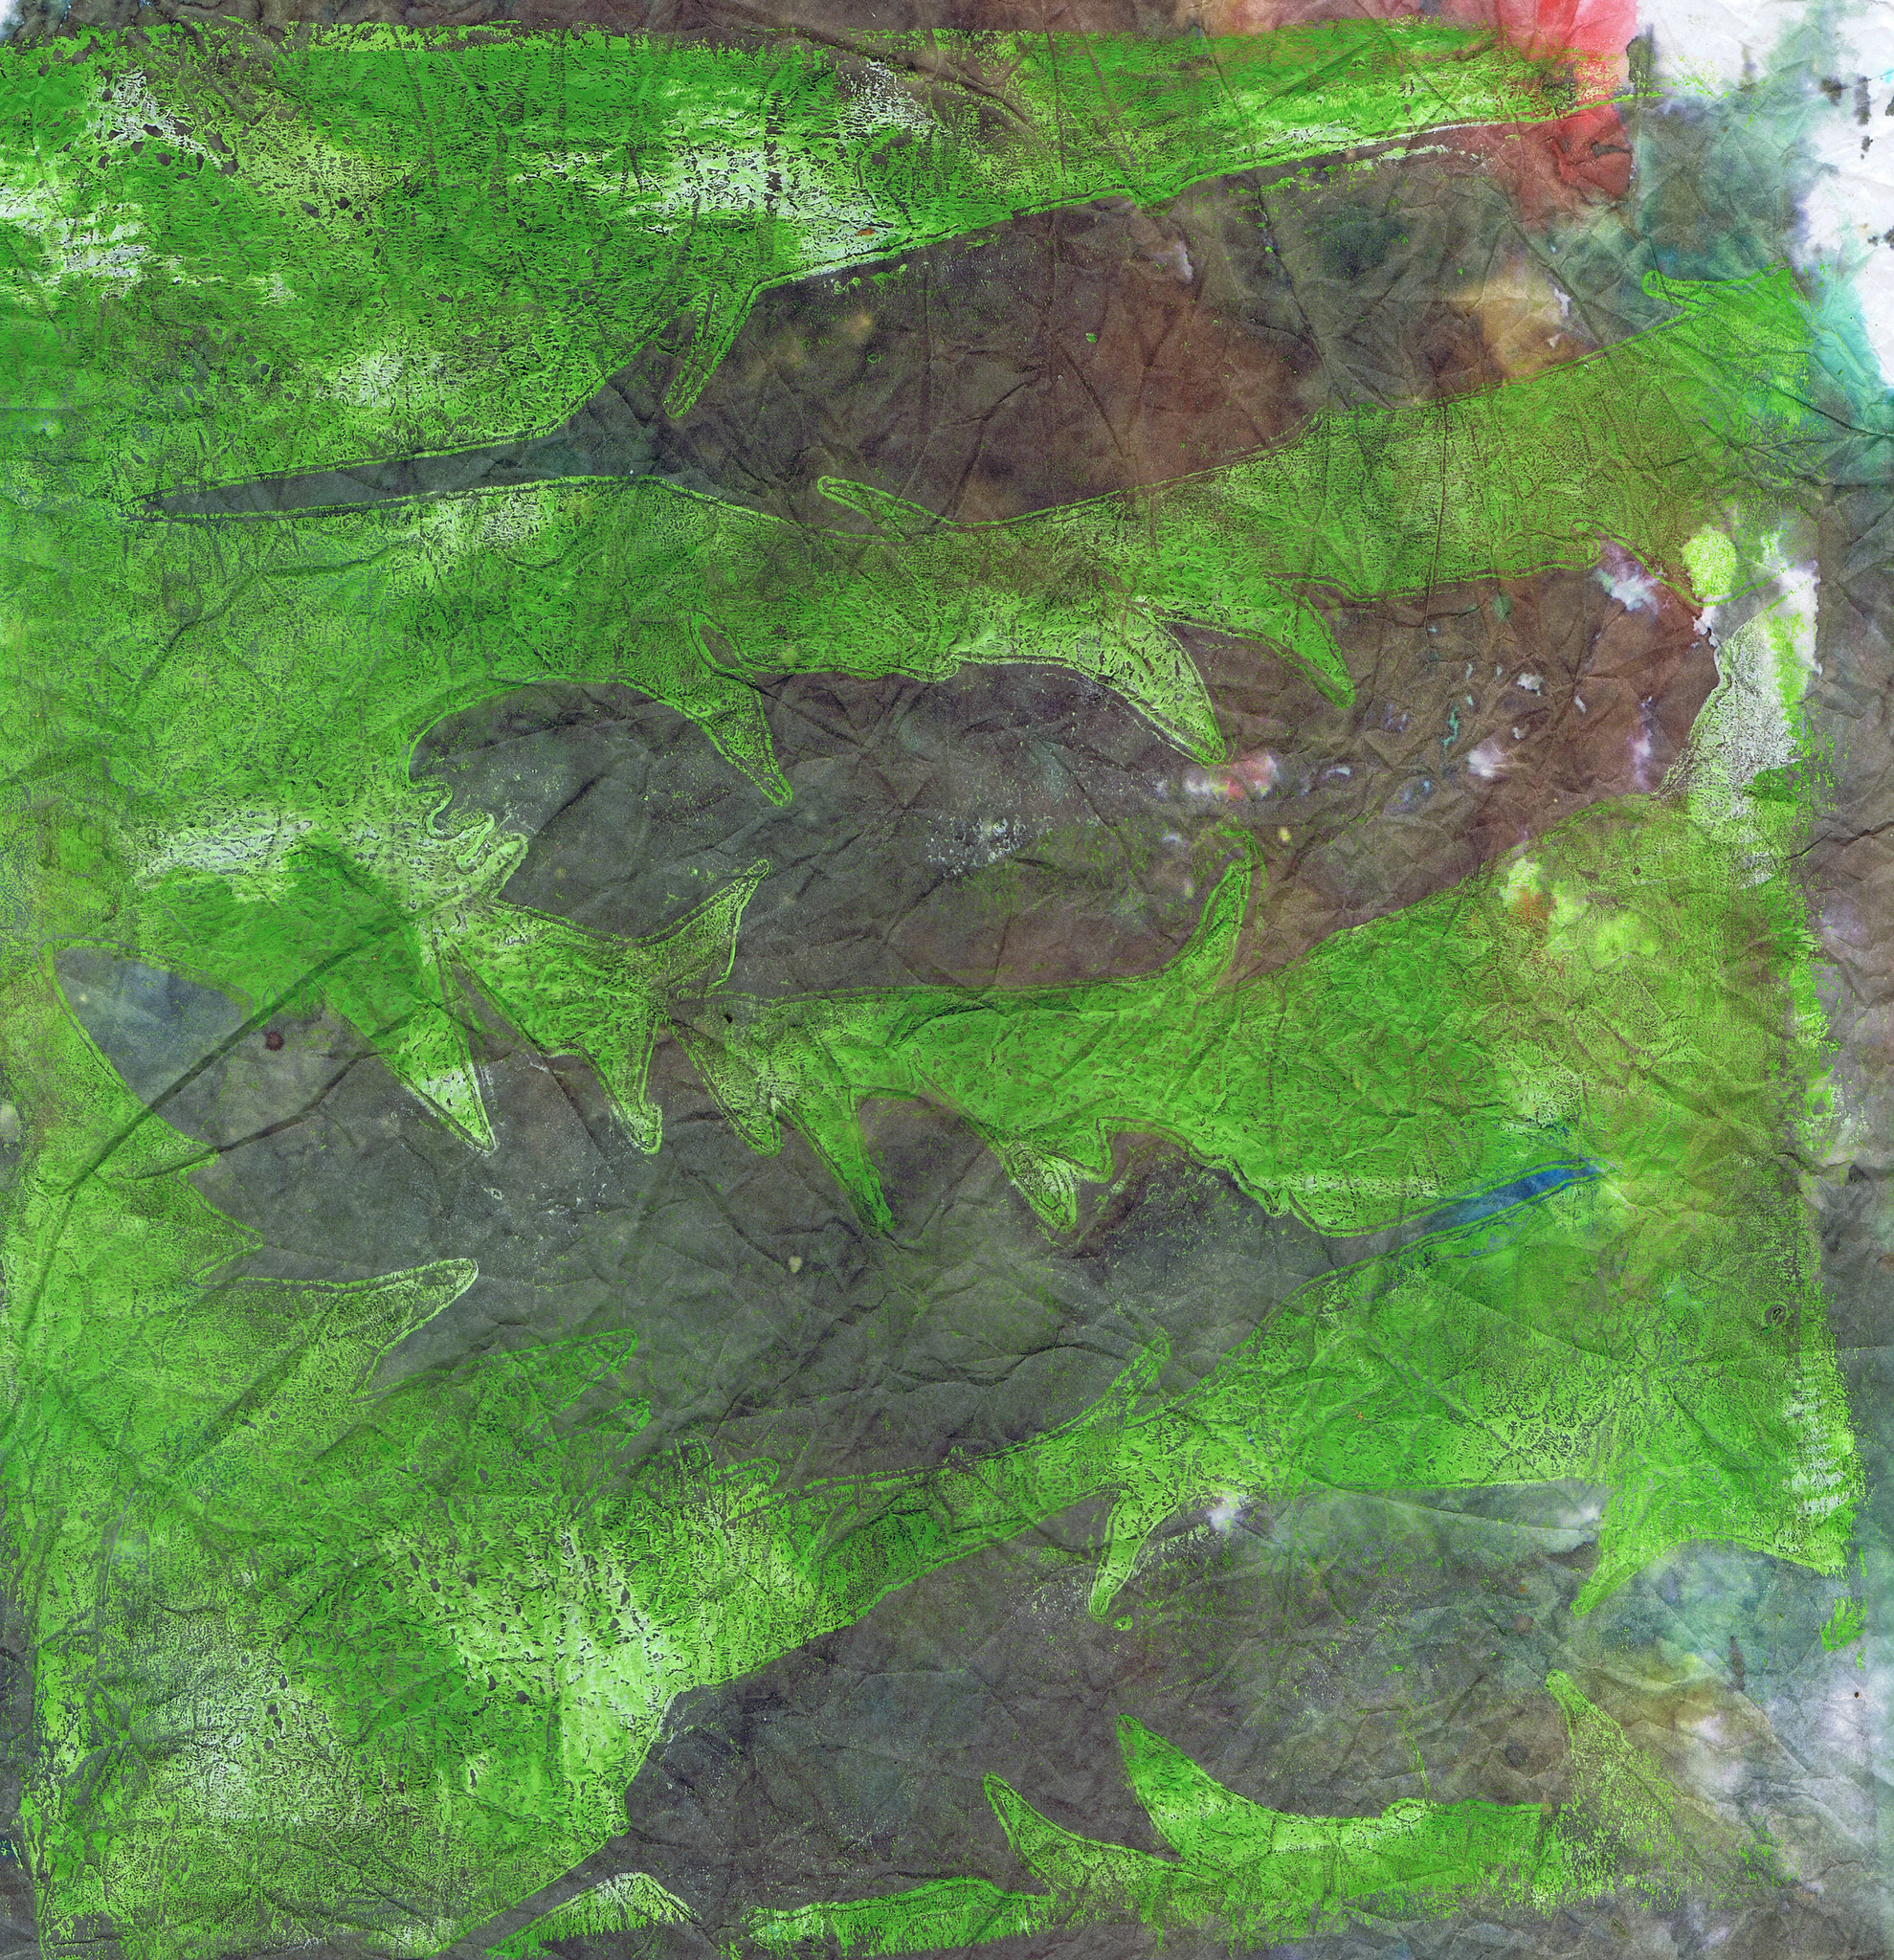
For those of you who just want eye candy, here are the prints I did
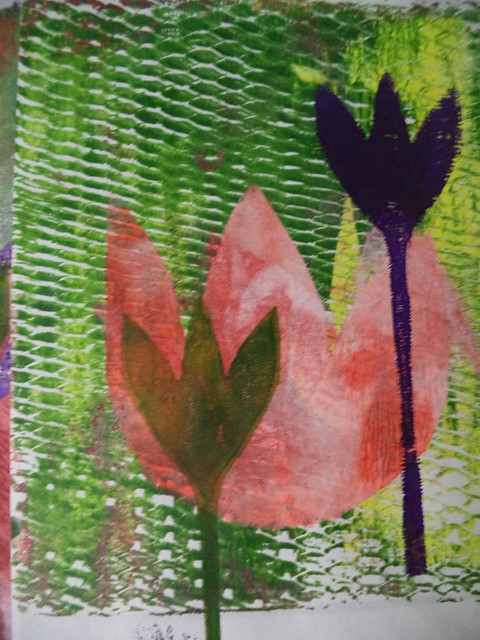
And a few other prints I did at another time


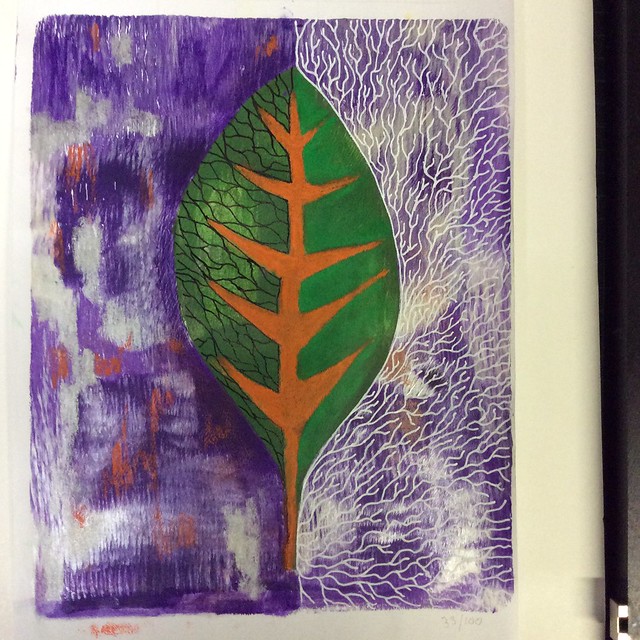
I have been posting the leaf prints in a challenge group, 100 Artworks challenge, also on Facebook, but I embellish them first.
Here is an embellished one.
And now, my imperfect video


Happy Creating!

Friday, January 3, 2014

leafy prints

Anyone who knows me knows I am mad about gelatin monoprinting.  I do not have a gelli plate, but have a silicone rubber plate my husband made me.  It works for most things, but not really for plastic or card stencils.  When I want to do that sort of thing I make a gelatin plate.  You can find instructions for that just about anywhere on the internet by typing in 'gelatin printing plate'  I add an amount of glycerin to mine and it lasts for months.  When it gets a bit tatty, I just remelt it in the microwave.
However, one thing the silicone plate does extremely well is leaf printing, and of course, I love leaves.
The other day, I did a few prints on chiffon.
Isn't the detail on these prints glorious?
What I do is ink the plate (sorry, roller paint onto the plate) add the leaves, vein side down.  Then I get rid of the paint around the prints by just printing off on paper.
I get a print like this.  Sometimes I overprint on already printed papers.
And I get something like this, so then there is no waste with the paint.
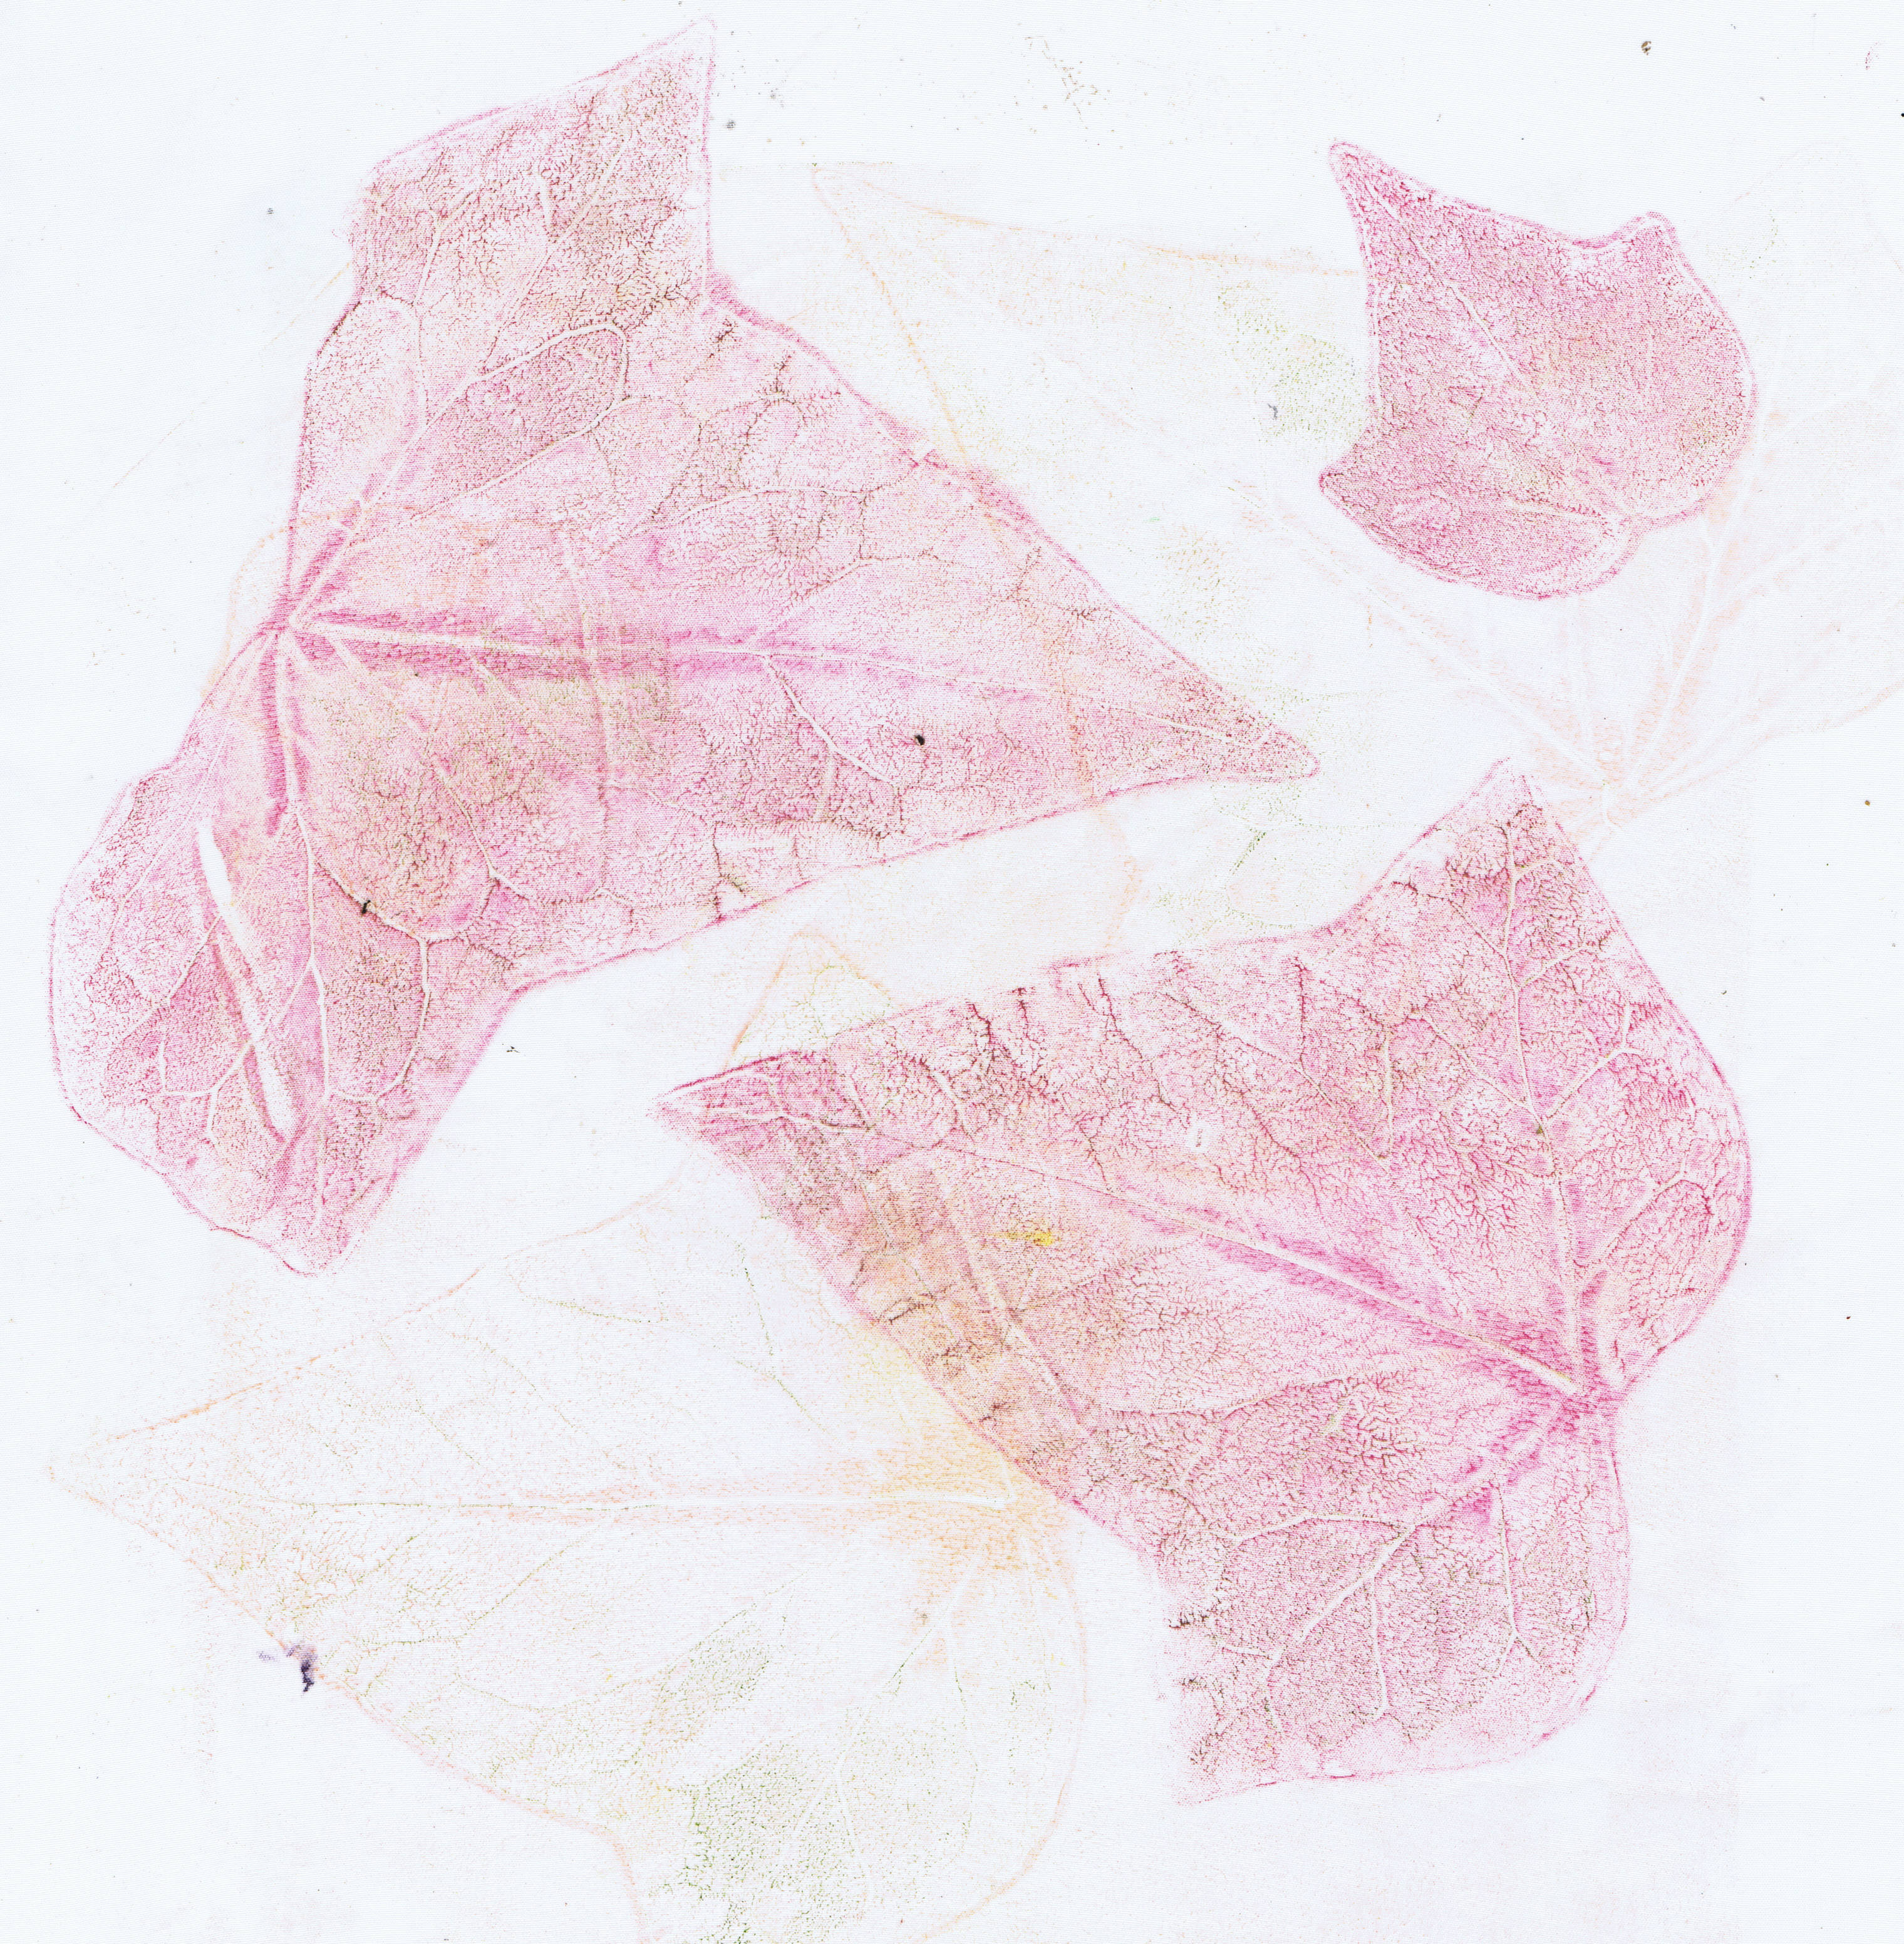
However back to the leaf prints,  I still have the leaves on the plate, but there is no paint around them  any more, so I carefully lift them up and do another print and get the leaf prints.  Voila!
The prints look a bit pale' but you have to remember they are printed on transparent fabric and in reality, they are quite visible.  These will most certainly find a home in my fibre art pieces.  Very yummy!


Happy Creating!

Thursday, December 12, 2013

Monoprinting mania

In recent months I have become obsessed with monoprinting.  I do have a synthetic gelatin plate, but I find it much easier to get good prints using a plate made from gelatin.  The moist nature of the plate and it's softness allow the use of lots of different things and my favourite are leaves from the garden.
today, I have been printing most of the day.  I uploaded about 35 prints and since this was not all of them and they all have at least two layers, it means I printed around a hundred times.
Here are a few of the prints I did today, most of which will go into my new leaf sketchbook, either bound in as pages or as collage elements.

CCI12122013_00026CCI12122013_00025
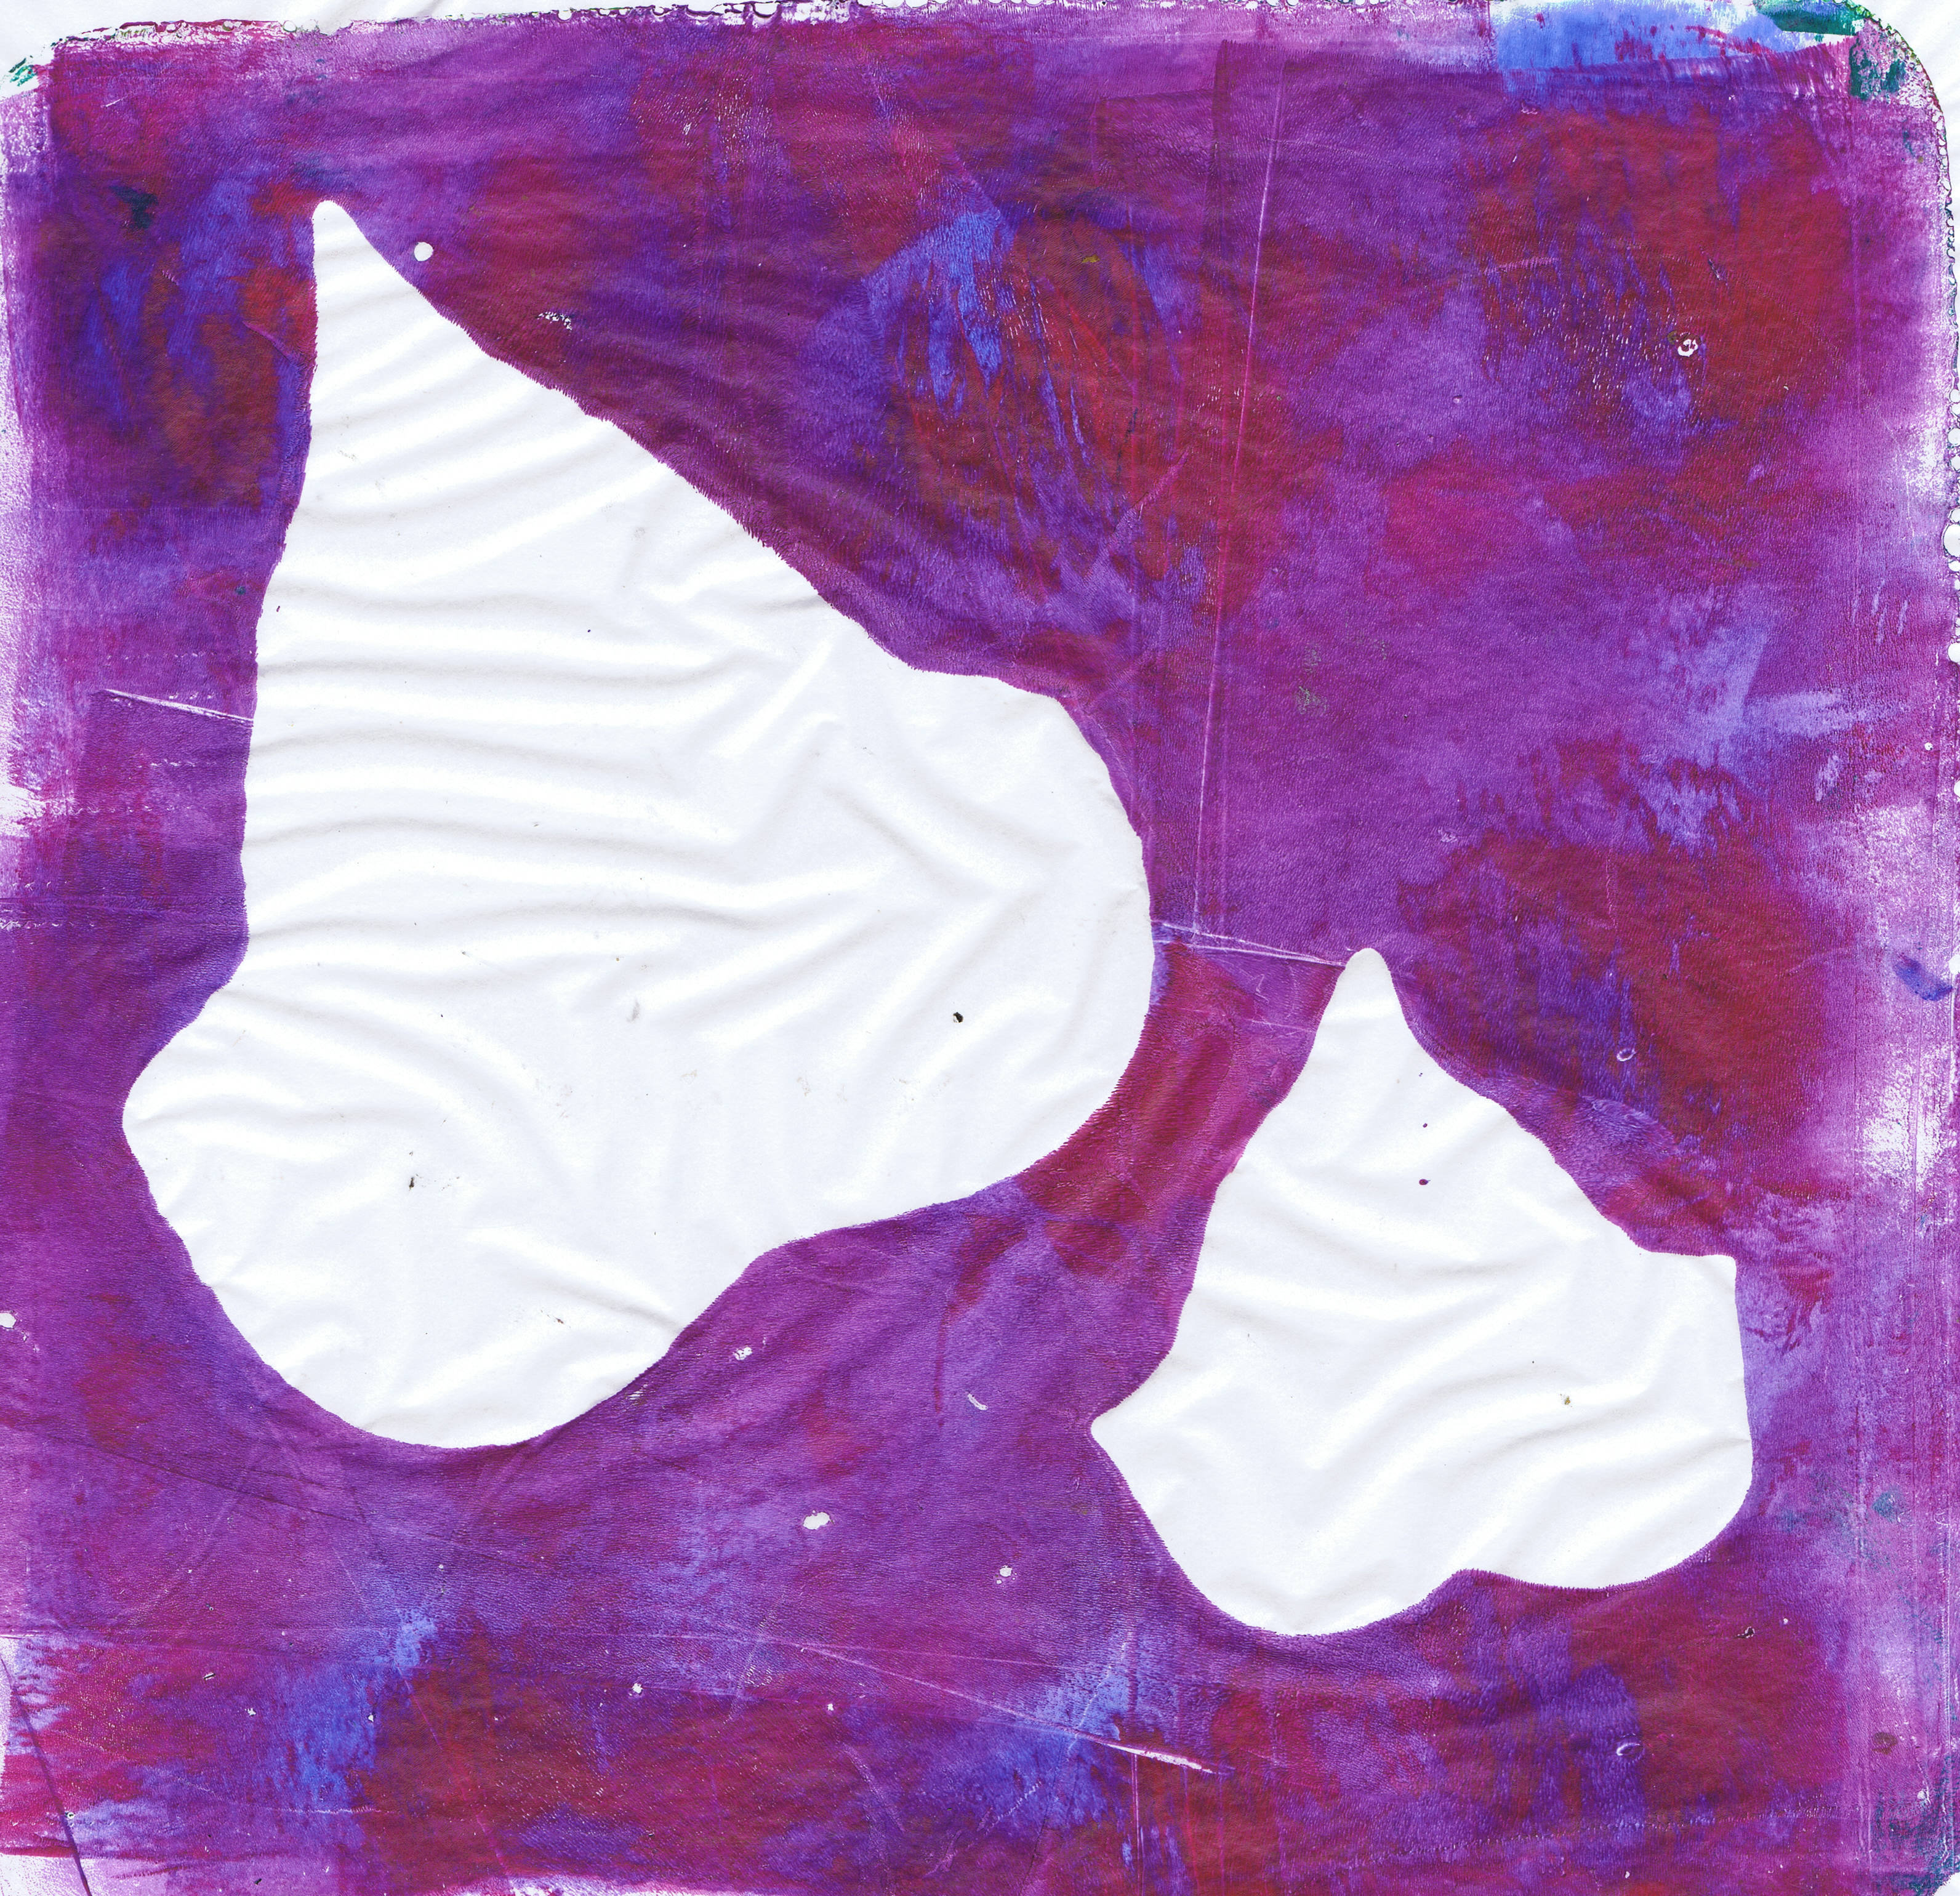
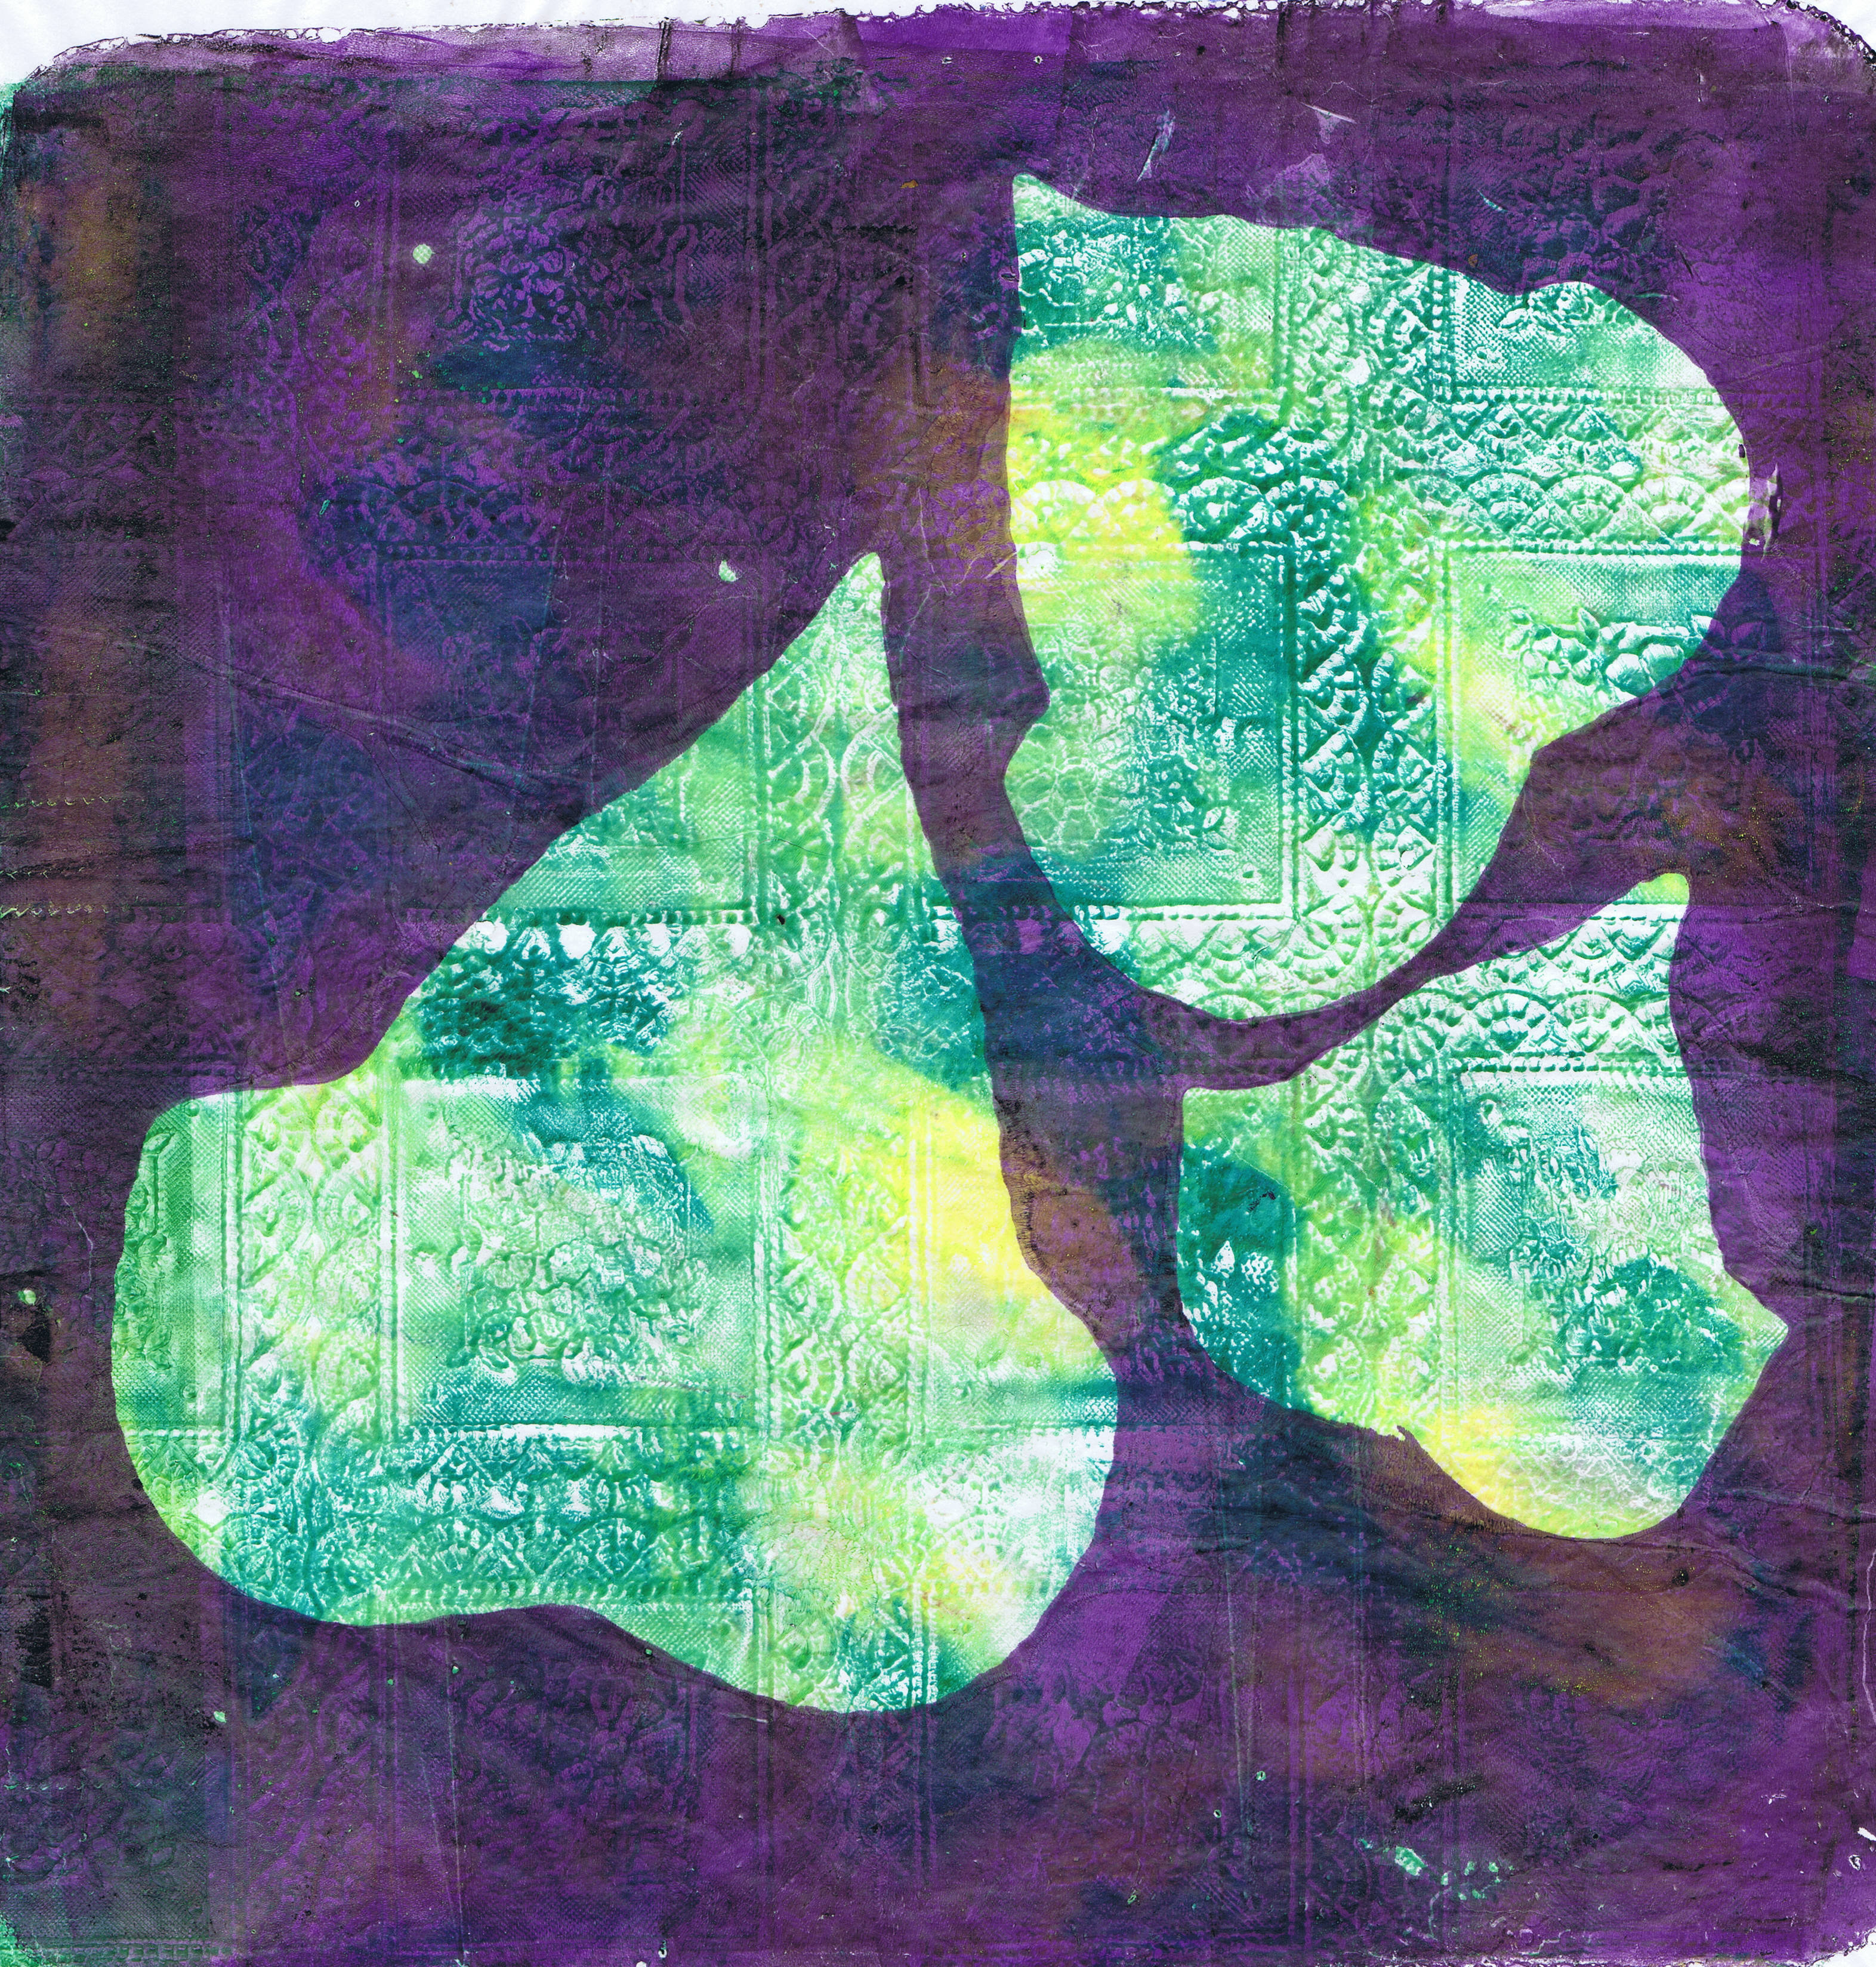
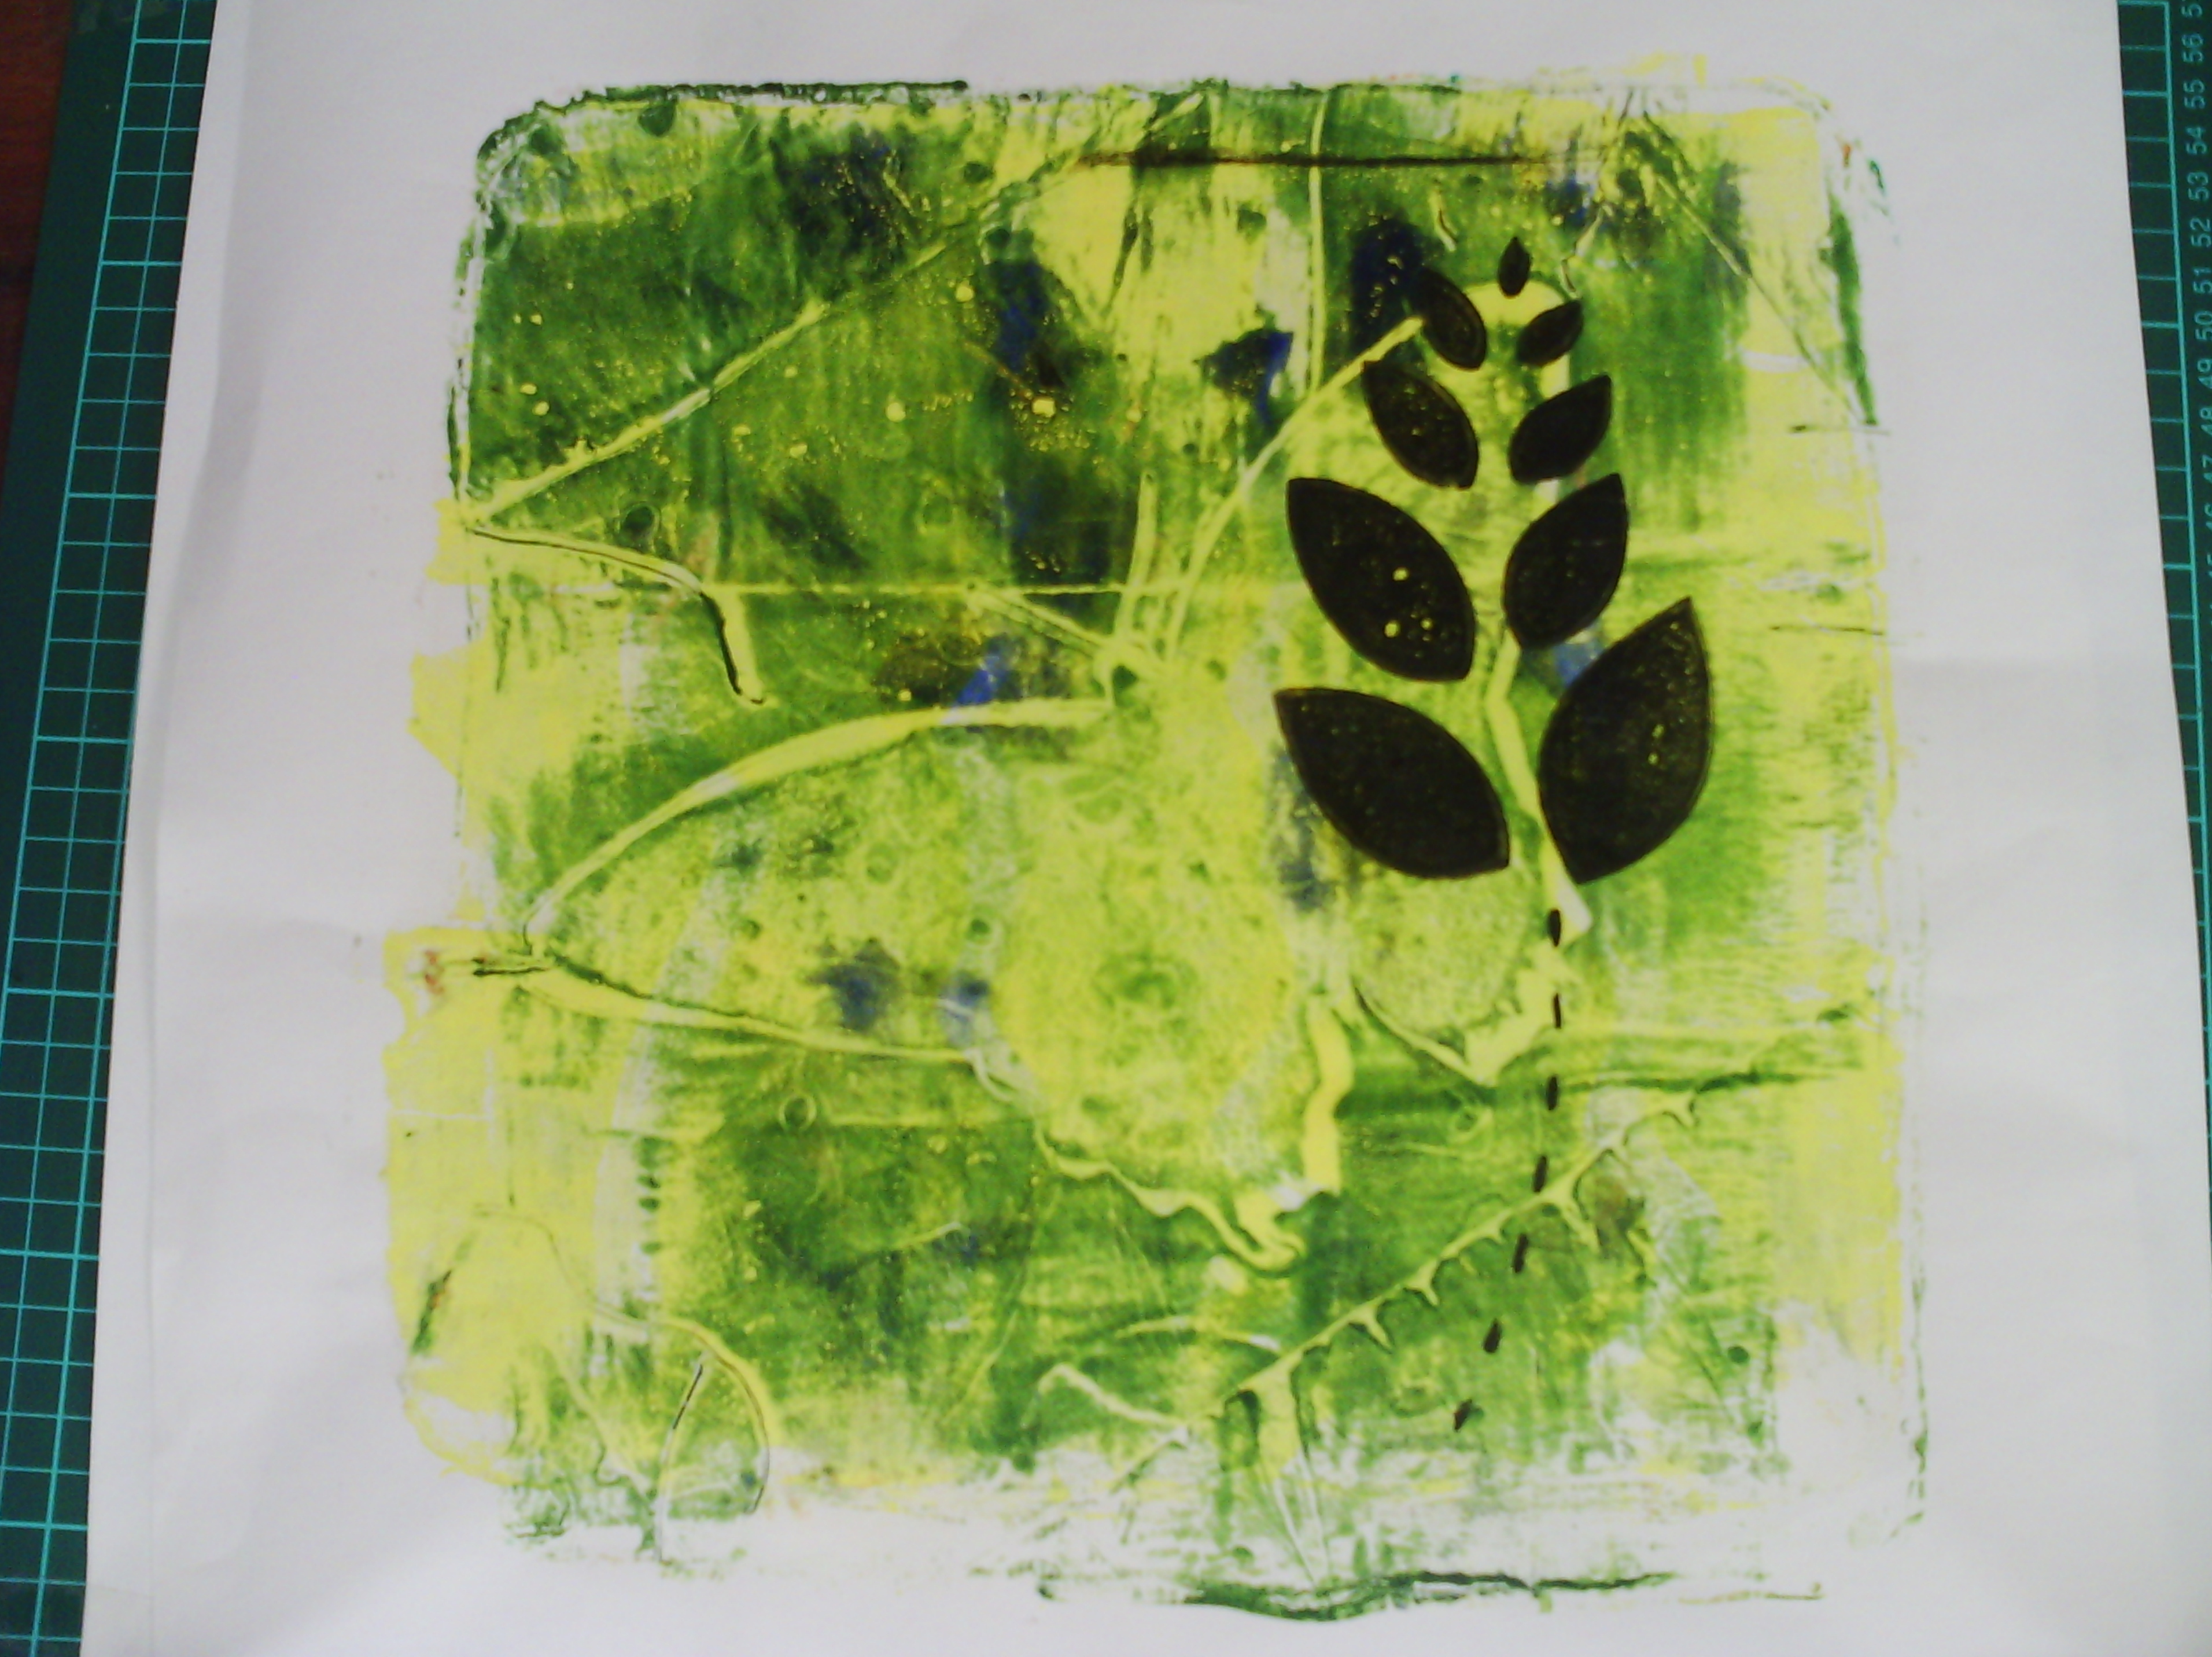
These two are probably my favourites.  both of them were failed prints, but when they were overprinted, the messy background became the focus.  The great thing about printing leaves is that after you print the empty silhouettes like these above, you peel off the leaves and viola'-

CCI12122013_00020CCI12122013_00022
You get these leaf prints which have all the veins of the leaves in them.  I love them.  They are like magic.  If you clock on the photos, you are taken to flickr to see them closer up.  Also, you can click through to see my other prints, that I won't bore you with.


CCI12122013_00030
This last one is also a technique I like to get with the leaves.  Overprinting to get the leaf shapes filled with pattern.  I could do  this for ever!

Happy creating!

Thursday, November 21, 2013

Jelly love

This is day 21 of 
http://creativeeveryday.com/

I have recently become an addict.  Of Gelatin Printing, that is.
I can't seem to stop. The colours you get are wonderful and it is all so satisfying.  Just a few hours and you end up with so many prints you run out of space to store them, lol.
Today, I spent about an hour printing and I would probably bore you if I showed all my prints.
This is my gelatin plate.  It is about 11x11 inches.

I like to use gelatin, especially now as the weather is getting warmer, as the paint does not dry so quickly.  I do sometimes use an acetate sheet or a perspex sheet, and I do have a silicone plate, but I only use these for certain things, such as  printing plants and grasses, which are hard and do cut into the gelatin plate, because these plates need me to add a retarder to my paint in order to slow the dying time.  I find the cool surface of real gelatin keeps the paint wet longer.
Here are some prints drying,  For me, the process is limited by how much space I have for the prints to dry.
And here are a couple of my favourite prints from today.
Sorry about the blurriness of this one.  It was one of my favourites. The background was a piece of paper I had rolled excess paint from my brayer on (I don't throw much out, lol)
This one, which is the reverse of the one above, printed from the paint left after I had taken the stencil off.  The background is tissue paper (kitchen paper) that had been covered in inks.
This one was also printed on a previous print.  and was also printed after removing the stencil (which was just the card left when I took the shapes out of a silhouette cut).  You can see I often re-use my less than perfect prints as a background.
This is just a few of the prints, I printed about 25, so it was a short, productive session.  Mostly, I print on kitchen paper, which is a bit like deli paper.  We call it Greaseproof paper in Australia.  The reason I do this is that mostly I use these papers for collage and they layer well, being so thin.
Anyhow, enough talking.
Happy Creating

Tuesday, November 5, 2013

a fabric monoprint

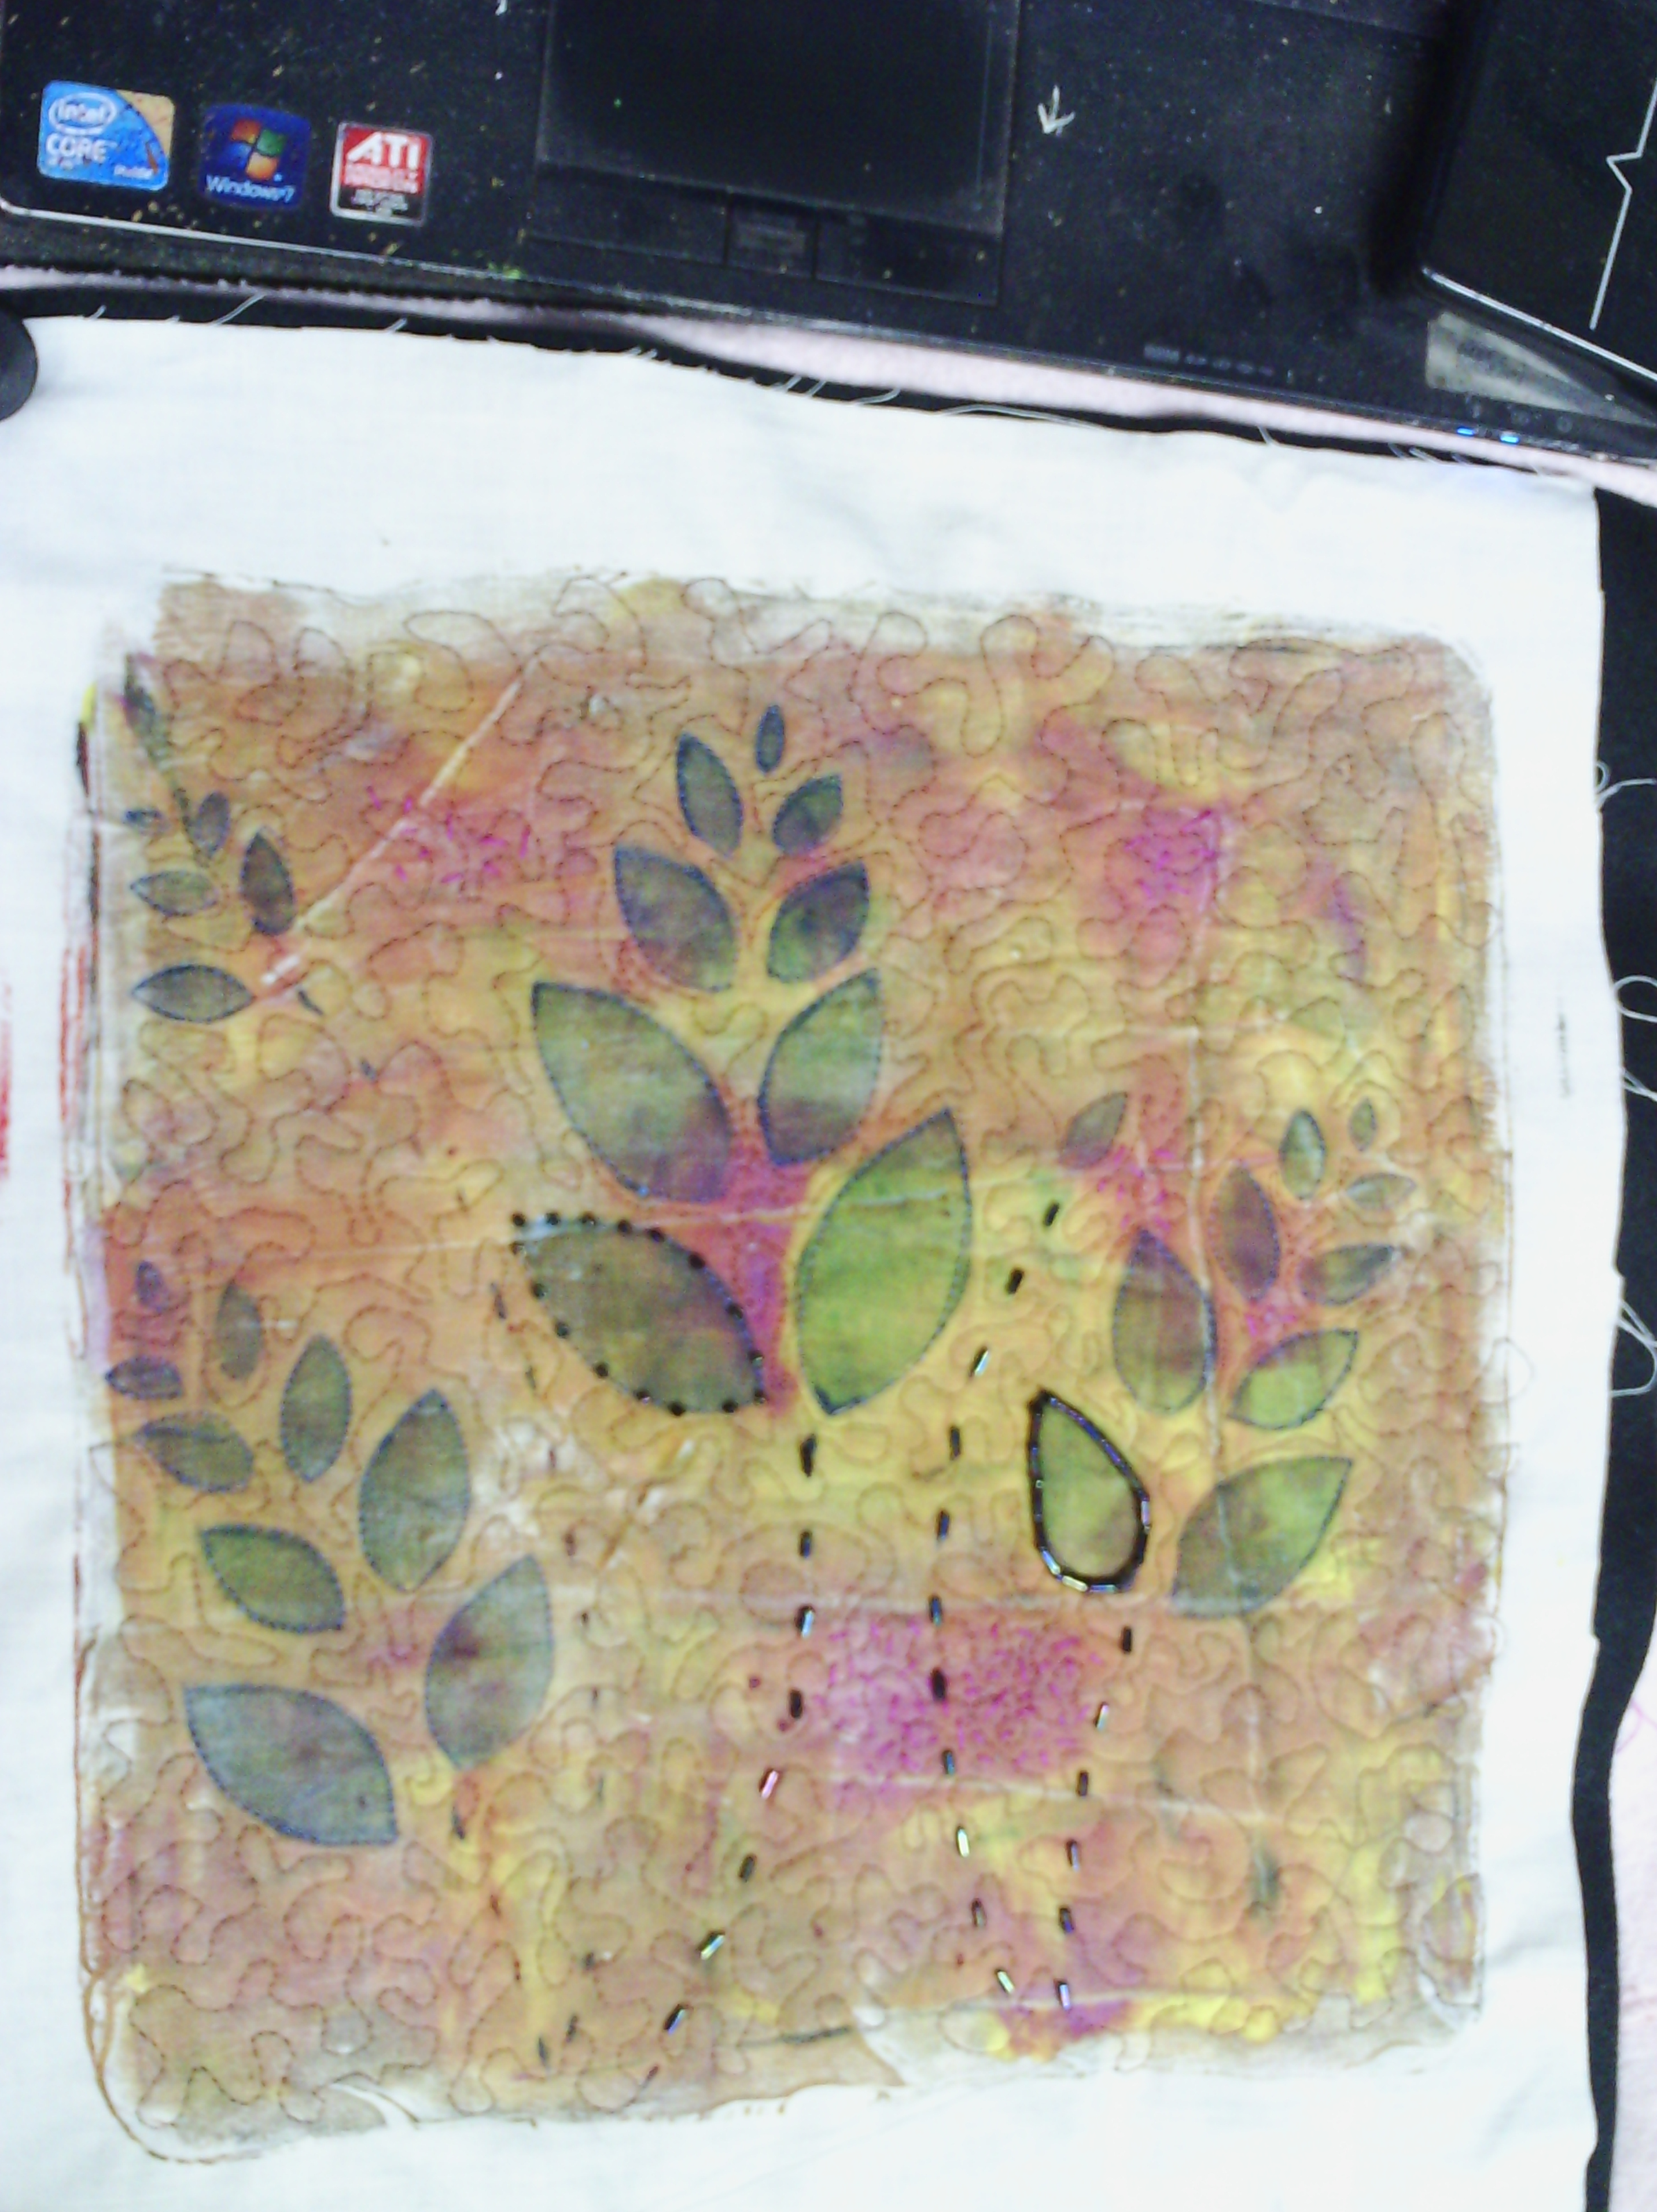
Today, I did some work on a fabric monoprint I made a few weeks ago when I went a bit overboard with gelatin printing.
I have layered it with a piece of felt and quilted all around the flowers and am in the process of beading it.
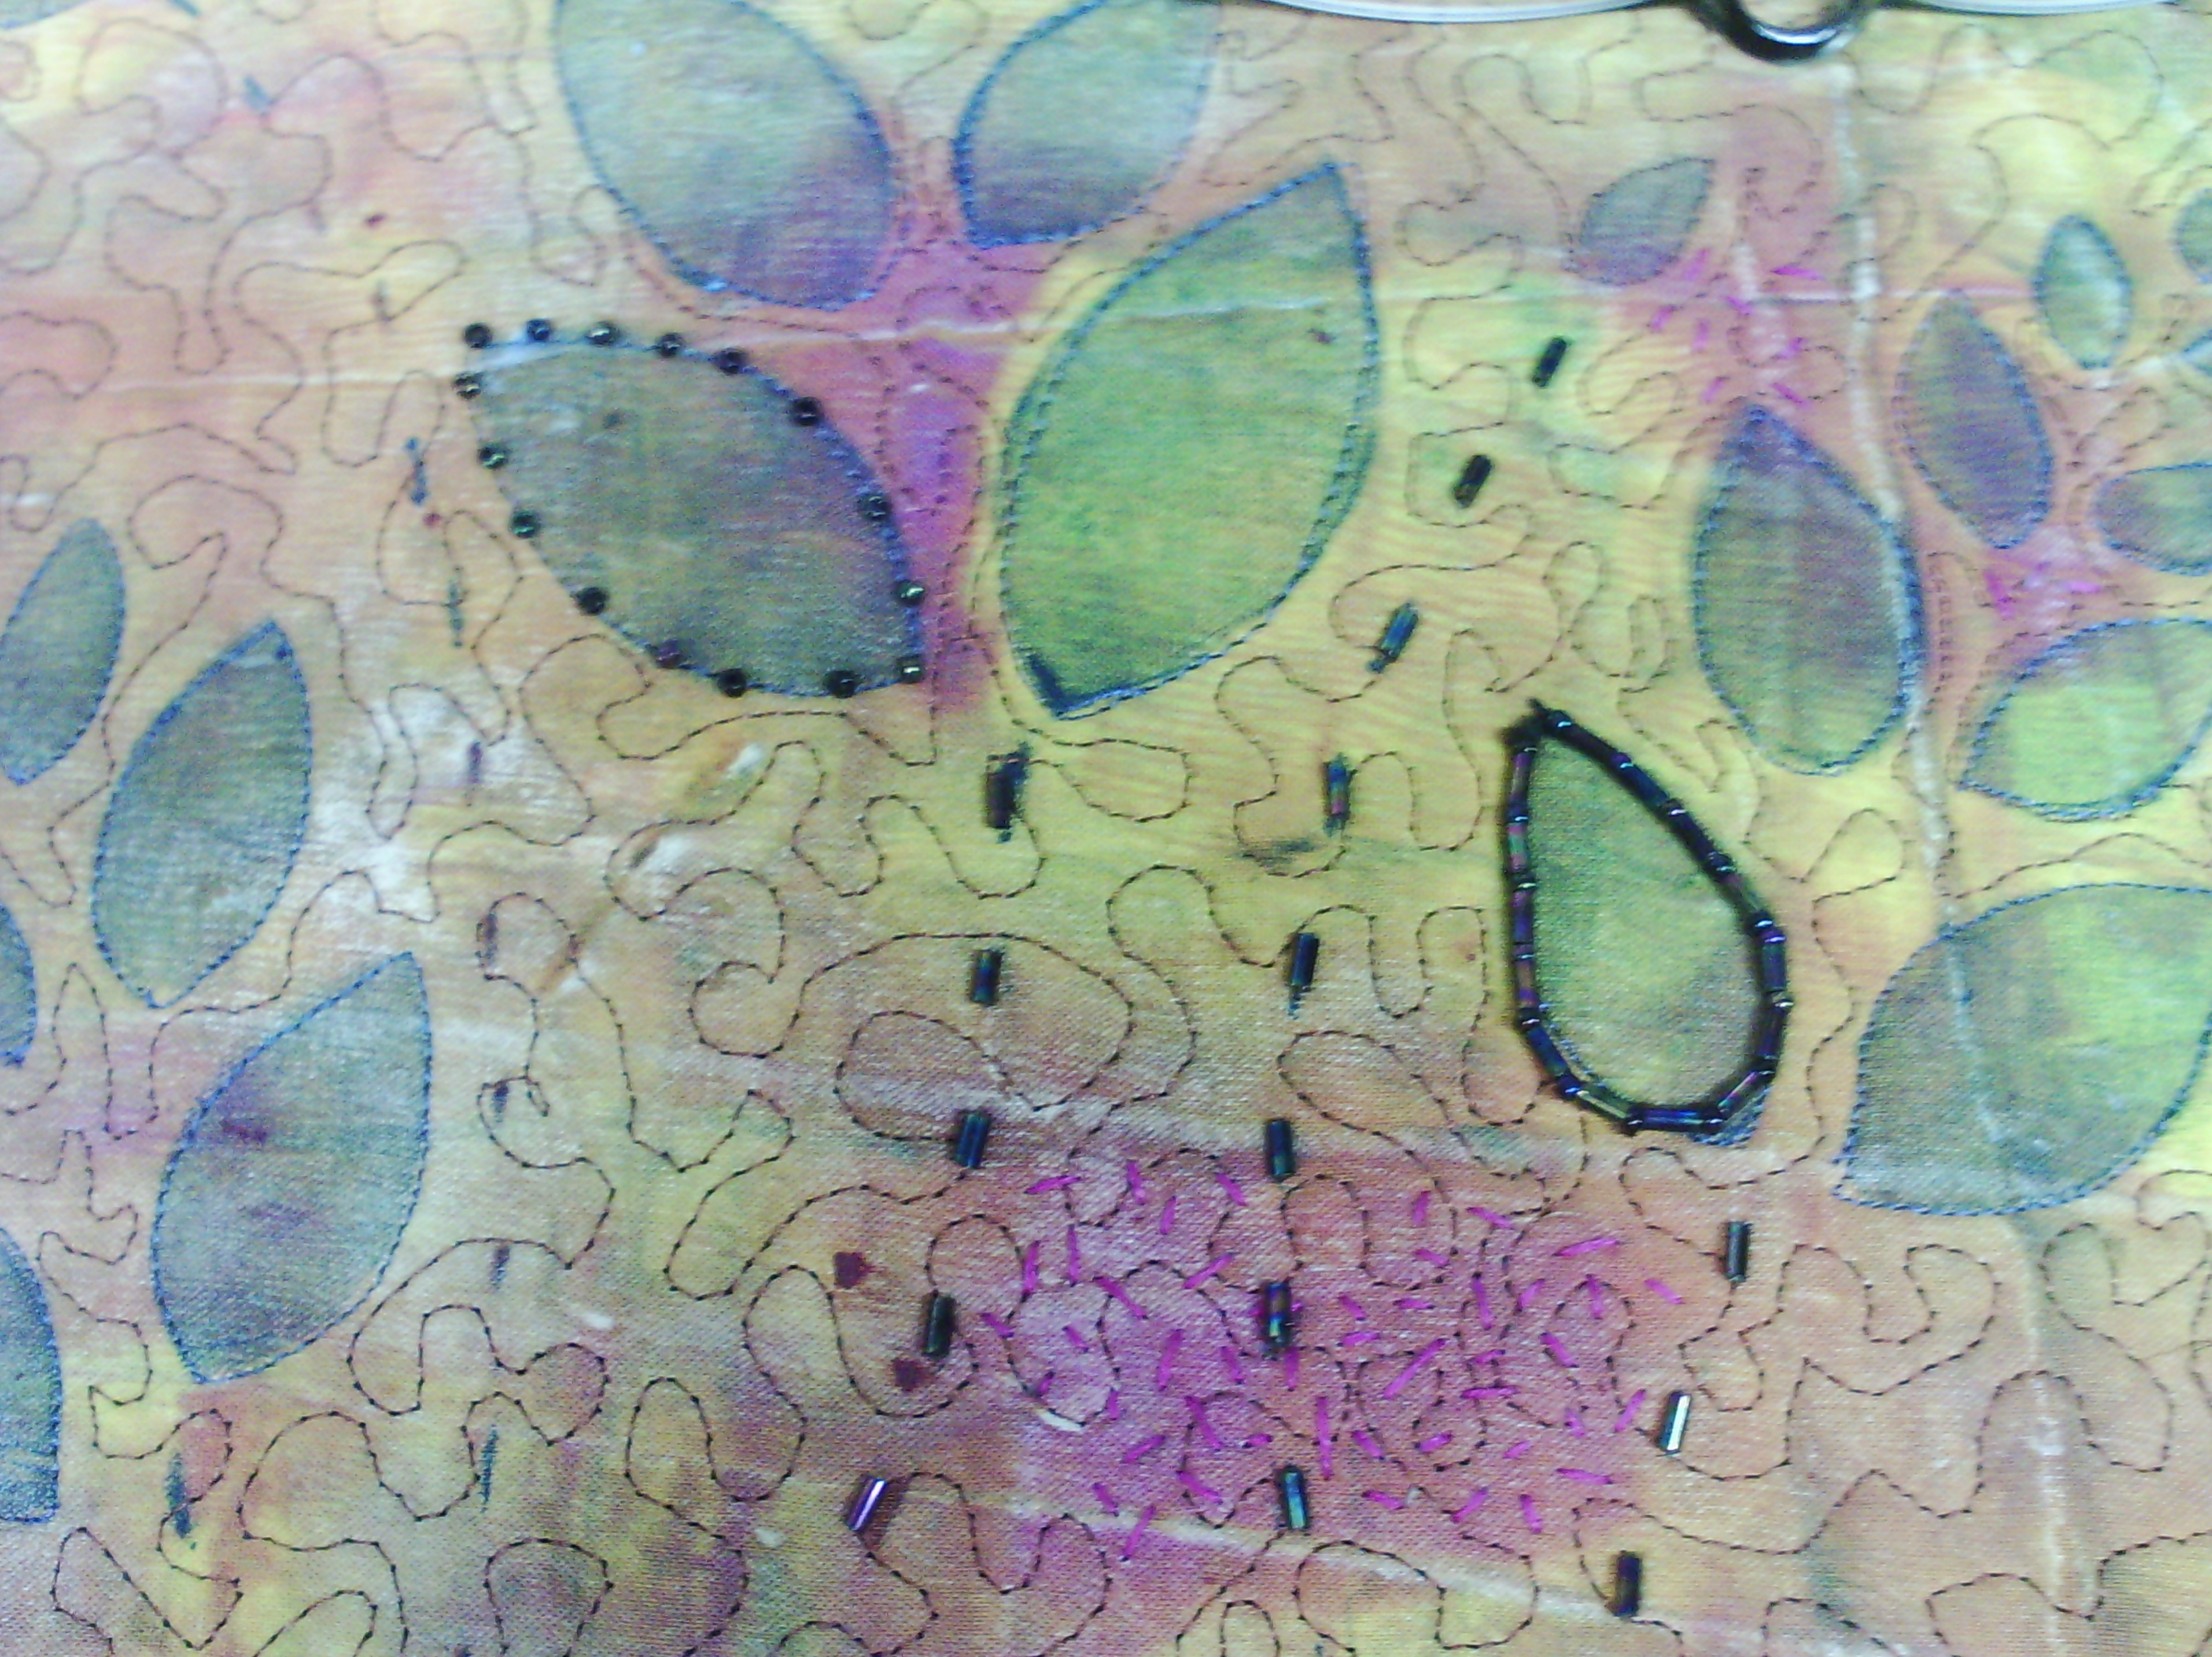
The dotted stems, I am beading with those bugle beads  and You can see I was trying out how I wanted to bead the buds/flowers.
Here's a close up of these two ideas, one where I just space beads around the bud and the second where I covered the whole edge with beads.  the monoprint is two layers and the flowers were overprinted in a dark blue.  these beads are a sort of iridescent dark blue and I thought they would be perfect.
I often take pictures of my work at different stages so I can work out how things are working.  Having it in a small picture helps to  work out how things are showing up.
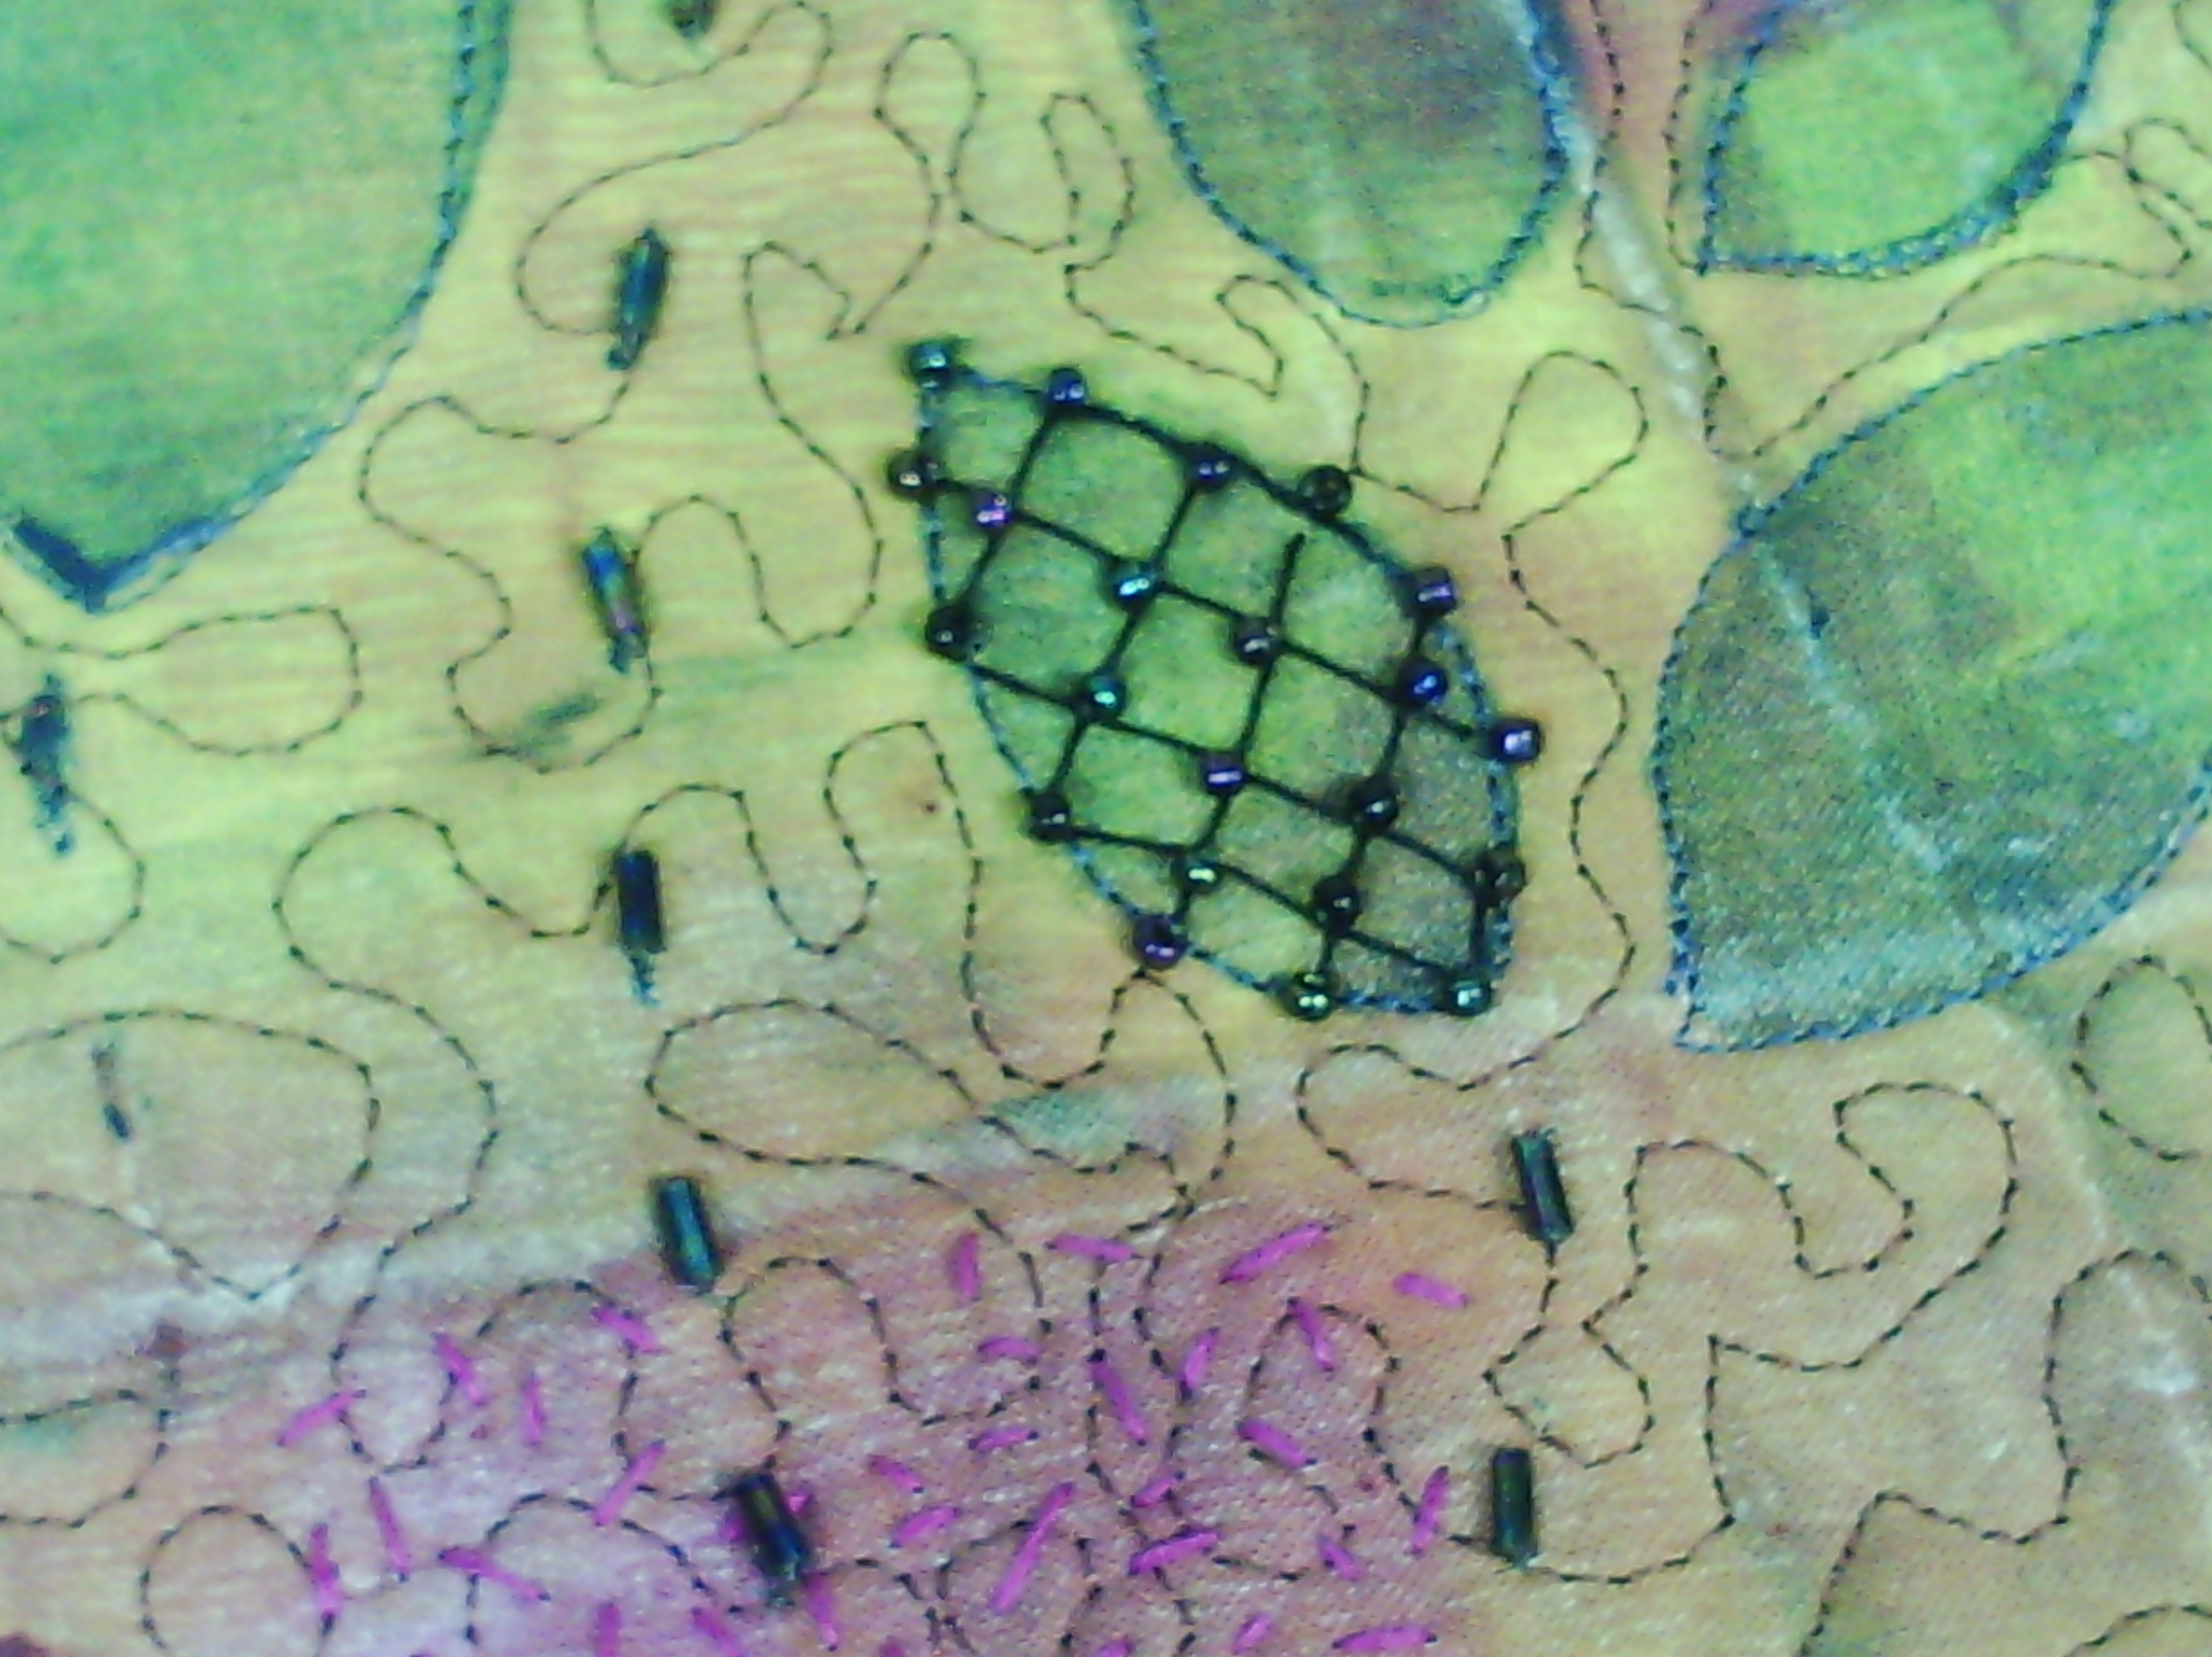
This picture obviously helped, because I actually changed my mind totally and did something altogether different.
I decided to embroider a lattice and put the beads on it like this.
And here's where I am at with that.
I am liking how this is turning out and hopefully will finish it by the end of the month.

Thursday, October 3, 2013

More monoprinting - feathers

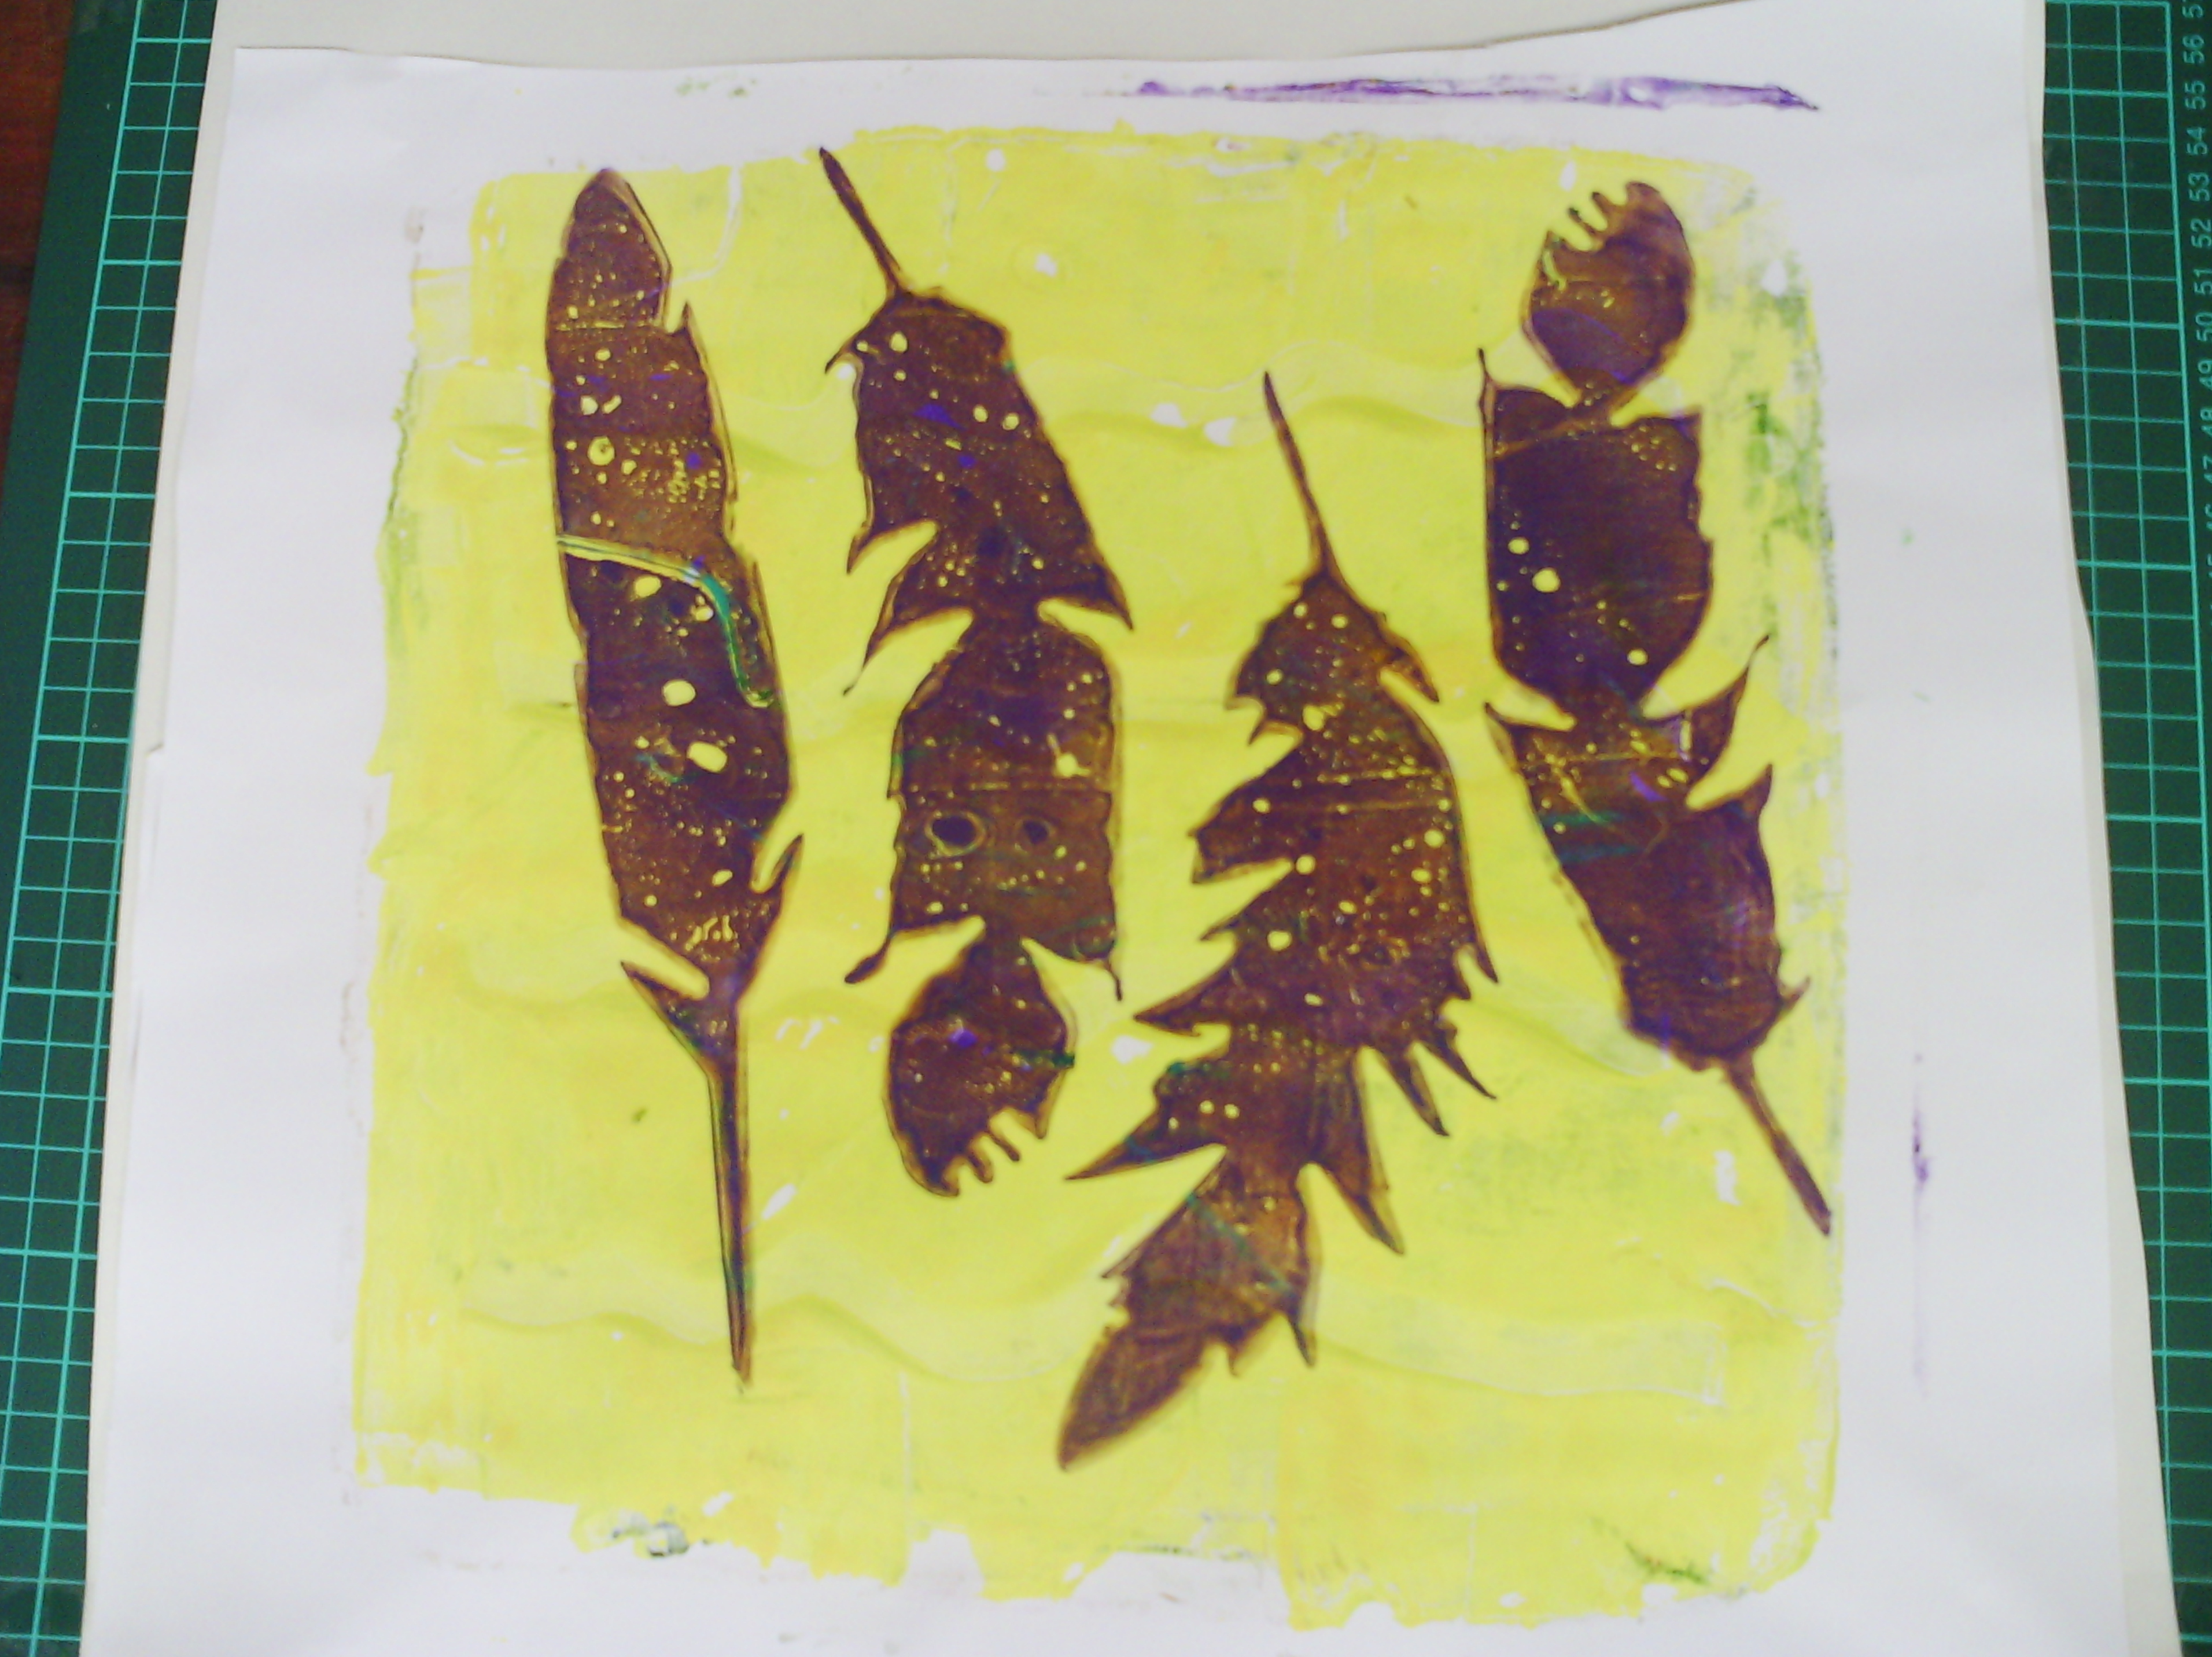
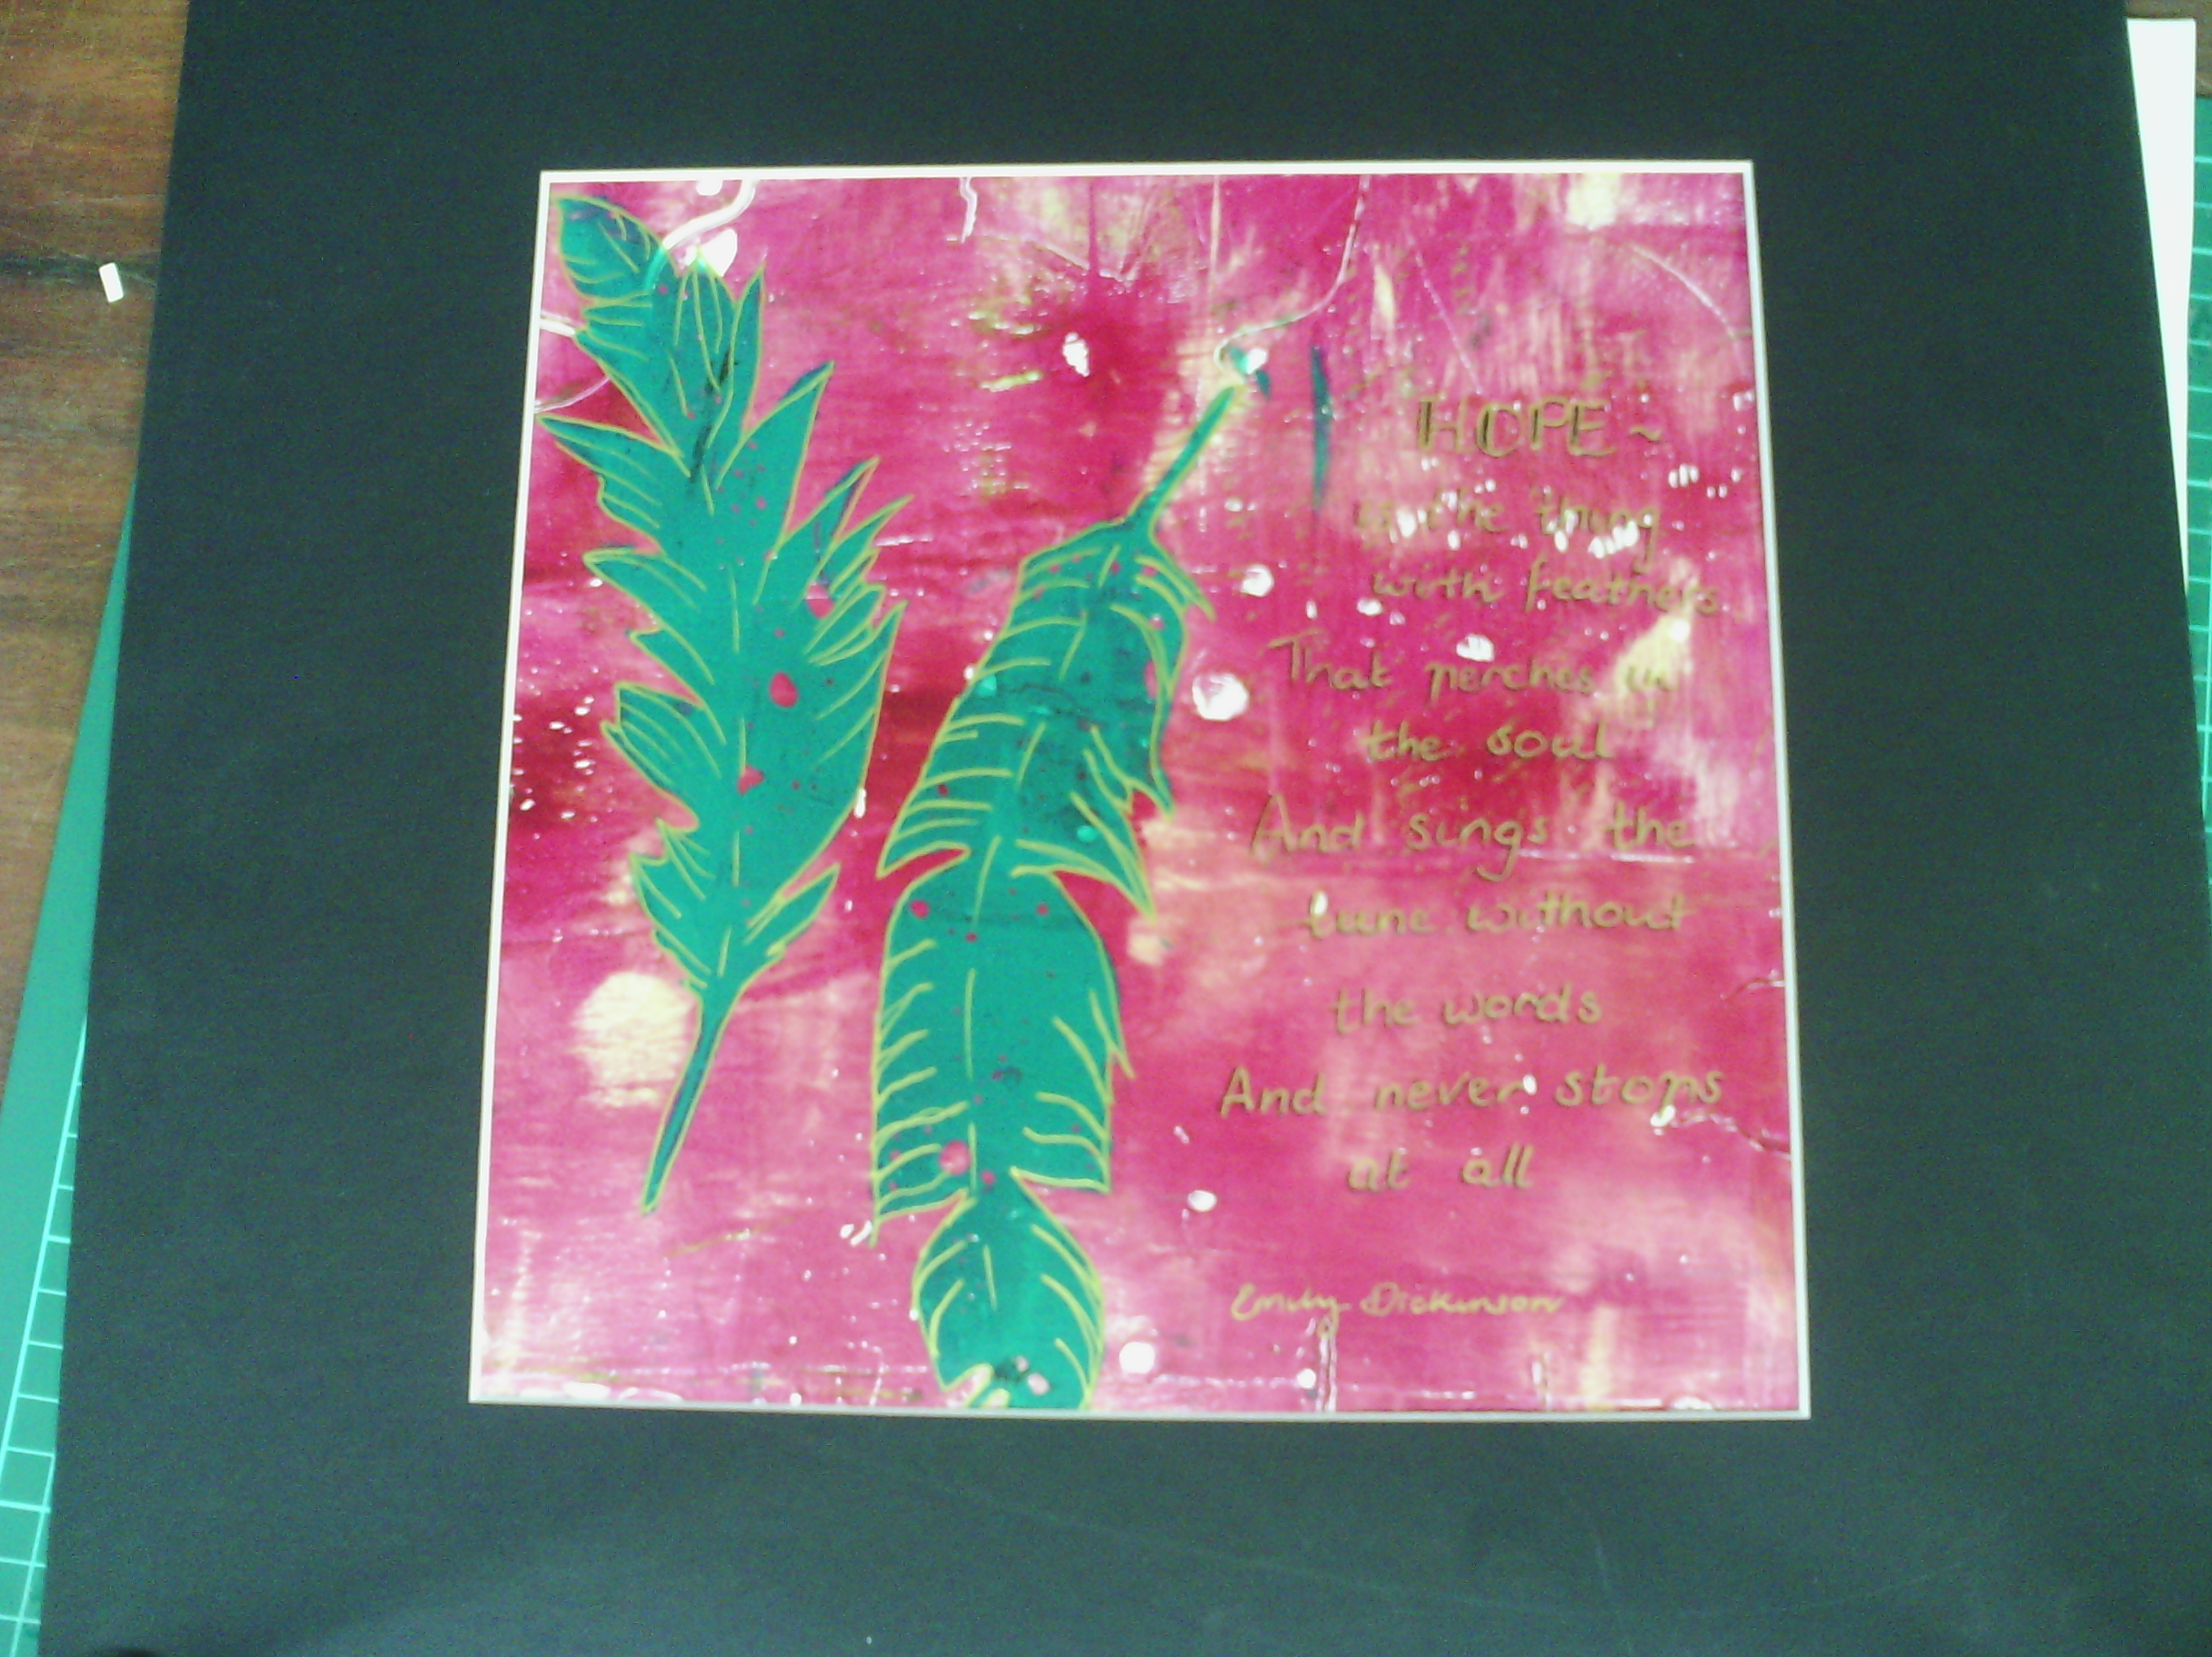
My favourite shape from my enormous monoprinting session, was the feathers.
Here are a few prints.
As I said, L loved these prints the most and so I did a bit more work on one of them.
I added some detail with a gold pen and also a poem.  Below is a close up.
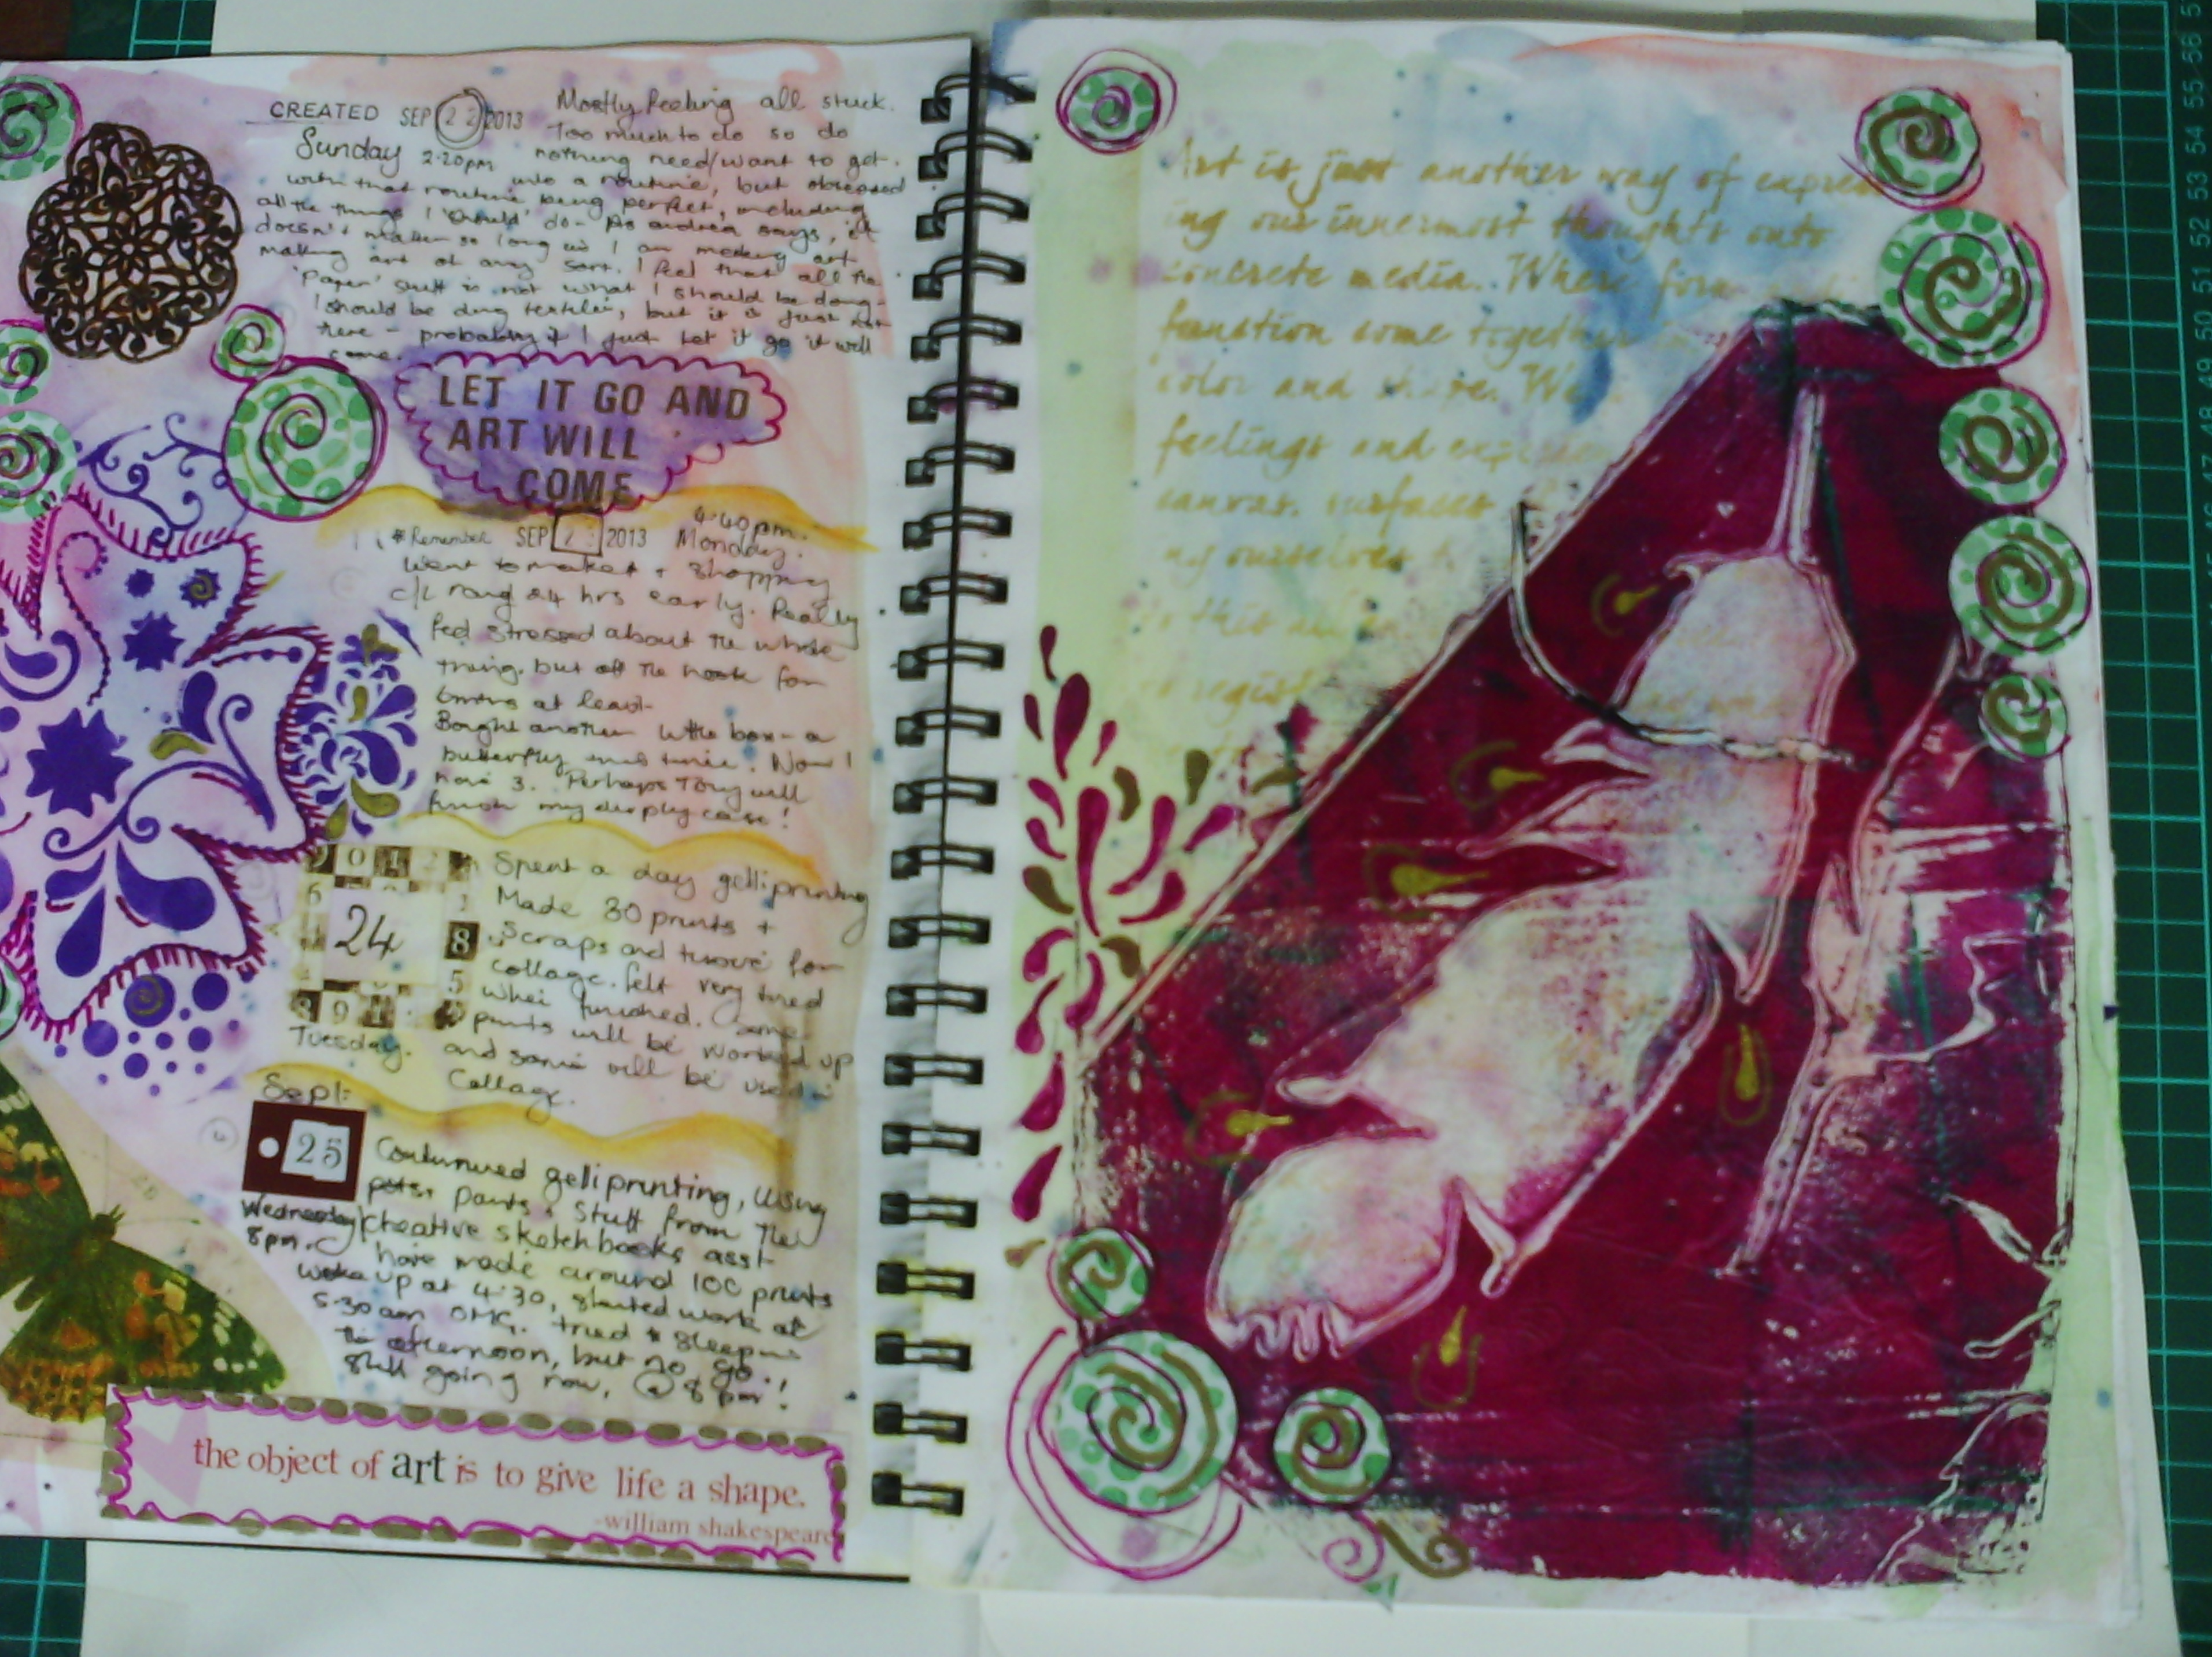
I also added one of the prints which was on tissue to my journal.
And that's all for now.

Tuesday, October 1, 2013

A bit of monoprinting - butterflies

Over the last week or two, I have been engrossed in gelatin printing.  I have amassed over 100 prints, a few of which I will take further, and many of which will become journal fodder.  I won't go into detail about the process, but you can watch Julie fei fan Balzers recent video for some pointers
So let's have a look at a few butterflies.
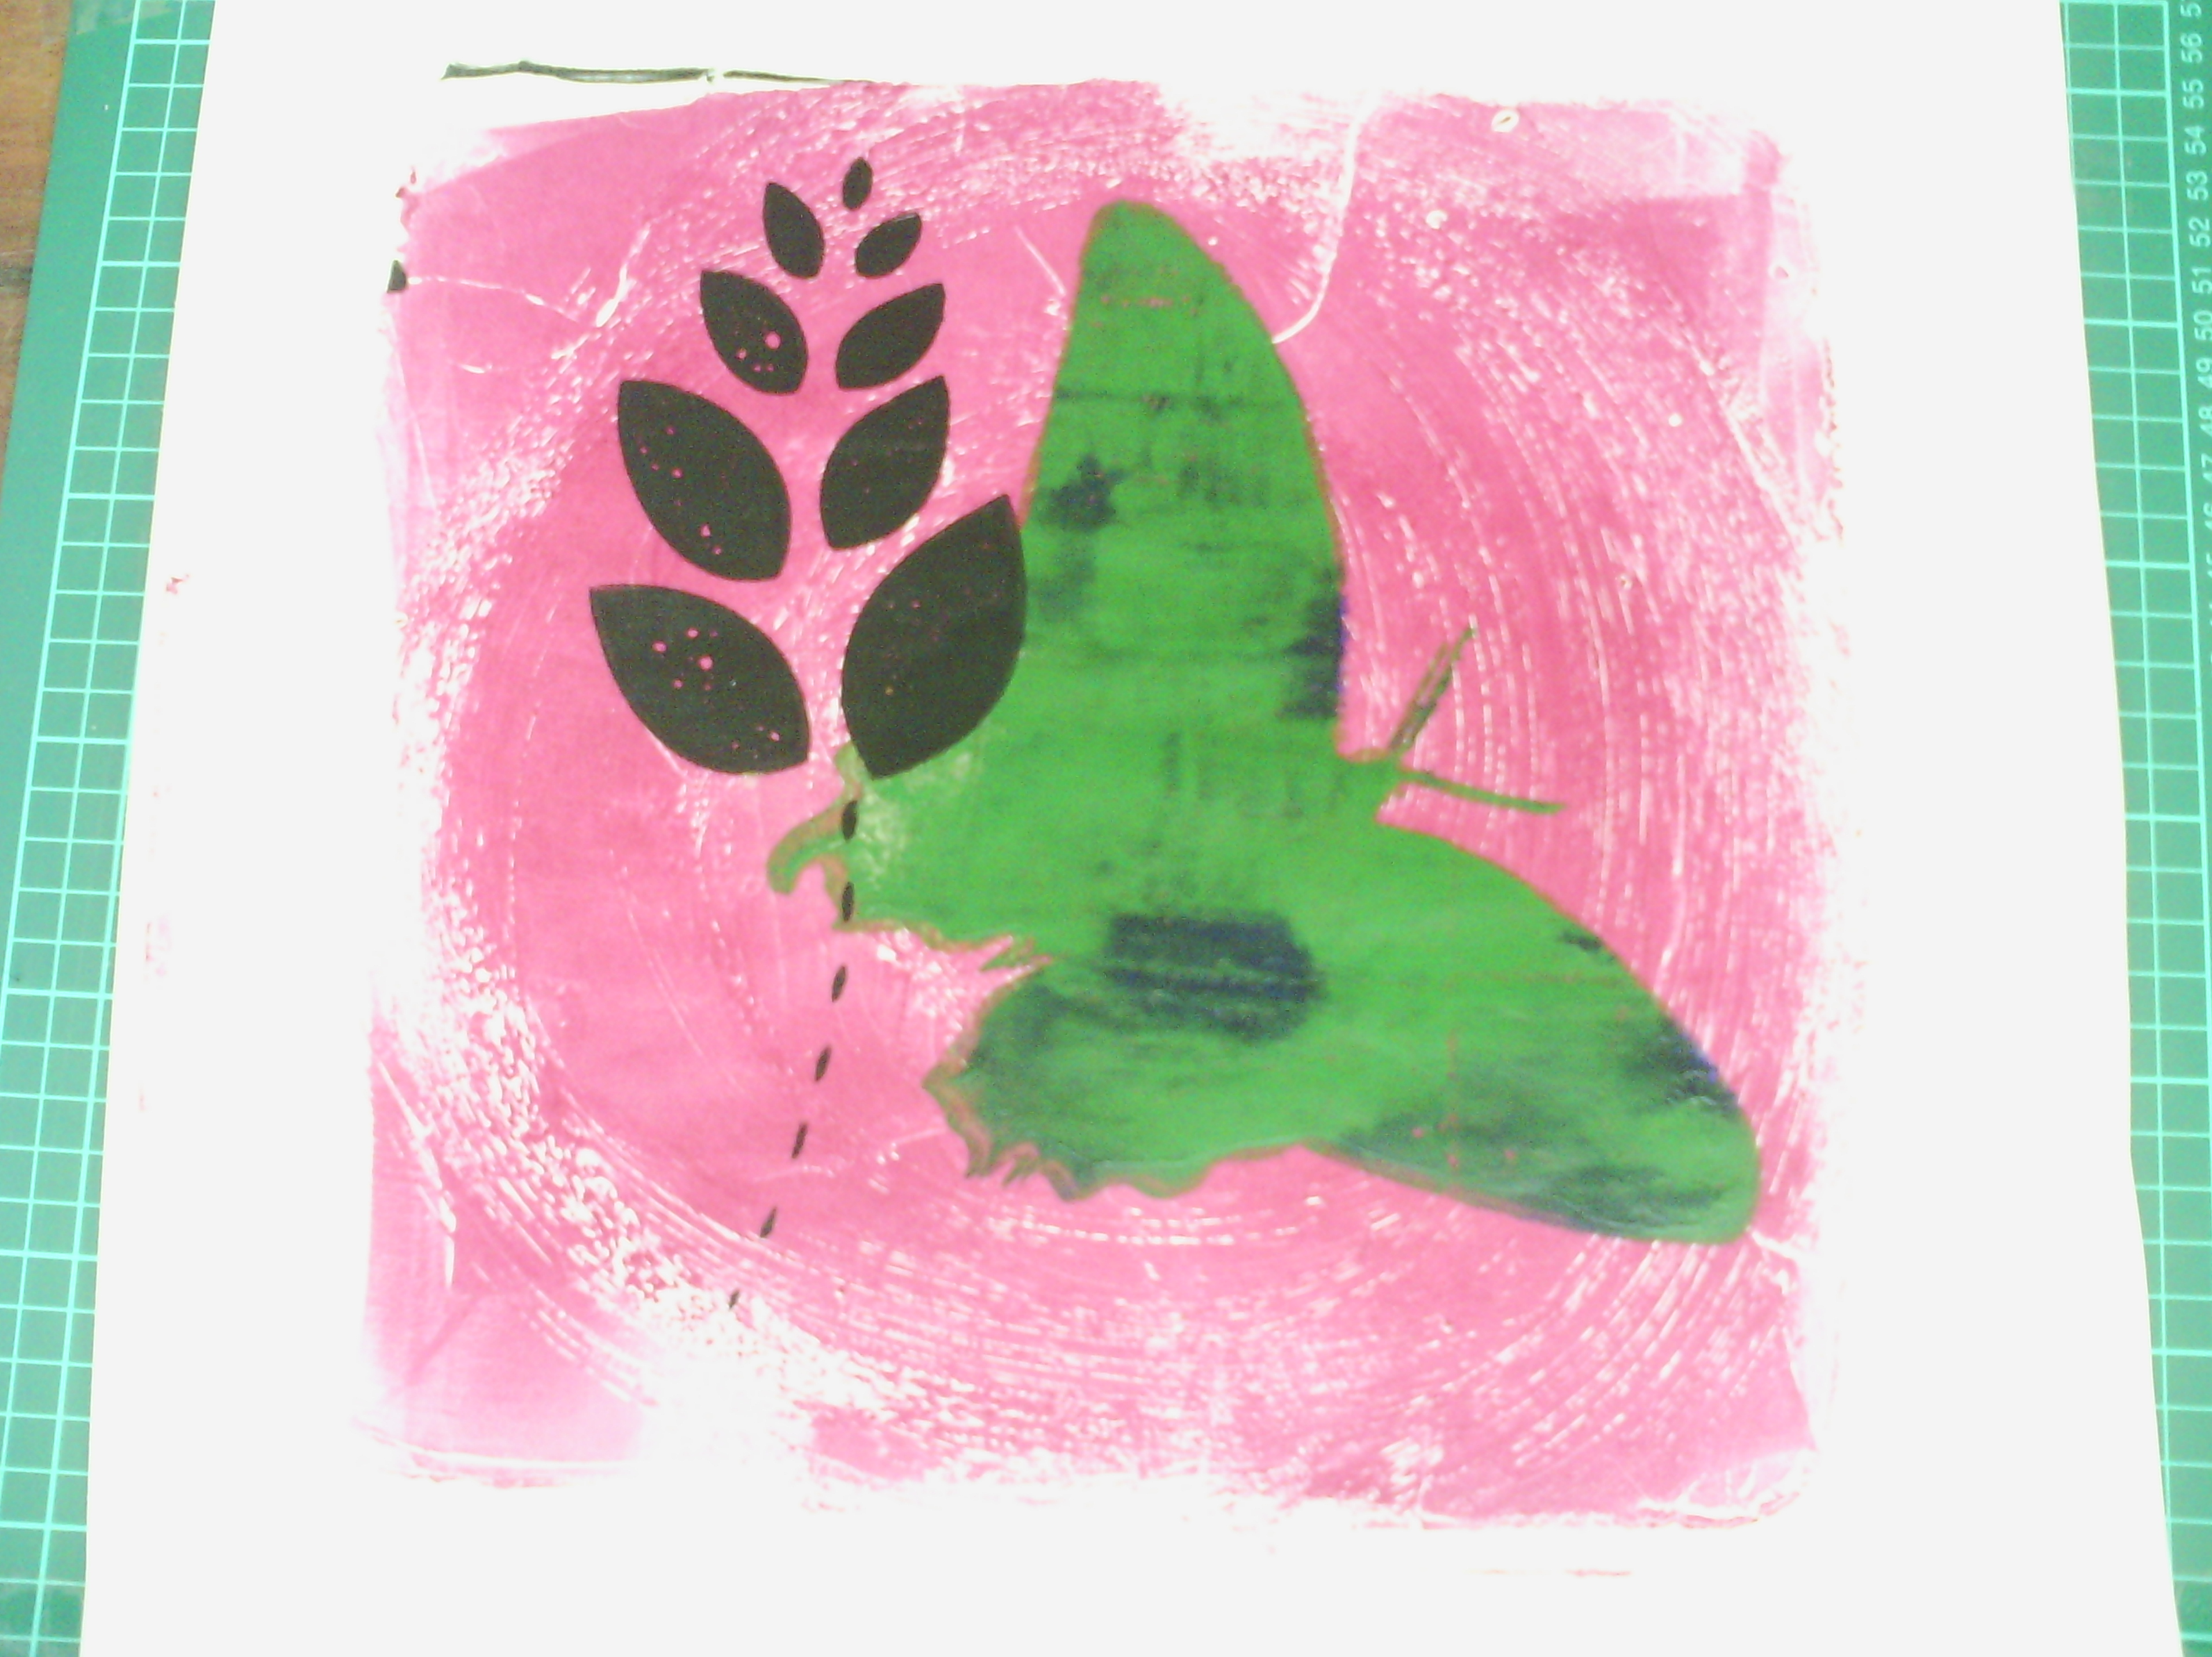
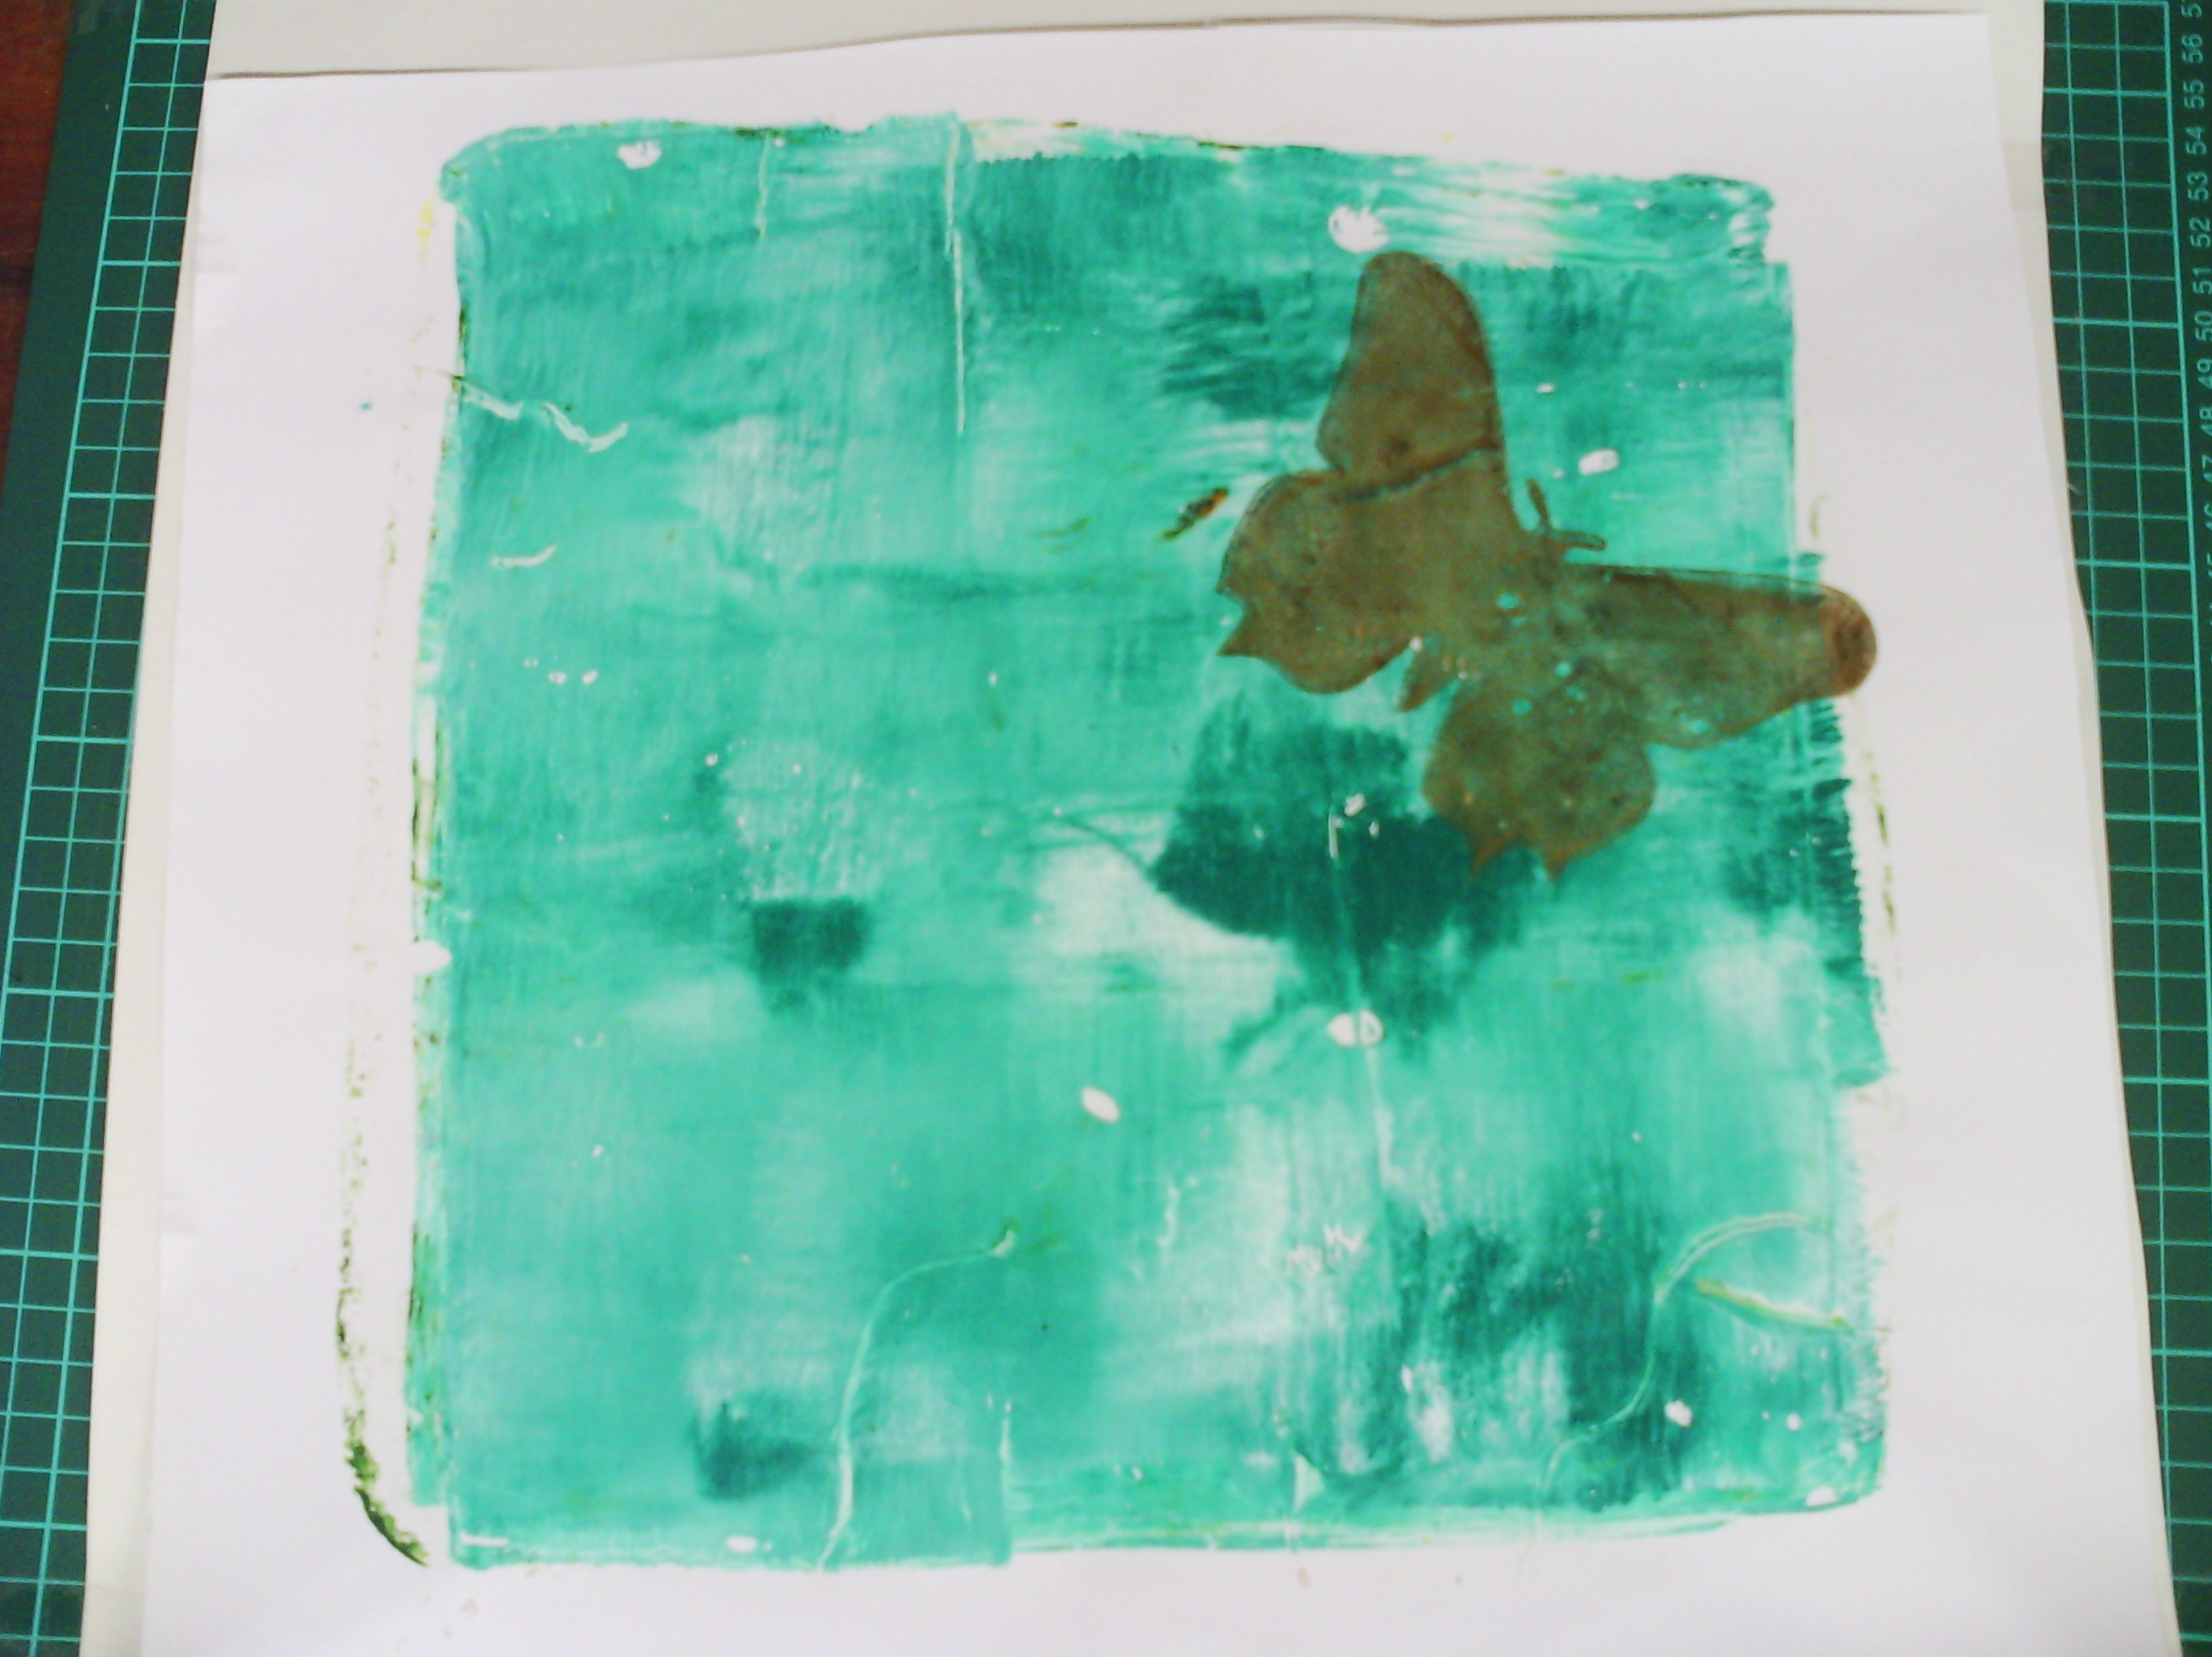
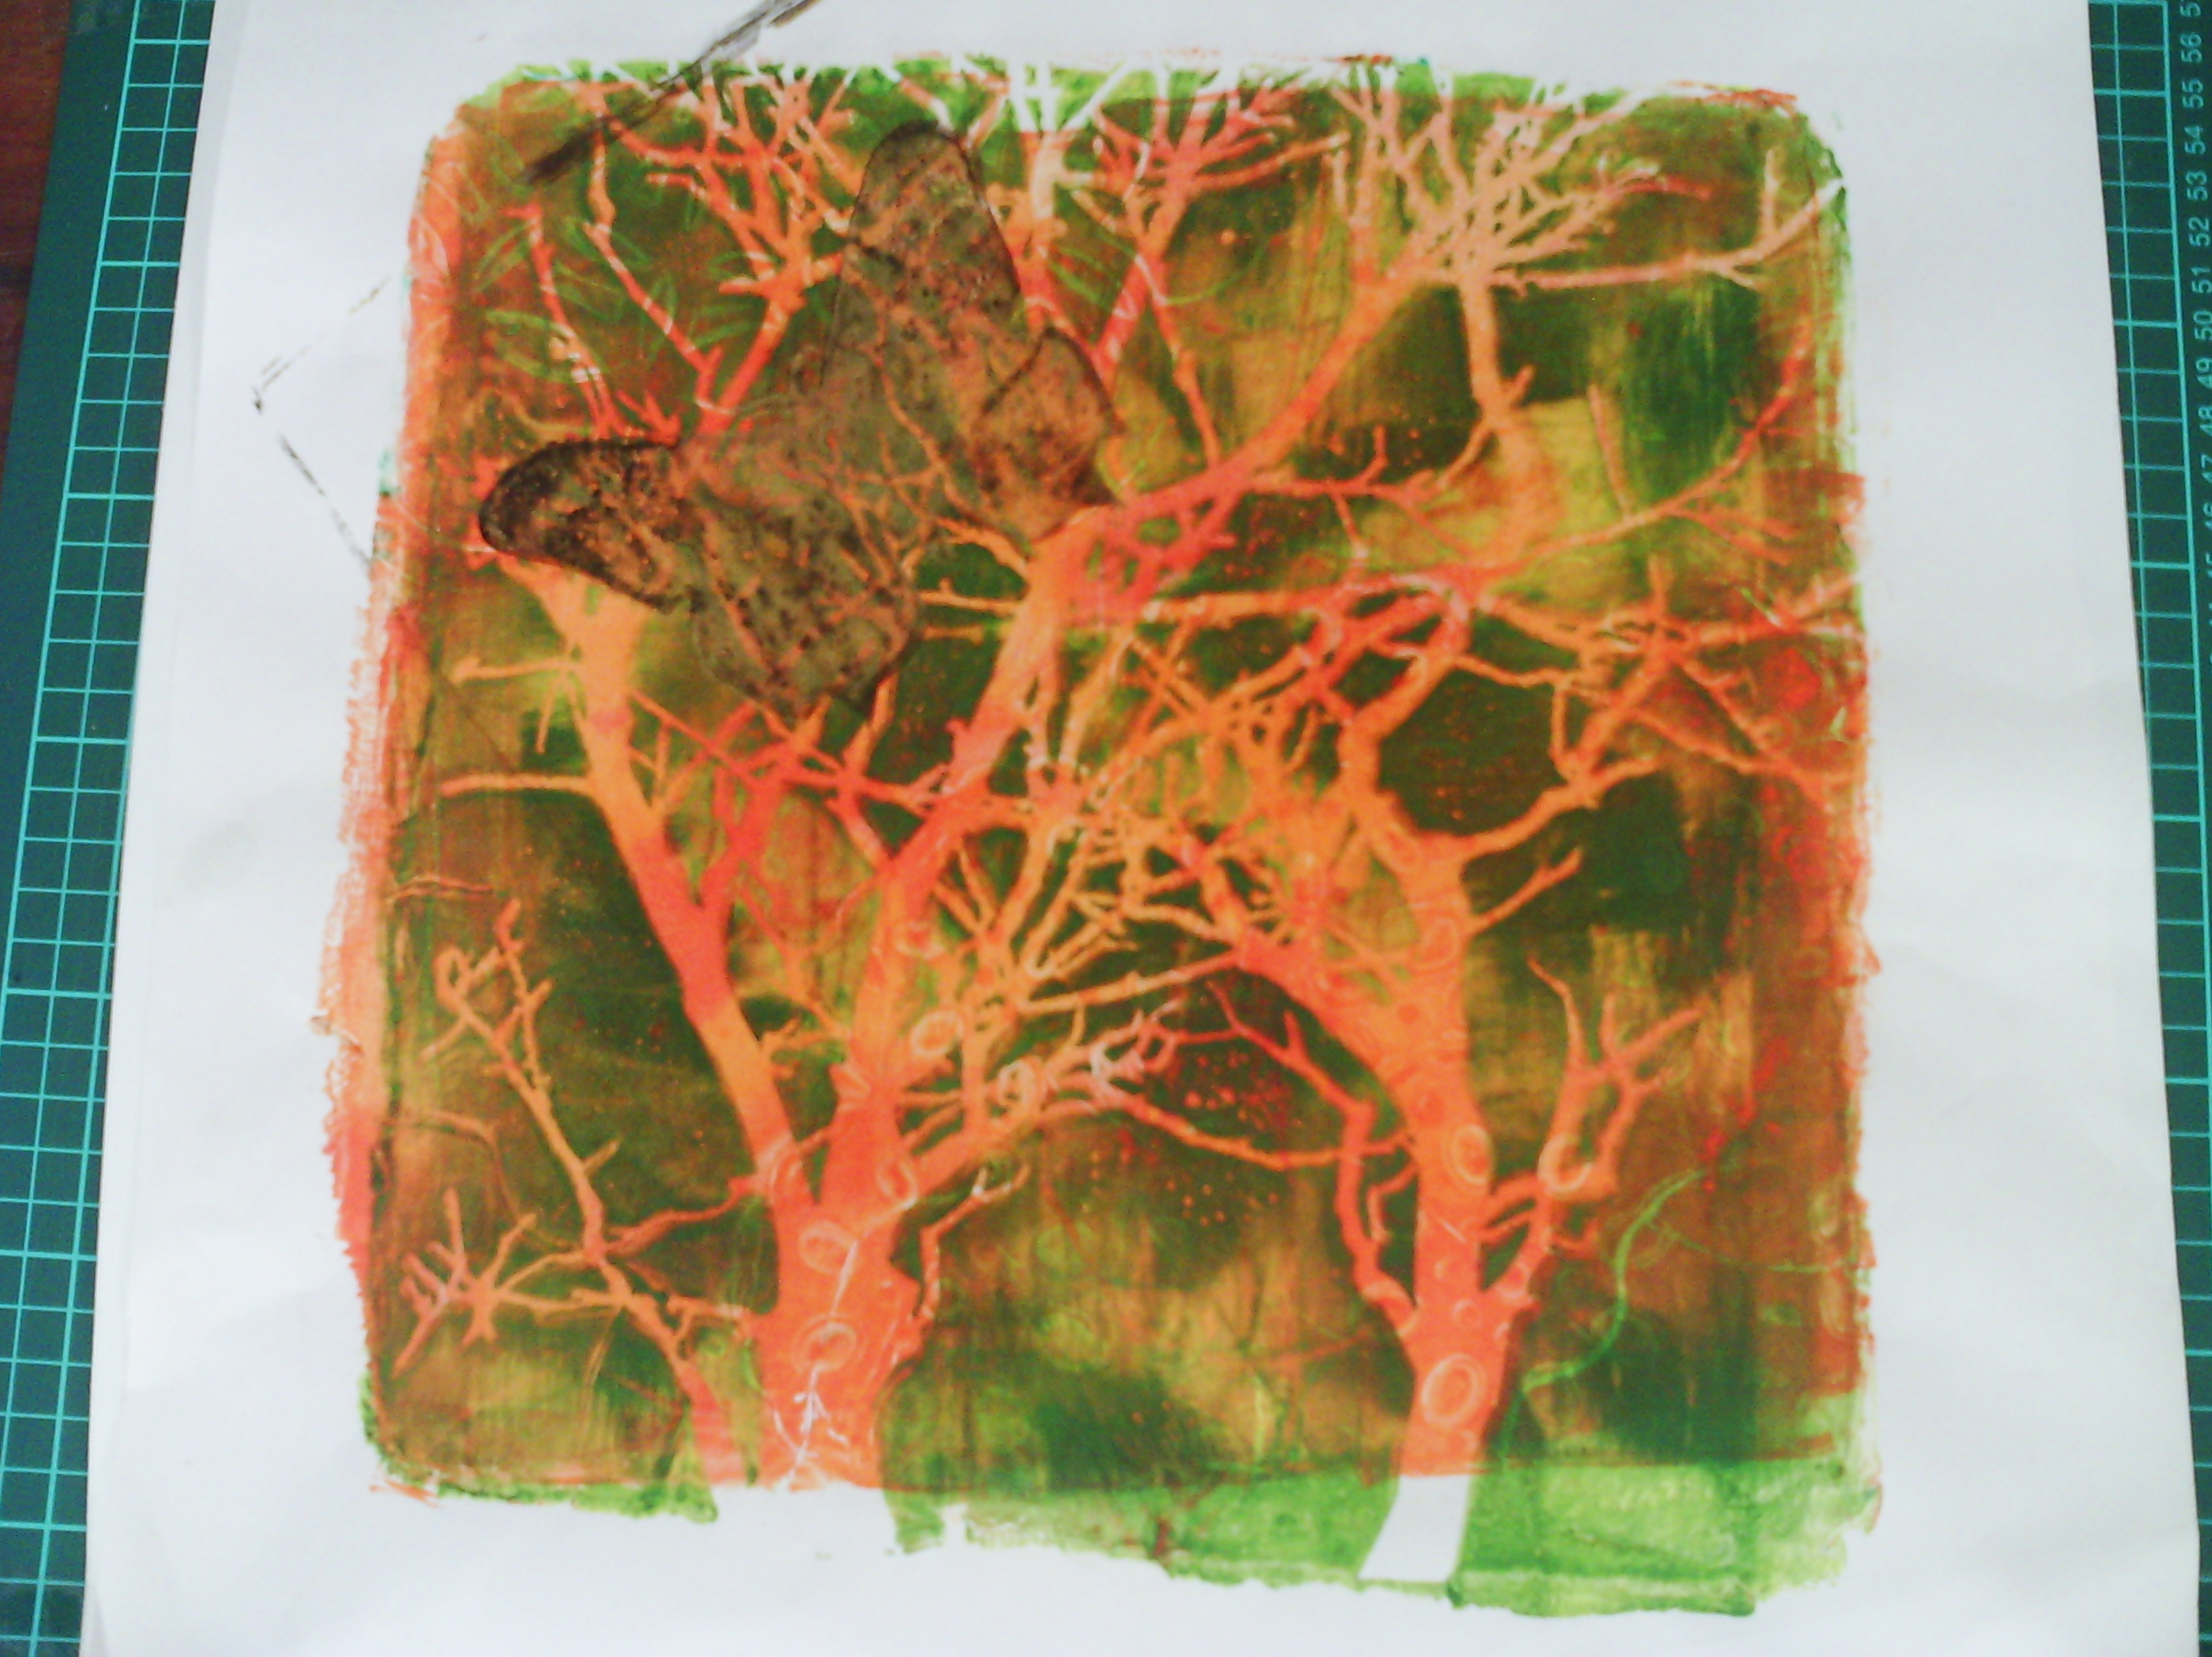
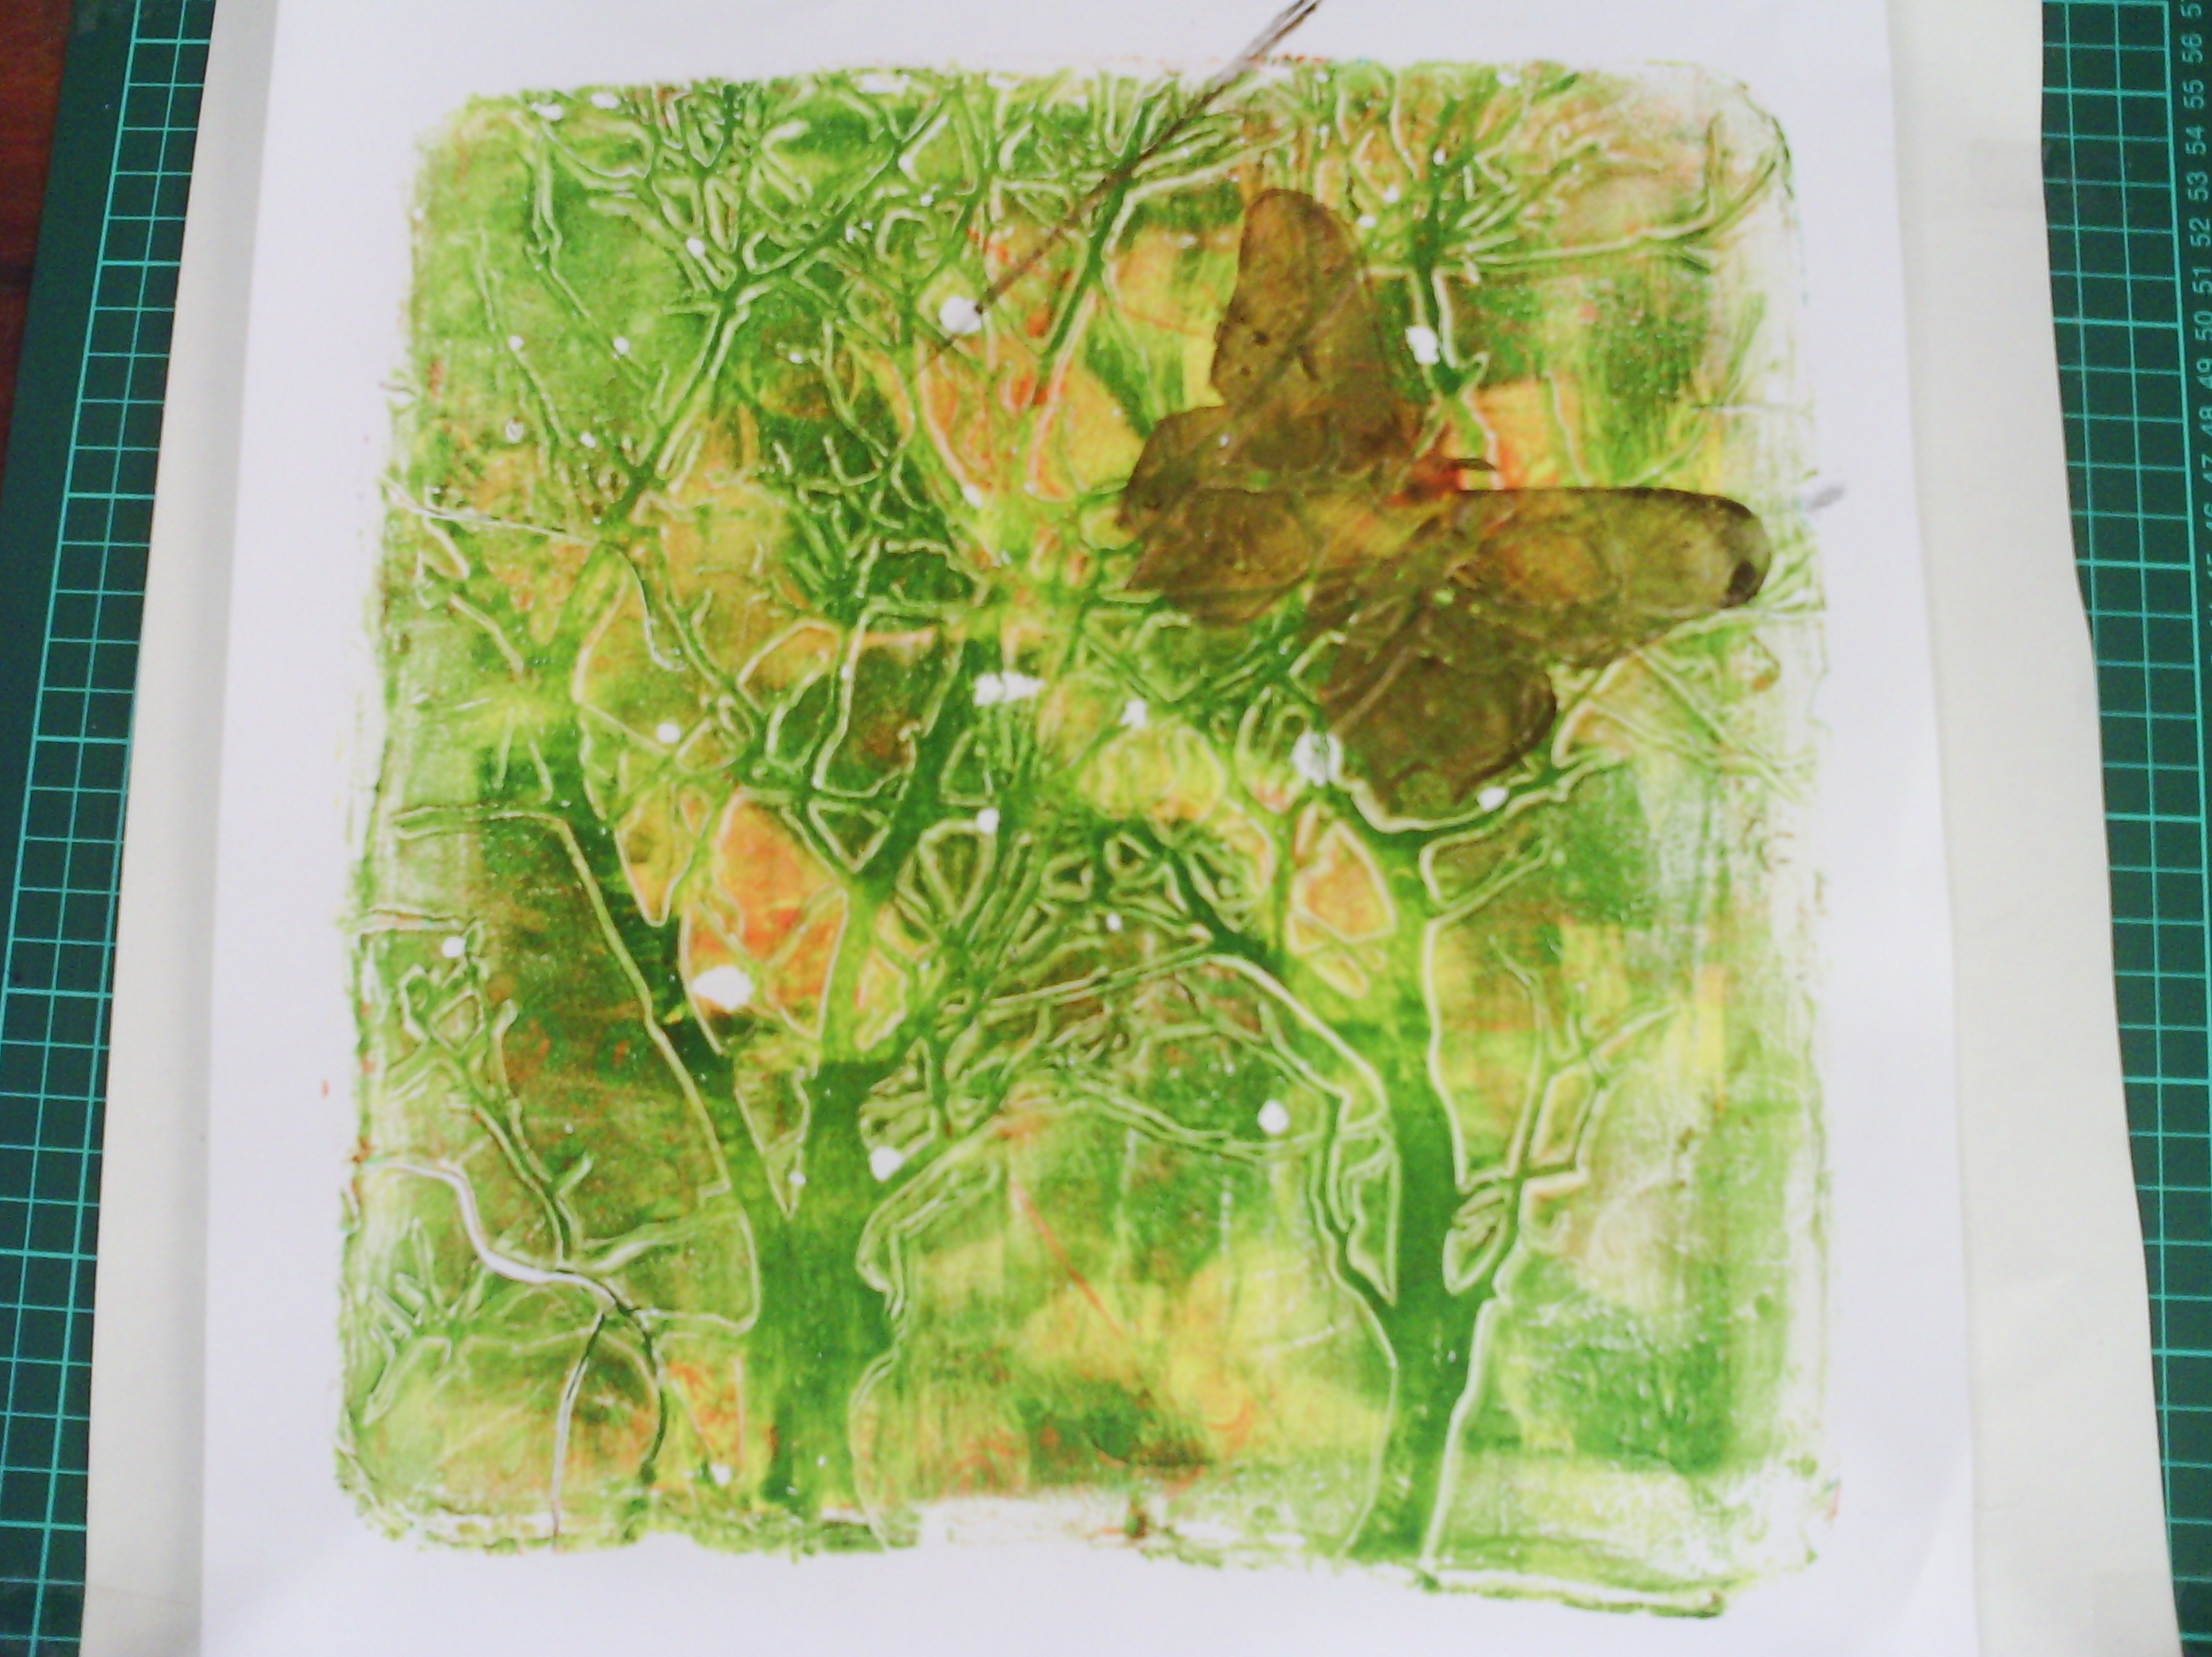
Most of the prints are three layers, but this one has only two. The background layer is the third print off from a butterfly stencil.  What this means is that after I had printed the green butterfly only on some other pages, I lifted the stencil off and printed a negative print - the butterfly is pale, with not much paint as this had been removed, whilst the background still had plenty and created the subtle green layer, which I then printed over with the black stencil.
This one had the requisite three layers. The first was just a mix of two colours brayered on to the gelatin plate
The second was the positive butterfly print, then third, was the black print.
Here is another three layer one.  The pink layer was just magenta paint, but I swished around in a circle with a BBQ basting brush before I printed, then, again, the second and third layer are the same as the print above.
This one has only two layers as I did not add the third accent layer.
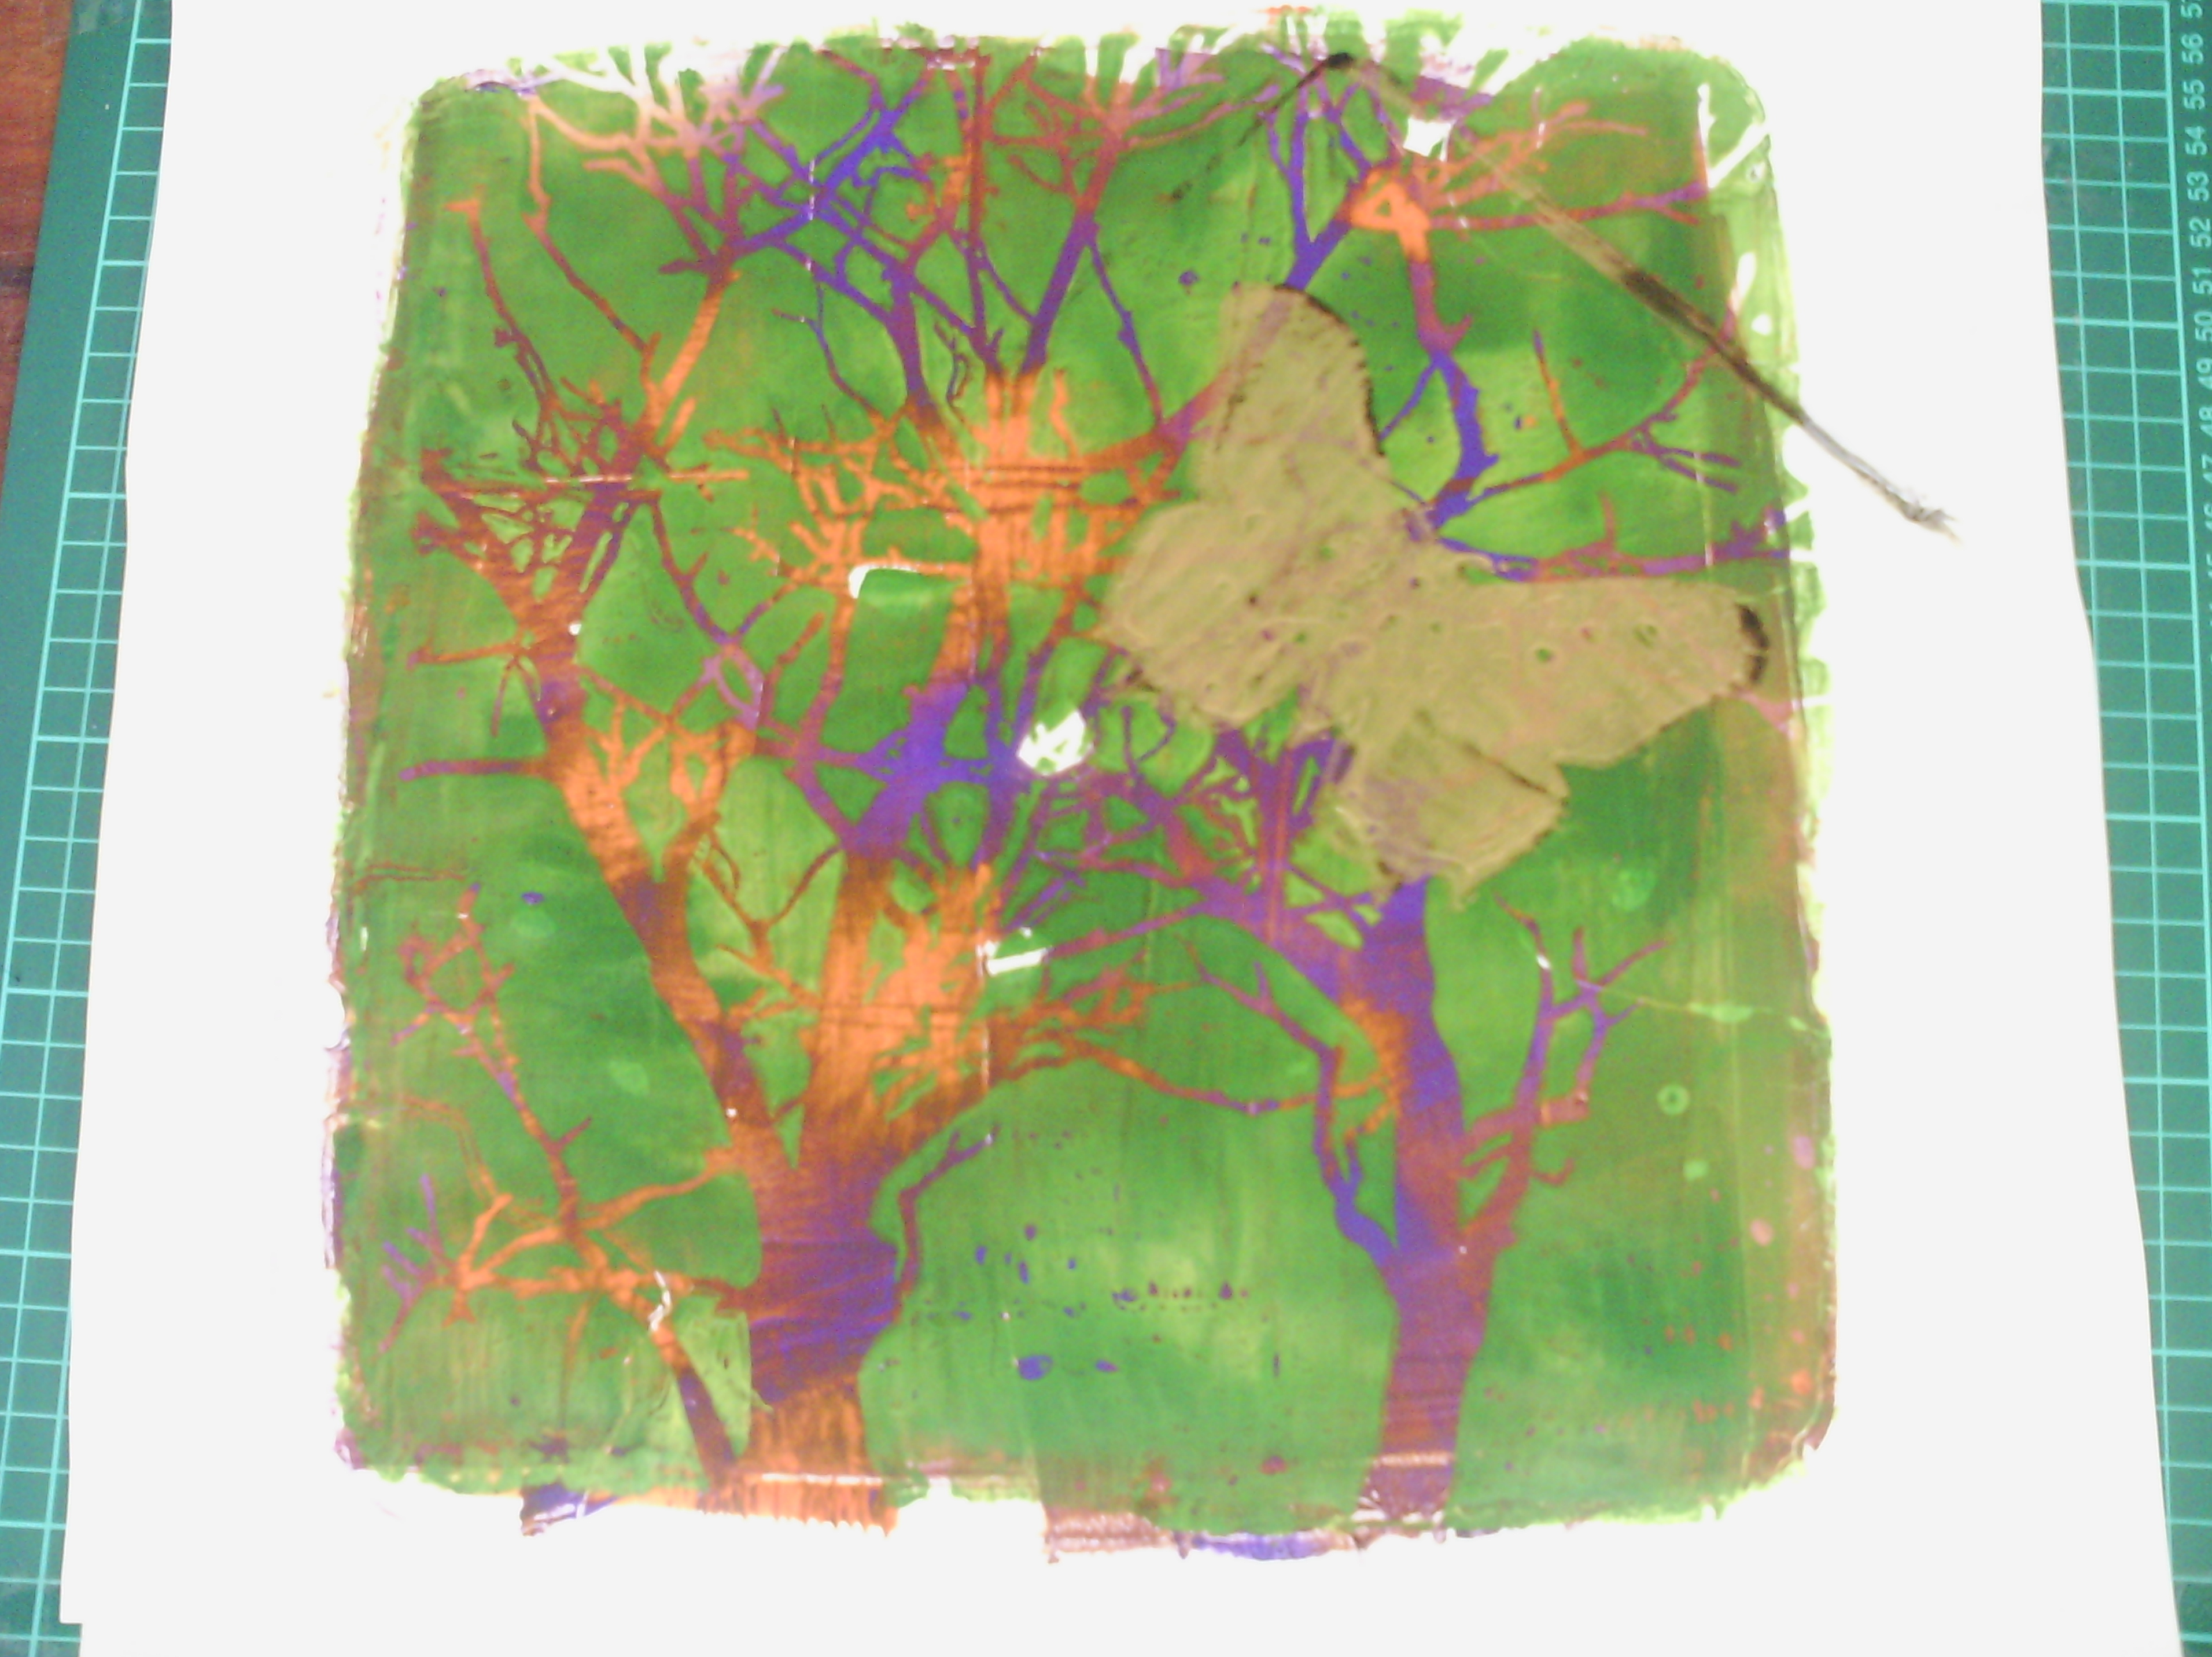
This is a different three layers.  In this one I started with just  the purple and orange layer.  I overprinted with the green using a tree MASK, so the tree remained the orange and purple.  Then I overprinted the butterfly in gold.
This one is the ghost print of the above tree print.  Each layer was a ghost print of exactly the same plate as above, but still gives a great effect.
This one is a bit different.The tree was printed from the same green plate above, but after I had removed the mask.  The background was a little pale, but under the mask there was lots of paint, making the tree darker.  The edges of the mask picked up a lot of paint, resulting in the very pale halo around the tree.  The gold butterfly was the second layer.
I think that is enough for today, but as you can guess, I have a lot more to post.  I even got to brinting on fabric and have started work with those prints on the sewing machine.
My husband wanted to know what I would do with so many prints, but really, I am not actually concerned about that.  This is another example of  the artistic process bring about the process, not the product.  In making so many prints on so many different papers with diffferent layers and different colours, I have learnt a lot in a short time about colour mixing, layereing, contrast, and value that even if I never used any of the prints, it was still worth it.  I will talk more about that inmy next posts.

Wednesday, September 14, 2011

Monoprinting on fabric

I was inspired to do some monoprinting finally by a post on a friend's blog , I had been going to when I got around to it since I saw the article in Quilting arts no 40 by Frances Holliday Allford.  That was three years ago!
So, I got around to it.
I am not going to go into the process here, because there are many ways of making a gelatin plate, or using alternatives such as acetate or plexiglass, and many more ways of using these to make monoprints.  Check my friend's post for a step by step.  Or try quilting arts or quilting arts tv
I will just show you my results.  The eye candy.
This one used very dilute paints that I allowed to blend into each other.
On this one I started with the blue, then drew pink tadpoles and yellow tadpoles. lol
On this one I kept dropping bits of colour on top of the other colours and swirling with my finger.
This one was speckled with a toothbrush.  If the paint is too dilute, the specks just spread.
This one used thicker paints (including a blue with globby bits)  and I just used my finger to create a bit of a marbled effect.
Another one with the thicker paints.
This last one used some very dilute paint, but I liked the effect I created by dragging a rubber brush across it.  I see potential there.
I only did a small experiment with limited colours and did not use a brayer or found objects or stamps, or stencils or any of the million other things you can use with this technique, so there will be more monoprinting for sure.

This was great fun and using my fingers was like being in kindergarten again!