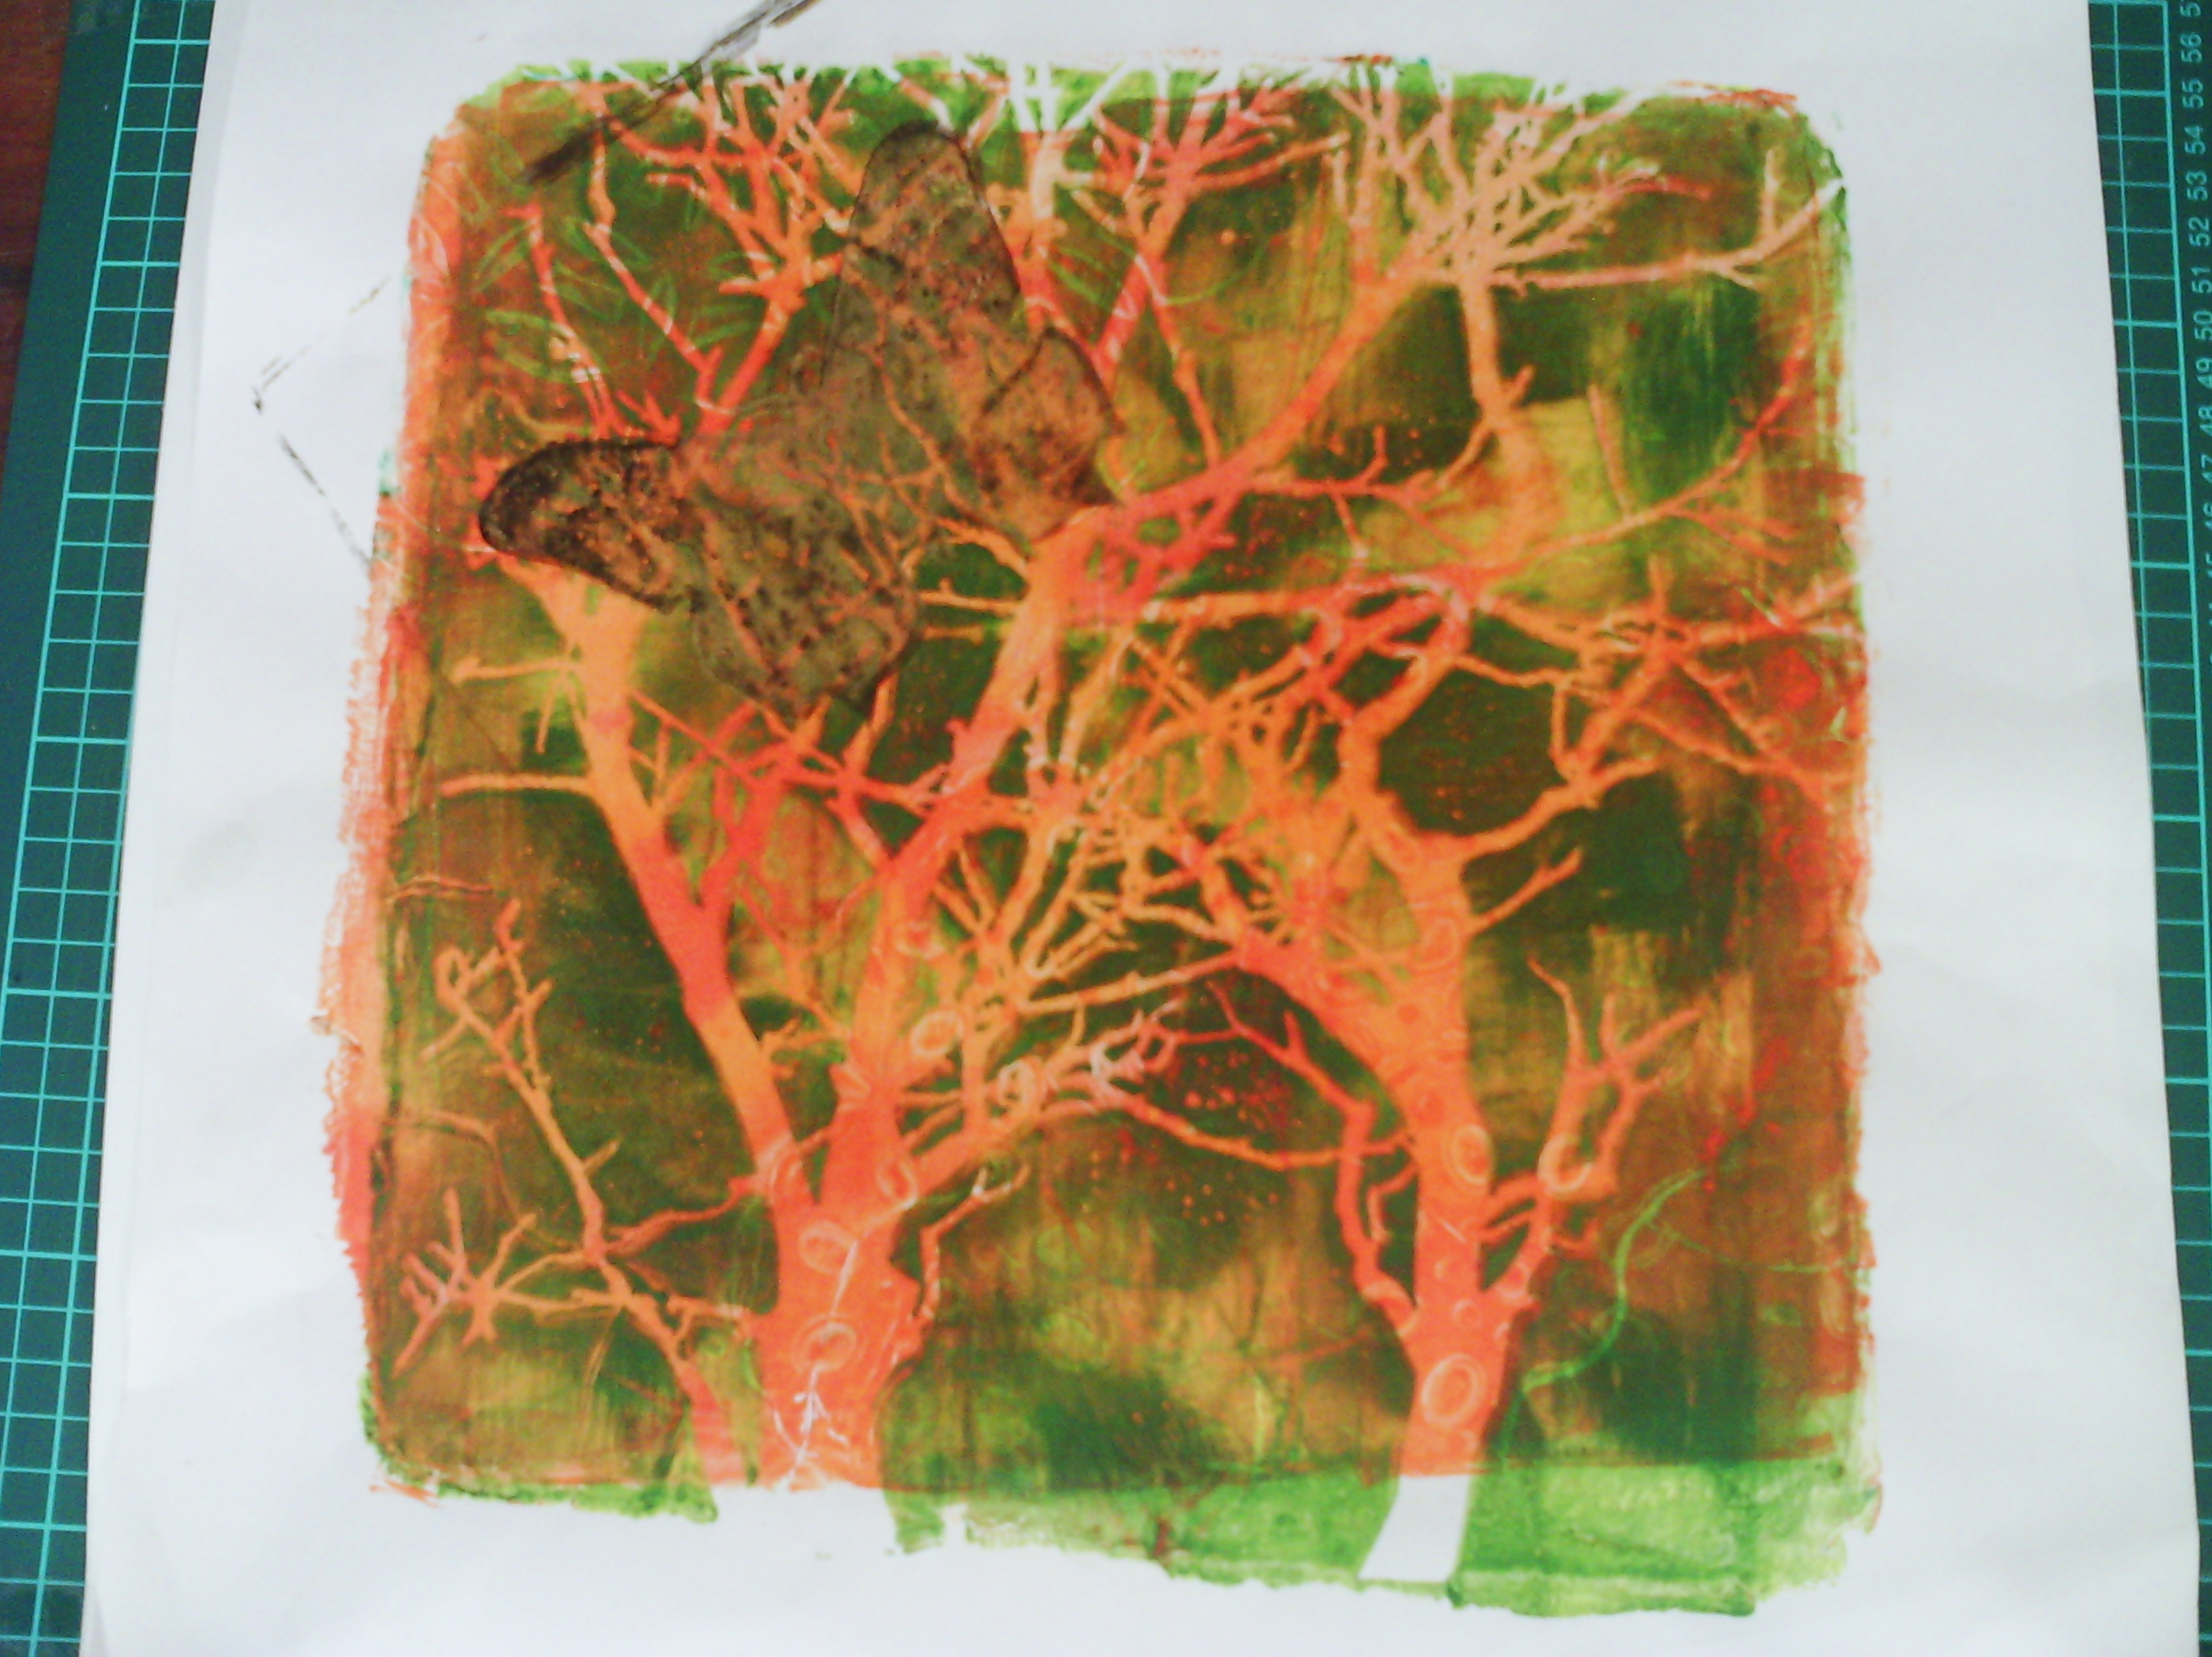
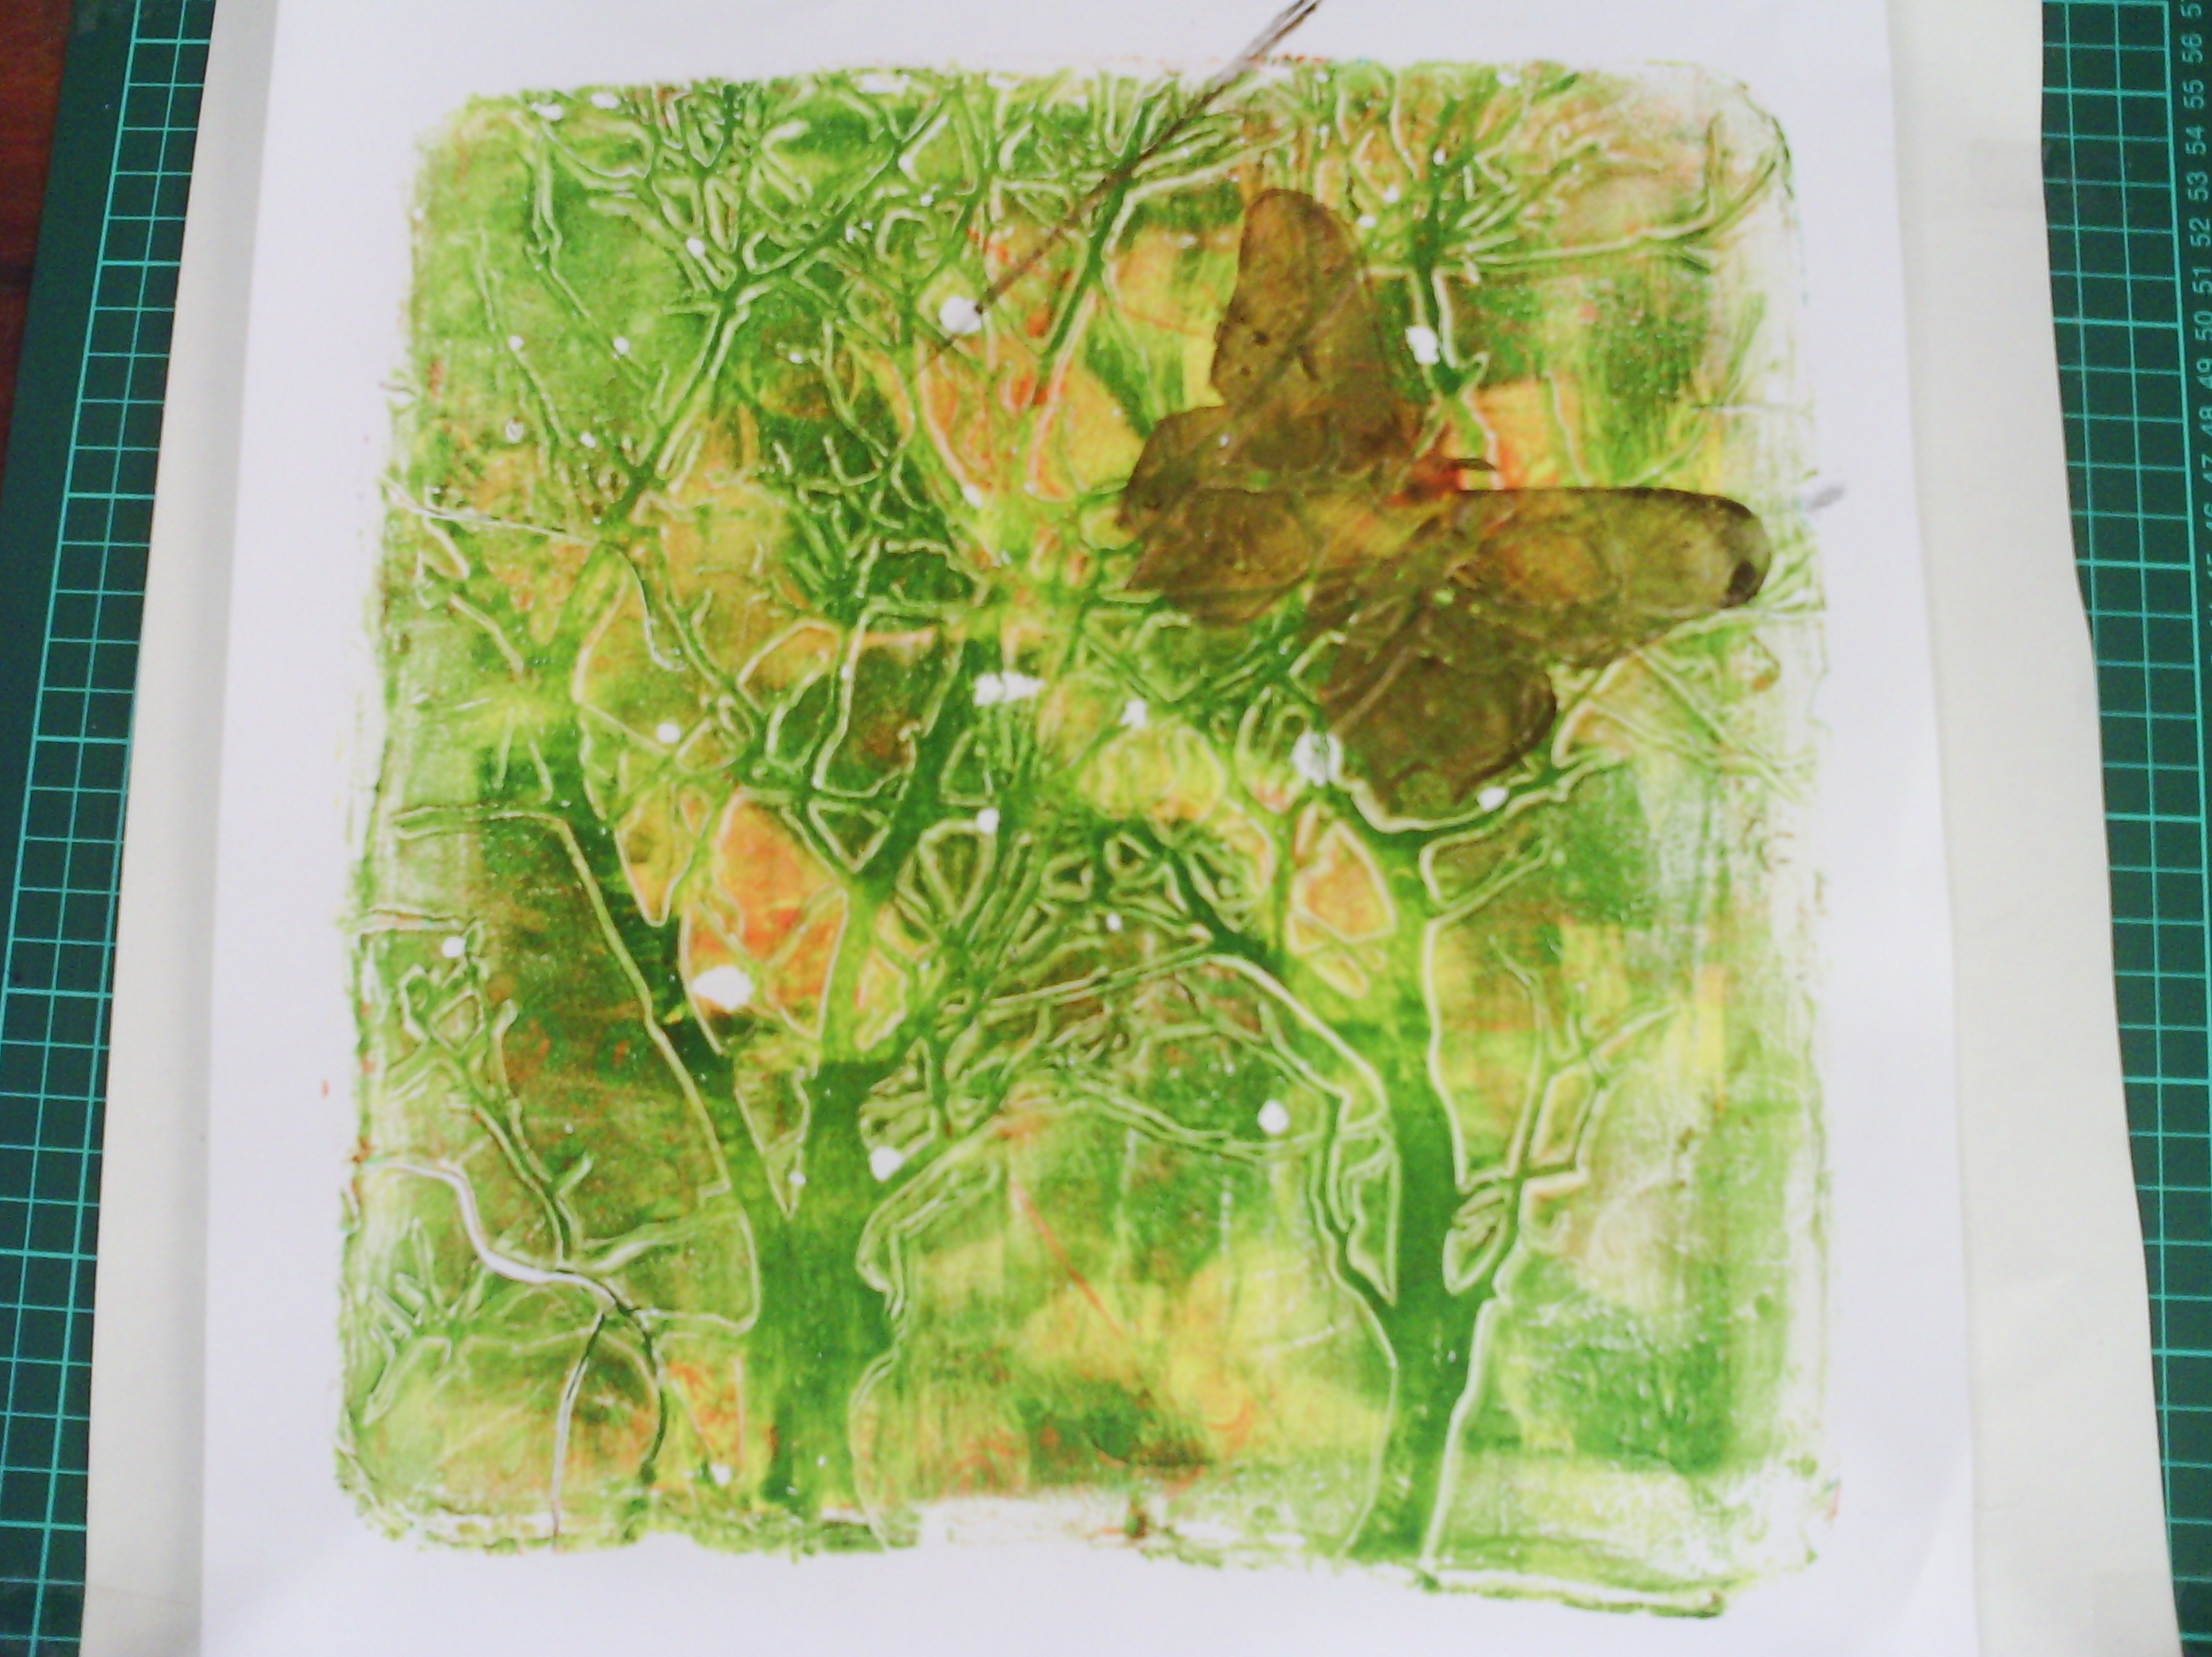
Over the last week or two, I have been engrossed in gelatin printing. I have amassed over 100 prints, a few of which I will take further, and many of which will become journal fodder. I won't go into detail about the process, but you can watch Julie fei fan Balzers recent video for some pointers
So let's have a look at a few butterflies.
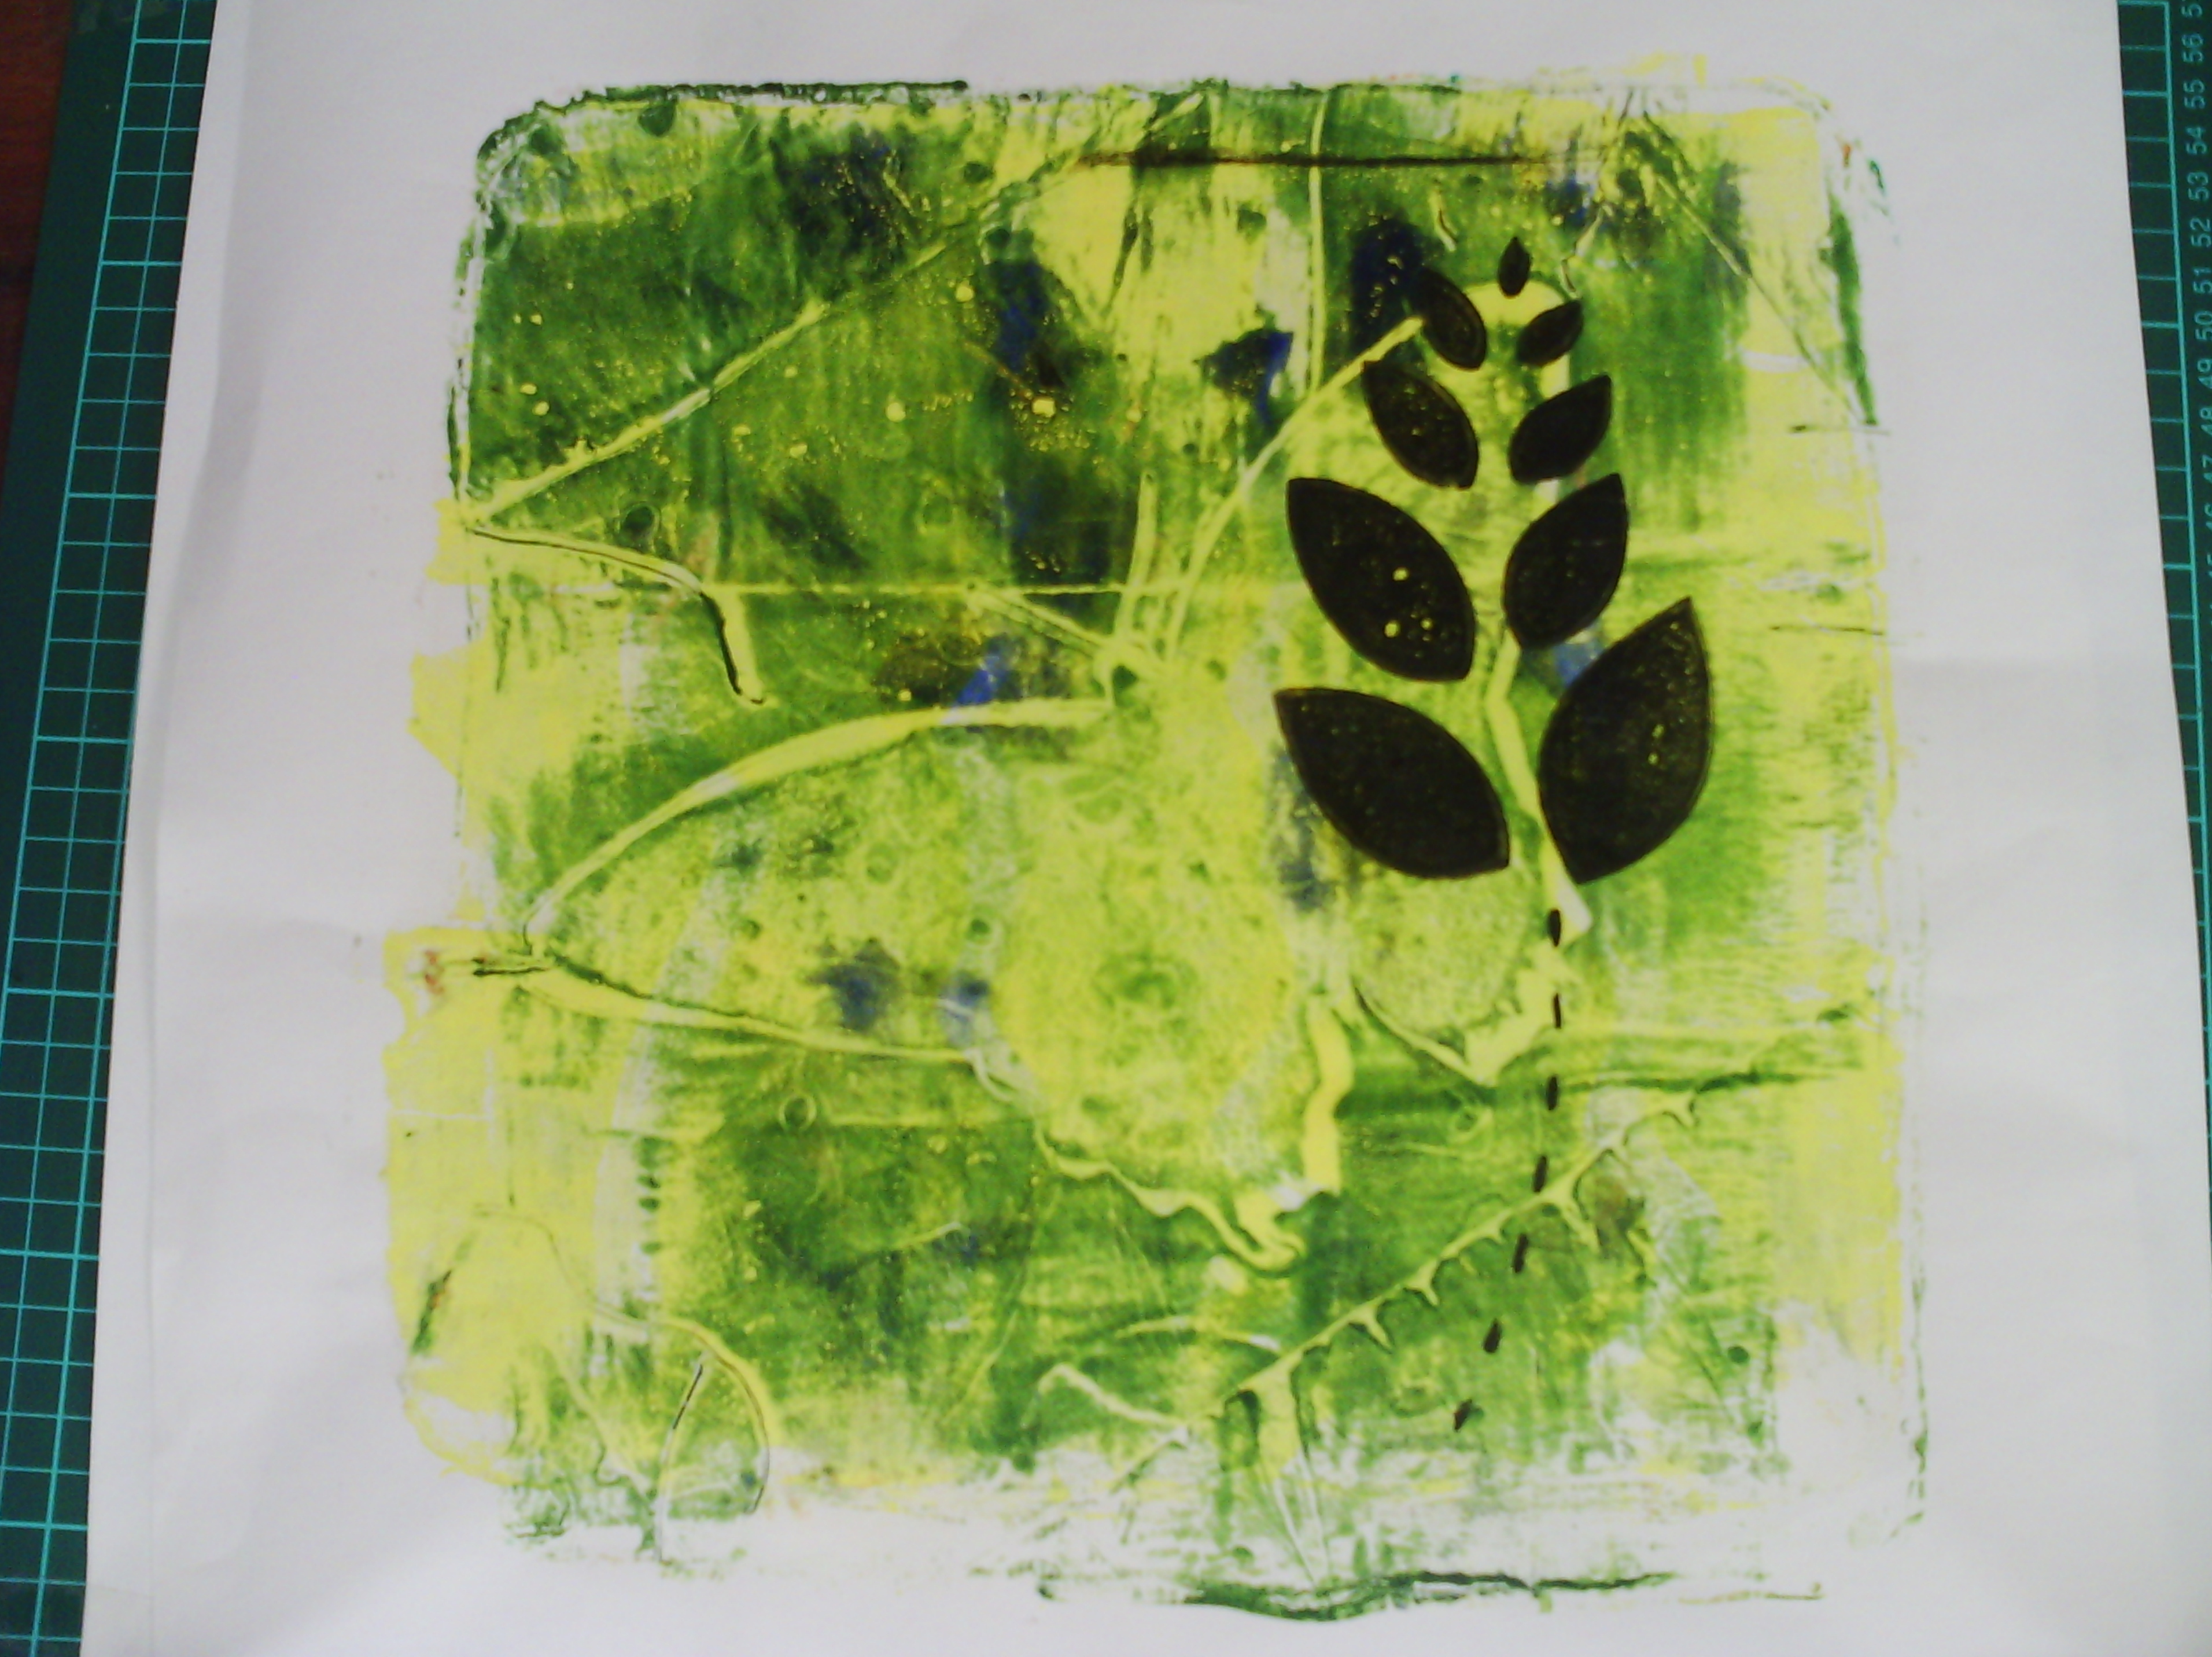
Most of the prints are three layers, but this one has only two. The background layer is the third print off from a butterfly stencil. What this means is that after I had printed the green butterfly only on some other pages, I lifted the stencil off and printed a negative print - the butterfly is pale, with not much paint as this had been removed, whilst the background still had plenty and created the subtle green layer, which I then printed over with the black stencil.
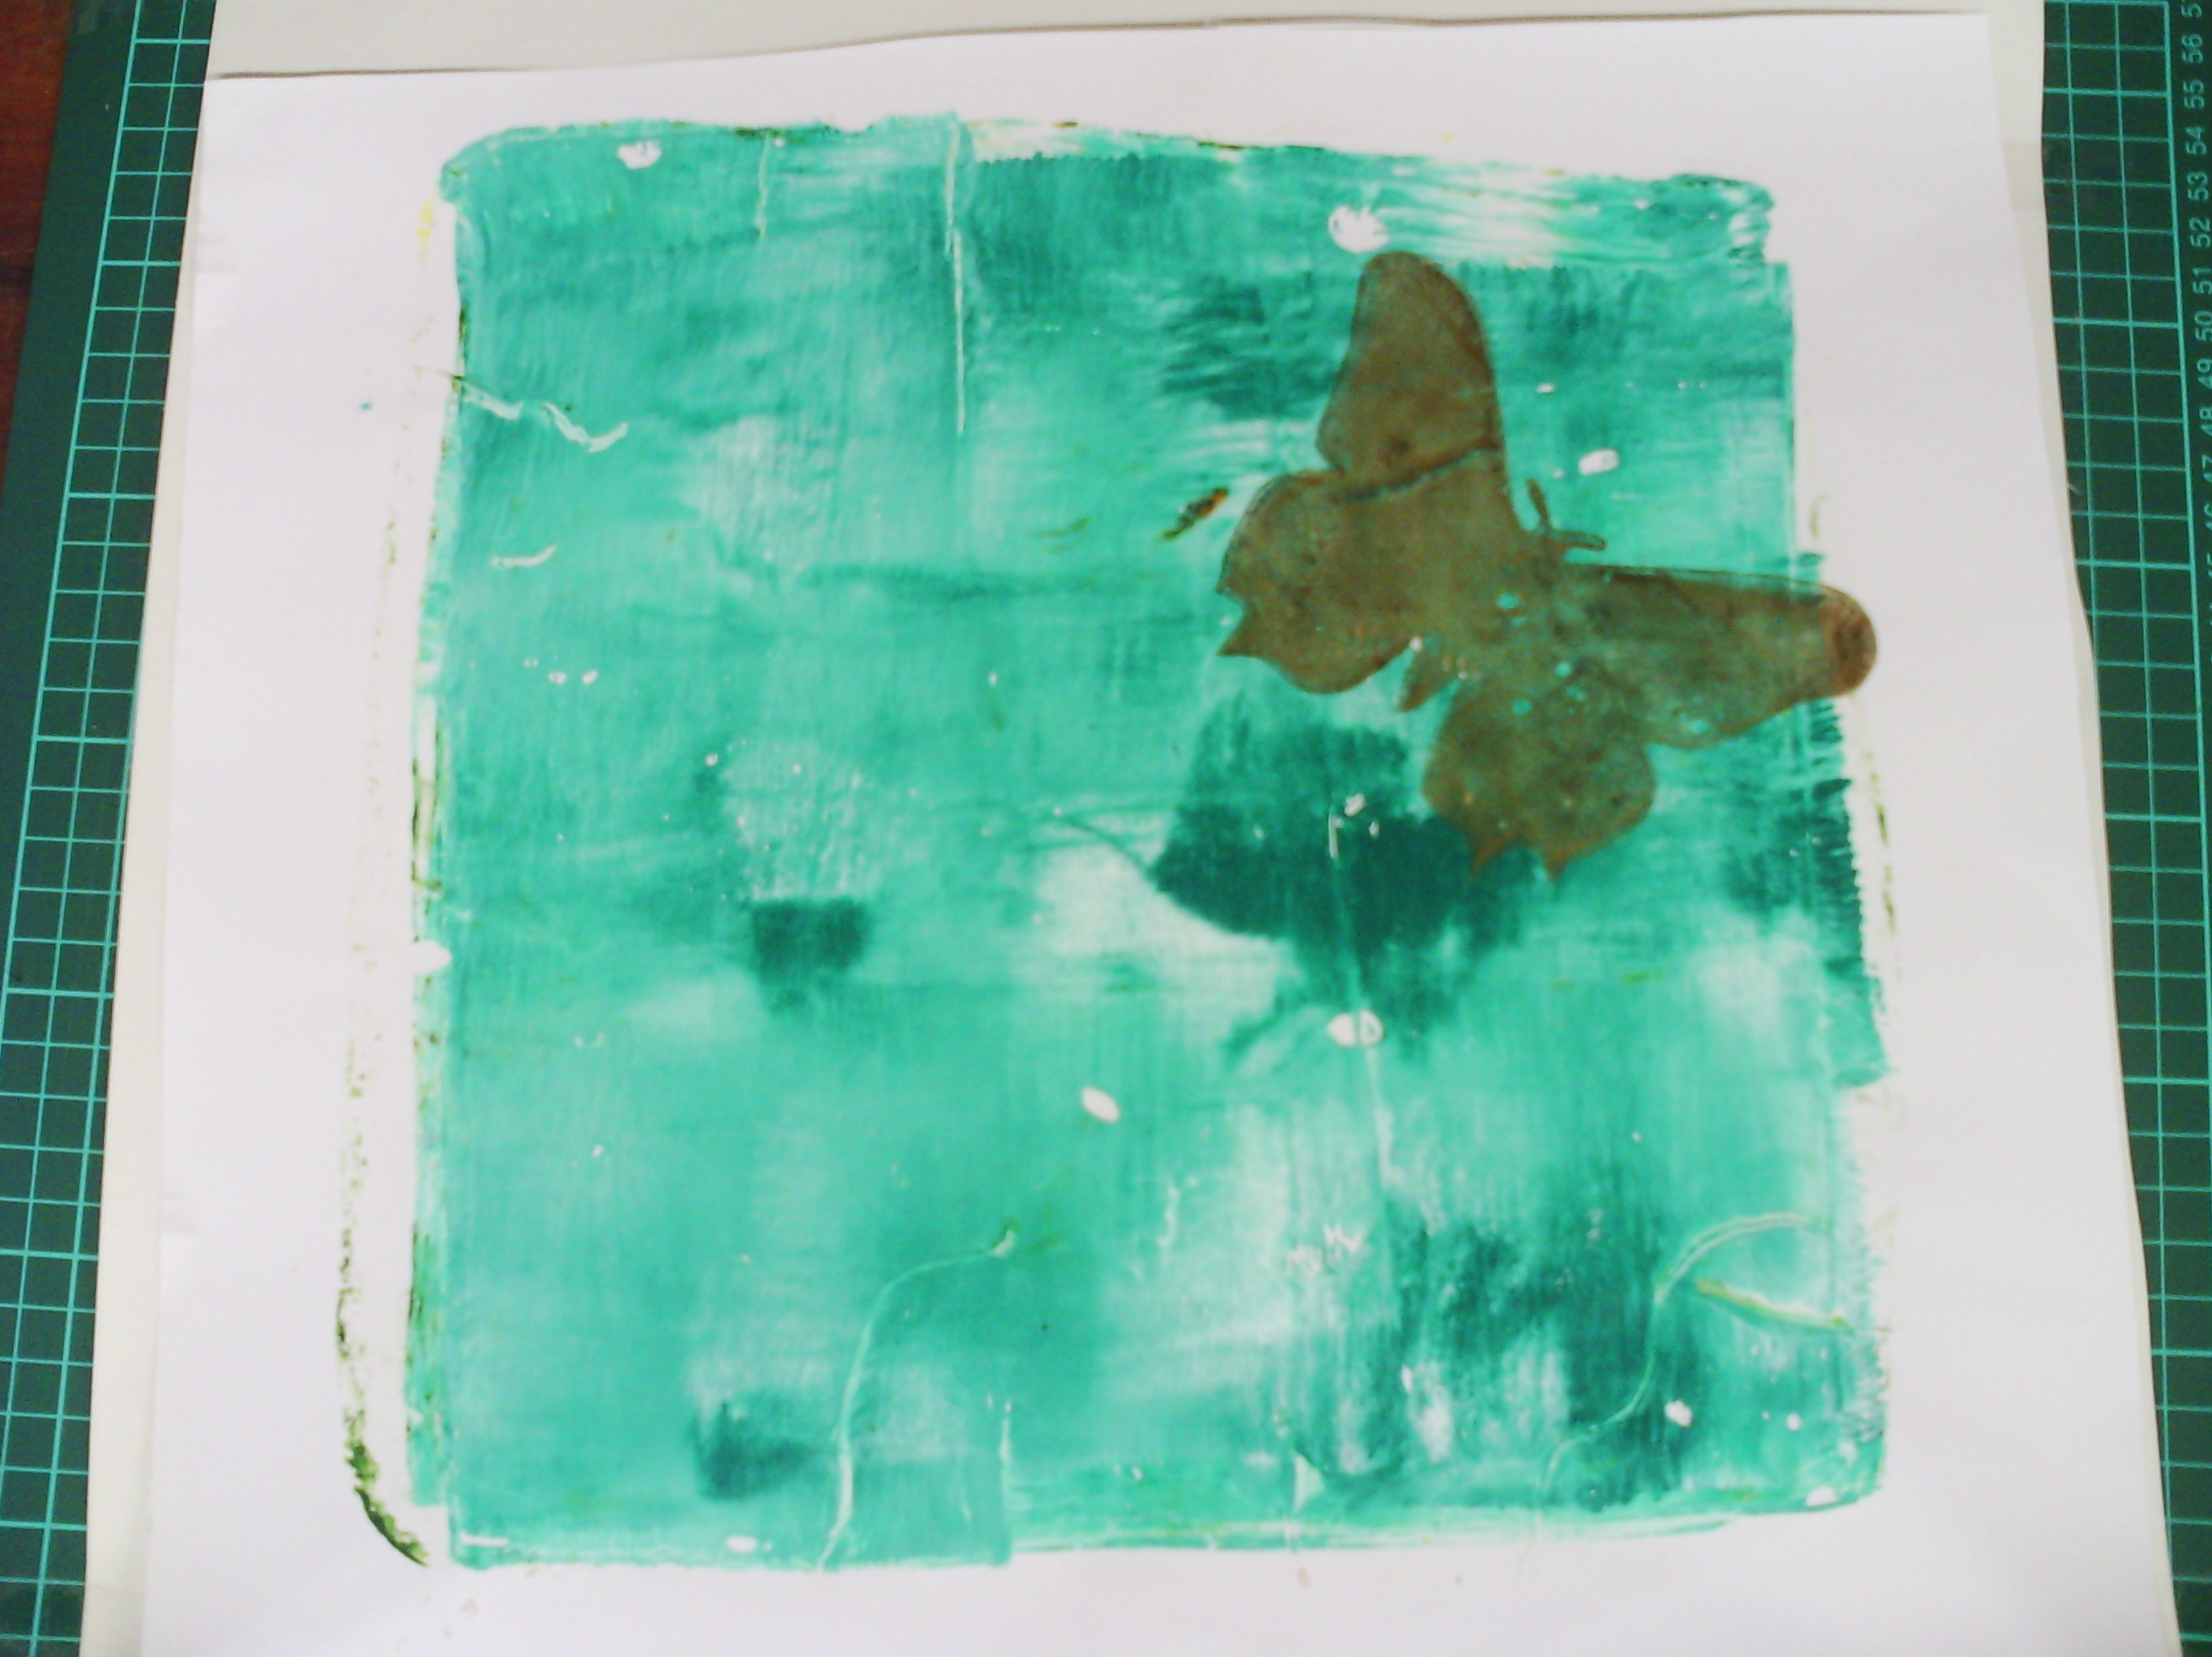
This one had the requisite three layers. The first was just a mix of two colours brayered on to the gelatin plate
The second was the positive butterfly print, then third, was the black print.
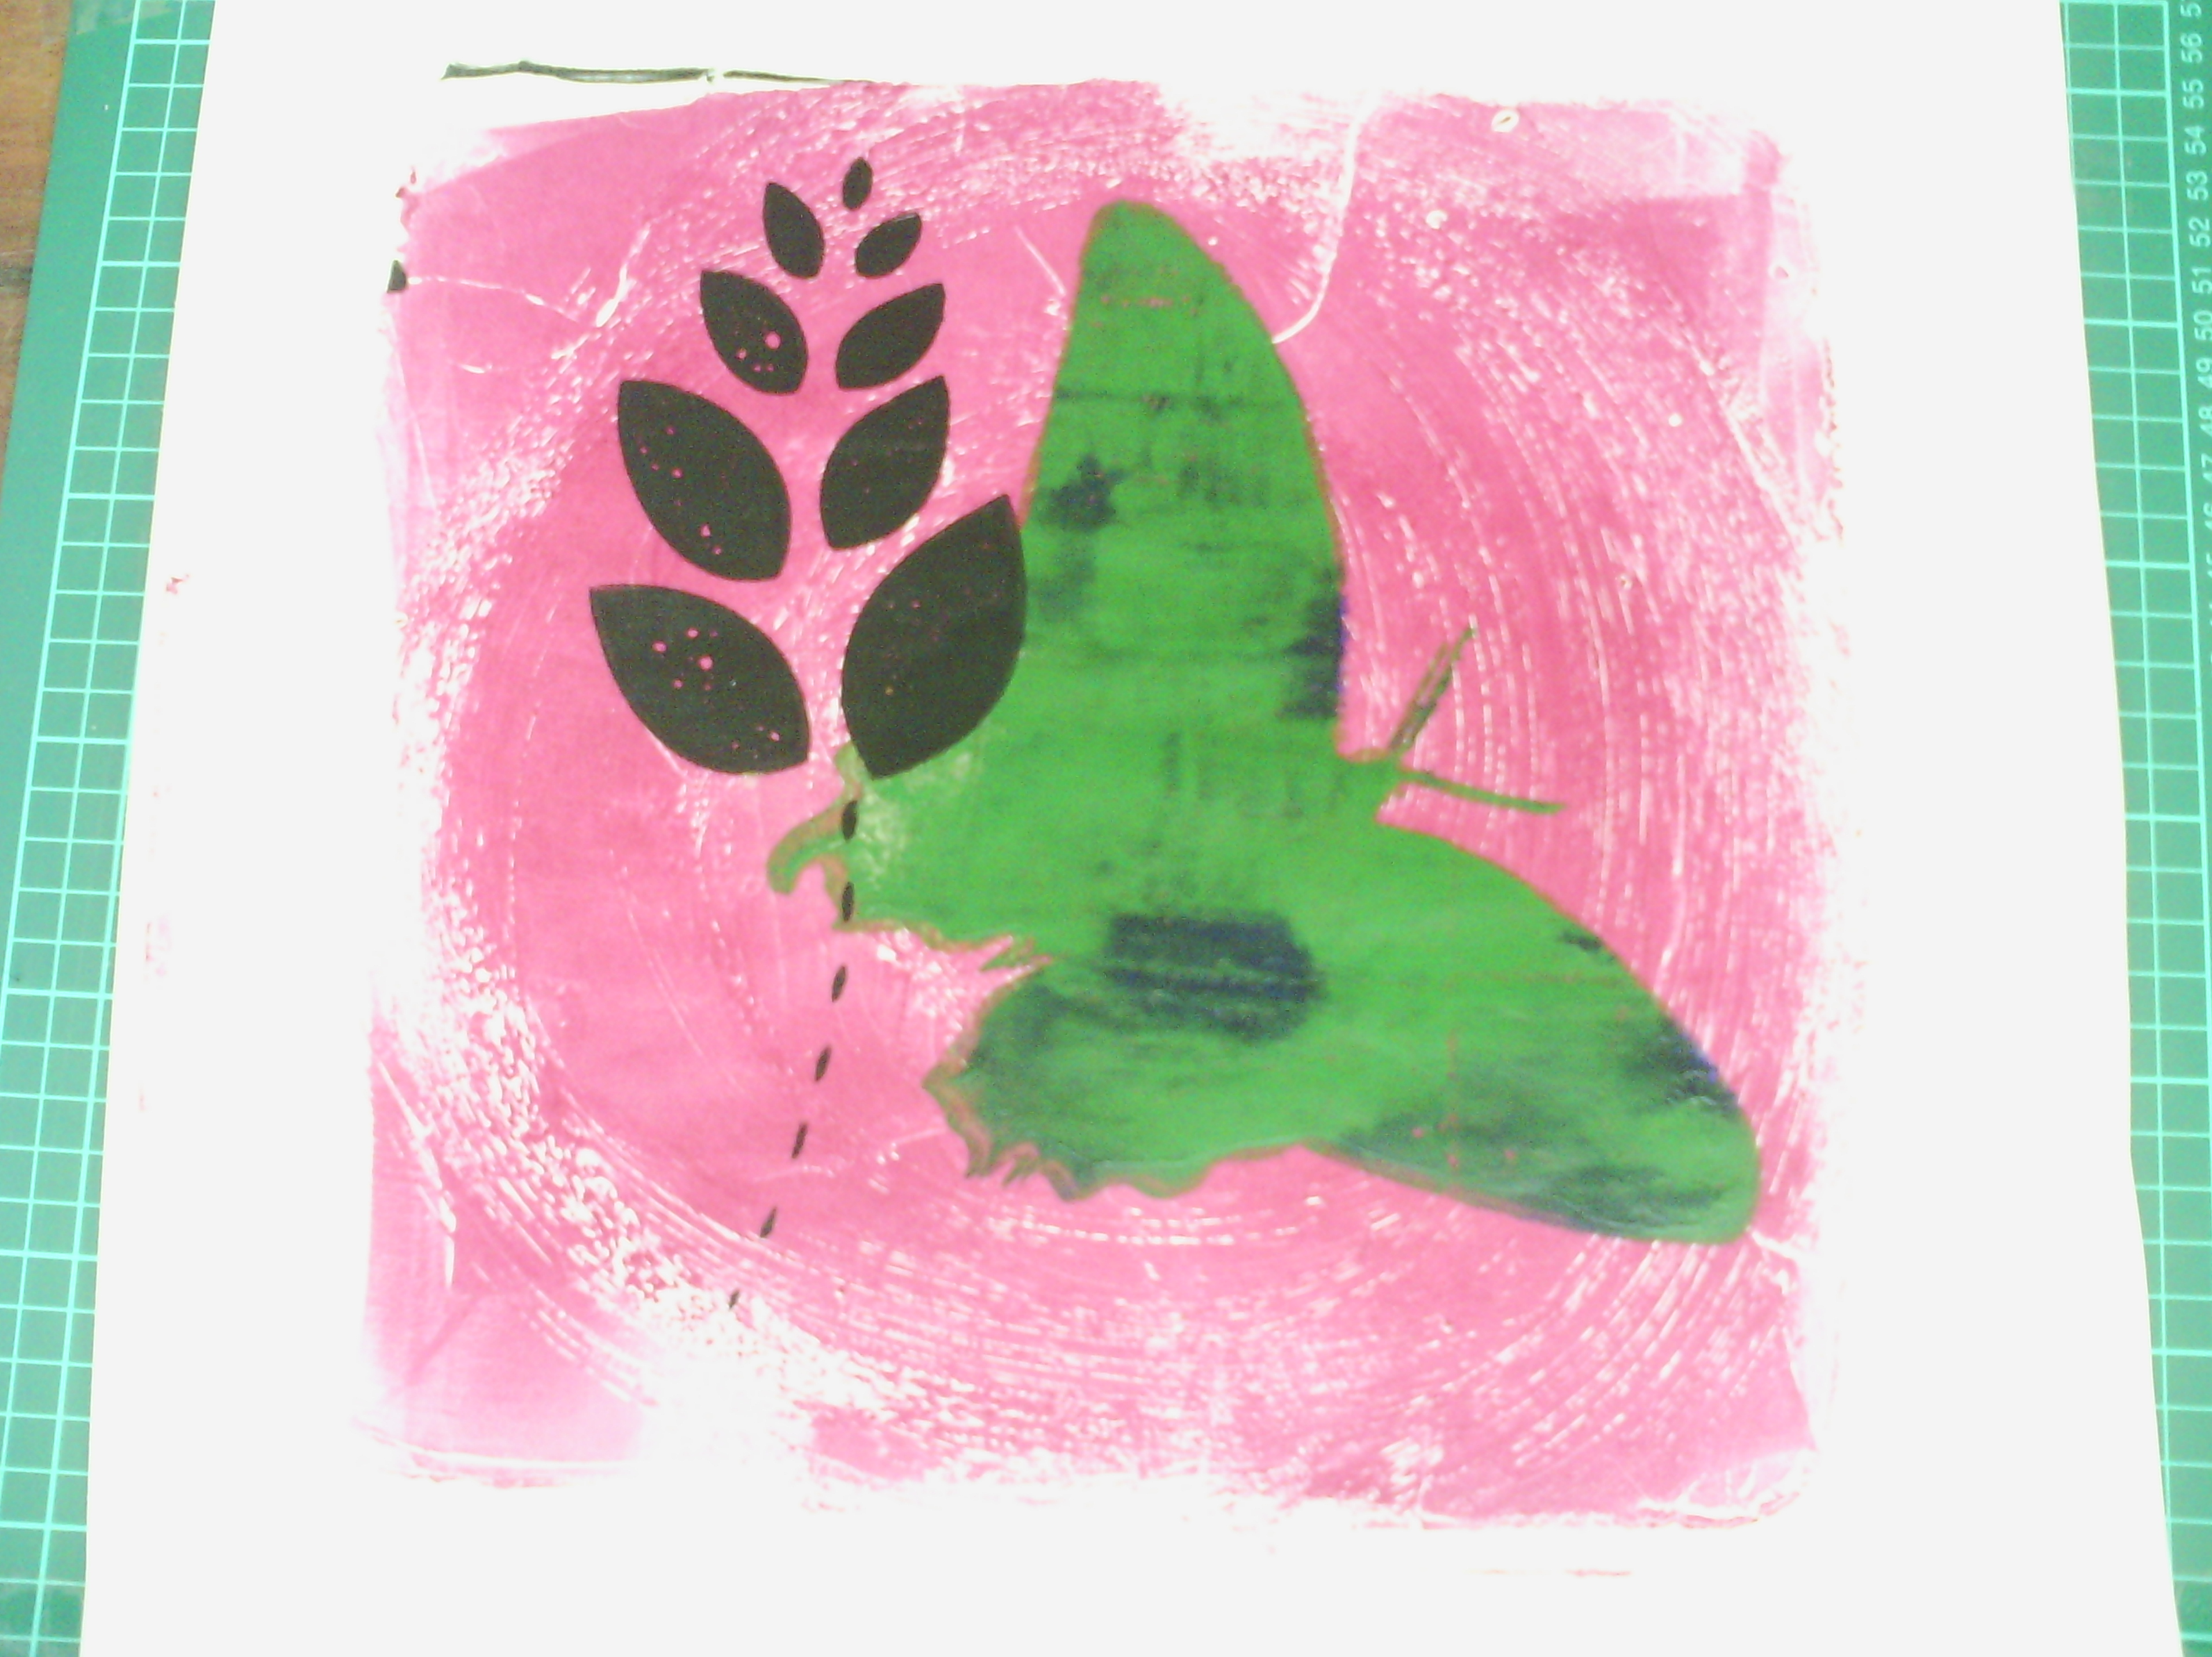
Here is another three layer one. The pink layer was just magenta paint, but I swished around in a circle with a BBQ basting brush before I printed, then, again, the second and third layer are the same as the print above.
This one has only two layers as I did not add the third accent layer.
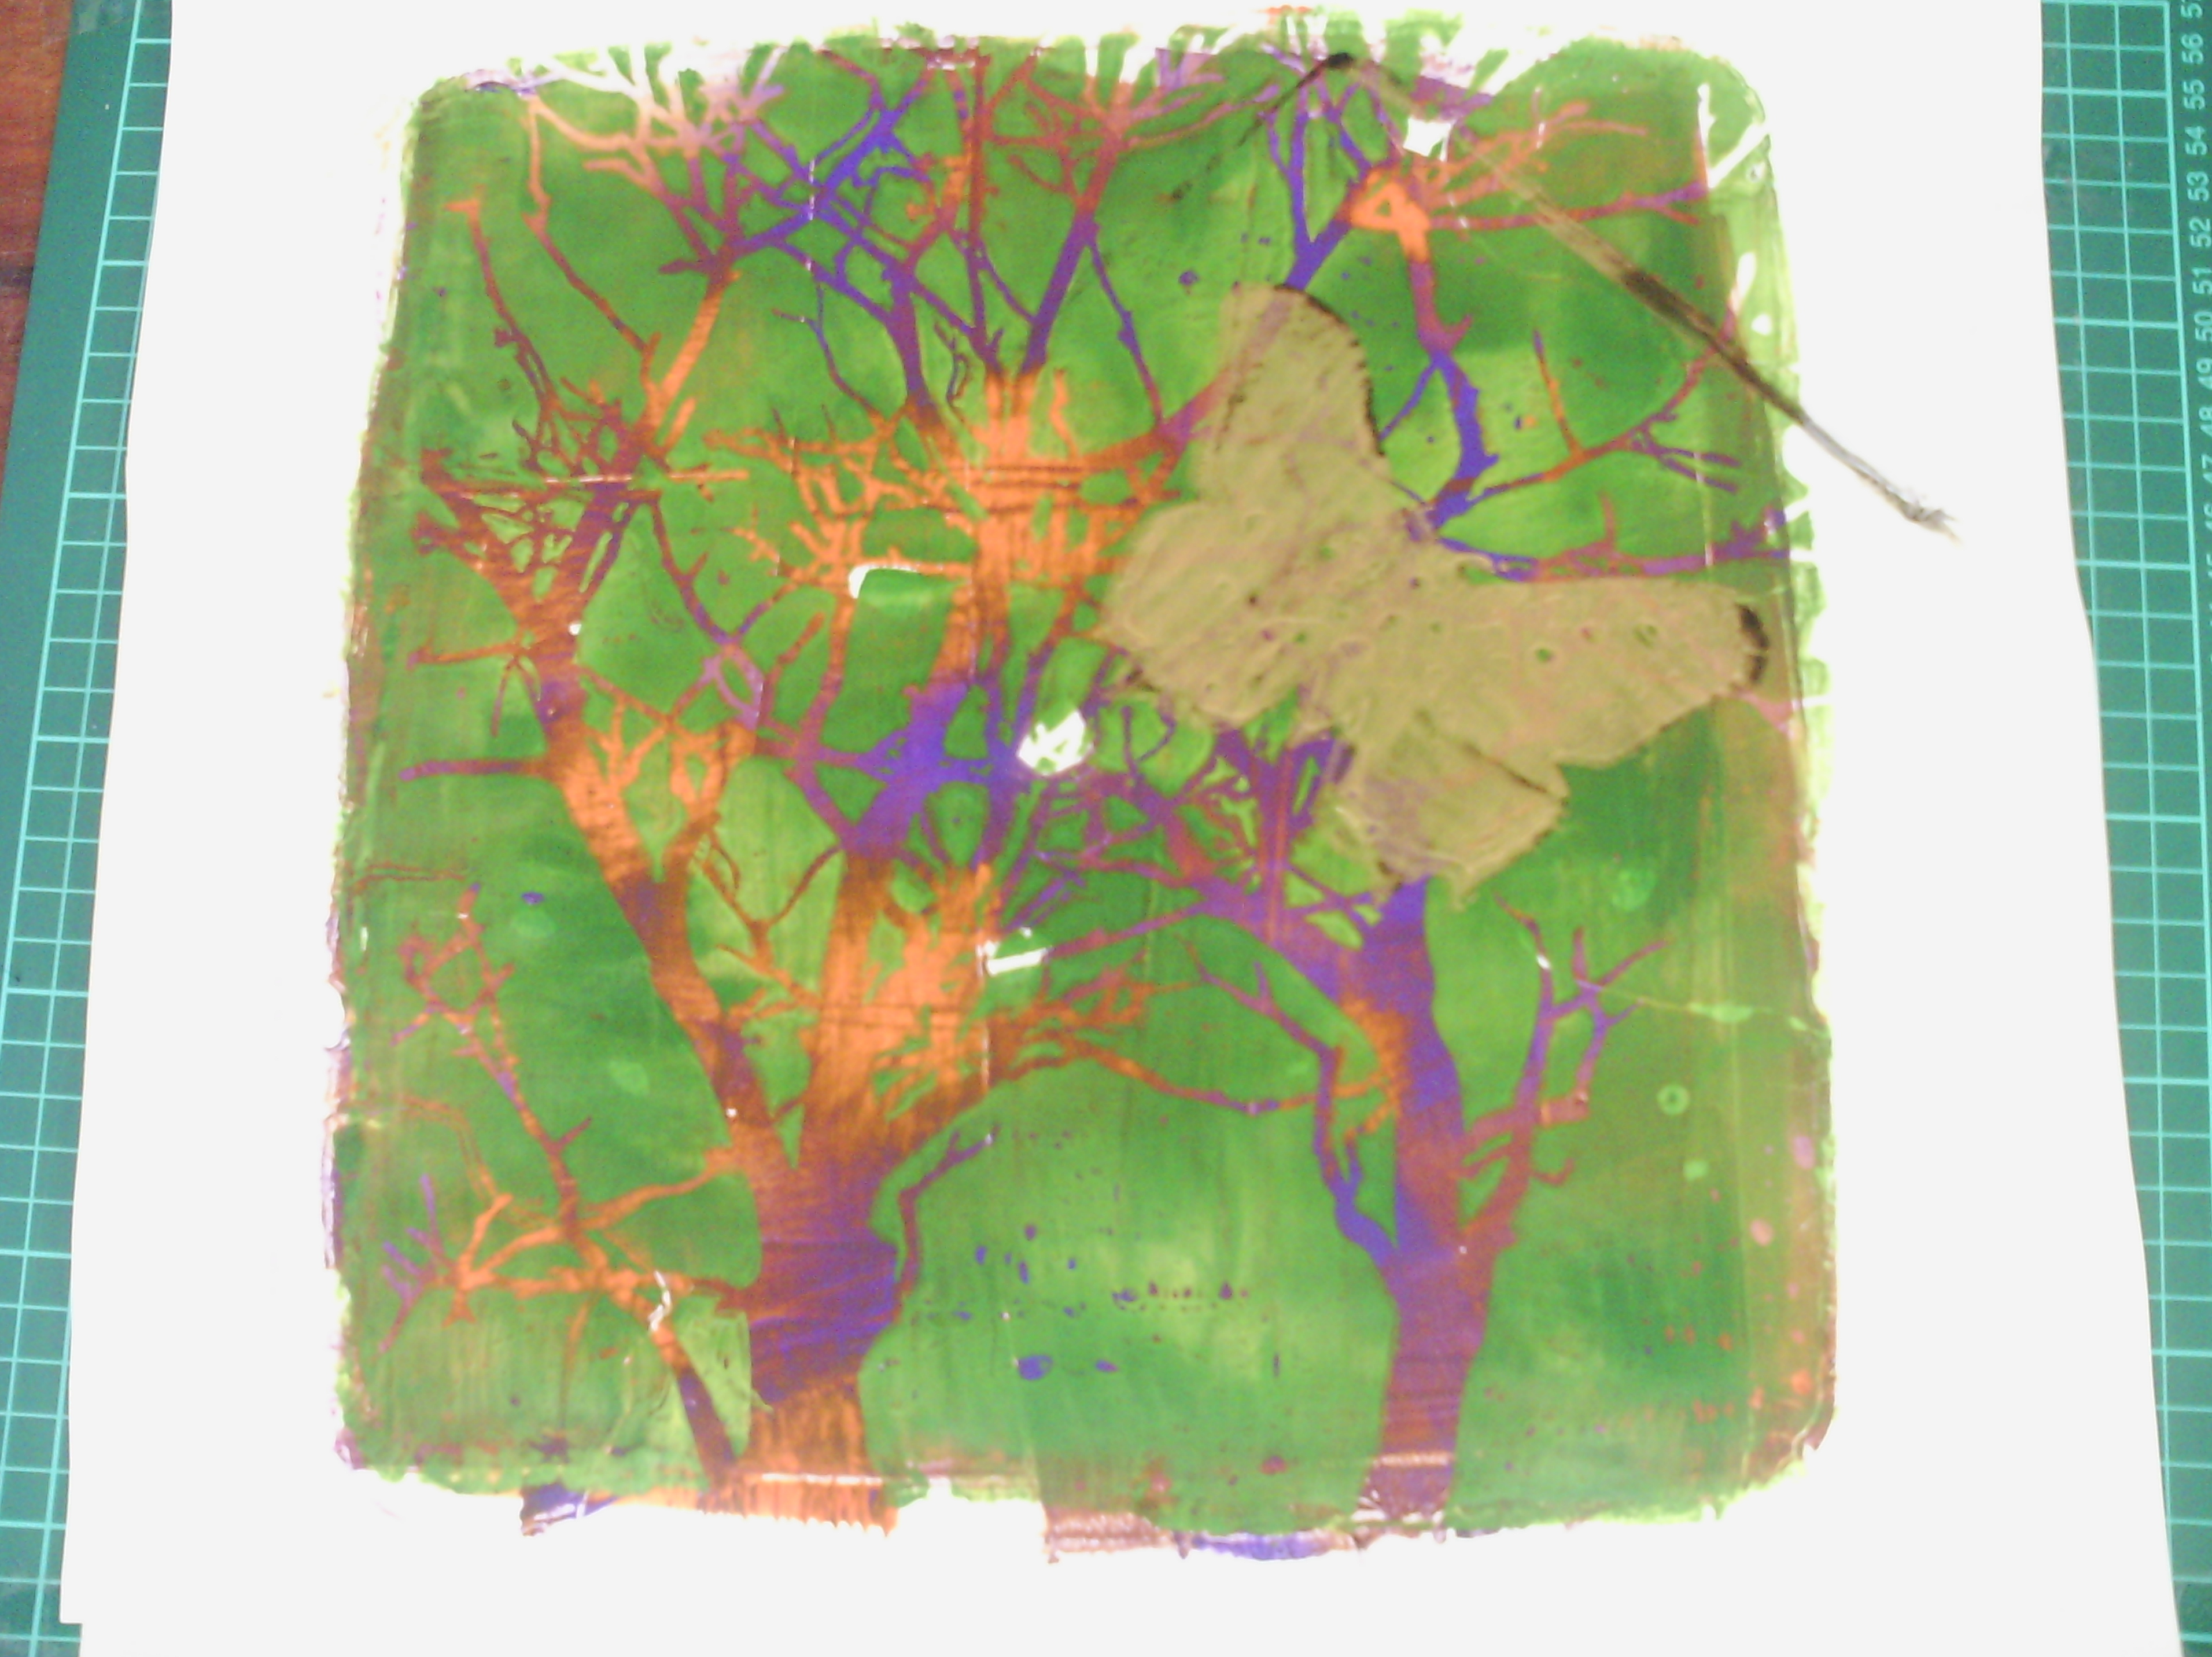
This is a different three layers. In this one I started with just the purple and orange layer. I overprinted with the green using a tree MASK, so the tree remained the orange and purple. Then I overprinted the butterfly in gold.
This one is the ghost print of the above tree print. Each layer was a ghost print of exactly the same plate as above, but still gives a great effect.
This one is a bit different.The tree was printed from the same green plate above, but after I had removed the mask. The background was a little pale, but under the mask there was lots of paint, making the tree darker. The edges of the mask picked up a lot of paint, resulting in the very pale halo around the tree. The gold butterfly was the second layer.
I think that is enough for today, but as you can guess, I have a lot more to post. I even got to brinting on fabric and have started work with those prints on the sewing machine.
My husband wanted to know what I would do with so many prints, but really, I am not actually concerned about that. This is another example of the artistic process bring about the process, not the product. In making so many prints on so many different papers with diffferent layers and different colours, I have learnt a lot in a short time about colour mixing, layereing, contrast, and value that even if I never used any of the prints, it was still worth it. I will talk more about that inmy next posts.
Showing posts with label painted papers. Show all posts
Showing posts with label painted papers. Show all posts
Tuesday, October 1, 2013
Wednesday, September 19, 2012
A little bit of foil goes a long way
Foil is one of those things I can never get enough of, however I hardly ever use it with fusible web because a little goes a long way. Today I made some foiled paper.
I started with some brown paper. I like brown paper because it is cheap and has a bit more strength and texture than Computer paper.
I used some powdered fusible. This one is super mend, but bonash also make it. You can also collect all your fusible scraps and grind the web in a coffee grinder to make your own.
I sprinkled the powder over the brown paper, then laid foil strips over it.
Covered it with baking paper, then ironed it.
After it had cooled, I peeled the foil off. You can see here that the foil is not solid, but more of a sprinkling, which I like.
It is pretty gorgeous just like this, but wait, there's more!
I sprayed it with some ink and diluted acrylic paints. Then I blotted the excess off the foil with baby wipes and kitchen towel (This will come in handy later)
When my brown paper was dry, I scrunched it up,
opened it out again, and ironed it briefly (not too much)
Then I got out a pad of ink. This is distress ink - tattered rose, but any flat ink pad will do if you can run it flat over the paper.
Here I am lightly running it over the paper so it catches on the ridges.
After that I ironed it again, using baking paper to stop paint getting on the iron. Here are a few close ups of the texture.
It's pretty lovely. Now what would I use it for? I might use it in my art journal or on a cover, but just to show you that paper is great in mixed media, I made a journal quilt with it.
Here I have a piece of batting, some paper towel and hand wipe I cleaned the table with and blotted the paper with, a piece of my brown paper and some washers that have a nice shape which my hubby brought home from the scrap bin at work and some gems.
I free motioned the paper towel down with some leaves in black, then layered the face wipe and brown paper on top usinf straight lines in a gold thread. The washers and the gems gave it a focal point. I just used glue to finish the edge.
On a totally different tack, here is large doily I have just finished blocking.
I am also working on a collage/textile piece which I will probably show on Monday. I am also videoing my process as I make it!
So happy creating!
Saturday, April 7, 2012
polymer clay and paper
I used a polymer clay leaf for this atc. Many years ago, I was a cake decorator, and, those leaf and flower cutters and molds I used work fine with polymer clay. I painted/coloured the clay with a texta/marker, then wrote the word leaf. The letters are covered with those little clear things you put under coasters and ornaments and you get them at the hardware. I finished off with a few more scribbled leaves on the card.
This leaf is cast from toilet tissue and water (no PVA this time). I made the mold from a big dangly leaf earring. In fact, I made a batch of molds today and burned them (by accident). They are pretty black, but they still work fine. Just annoying.
I have been playing a lot with paper and painting lately.
Some of you might have noticed I have started using my own papers for the digital quotes at the end of my blog. In many ways, it's just another artistic outlet.
This is a journal spread background I did recently, but am cogitating about. I coated the page with gesso, then laid tissue over whilst it was still wet and moved it around to get lots of creases, then added a light watercolour wash and let it seep into the creases. I like this one because it looks to me like a view into a forest with big tree trunks to either side, so now I am thinking about how best to bring those trees out.
This is the cover of a small altered book, using pink tissue and with a light layer of gesso again over the top. The texture is lovely.
This is a piece of watercolour paper I sprayed with green watercolour and a pinky coloured metallic spray (which had mica in it) I laid glad wrap or saran wrap on top and wrinkled it. As it dried, the shiny mica tended to move to the creases. This is gorgeous.
This one is copier paper, which I sprayed with the same paints, then scrunched up and then opened. When I took this photo, it was still damp, but when it was dry, I ironed it a bit and the mica has distributed itself in another way, but still lovely, on some of the flat places and not others.
Hope everyone has a great Easter tomorrow, don't forget to collect all those pieces of foil!
Sorry about the covered up word - lit!
Subscribe to:
Posts (Atom)

