I nearly forgot T for Tuesday over at Elizabeth's blog.
In fact, my rather elegant cup of tea here is after a hard day at the sewing machine!
I was working with transparent chiffons to make a vignette landscape (vignette, just means not edged or fading out at the edges)
It was an idea I thought of yesterday whilst driving down the mountain.
This is what I got done today. I am quite pleased with it, although I went overboard with the stitching in a few places. If you click on it it should enlarge. The flowers are called Wahlenbergia or Australian Bluebell and I thought they suited the landscape.
This is noly a sample for a larger piece, but I learned something - don't use white felt! No matter how clean your hands are, it tends to get grubby. I think next time I will try canvas, because it can be wiped clean and mounted on stretcher bars.
Anyway, that was my day.
Happy creating!
Showing posts with label sheers. Show all posts
Showing posts with label sheers. Show all posts
Tuesday, May 20, 2014
Thursday, March 20, 2014
Transparent landscape
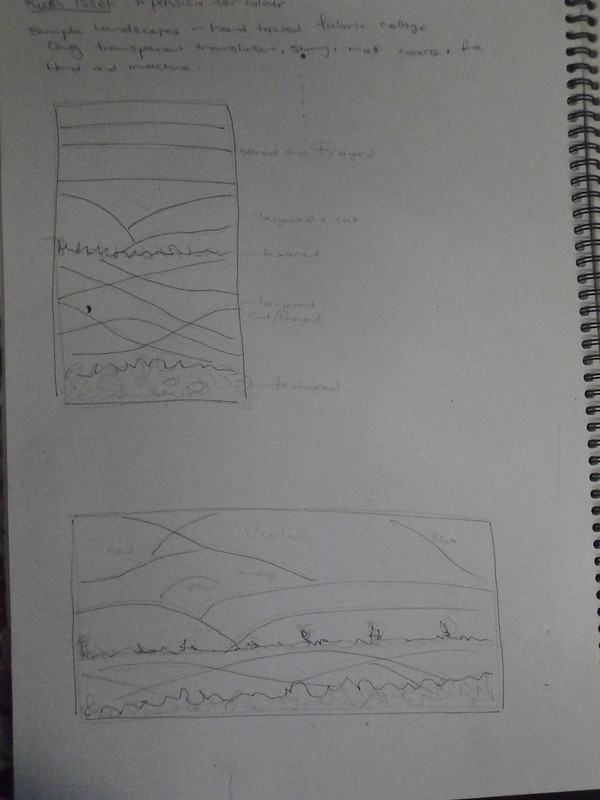
some of you know i am doing two art courses at present, and sometimes thing gell together to create an idea. I had been looking at a lot of landscapes for one course and the other night I was reading Ruth Isset's new book 'A Passion for Colour' I was very interested in her leaf collages, since that is something I love, but she was discussing using transparent fabrics ans I thought, perhaps this would transfer to a landscape! I needed to do some sketches and coloured paper collages for Elizabeth Barton's course, so...
these were the sketches i came up with.
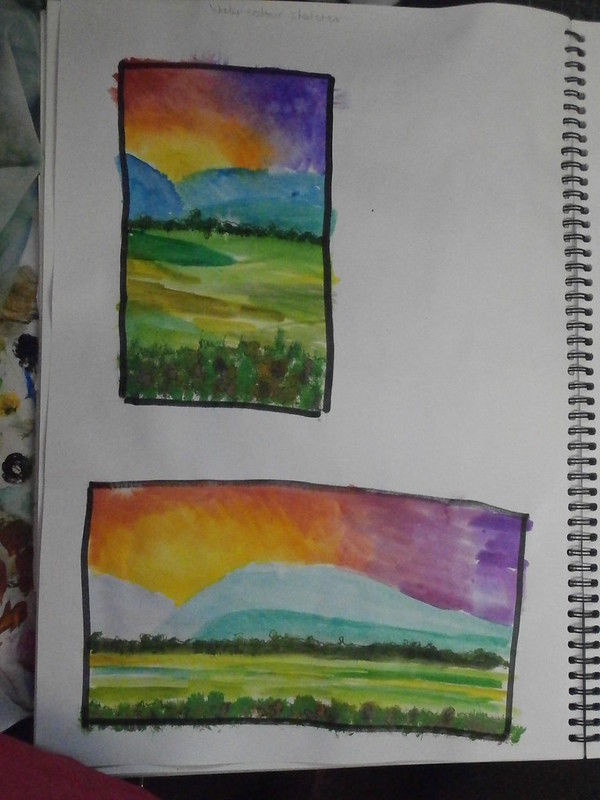
I repeated this as a watercolour sketch, which even though it is transparent, did not give the effect that I wanted.
I repeated it again with coloured and painted tissue and this gave me lots of overlapping colours which is what I wanted.
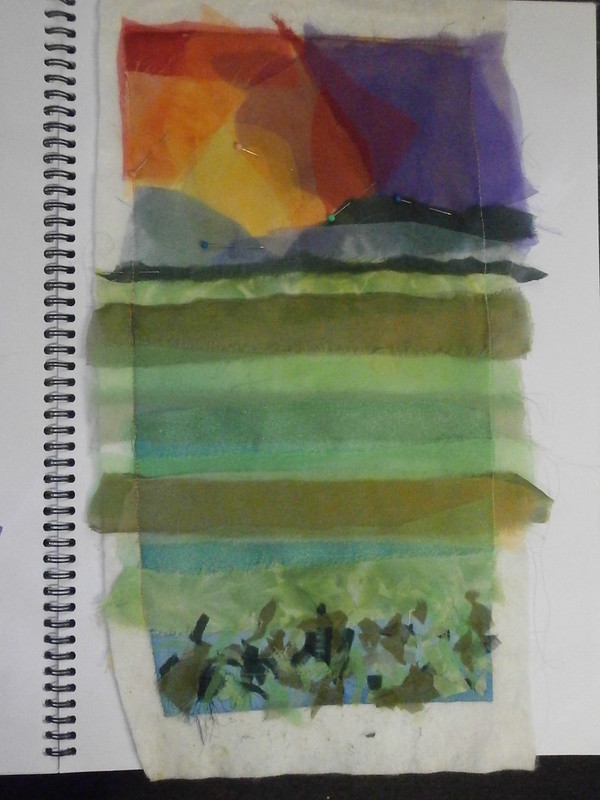
This morning I rummage through all my sheers and put together a fabric sample.
And this is what I came up with. At present, I am tacking all the pieces down with silk thread, then I will be adding lots more stitch, to merge the colours into each other. I will probably be adding more sheers, especially in the mid ground and doing a fair bit of free motion and some needlefelting, but I am happy where this one is going. In real life, the overlapping sheers are really vibrant and much greener than they appear here. Every time I look at it I just get itchy fingers and want to do more stitching!
But of course it is time to cook, or we will starve to death lol!
Happy creating!
Friday, January 3, 2014
leafy prints
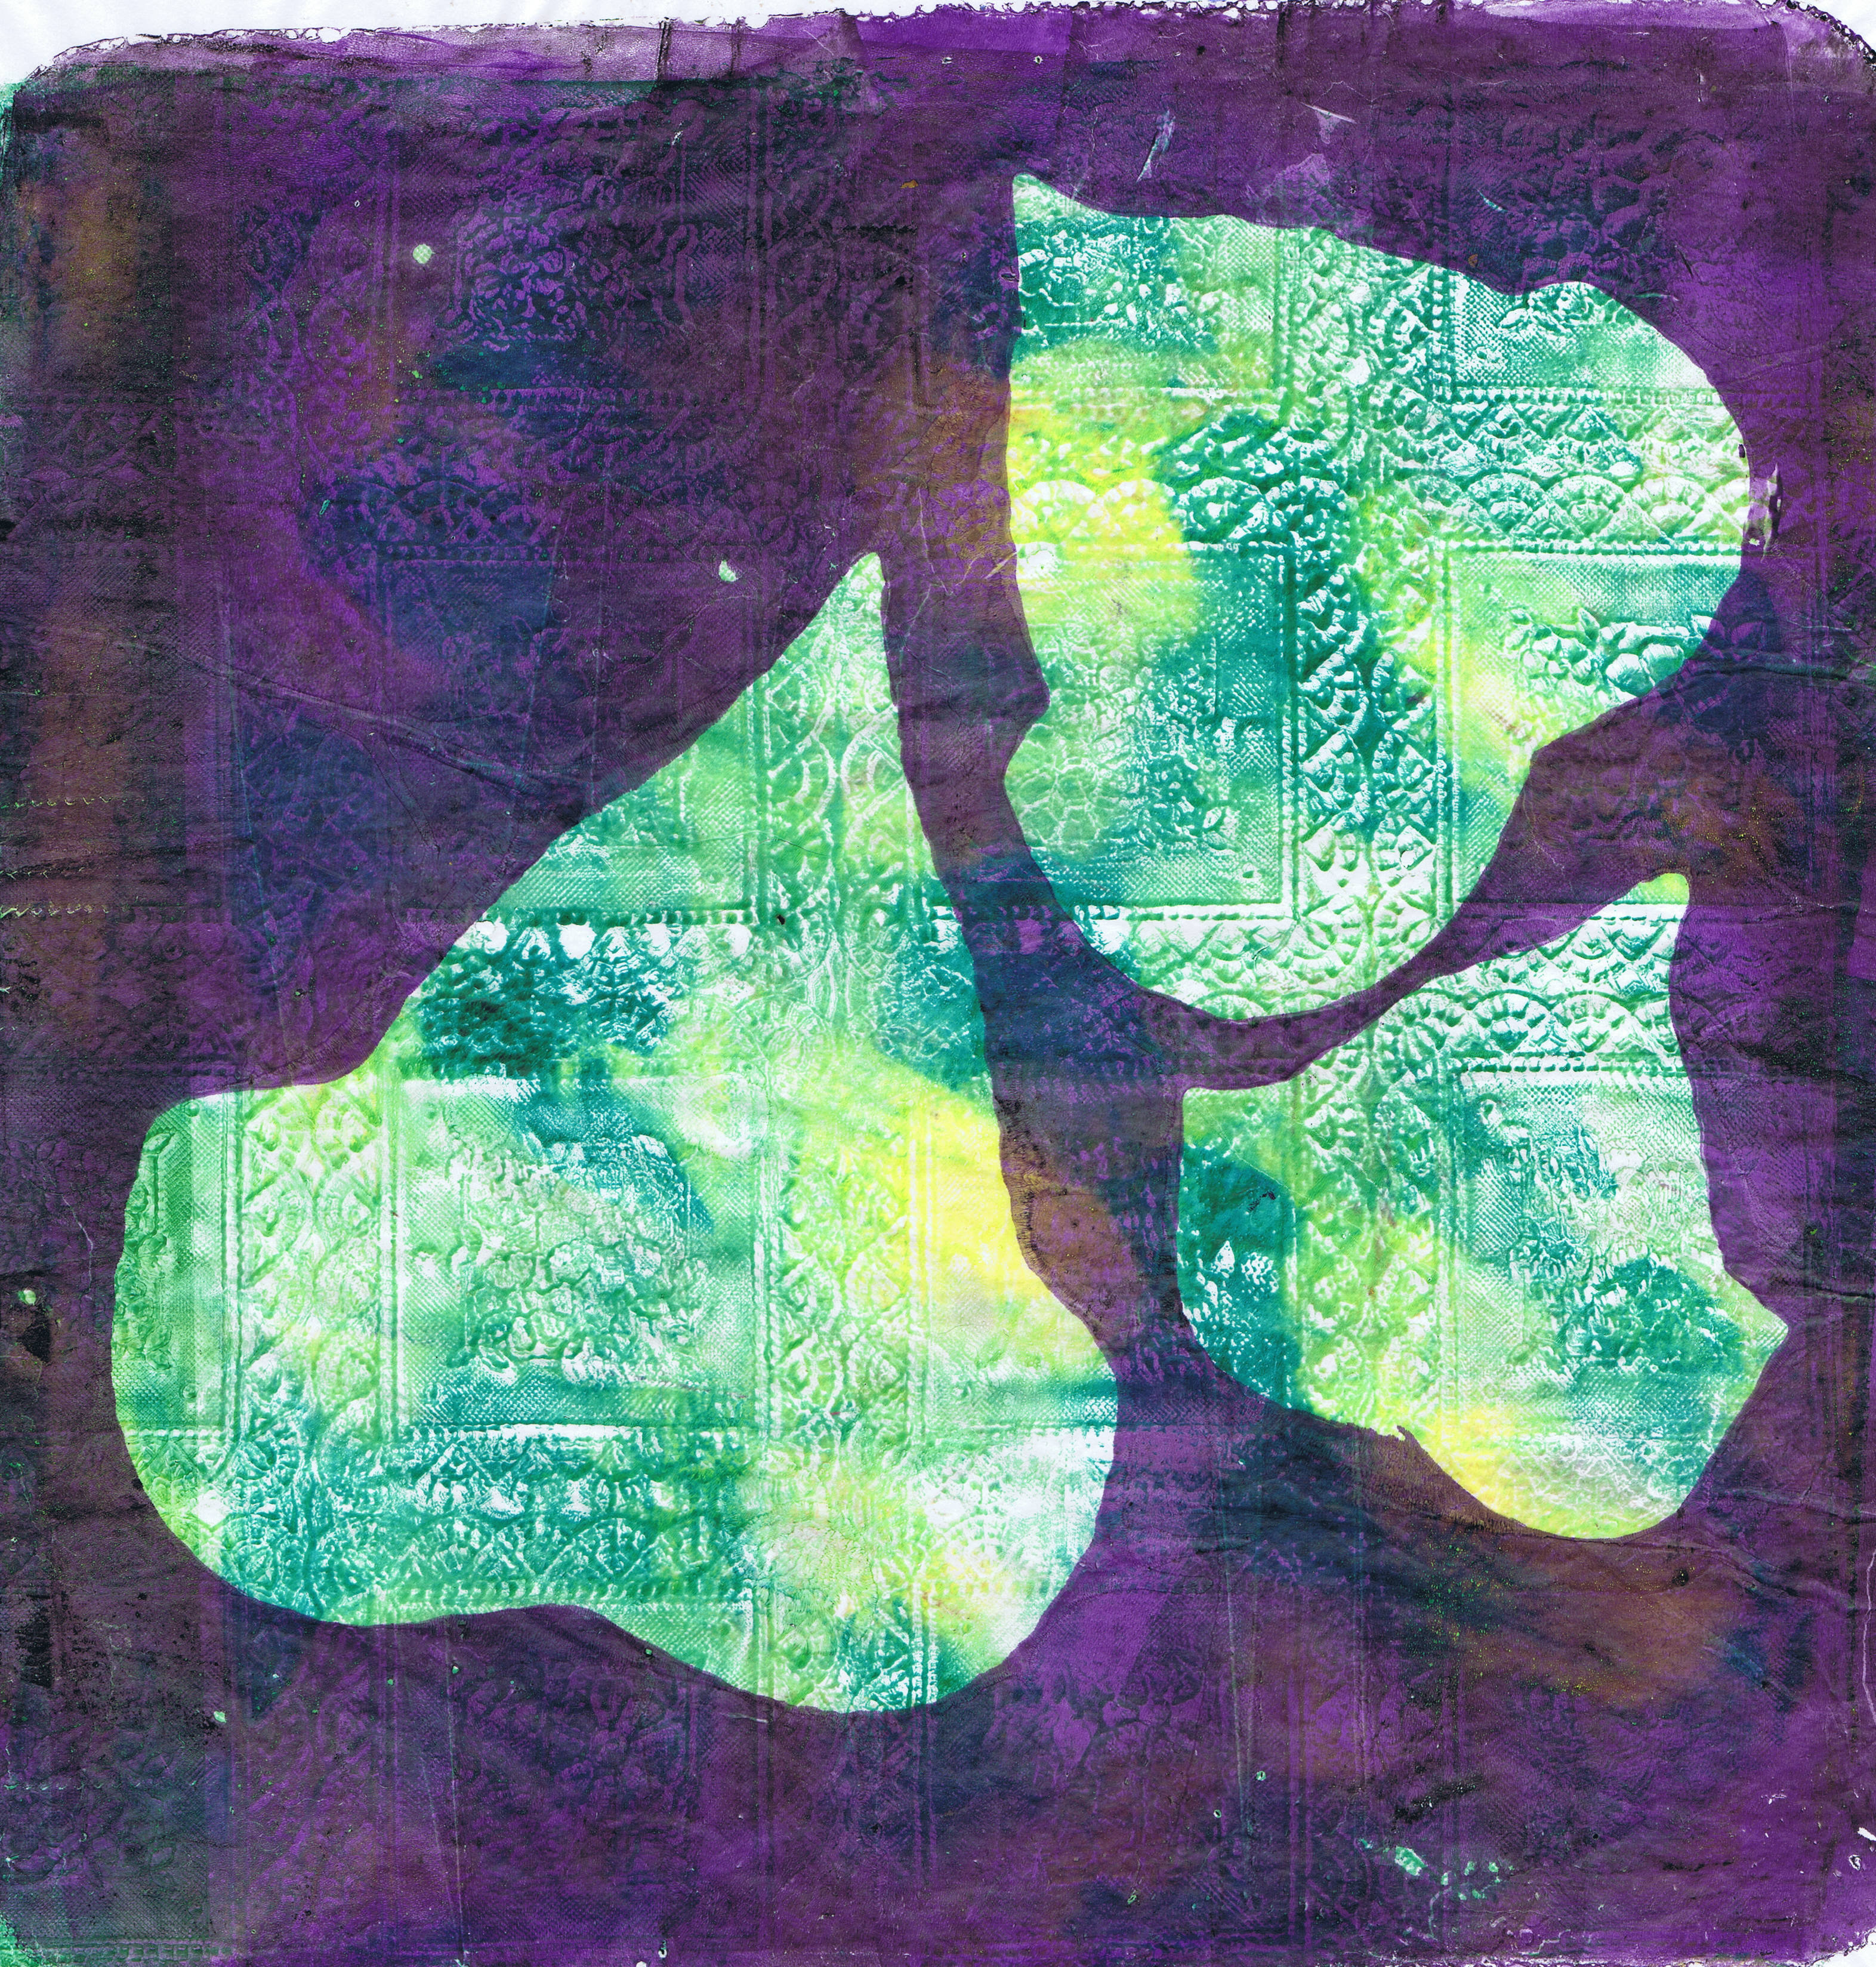
Anyone who knows me knows I am mad about gelatin monoprinting. I do not have a gelli plate, but have a silicone rubber plate my husband made me. It works for most things, but not really for plastic or card stencils. When I want to do that sort of thing I make a gelatin plate. You can find instructions for that just about anywhere on the internet by typing in 'gelatin printing plate' I add an amount of glycerin to mine and it lasts for months. When it gets a bit tatty, I just remelt it in the microwave.
However, one thing the silicone plate does extremely well is leaf printing, and of course, I love leaves.
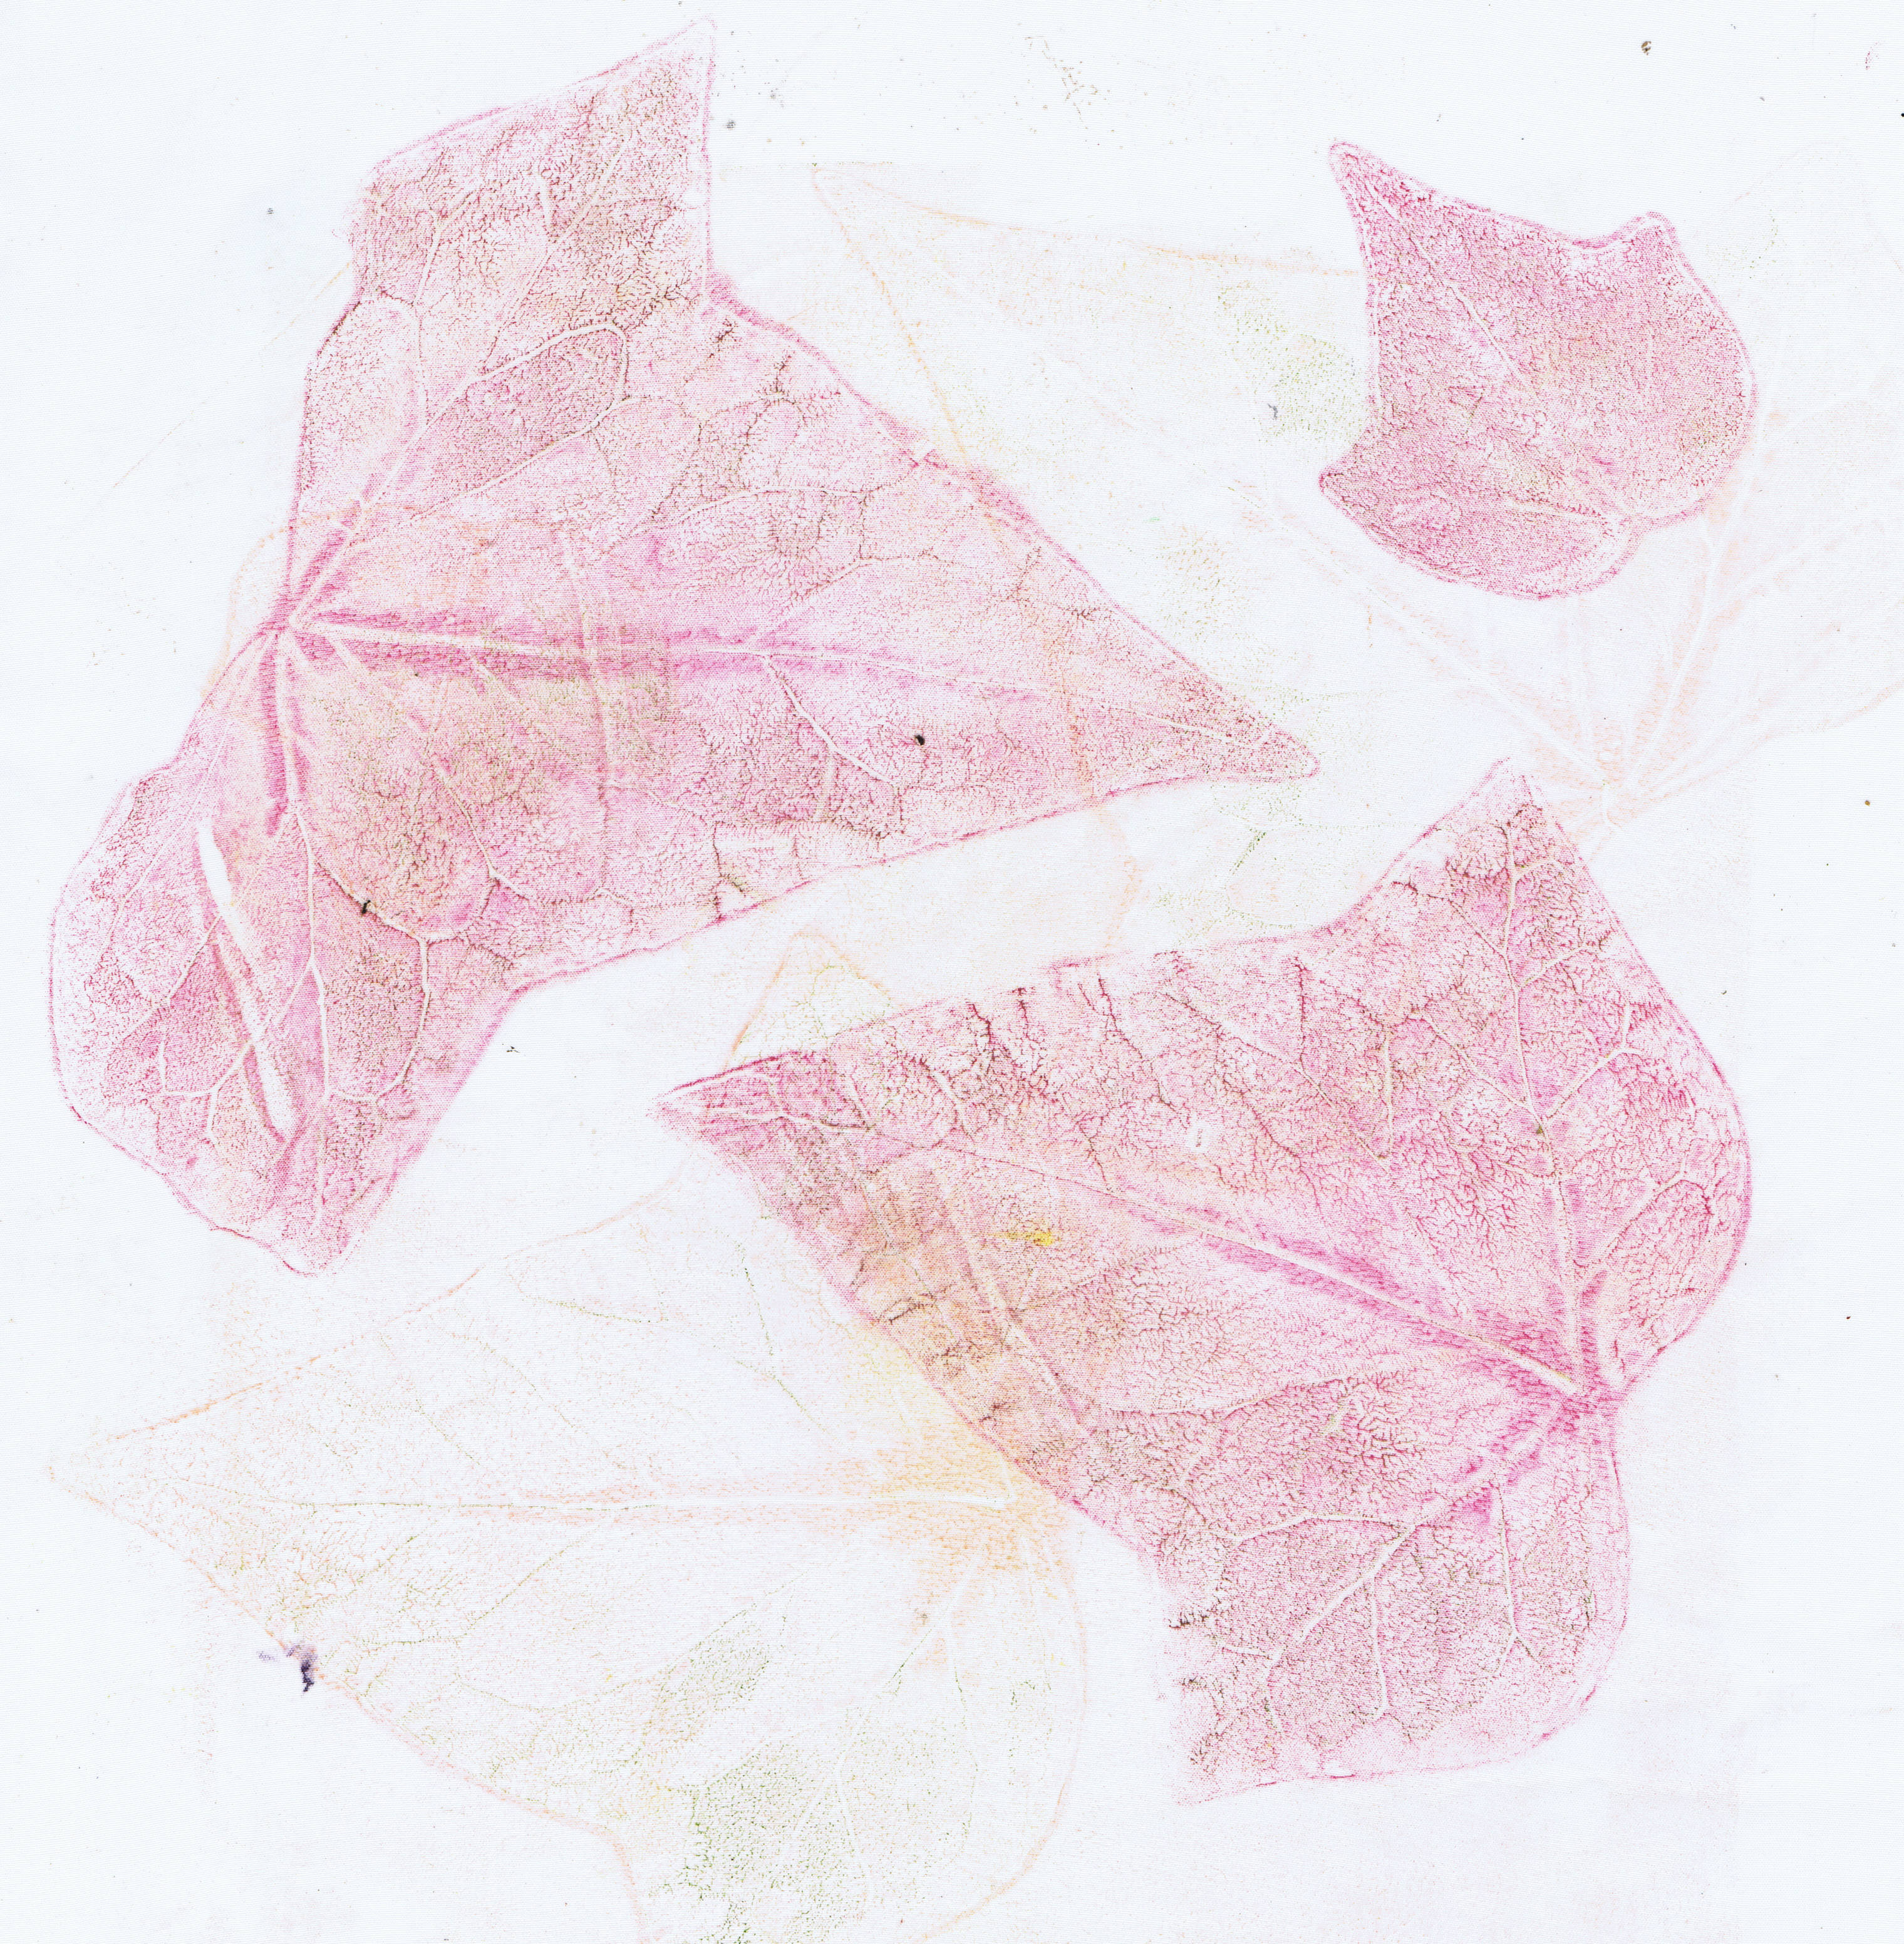
The other day, I did a few prints on chiffon.
Isn't the detail on these prints glorious?
What I do is ink the plate (sorry, roller paint onto the plate) add the leaves, vein side down. Then I get rid of the paint around the prints by just printing off on paper.
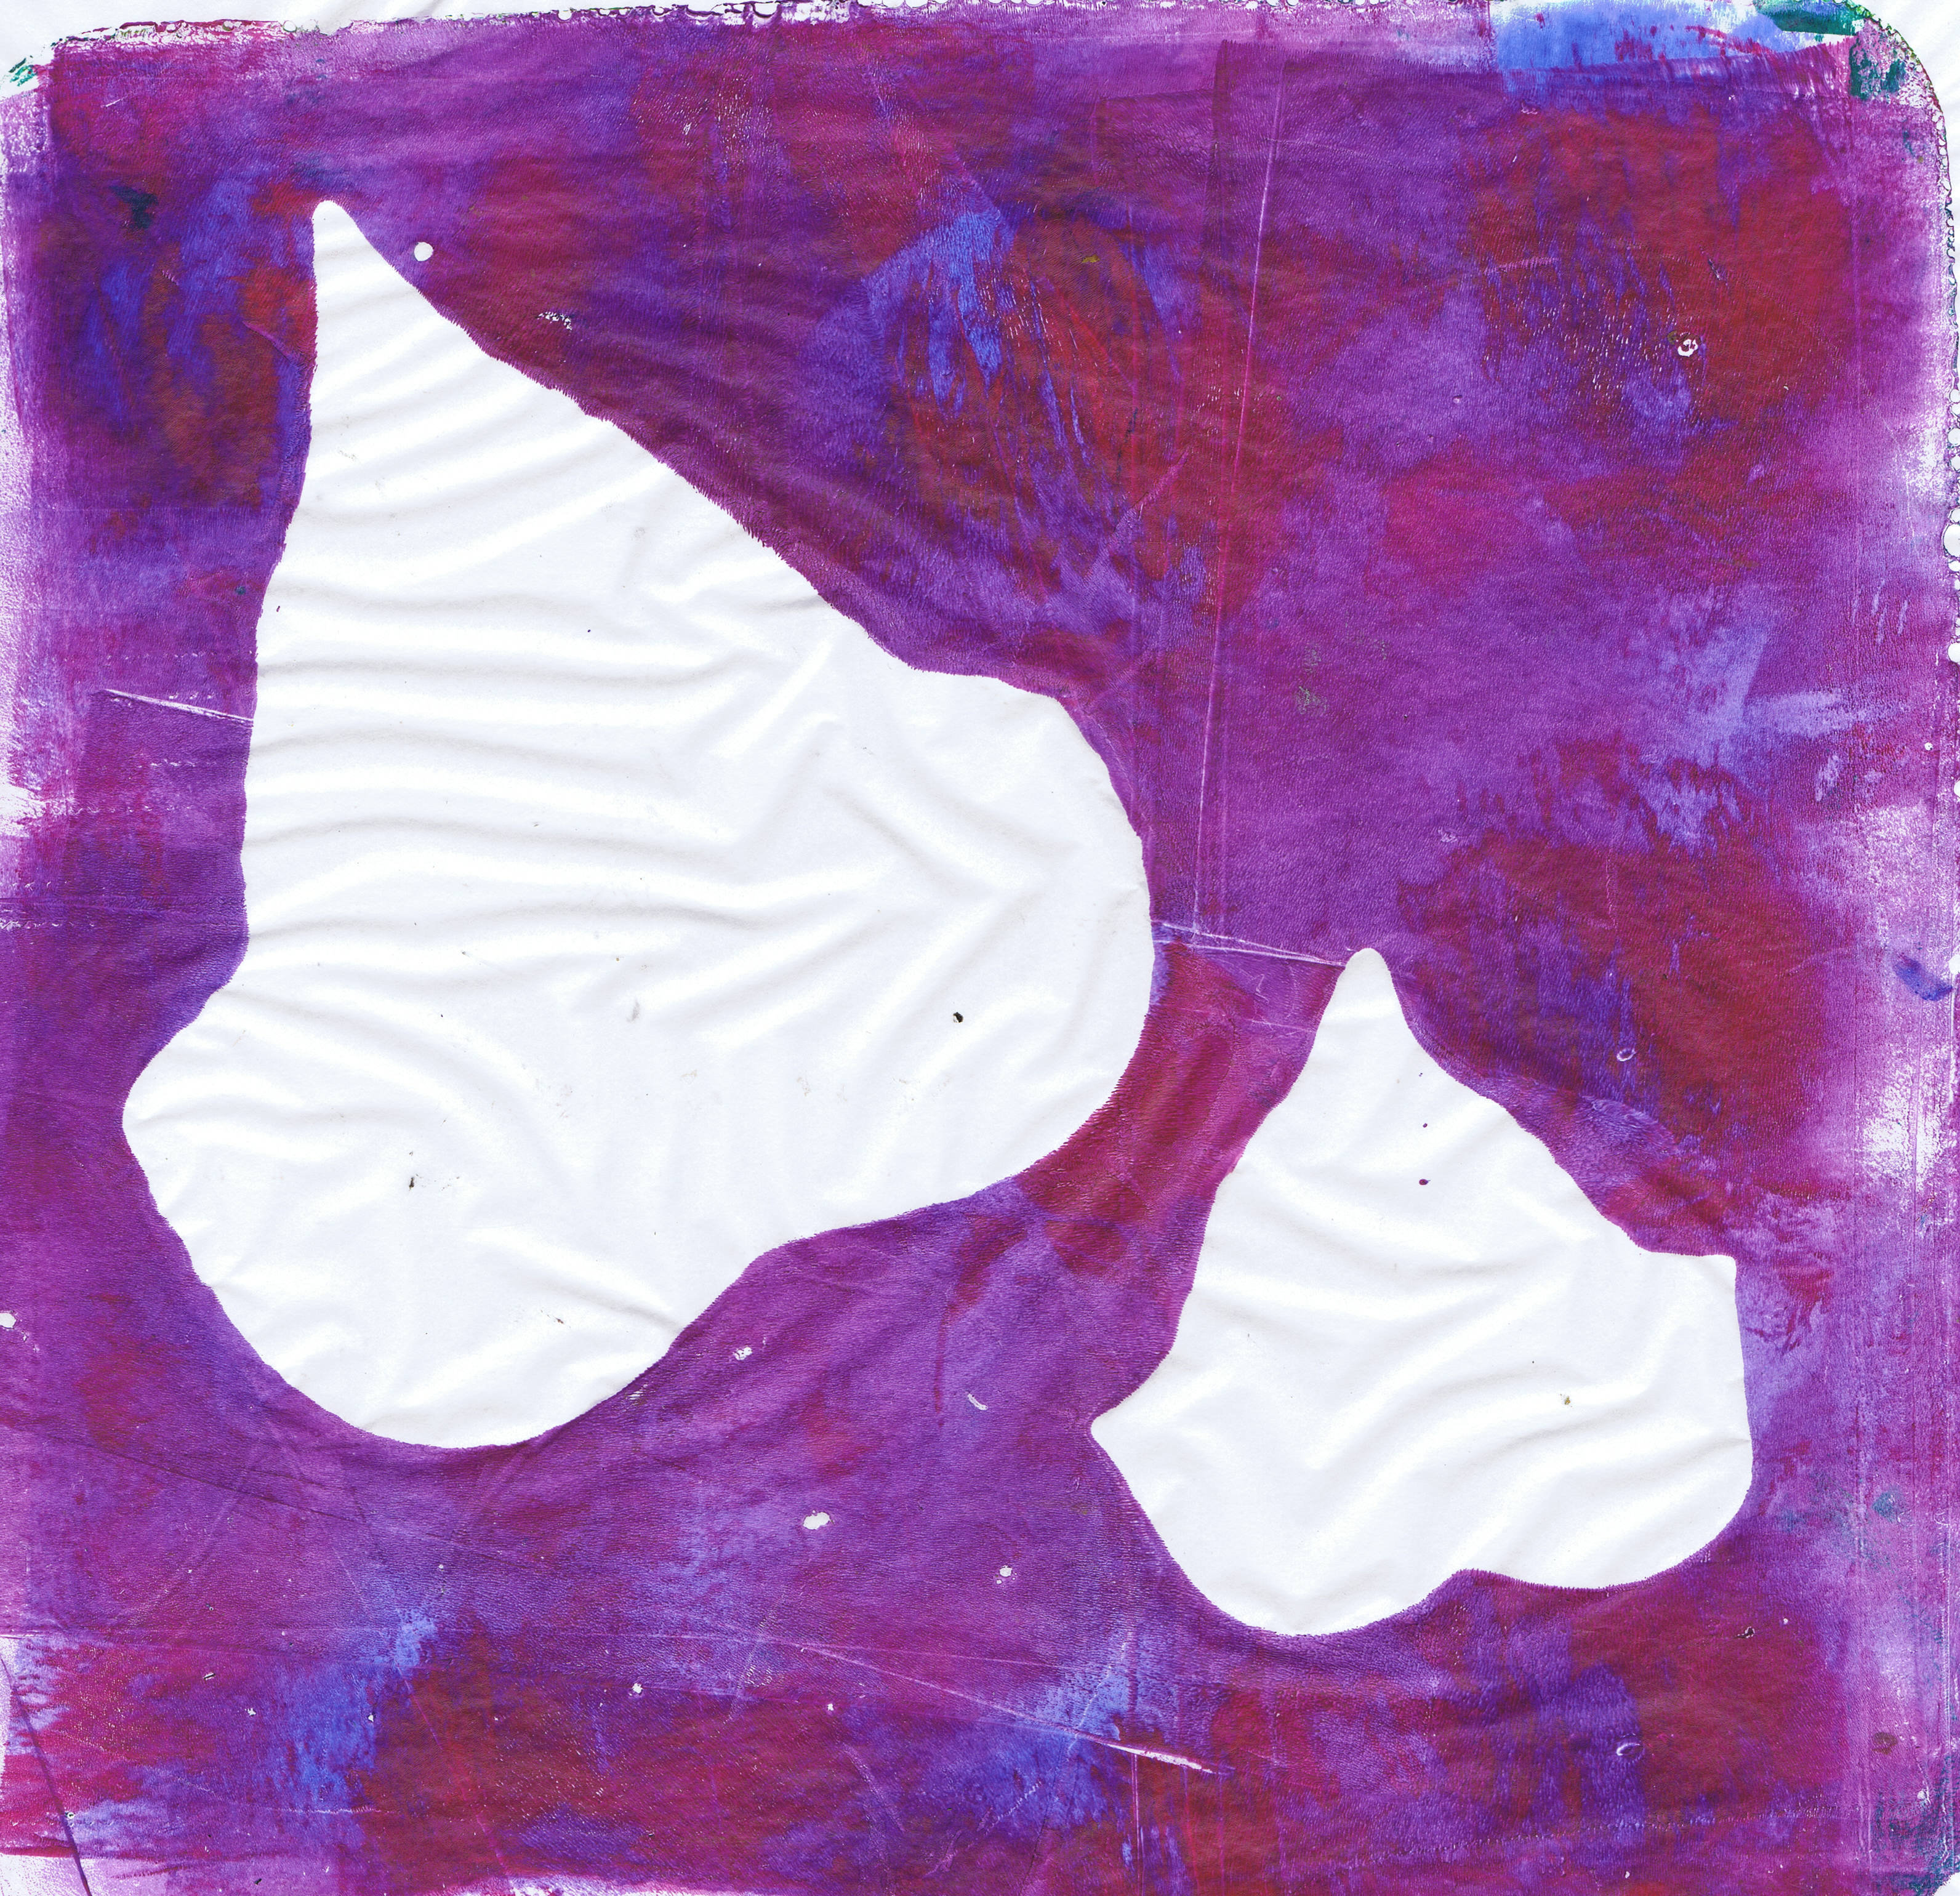
I get a print like this. Sometimes I overprint on already printed papers.
And I get something like this, so then there is no waste with the paint.
However back to the leaf prints, I still have the leaves on the plate, but there is no paint around them any more, so I carefully lift them up and do another print and get the leaf prints. Voila!
The prints look a bit pale' but you have to remember they are printed on transparent fabric and in reality, they are quite visible. These will most certainly find a home in my fibre art pieces. Very yummy!
Happy Creating!
Monday, June 10, 2013
A little bit of a hiccough
Of course, when things are going well, something is bound to put a burr in it.
My phone went dead and with it my camera! I can receive calls but there is no screen, sigh!
Anyhow, I have managed to get my pictures for the last few days off the camera, but of course can't take any more. Have to go back to my old camera - but no phone!
Ah, well at least I have some work to show for it.
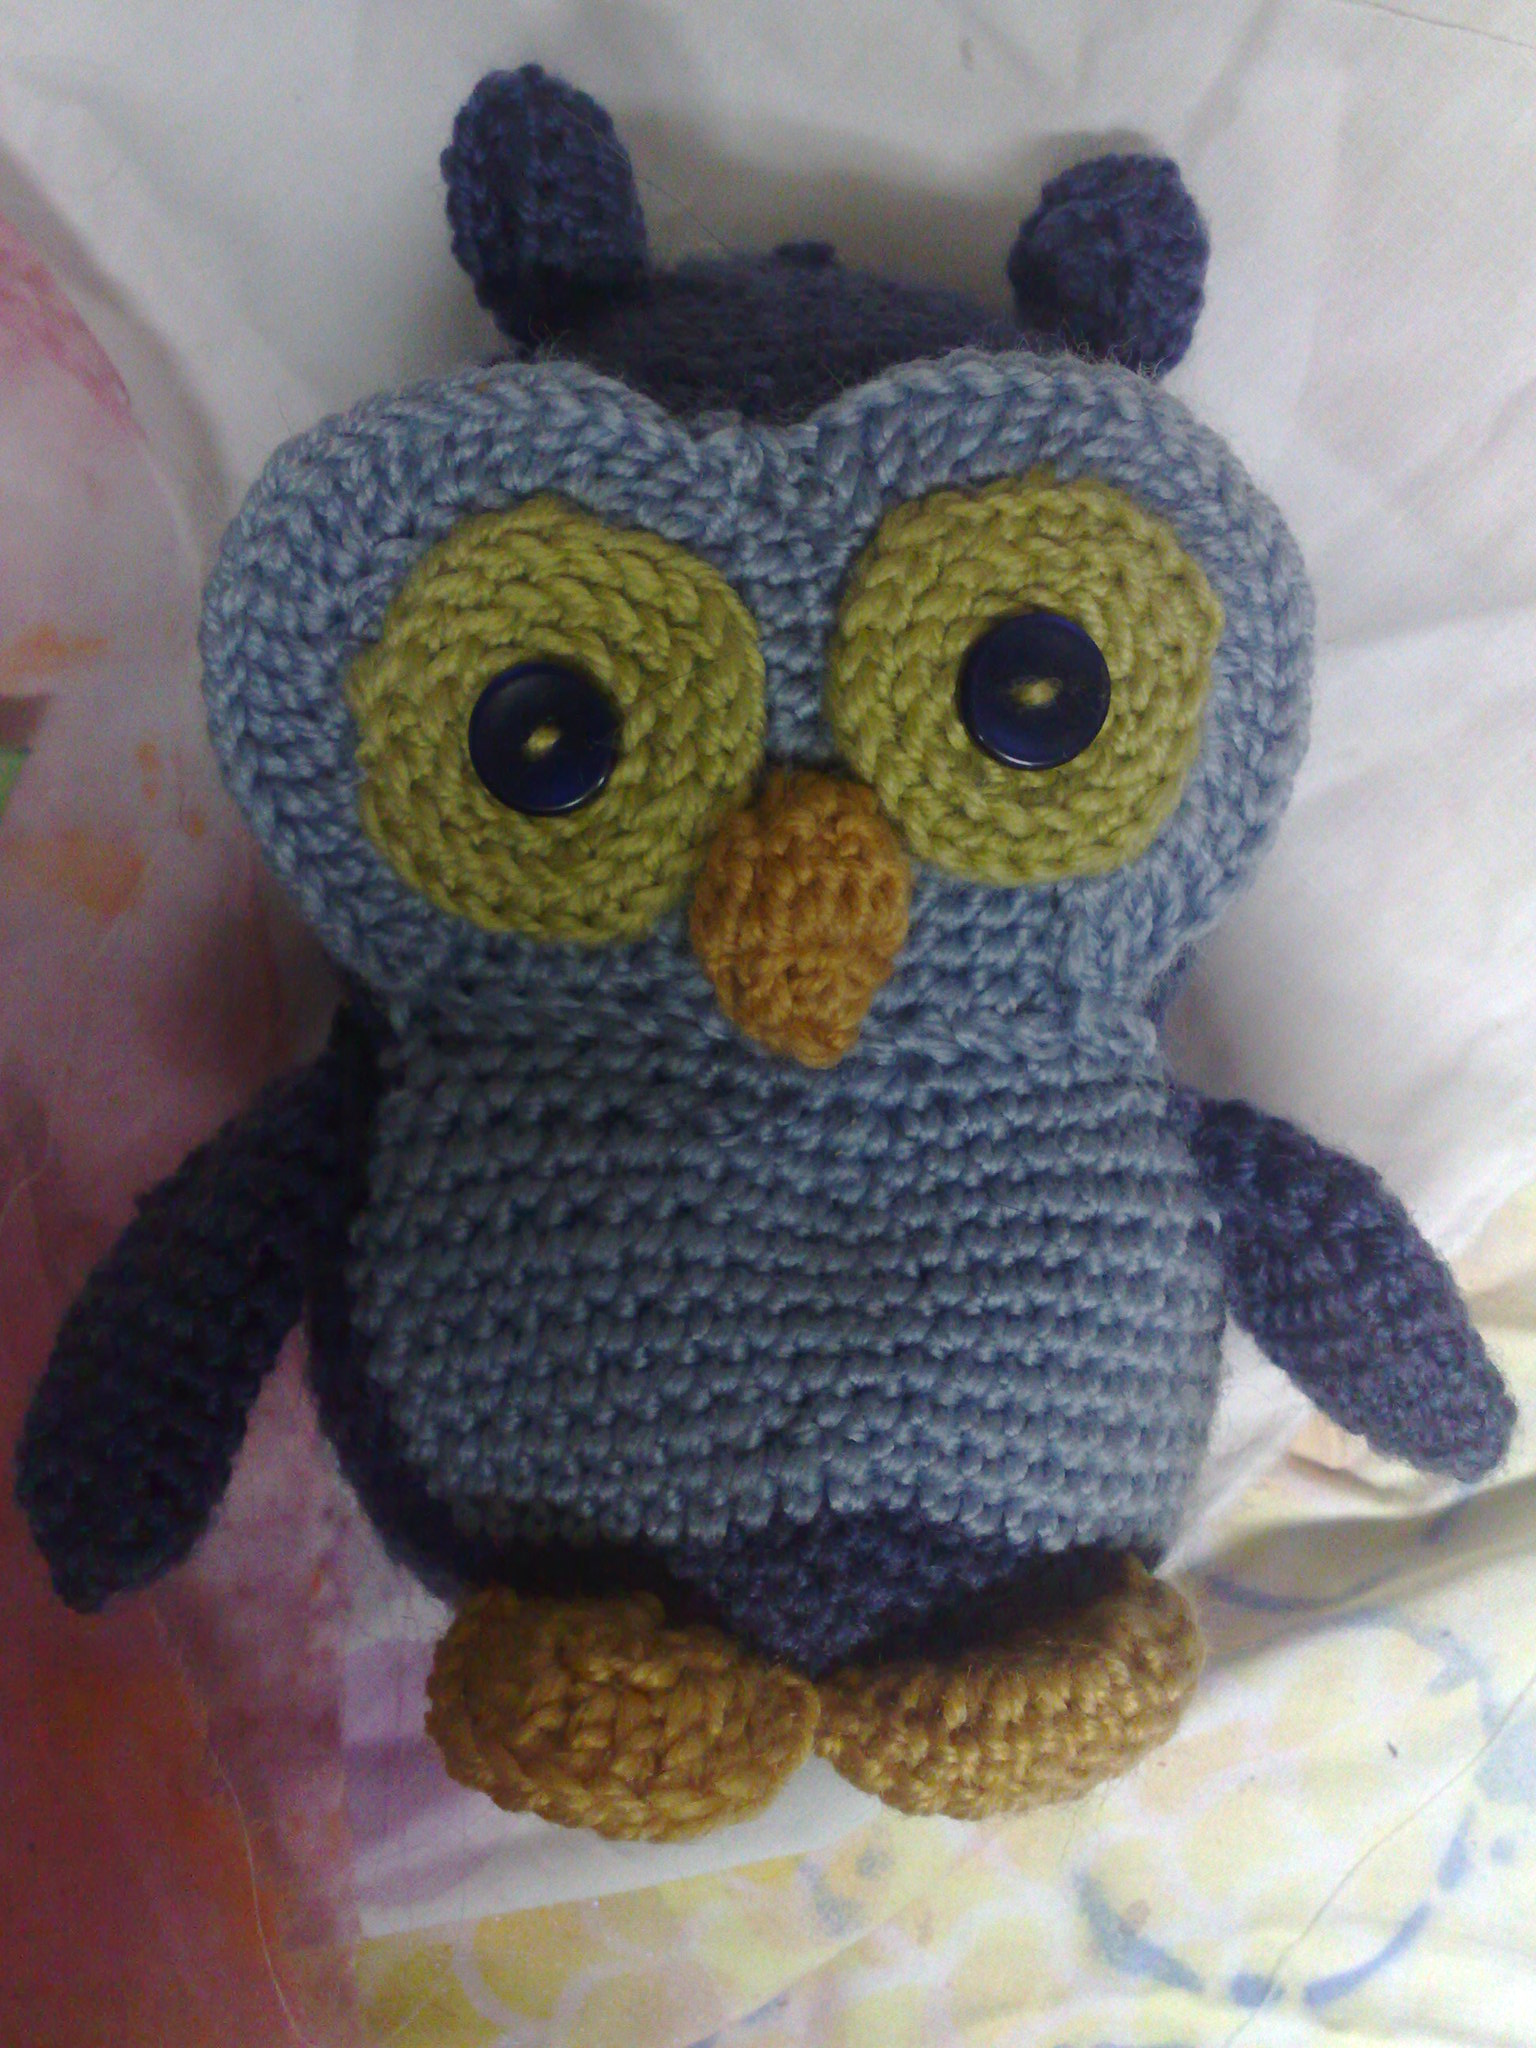
At the end of last week, I had a bit of a crochetting fit and made this stuffed owl, from a Craftsy pattern.
Pretty cute if I do say so myself, although my hands were sore from so many single crochet stitches. I think I will add it to our charity table, which is going to Dunally in Tasmania very soon.
I have done a little on the crocus piece I started last week, but no photo.
I have however done three little needlefelted pieces which I will embroider on soon.
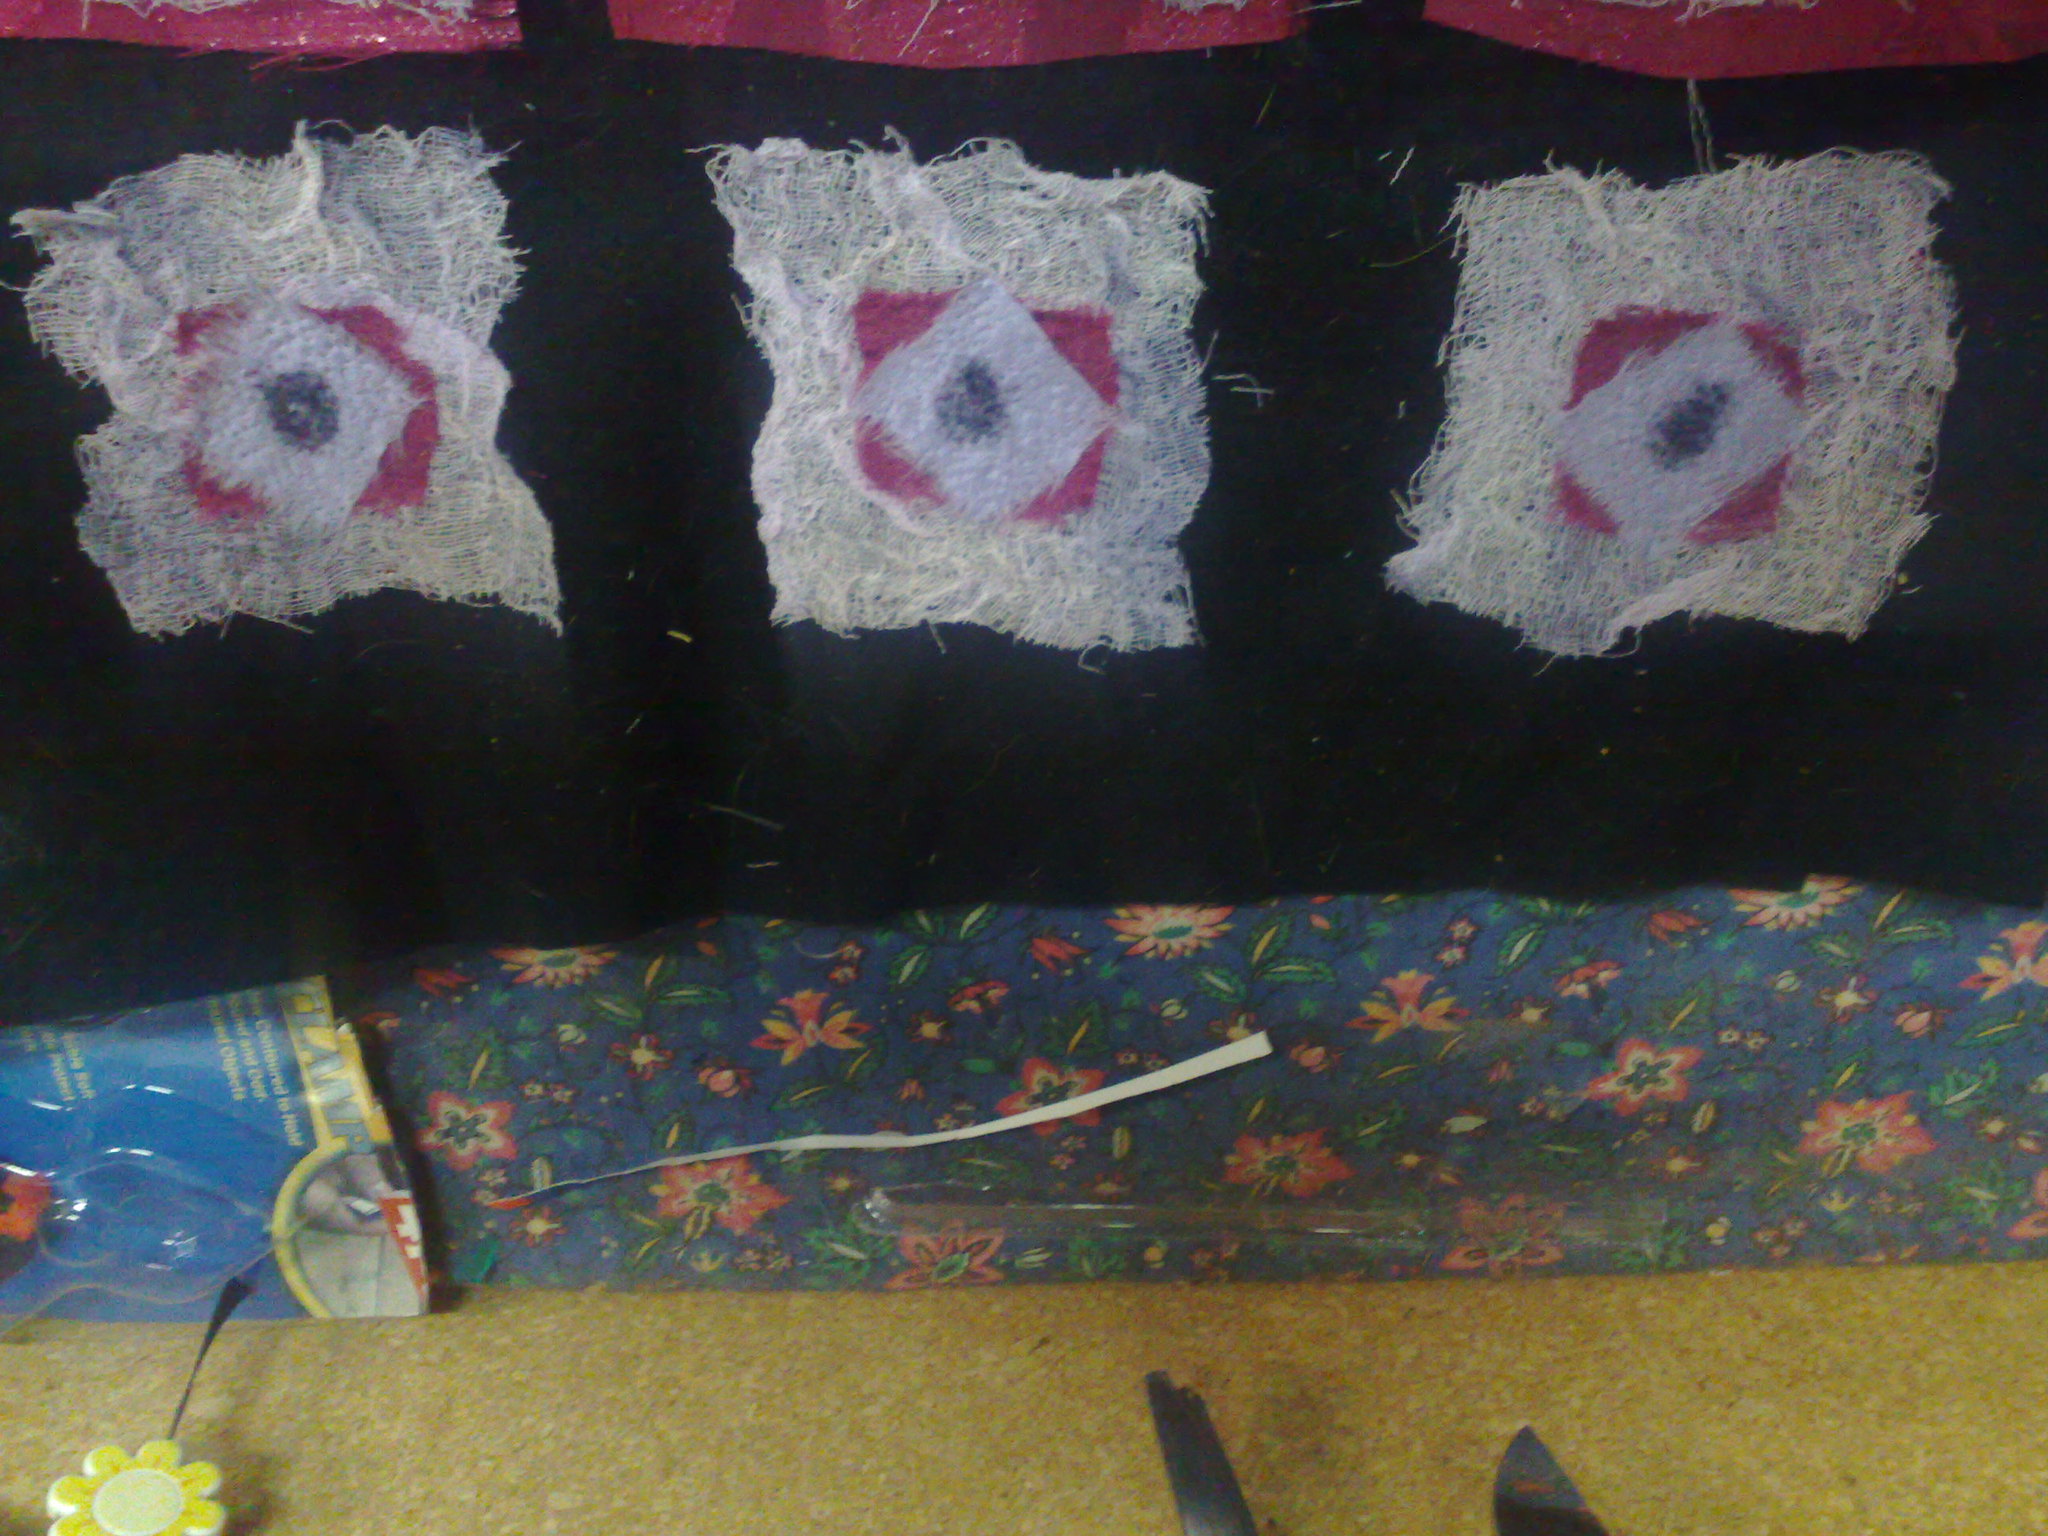
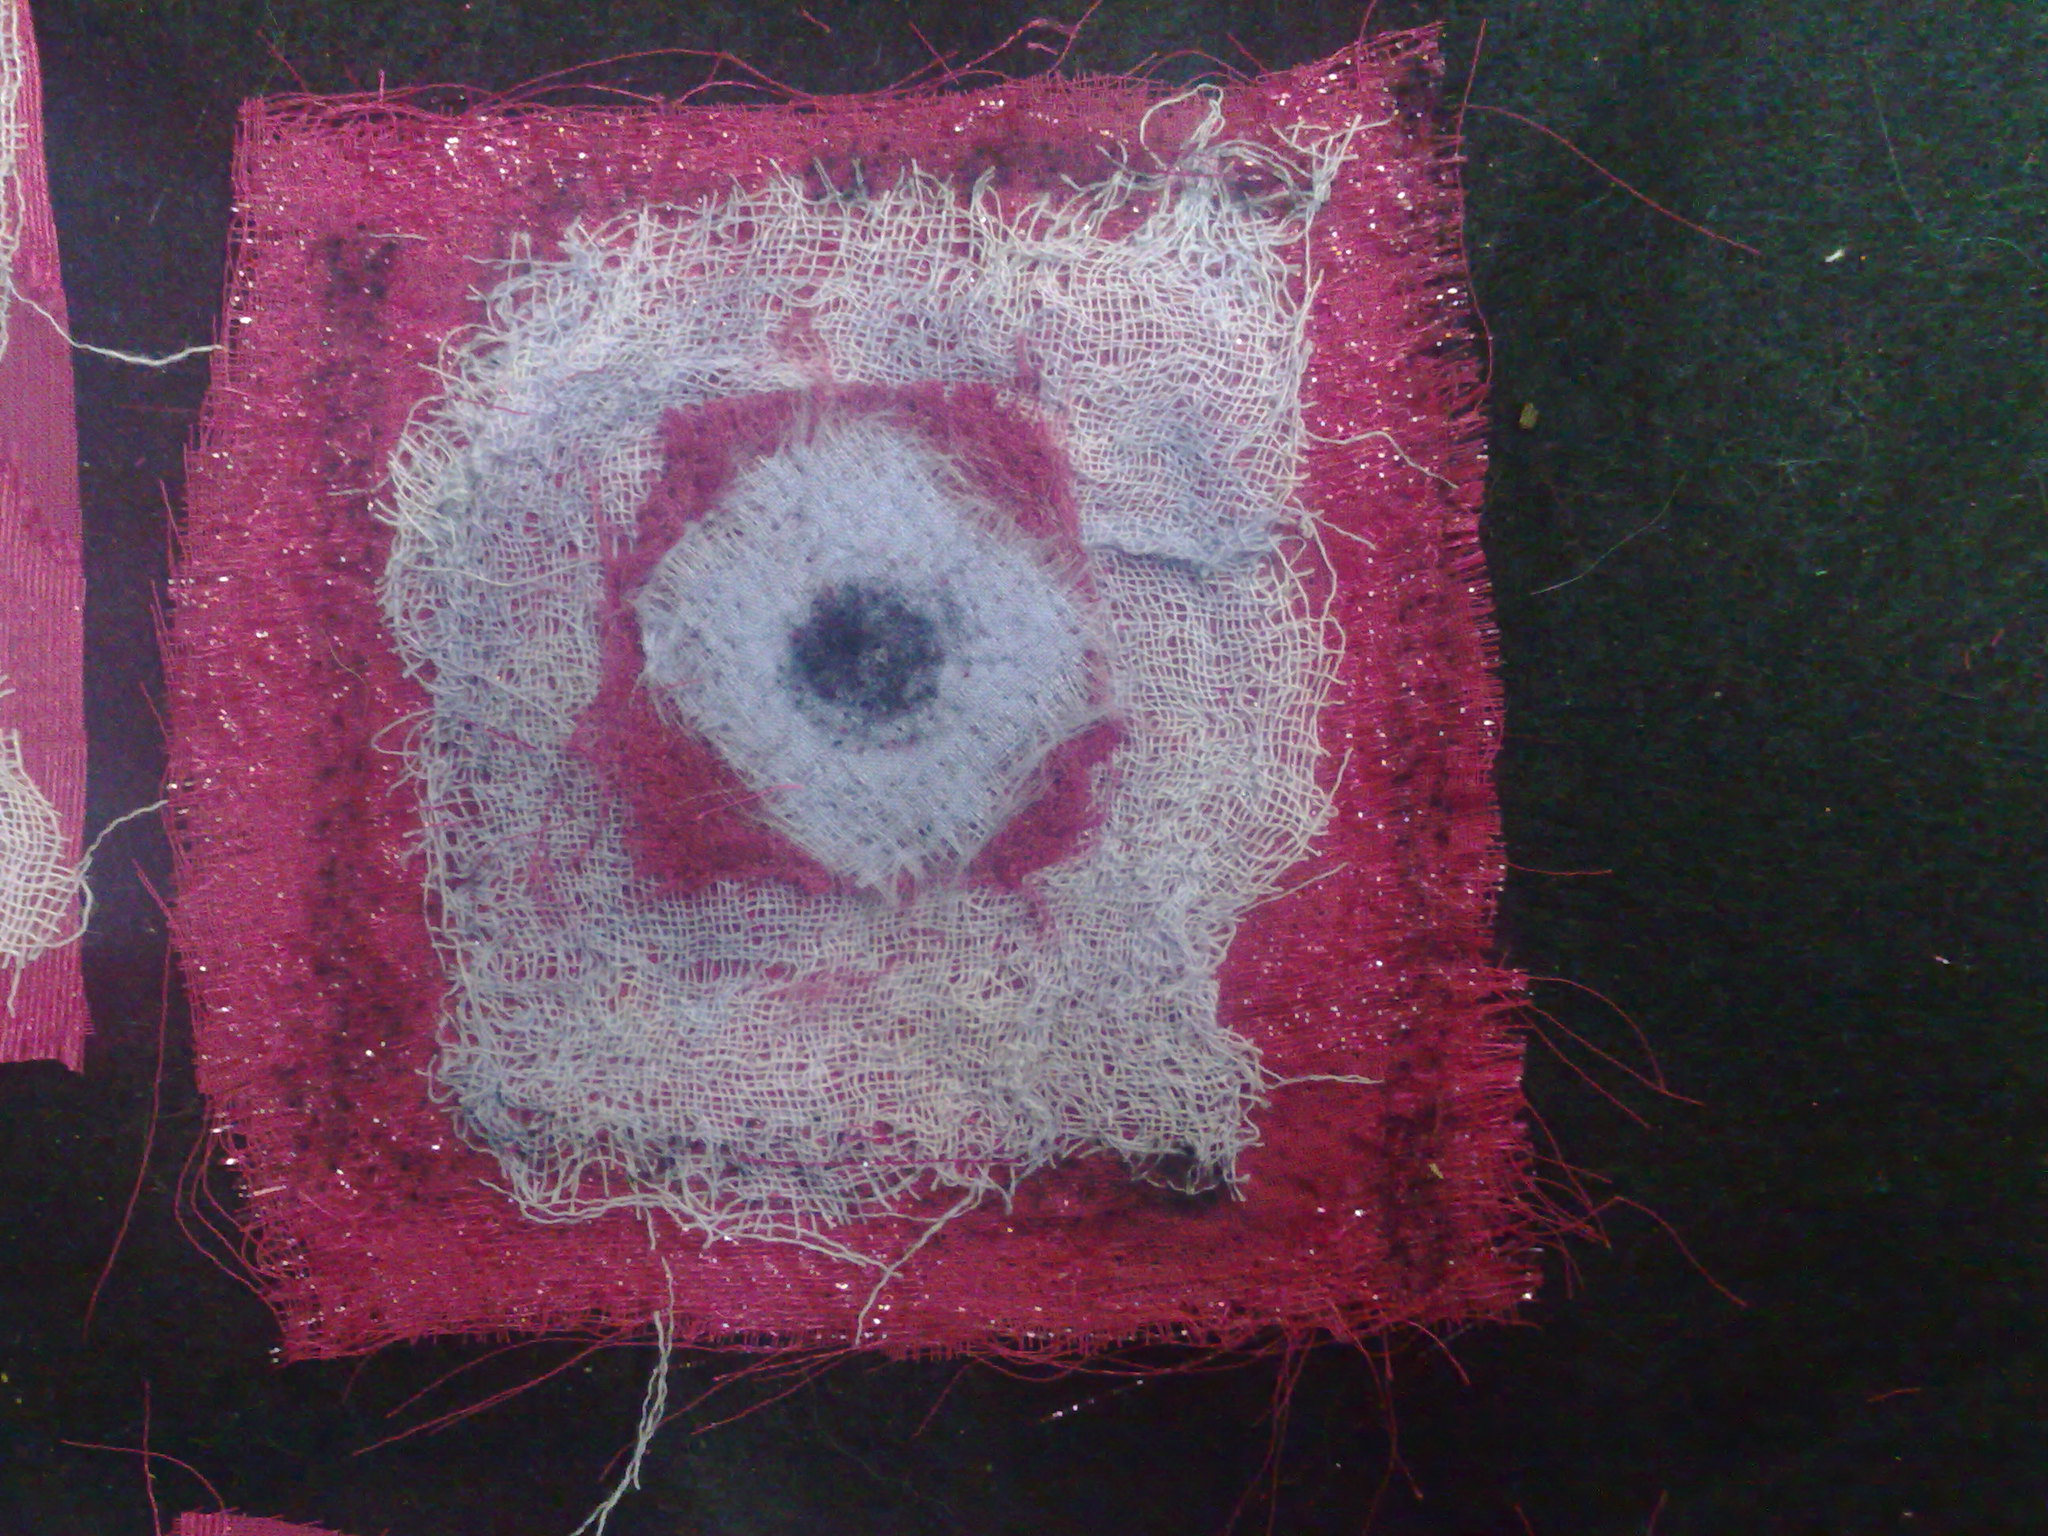
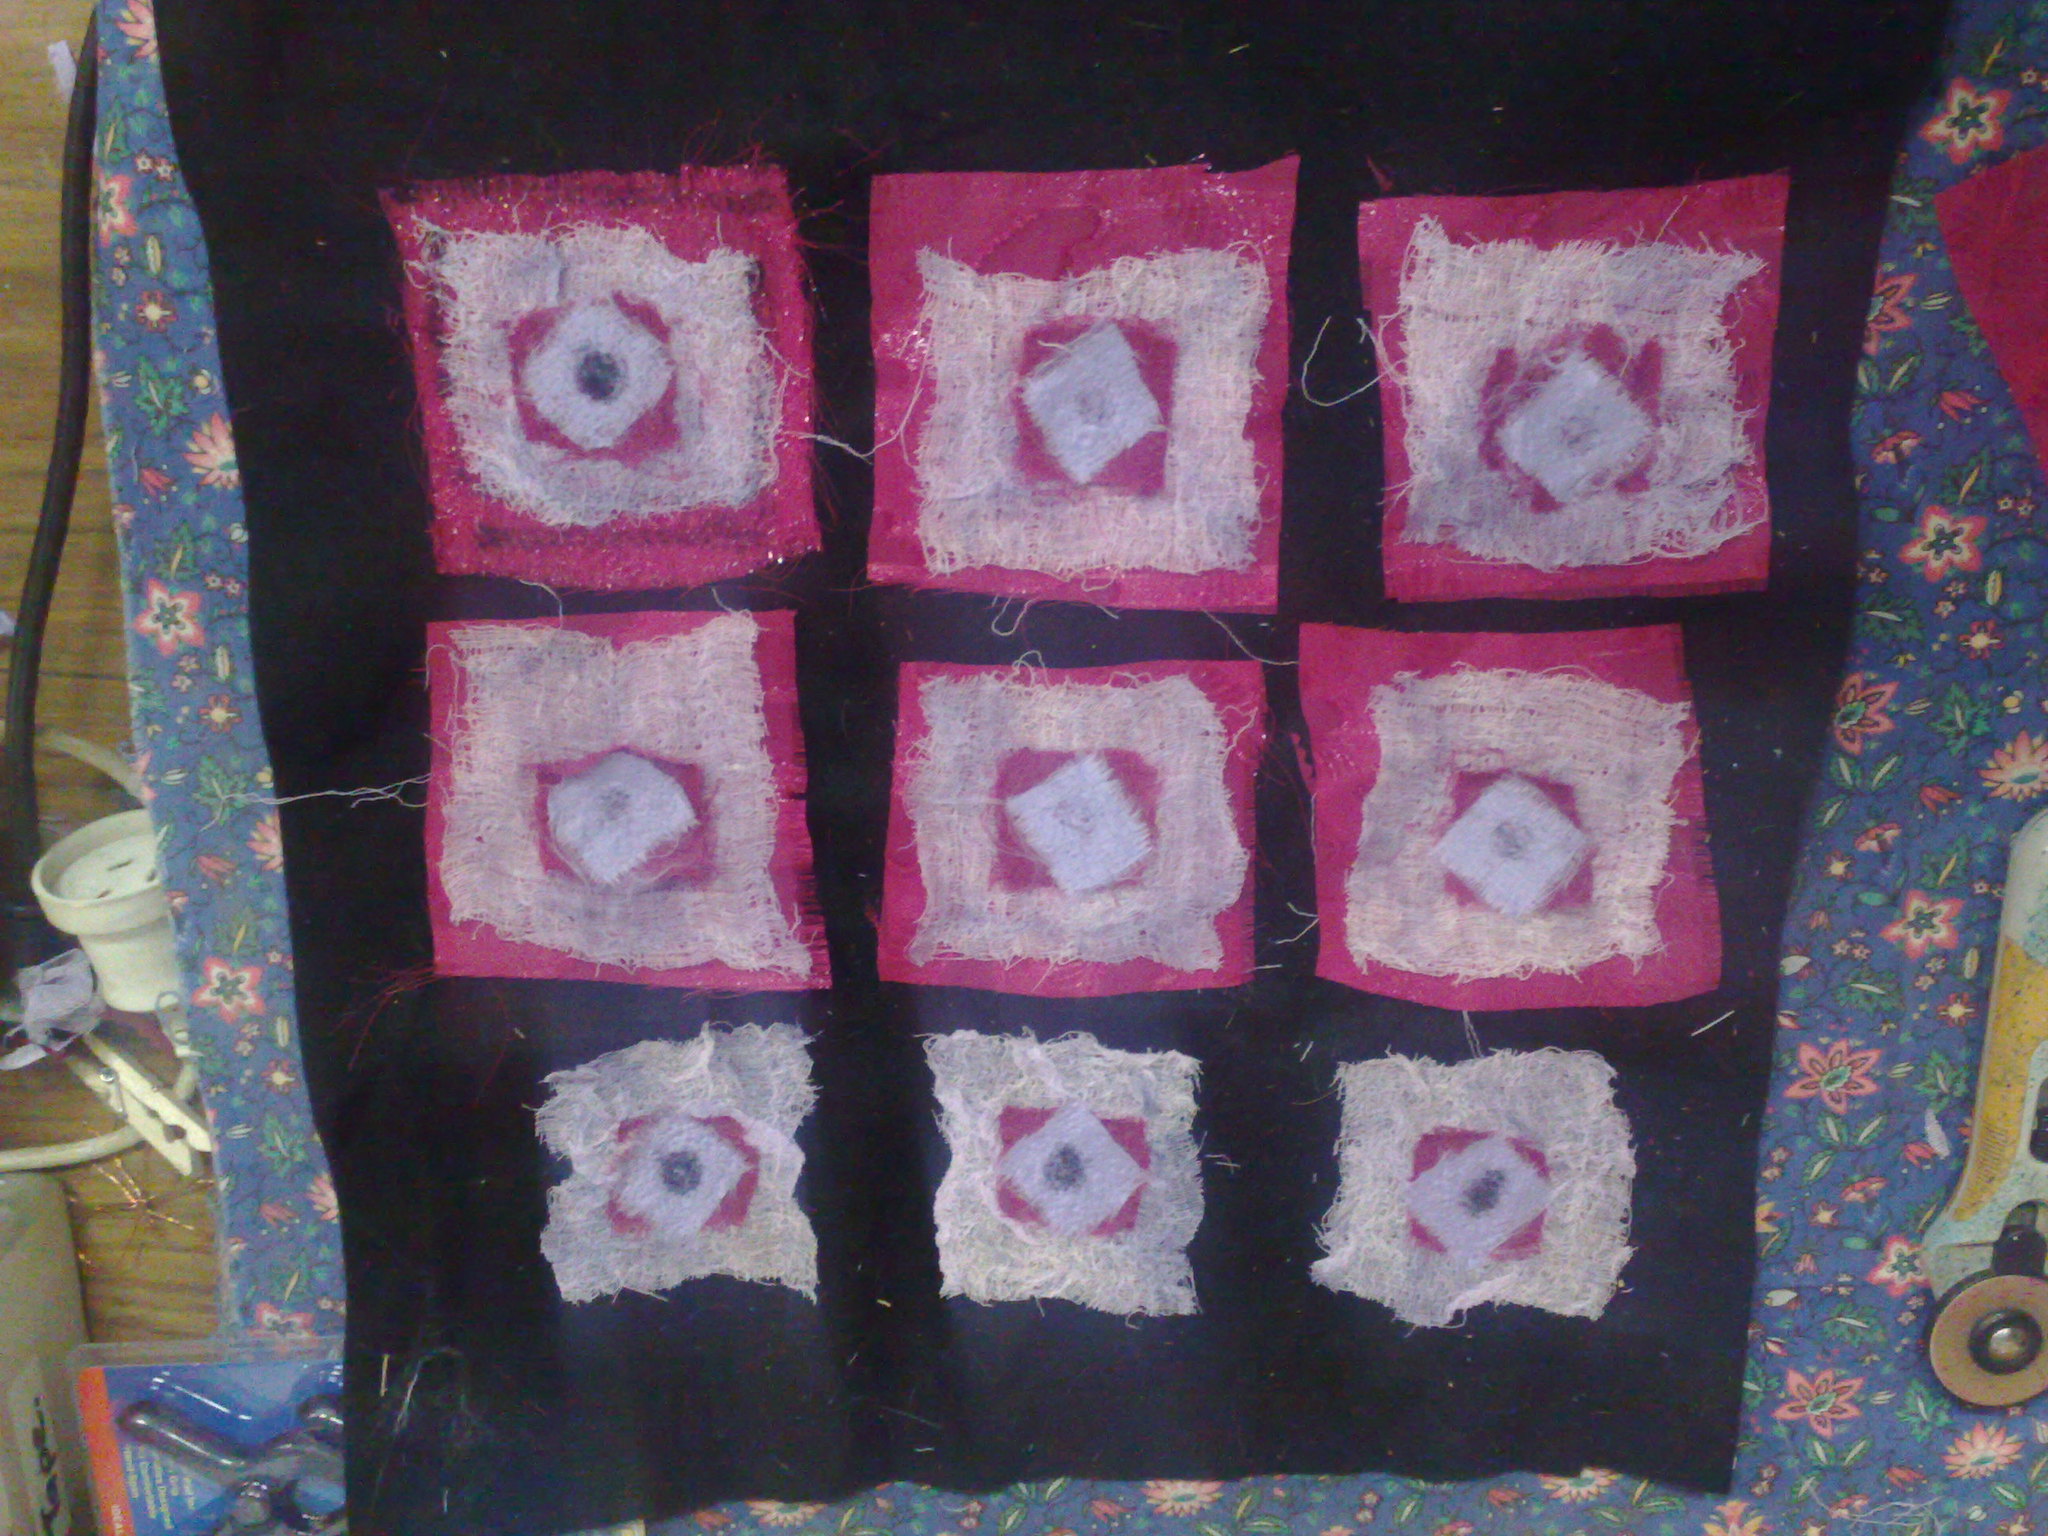
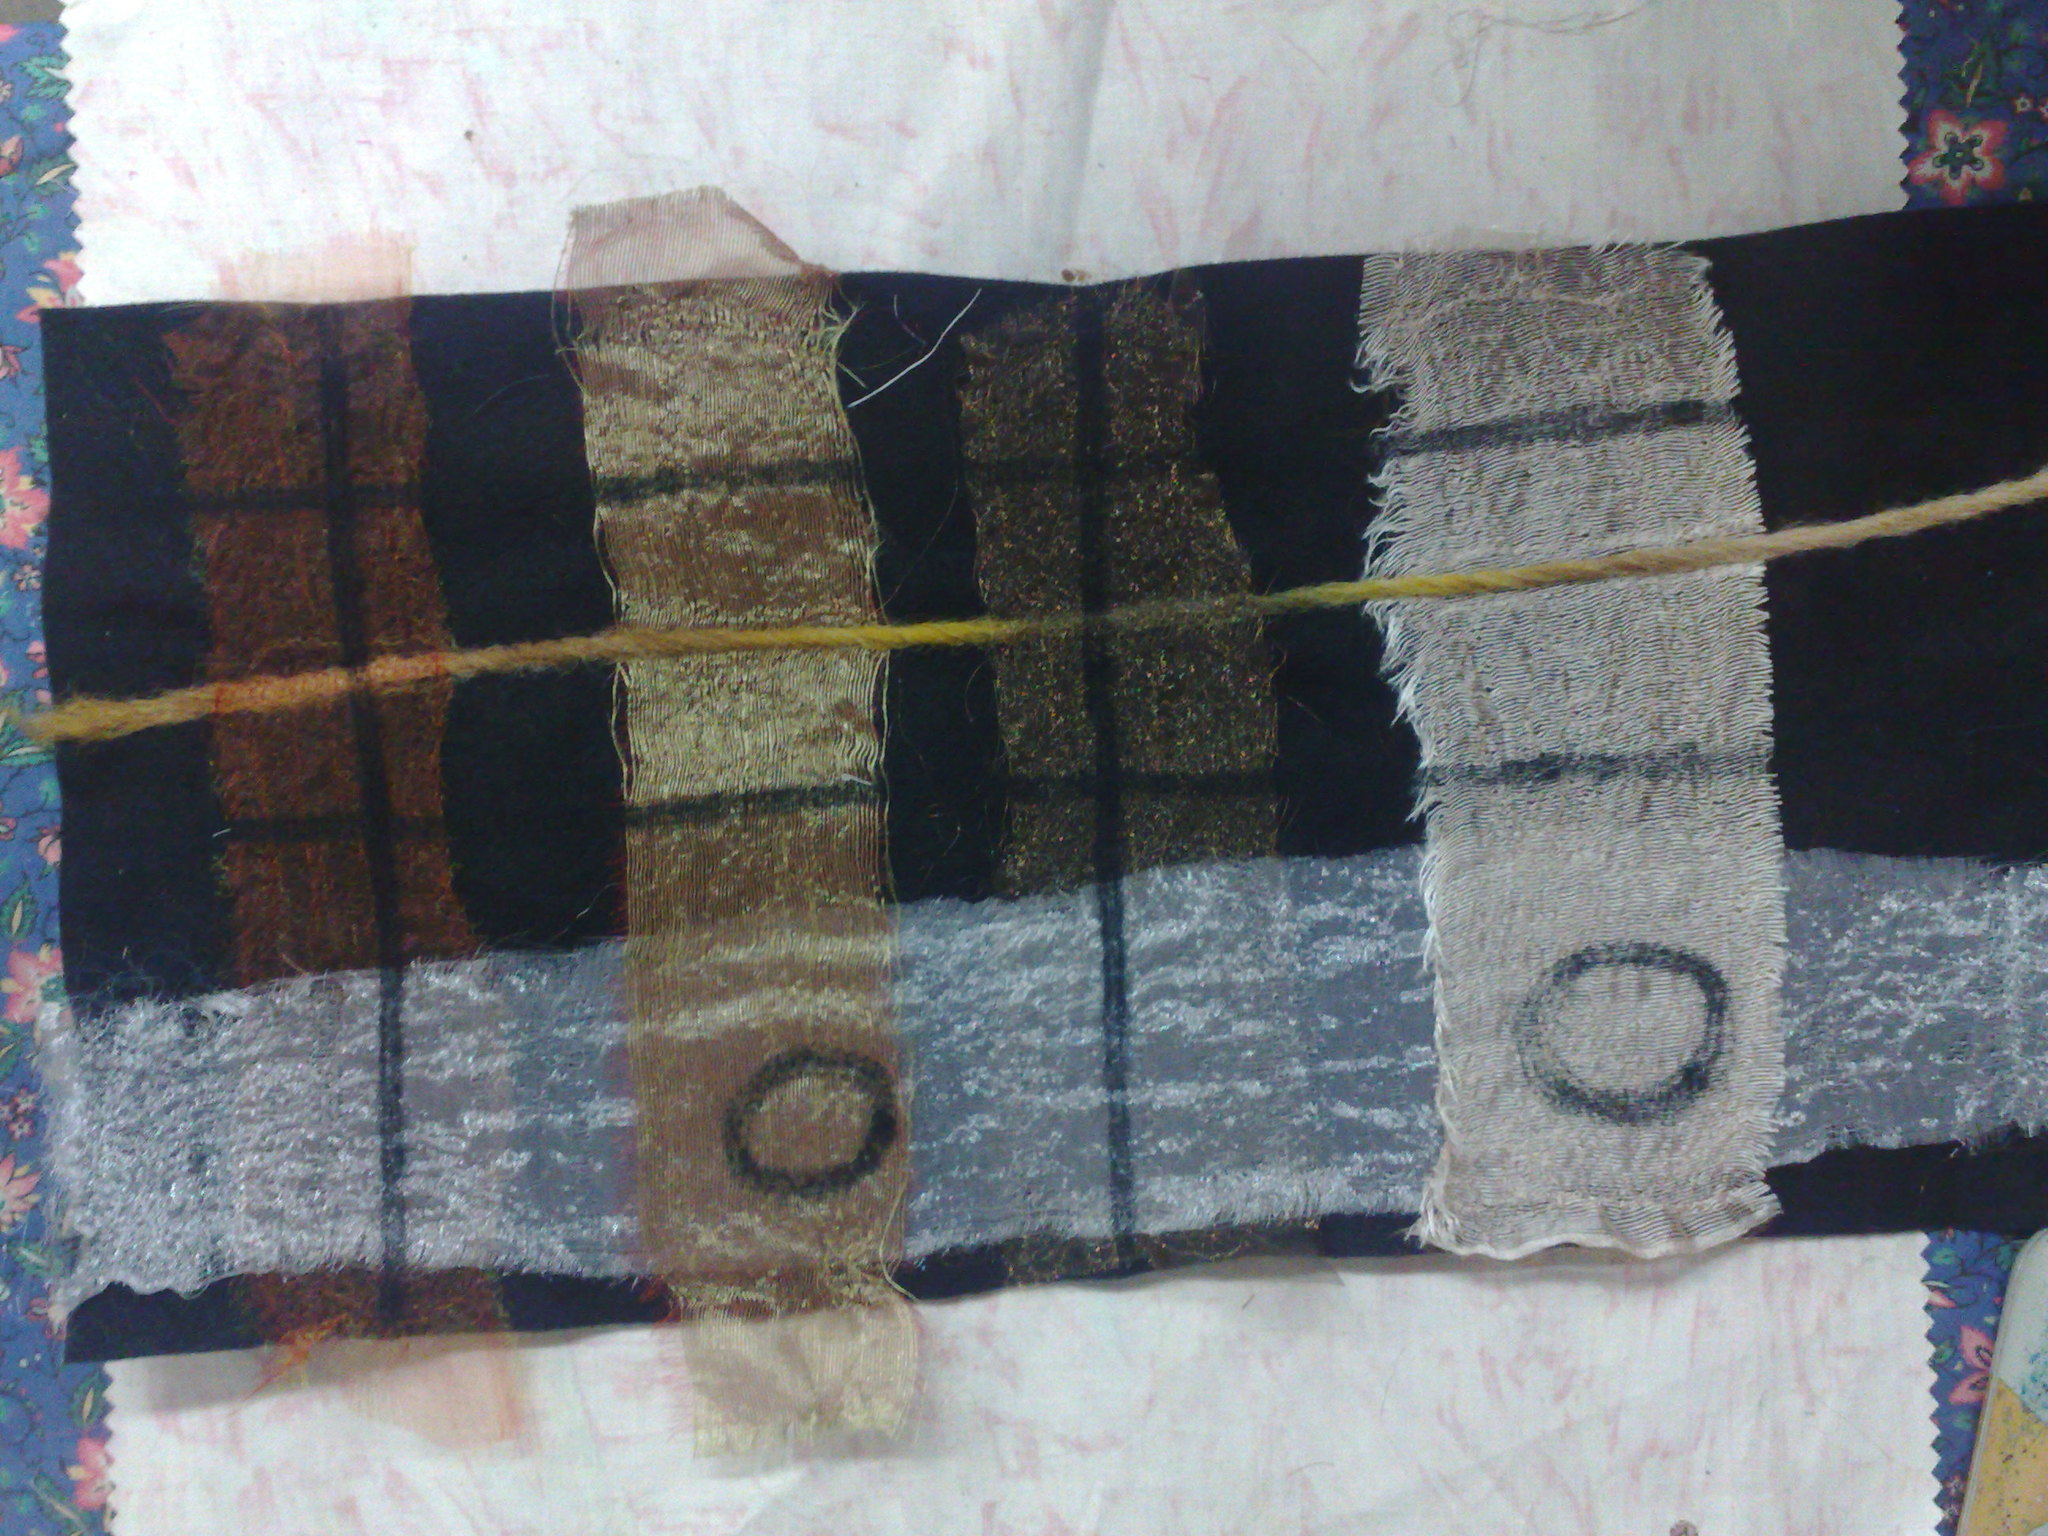
The first one started off with a nine patch of these little squares which are hand dyed scrim/cheesecloth with little bits of silk and satin on top. The black dots are made by felting from the back, which is black felt.
They looked very distressed close up, but that is why I used the scrim. It was a pale lilac colour, but looked very washed out against the black. So... I pulled them off and added some magenta shot chiffon underneath.
Here is one when re felted. Looking very distressed now.
Here's a comparison of the two. The original ones don't look the best, do they?
And the final, very distressed looking arrangement. I think I feel some gold threadwork coming on!
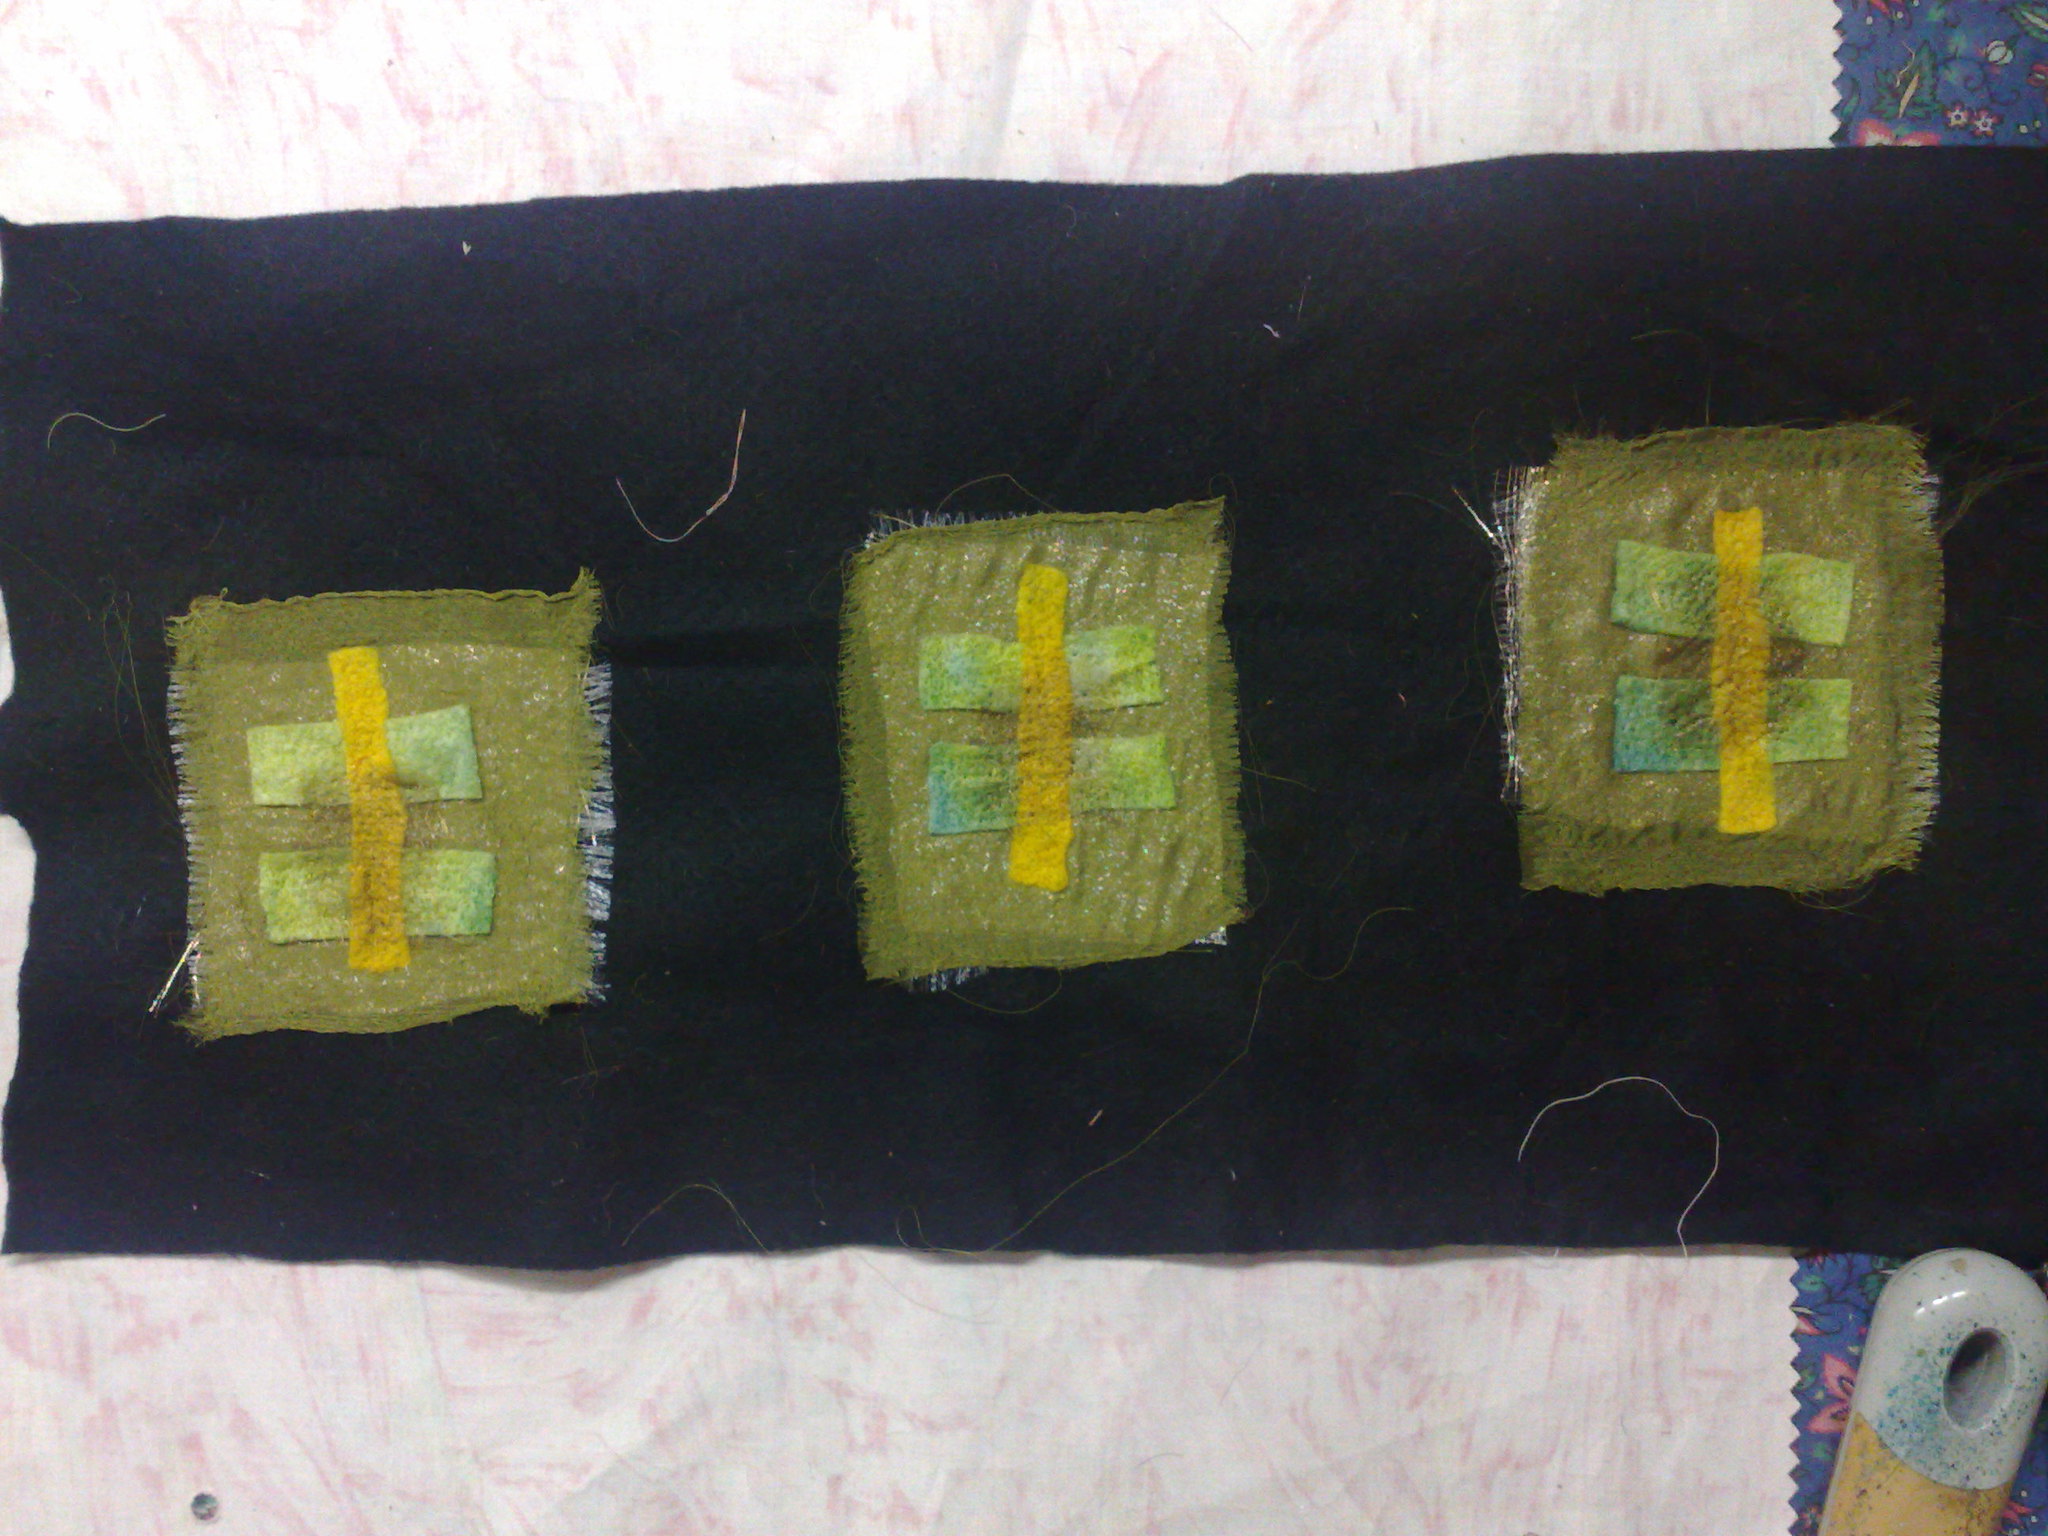
The next two went a little easier
My next one had little blocks on it as well. Green chiffon with dyed batting and gold organza and some gold lame under the whole thing to give a bit of sparkle.
I really like this one and think it might like a bit of gold, too!
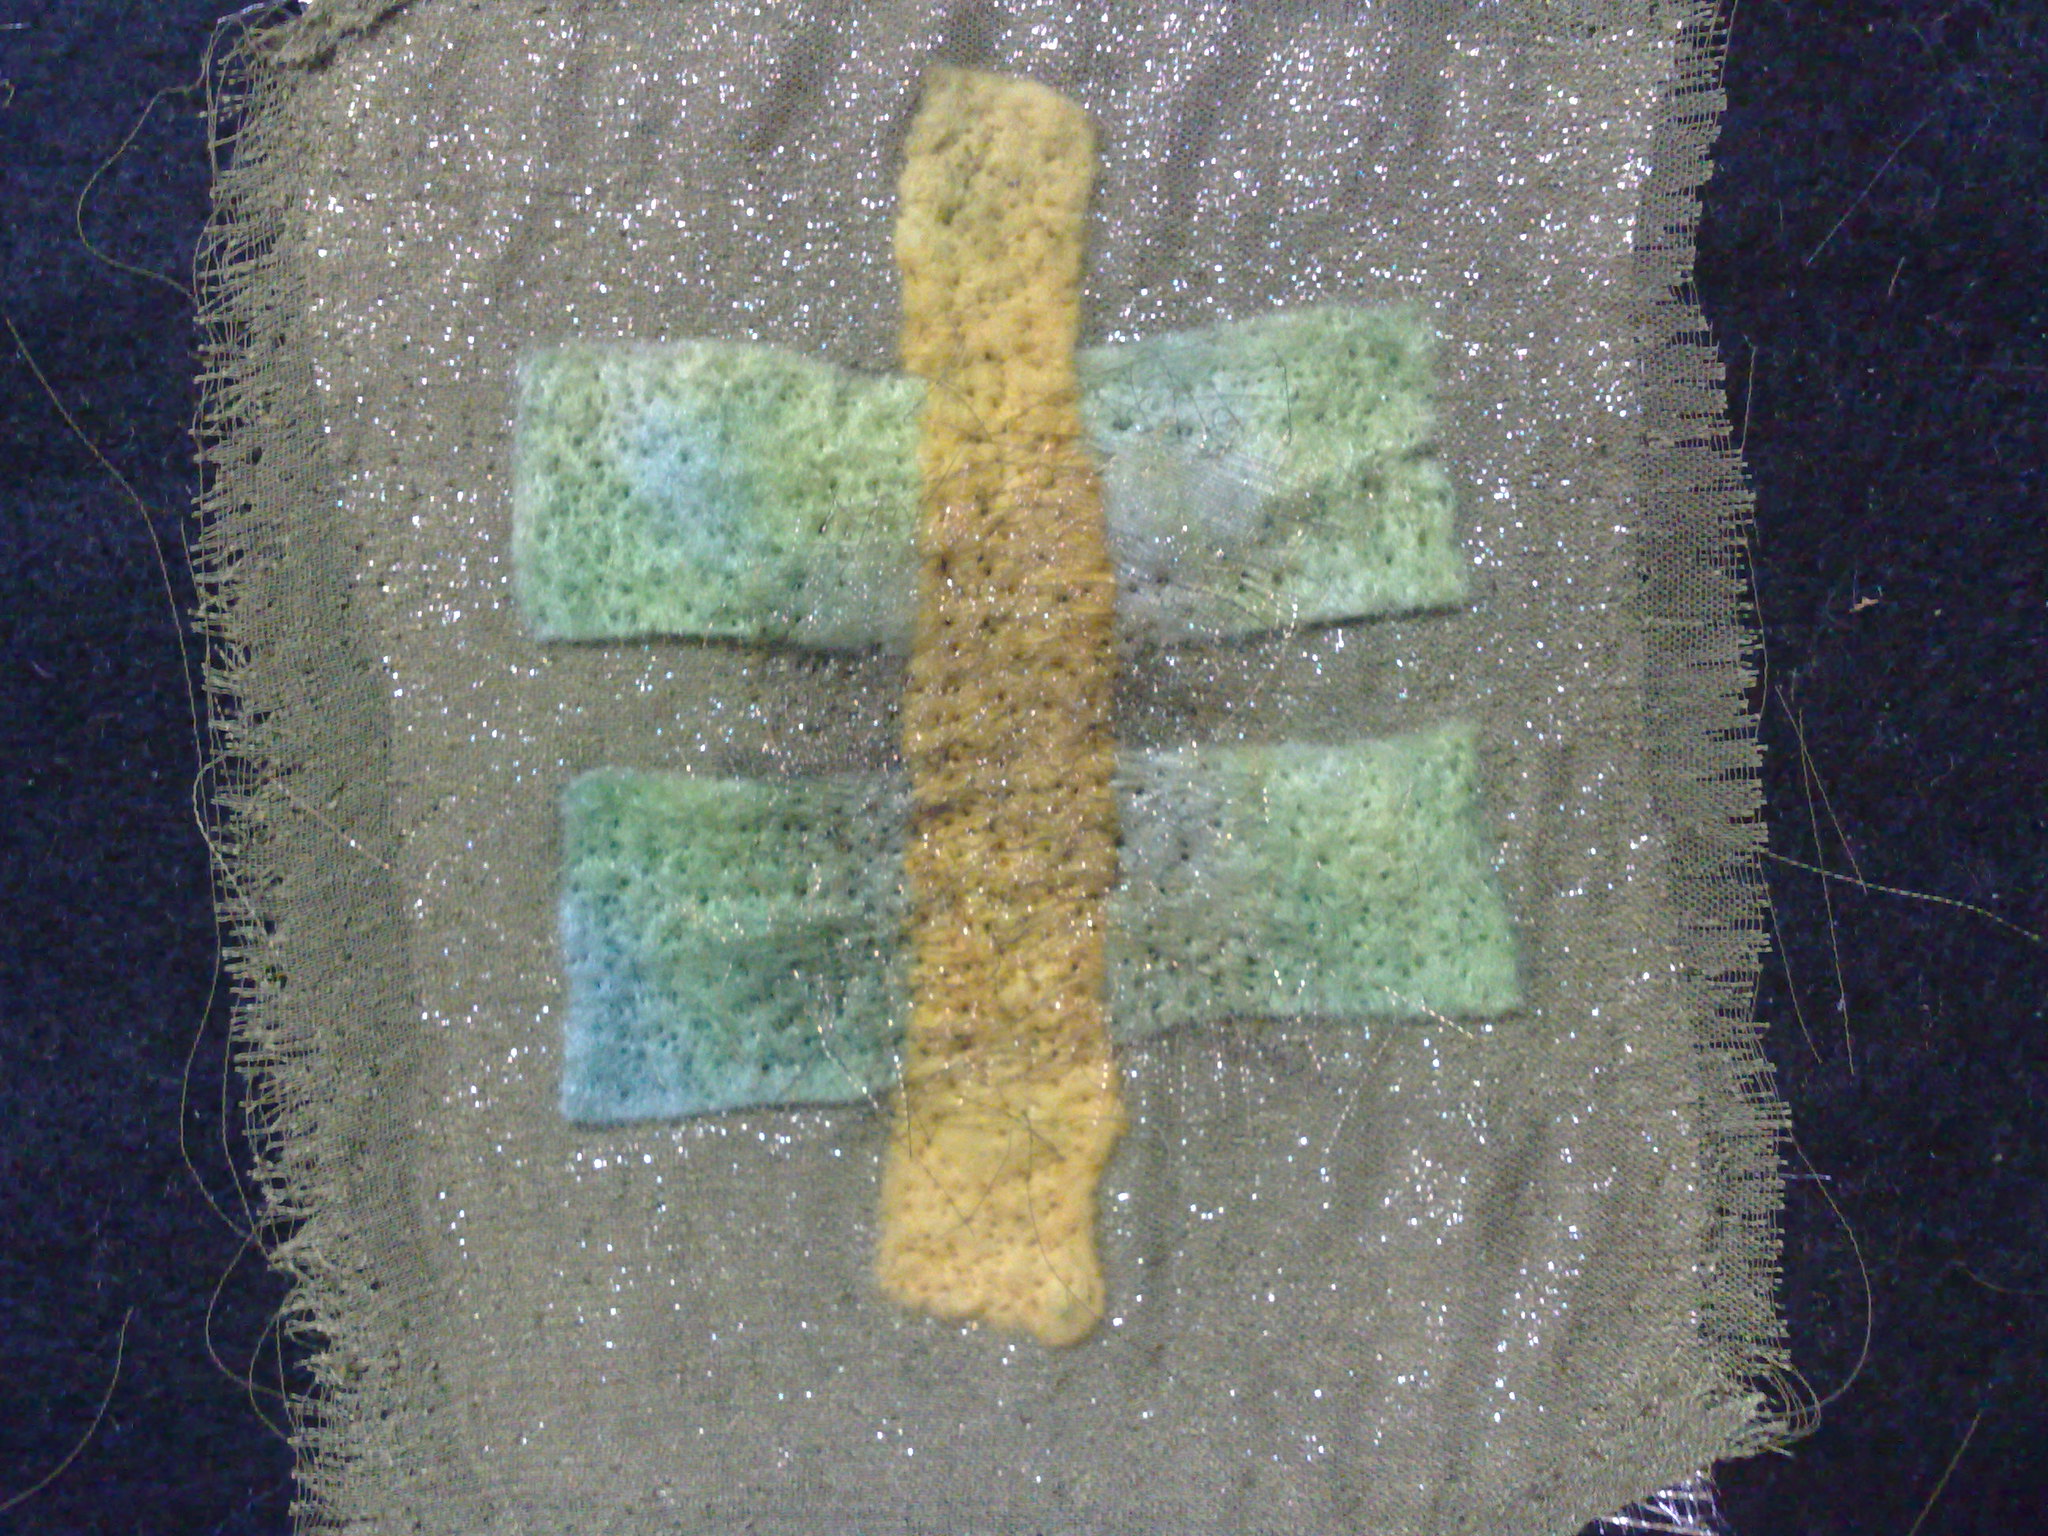
This one was a bit of a seat of the pants experimental piece. I wove (very loosely) some organzas together, then added a piece of yarn, the felted them all down. Then I turned it all over and felted from the back to make the black lines and circles. This one, I think, calls for some all over black and gold and perhaps will become a book cover.
Needlefelting is a bit addictive, I must say and it is hard to stop when you have started, but maybe that's a good thing?
Tuesday, September 20, 2011
Leaf Wall art - Update
Sorry if you missed me yesterday, We had a bit of a storm and lost internet and power. It happens when you live in the back of beyond.
I have been working on some small wall art collages using sheer applique.
They are all nearly finished, just a little bit of free machining on a few of them.
This one is a Ginko leaf and I have done a little bit of beading on the frayed fabric. I intend to echo the flower shape and colour in the quilting.
For this geranium leaf, I used fly stitch in the background colours for the hand stitched accent.
For this dandelion leaf, I mirrored two fly stitches then wove two sets of purple thread through the centre, finally doing green french knots to make the woven lines into crosses. I liked this.
This gum leaf is the least finished. My intent is to embroider little circles with different coloured centres in two browns.
This one has been shown before. It was the first one I made.
Now I don'tknow if you have been counting, but there appear to be five of these and I said earlier that they were to be a set of four. Well, I thought I would do an extra one, just in case I don't like the way they hang together.
I was never a girl guide, but it is better to always be prepared.
Tuesday, September 13, 2011
Distressed Fabric Collage
Today, I have a collage I did yesterday to show you. This one is an offshoot from the collage I did last week.
Both were layered with sheers and had leaves between the layers, but this one is distressed with the heat gun and is constructed slightly differently as a result.
The leaves were all cotton fabric, so they would not burn. There were three layers of leaves covered with sheer and stitched.
Then came the moment. And I burned all the sheers back.
I call this leaf litter.
The colours are not really true, Ifiddled around a bit, but I could not get them as bright as the original. I think it is the way the light reflects off the surface. A bit more fiddling will be required.
Monday, September 12, 2011
small wall art pieces
I have been putting together some small (4 in square) wall art pieces for our stall later in the year. It is also a good opportunity to play with designs etc
The basic design is a leaf silhouette using sheers and free motion, a small piece of fabric with hand stitching and some "quilting" (and perhaps embellishment).
This is the first step.
The next two steps are to trim around the sheer leaf and do some handstitching on the accent piece.
Next the quilting. Here I have just echoed in a blending thread.
The final step is to mount it on a 4in stretched canvas. These are quite cheap and easy to get hold of at bargain stores (at least they are here)
I bought four canvasses, so there will be four leaves. Although the layout is the same for each, the elements of each design will be different, ie colours, leaf shapes, embroidery and quilting, so that they form a larger piece when hung together.
I will show you all four in a day or two when they are all finished.
I might add a few beads, but the principle here was KISS.
Keep It Short and Simple
The basic design is a leaf silhouette using sheers and free motion, a small piece of fabric with hand stitching and some "quilting" (and perhaps embellishment).
This is the first step.
- The orange background fabric is laid over a 4in square of heavy interfacing (the fabric size is larger, more like 6in).
- The purple accent piece is placed next (within the 4in of the interfacing) It has been frayed along the edges for a bit of texture.
- I sketch a leaf shape with iron away pen (this one is a ginko)
- The green sheer is placed over the top.
The next two steps are to trim around the sheer leaf and do some handstitching on the accent piece.
Next the quilting. Here I have just echoed in a blending thread.
The final step is to mount it on a 4in stretched canvas. These are quite cheap and easy to get hold of at bargain stores (at least they are here)
I bought four canvasses, so there will be four leaves. Although the layout is the same for each, the elements of each design will be different, ie colours, leaf shapes, embroidery and quilting, so that they form a larger piece when hung together.
I will show you all four in a day or two when they are all finished.
I might add a few beads, but the principle here was KISS.
Keep It Short and Simple
Friday, September 9, 2011
A quick leaf collage
Today I felt the need for some instant gratification. I have been doing so much preliminary work that I wanted to make something that I could finish quite quickly. Not instant gratification, but nearly so for fibre art.
Here is the finished piece.
Obviously, I have not finished the edges, nor decided what I want to do in that respect, that would take a whole other afternoon (after a bit of looking and thinking of course).
Last night I was watching Quilting arts TV episode 613, and was inspired to make this collage by Julie Fei-Fan Balzer, who put together a srcap collage background for one of her lovely painted ladies.
I didn't quite use her method, but it inspired me. Here's what I did.
I started with a foundation of thick interfacing, which you can see under the white cotton. I mostly use this for my fibre work, because it saves using a hoop when I do free motion later. (I do not use a foot when doing free motion, and this requires very stiff foundations or a hoop. (I don't suggest this as a safe way to stitch, it's just the way I do it, because I can see quite clearly what I am doing)
At the top of my fabric, you can see some texture stamping. To save time, I decided to test out a set of stamps I made yesterday from sticky foam shapes stuck to perspex. I needed to test them out before I use them on an upcoming project.
Here's a close up of the texture. I want to use these stamps to create the texture of leaf litter under trees.
As you can see, there are three different sizes, as I want the print to recede into the distance.
Here I have added another layer in another colour over the top. This is how I want to use the stamps, layering the colours to create depth, but these two will do for this project.
OK, on to the collage part. I basically cut bits (Irregularly) of scraps into squareish pieces and arranged them randomly, allowing some of the background to show through. This was my first layer.
OOps, I missed a photo. Under the layer shown above, I scattered leaves cut from a variety of fabrics, from sheers, to velvet, ultra suede, knitted fabric, fleece, tyvek, etc.
Over this, I layered larger scraps of sheers, which had fusible on the back. (I got an awful mark right in the middle - from not using a baking parchment sheet, but you will see how I fix that later)
Here is a better shot of the sheer layer. You can see some of the leaves through the sheers.
Next, I outlined the leaves with free motion.
Then added some more over the top and stitched them down, ("randomly" covering the nasty mark) and voila' all done
A collage is born. I am quite pleased with my quick project and especially all the lovely shiny fabrics. I intend to do some "quilting as well around the leaves and it will reflect the leaf litter stamps underneath, just not sure which colour, grey, or brown, or.....
Decision, Decisions, Decisions....
Good decisions come from experience, and experience comes from bad decisions.
Author Unknown
Tuesday, May 3, 2011
All about clouds
I have been putting together some samples for my Tangled textiles challenge.
My first tryouts are to get some clouds going.
I thought I would give a few tips on how I made these samples.
This photo has lots of little wispy bits and lumpy bits on the edge and it was my inspiration for the samples.
In this sample (top is on left, bottom is on right), I used my burning technique to fuse down the edges of synthetic sheers. I also layered some more sheers in the centres of the clouds, but found later it was not neccesary.
Using sheers in this way, allows the thread painting to be much looser. It is like an underpainting. The thread painting would have to be very dense if there were no fabric underneath
I simply thread painted very loosely in circles (granite stitch) over the sheers, going out past the edges, to give some wispyness. You can see from the back side (above) that the granite stitch is very loose.
I liked this, but decided to try out needlefelting the clouds on my embellisher.
In this sample, (top is on left, bottom is on right) I started on the right hand side of the picture and felted onto the background with white.
I kept the wool tops in a loose sort of yarn or sausage shape and went around the edges, trying to make the lumpy bits of the clouds show. The result was not as fluffy as I had thought it would be.
On the left hand side of the picture, I put some blue tops down first. then added the white tops in little cotton ball shapes, only loosely rolled. This gave a more whispy cloud, but very smooth edges.
In the picture of the back, you can see that both sides of the embellished piece could be used depending on how blended you want the clouds to appear.
So these samples have given me and you, I hope, a few ideas for creating clouds in landscapes. You don't really have to stick to a photo. Any children's geography book should give you some line drawings of clouds to use. Practice with some different shaped clouds, such as wispy, windy day clouds, and have fun.
Clouds come floating into my life, no longer to carry rain or usher storm, but to add color to my sunset sky.
Rabindranath Tagore
Rabindranath Tagore
Subscribe to:
Posts (Atom)


