
Vicki
This is a short lesson, however I just want to show you my organisational diagram for these lessons.

What this basically says is that I have divided free motion into two halves, straight and zig zag. Each of these is divided again into the four different directions, straight lines, circles, weave and multidirectional. Fuether out are more stitches and the final two rings refer to tension techniques, which can apply to some or all of the stitches in the green and orange areas. As you can see it is quite complicated but don't let it worry you, I have only included it for those who want it, and I am sure I will add to it, but as we move through the lessons, I will guide you through it.
Below, the first diagram shows where we are now, if you have looked at the first two lessons (here and here )


Zig Zag Stitching with Free Motion
These three types of stitching with zig zag don't have specific names like the straight stitches; Granite, Multidirectional and Weave. And there are really only slight differences between them, but there are some. I will discuss them as we go along, and I have also made a short video of all three for you.Circular Zig Zag Stitching
Below, is a picture of this stitching. and next to it I have drawn the motion with red.


This stitch is als very good for melding different colours and shading with different colours, especially when you do not want a directional shading like with garnet and weave stitch.
Weave Zig Zag Stitching
There are two ways to do this motion in zig zag, as you will see from the video and the pictures below.

In the bottom sample, both horizontal and vertical stitches are true zig zag stitches. This is because I rotated 90 degrees (a right angle) between. You will see me do this in the video. So in the bottom sample the stitches are not lying in the same direction.
This difference is important when considering the style of your thread painting. Some artists have every stitch in the same direction, giving a very tapestry like look to their work.
Other artists like to vary the direction of their stitches either all over, or in certain parts.
When stitches all lie in the same direction, they tend to shine and reflect light more, whilst when the stitches are in different directions, the light tends to be absorbed and the effect is duller (I do not mean boring, some parts of you work need this)
Obviously, the top sample of zig zag weave is more useful in areas where you want to define direction, like the lines in a tree trunk, whilst the second stitch is more useful in areas like backgrounds in a similar way to the circular stitch above.
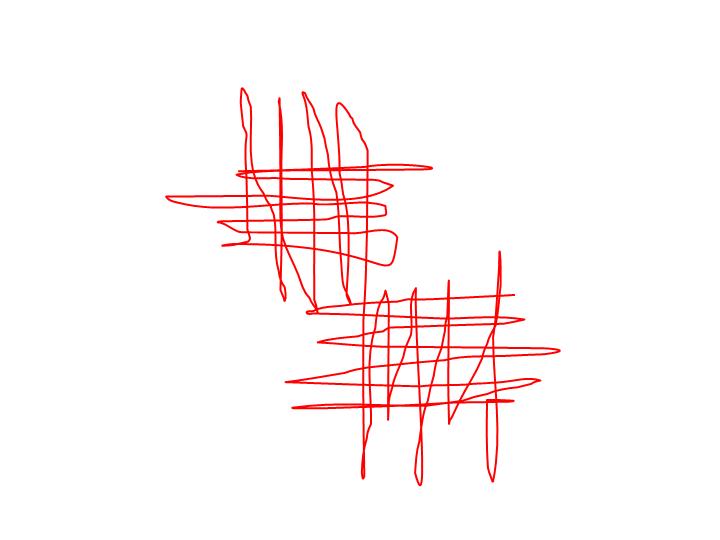
Multidirectional Zig Zag Stitching
Multi directional zig zag is shown below.


In many ways this stitch resembles it's straight stitch cousin closely. The main difference is that it fills more quickly and so is useful for large areas.
It can be combined with true multidirectional straight stitch quite easily, the straight stitch being used near the edges of an area where more prescision is needed.
As with the rotated zig zag weave (above), it is useful in backgrounds and far away areas in a piece of work, where the non reflection means it does not draw the eye and compete with the focus of the work .
Zig Zag Stitching Video
Almost everyone learns to play, but a creative person plays to learn.