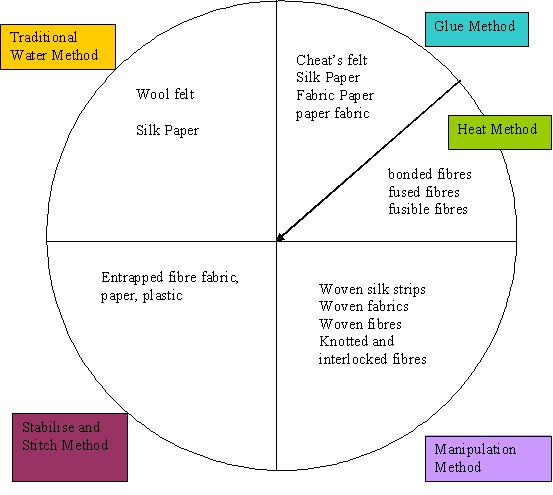
Creating silk paper and other fibre films
Method 1 – Traditional Water method
Method 1 – Traditional Water method
The first method I call the water method. It is called silk paper making for silk, but the method is also basically used to make felt from wool and this is called wet felting. Some references, like trenway silks (12), call silk papermaking using this method 'felting' or fusion, but it is really easy felting.
Silk paper making with water relies on the presence of a natural glue called sericin in the silk fibre, so those lovely, shiny, lustrous silk rovings won’t work very well on their own. You will need some gummy throwster’s waste, cocoon strippings, or rods are needed for the paper to bond as they still have the natural glue (sericin) in the fibres (these are described in my last post - here).
Wet felting relies on the scales on wool fibres to entangle the fibres and hot water will also speed this up.
Both fabrics require the fibres to be agitated whilst wet. Silk paper requires minimal agitation, whilst felting requires a lot more elbow grease.
I wonder what you would get if mixed wool rovings with silk strippings? Now that is an whole other blog entirely.
The water method used to be the most common method and is described in most fibre or textile art books.
- Basically, in this method (and in most of the other methods), you create a sandwich of the fibres, as shown in the diagram below.
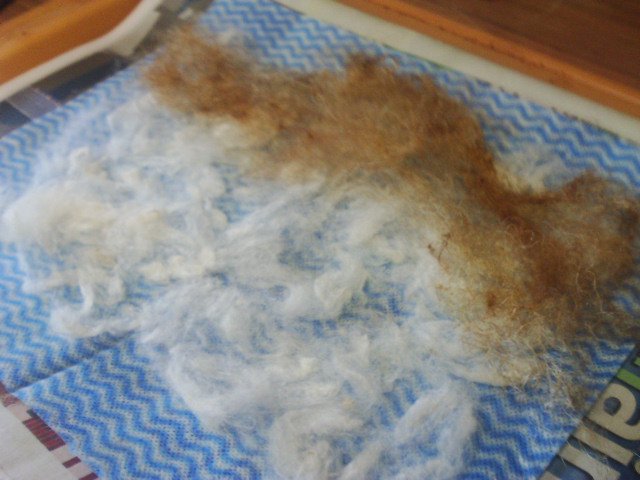
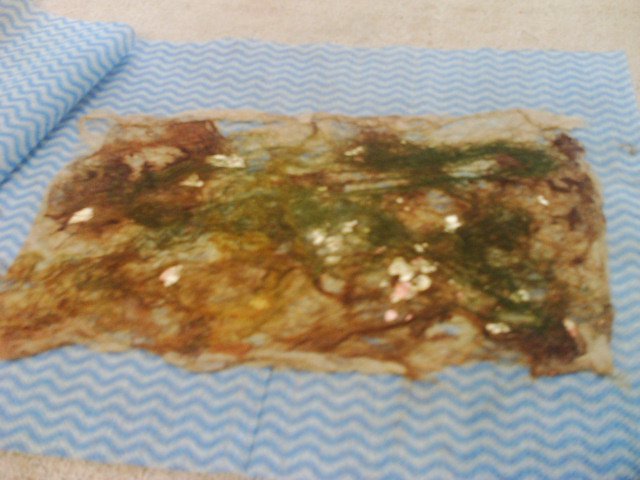
- Here, I have added my bottom layer to newspaper. Chux for this example.
- The fibres are teased apart and placed in two layers which go in opposing directions if at all possible, but more layers can be added and holes can be encouraged for a lacy texture. This is true for felt as well.
Above, in my chux sample, I have added cocoon strippings (white) and then throwster's waste (brown) which is also spread about. Then I also added some chopped up and fuzzed bits of sericin fibre.
- It is at this stage, usually between layers, that the wet variation options are added. With both silk paper and with felt, it is best if additions are covered by a light layer of fibres to entrap them in the final fabric/paper. Colourings can be added here before the water, or after, depending on the effect and density of colour you want.
Above, I have added metallic flakes and a second layer of silk.
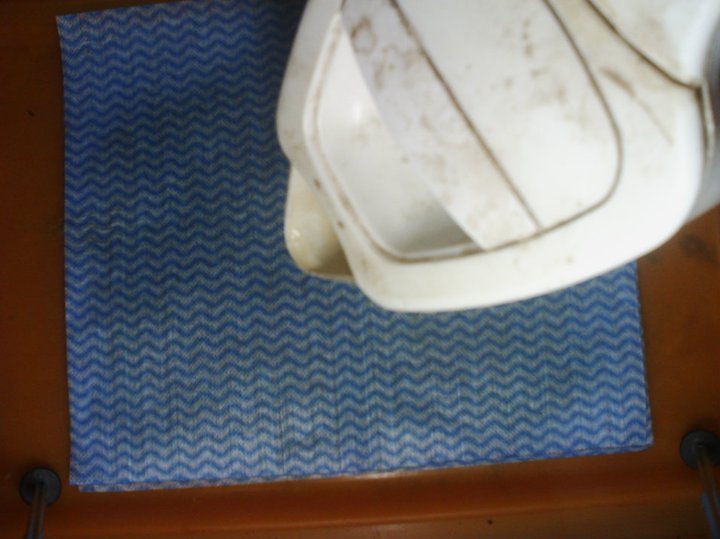
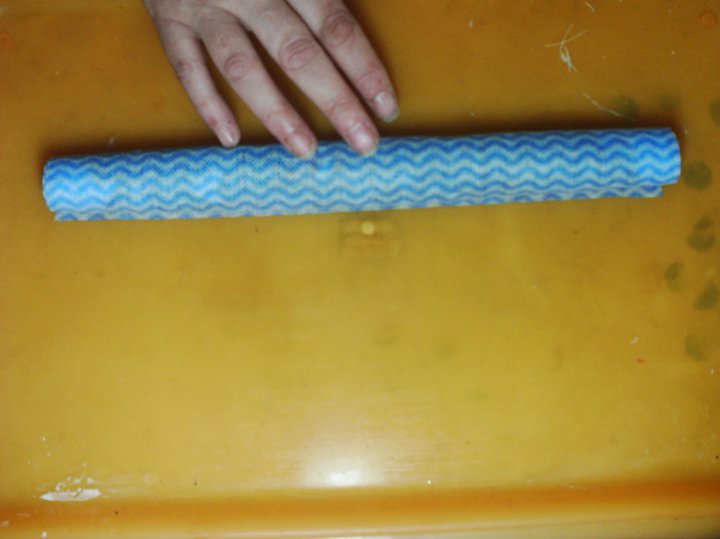
- A small amount of water is added for silk fibres, and agitation usually involves pressing and moving your fingers around the top surface to distribute the natural glue (sericin) on the fibres. With wet felting, more agitation is required and usually the sandwich is rolled up and rolled over and over as well as rubbing with the hands (as for silk paper, but more vigorous) to tangle the fibres together.
- Once the tangling is achieved in both cases, the sandwich is flattened and blotted dry.
The top and bottom cloth or net can removed before or after drying depending on the strength of the fabric (ie how many layers).
- The fibre layer needs to be thoroughly dried, either flat on a surface, or hung up depending on the strength of the fabric (i.e. how many layers).
- Silk paper can benefit from ironing at the dried stage, whilst felt probably will not want this step.
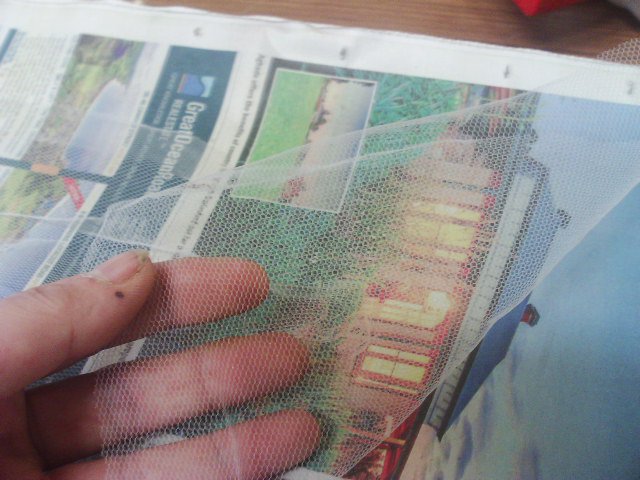
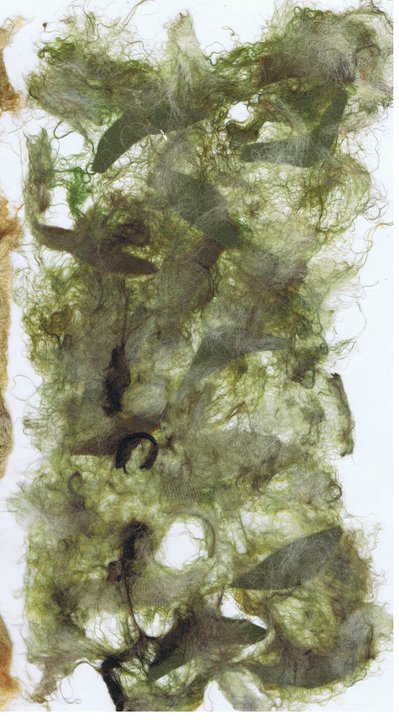
This time I used tulle, or bridal net.
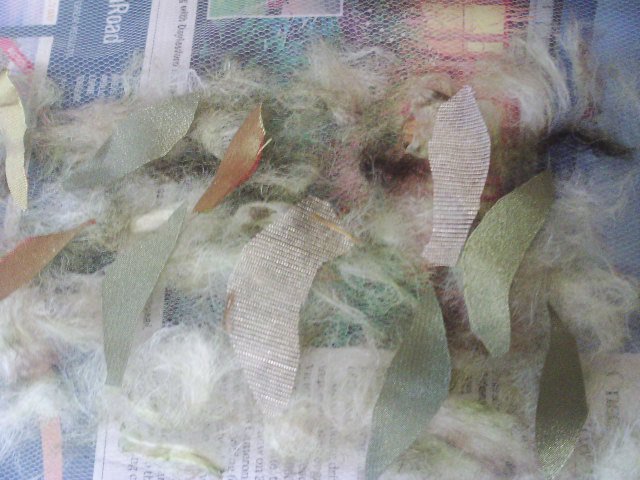
I used a rod, which I stretched out and then pulled off in tufts.Then I added scraps of fabric left over from needle felting.
The top layer was some throwster's waste.
I added the top layer of tulle and I used some boiling water.
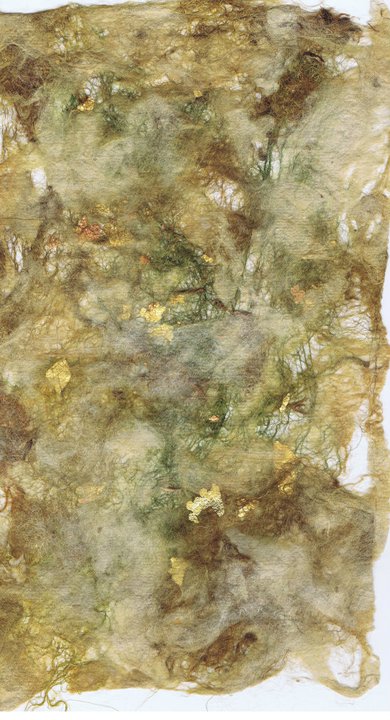
I hung the piece to dry and I really liked the leaf silhouettes in it.
I hope you liked this experiment, as i will be doing some more!

