I have been playing and learning and making samples with my new embroidery machine, but I thought it was time to make something!
Last night I put together the first steps of a bag for the workshop I am teaching in a few weeks.
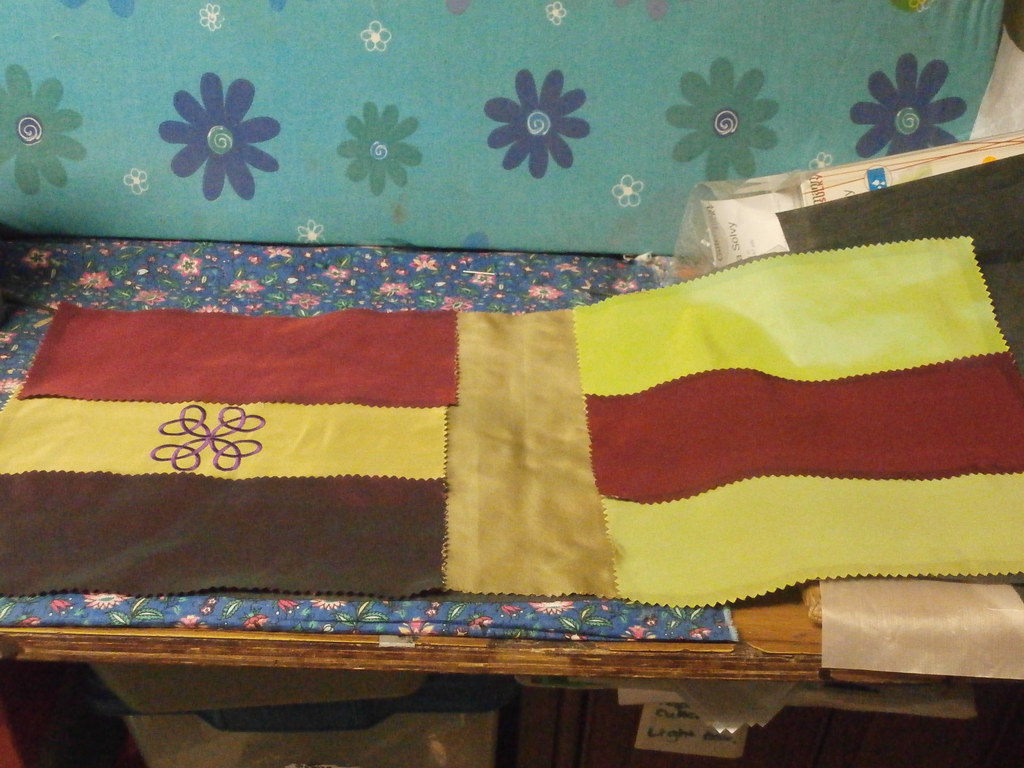
I have quite a number of satin samples that are 4.5 x 12 inches. You can see them in the layout above.
I embroidered a celtic knot on one of them and basically used the size of the pieces as the bag pattern. The picture above is before I sewed them on to a piece of interfacing cut to the size above.
This picture is bit closer to the real colours. I have sewed the strips onto the stabiliser and peeping out from the bottom, you can see the lining cut to the same size.
This is as far as I got, since I was thinking about the handles.
This morning, I embroidered another and made a quick little ipod or phone case.
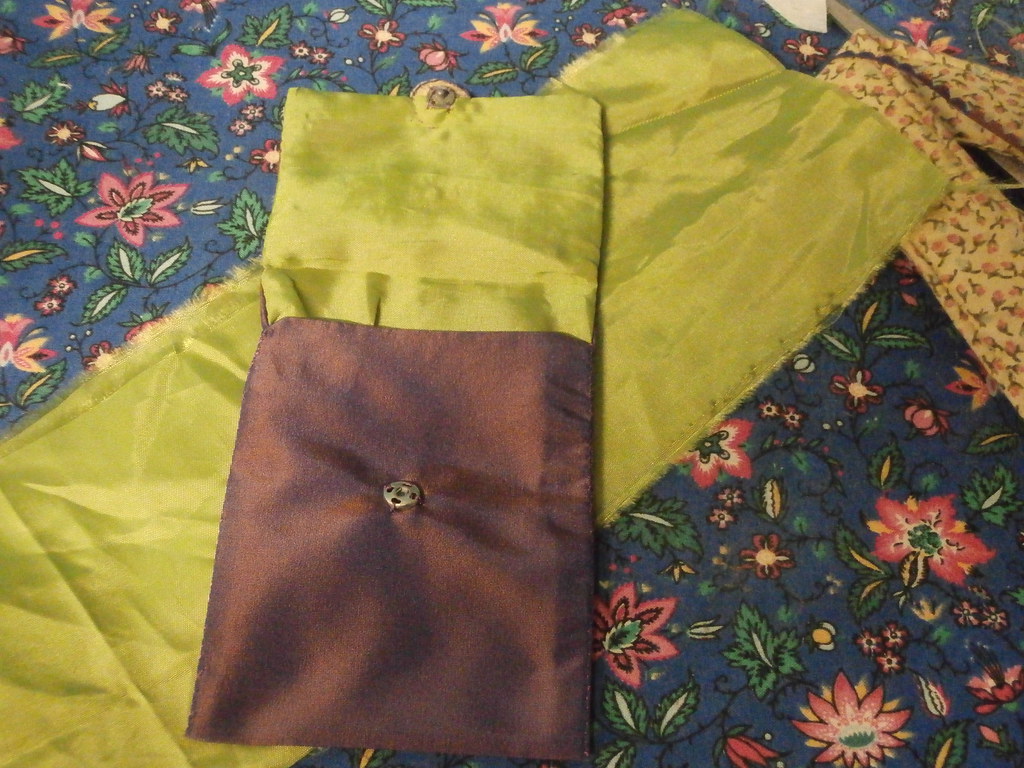
My favourite colours again! I did not line this one with interfacing, so it is very soft.
This photo shows the construction (including a little boo boo!) All i did was to sew the lining and cover right sides together, leaving a few inches unsewed, then turned it inside out. I folded it to fit my ipod and hand sewed the sides up, and added press studs and a little embellishment to cover the press stud.
Voila!
I am thinking of lots of new ideas to use this new tool, but my fingers are itching to do some free motion, so hopefully I will get some done in the next few days.
Happy Creating!
Showing posts with label ipod cases. Show all posts
Sunday, May 4, 2014
Friday, April 26, 2013
ipod cases
I have been working on some ipod cases for my gallery, which is open once a month at the moment. This last month, I had some other artist's work in the community, which was really great. DH and I are always trying to think up small things to draw more sales and so this month I am working on ipod or iphone cases.
This one is nearly finished. I am thinking of adding a few beads and of course the clasp. It is made from chiffon needlefelted onto felt.
This one is trimmed ready for embellishing and stitching and is made from slub yarn needle felted onto felt. Obviously, felt is so easy to make these from.
Another one ready for stitching this one is made from felt scraps needlefelted onto a felt backing, then some free motion scribbling with my favourite gold thread (one day it is going to run out and what will I do then?).
I have found that the basic pattern for these cases is to use a half of an A4 (or letter) sized piece of felt or fabric (cut along the length) is perfect for this.
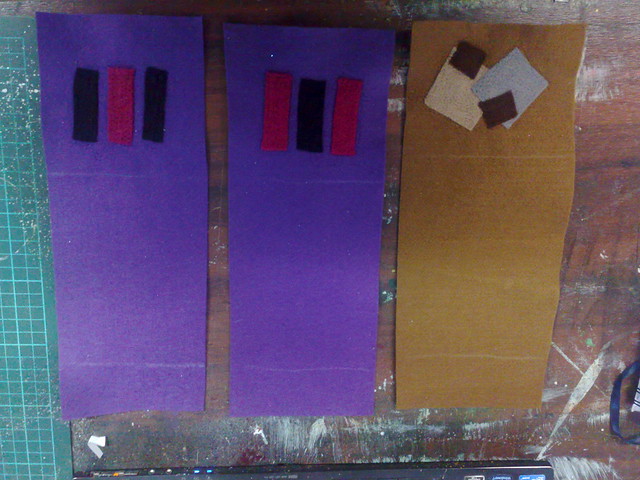
Here are three more with needle felted scraps on the flaps ready for stitching. All I did was cut an A4 piece of felt in half. Once I am happy with the design and stitching etc, I just fold it to the right size and trim about 1/4 to 1/2 inch off the (long) sides and blanket stitch the sides together. It's a quick piece of work, depending on how much hand stitching and embellishing you do.
After reading a friend's blog about treasure bags, I am now thinking about fabric cases using the decorative stitches as she did, since hers are so gorgeous and I have soooo much yummy thread.
Anyway, need to get back to my tangled textiles piece, which is due in a few short days. Tomorrow, I am teaching a beading class and in a few weeks, a painted chiffon scarf workshop, so busy, busy.
Keep creating
This one is nearly finished. I am thinking of adding a few beads and of course the clasp. It is made from chiffon needlefelted onto felt.
This one is trimmed ready for embellishing and stitching and is made from slub yarn needle felted onto felt. Obviously, felt is so easy to make these from.
Another one ready for stitching this one is made from felt scraps needlefelted onto a felt backing, then some free motion scribbling with my favourite gold thread (one day it is going to run out and what will I do then?).
I have found that the basic pattern for these cases is to use a half of an A4 (or letter) sized piece of felt or fabric (cut along the length) is perfect for this.
Here are three more with needle felted scraps on the flaps ready for stitching. All I did was cut an A4 piece of felt in half. Once I am happy with the design and stitching etc, I just fold it to the right size and trim about 1/4 to 1/2 inch off the (long) sides and blanket stitch the sides together. It's a quick piece of work, depending on how much hand stitching and embellishing you do.
After reading a friend's blog about treasure bags, I am now thinking about fabric cases using the decorative stitches as she did, since hers are so gorgeous and I have soooo much yummy thread.
Anyway, need to get back to my tangled textiles piece, which is due in a few short days. Tomorrow, I am teaching a beading class and in a few weeks, a painted chiffon scarf workshop, so busy, busy.
Keep creating
Subscribe to:
Posts (Atom)