Anyhow, over the last week I have been working on stamping, stencilling and painting leaves for that book. I thought you might like to see some of the bits and pieces I put together.
In the picture above are some of the bits and pieces I have collected to do with leaves. A large number of stencils and stamps, and lots of different papers. Although I generally use altered books for my sketchbooks, sometimes I add other pages when the need or the desire arises.
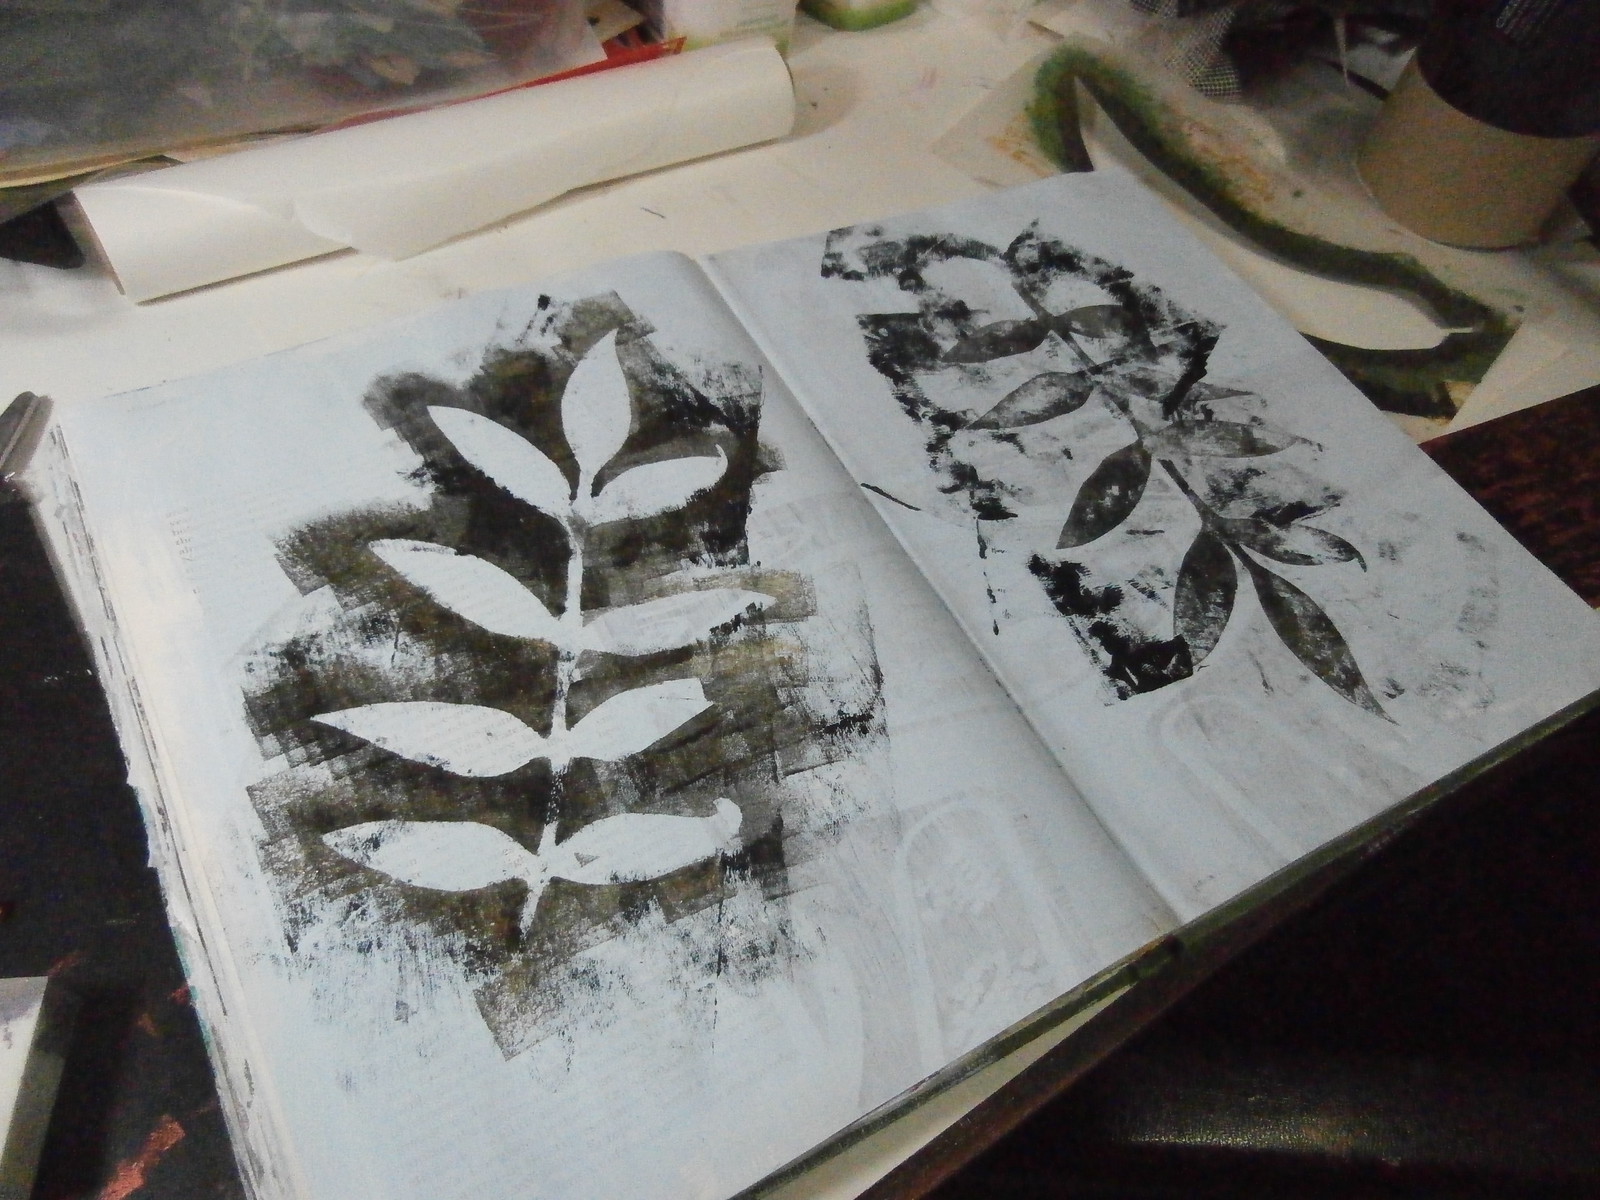
This page in the book used a mask I made from a sprig of leaves. On the left, I rolled over the mask with black and gold paint, and on the right, I placed the mask, paint side down and rollered over it to get a positive.
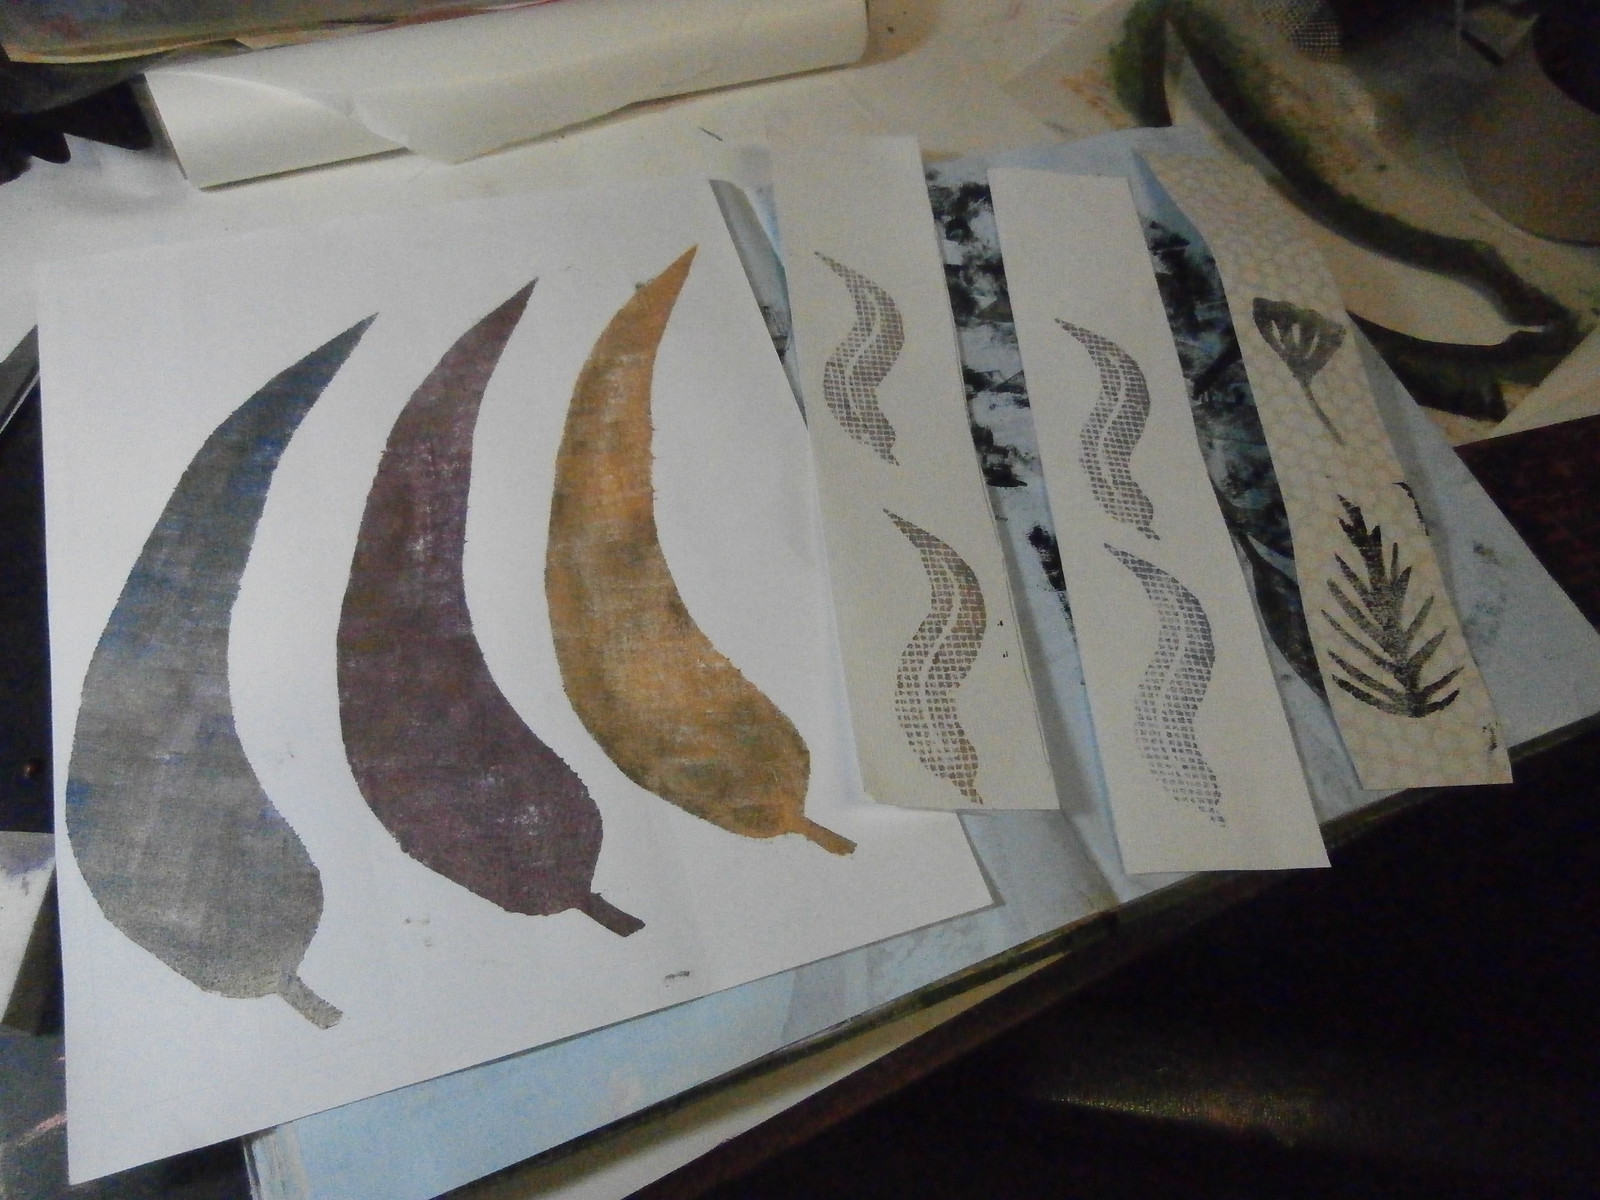
The tree gum leaves are stencilled onto a sticker sheet, so when I put them on the page, they will form a mosaic. The small gum leaves are stamped through plasterer's mesh and the gingko and ferny leaf are stamps
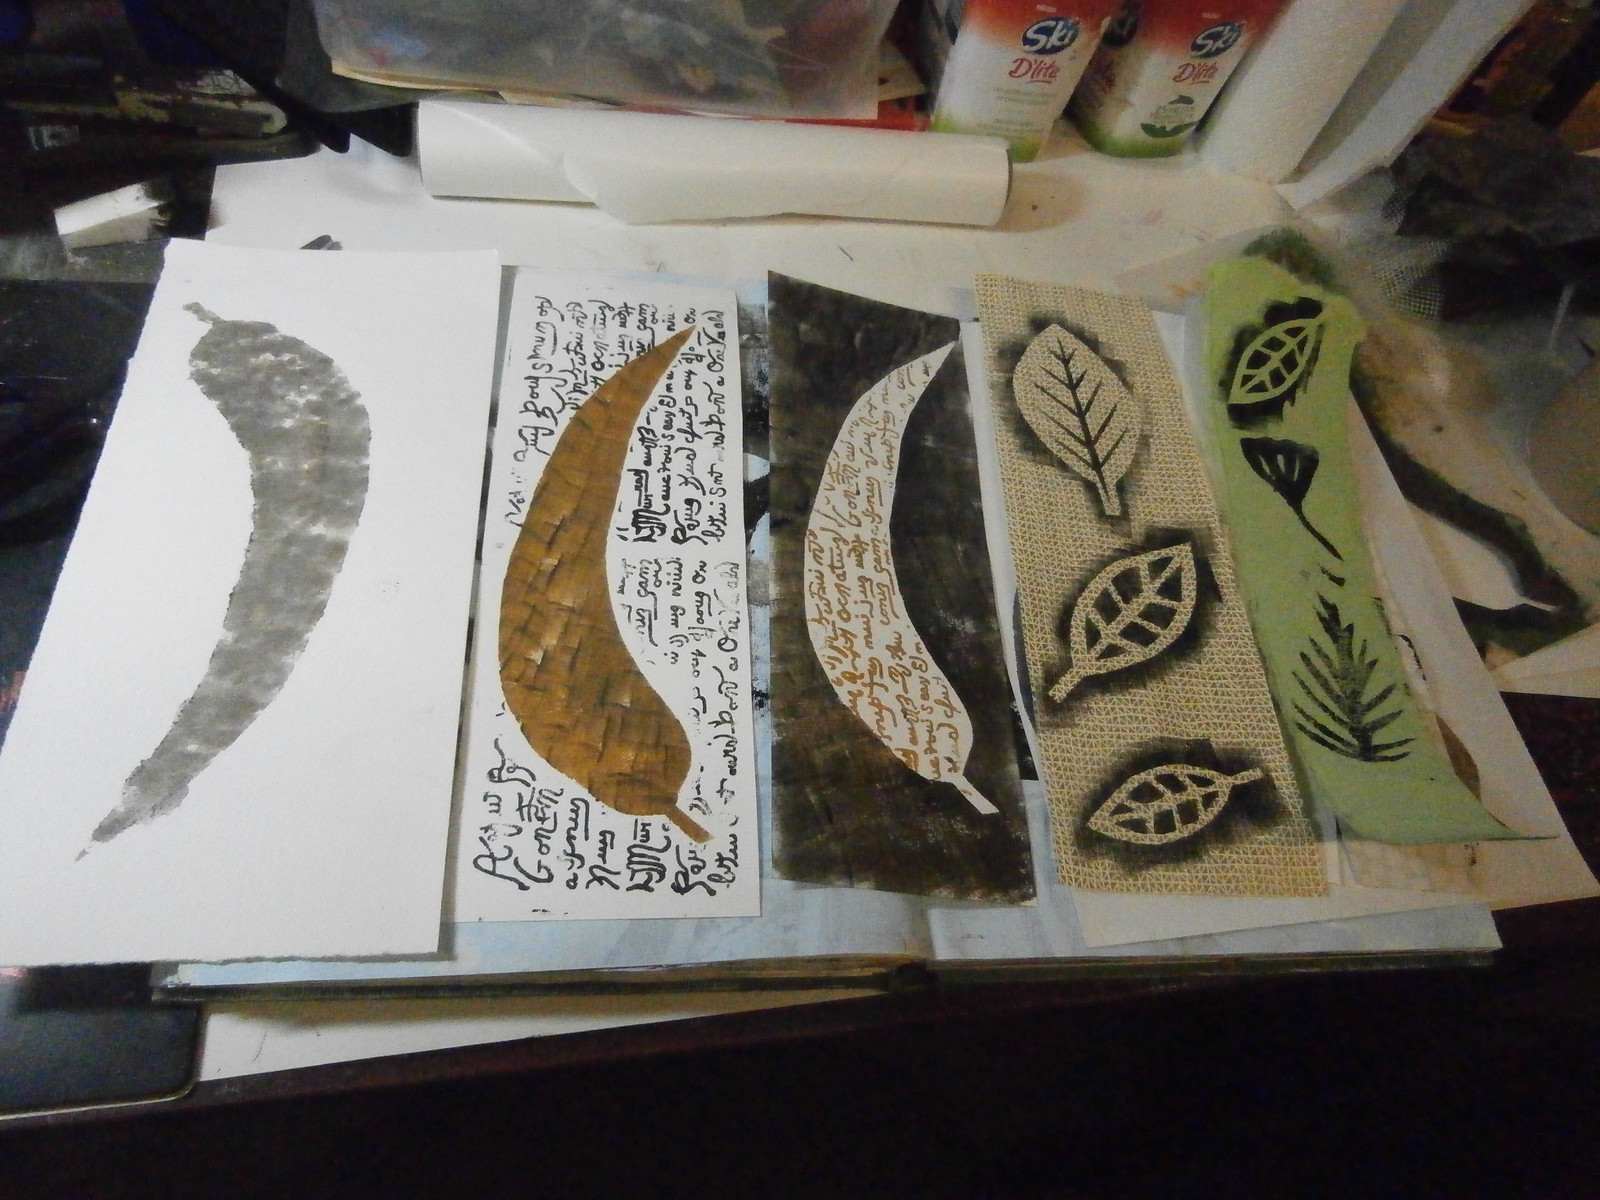
The large gum leaf on the left was stencilled by patting with a dirty baby wipe! The next two large gum leaves used the mask and the stencil together. The writing is stamped and the colour is sponged. The three pale leaves are masks done with black on wallpaper and the last three leaves are stamps on handmade paper.
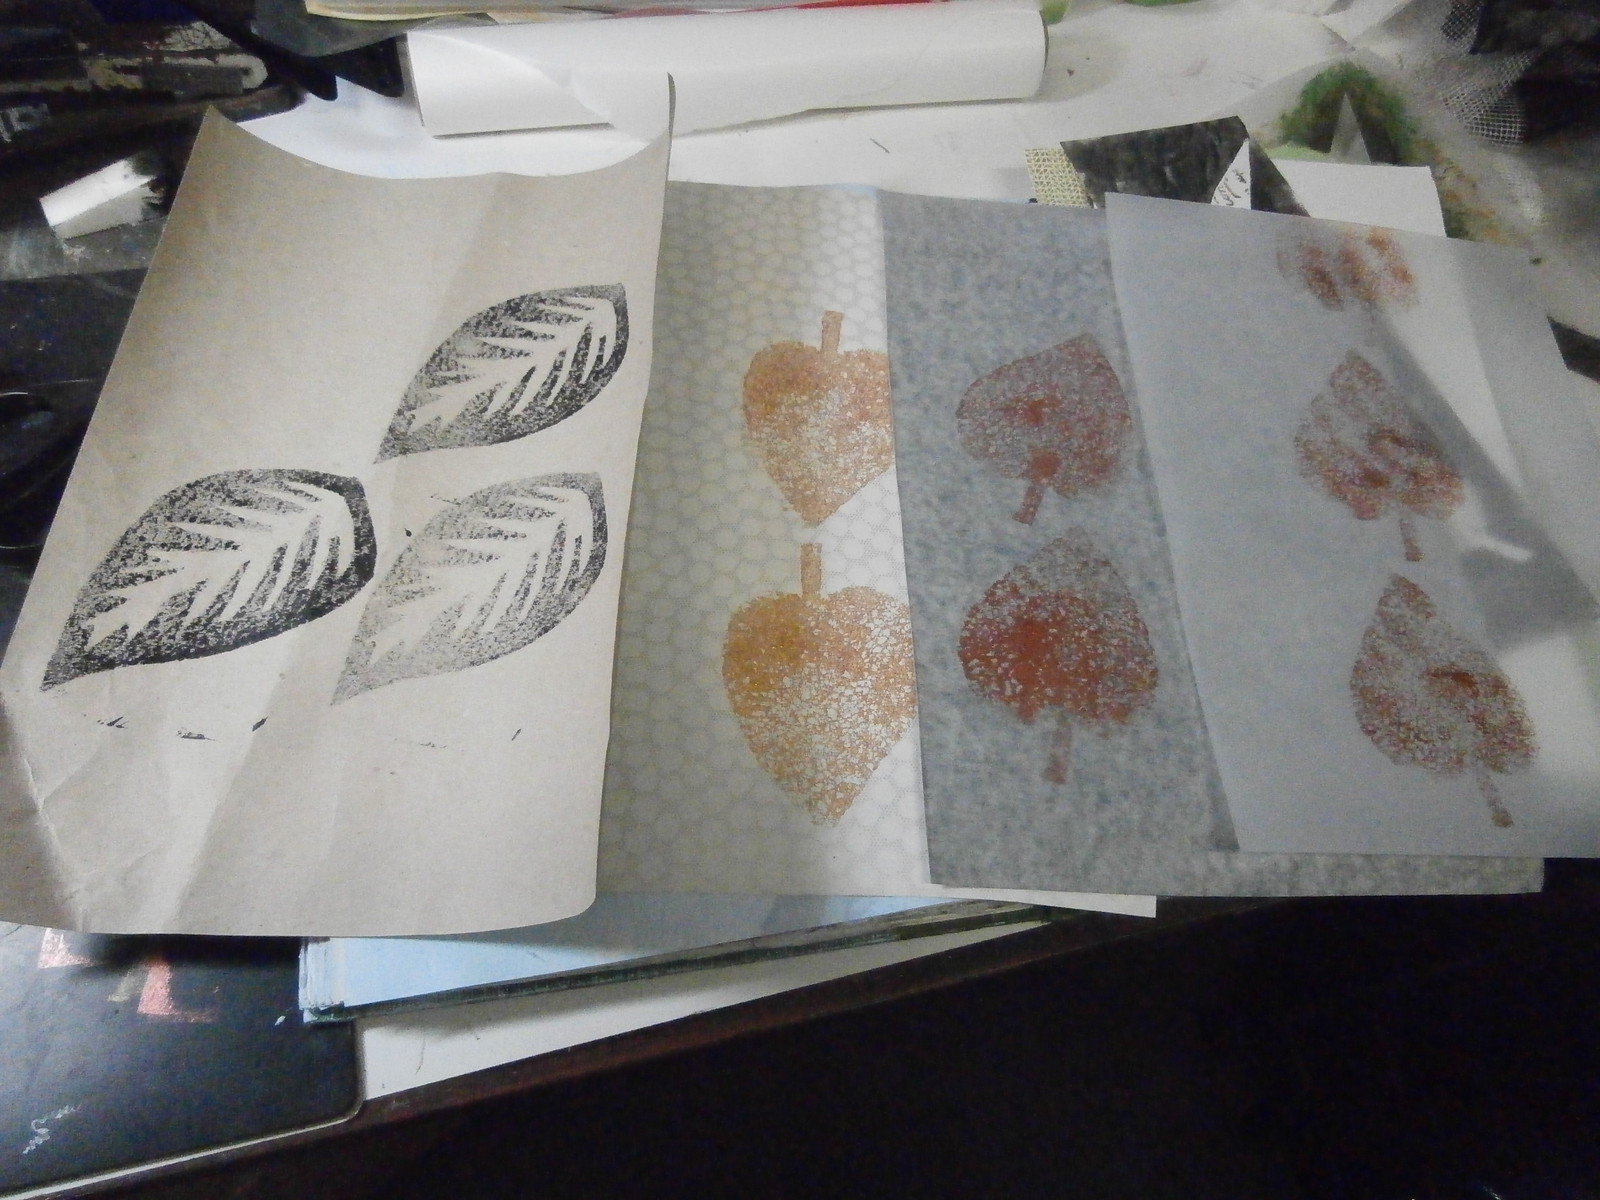
The three leaves on the left are the positive of the last stamp on the bottom right in the previous photo. I made them at the same time. These are on brown paper. The three pages of gold leaves were stamped with foam shapes on wallpaper, Grey flecked paper and tracing paper.
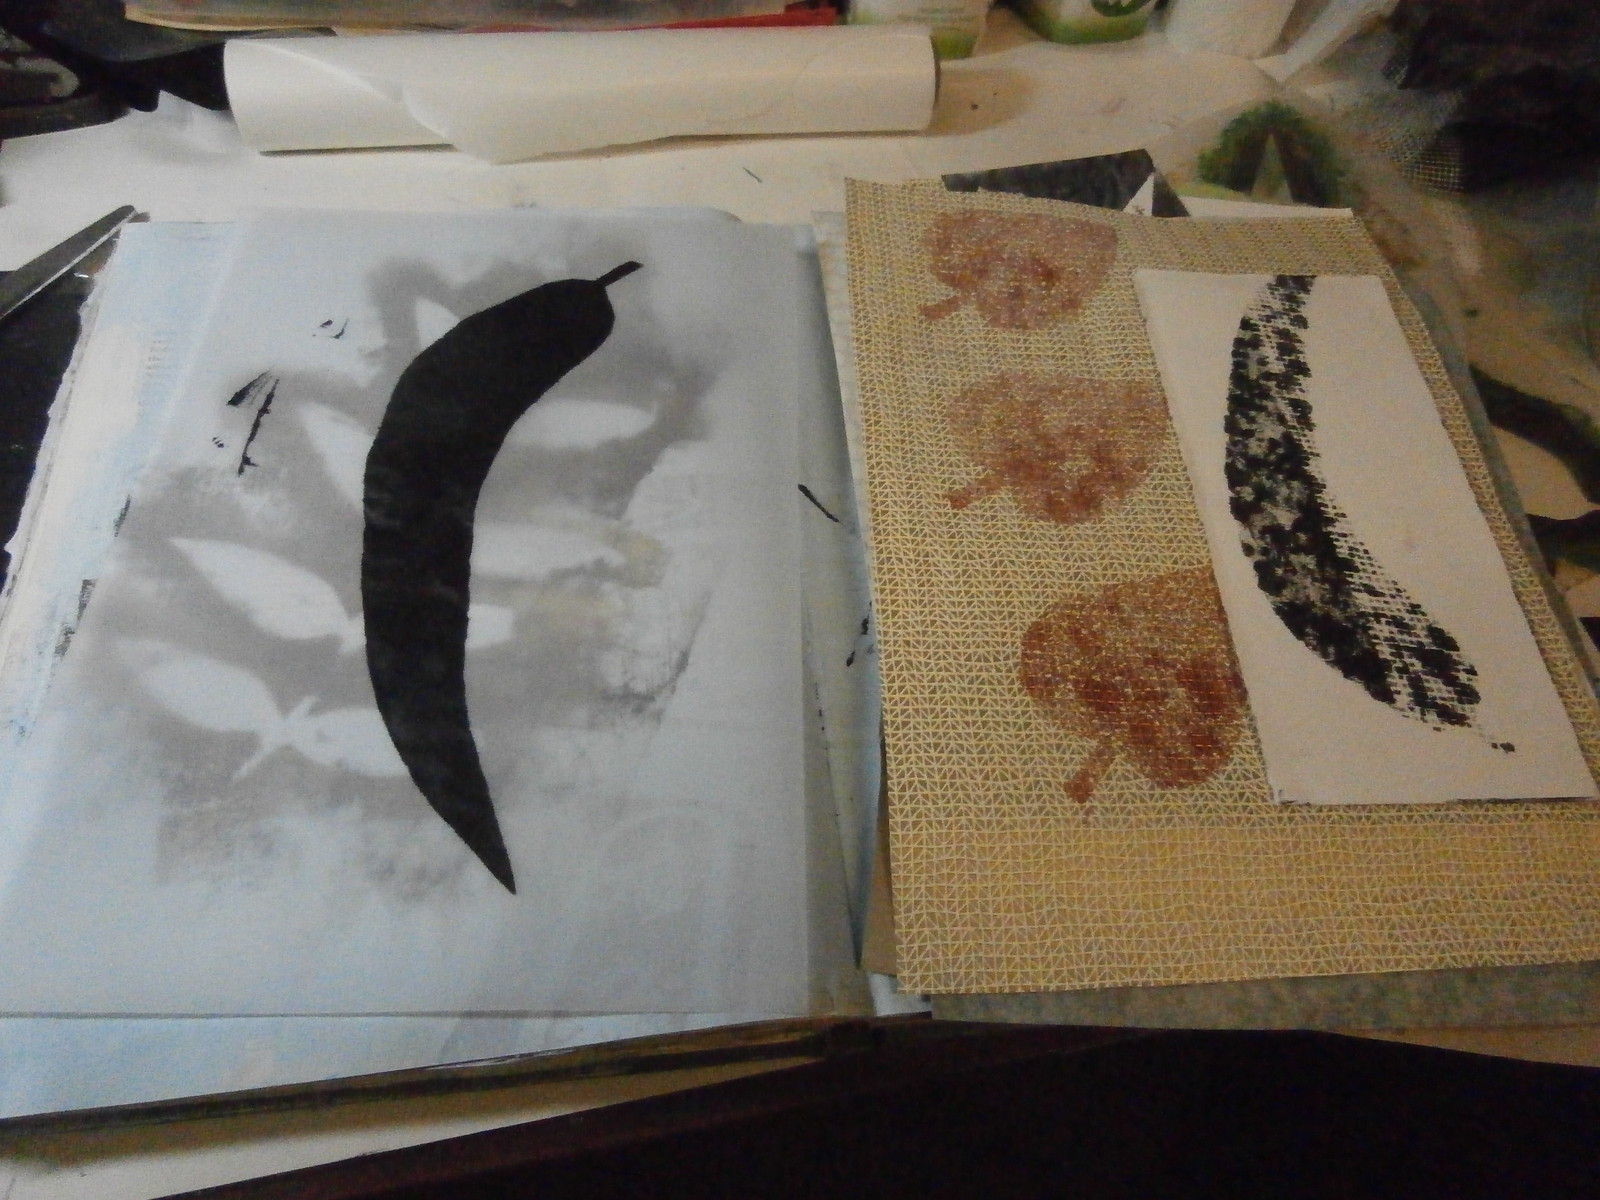
The large black gum leaf on the left is stencilled on tracing paper. I love how it shows some of the page underneath. The gold leaves are the same sponge from the previous photo, but on a textured wallpaper. The last partial leaf was sponged over a piece of plasterer's mesh placed partially under it.
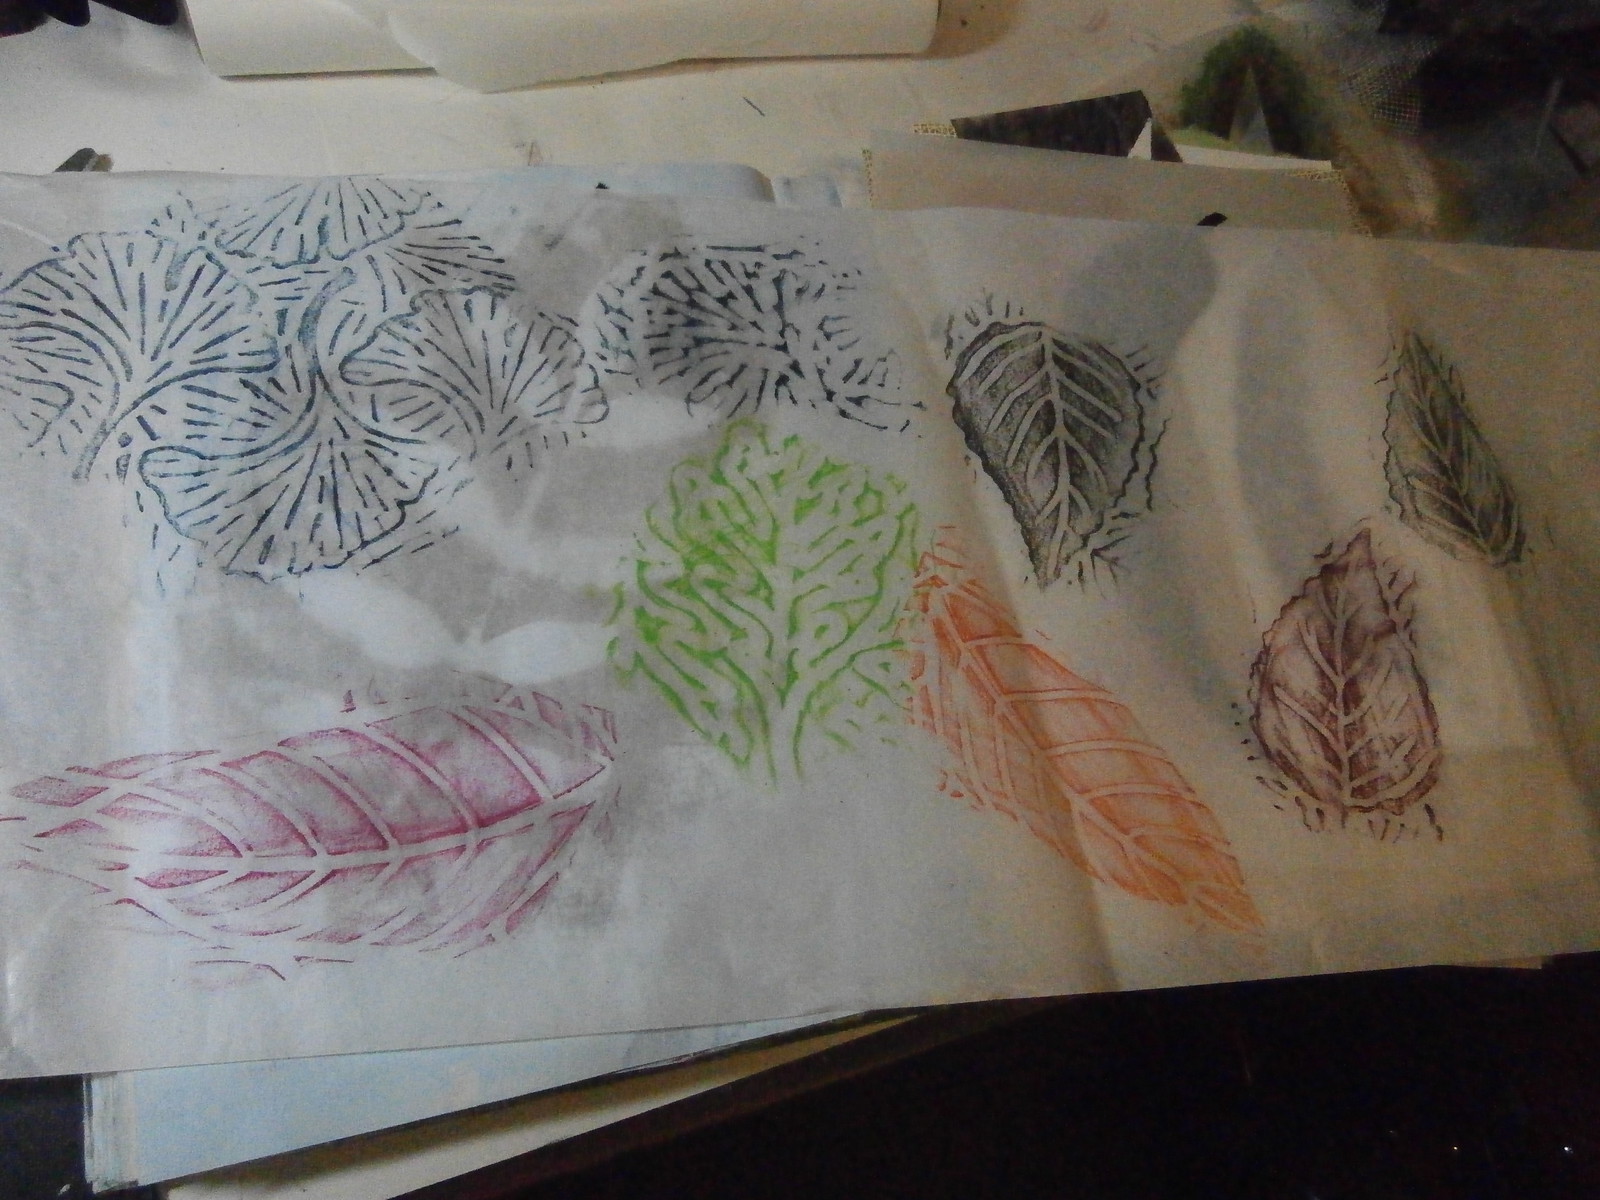
These are all rubbings from commercial rubbing plates. The two black ones at the right are done with oil pastel. The rest are with inktense blocks. Oil pastel is a resist, whilst the inktense is like watercolour pencils and I can work into them both in different ways.
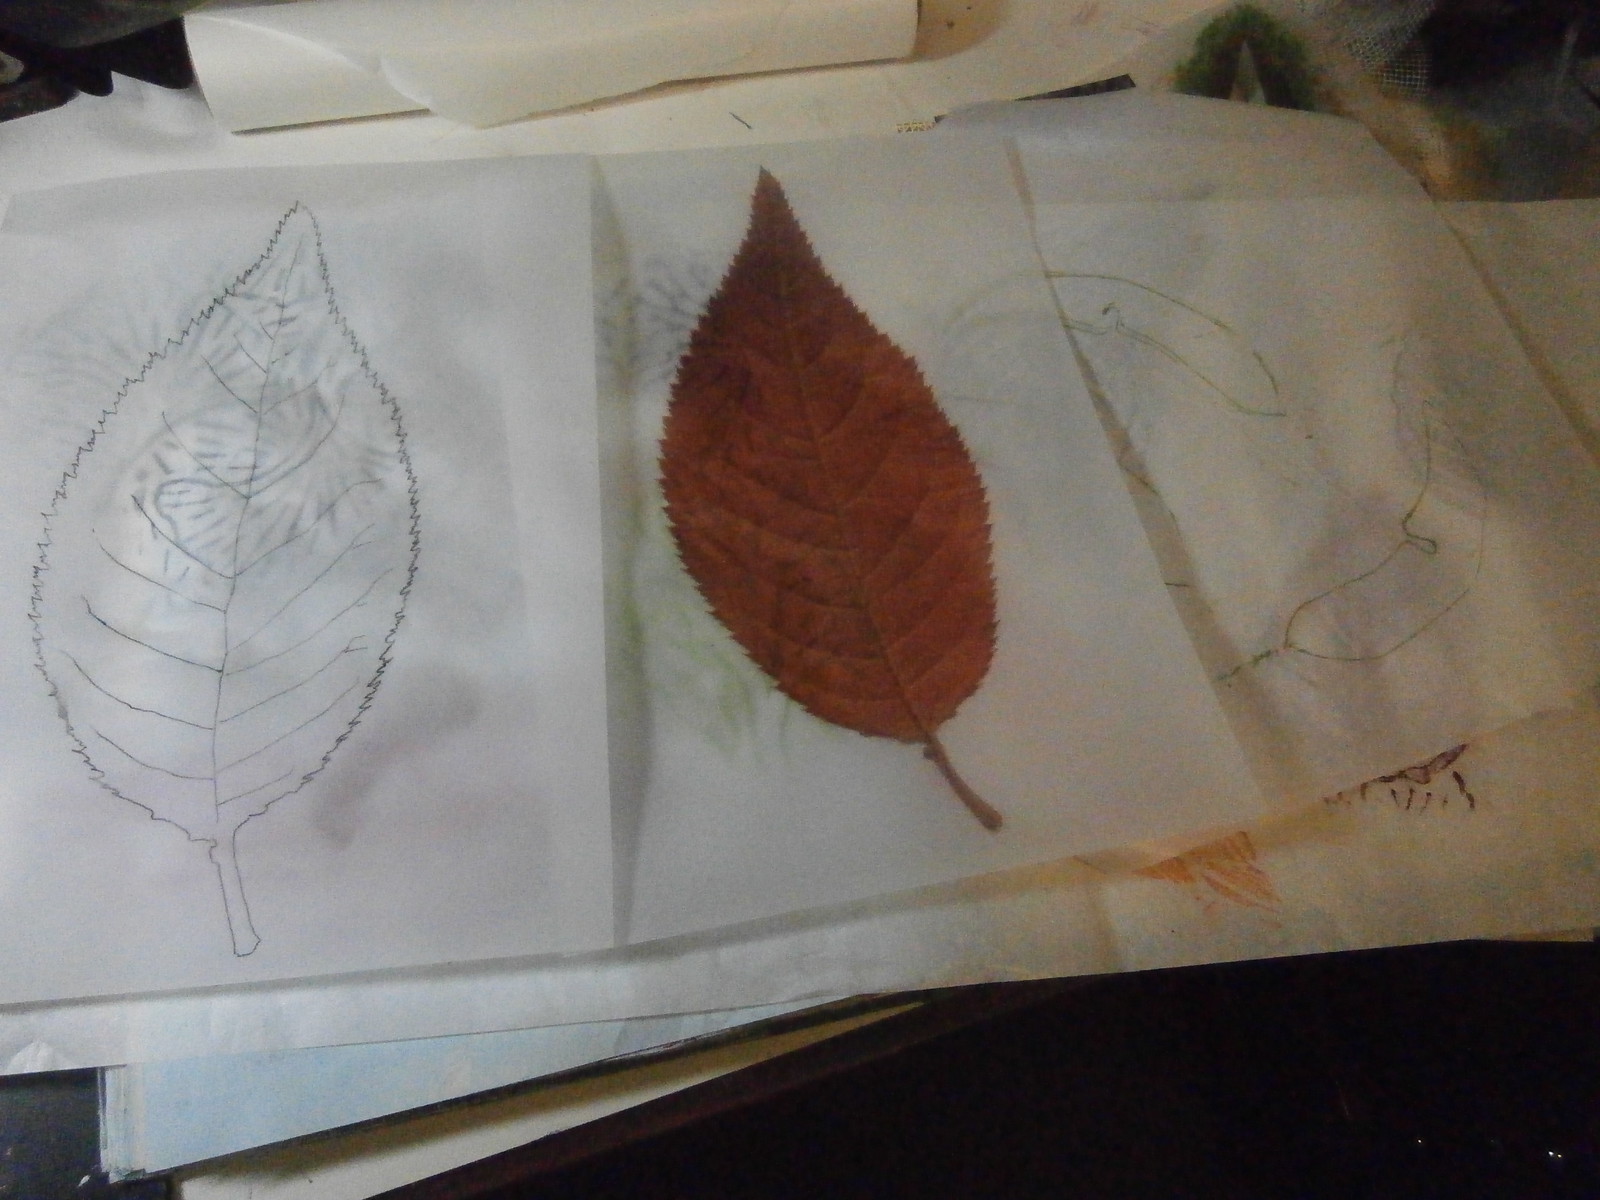
These two leaves are from a photo. The left one is a tracing on tracing paper, whilst the right one is a printout from my computer on the same tracing paper. If you look very carefully, on the far right are some rubbings from a gumleaf bent from wire on deli paper.
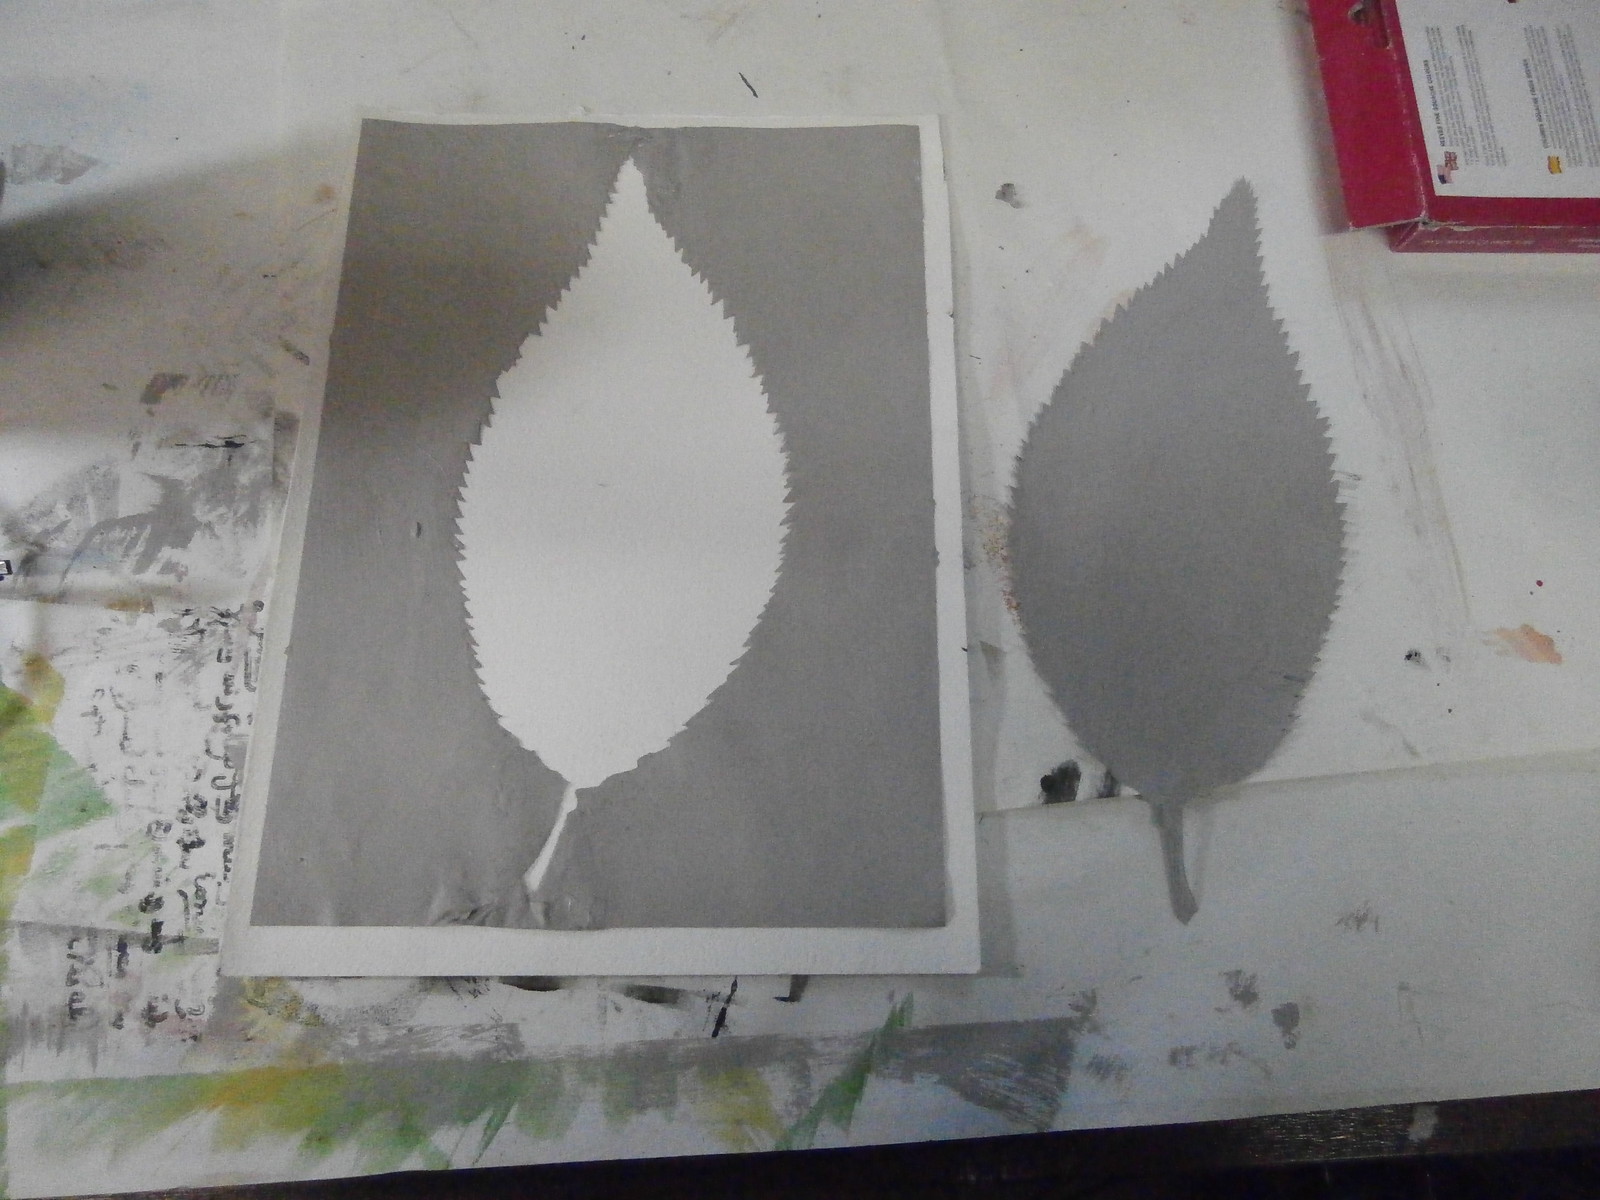
This is a leaf stencil and mask that I made from an inkjet printout of the leaf in the picture above. I cut it with a scalpel to get all the details of the edge. I used it, then thought, I want to keep using it. I wonder what would happen if I painted it with acrylic house paint? Would it make it re-useable? And it did. I painted both sides, drying each in turn and then repainted it and reinforced the top and bottom where there is not much space. so now I have a stencil and mask set to use over and over again!
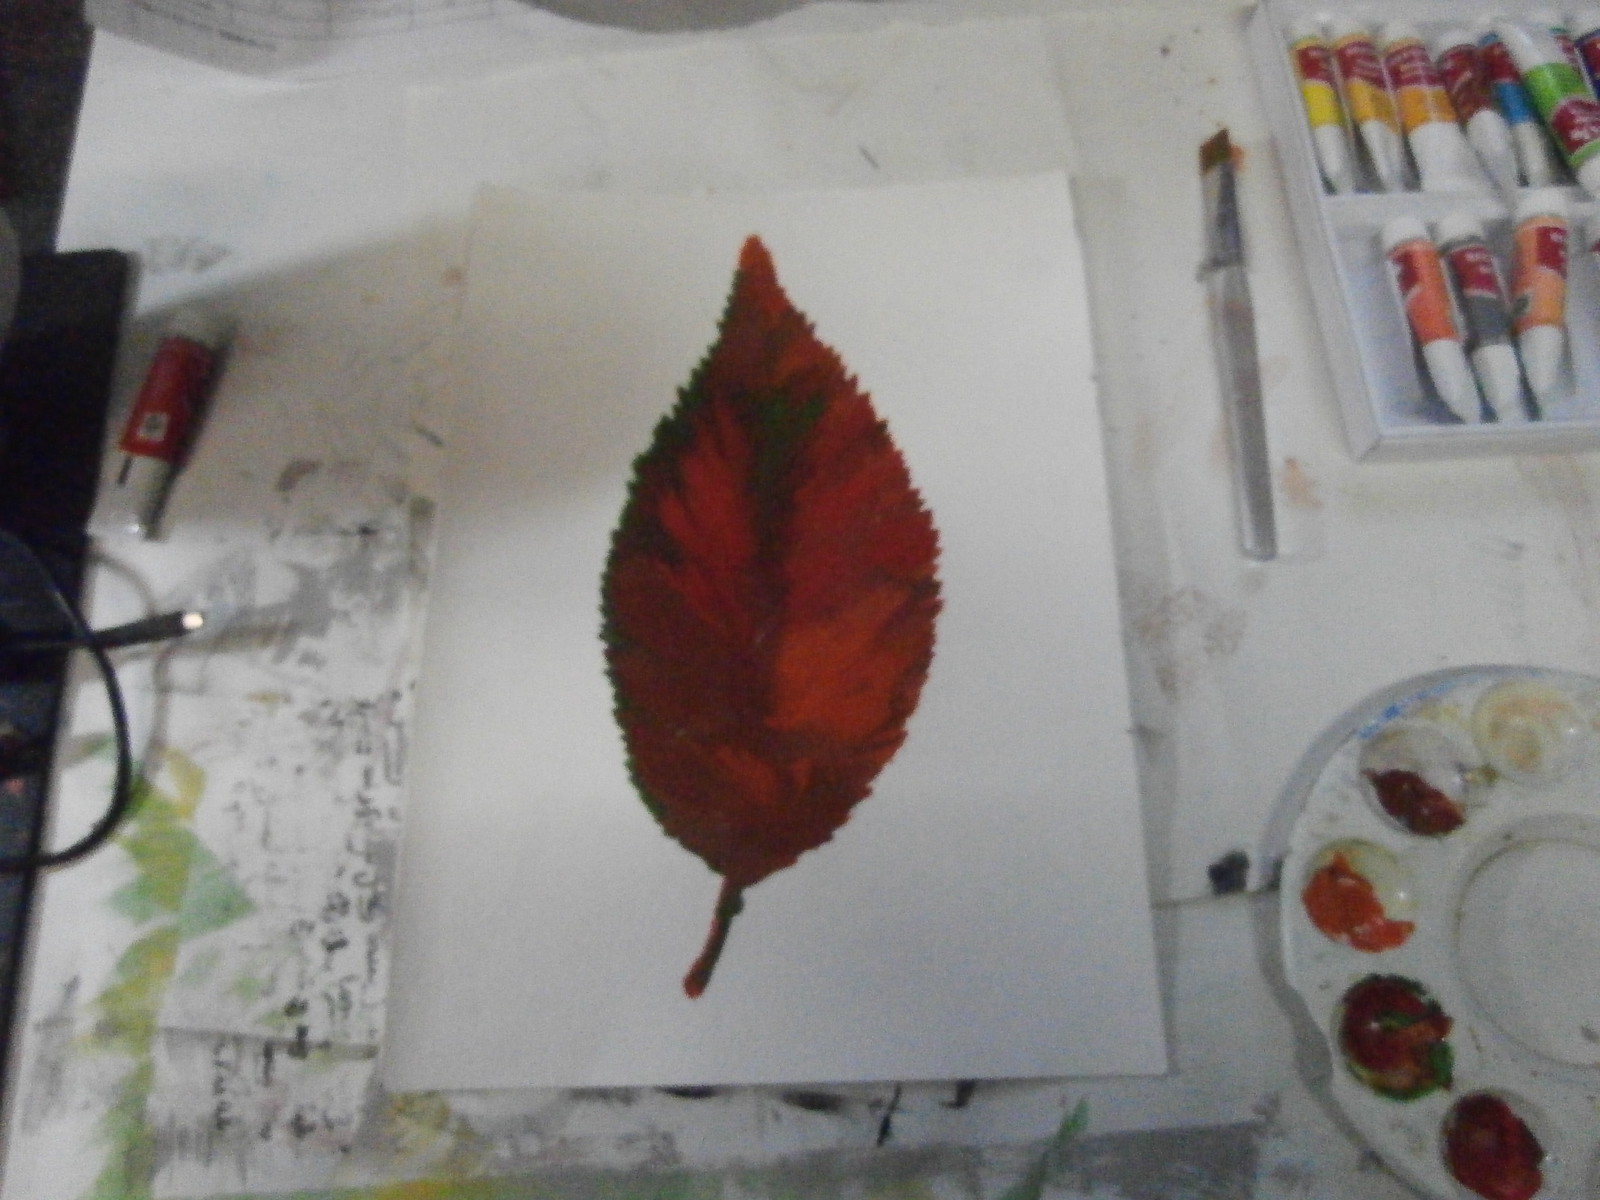
Here is a leaf I painted using the stencil onto HEAVY watercolour paper. I used gouache, which is sort of like watercolour as it can re dissolve, but also like acrylic in being thick and opaque.
I let it dry thoroughly, then painted over the whole thing with black sumi drawing ink. And I mean covered!
Then I let the ink dry totally.
When the ink was dry, I took the paper and WASHED it under the tap. Miraculously, the ink washed off where the gouache was but not where there was clean paper.
I had been dying to try this out since I saw it on Design Matters TV and also in a Margaret Peot video. As you can see above, I liked it so much, I did it again!
I have done a bit more than this and have put many pages together, but that will have to wait for another post!
Happy Creating!


