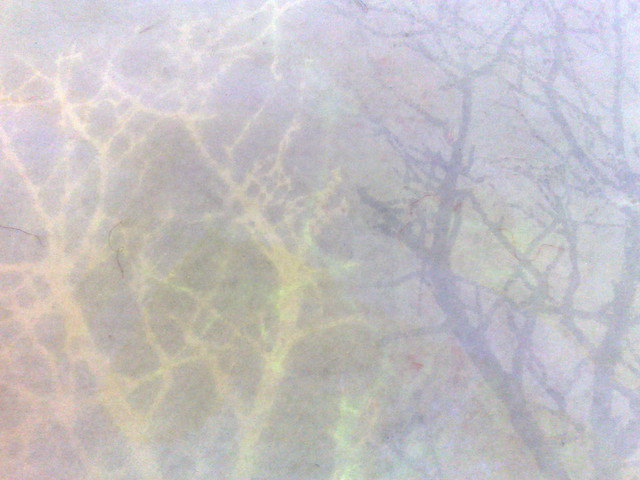
Yesterday I taught a painted scarf workshop at the community house. Unfortunately for me, I had a few technical issues in the beginning, but we got on well and made lots. We used fabric paint diluted in spray bottles to spray around masks and also stamped with the sprayed masks. The fabric was a variety of chiffons, organzas and voiles, very transparent fabrics, which makes the pictures a little difficult to see, but the colour is glorious in reality.
Here are two I made during the class. The top one uses feathers (cut from card and coated with resin) and the bottom one uses leaves from the gorgeous autumn maples just out in the courtyard.
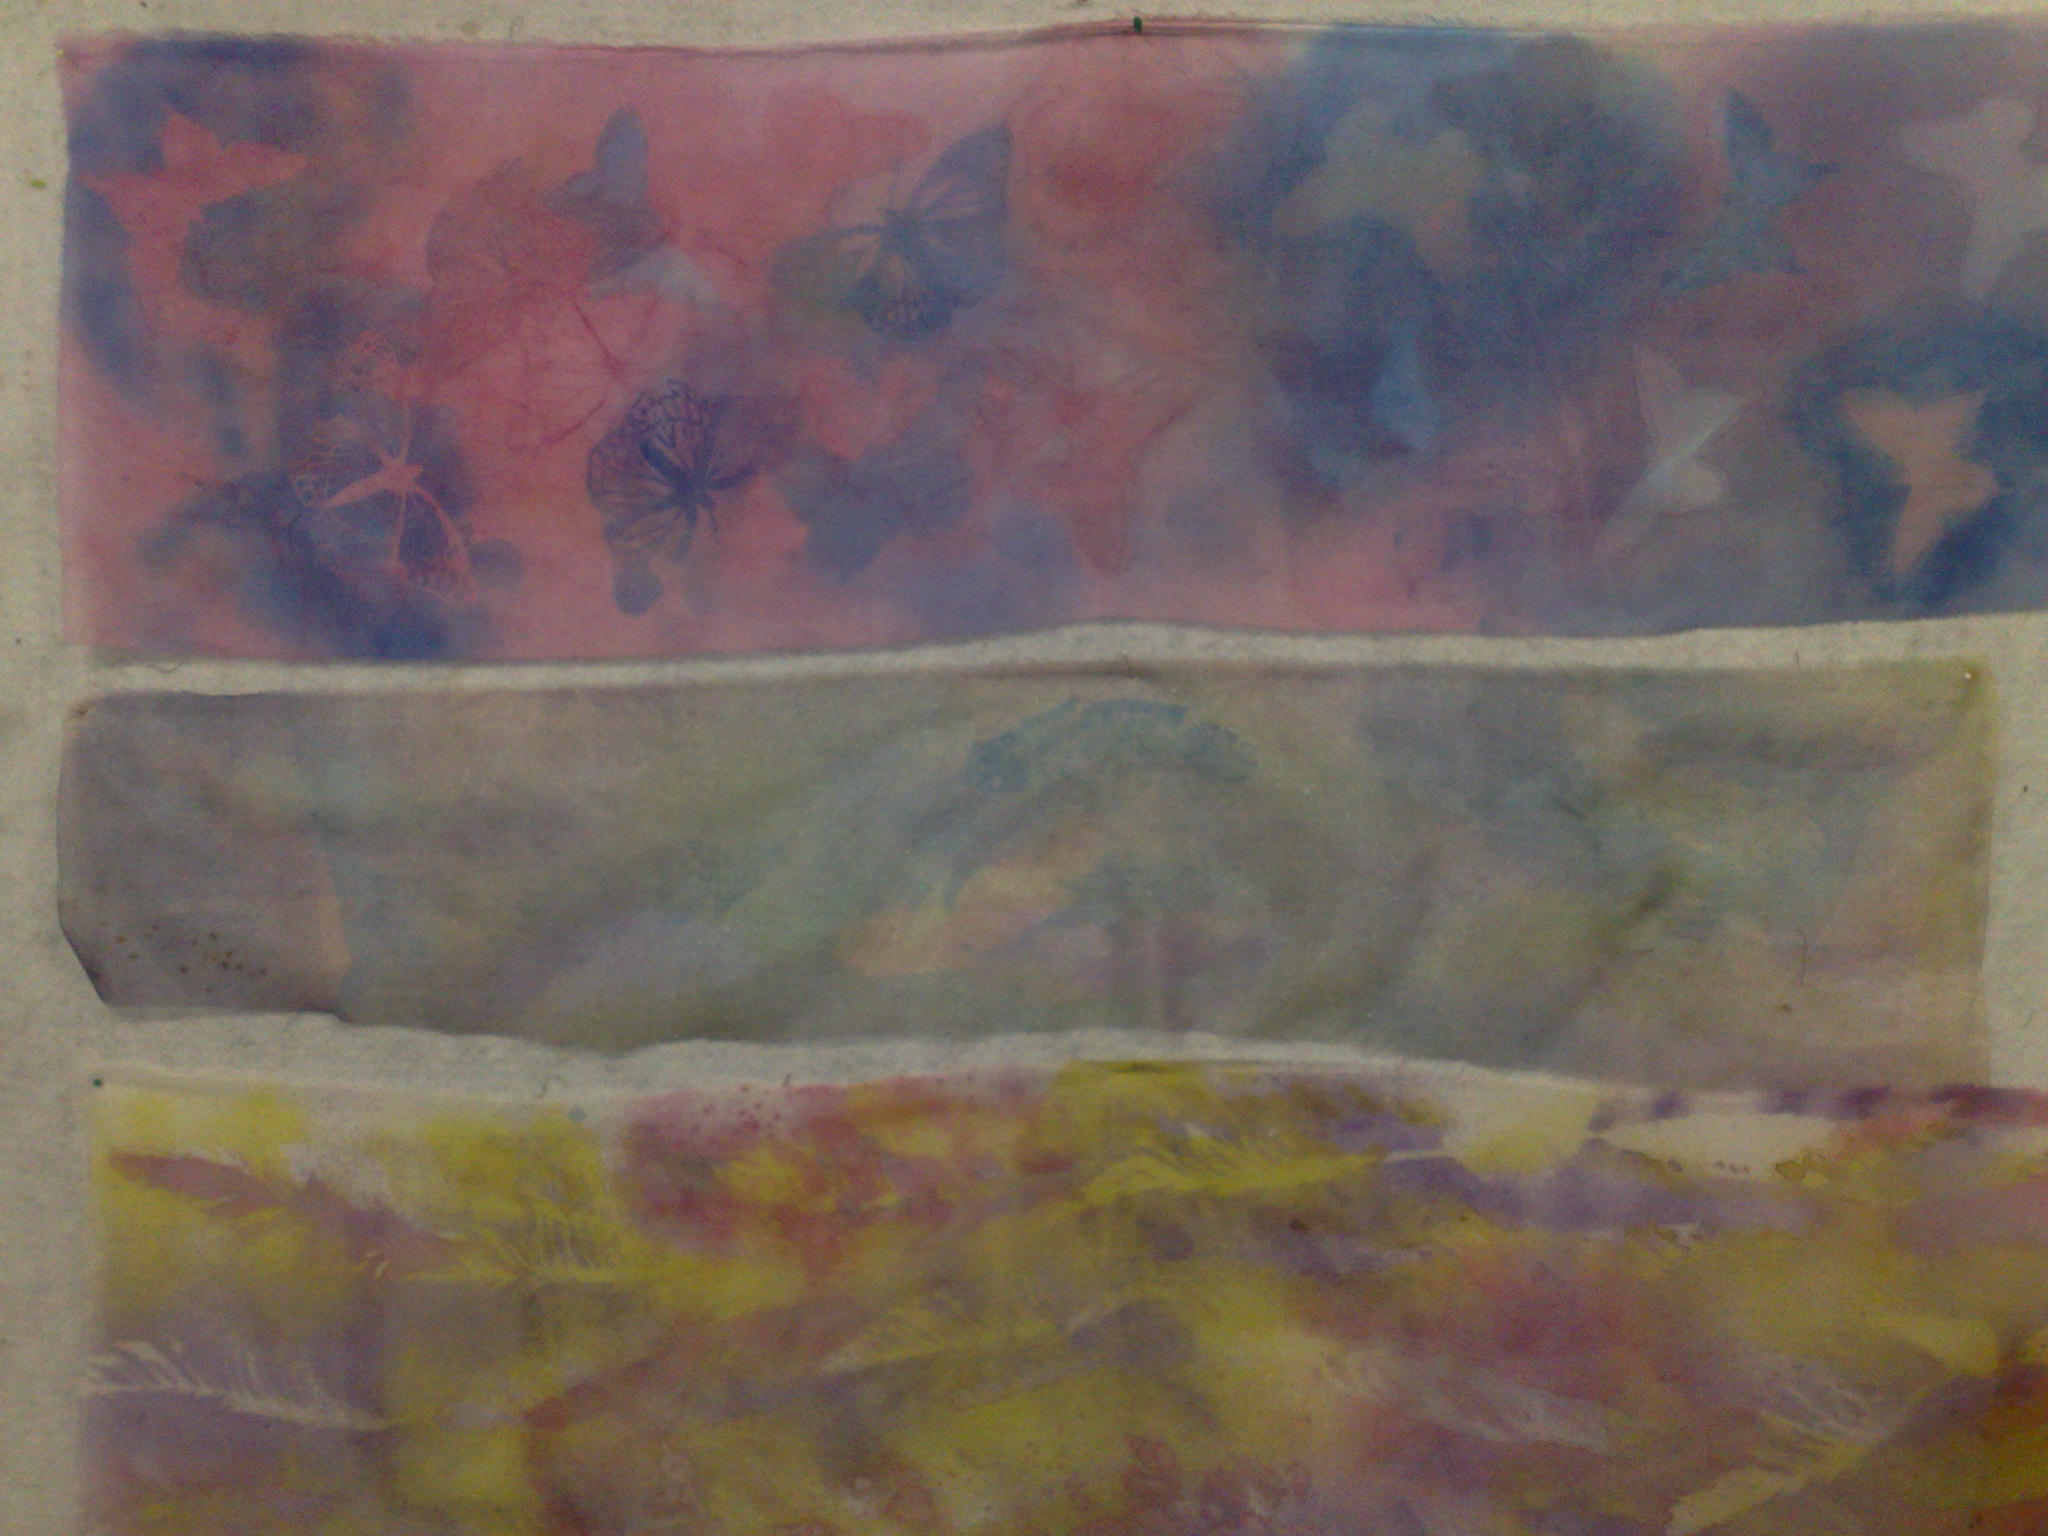
The top one here is a student's work, using acetate butterfly masks, she got lots of depth, but we discussed why she didn't like it and came to the conclusion that the first yellow layer is very important, although you can't see it until the end, as it modifies all the colours and gives more depth. The middle one is a piece of organza, and although it is colourful, and looks very pearlescent in the sunlight, it did not hold the stamps and masks well due to the open weave and thinness of the fabric. The bottom one was mt class sample, which I did with an airbrush, a real feather and diluted acrylics. It is much more vibrant, due to the paint, but the hand of the fabric is altered, so it's a choice to make. Also the fabric used is also an important thing. It doesn't matter whether it is cotton, silk, or synthetic, but the density of the weave makes a big difference.
Here's a close up of the butterflies on the top/student's scarf. On the left is a mask, where the butterfly is the background colour with blue around it and on the right is a stamp of the same mask. It was simply turned over and stamped using the paint which was on the top. I love the delicacy of this mask.
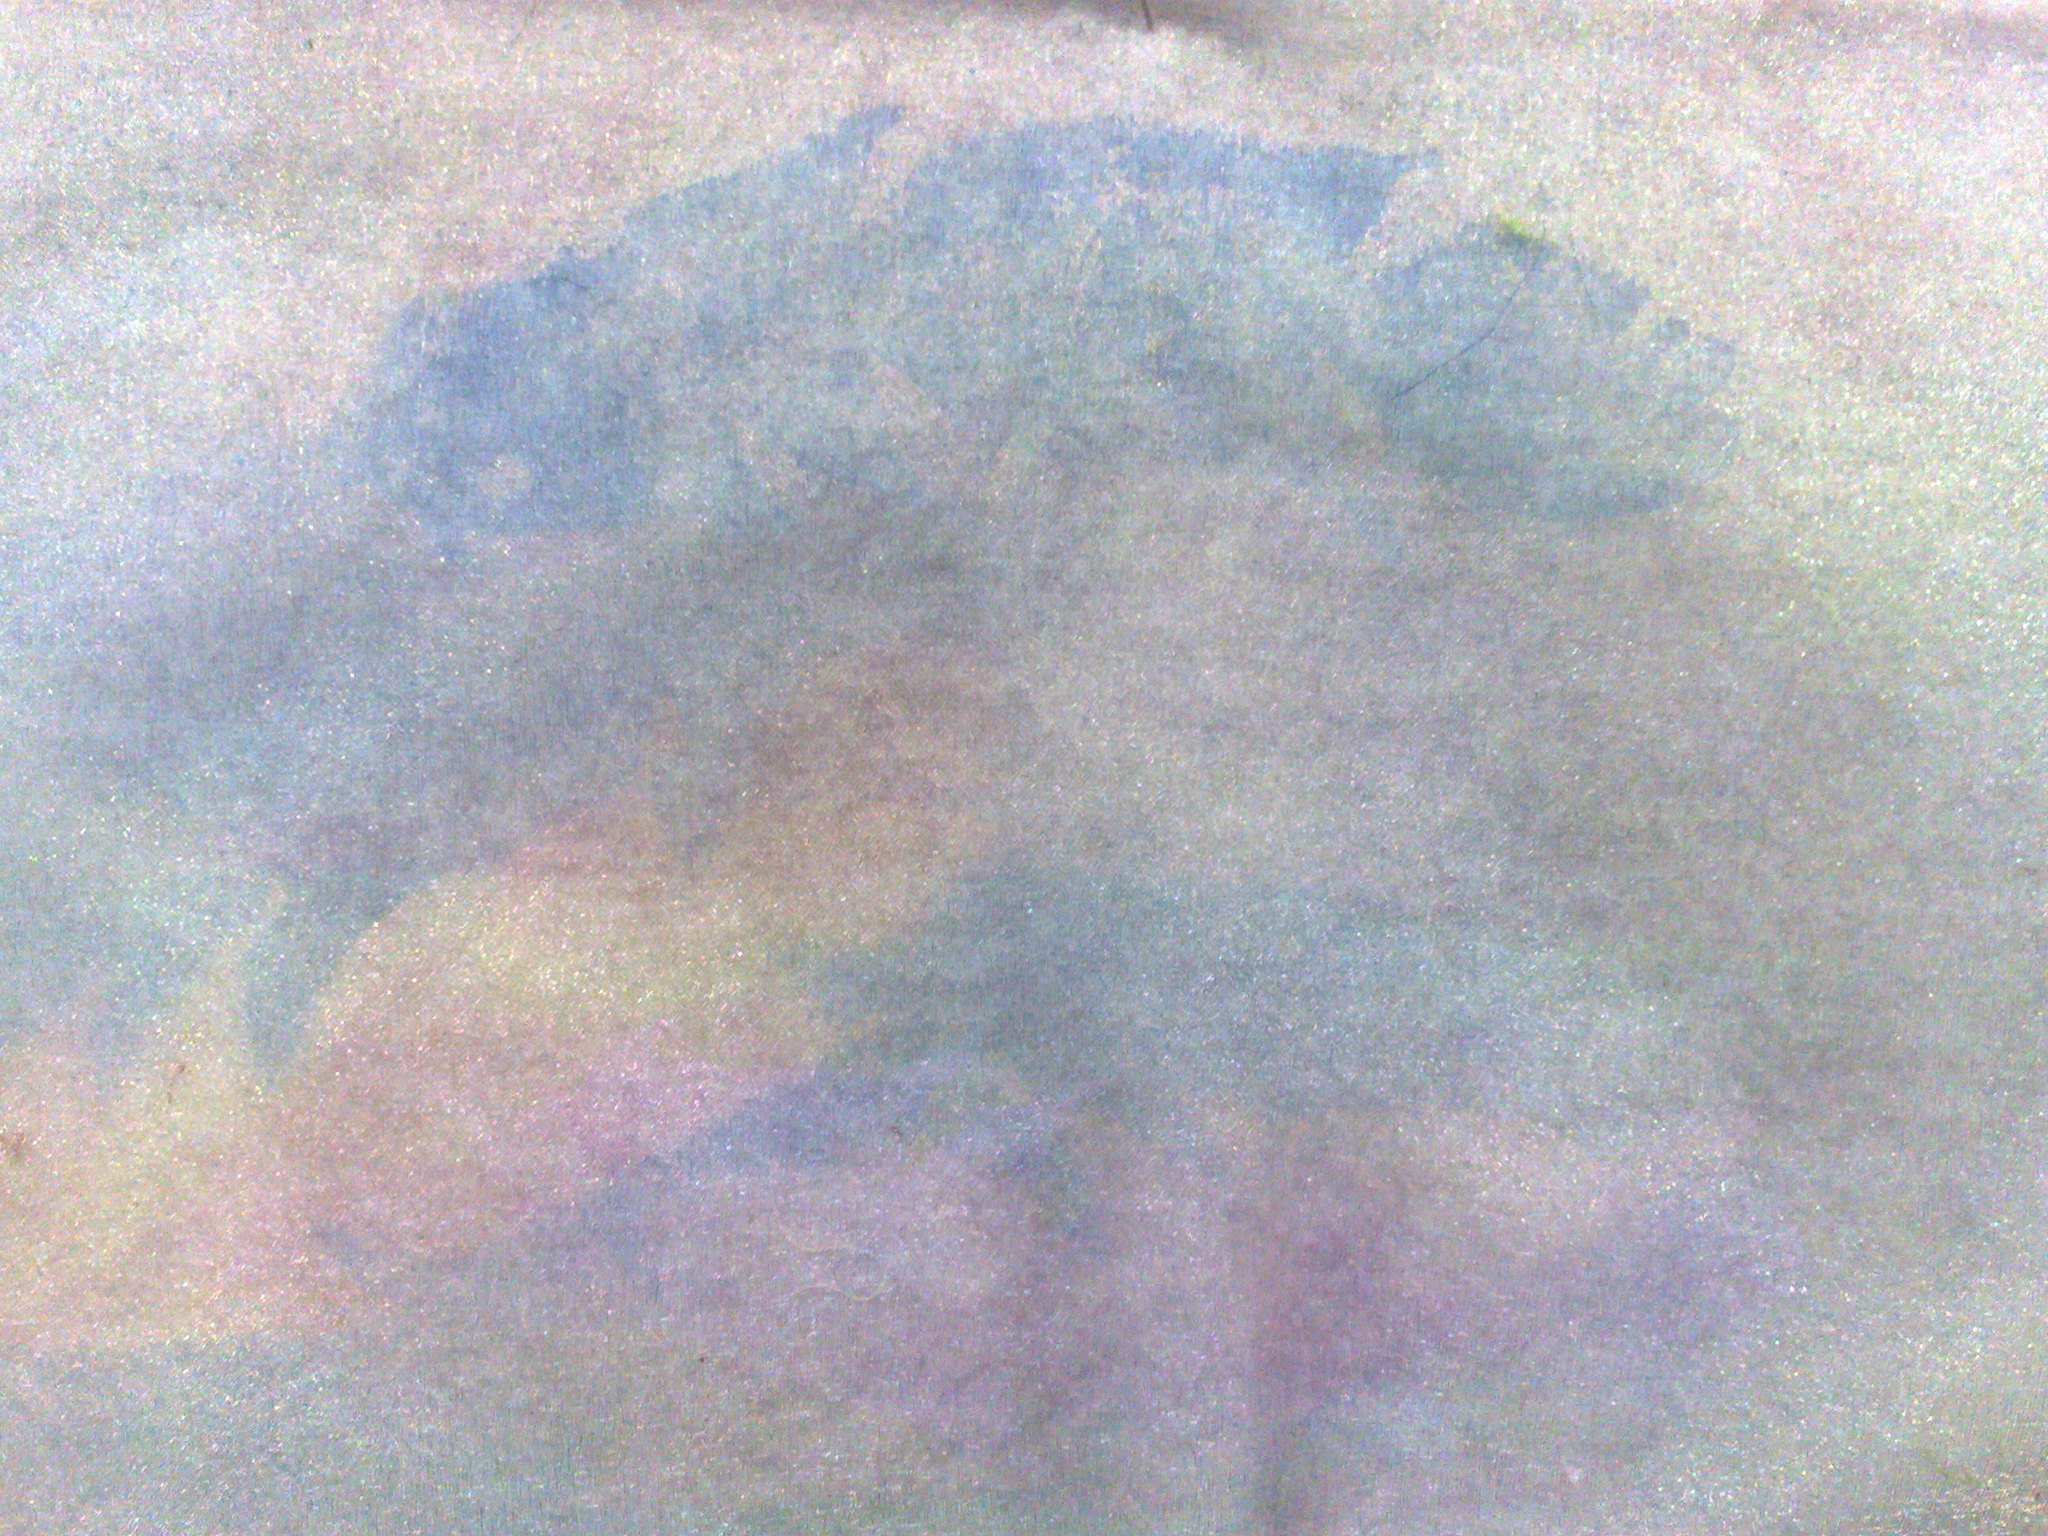
Here's a close up of the middle/organza piece. As you can see, the edges are not clear. They actually are clear, but because most of the paint goes through the fabric, the contrast is not high enough. You would get a better effect with a slightly thicker paint, however the nozzle of the spray would clog, and the hand of the fabric would alter.
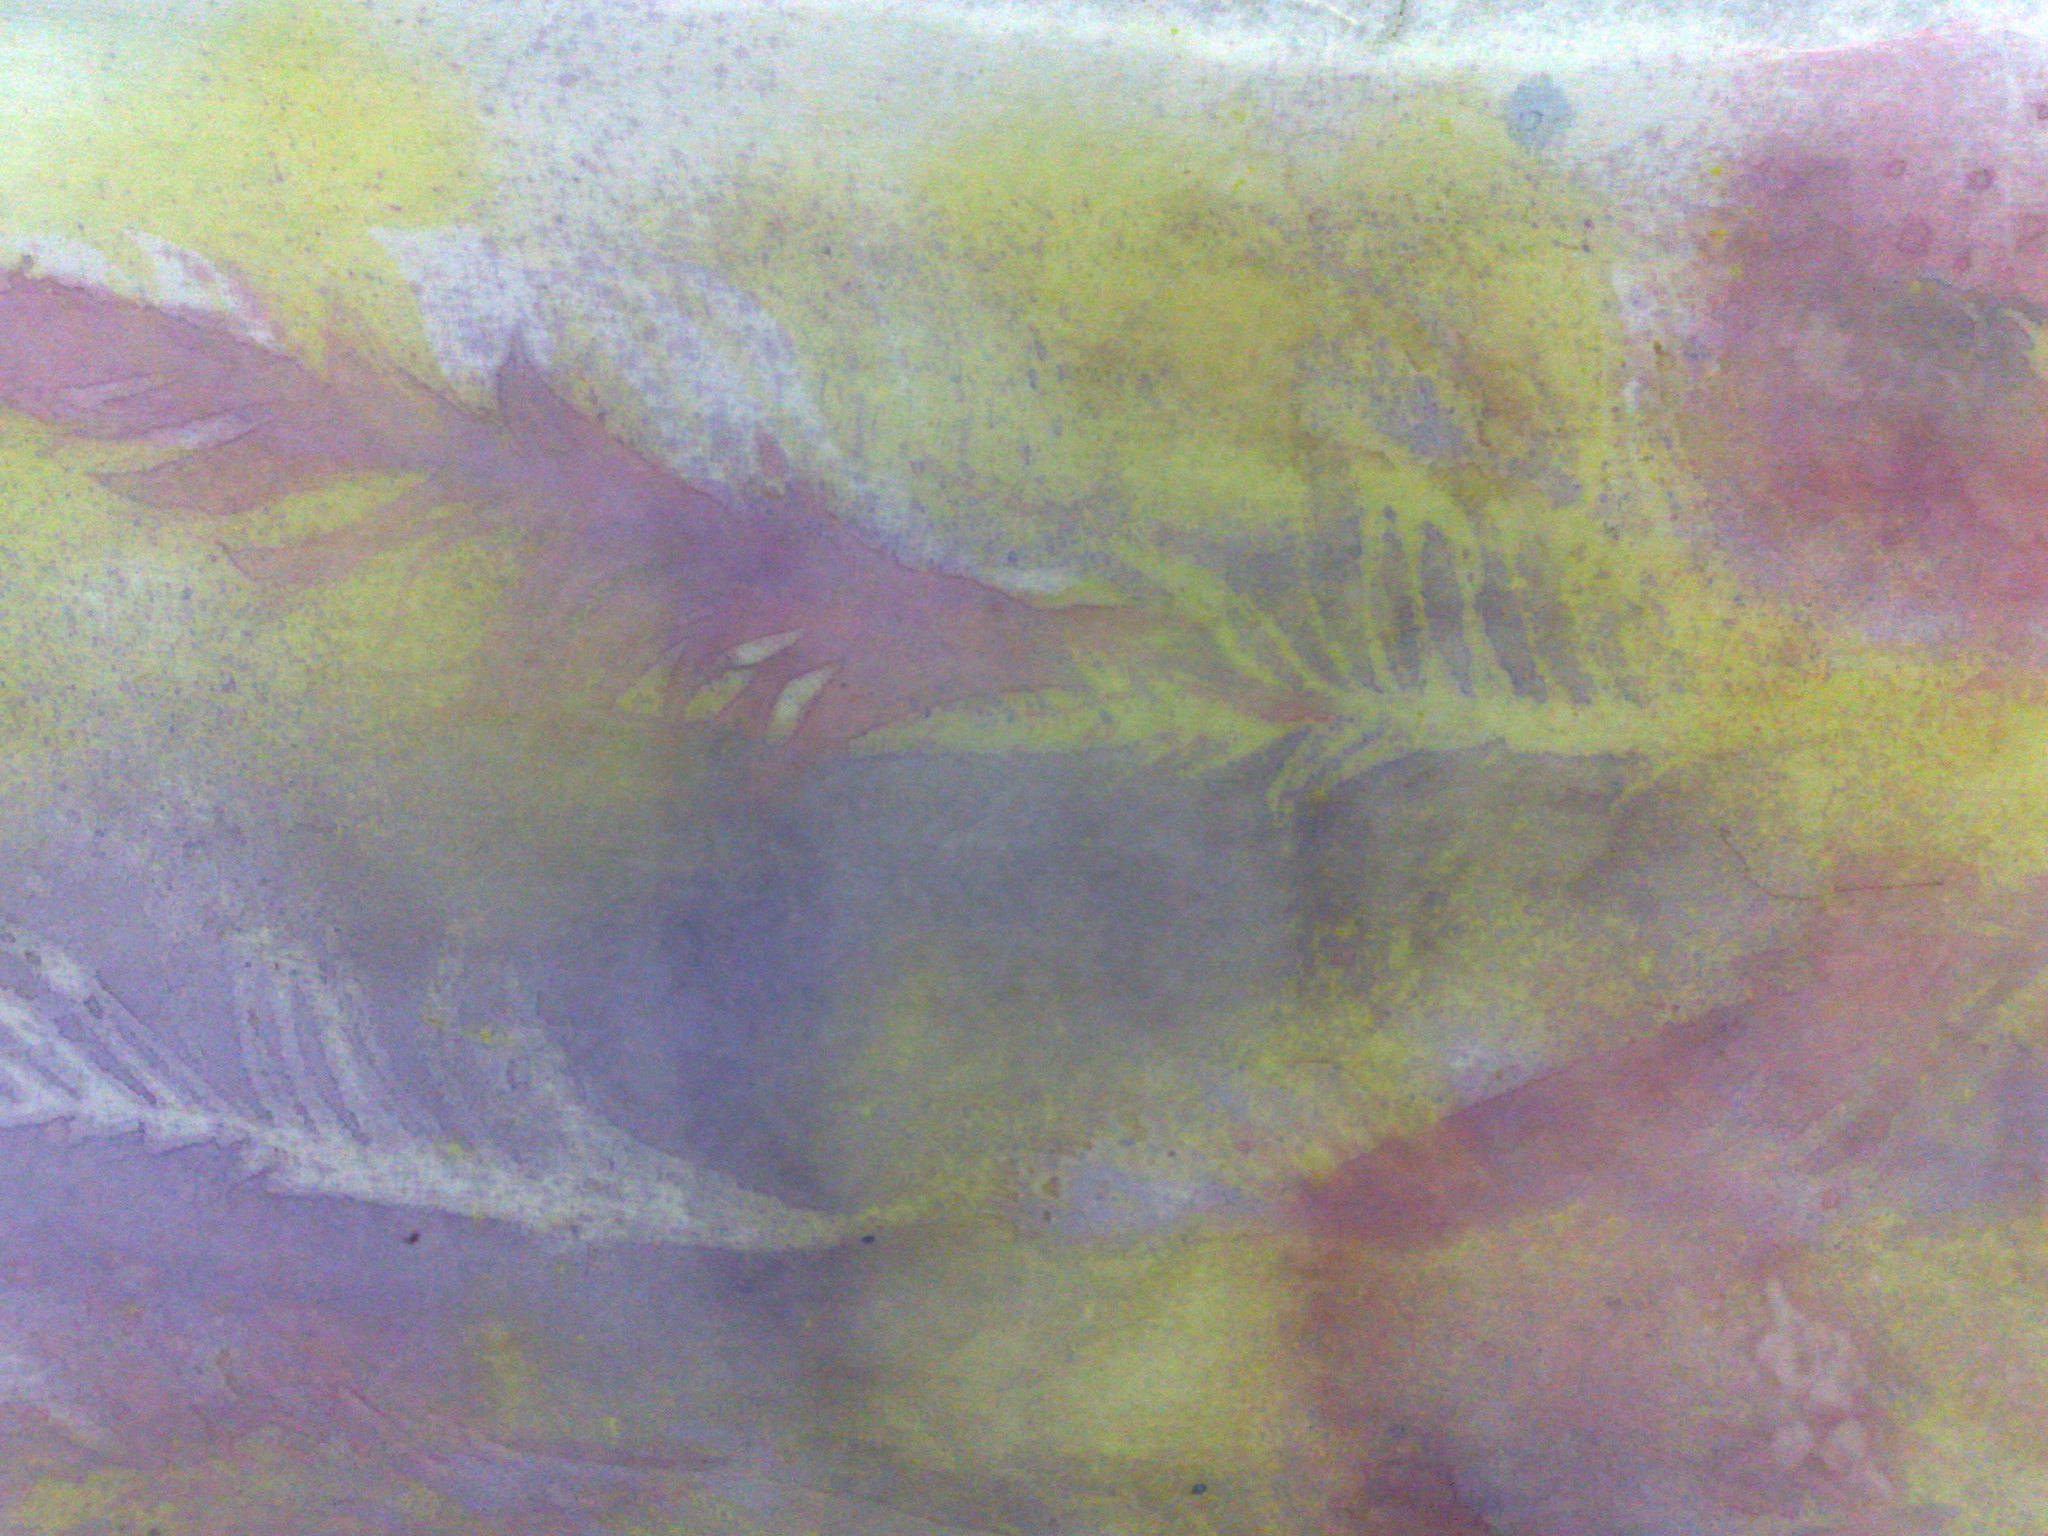
Here i8s a close up of the bottom/sample piece. as you can see, it has great colour and the definition of the edges with masking and stamping is great, but the hand of the fabric is a little stiff.
These are a couple of the cloths we used to blot the masks dry. Gorgeous, aren't they?
And now the piece de resistance!
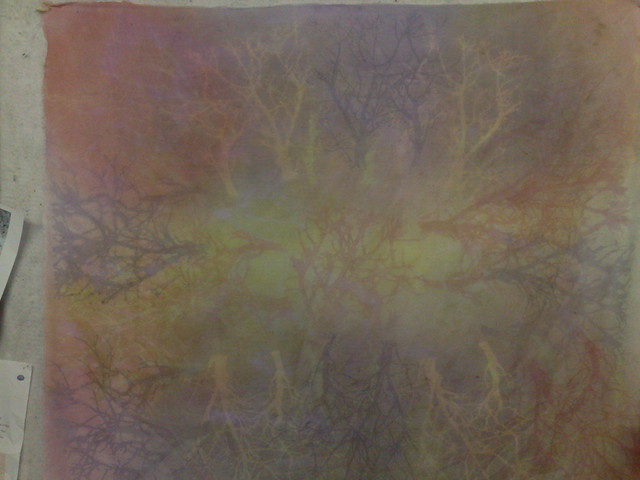
This is a large piece that I did at the end of the class using a tree mask (from crafter's workshop). The colours look a bit muted here, but it is the most glorious colours in the sun.
This one is without the flash.
A couple of photos showing the layering and the use of masks and stamping. This scarf/shawl is very appealing to me and I think it will end up on the wall somewhere (if I can ever find the space!).
And lastly-
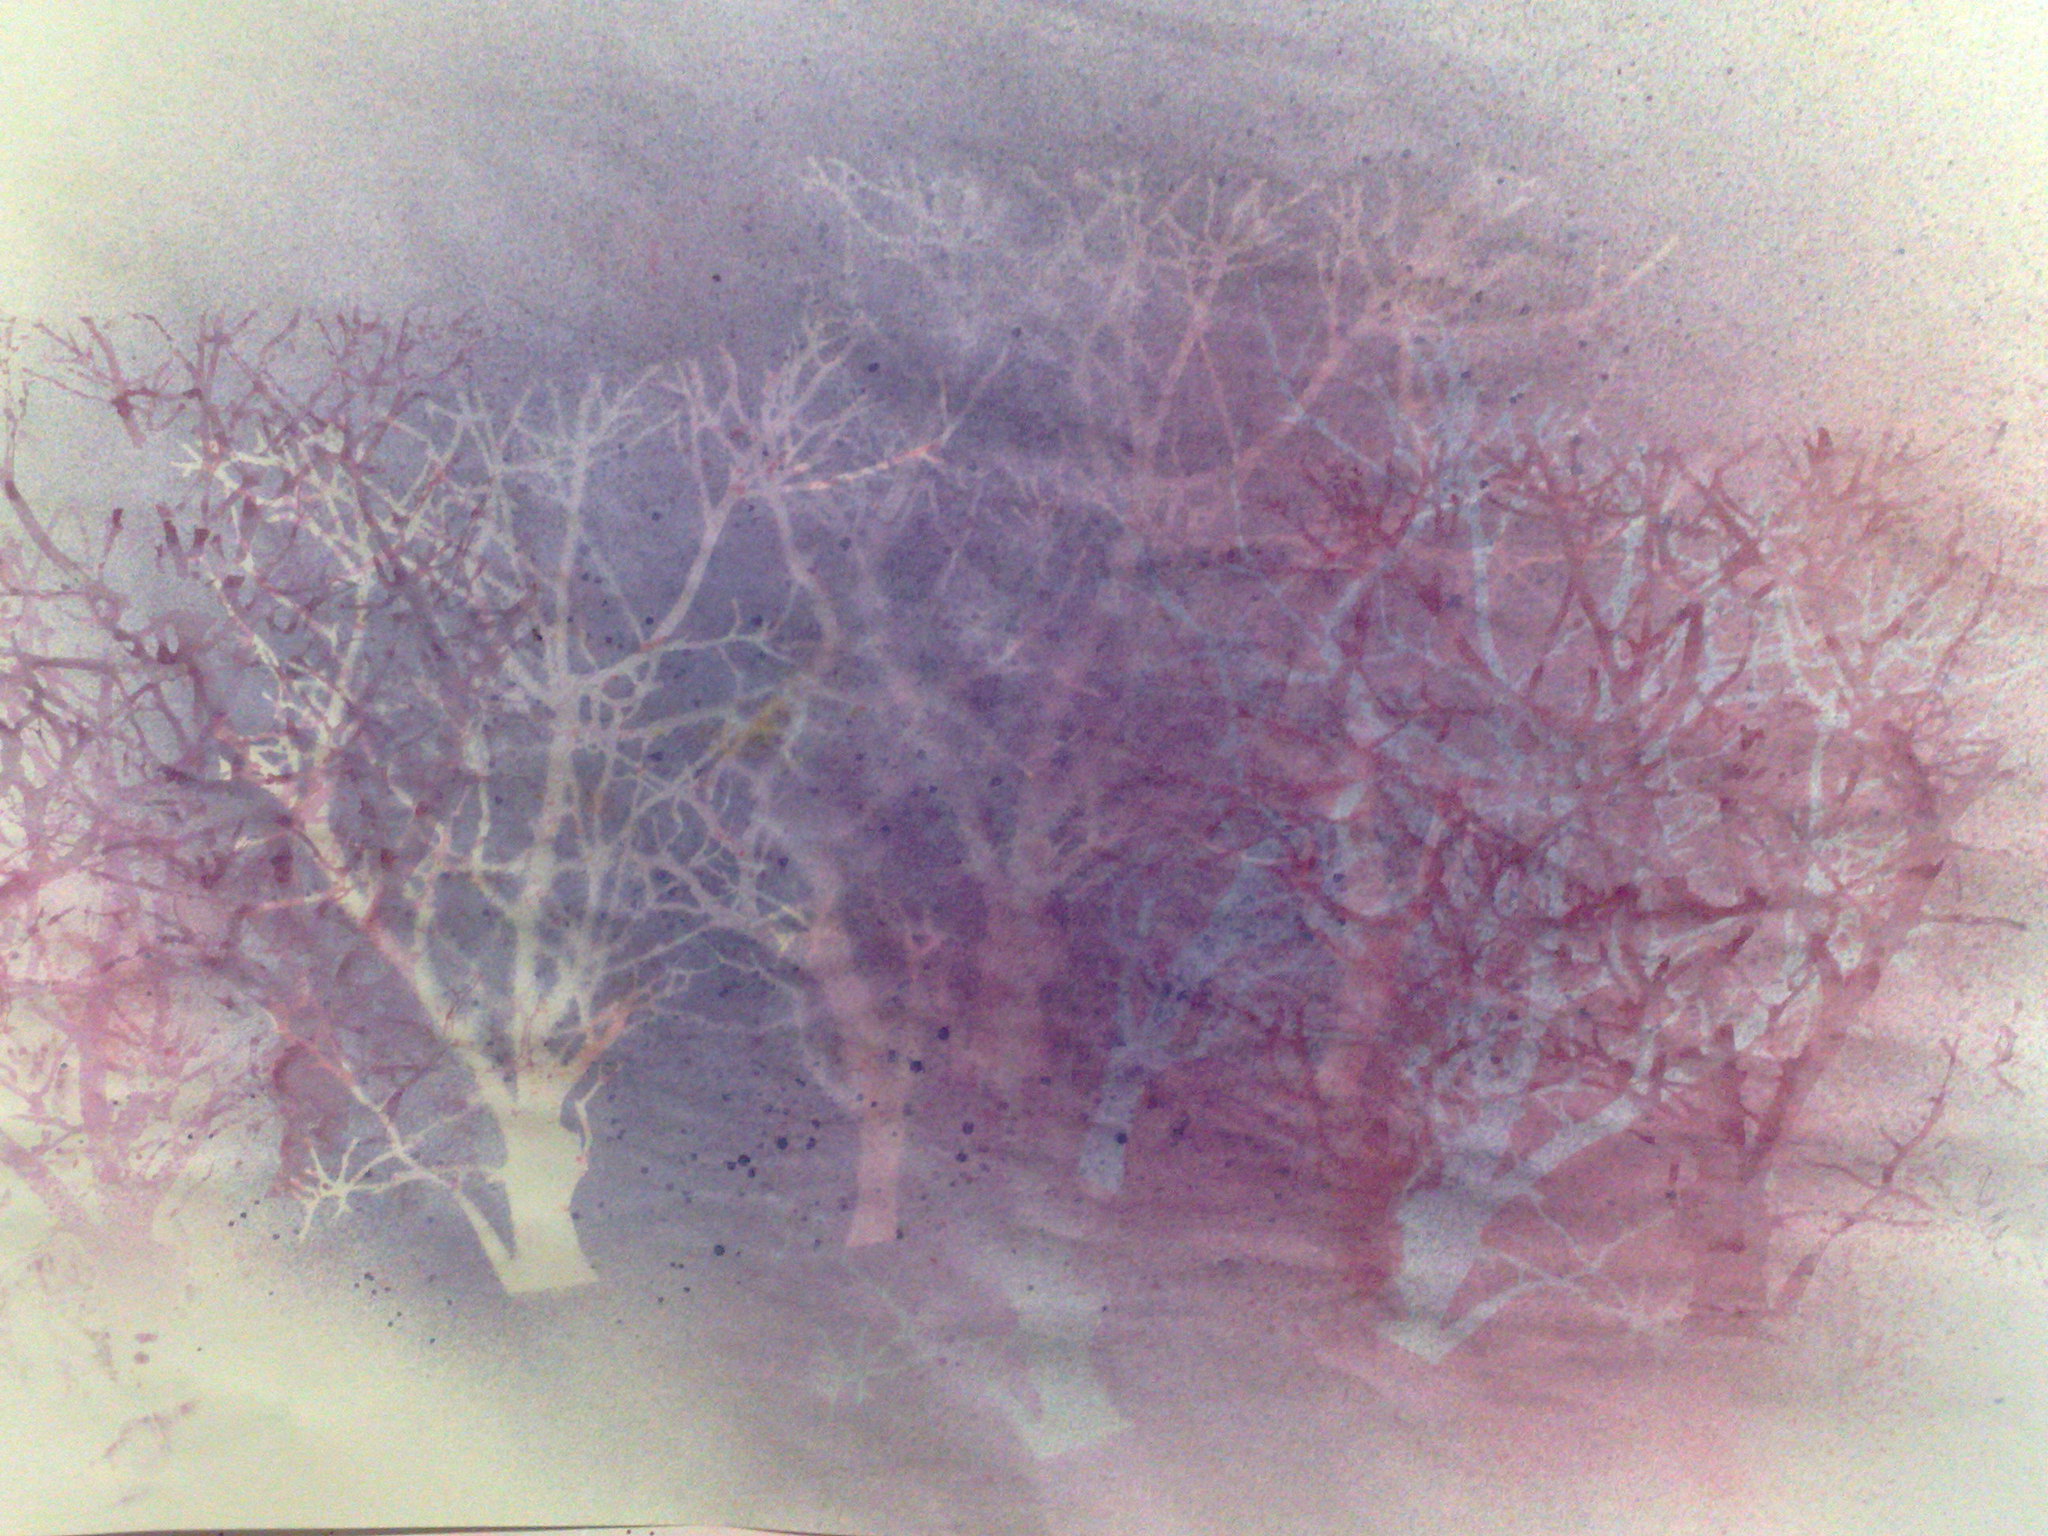
.This gorgeous piece of paper started as my blotting sheet whilst I was making the large piece, but towards the end, I wanted to work on it. It will certainly be framed! (or I might redo it on some thicker paper, or fabric, or canvas)
You know me, I always love the rubbish at the end of a project and can't throw it out!
Happy creating!


