Showing posts with label tree. Show all posts

Sunday, January 11, 2015

Journals everywhere

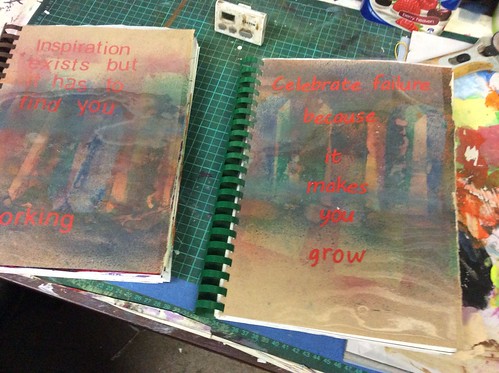
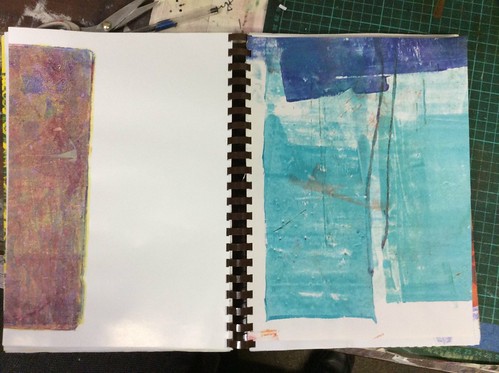
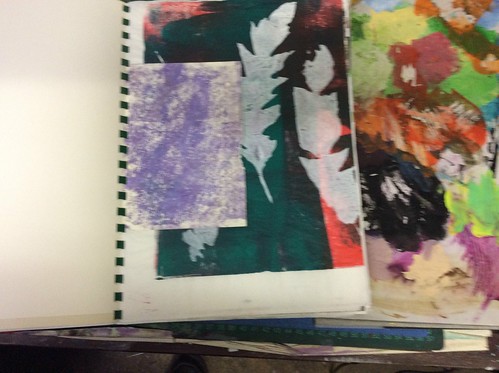
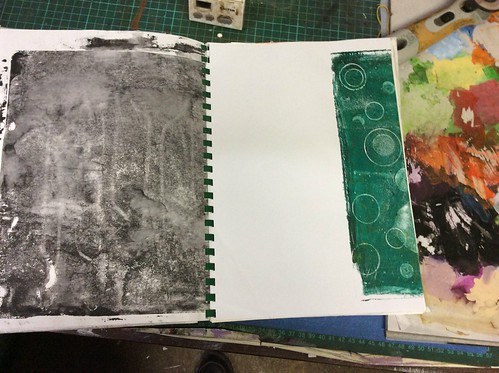
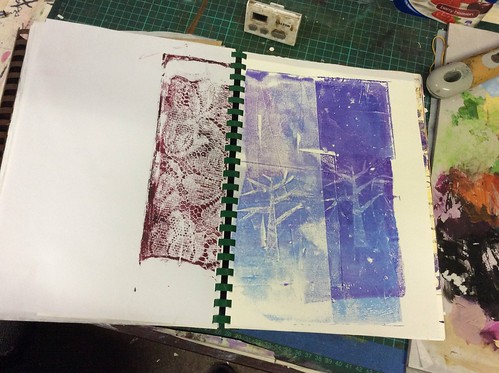
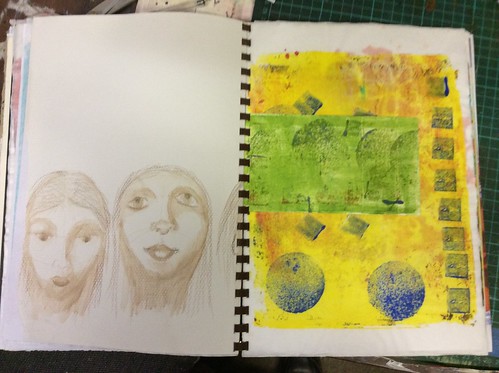
Yesterday, I spent some time, gong through my huge stash of gelli prints and put together two new journals.
As you can see I am really short on journals!  Hmmm.  Well, I still went ahead and made two more.
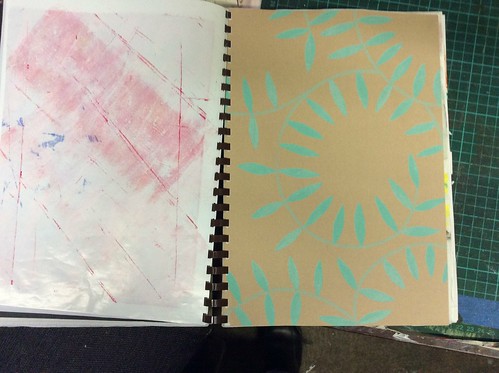
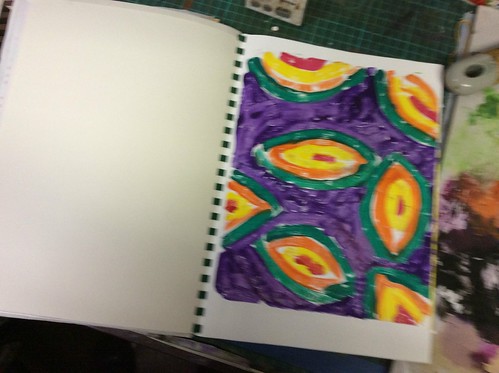
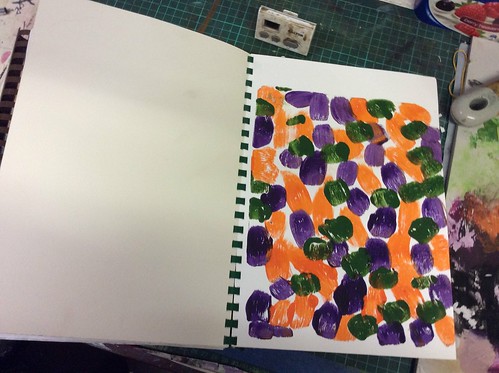
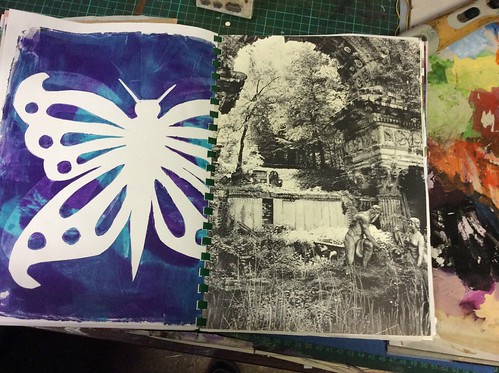
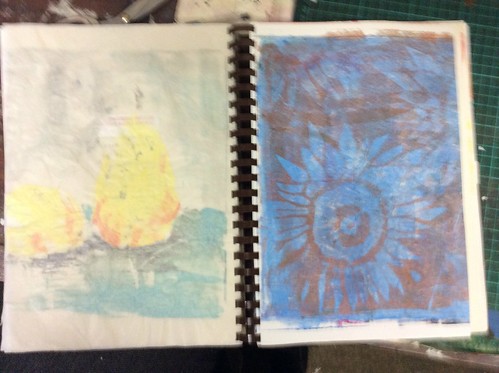
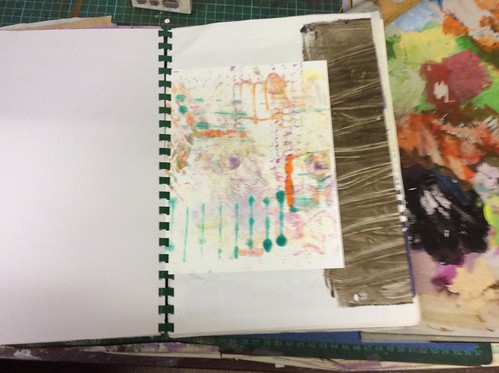
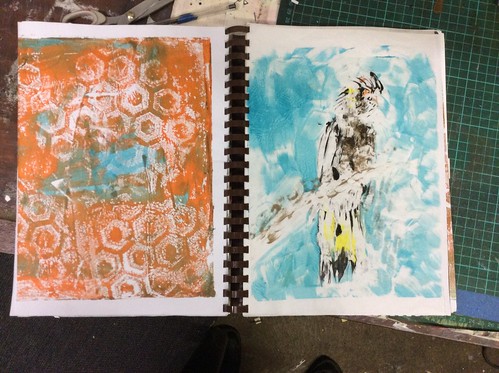
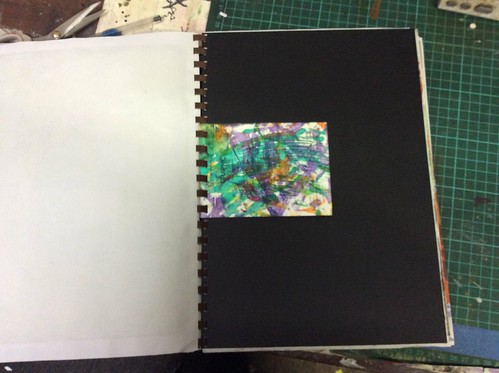
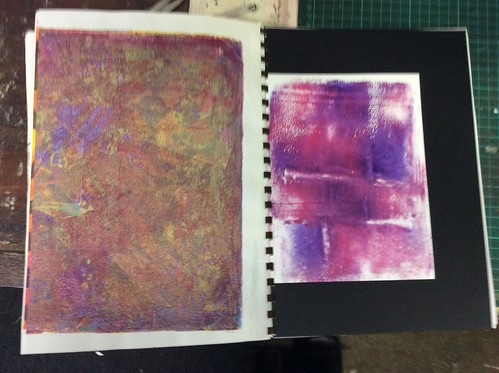
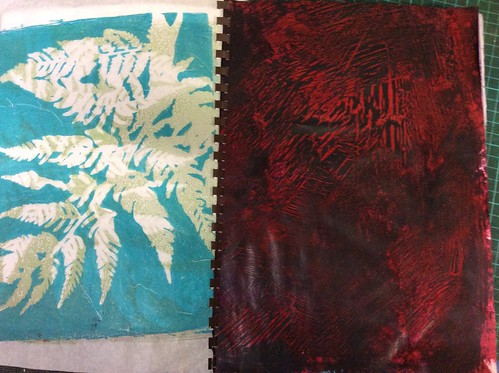
I call these "Serendipity" journals, because they have a mix of blank and coloured/printed pages, so it is just fate what you get to work on.  I find I tend to create things I never thought of or planned with these journals.  Here are a few spreads.
As you can see, I have a variety of pages, including deli paper, cartridge paper, watercolour paper, card and even some black card as well as a wide variety of prints and failed prints, all bound together using my old comb binder.  I am quite pleased with these.

Here are a couple of recent art journal pages

This one started with a scrap of watercolour paper with some test painting on it and a tree cut from a page taken out of an altered book.  The branches were cut of in the cutting, but I put them back in with drawing.  The autumn leaf drifts began as bits of gelli prints which I scribbled all over with oil pastel then melted with the heat gun and moved around with a baby wipe.  It turned out very atmospheric!
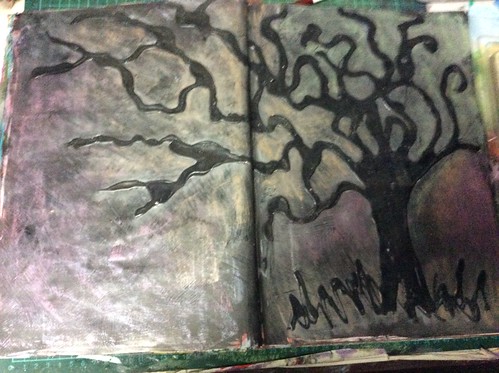
This page has sat around for nearly a week.  I had "drawn" the tree and grass, with some elmer's glue on a coloured background and intended, when the glue was dry, to wash over black ink and wipe it off from the glue to create a coloured tree on a black background.  But alas, the ink dried too quickly and I couldn't get it off.
today, whilst I was playing with the oil pastels, I thought I could rub over the tree and get the pastel on the glue, but again, that did not work, as the pastel also got onto the background as well in places.  As I was rubbing the background to try uselessly to remove the pastel, it simply created more of a misty background - AND  the cloth rubbed the pastel off the glue!  So I eventually, after many plays, got the opposite effect of what I originally intended, but I really like it and especially love the shiny, black dimensional tree.


Happy Creating!

Friday, May 10, 2013

Still thread Sketching

I have been busy doing a lot of reading.  At the moment, I am reading 'Creative Composition and design' by Pat Dews.  It's just my sort of art, based on texture backgrounds.
So, I haven't had much to blog about for a few days, but today I did another thread sketched piece based on   an embroidery design.
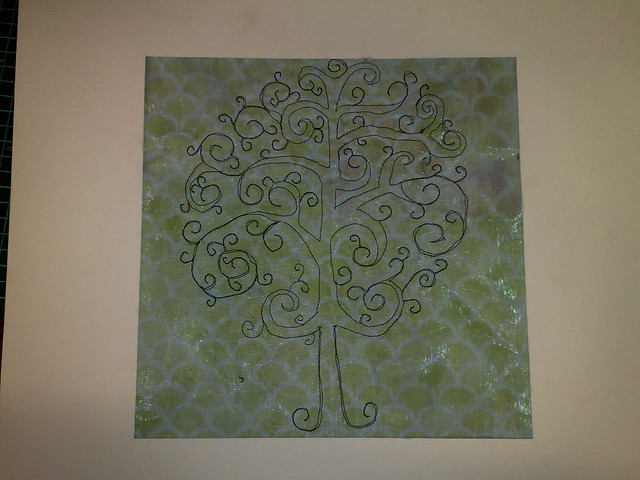
This is the design, from the sew beautiful blog.  Again, it is really for hand embroidery, but, hey a design is a design.
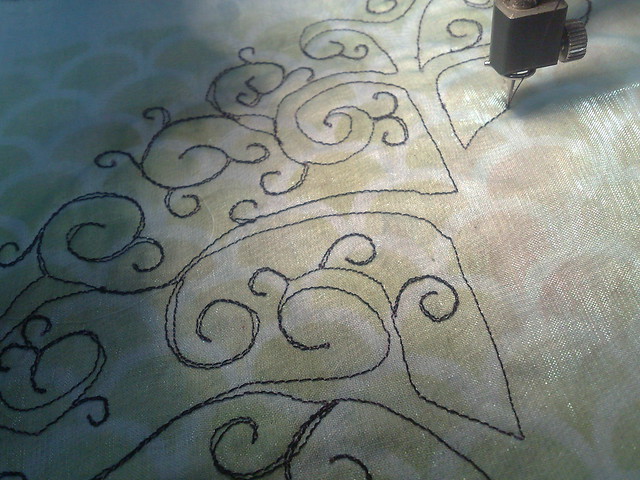
here I am, busy sewing it with black thread on organza layered over one of my airbrushed fabrics.
and a close up of my wonky stitching!
Here it is done with a black and a white mat board.  Not sure which I like, but there are a few places I want to add swirls to even it up and I think it needs a few beads to cover up my oopses and perhaps a bit of fabric paint on the trunk?.  I wonder what it would look like using bobbin drawing, mmm, I wonder if I can fit enough thread in the bobbin to do the whole thing, or perhaps do it in two halves just to be safe.
Anyhow, I know I will use this pattern, or something similar again.

create every day


Thursday, March 3, 2011

Thread painted tree

So it's thread painting Thursday and today I made a small freestanding applique for the waterfall piece.  It is the tiny tree that you can just see at the top of my design from yesterday.
To make this tree, I put some water soluble stabilizer very tightly in a hoop and started thread painting with straight stitch and a variegated brown thread.
Here, you can see just the basic outline of the trunk.  I made the shape up as i went along, but you can draw first if you would rather.  I find it easier not to have a line, so little mistakes and wobbles simply become part of the piece.
Next, I filled in the trunk, making sure I went back and forth over and over so the stitches interlocked.
And here is the finished trunk.
Next I  filled in the leaves.  Most thread artists tend to use a tiny granite stitch for this, however I like to use up and down strokes, simply because that is what Eucalyptus trees are like.  If I was drawing a deciduous tree, I might do it differently.
I loaded two values of khaki green, lighter in the bobbin and tightened the top tension so the lighter thread would show at the tips.  This is called colour spotting (see Encyclopedia of machine embroidery, or Beginner's Guide to Machine embroidered Landscapes)
This was taken at 10x using my digital microscope.  You can see the tiny bits of  lighter thread comming to the top.
here is the tree, with the foliage done.


These three pictures show the final steps.
While the work is still in the hoop, I pin it to a piece of poly styrene


Next. I release the hoop and trim of most od the stabiliser


Finally, I hold the piece under running water until the stabilizer has washed away
 The work the needs to dry
If you are impatient like me and If your poly styrene is very thick, you can push the pins right down and  use an ironing cloth over your work, lightly ironing until it is dry.  This will still take a fair amount of time, because you need to make sure the polystyrene doesn't get too hot and melt.
Your small piece can be used as an applique, or in another fibre work.
Hopefully in a week or so you'll see this one in the final waterfall piece
Tomorrow we will look at another fibre art technique in Friday Focus