I have been absent without leave for a little while. As I have said, I am completing a course with Design Matters, and I can't post that here, but beyond that and all the family problems at present, I had been thinking why I often fall of the cart with my Textile work. and really, I have come to realise, work - that terrible word is to blame. Once something becomes WORK, it becomes a chore. Since I started the local gallery, I have been more focused on making THINGS rather than just making, and I think this is what has stifled my creativity.
When I work in my journals and sketchbooks, I have no particular end in mind and am not even intent on finishing - often, I just make backgrounds, which I come back to when the muse suggests. Perhaps I need to be a bit more intent on the process with textiles,like I used to be, rather than what it looks like or whether it's finished or not. I might end up with lots of ufos, but I might end up with more finished and more creative work, too.
So, to this end, today I just threw some stuff together and made it up as I went along.
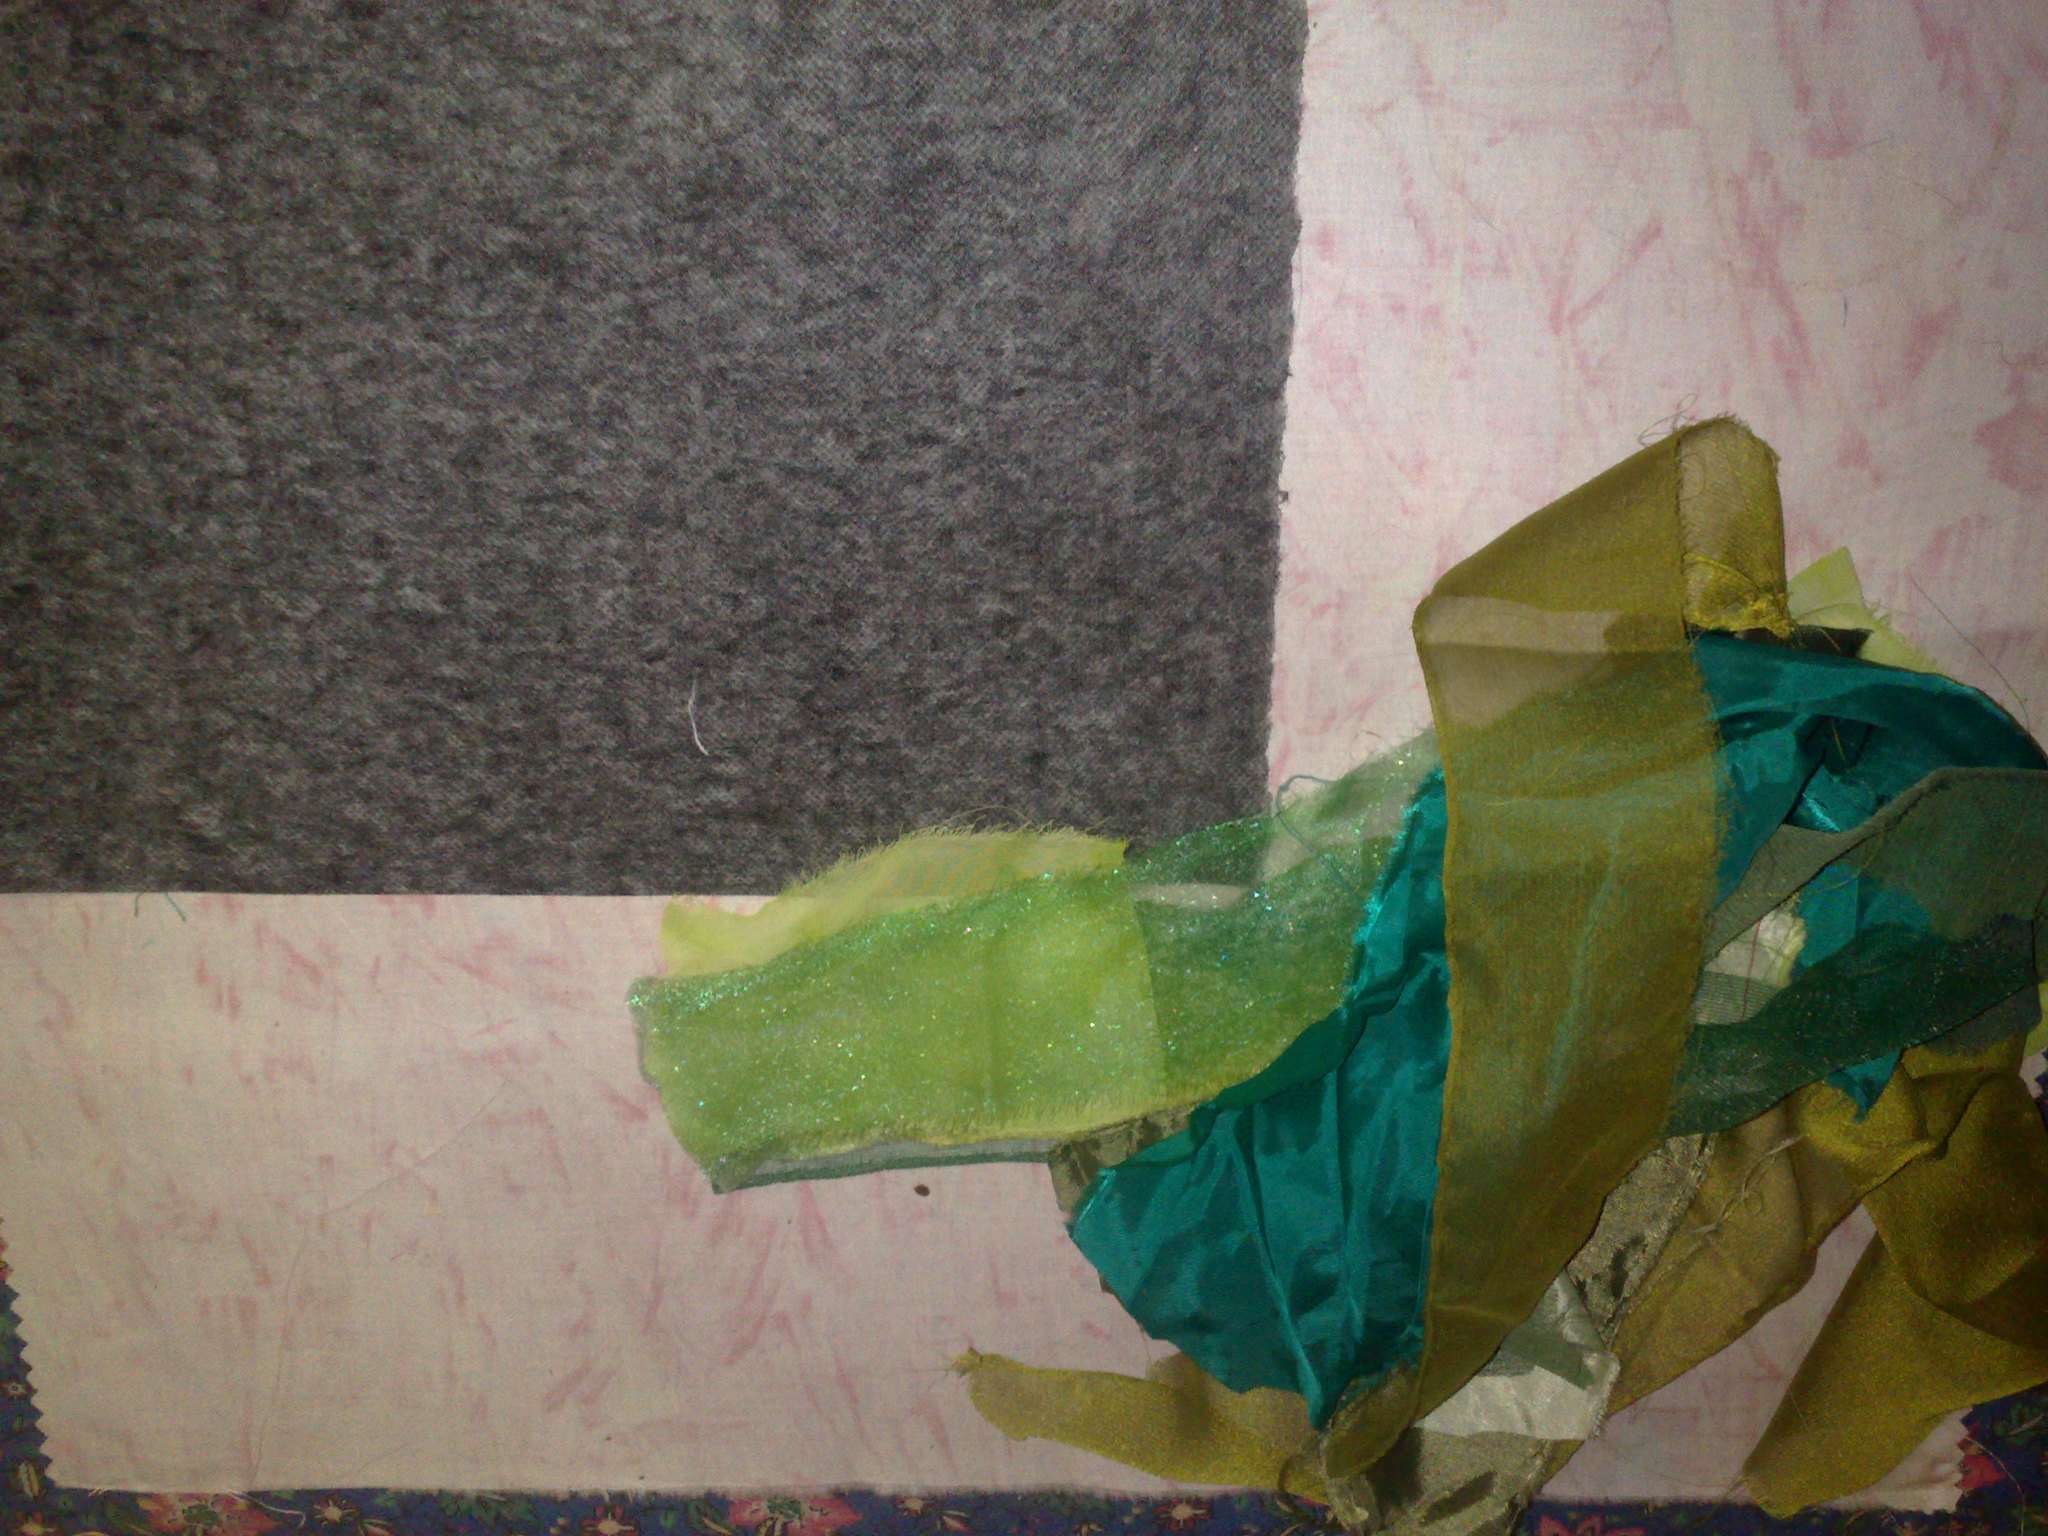
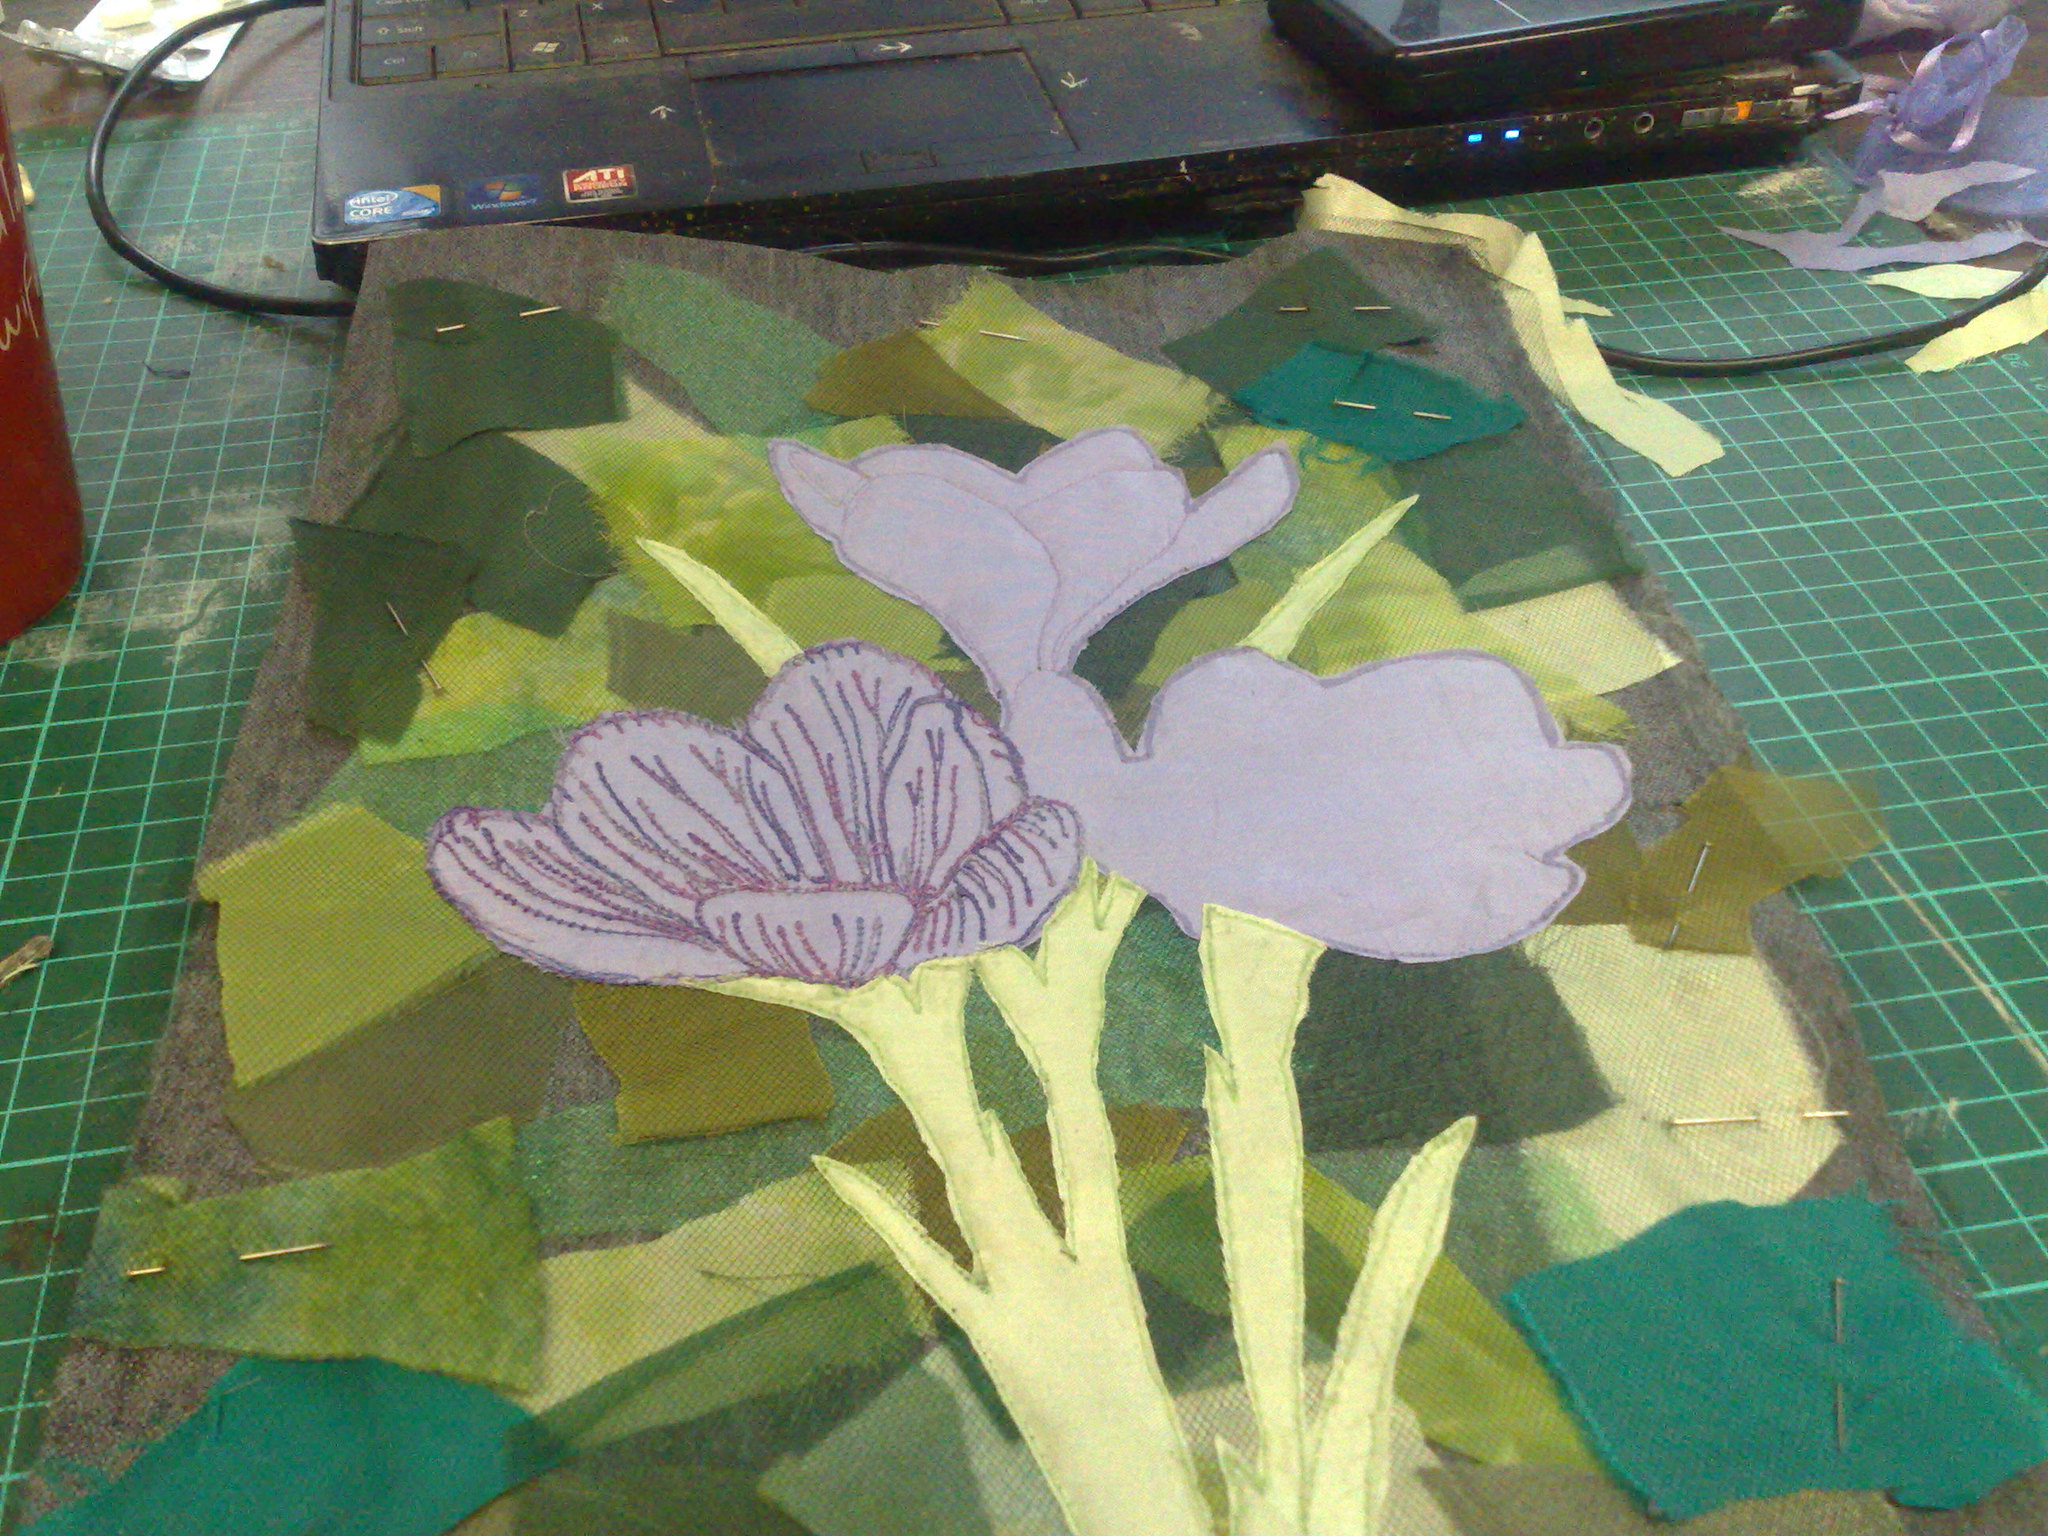
A piece of interfacing and some bits of green stuff - stain, chiffon, organza, batting - all the stuff I love to play with.
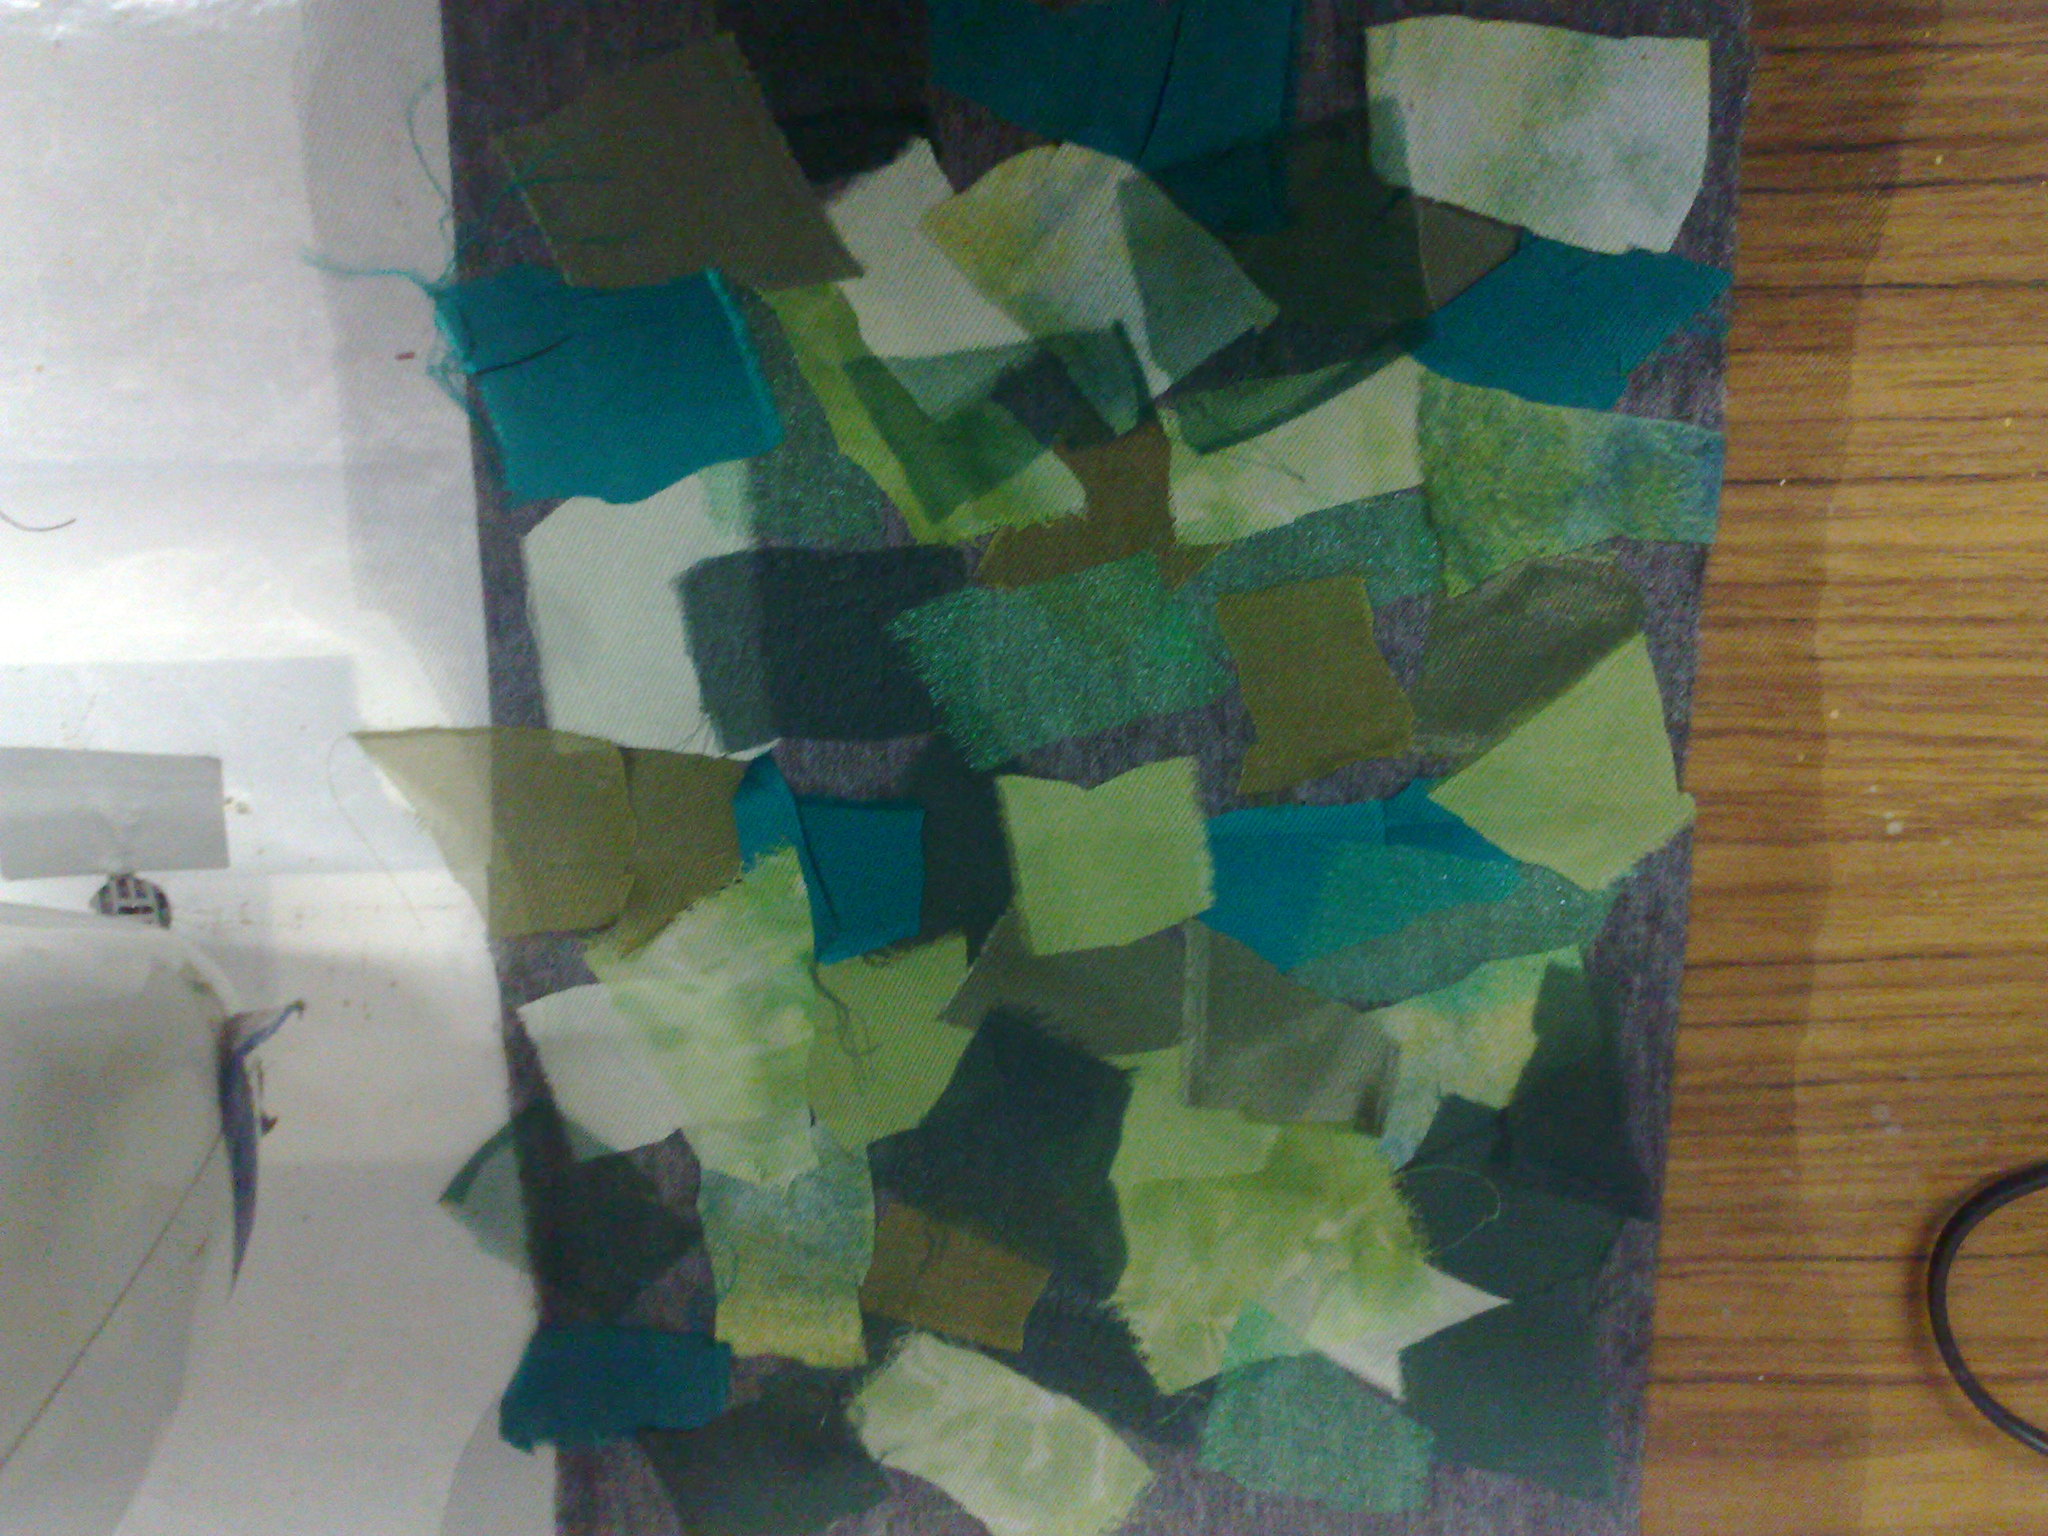
I just arranged the green bits all over the interfacing and when I was happy, I pinned a bit of black tulle over it to hold it.
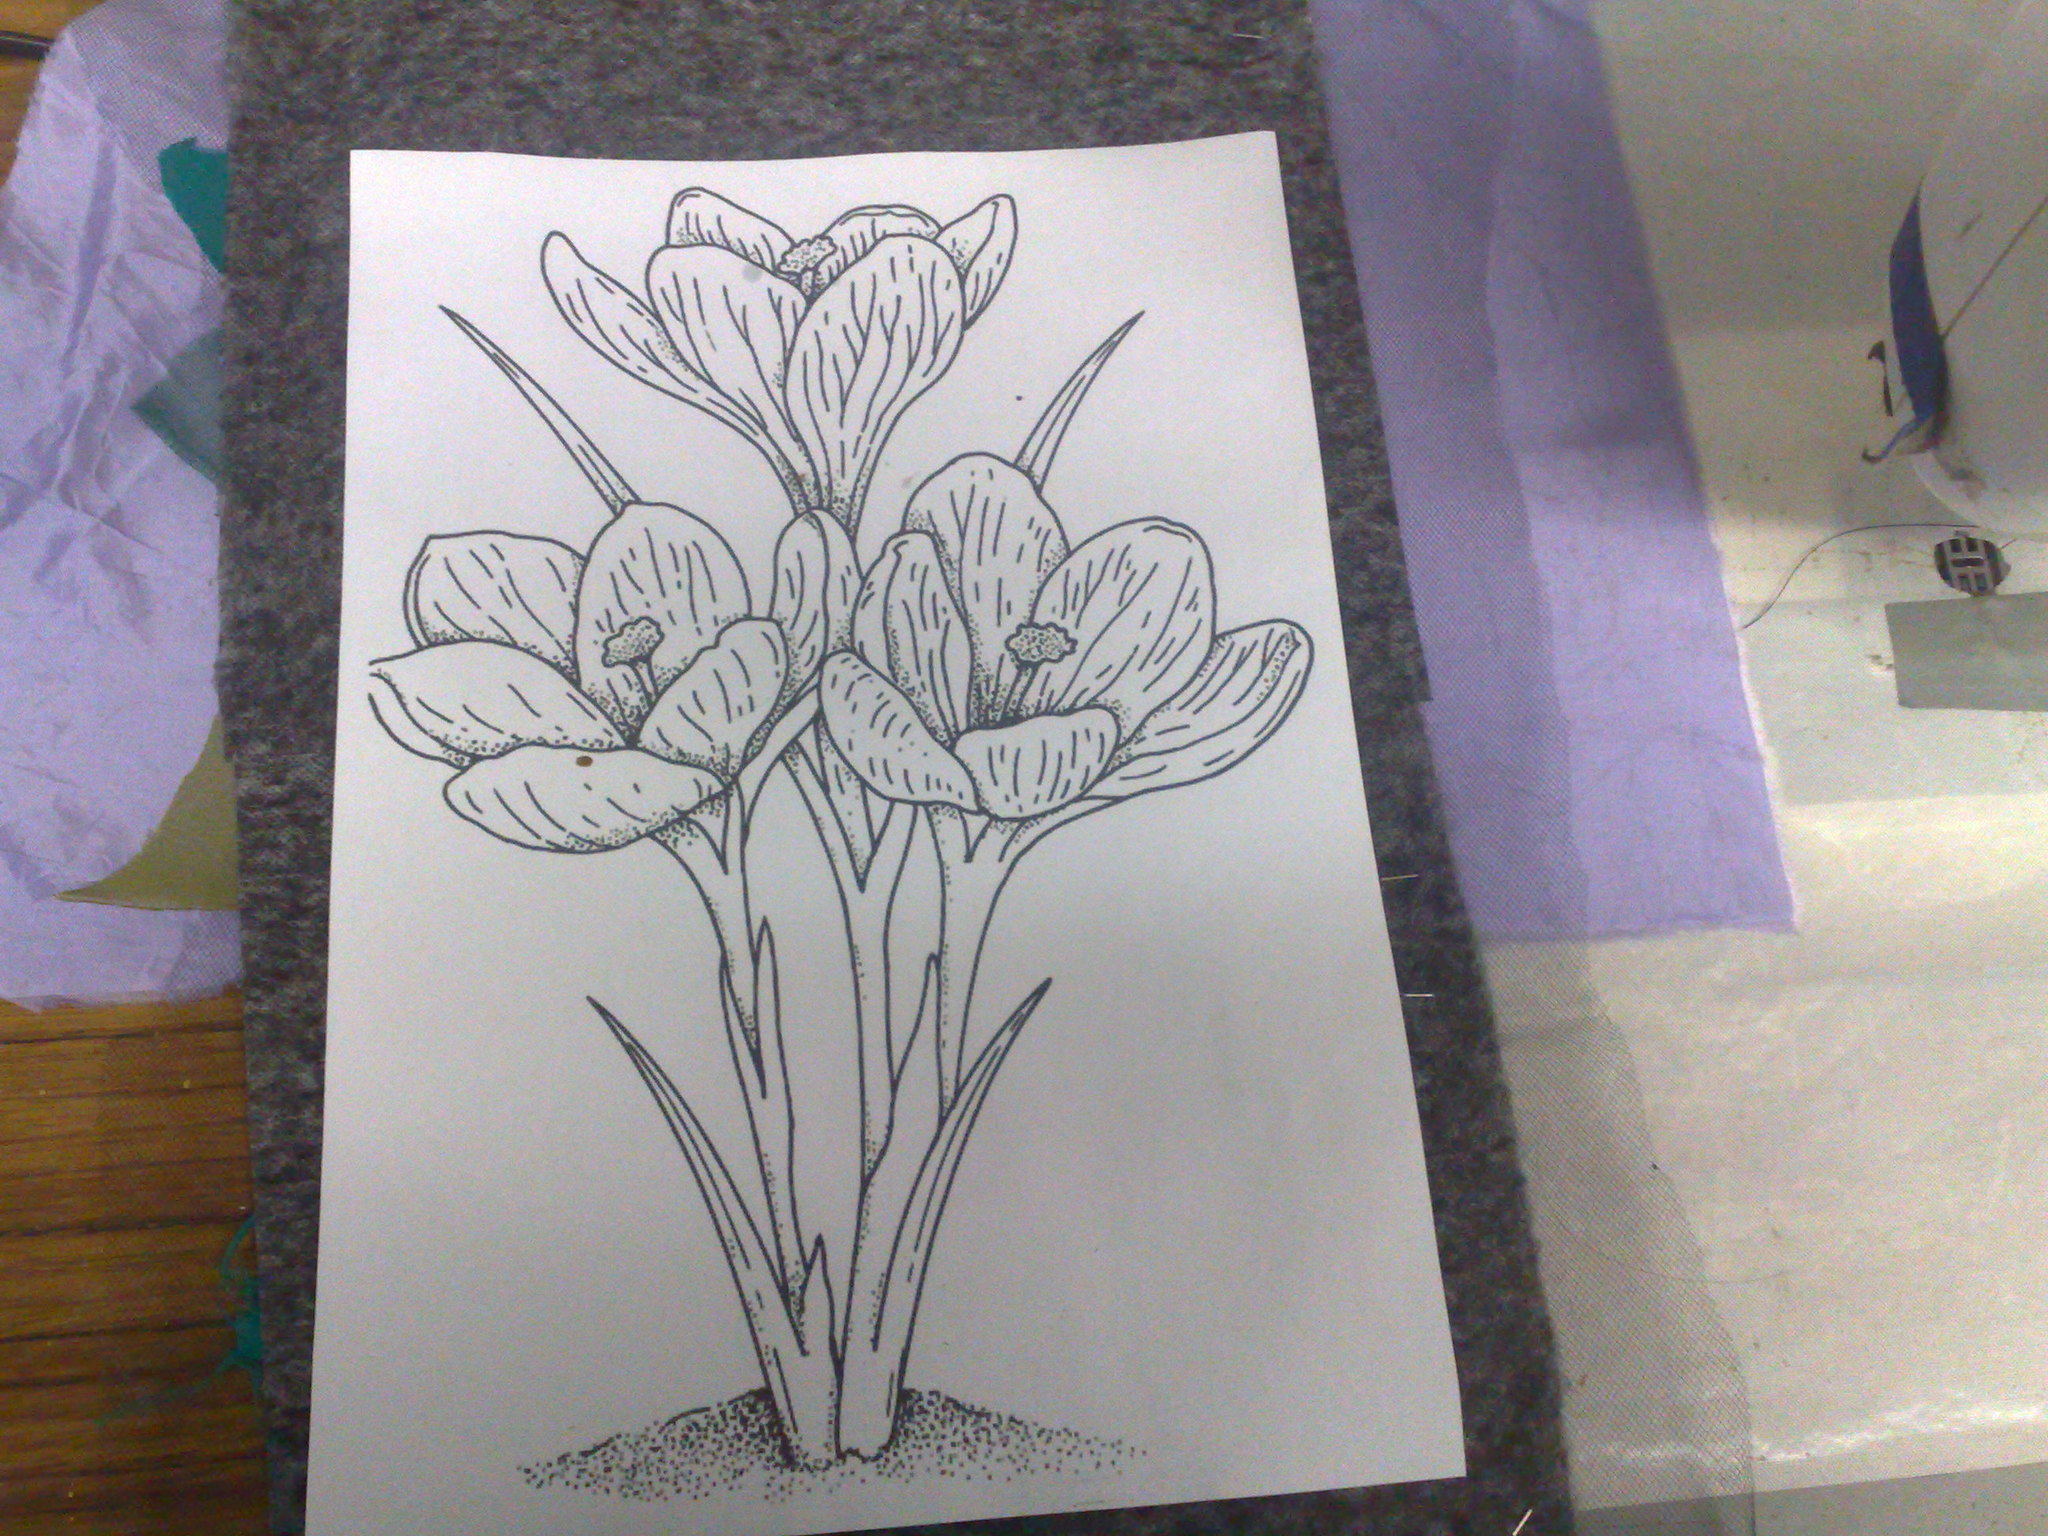
On the back I pinned an inkjet print from a dover book.
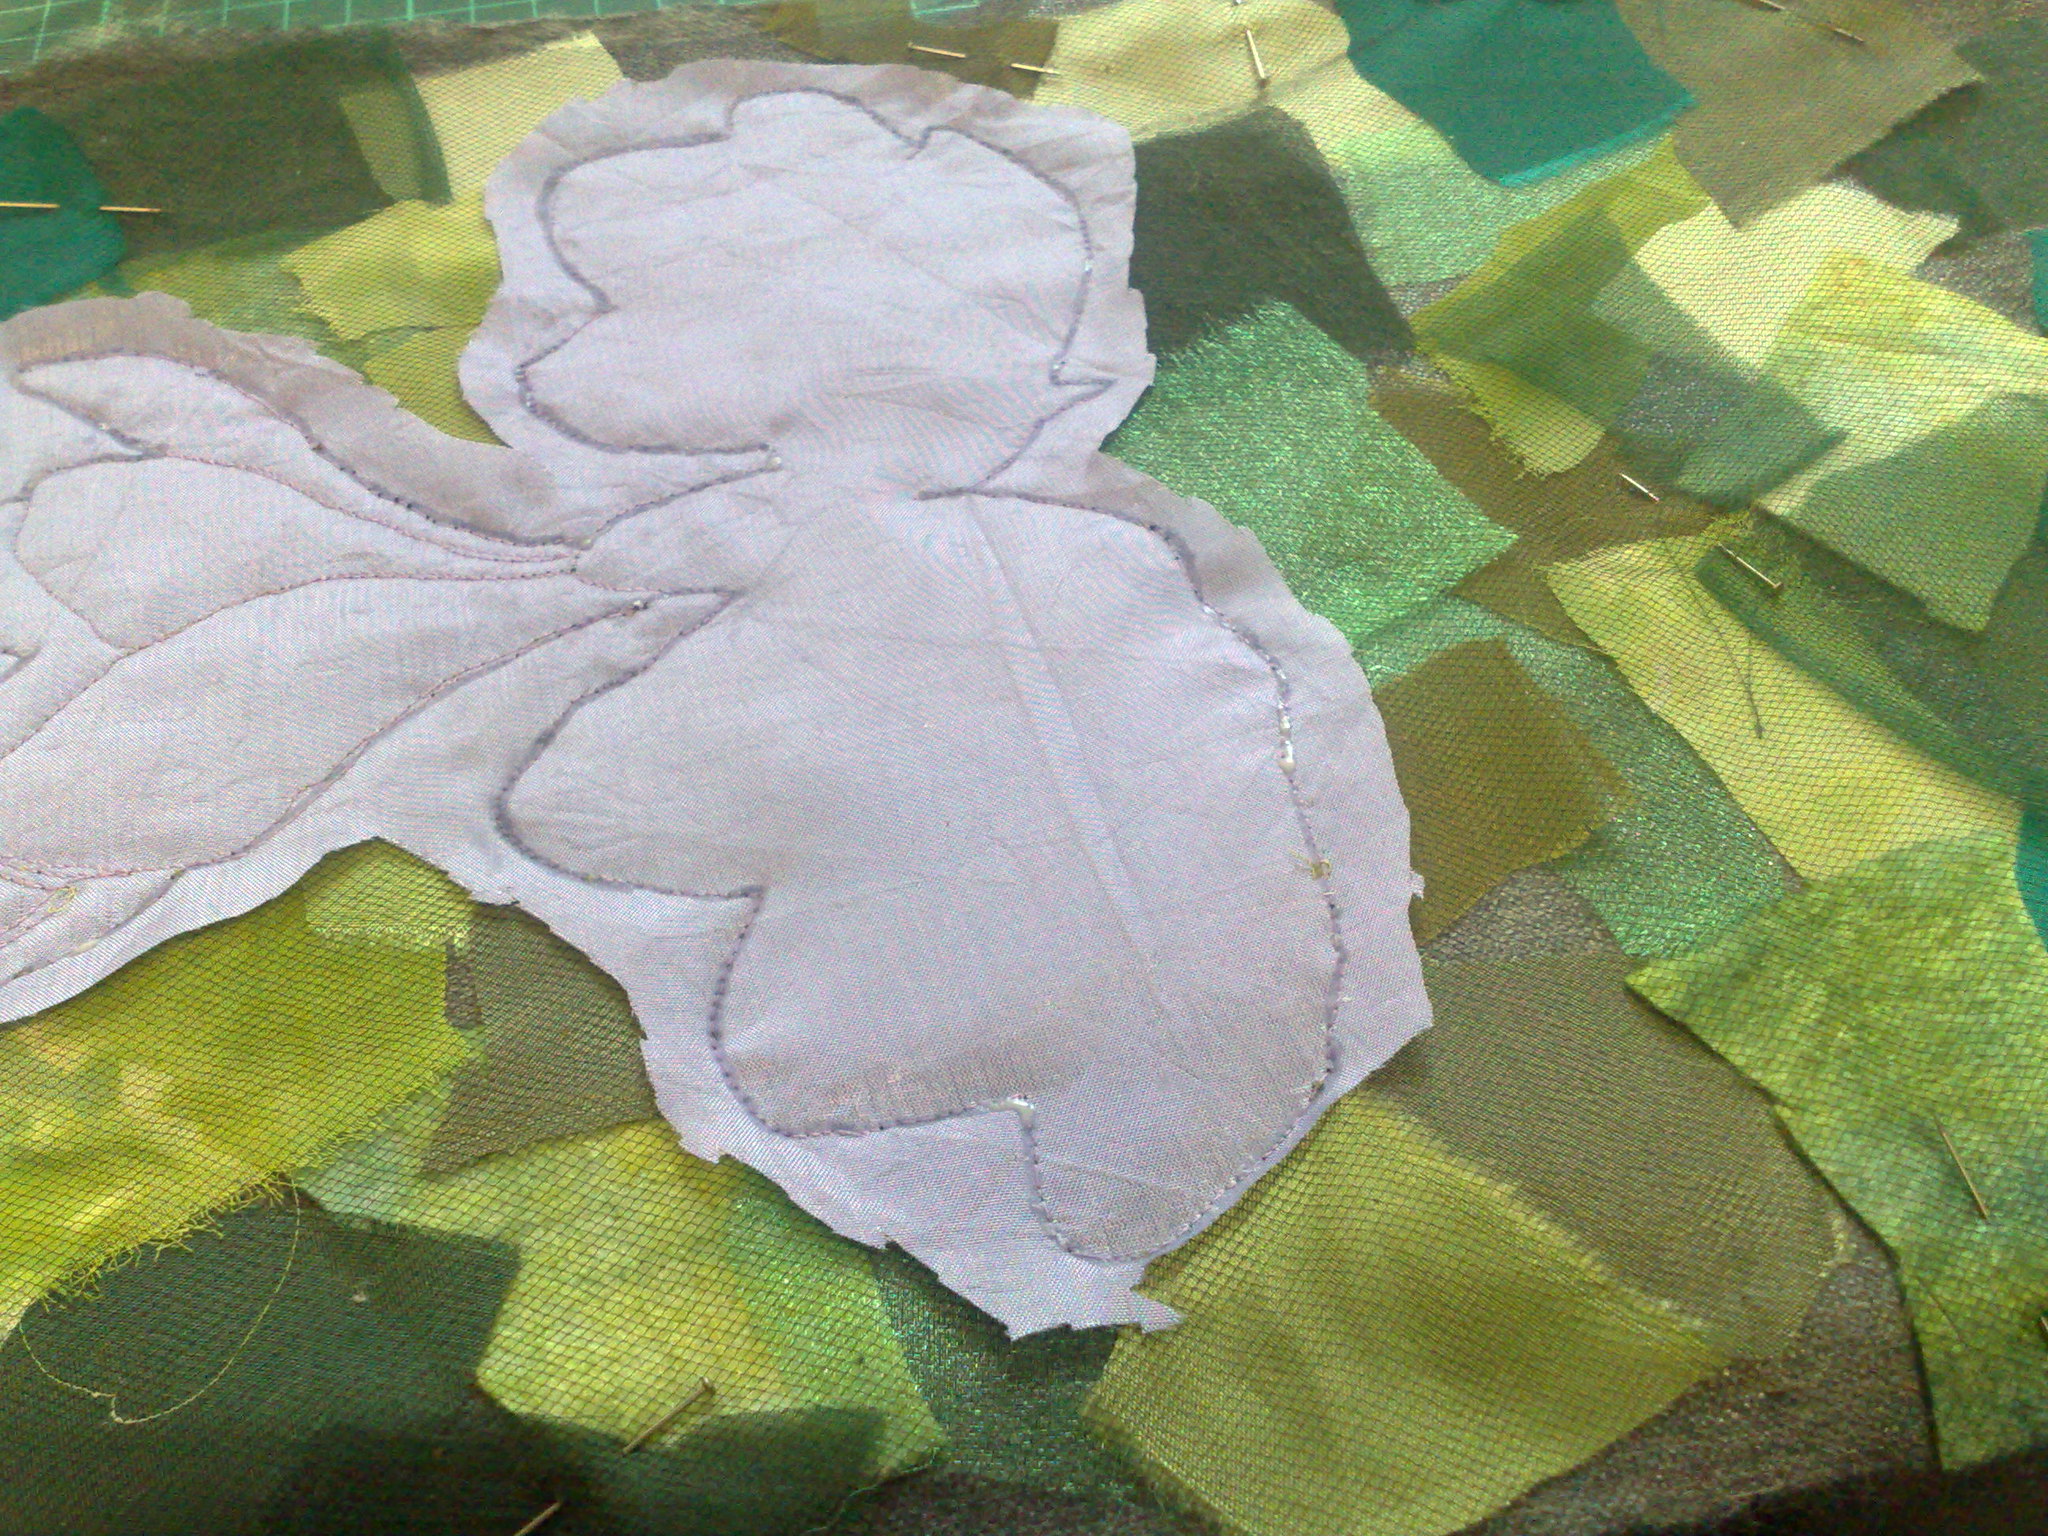
I turned it over and pinned some lilac satin where the flowers were to be (sorry about the upside down pic)
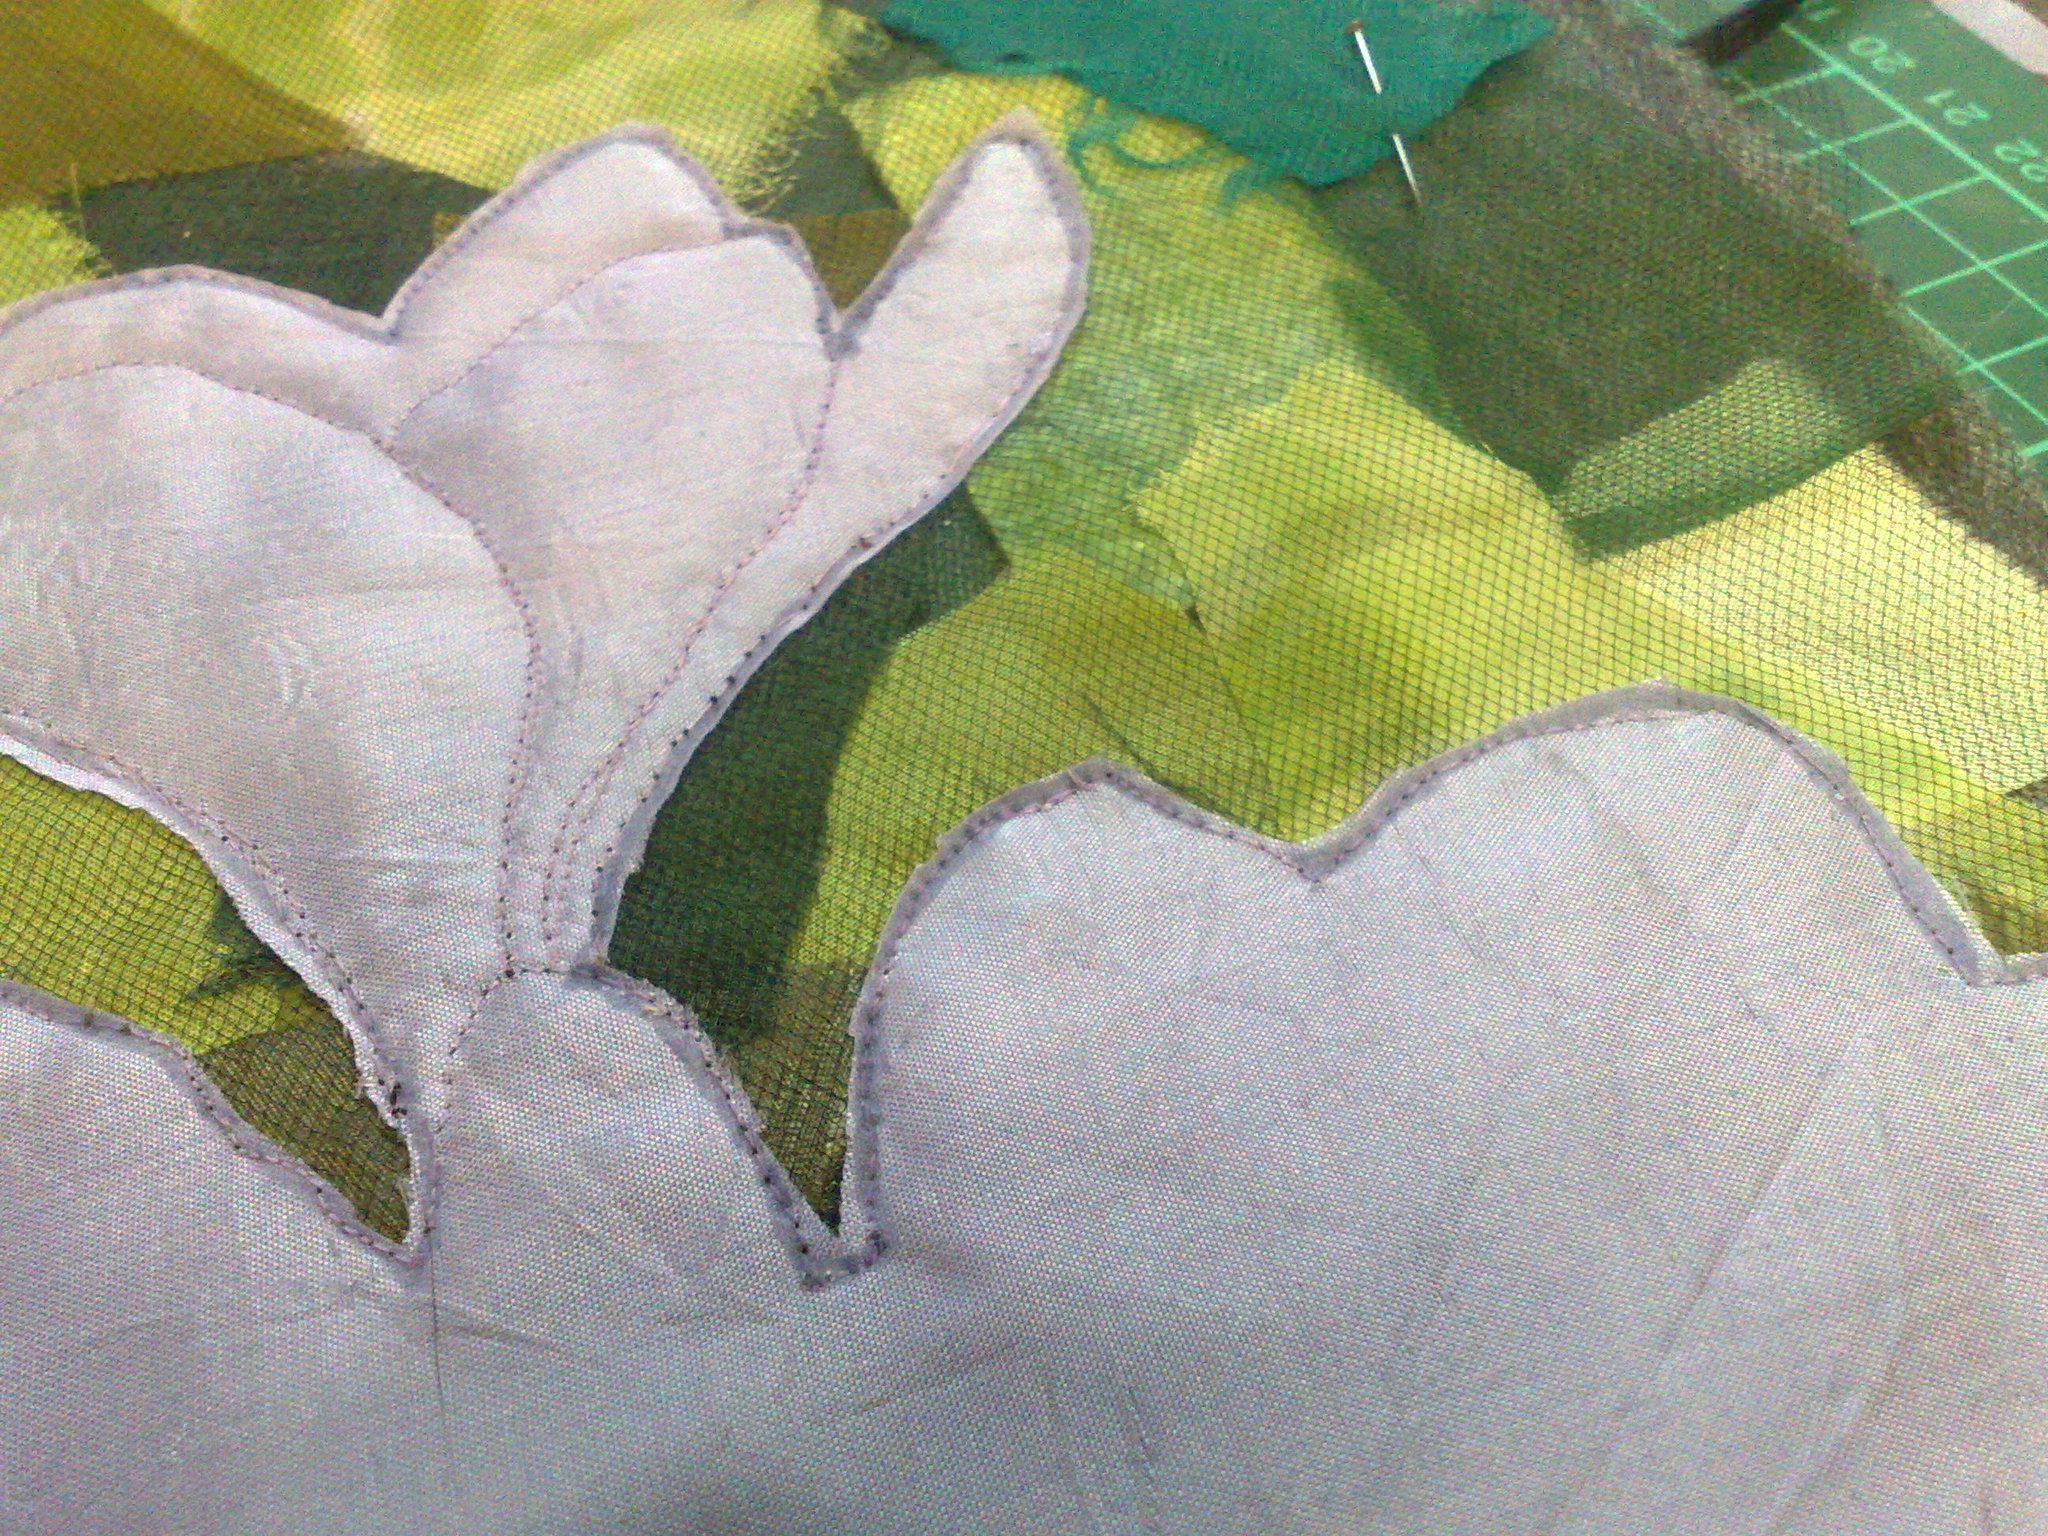
Then I turned it back upside down and sewed around the flowers on the lines of the paper (basically bobbin drawing)
I glues around my stitching with a syringe (very fine line of glue) so it wouldn't fray when I trimmed it.
I did a rough trim, then a closer one.
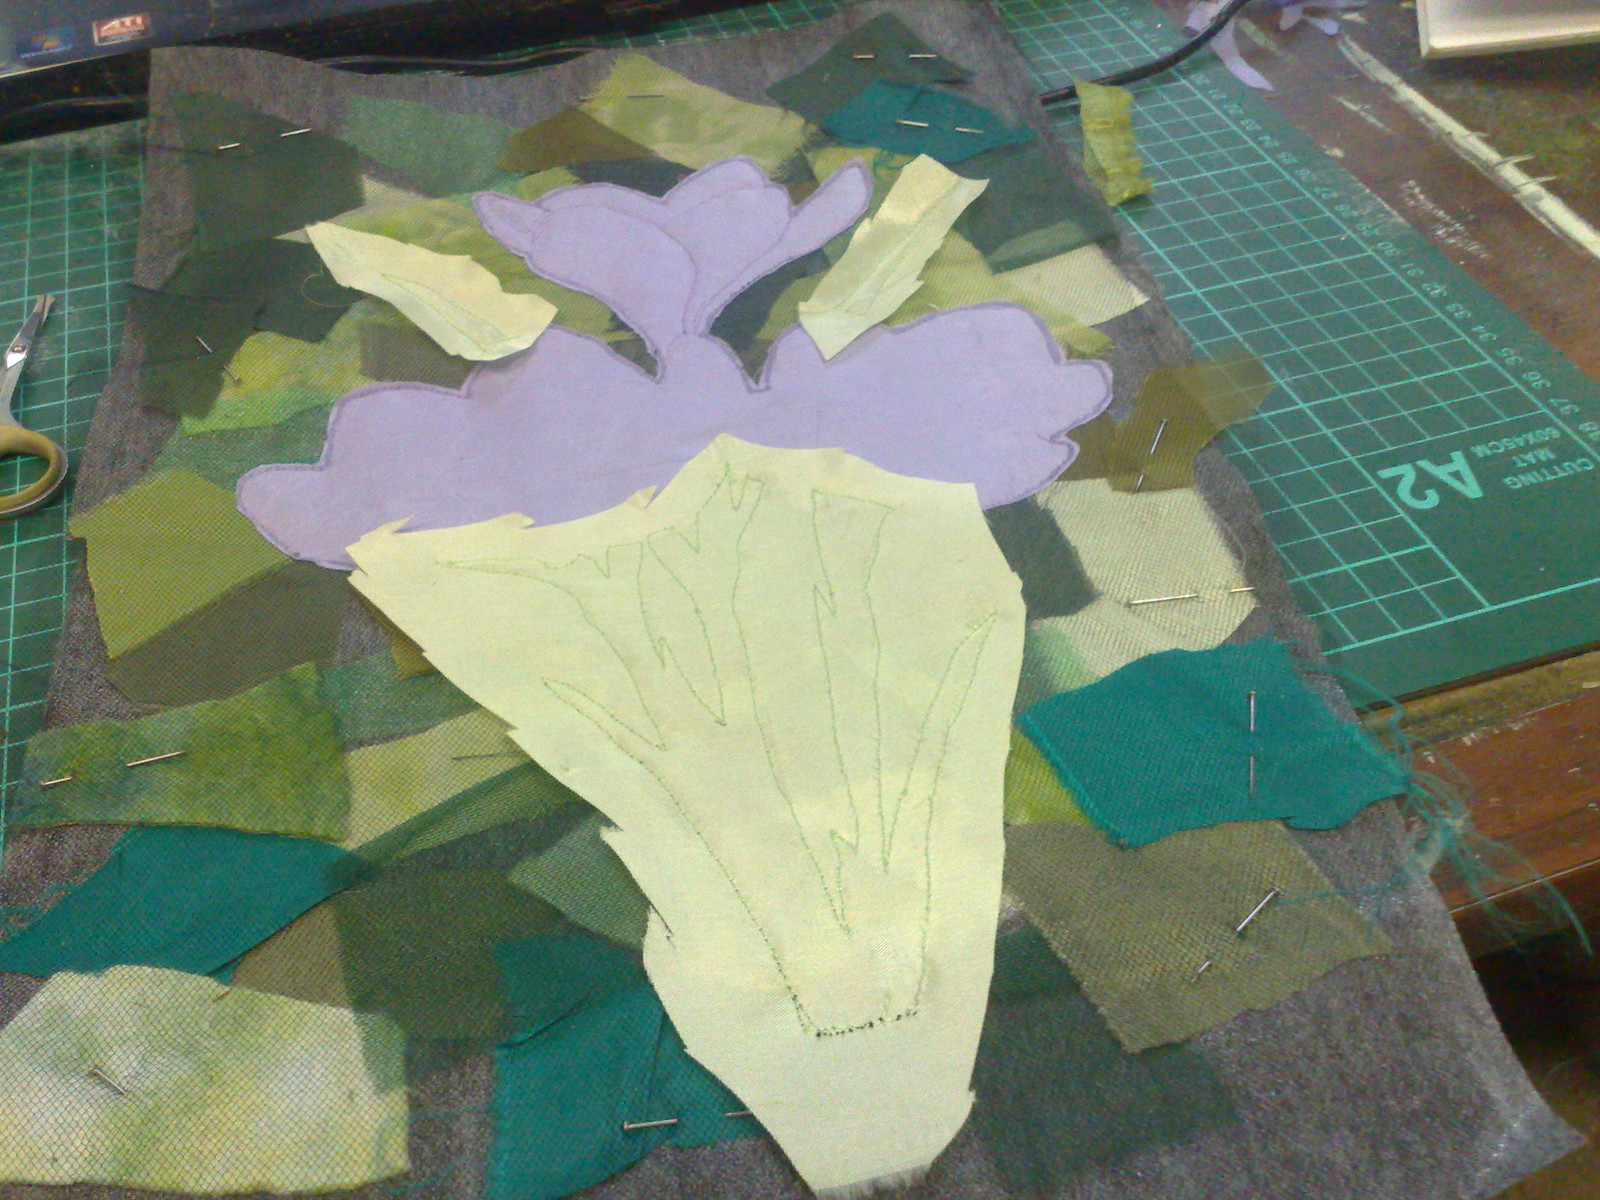
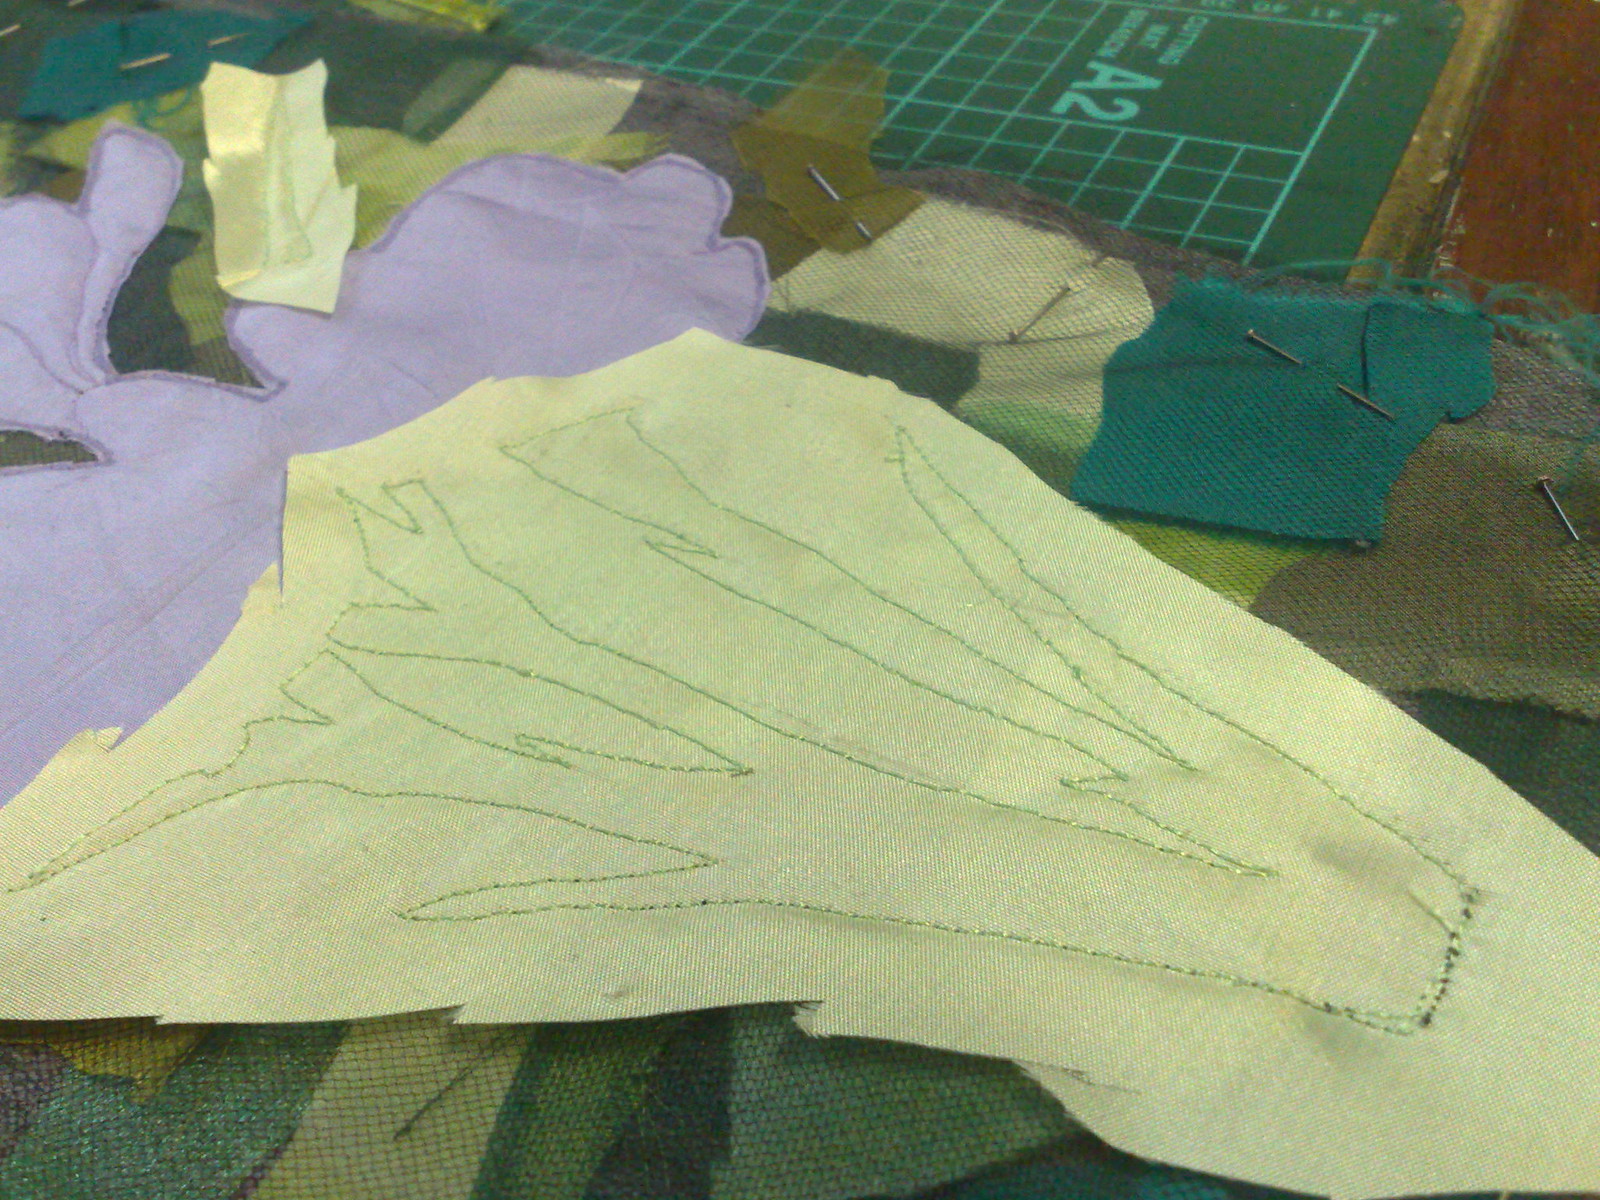
Then I did the same with some very pale green satin for the foliage.
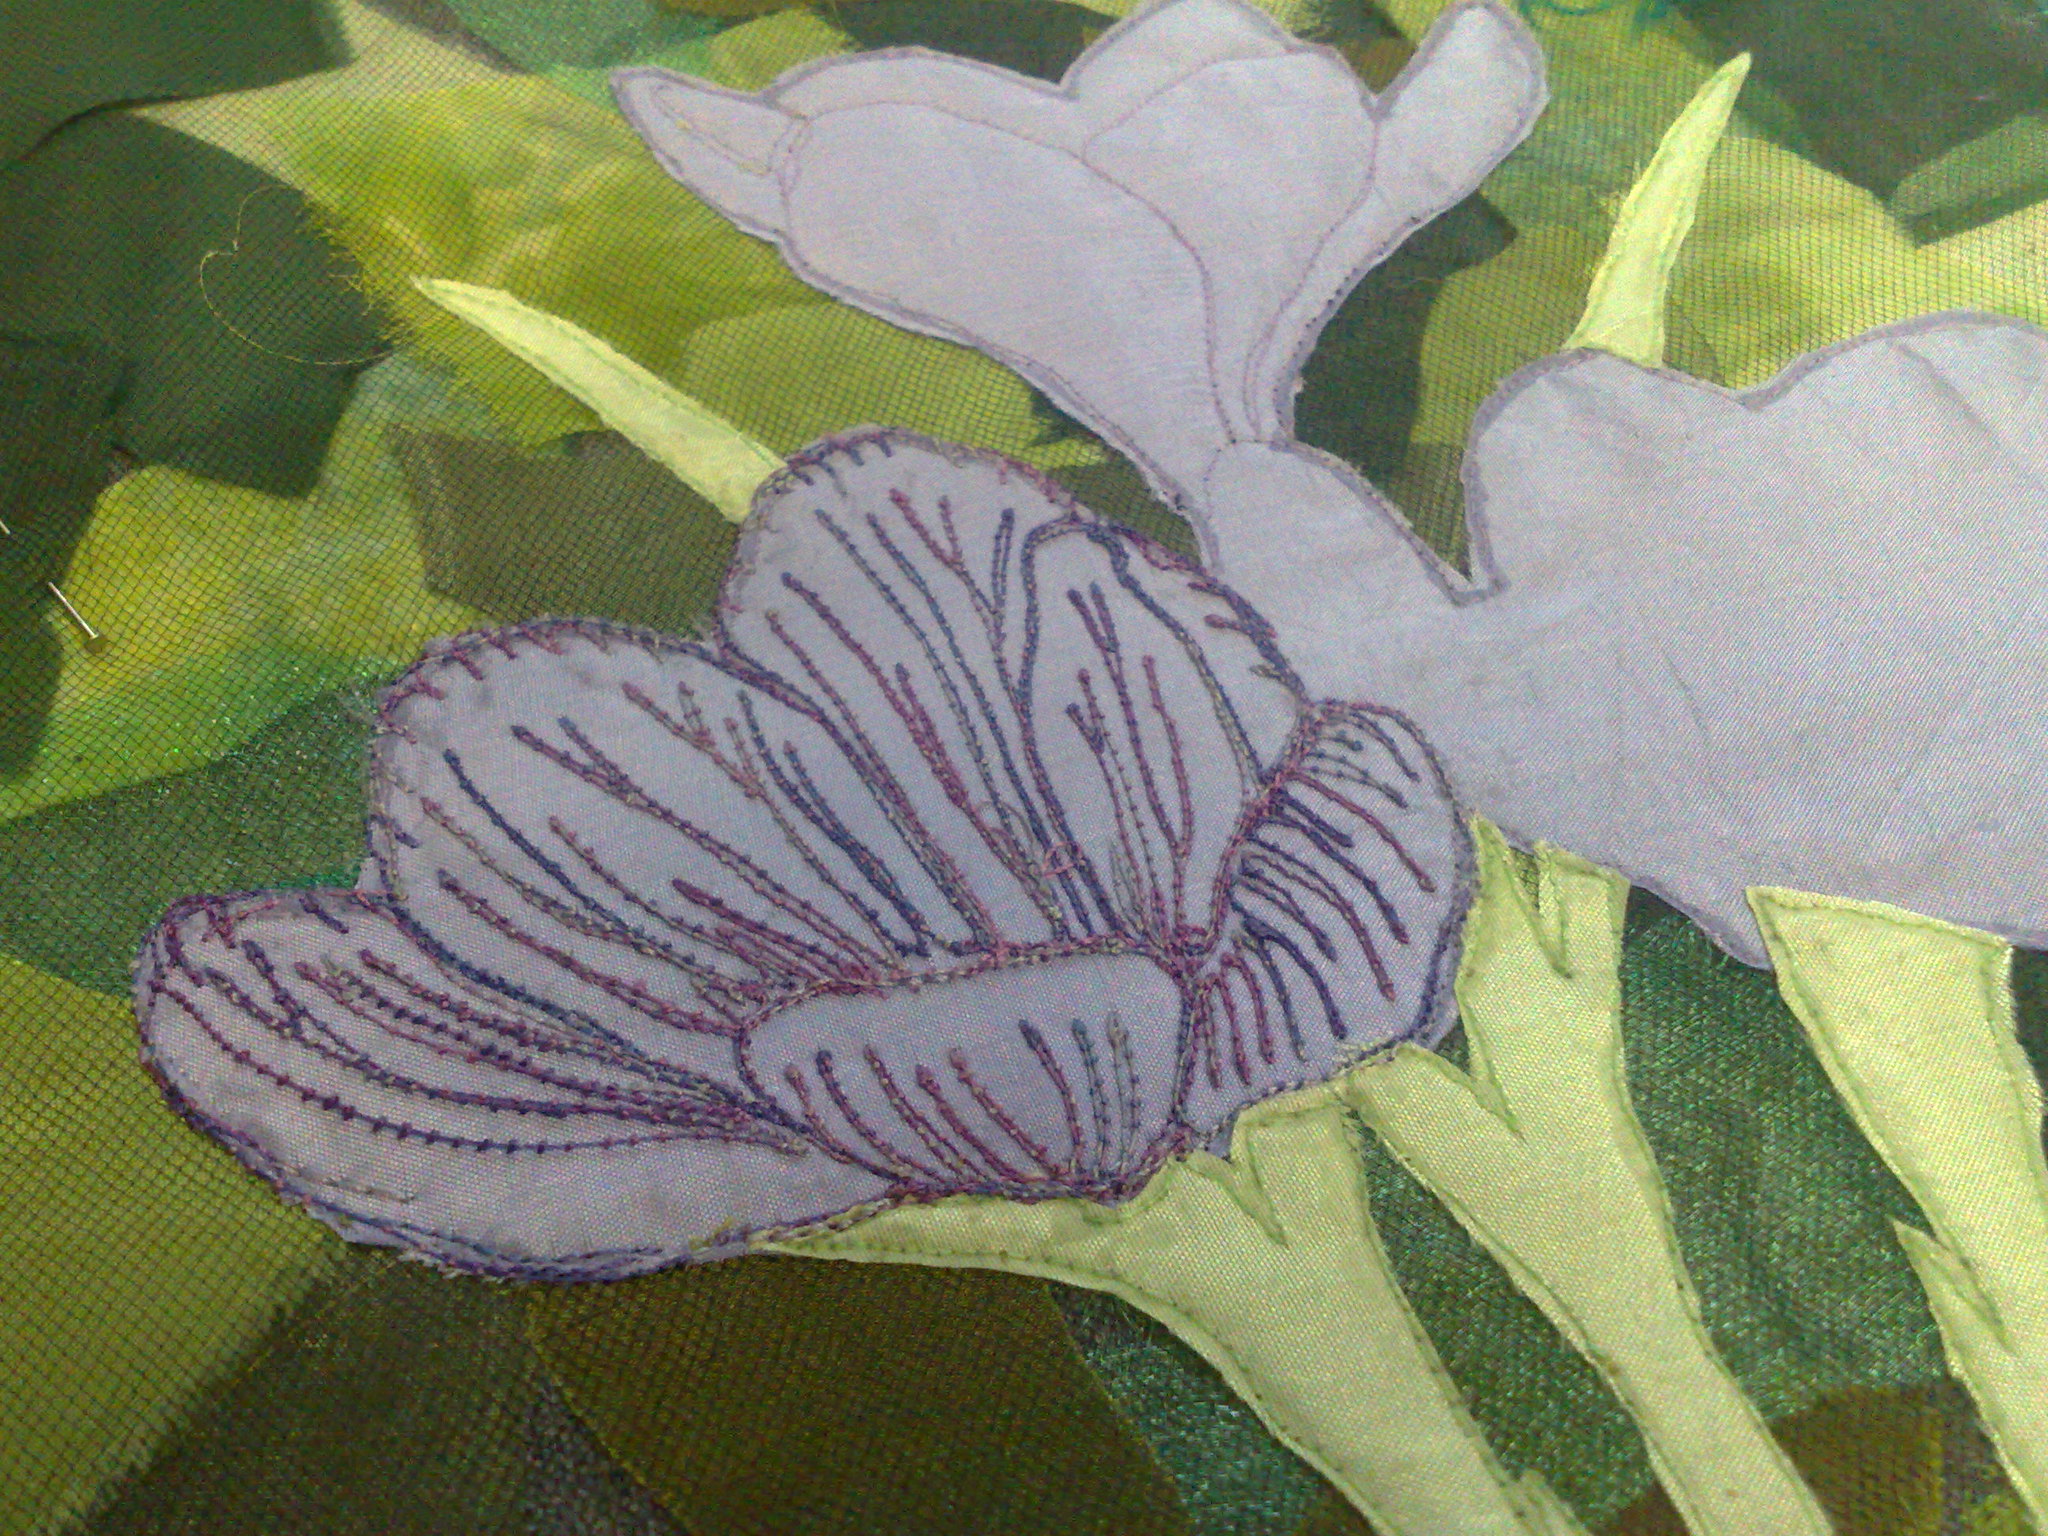
Then it was time for some embroidery!
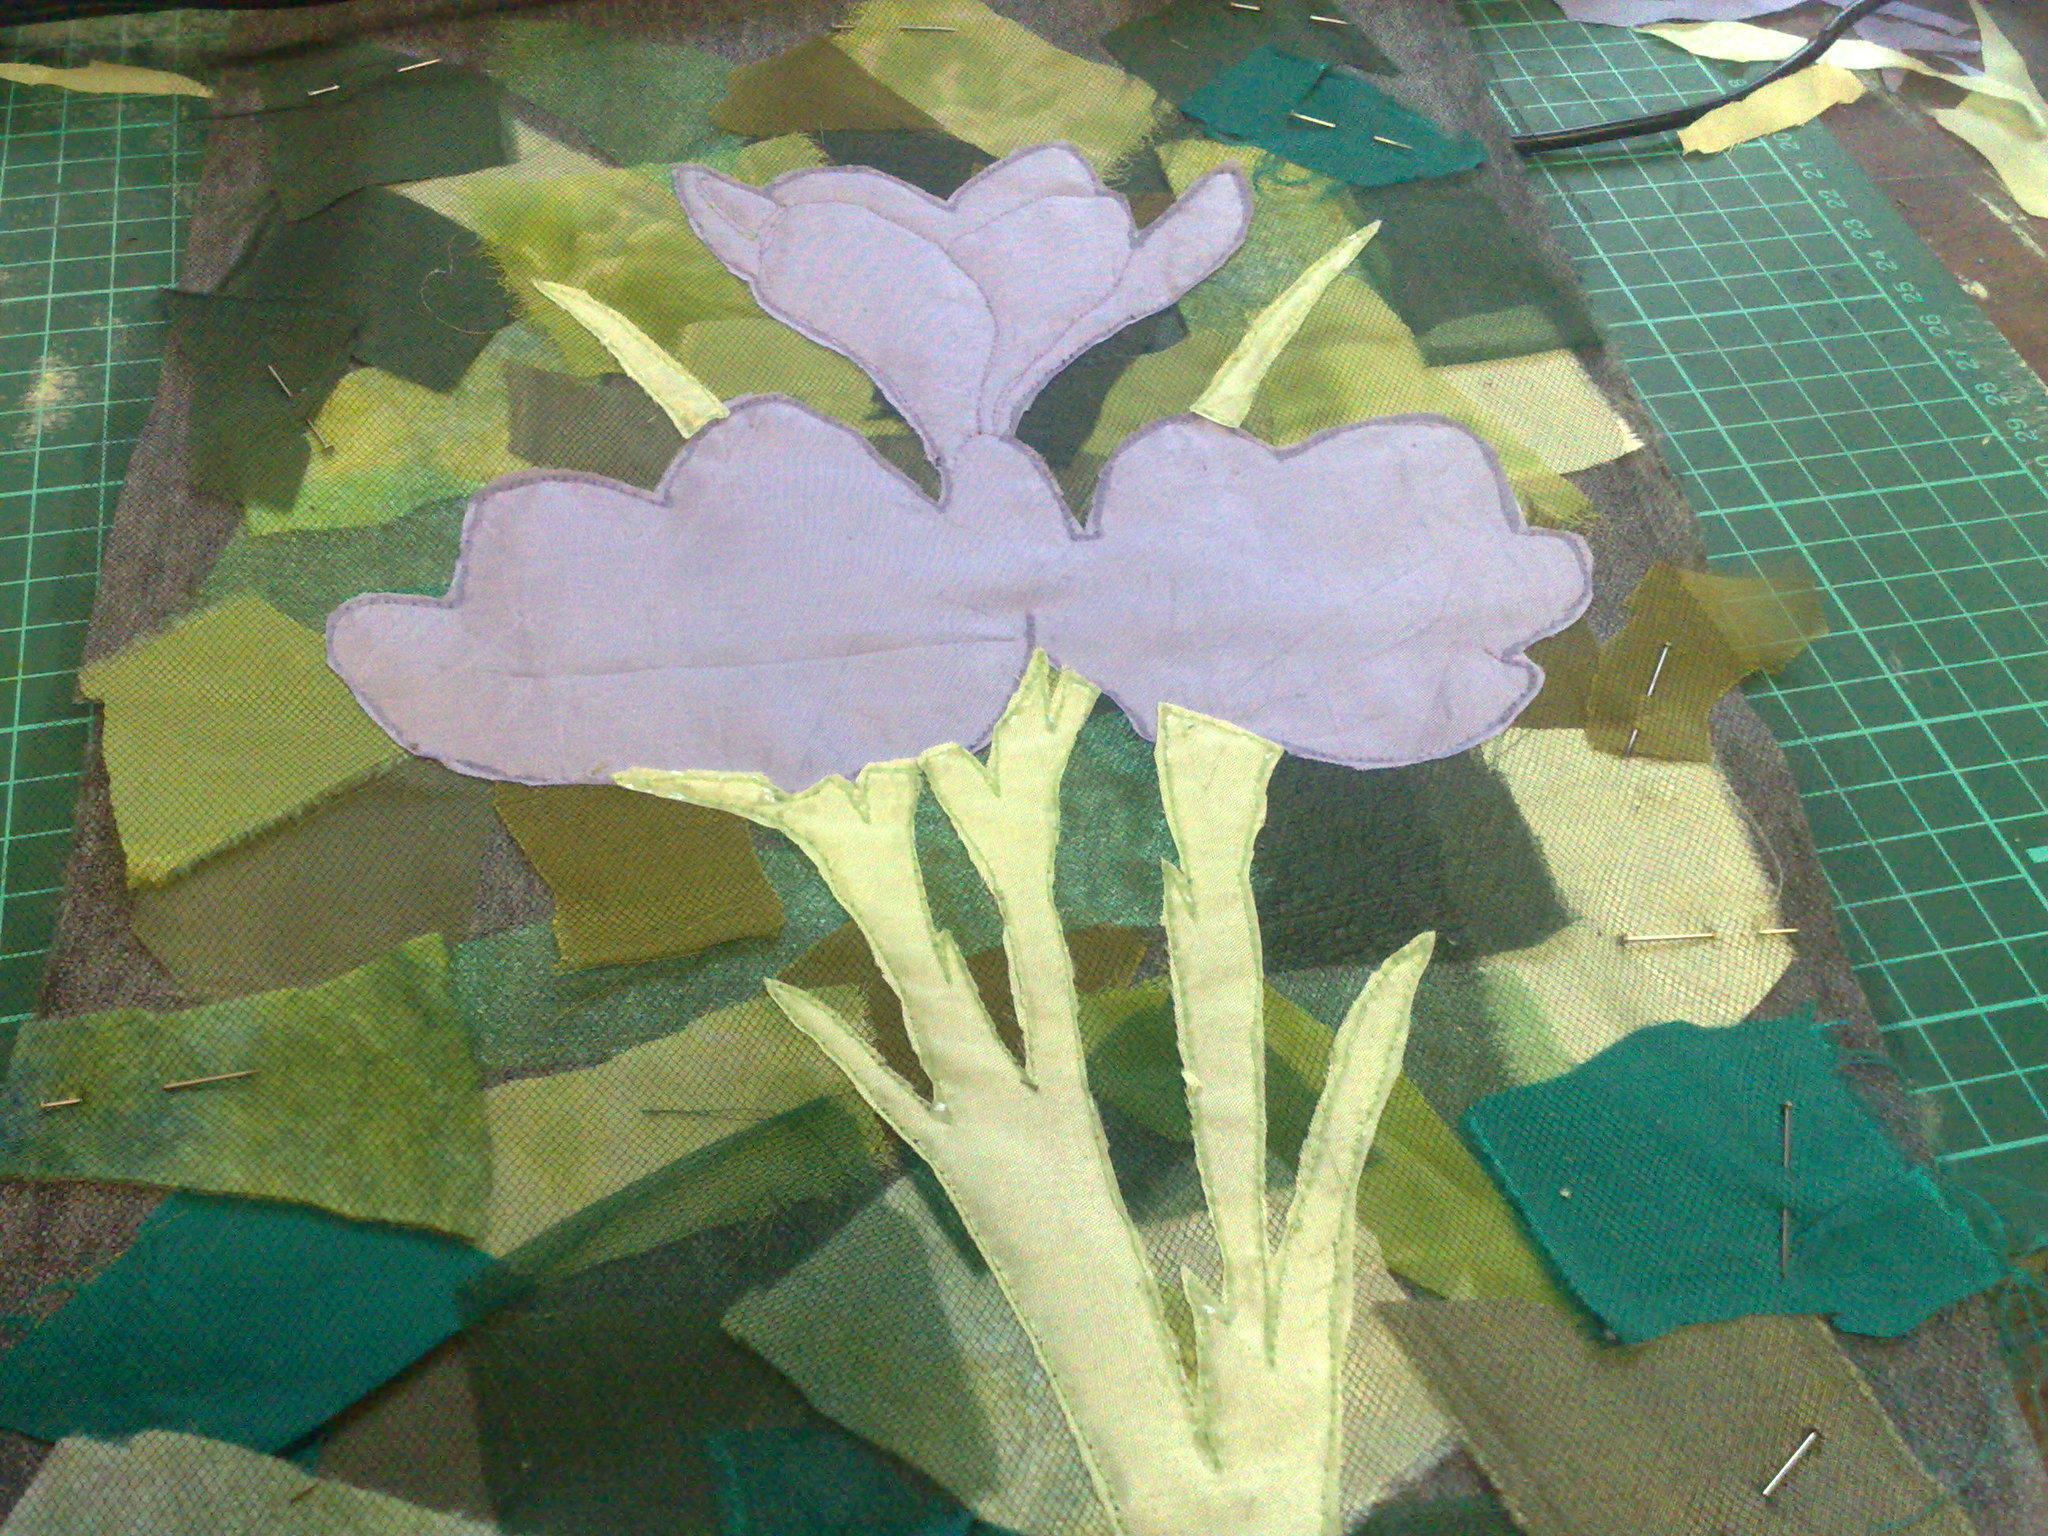
I turned it over again and went over the lines in the flower with a variegated purple thread.
And that's where I got up to before I had to go out and stack wood for the fire. It gets cold early now that it's winter here.
And this is one I need to remember more often. Play is the heart of creativity!
Showing posts with label Bobbin work. Show all posts
Showing posts with label Bobbin work. Show all posts
Friday, June 7, 2013
Sunday, May 5, 2013
bobbin drawing
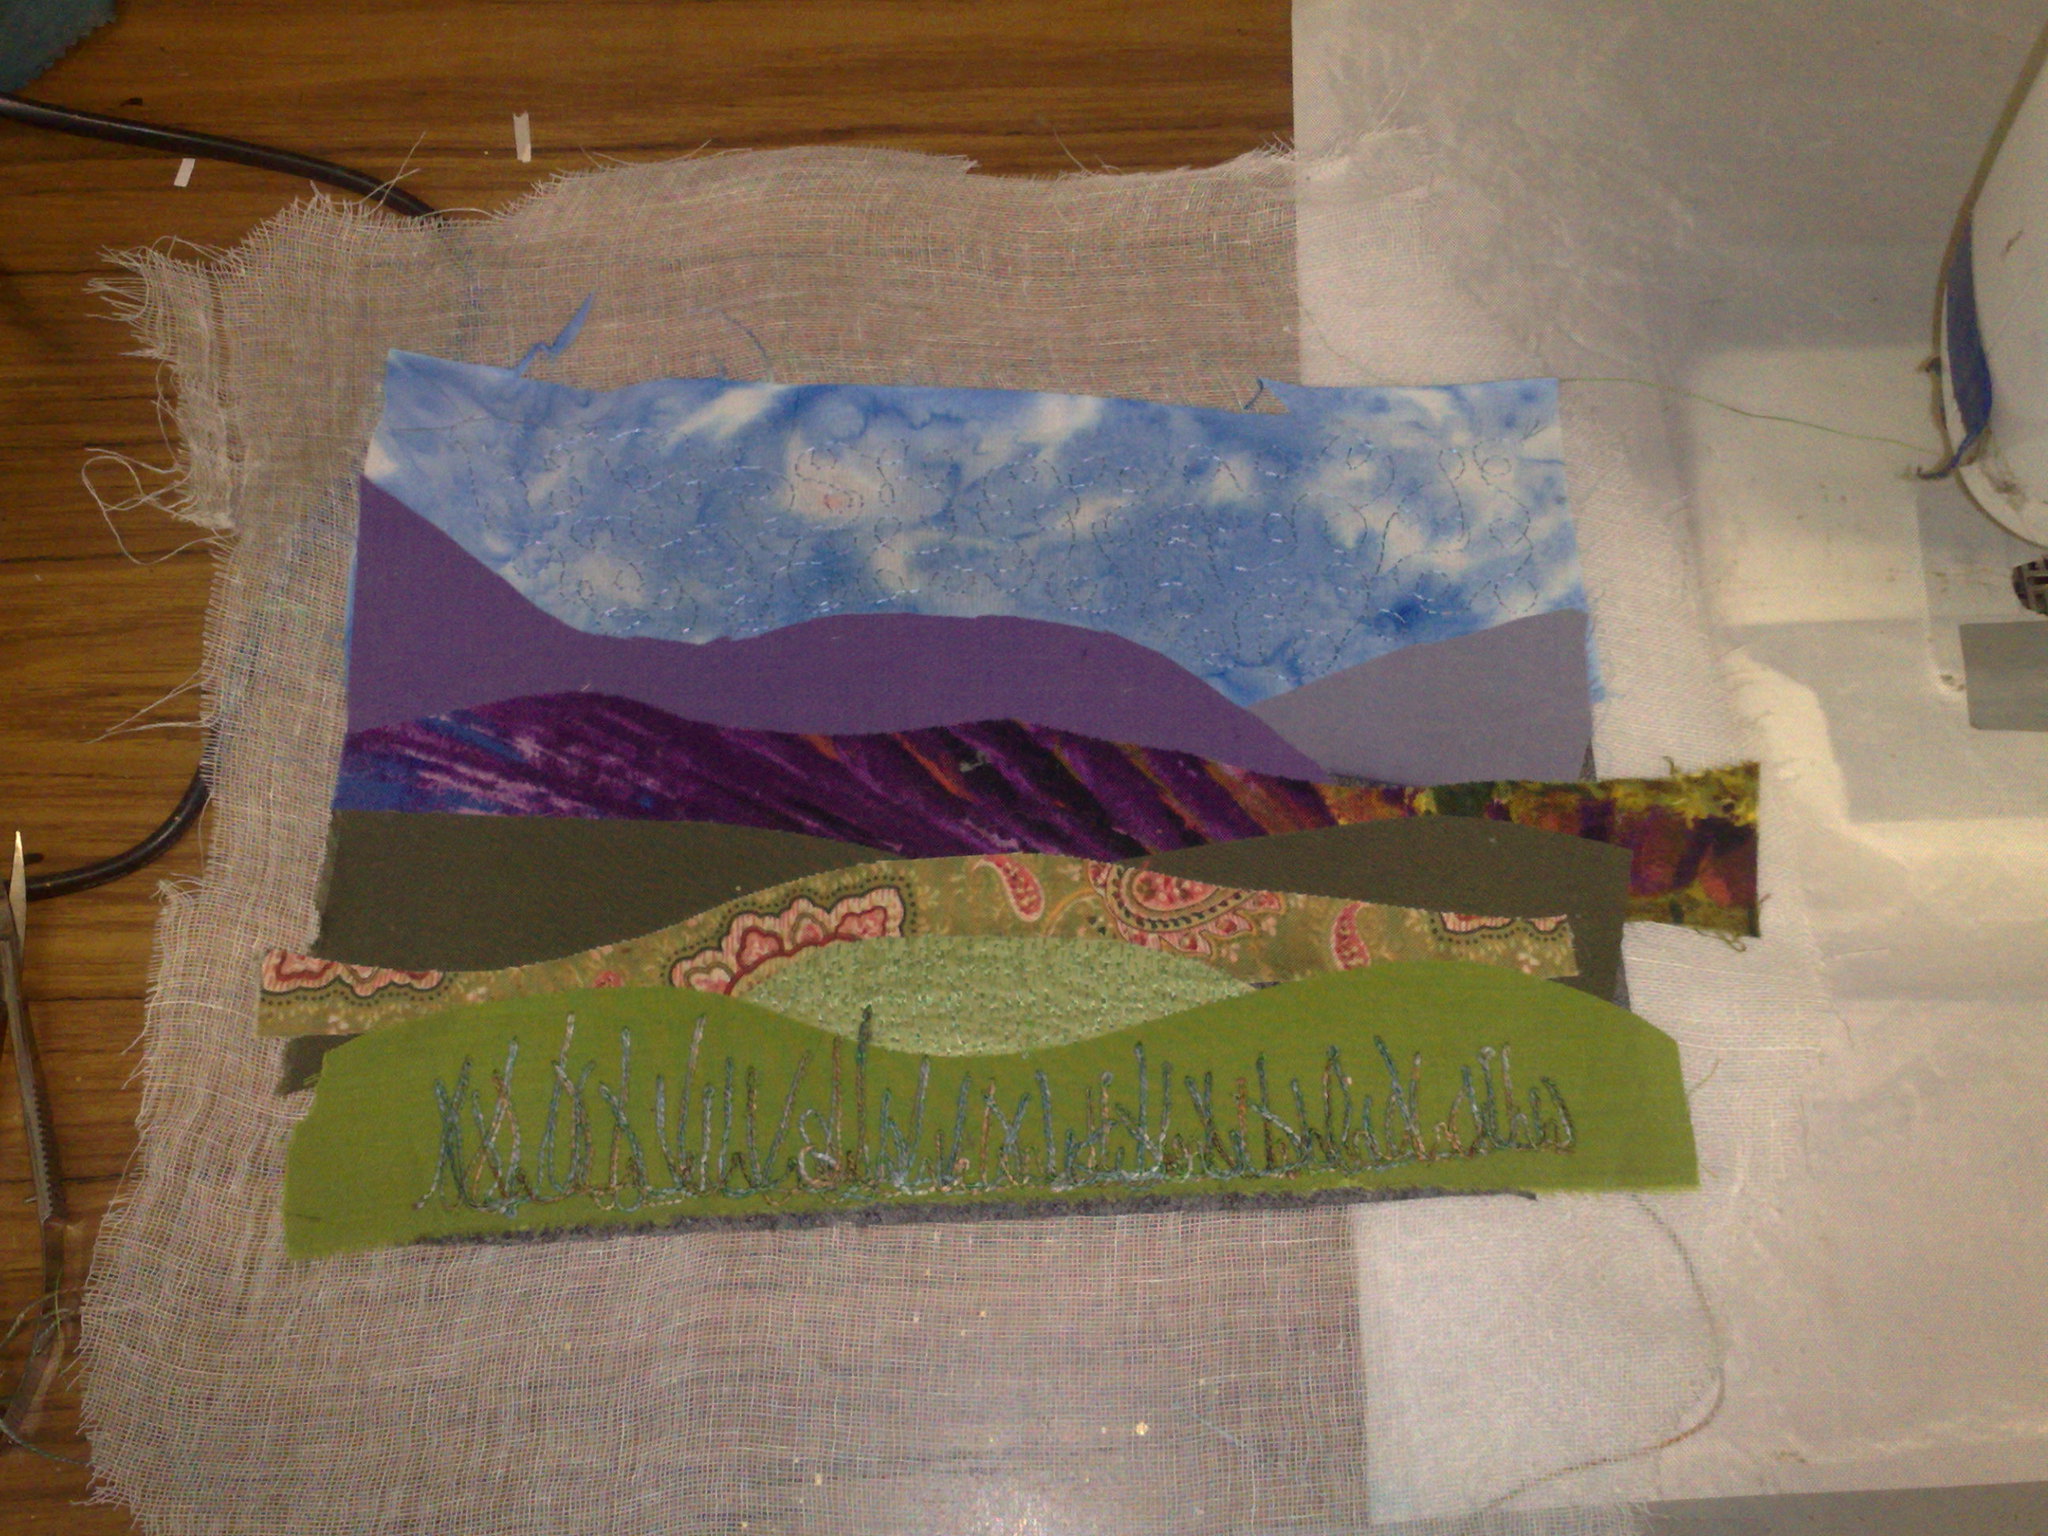
Today I did a little bobbin drawing on one of my small landscape collages.
This collage has been sitting on my table for a while. It has a little free motion on it, but I was sitting thinking about putting grass on and thinking it would be more textural to handstitch, when I thought about bobbin drawing. Mostly, I don't do bobbin drawing because I hate winding the bobbins, but as I was winding some bobbinfil, I thought about a hand dyed green thread which I had wound on a spool and thought that I could use the bobbin winder with it. So I did.
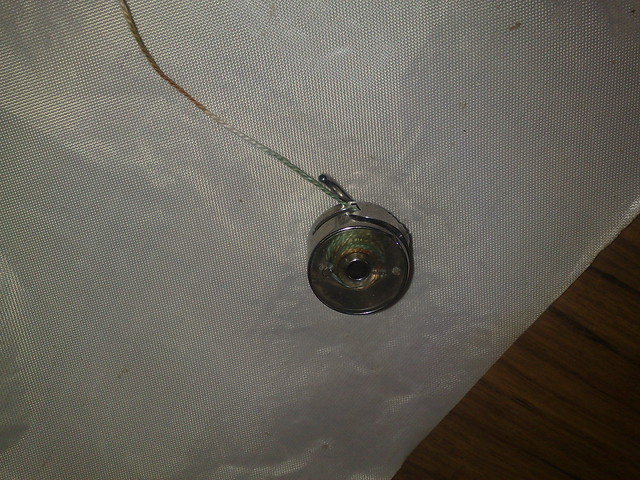
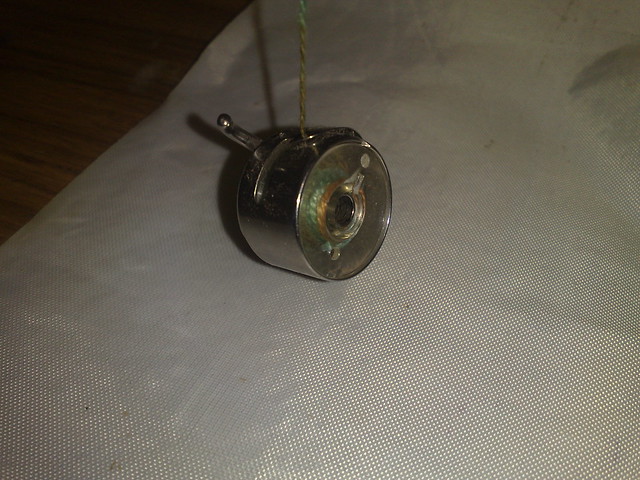
Here is the wound bobbin in the bobbin case (I actually took this picture after I had finished, so the bobbin is a little empty).
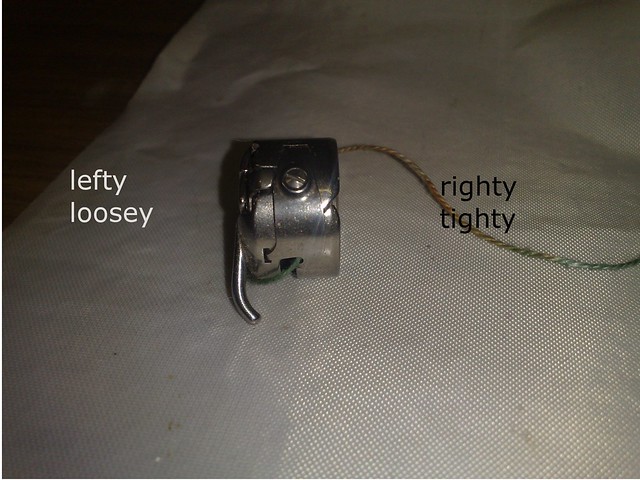
You will need to adjust the tension in the bobbin case by loosening the screw. Turning it left or clockwise will loosen it. I had to go several turns, since I had previously had bobbin fil in the bobbin.
You need to loosen it so that if you hold it by the thread and jerk it, it will fall a little way, but not all the way to the tabletop.
Obviously, when you are bobbin drawing, you are free machining from the back, so you need a reference to tell you where to stitch.
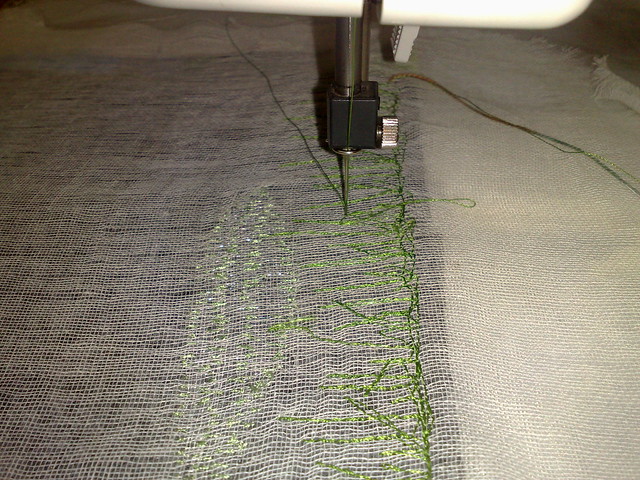
I used the bottom of the work as a reference, so that the 'grass' would be at the bottom. I just used a green rayon thread in the top.
I pulled the bobbin thread to the top (back) of the work at the start and the finish. It is much easier to tidy it up that way.
And here's a close up of the finished 'grass'. It is very thick and textural and I think it looks better than handstitching!
create every day!
Tuesday, February 22, 2011
FME stitches
Here are a few new stitch try outs I did recently.
This one is a heavy garnet (or granite) stitch using a wide zig zag. This is really good for filling large areas, like the poppies in my itty bitty landscape. The next one is the same, only a little bit lighter.
My sample is not the best. I have used FME, however if you are using this in a straight line, or in a manner that allows the feed dogs to be up, you can get a much smoother look. The top one is showing a dense zig zag, while the bottom is a longer stitch and shows the thread. Obviously, you would not use a dense zig zag if you wanted the thread to be a decorative element, and in this case you would probably use a monofilament thread, so the couched thread could be seen in all it's glory. The dense couching, I would use to create dimension, as the lines of satin stich would be raised. It would not really matter what thread you couched, 'cos you wouldn't see it. another thought, is that using the feed dogs up, you can couch with a variety of decorative stiches, which is what I will be doing on my wall hanging
So, there's a headful!
This one is a heavy garnet (or granite) stitch using a wide zig zag. This is really good for filling large areas, like the poppies in my itty bitty landscape. The next one is the same, only a little bit lighter.
It is good for shading and merging different colours.
The next one is also a garnet stitch, however it is bobbin work, working on the bottom of your fabric using the bobbin. a thicker thread (sorry, I had white to hand at the time) is wound on the bobbin and the bobbin tension loosened to compensate. This thread (a no 10 crochet cotton) is at the limit of my bobbin screw, anything larger must be bypassed, which creates a nice mess of moss stitch on the bottom.
Another bobbin technique, is called cable stitch, this is the same as the one above, however it is not a circular stitch
This is good for outlining and embellishing. Once tension issues are solved, it is easier than couching, since you don't need to control where the thick thread goes. And this leads us natually to couching.My sample is not the best. I have used FME, however if you are using this in a straight line, or in a manner that allows the feed dogs to be up, you can get a much smoother look. The top one is showing a dense zig zag, while the bottom is a longer stitch and shows the thread. Obviously, you would not use a dense zig zag if you wanted the thread to be a decorative element, and in this case you would probably use a monofilament thread, so the couched thread could be seen in all it's glory. The dense couching, I would use to create dimension, as the lines of satin stich would be raised. It would not really matter what thread you couched, 'cos you wouldn't see it. another thought, is that using the feed dogs up, you can couch with a variety of decorative stiches, which is what I will be doing on my wall hanging
The last stich is another couching stitch, which I first learnt from Quilt in a day. It is called chain stitch
This technique is also used in machine ribbon embroidery. Generally, you use a pretty thread for the chain (not white!) and monofilament for the top and bobbin. Basically you fold the thread in half and attach it to the base with a few stitches. Cross the thread or ribbon in fron to the needle, not pulling too tight, sew a few stiches forward to anchor the crossover, cross again and so on. This is another technique which can be done with the feed dogs up.So, there's a headful!
Subscribe to:
Posts (Atom)

