I had art class yesterday and got absolutely nothing done in my studio. And when I got home, I just said to my self. "Don't stress" And I didn't.
today, however was a different story. I got a ton done, perhaps because I had a little break and wasn't stressed!
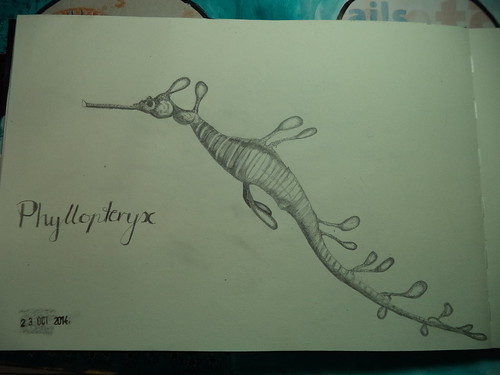
Here is the sea dragon sketch finished.
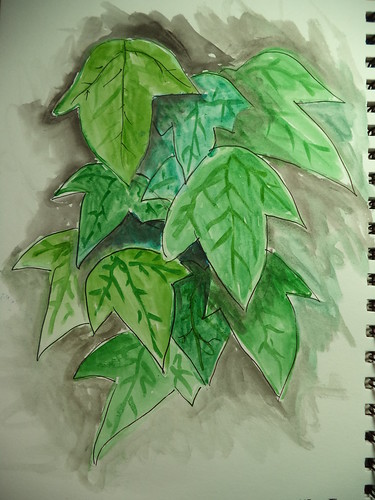
and I did another, sketch, a quick watercolour sketch of the ivy outside my studio.
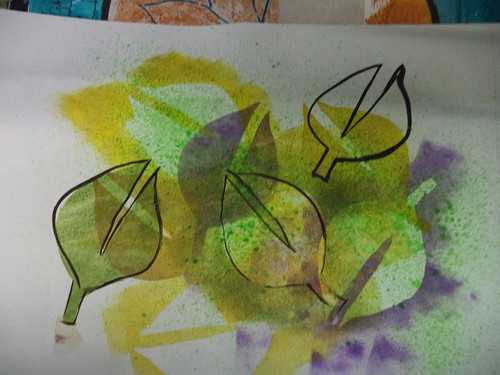
My five minute warm ups.
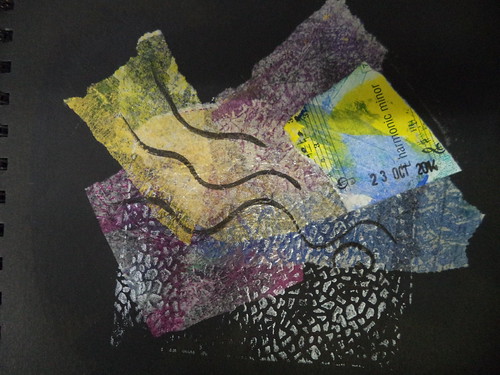
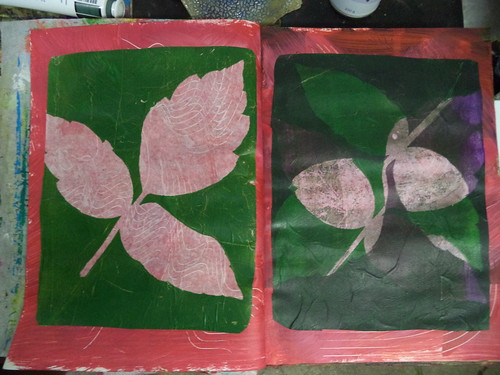
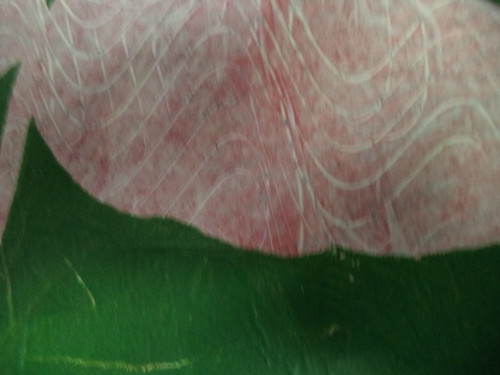
And my journal page. These are both Gelli prints from a few days ago. which I layered over a background I wasn't really happy with. I had painted the spread with red and orange paint and scraped it with a catalyst tool. The amazing thing was when I layered the prints, which were on deli/greaseproof paper, the texture showed through on the unprinted parts. I am linking this to Art Journal Journey
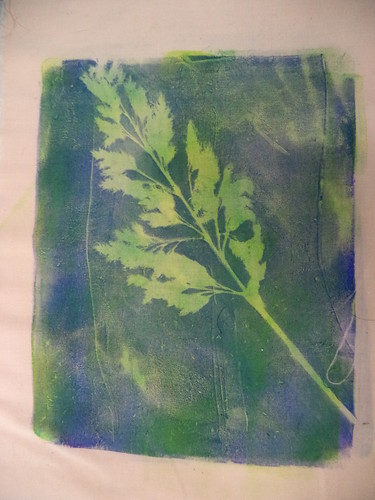
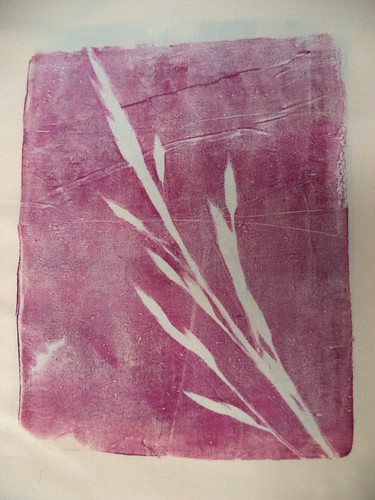
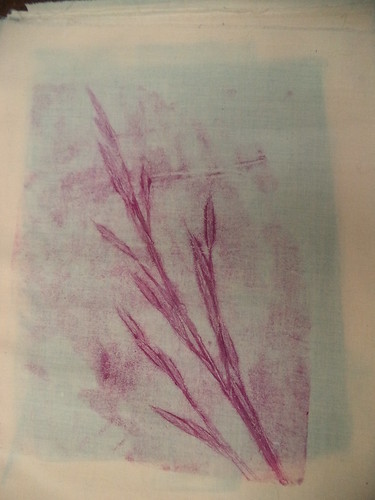
And miracle of miracle, I did some gelli printing today. Most of it I did on fabric.
Here is one using a piece of grass as a mask
And, another miracle - I have even started free motion stitching on it!
And here are a pair done with another type of grass
I made a lot more prints, but I will show them to you tomorrow.
Happy Creating!
Showing posts with label watercolour paint. Show all posts
Showing posts with label watercolour paint. Show all posts
Thursday, October 23, 2014
Thursday, May 16, 2013
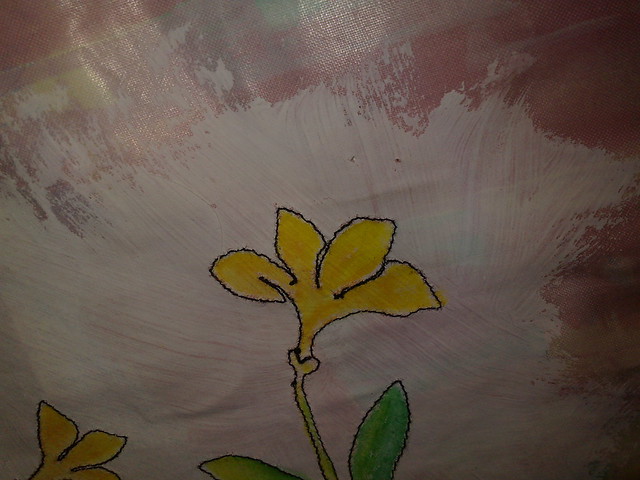
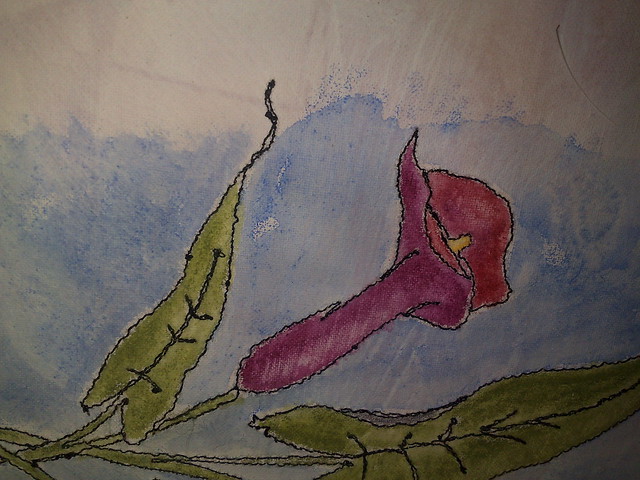
Mixed media flowers
I have been a bit sniffly for a few days, so no posts, but I have done a little.
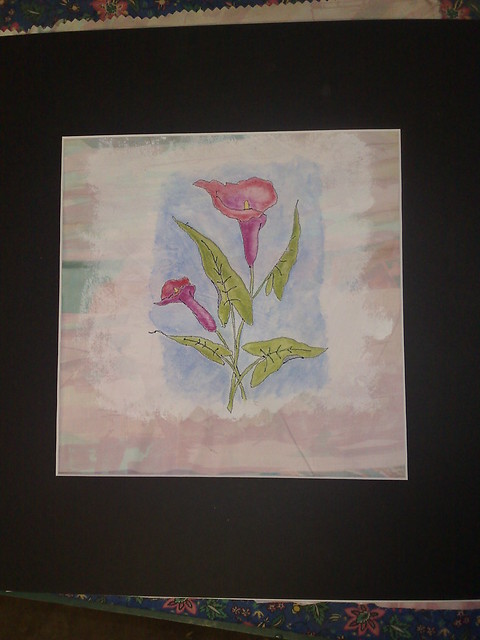
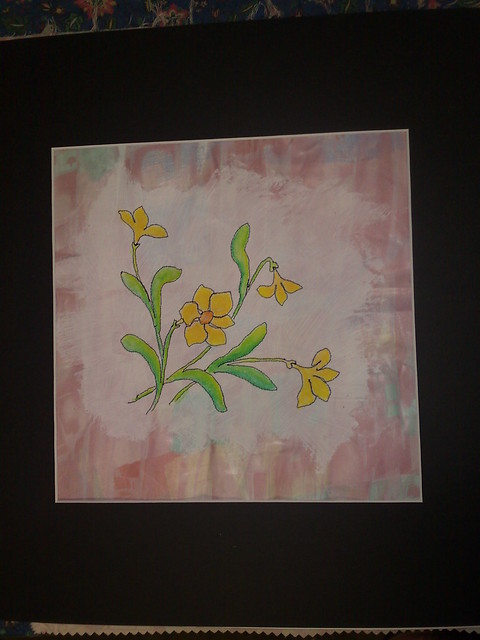
I got the idea for these little floral pieces from a video by Margaret Applin. What I have done is totally not what she did, because I don't have any thermofax screens, so I worked out a way to do something similar using my own methods.
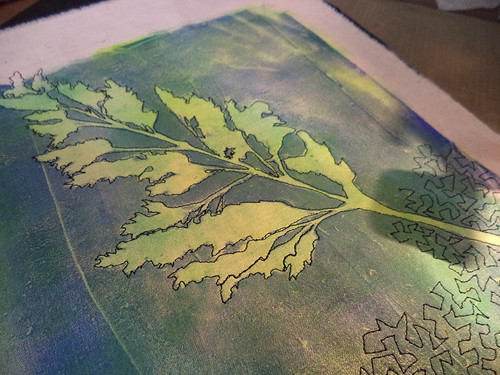
What I have done is to paint gesso onto a piece of fabric. When it was dry, I free motion embroidered a dover design (not my own, alas) onto the gessoed fabric.
I painted the flowers using water soluble pencils and a water brush. It was a very quick job.
Next I will do a little hand embroidery and beading before matting them up properly.
Here are a couple of close ups of my stitched outlines after painting.
Neither the stitching, nor the painting is perfect, but that is the effect I wanted. They are a bit like pen and ink sketches which is what I was hoping for.
And that's all she wrote, today. Happy creating!
Tuesday, April 3, 2012
yin and yang and a satin stitch tip
Watercolour paper on card, concentrated liquid watercolour dripped and dried between colours, hand made stamp. This is my own take on the yin-yang symbol, which you might have seen before in my sketchbook
No leaf today, but there are two leaves in the stamp.
Instead, I'm going to tell you about my trials and tribulations with satin stitch edgings.
I have tried every method known to man, but my corners get eaten up by my machine! I have tried the embroidery floss technique, I have tried the sew first cut second method, I have tried using water soluble stabiliser, and heat aways and tear aways. I have tried so many ways to do this seemingly simple thing that all other sewing machines seem to do so easily, that I thought I would never get it.
When all of a sudden it occured to me.
When I am quilting or thread painting something small, I often put a larger piece of paper-scrap computer paper underneath to stabilise. It seems to have more strength than the tear aways, which crumble as soon as you look at them.
Anyway, I thought, why don't I try this with satin stitch edgings?
You can see in the picture that I have gone around the corner really nicely, with the paper underneath.
The paper tears away quite nicely, as you can see.
Then, because this happened to be a satin that liked to fray, I had a little trimming and a touch up with a permanent marker to match the thread and voila!
A great satin stitch edging (which I showed on my ATC the other day)
With some pieces, I leave the paper on the back. It depends on the purpose. With an ATC, it gives extra strength and somewhere to write on the back, so I glue it on before I start. With other pieces, I take the paper off the back afterward.
I am pretty pleased with this method, because after so many tries, I finally found a method that suits me, and secondly, scrap paper is easy to find!
I vaguely remember reading somewhere that Once upon a time, before we had all these mods and cons, paper was used as a stabiliser.
Friday, March 16, 2012
an overlay and a drip or two
Watercolour paper ( from here) tracing paper printed with the saying (and I have searched for an author and cannot find one) and brads.. I was going to write the saying on acetate and then I thought that it wouls be difficult to see with the bright background, then - flash! If I used the tracing paper, I could print the saying and tone down the background at the same time. In fabric, you could use chiffon or organza to the same effect.
I have been playing with those watercolour effects I got here on fabric, with only minimal success, but some nice pieces of fabric did result.
I washed all the fabrics and then towelled them dry before adding some liquid watercolours. Starting from the left, was a face wipe, then cotton, then the two at the right are canvas on top and satin on the bottom. It was interesting how the paint spread differently on the different fabrics.
I think part of my problem this time was that I had too much colour for the water to cope with. These were pretty vibrant and concentrated and when I did this on paper, it worked best with the paler colours.
But this is what I got.
This was the satin, and it did work a little bit, but the expanding circles did not condense, however it is pretty gorgeous as a fabric,
This was the cotton, which did not work particularly well, less well that the satin, but made an interesting effect.
This was the face wipe I used to clean up with and it did work, even though there were not any drops of colour.
This is the actual face wipe from the original picture. I scrunched it uo to blend the colours and got mud, but again the water drops worked.
This is the canvas and it decidedly did not work. I created the white dots by pushing water through the centre with a pipette, it is not due to any movement of the water on it's own.
There appear to be two things I have picked up from this, other than perhaps I used to much colour.
- Non wovens, where there really is no grain work best, probably because the water can move in all directions, just like in paper
- in woven fabrics, the canvas was least effective, probably because the large fibres are twisted tightly and woven tightly as well. The cotton, was the next best and coincidentally, the fibres here were not woven as tightly and could be fluffed into fibres, so were looser. The satin had a loose weave that frays easily, and the fibres don't appear to be spun together at all, just bunched. There was less resistance to the movement of water and colour and as a result there was some success.
Wednesday, March 14, 2012
Leftovers and little drops of water
This ATC was made from a piece trimmed from a larger landscape. I liked the texture in the sky and the swirls in the land, or sand. I edged it with glue and gold leaf. The larger collage used fabric and fibre scraps arranged, the covered with tulle and then free motioned.
Today I had a little play with some cheap kid's paint pens and dobbers that I had.
the water and the dropper came into play later.
For this piece of watercolour paper, I painted the red and blue paint onto a damp face wipe and then dabbed it on, or some people call it bagging.
for this one, i dampened the paper first with a spray bottle, the added drops of paint.
I actually did drip some water drops on this one, which created the slight haloes in the centre of the blue splotches.
On this one, I painted red, yellow, green and blue onto wet paper. I dripped water drops onto it when the paint had settled a bit, not dry, but not wet. It created these lovely haloes.
This one was bagged, then dripped water drops on. This is really nice.
This was a piece of smoother watercolour paper that I also bagged then dripped water on. It makes a great background texture.
On this one in my altered book for samples I used the paint dobbers and then smeared with a face wipe, then dripped water, and then I dripped diluted red into the centre of some of the splotches.
another page in this book was bagged with red and blue, then dripped on with water and the dilute red in places. This one almost looks like a field of daisies.
I wondered whether it mattered how dry the watercolour was, so I tried it on a page I had made weeks ago and I liked how the colours separated. See how the purple became a blue circle with a red rim?
This of course led me on to another experiment, which I will show you tomorrow - and of course, I need to try all of these out on fabric.
Speaking of fabric, one of the bonuses of these painting sessions is...
The gorgeous painted face wipes I end up with to use in fabric collages!
Monday, March 5, 2012
oranges and lemons
Today's ATC was another experiment.
I was trying out a little bead tray that came with some beads as a stamp. I thought it looked like cut oranges and tried it out on a piece of heavy watercolour paper. It worked really nicely, even leaving a bit of texture from the paper.
But here's the difference - I didn't use a stamp pad. I didn't use a brush with any kind of paint.
I used a liquid shoe polisher, the type that is in a bottle with a sponge on the end. It made a great stamp and tended to resist the watercolour I added next (if it was thick enough and the lines were continuous enough)
I coloured the orange and lemon with water colour, dried that, then added a few lines in coloured markers. On the orange, I went over this with a metallic orange oil pastel.
I finished with a little yellow brad in each centre - oh and the background was a bit of watercolour, too.
I have been finding lots of great quotes on Pinterest and here is one I love.
If you are depressed, you are living in the past.
If you are anxious, you are living in the future.
If you are at peace, you are living in the present.
Author: Lao Tzu
Well some of these apply to me!
Tuesday, February 7, 2012
making something out of nothing and Bernie Berlin
Today's ATC was a major "what if".
Sorry about the reflection. but it is a bit shiny.
Way back here, when I was painting the page around the niche in my artbook, I put a piece of acetate underneath to stop paint getting onto the page below.
Another day, I was tidying my desk and found the piece of acetate with dried black paint and the rectangle looked just like an ATC. I thought, what if I scratch into the acetate? So I did and this is the result (paint side is down of course, so if you write it needs to be backward)
I have used a piece of batting, cut to size, wrapped some paperbacked foil over it, added a playing card at the back and attached the scratched acetate with brads.
For a little bit of work, it has a great effect.
Now to Bernie Berlin, Author of Artist Trading Card Workshop
I have been trying out one of her exercises, using watercolour (I vaguely remember doing something similar many years ago when I was learning watercolour)
Here is a piece of watercolour paper which I dampened and dripped paint on then let it bleed and run.
Then I got a piece of heavy card that I had made an ATC size frame out of (2.5 x 3.5 in inside)
and moved it around the paper, to see what I could find. You might want to rotate the paper and the frame quite regularly, because It will make an huge difference to what you see. This might be a volcano erupting.
This looks like a little fish to me. He is missing a tail, but that gives me something to embellish.
This one looks like two people, a woman on the left and a man on the right.
A princess standing under a tree?
The idea is to find pictures in the blobs and highlight them.
Here are some I have worked on.
After the earthquake, a pagoda is burning
Two people watching snow fall?
An Angel in the garden or maybe up in the clouds?
And a full moon through the trees.
I had a lot of fun with this technique, It certainly gets your brain thinking. A good way to start off the day in my skeychbook, so you might see a few of these type of ATCs popping up now and then.
Remember creativity doesn't always have a plan. Making it up as you go along can sometimes get your creativity moving.
Subscribe to:
Posts (Atom)

