
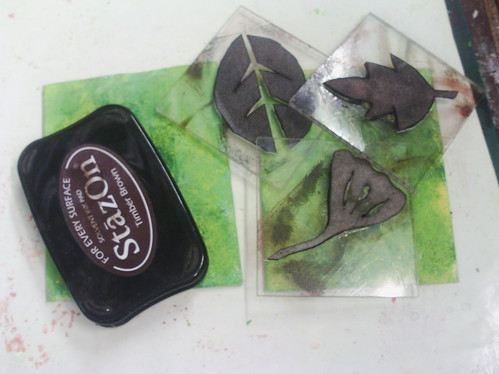
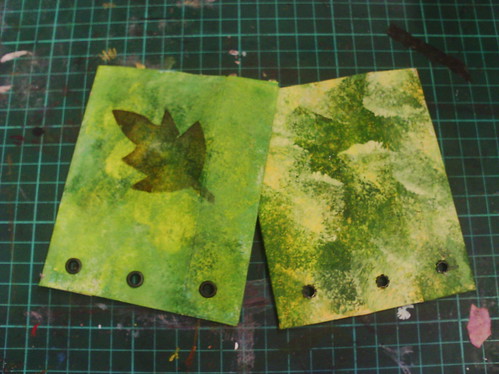
i decided to stamp some leaves on the front of the pockets.
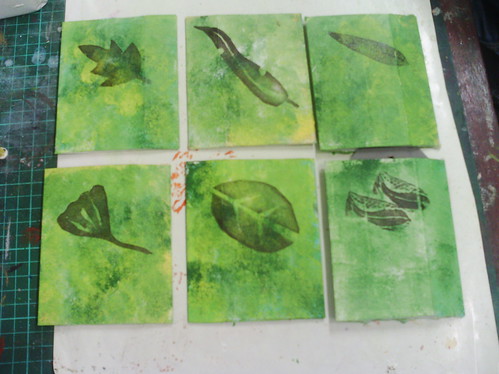
Here are the six pages stamped.
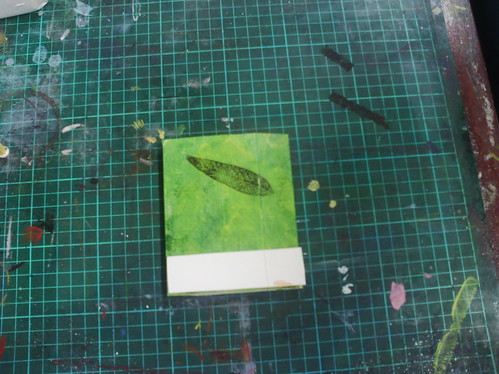
Next, I needed to put the holes in the pockets for binding. I cut a piece of card the same length as the height of the pages
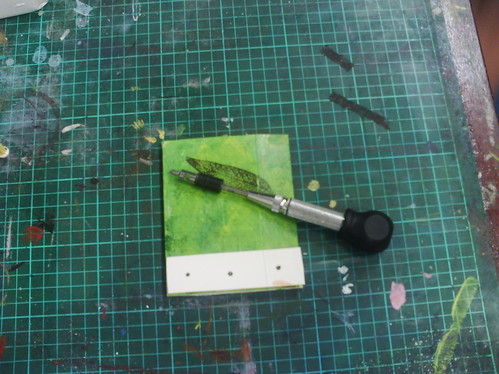
I used this cardboard jig to punch oles in each card with my japanese screw punch.
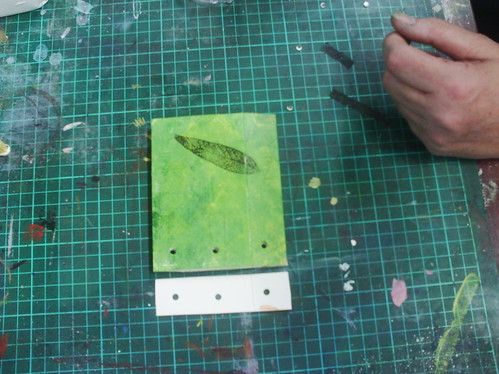
Here is the first one done
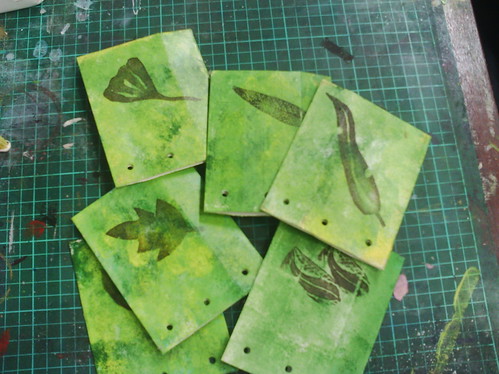
and here all of them are done.

Next, I chose some eyelets to add. I used the black ones at bottom second to left.
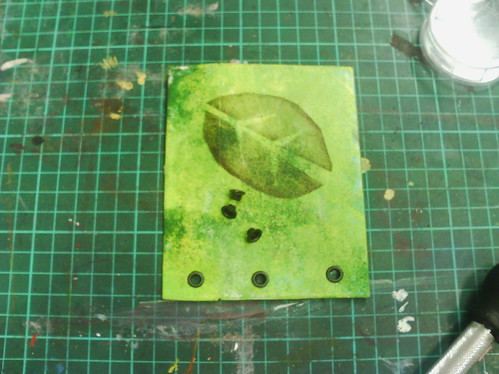
here is the first one done.
And here are the front and back of the eyelets.

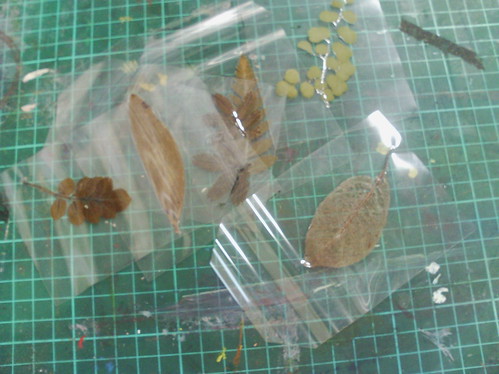
Next I wanted to make the tags to go in the pockets. Above I have traced my tags onto a laminating sleeve.
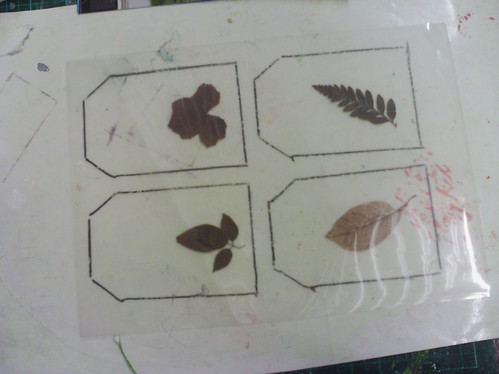
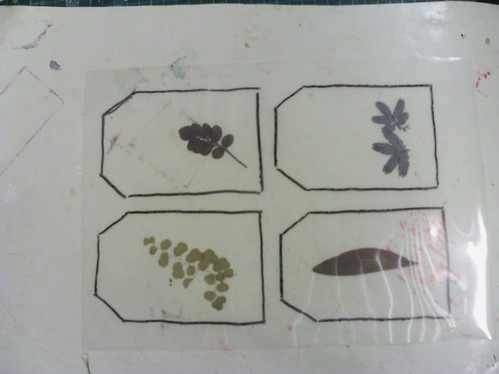
Here I have placed some pressed leaves in the traced shapes.
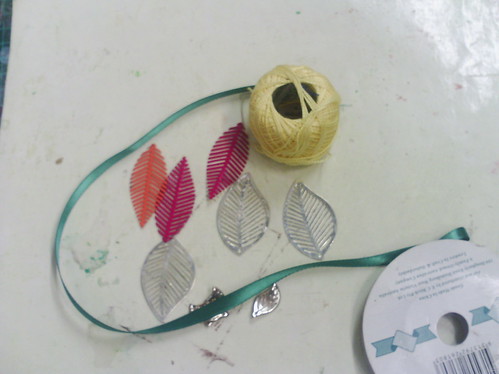
Now, whilst my laminator is heating up and laminating the leaves, I am playing with some bits and bobs to add to the binding. I have some leaf charms and ribbon and perle thread.
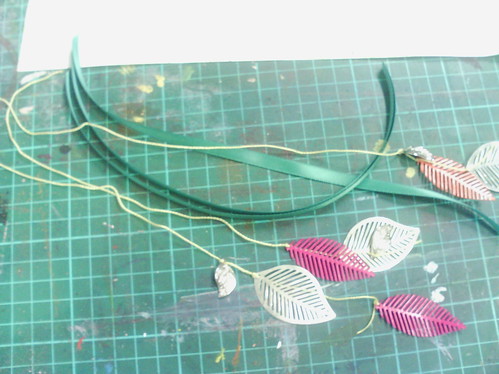
I have added the charms to the perle thread and cut them all to a size for adding to the binding.
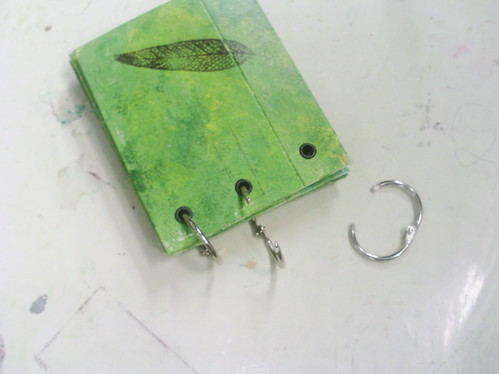
As you can see here I have chosen to use hinged rings to bind my little book. I chose these because I wanted the pages to turn easily. If I had simply used the ribbon, the pages would catch and I want it to open easily.
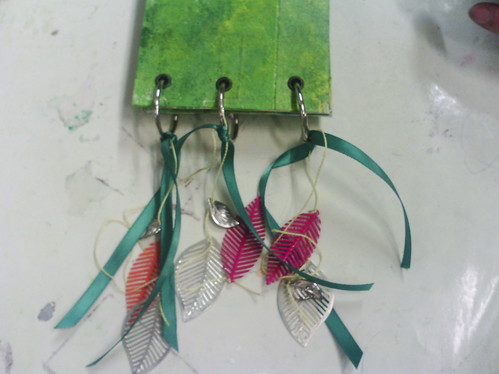
Here are my dangly things added.
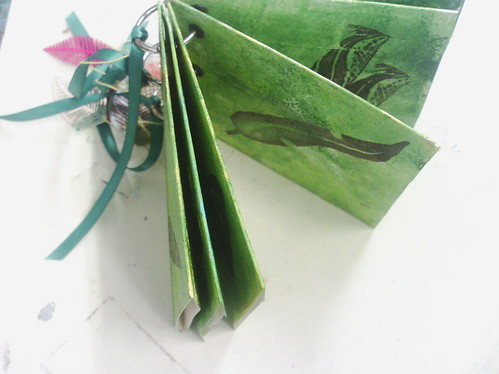
And this is what it looks like so far.
Next I cut out my laminated leaf tags
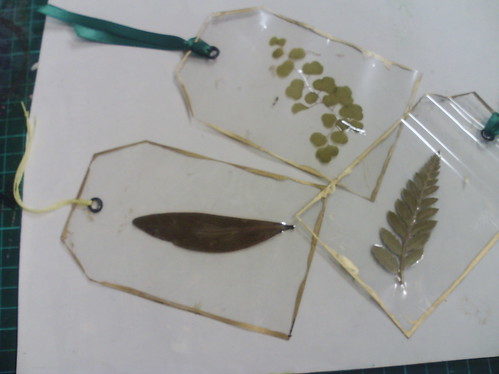
I put eyelets in the tags, added some ribbon or thread and ran a gold leaf pen around the edges.
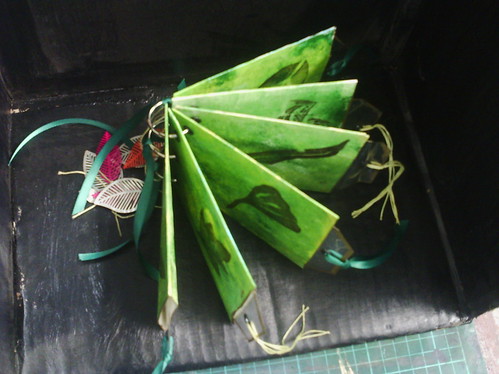
And here is the final book, which I am quite happy with. I hope you can see how each little transparent leaf has it's own little pocket in the book. Oh, and I also added the gold leaf pen to the edges of the pockets.
Happy creating!