
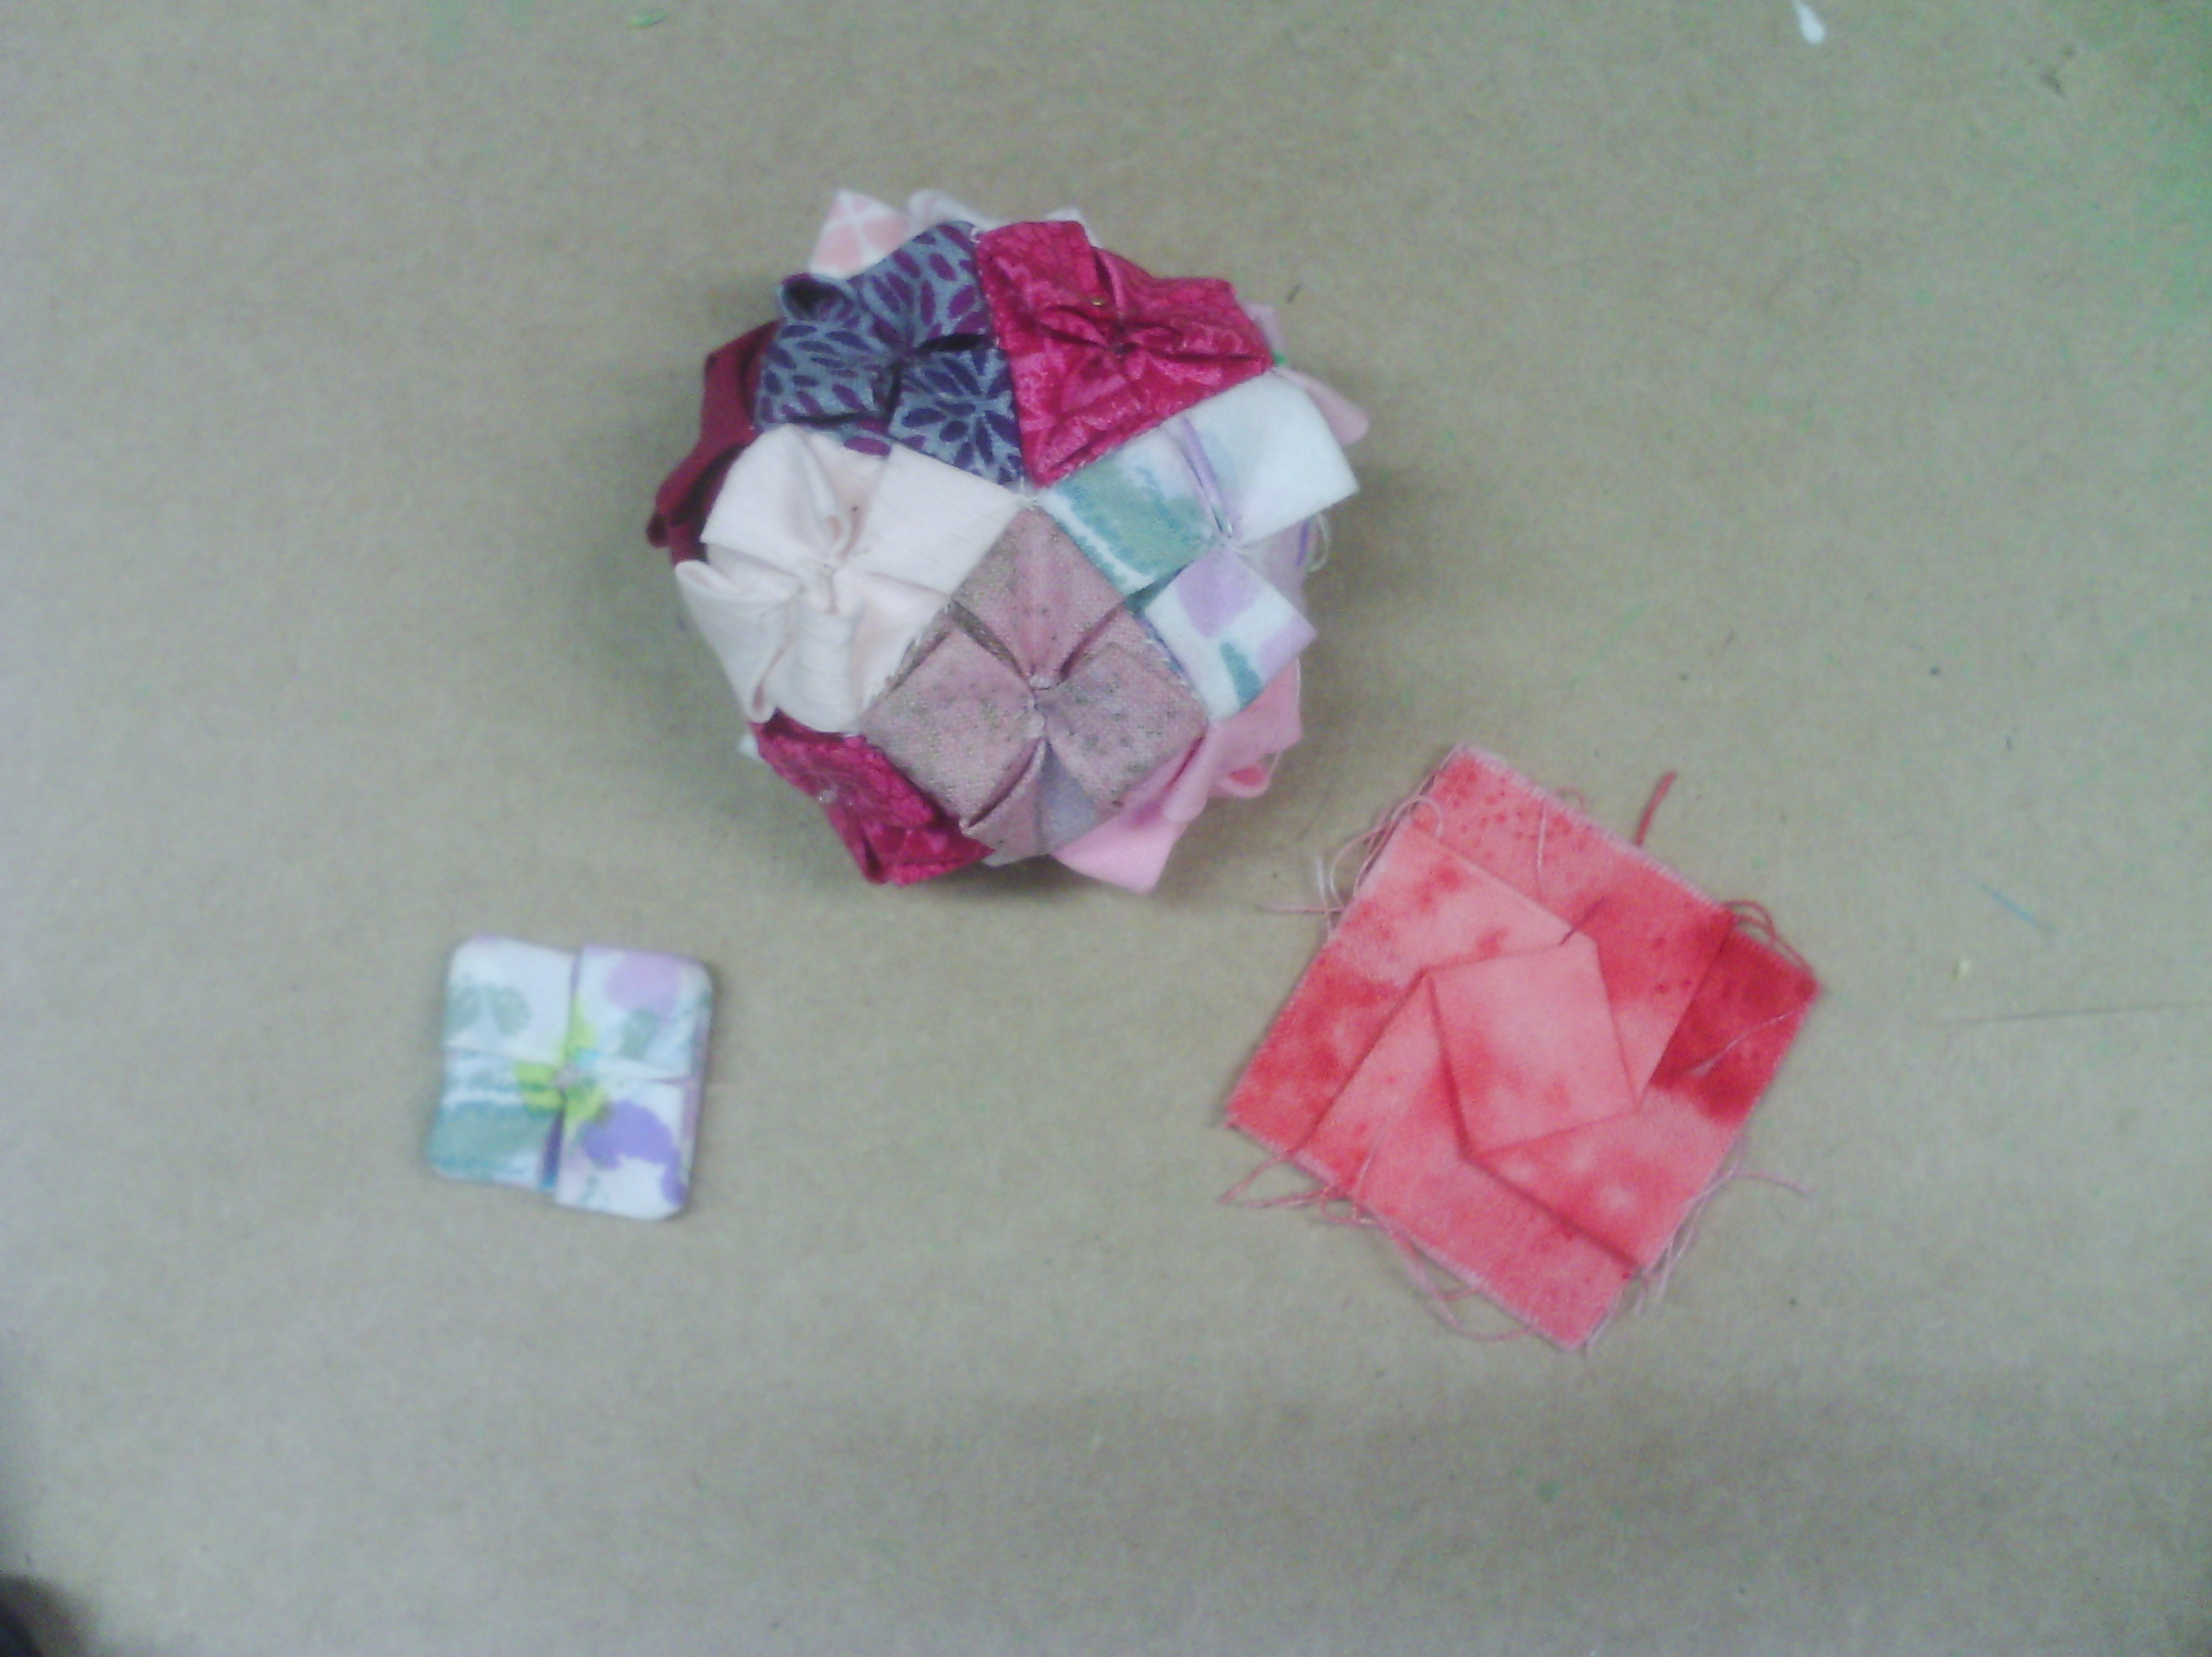
I love this little pincushion, I think it looks like a hydrangea flower and is very textural.
Today, I have been doing a little more of this, but putting the units together in a flat manner.
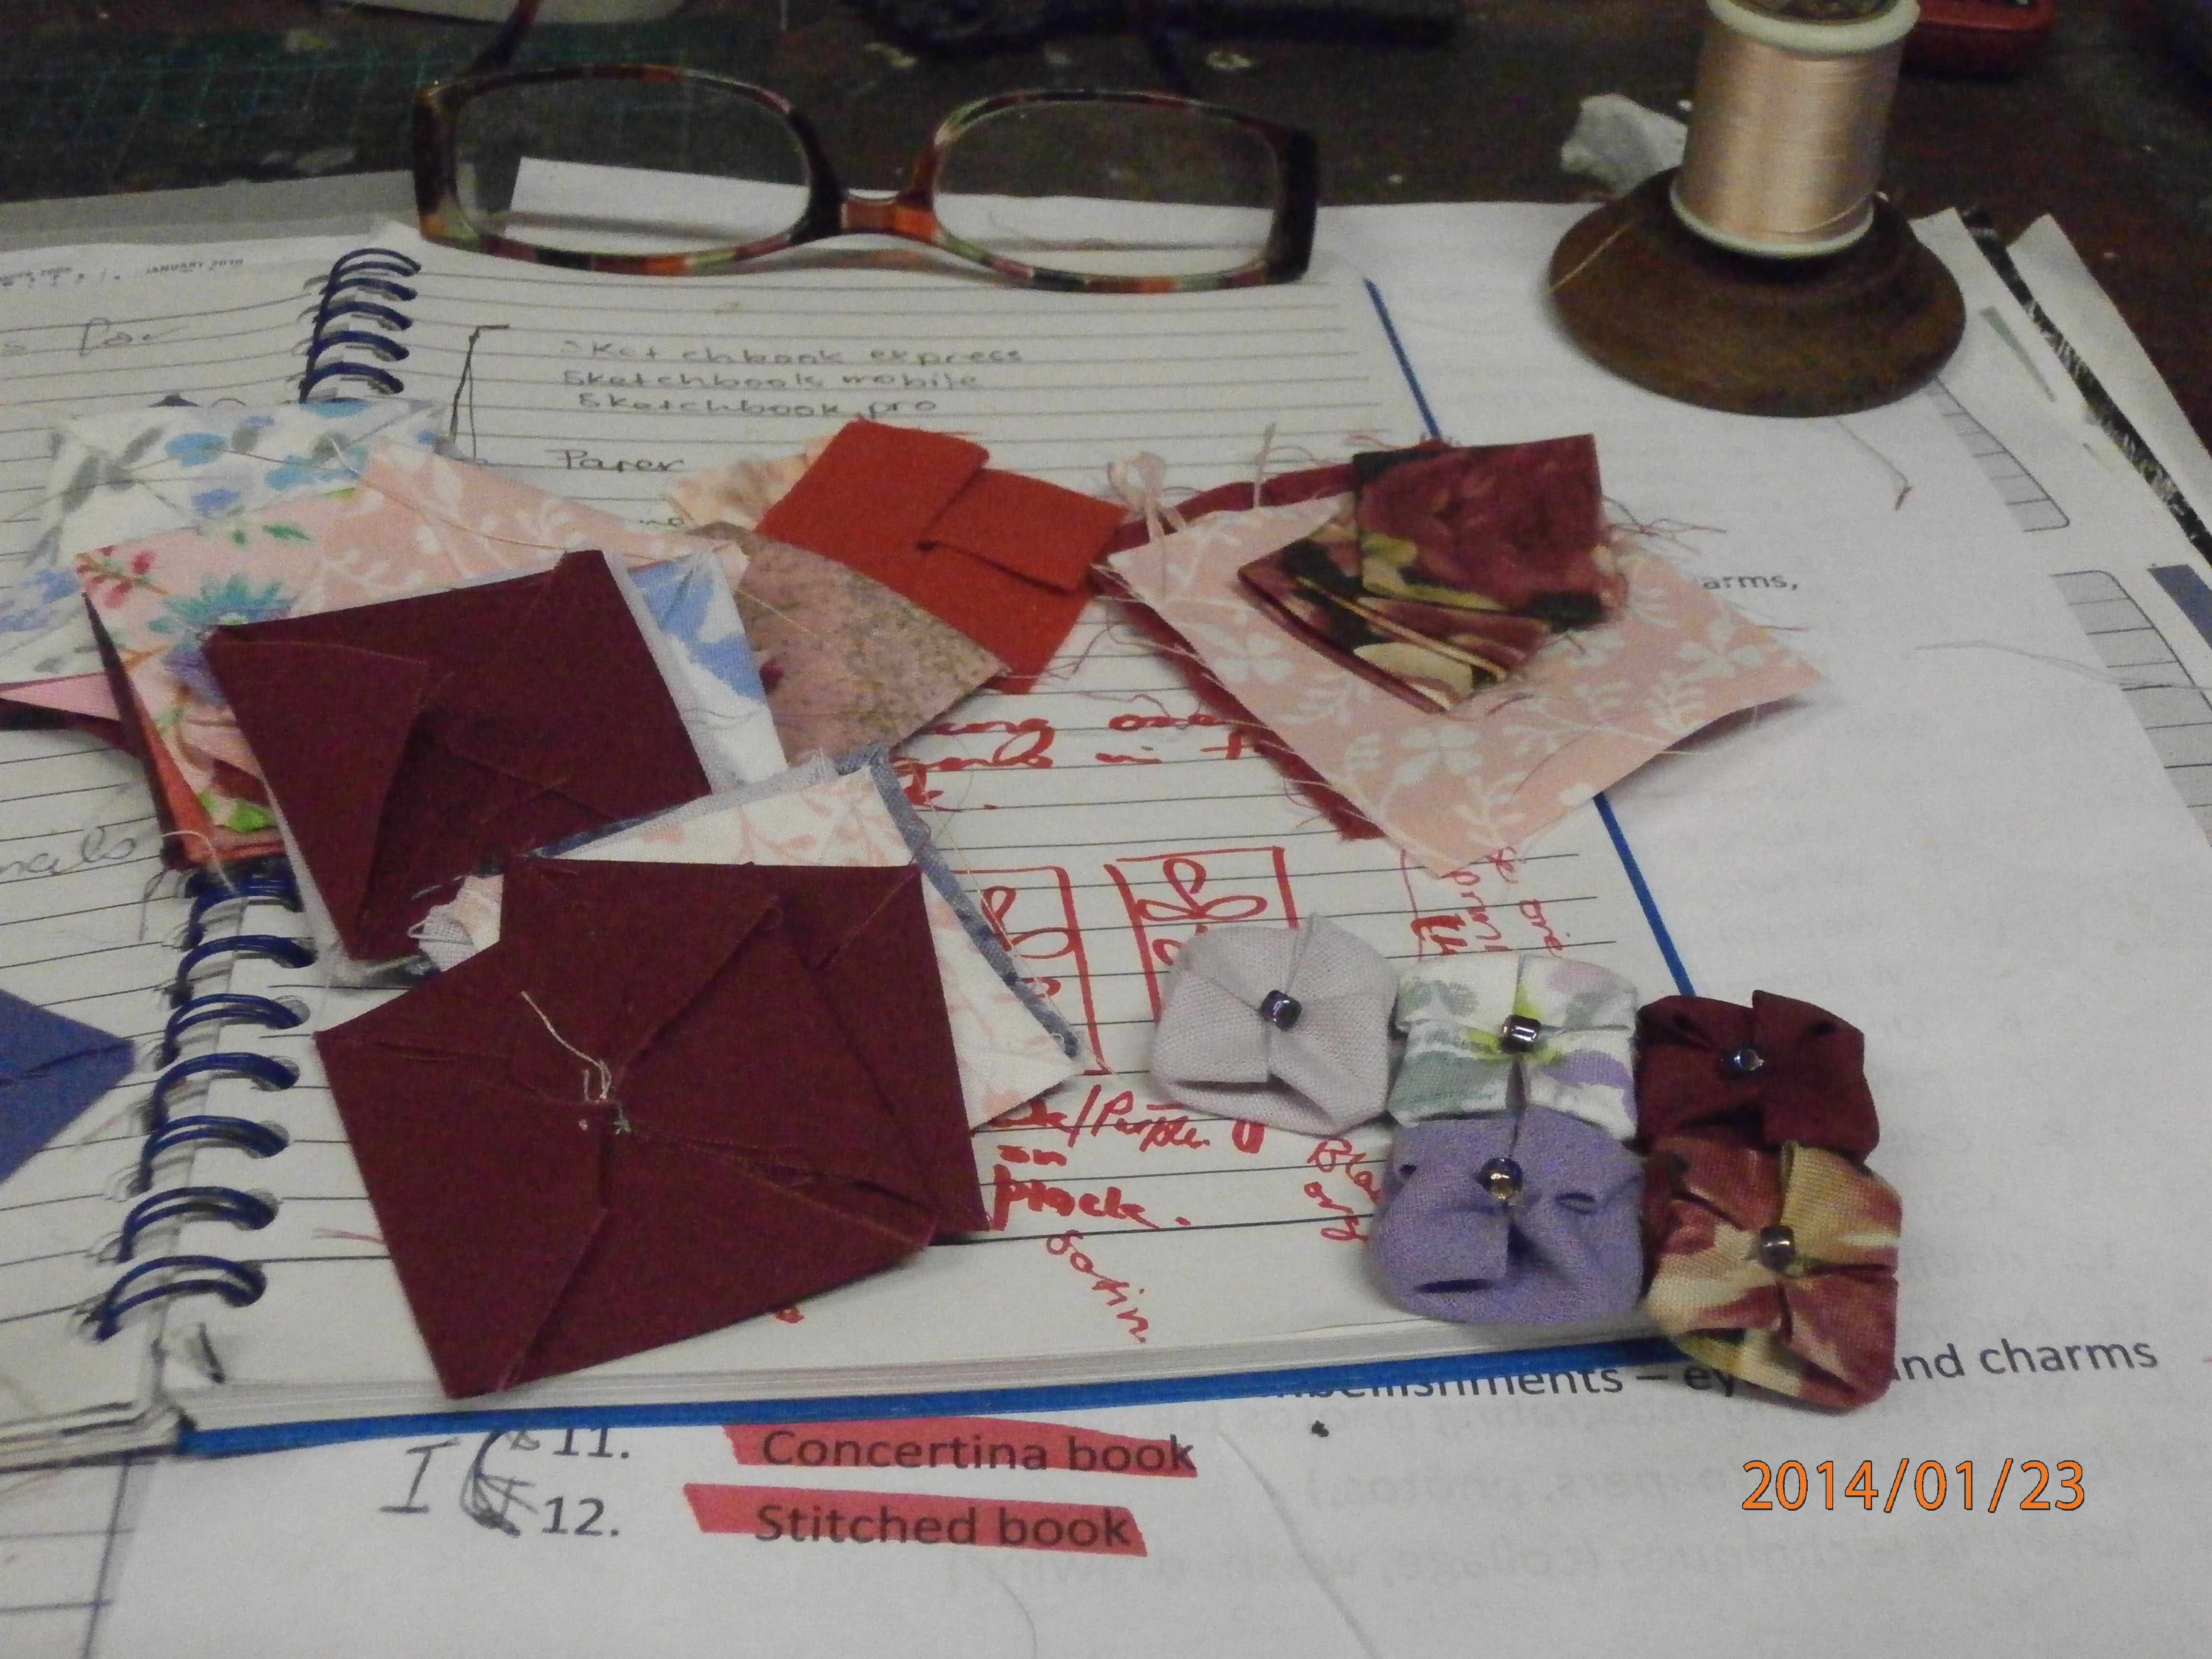
Above you can see all my units in process. I won't repost the steps as they are shown here
.JPG)
Here is a close up of the units being put together. I have covered the sewing in the centre of the squares with a bead and hand stitched them together. My idea for this is to make a table runner with these making hydrangeas in it.
Another project that is very similar that I have been working on is a folded hexagon table runner, which will go onto our fundraising stall for the quilting group.
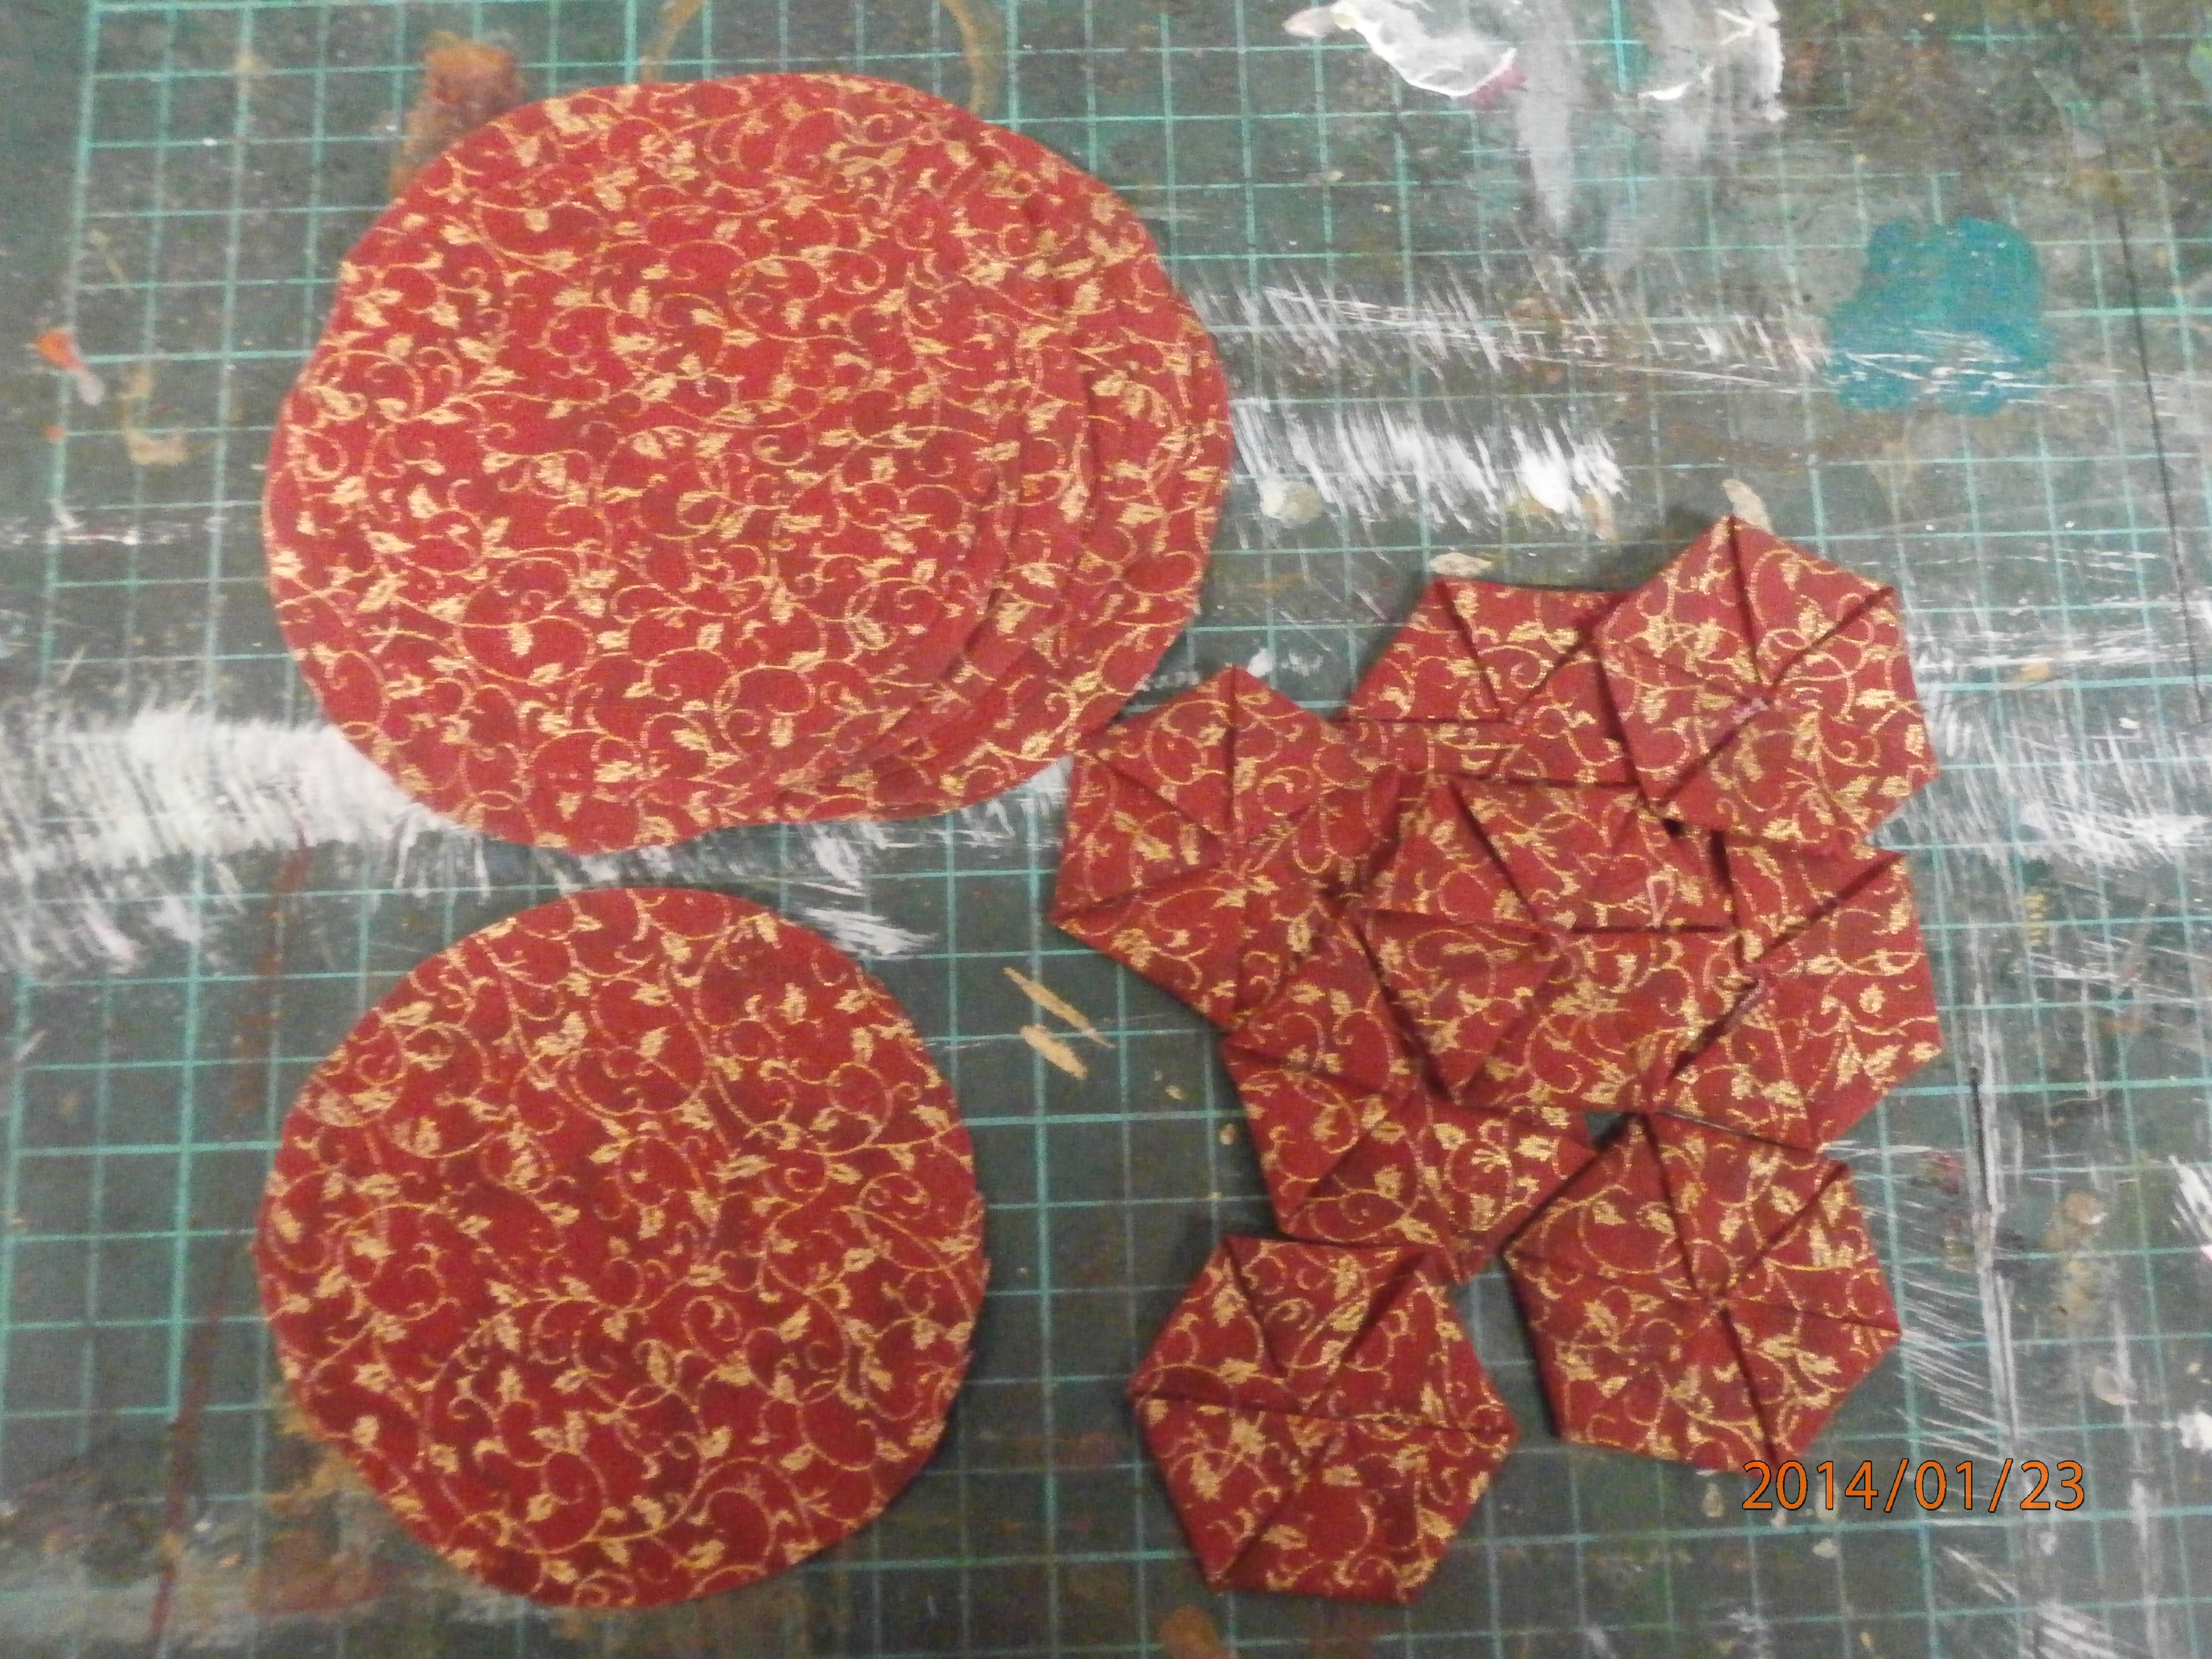
Here are some folded hexagon in a gorgeous gilded red fabric I was given for christmas. (And elizabeth, you can see I really meant it when I said my workspace was messy!) As you can see these hexagons are created from circles and are two sided. The back in this picture (which you can't see) is simply plain, like a normal hexagon, whilst the front which you see is folded and has lovely texture.
I love this technique, as there is none of the tedious papers and basting. Circles are much easier to cut and the folding is really easy.

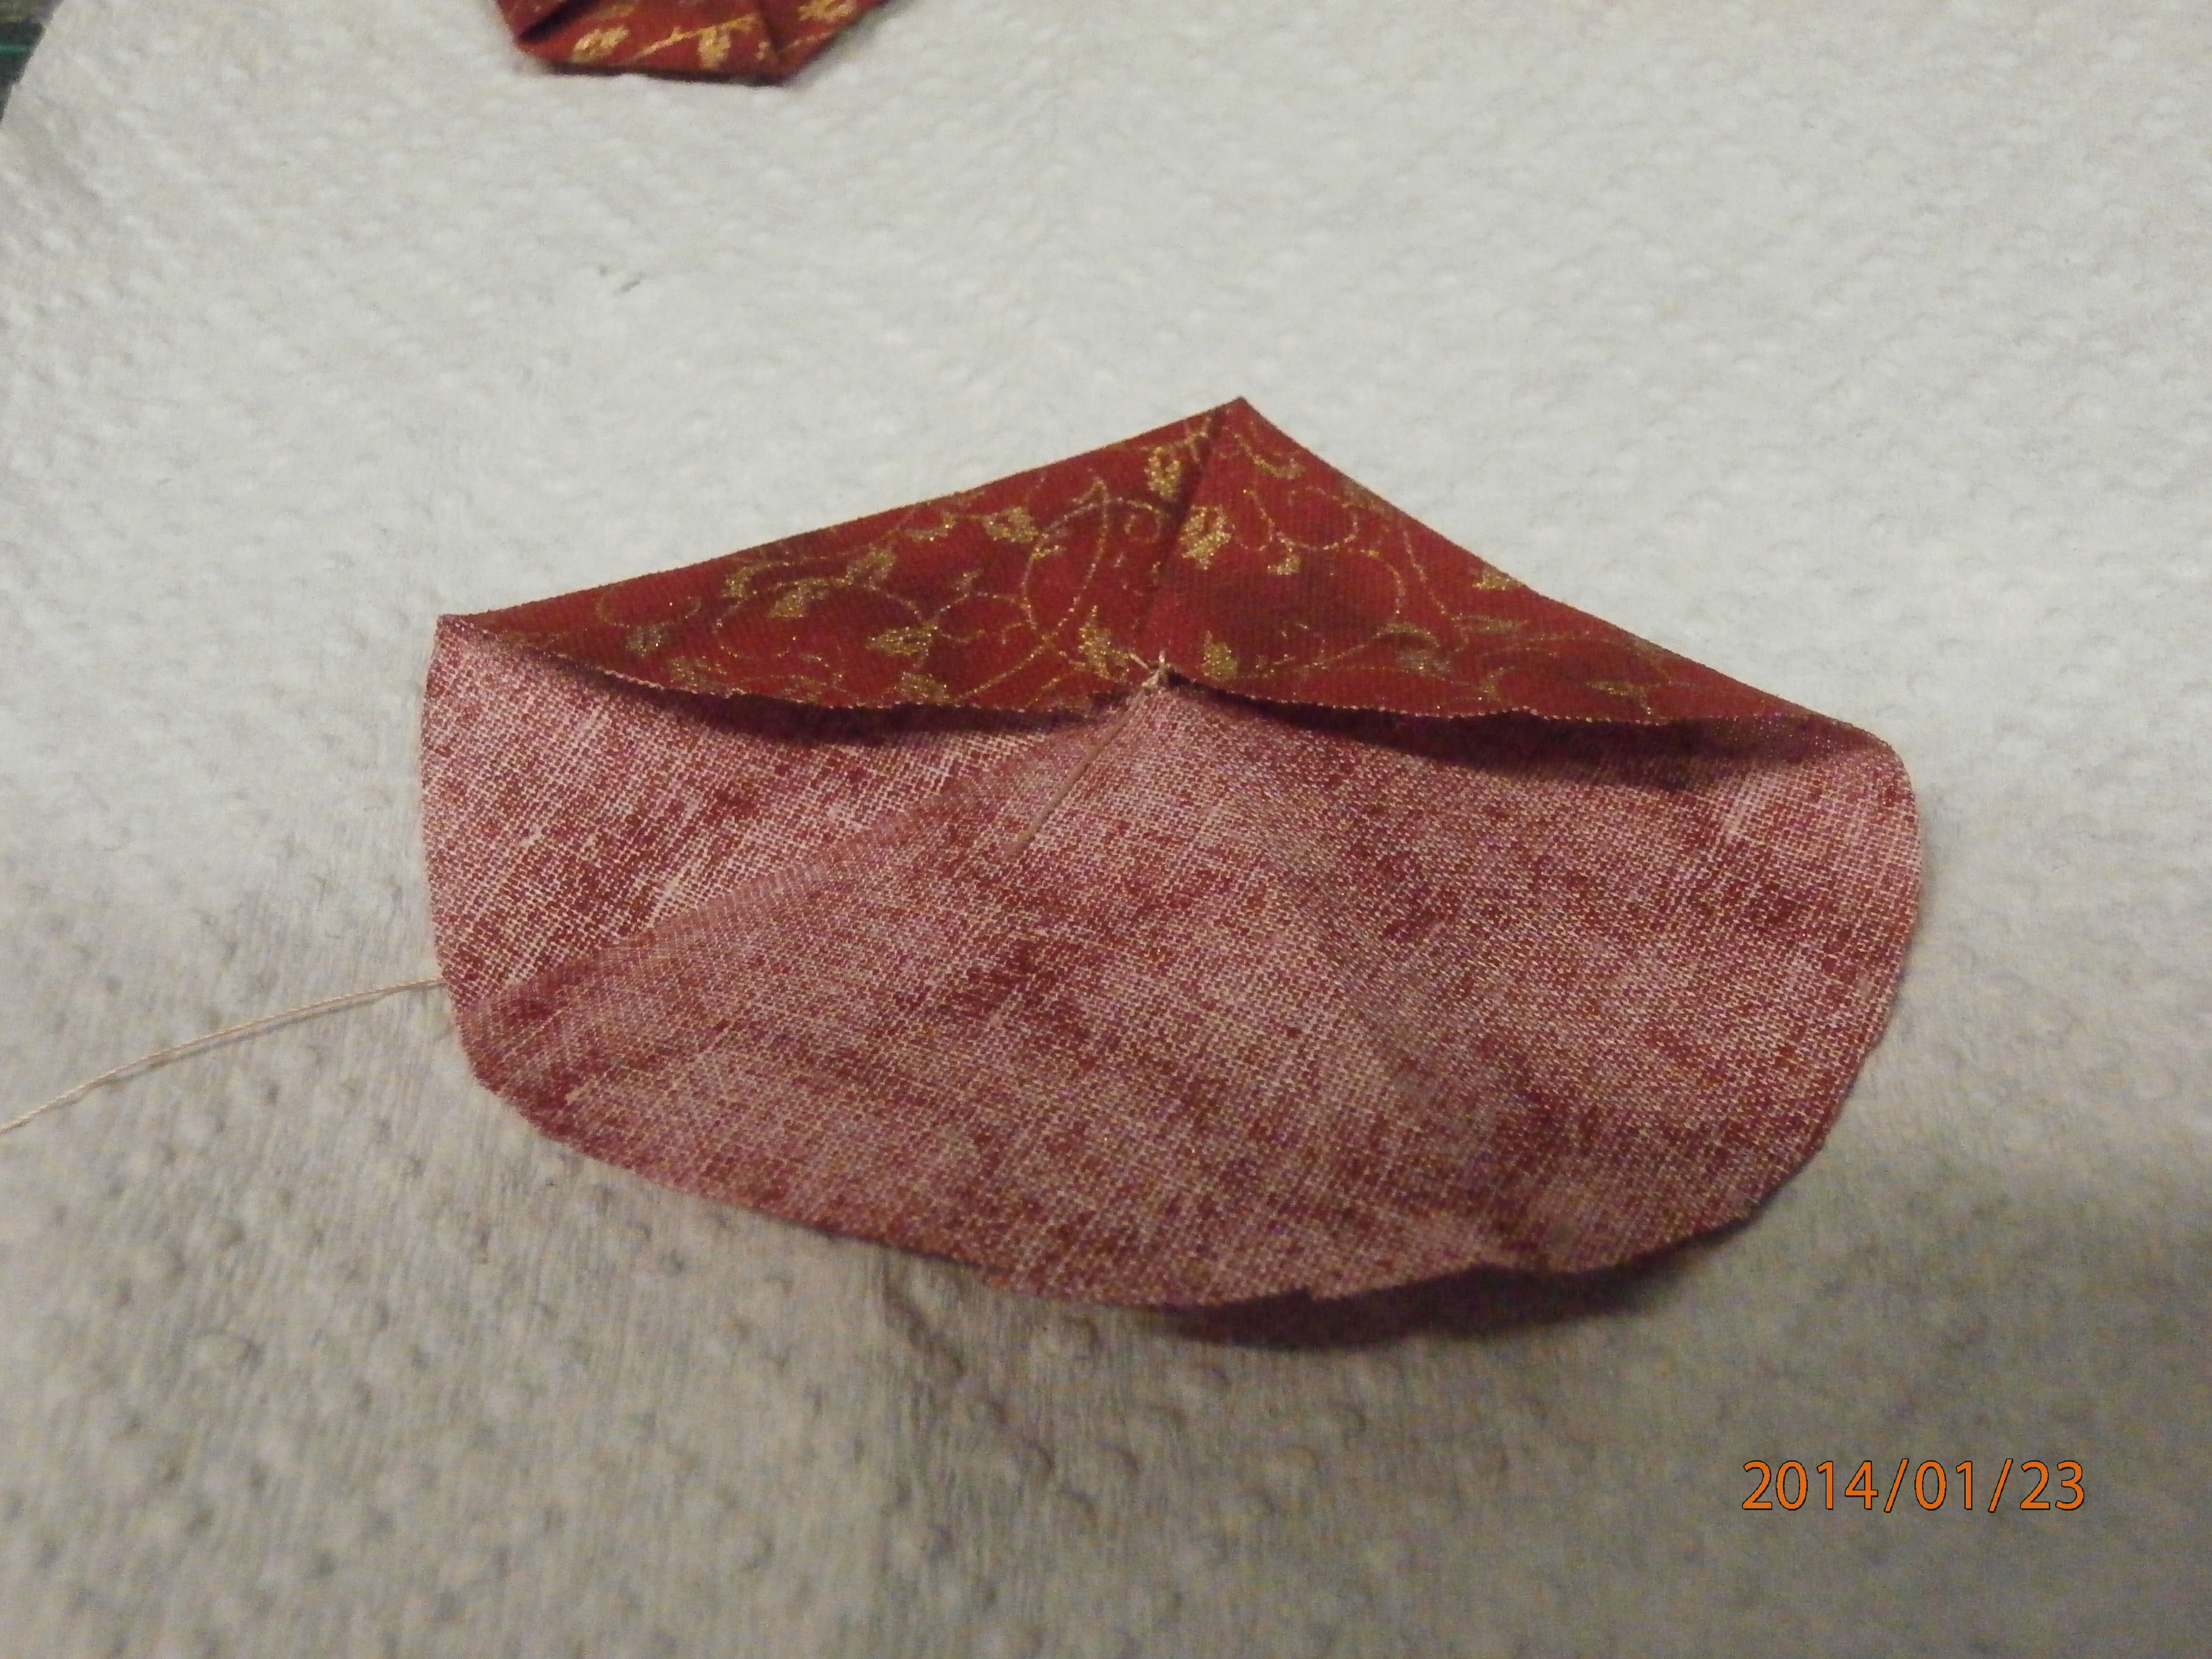
On the left is a finished hexagon. On the right I have folded a circle into quarters to find the centre. this is where I start my thread.
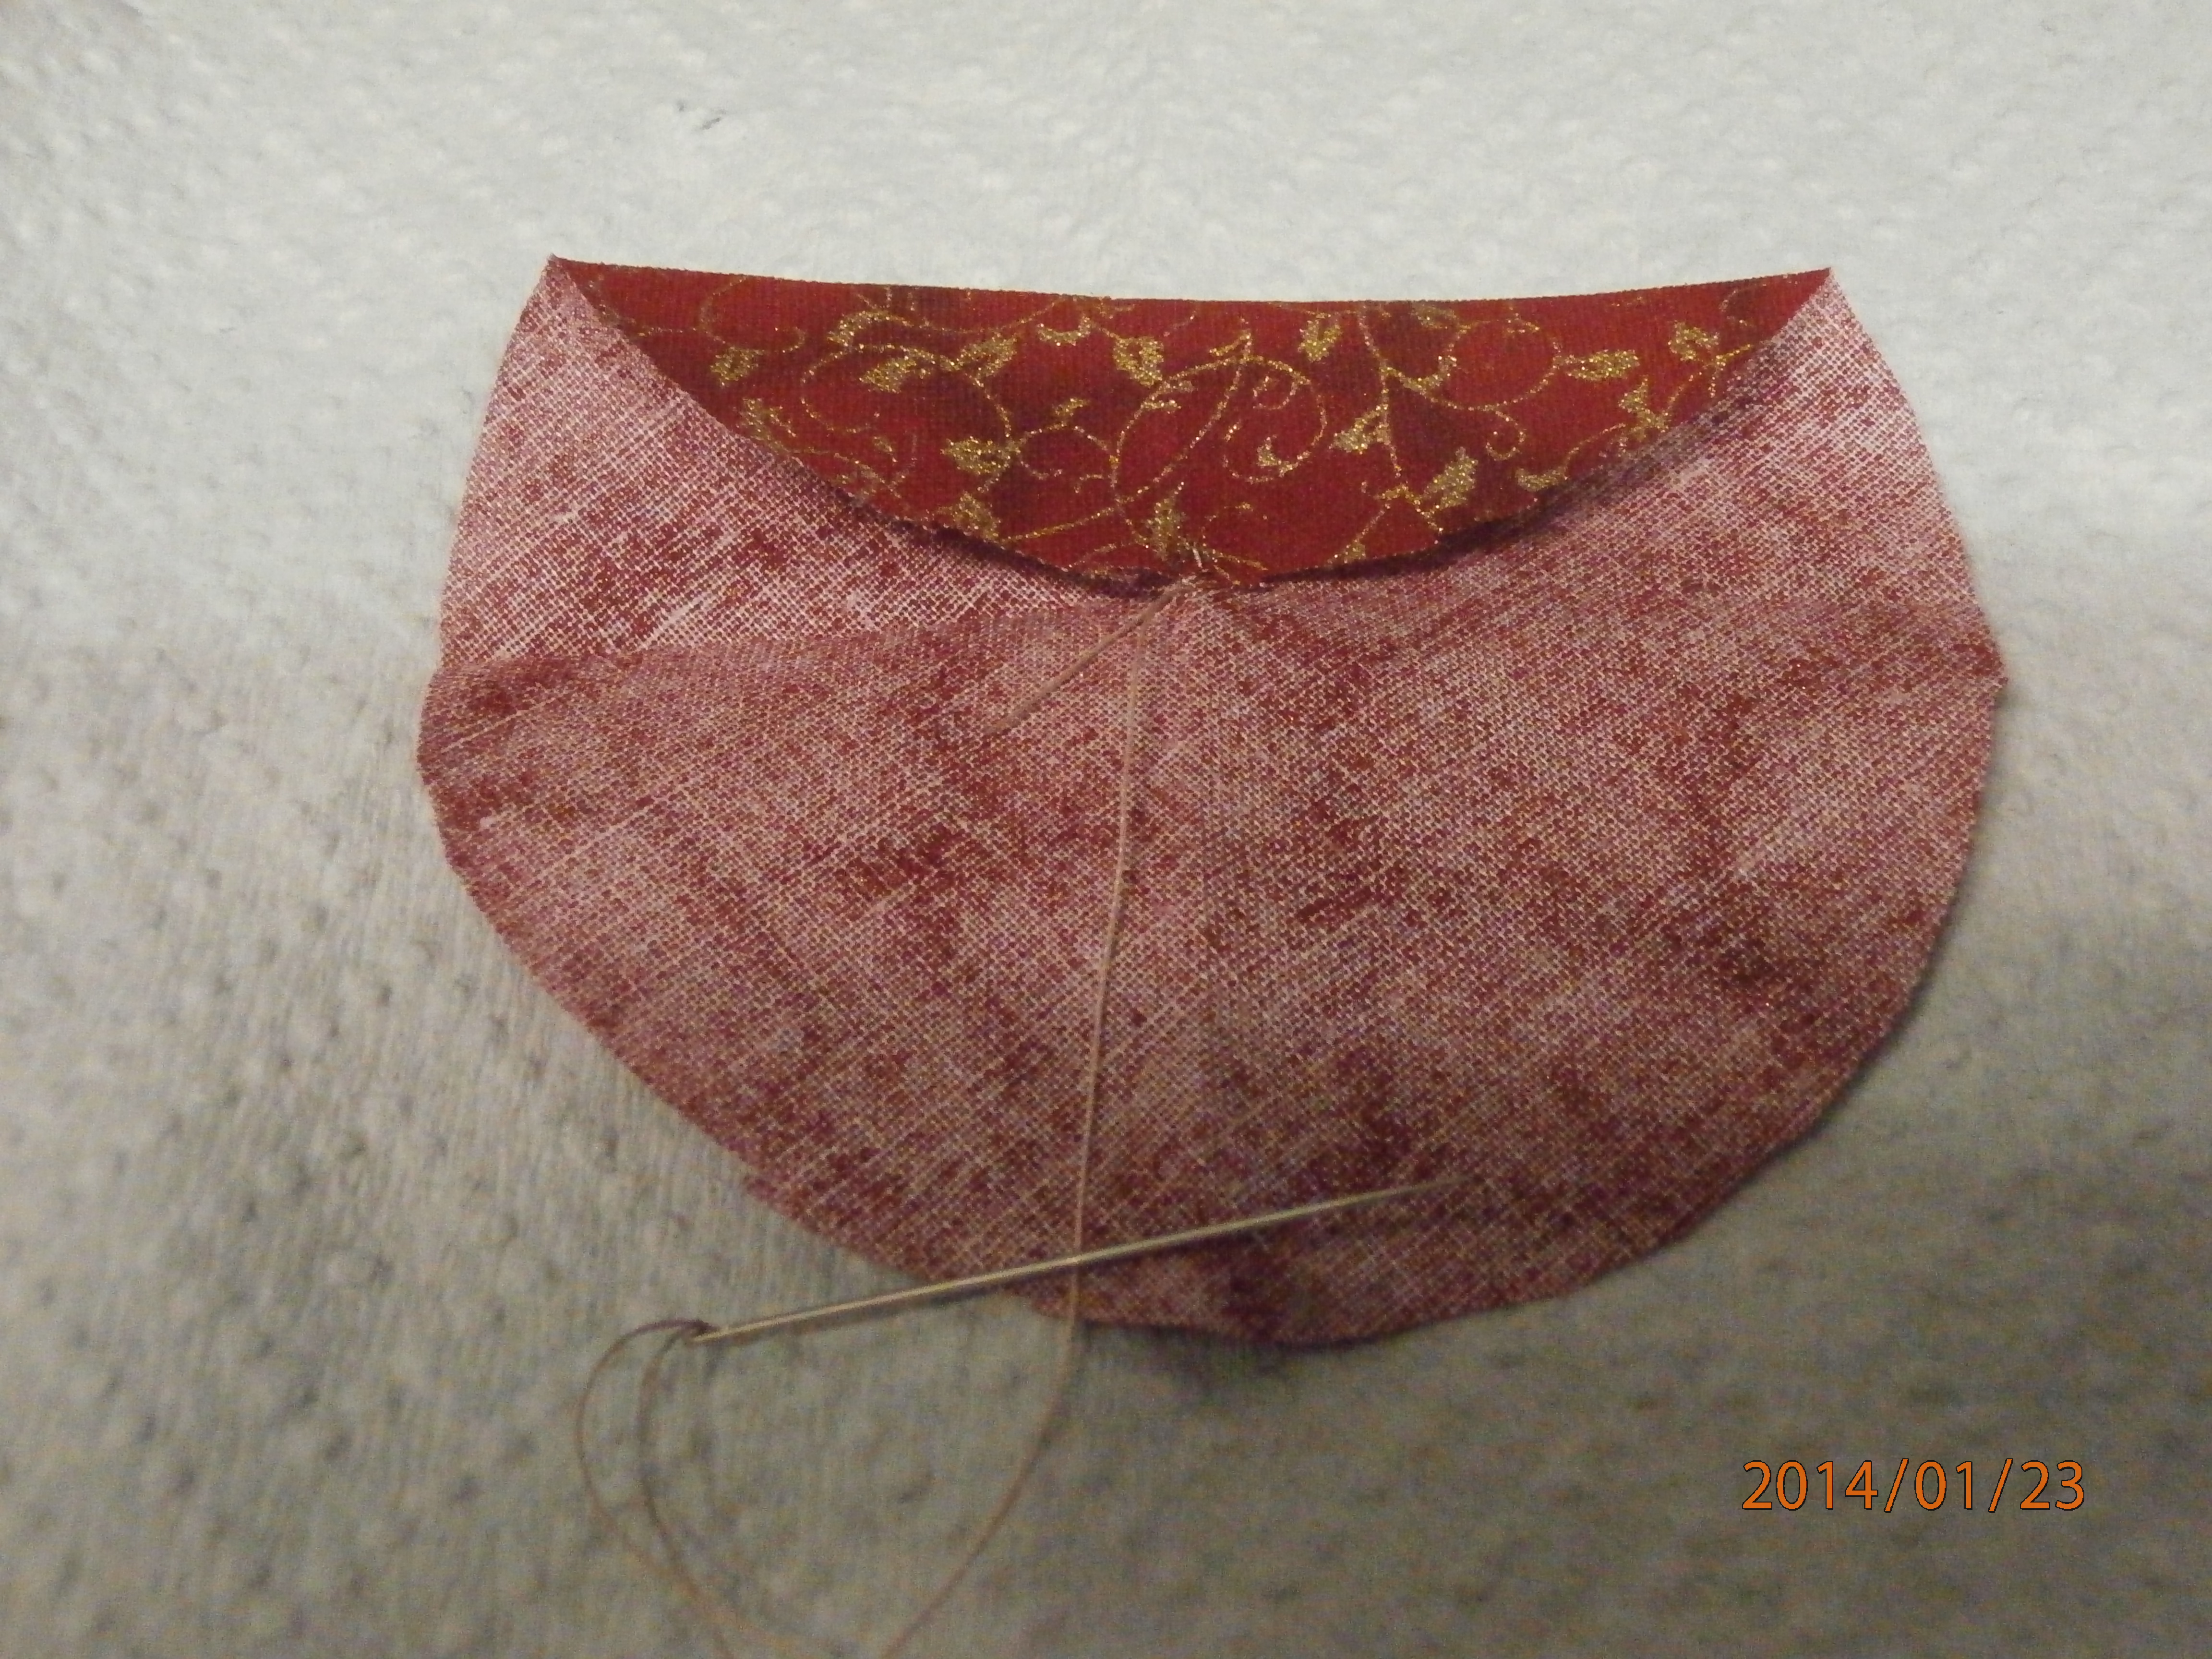
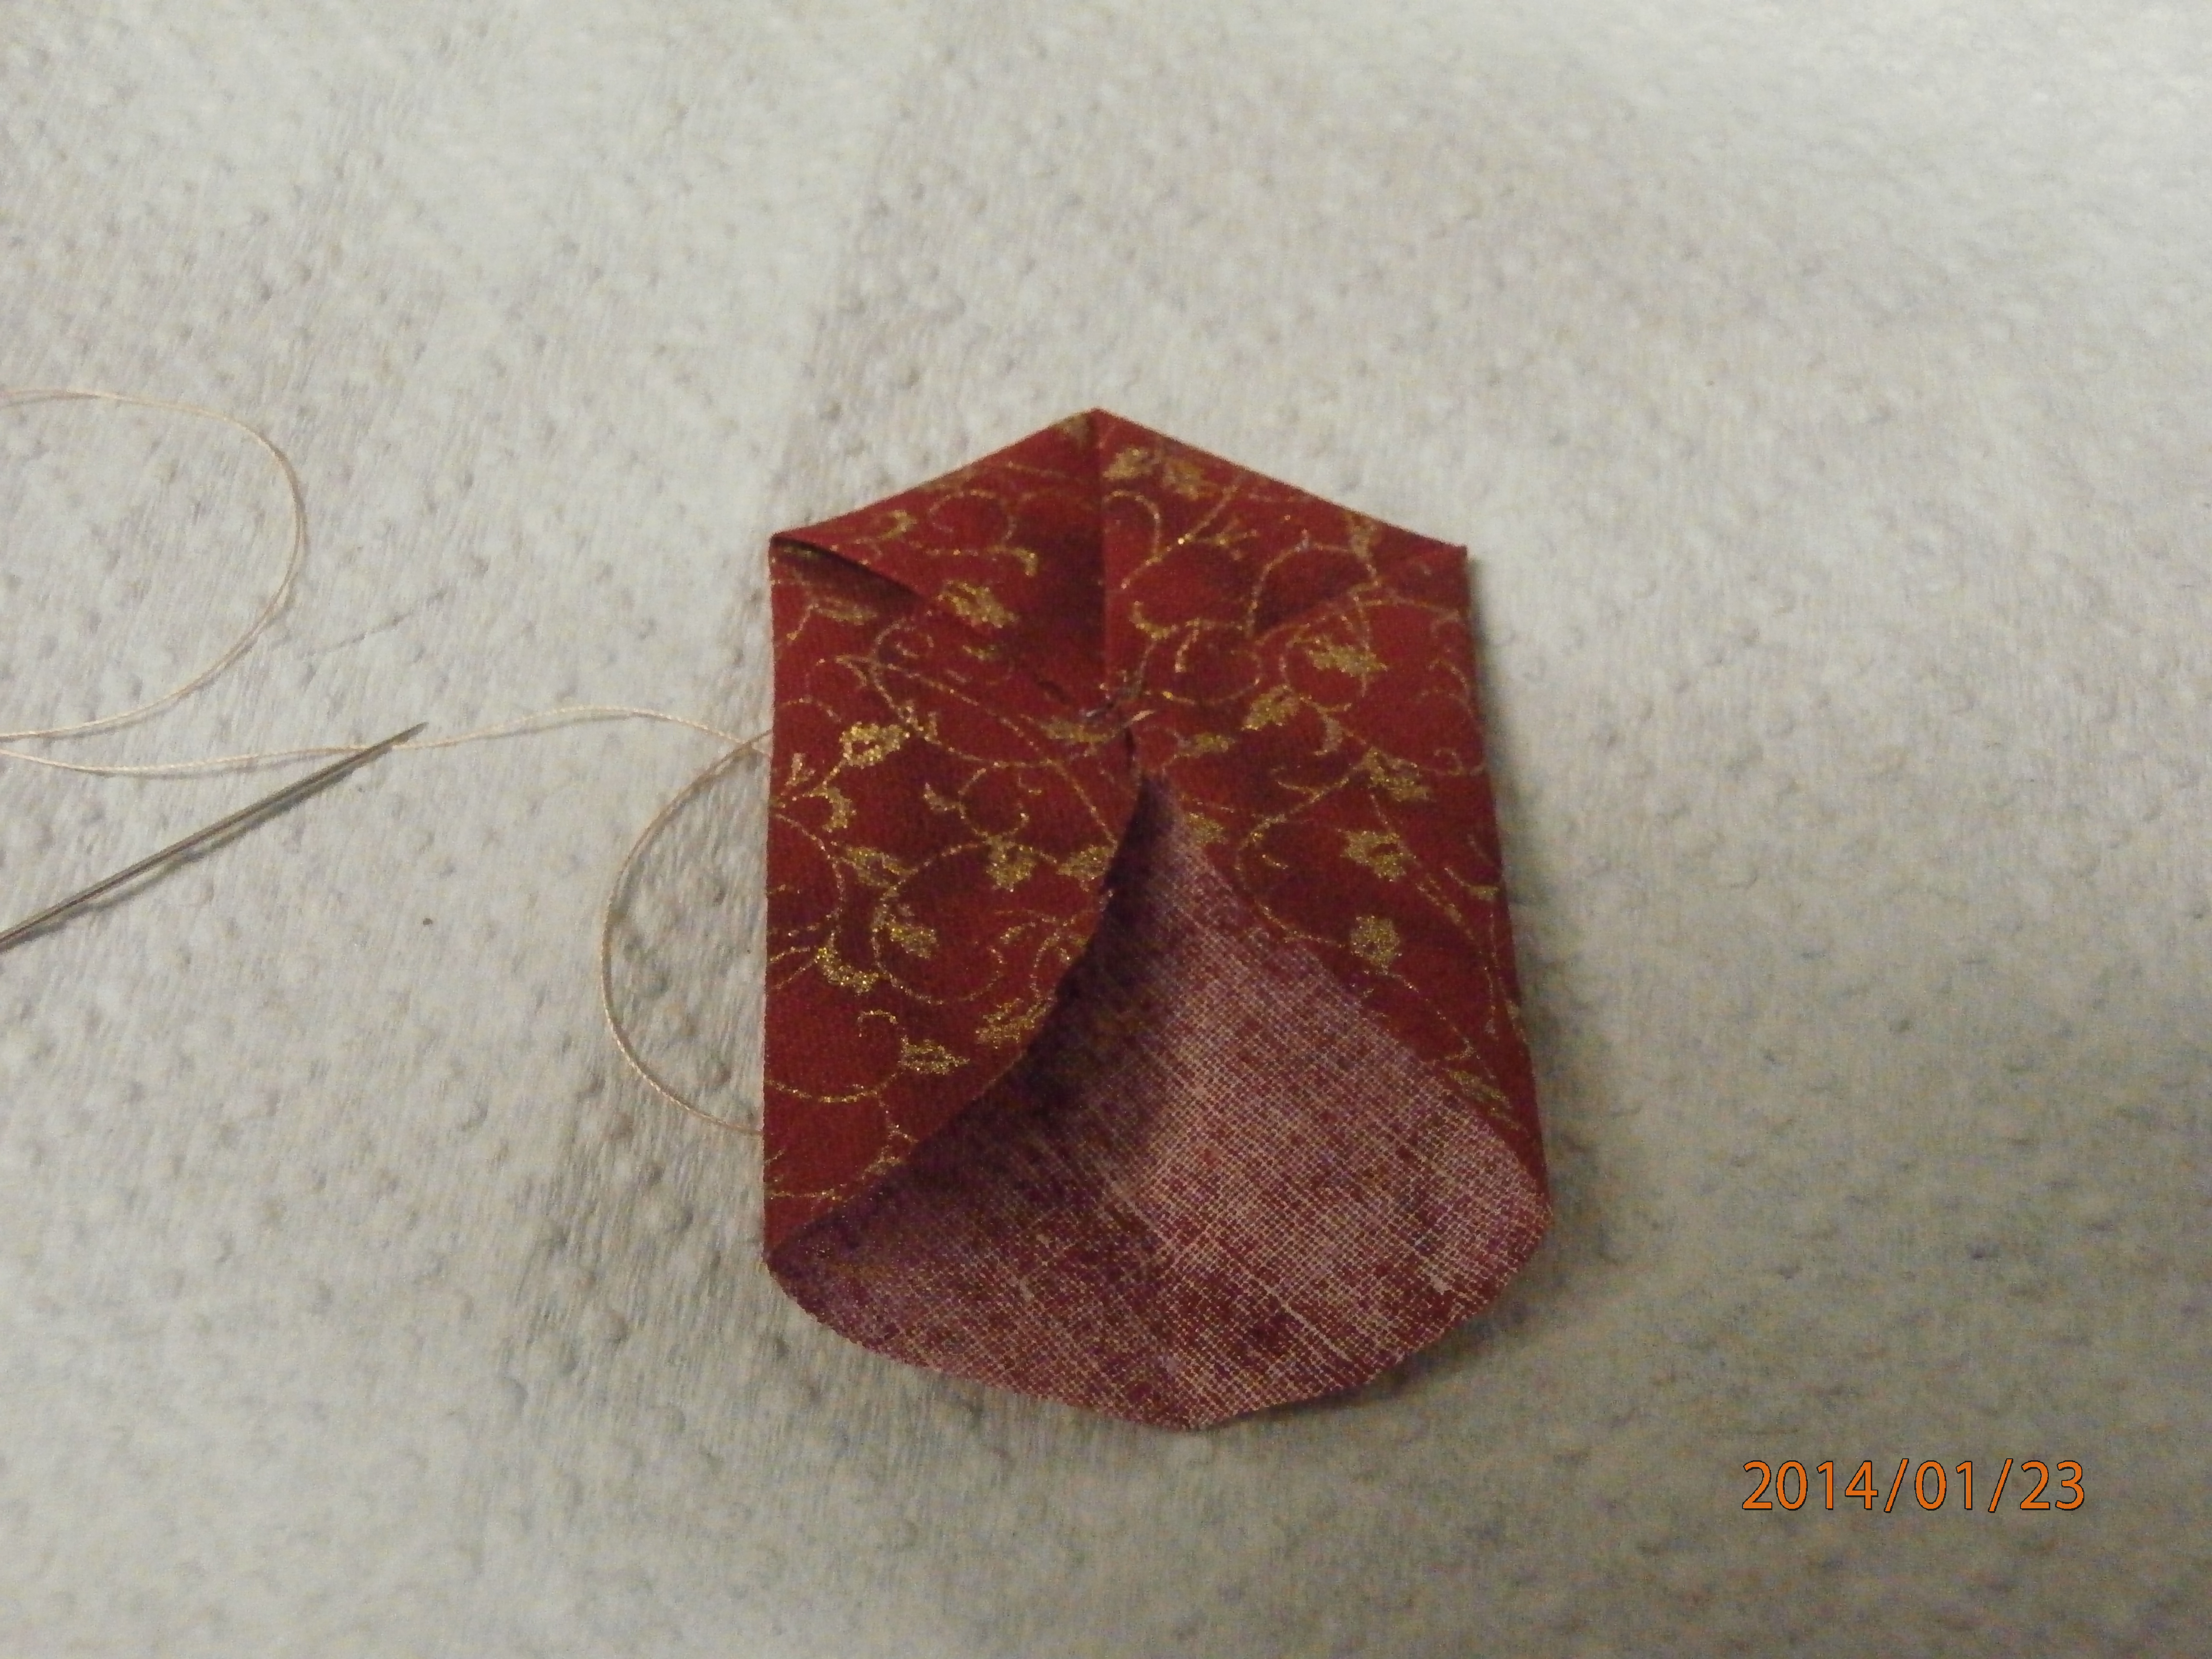
Once you have attached your thread in the centre, you don't need to be concerned about the folds you made. The first step is to bring on side to the centre, attach with a stich and finger fold. There are two folds, or ears created at each end of the fold. I will be working clockwise, but it doesn't matter, so long as you keep going the same direction.
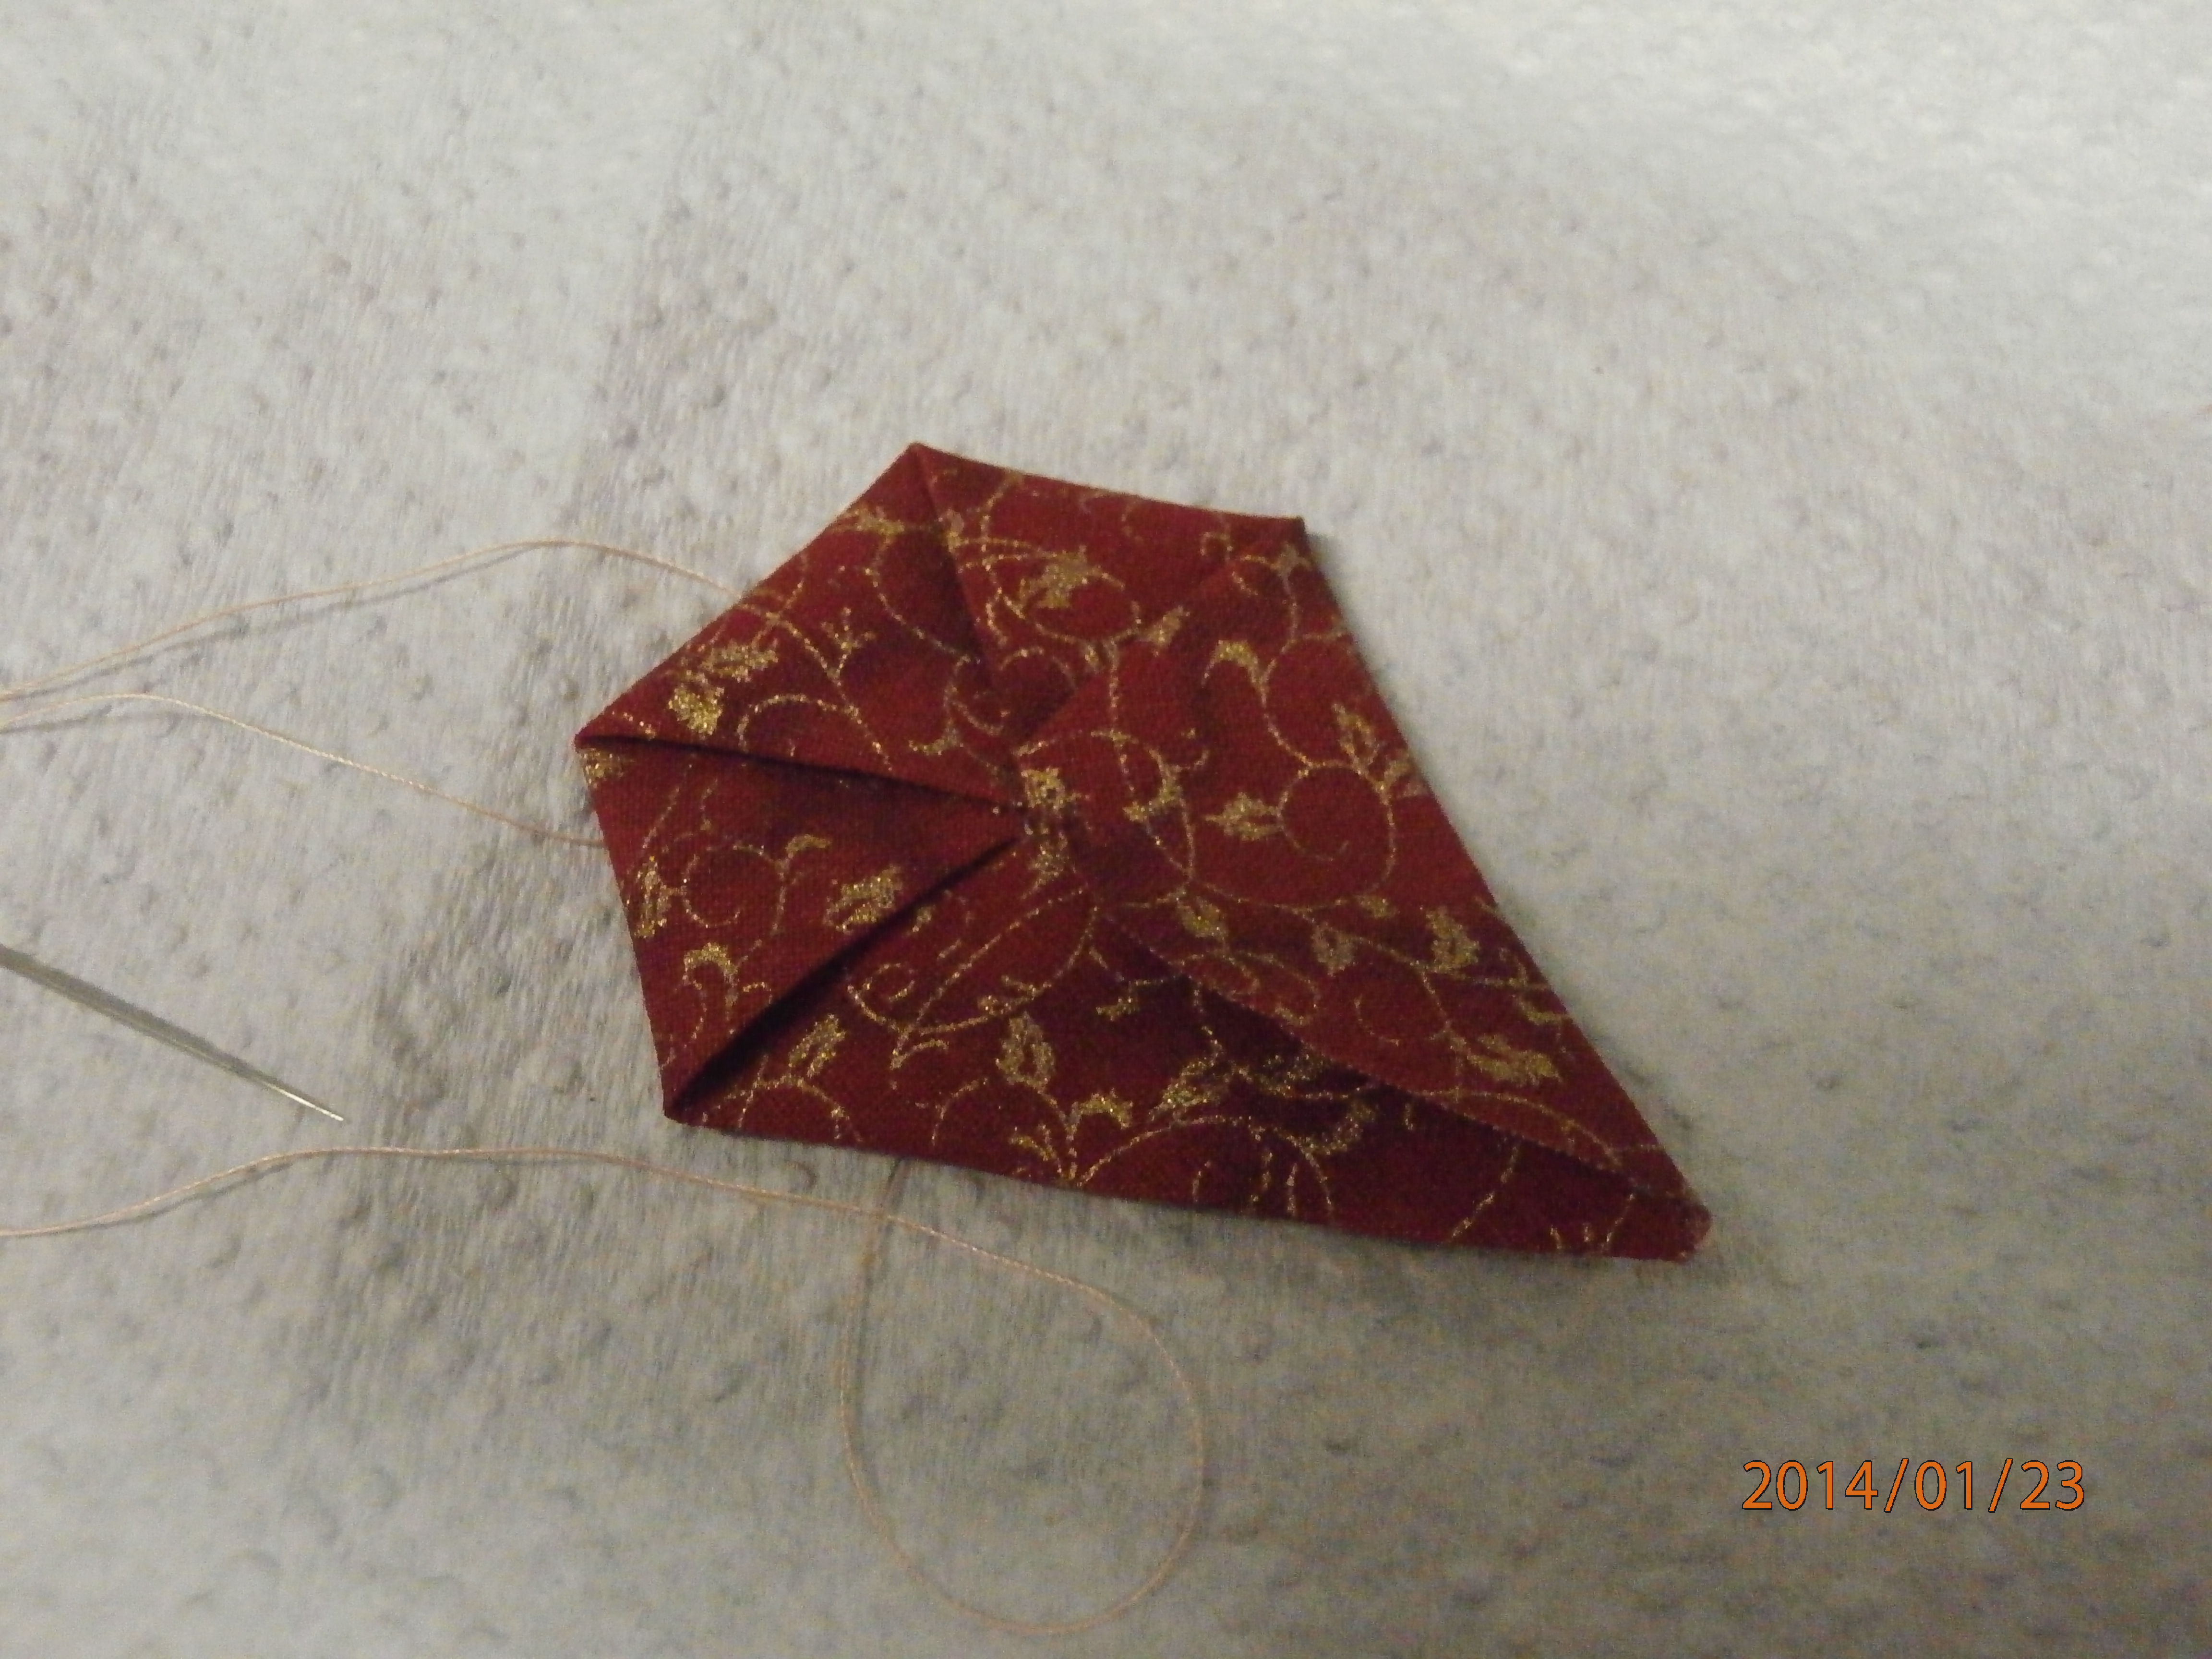
Here I have taken the right hand fold or ear to the centre and attached it with a stitch. This has created a new fold or ear on the right.

As you can see I have taken the new fold to the centre and attached it, creating a new ear to the right.
Here I have taken the next ear to the centre as before. The important thing here is that the two sides left are parallel. If they aren't parallel or close to it, then you haven't been stitching into the exact centre and might need to do some adjusting.
With the second to last fold you will get this shape. What you are aiming for is a good point on this last ear.
And when you bring this last point to the centre you will have a two sided hexagon! I have used different methods to hide my stitching on the folded side. If you are putting them upside down, with the normal hexagon side, you don't really need to, so long as you used matching thread, but I like the folded part to be on top, so I have used sequins, beads, or french knots or even a button to hide the stitching. Of course it is an opportunity for bling, and don't we all love that?
Happy creating!