Saturday, May 4, 2013

The Quilt and craft group

Today I was at our local monthly quilting group.  I was working on charity quilts.  One is finished, the second is nearly pieced.
I thought I might give you a peek at what the others were up to.
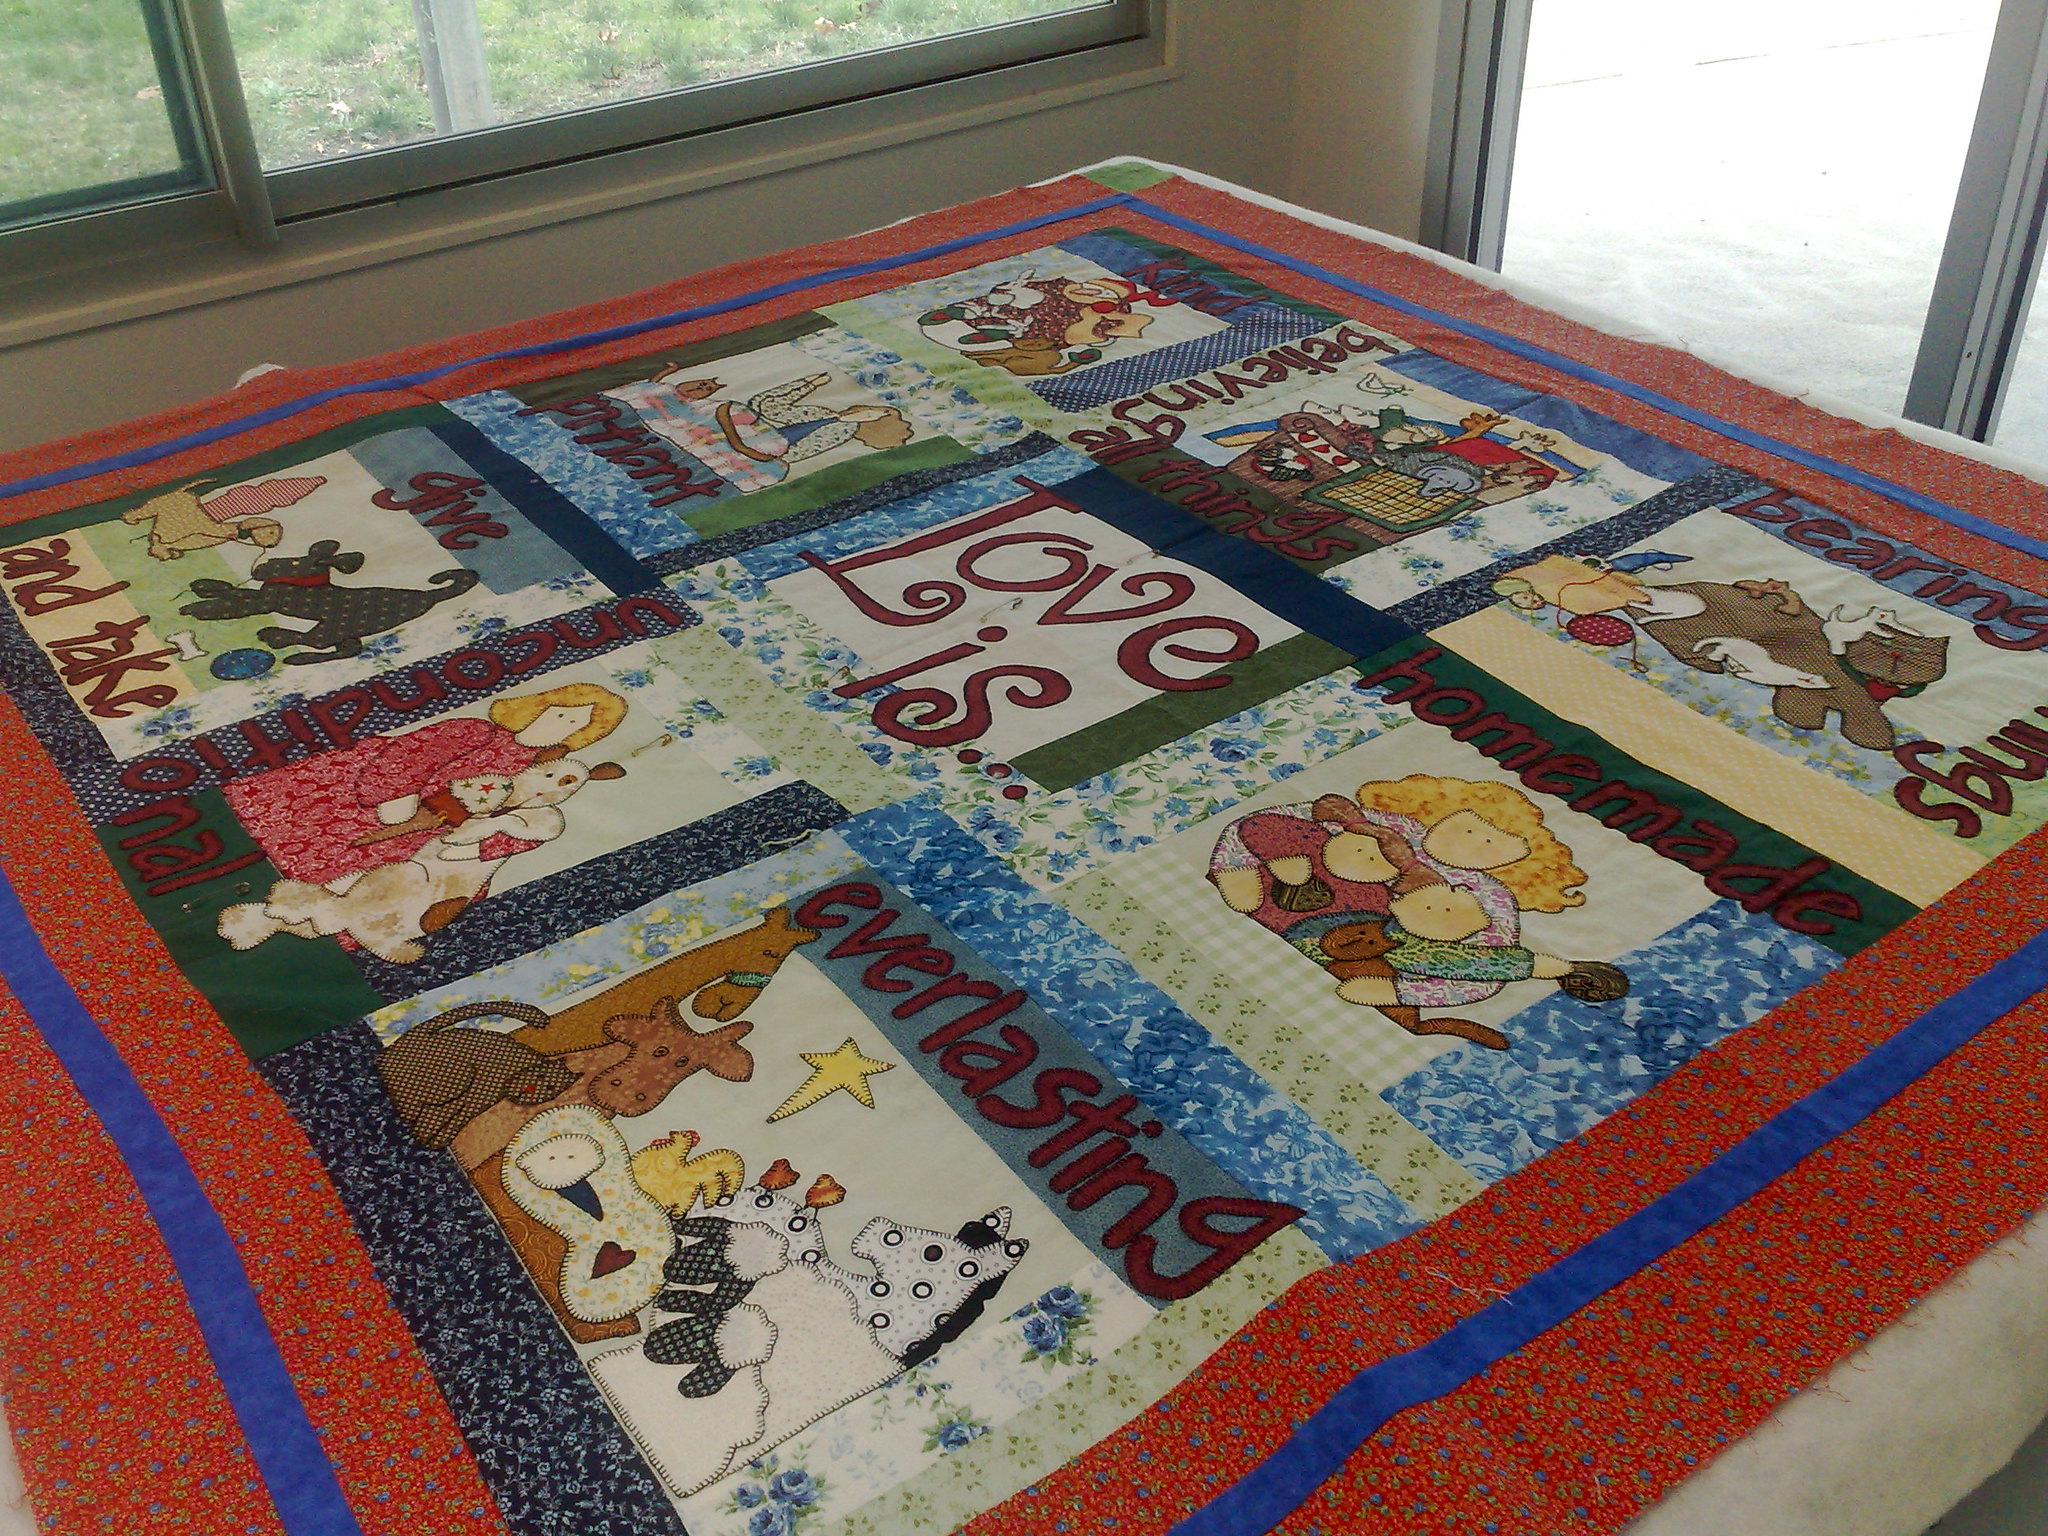
This is a Nancy Halvorsen pattern, done by one of the girls for her daughter.  She is very patient with applique and embroidery and I know this will be a quilt to treasure.
This is a glorious red and white needleturn quilt that is being hand quilted.  There are so many different reds and the embroidery is  beautiful.  It is gorgeous to look at.
This is one of my charity quilts.  It is a very simple design, but uses some of a collection of teapot and tea cup fabric I had been collecting for years.  I love it, but I thought it would be better served in home that will appreciate it.
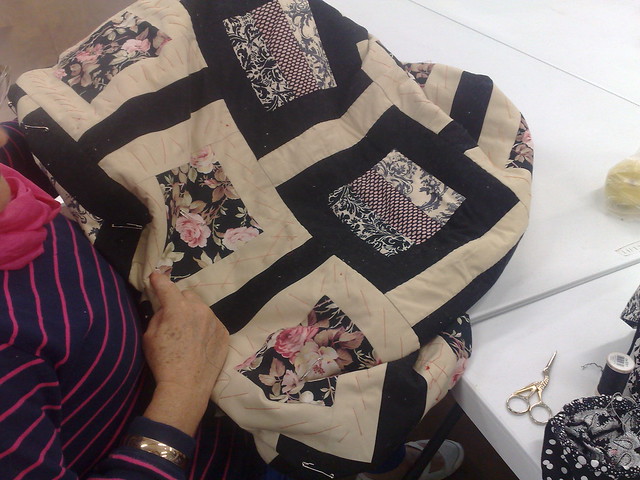
This is a very large black and cream/pink courthouse steps  quilt being quilted by one of our ladies.  It looks very complicated and is rather dramatic.
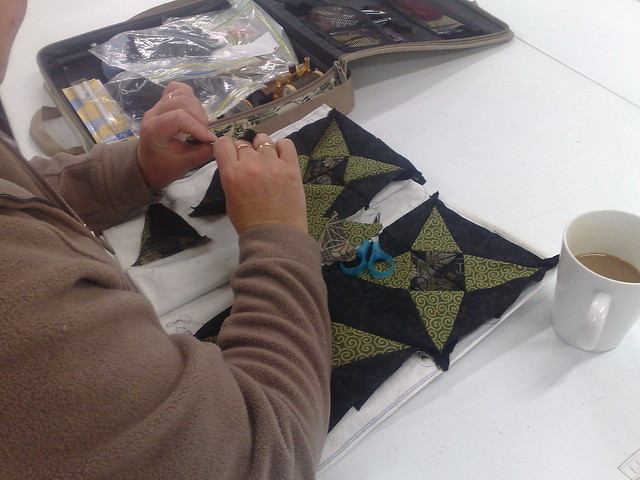
This is a rather complicated and interesting star block which is being hand pieced.  Many of the contrast fabrics have gold on them and really caught my eye.
This is a really bright orange and white strip quilt, with interesting snowball type rectangles that I am told are all pieces from the scrap bag.  This lady always does interesting patterns and has beautiful taste in fabric.
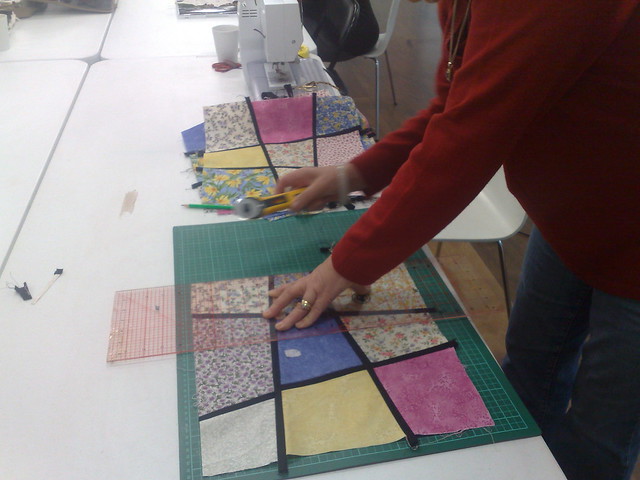
And this last one is a stitch and slash sashed nine patch that we did a workshop on a few years ago.  This is the second one done by this lady and as you can see it is all going very well.  It will be good to see this one together next time.

So that was my day, stitch, press and cut, then stitch some more - with lots of chatter in between of course!

Create every day!

Friday, May 3, 2013

From paper to fabric

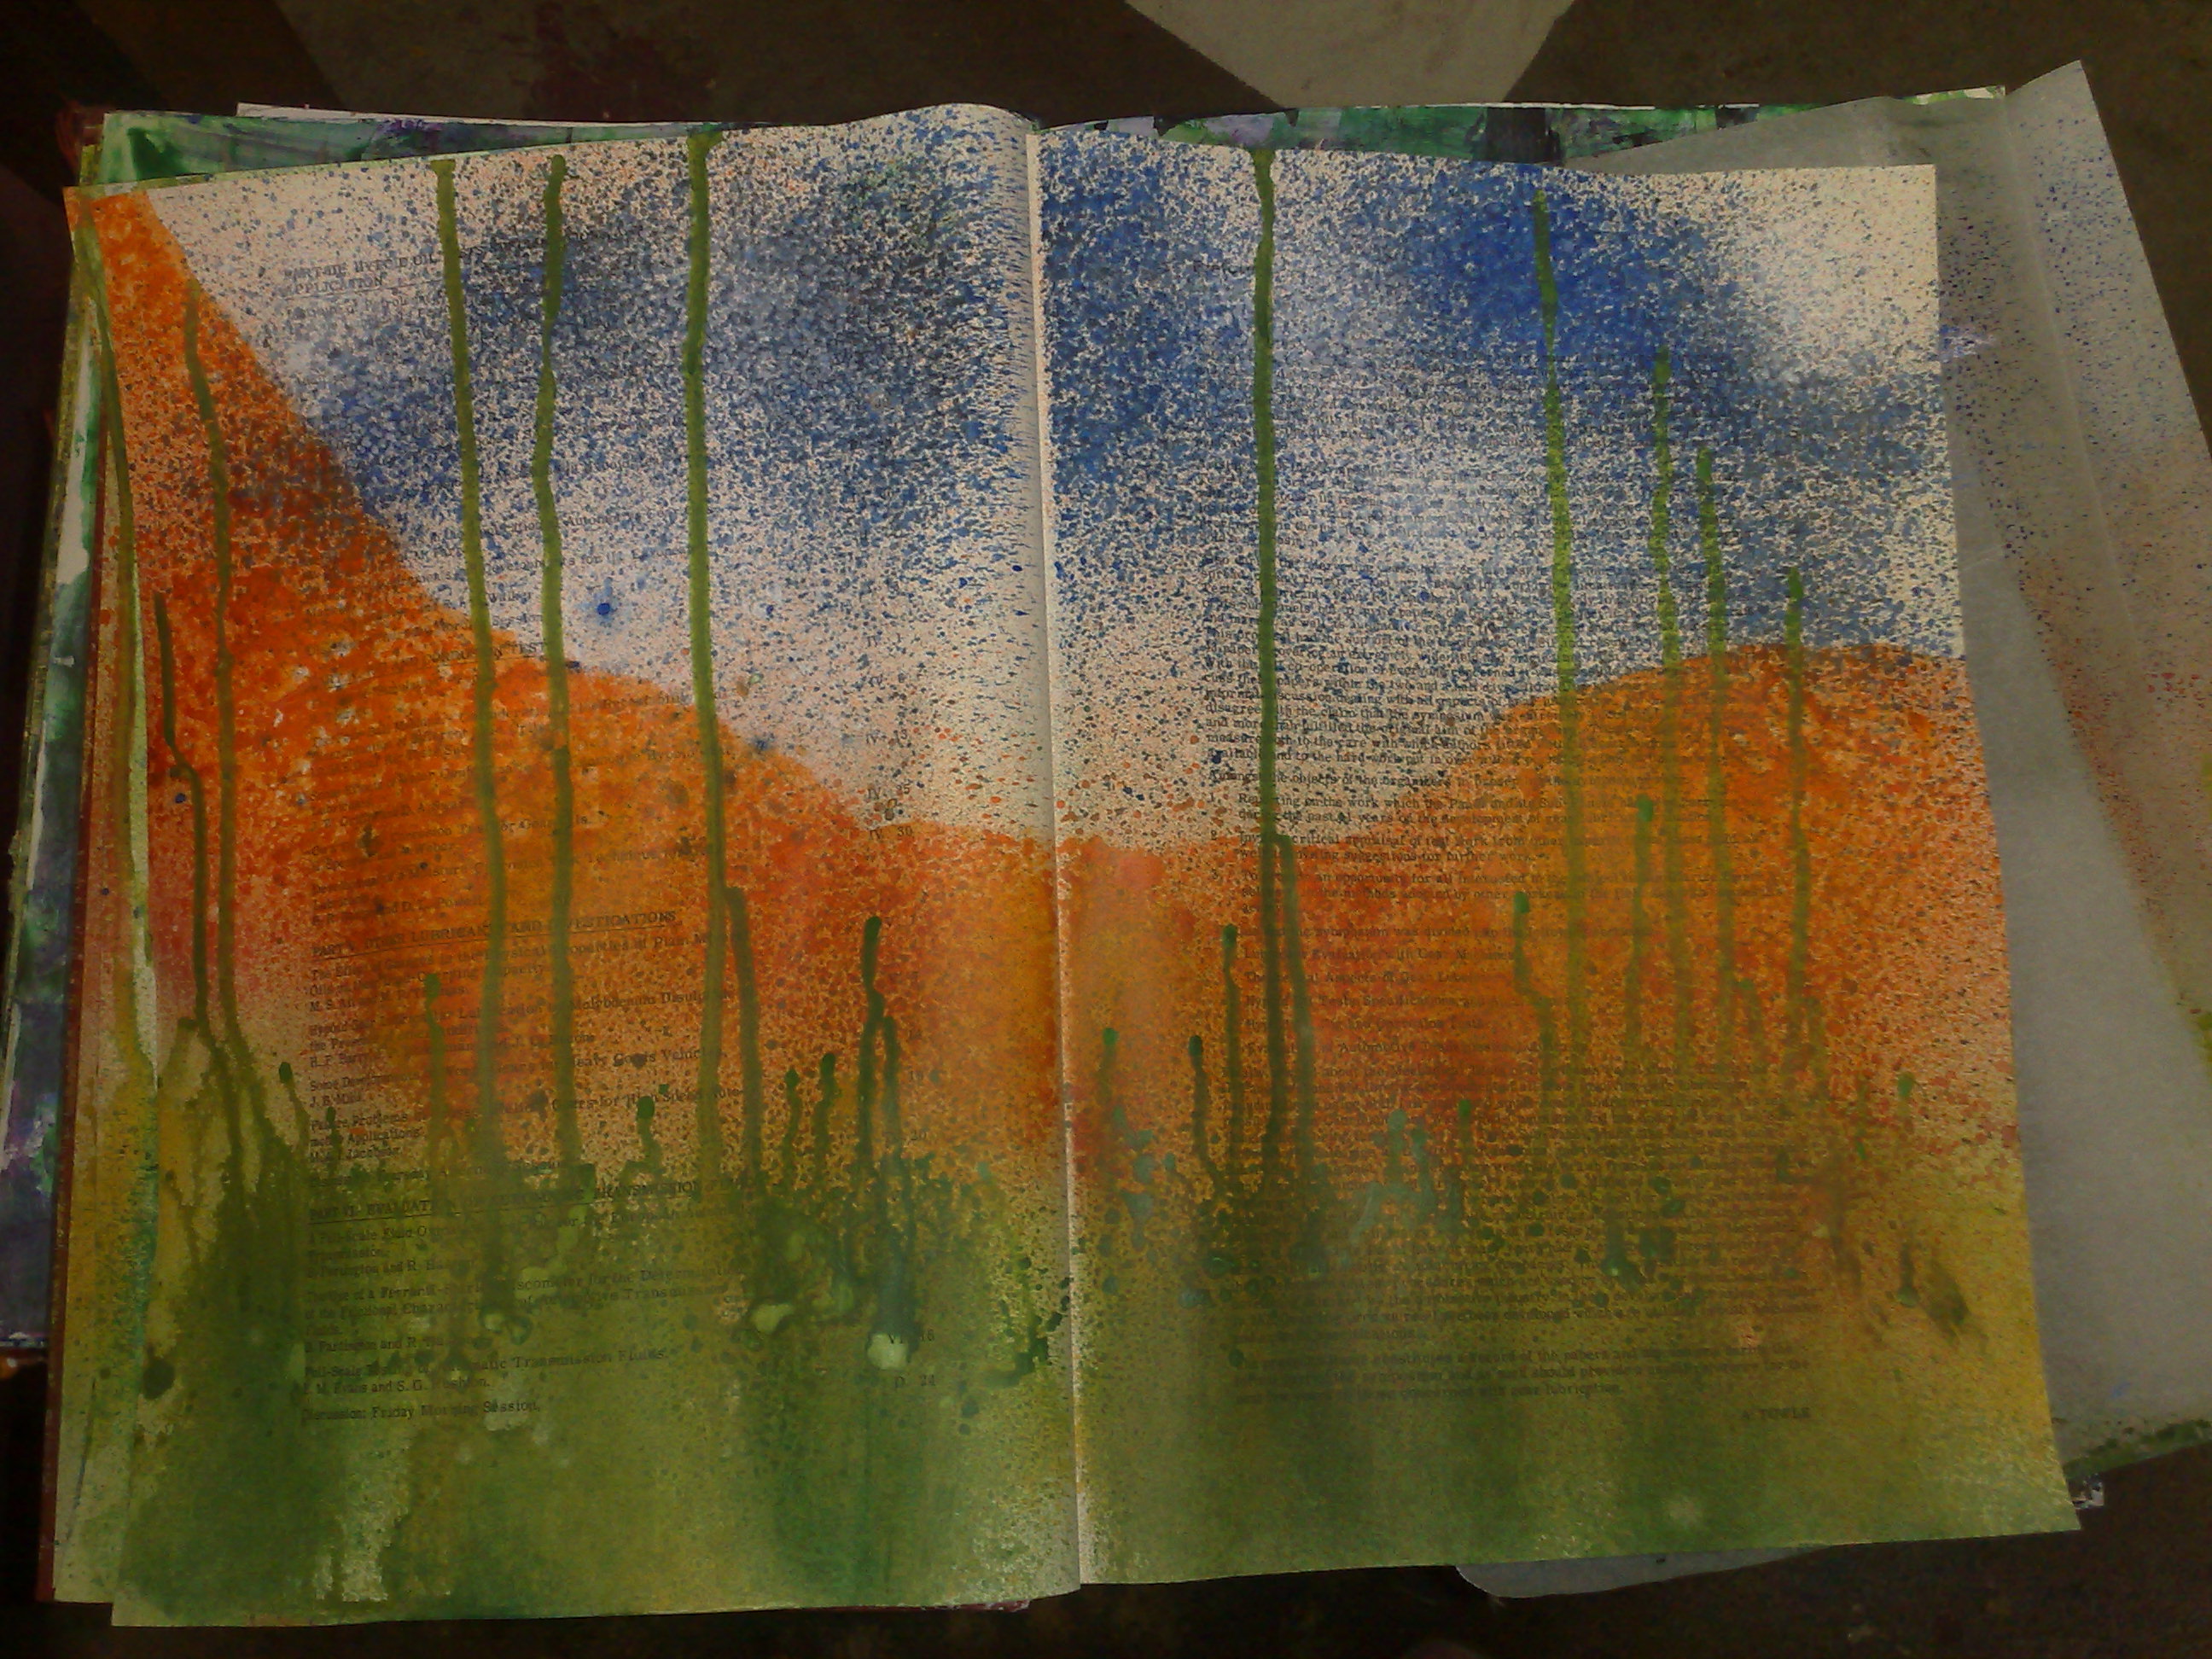
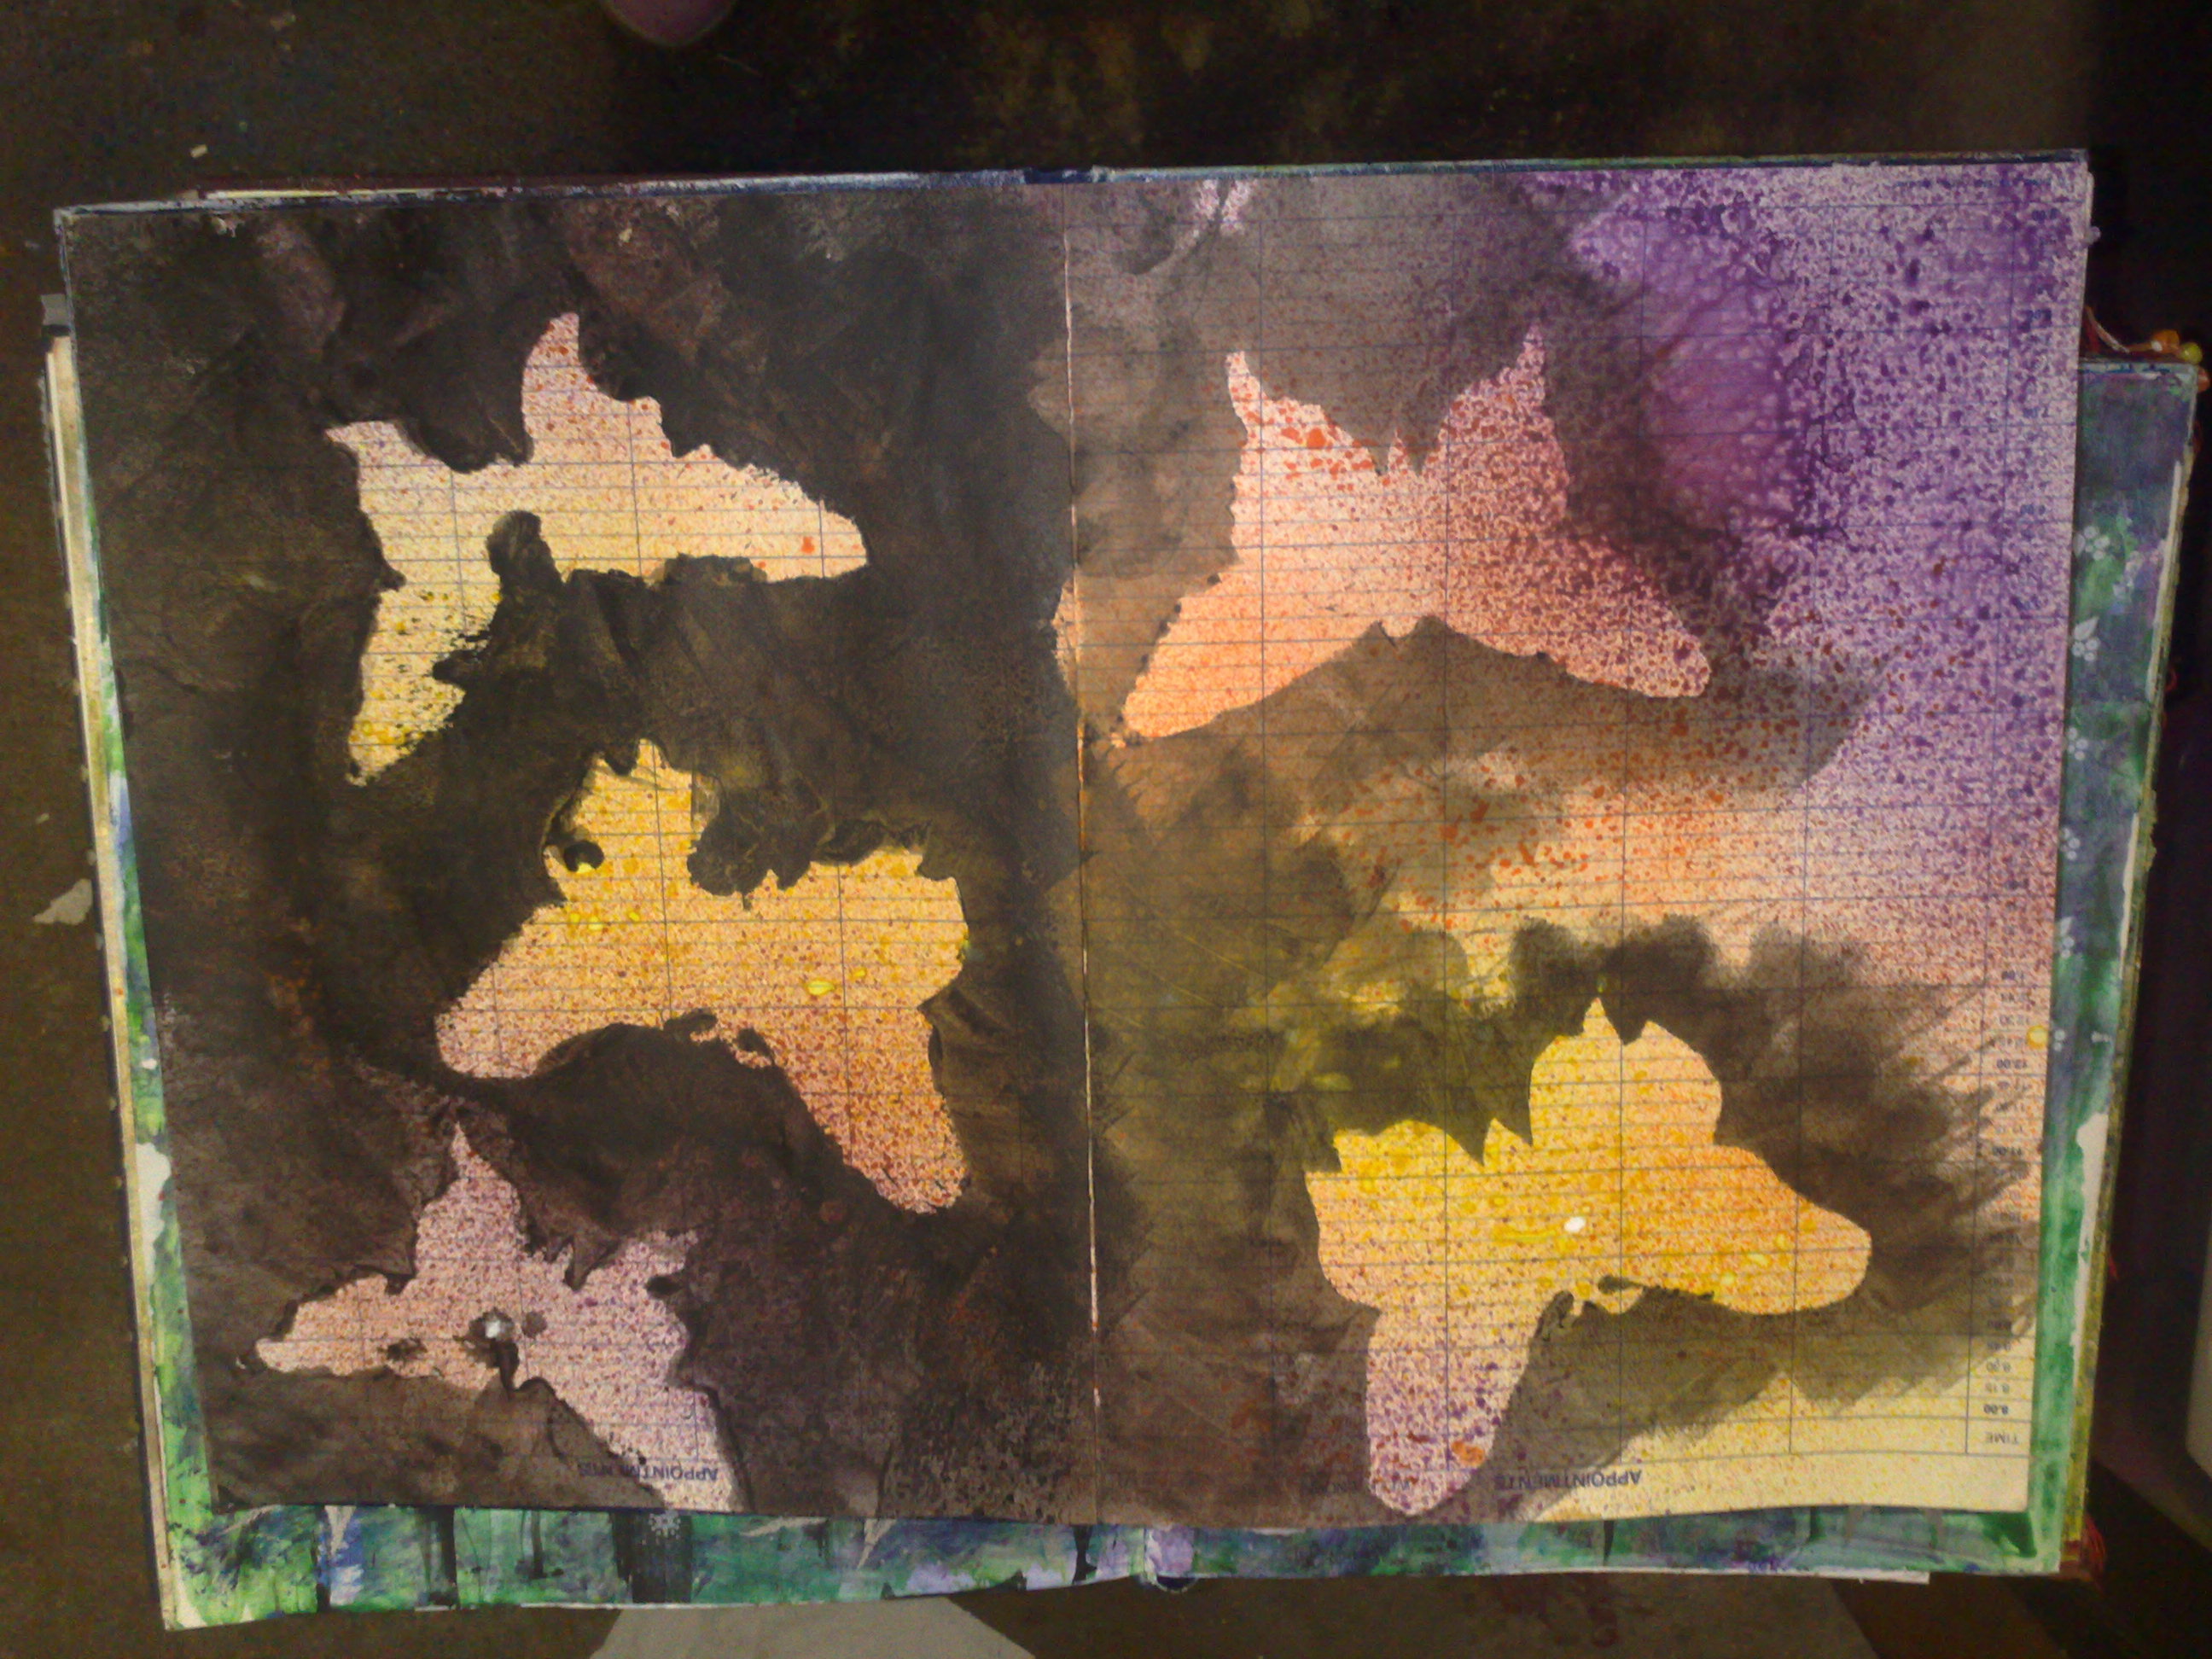
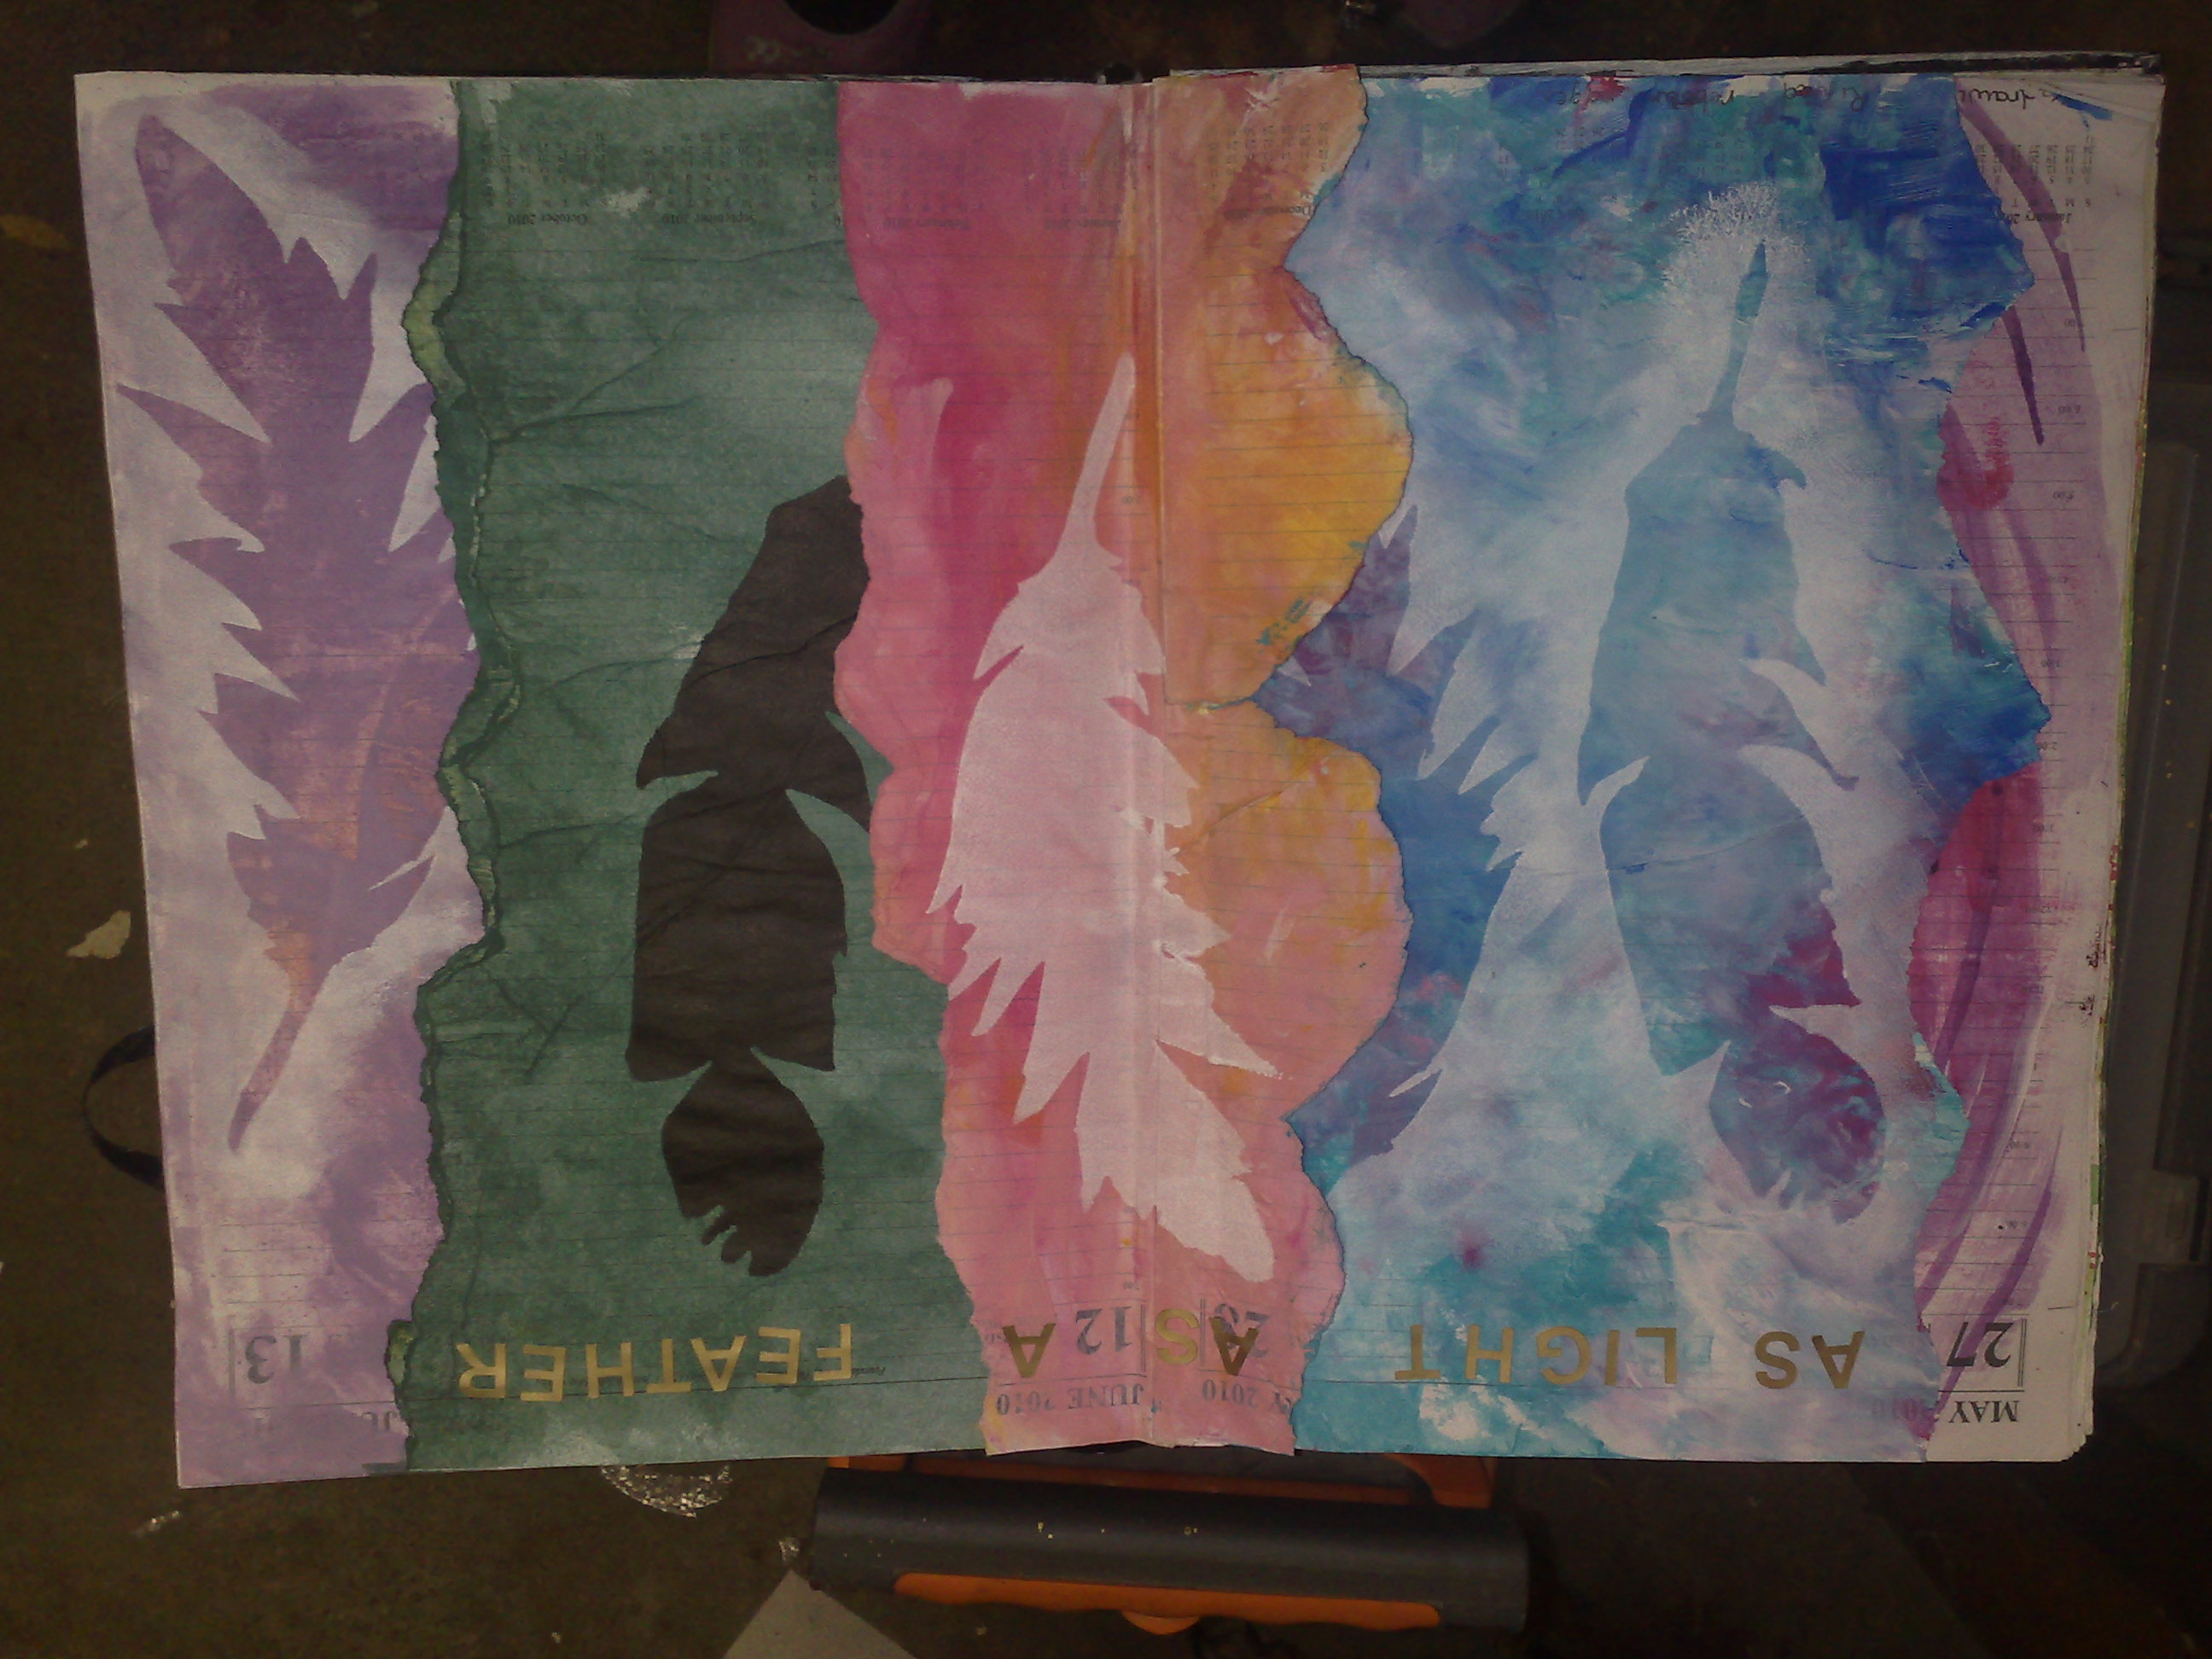
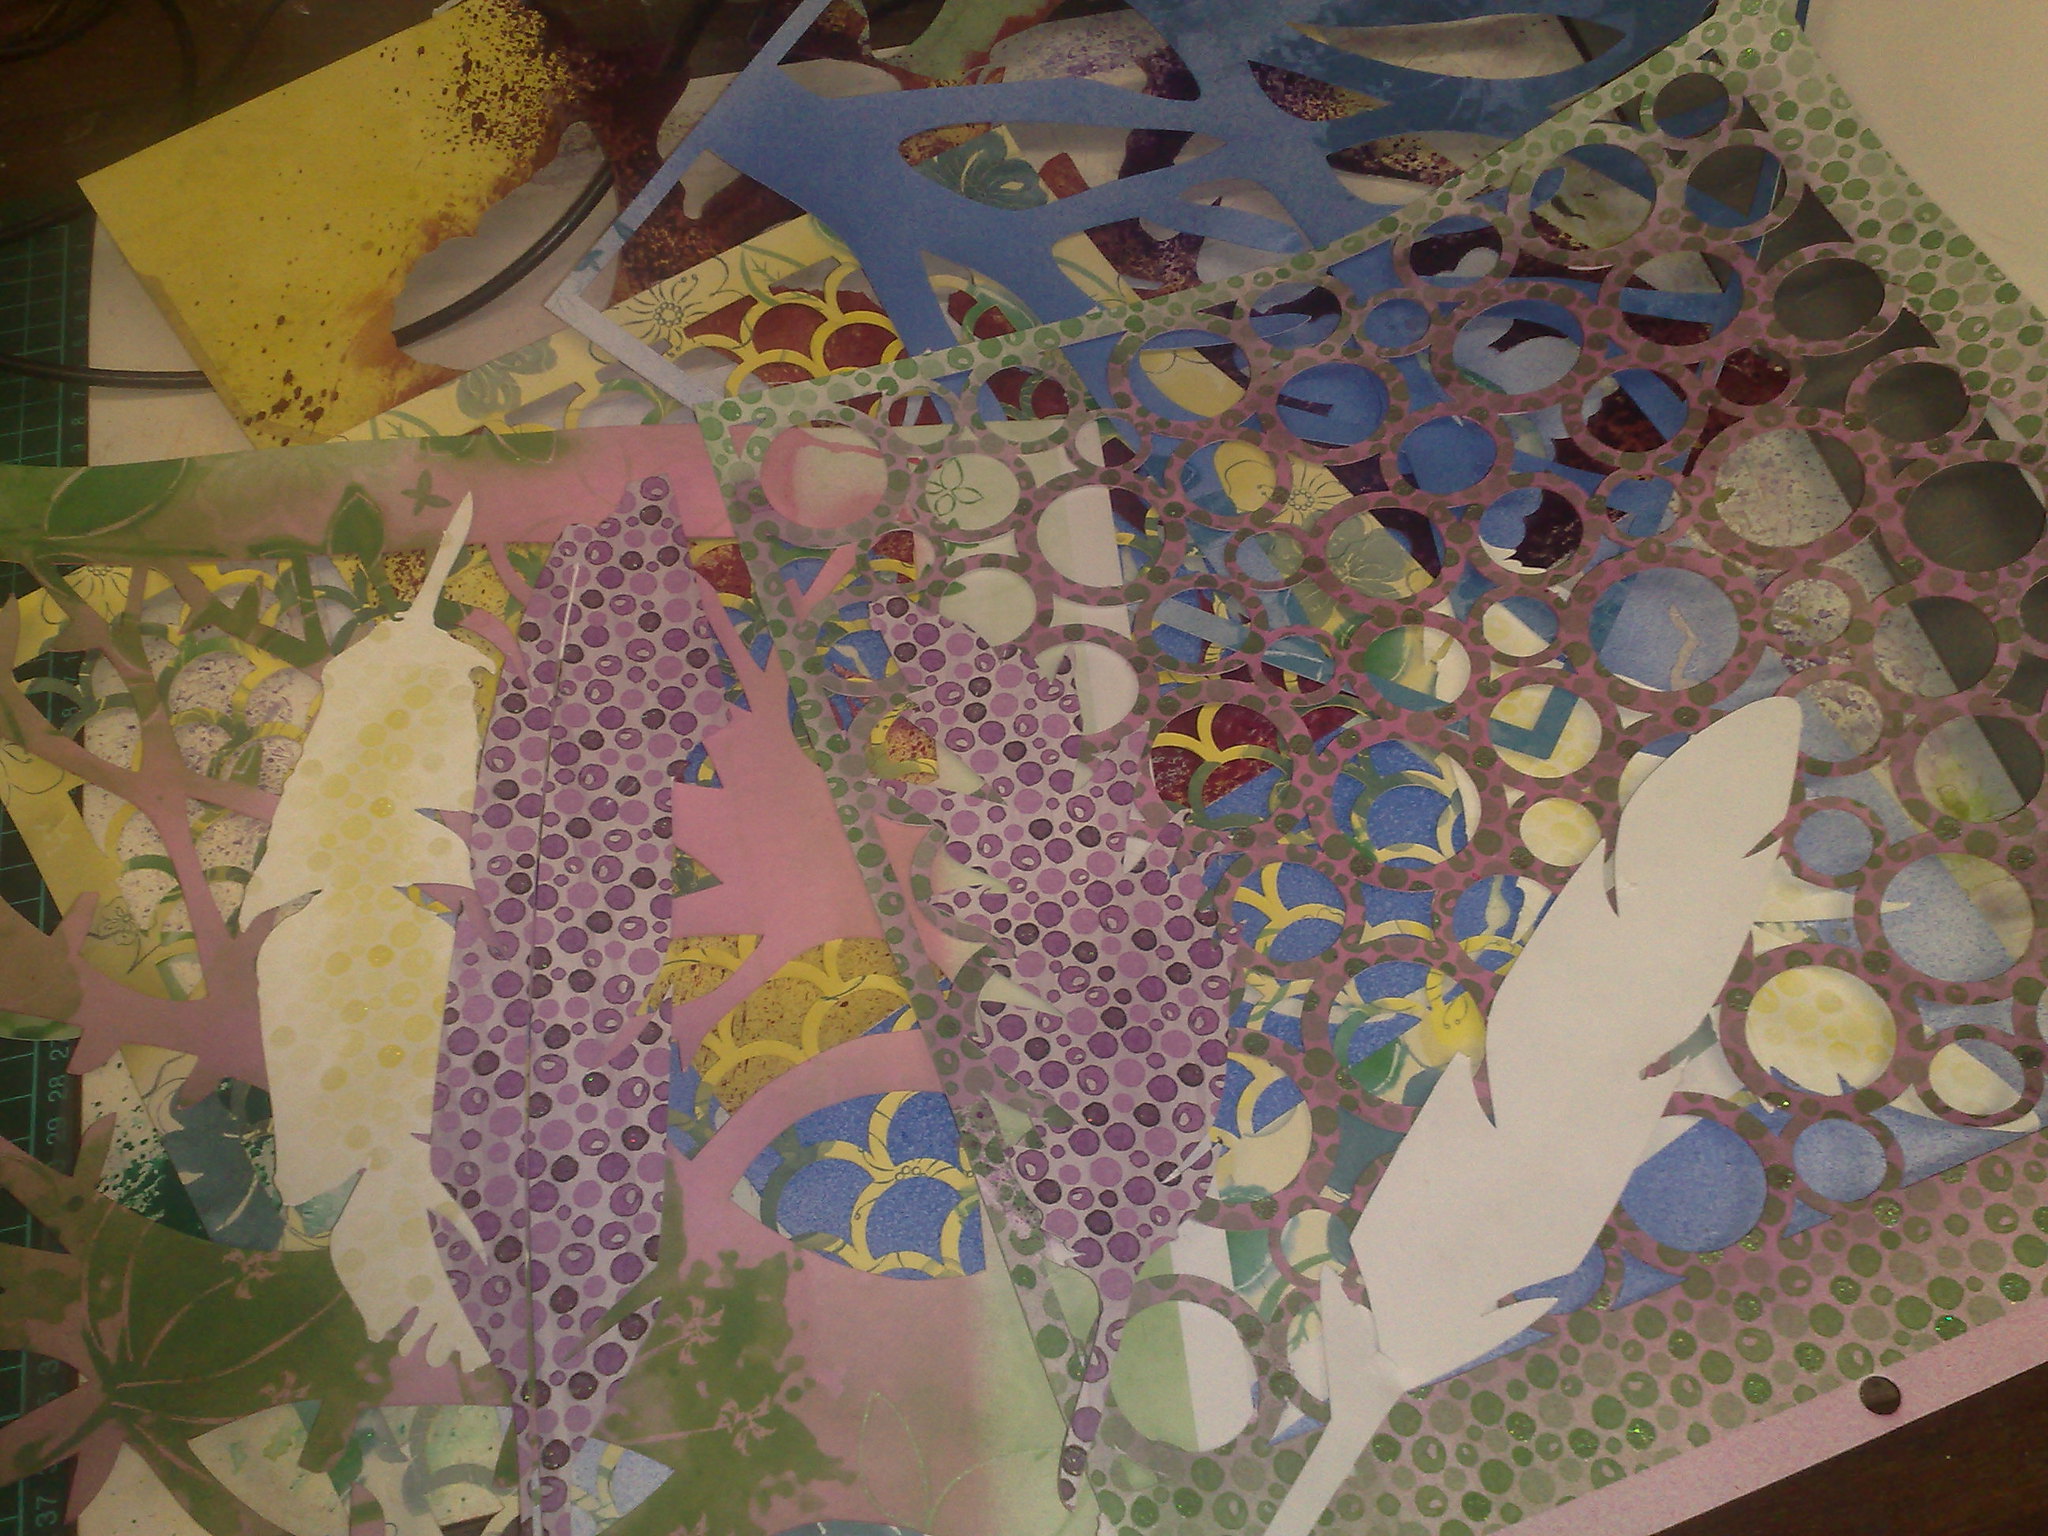
Last night, I was working in my journals.  Mostly I was using acrylics in spray bottles.
Some of these designs,I thought might make interesting quilts, especially the feather page(s) and the large butterfly (sorry, I did rotate these, but flickr seems to have ignored me)

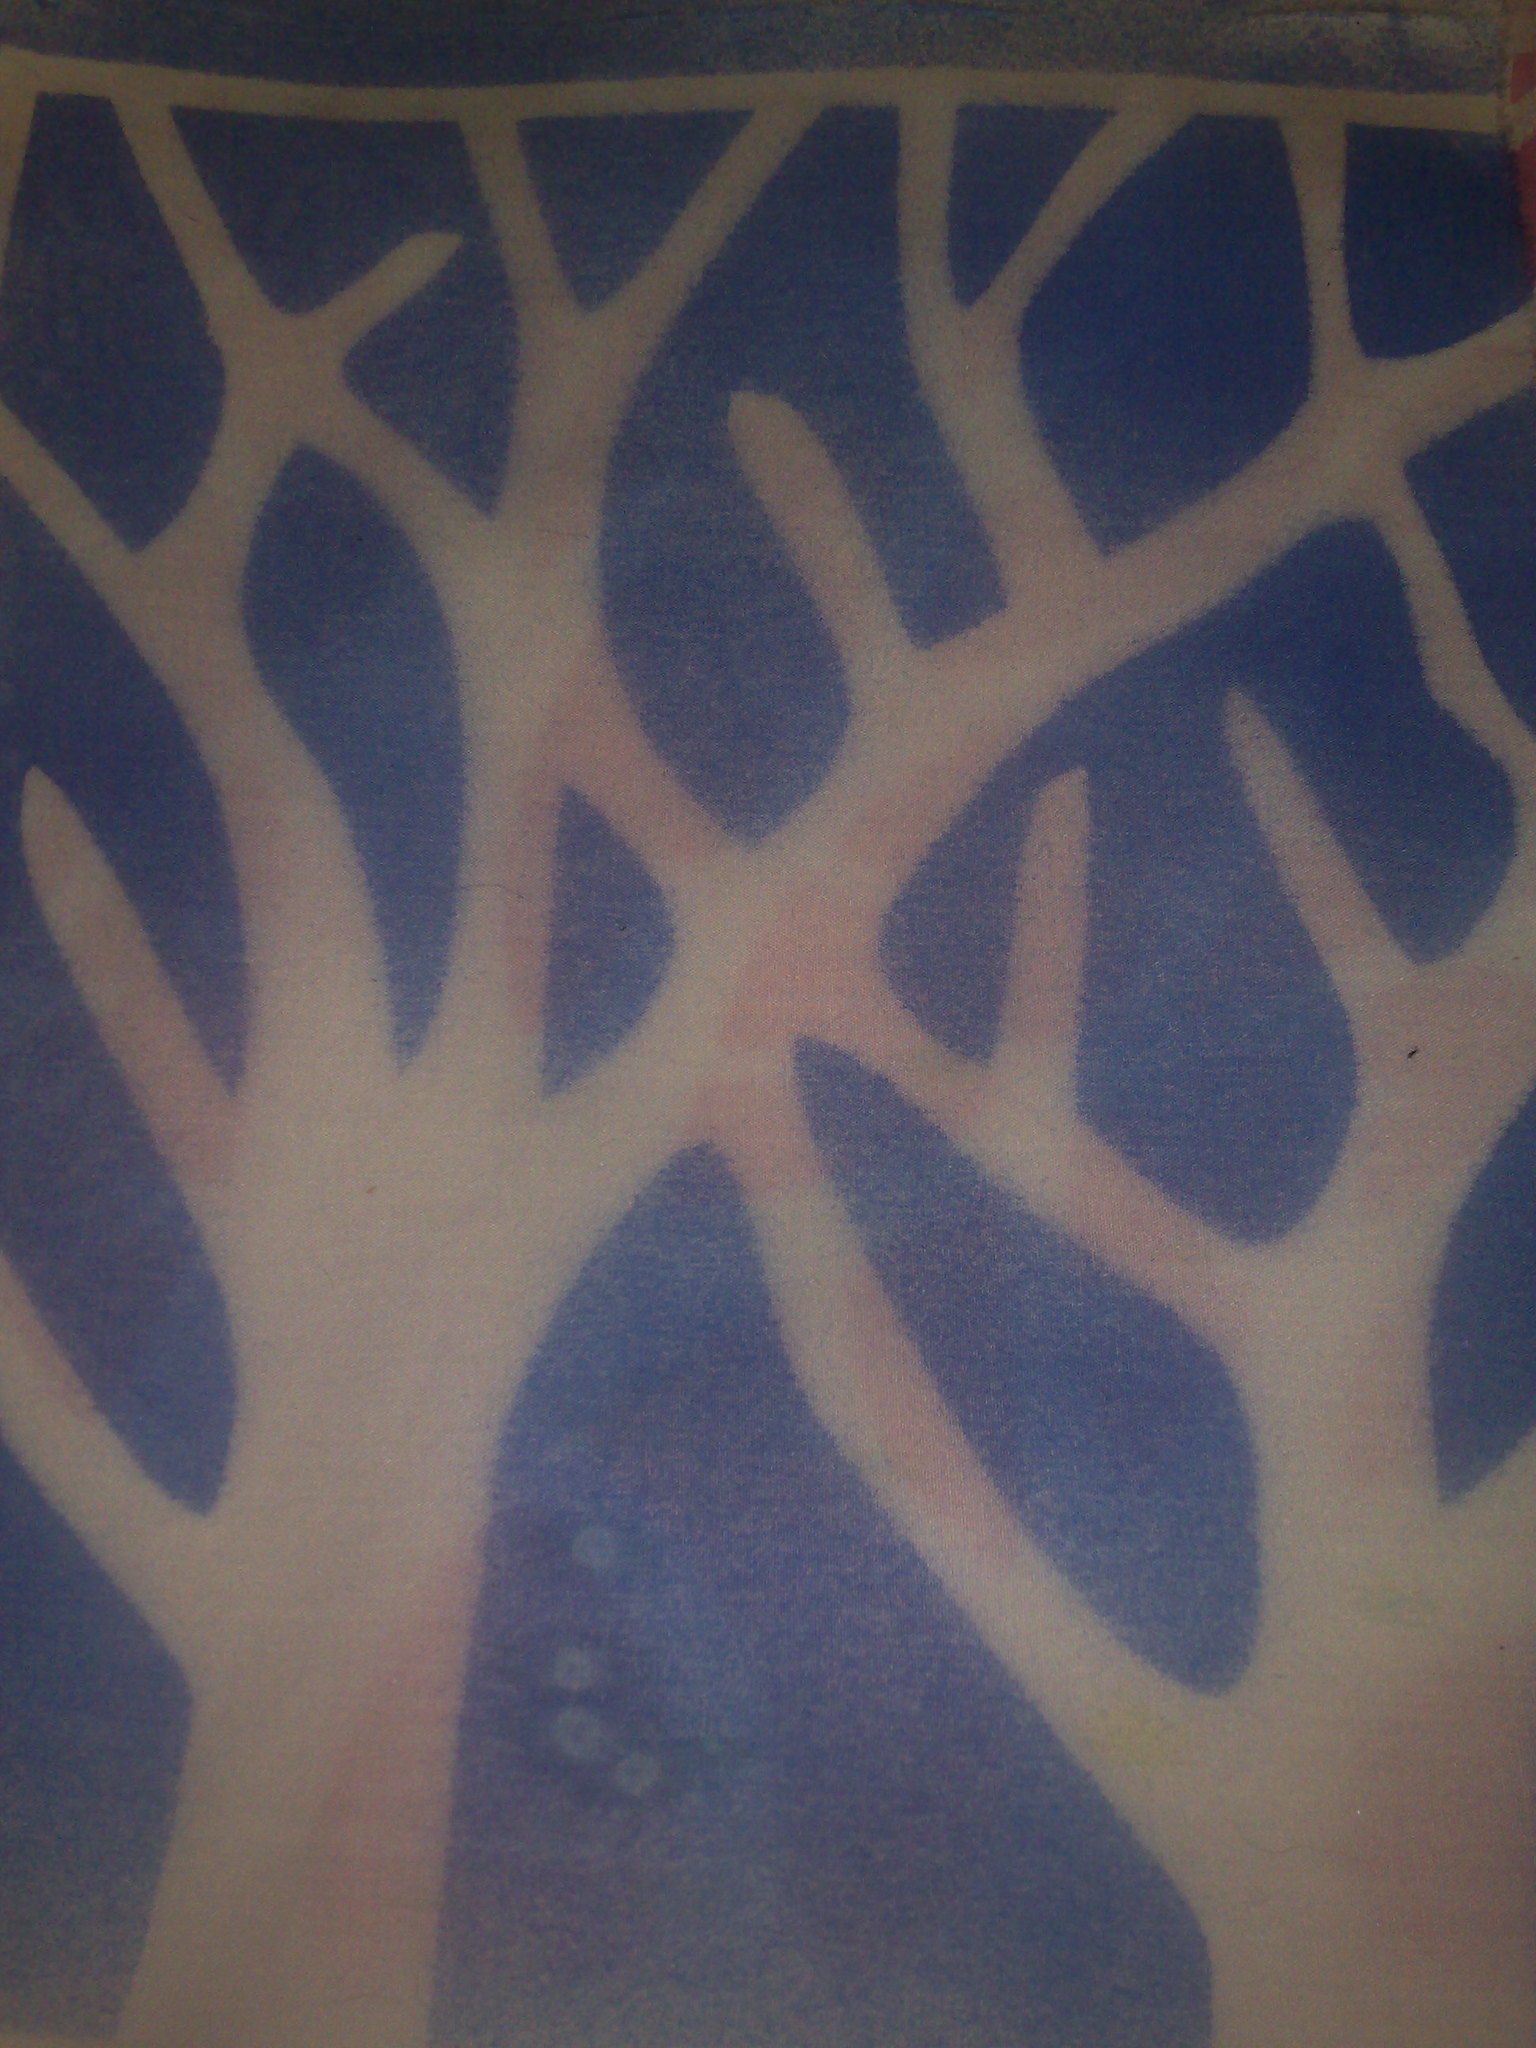
And then, I thought, why don't I do some of this (stencilling) on fabric?
So today I did.
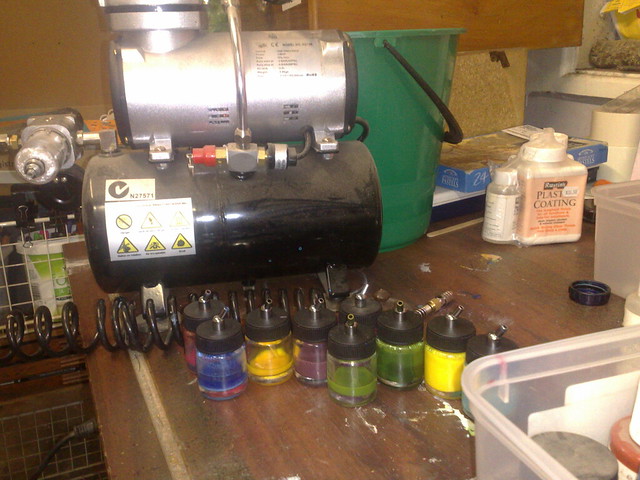
I got out the compressor and airgun
And started playing with stencils
These are the ones I selected.
This piece of fabric used quite a few stencils layered.  I love the coffee stain rings stencil, it very cute.
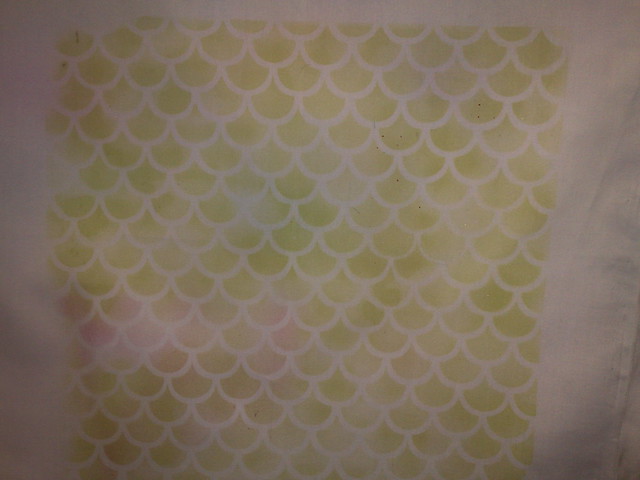
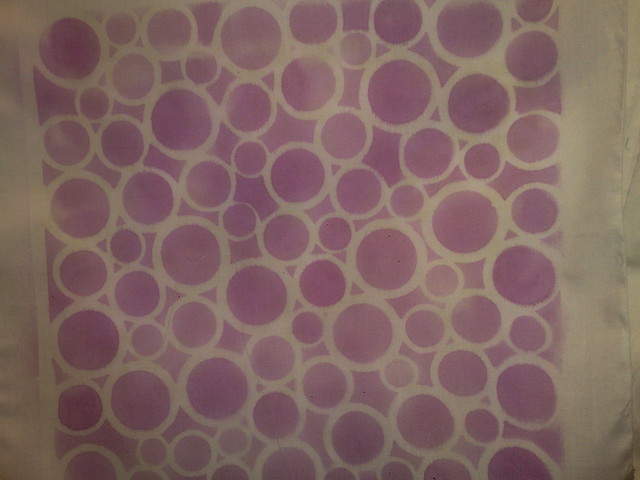
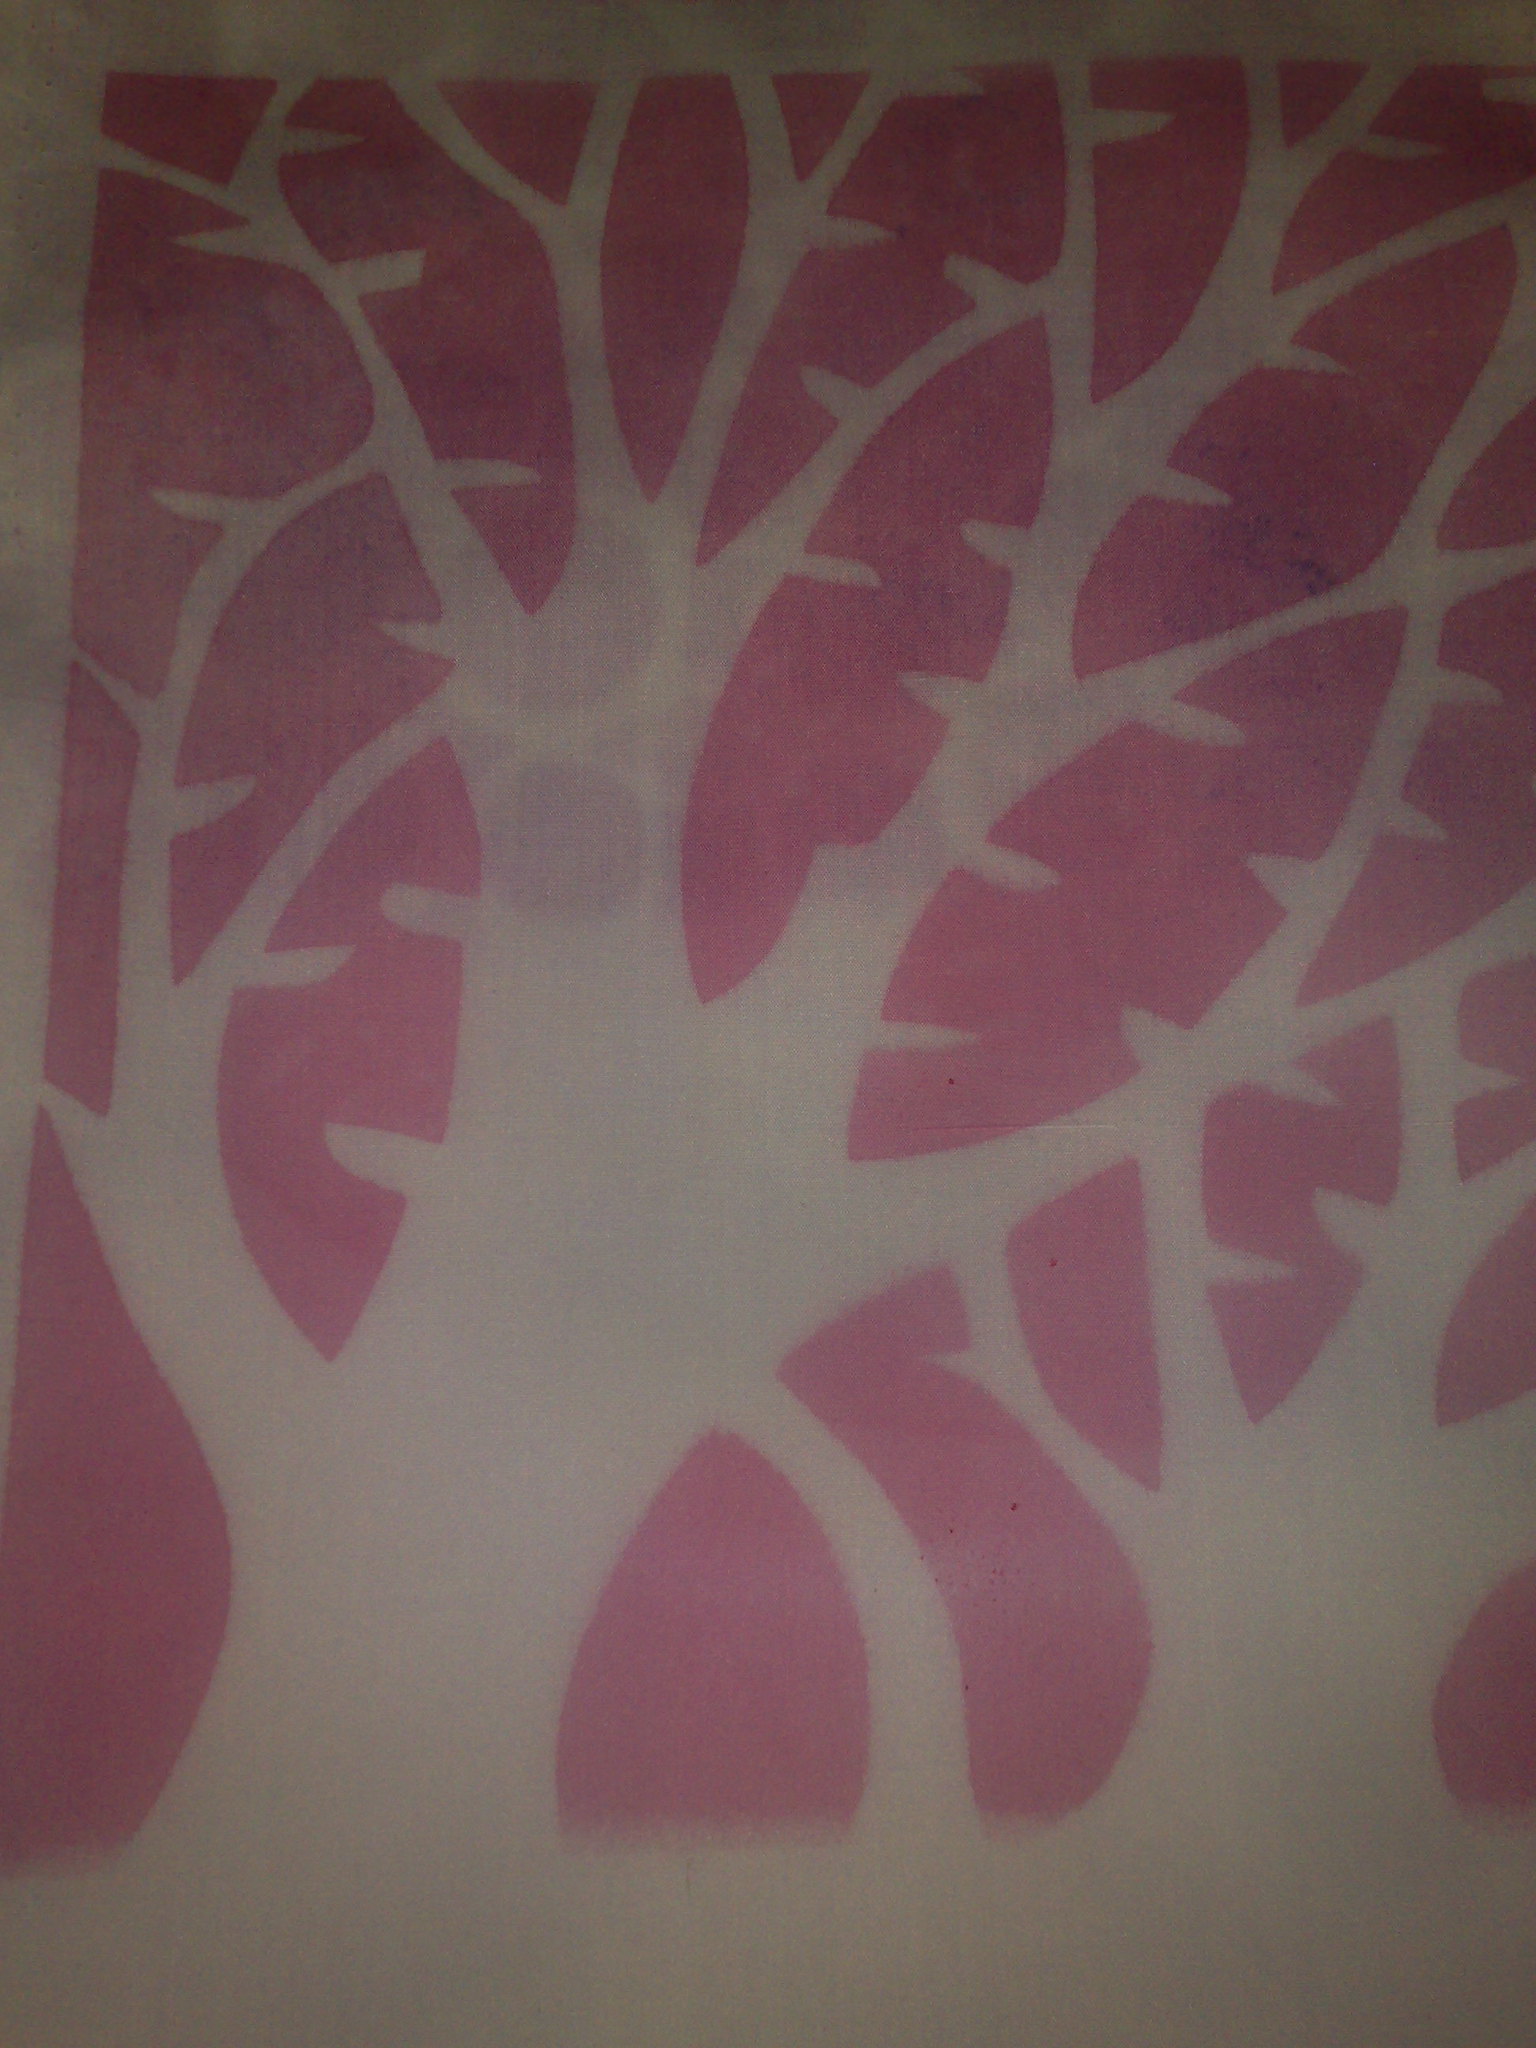
Here are a few single layers.  As you can see I am a bit partial to trees.
and this one is the piece of fabric I used for testing out the airgun - yum.
And of course, the piece 'd' resistance.....
This piece I did with feather die cuts and I really like it.  I think it might have to go on my design wall!

And now the nuts and bolts.  Using an air gun is not difficult, however most people think it is.  Getting the right connections,or plumbing is the biggest problem, and I am not going into lessons here because every compressor and air gun have their own little quirks.
BUT you can do this technique using fabric paint in simple spray bottles.  There are two provisos.
First, you must spray very lightly if you are using spray bottles.  It is easy to saturate the fabric and then it will bleed
Second, spray bottles are temperamental, you need to test the misting each time you pick the bottle up, on a piece of scrap fabric to look at the lightness of the paint and the fineness of the spray.  If there are problems, or the paint has settled in the bottle DO NOT shake it with the nozzle screwed on the top.  I always take the spray off and then shake the bottle either with a normal lid or by holding my finger over the top.
I know, from lots of experience that the main problem with sprays is not the spray top itself, but the paint.  It needs to be a certain thickness (or thinness) to go through the nozzle.  Most of the time when my nozzle is spattering, I just dilute the paint a little and then it works.  If the nozzle really is blocked, then you will need to pull it apart and clean and dry it.  I have a special thin paint brush I use to do this.  Again, there are several different types of nozzles for spray bottles and I only really know mine, which are cheap bottles I got on ebay.
So there are a few pointers, but don't let it put you off, stenciling is great fun and it's very rewarding to create your own fabric.

.
Thursday, May 2, 2013

humming birds of the sea

I have only just got back into the studio today.  Tuesdays and most of Wednesday, I spend most of my time at the community house, quilting, teaching kids art and organising art groups.  As much as I enjoy these activities, I am always desperate to get back to my own space on Thursdays.
Today and last night, I started out with my journals.
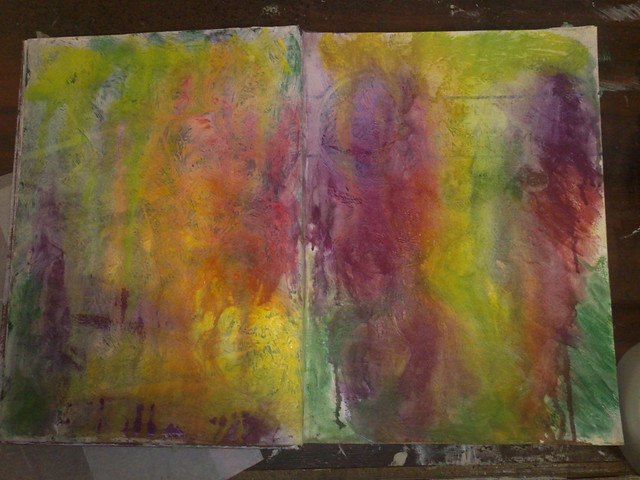
I did a few backgrounds with lots of dripping, which I love.  The ones on the left used soft pastels and water and the ones on the right used watersoluble oil pastels and water.
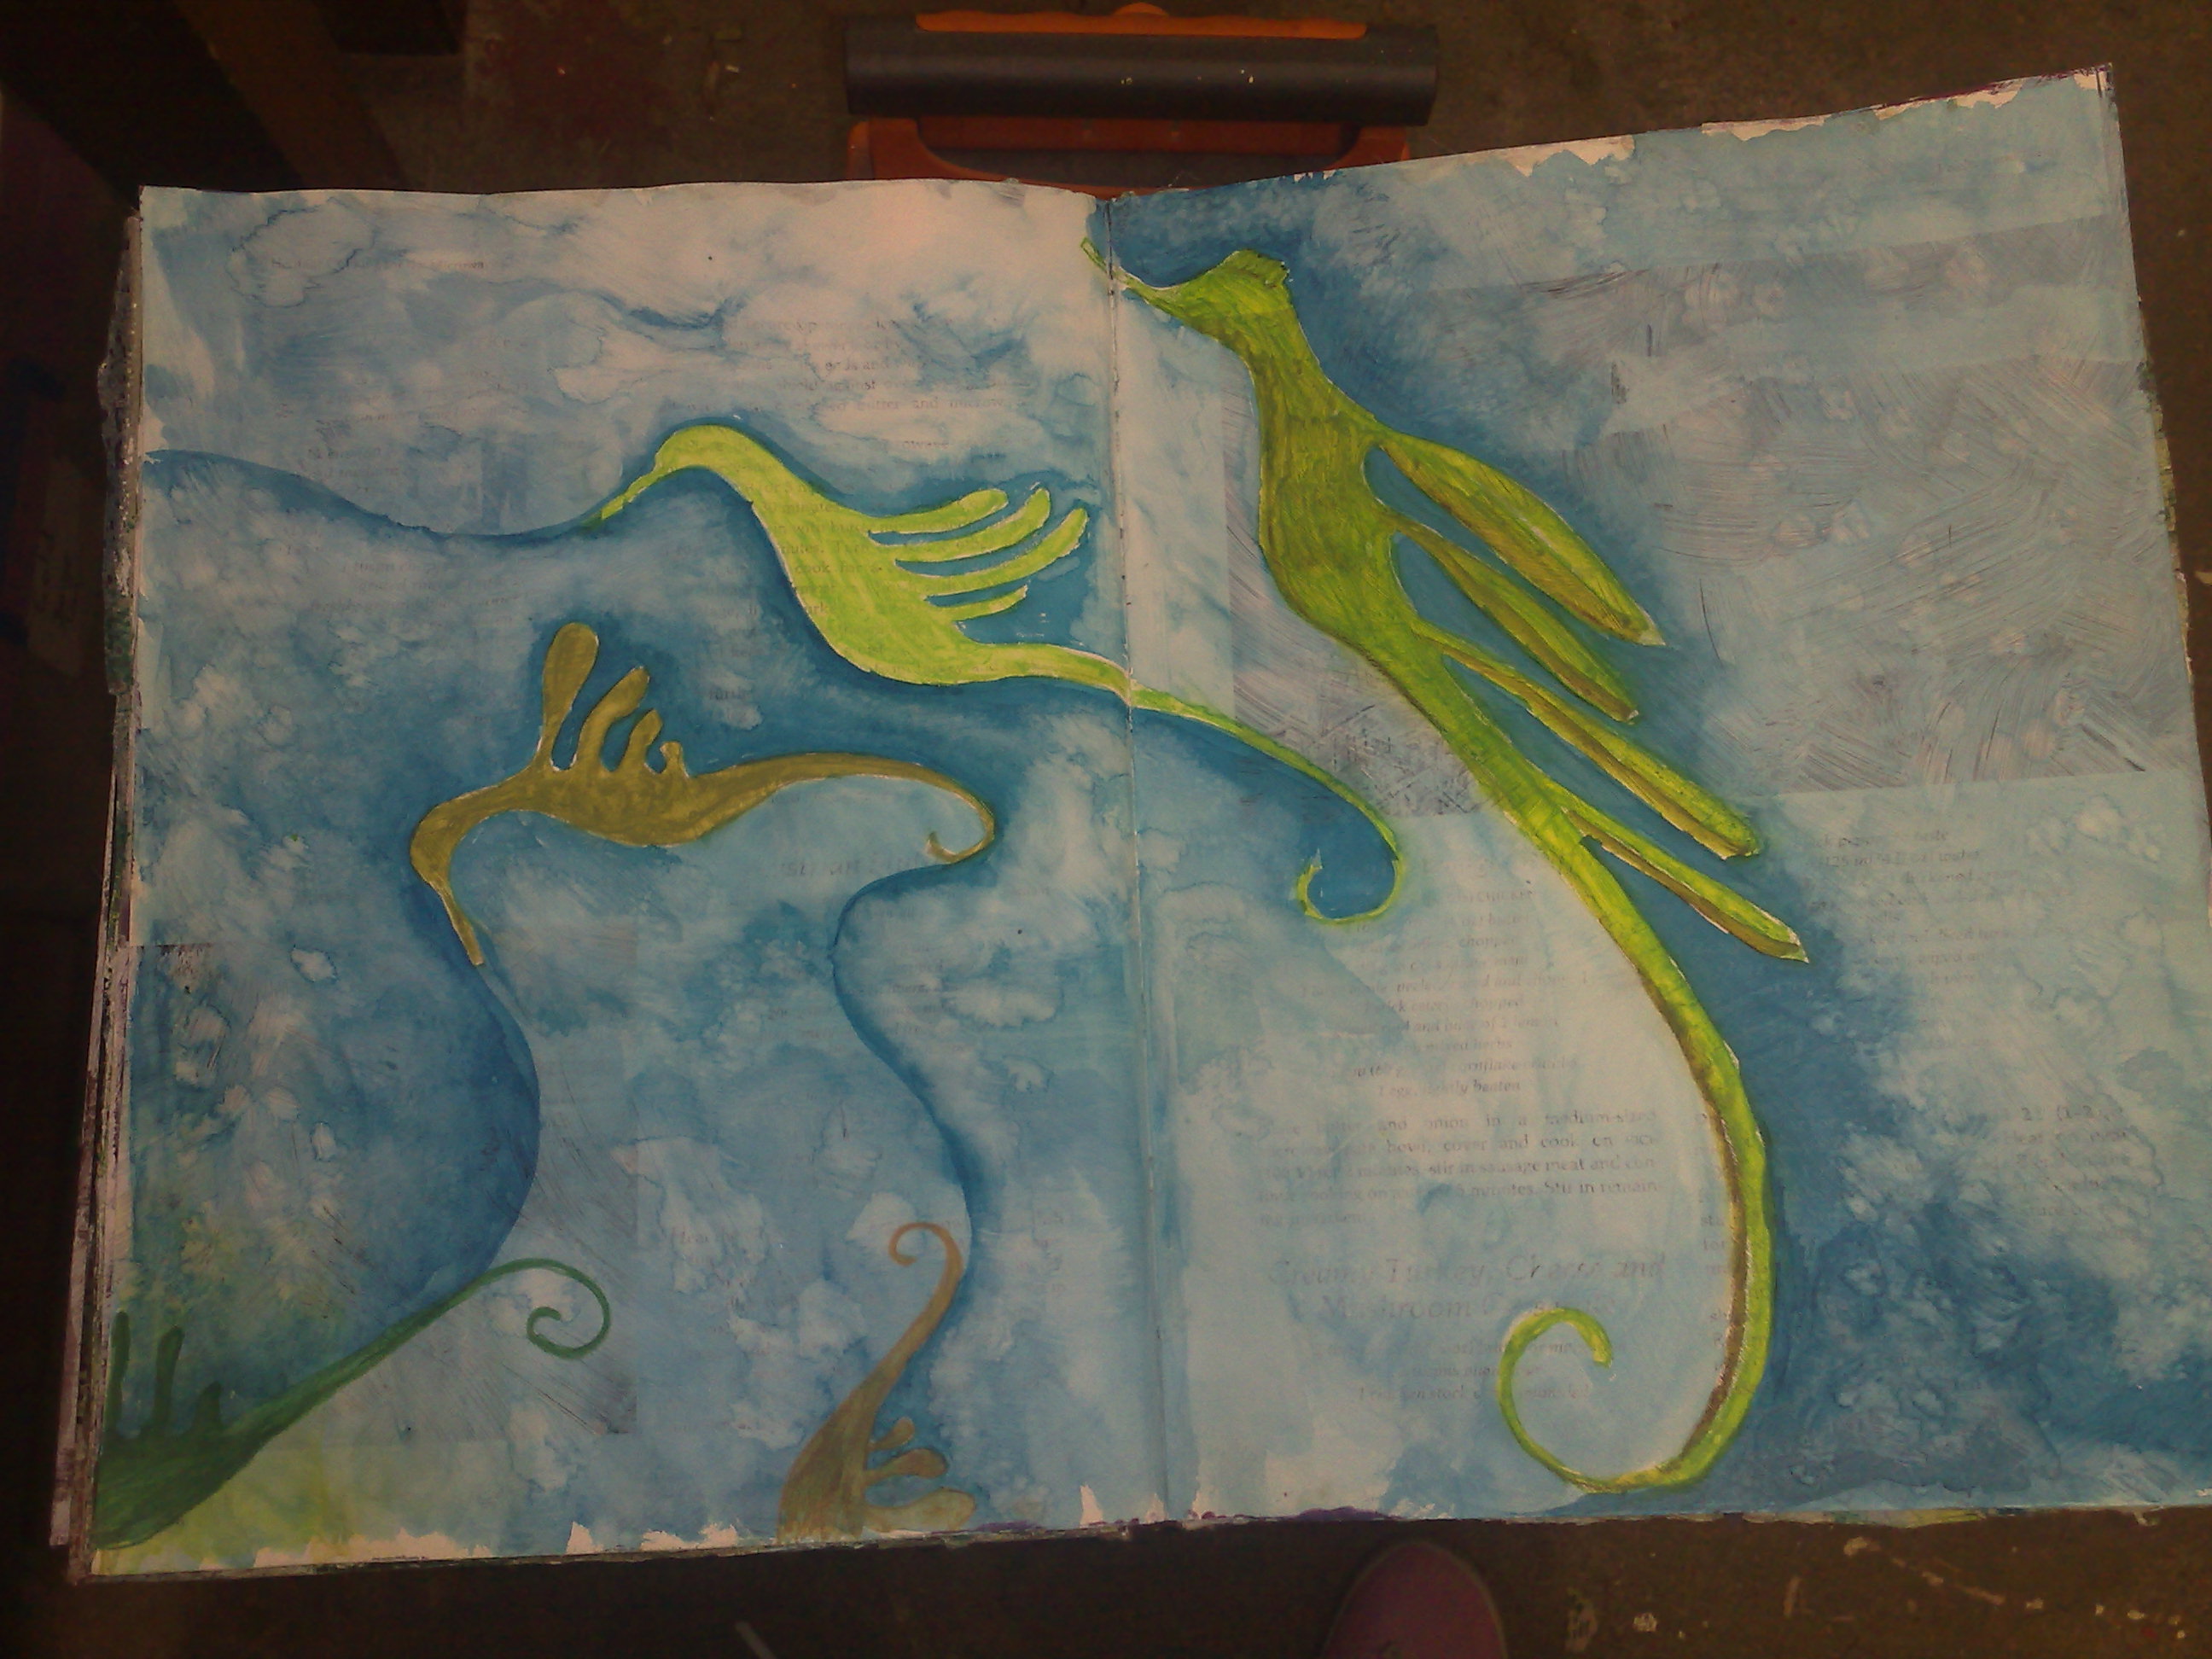
This page, which is of some stylised sea dragons was done with watercolour pencils and started with a simple green scribble on the page which turned into the sea dragons.  The page had been previously gessoed and I played with some inks in a waterbrush to create the blue background.  My DH said they looked like birds and I thought they looked like hummingbirds - so 'hummingbirds of the sea'.

I did a little work on my collage from a few days ago - well, actually a few hours worth, although it doesn't look like I did much.
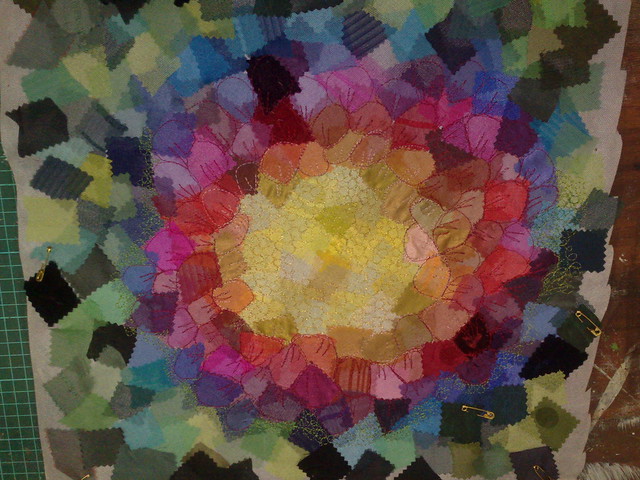
I finished the gold centre (I left the centre open for some french knots or beads later on) and roughly outlined the 'petals.
You can see here where I have started to define the petals and also to scribble around the flower in a pale green to tone it down and allow the flower to be the focus.  And why did I stop?  The usual reason, running out of bobbin thread!  Tomorrow I will wind a few with bobbinfil, so I don't have to stop so often.

And that's all she wrote!


Wednesday, May 1, 2013

remnants

Over the last month or two, I have been ruminating about remnants, which was our current theme for tangled Textiles.  I thought of many different ways to express it, beginning with Autumn leaves, the remnants of summer, but eventually my thoughts turned around to fabric remnants, of which I have loads, although not the run of the mill kind.  One day I remembered that I had some very old, remnants from the late 70s and that was the start of my piece.
Deep in the dark recesses of my cupboards an english piecing quilt which I started in my teens lurked.  It has travelled with me all these years (and there are quite a few) and gone through many incarnations, but I thought some of the pieces would be perfect for this.
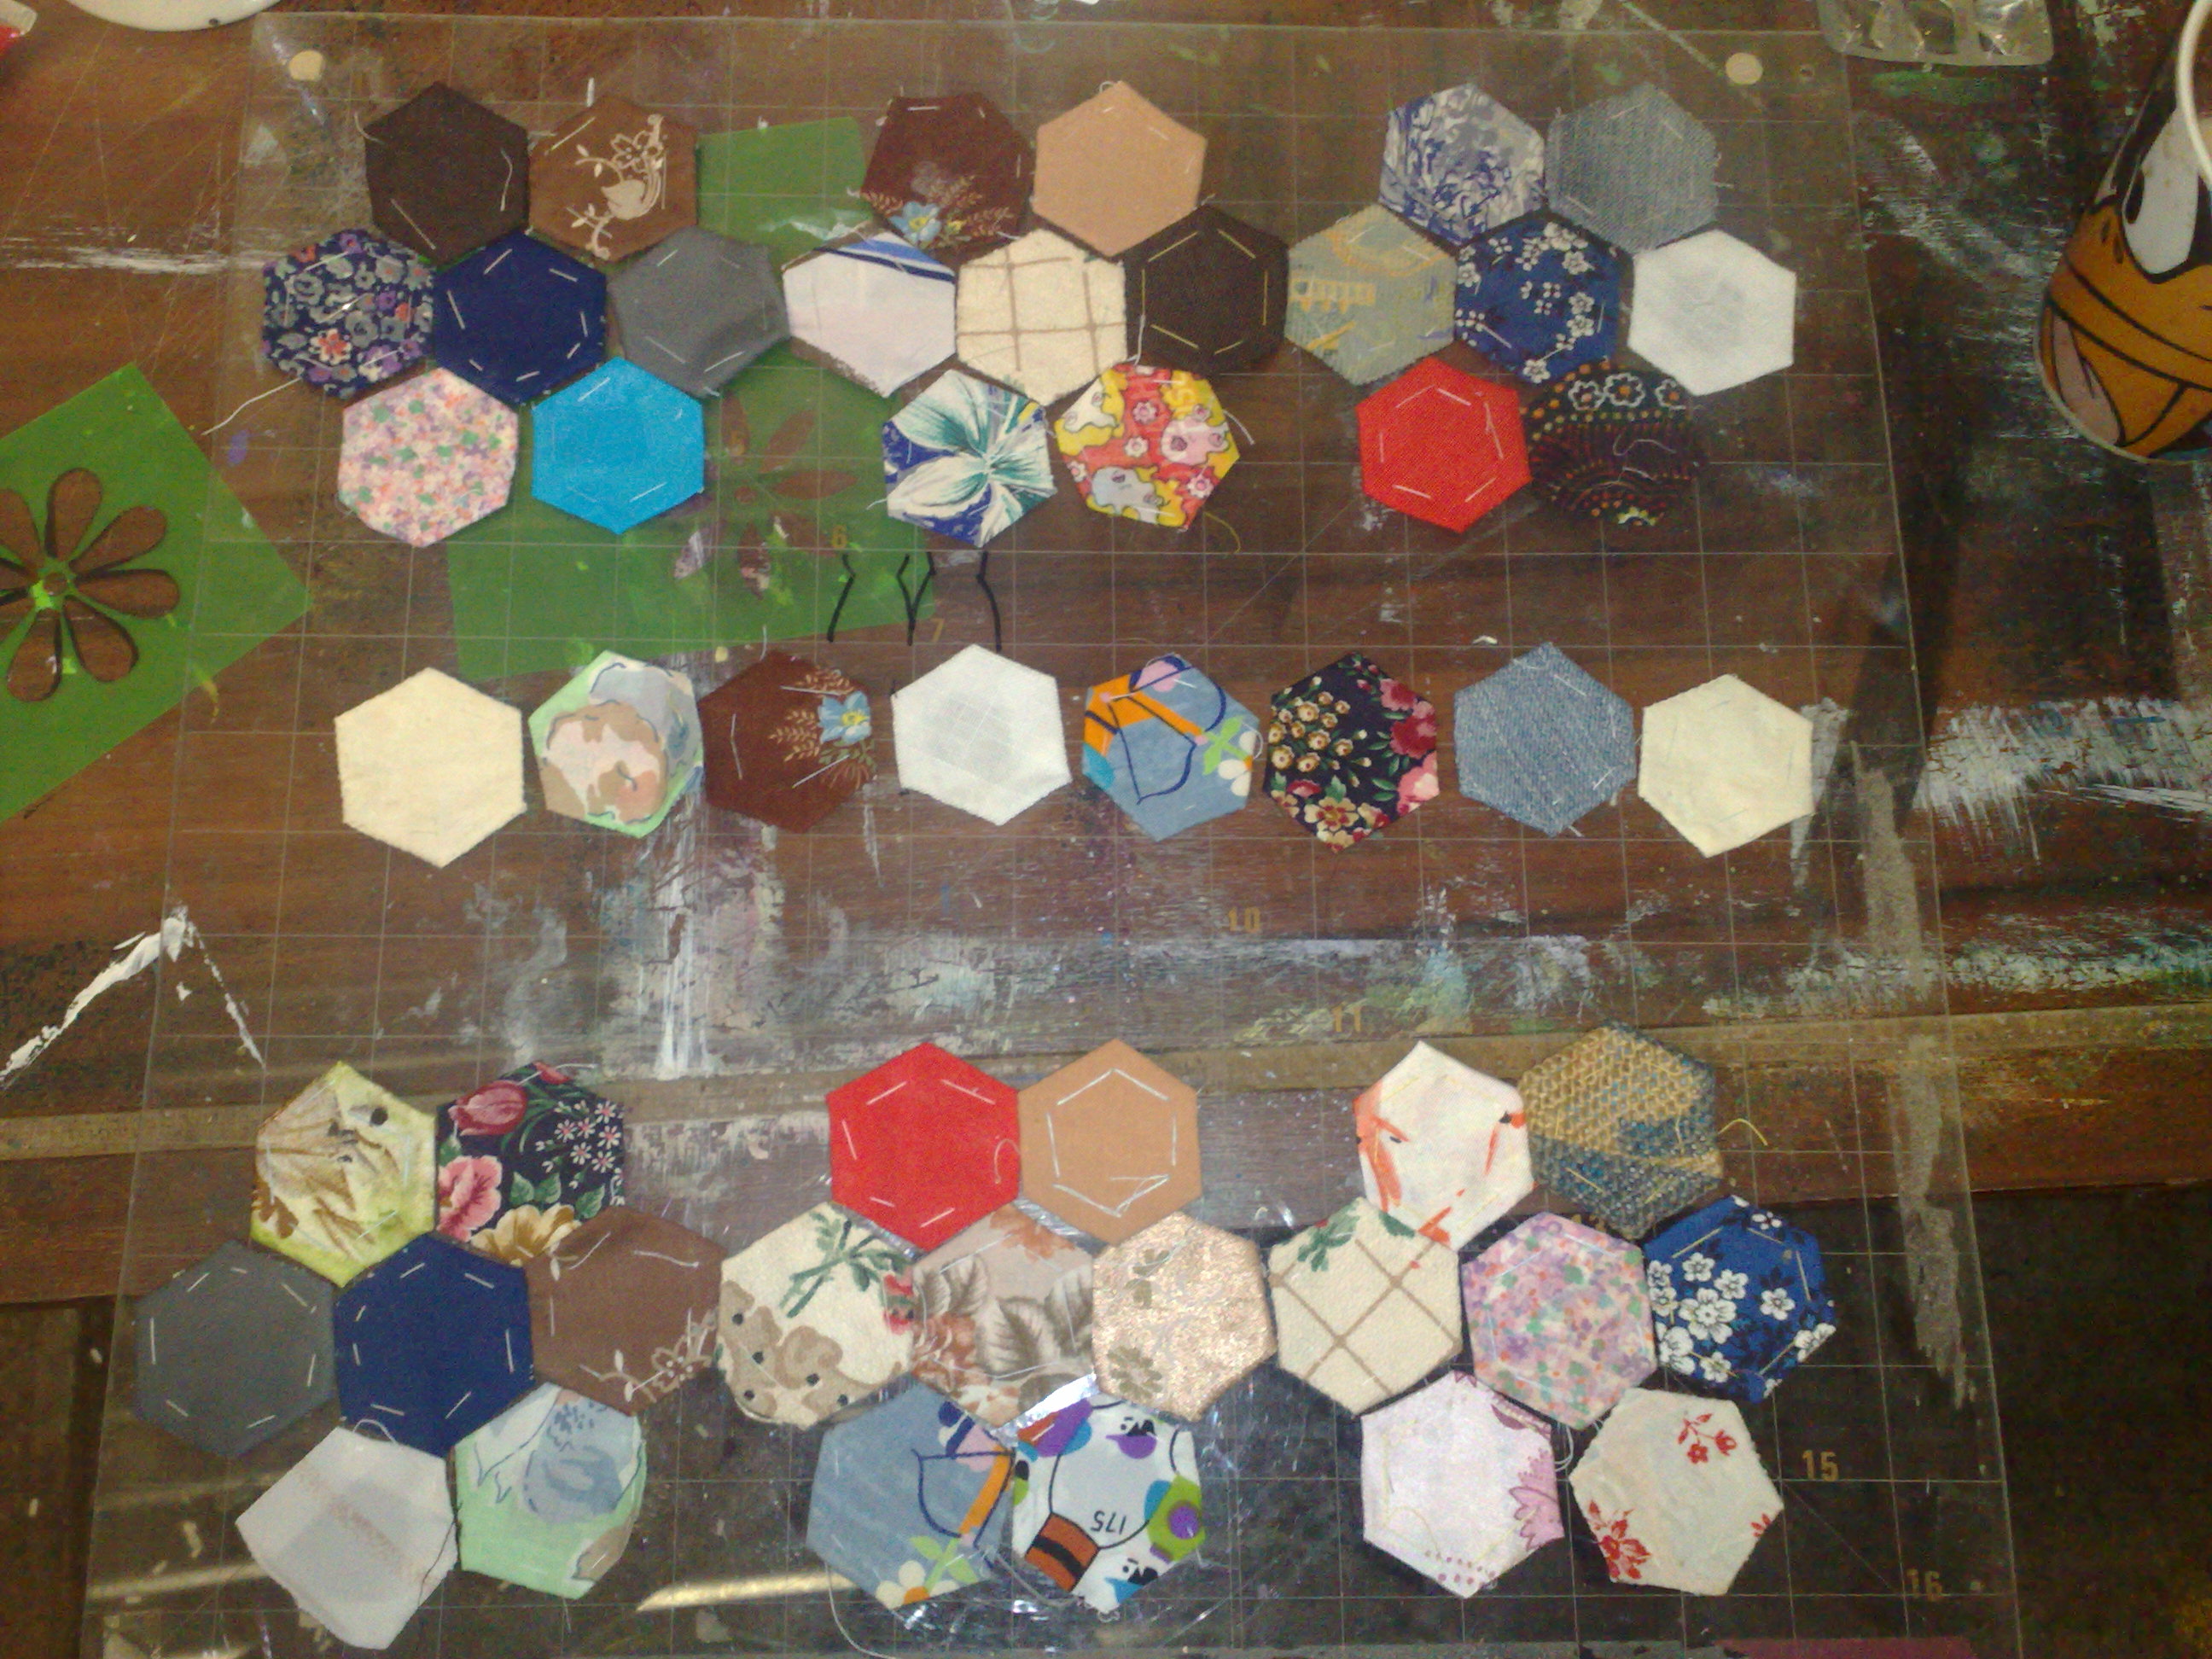
Because I have just turned 50 (oops), I selected 50 hexagons to use in my piece.
Originally, this was how I intended to lay them out.  I spent a long time trying to arrange 50 pieces symmetrically, but I now know that that was impossible.
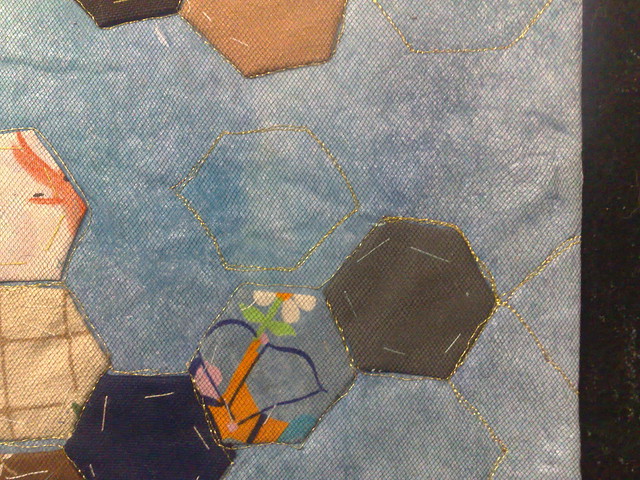
This is what I came up with.  I had a piece of satin with painted fusible on one side and a torn edge in the middle ready to do a landscape and I arranged the hexagons along the changeover between the two blues.  I wanted some little escapes to represent where my life is going and where it has been.
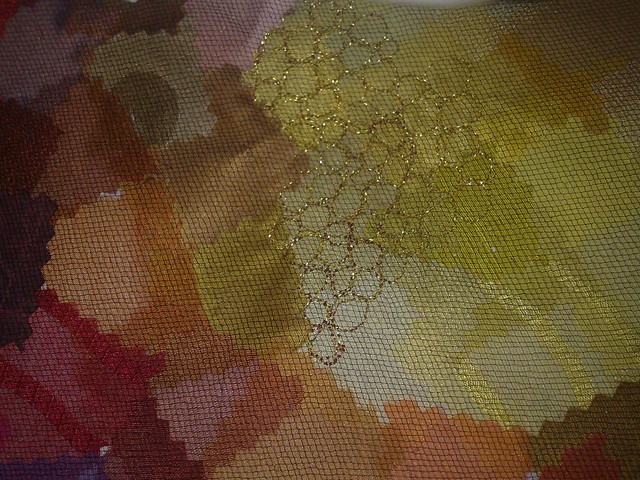
Of course, when I got down to piecing the hexagons, I came up on the same problem I have always had and that is that they are not all the same size, so instead of piecing them, I covered them with bridal tulle and sewed around them with my favourite god thread from the recycle depot.
You can see here the gold thread and how they don't all line up, but I just went with it.  I extended the lines beyond the hexagons to represent all the futures that might be.
Even my stitching wasn't perfect, but I went with that, too, as it went with the imperfect arrangement.
These fabrics are remnants of my past, they include fabric from my softball uniform, my school uniform, my favourite dress (that was when I WORE dresses, lol), the dresses my sister and I wore to my older sister's wedding, my first sewing assignment at school, my staggers jeans, my hessian bag I took everywhere and lots more.  I left the basting and papers in, too because they were full of history and meaning.  Originally, I intended to put a pin in each hexagon.  The pins were collected in my travelling days and are from all over the country, but I decided that was a bit too much.

So that is my piece for Tangled Textiles, don't forget to hop over and have a look at the pieces by my blog friends.


Monday, April 29, 2013

on the design wall

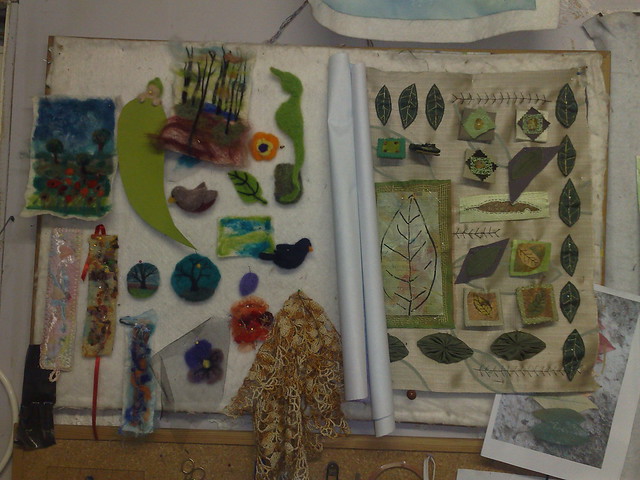
Today I'm giving you a peek at my design wall.
In this first section, are a lot of little needlefelted items I am working on and a collage that just needs sewing down.
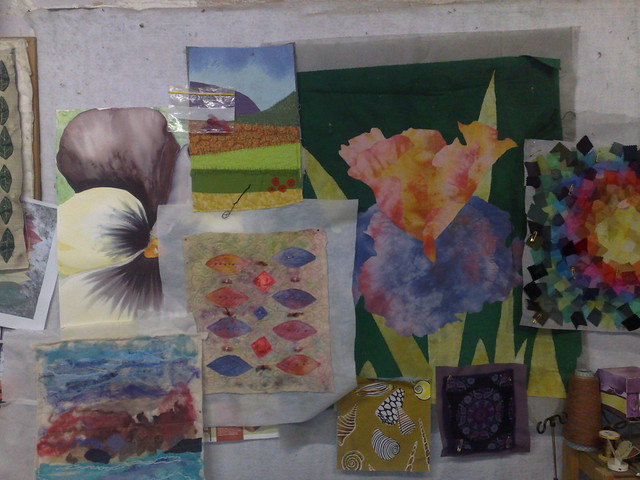
This second section is above my thread painting machine. The pansy is a watercolour I did last week, then the top landscape is a raw edge applique that I am adding poppies to.  Below it is another leaf collage that is finished, but not yet mounted.  Below the pansy is a needlefelted landscape that I am free machining over to use in ipod cases.  The iris is a large raw edge applique that I am thread sketching on and below it are two little free machine practice pieces that will probably become journal quilts.  On the right is the collage I showed yesterday.
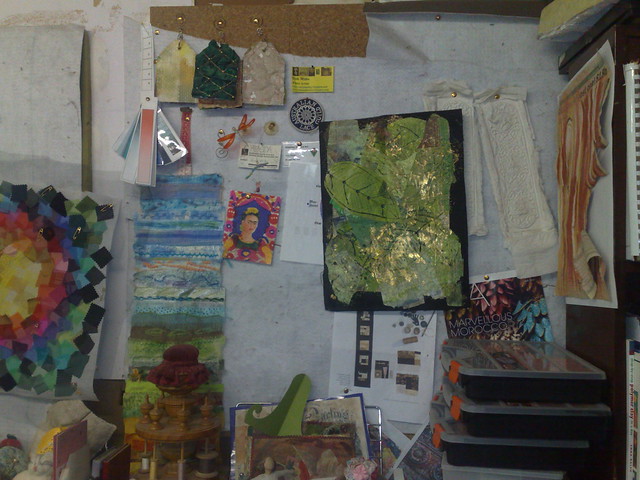
In this third section are a lot of bit and bobs.  The long skinny bit next to the collage from yesterday is mt current stitch sampler and the gold and green piece is a painted newspaper collage that has been foiled.  It is finished, but I need to put a new backing on it.  The two white things behind it are paper casts that I am still deciding what to do with.  The tags at the top are fabric manipulation samples and the rest are just bits that I put up to remind me of stuff, lol.
As you can see, it is a large design wall, about twelve feet long, but I still wish for more,  especially when
I am working on large pieces.  It tends to change a lot, depending on what I'm working on.

Also, I have started my first page for the fabric book I am making.
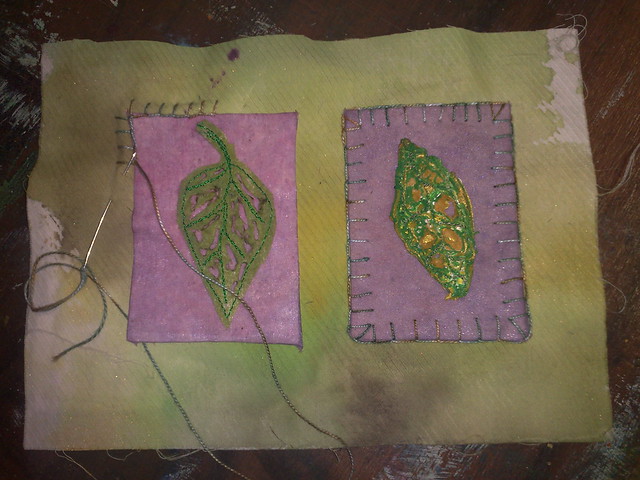
I found that the pages are just the right size for two ATCs, and since I still have a lot of ATC bits and pieces, I think I will try and use them.  The background is a piece of handpainted fabric and the two
atcs are covered in painted chiffon.  The leaf on the left is heat distressed lutradur and the one on the right is tyvek.  I an blanket stitching them down and when I have finished two, then I will sandwich them onto the felt and bind them in as one page.  One down, 25 to go!

happy creating!

Sunday, April 28, 2013

a scrap collage

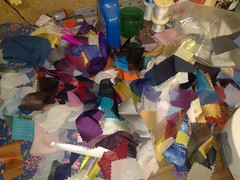
As I have mentioned, I get a lot of my stuff from a recycle depot, Resource rescue, One of the things that always catches my eye is the sample books for fabrics.  The little swatches in a myriad of colours ar very hard to resist......
..so as you can see, I have a lot of them!  This is the third time I have put this collage together.  The first time,  I got sidetracked and the cat walked all over it and messed it up.  The second time I had a lot of trouble keeping the bits where I wanted them.  This time I was prepared.
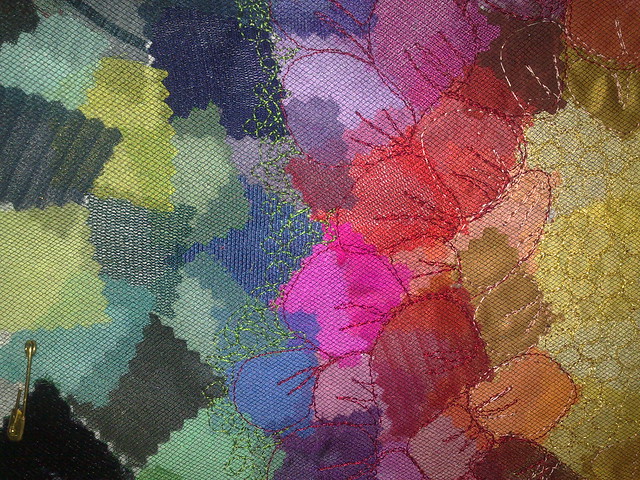
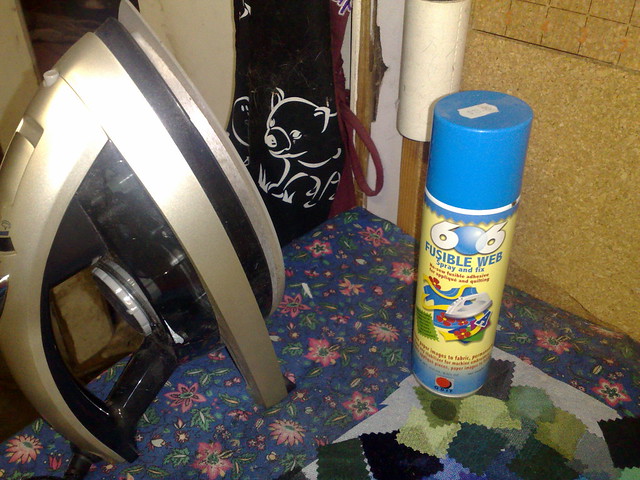
I used this spray on fusible web to stick them down.  I found that the spray was a little bit tacky, even before the fusing with the iron, so I got all my coloured pieces down easily.  There was chiffon, organza, silk, satin, velvet and lots of textures.
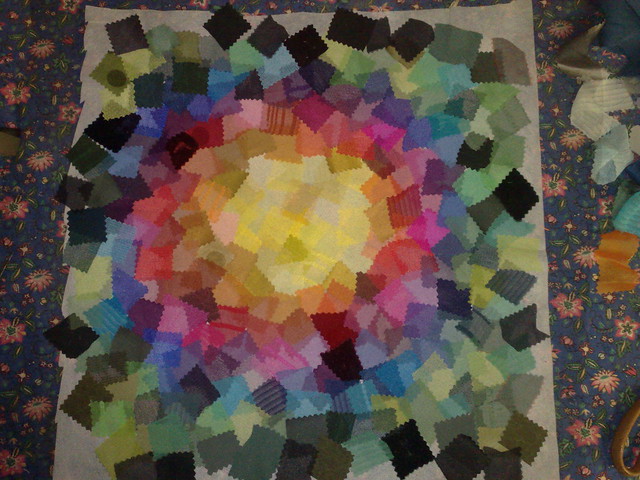
This is how it looked when they were all down.  I covered it with some fine black bridal tulle to make my free motion stitching easier, later.
Originally, the idea was just an abstract one,perhaps representing the sun, but the more I looked at it, the more I saw a flower.  A pink flower with a big yellow centre, so I decided to do some free motion to make it into a flower.
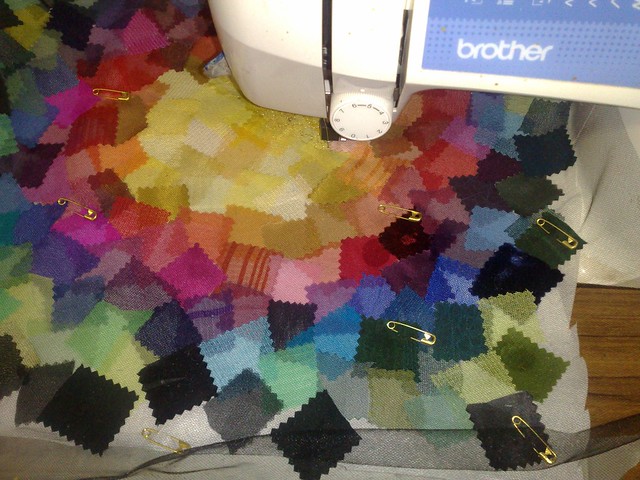
Here it is under the machine I use for thread painting (as you can see, there is no presser foot - I have adapted this machine to use no foot as I find it much easier to thread paint  and sketch this way.  However I do not recommend this to any one, it is just the way I work).
And here is a close up of the pebble stitch I am doing in the yellow centre with my favourite gold thread again (well, it was on the machine, so...)  Obviously I will have to change my colour when I move to the petals and the background, but that is for another day.

My main problem as an artist is that I have too many ideas.  (And some say too many UFOs)  I find that if I concentrate on finishing everything, then I get nothing done, because it all becomes a chore, which dampens down the creativity quite a bit.  I have to keep the ideas flowing and sometimes it takes me a while to get back to a piece.  80 or 90% of the time, I do get back to the piece, after a time and mostly it is when I get a new idea or a 'what if' that adds to the piece.  That is true of this collage, which was sitting in my 'current' pile for quite a while until I thought of the 606 spray  I am sure Van Gogh didn't finish everything he started, in fact historians know that he and other artists repainted their canvasses as the muse took them.  Anyhow, that's my stuff for today.
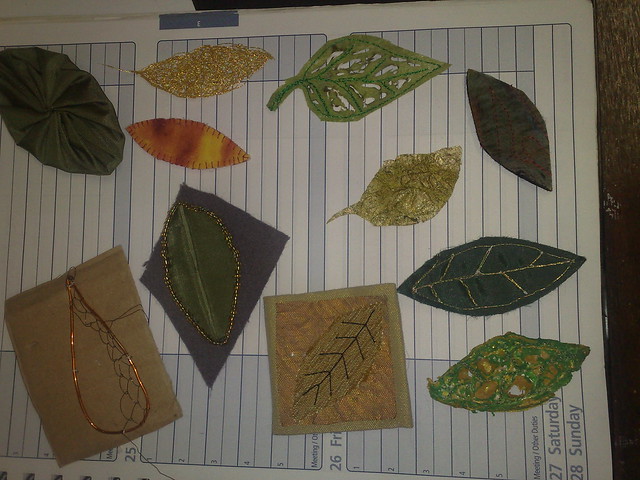
Here are a few of the leaves I will be putting into my fabric book from yesterday.  I will have at least a few pages for you sometime next week.

Happy creating!

Saturday, April 27, 2013

Fabric book

I have been going to make a fabric book for a while, and yesterday I finally started, with the intention of putting all my leaf samples in it.
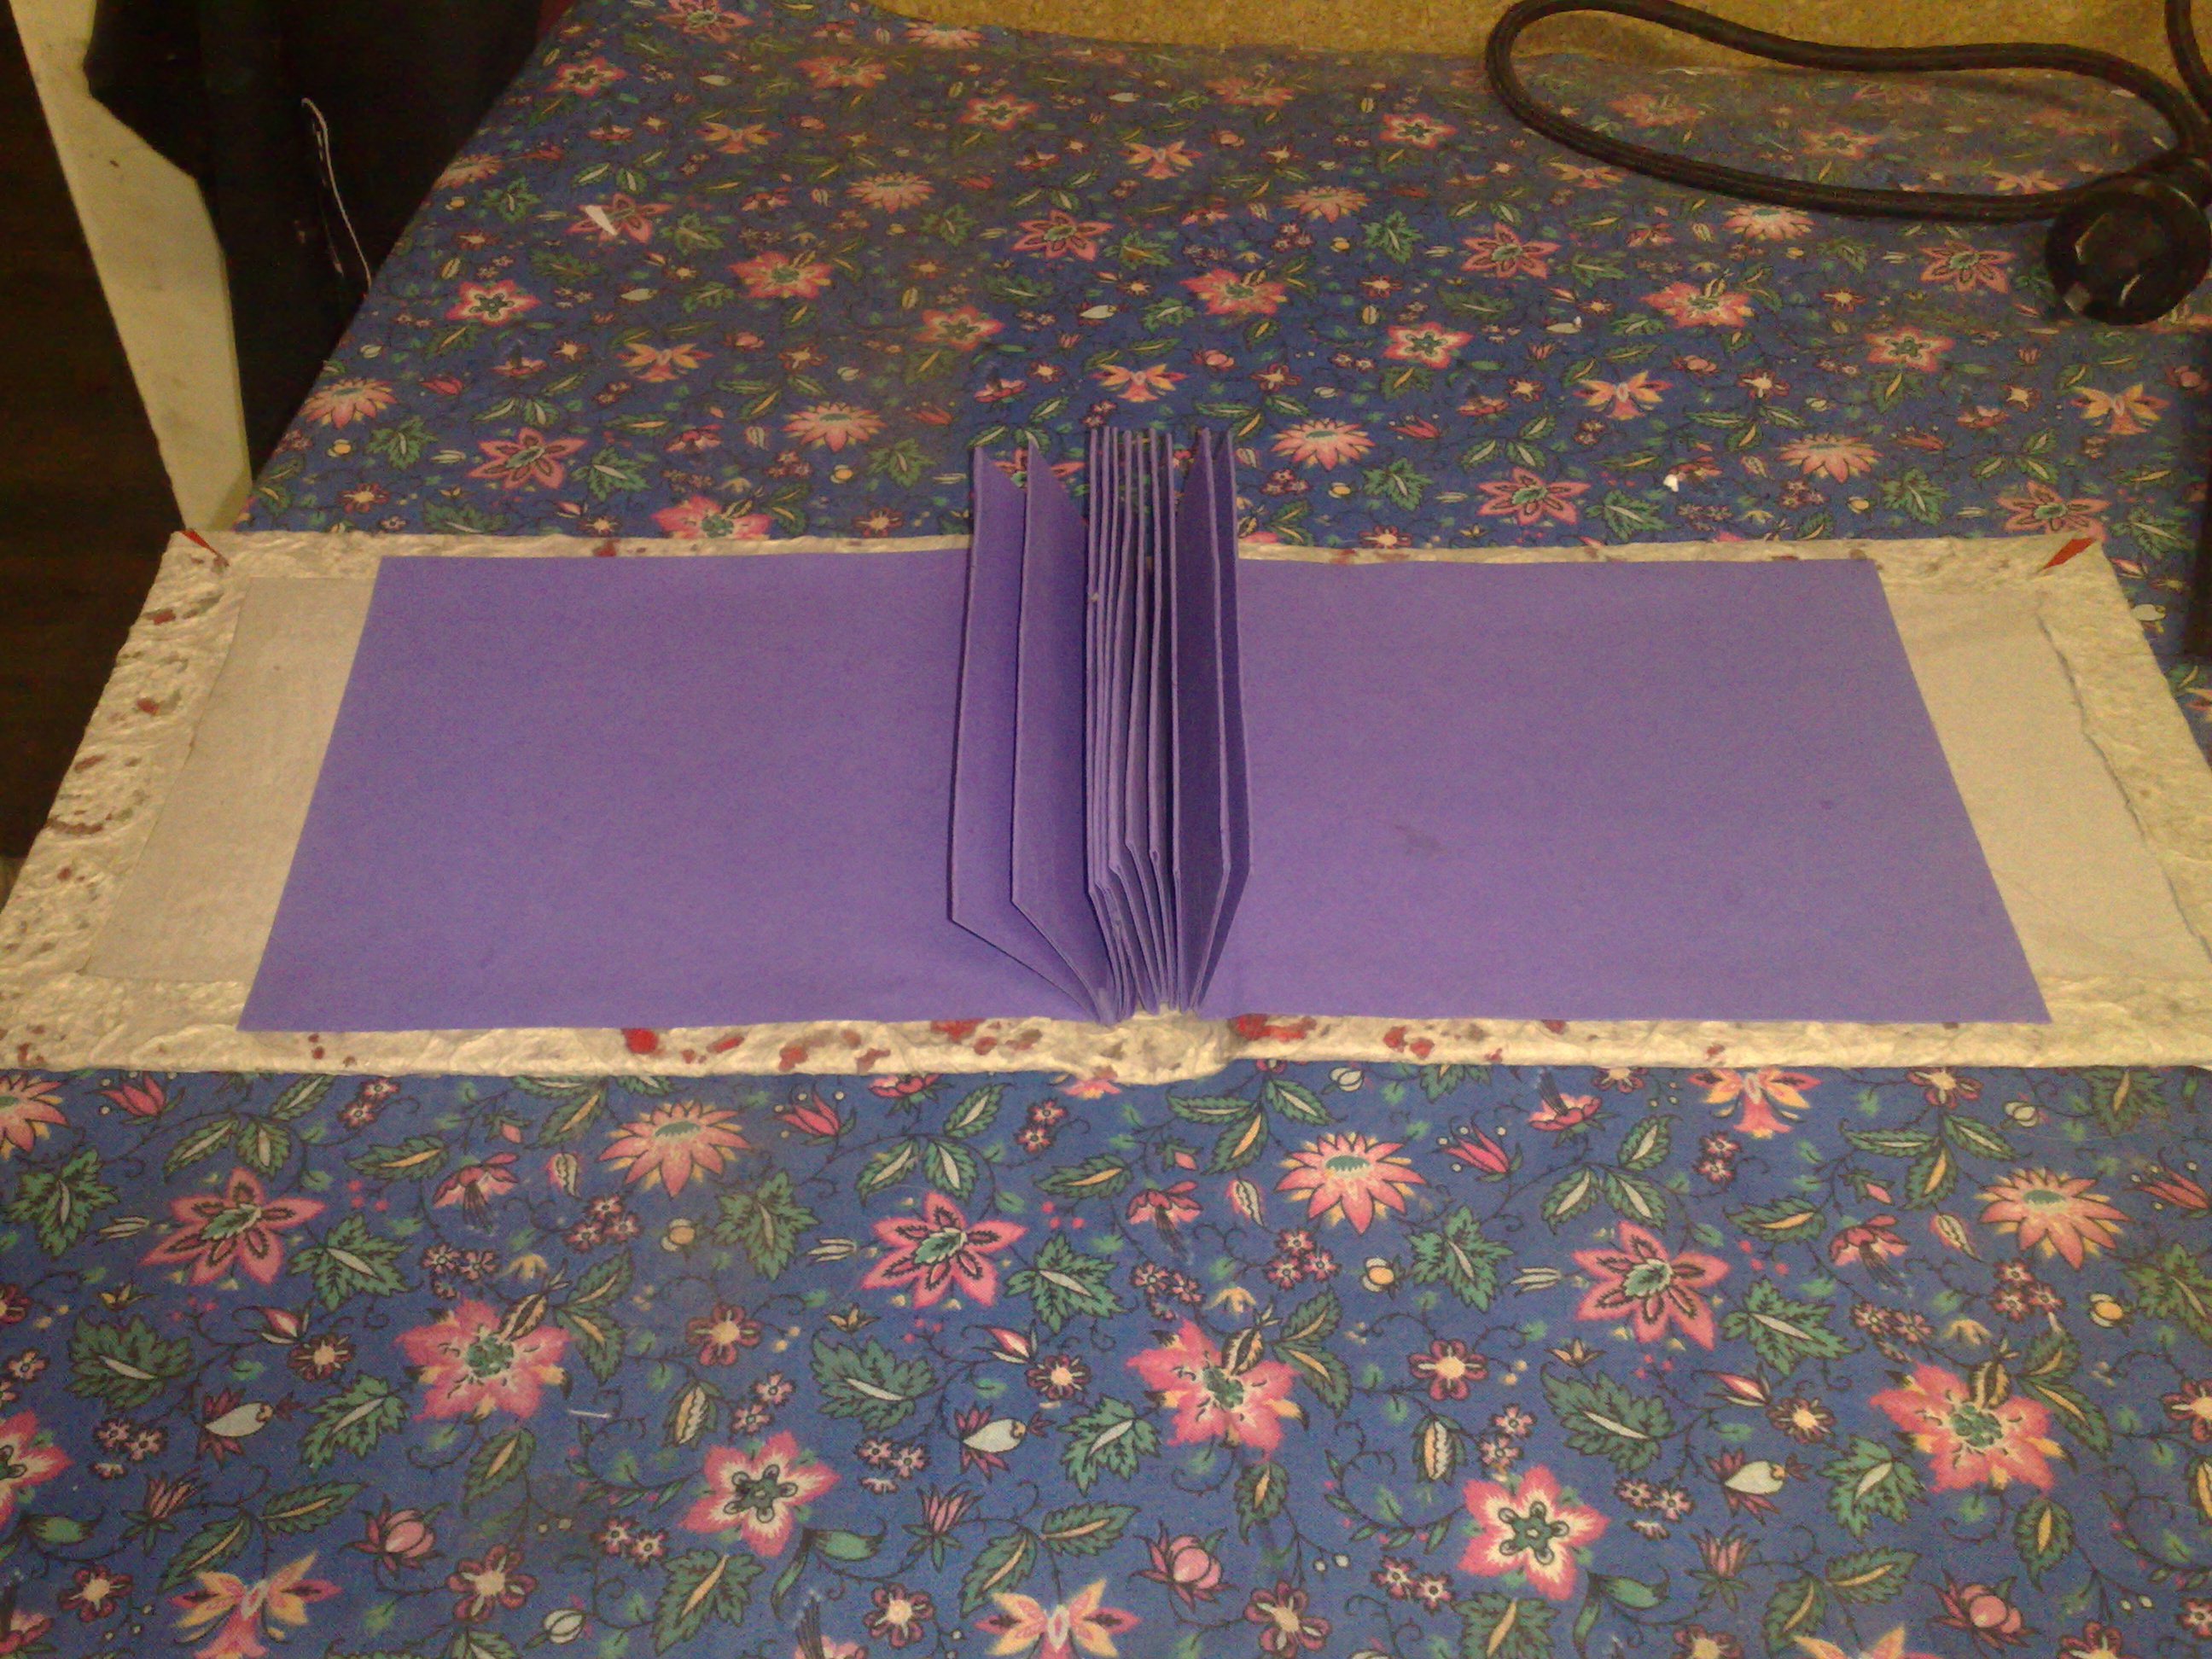
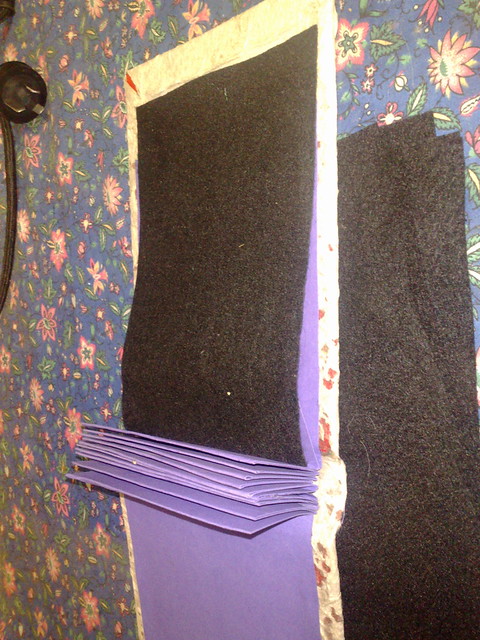
I started with a book cover.  I get these from the recycle depot, who collects from a book binding establishment.
I covered it with this handmade paper (it is very thick and simply made using large bubble wrap).
You can see here I put an accordion fold with the flaps glued together into the spine to hold my pages.
I wil construct the pages separately and add them one at a time, sandwiching the two sides over some felt.
The felt will sit on top of each flap of the accordion like this.
And the book will be finished, but as yet I haven't done any pages. Let's see if I can finish it in the next few weeks.

Create every day!