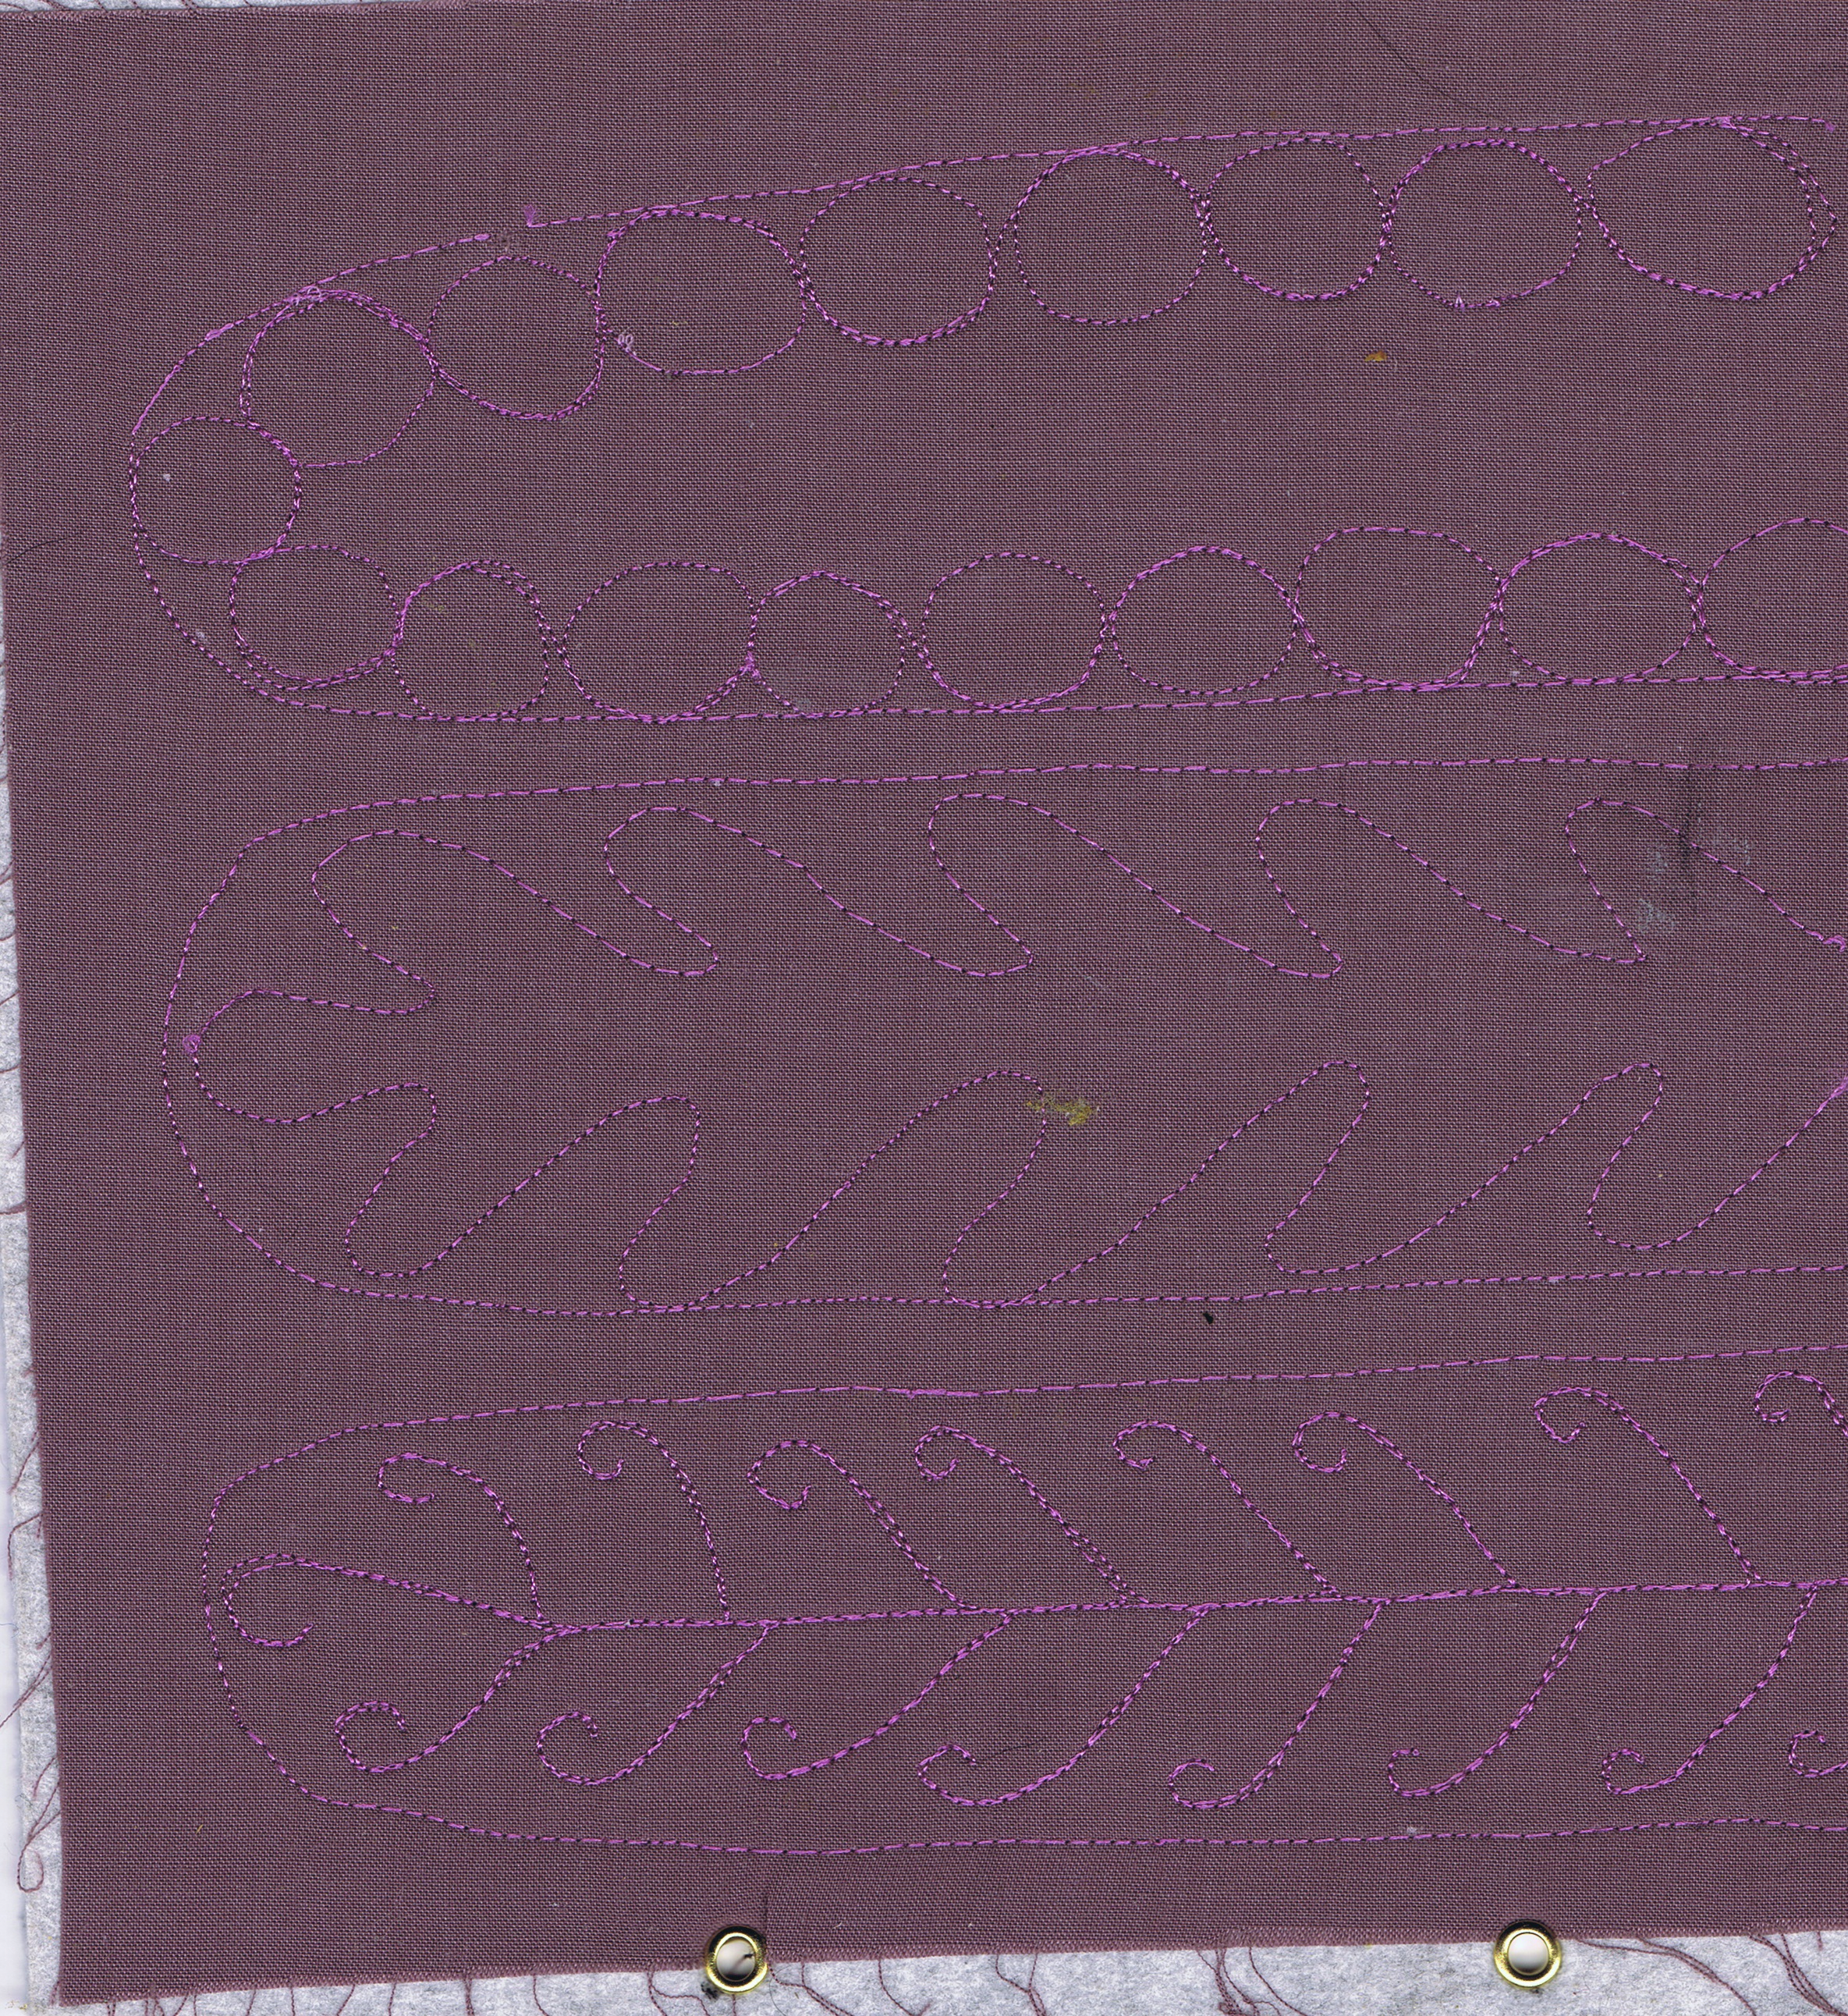
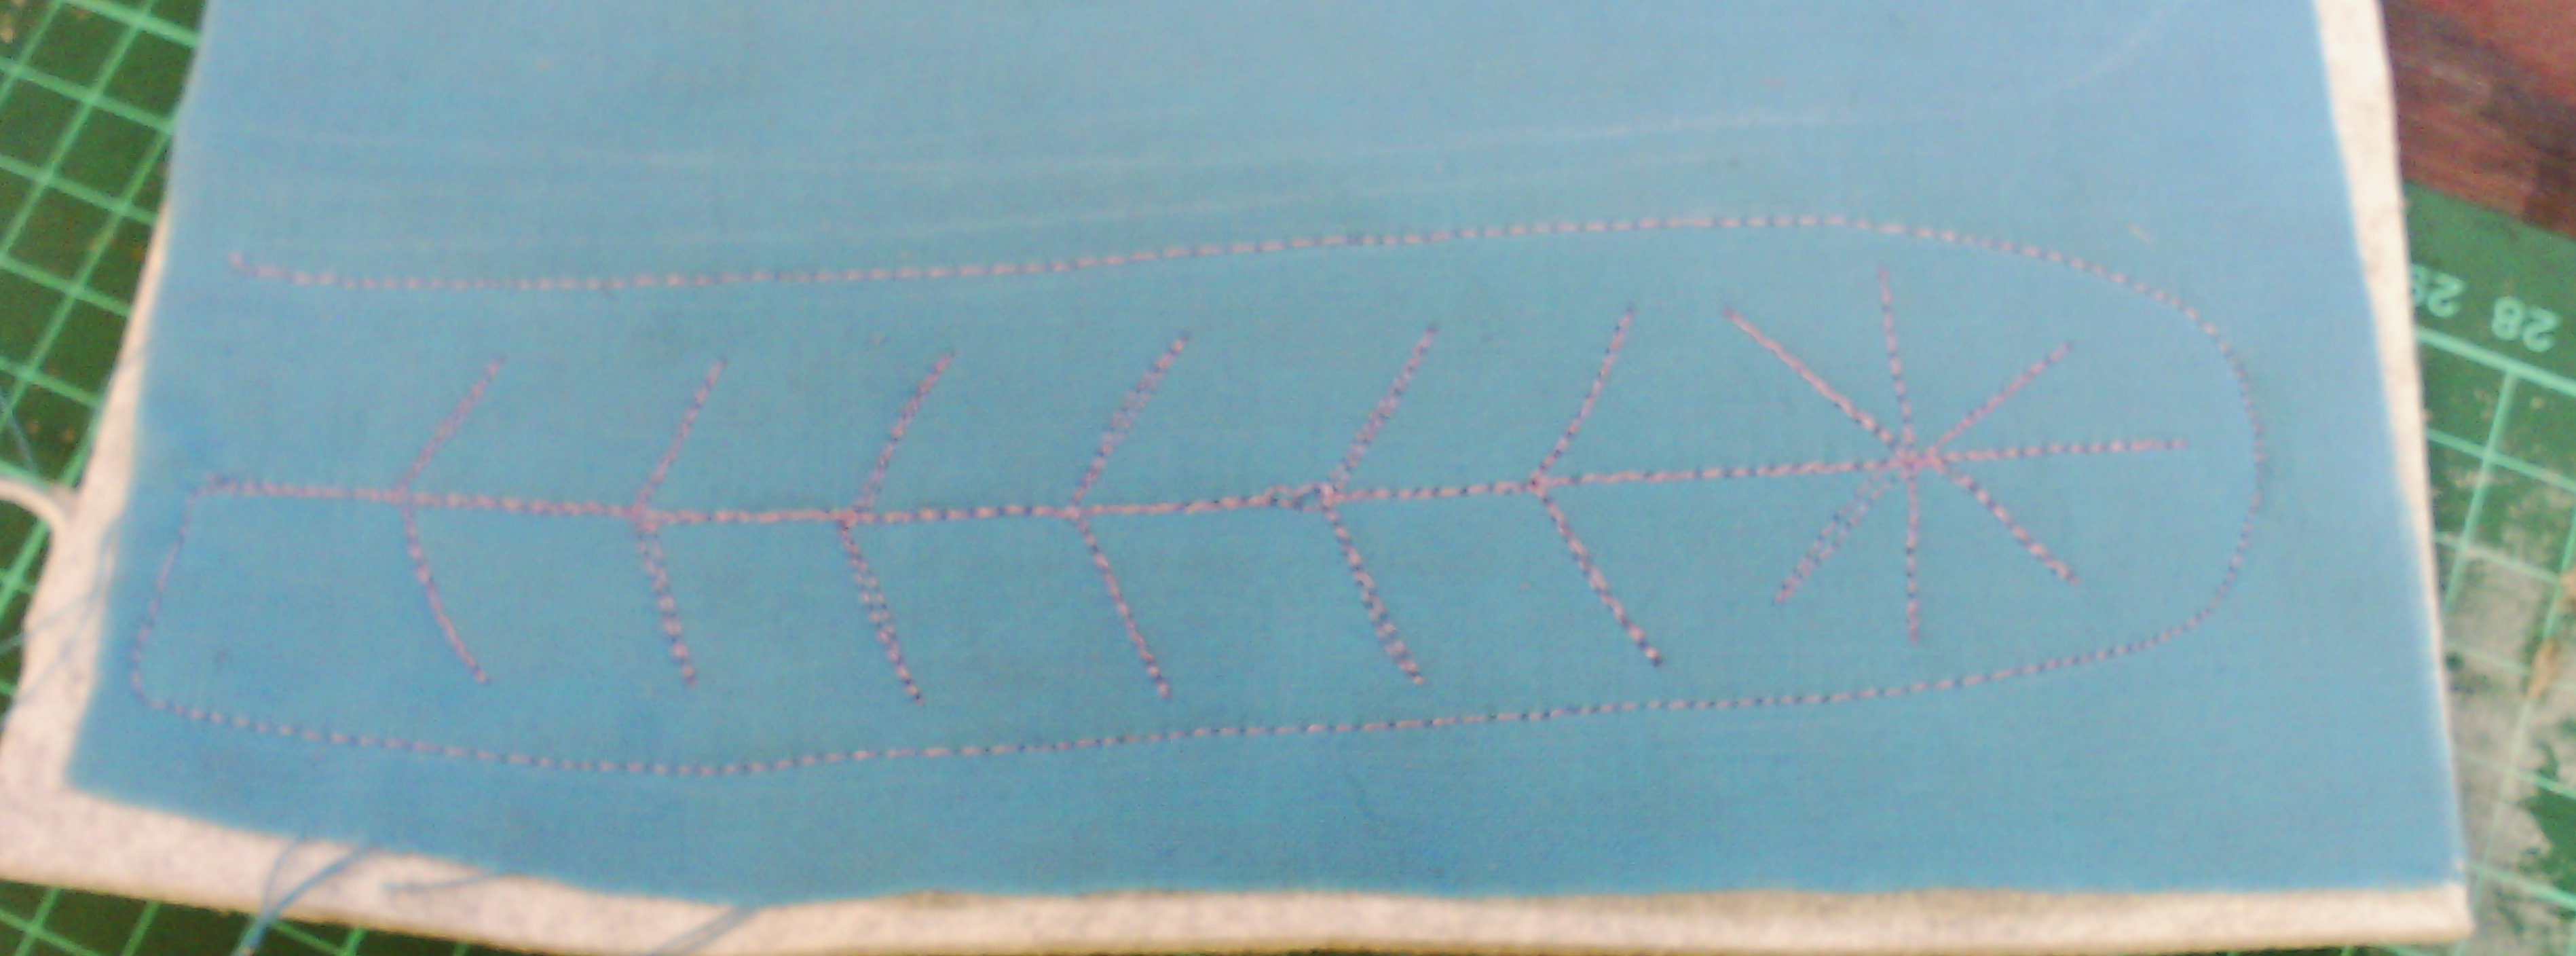
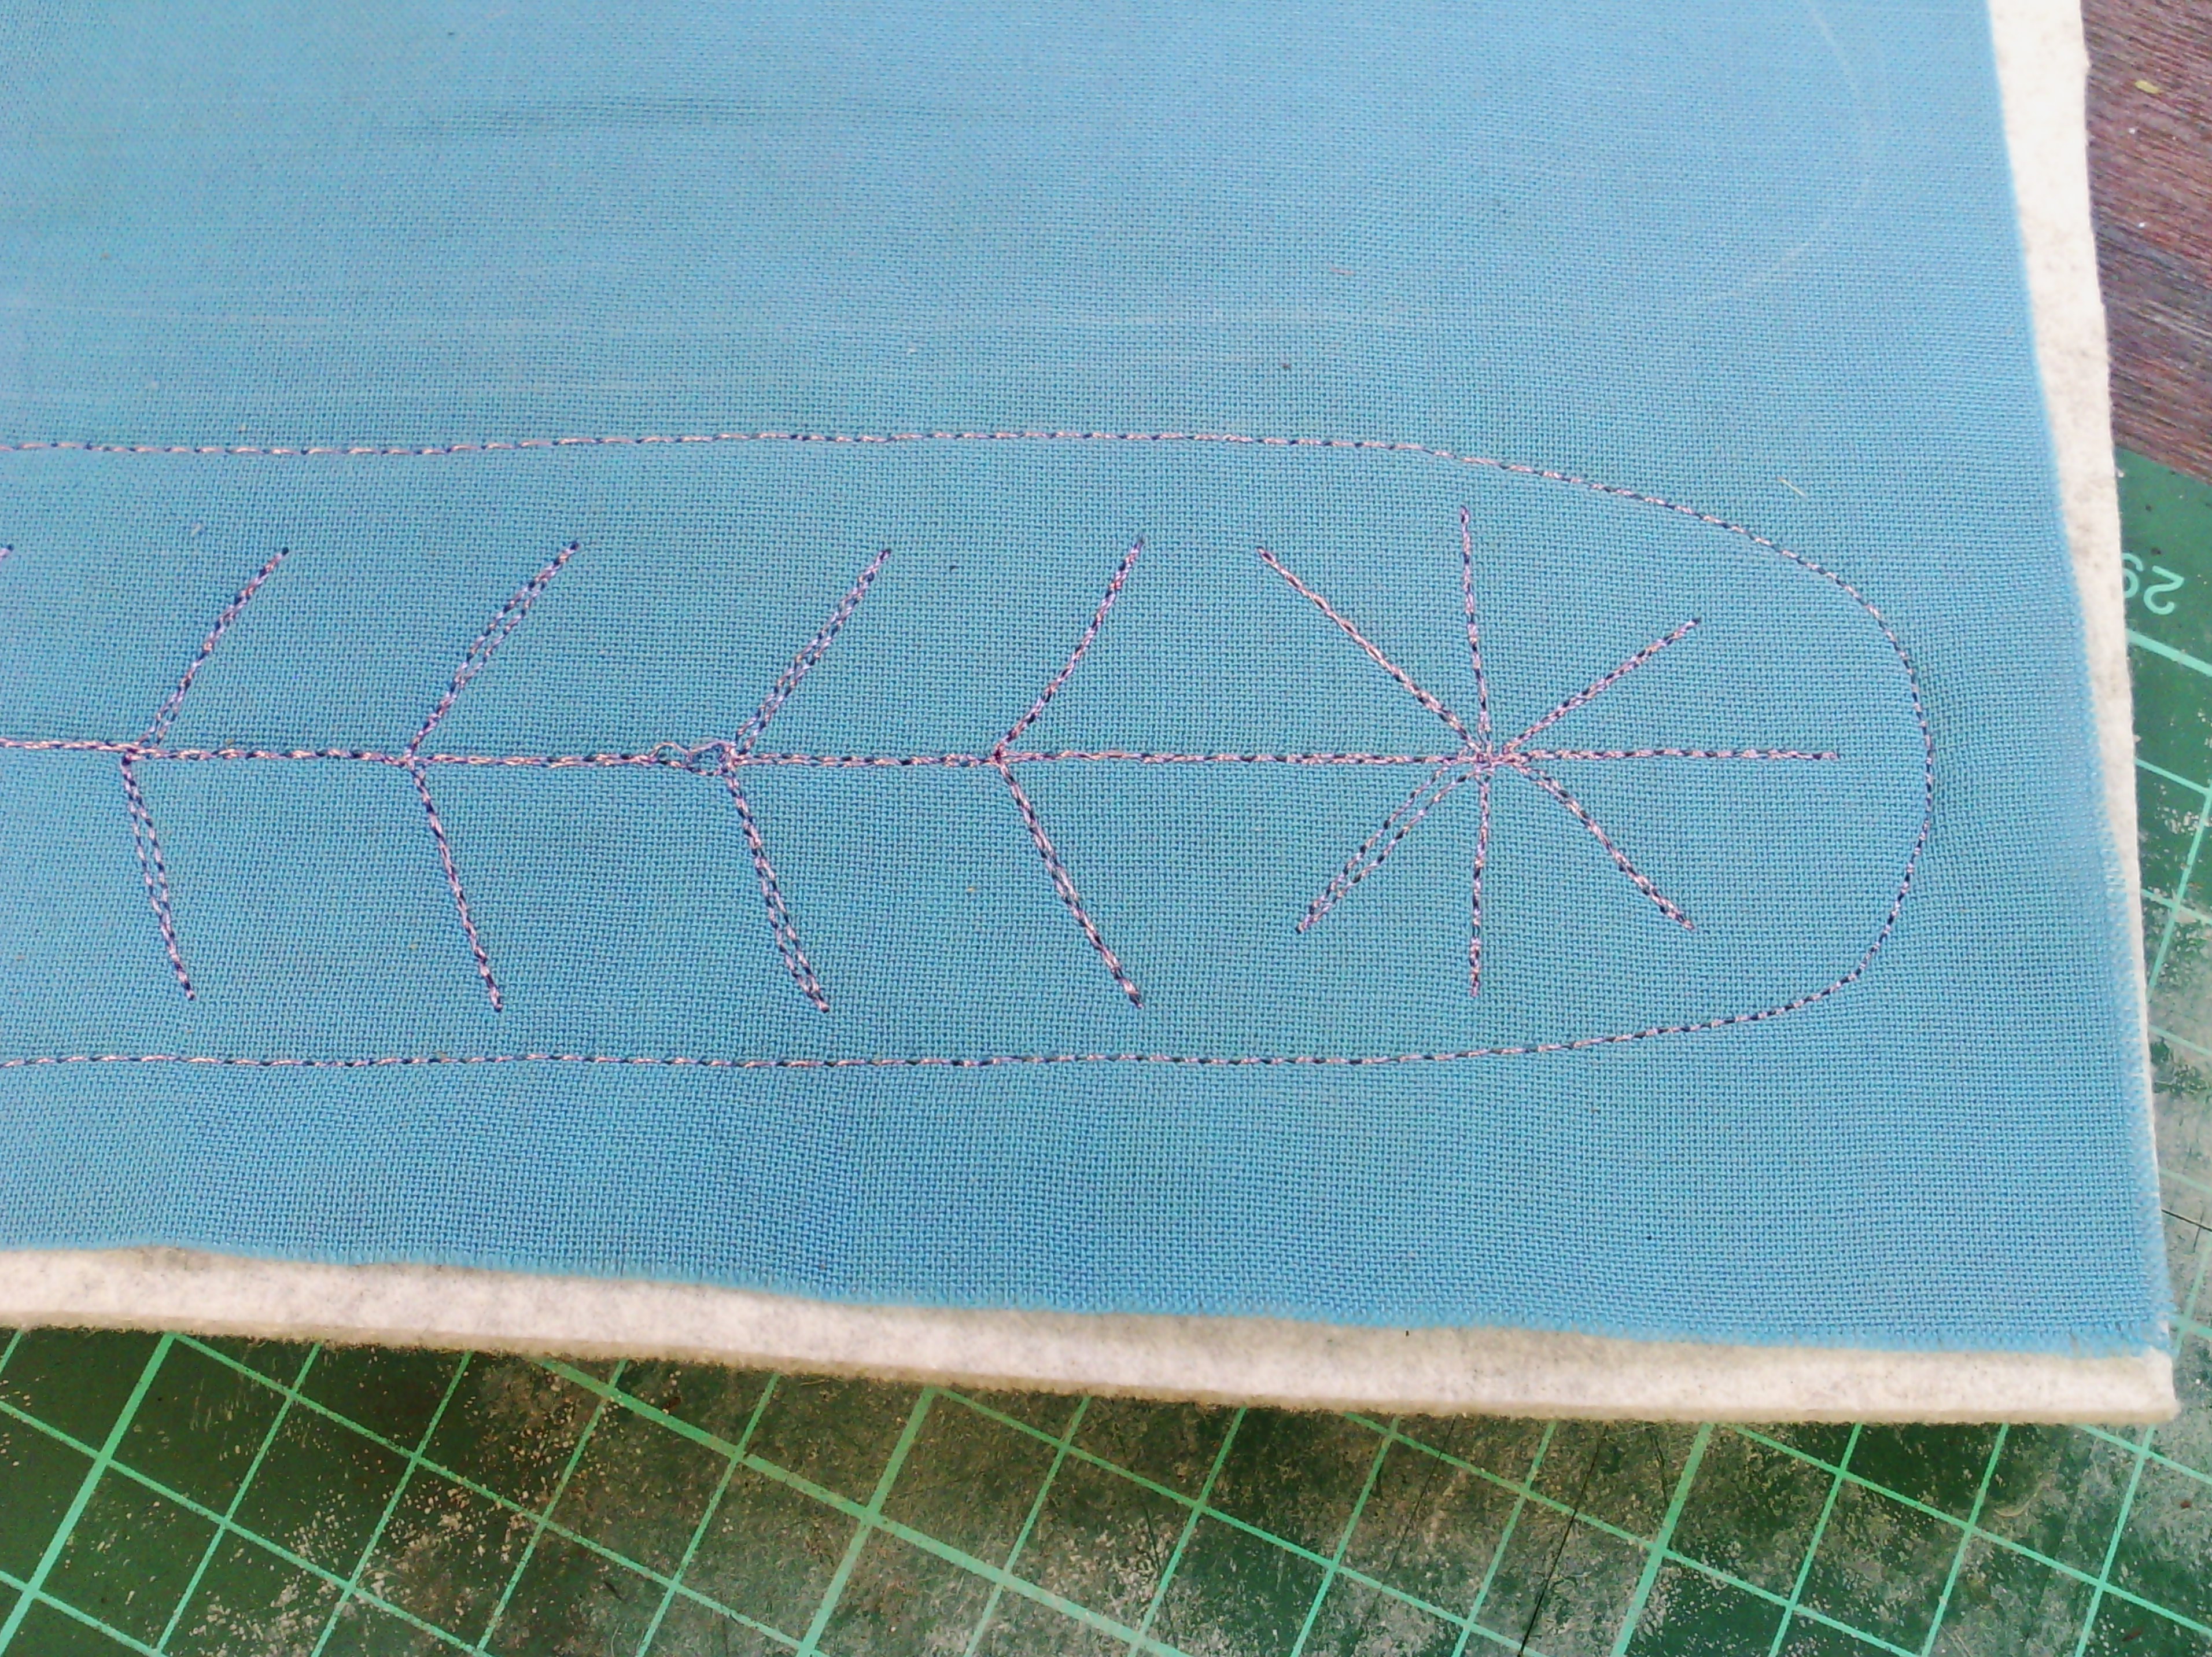
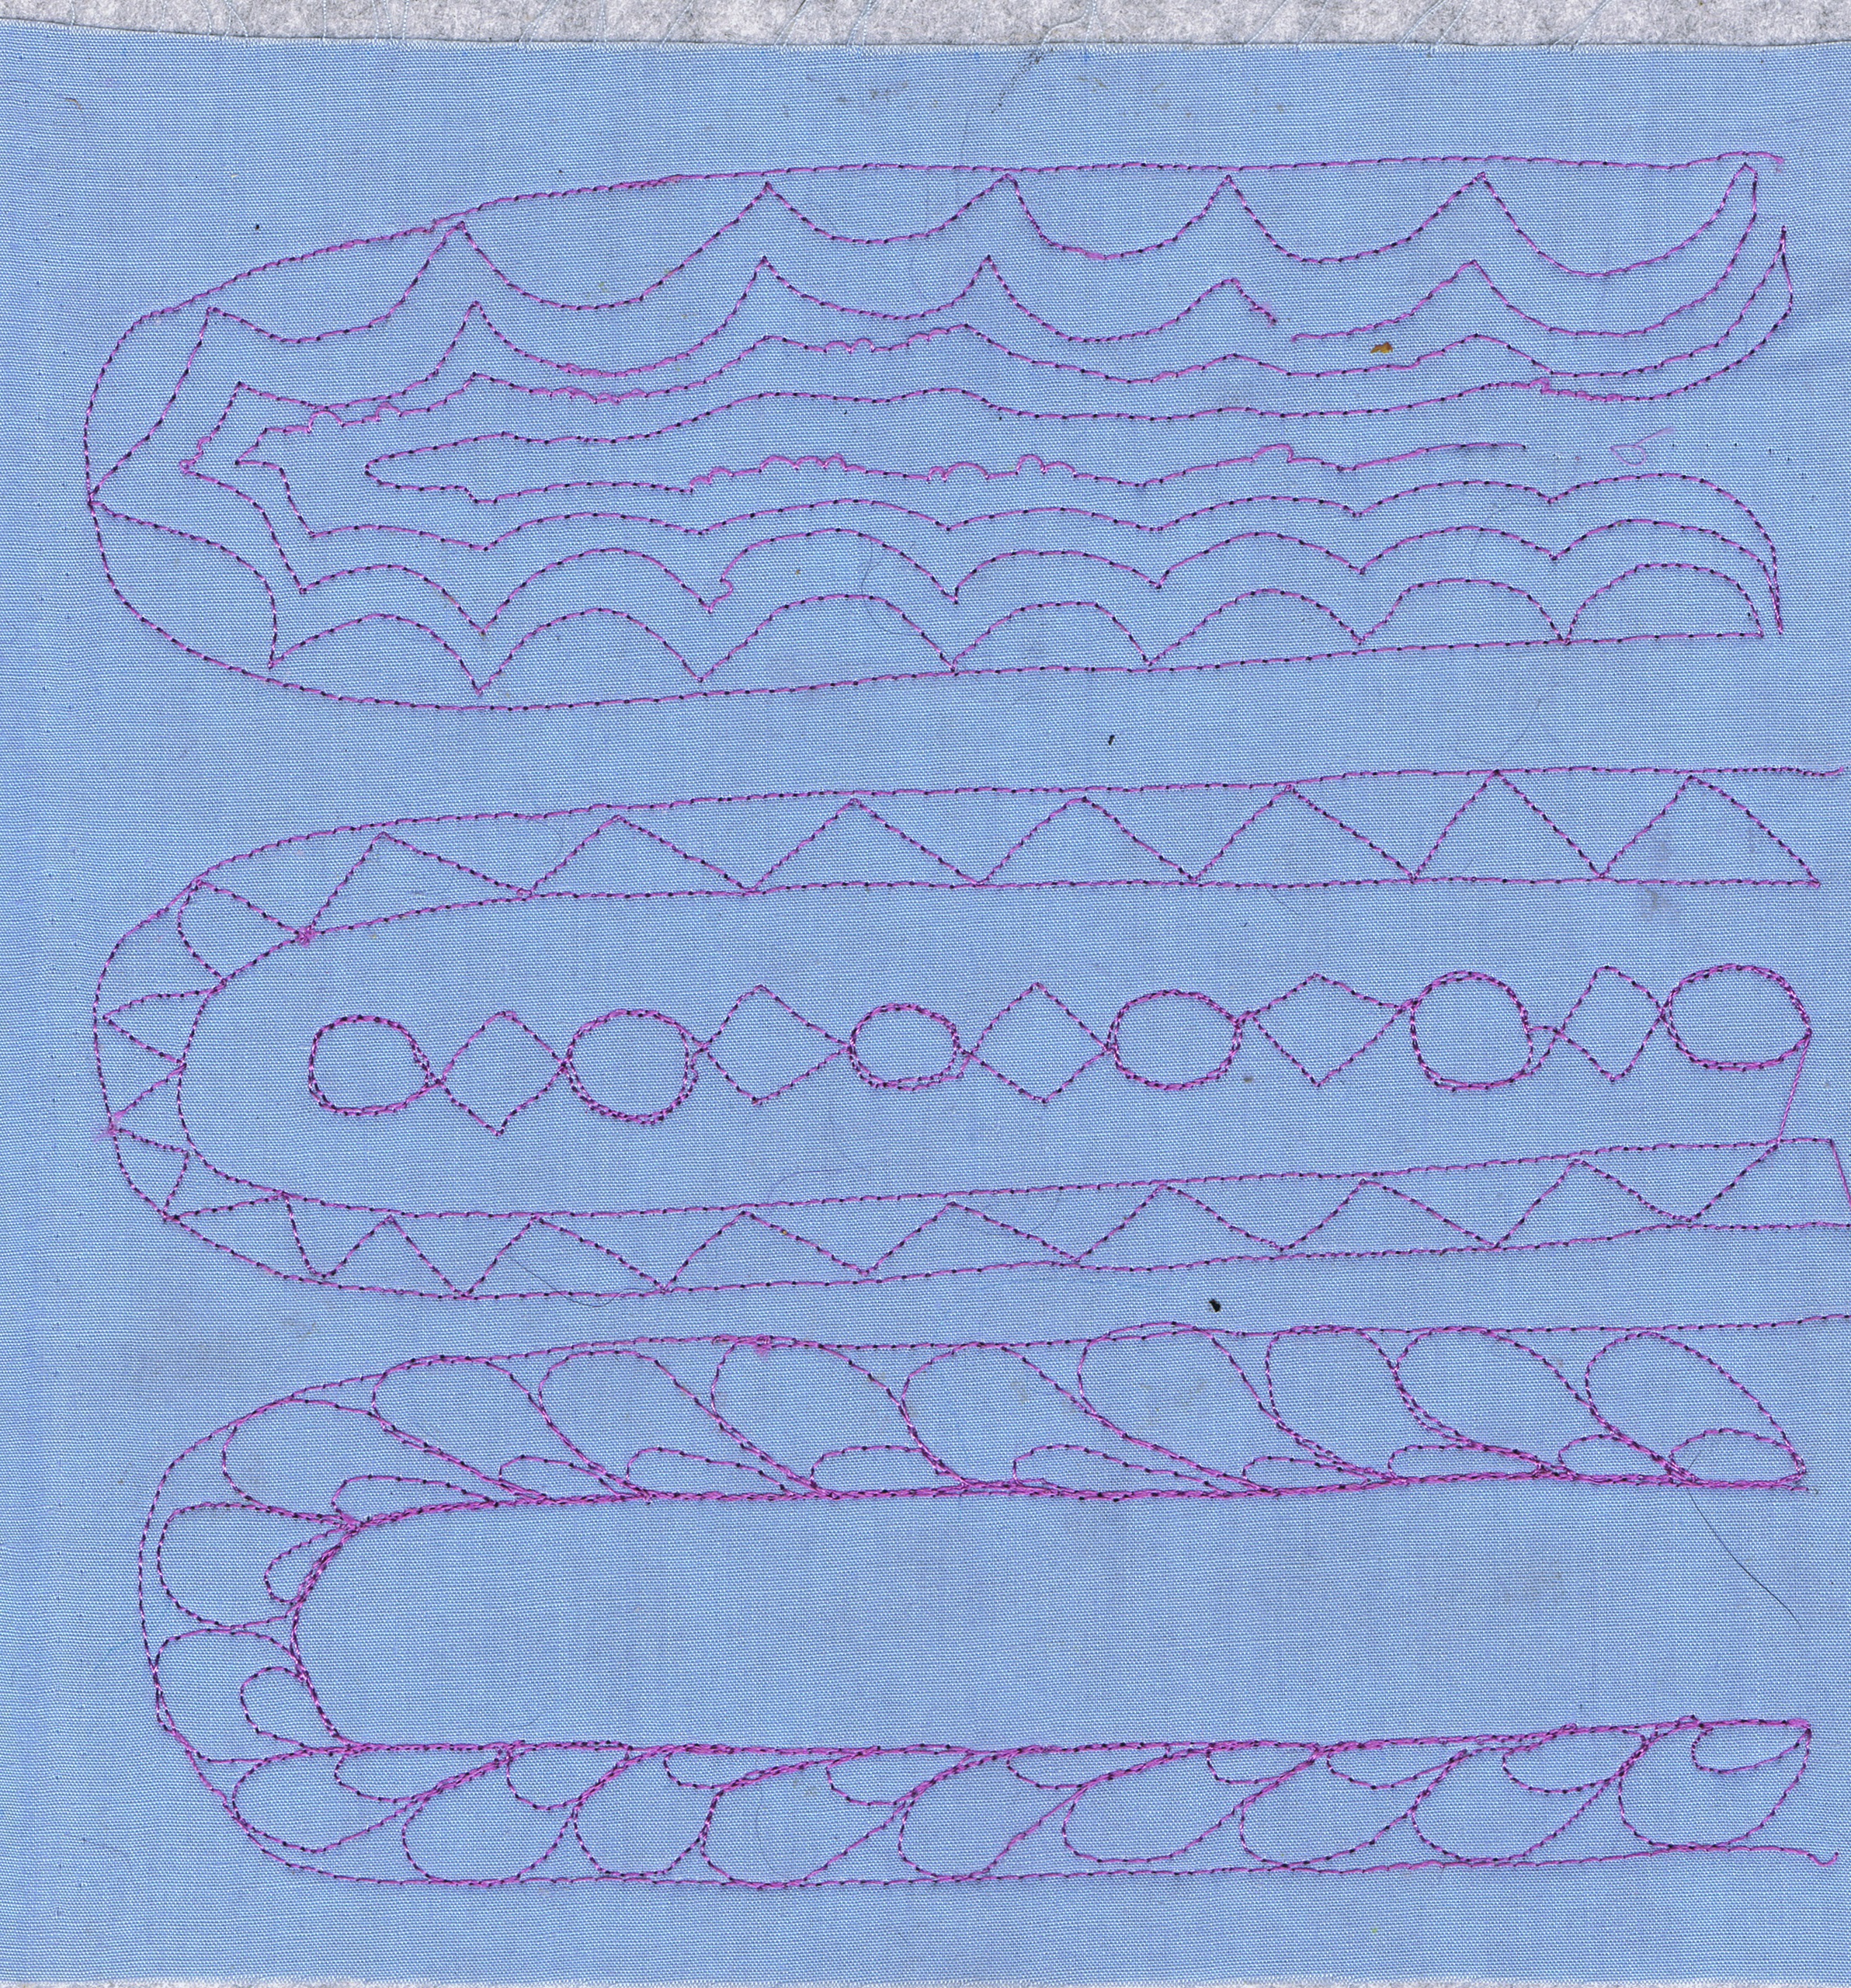
Not much to show today except almost a week's worth of my free motion feather tops. I don't know what I chose this shape to fill with doodles, but as you see I have lots of them. As I do each one, I also think of more to add to the pages, so..
here are nos 4, 5 and 6
and 7, 8 and 9. As you can see at the bottom, I have added some eyelets to bind them together with rings.
I am using industrial felt offcuts for my backing and have found that it is extremely hard to stitch through, but I will persist with it since they are nice and firm for the sample book. And of course I am using up scraps of fabric as well. I think this sample book is something I should have done ages ago and will come in very handy when quilting and thread drawing.
I have also decided that these little feather tops might make a very nice border design on this quilt-
Which is a lot further along now. I will be starting on the borders soon as I am just finishing the background fill which is very tiny!
Don't forget to create every day!
Saturday, July 27, 2013
Monday, July 22, 2013
FEATHERS AND A FINISH
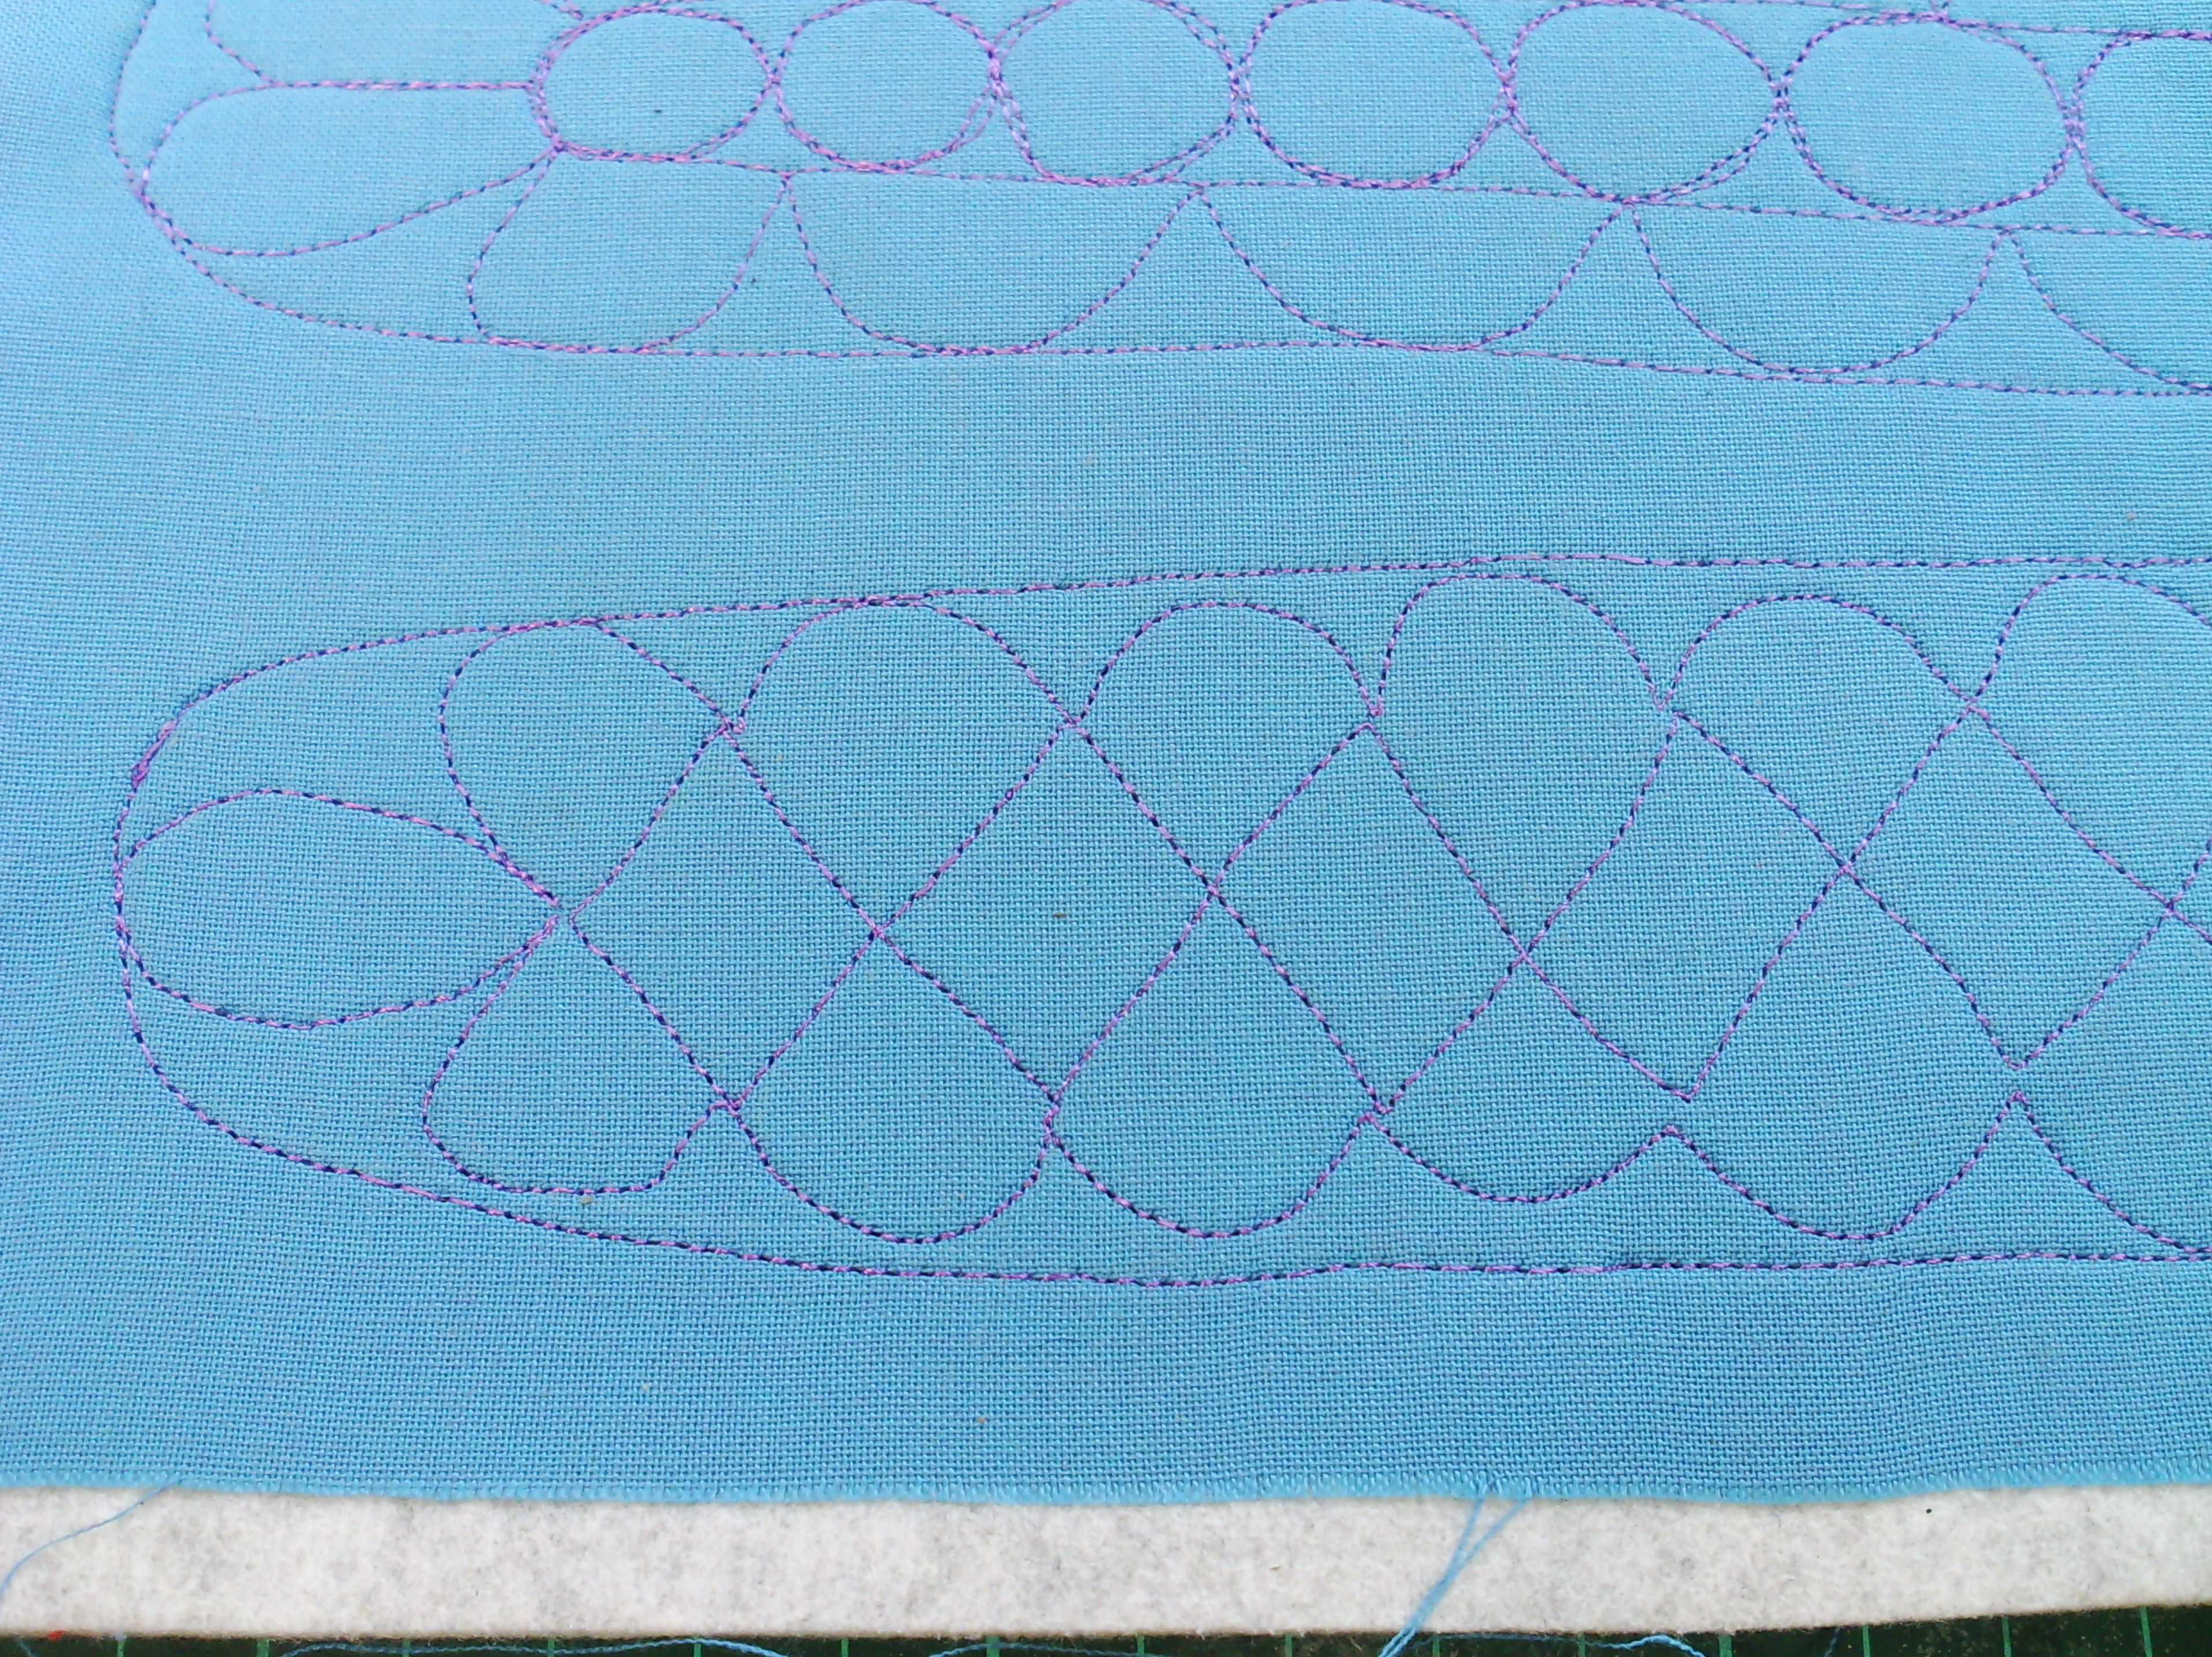
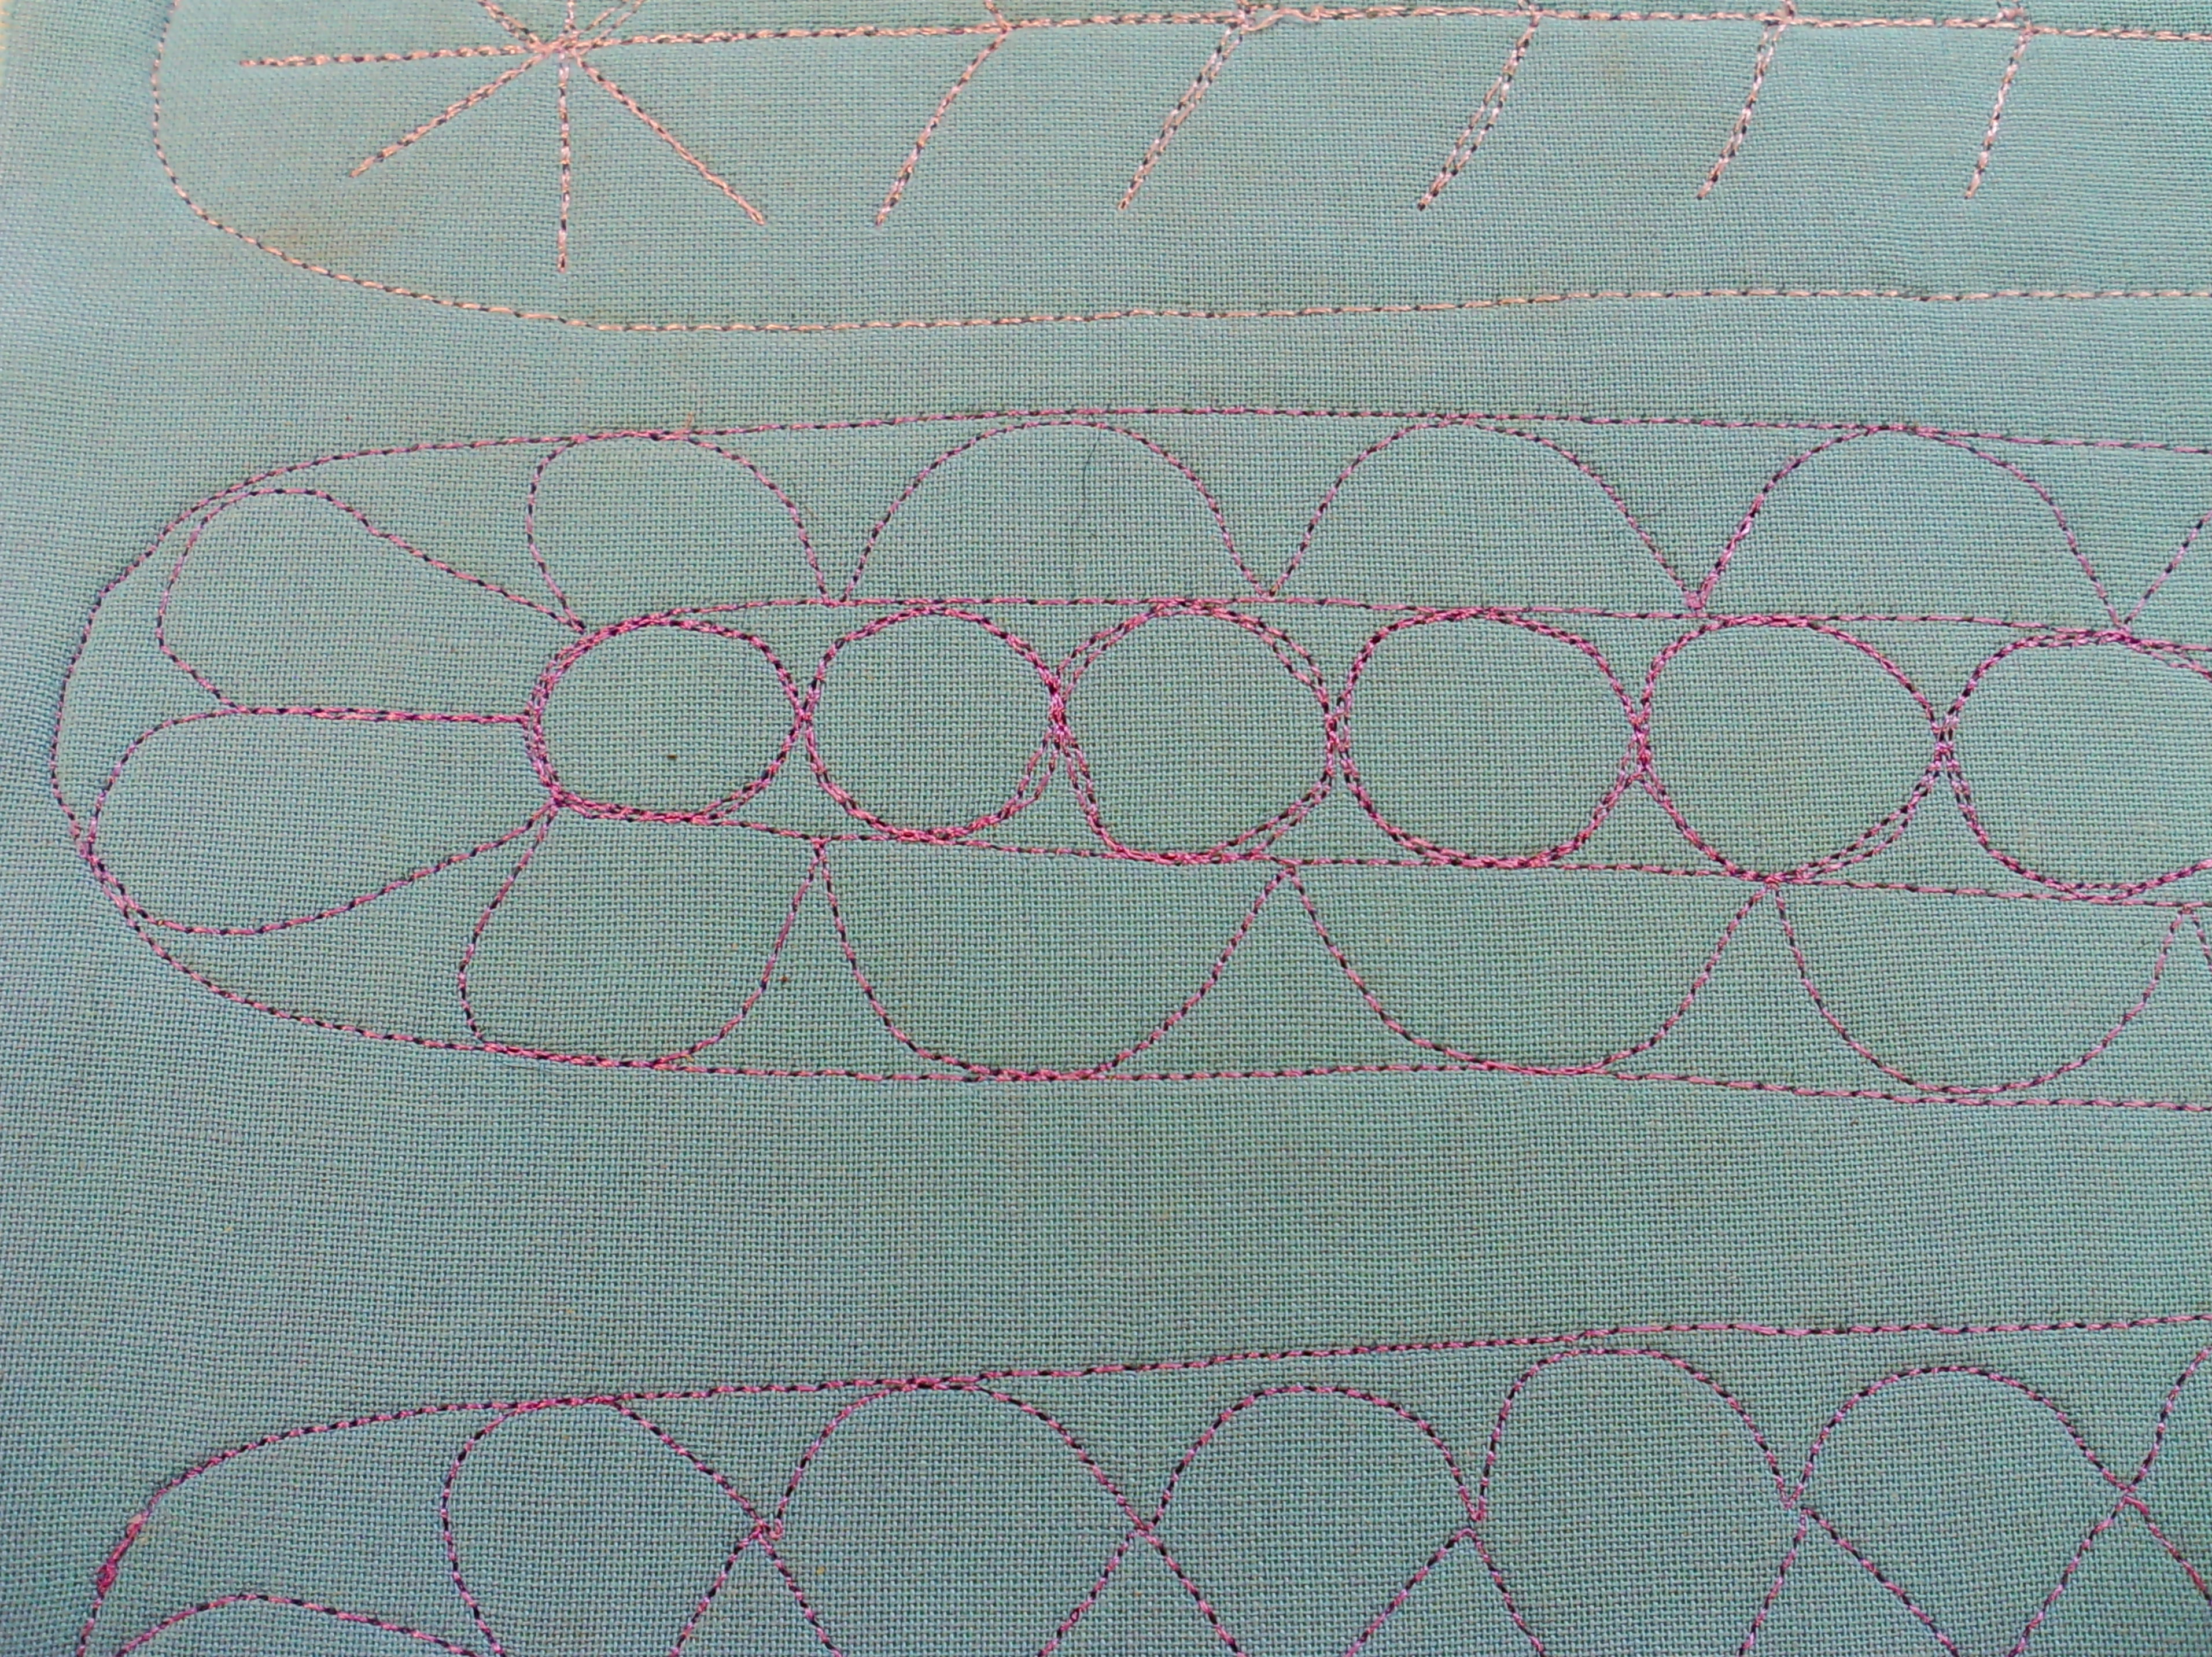
Well, I have been making my feathers, it's an easy quick way to get myself going.
Here are the last two days.
and a couple of closer pictures.
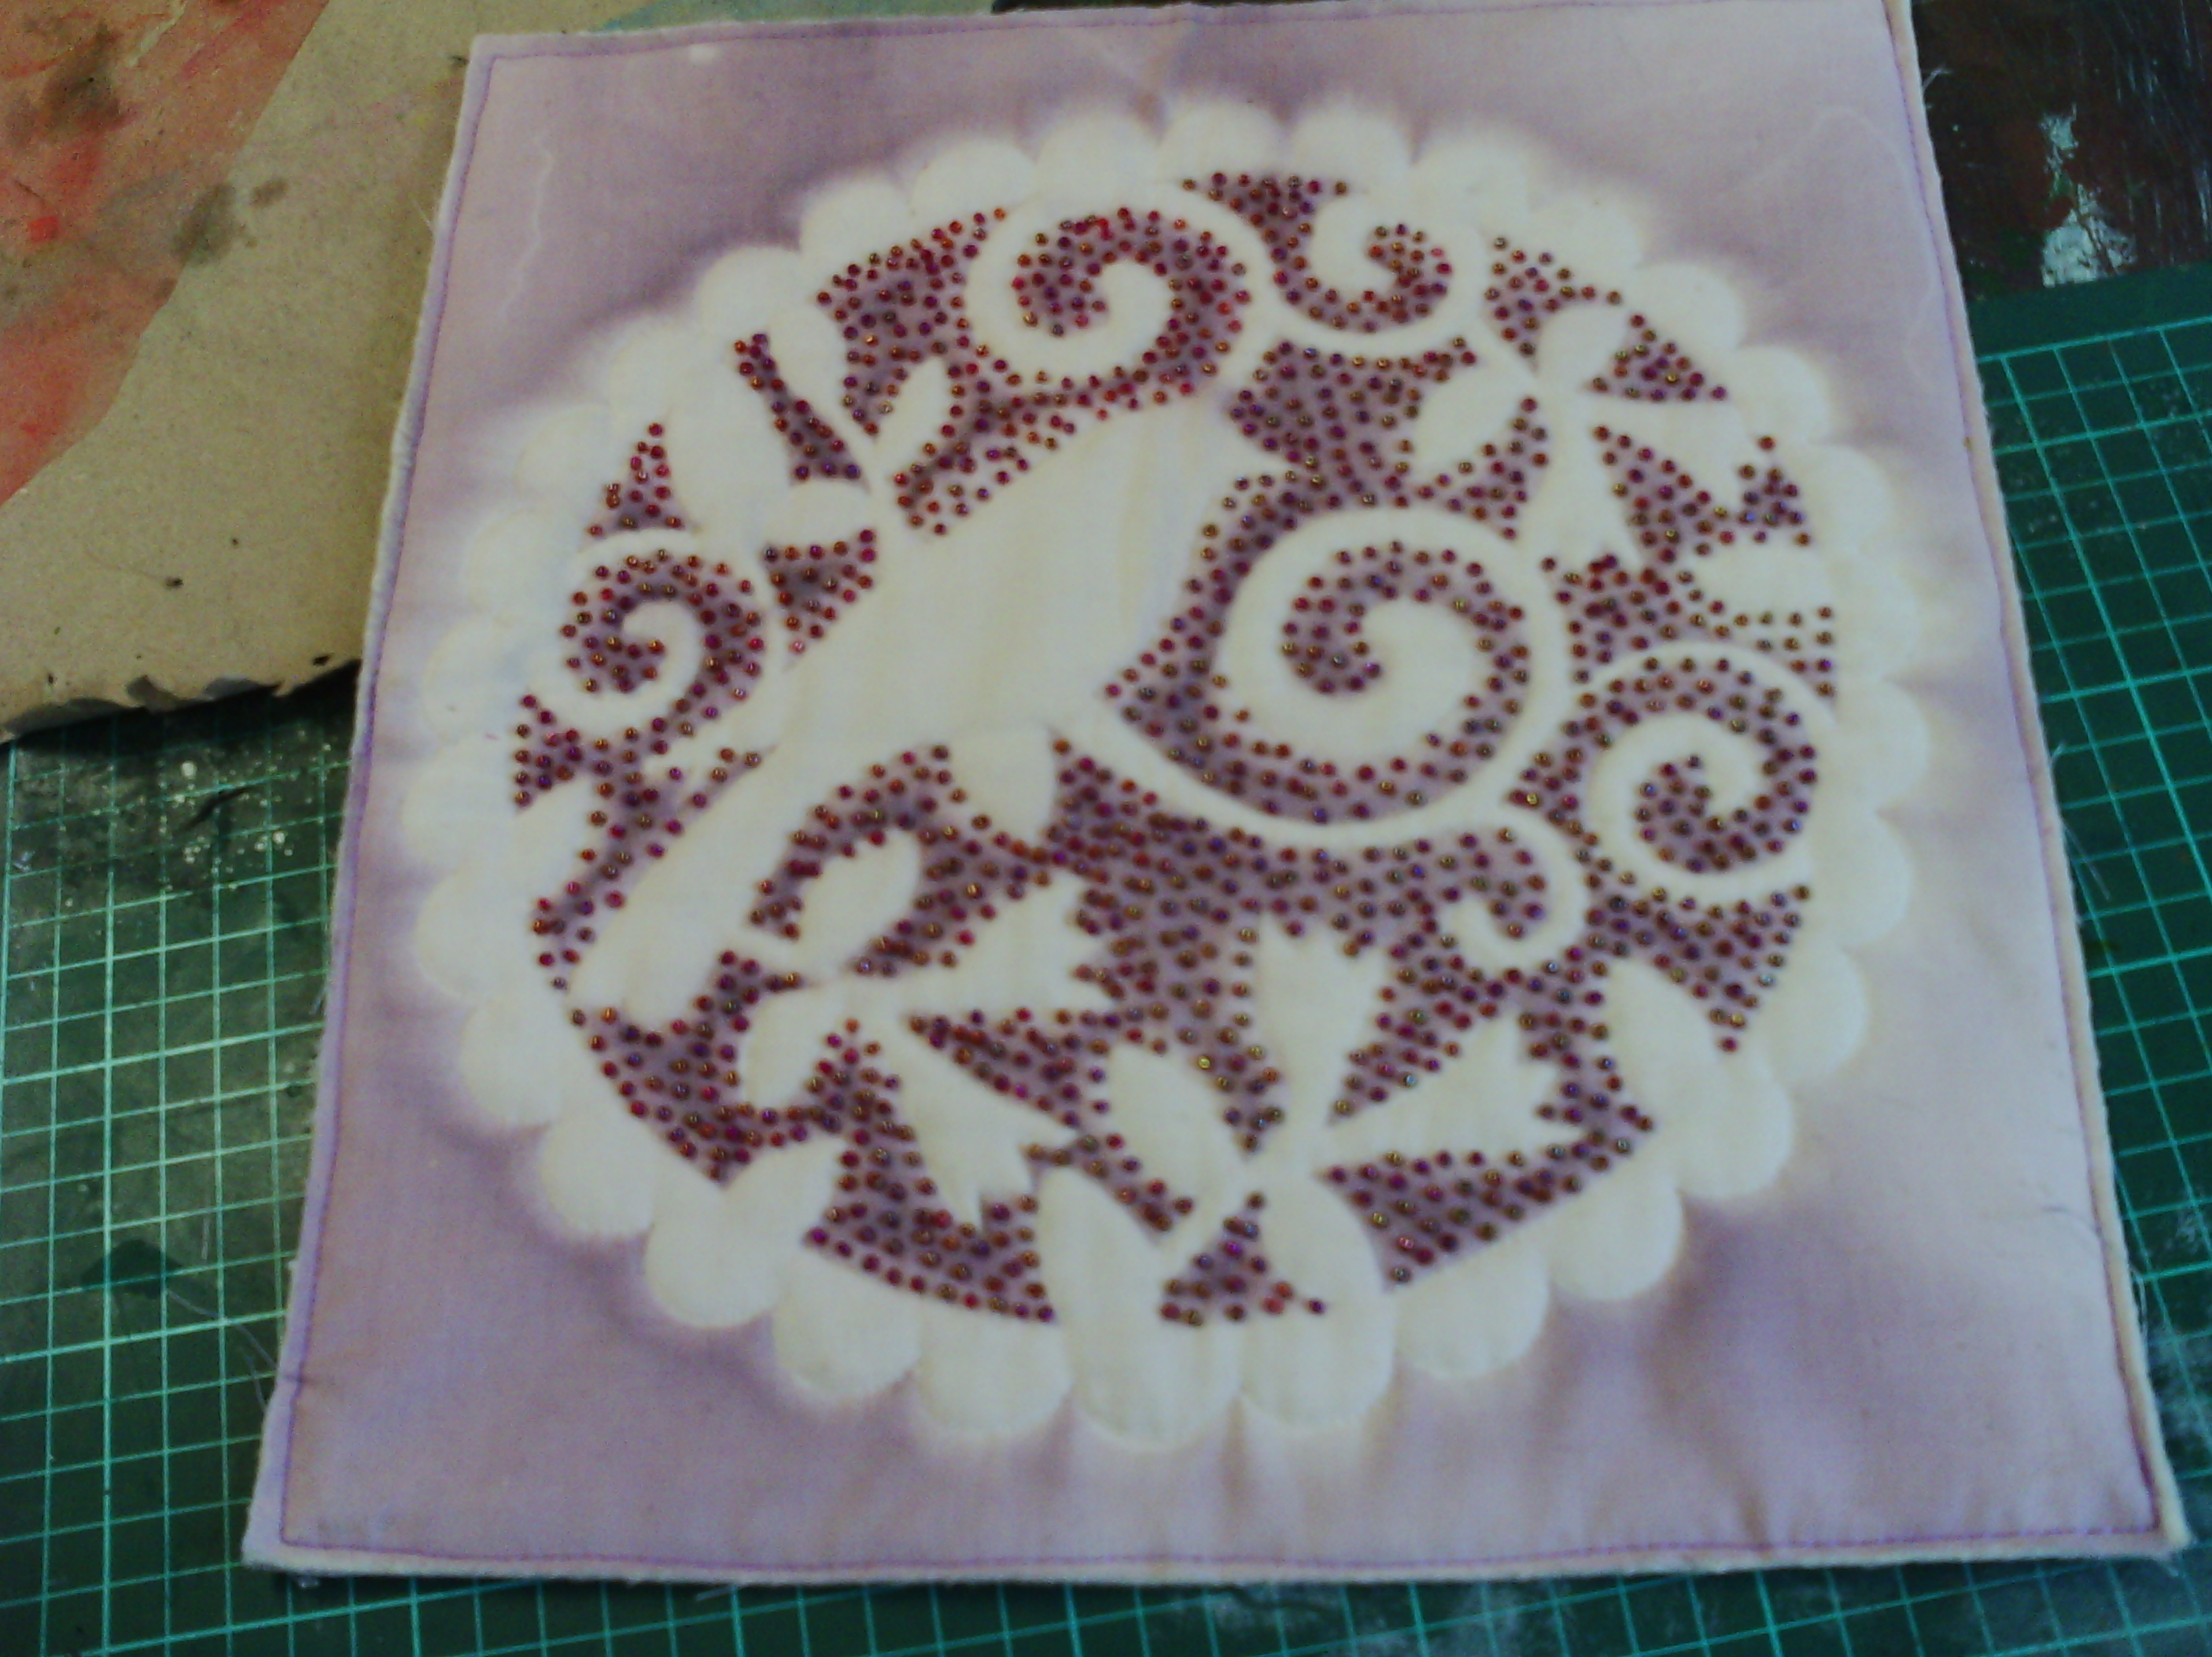
I have also finished a small piece for a friend.
It is a sunprint I did a fair while ago, here. I have beaded all the area between the bird and leaves. It took a fair amount of time. There are about 30 beads per square inch! I have not bound it, but just fastened the edges as she wishes to frame it. But at least now it is finished!
So that's where I am up to at the moment.
Let's create every day!
Here are the last two days.
and a couple of closer pictures.
I have also finished a small piece for a friend.
It is a sunprint I did a fair while ago, here. I have beaded all the area between the bird and leaves. It took a fair amount of time. There are about 30 beads per square inch! I have not bound it, but just fastened the edges as she wishes to frame it. But at least now it is finished!
So that's where I am up to at the moment.
Let's create every day!
Saturday, July 20, 2013
On the mend
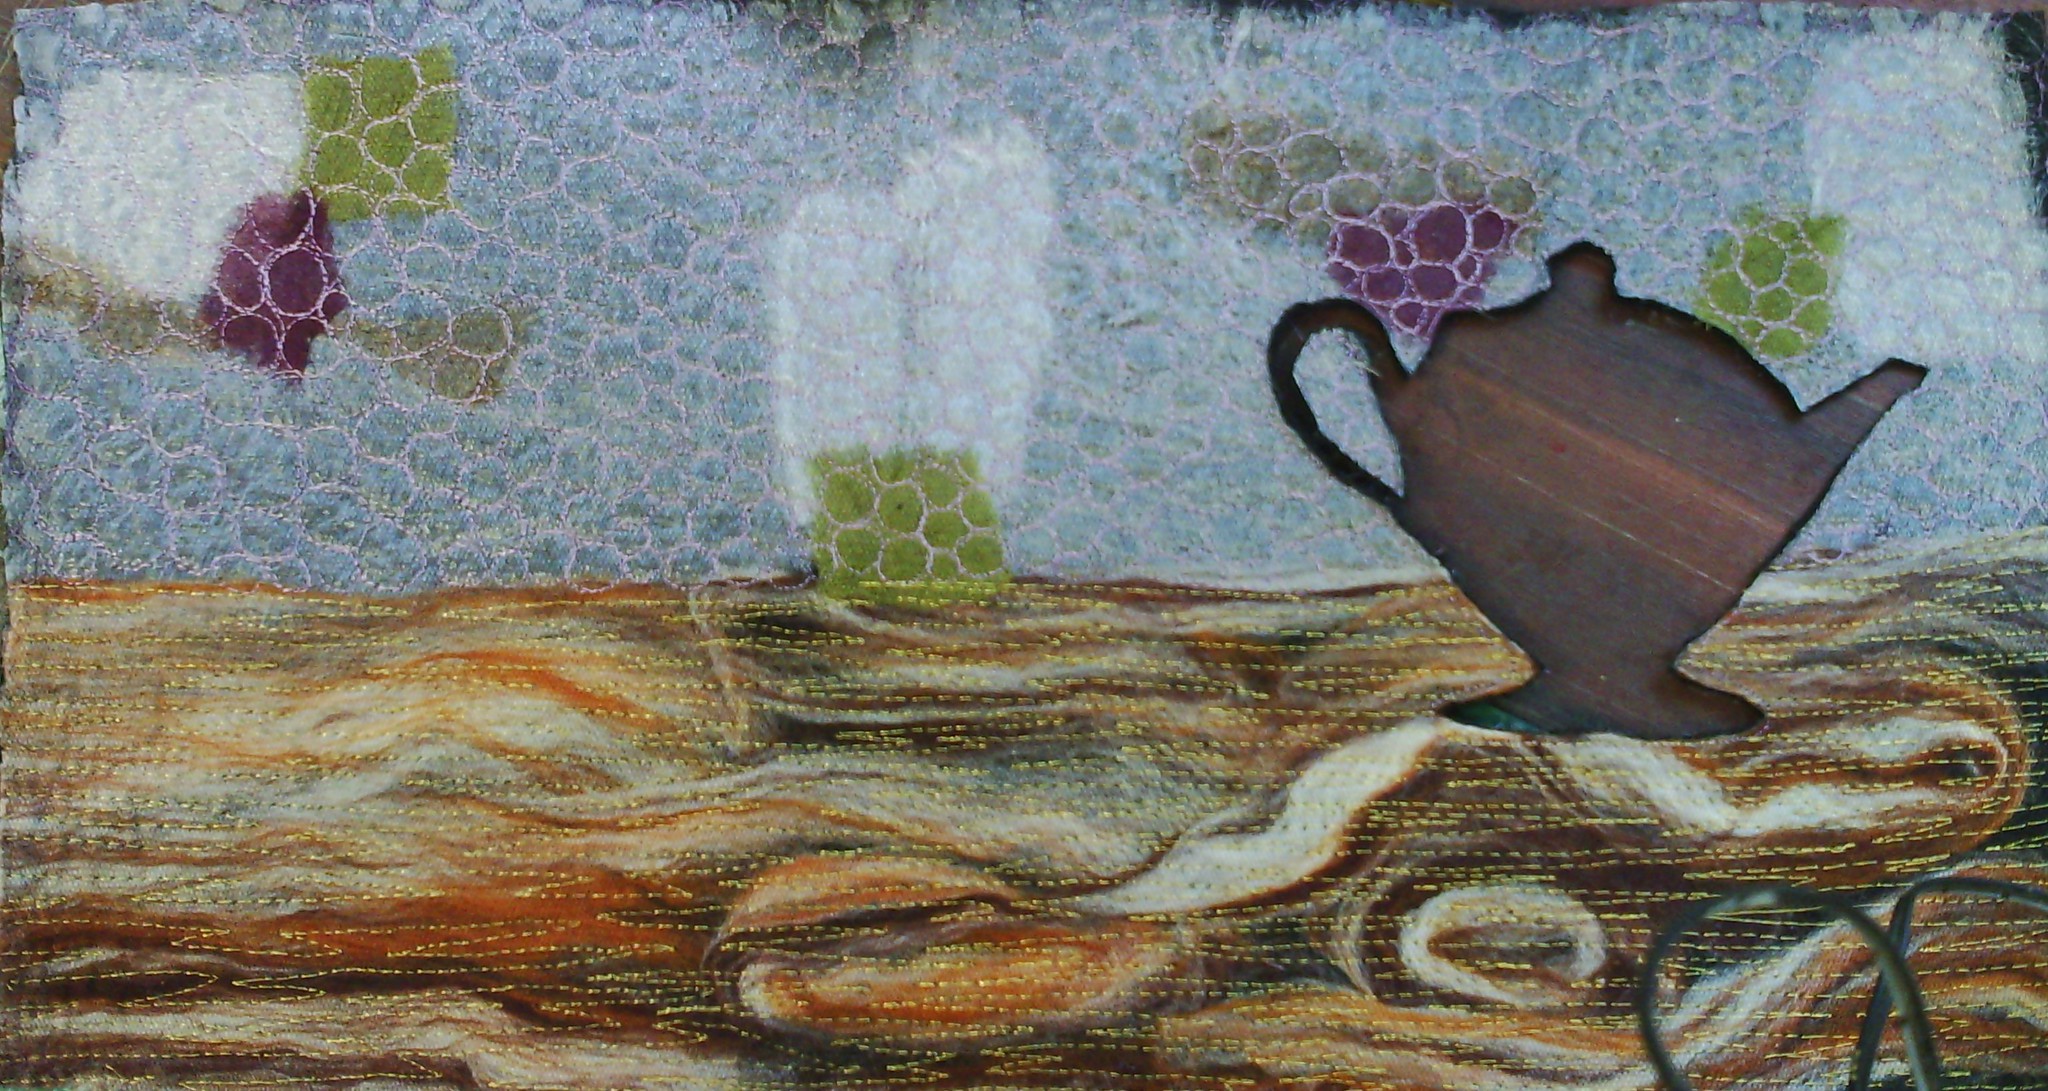
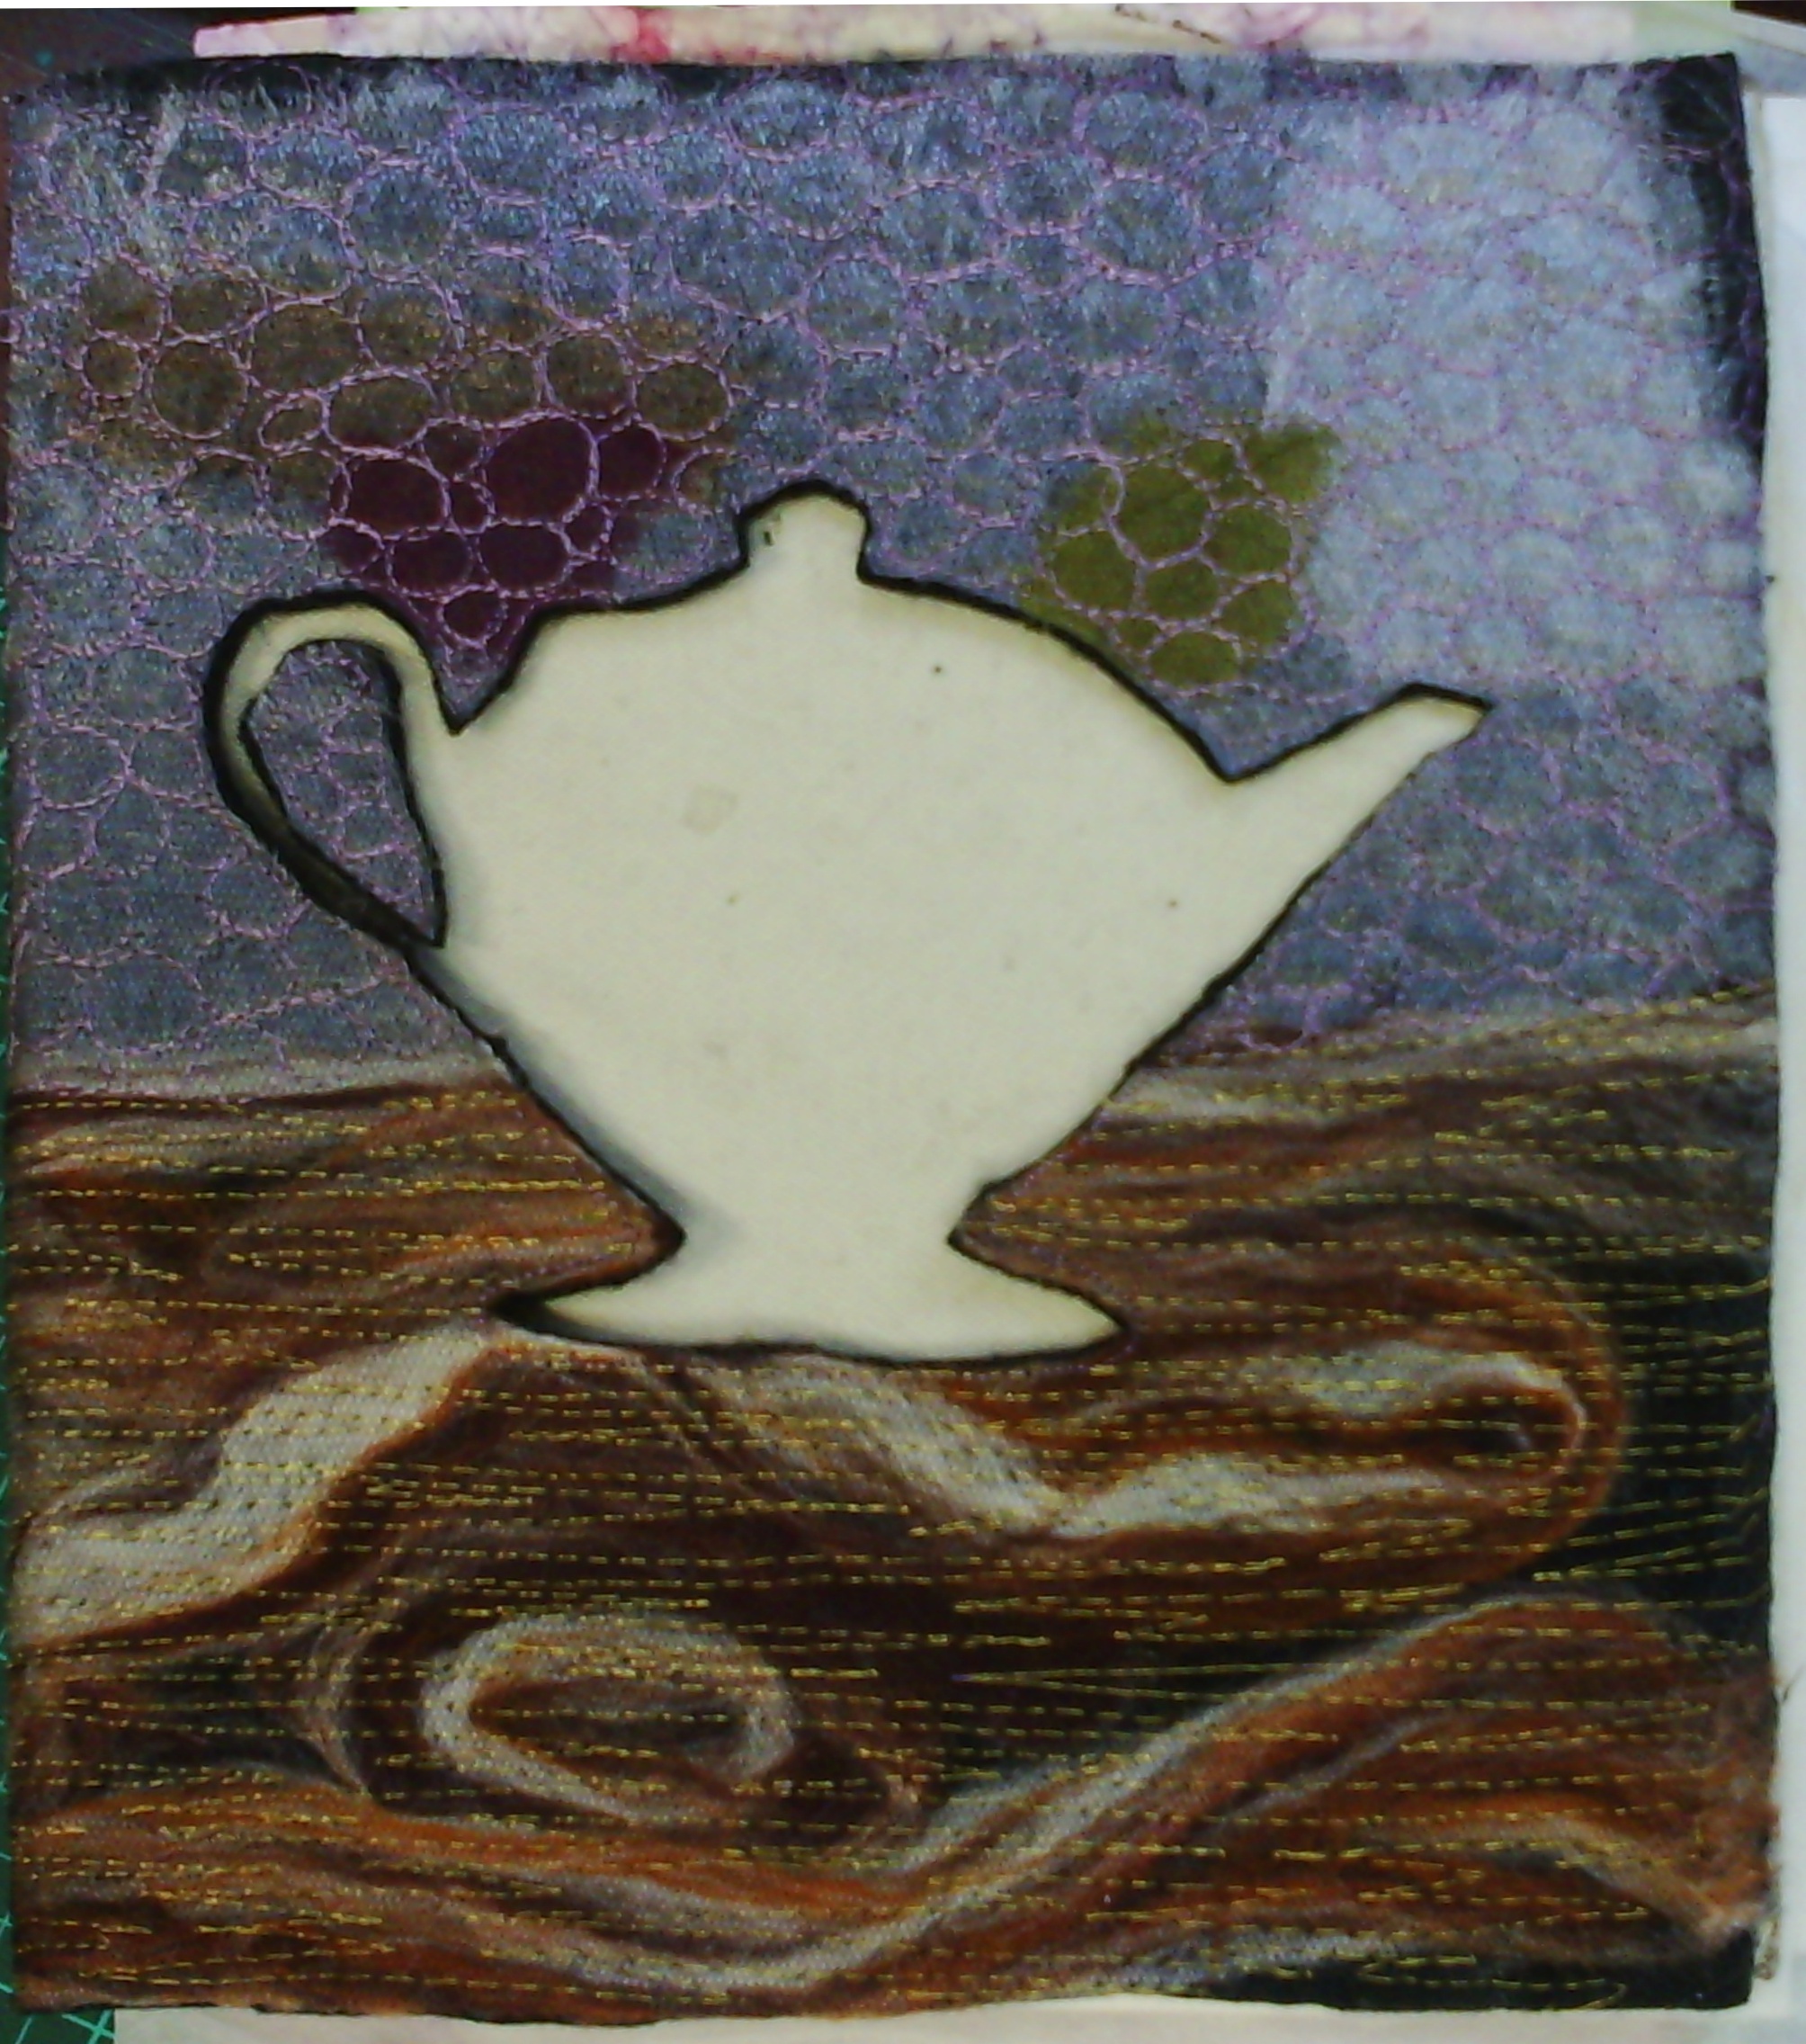
I have finally finished my sketchbook cover.
I am quite happy with the way it turned out. I trimmed it to size and glued the edges so the stitching was secure, then thought about how to attach it to the sketchbook.
I could have glued it down, since it is made specifically for this book, but I decided it was best not to do this in case the book needs rebinding at some time.
I decided to add some sticky velcro to the front and back, which would grab the felt backing. This worked really well and held the cover on very firmly.
I have not decided yet whether anything will go on the cover under the cutout, or if I will paint the cover.
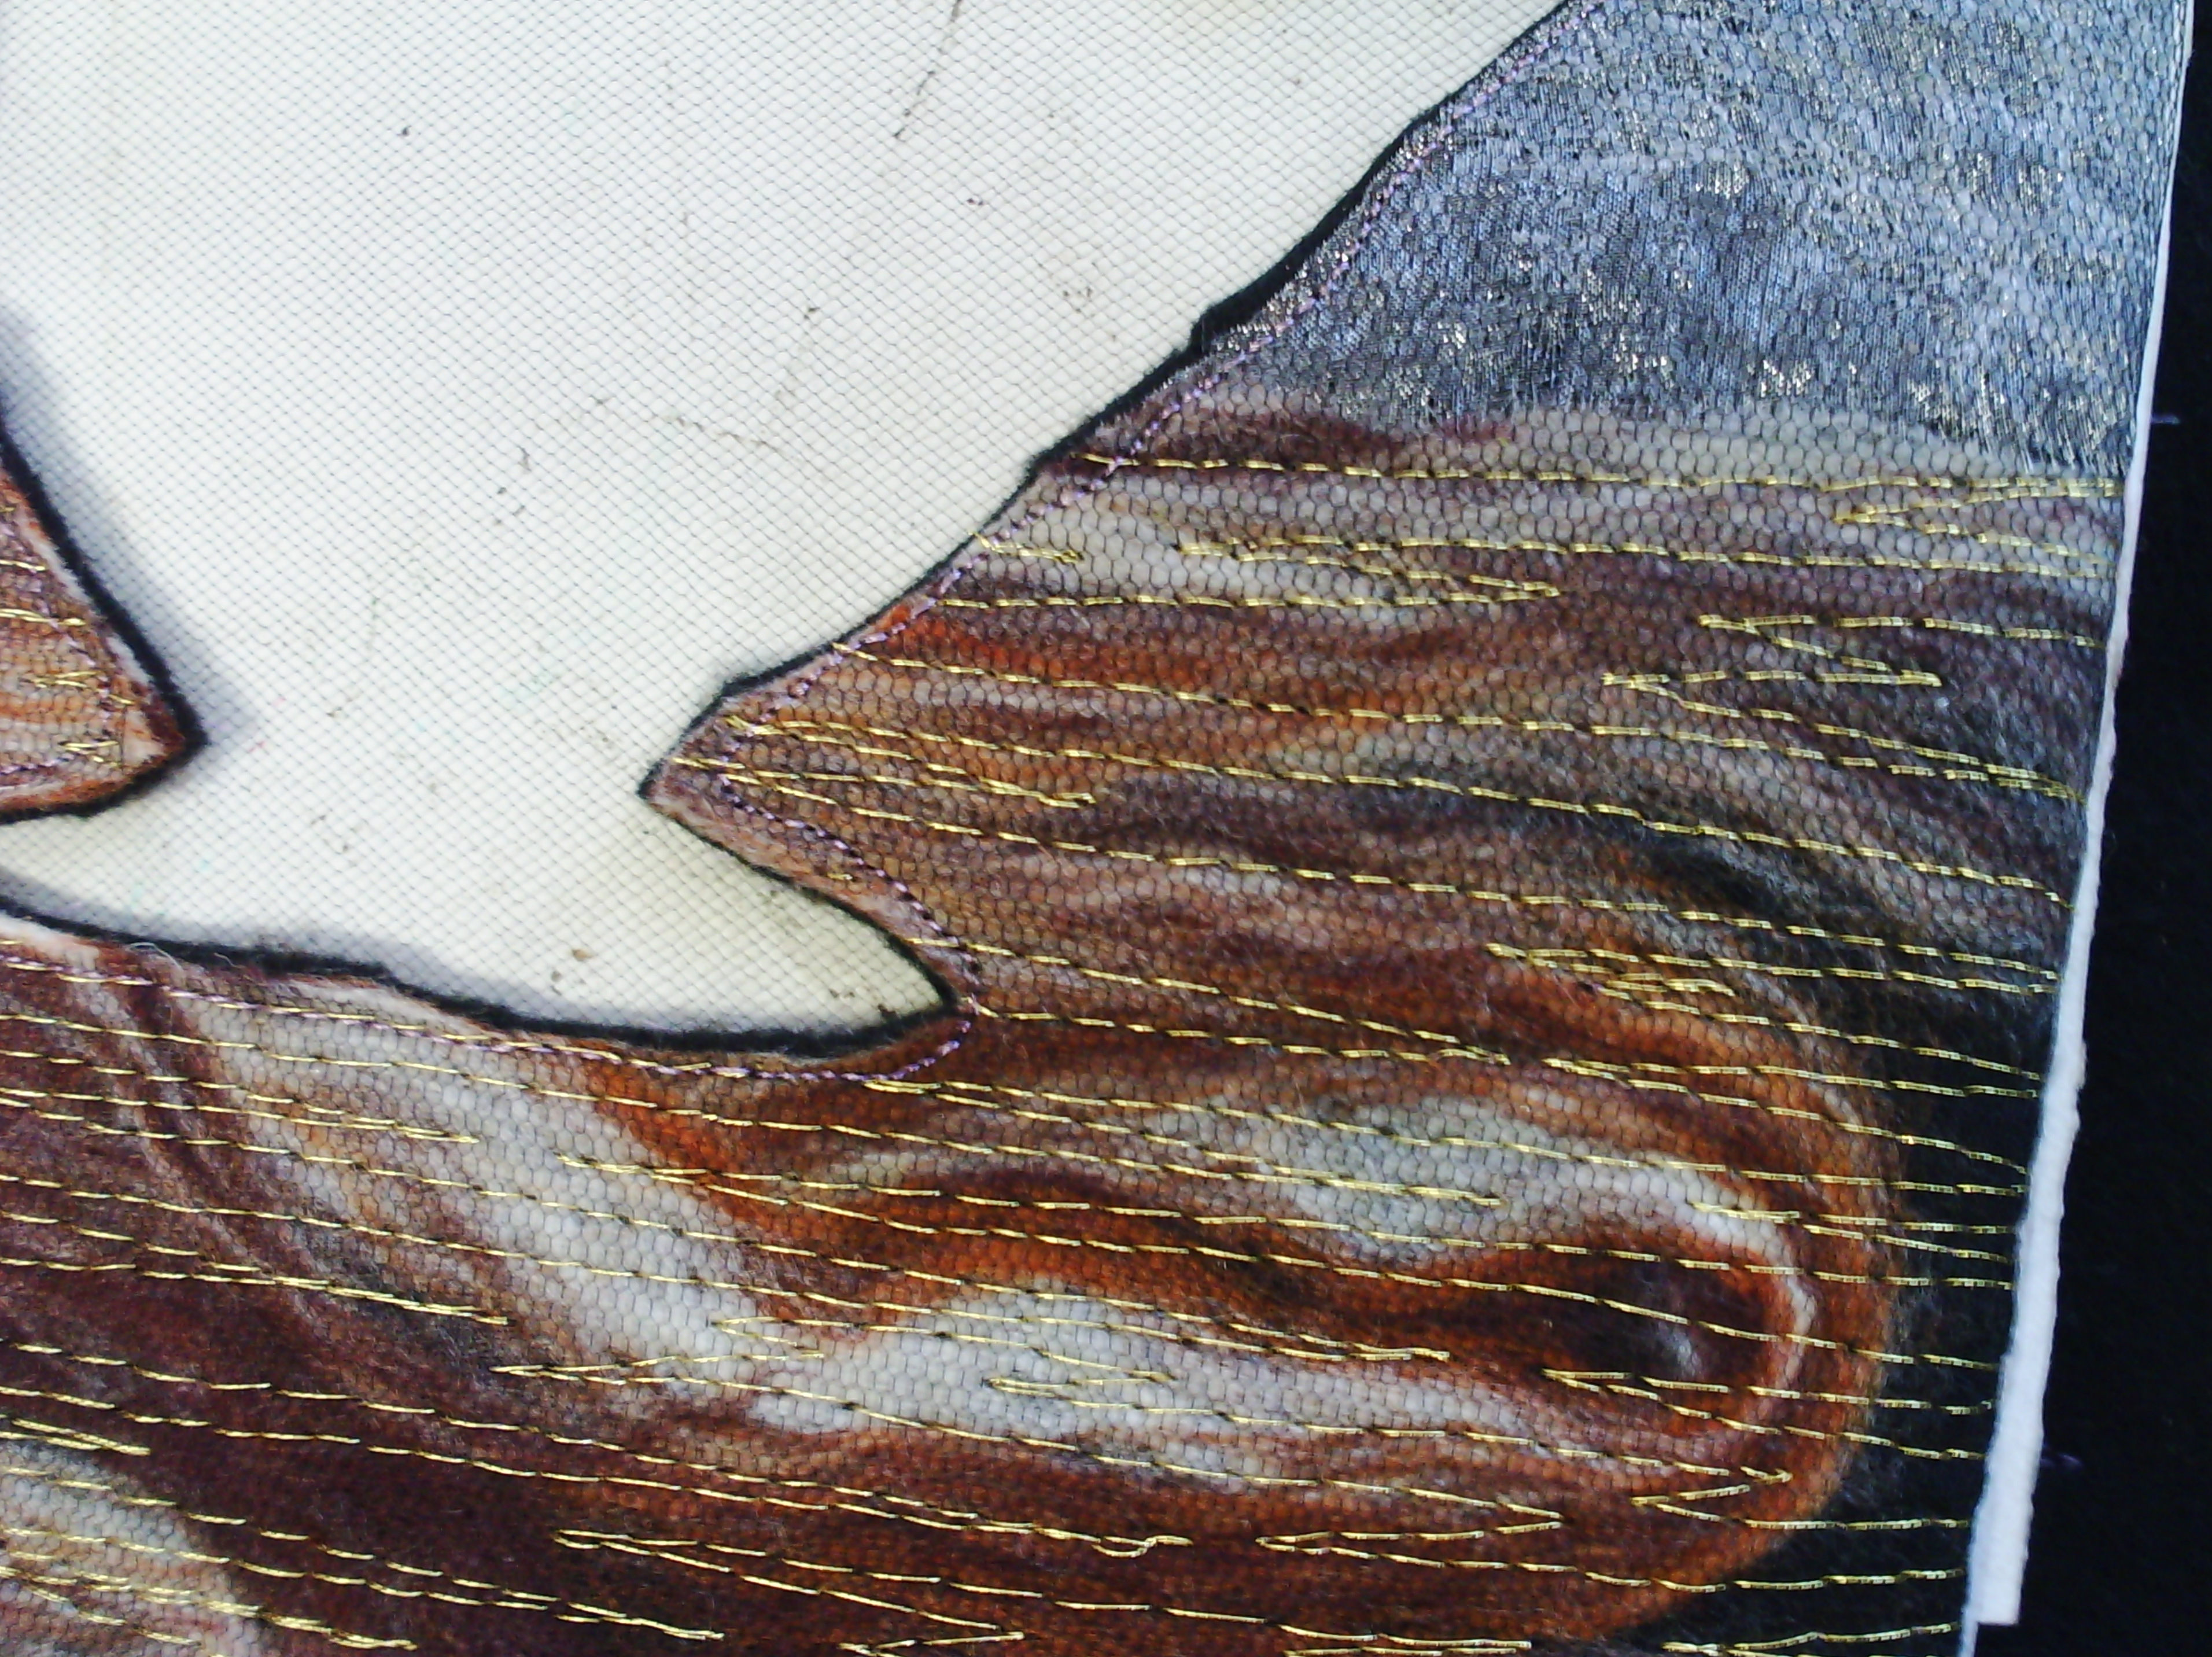
Above are a few close ups of the stitching.
I have been thinking a lot about blogging and have come to the conclusion that it keeps me on track. It has been a month since my last post and I have hardly done any textile work. Whilst a break can be a good thing, I am finding it very hard to get back into the swing of things. In the past I have always had a little project to keep me going, like ATCs and journal quilts and so I have decided what it is that I need to do every day at present and decided that it is quilting and free motion embroidery..
I have quite a few little sketchpads, filled with free motion doodles and a couple of months ago I came across one where I had doodled hundreds of little feather shapes with different fillings. I set up a pile of felt and fabric sandwiches to make samples with. And it sat on my table for quite a while.
So now I have set myself the task of doing one of these feathers a day. It only takes five minutes and makes me go into the studio and sew. Of course I can't always blog every day, but my task is to makes sure I do one of these every day and blog at least three times a week.
So here is my first one. It is a sort of dandelion inside the feather. I must admit, this one took actually less than a minute!
and here is a bit closer to see the stitches.
So, let's see if I can stick to my project and create every day again.
I am quite happy with the way it turned out. I trimmed it to size and glued the edges so the stitching was secure, then thought about how to attach it to the sketchbook.
I could have glued it down, since it is made specifically for this book, but I decided it was best not to do this in case the book needs rebinding at some time.
I decided to add some sticky velcro to the front and back, which would grab the felt backing. This worked really well and held the cover on very firmly.
I have not decided yet whether anything will go on the cover under the cutout, or if I will paint the cover.
Above are a few close ups of the stitching.
I have been thinking a lot about blogging and have come to the conclusion that it keeps me on track. It has been a month since my last post and I have hardly done any textile work. Whilst a break can be a good thing, I am finding it very hard to get back into the swing of things. In the past I have always had a little project to keep me going, like ATCs and journal quilts and so I have decided what it is that I need to do every day at present and decided that it is quilting and free motion embroidery..
I have quite a few little sketchpads, filled with free motion doodles and a couple of months ago I came across one where I had doodled hundreds of little feather shapes with different fillings. I set up a pile of felt and fabric sandwiches to make samples with. And it sat on my table for quite a while.
So now I have set myself the task of doing one of these feathers a day. It only takes five minutes and makes me go into the studio and sew. Of course I can't always blog every day, but my task is to makes sure I do one of these every day and blog at least three times a week.
So here is my first one. It is a sort of dandelion inside the feather. I must admit, this one took actually less than a minute!
and here is a bit closer to see the stitches.
So, let's see if I can stick to my project and create every day again.
Sunday, June 23, 2013
of books and broken ankles
There are two reasons I have not blogged for a while. The first is that I am spending far too much time on my creative sketchbooks course and the second is that I currently have a broken ankle. Until late last week, it was impossible to do any sewing and quite easy to sit and draw for my course.
My ankle is now in an huge boot, which will keep it stable until I have surgery to re attach some ligaments. It's like an enormous cast, but it can come off.
Enough of that. Today I decided my sketchbook needed a cover so I started needlefelting a wrap around cover for it.
I warn you my pictures are awful as I am getting used to the new camera after my old one died a few blogs ago.
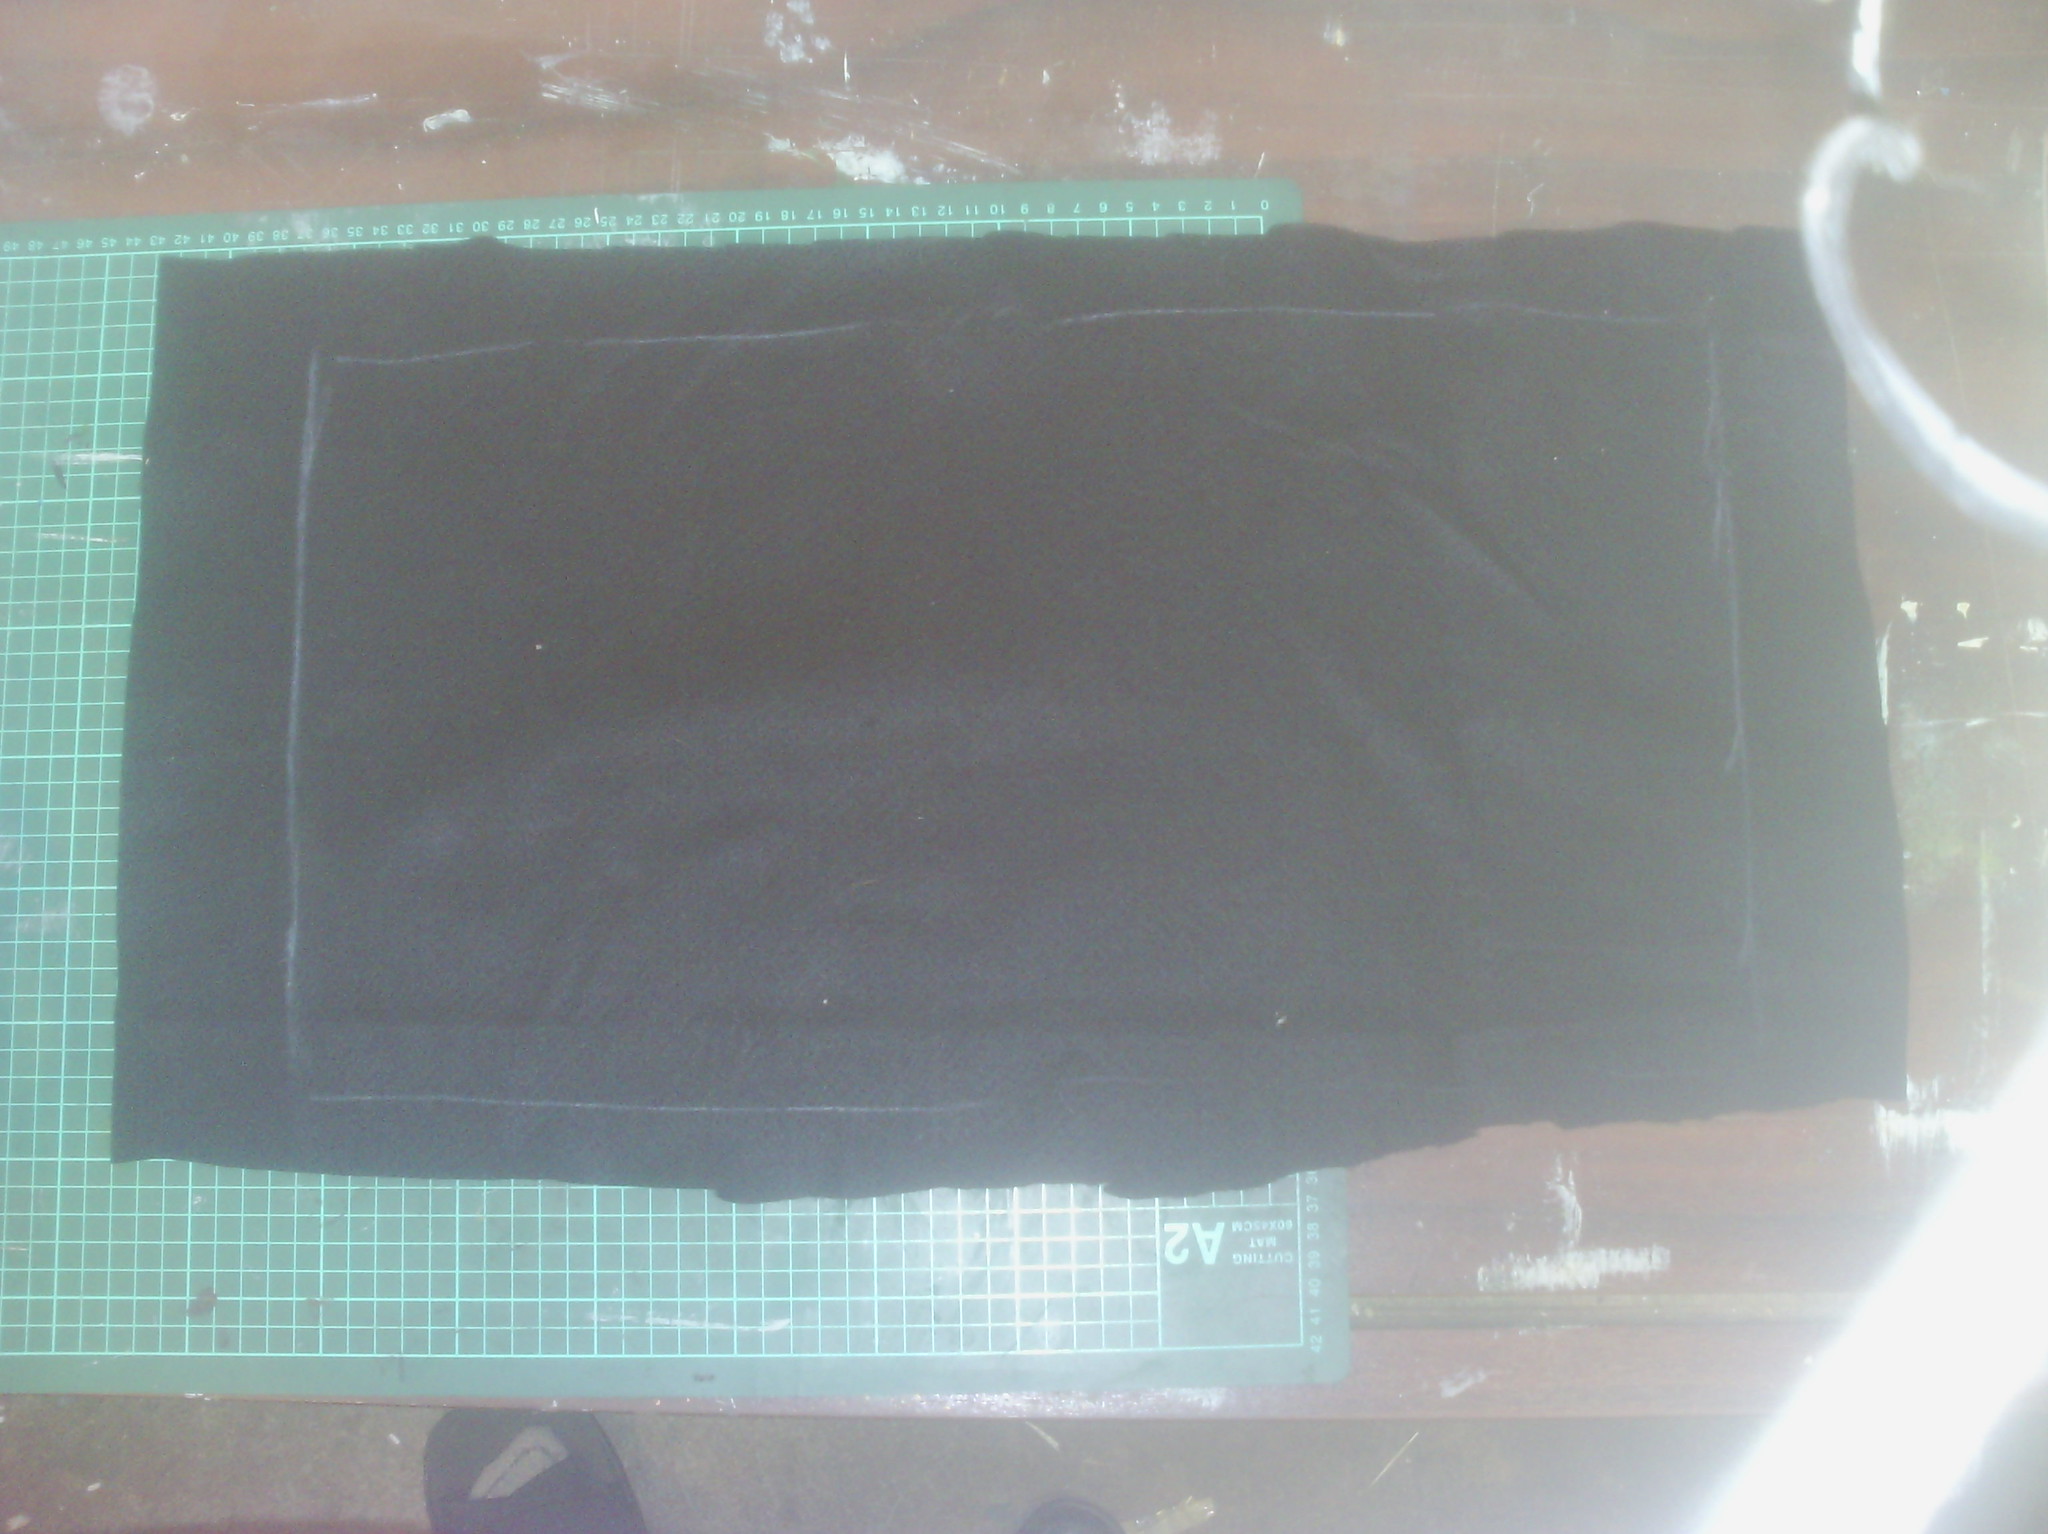
First, I wrapped some black felt around my book and marked the edges with chalk. The felt will shrink quite a bit and that is why I have cut it extra large.
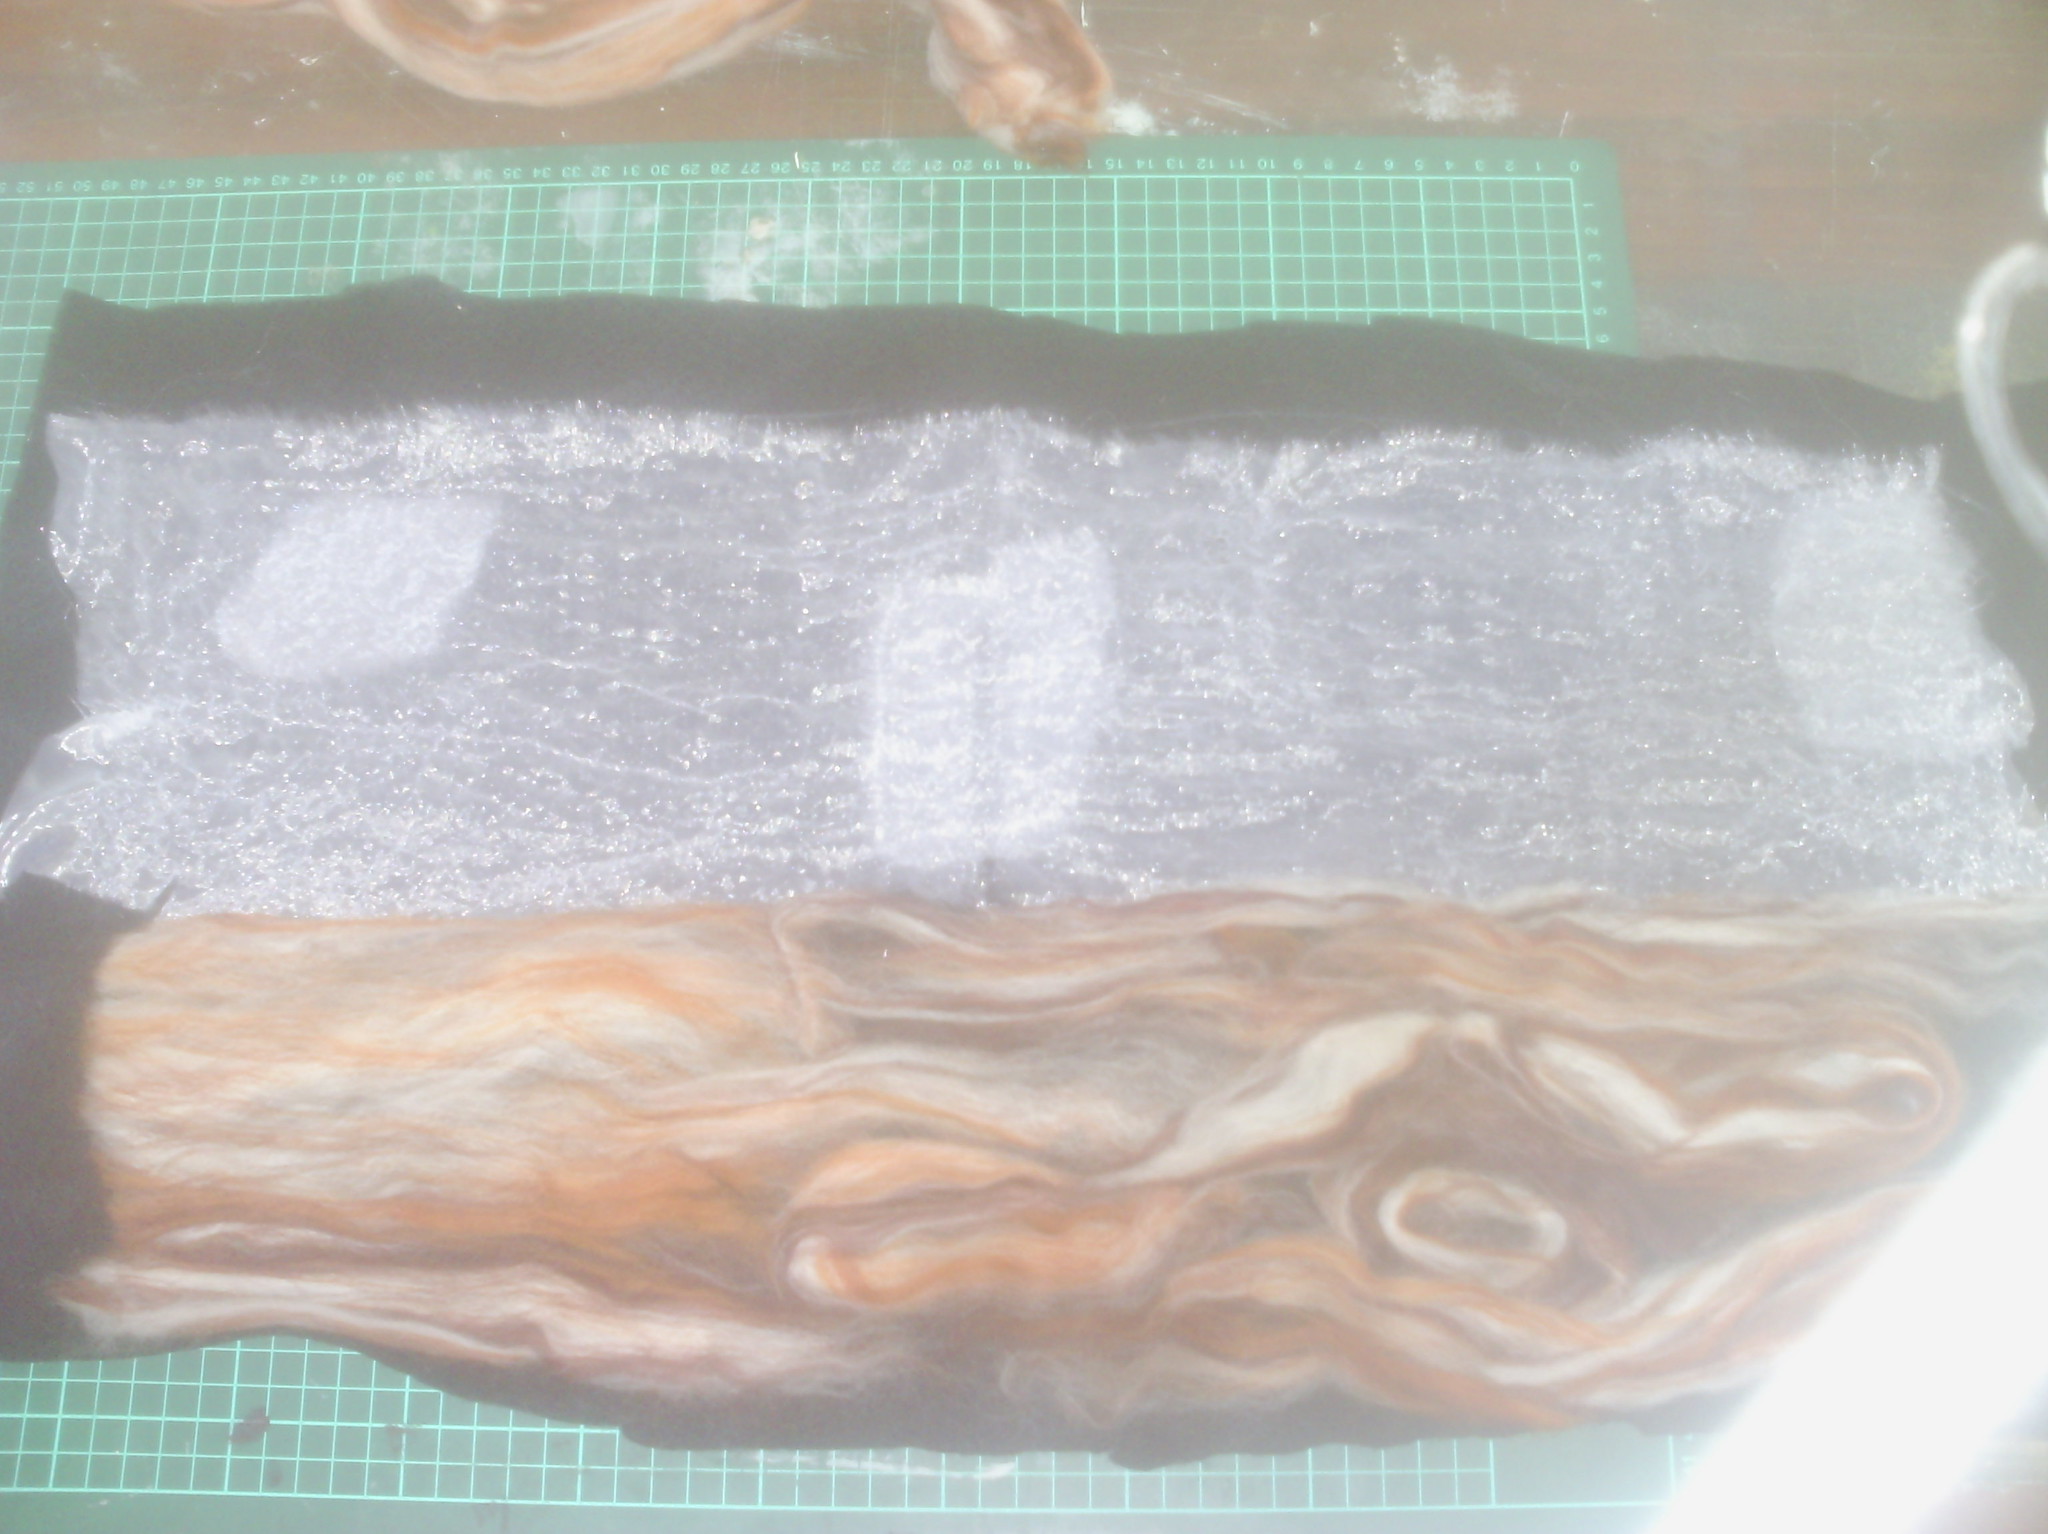
I missed a few steps before this photo, but I laid out some white organza for my background and some rovings in browns to look like wood for my table top. In this photo, I have needlefelted the organza down. and added a few extra bits. I love the texture of needlefelted organza.
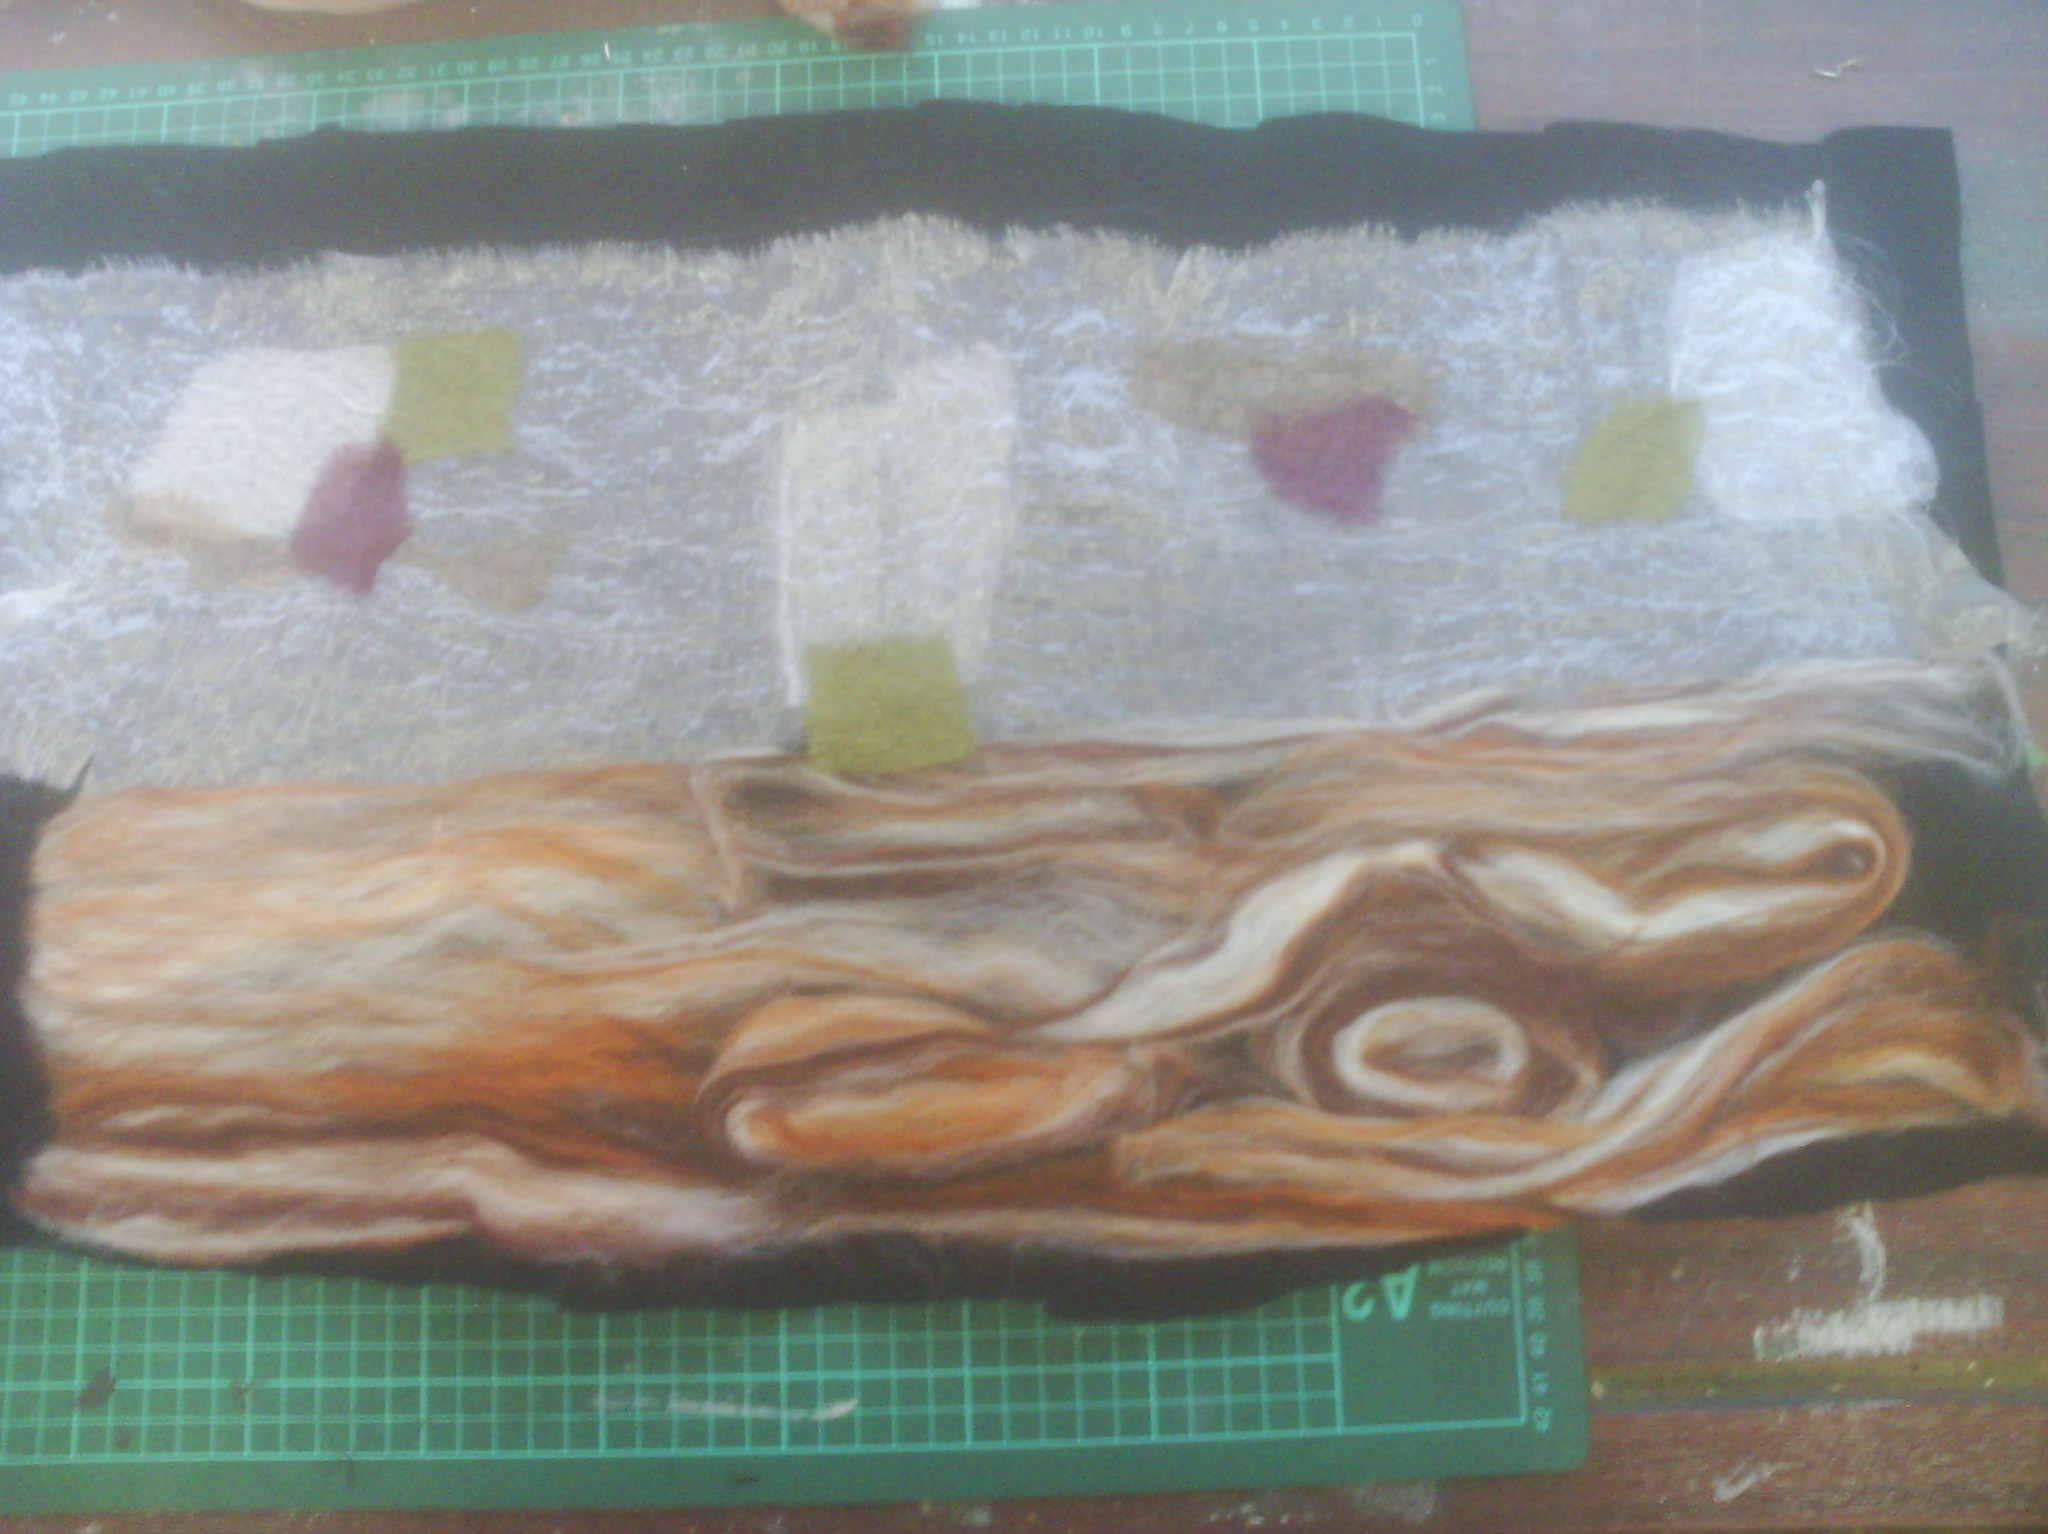
I thought the background could do with a bit more colour, so I put a few scraps of other coloured organza and chiffon down.
And felted them into the background.
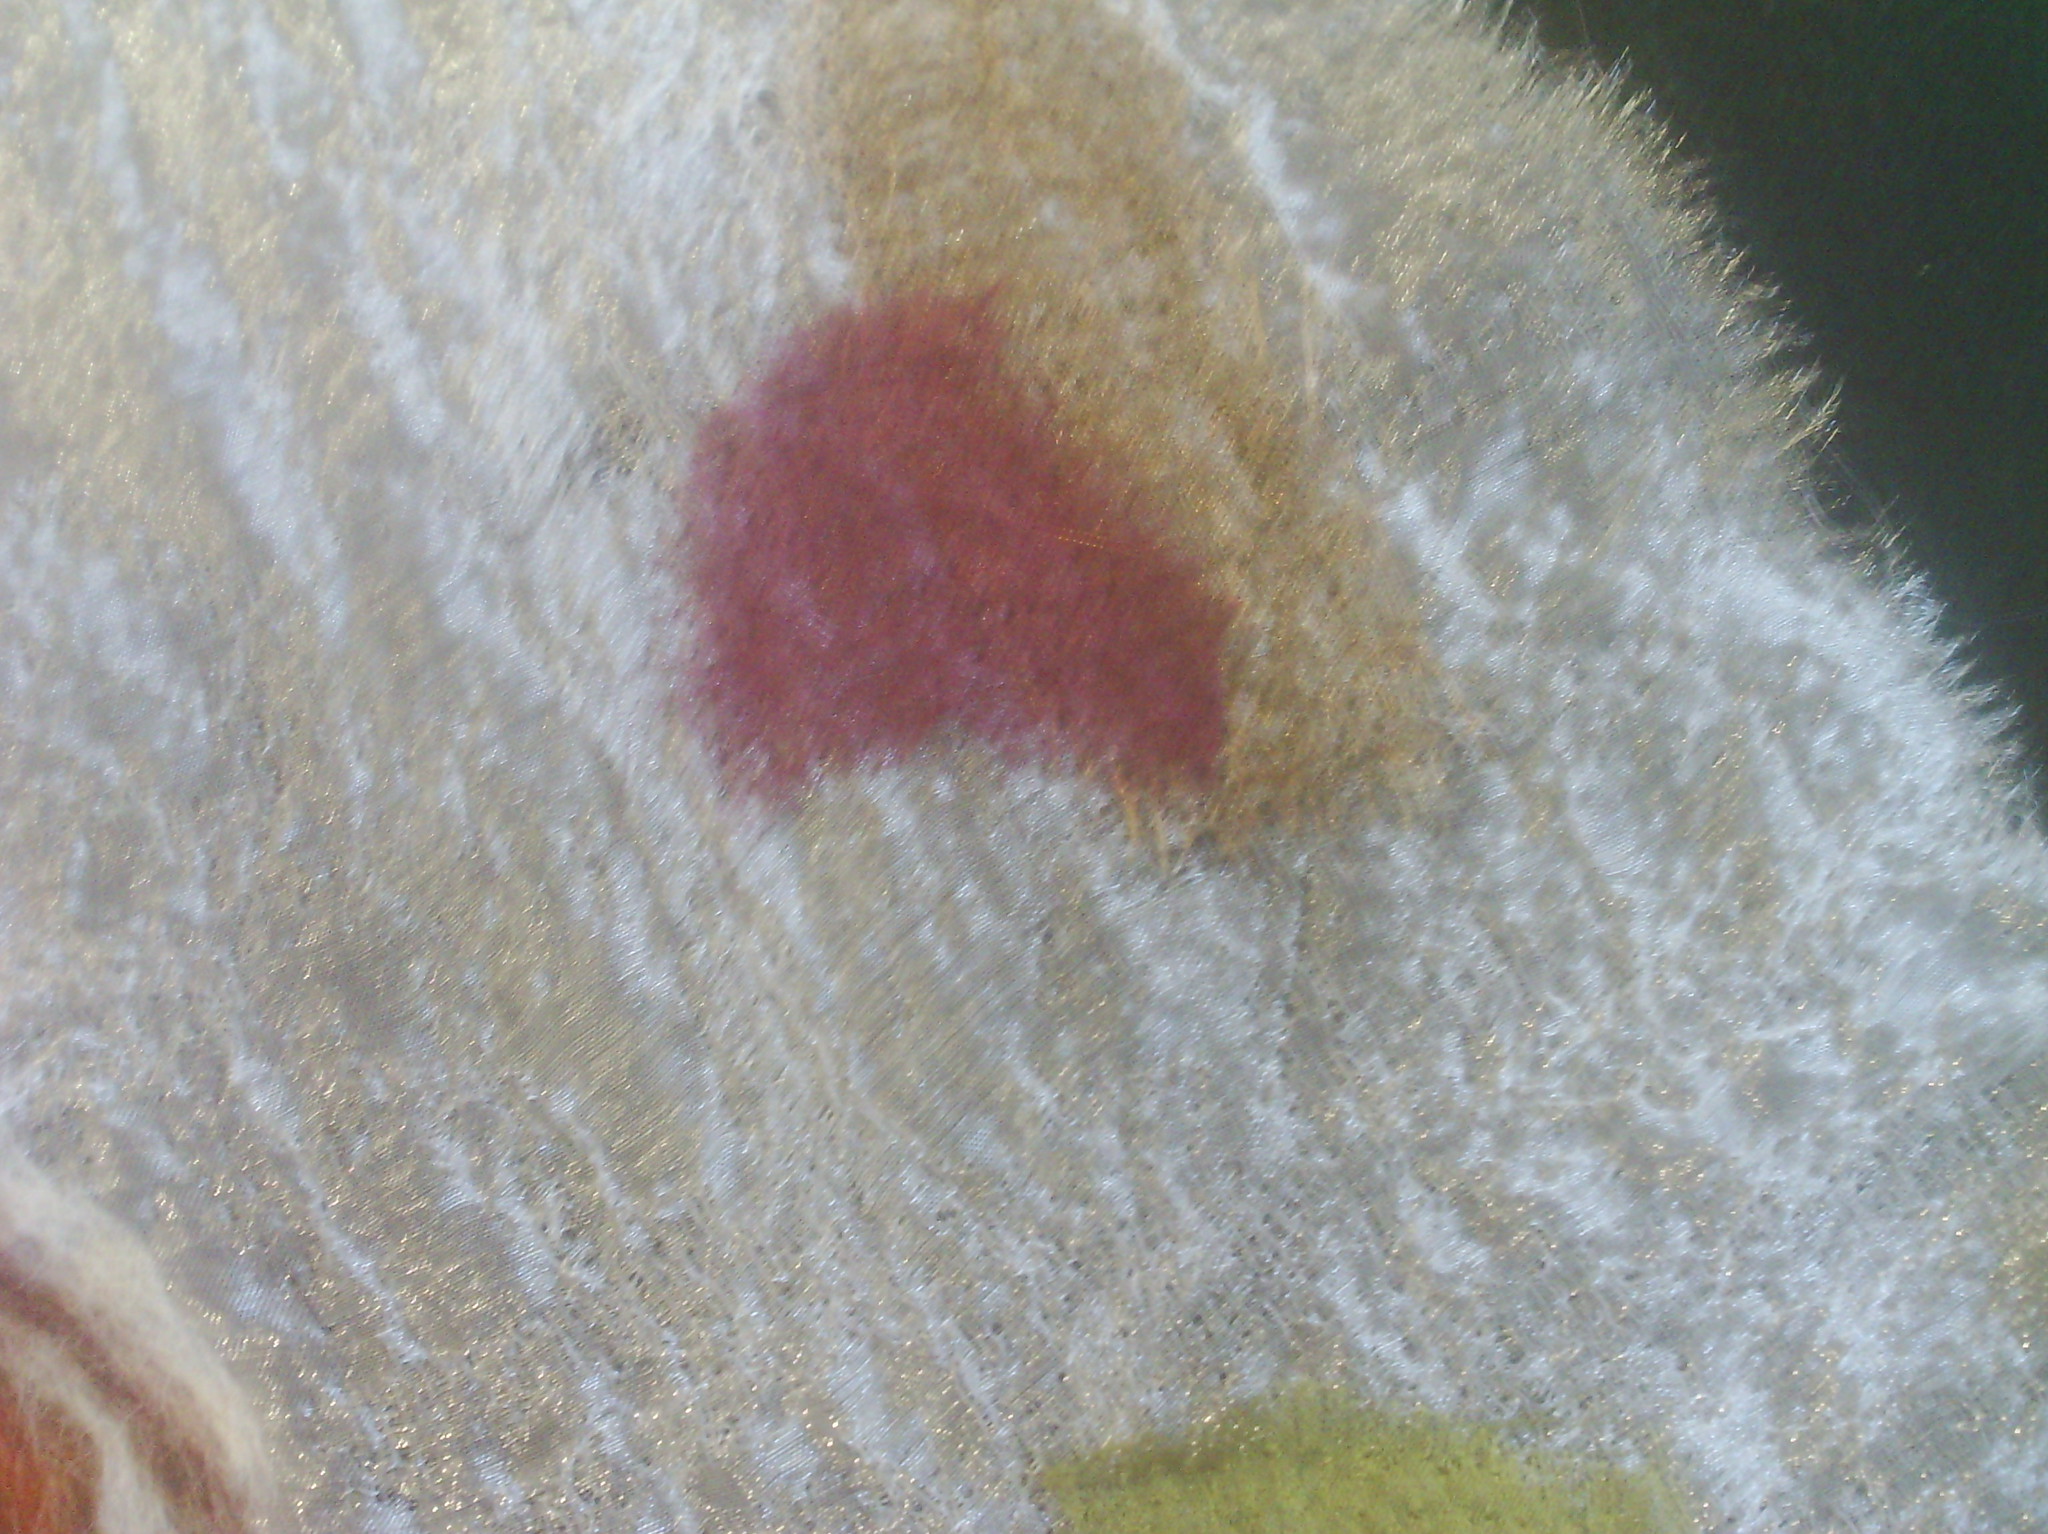
Here's a closeup of the texture after needlefelting.
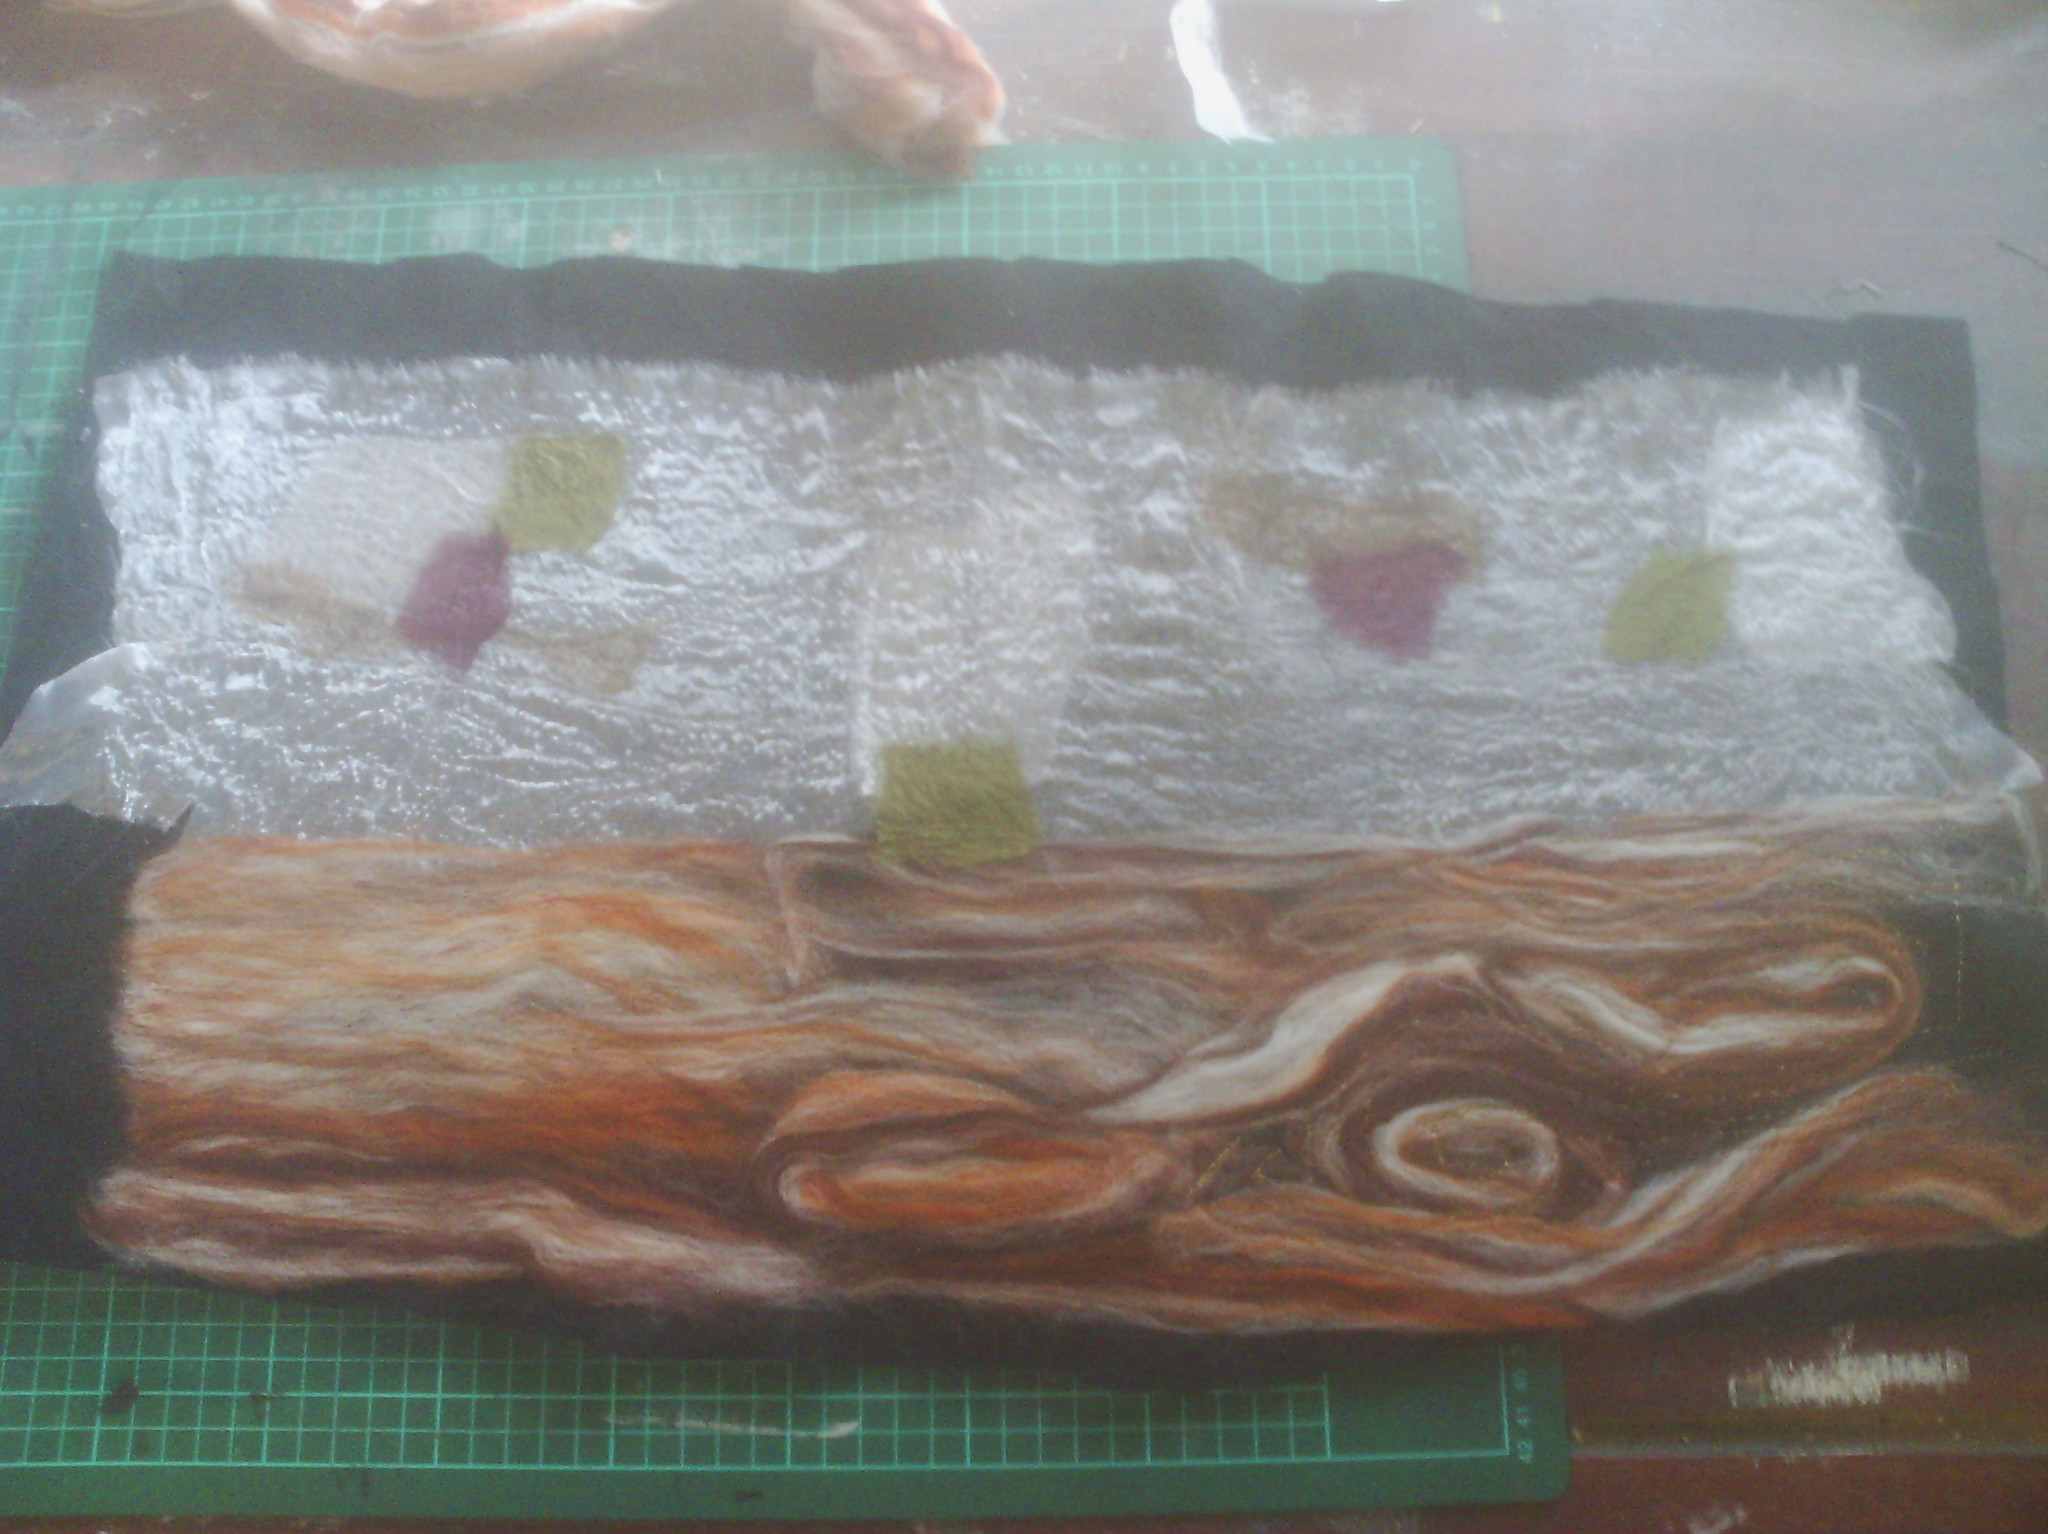
And here it is after I have needlefelted all the rovings in place.
I started free motion stitching at the bottom right with a gold thread, but I wasn't happy with it. It didn't show well and I felt the colour of the rovings was just too raw, so I unpicked it all.
Then I added some black bridal tulle over the top and started stitching again.
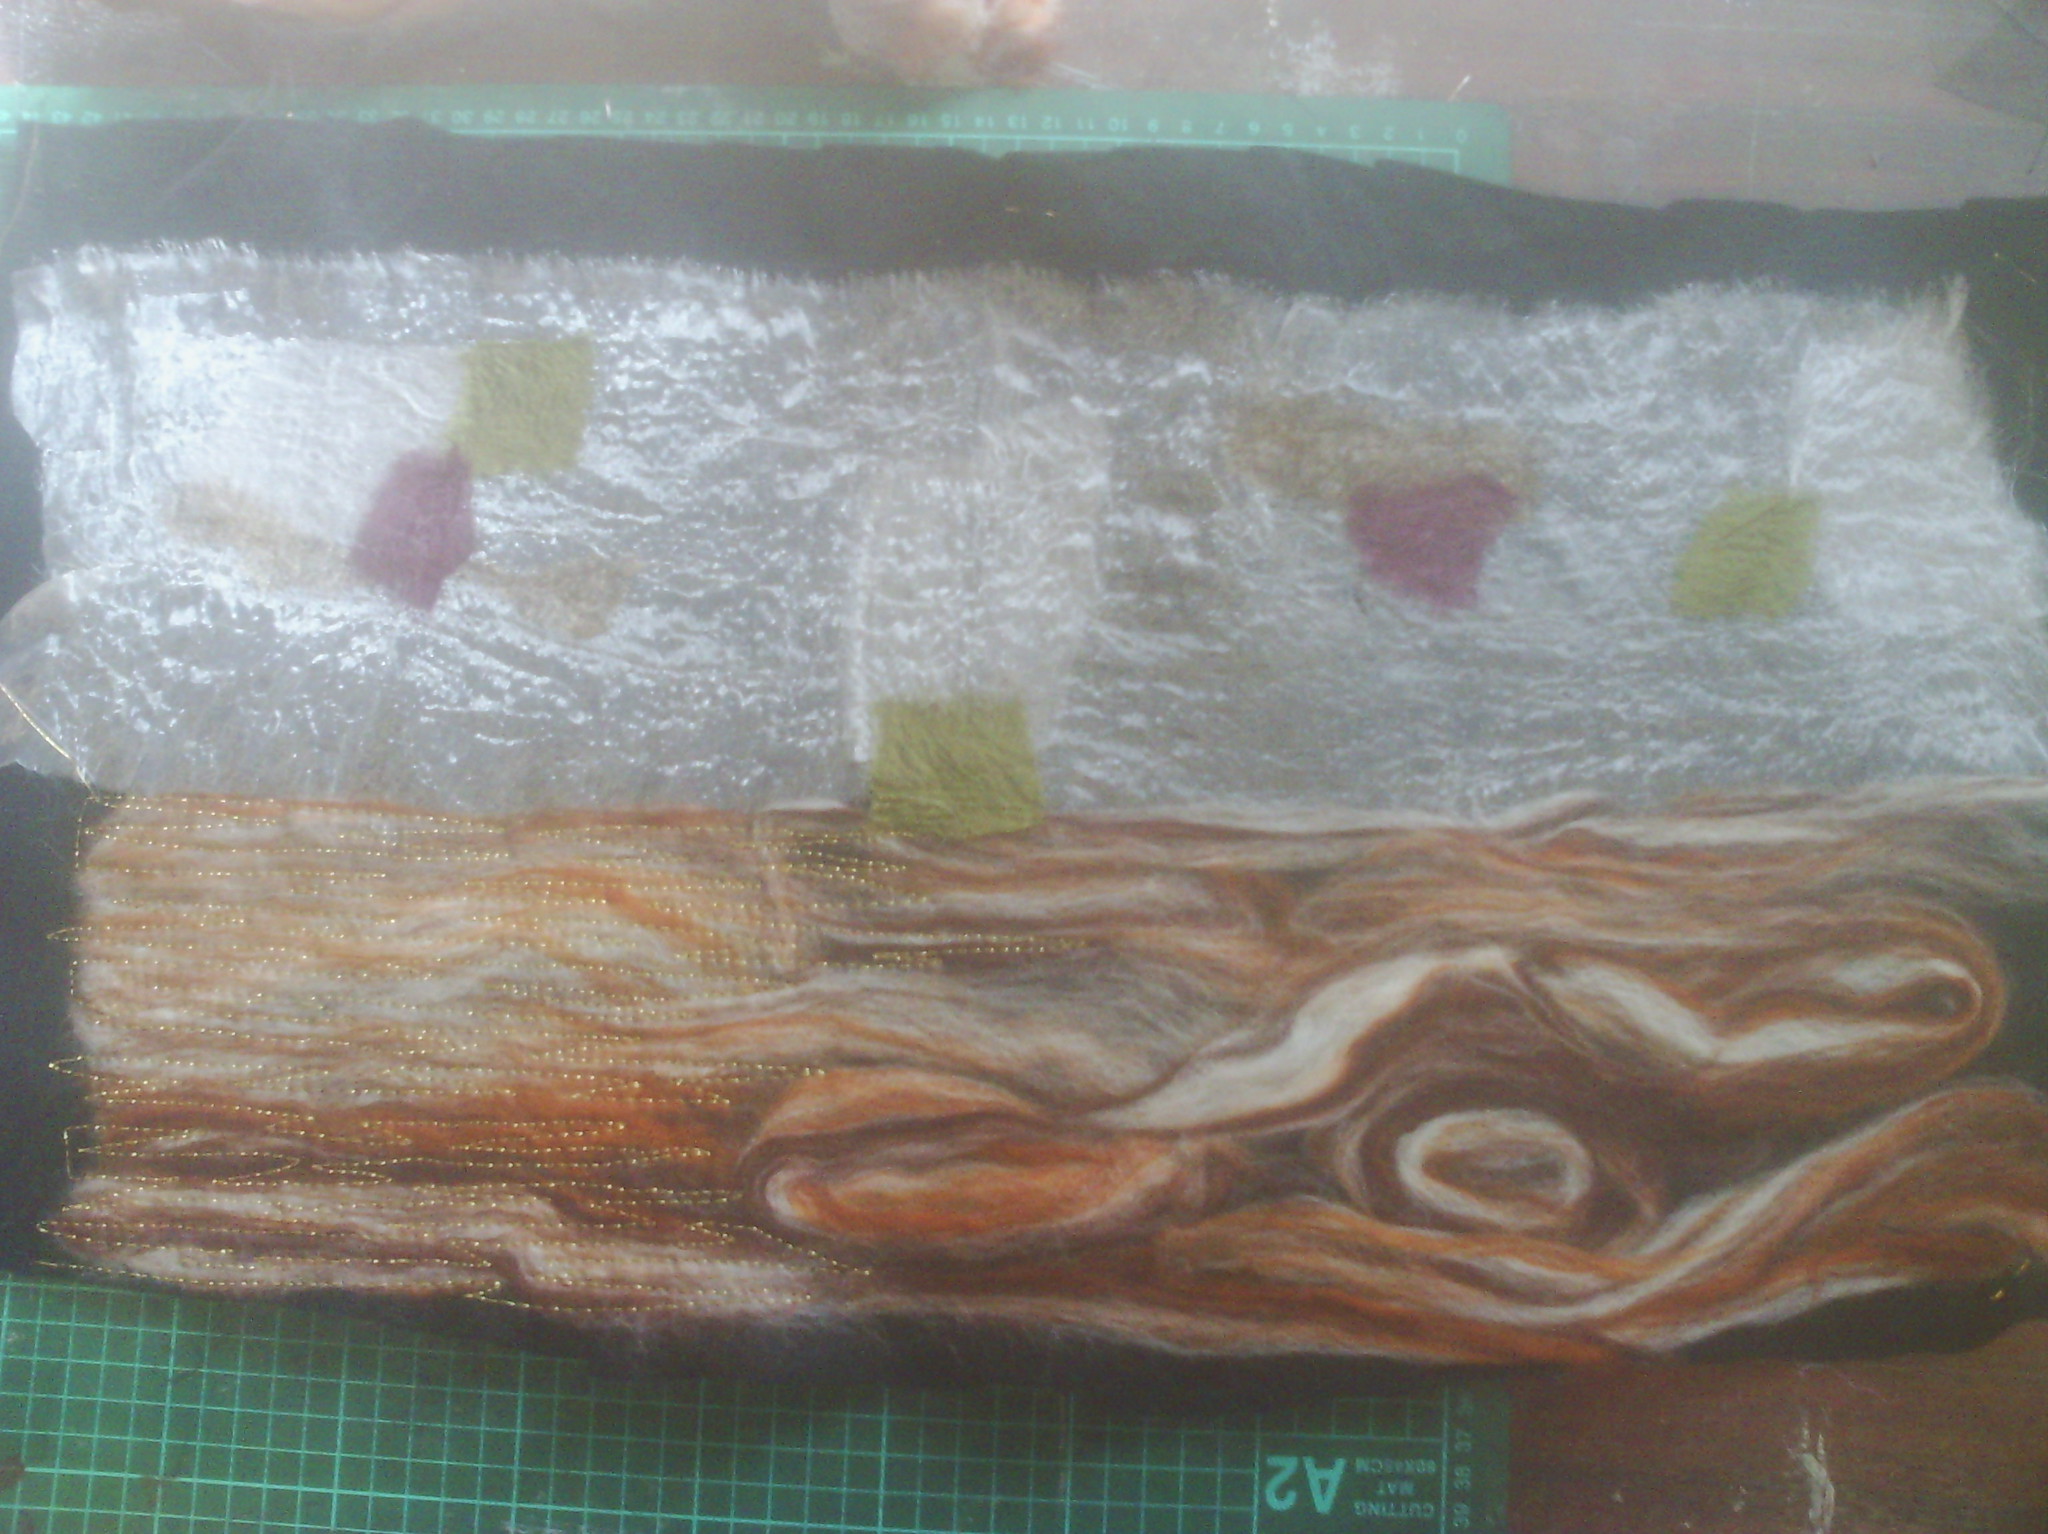
And here's where I got to with my stitching, on the bottom left.
and a close up of the stitching. I am quite happy with how it is going and will work on it again tomorrow, but I still have a ways to go before I get to the design I have in my head.
Make time for art!
My ankle is now in an huge boot, which will keep it stable until I have surgery to re attach some ligaments. It's like an enormous cast, but it can come off.
Enough of that. Today I decided my sketchbook needed a cover so I started needlefelting a wrap around cover for it.
I warn you my pictures are awful as I am getting used to the new camera after my old one died a few blogs ago.
First, I wrapped some black felt around my book and marked the edges with chalk. The felt will shrink quite a bit and that is why I have cut it extra large.
I missed a few steps before this photo, but I laid out some white organza for my background and some rovings in browns to look like wood for my table top. In this photo, I have needlefelted the organza down. and added a few extra bits. I love the texture of needlefelted organza.
I thought the background could do with a bit more colour, so I put a few scraps of other coloured organza and chiffon down.
And felted them into the background.
Here's a closeup of the texture after needlefelting.
And here it is after I have needlefelted all the rovings in place.
I started free motion stitching at the bottom right with a gold thread, but I wasn't happy with it. It didn't show well and I felt the colour of the rovings was just too raw, so I unpicked it all.
Then I added some black bridal tulle over the top and started stitching again.
And here's where I got to with my stitching, on the bottom left.
and a close up of the stitching. I am quite happy with how it is going and will work on it again tomorrow, but I still have a ways to go before I get to the design I have in my head.
Make time for art!
Monday, June 10, 2013
A little bit of a hiccough
Of course, when things are going well, something is bound to put a burr in it.
My phone went dead and with it my camera! I can receive calls but there is no screen, sigh!
Anyhow, I have managed to get my pictures for the last few days off the camera, but of course can't take any more. Have to go back to my old camera - but no phone!
Ah, well at least I have some work to show for it.
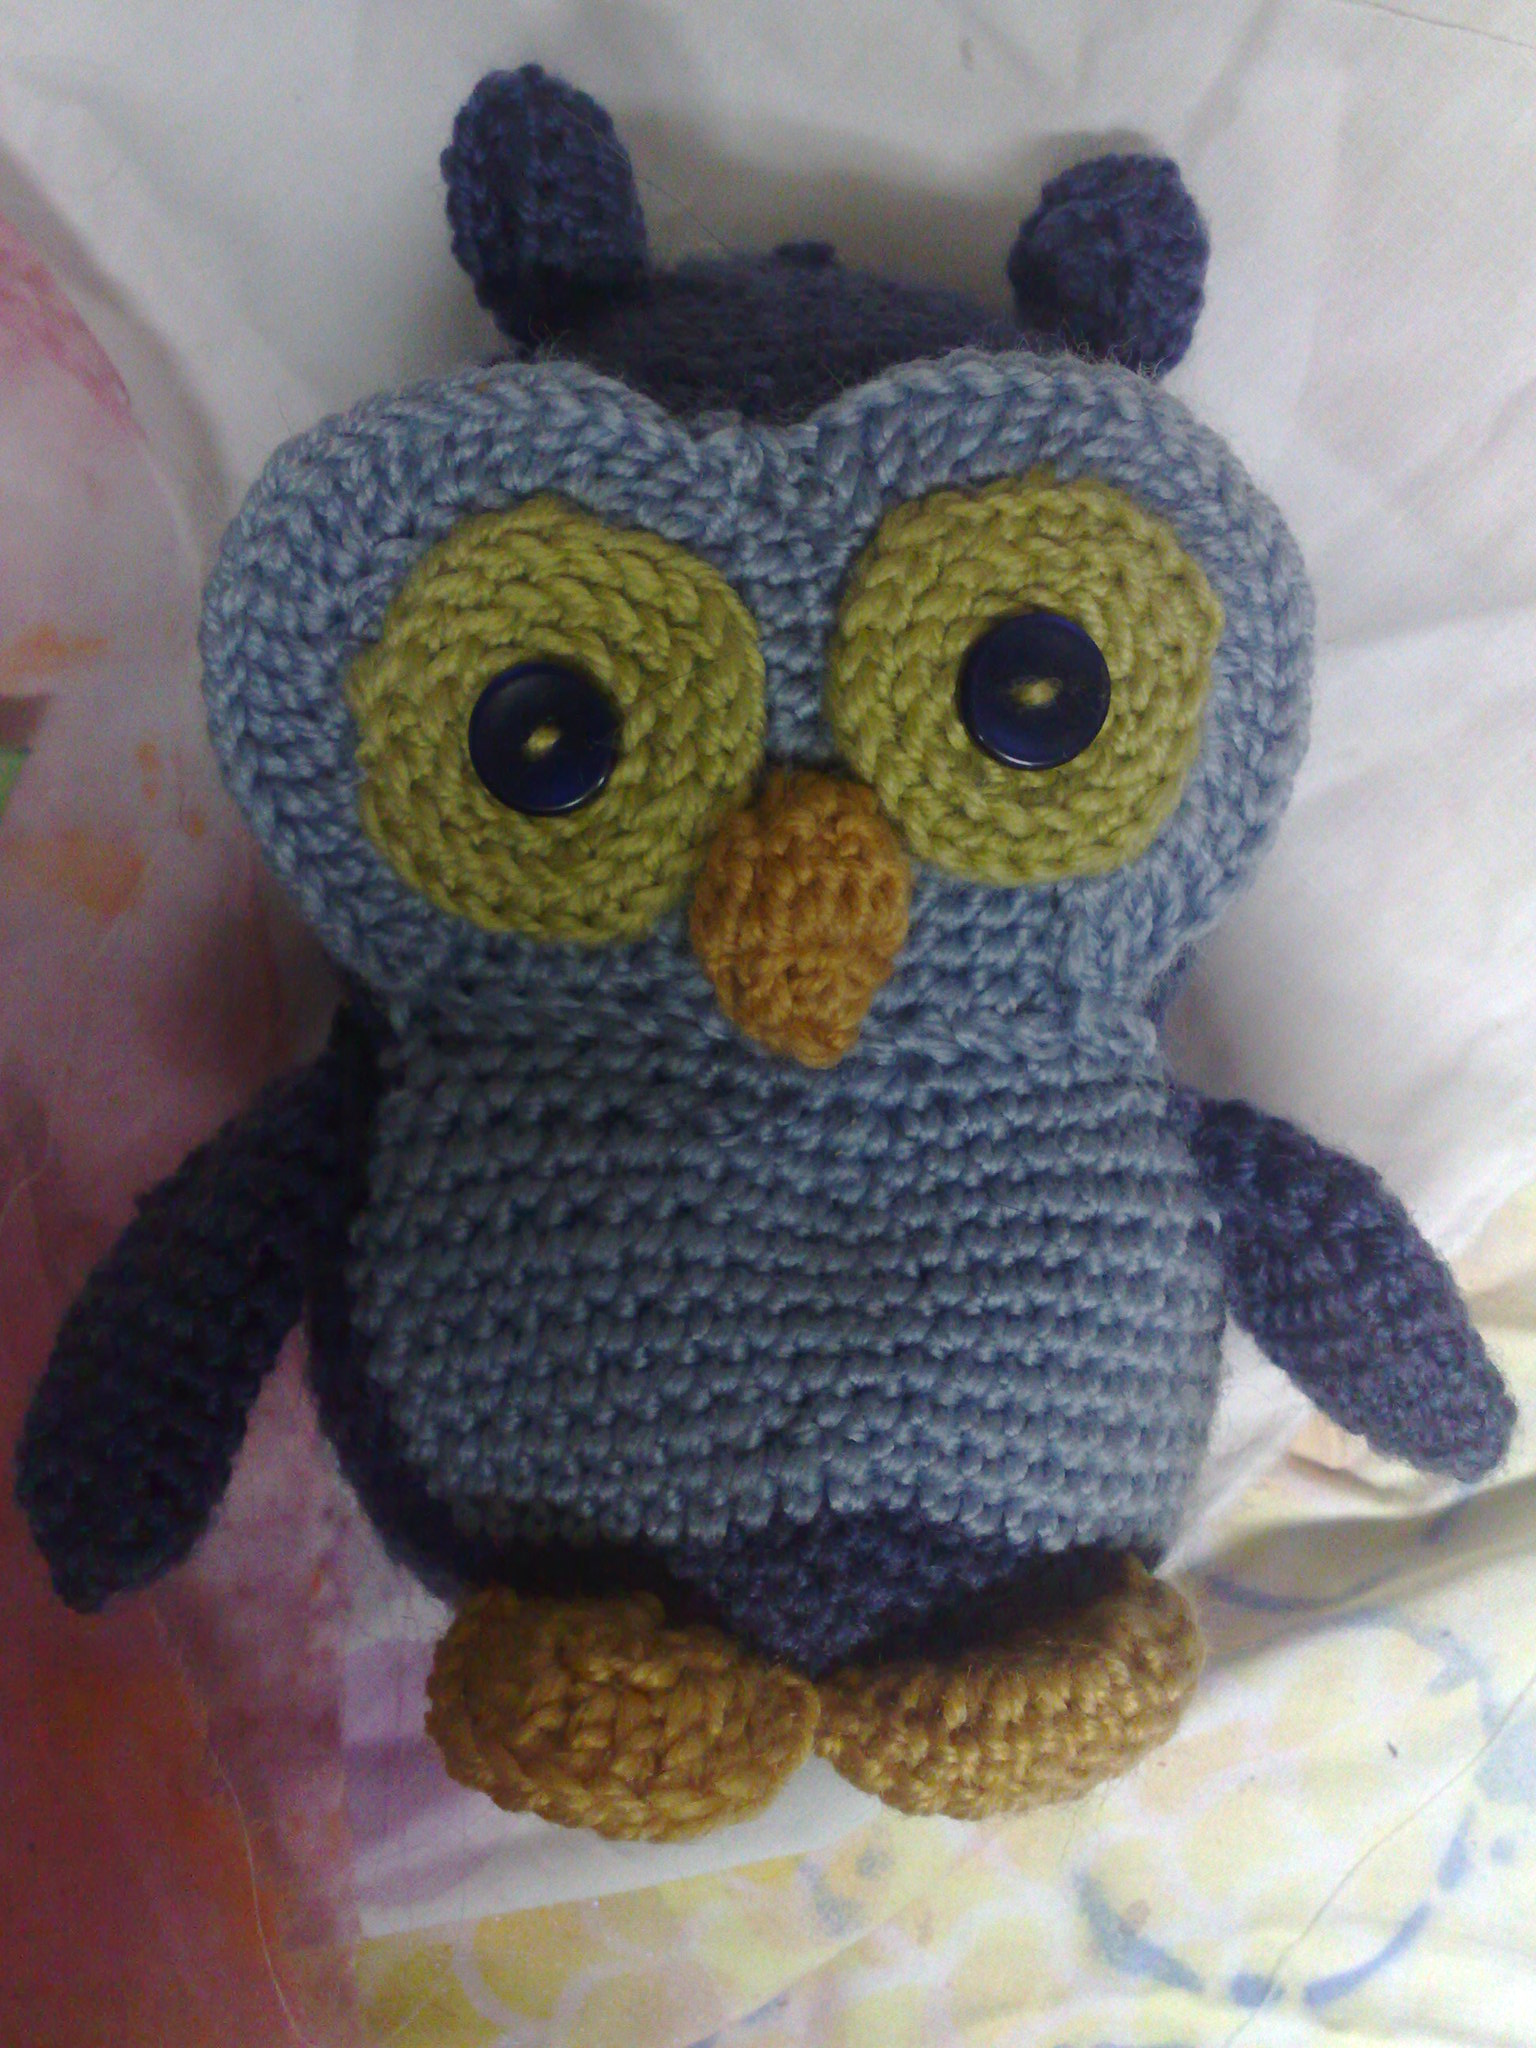
At the end of last week, I had a bit of a crochetting fit and made this stuffed owl, from a Craftsy pattern.
Pretty cute if I do say so myself, although my hands were sore from so many single crochet stitches. I think I will add it to our charity table, which is going to Dunally in Tasmania very soon.
I have done a little on the crocus piece I started last week, but no photo.
I have however done three little needlefelted pieces which I will embroider on soon.
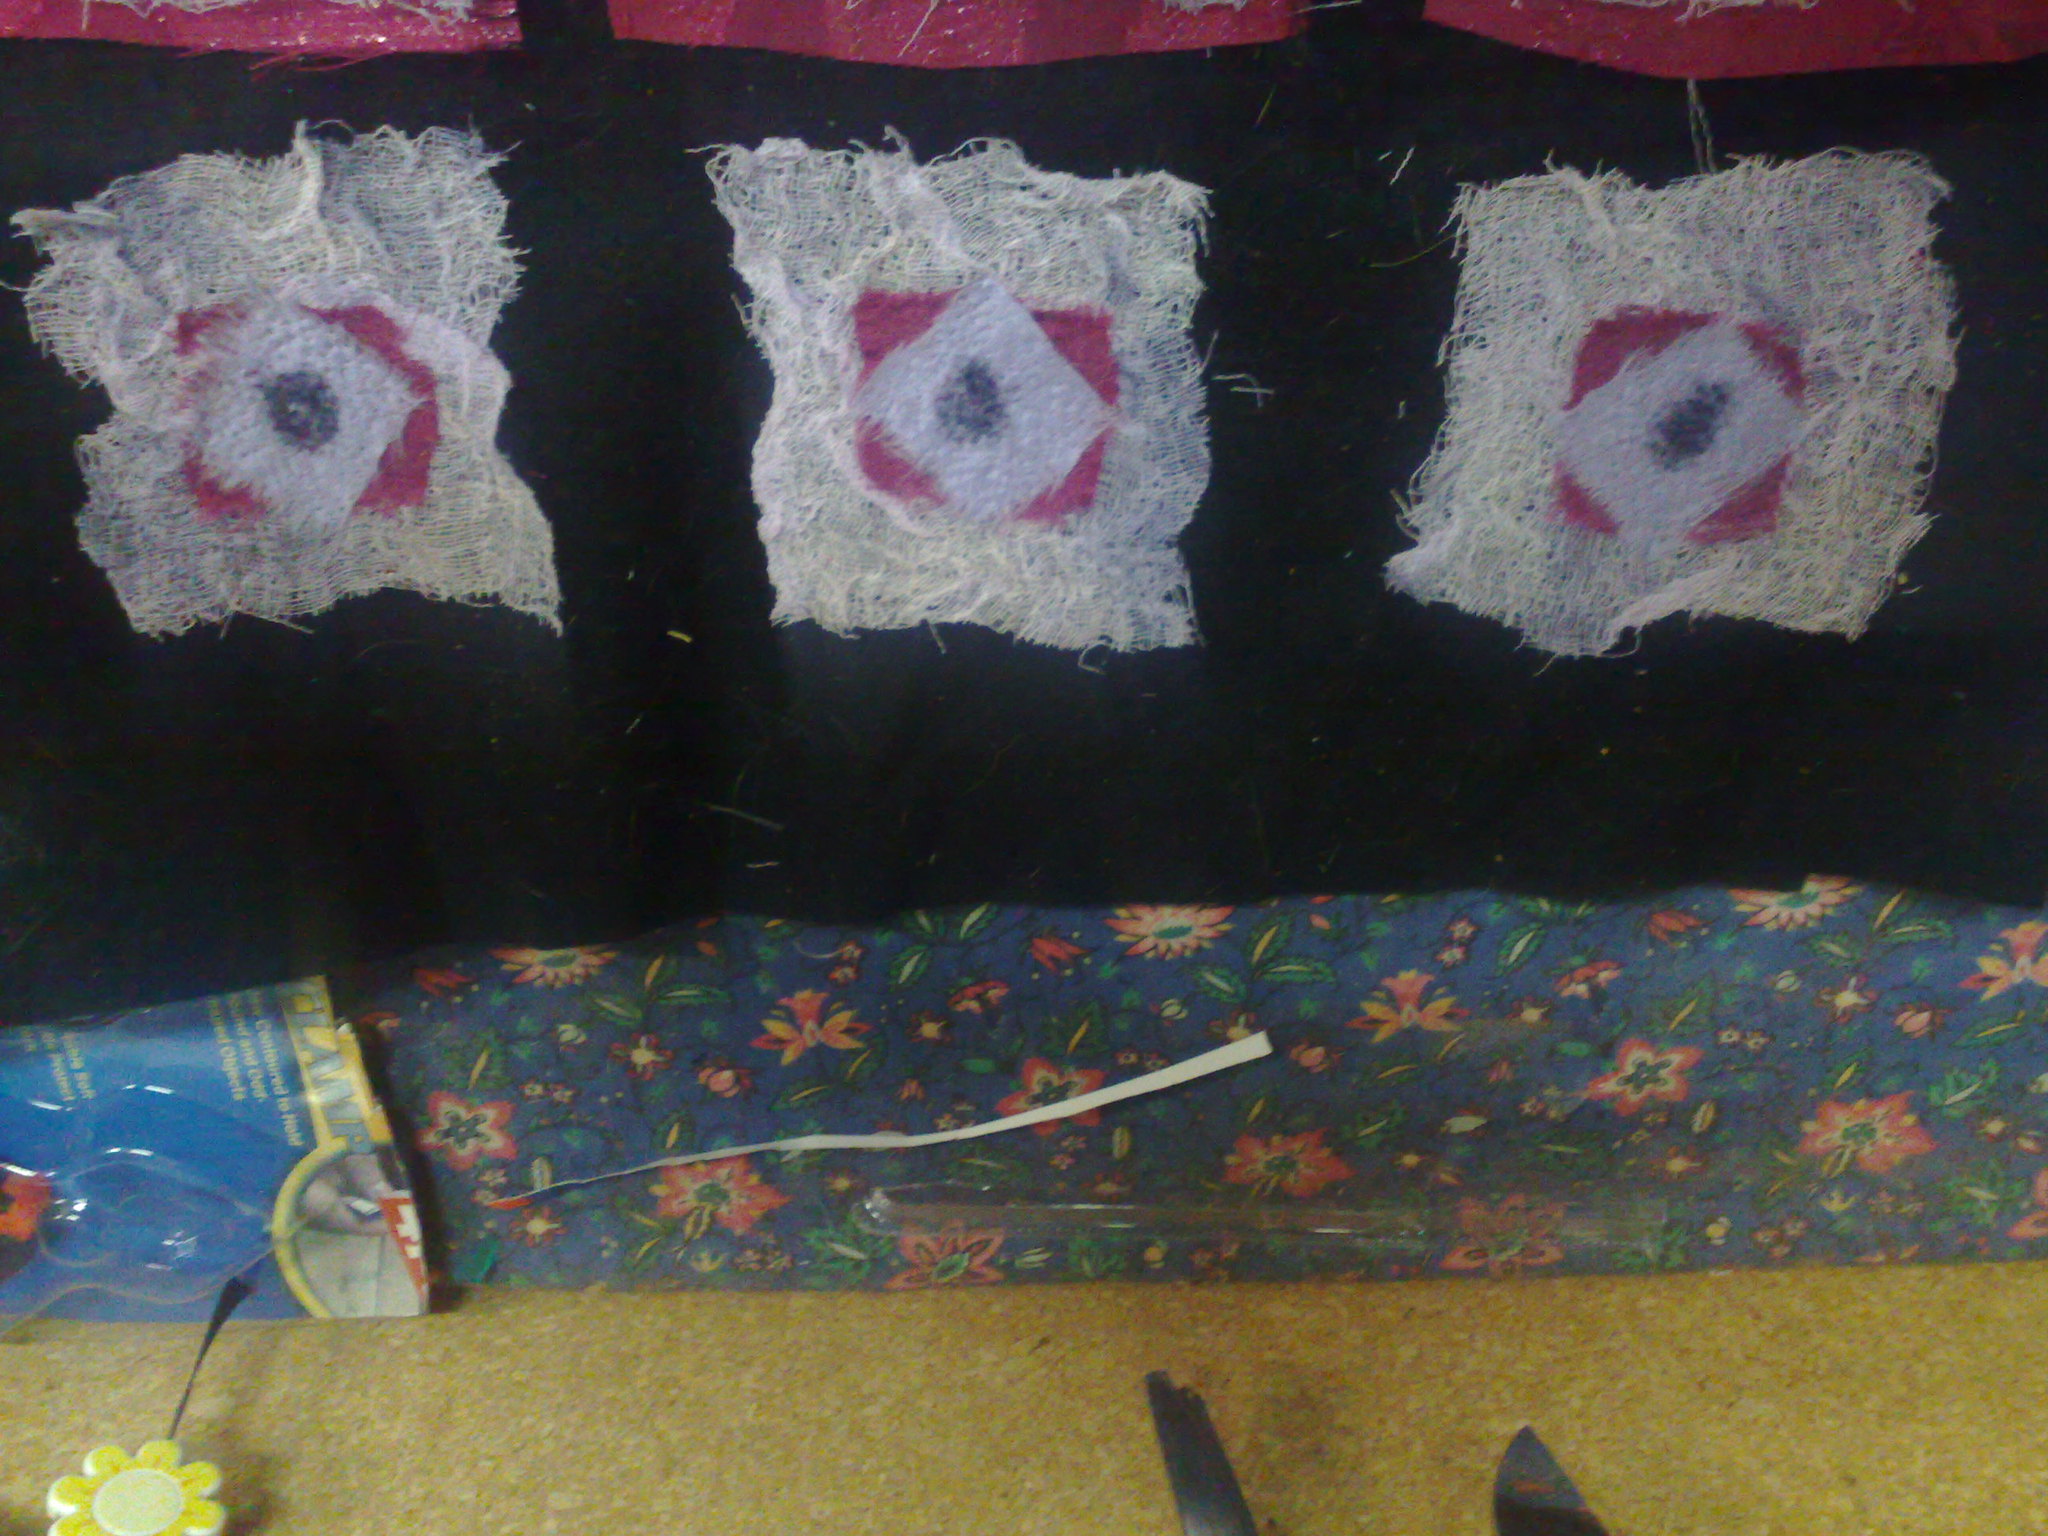
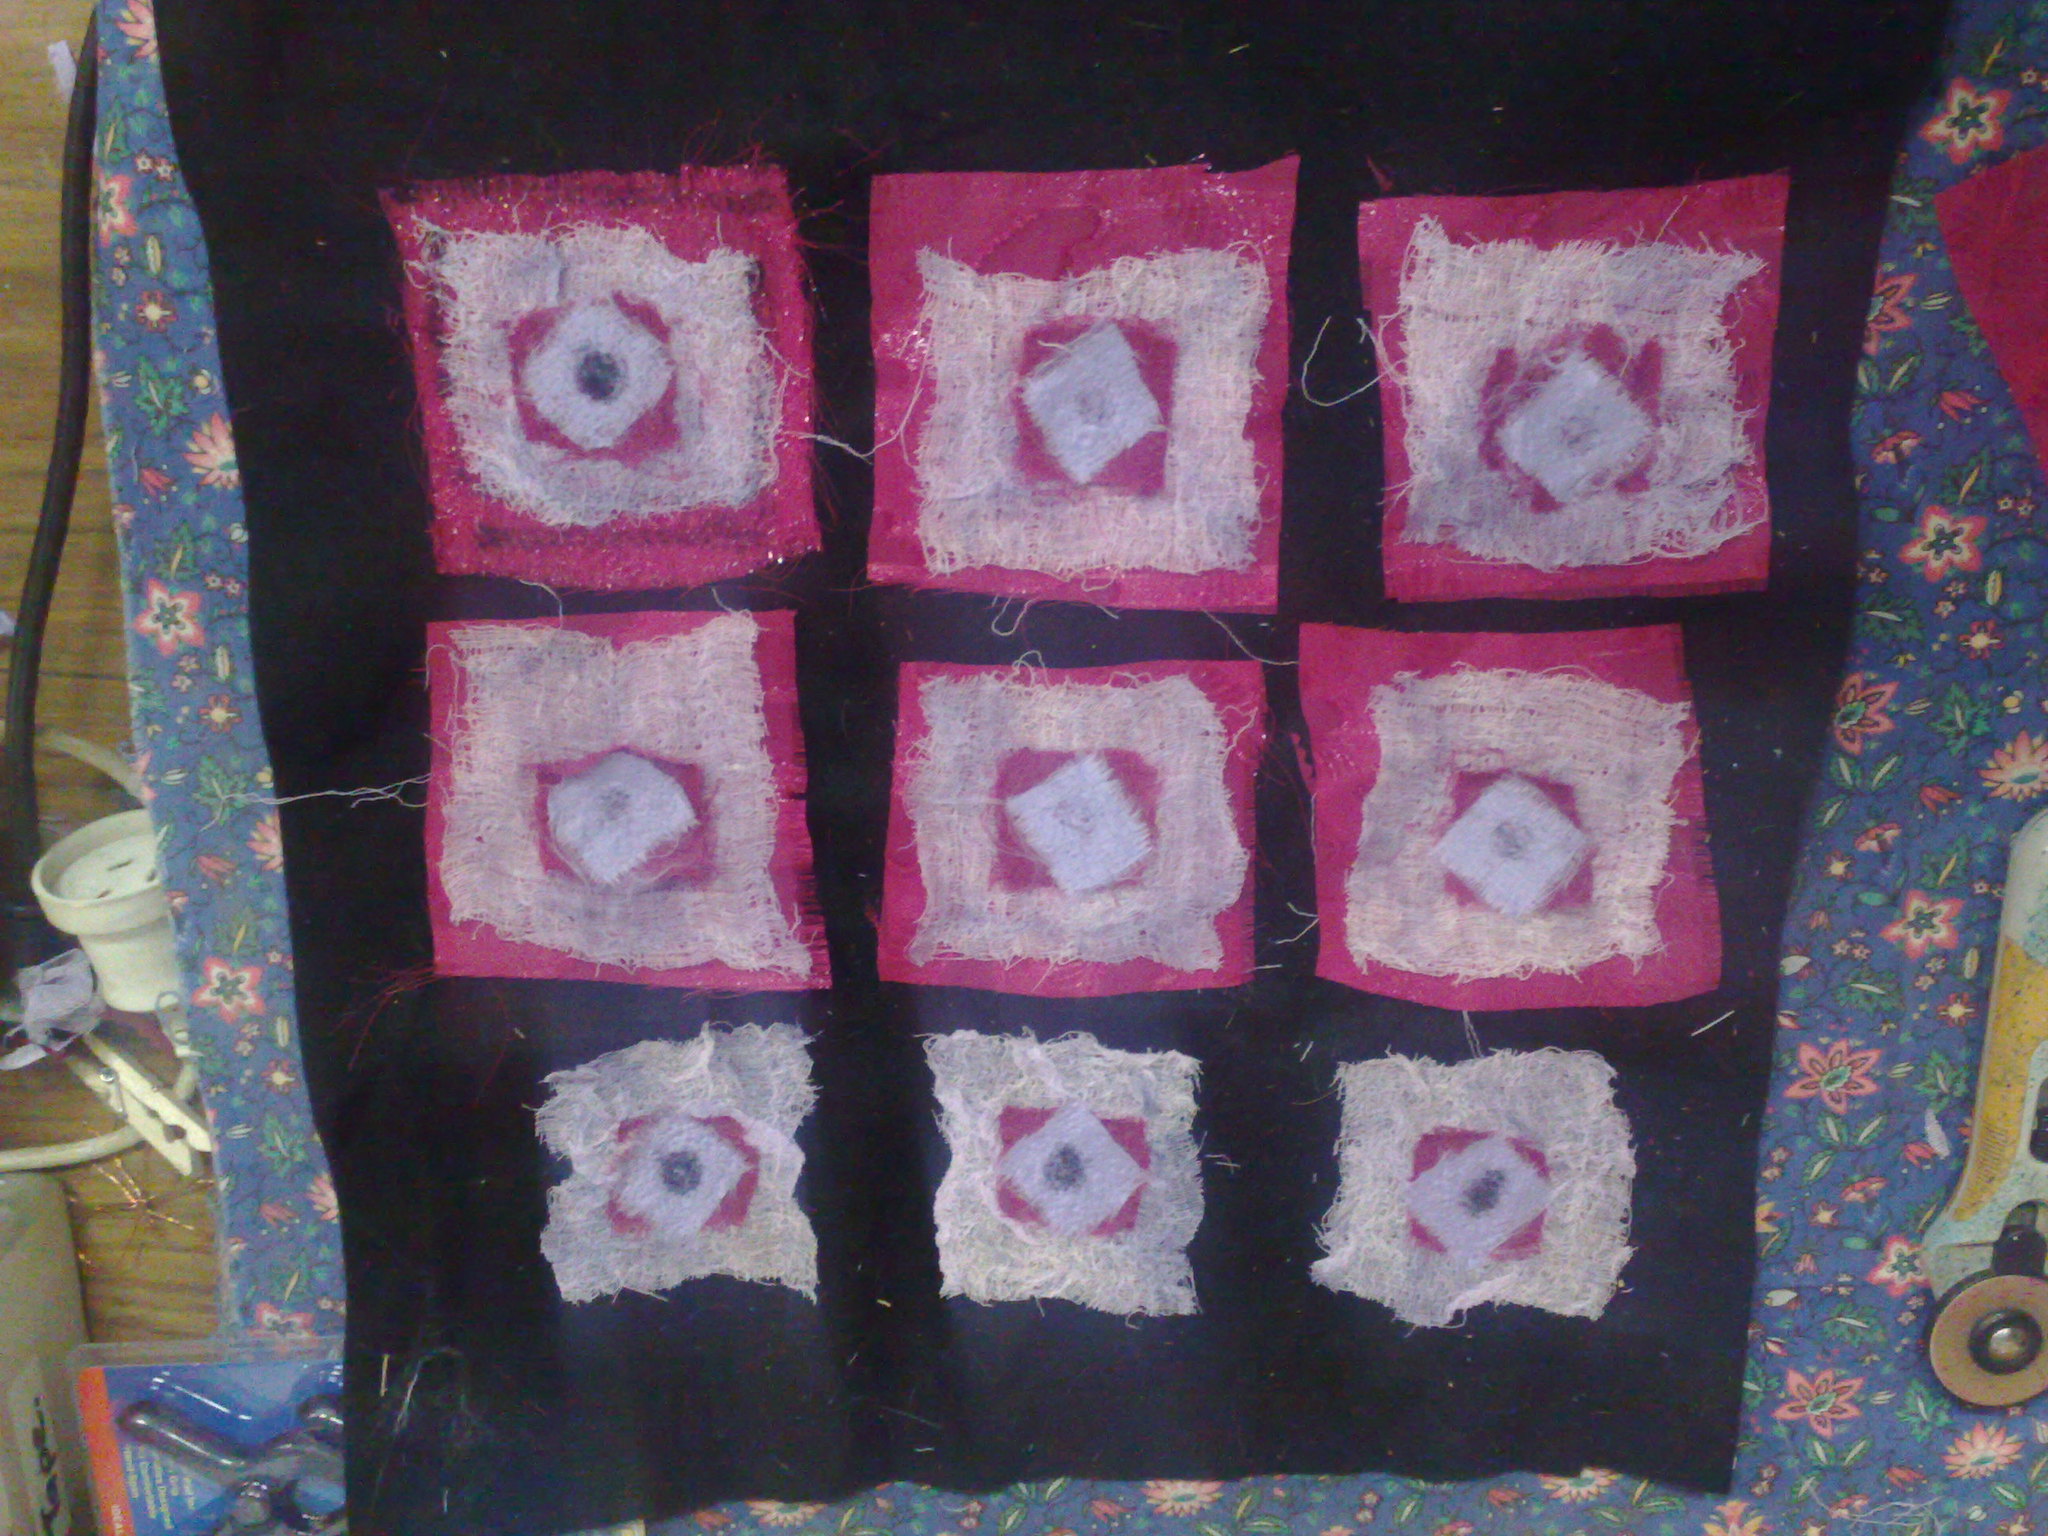
The first one started off with a nine patch of these little squares which are hand dyed scrim/cheesecloth with little bits of silk and satin on top. The black dots are made by felting from the back, which is black felt.
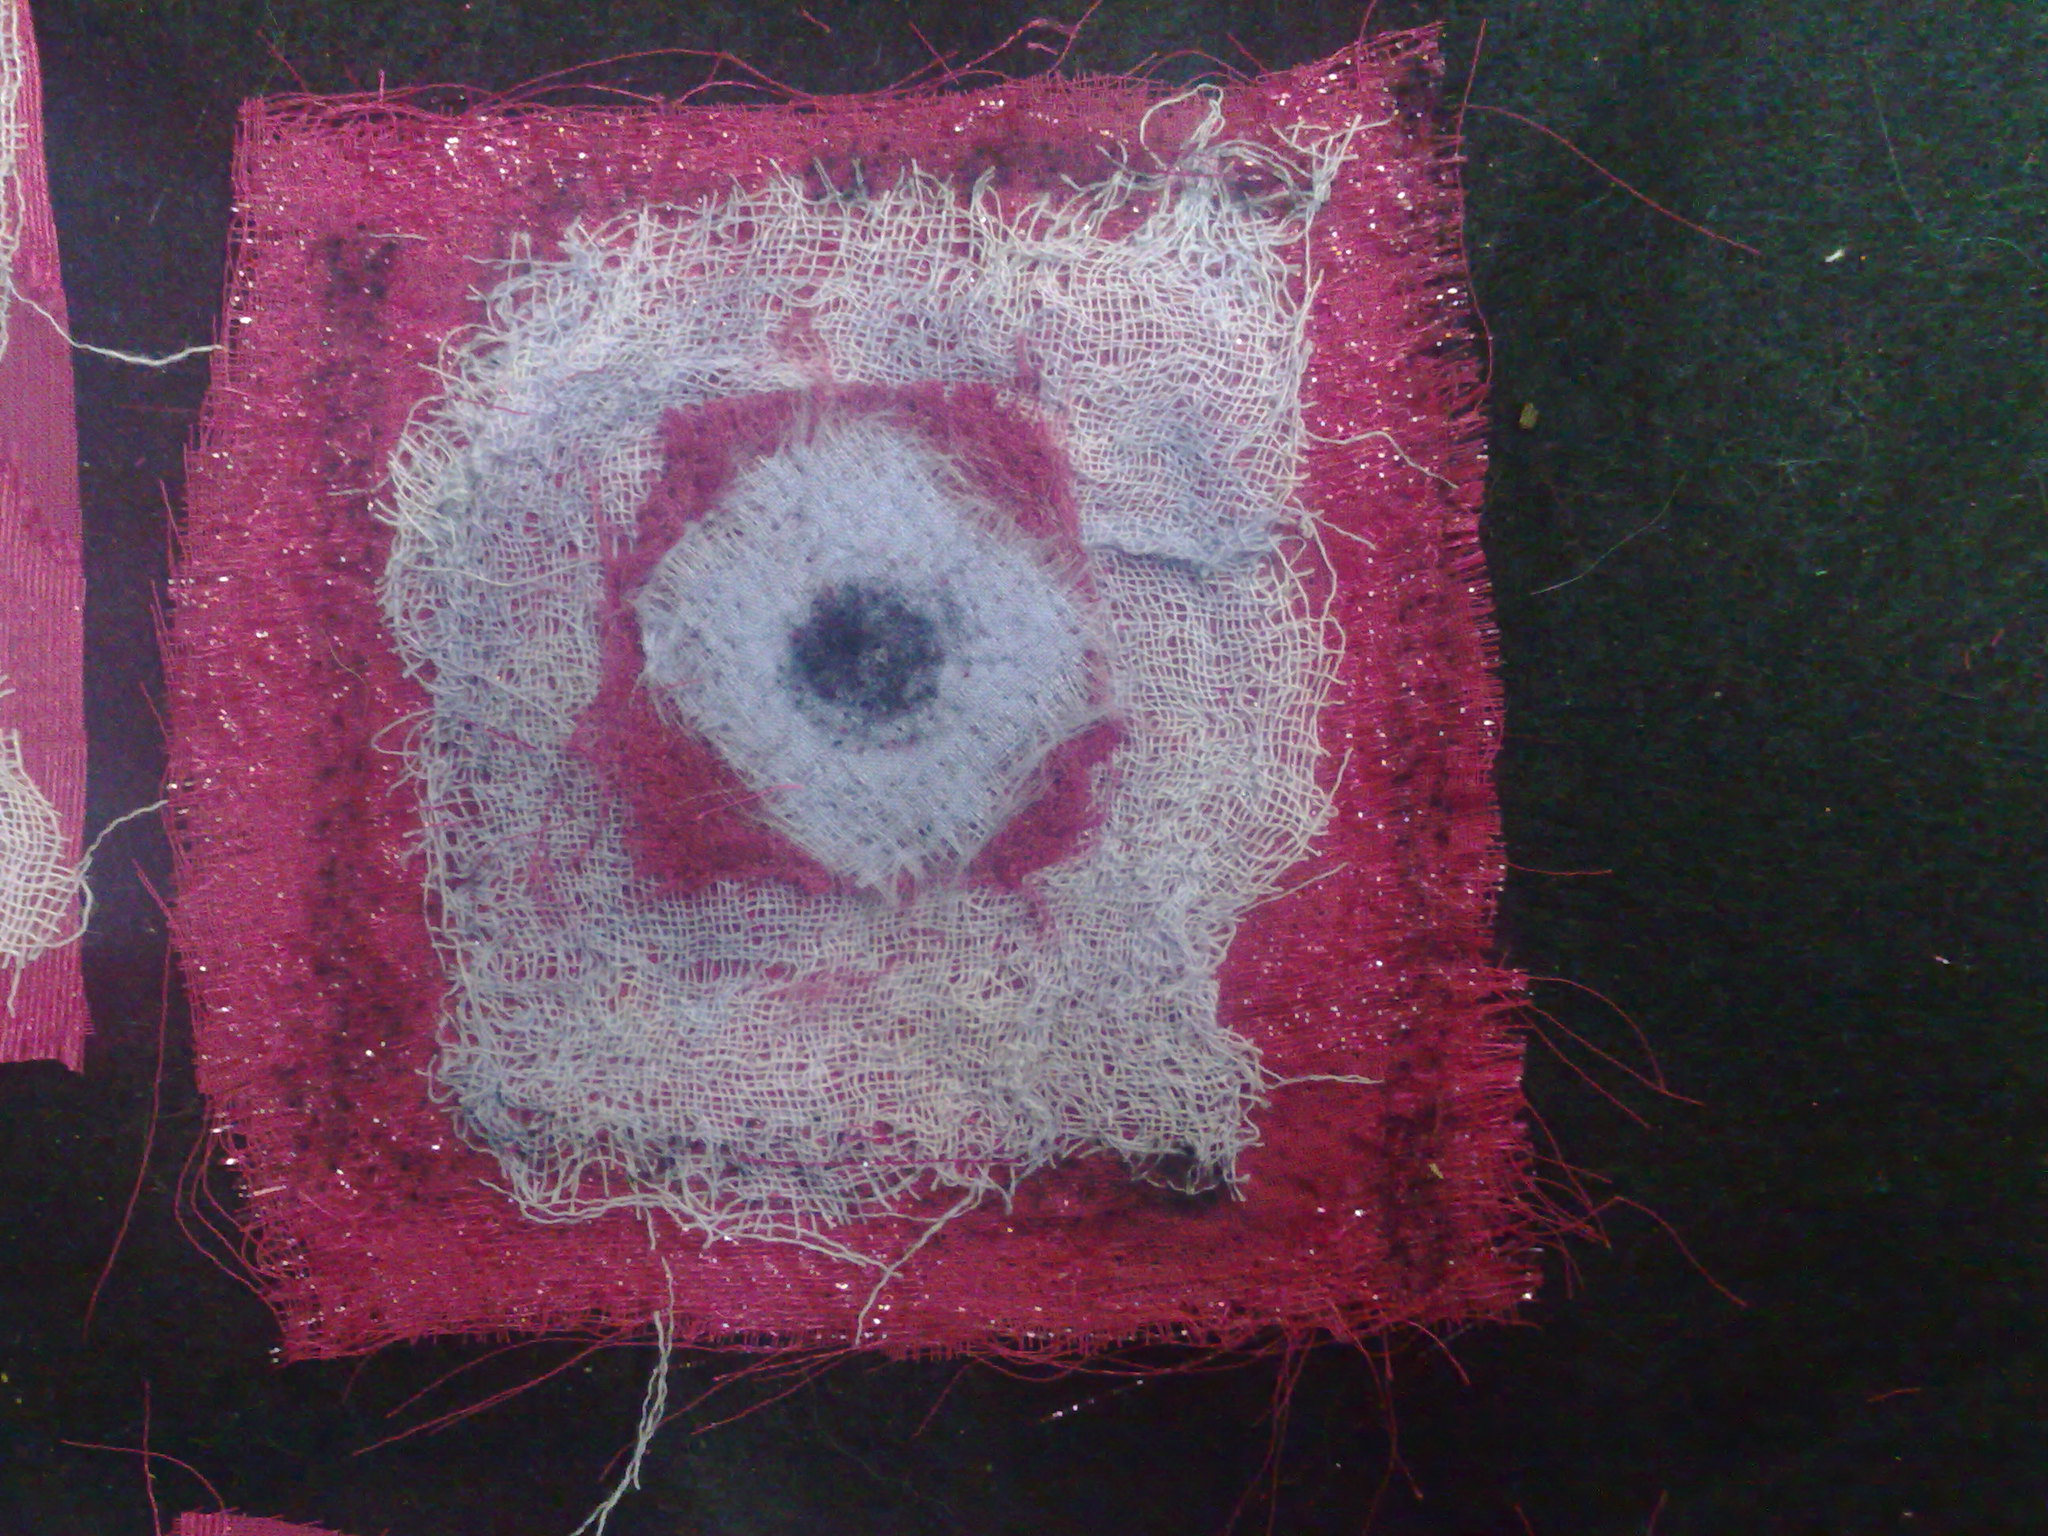
They looked very distressed close up, but that is why I used the scrim. It was a pale lilac colour, but looked very washed out against the black. So... I pulled them off and added some magenta shot chiffon underneath.
Here is one when re felted. Looking very distressed now.
Here's a comparison of the two. The original ones don't look the best, do they?
And the final, very distressed looking arrangement. I think I feel some gold threadwork coming on!
The next two went a little easier
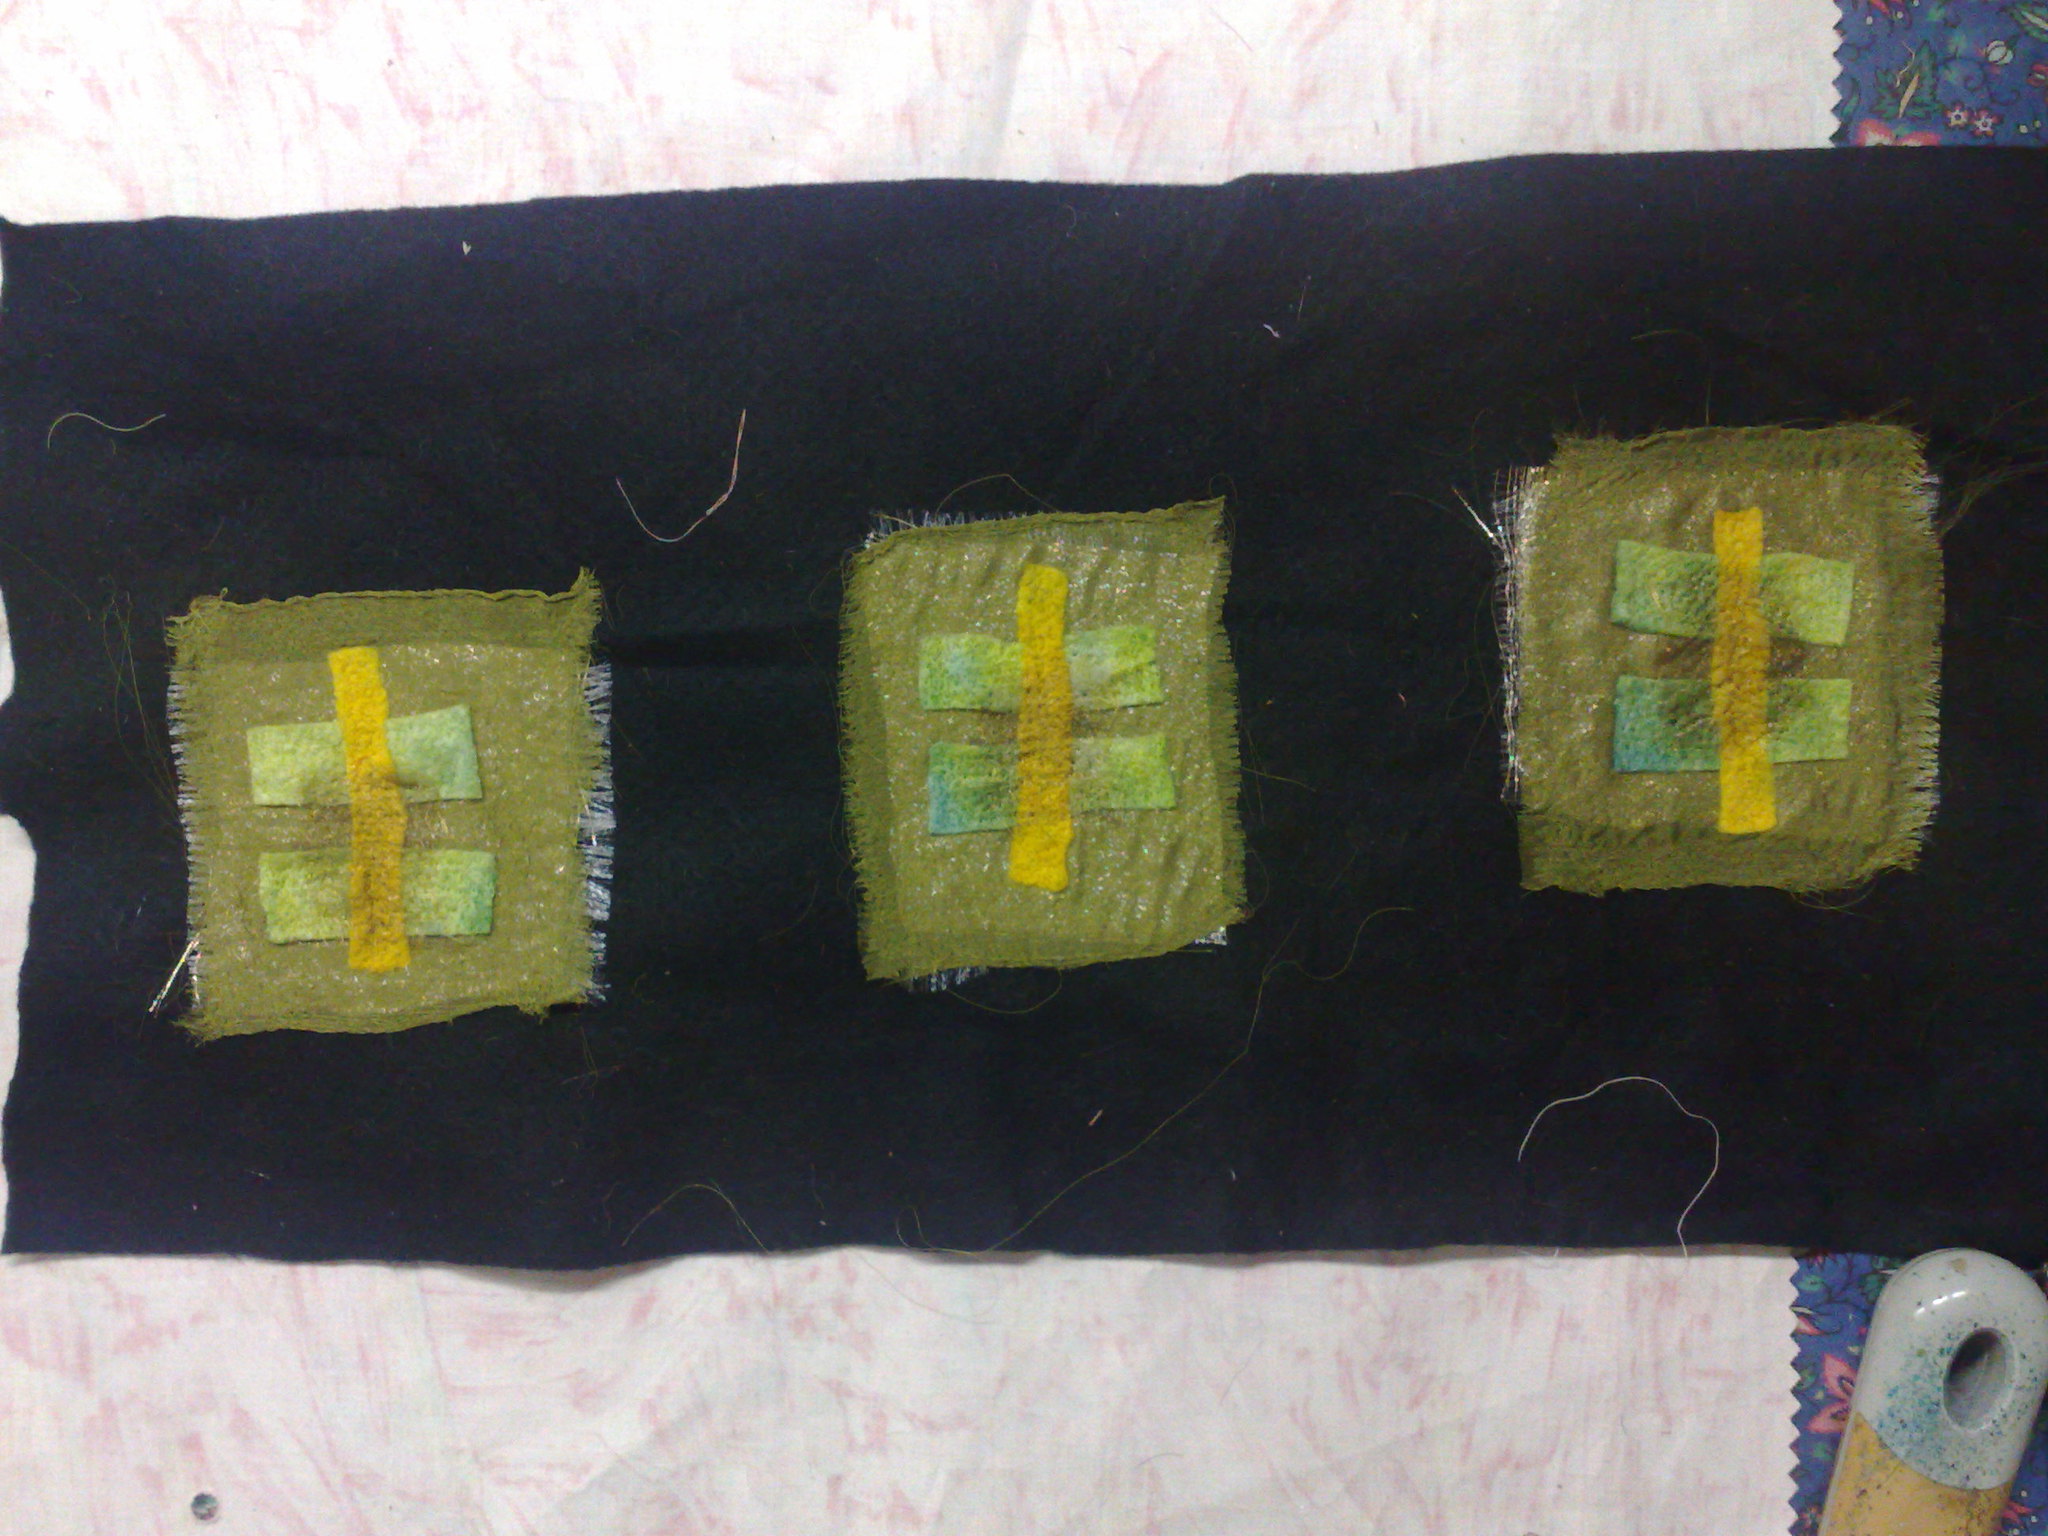
My next one had little blocks on it as well. Green chiffon with dyed batting and gold organza and some gold lame under the whole thing to give a bit of sparkle.
I really like this one and think it might like a bit of gold, too!
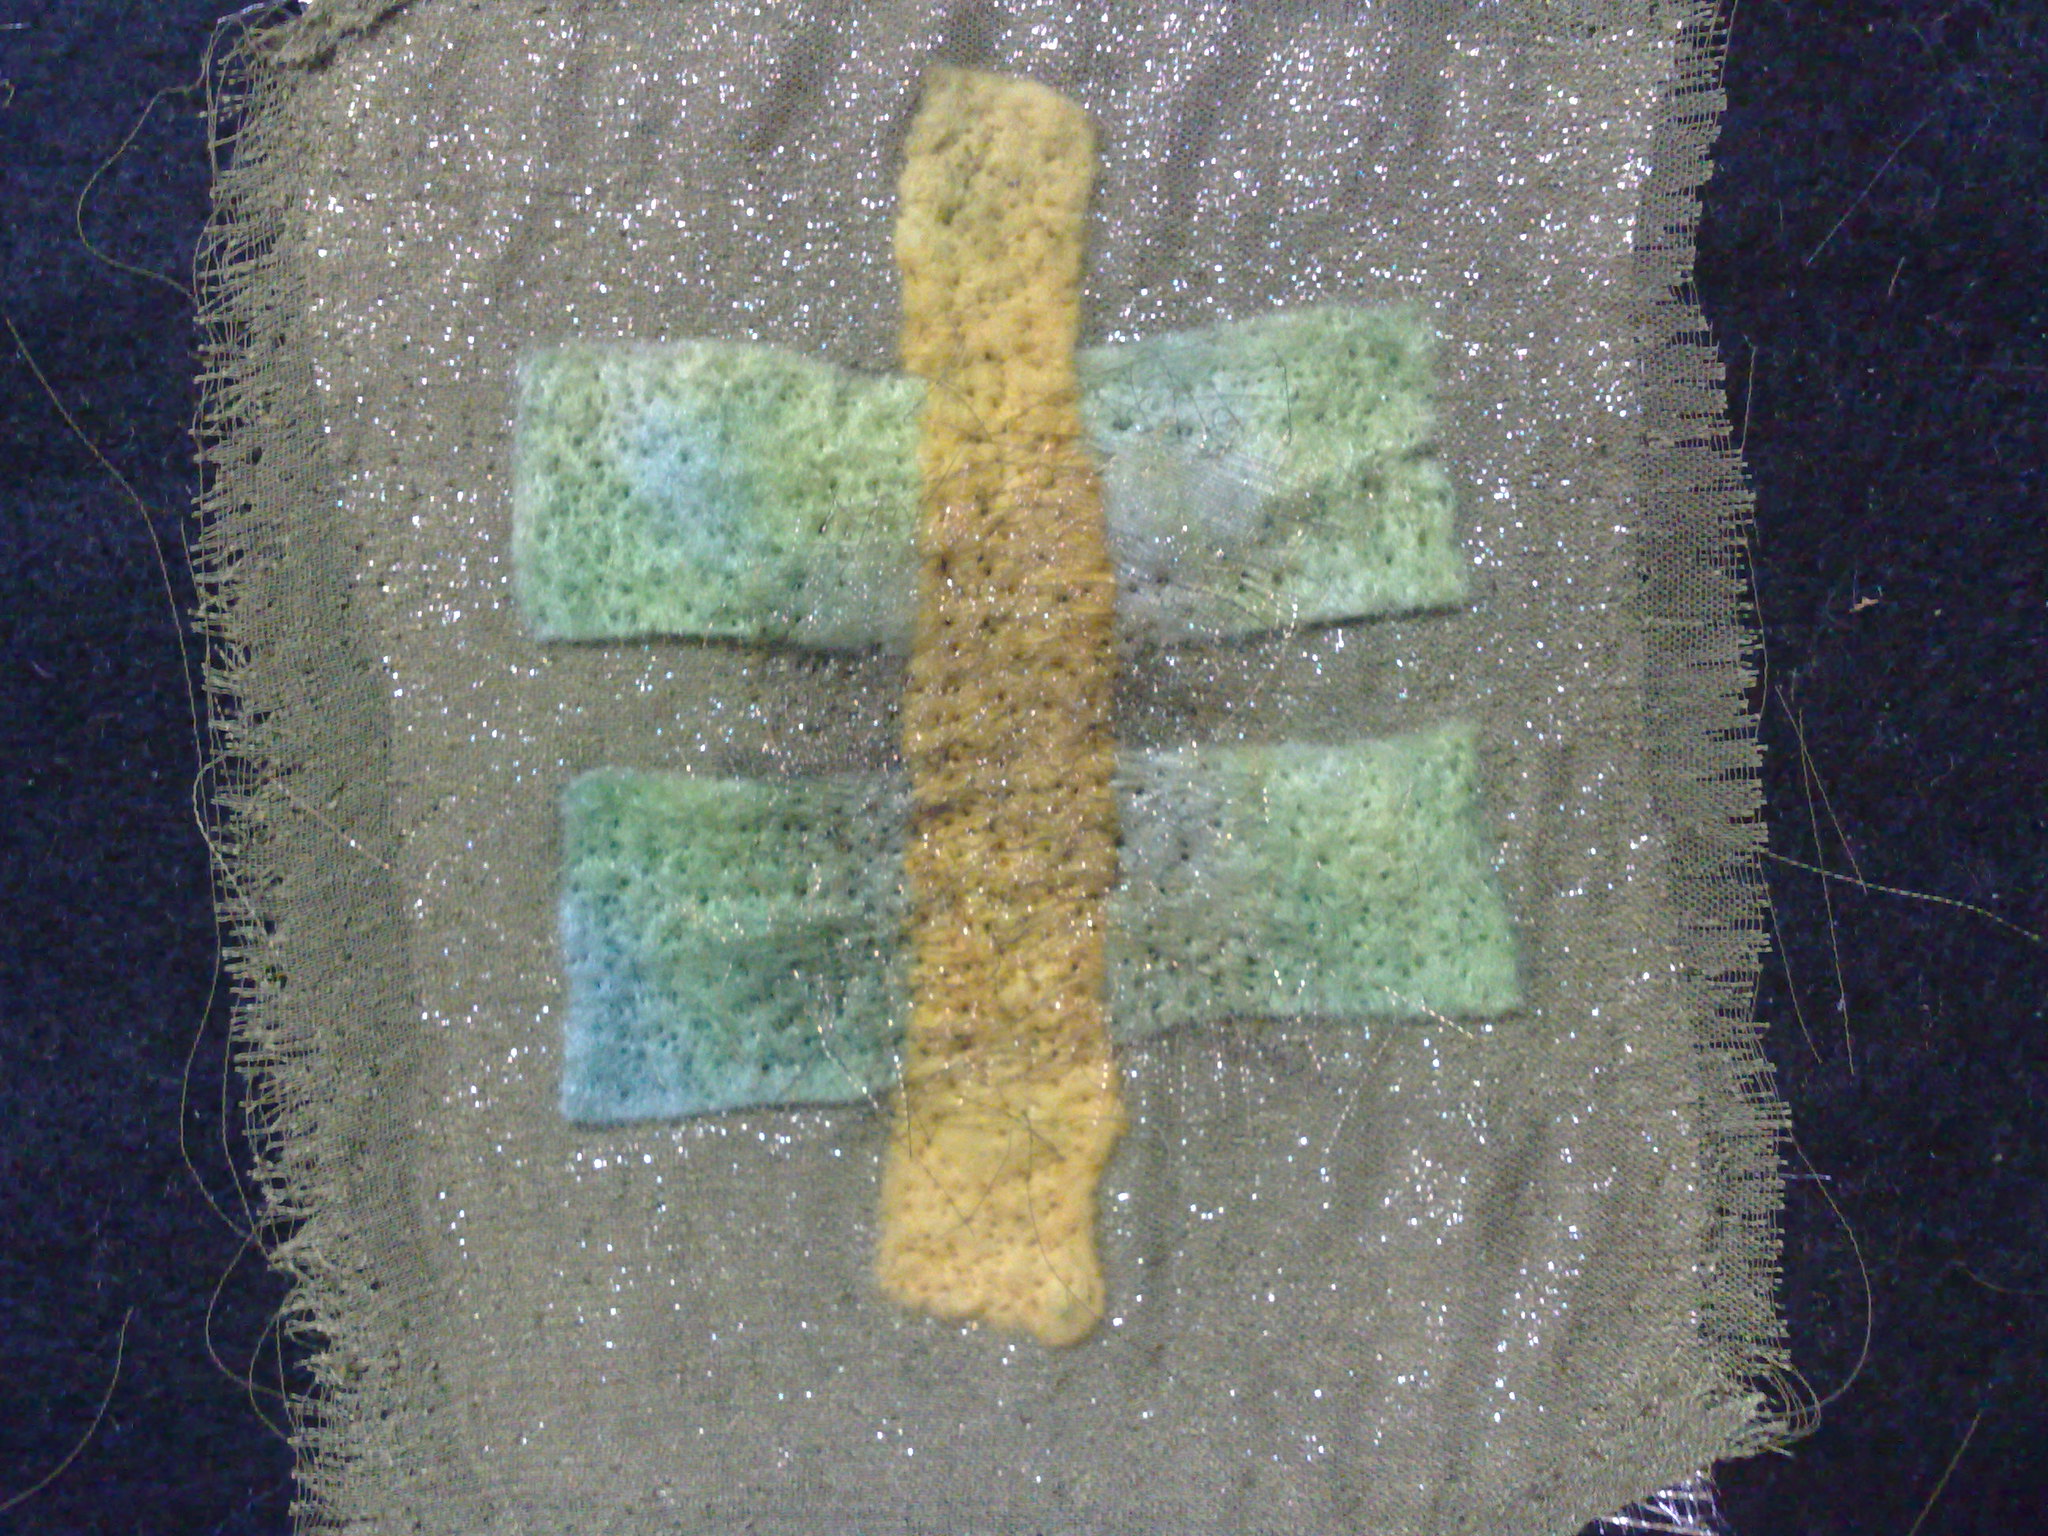
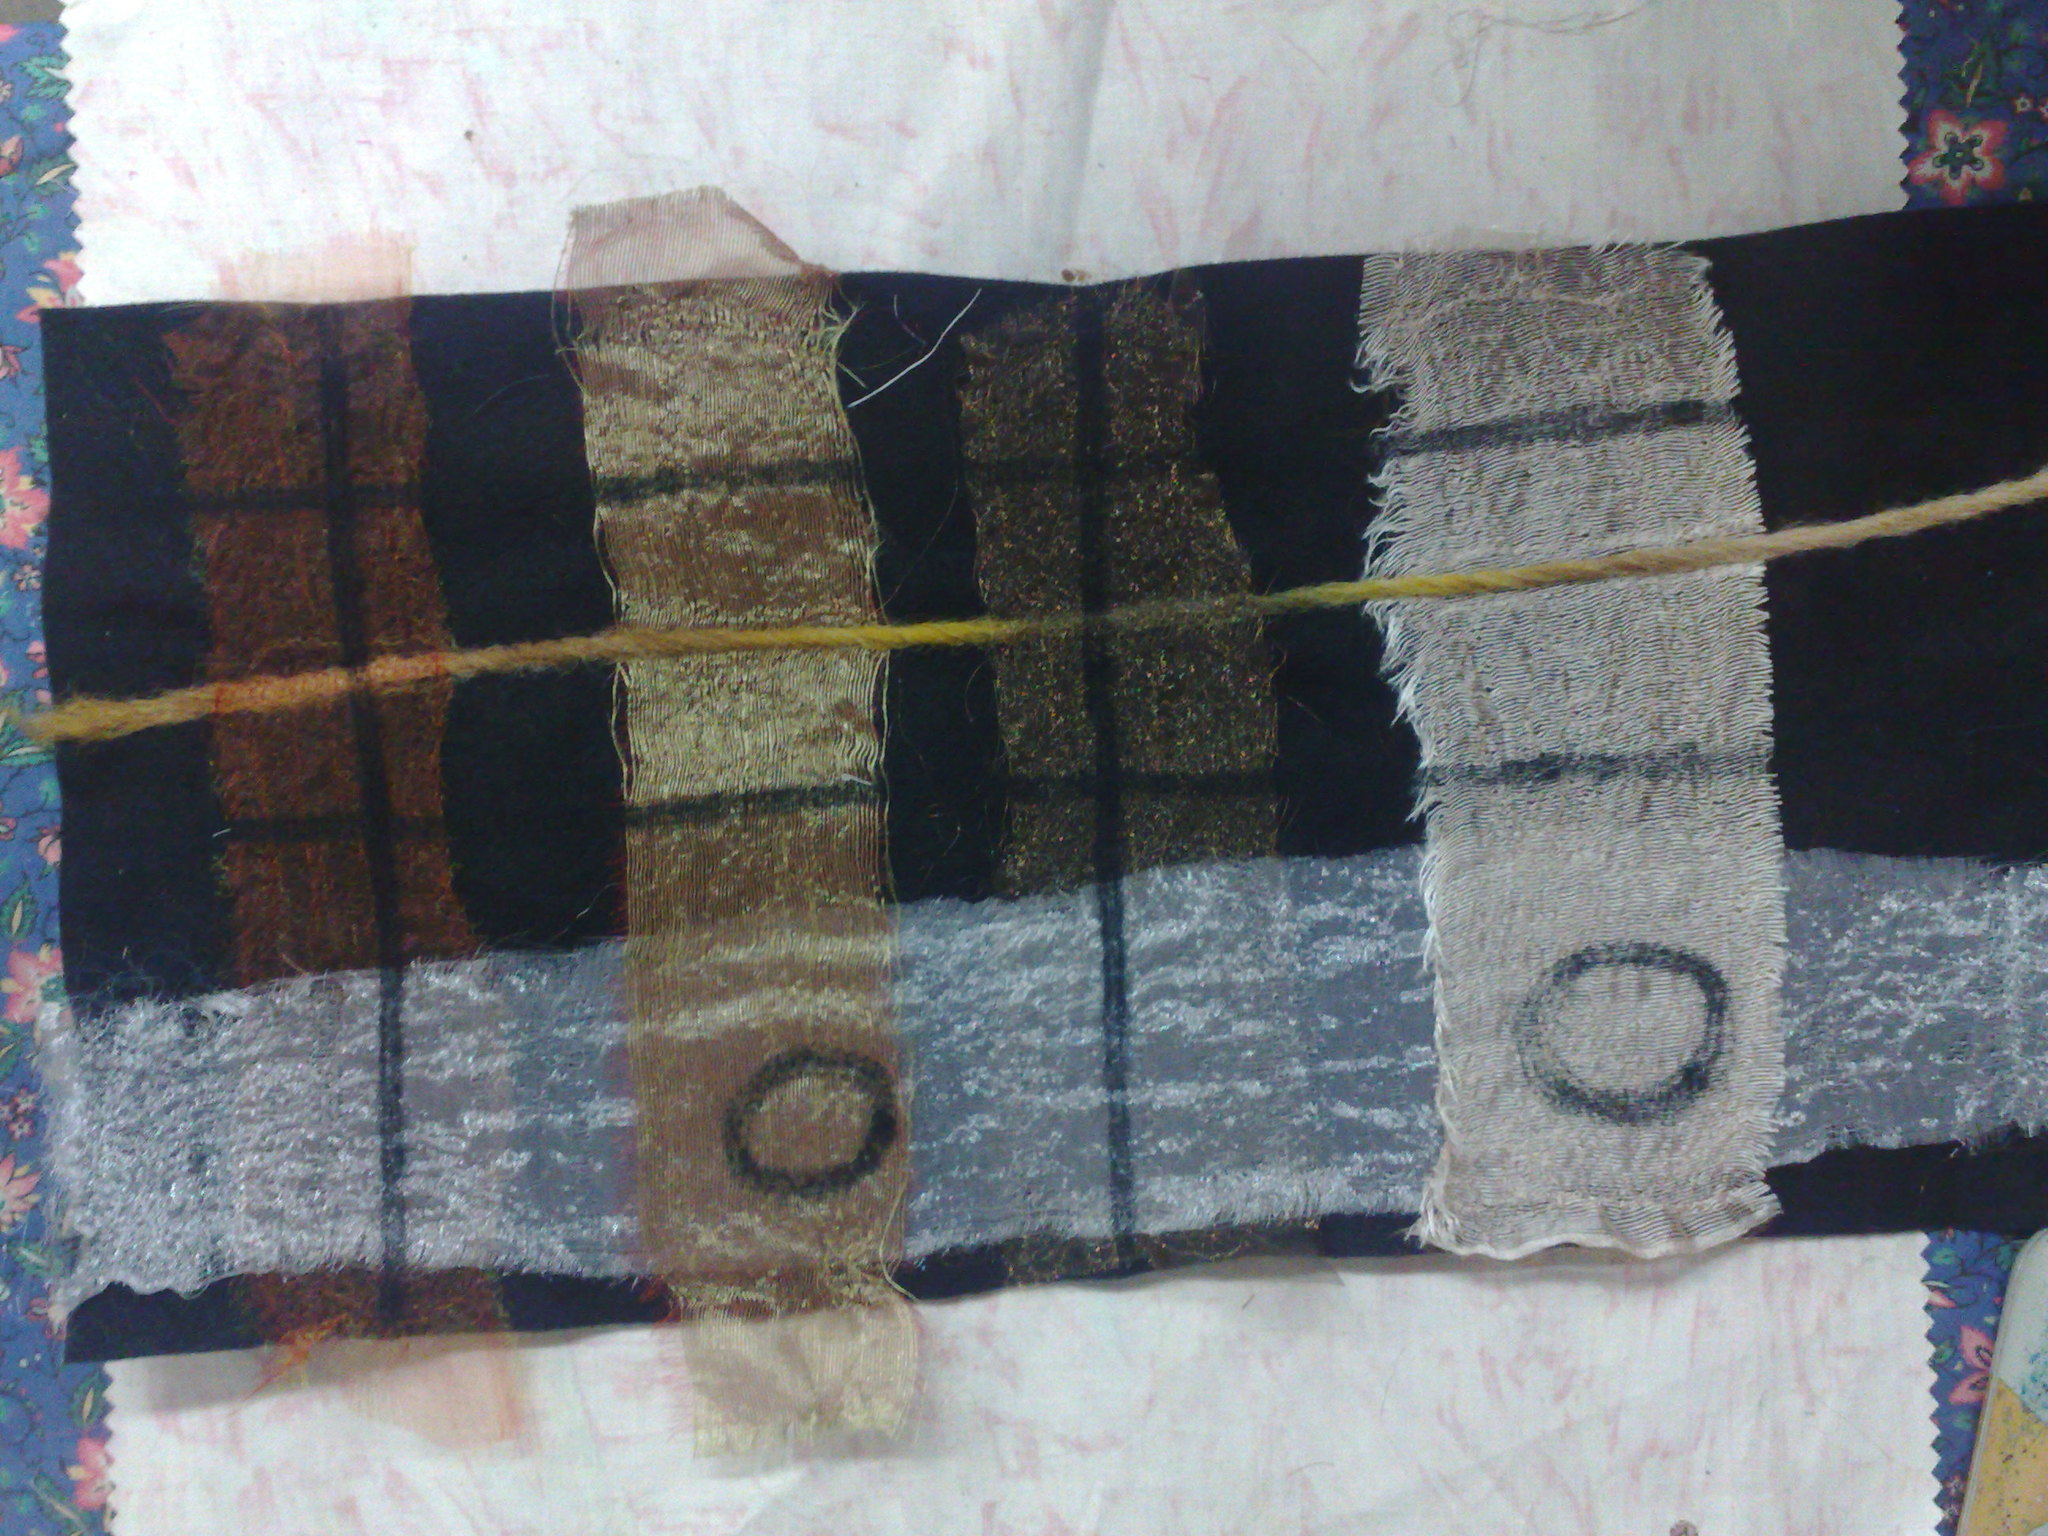
This one was a bit of a seat of the pants experimental piece. I wove (very loosely) some organzas together, then added a piece of yarn, the felted them all down. Then I turned it all over and felted from the back to make the black lines and circles. This one, I think, calls for some all over black and gold and perhaps will become a book cover.
Needlefelting is a bit addictive, I must say and it is hard to stop when you have started, but maybe that's a good thing?
My phone went dead and with it my camera! I can receive calls but there is no screen, sigh!
Anyhow, I have managed to get my pictures for the last few days off the camera, but of course can't take any more. Have to go back to my old camera - but no phone!
Ah, well at least I have some work to show for it.
At the end of last week, I had a bit of a crochetting fit and made this stuffed owl, from a Craftsy pattern.
Pretty cute if I do say so myself, although my hands were sore from so many single crochet stitches. I think I will add it to our charity table, which is going to Dunally in Tasmania very soon.
I have done a little on the crocus piece I started last week, but no photo.
I have however done three little needlefelted pieces which I will embroider on soon.
The first one started off with a nine patch of these little squares which are hand dyed scrim/cheesecloth with little bits of silk and satin on top. The black dots are made by felting from the back, which is black felt.
They looked very distressed close up, but that is why I used the scrim. It was a pale lilac colour, but looked very washed out against the black. So... I pulled them off and added some magenta shot chiffon underneath.
Here is one when re felted. Looking very distressed now.
Here's a comparison of the two. The original ones don't look the best, do they?
And the final, very distressed looking arrangement. I think I feel some gold threadwork coming on!
The next two went a little easier
My next one had little blocks on it as well. Green chiffon with dyed batting and gold organza and some gold lame under the whole thing to give a bit of sparkle.
I really like this one and think it might like a bit of gold, too!
This one was a bit of a seat of the pants experimental piece. I wove (very loosely) some organzas together, then added a piece of yarn, the felted them all down. Then I turned it all over and felted from the back to make the black lines and circles. This one, I think, calls for some all over black and gold and perhaps will become a book cover.
Needlefelting is a bit addictive, I must say and it is hard to stop when you have started, but maybe that's a good thing?
Friday, June 7, 2013
Philosophising on textile art
I have been absent without leave for a little while. As I have said, I am completing a course with Design Matters, and I can't post that here, but beyond that and all the family problems at present, I had been thinking why I often fall of the cart with my Textile work. and really, I have come to realise, work - that terrible word is to blame. Once something becomes WORK, it becomes a chore. Since I started the local gallery, I have been more focused on making THINGS rather than just making, and I think this is what has stifled my creativity.
When I work in my journals and sketchbooks, I have no particular end in mind and am not even intent on finishing - often, I just make backgrounds, which I come back to when the muse suggests. Perhaps I need to be a bit more intent on the process with textiles,like I used to be, rather than what it looks like or whether it's finished or not. I might end up with lots of ufos, but I might end up with more finished and more creative work, too.
So, to this end, today I just threw some stuff together and made it up as I went along.
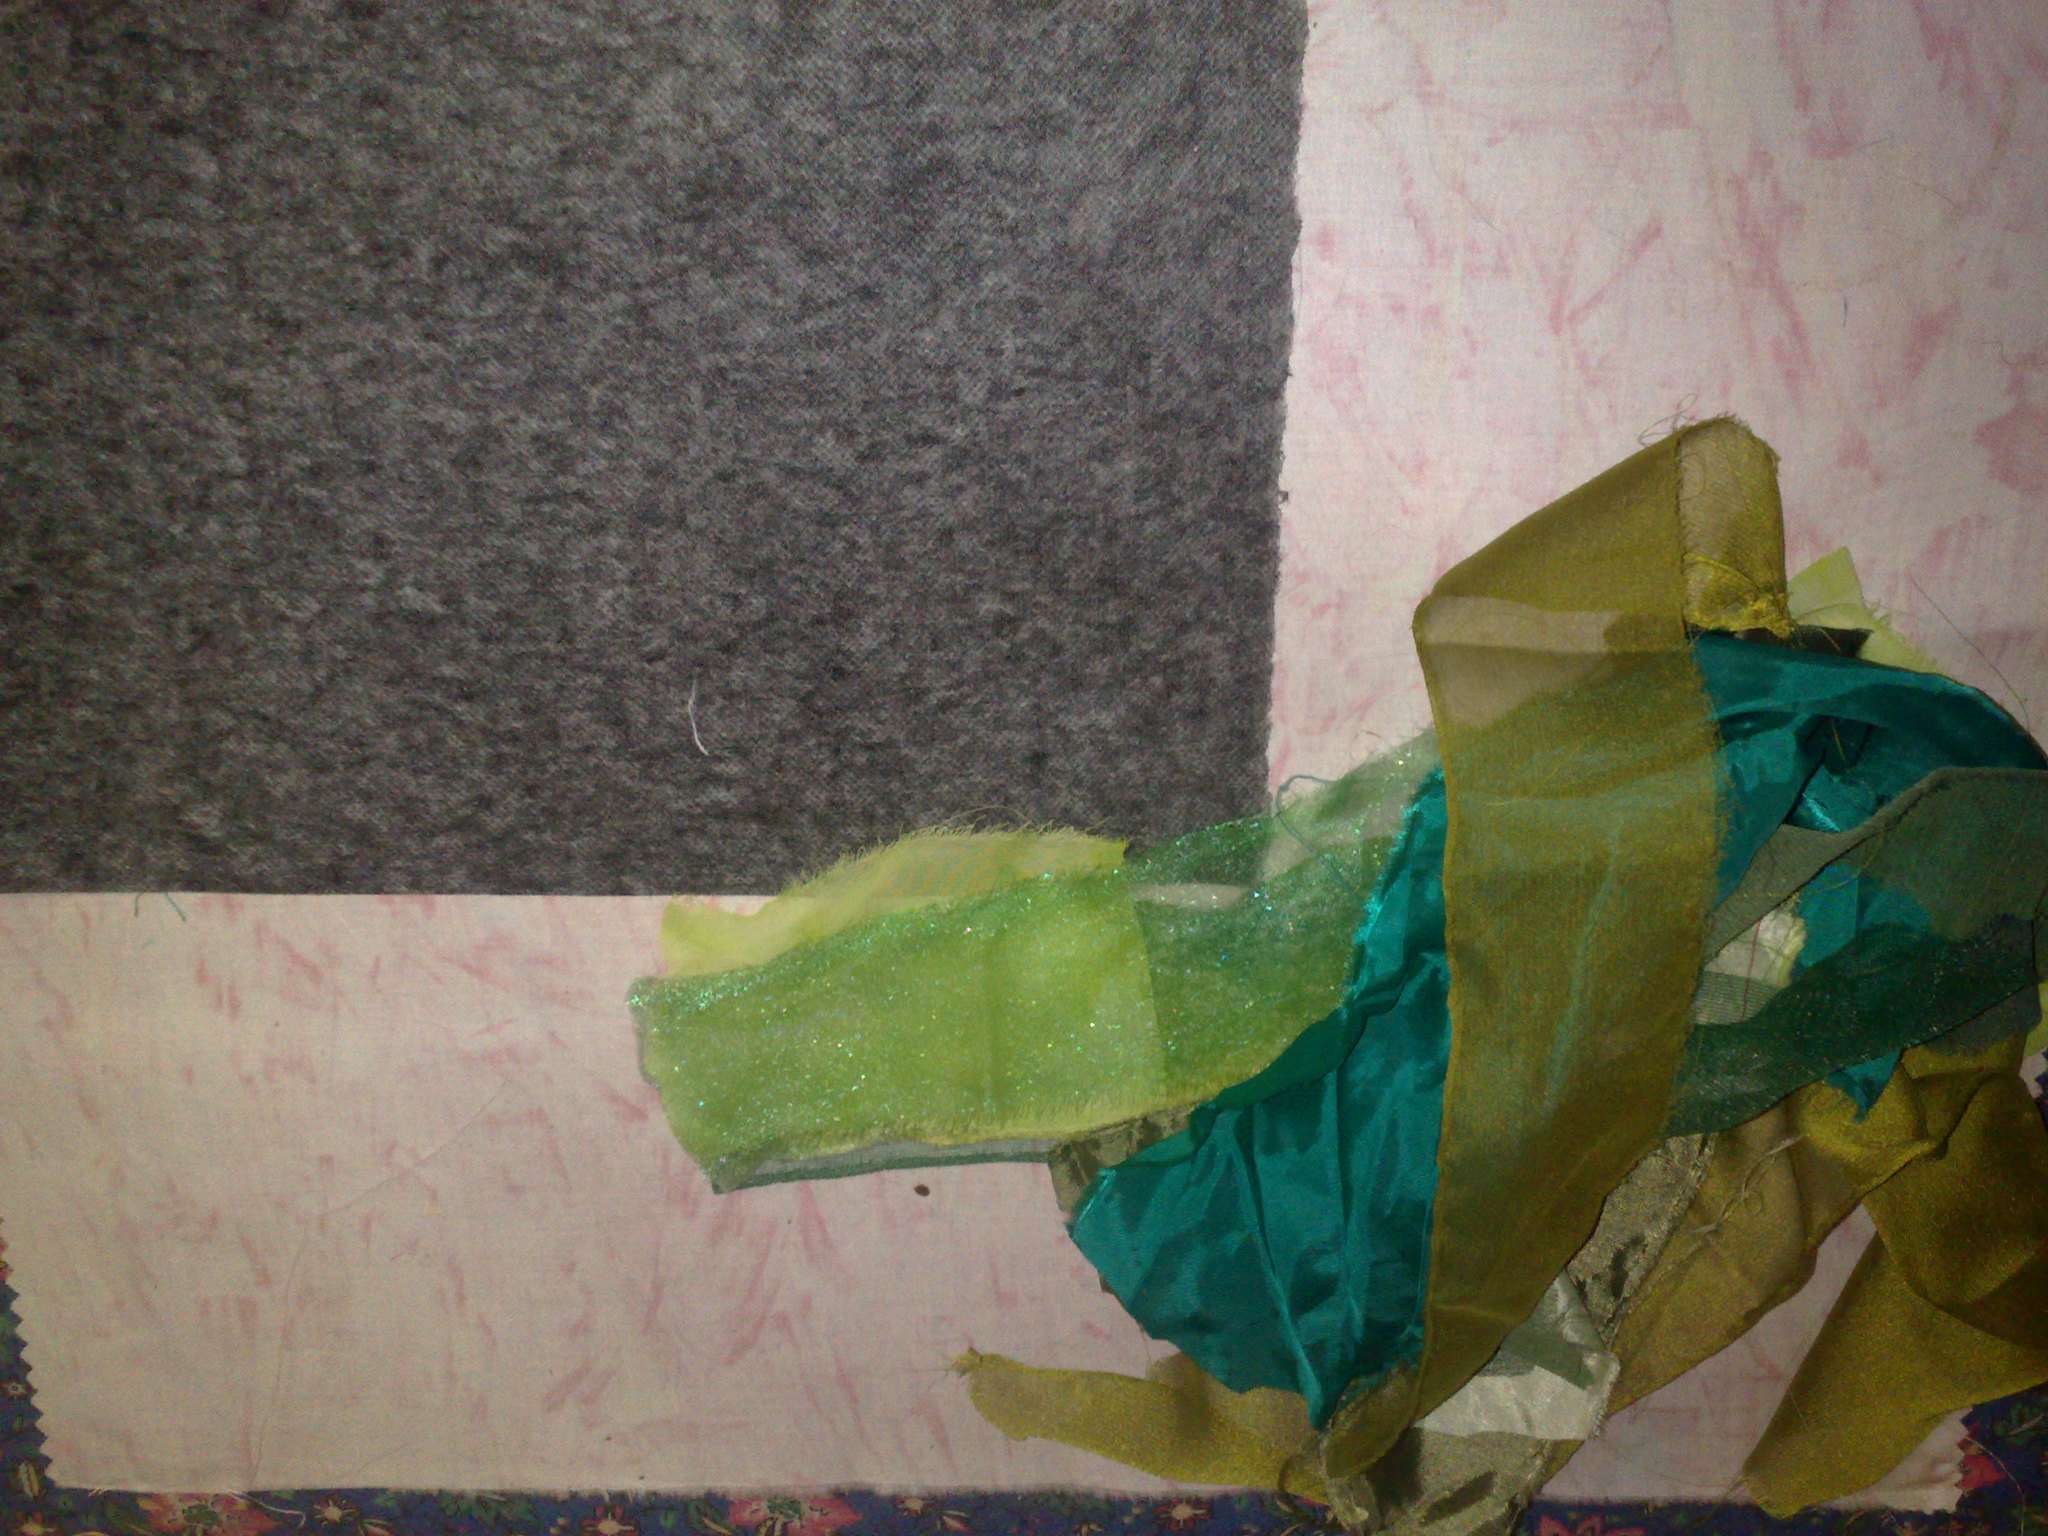
A piece of interfacing and some bits of green stuff - stain, chiffon, organza, batting - all the stuff I love to play with.
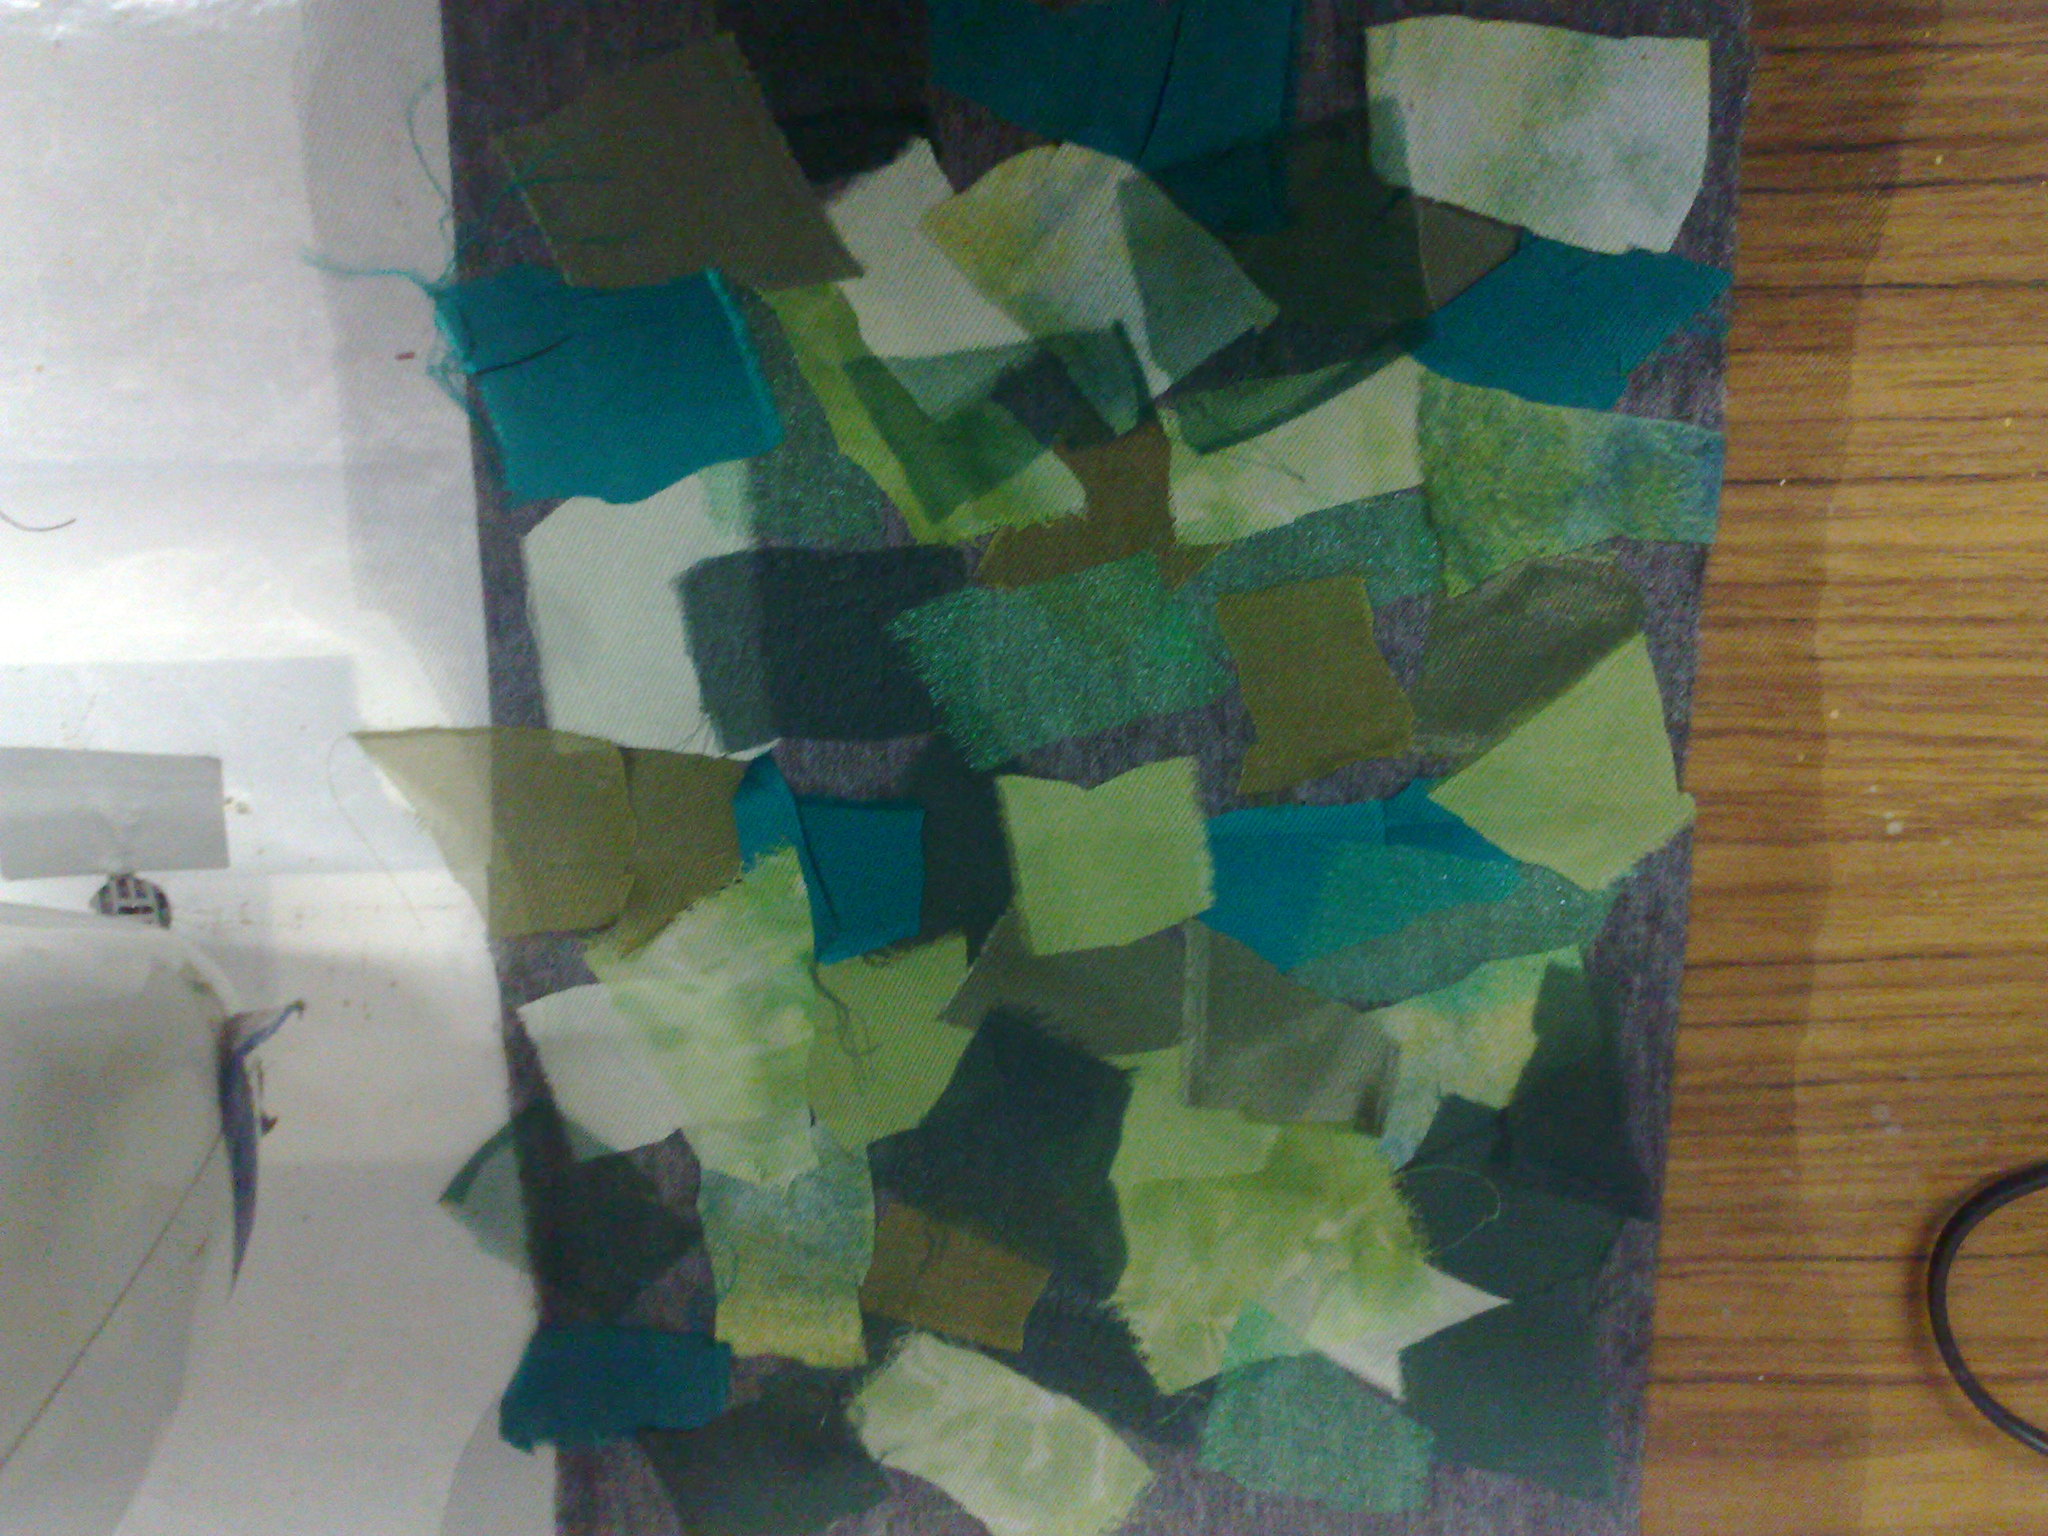
I just arranged the green bits all over the interfacing and when I was happy, I pinned a bit of black tulle over it to hold it.
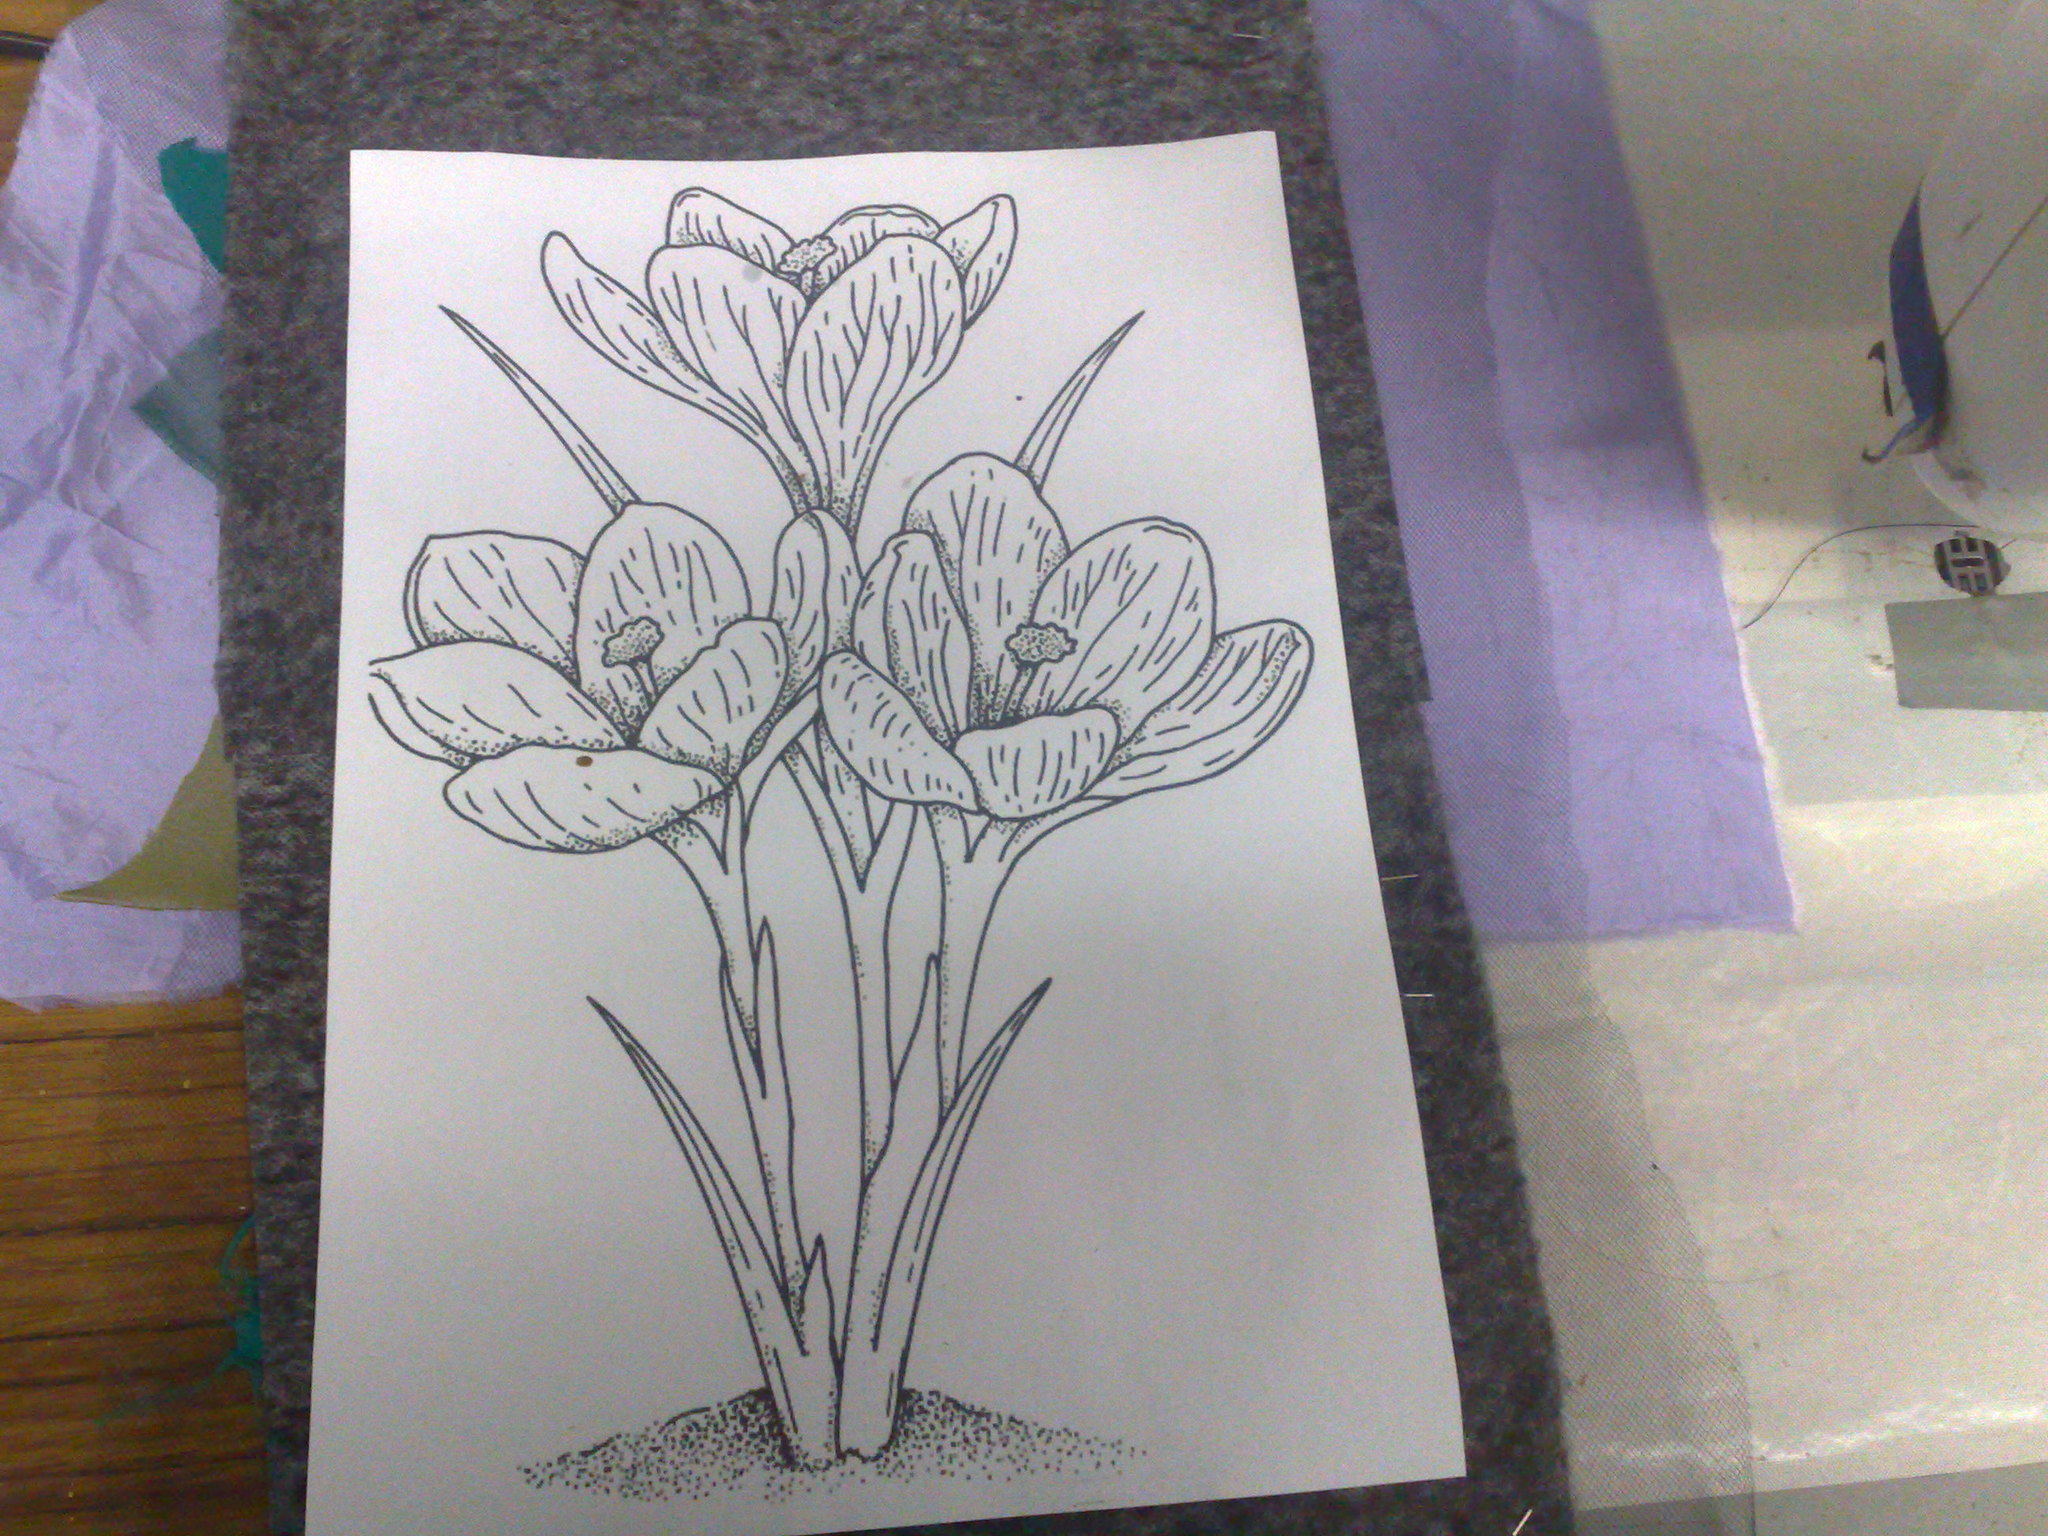
On the back I pinned an inkjet print from a dover book.
I turned it over and pinned some lilac satin where the flowers were to be (sorry about the upside down pic)
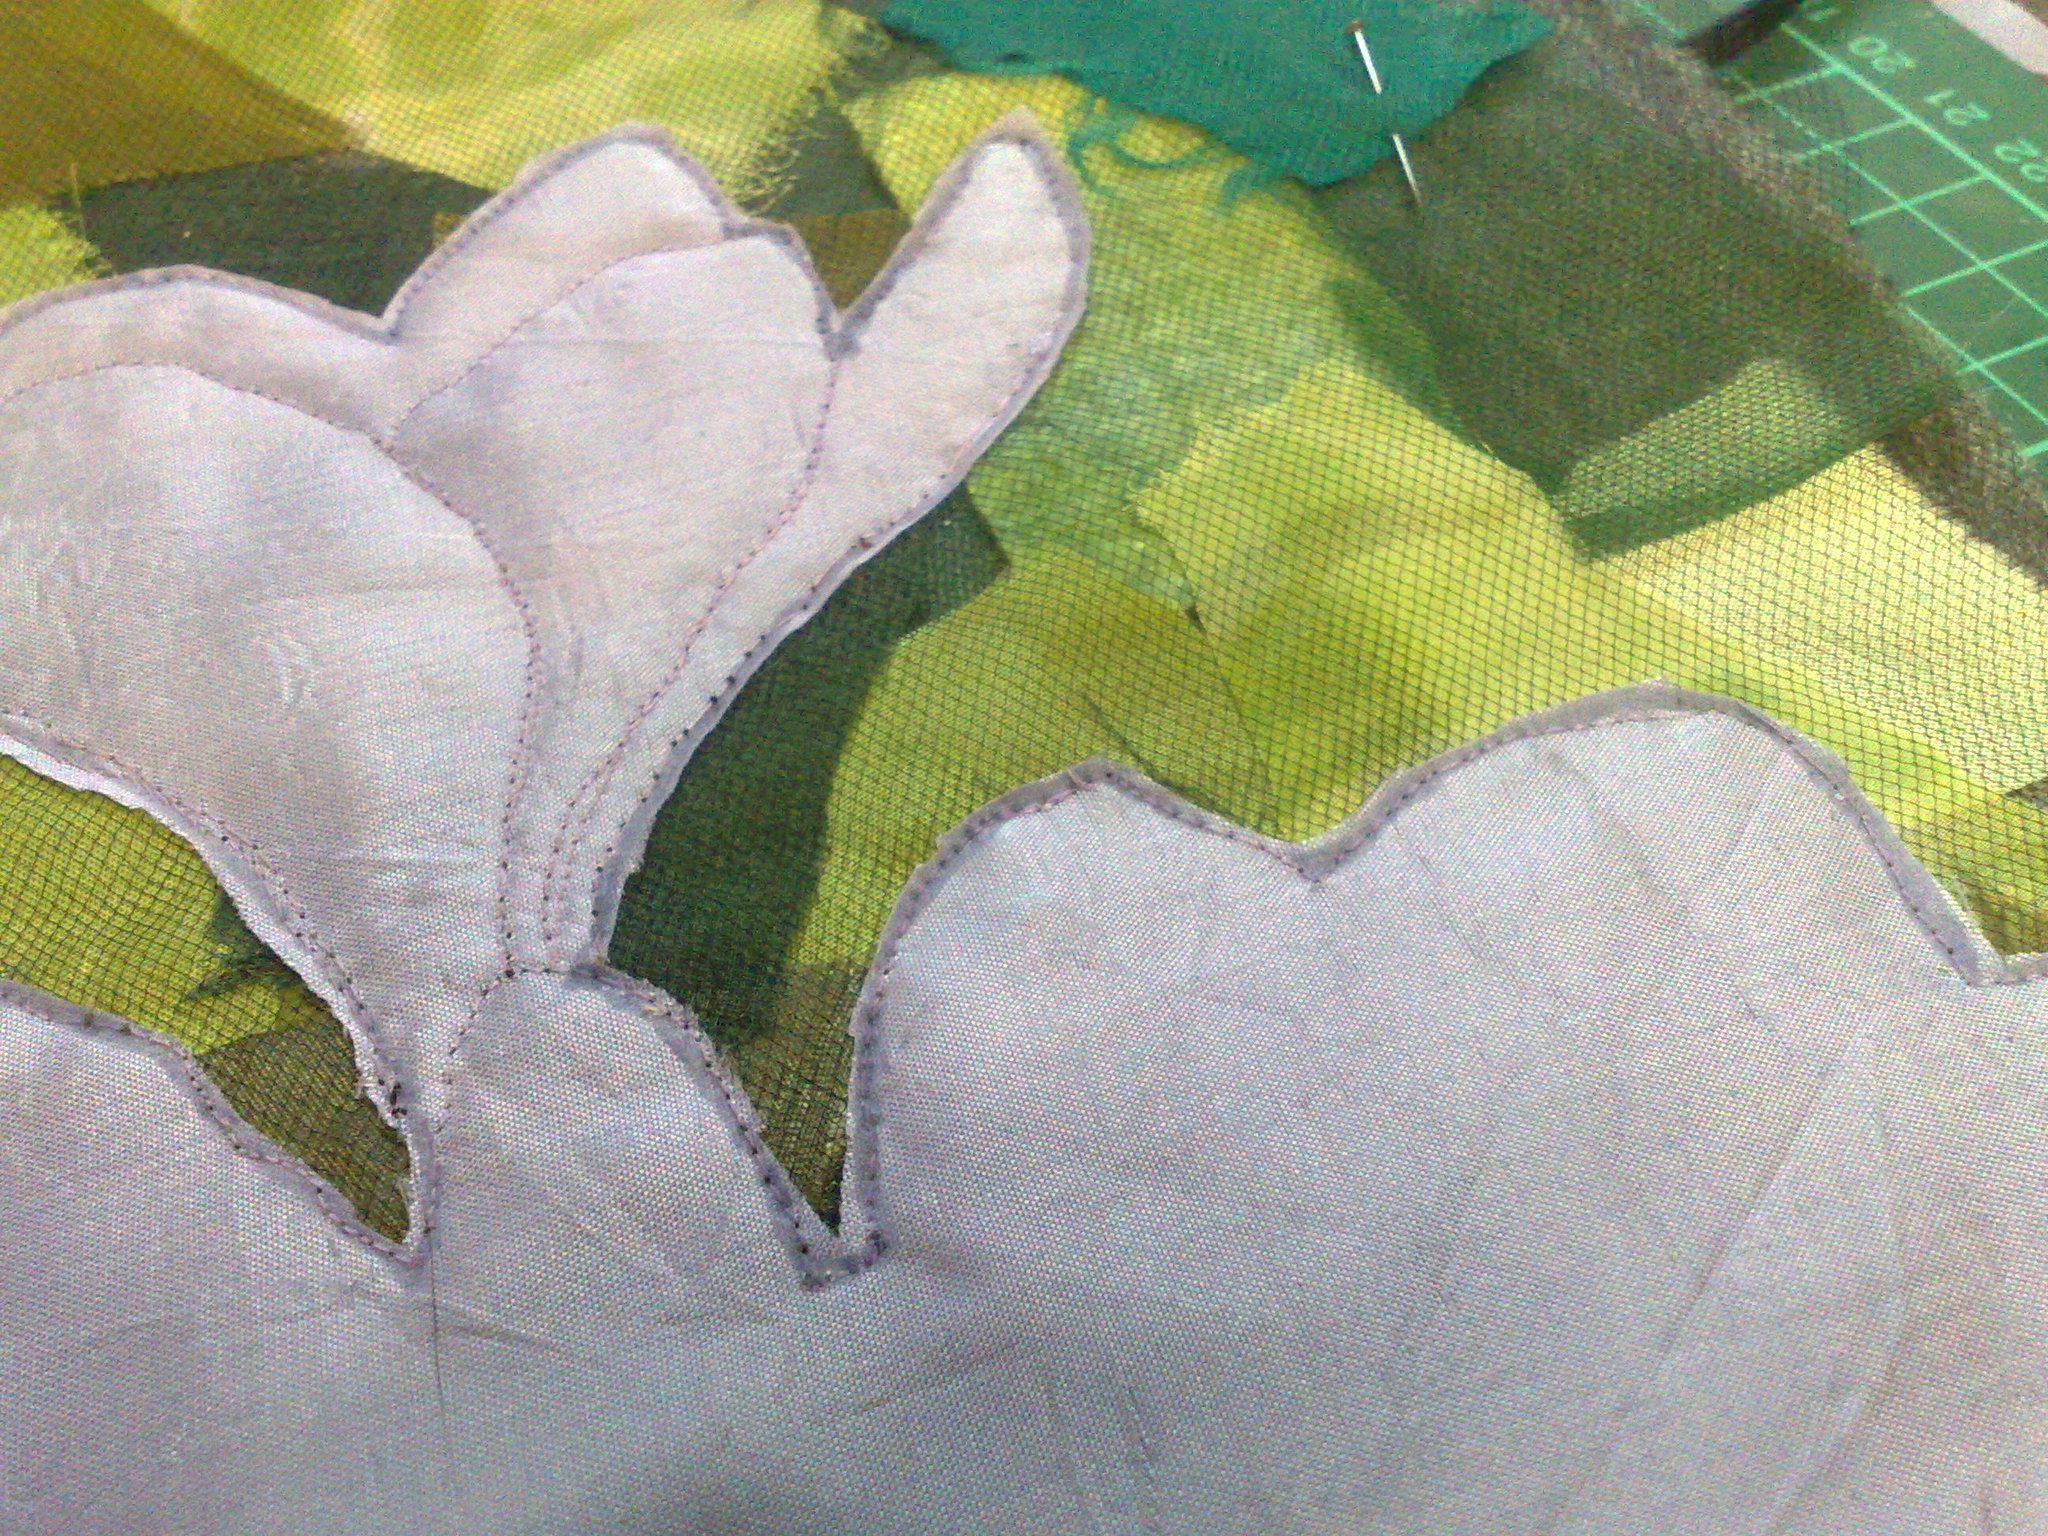
Then I turned it back upside down and sewed around the flowers on the lines of the paper (basically bobbin drawing)
I glues around my stitching with a syringe (very fine line of glue) so it wouldn't fray when I trimmed it.
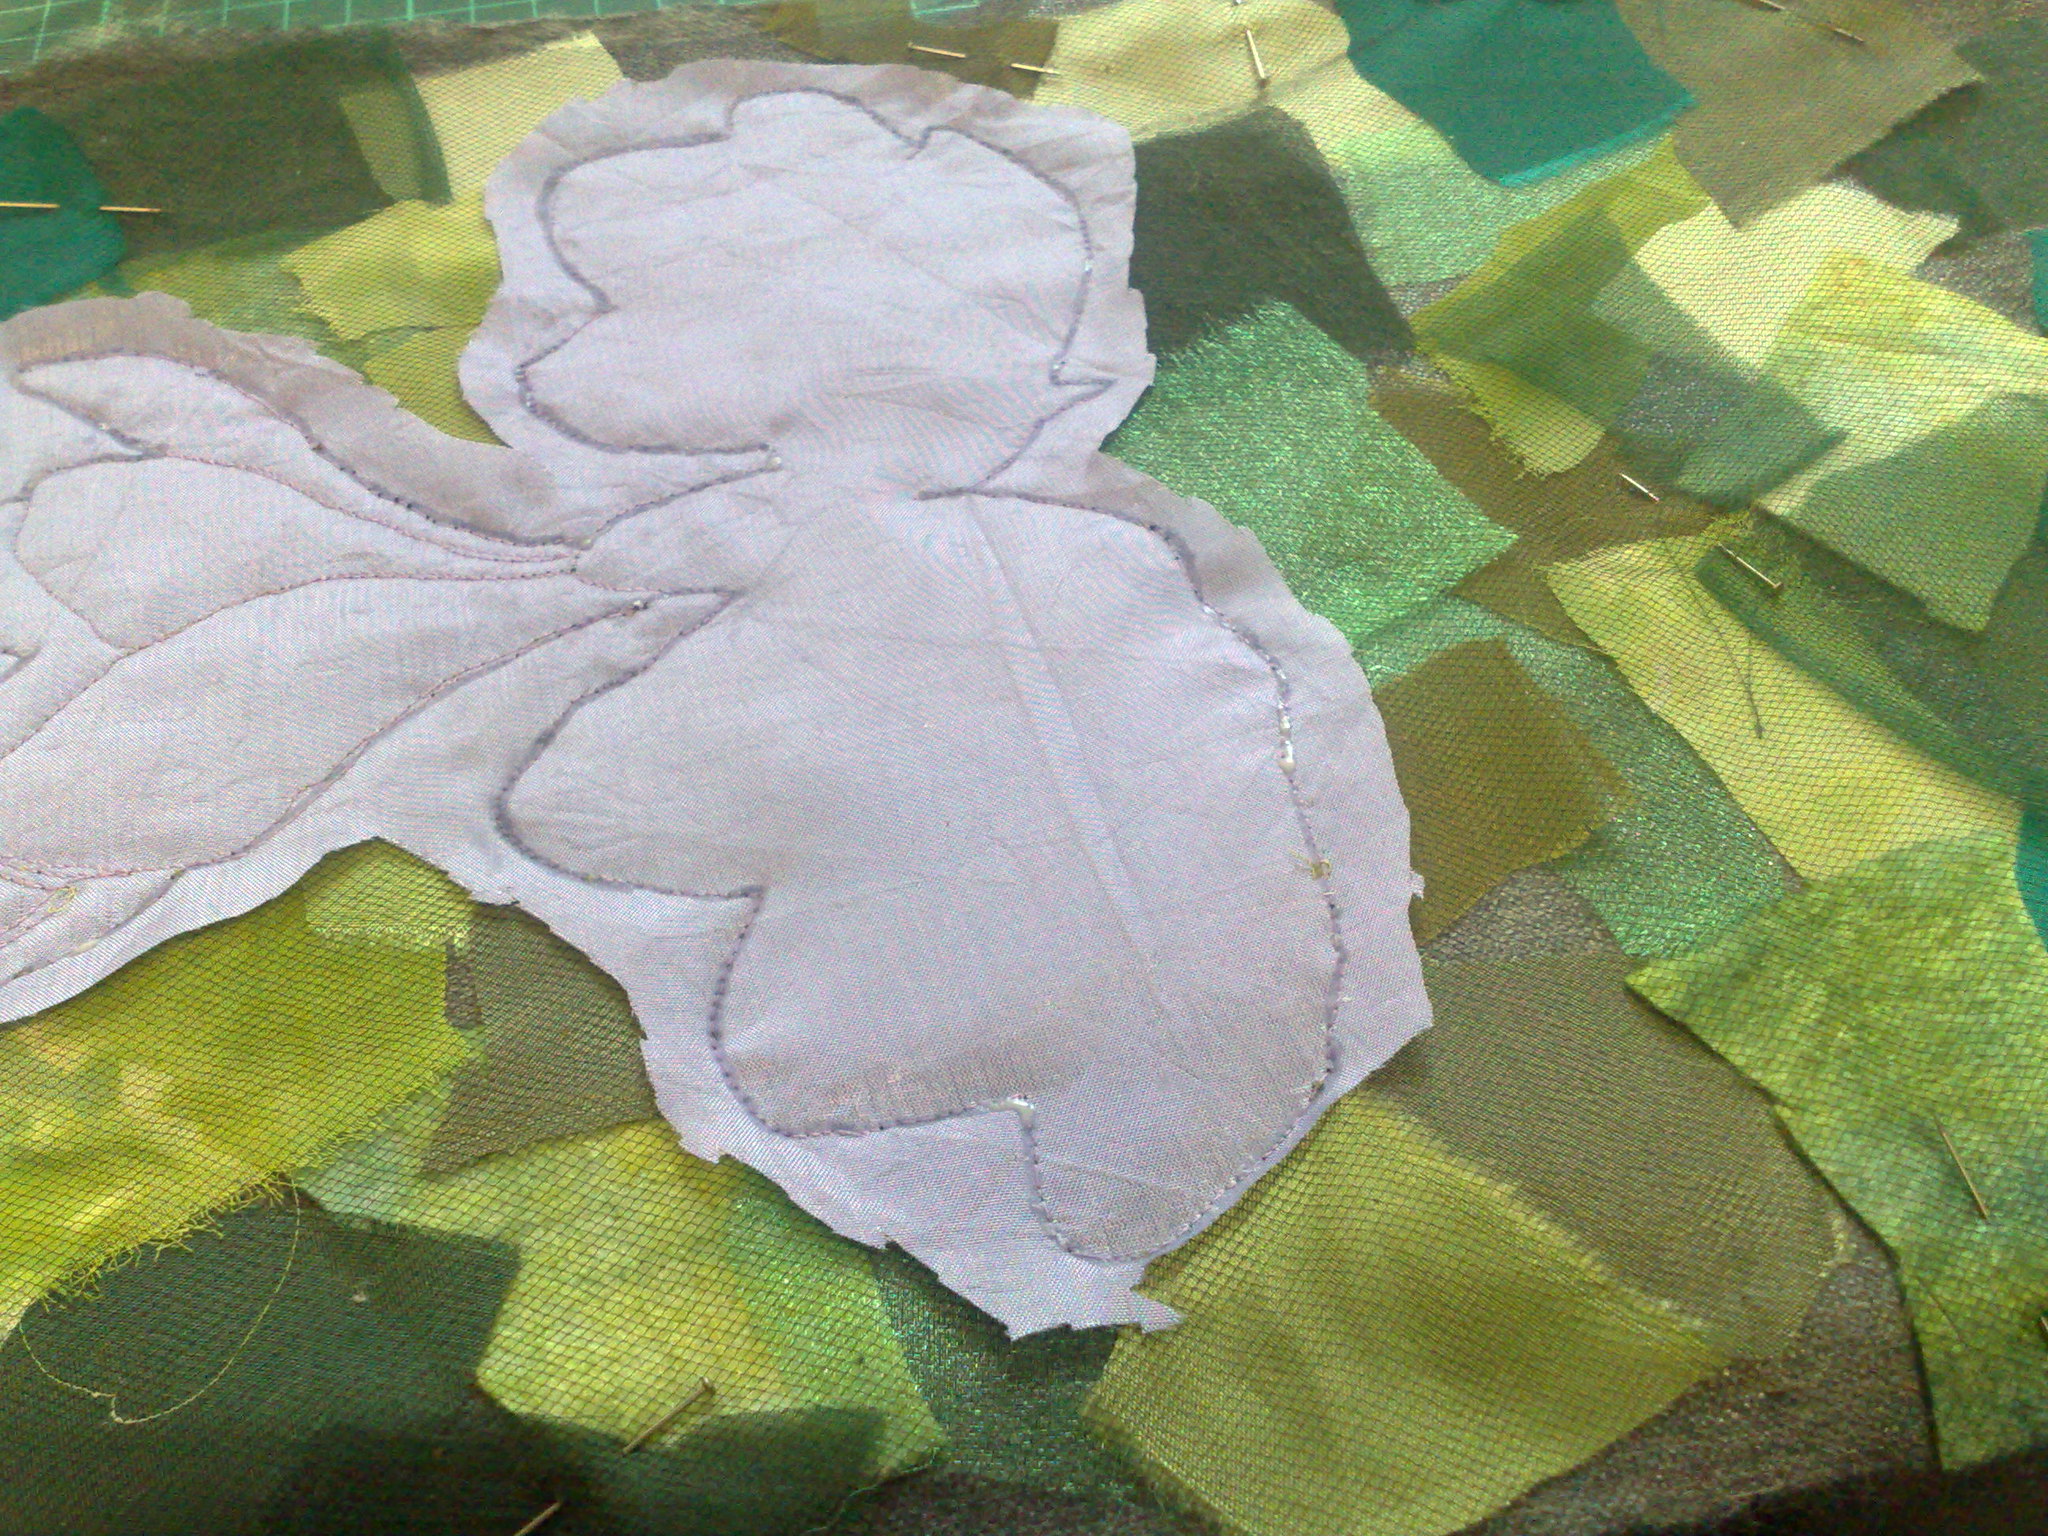
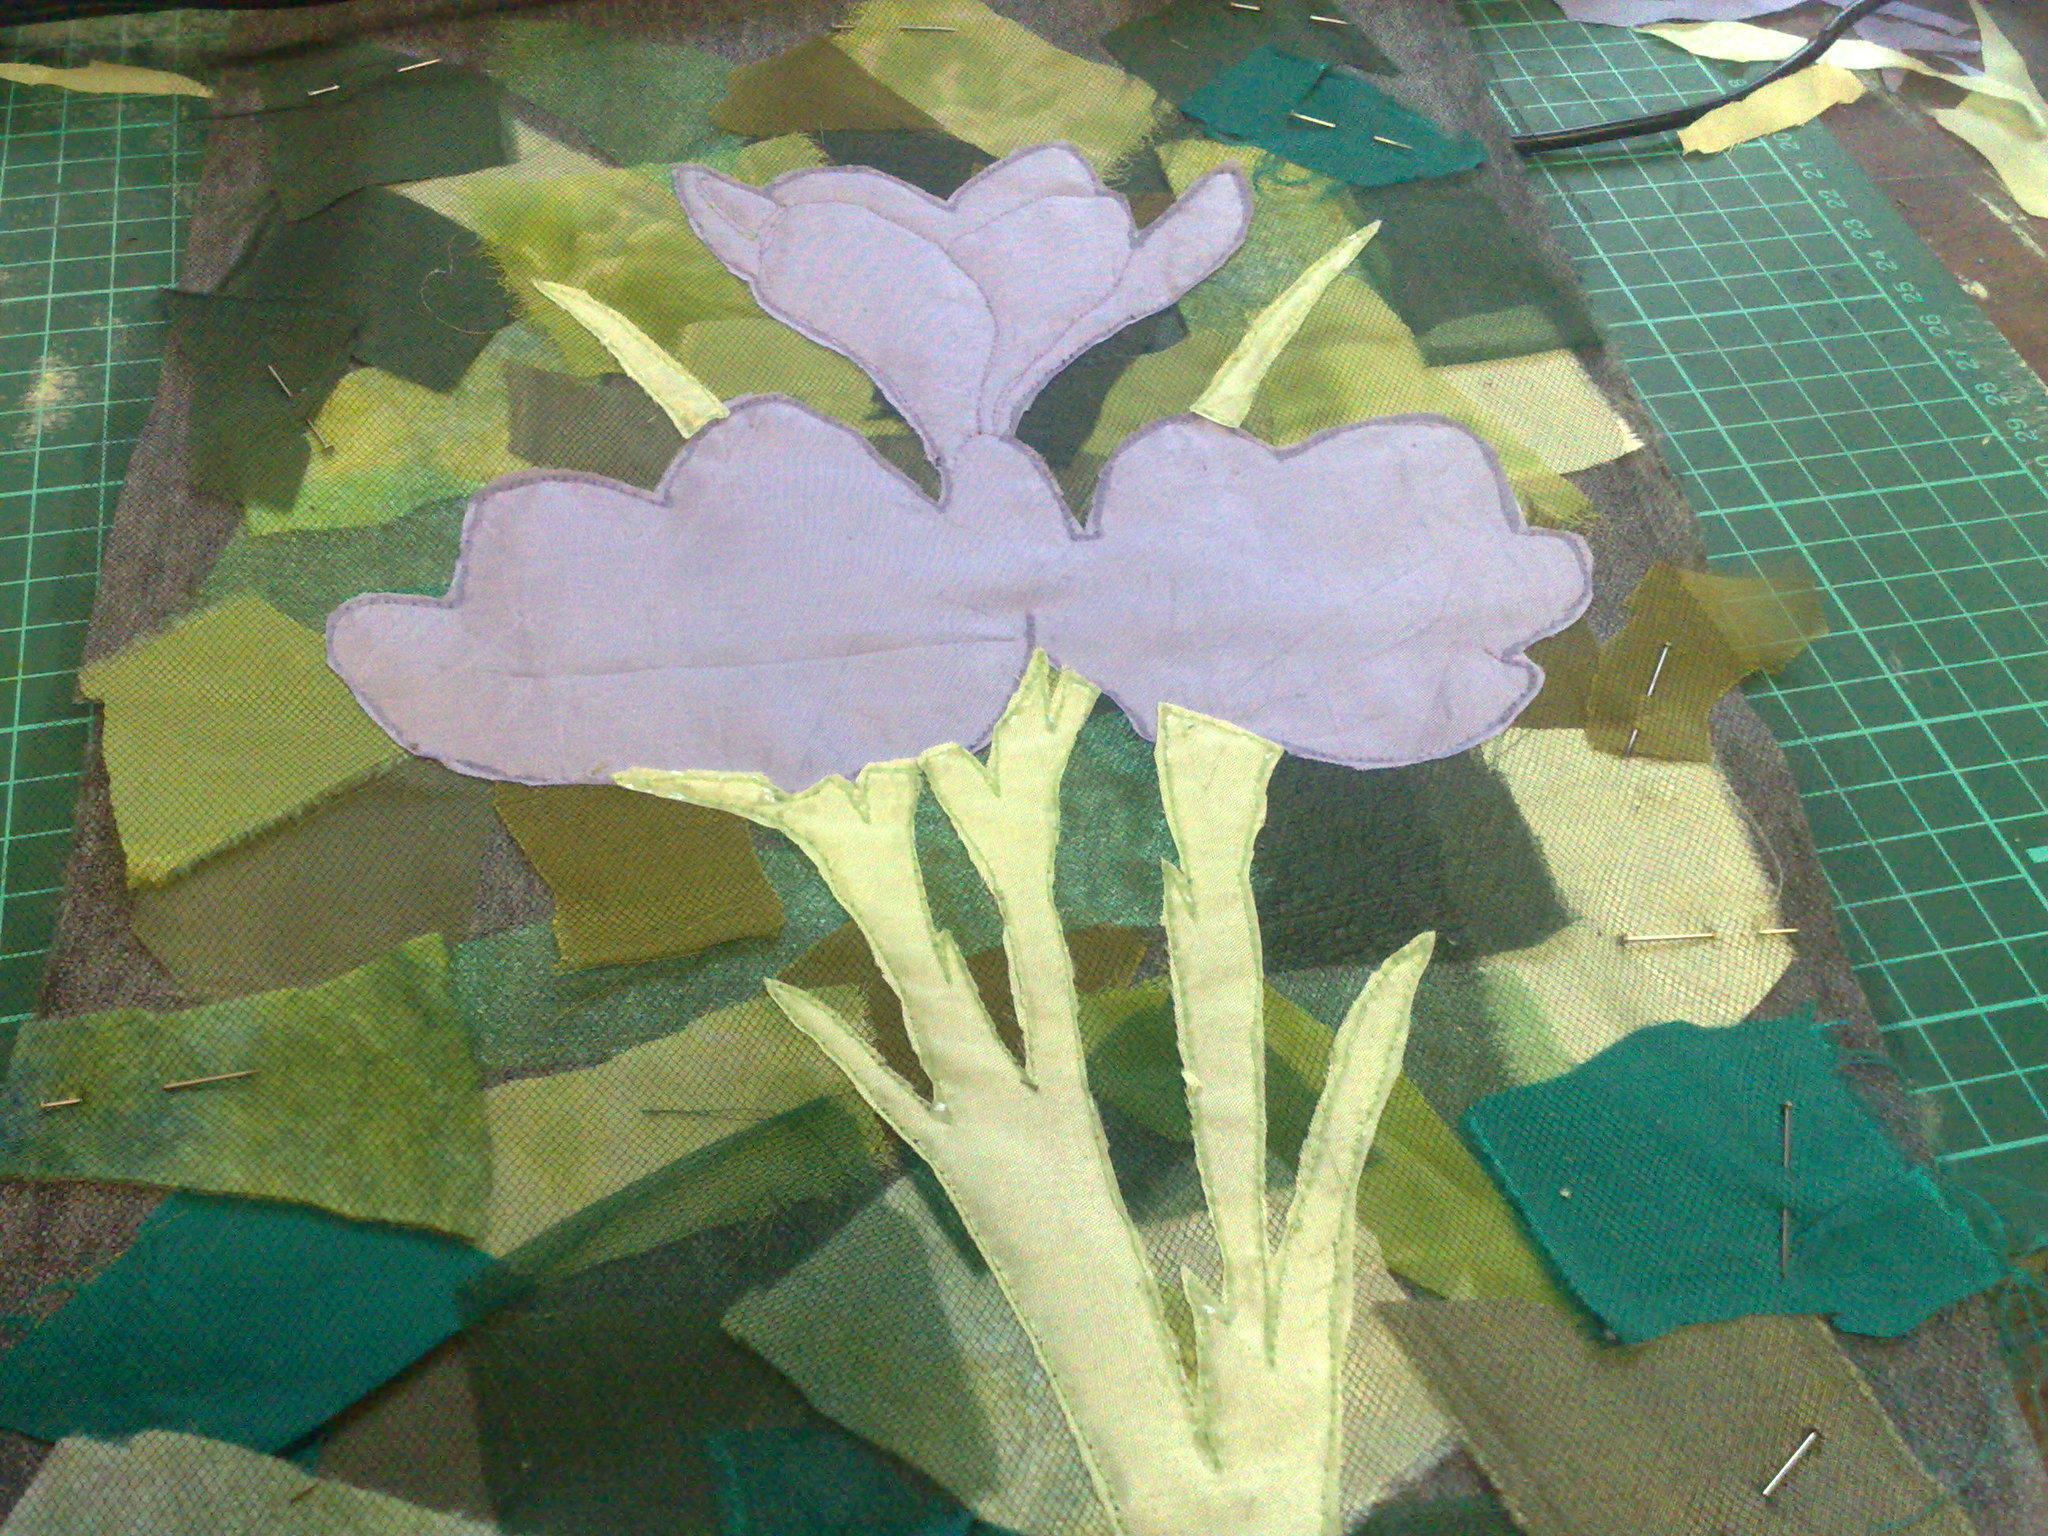
I did a rough trim, then a closer one.
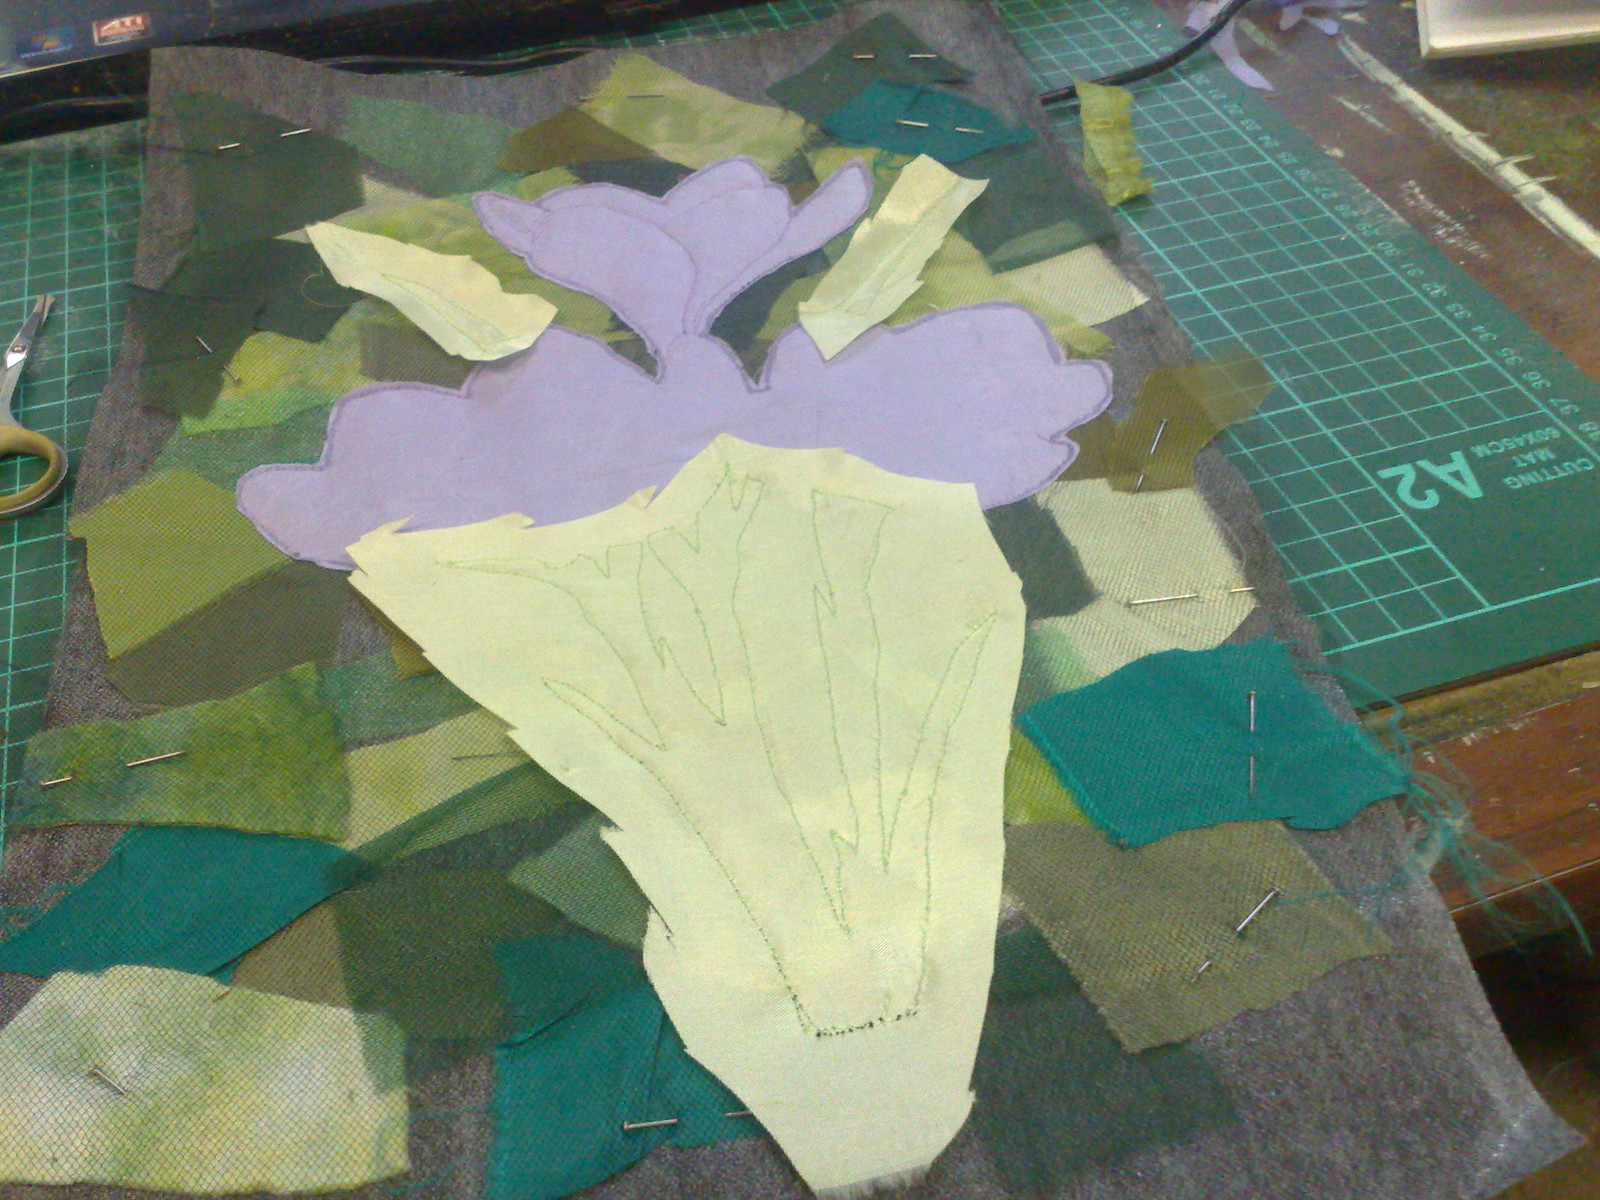
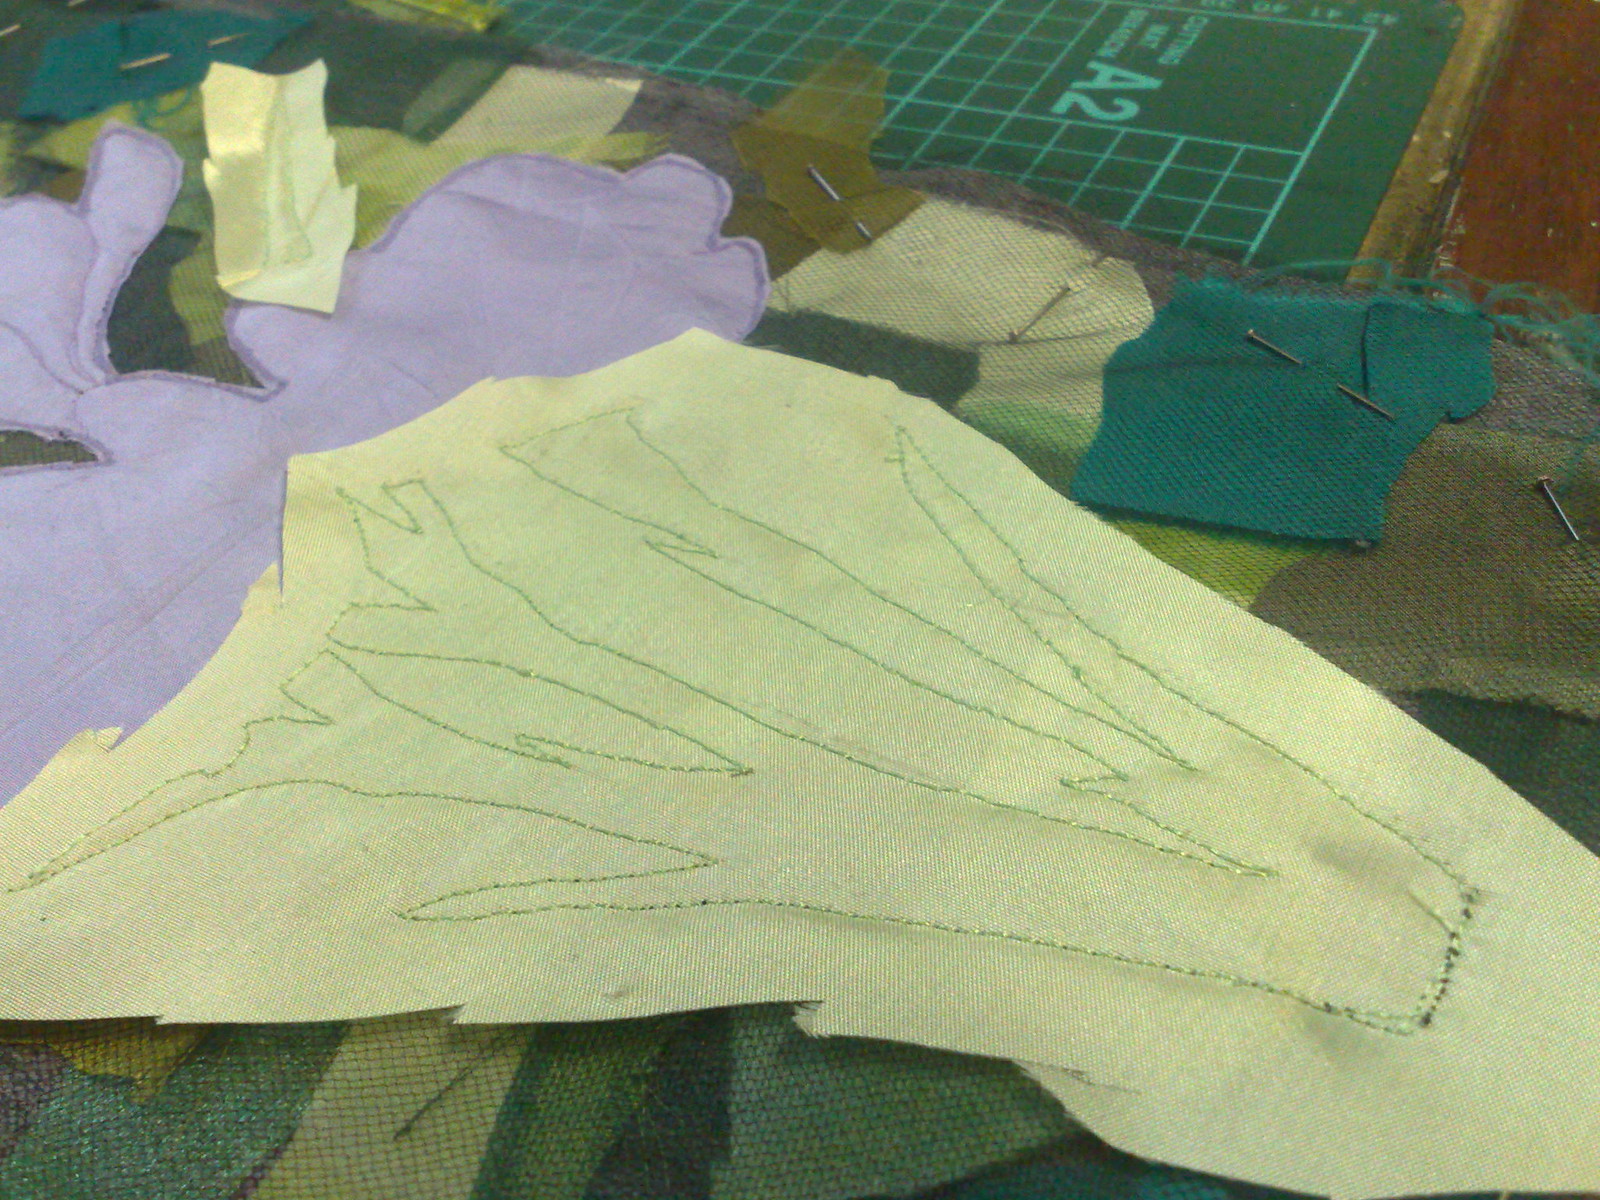
Then I did the same with some very pale green satin for the foliage.
Then it was time for some embroidery!
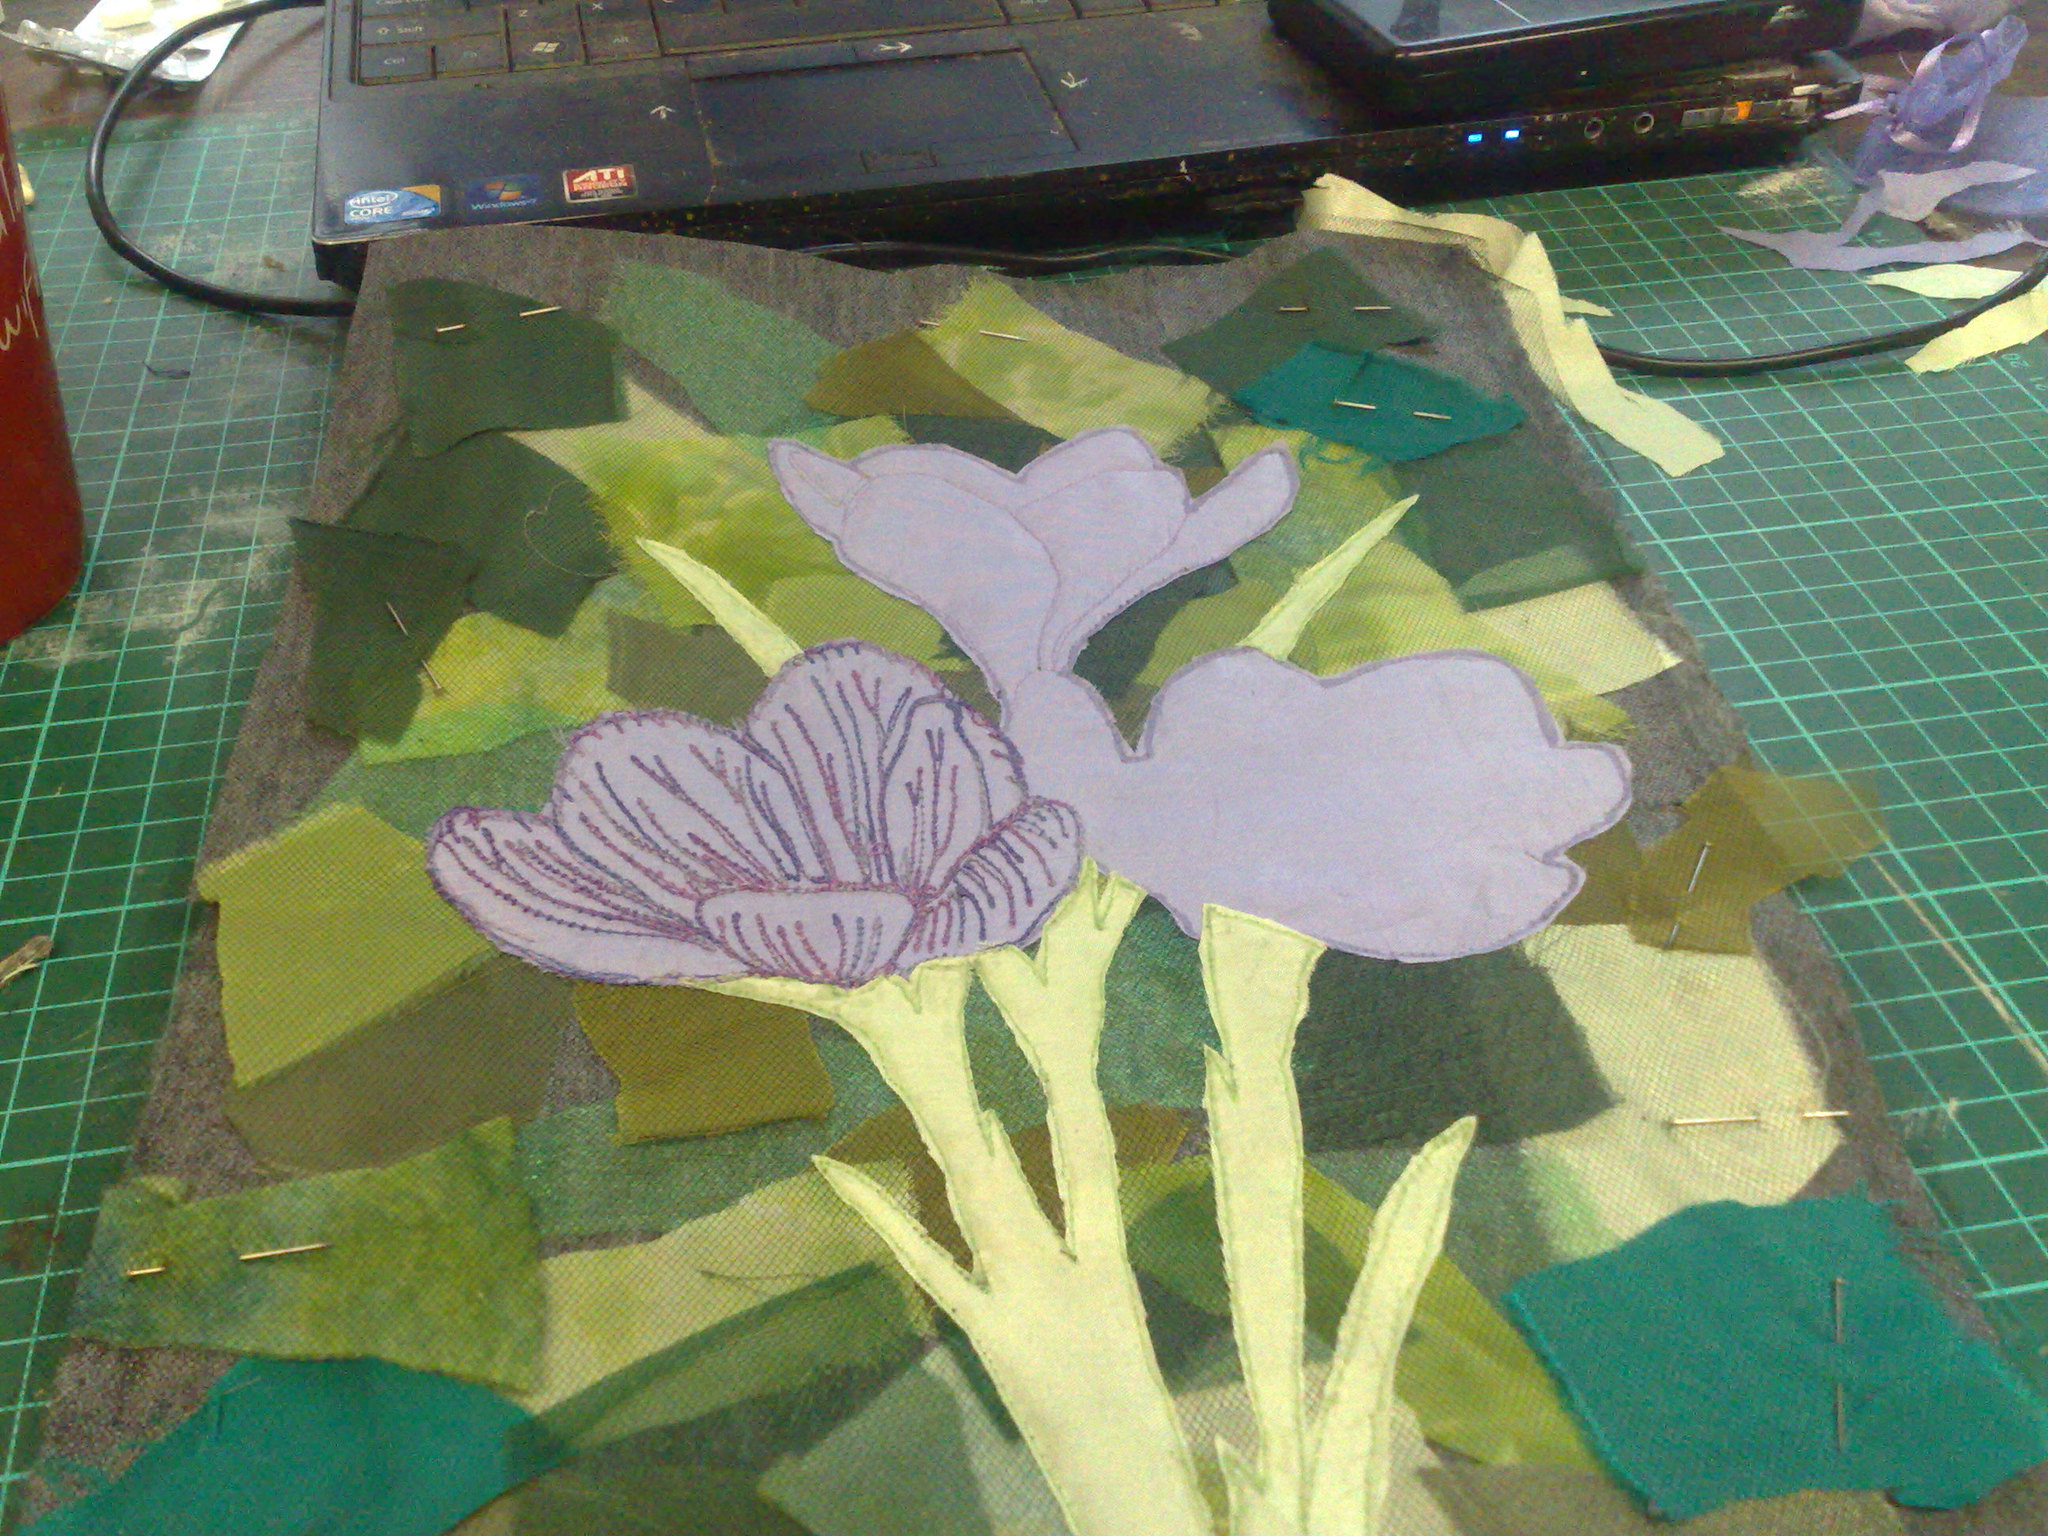
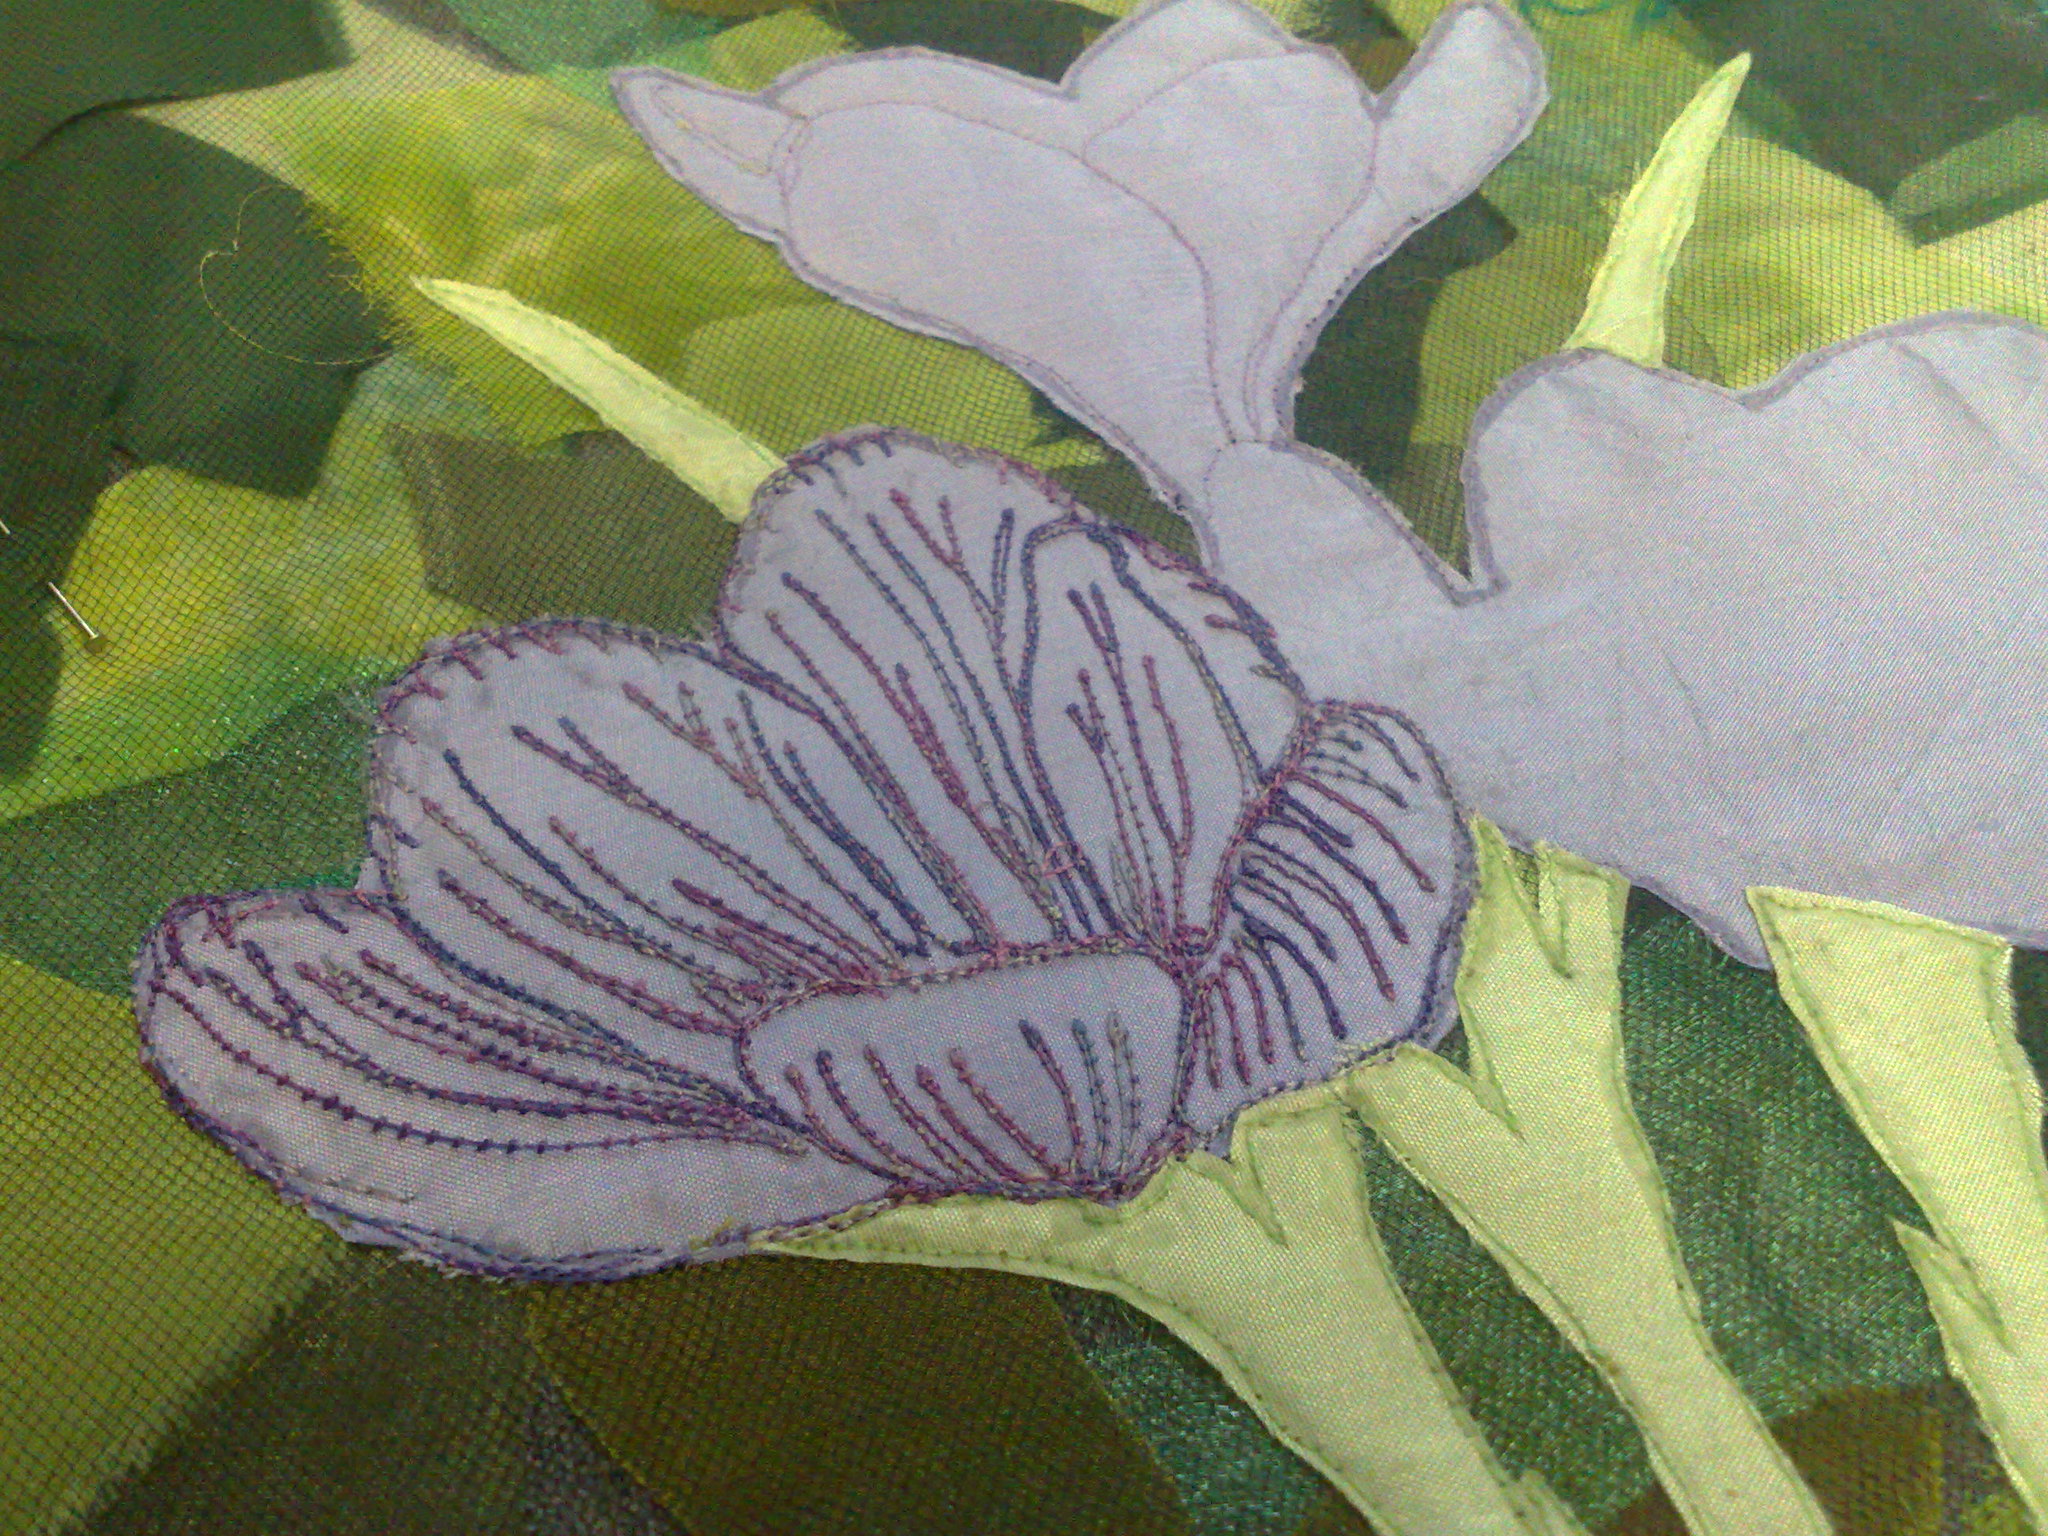
I turned it over again and went over the lines in the flower with a variegated purple thread.
And that's where I got up to before I had to go out and stack wood for the fire. It gets cold early now that it's winter here.
And this is one I need to remember more often. Play is the heart of creativity!
When I work in my journals and sketchbooks, I have no particular end in mind and am not even intent on finishing - often, I just make backgrounds, which I come back to when the muse suggests. Perhaps I need to be a bit more intent on the process with textiles,like I used to be, rather than what it looks like or whether it's finished or not. I might end up with lots of ufos, but I might end up with more finished and more creative work, too.
So, to this end, today I just threw some stuff together and made it up as I went along.
A piece of interfacing and some bits of green stuff - stain, chiffon, organza, batting - all the stuff I love to play with.
I just arranged the green bits all over the interfacing and when I was happy, I pinned a bit of black tulle over it to hold it.
On the back I pinned an inkjet print from a dover book.
I turned it over and pinned some lilac satin where the flowers were to be (sorry about the upside down pic)
Then I turned it back upside down and sewed around the flowers on the lines of the paper (basically bobbin drawing)
I glues around my stitching with a syringe (very fine line of glue) so it wouldn't fray when I trimmed it.
I did a rough trim, then a closer one.
Then I did the same with some very pale green satin for the foliage.
Then it was time for some embroidery!
I turned it over again and went over the lines in the flower with a variegated purple thread.
And that's where I got up to before I had to go out and stack wood for the fire. It gets cold early now that it's winter here.
And this is one I need to remember more often. Play is the heart of creativity!
Subscribe to:
Posts (Atom)