Showing posts with label design matters. Show all posts

Friday, May 23, 2014

Butterflies

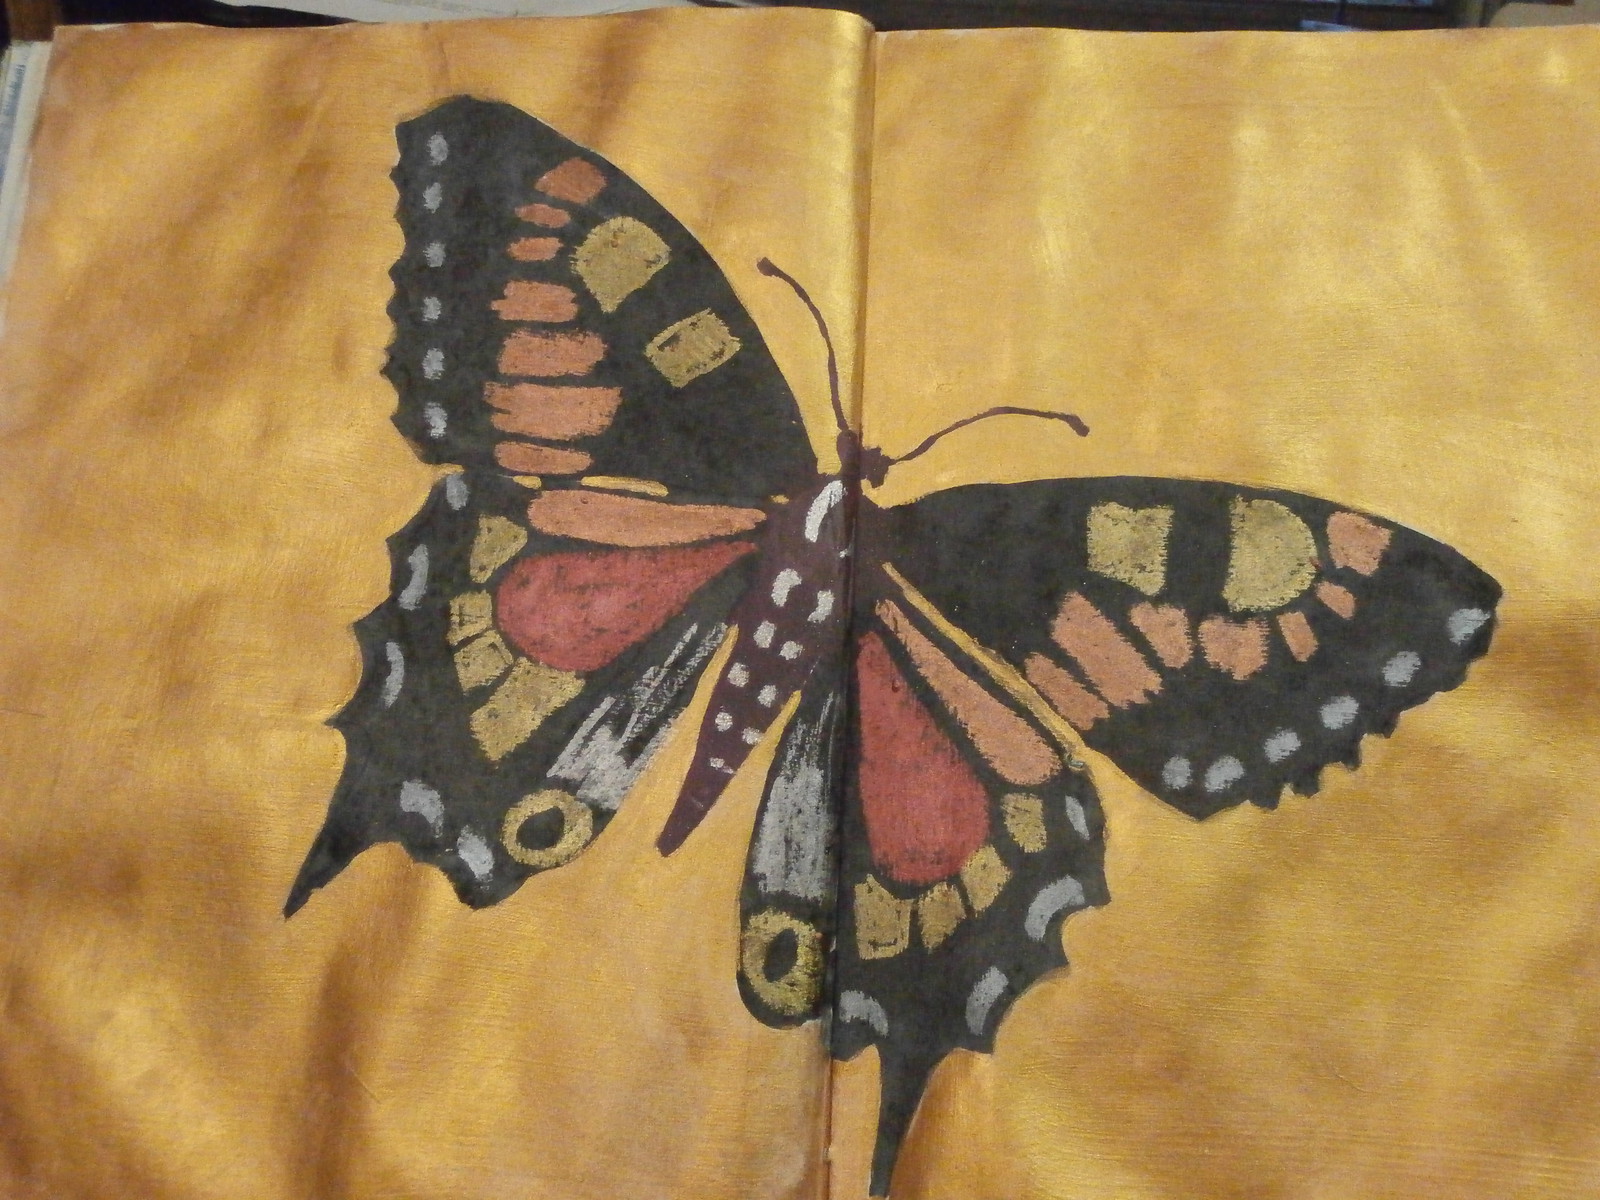
I really enjoyed the painting I did on fabric recently, so I thought I'd do some more.  I saw some butterflies yesterday and thought, well let's do one then.
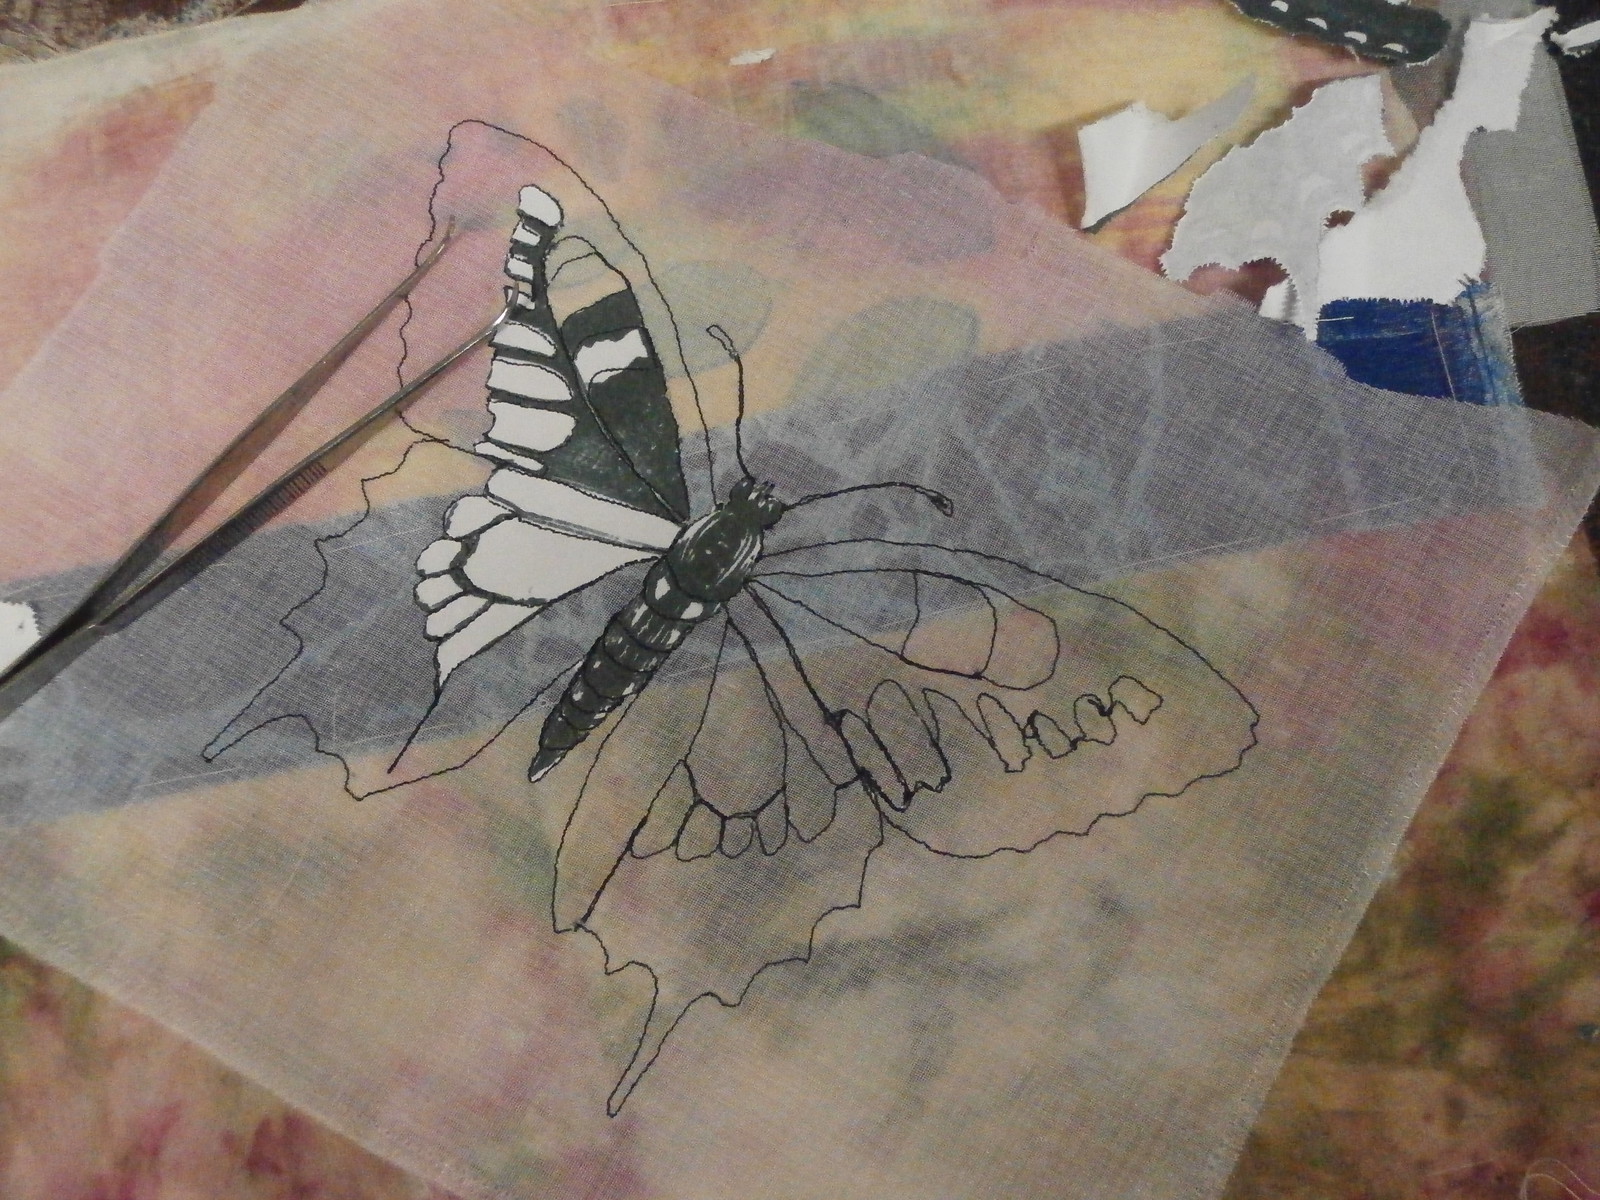
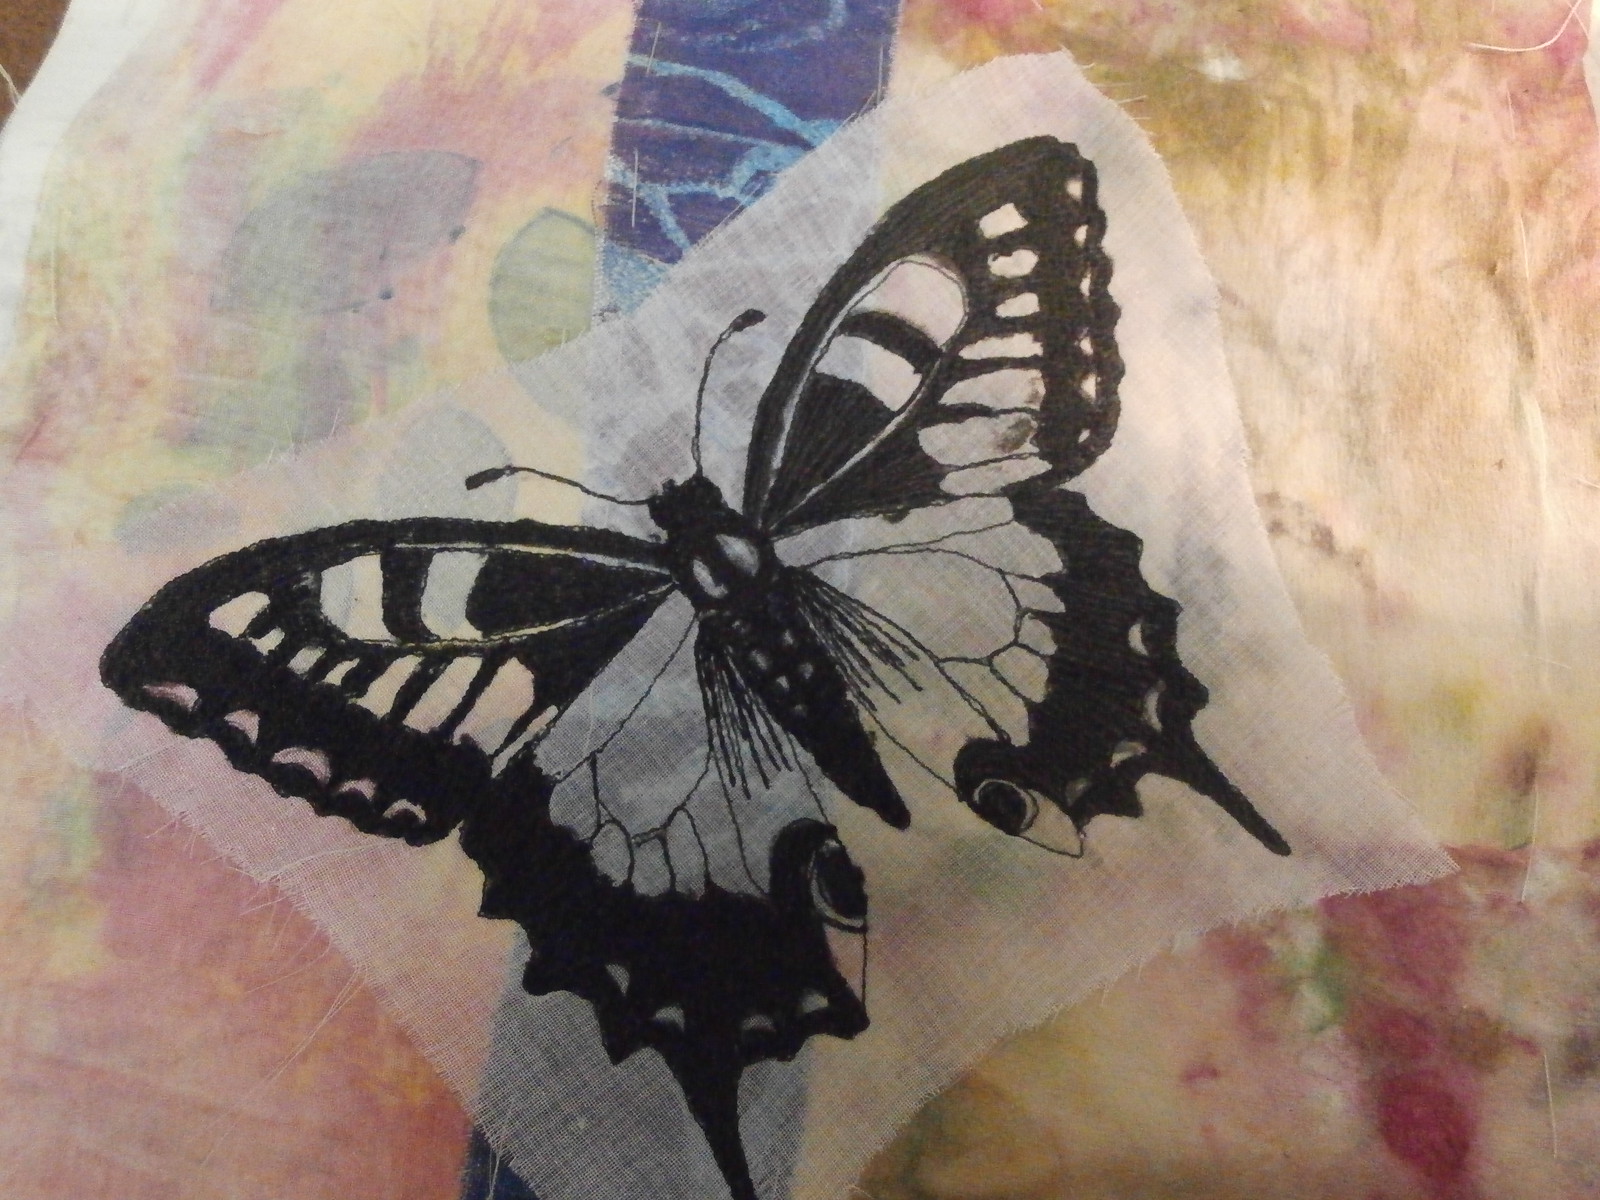
I used a photocopy of a dover picture to start me off and free motioned the outlines through the paper onto one of my collages.
I didn't think to take photos until I was nearly finished picking the paper away.  This is a technique that I have shown before, but really, I just sew the main lines of a picture through a paper laid over the fabric, basically tracing with a sewing machine.  You can see above there are still bits of the photocopy on the left wing, and when the paper is picked out (which is quite easy so long as you only stitch the main lines) you only have your stitched lines.  Some of the picked out paper is at the top right.
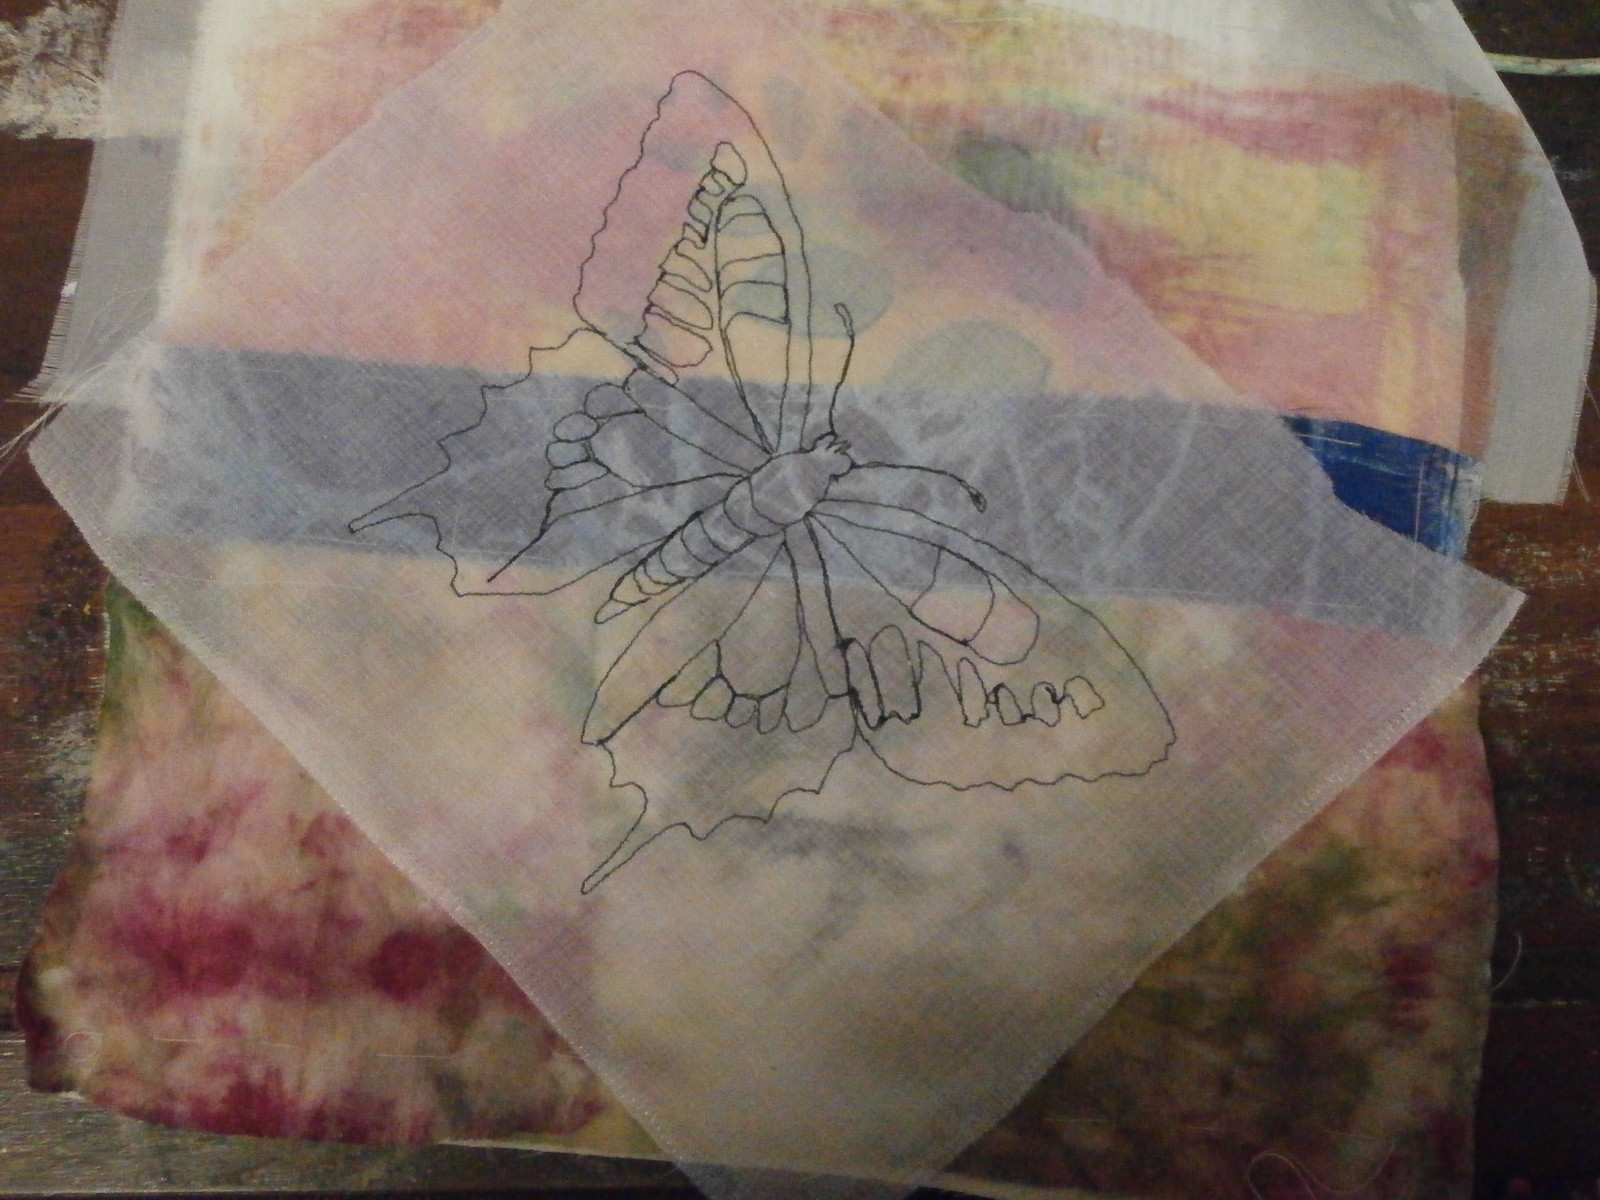
Here are just the lines of stitching left.  I used a piece of voile over the collage, so the surface of the butterfly would be even for painting.
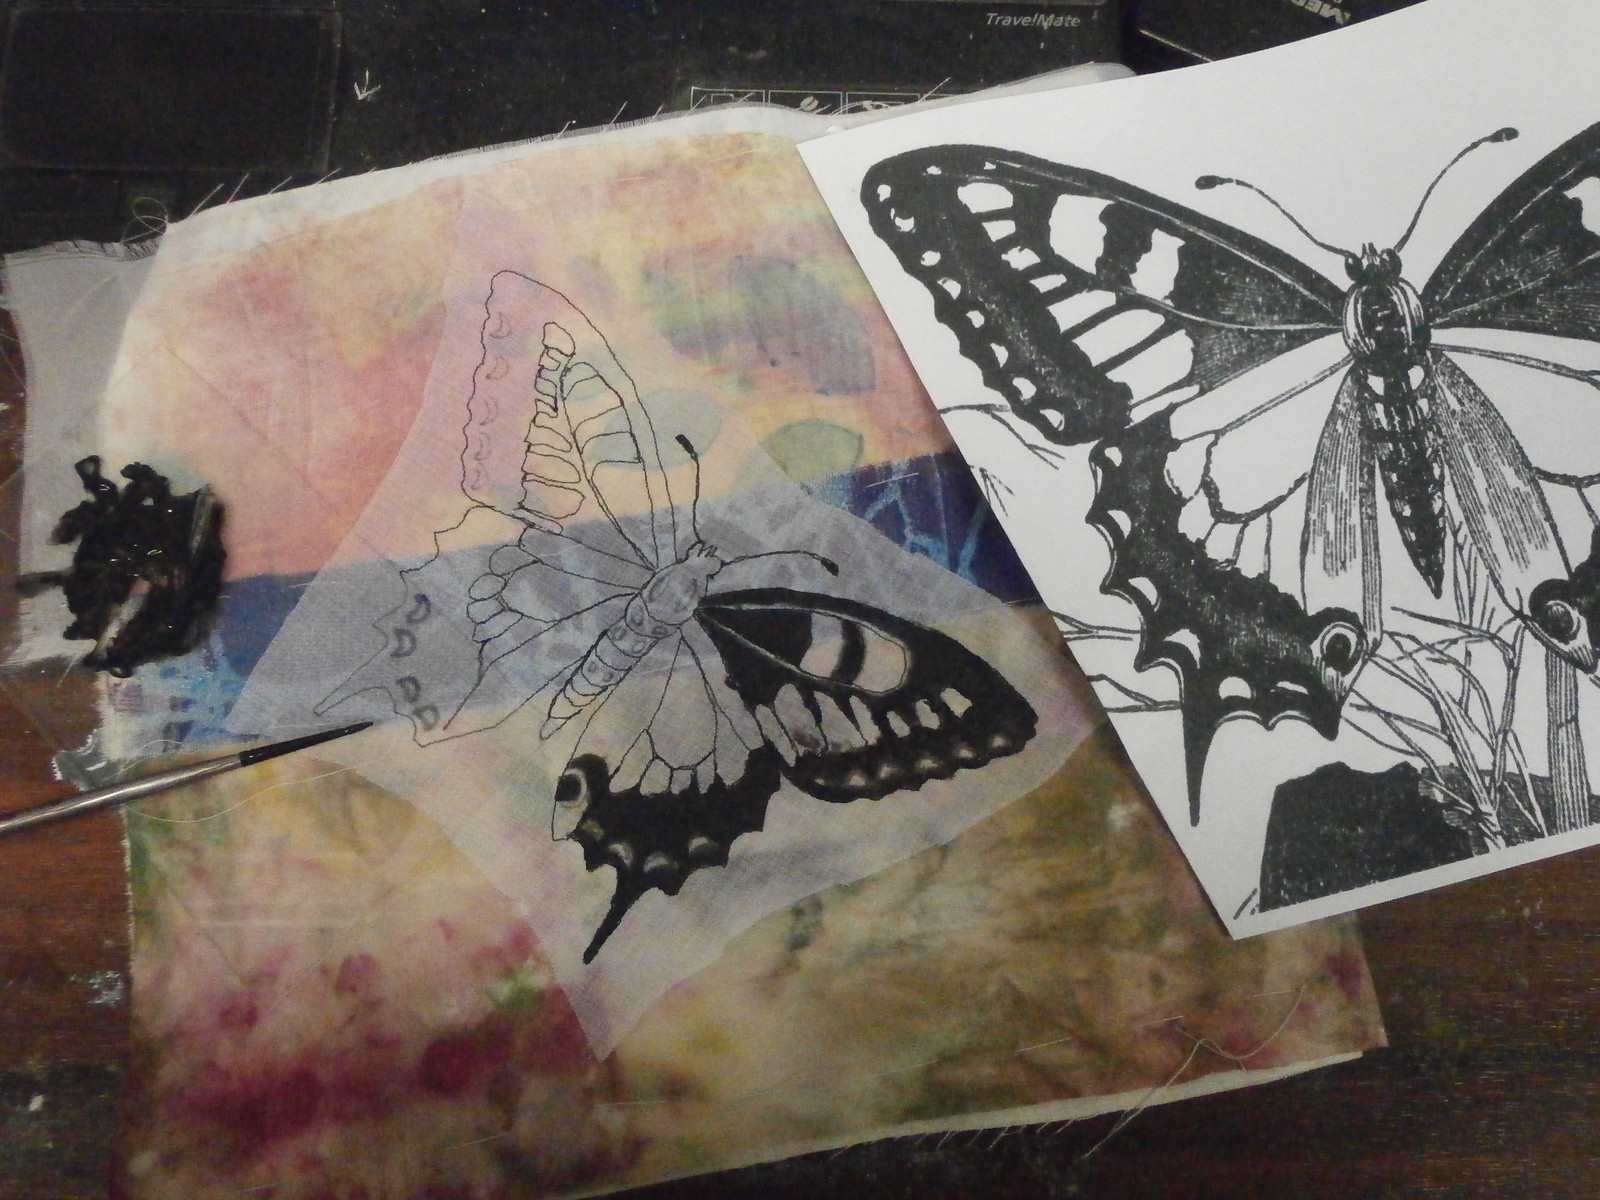
Here, you can see I am painting the black areas with acrylic paint.  Don't worry, the paint and brush are sitting on some clear perspex, not on my work!
I have finished all the black here and it is a bit messy, but all my mistakes will soon be covered up.
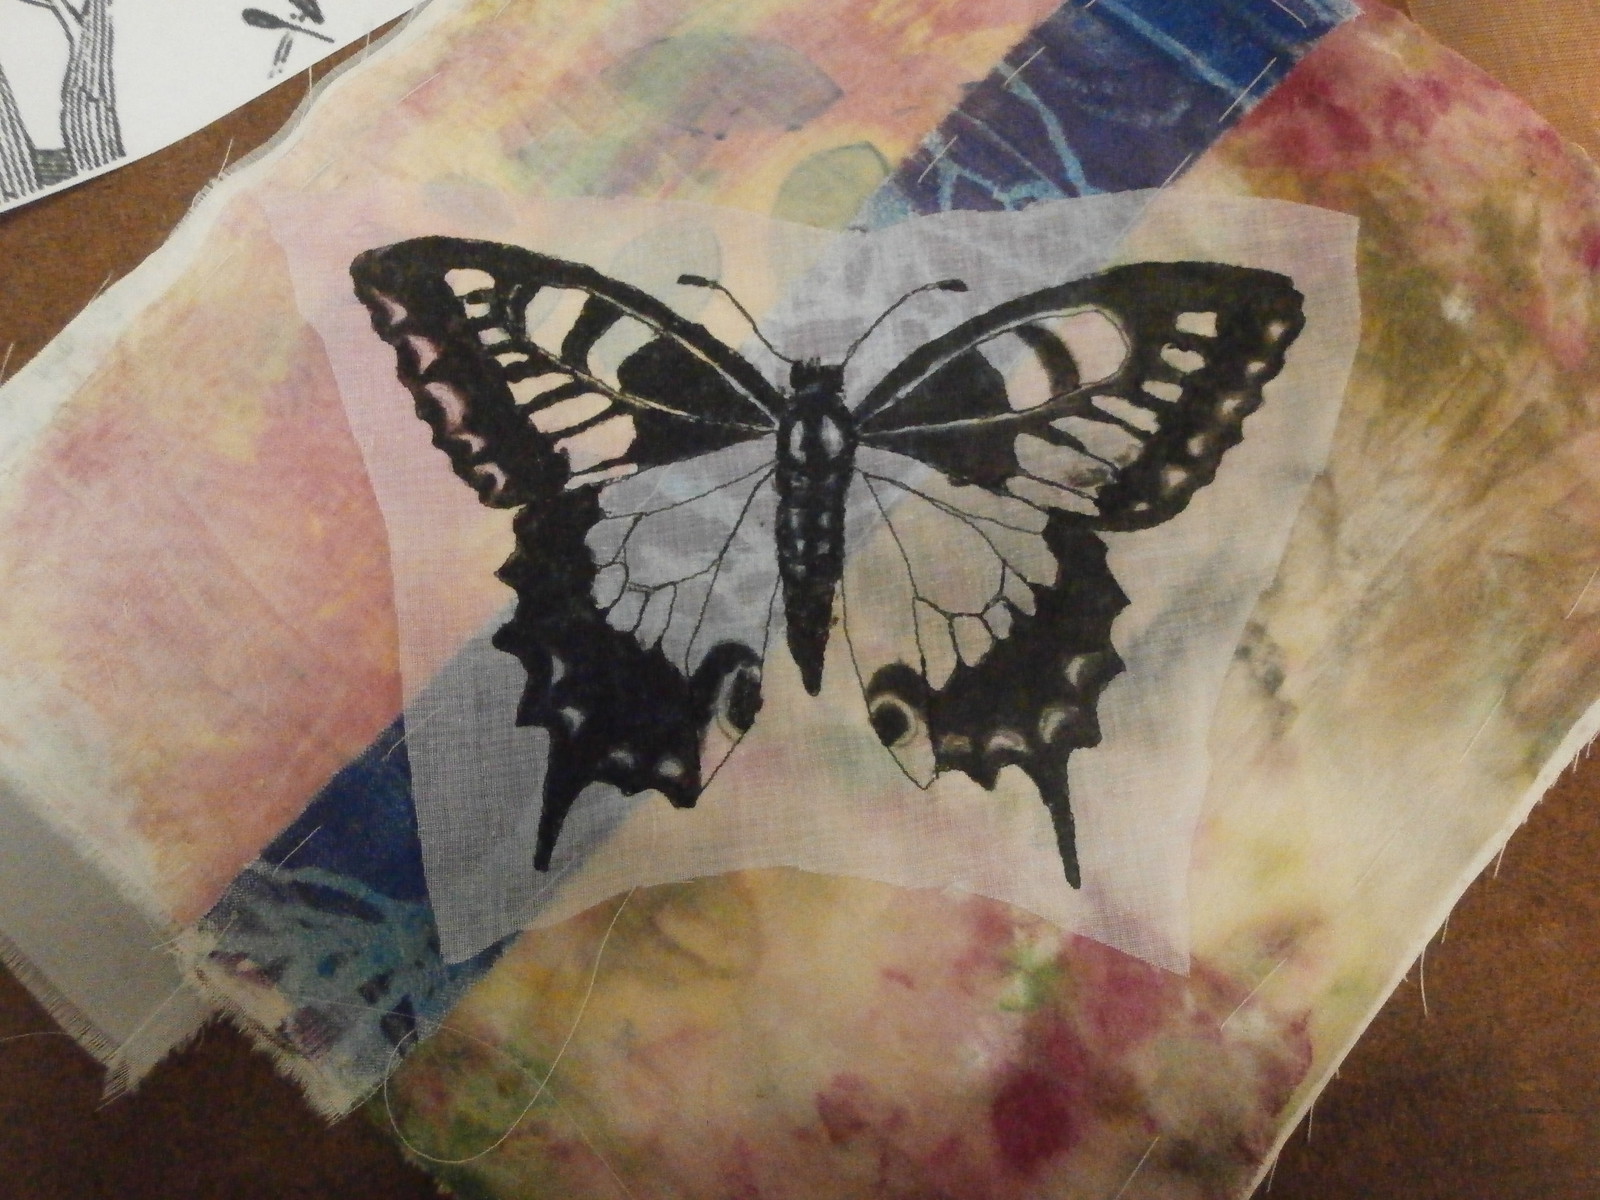
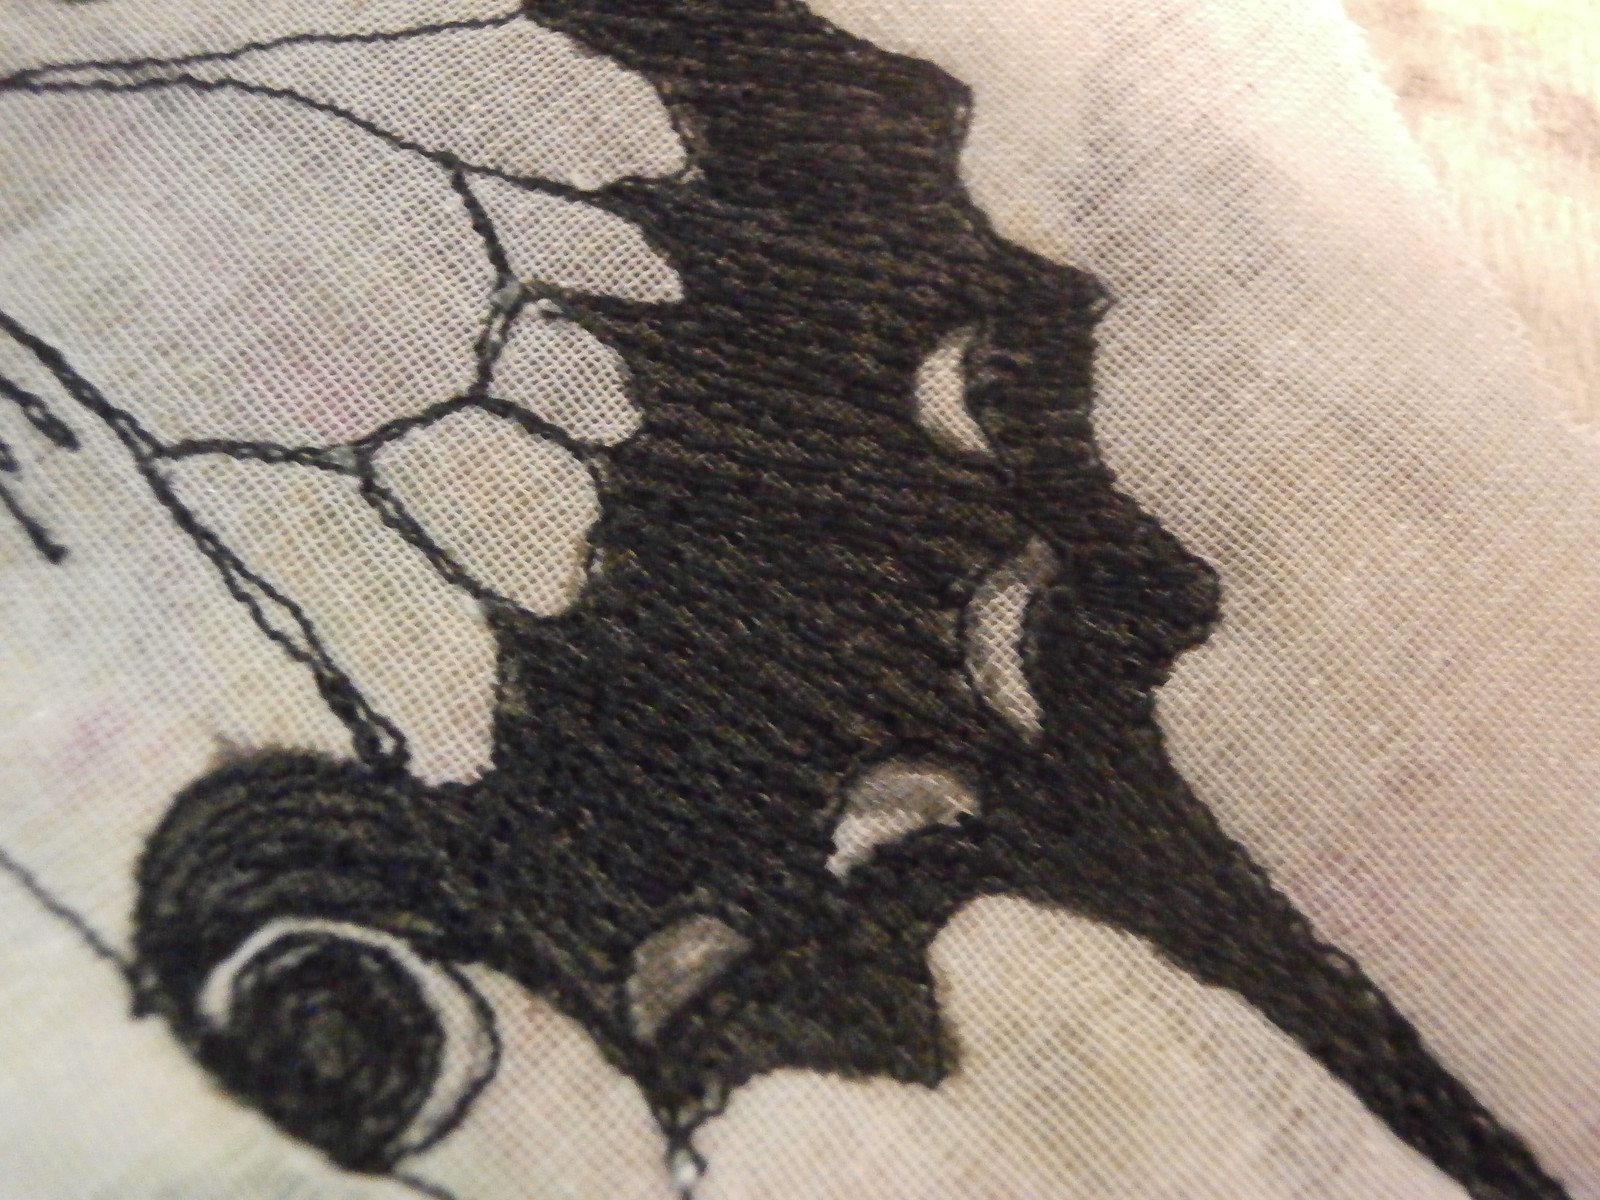
Here, I have taken it back to the sewing machine and covered the black with stitching.
I painted it black, so I didn't have to do so much stitching to cover it.
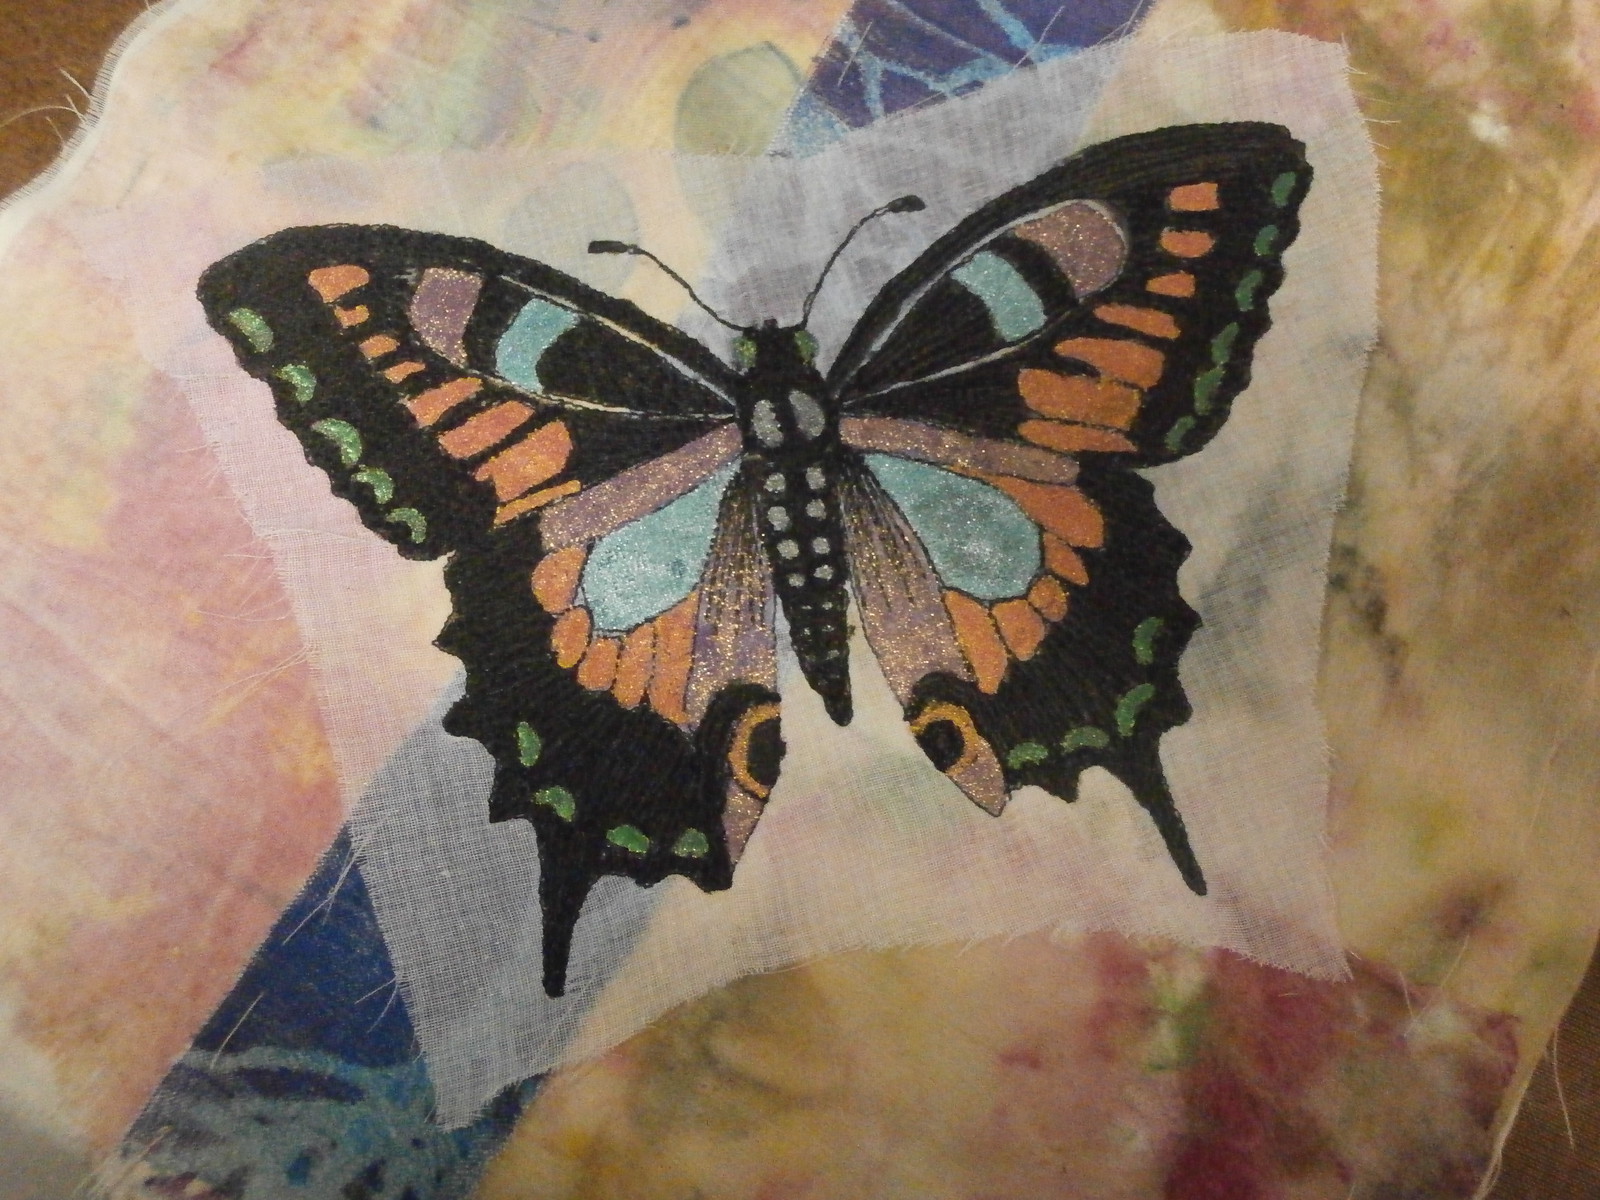
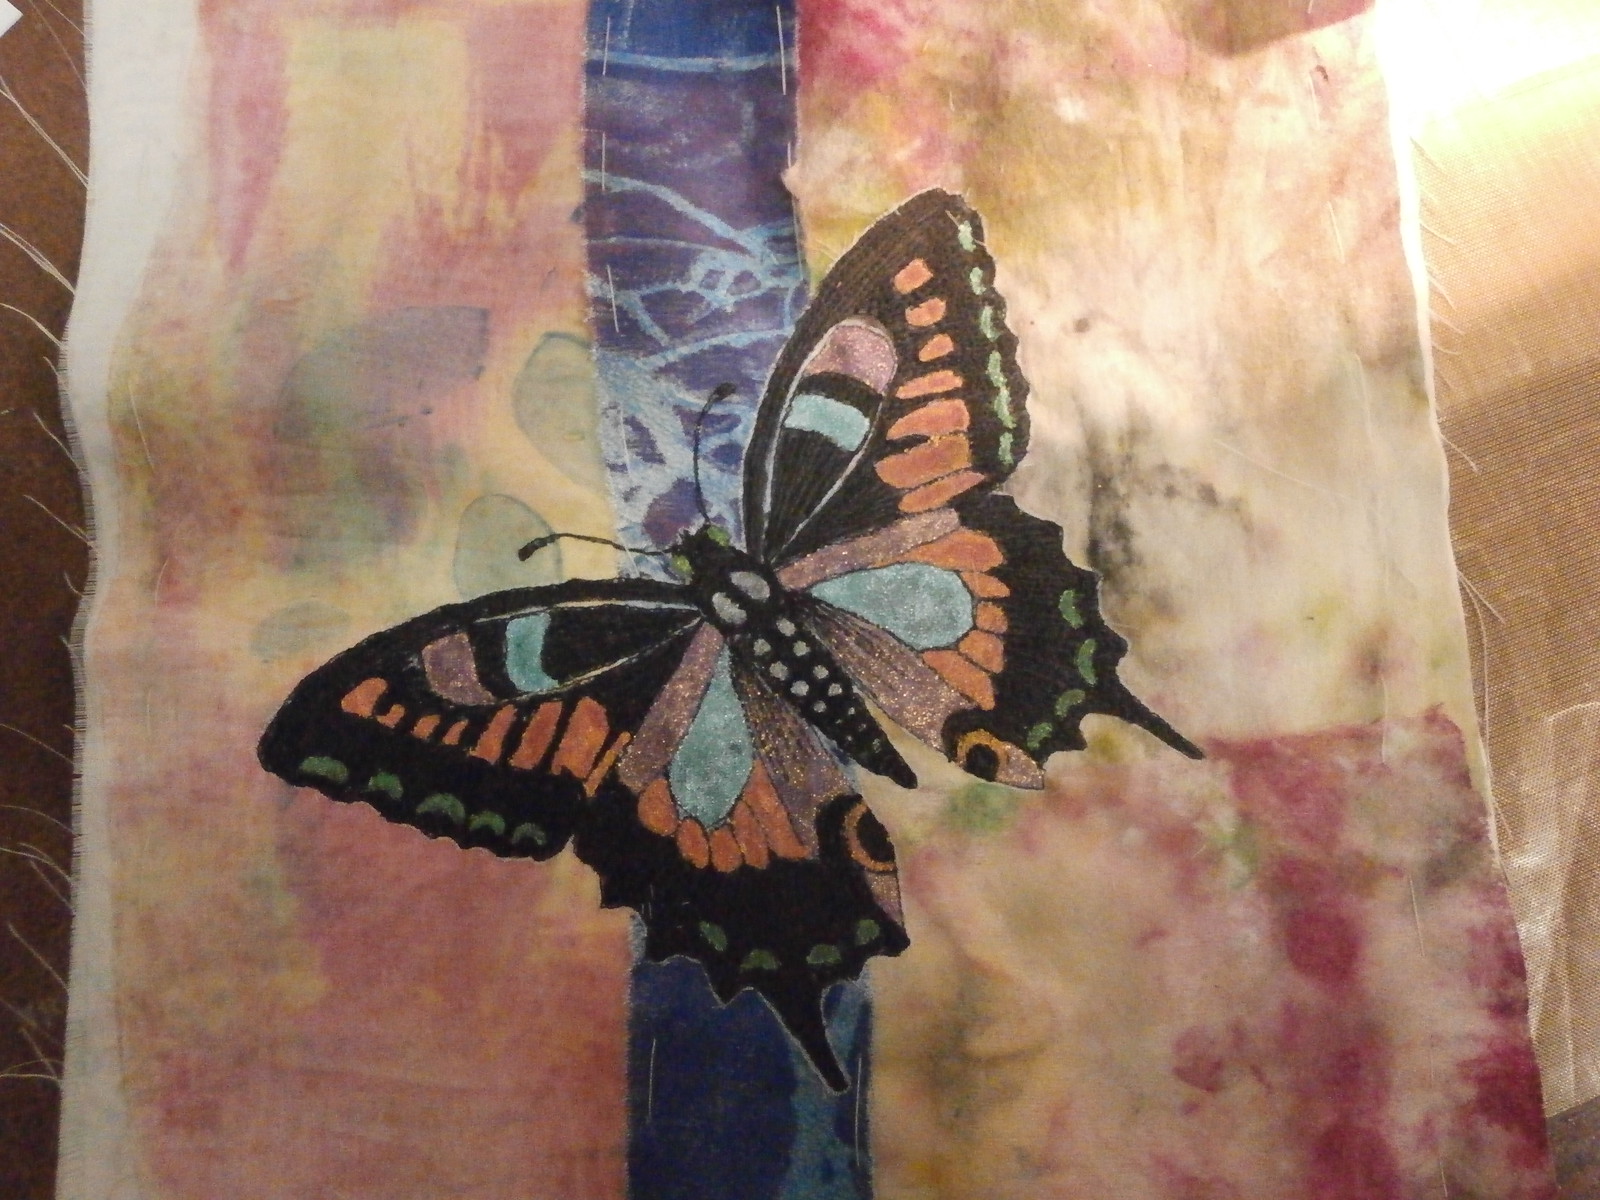
then I went and painted all the white patches (Which are actually white in real life) with some metallic paints.
Finally, I cut away the voile and I also went and added a bit more stitch, too, but I don't seem to have a picture and since it took me over an hour to upload these because the internet is playing up (as it always does when it rains), you will have to wait until I finish the hand stitching on the background for that.
Serendipity also, that today's design matters TV video (need to subscribe to watch, but really worth it) was also on butterflies, so I also did one of these in my sketchbook!
Hope you enjoyed the butterflies!

Happy Creating!

Monday, January 9, 2012

foil flower and instant gratification

This ATC is a bit monochromatic - just silver foil, brads, marker (of course the foil is not really silver, just the colour, lol)  My first go at using thick foil.

sometimes, especially now, when I am working on a few large projects, I get the need for a bit of instant gratification.  Yesterday I needed to finish something - right away.
So I did a quick fused collage based on Linda Kemshall's "Pieced Landscape" on DMTV.
Here is my quick sketch (see, my sketchbook does not only have works of art in it, lol.)
Fabric fused on the backing paper.  I use Frieda Anderson's method of drawing the pattern on the parchment paper, (I use a wax crayon), ironing the fabric on, pulling it of an cutting out using the lines which transfer to the back of the fabric.  By the way, she has been presenting a great series on art elements and principle in the last week or so)
The whole piece, arranged, fused together, peeled of and fused onto some interfacing and batting and then quilted
A close up of my simple quilting
I used the pattern in the sun as a guide for some swirls.
Here is the little bit of free motion grass added at the bottom right and the ribbon I decided to bind it with
And the finished instant gratification - not quite instant, took about three hours, but finished.
Like Linda, I have decided the contrast is not good enough between the grass and the background, so I will add some beads and hand embroidery to bling it up, so a bit more to do tonight.

This might come in handt for a landscape class I have been asked to do in a little while.   Easy for beginners. and easy to create lots of different landscapes.


Happy creating!

Thursday, December 29, 2011

Paper making and painting


After watching a video from Linda Kemshall about paper making on design matters recently ,
I ripped up some paper scraps, got out my mold and deckle

and old vitamiser/Blender

and made a bit of handmade paper.
I made about 2 dozen sheets.  Here is a good tutorial for making paper and the tools you need
This paper has not been pressed much, so it soaks up paint really well.  More about that later.

Also on the paper theme, I had been wanting to try some painted paper hand towels for a while as they have such great texture.

 These two are just drops of watered down watercolour paints (purple, blue, green and yellow) on dry paper towels.  After painting, I scrunched the towels up to mix all the colours together


This is the same as the first two, however I dripped the paint on a damp paper towel

This one is a paper napkin - just one  ply/layer not the whole thing and it was just too fragile when wet.  It fell apart.
This is the same napkin, but instead of dripping paint onto it, I pressed it into my freezer paper (that I used underneath to protect the table) and it picked up all the little bits that were still there
Here is a napkin, done by pressing onto the freezer paper after I dripped paint on the freezer paper.
Finally, I tried out some of the handmade paper.  On the left, I dripped the paint on, and it tore when I picked it up.  On the right, I pressed it onto the freezer paper after adding paint to the freezer paper.  This gave some lovely ink blot type marks.

I think this technique will be something I do whenever I have some paint left over from something as the textures are very nice.


Friday, December 9, 2011

Not fabric, but still fibre

Yesterday, I finally photographed a little book I finshed a while ago. 
From the outside, I suppose it just looks like any old book.  I used a coptic binding  (or here)(with beads!) and recycled the cardstock from my paper and cardboard collection (otherwise known as my recycling baskets)
However, it's the inside that I really like (Beyond the fact that it sits so flat when open!)
It is made from bill envelopes, the kind with the cellophane window.  I got this idea from Laura Kemshall in a design matters episode (It costs money to subscribe, but is certainly worth it)
My book is actually a little different to Laura's, but if you know me, you know I can never follow instructions without altering them.  Same with rules - lol.
I cut my envelopes so that each one opens at the top and the window is a vertical strip in the front of each pocket.  I wanted the pockets to be secure and only open at the top.  I glued the spine part (what was originally the open top of each envelope) into a pair of paper slips or tip-ins which were then bound (I got this method  from the new Cloth Paper Scissors Pages magazine.  This is so full of great stuff!
Finally, I couldn't finish without showing my wonky beading on the spine.  I do like making books like this - they are soo cute!