
A little bit of preliminary. If you want to use your machine for free motion, you need to lower the feed dogs and put a darning foot on. If you are unable to lower your feed dogs, covering them with a bit of masking tape or card will do the job. A great overview of setting up can be found here.
Above all, relax. It is just like scribbling and you will find your skill improves dramatically as you practice. When you learned to write as a child, no one expected you to do calligraphy straight off, so don't expect to make a masterpiece straight away. Just play and practice.
I am going to start with a number of straight stitch techniques. I hope to continue this series as we go along.
Obviously, if you are not new to free motion embroidery (FME), then don't worry about the tutorial, just link at the bottom so we can all share what you have done. It doesn't have to be done today or even this week, just post something you have done.
Straight stitch techniques in FME
One look at a quilting catalogue, or leah day's project will show you that straight stitch is extremely versatile and can form a zillion different patterns. This is because it is basically a line and lines make drawings, so anything you can draw, you can FME. And let's not forget drawing. Before you start at the machine it is a good idea to draw out what you intend to sew. Not only will this help you remember where to move, it will make the result better.
The first thing you will probably do and this is a good idea, is just scribble. Below are a few examples of just that.


Some patterns you could try:

wiggly lines

zigzag lines

pointy scribble

curvy scribble or stippling

curvy lines that touch

practice the alphabet

write your name
These are not special, perfect examples I made up to show you. They are just my everyday practice. If I don't practice nearly everyday, I get a bit rusty.Don't look for perfection in your lines,
- firstly because most applications of these lines in FME will not require perfection
- secondly, because if it is not fun to do, you are not likely to persist and striving for perfection can be a little boring.
- lastly because my philosphy is that creativity and perfection are opposing forces. Think about your purpose. Is your purpose to create a perfect carbon copy that is cold and lifeless, or is it to create something alive and beautiful that expresses your inner self?
Granite stitch

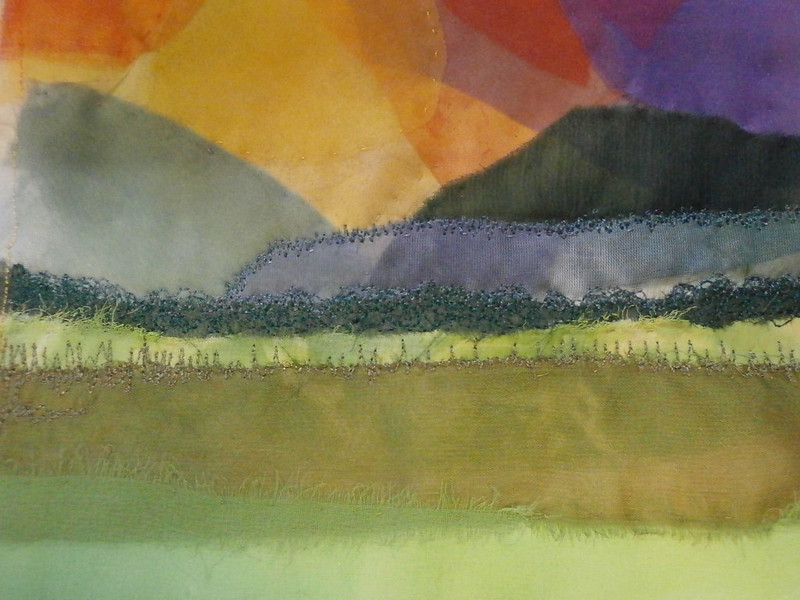
Basically, this stitch is used to fill in large areas and shade by overlapping or to make trees in the distance as in my itty bitty landscape, here is a close up of that stitching.

Here are two straight stitch examples on the transparent collage I showed yesterday.
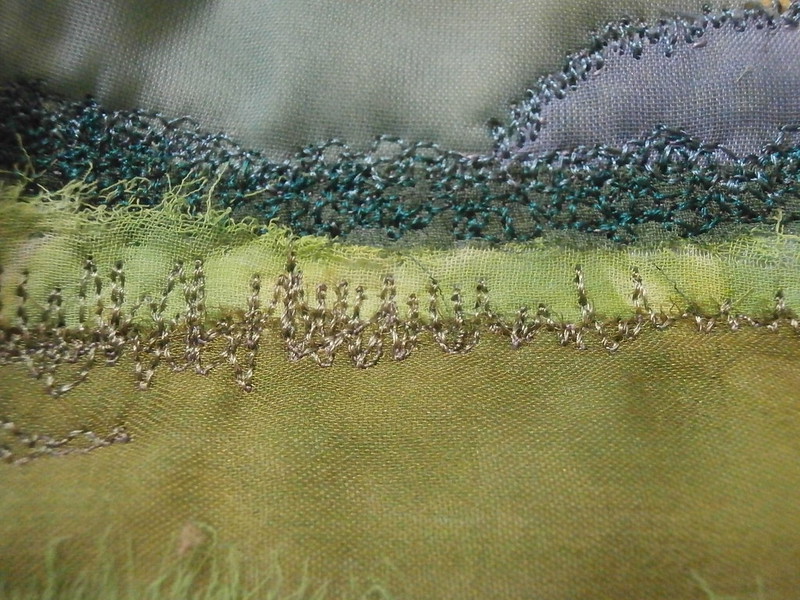
The dark green blue in the thick top line is granite or scribbling. You might be able to see that I went back over with a lighter colour. This is supposed to represent trees on the horizon. Beneath that, in the browny green thread, I have just drawn zig zag lines to represent some grass.
It all looks very messy this close up, doesn't it?
Next week I will continue my series. I will also try to visit everyone who posts.
Just to test out the linky, I will link to my itty bitty landscape post, so there is no need to look at that if you have already clicked through above.